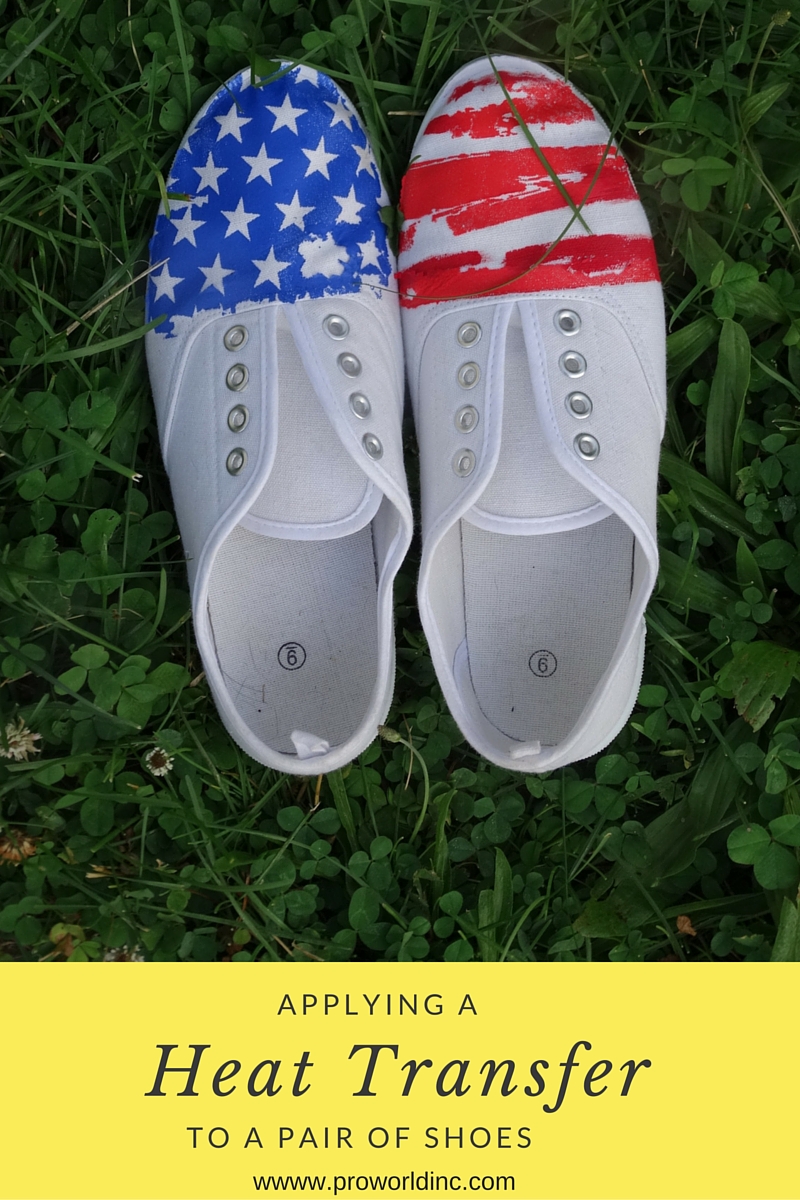
Are you in the mood for some Thursday inspiration? I hope so, because today’s project is outside the normal craft box. We are showing you how our American Flag Heart Heat Transfer was applied to a pair of SHOES!! Yes, you read that right! Since our friend Dee was the daring crafter to attempt the unthinkable, we will let her explain how she heat pressed this design onto her shoes, and what you should do/shouldn’t do if you decide to make a pair for yourself. Take it away Dee!

Hey, everyone! I am so glad to be back at Pro World showing you how I applied a Heat Transfer to my plain shoes. You see it all started because I forgot to read the size of the heat transfer before I bought it. When my transfer came in bigger than the shirt I was planning on using it for I didn’t want to waste such a gorgeous design so I decided to find another use for it. Fortunately, I keep lots of blanks laying around the house, so I grabbed a pair of plain white shoes that I had lying around and went to work!
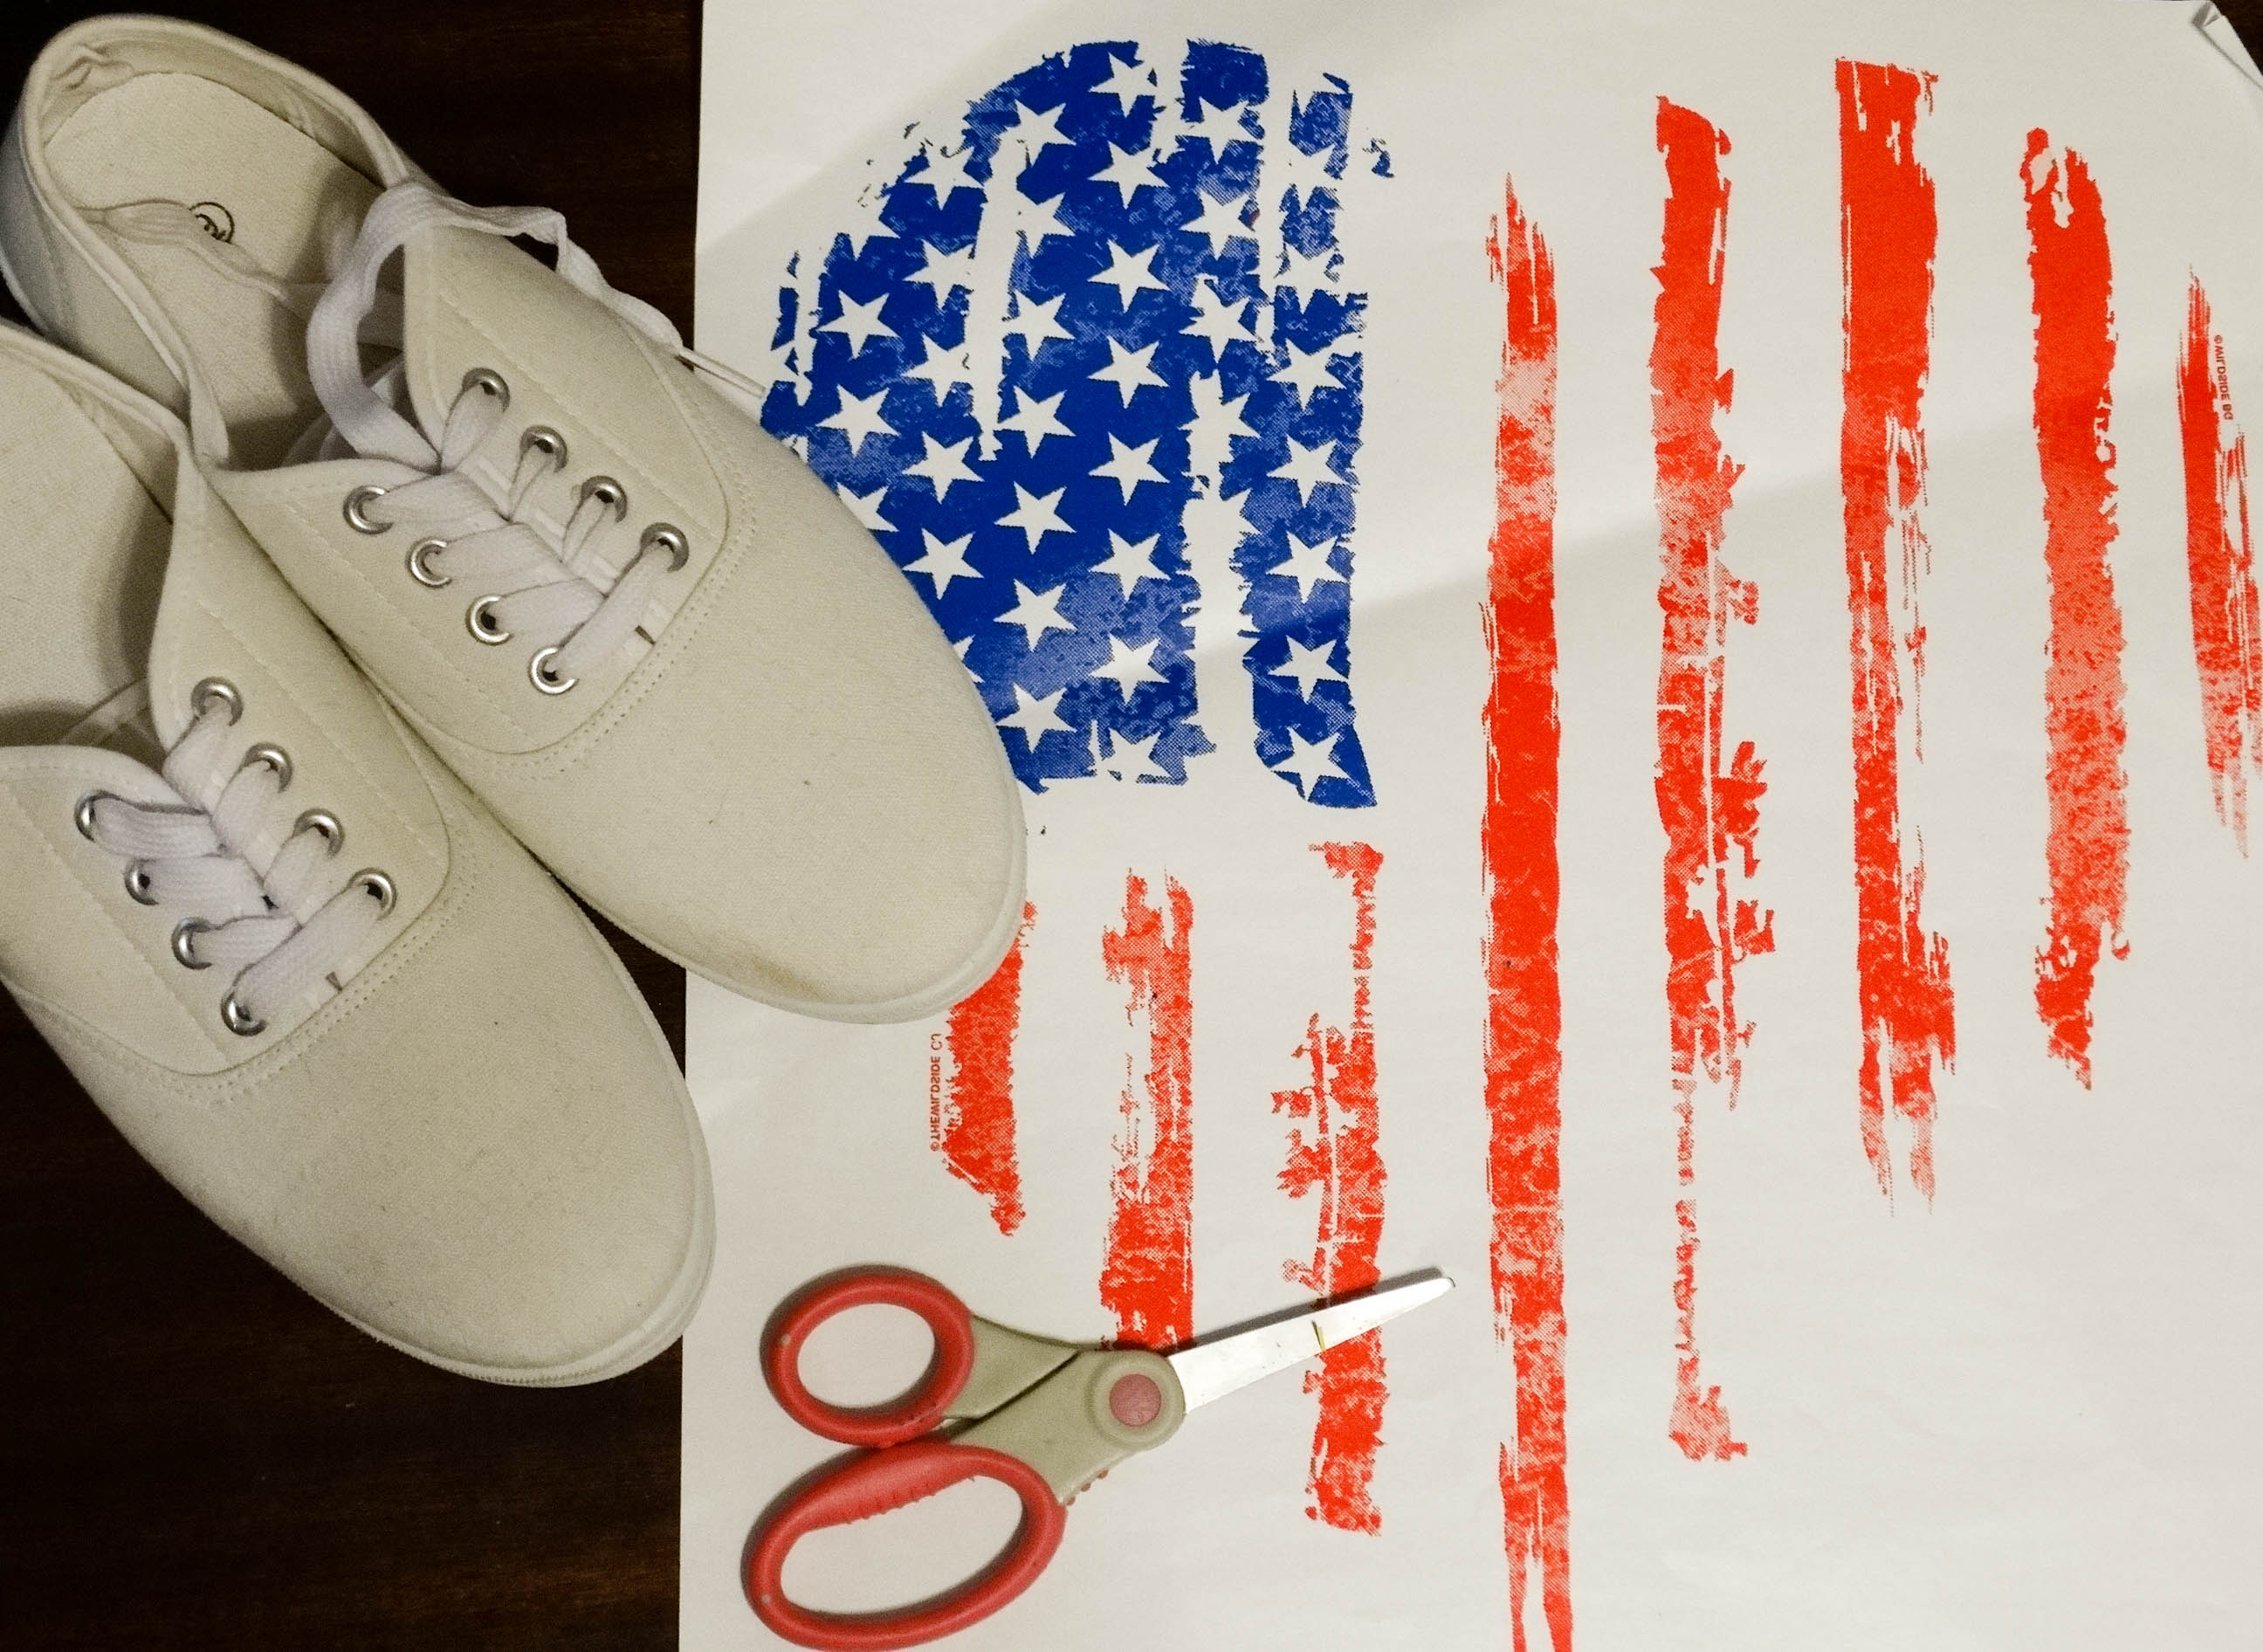
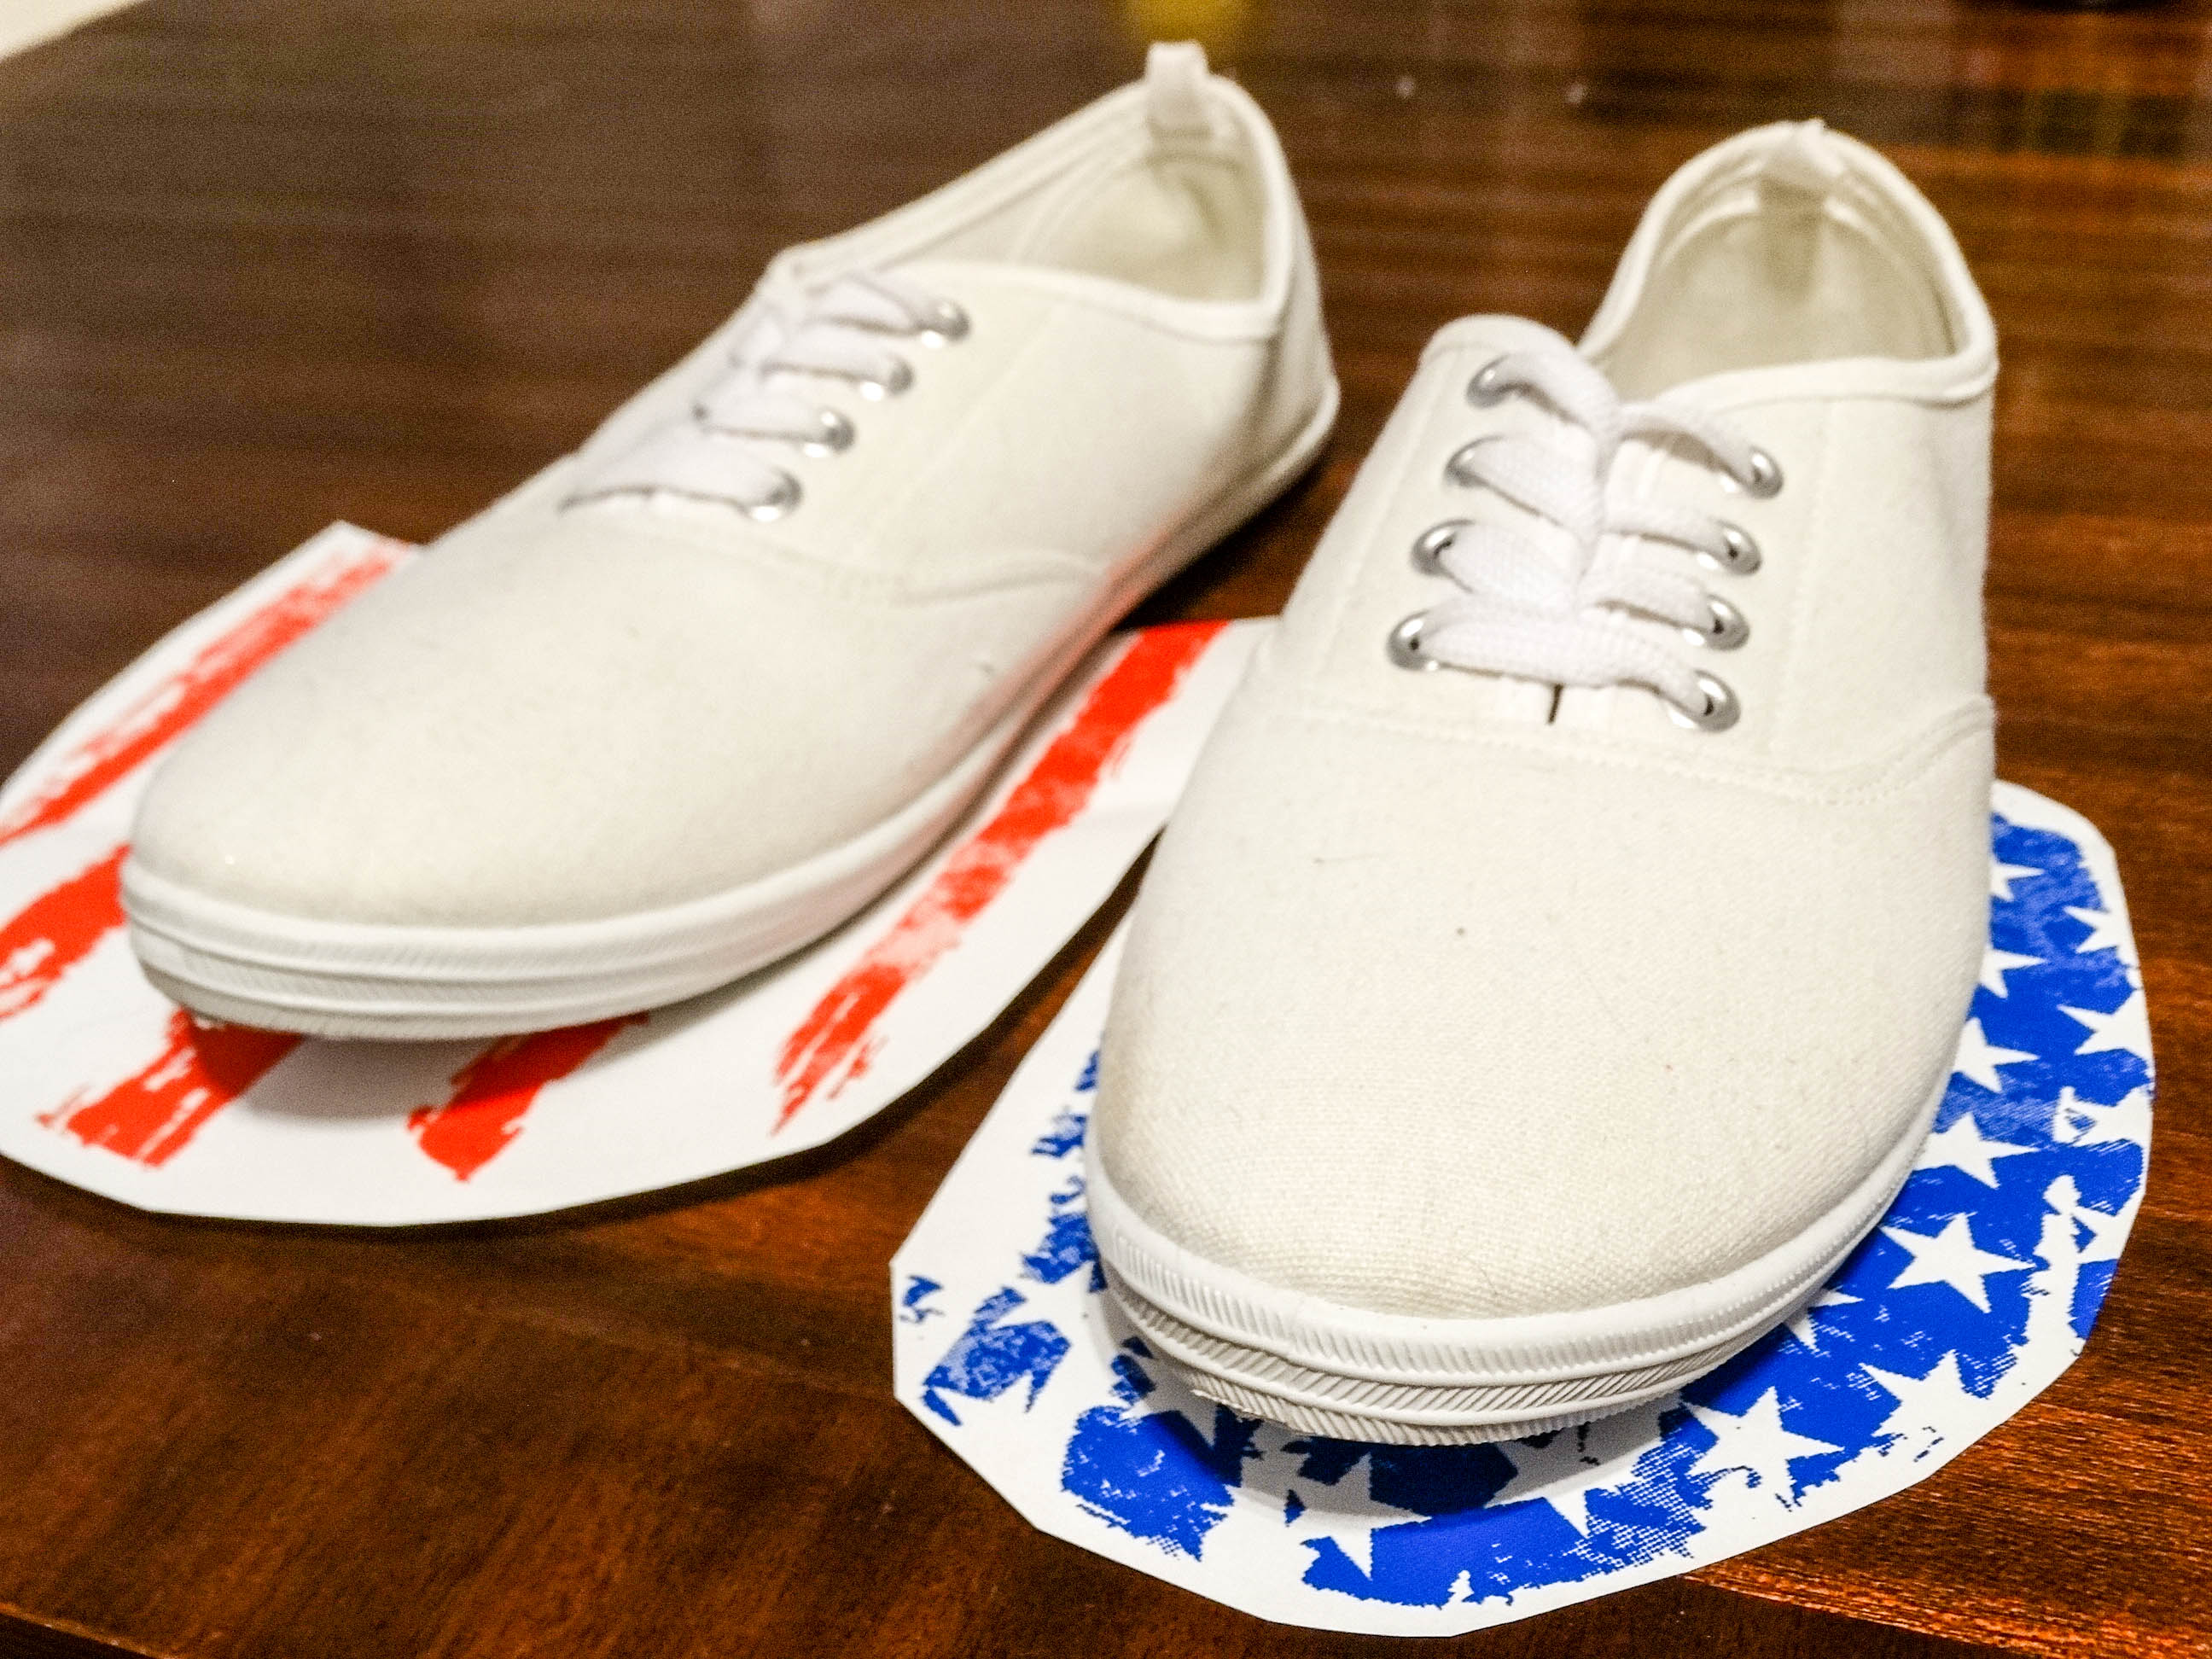
First, I cut my design to fit the shoe shape. Keeping in mind that my 15×15 heat press wouldn’t be able to wrap my design around the shoe, it would strictly smoosh the design flat.
Then I set my heat press at 390 degrees Fahrenheit since that is the temperature that this particular heat transfer calls for. Pro World lists all of their application instructions online under each product, so be sure to double check if you are unsure of the time/temperature to use!
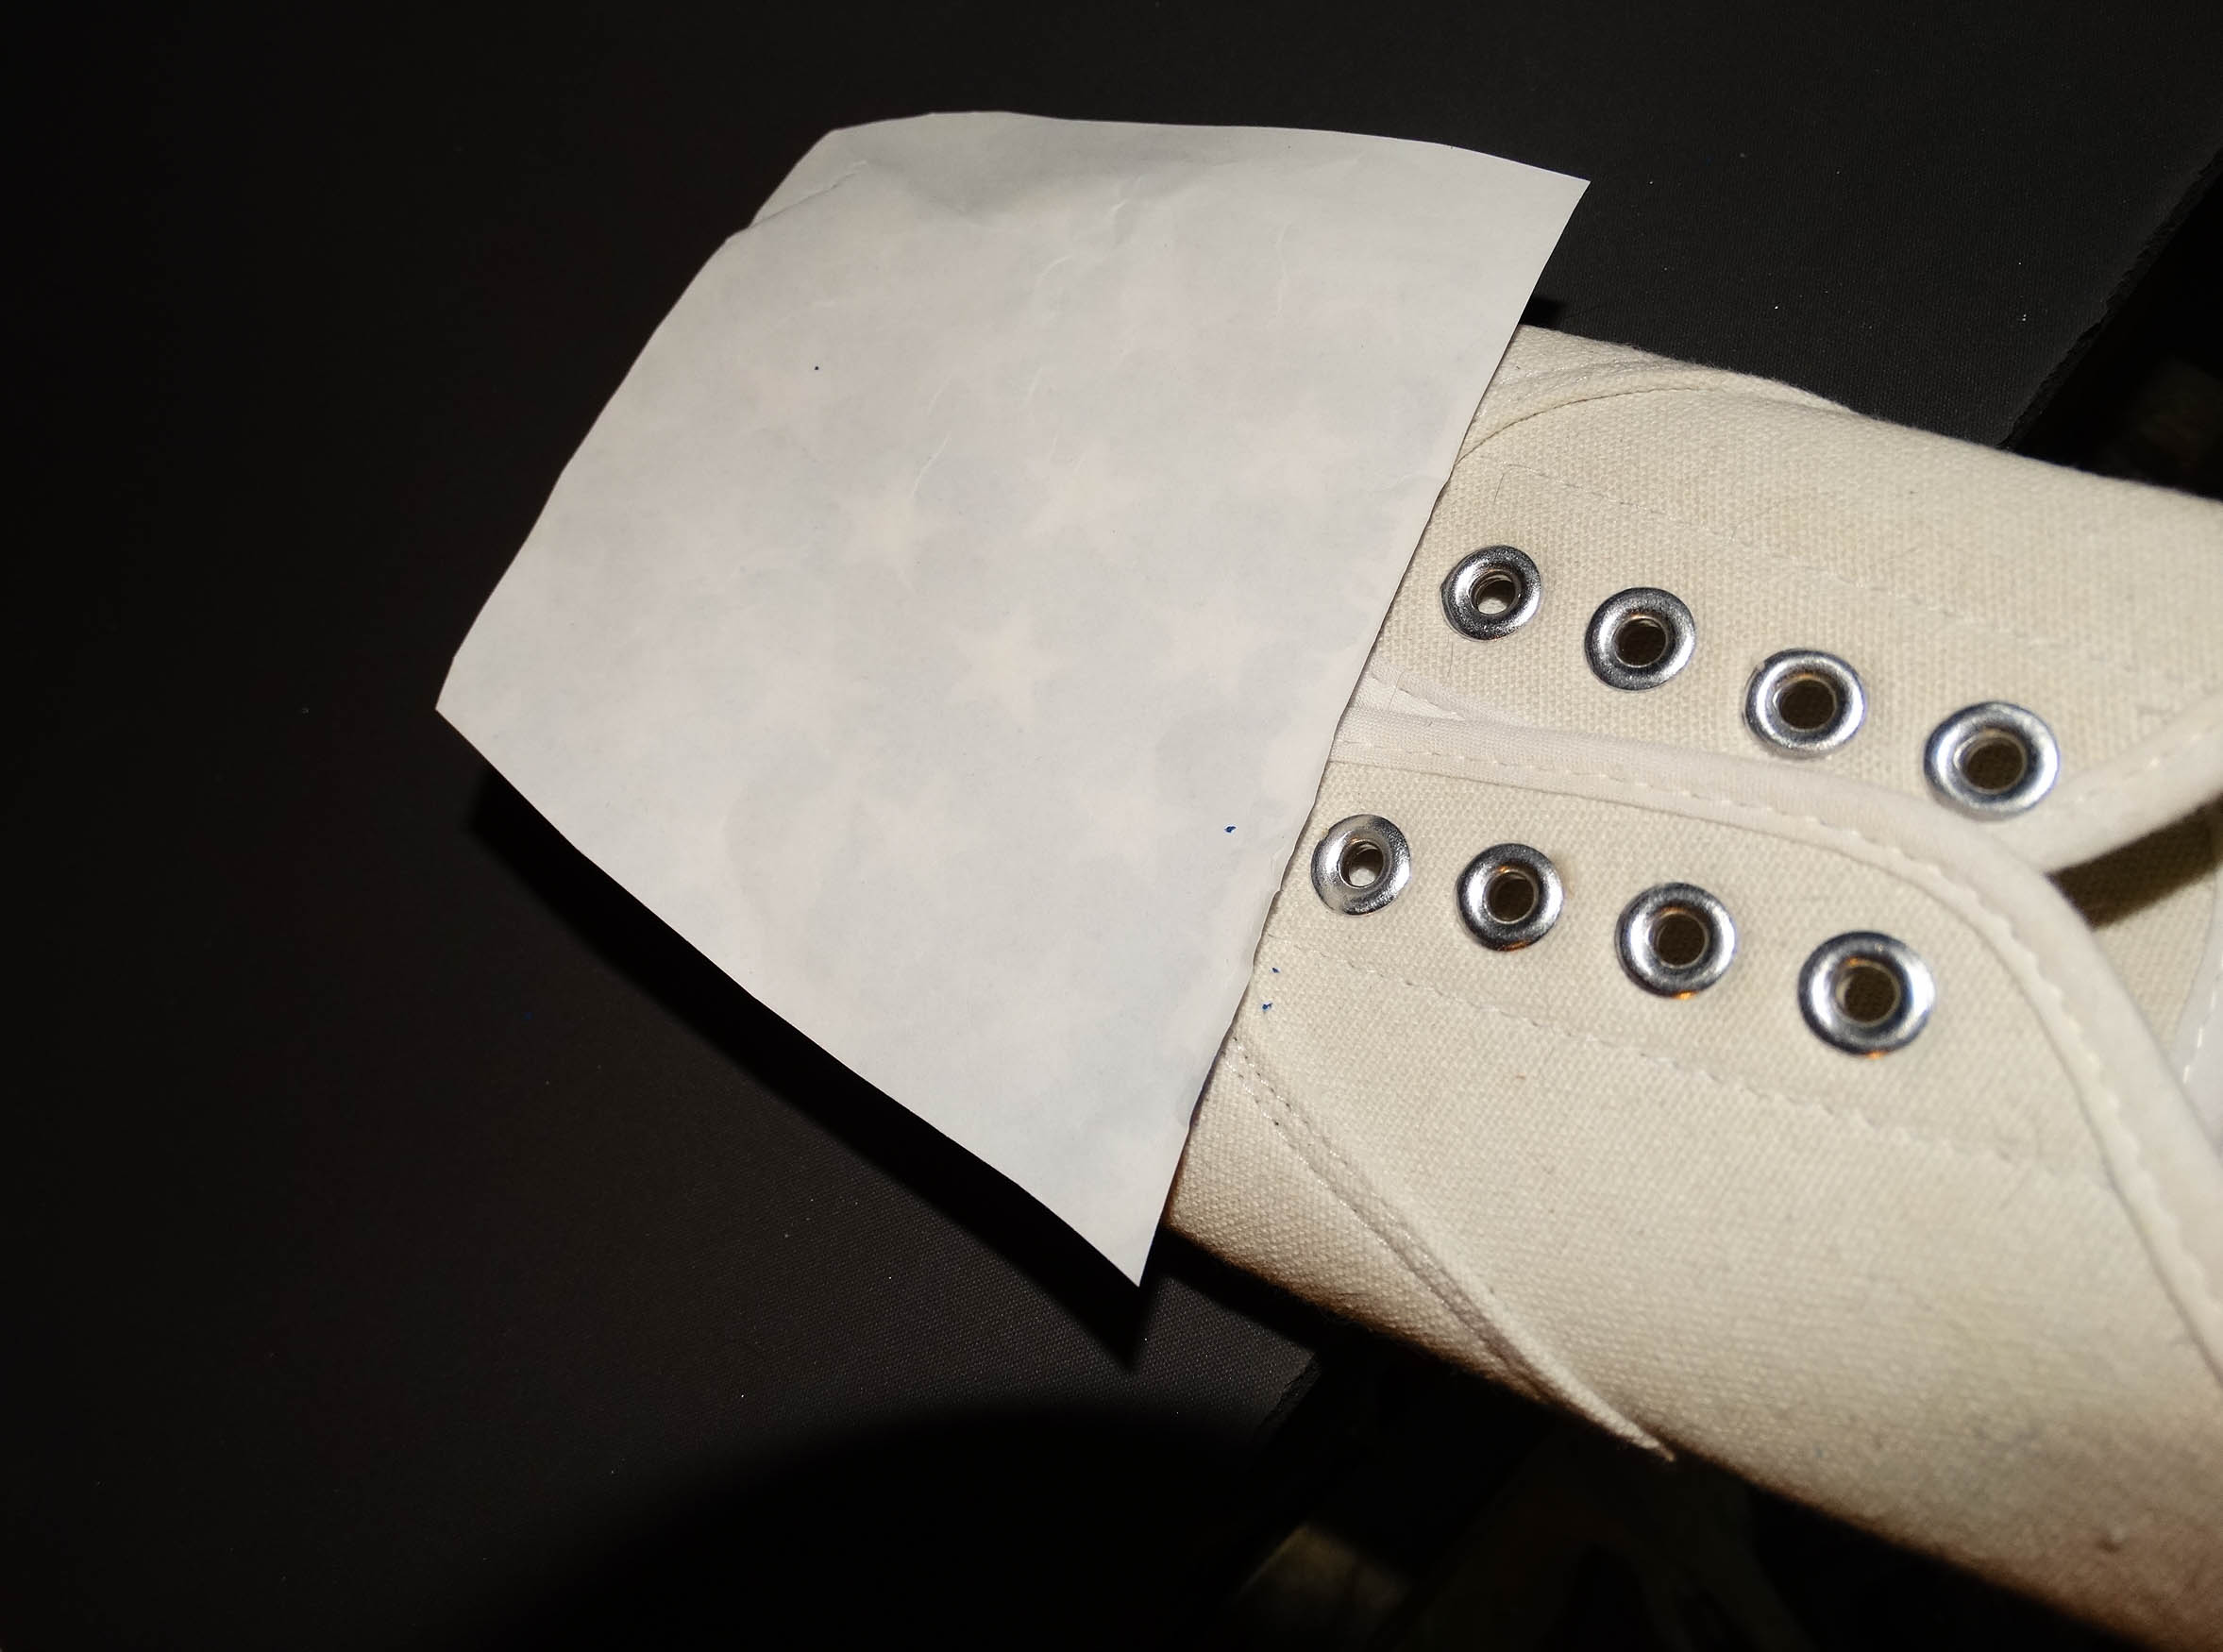
While I was waiting for that to warm up I took the laces out of my shoes and positioned and repositioned the transfer a few more times. When the buzzer for the heat press finally chimed, I carefully laid the shoe tip in between the two press pads and pushed down so that all of the heat transfer was covered, while the heel was sticking out the front.
After being pressed for 10 seconds, I immediately lifted and pulled the transfer right off while it was hot. Then I repeated with the second shoe.
Want to make a pair for yourself? Here are some things you should know:
- Using a Shoe Platen would help achieve better results. You can add one to your order here!
- To protect the shoe from melting, we suggest placing a teflon sheet over your transfer and the shoe.
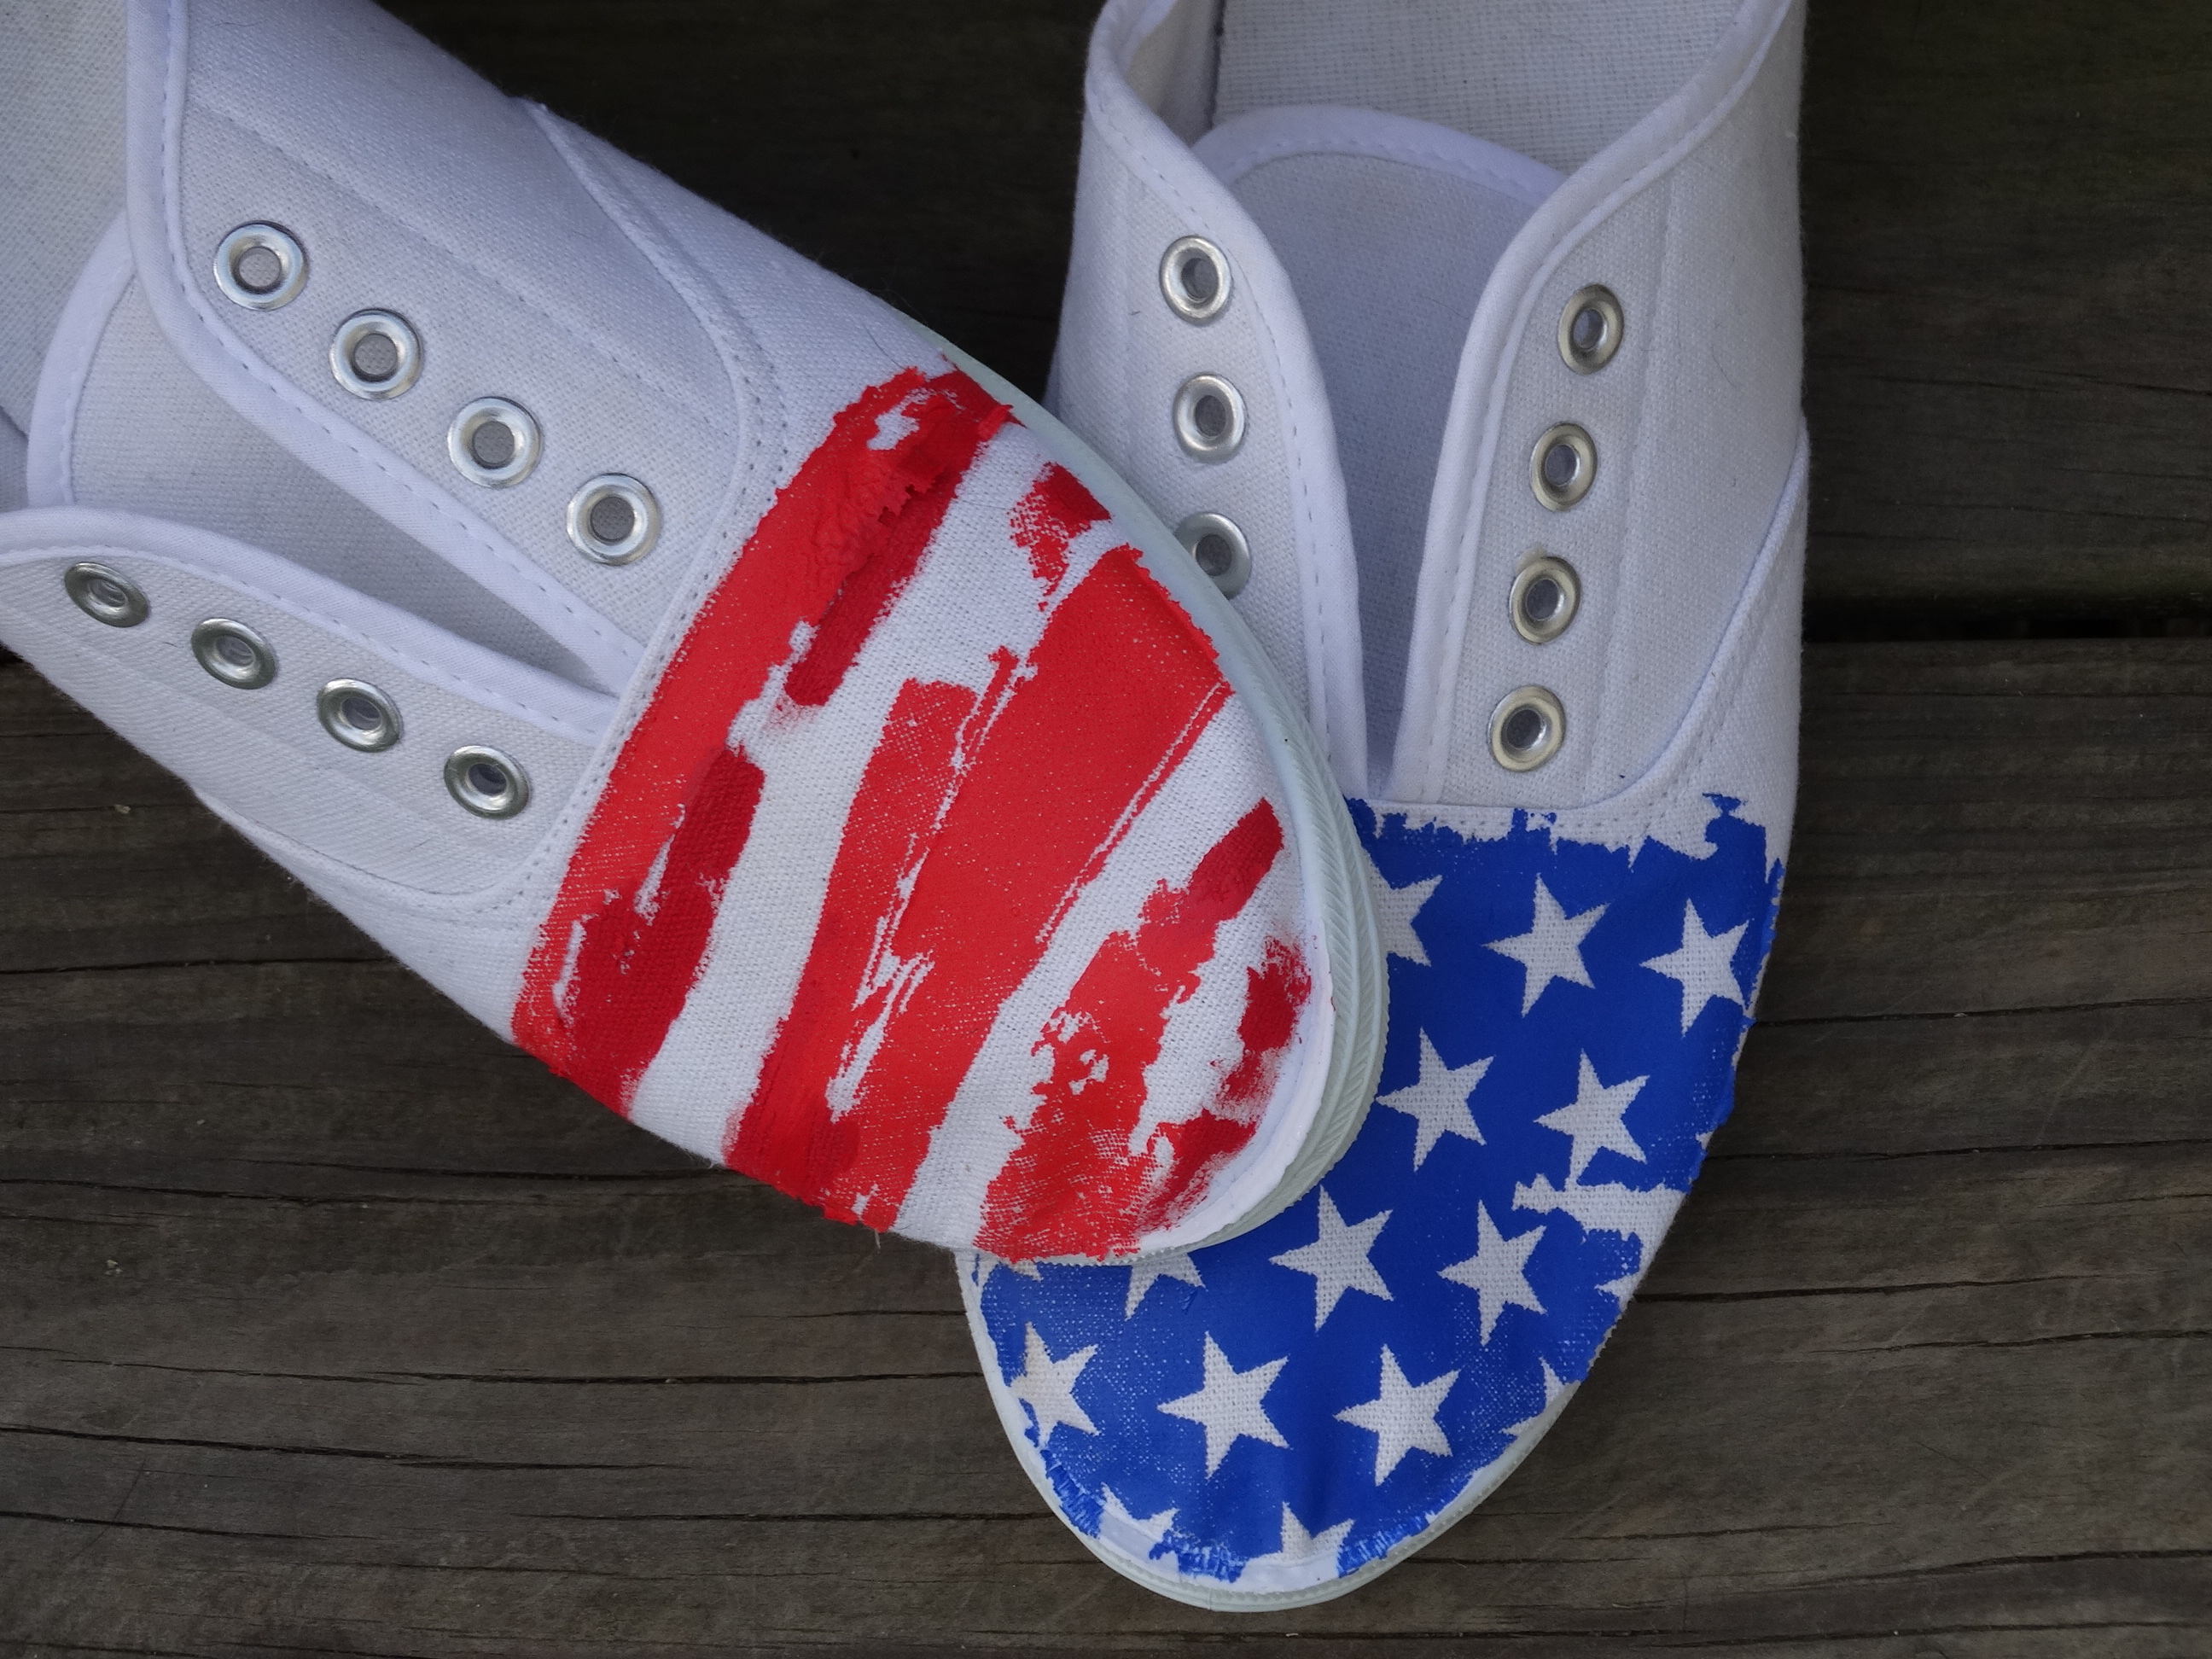
- Make sure your image is positioned right BEFORE you heat press it. As you can see from my flag, I clearly was looking down when applying the transfer.
- Stick with a distressed design; your transfer will not be completely smooth so the distress will be more forgiving.
- You don’t have a lot of control with this project, so make sure not to attempt this on your favorite pair of shoes just in case it doesn’t turn out and two, have a plan B.