Grow Your Business with Sport Merchandise

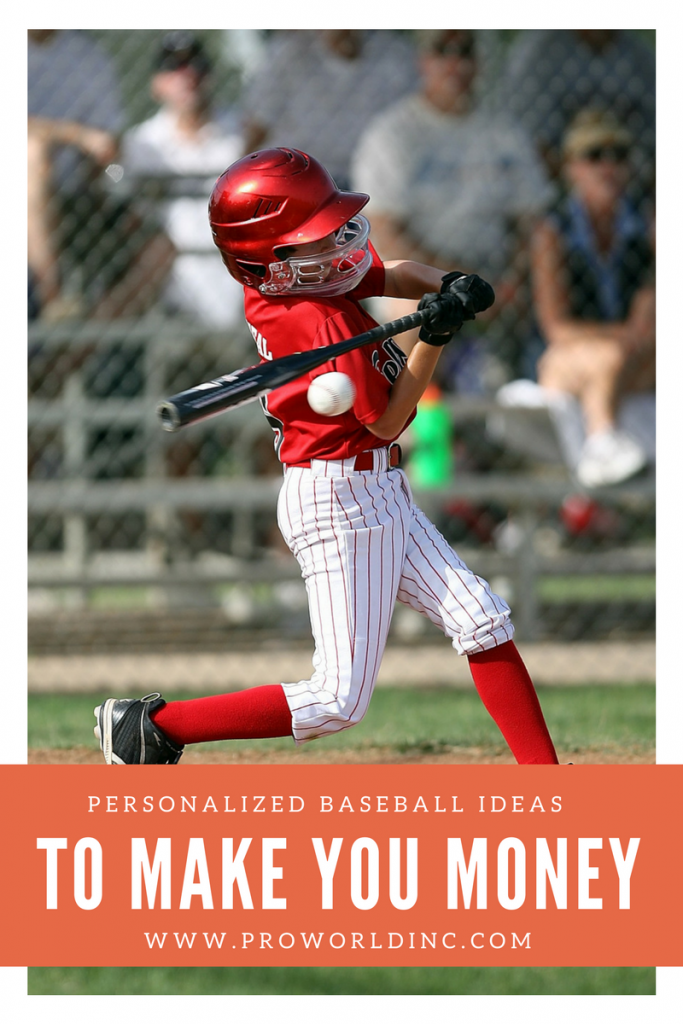
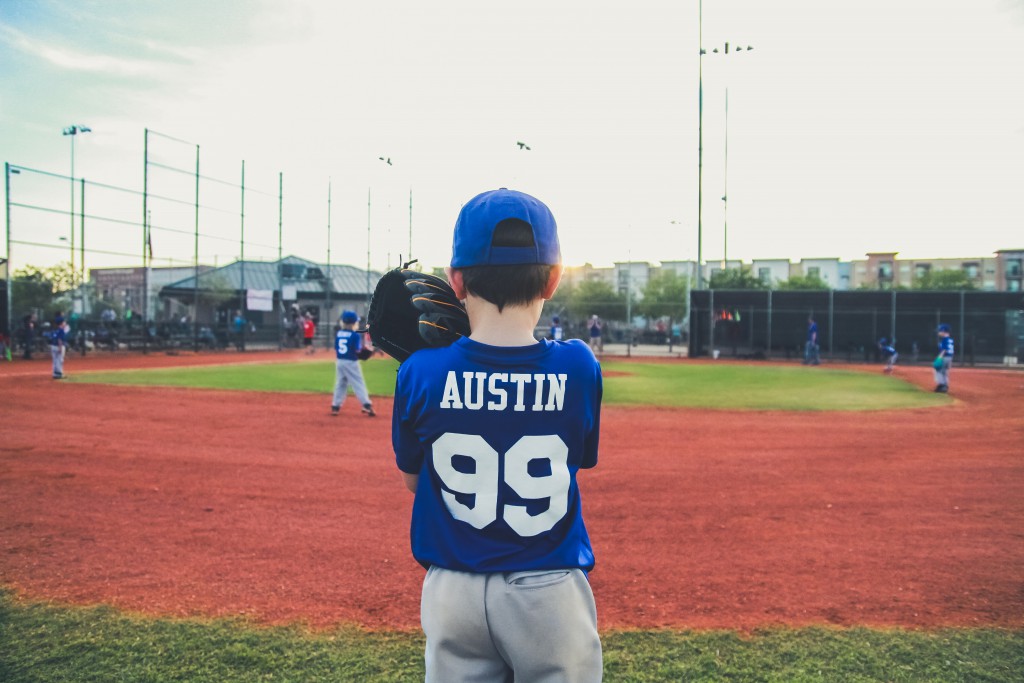
School is back in session, pumpkin spice everything is on the shelves and Sunday football is in full swing, which only means one thing: Fall is here! With fall, comes the fall sports season.  Teams are always looking for new ways to fundraise, so now is the perfect time to expand your business into the sports market with a fall sports shop!

sport merch (1)

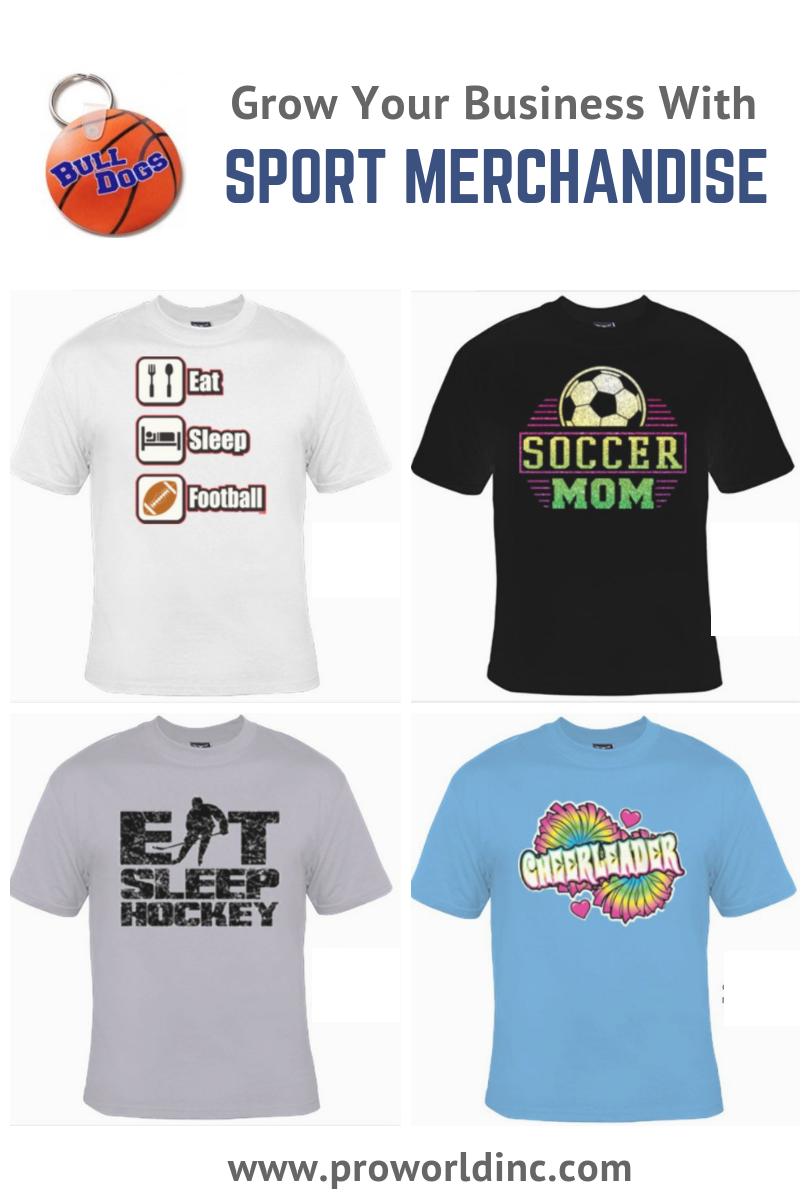
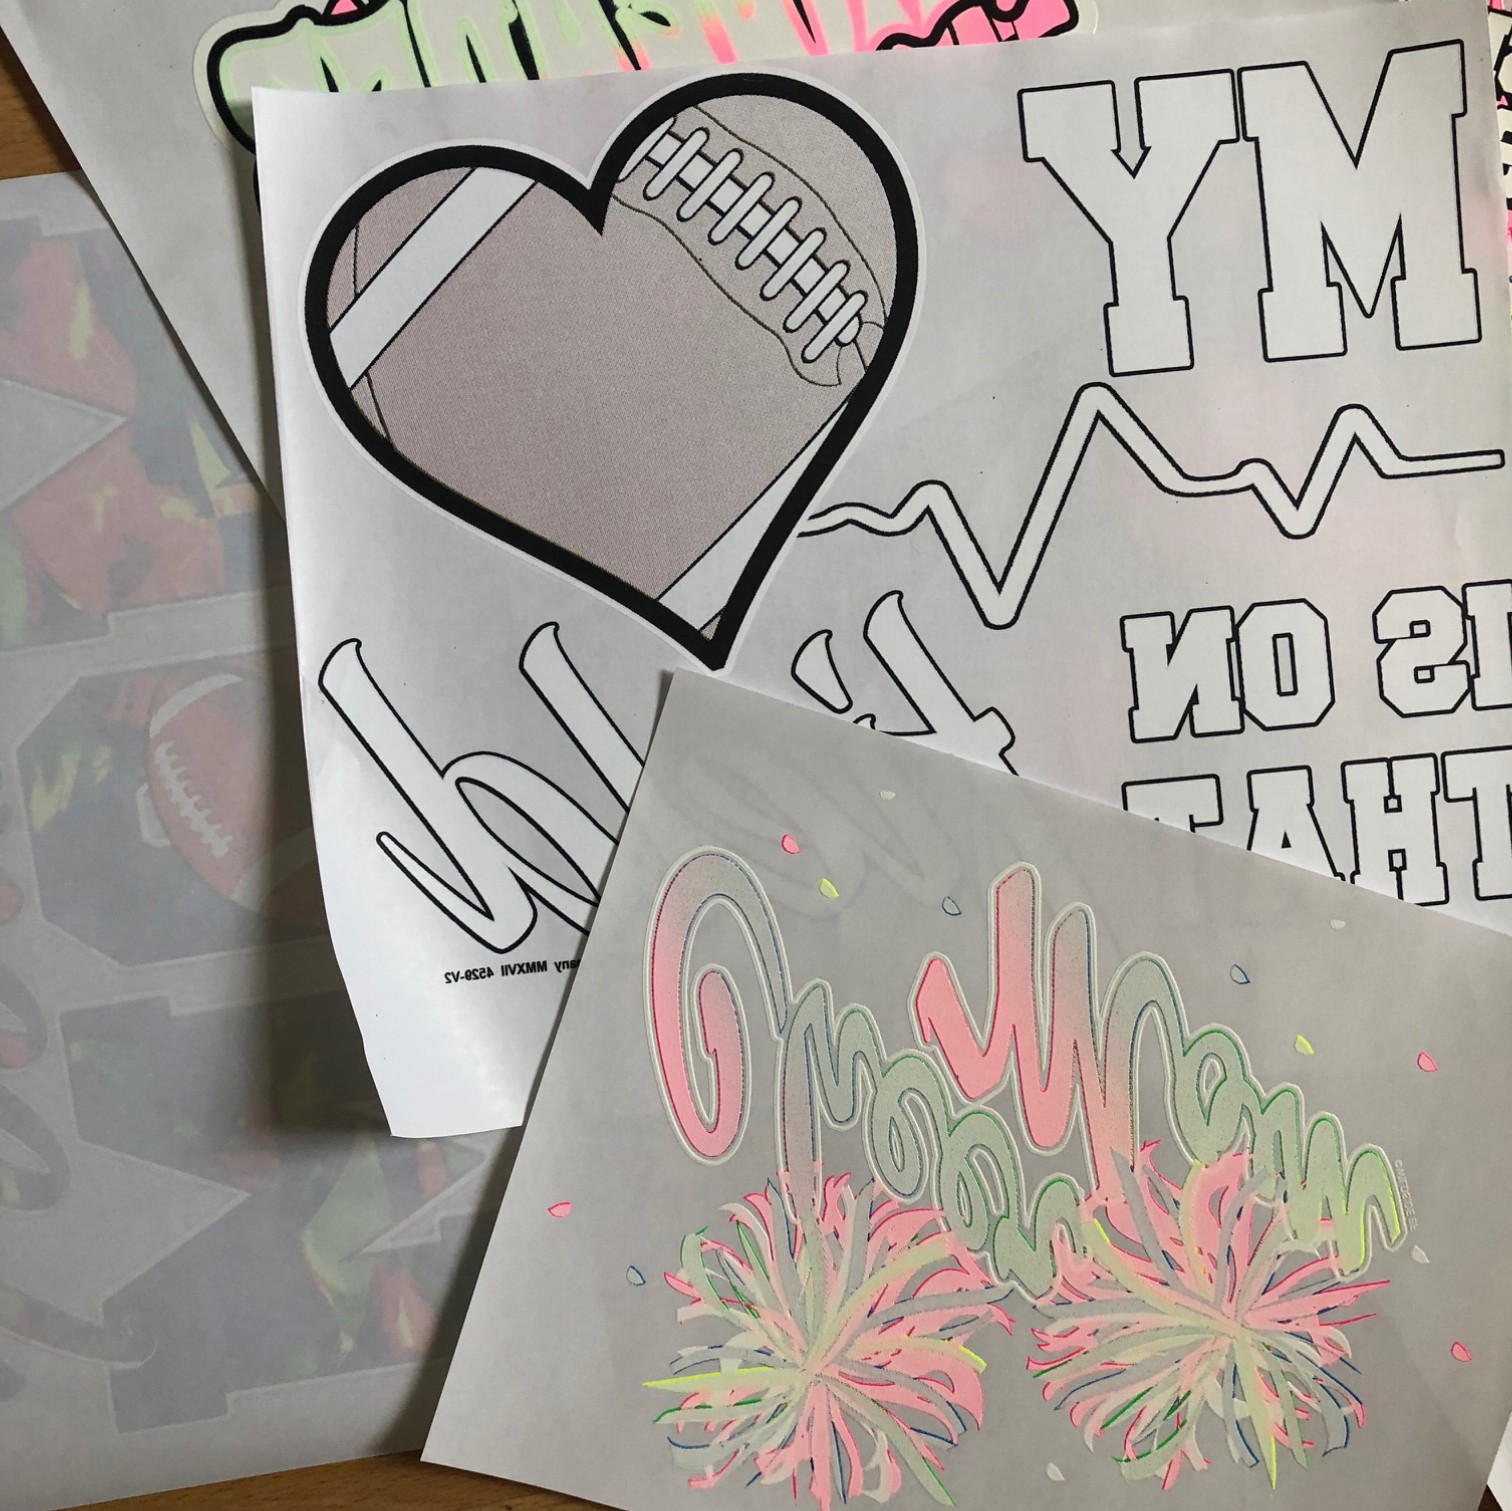
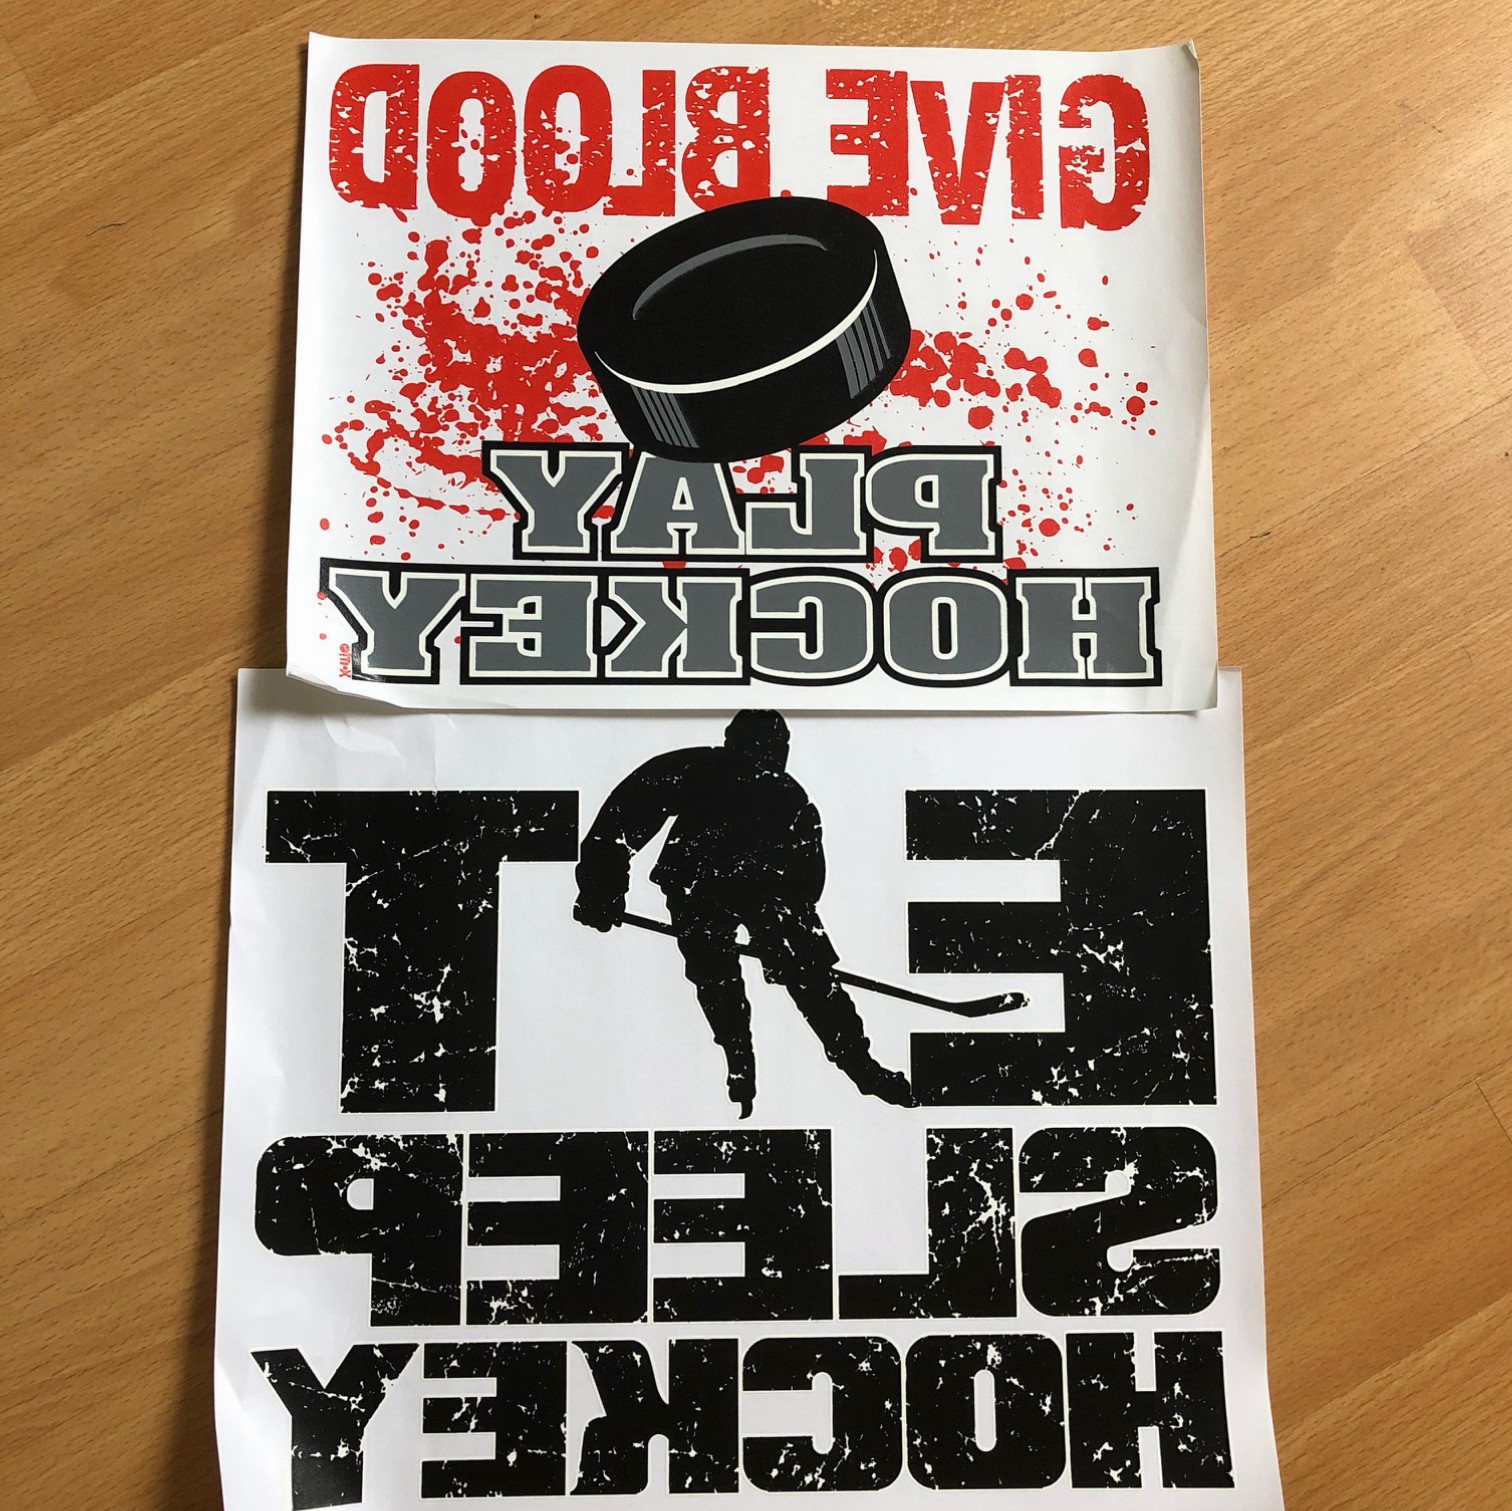
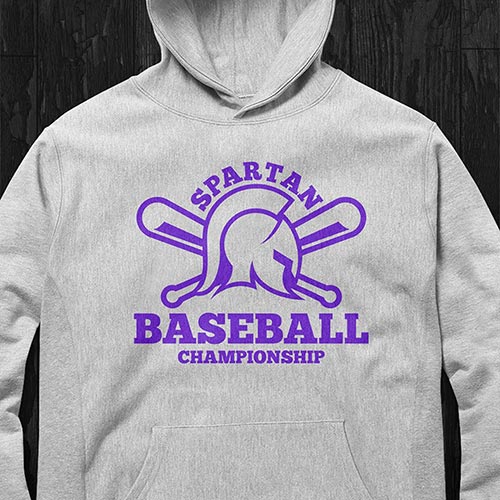
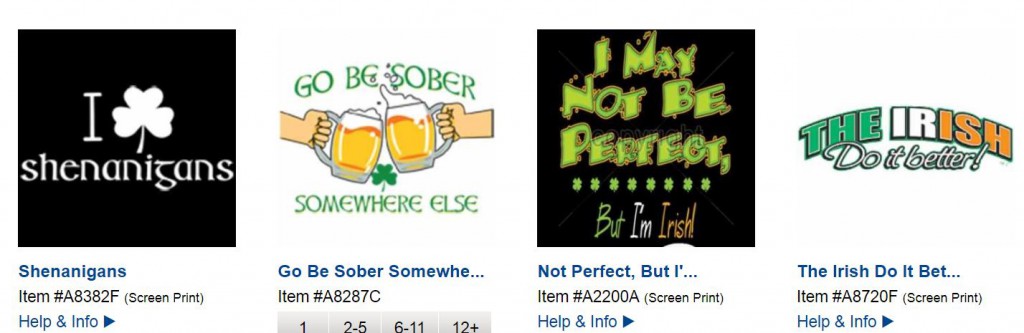
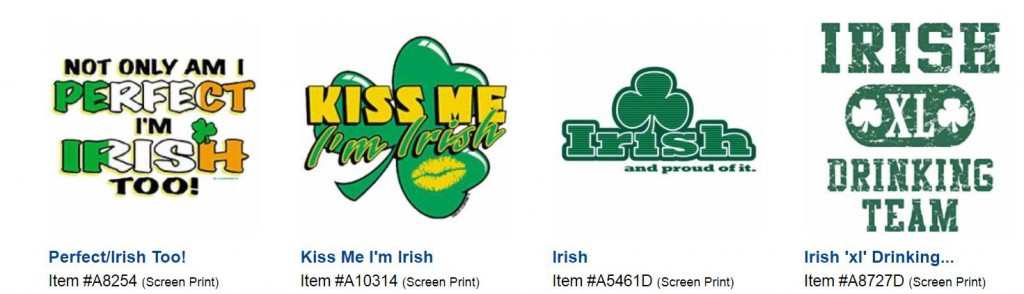
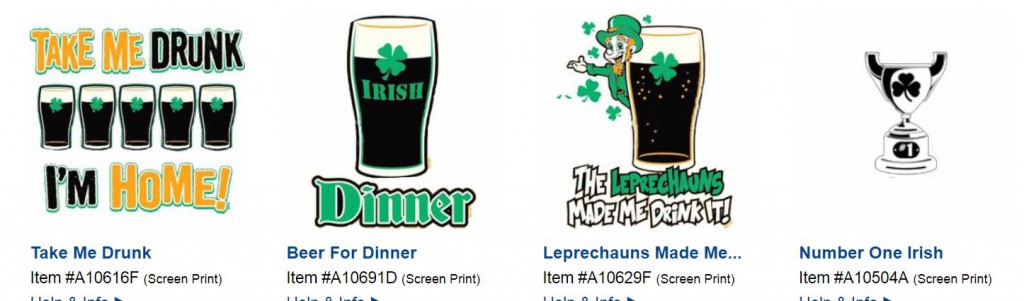
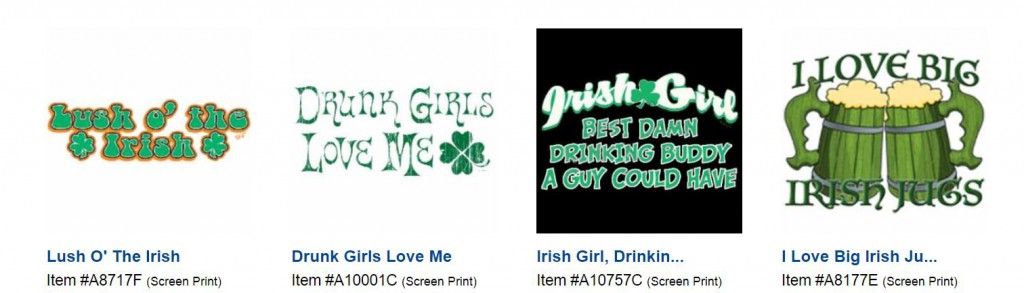
A quick and easy way to get your sports shop started is with our Heat Transfers.  They are simple to use: Choose your heat transfer design, lay it on your garment, press it with your heat press and peel according to the directions. It’s so easy and we have thousands of designs for you to choose from! Here are a few examples of our heat transfer sports designs:


Football and cheer


football heat transfer

Gymnastic

IMG_8547

Hockey

IMG_8536

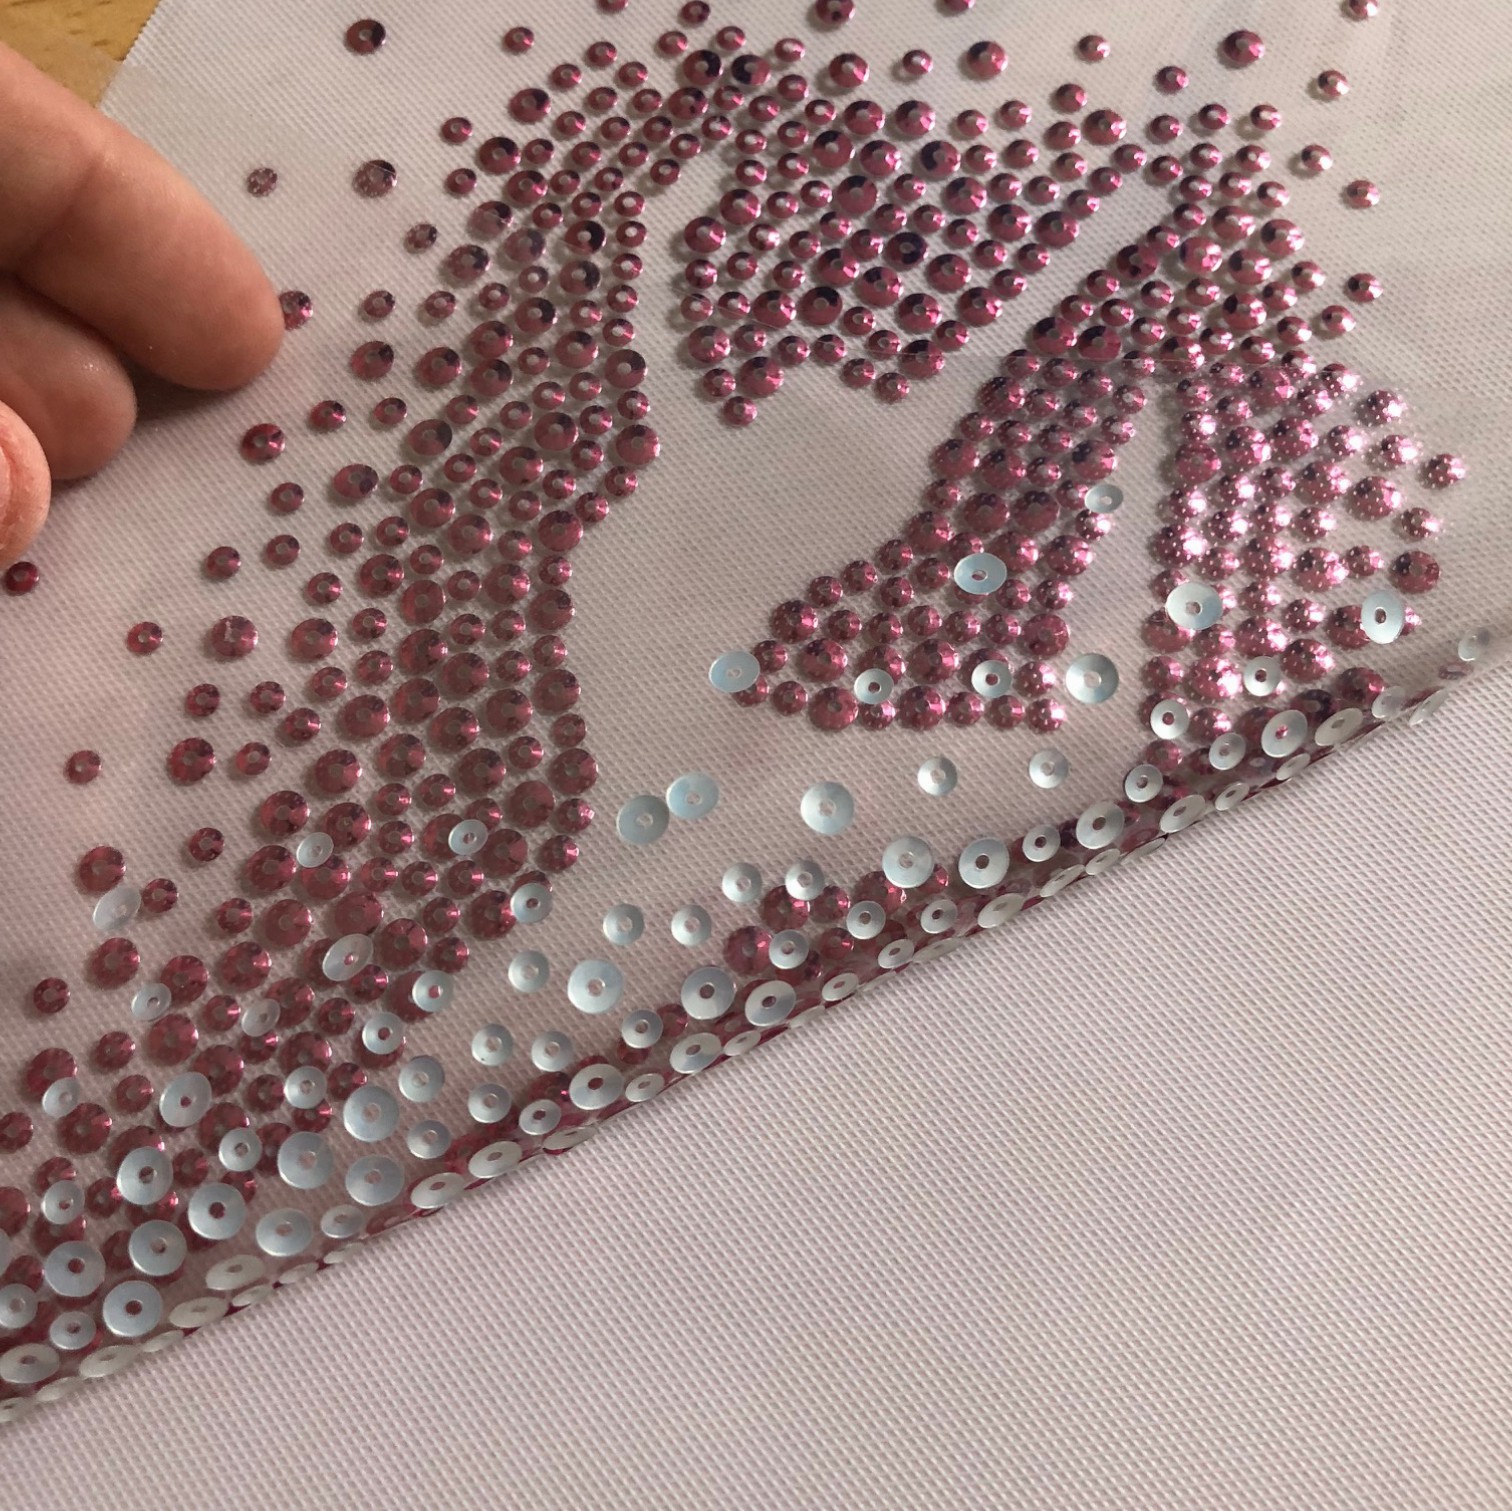
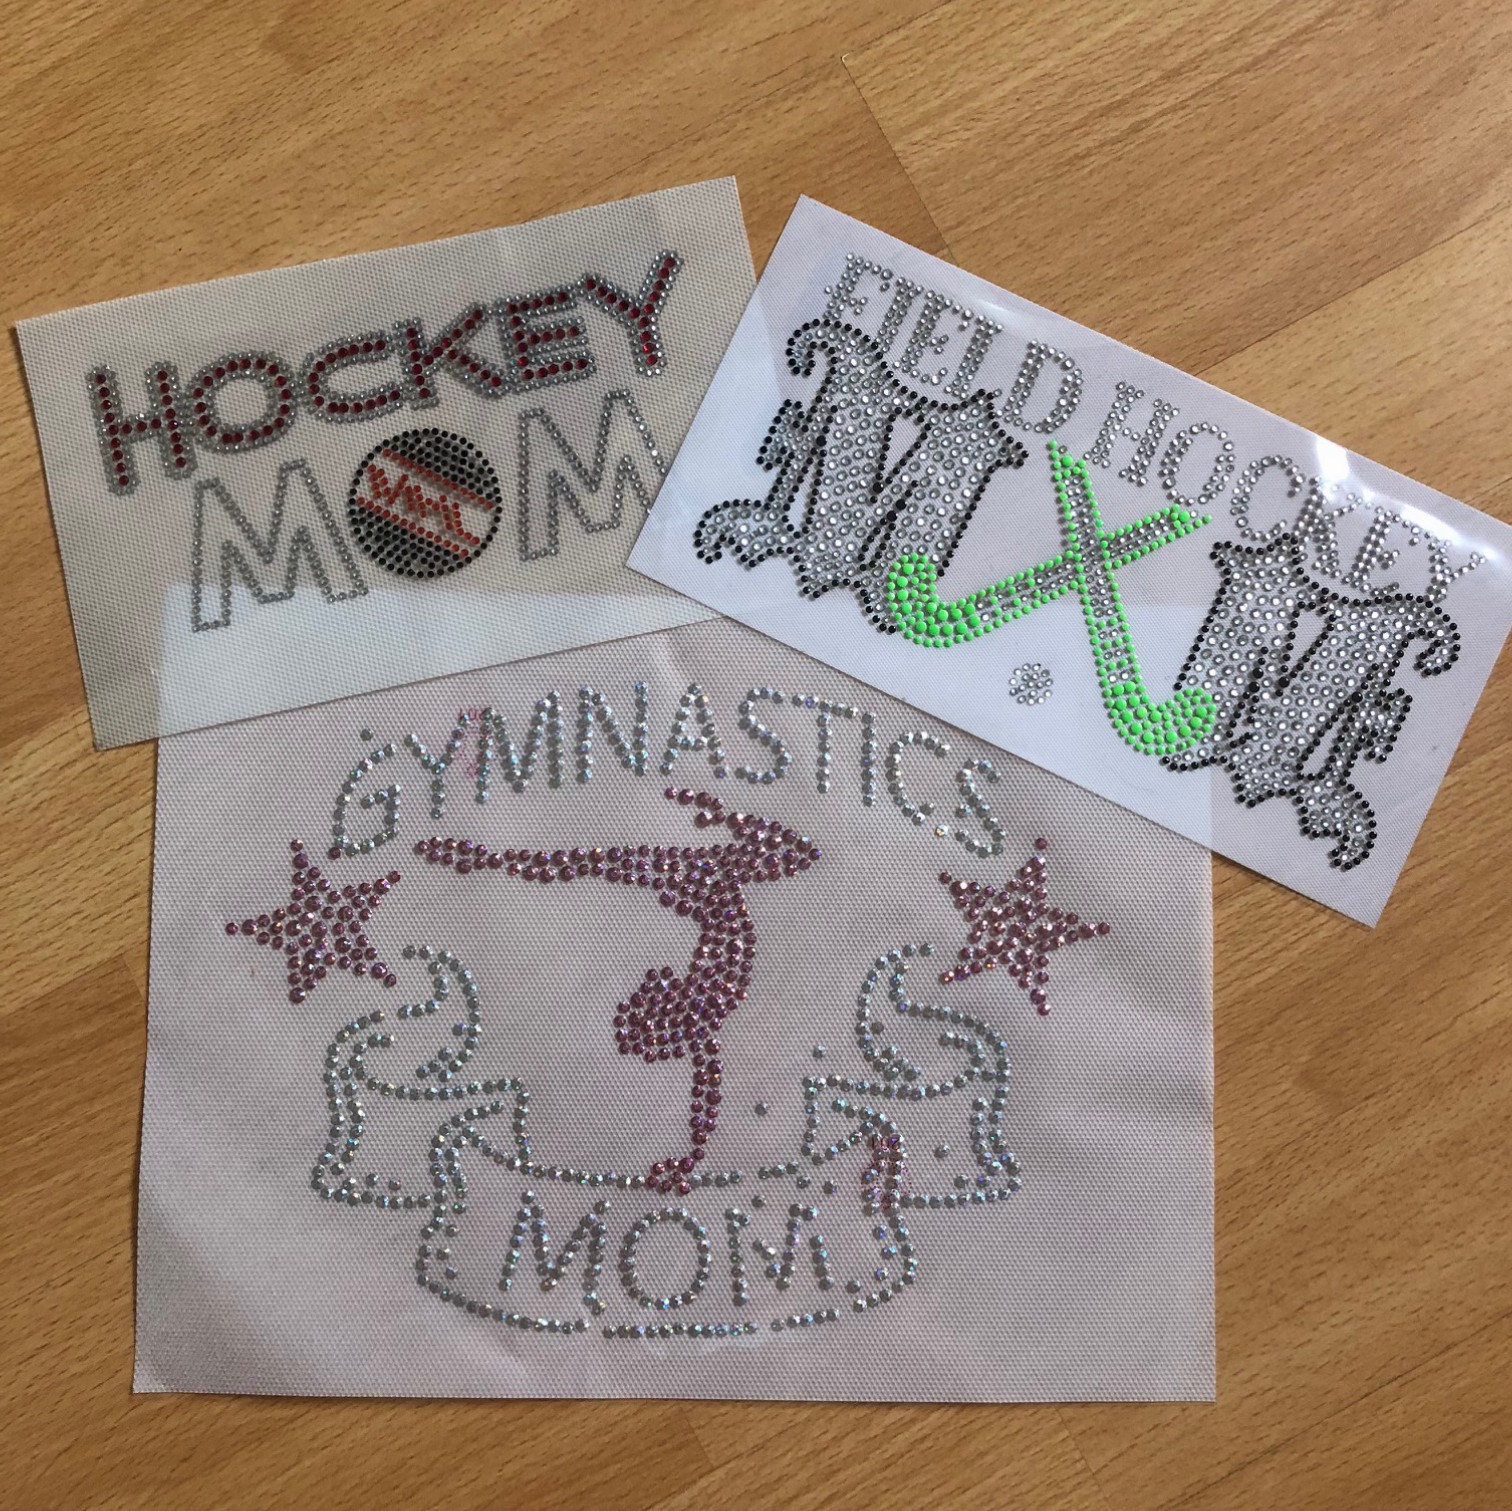
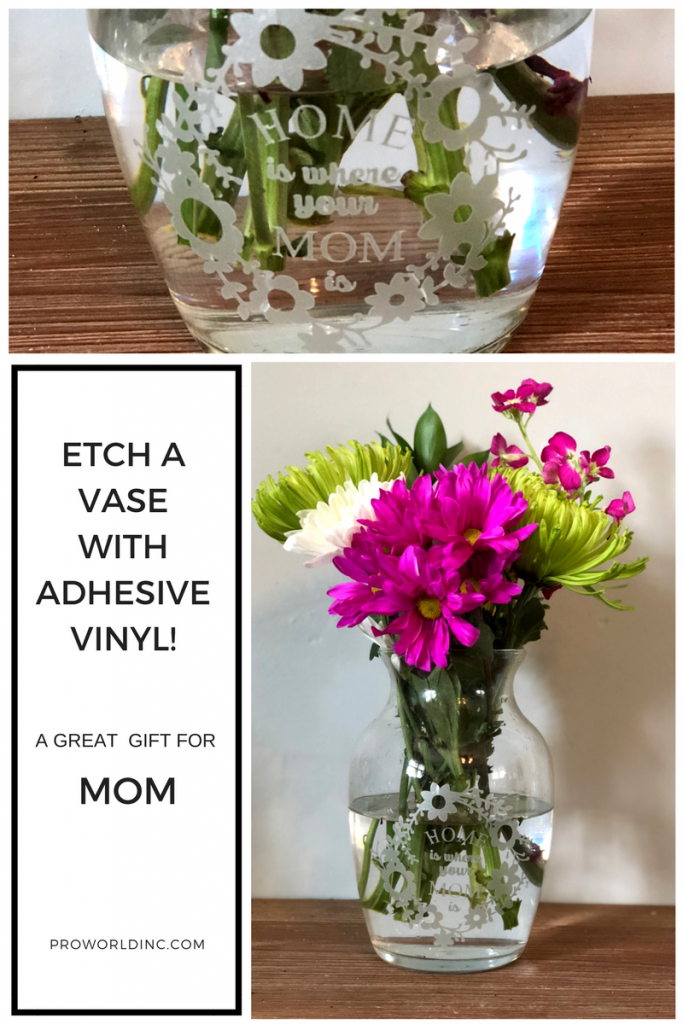
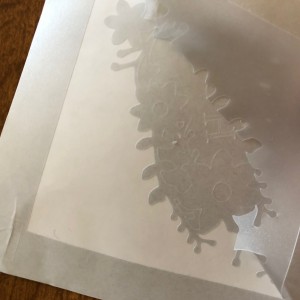
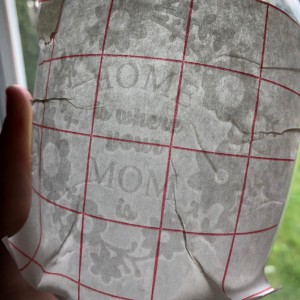
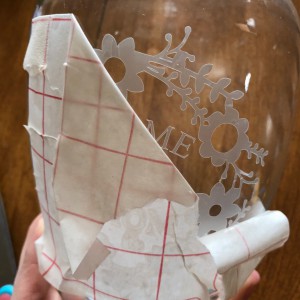
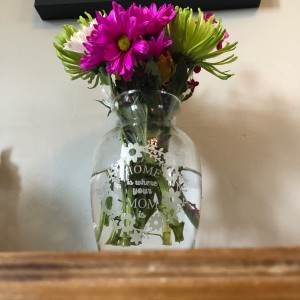
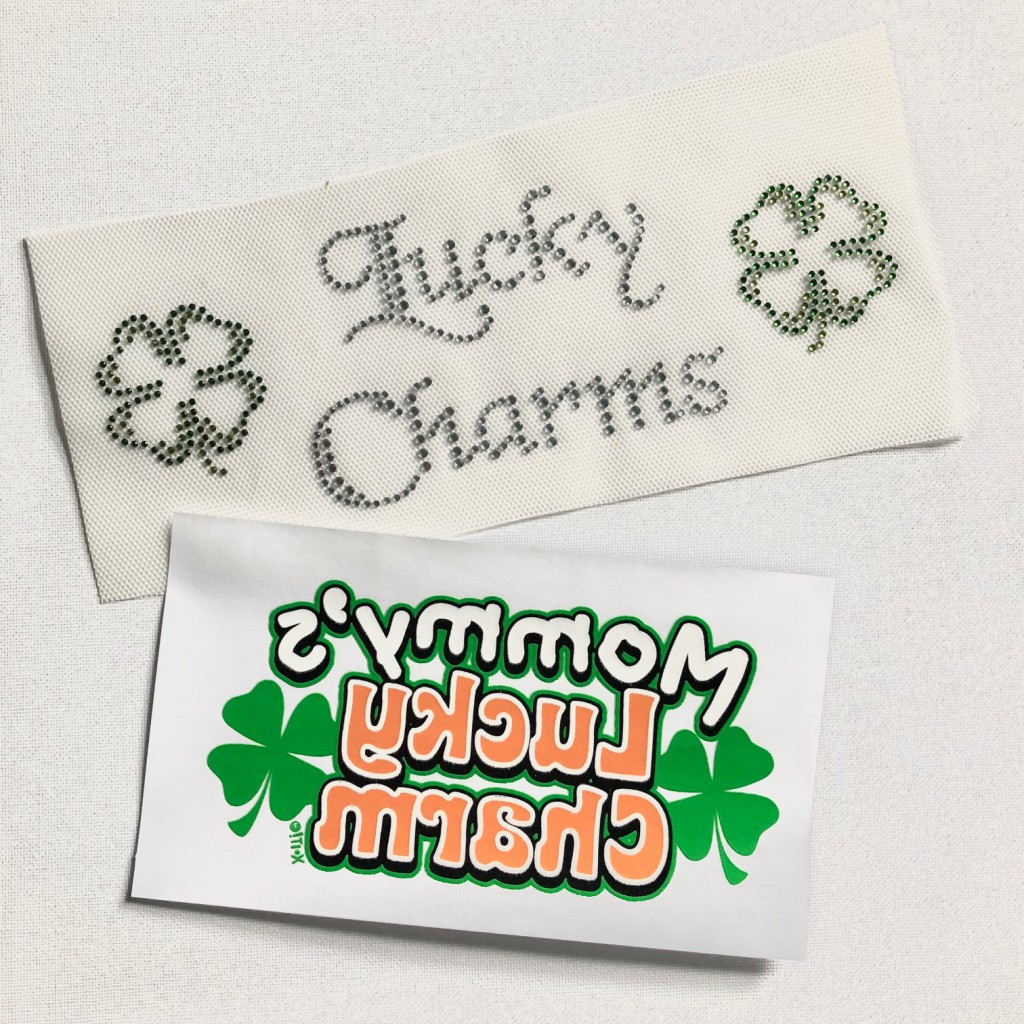
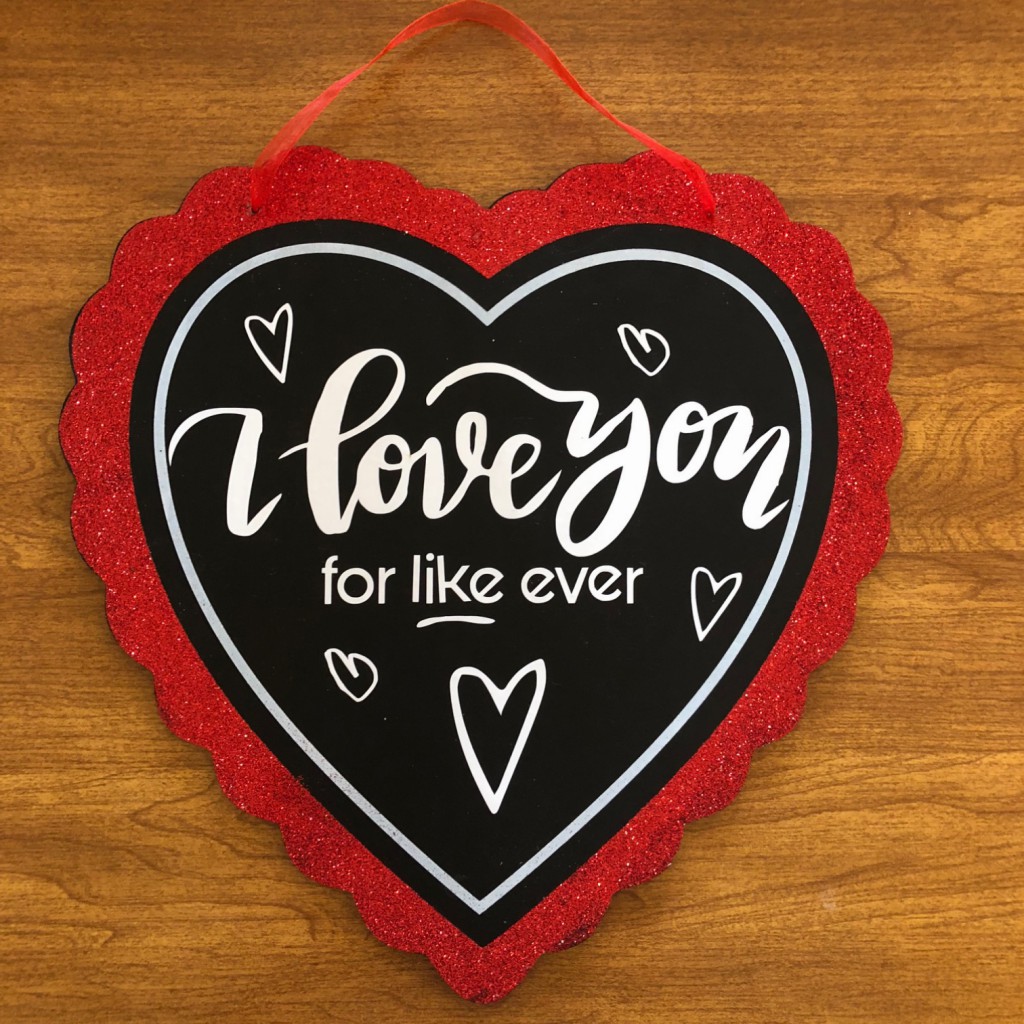
And don’t forget about Mom!

IMG_8544

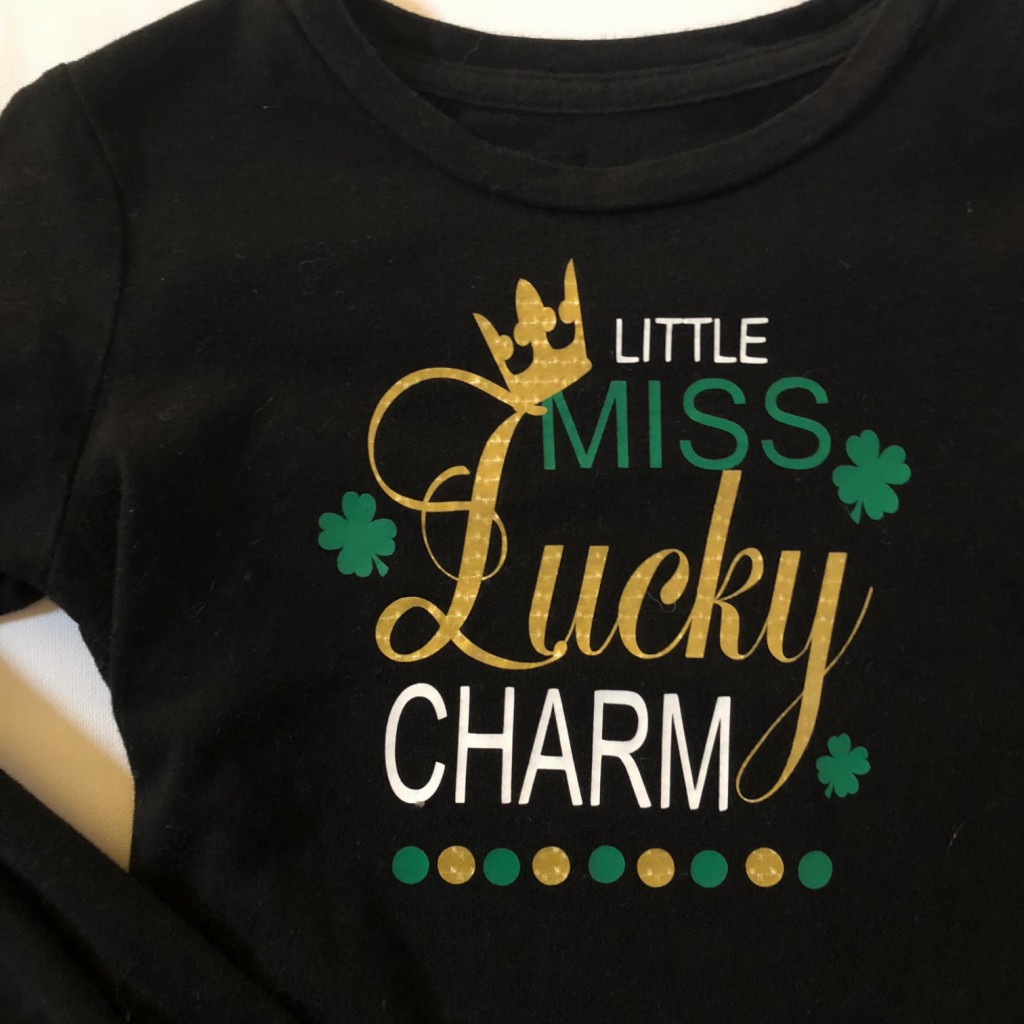
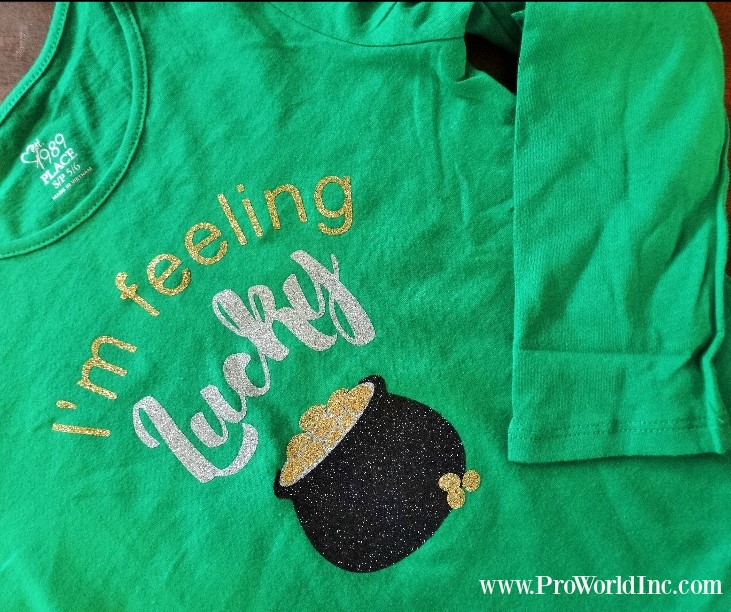
If you want to outfit a team you should consider using our Custom Value Transfers. They allow for you to create one color custom heat transfer that includes free shipping, free ganging, and a free art set up.  Just pay for the sheet quantity that is needed, everything else is covered! Our One Color Value transfer offers a durable, soft feel that can print on multiple light and dark garment types.

baseball value transfer

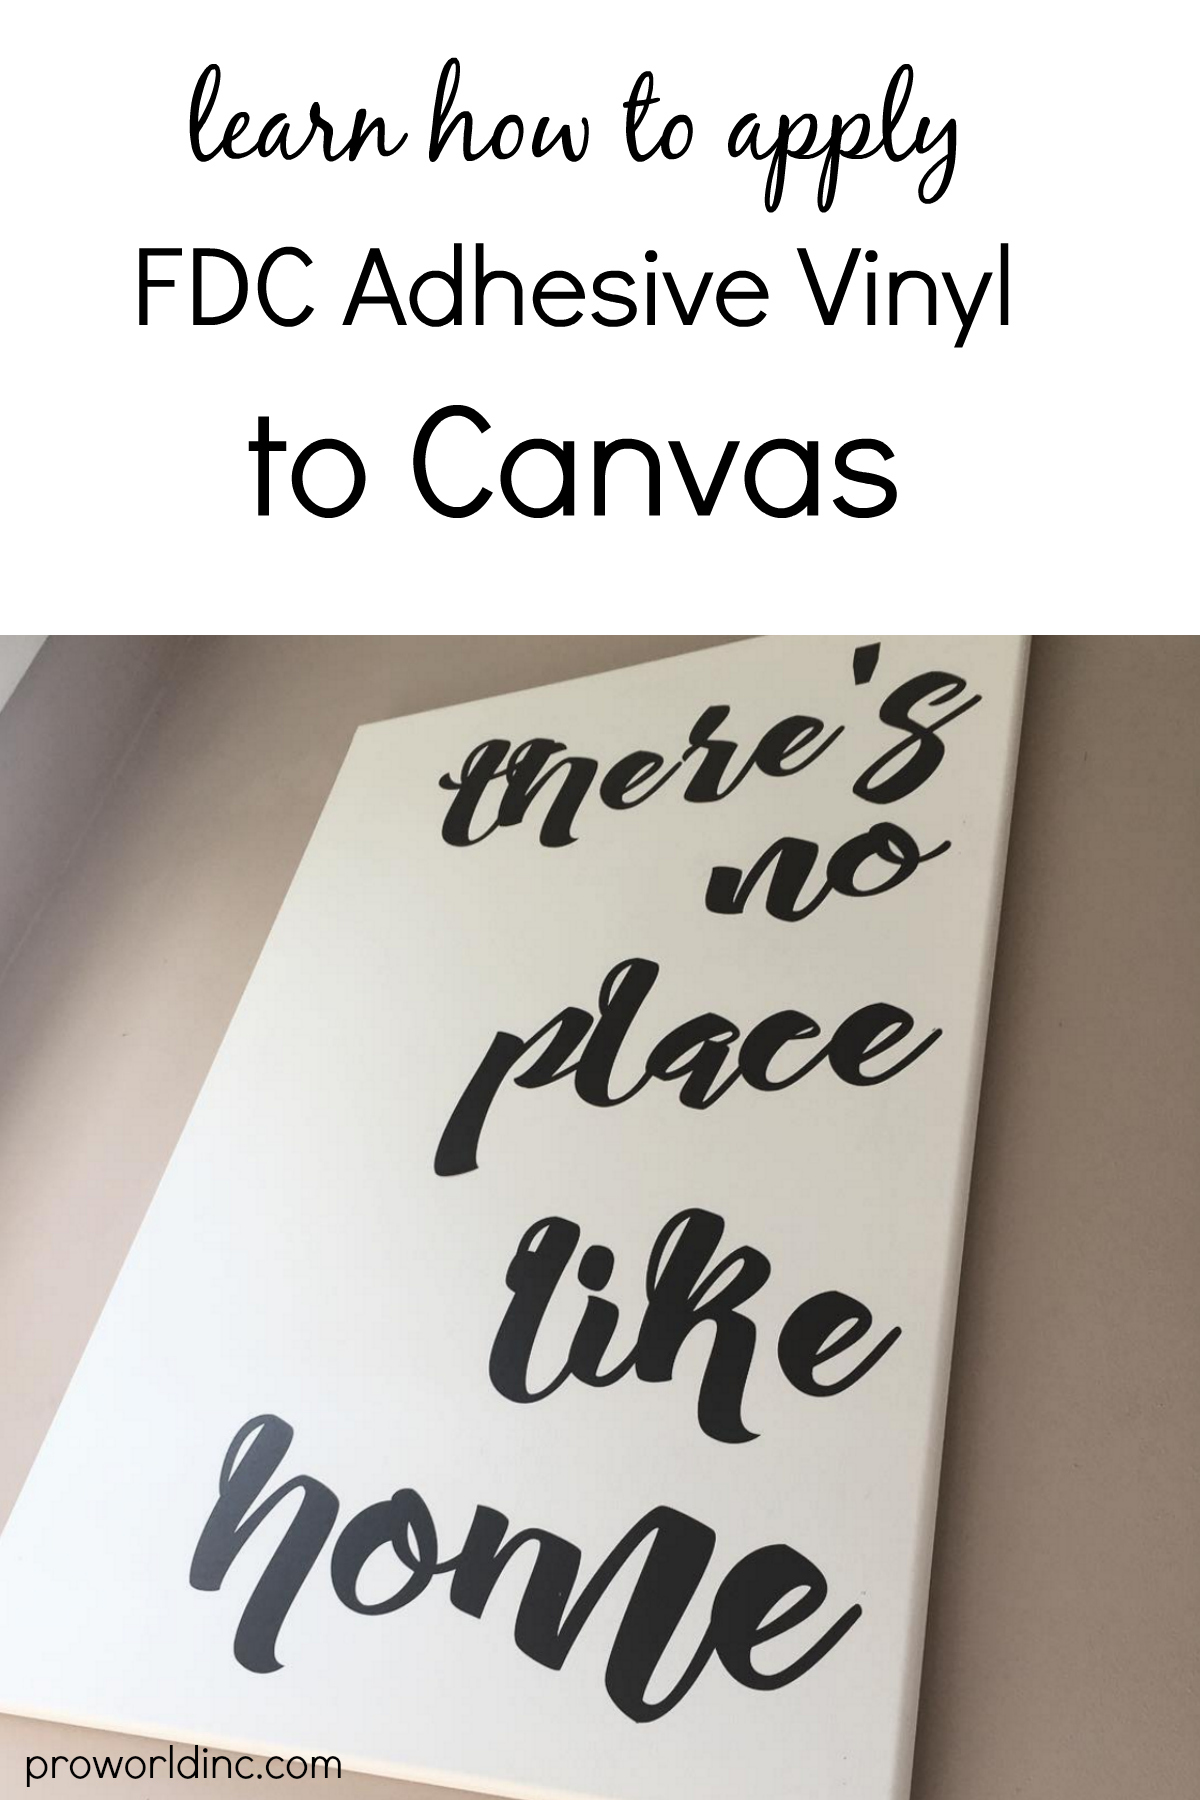
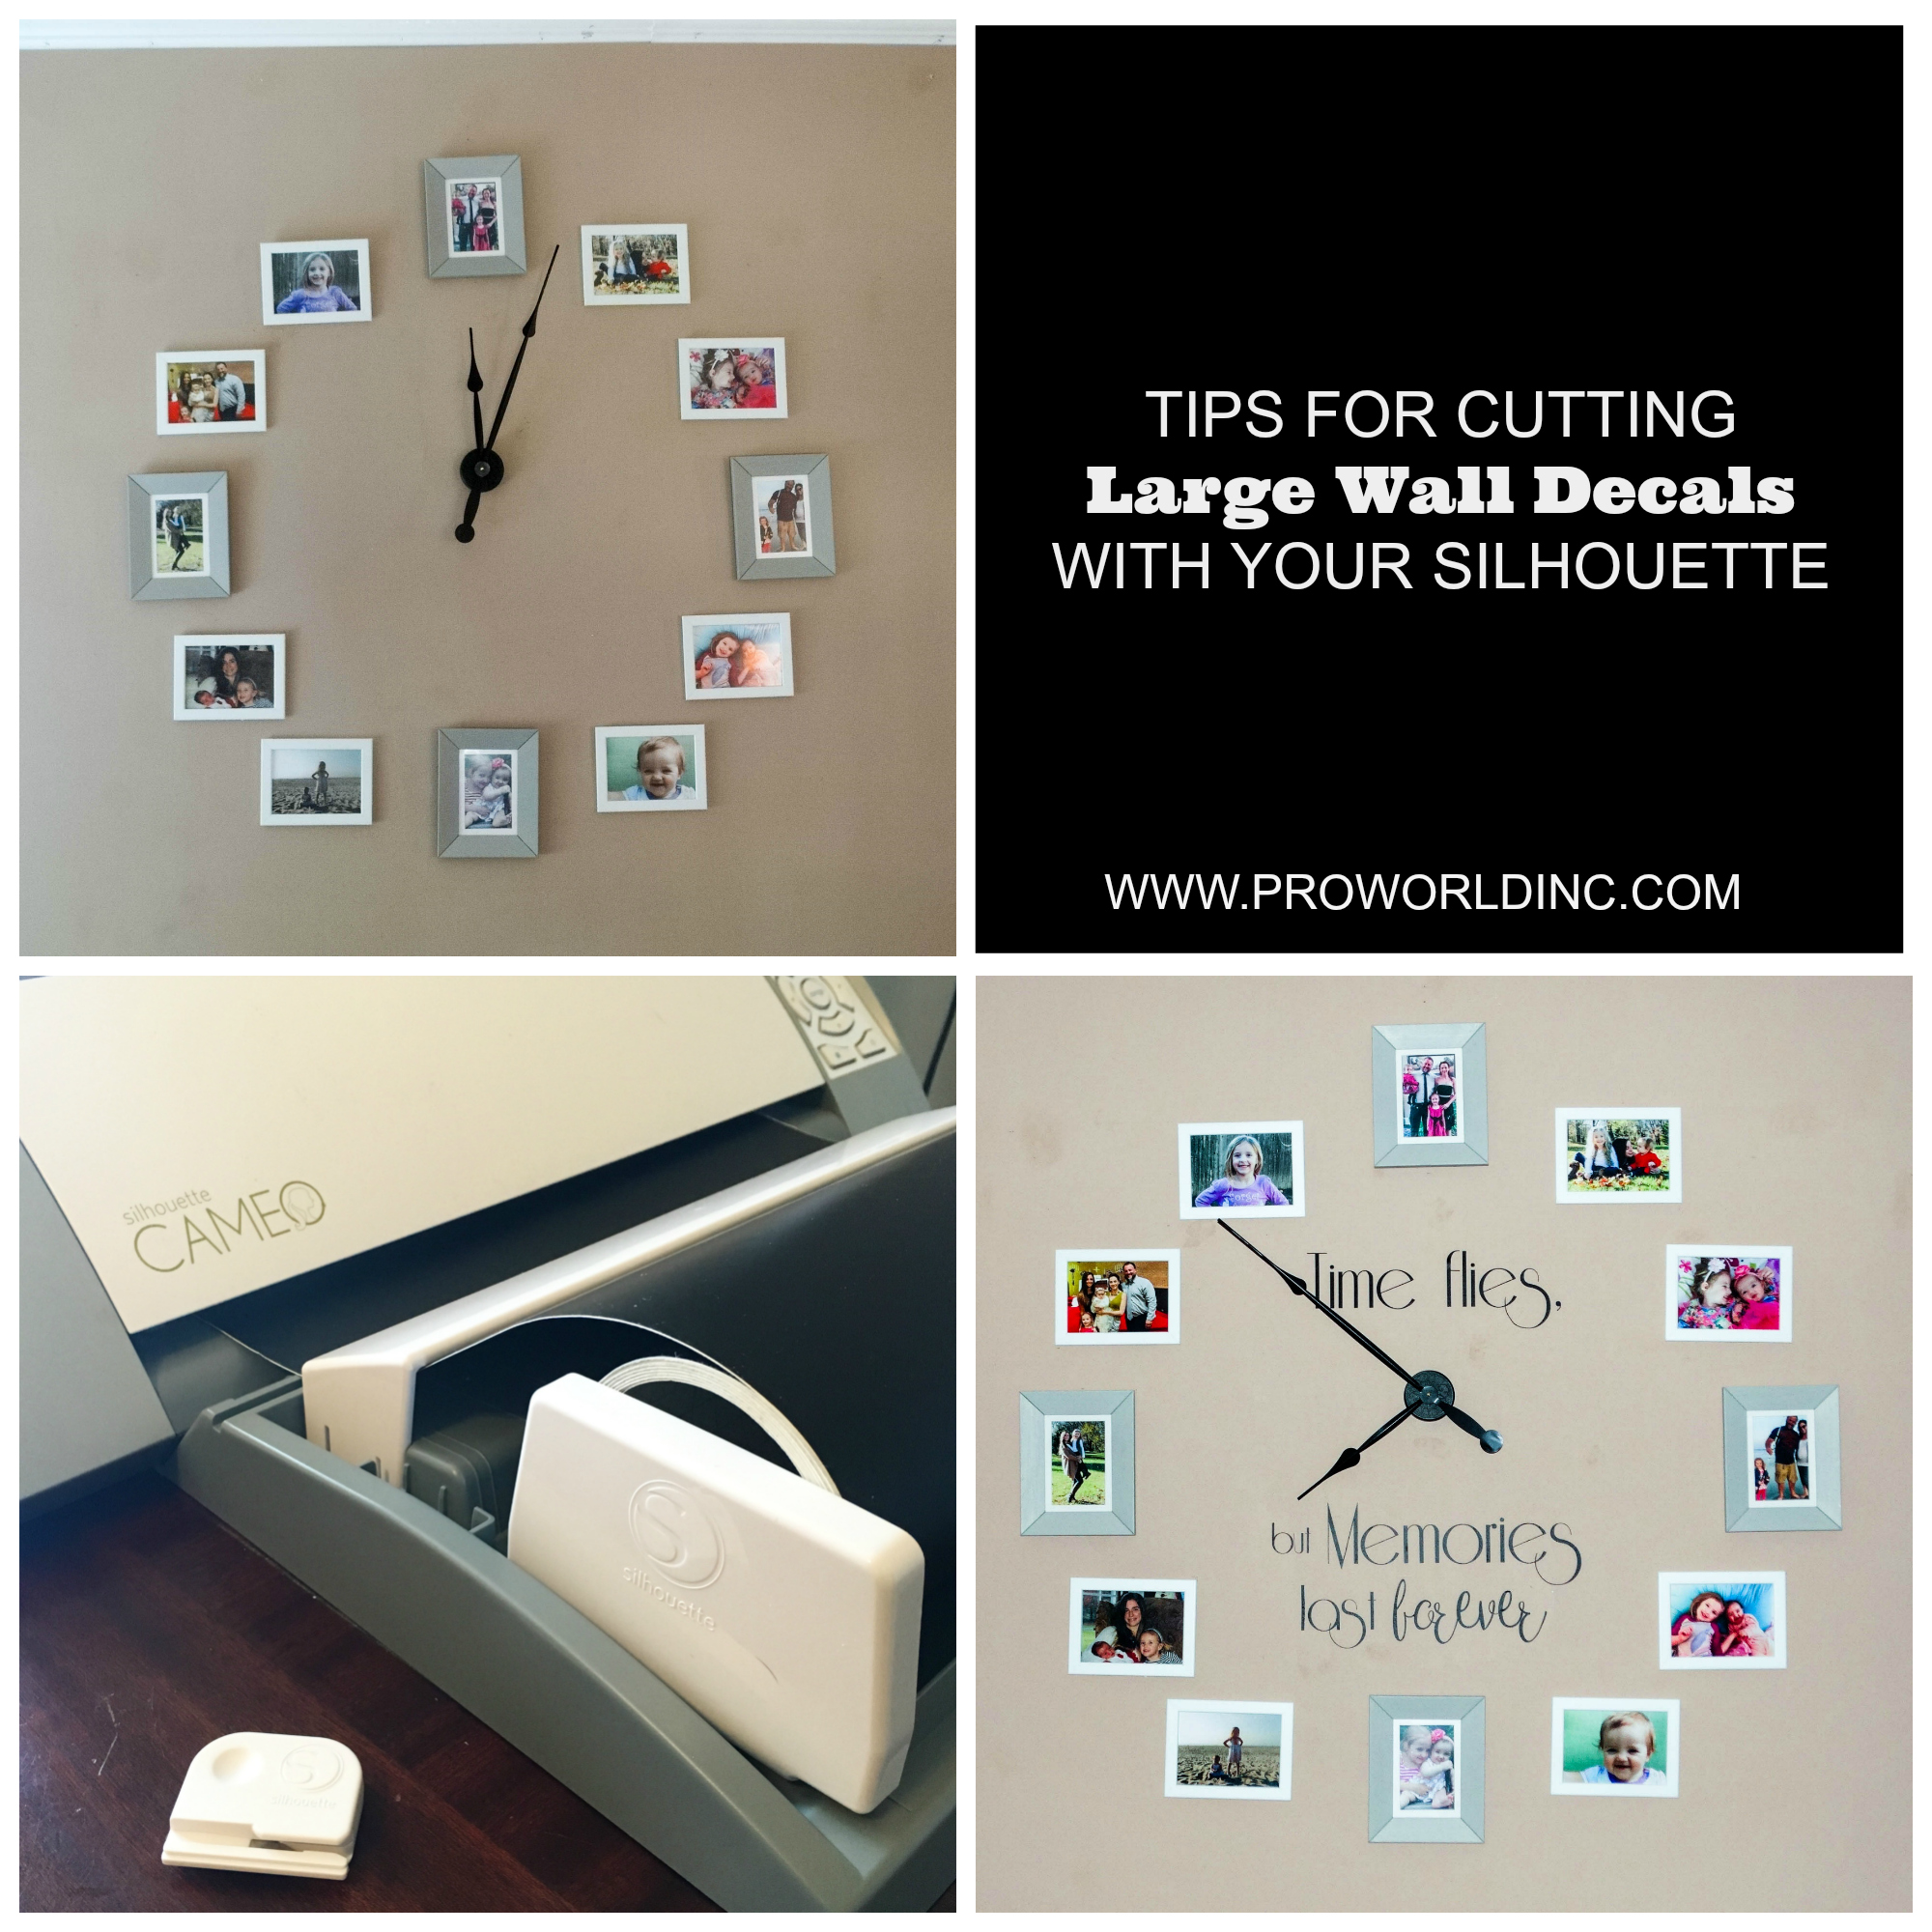
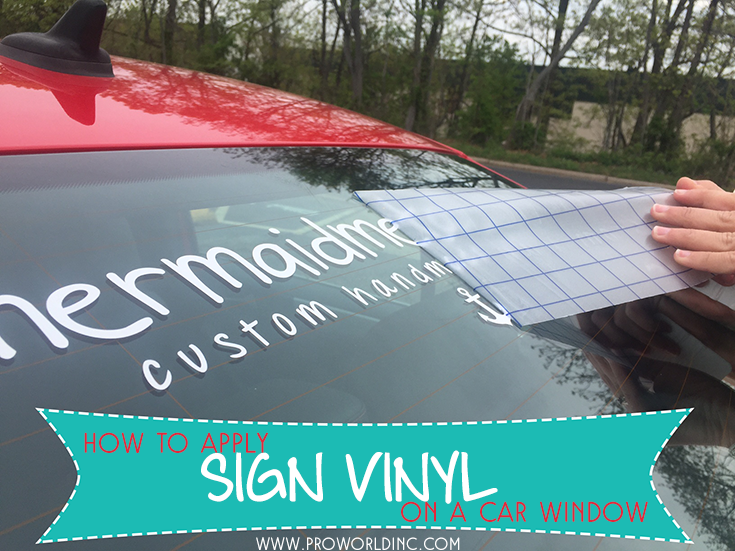
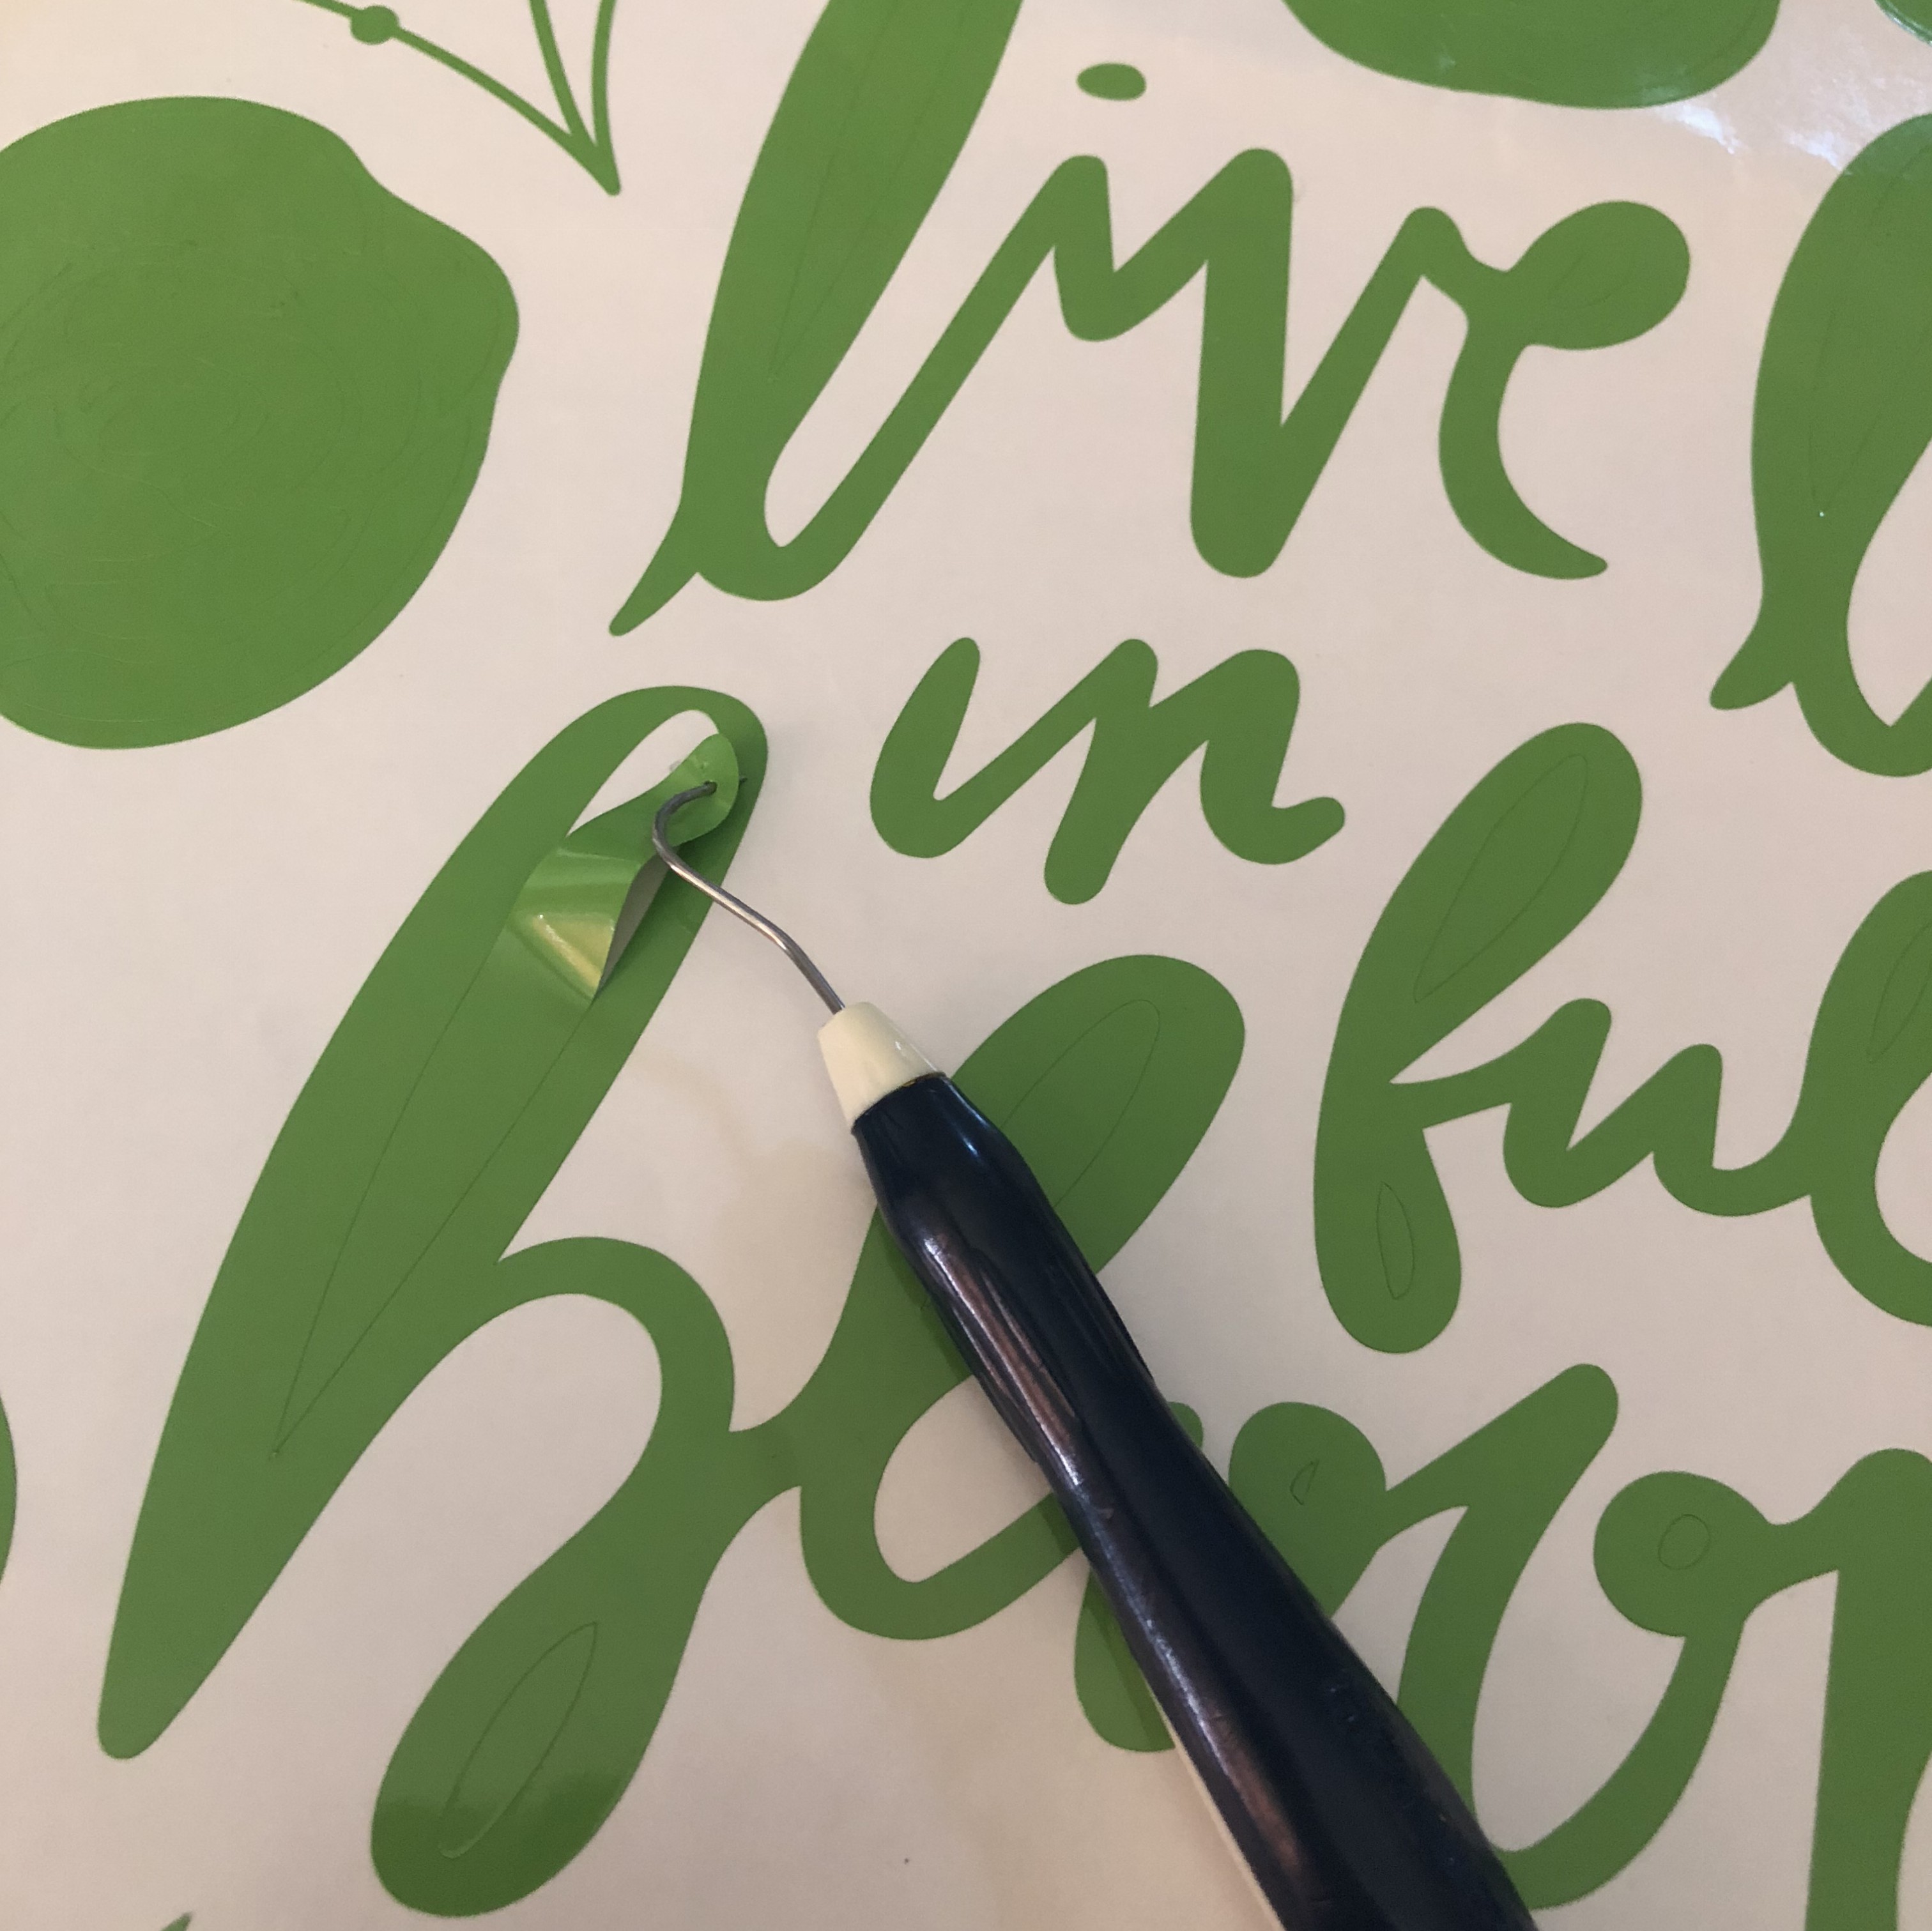
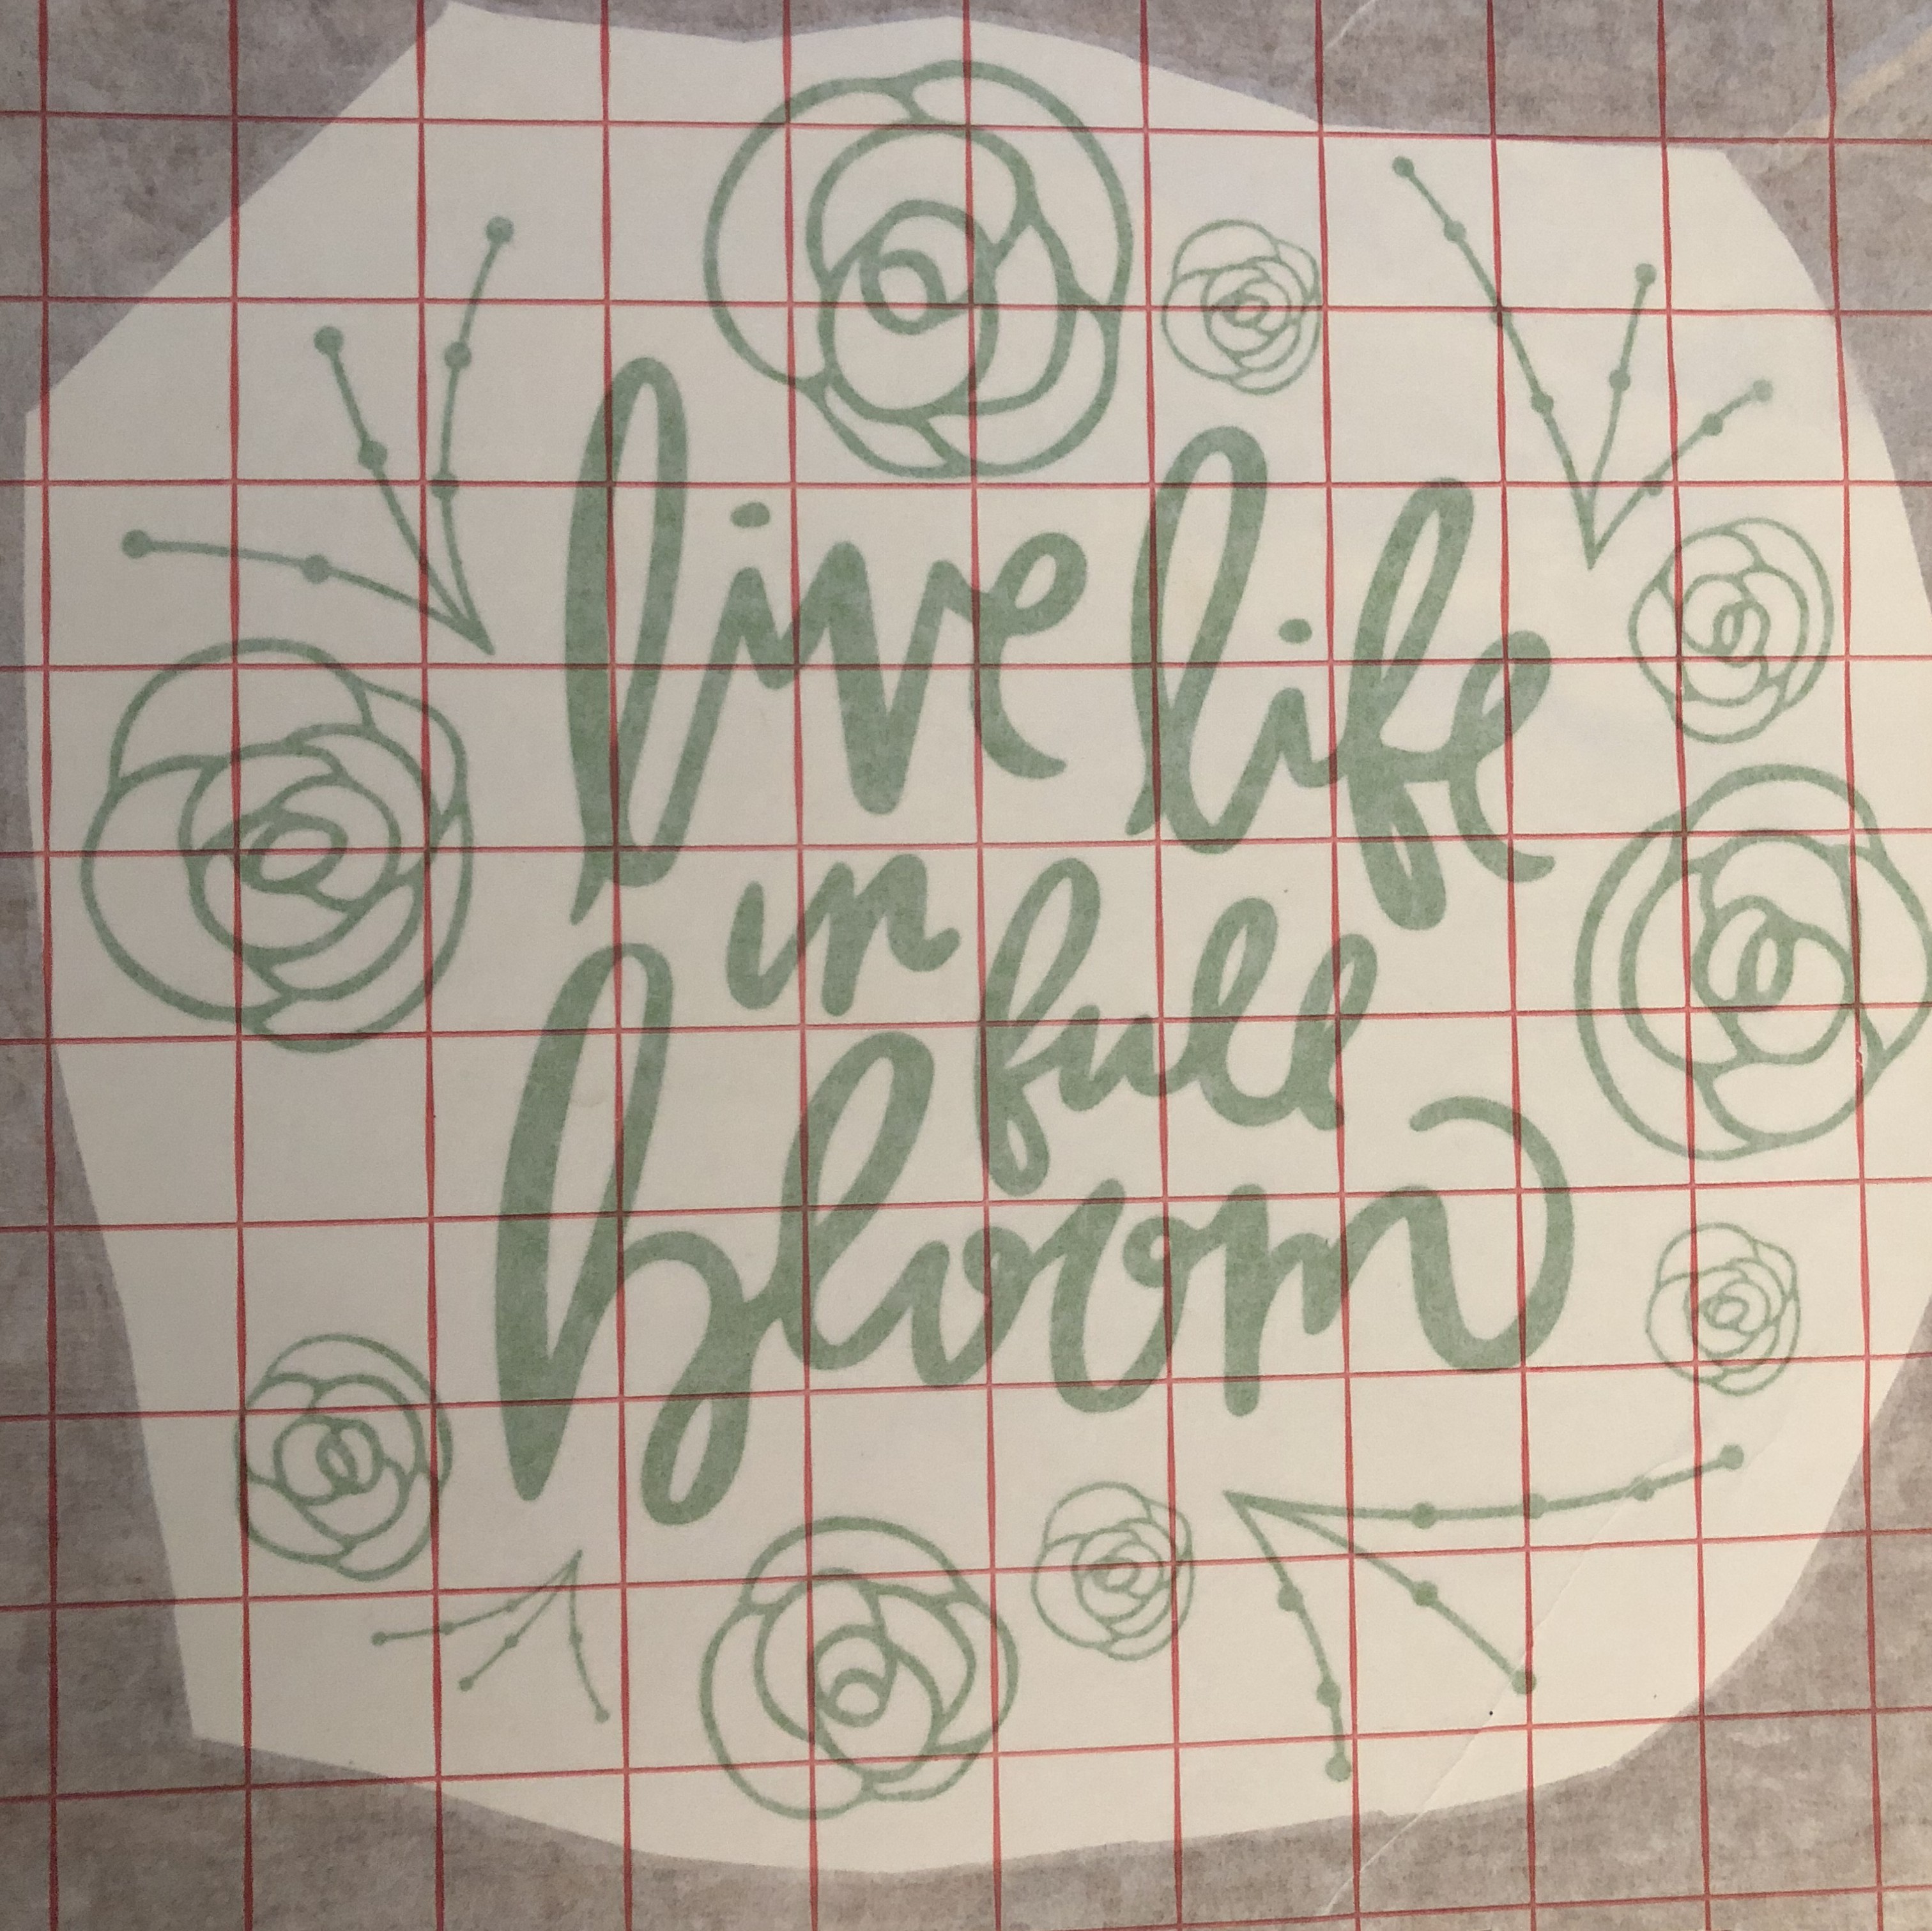
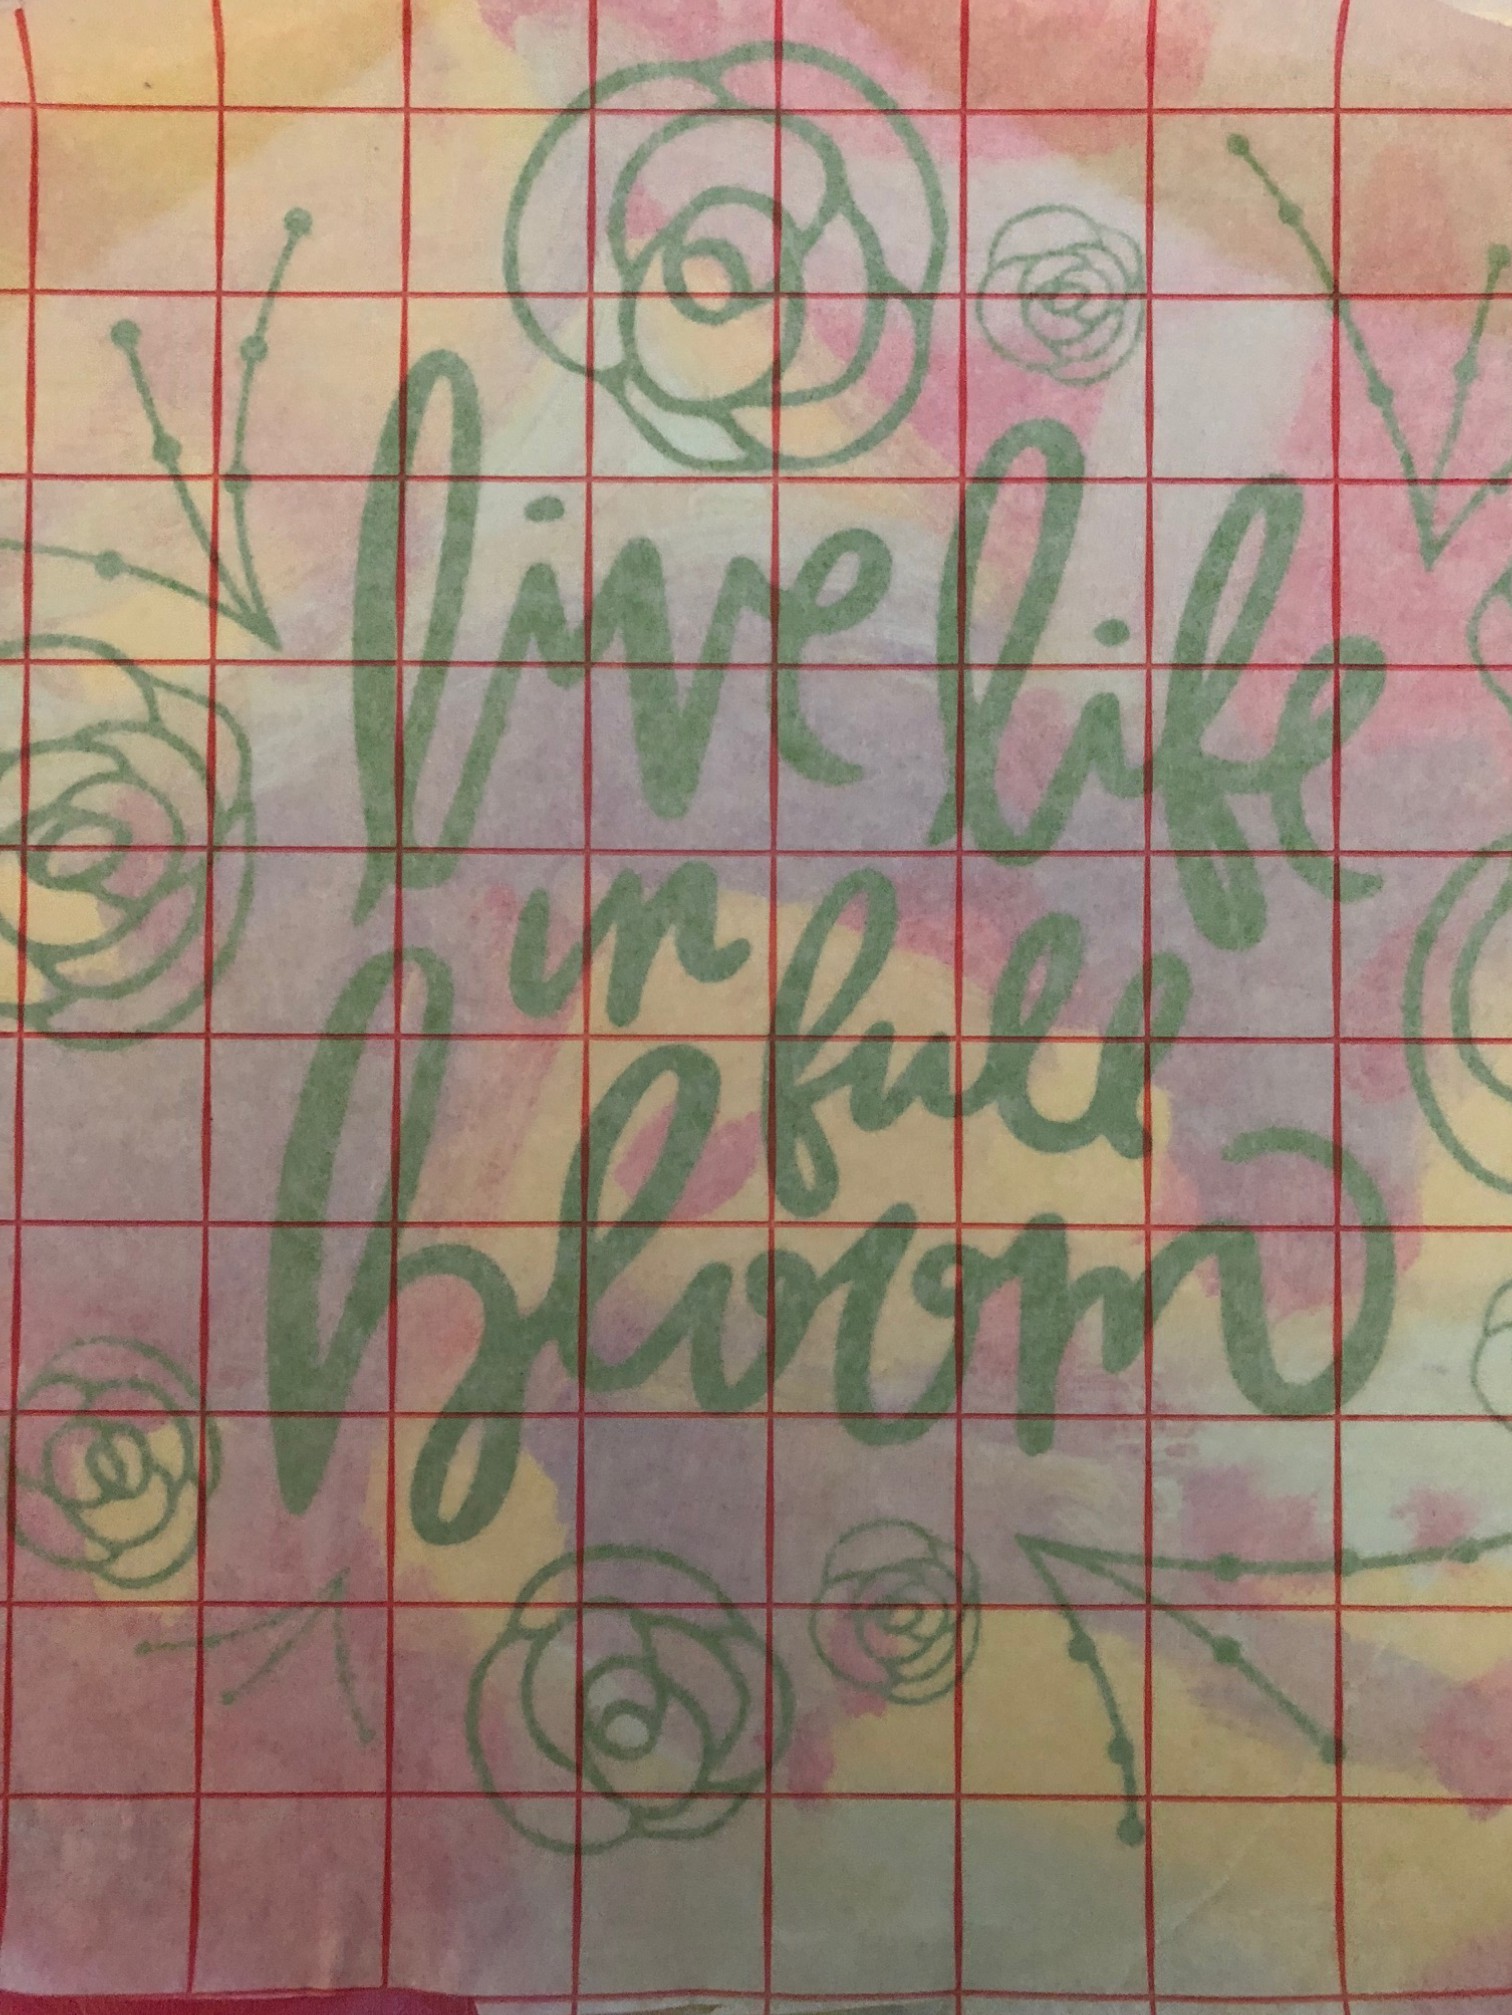
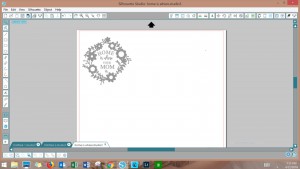
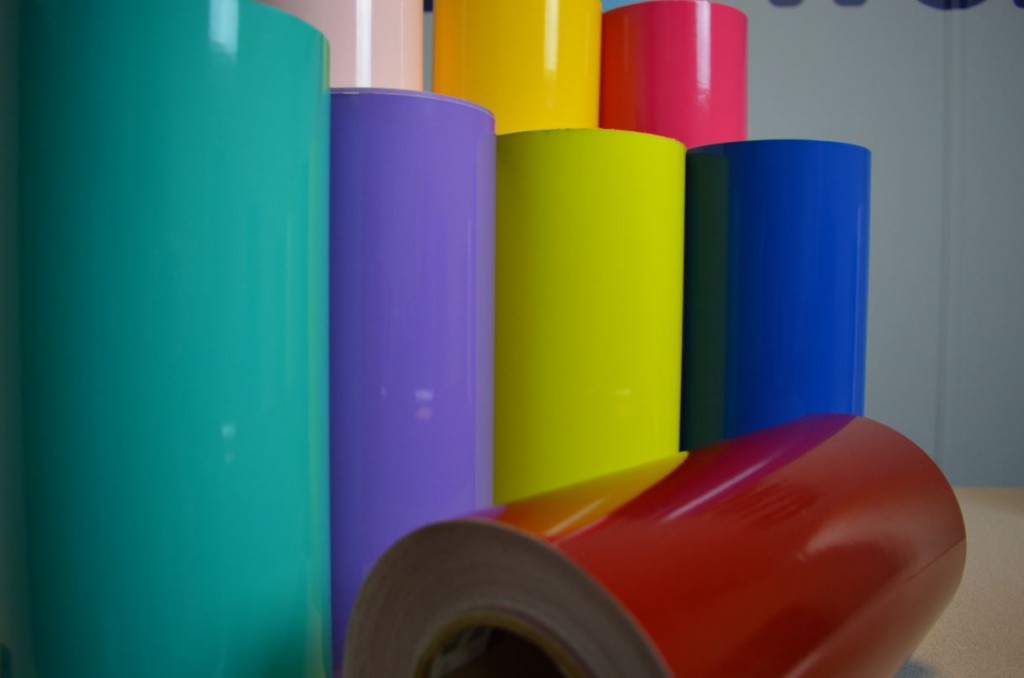
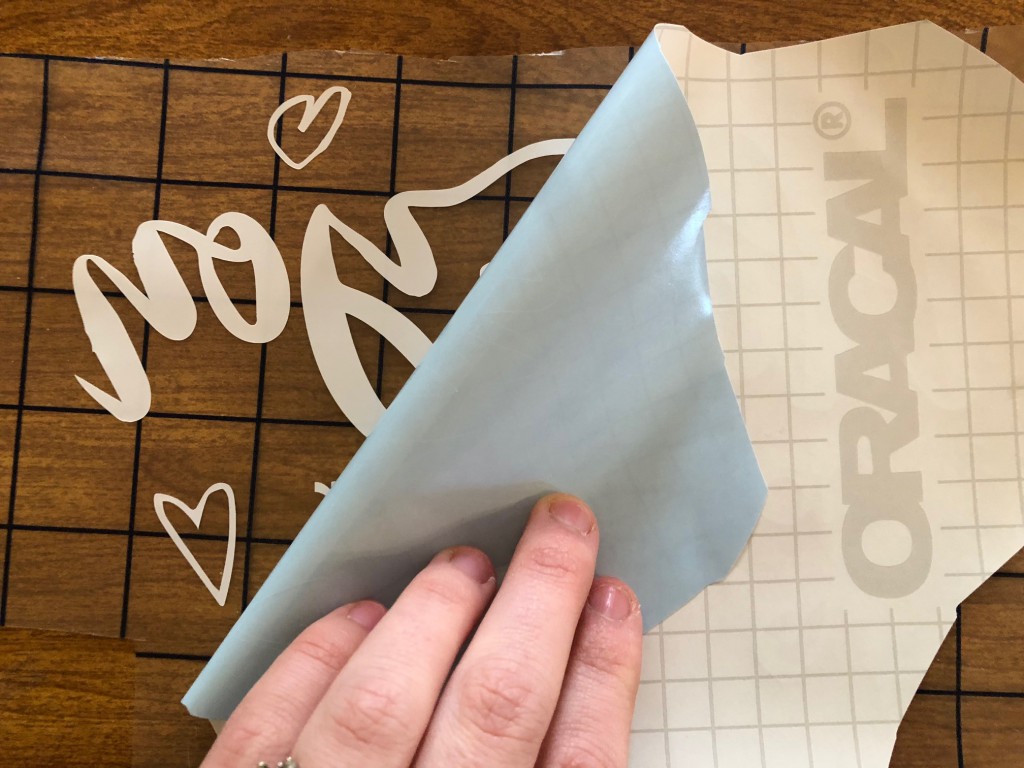
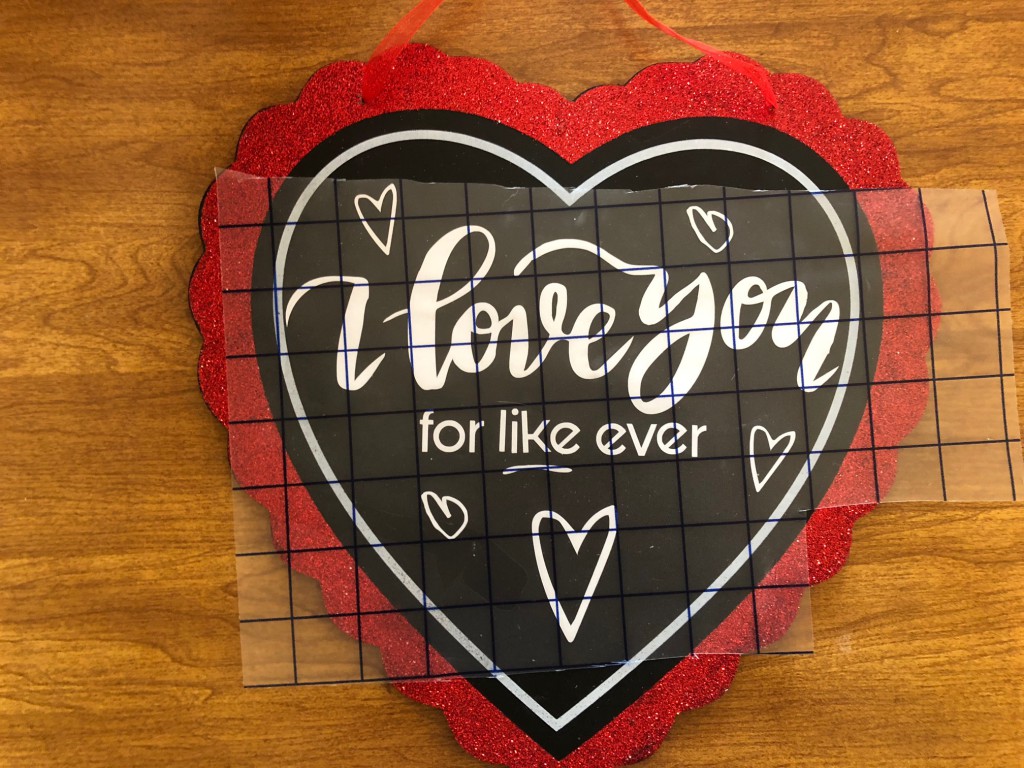
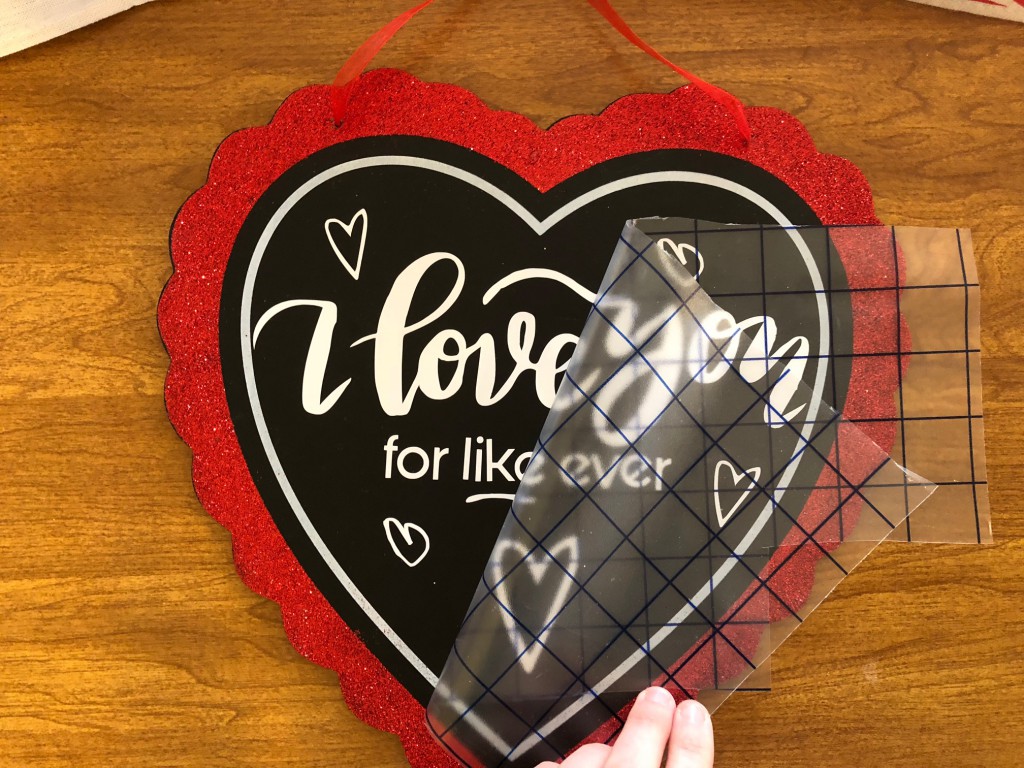
But when it comes to creating custom products you have more options than just heat transfers. You can use adhesive vinyl for window decals, signage, and even team wall art!


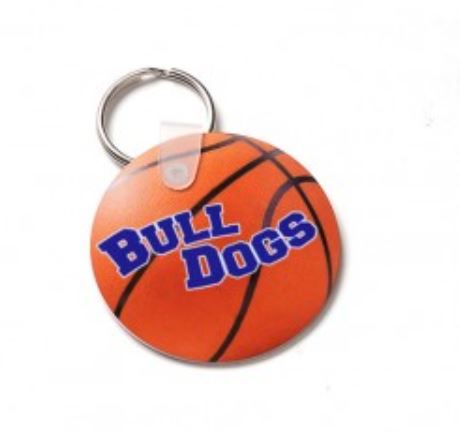
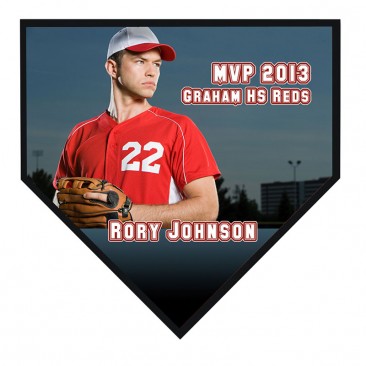
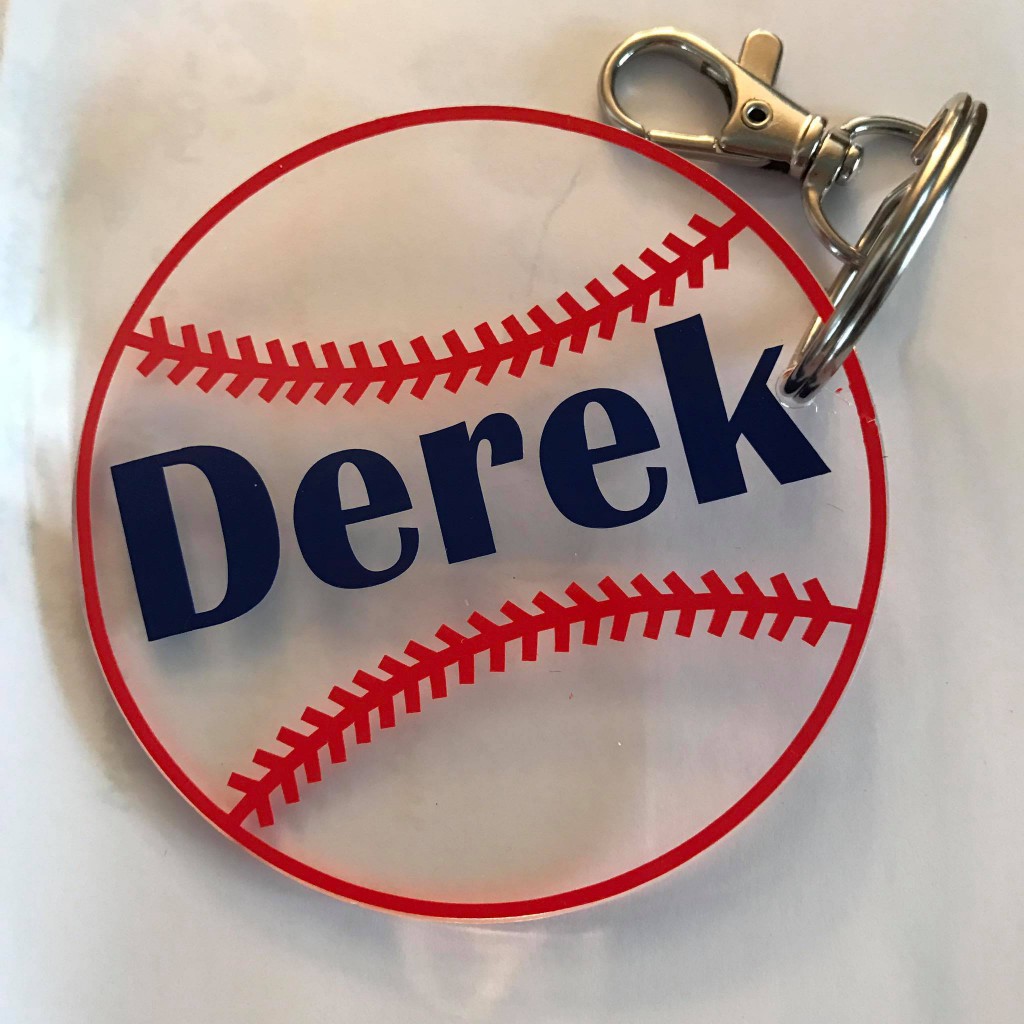
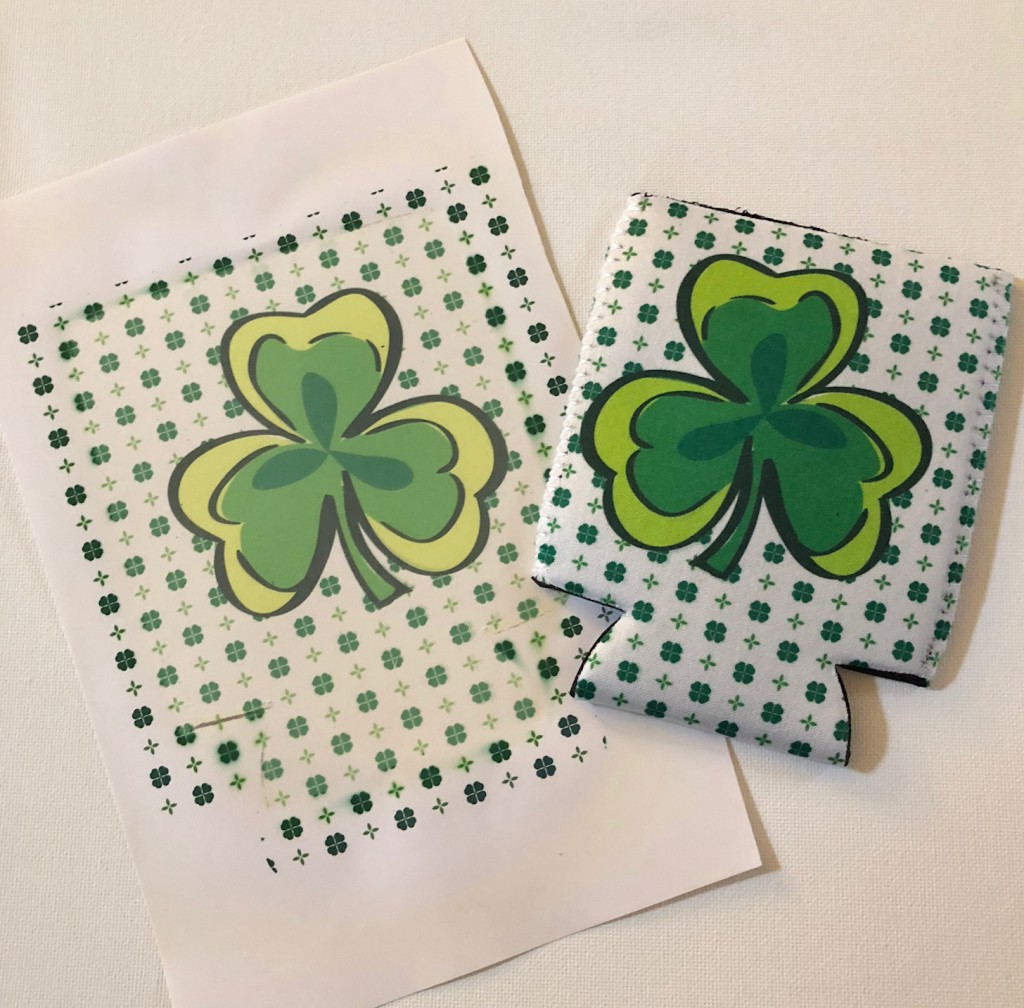
Sublimation for all things polyester and poly coated items like water bottles, keychain for bag tags, or even awards!

sublimated basketball keychain

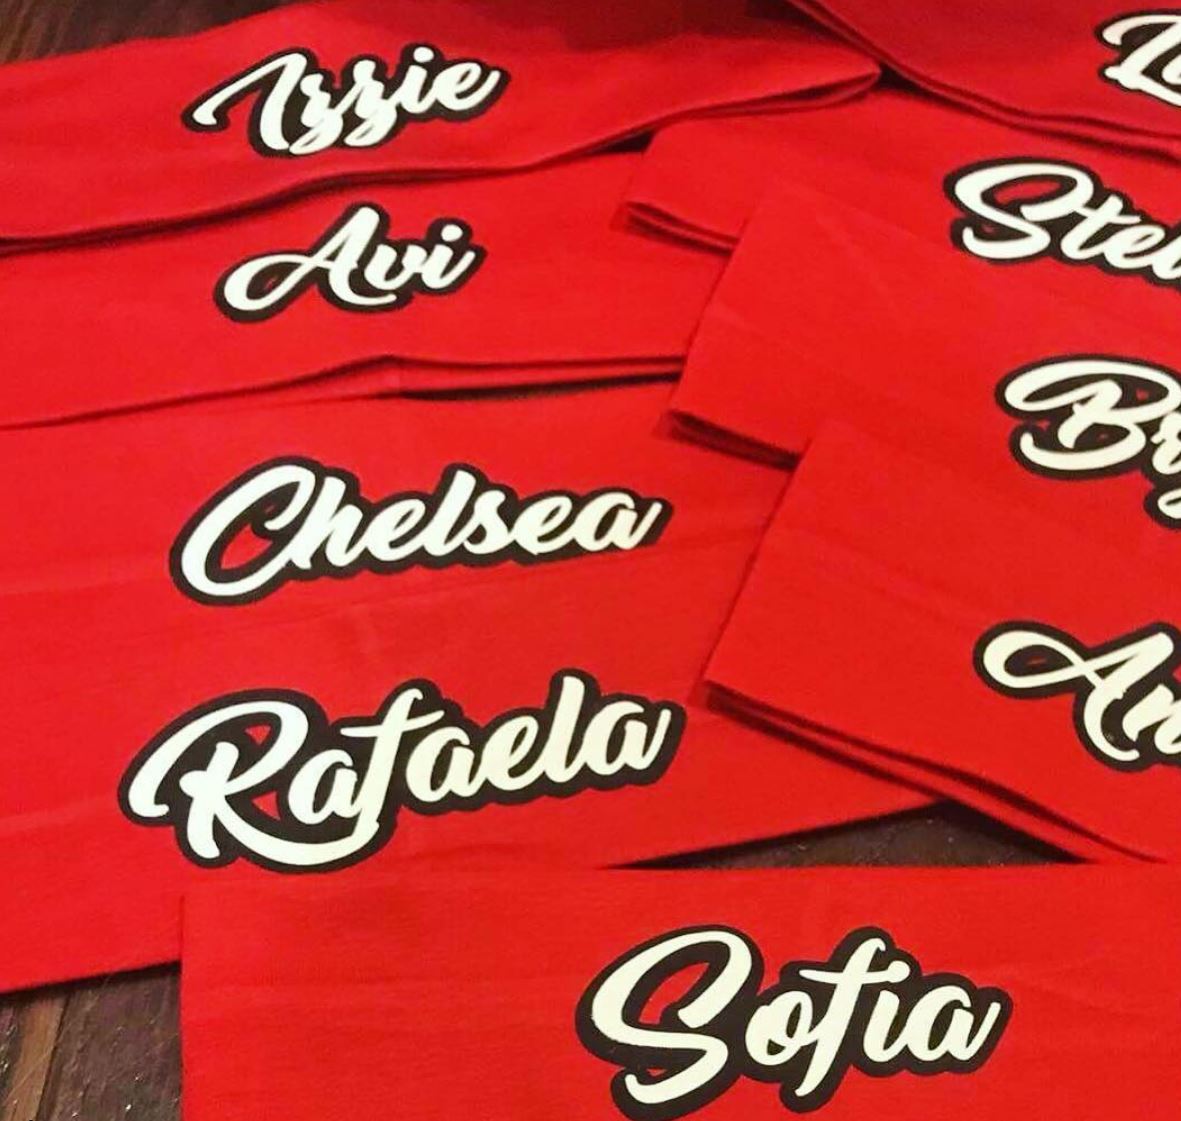
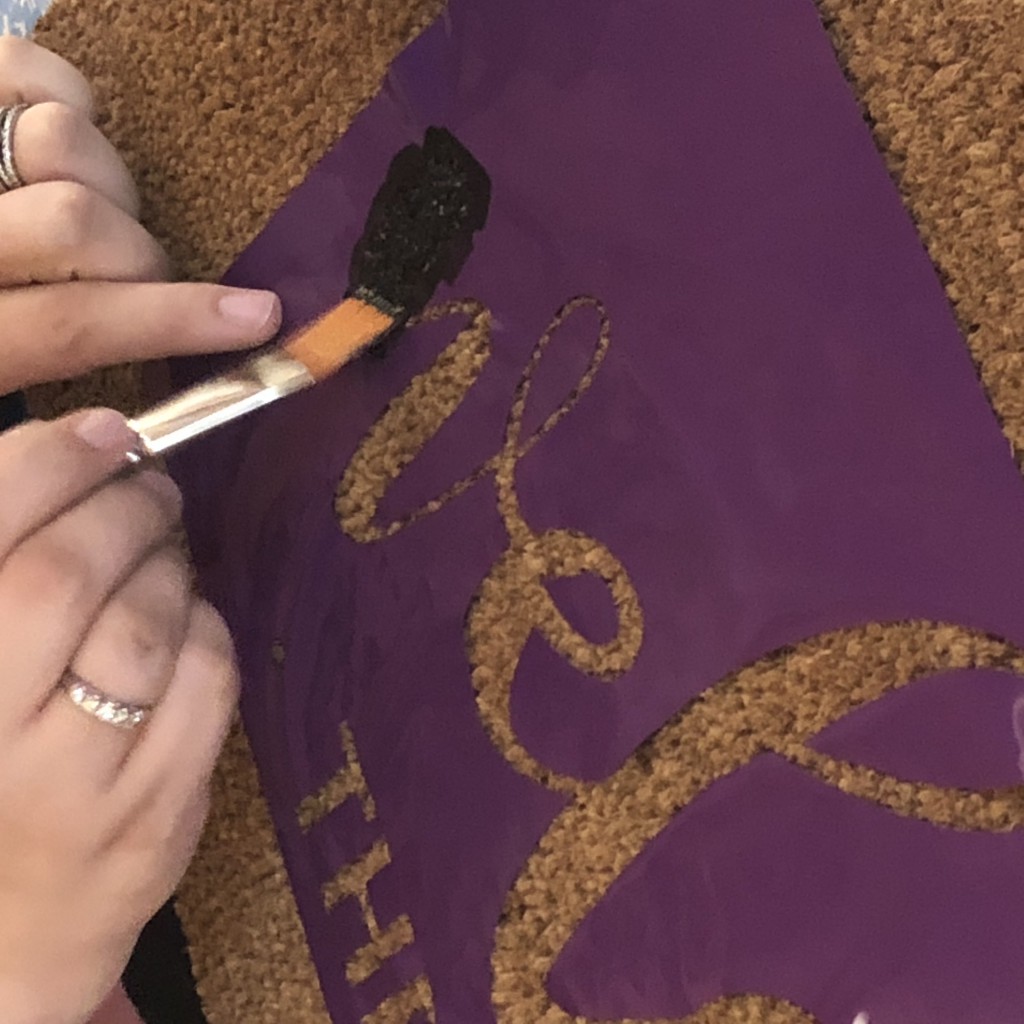
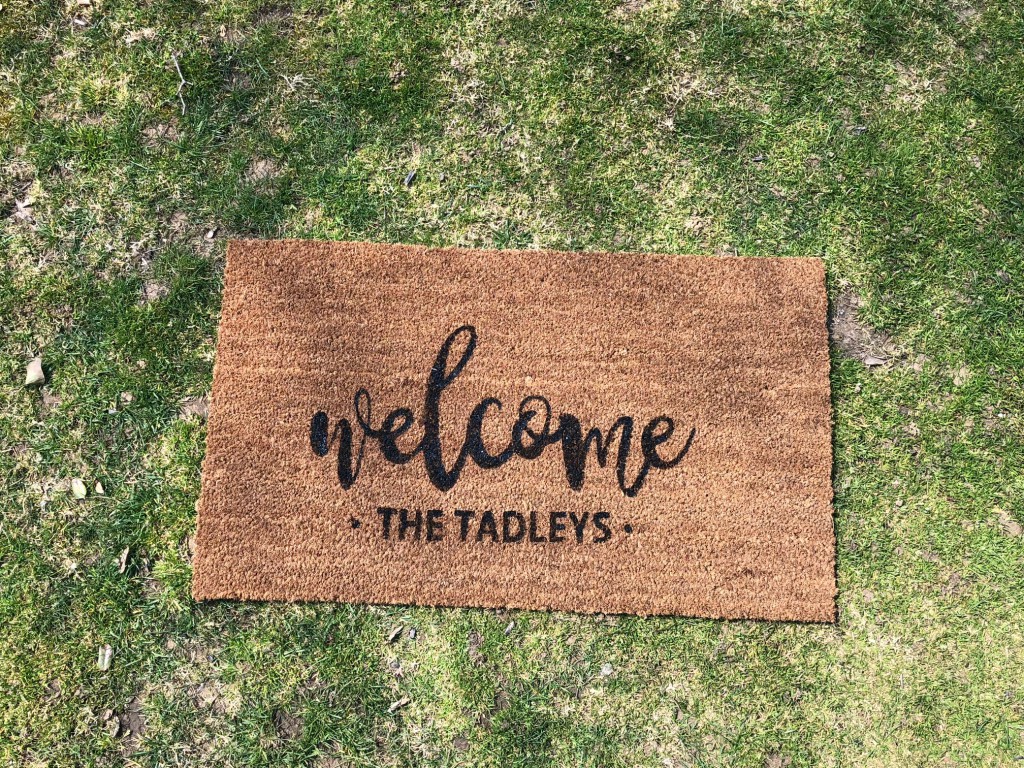
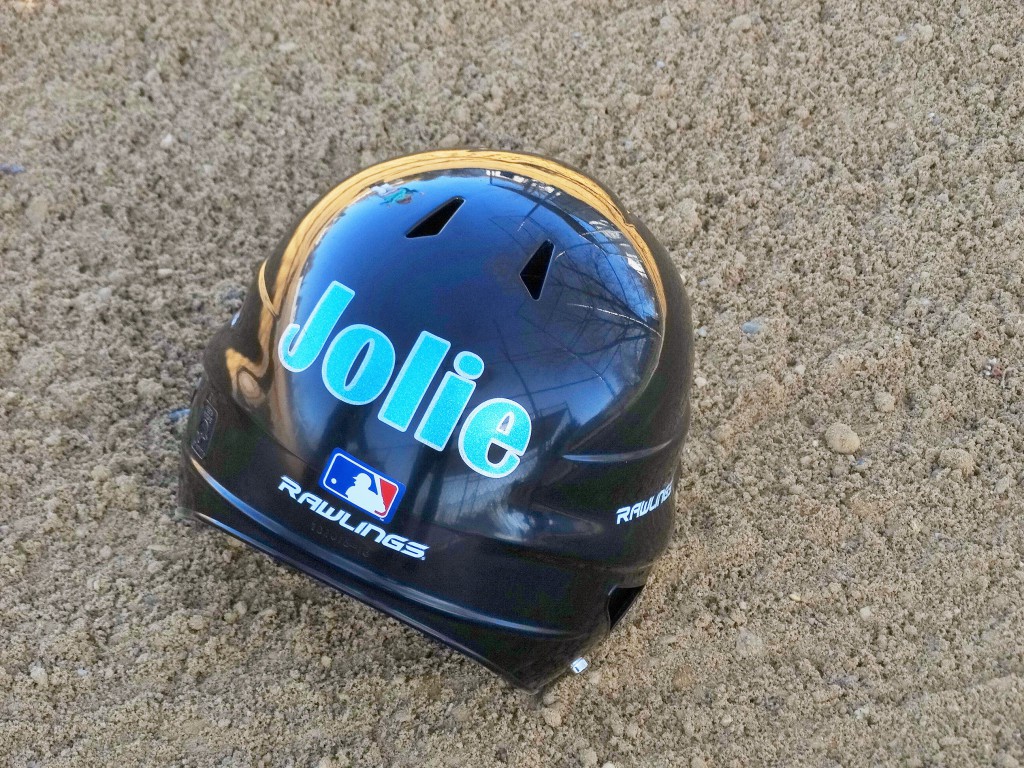
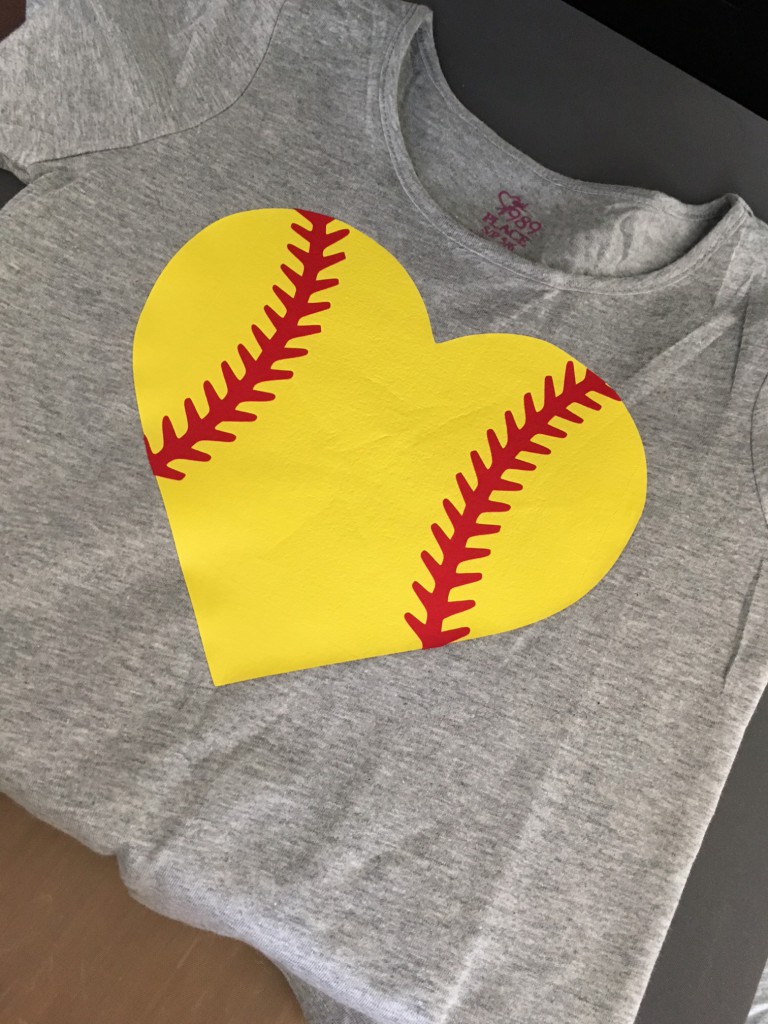
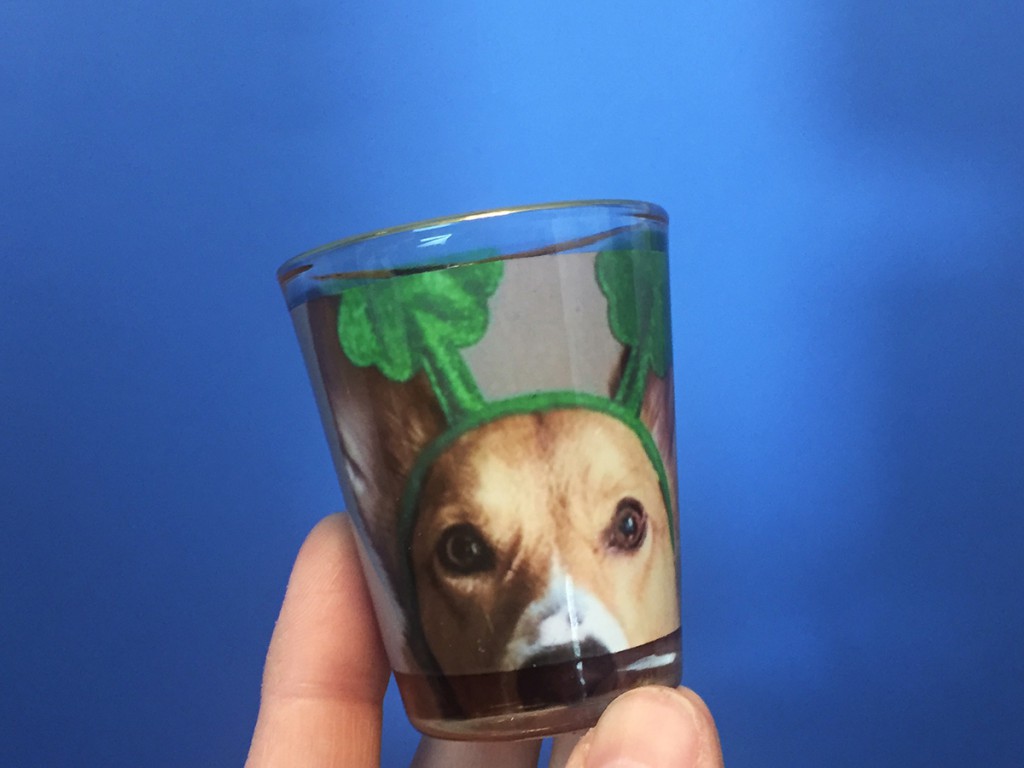
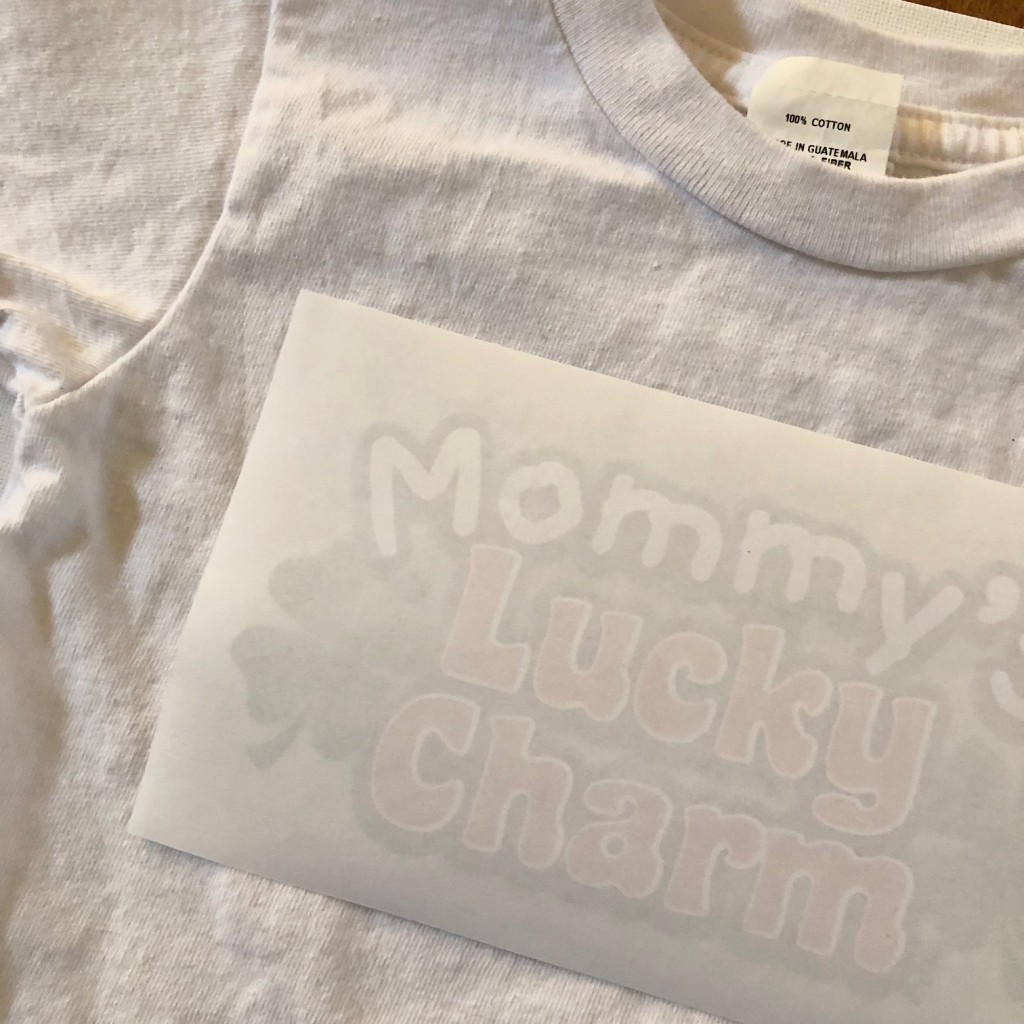
And HTV if you want to personalize your product yourself like these sport headbands that Finnegan and the Hughes made.

finnegan and the hughes headband

View & Add Comments

Hot Mess Canvas Tutorial

Did you know that if you paint a canvas, add vinyl, repaint it and peel the vinyl, it is called a Hot Mess Canvas? Neither did we! Until now that is.

The technique gets its name due to the loose painting restraints. When you apply the first layer of paint, you can use as many colors as you want, There is no rule to paint placement, allowing you to make it a Hot Mess and still get gorgeous results.

hot mess canvas

Want to make one for yourself? This is what you need:

Now that you have your supplies, let’s get started! Follow the steps below:

1- Use your cutting software to design an image.

2 – Cut and weed your adhesive vinyl. We recommend using permanent 651 so that it adheres to the canvas.

IMG_8402

3 – Paint your canvas with a variety of colors and let it dry. There are NO RULES when painting the canvas. You can use as many colors as you would like in no particular order. Just make sure that you don’t have any white showing.

IMG_8408

5 – Take your weeded design and apply your application tape.

PRO TIP: Adhere the top of your application tape to your work surface and then place it on your design. By having it anchored to the table, it will help you control your application tape so that it eliminates bubbles. IMG_8407

6-  Place your design on your canvas and carefully peel the application tape back from your design.

IMG_8410

7 – Paint the entire canvas a solid color and let dry.

IMG_8416

8- Once the paint is dry, carefully weed your design.

IMG_8418

9 – Admire your results.

IMG_8423

View & Add Comments

Personalize a Balloon

Are you throwing a party? Add another level of personalization by decorating a balloon!

As you will see from the instructions below, the process is easy. All you need are a couple of minutes and a couple balloons!

decorate a balloon

You Need:

Ready to make one for yourself? We used 2 different application techniques.

Directions for adding adhesive vinyl to a latex balloon:

  1. Design your image (we recommend a simple image since you cannot use application tape on a latex balloon)
  2. Insert your adhesive vinyl and click cut
  3. Weed your design
  4. Blow up your balloon
  5. Carefully hand place your adhesive vinylpersonalize a latex balloon - make a balloon banner

Directions for adding adhesive vinyl to a mylar balloon:

  1. Design your image
  2. Insert your adhesive vinyl and click cut
  3. Weed your design
  4. Inflate your balloon using a helium tank (or purchase one inflated)
  5. Apply your application tape or hand place your design
  6. Carefully apply your adhesive vinyl and slowly peel the application tape if you used it

decorate a mylar balllloon

View & Add Comments

Mother’s Day Vase with Etched Adhesive Vinyl

Mothers do such a good job making a house a home. So one way to show how much you appreciate your mom is to etch a vase for her. There is no need to use chemicals or etching machines to do it, we are making etching easier by using adhesive vinyl.  

Today we are making a vase that says, “Home is where your Mom is”.  Want to make one of your own? See how easy it is below!

ETCH A VASE WITH ADHESIVE VINYL BY PRO WORLD

You need:

Want to make your own? It’s simple:

1 – Design your image and cut your etched adhesive vinyl

home is where

2 – Weed it

IMG_4895

3 – Apply the transfer tape

IMG_4904

4- Carefully remove the transfer tape.

IMG_4905

5 – Buy a bouquet of flowers and bring it to Mom!

IMG_4918

View & Add Comments

Decorate a Door Mat

The days are getting a little longer, the flowers are blooming and birds are singing because Spring is in the air.  A great project to get started with this Spring is a personalized doormat to decorate your front step.

how to make a personalized doormat with paint! (2)

Here is everything you will need for your personalized doormat:

Ready to make your own? Here’s how!

1- Start by designing your doormat within your design software.

2 – Load your adhesive vinyl into your cutting machine, check your cut settings and click cut.

3 – REVERSE weed your design. So that means you will remove the text making it so that the adhesive vinyl can be used as a stencil.

IMG_4324

4 – Carefully lift one side of your adhesive vinyl stencil and move it to your doormat.  Then slowly pull back the vinyl backing and push down on your vinyl for maximum adhesion. Try to remove any bubbles and seal the ends.

IMG_4326

5 – Carefully dab the paint onto the doormat. We painted 2 coats.

IMG_4331

6 – Let it dry and remove the vinyl IMG_4597

View & Add Comments

Personalized Baseball Ideas to Make This Spring

Knock your sales out of the park this spring with personalized baseball and softball products! We have an extensive list of supplies that allow for you to create anything you can imagine.

baseball ideas (1)

From heat transfers, heat transfer vinyl, adhesive vinyl and even sublimation there is something for everyone. Need some ideas to get you started? Here are a few!

You can create batting helmet labels from adhesive vinyl, so that the team can tell each other apart.

DSC04772 (2)

Let the fans show their love of the game with shirts made from HTV or heat transfers.

IMG_3229-e1461730984340Our baseball and softball heat transfers come in screen print, rhinestone and even studs!

collage

You can personalize team jerseys with heat transfer vinyl.

neonbrand-423339-unsplash (1)

You can even sublimate your own baseball awards!

5680_homeplateplaque_mvp_hr

Bag Tags

17240007_908974129206338_6692576880790671914_o

Photo From Finnegan and the Hughes!

Need more ideas? Try personalizing bat bags, bat racks, water bottles (with vinyl or sublimation).  Hats and visors are great to customize as well.

View & Add Comments

St. Patrick’s Day Inspiration

You don’t need luck to bring you to the end of the rainbow this Saint Patrick’s Day. You just need a few supplies to fill your own pot of gold! You’ll find everything that you need here at Pro World.  Do you need some inspiration? Read below!

St. Patrick Day

You can take a plain beer mug and turn it into the perfect St. Patty’s drinking vessel with a little adhesive vinyl.

st. patty's day

Or make sublimated shot glasses

IMG_0683

Or sublimated koozies

IMG_3280

You can even make and sell shirts for the whole family from vinyl, heat transfers or both!

IMG_3283

how to layer glittered heat transfer vinyl (2)

IMG_3275

IMG_3281

Want to see some of our favorite heat transfers? Check them out!

st s3

st 2  s4


View & Add Comments

New Product Announcement: Siser EasyPSV Adhesive Vinyl

Did you hear the news? Pro World now carries Siser EasyPSV Adhesive Vinyl! But that’s not all. We were so excited during the product launch that we decided to reward our customers for purchasing Siser products! Here are the details:

siser program

Now you may be asking, what is Siser Easy PSV? It’s the latest adhesive vinyl to hit the market! It is available in Permanent, Permanent Glitter, Removable Chalkboard, Permanent Glow in the Dark, and Permanent Light Etch. See the product highlights below.

pro world

Siser EasyPSV Permanent Vinyl comes in 38 colors, and has a width of 12”. This outdoor rated adhesive vinyl is strong enough to survive the weather and UV conditions.

ps12
Siser EasyPSV Permanent Glitter Vinyl comes in 18 colors and has a width of 12”. Try it out on plastic, glass, ceramic, and more!

ps10

The Siser EasyPSV Removable Chalkboard Vinyl is perfect for creating a To Do list on your wall.

chalkboard

Do you want to create custom designs that will glow in the dark? The Siser EasyPSV Permanent Vinyl Glow in the Dark has a width of 13″ and look great during the day and at night!

glow

With Siser EasyPSV Permanent Vinyl Light Etch, you can put down that sandblaster! Now you can easily add a frosted look to your projects.

etch

To see the new Siser EasyPSV colors in person, check out our Facebook Live!

Don’t forget the Siser promotion is valid on any Siser order. So anytime you purchase over $59 you will get FREE US Shipping, double the reward points, and a $10 coupon with $99+ order *. So be sure to also order some Siser EasyWeed, Strip-Flock & Glitter!  

*Restrictions Apply see website for details.

View & Add Comments

Creating a Valentine’s Day Chalkboard Sign with Vinyl

A few weeks ago, we told you  about our new product called Oracal 641. Today, we are going to use the matte sign vinyl to make a Valentine’s Day Chalkboard Sign.

Want to see what we made?
IMG_2364

Want to make one for yourself? Here’s what you need:

To make your own:

1 – Design your cut file.

valentine 1

2 – Load your Oracal 641 into your cutting machine and click cut.

3 – Weed your design.

IMG_2354

4 – Lay your Transfer Tape over your weeded design.

IMG_2355

5 – Peel the blue backing from your transfer tape.

IMG_2358

6 – Apply it to your chalkboard blank.

IMG_2360

7 – Peel the transfer tape.

IMG_2362

8 – Admire your work!

IMG_2364

Have you tried using Oracal 641? Show us on Facebook or Instagram, we would love to see what you made!

Like this project? Pin it for later!

matte vinyl

View & Add Comments

New Product Announcement: Oracal 641

oracal 641
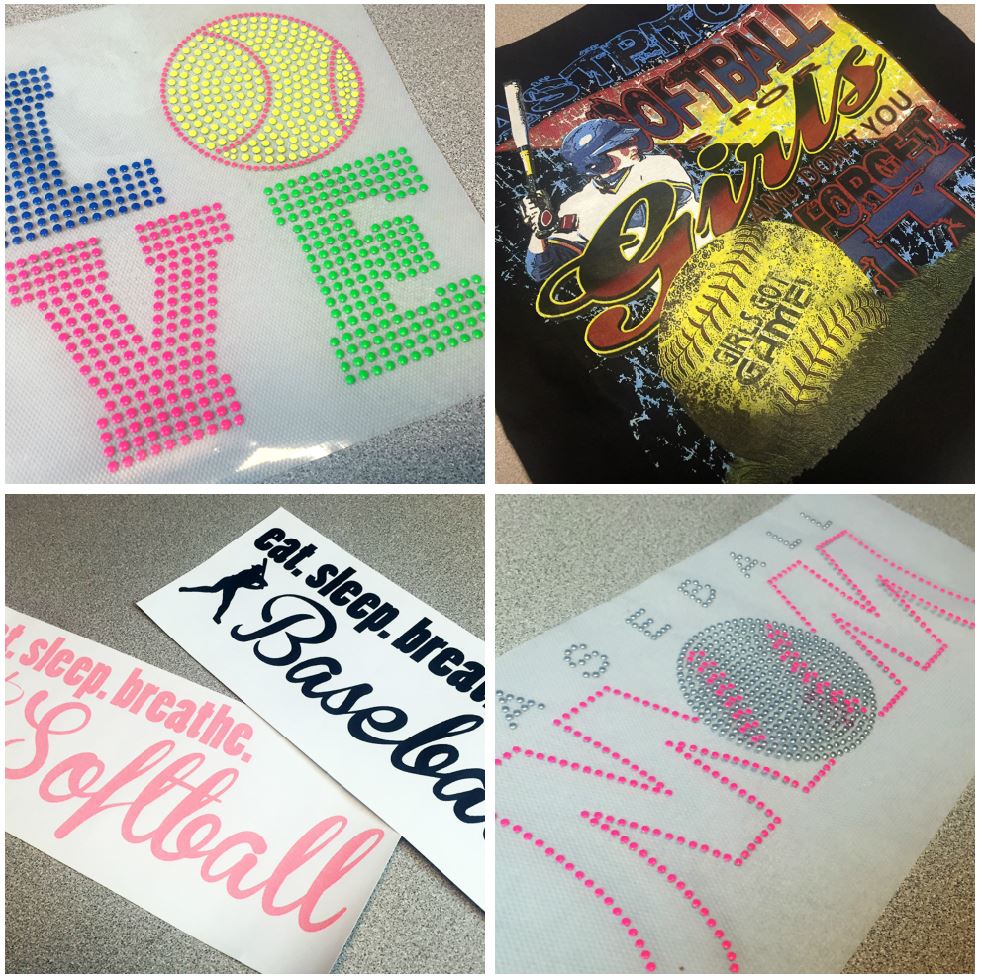
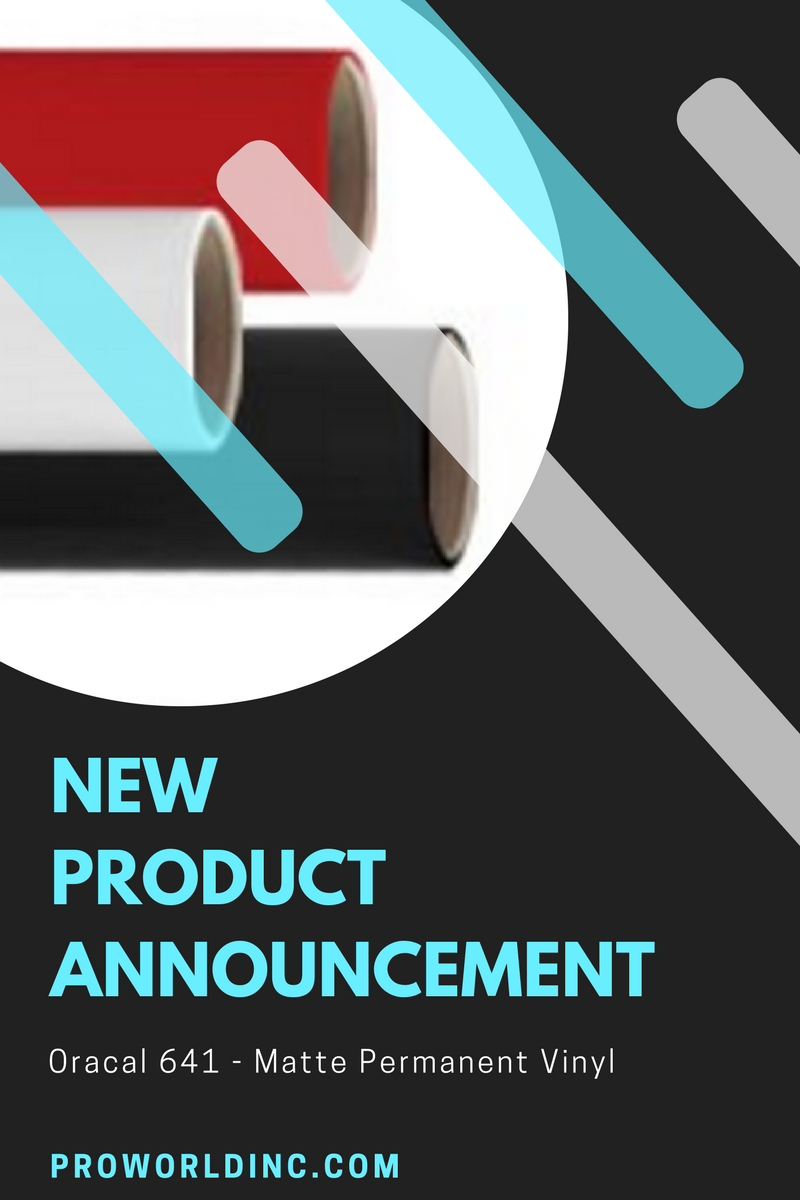
Here at Pro World, we’re always expanding our offerings and capabilities so that we can provide you with the latest and greatest.  We recently added Oracal 641 to our extensive collection of vinyl so that you can expand your business and fill even more needs for your clients.

Oracal 641 is similar to the Oracal 651, but it has a matte finish instead of a glossy finish. It also has silicone coated paper on one side which provides excellent weed-stripping properties. The adhesive is Polyacrylate and permanent. It is perfect for use on cutting plotter systems in the production of short- and medium-term markings, inscriptions, and decorations. It is great for use outdoors, and its indoor uses are almost unlimited. It is available in 19 colors and sold by the yard.

If you are unfamiliar with Oracal 631 & 651, both feature an adhesive back so you simply cut the vinyl with your cutter and weed your design. Then using transfer tape you move your vinyl to your finished project surface.

Oracal 631  is a removable vinyl which has a matte finish. It is perfect for interior decorating, like on walls, indoor signage, and exhibition graphics. Since it is made from a high-quality film that creates a matte finish there is no glare. The removable adhesive allows you to remove graphics from walls with minimal effort, leaving no residue behind. It is great for short to medium term applications indoors, specifically on painted drywall surfaces.

Oracal 651 s a glossy permanent vinyl that is 2.5 mil. thick. This creates a thinner more comfortable liner with better dimensional stability which means the vinyl design will last longer when cracking, shrinking, or peeling is an issue. It is great for 3 plus years, and long-term applications, it also has outdoor durability.

What have you made using adhesive vinyl? Share your projects with us in the comments. 

You May Also Like:

apply fdc to canvas

tips for cutting large vinyl decals with your silhouette machine

How to apply sign vinyl to a car window

View & Add Comments