Create Custom Products with Sublimation

Are you wondering why sublimation is so popular? Or what you need to know before launching your new sublimation business? This blog post is for you!

custom products with sublimation

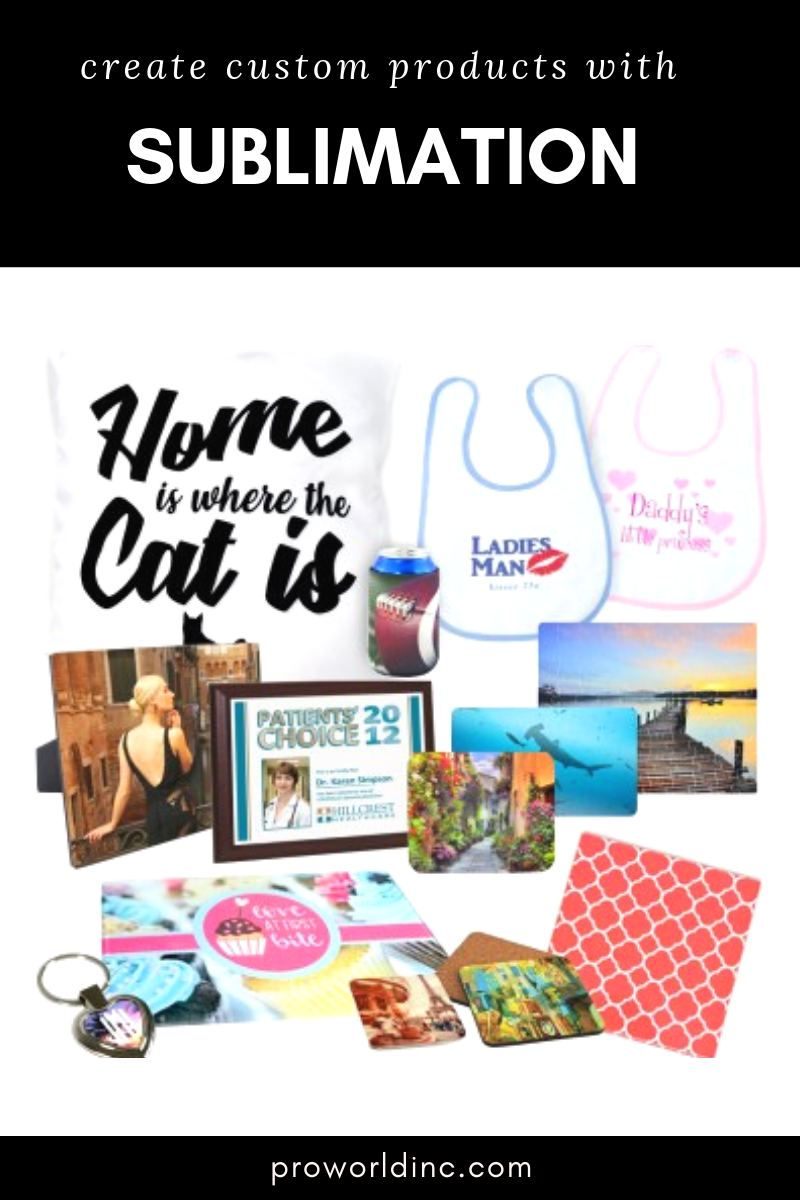
The reason that sublimation printing is a popular method for printing images onto fabrics and poly-coated products is because of the final product. The final product is bright, crisp, and will sustain its quality throughout the years!

sublimation pro world

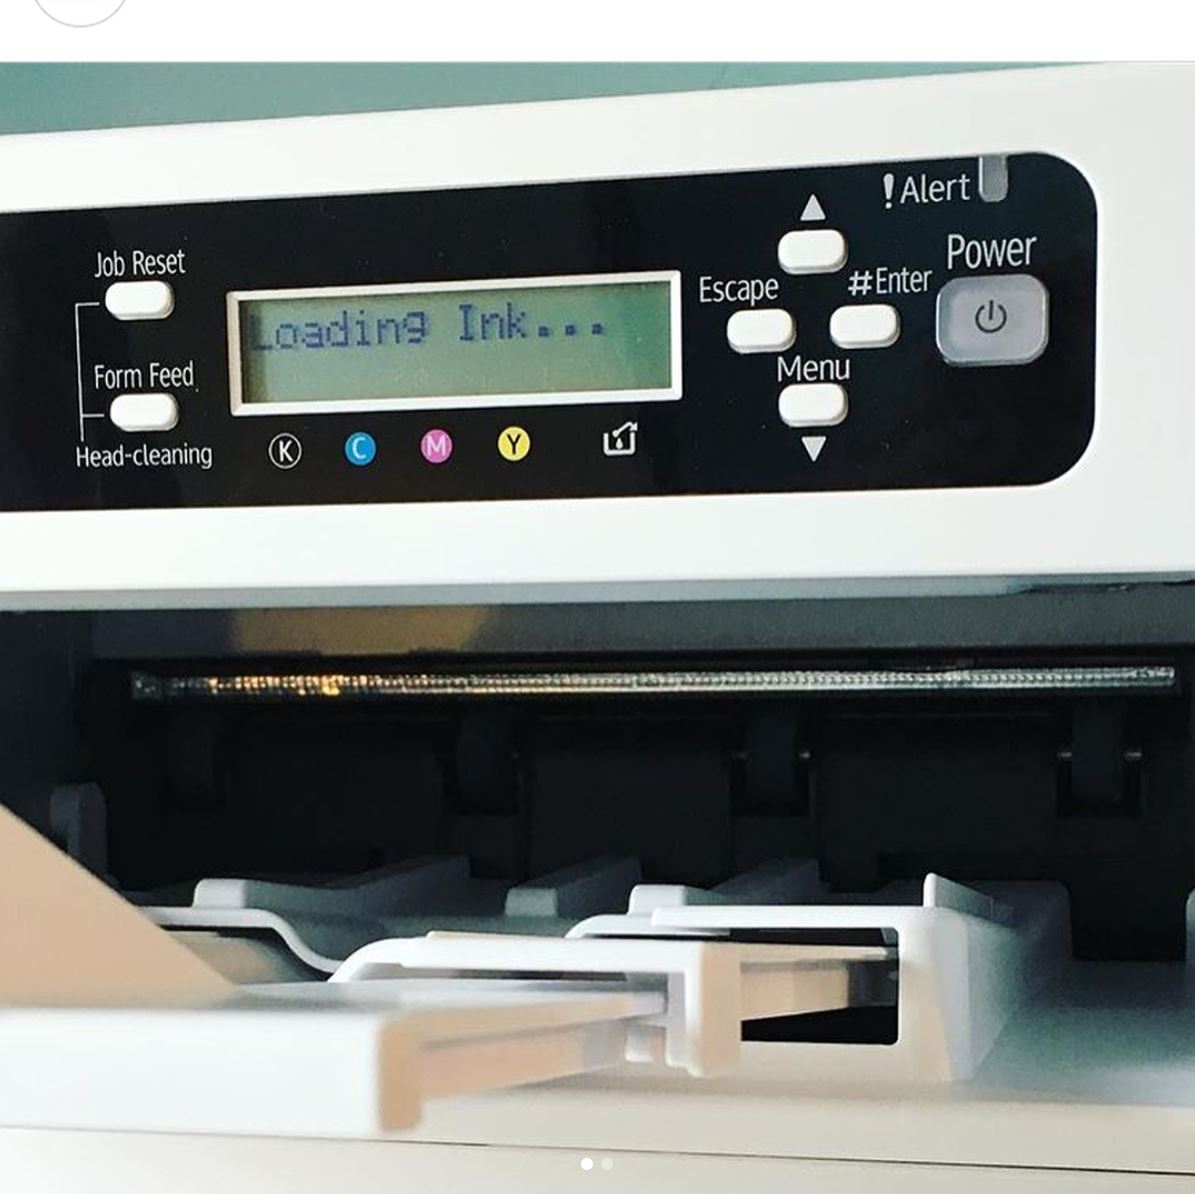
Now that you know why it is a great option, you are probably wondering what’s the best printer to purchase to fit your needs! We understand that it can be challenging to make your choice. But don’t worry… we can help!

The Virtuoso Sg400 is the industries first and only fully integrated system designed specifically for sublimation. Imagine brighter, higher-definition images, with unsurpassed ease-of-use, support AND lower startup and imaging costs! Virtuoso delivers all this and more. They do a great job of taking the art of digital printing to its next evolution. This is the only inkjet printer built specifically for digital decorating (sublimation) with faster throughput for more significant productivity/profit potential, and up to 1200×1200 dpi at 8.5″ x 14″ for dazzling HD photo-quality reproduction!

sub printer

Now, if you are interested in printing in a more substantial capacity, you will want to consider the Virtuoso Sg800. The Virtuoso Sg800 has 1200×1200 dpi at 13″ x 19″ for even more HD reproduction. But please note that the bypass tray required for this size is sold separately so make sure you add it to your cart.

So if you are looking for a sublimation printer to launch a new business or to upgrade your existing business, look no further! Go to Pro World!
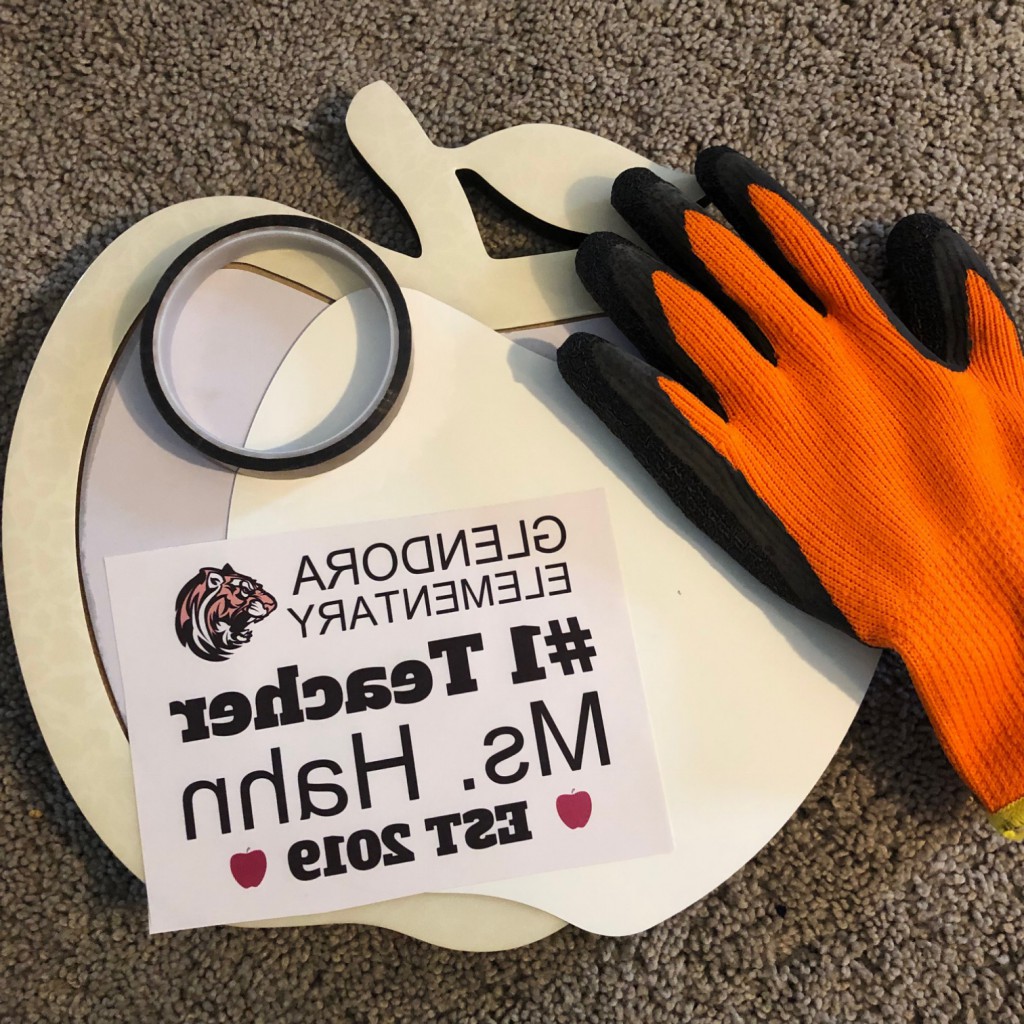
View & Add Comments

Make Your Own Spirit Wear

With the fall season around the corner, it is time to start thinking about spirit wear.  Schools are always looking for new ways to fundraise, so now is the perfect time to expand your business into the spirit wear market with a fall shop!

spirit wear

You have a few options when it comes to creating branded merchandise. You can:

Create items in bulk with ease by taking advantage of our Custom Transfers.

pw-custom-2

Or you can use a premade heat transfer design, after all, we have thousands to choose from. You can see some of them here!


Sublimation is another great option for you to try! You can sublimate polyester and poly-coated items like water bottleskeychain for bag tags, hairbows or even awards!

learn how to sublimate a cheer bow


And we can’t forget about heat transfer vinyl!

htv tiger


View & Add Comments

How To Use EasySubli with Video

A few weeks ago we introduced to you EasySubli, which is the best of both worlds in sublimation and vinyl.

If you are familiar with sublimation, you know that typically you could only sublimate on light polyester or sublimation coated products. But now thanks to EasySubli you can print directly onto EasySubli vinyl and then heat press it on a variety of light or dark fabrics such as cotton, cotton/poly blend, tri-blends, rayon, wool.

We have been hard at work producing videos to show you what it is, how to use it, and neat features for you to try out. You can view them by scrolling below or checking our YouTube page for more information!

3

Introduction To Siser EasySubli

See How To Contour Cut EasySubli!

Using Sublijet HD Inks With EasySubli

View & Add Comments

Decorating a Polyester Pillow Case for Easter

With Spring in full swing, it is time to update your space to reflect the new season and holiday ahead! And the easiest way to do that is with some seasonal pillows! For today’s project, we are taking our Polyester Sublimation Pillow Case and decorating them for Easter!

EASTER PILLOW

Our gorgeous sublimation blank pillows, are soft with a subtle shine which make them pretty to look at and rest your head!

Here’s what you need:
Heat press
Sublimation Pillow Case
Sublimation Printer and Ink
ThermalTape
-Pillow Stuffing

To make your own you should:
1- Open your creative studio software and select the pillow design template
2- Choose a design to use

PILLOW 2
3- Edit the colors to reflect your color scheme

PILLOW 4
4- Print

A7EAC5C4-2413-4279-BA5B-6DEBCCB5220D
5- Press at 450 degrees 45-55 seconds

IMG_2921
6- Peel Hot
7- Stuff your pillows
8- Put them on display

IMG_2924

Below are a few past Spring/Easter Projects that we thought you may like!

Some bunny loves you easter shirt

spring wall art

View & Add Comments

Sublimate an Air Freshener

Do you love essential oils? This new sublimation product is for you! We now carry air fresheners that you can sublimate!! So grab your favorite photo and scent to make a functional piece of art! Here’s what you need:

Ready to get started? It’s simple!

1- Warm up your heat press to 400 degrees F

IMG_2352
2 – Design your file

3 – Print your design on sublimation paper

4 – Tape your design to the air freshener and cover it with a non stick sheet

IMG_9537
5 – Press it for 60 seconds at 400 degrees F with light pressure

6 – Quickly remove the paper and place your image under something heavy. The reason that this step is so important is so that the ends don’t curl.

7 –  Repeat steps 4, 5 and 6 for the second side.

8 – Once cool add your favorite scent

IMG_2344

9 – Hang it up!

IMG-0703

Want to see HOW we made it? Watch our Facebook Live here!

View & Add Comments

Make Your Own Personalized Teacher Gift with Sublimation

The end of the school year will be here before you know it. So get a head start on your end of the year Teacher Gifts!

Today we are showing you an adorable gift that you can make with your sublimation printer and our 11 x 12 apple frame.

proworldinc.com

You Need:

Directions:

Step 1 – Design your image, print it mirrored on your sublimation printer 

IMG_2166

Step 2 – Peel the cover from your sublimation frame

IMG_2167

Step 3 – Trim your design

Step 4 – Tape your design to the sublimation blank

IMG_2168

Step 5 – Now you are going to press your design. Place it so the face is up. If you use the TransPro press you should set it to 400 degrees Fahrenheit, press for 1-3 minutes and peel hot

IMG_2174

Step 6- Let it cool.

IMG_2179

Step 7 – Secure your aluminum sublimated material to the apple frame, and admire your results

IMG_2182

Would you like to learn more about the Trans Pro Heat Press? Watch this video! />

View & Add Comments

Learn how to use your 3D Sublimation Vacuum Heat Press with Rock Slates

Today we wanted to spotlight a product that we haven’t talked about too much, our 3D Sublimation Vacuum Heat Press.

3D Sublimation Vacuum Heat Press

The 3D sublimation vacuum press is an all-in-one machine, which can be used to customize many types of substrates like sublimation blanks, mugs, latte mugs, cell phone cases, rock slates, and more. By combining vacuum pressure and heat to wrap sublimation transfer paper around curved shapes to permanently fuse the decoration onto any curved surface.

Want to see how it works? Watch us make a rock slate below!

To decorate your own rock slate you need:

Directions:

1 – Set temperature to 400 degrees Fahrenheit (200 C)

2 – Set timer to 5:30-7 minutes depending on the rock slate size. The larger the rock slate, the longer the time should be.

3 – Keep top tray in the 3D Vacuum press, and connect tubing to the bottom of the tray.

4 – Press Heating Button twice so both lights are on.

IMG_9638

5 – Print a mirror image onto Texprint Paper. Image should be larger than the substrate.

6 – Place the substrate face down on the transfer paper and tape the paper to the substrate using transfer release tape.

7 – Place substrate face up in the top tray of the 3D Vacuum Press.

IMG_9642

8 – Press the vacuum button. Then the timing button to begin the timer.

9 – Press at 400 degrees F for 5:30-7 minutes.

10 – Remove immediately from press once finished and peel hot. Use caution as rock slate will be very hot.

3d vacuum press and rock slate

View & Add Comments

Sublimate a Compact Mirror

Our new sublimation blank is sure to be a beautiful addition to your current product offerings. The handheld compact comes in a round and heart-shaped design, and will give your customers plenty of options!

compact mirror

Do you want to decorate a compact mirror? Learn how below!

Personalize a compact mirrorYou need:

Sublimation is easy just follow the steps below:

1 – Set temperature on your heat press to 400 degrees Fahrenheit.

2 – Set timer to 30-45 seconds, with medium pressure.

3 – Remove protective film from product.

IMG_9137

4 – Design your image. We used the Sawgrass Template.

mirror template

5 – Print a mirror image onto Texprint Paper. The image should be larger than the substrate.

IMG_9131

6 – Place the substrate face down on the transfer paper and tape the paper to the substrate using transfer release tape.

IMG_9139

7 – Put a blank sheet of paper on heat press platen to keep it clean.

8 – Place substrate face down on the heat press (metal surface up).

9 – Cover with a non stick sheet.

10 – Press at 400 degrees F for 30-45 seconds with medium pressure.

11 – Remove immediately from press once finished and peel hot.

IMG_9140

12 – Adhere the circle sticker to the mirror base.

IMG_9141

13 – Place your sublimated circle on top of the sticker.

IMG_9143

View & Add Comments

Learn How To Sublimate a Photo Frame

We live in a digital world and we are always taking photos but how often do they get printed and framed? Today we are going to change that by sublimating a one-of-a-kind photo frame!

SUBLIMATE A PHOTO FRAME

From house decor to personalized gifts you will find the perfect photo frame to fit your need. Head to our website to see our large selection!

Want to make one for yourself? Here’s how:

1- Download the template from our website product page (if needed).
2- Print your photo using your sublimation printer.
3 – Turn on your heat press and set it to 400 degrees Fahrenheit.
4 – Set Pressure to medium.
5 – Remove the protective film from the metal frame.

IMG_7821
6 – Print a mirror image onto the Texprint Paper. The image should be larger than the substrate.
7 – Place the substrate face down on the transfer paper and tape the paper to the substrate using heat tape.

IMG_7822
8 – Put a blank sheet of paper on heat press platen to keep it clean.
9 – Place substrate face down on the heat press (metal surface up).
10 – Cover with a non stick sheet.
11 – Press at 400 degrees F for 1-3 minutes with medium pressure.
12 – Remove immediately from press once finished and peel hot.

IMG_7830

IMG_7834

View & Add Comments

5+ Promotional Product Ideas That You Can Make to Grow Your Business

Do you want to grow your custom business with new product lines? Try selling personalized business supplies and promotional products to local companies! Below we’ve listed multiple items that you can personalize and sell so that you can grow your business while helping other companies grow theirs! 

promo products that you can make

Name Badges –  Create one for the solo-entrepreneur or in bulk for larger companies. By offering your name badge with a magnet closure, it will allow your customer to put the name badge on and off without damaging their shirt. 

IMG_6777

Koozies  – Everyone wants to keep their cold beverages cold in this hot weather. So why not offer Koozies with custom business logos. This would make a great swag bag item or for a local business to hand out at tradeshows.

Magnets – Are a great advertising tool for companies that require people knowing how to reach them. So why not offer personalized magnets to your local food delivery, repairmen and doctors offices. Help them grow their business, while growing yours! 

magnet

Mousepads – By putting a logo or product on a mousepad, customers will be reminded of a certain business every time they move their mouse.

Cherry Edge Plaques  – This is a great way for employees or businesses to display their accolades in a professional manner. 

plaque

Offset Clock  – This personalized piece makes an excellent employee gift.    

clock

Have you created personalized products for any local businesses? We would love to see it! Share a picture of the finished product on our Facebook Page or by tagging us on Instagram @proworldinc

View & Add Comments