
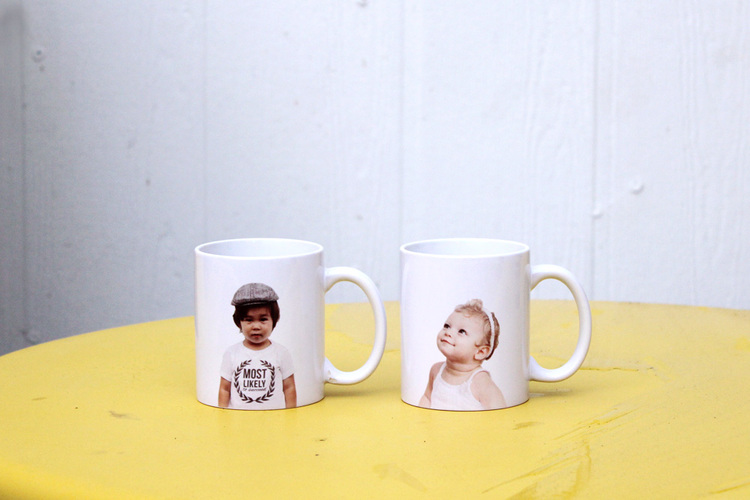
One way to take your crafting business to another level is to add mugs to your offerings. They’re a fun way to express your personality, they make wonderful gifts, and you can never have too many! There are three ways to decorate mugs- adhesive vinyl, heat transfer vinyl and sublimation. Today we are going to explain the process for each as well as show you how we did it via video!

1) To make a mug with HTV we recommend setting your heat press at 360* at 30 seconds. You will want to set the pressure to heavy when applying HTV. Now that your heat press is warming up, use your software to create your design. Then make sure to mirror it before printing. After you print, weed your design. Then place your design, sticky side down, on your mug. Place the mug in the mug press and let it work its magic. When it’s done, it will be hot, so use caution and let it sit for a few minutes. Once it cools a bit, peel the backing off and you’re done!
2) When using adhesive vinyl for mugs, design your image and cut it exactly as you want it to look on the mug. This means that you DO NOT need to mirror your design. Just design, cut and weed it. Then, cut your transfer paper to the size of your image, place it sticky side up on your work surface and place your image face down on top of it. Then, peel the back of the design off and you’re ready to adhere the design to the mug. Place the design where you want it and use your squeegee to adhere it. Once adhered, peel the transfer paper off and you’re done!

3) To make a mug using sublimation you’ll want to adjust your heat, time and pressure settings. We recommend 400 and 4 minutes. Print your design using your sublimation printer and cut it a bit larger than your mug. Place the paper on the mug and tape it in place. Once your image is secure, place the mug in the mug press, making sure it’s lined up properly, and secure it. Once it’s done, using gloves, remove the mug and dip it into warm water to stop the sublimation process. Do not use cold water as it will cause the mug to crack. After you’ve dipped the mug, allow it to cool a bit longer, and you’re done!
While we love using vinyl on our mugs, be sure to let your customers know not to put them in the microwave or dishwasher. For long term use and selling purposes, sublimation may be a better method. For more details on mug making, check out our Facebook Live,
Have you made mugs using any of these methods? Share your experiences and designs in the comments!