
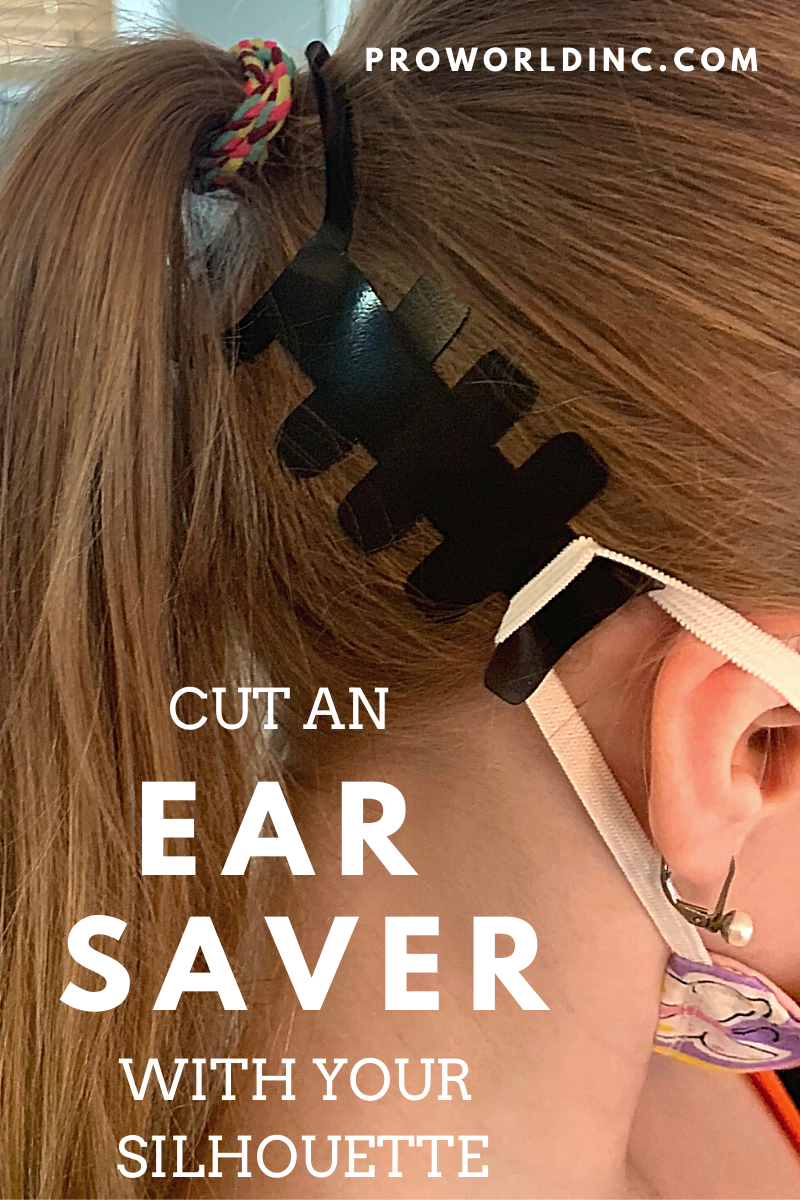
As I am sure you are already aware, the CDC recommends that all people wear a mask or cloth face covering while in a public setting when it is hard to practice social distancing. Which means a lot of us are starting to suffer from sore ears. While this is a small price to pay to keep ourselves and others safe, we figured it wouldn’t hurt to find a way to craft a solution. And guess what? It worked!
In today’s blog post, we are showing you how we cut through a thin plastic book cover backing to make yourself an ear saver.
You will need:
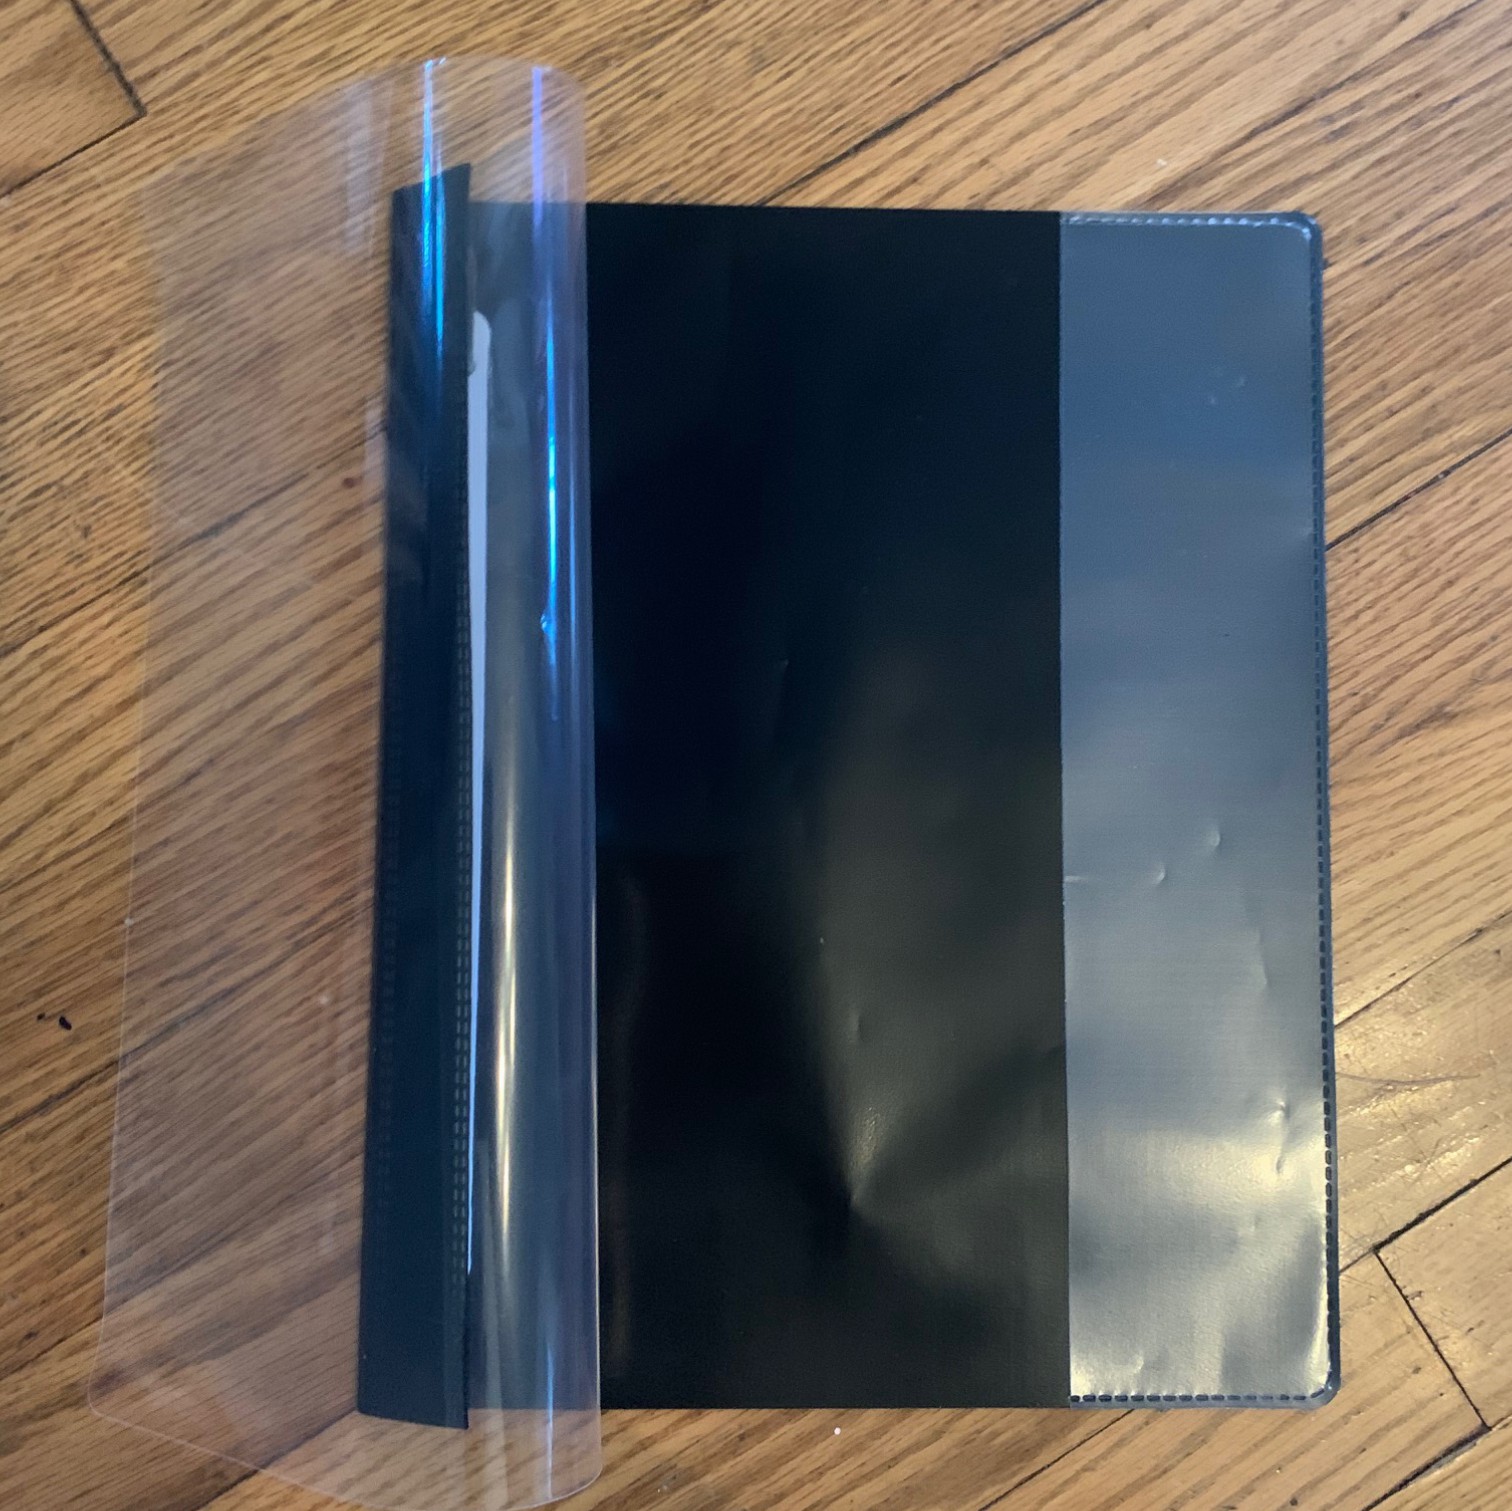
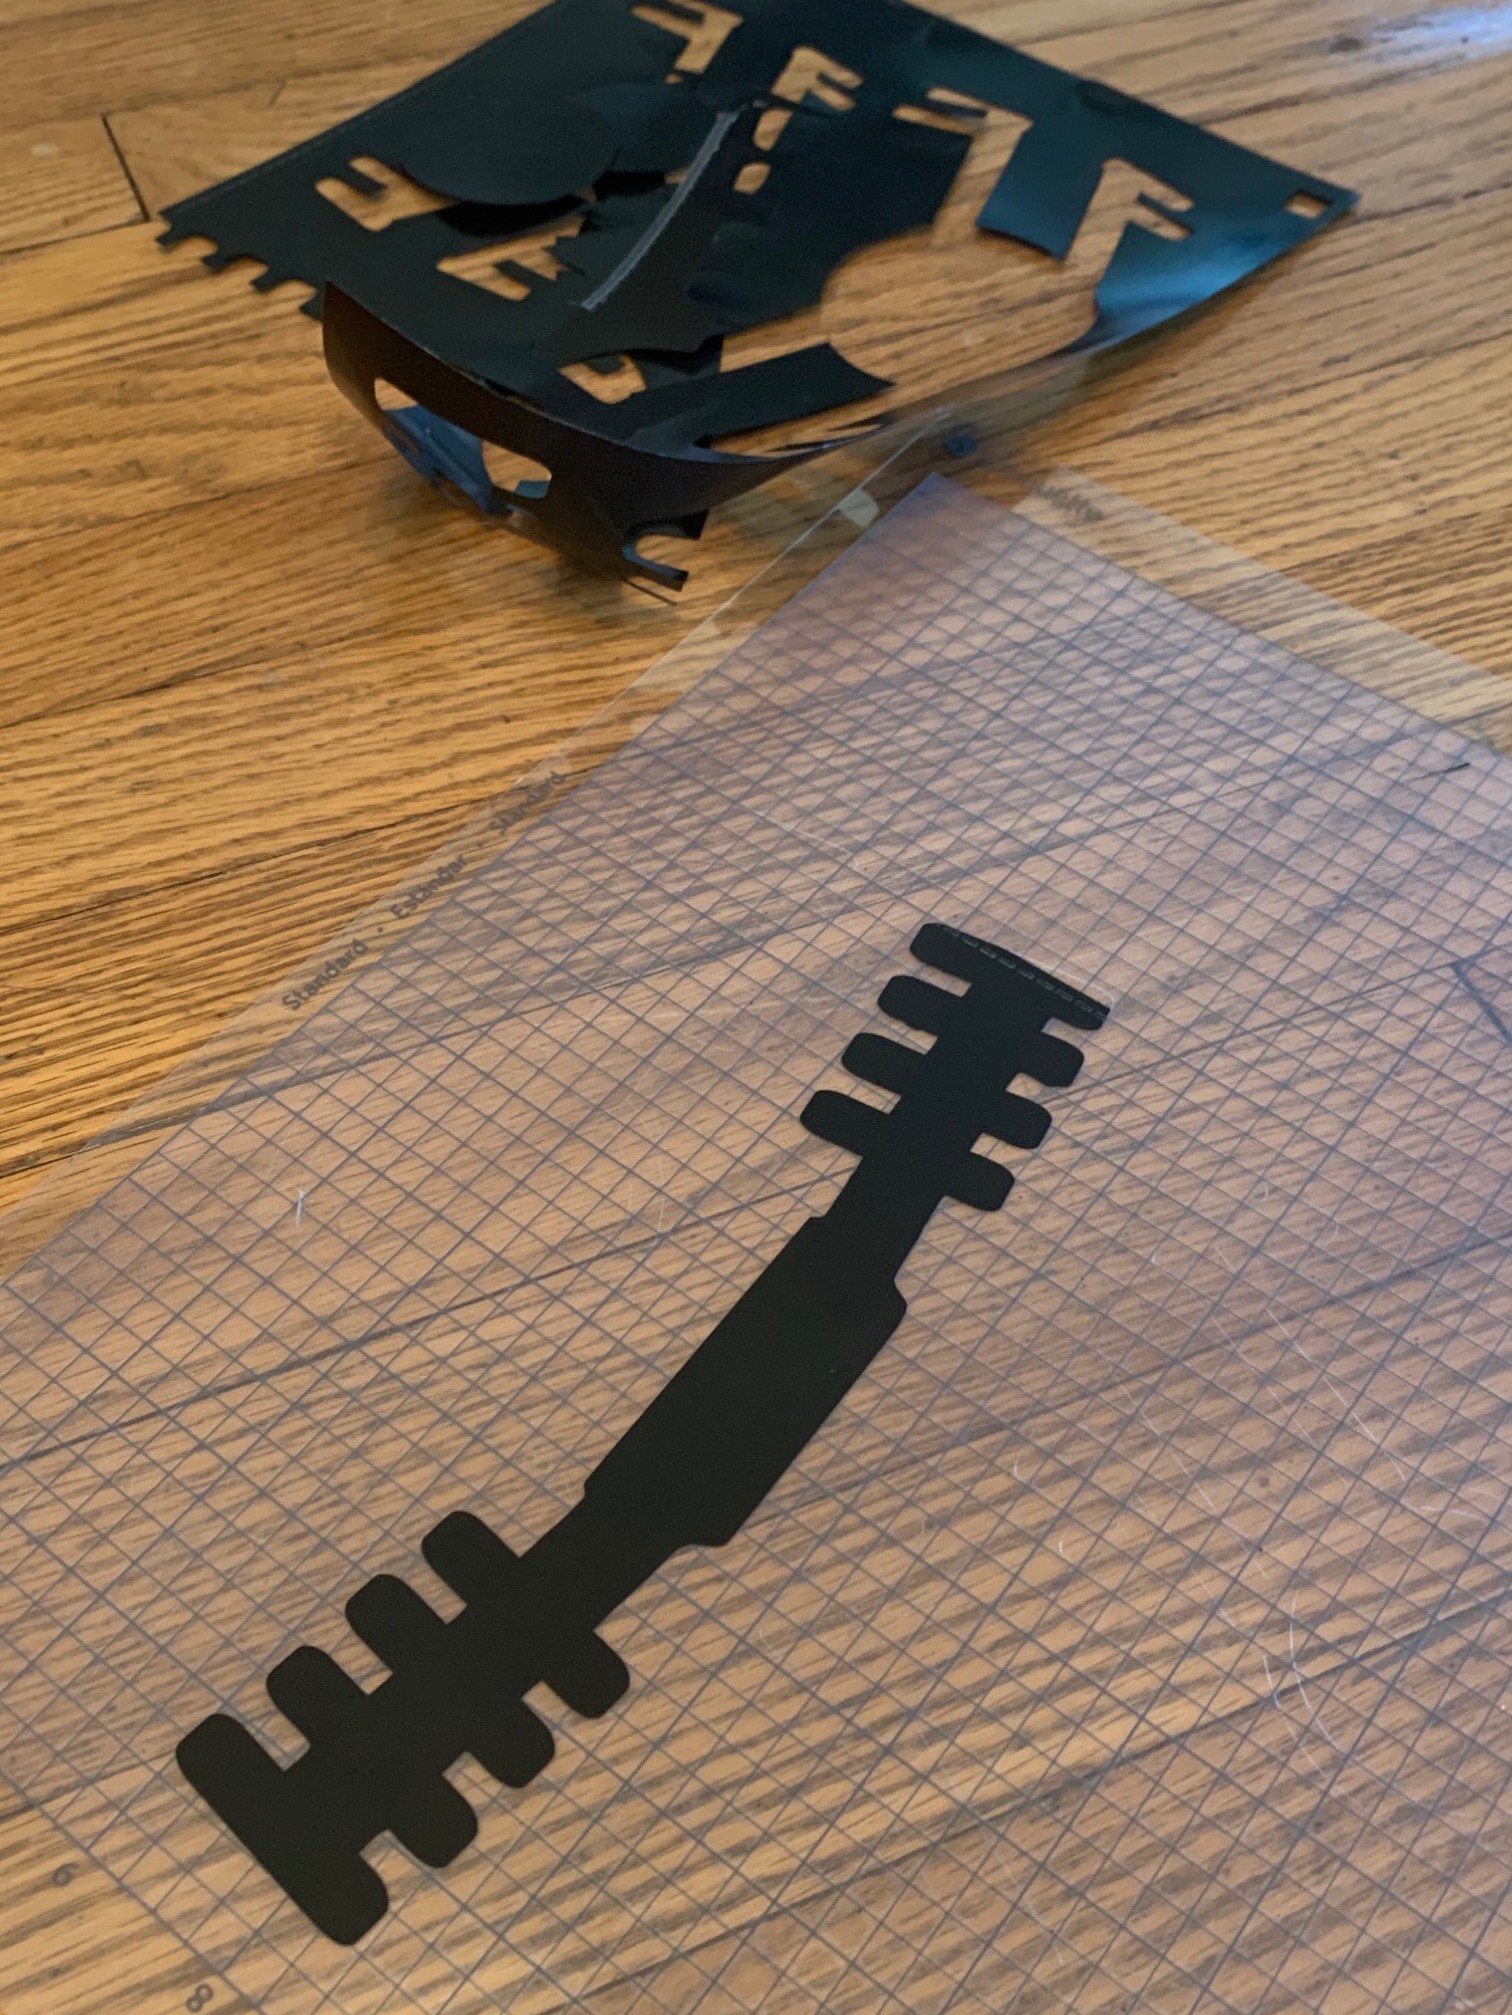
- a Thin but durable plastic material. We used the backing of a plastic book cover.
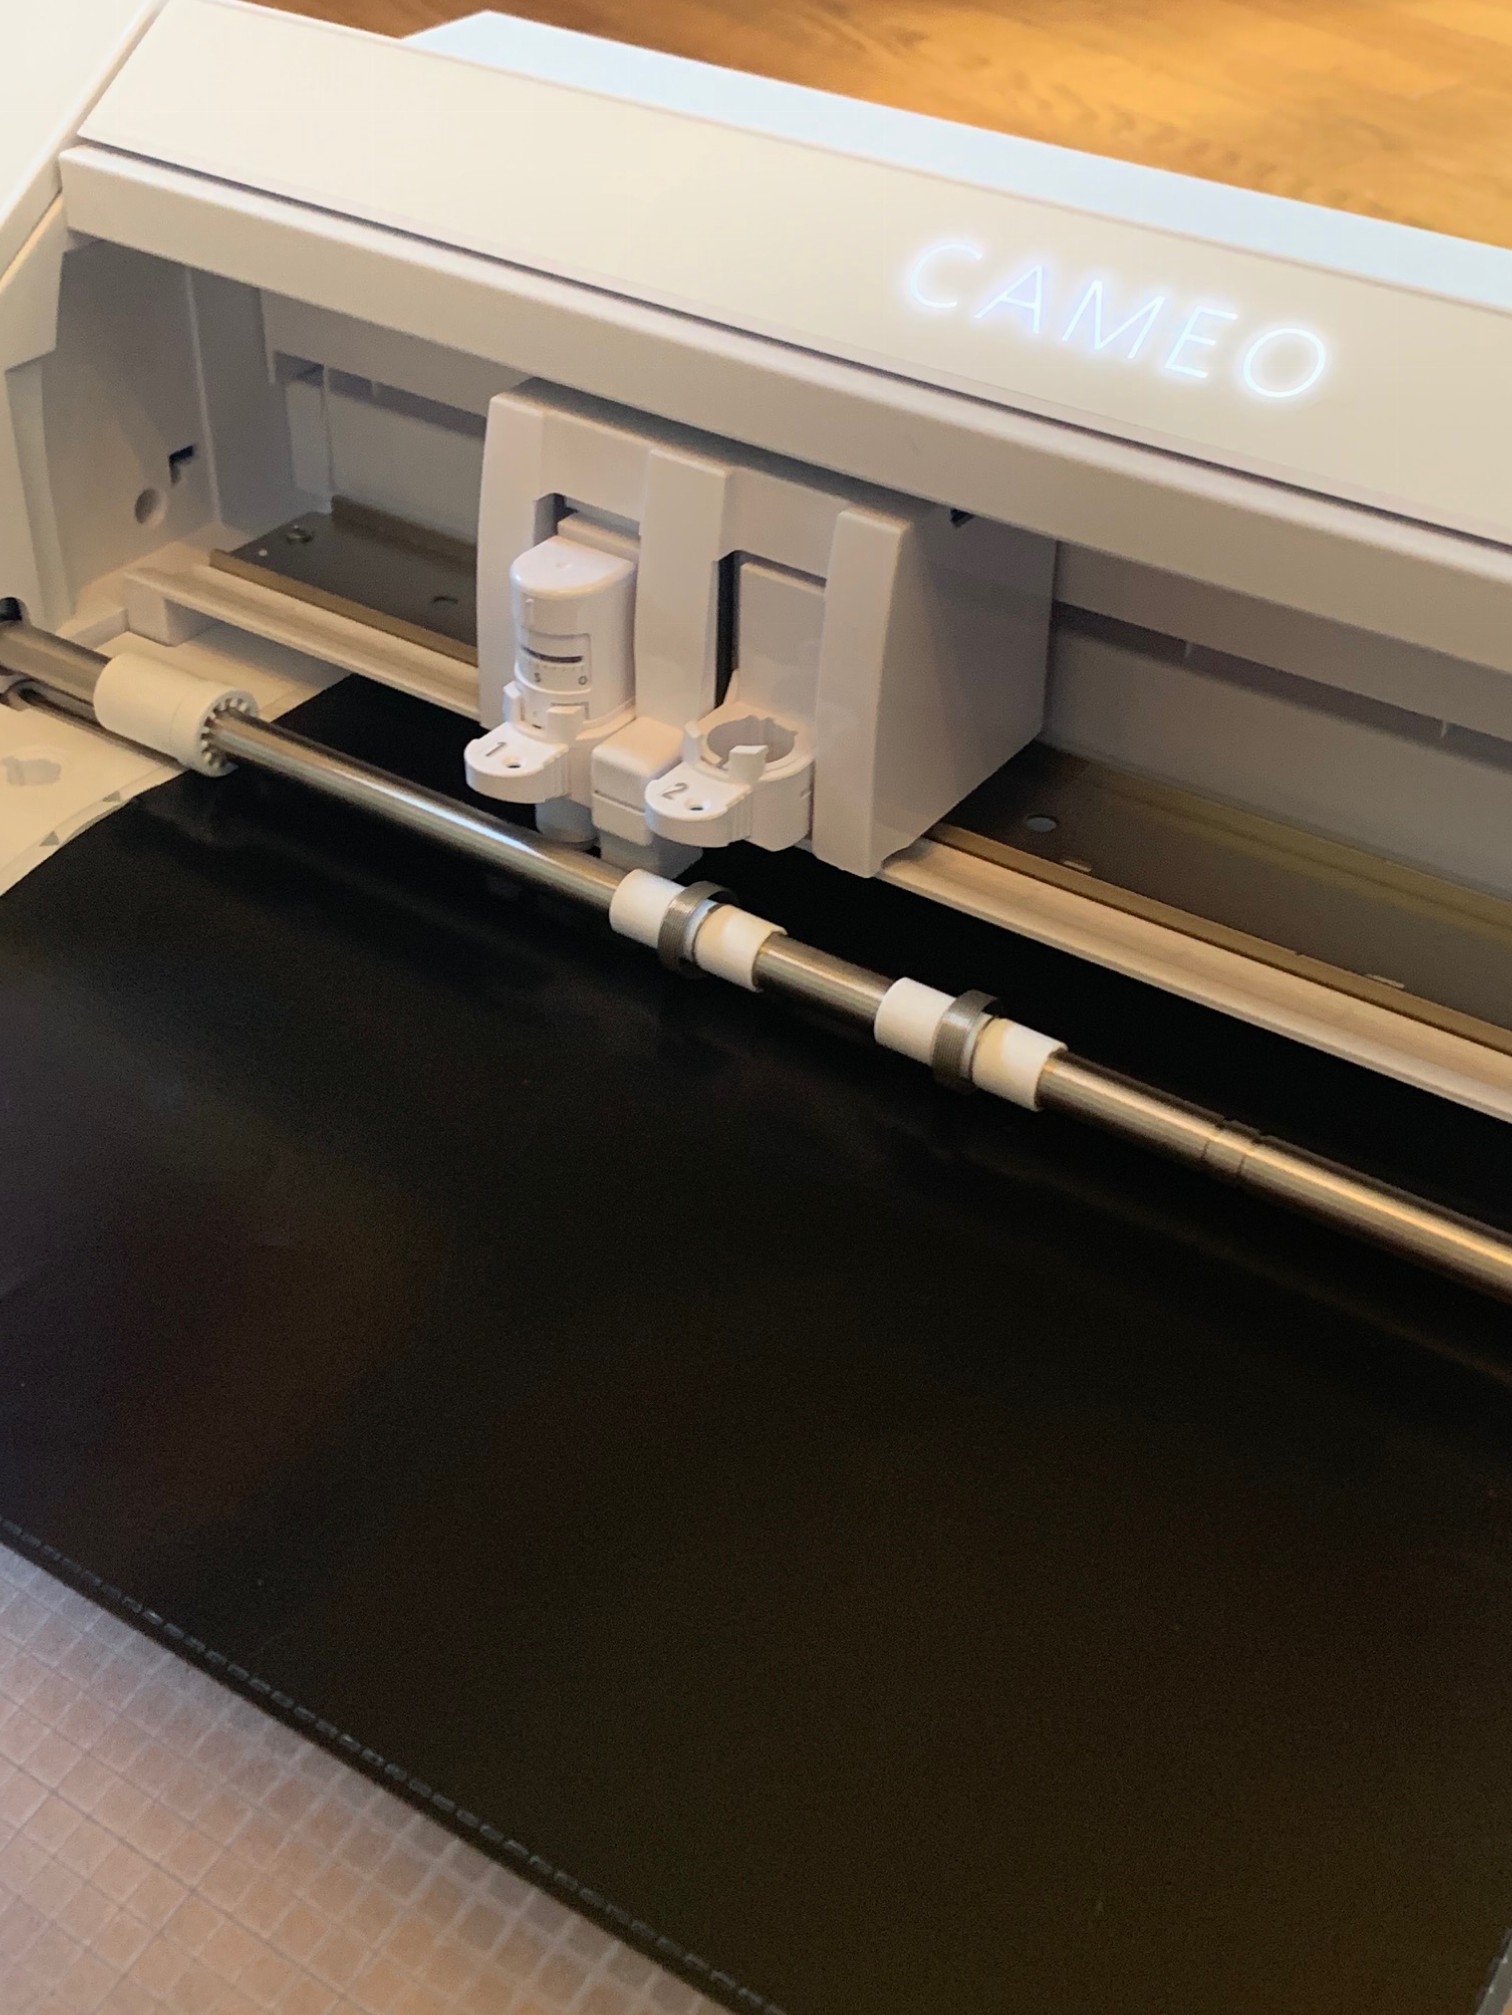
- Cutting Machine, we used the Silhouette Cameo 4.
- Cutting Mat
- Computer
Directions to make an ear saver:
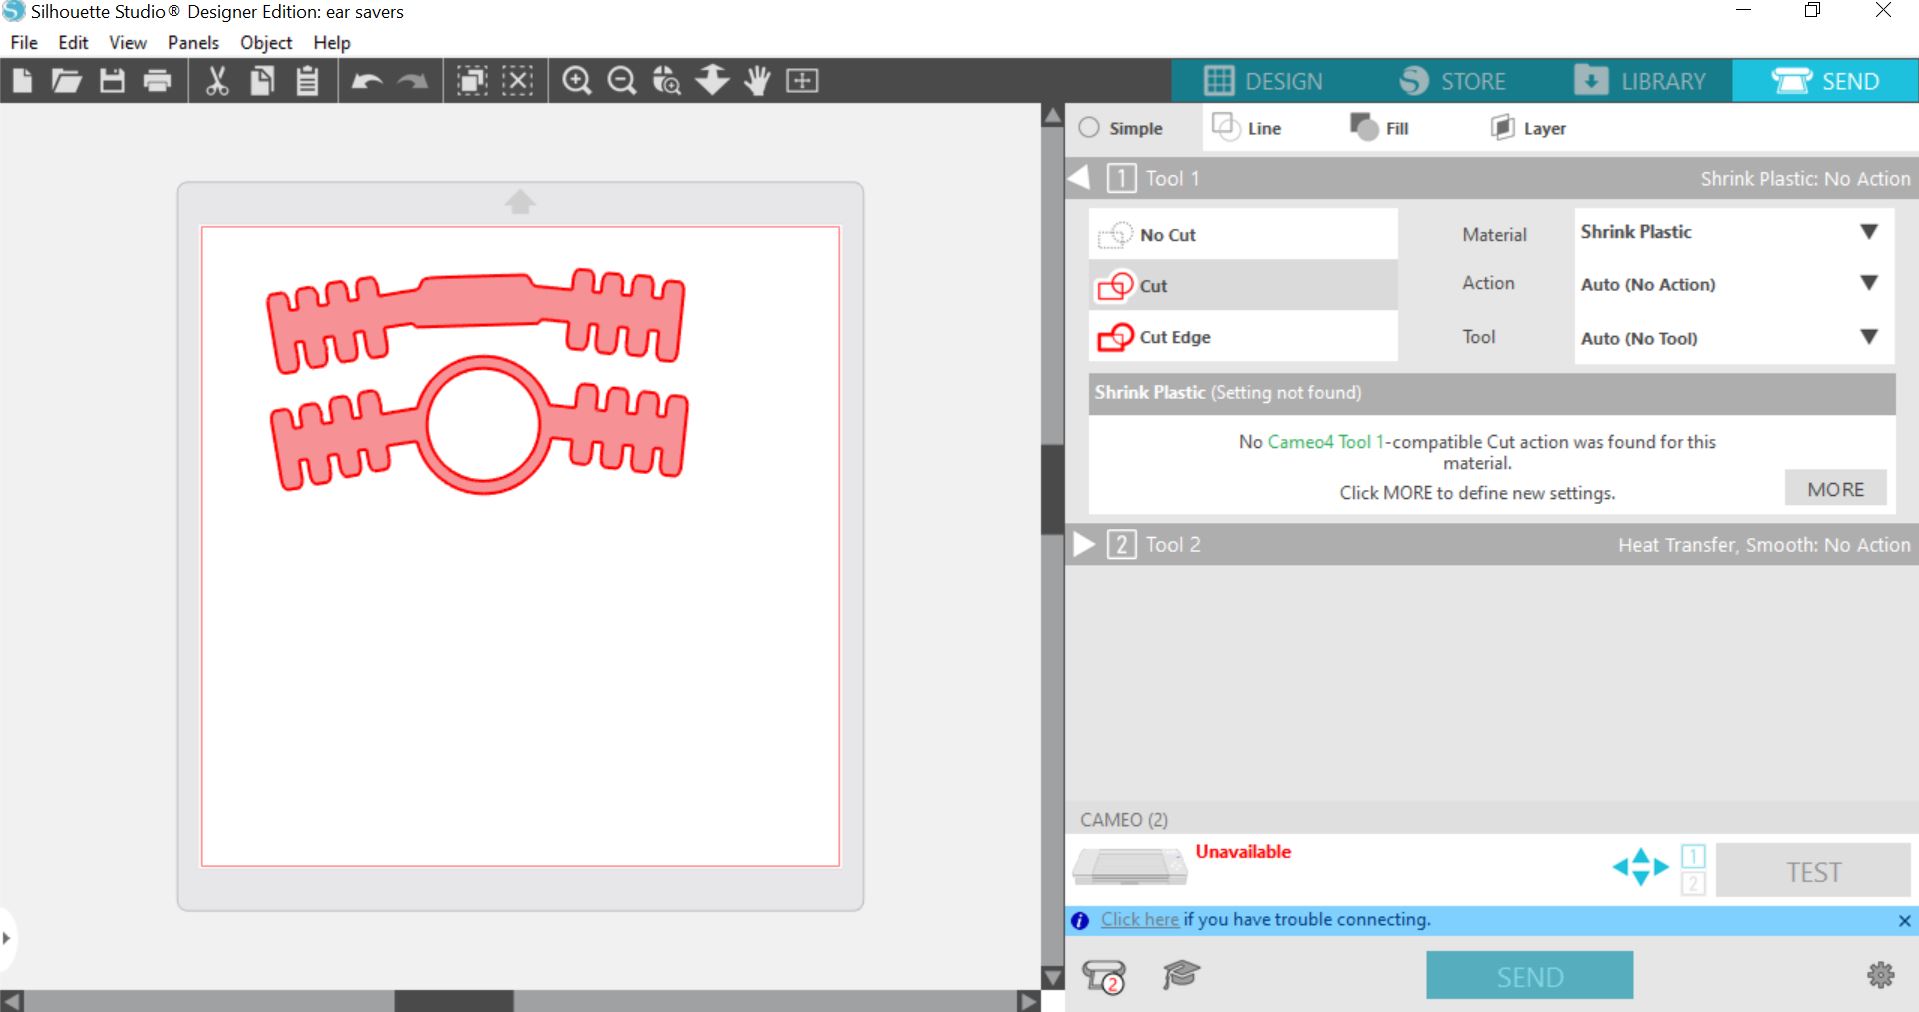
Design your ear saver.
Cut the back page off of your book cover.
Place it on the mat and insert it into your Silhouette Machine.
Go to the cut setting of your silhouette cameo 4 and look at the settings. If you use the plastic book cover backing, we used the shrinky dink cut setting.
Do a test cut. DO NOT SKIP THIS STEP. If it cuts entirely through and you can lift it off just fine, you can move on to the next step. If it doesn’t cut, adjust your cut settings.
Click cut!
Carefully lift off your ear saver and the remaining cut-up book cover.
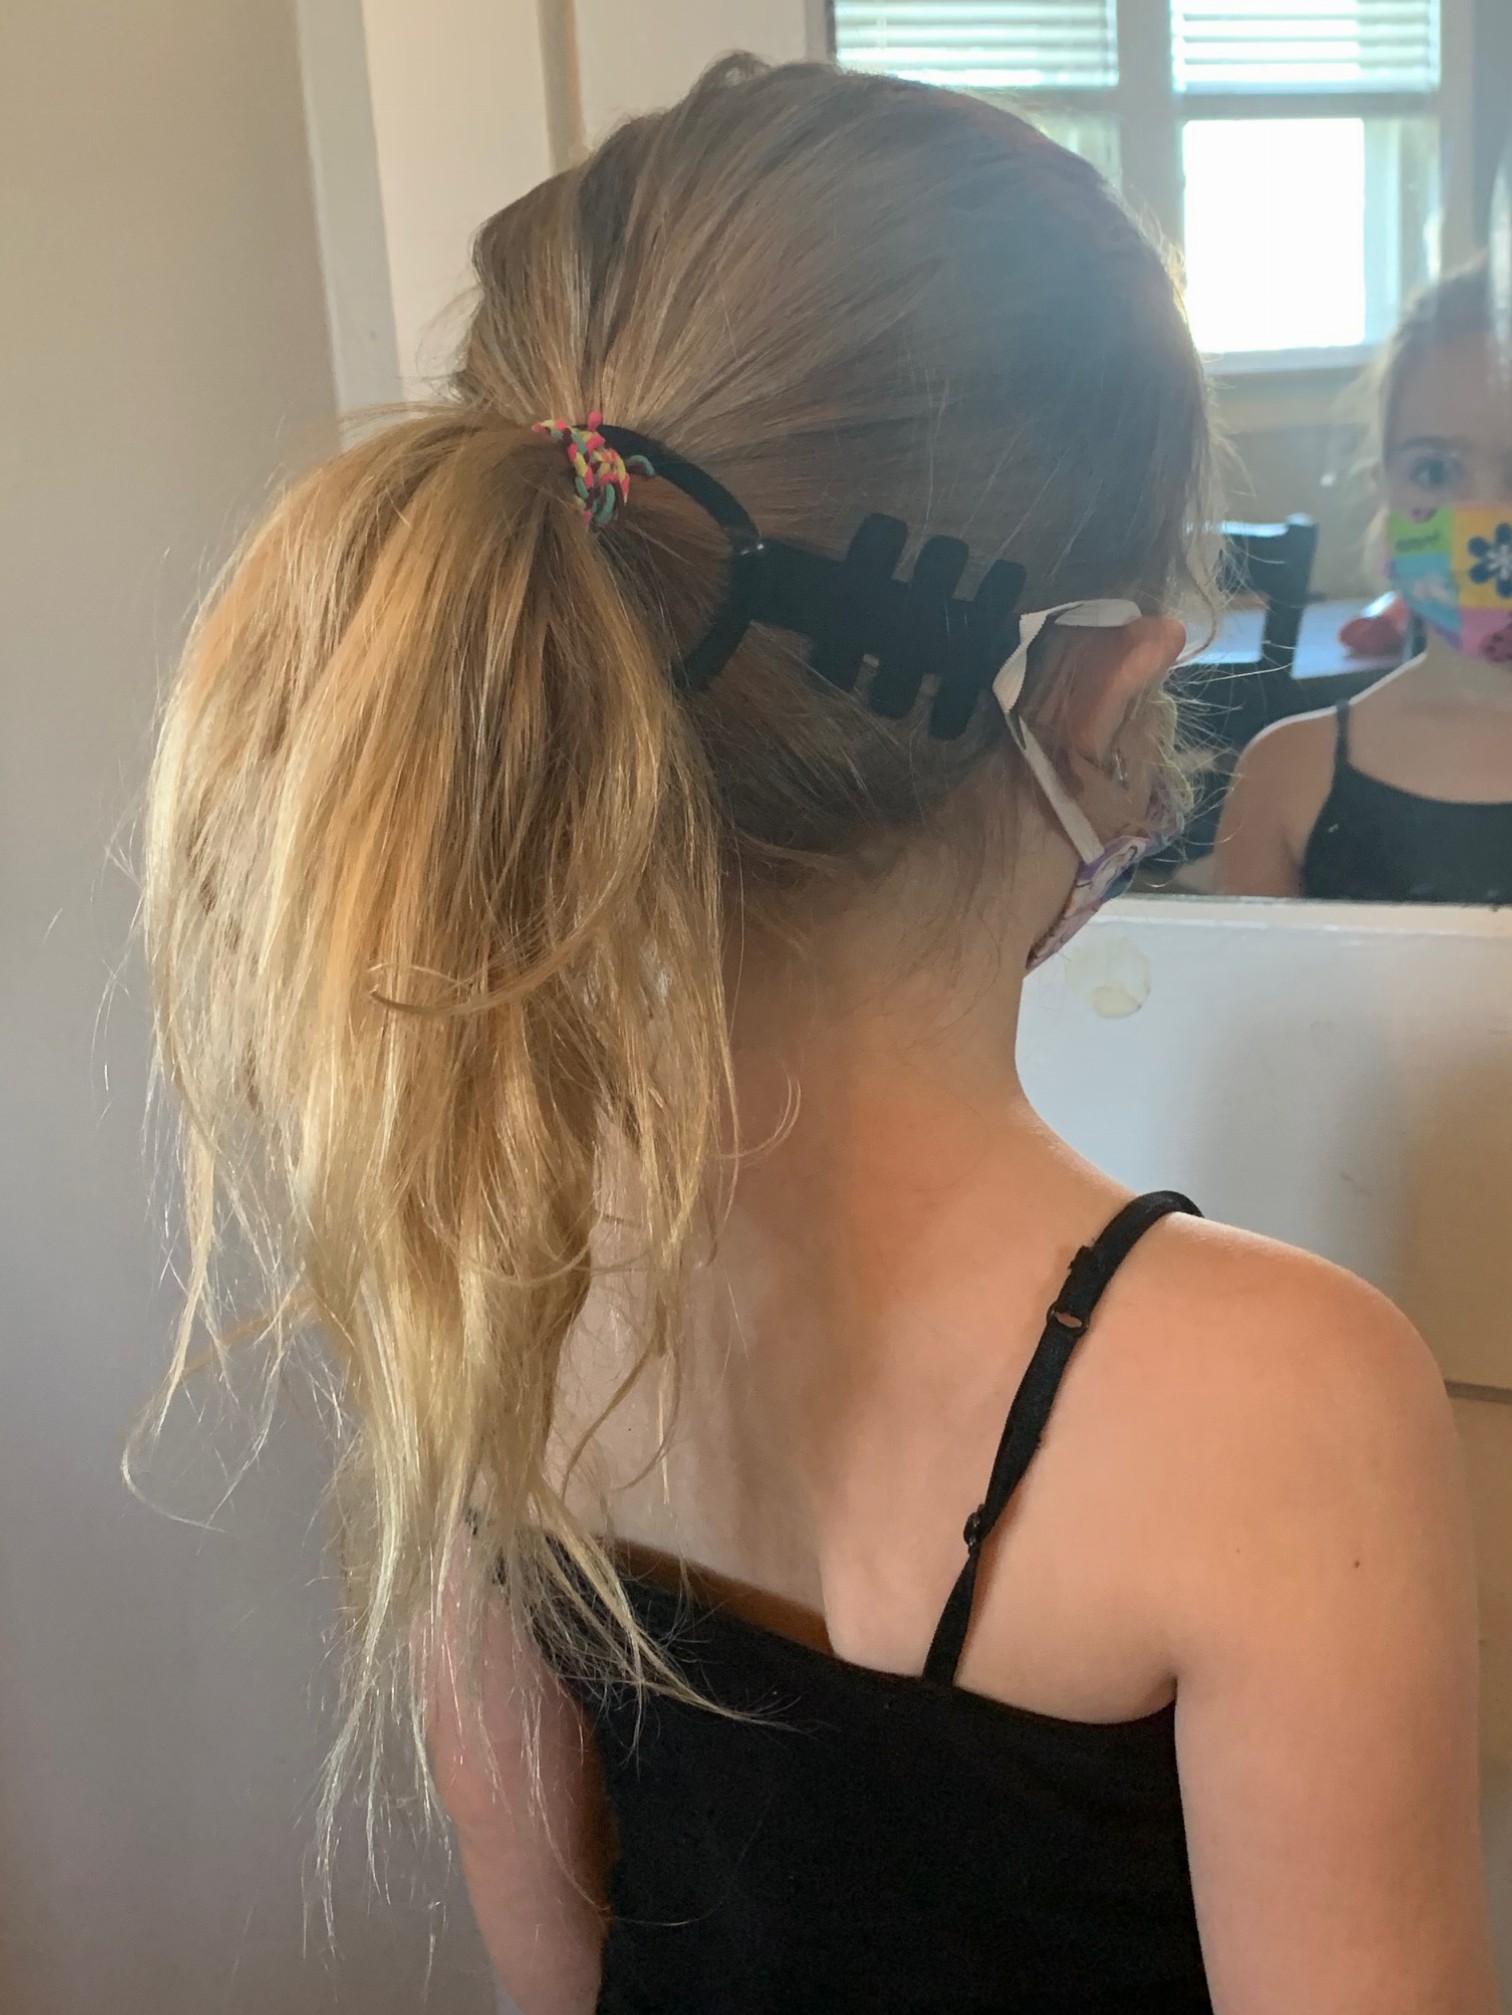
Try it on.
A few important notes:
- Our employee that made the ear saver has only used it about 5-10 so far. So far, so good. But we have no way to know how long the plastic ear saver will hold for. If you are concerned about that, you could try cutting slightly thicker material.
- When trying to figure out the size, we measured the back of the ear to the other ear to get a feel for how big it needed to be.
- We also cut a few different designs to see what angle would work best; we’d recommend you do the same or see if you can find a proven ear saver pattern to purchase.