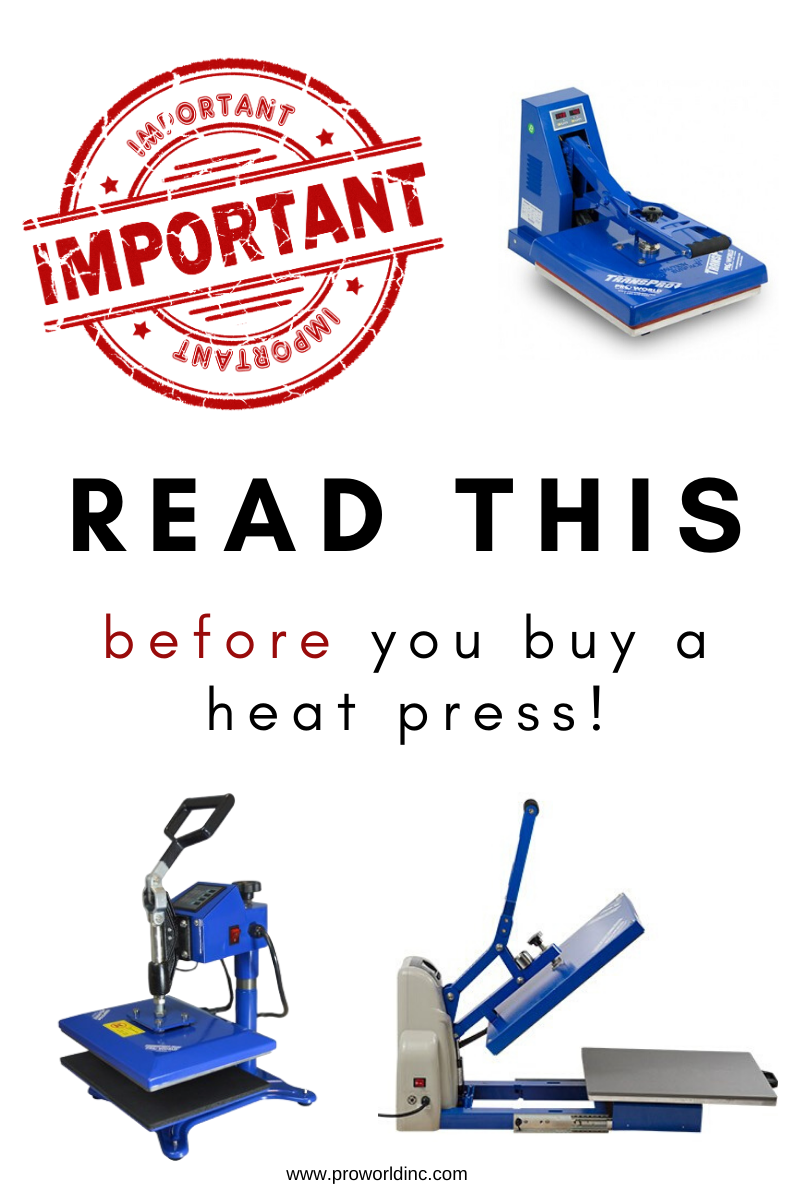
Are you thinking about getting a heat press? If so, we put together some important things for you to keep in mind.

When buying/using a heat press it is important to….
Read the details! The heat presses that Pro World sells are all equipped to handle plastisol ink transfers with a heavy pressure requirement, but not all heat presses on the market are created to allow for heavy pressure. For example, a heat press advertised as a sublimation heat press is designed for light pressure application and may not offer the heavy pressure setting needed.
Consider what size you will need in the future! A 15×15 heat press is considered a standard commercial size heat press, and allows for you to press designs that are about 14×14. Now, a 16×20 heat press will allow you to press designs that are 15×19.
Know that they do NOT connect to a computer to print designs! The heat press is designed to transfer already printed images. This is done through the high heat and pressure.
Plan ahead! Heat presses take about 15-20 minutes on average to heat up to the desired temperature. This is similar to an oven. So turn your press on as you are designing so that it is warmed up and ready to go once you are ready to press!
Adjust your pressure! Making sure to have adequate pressure before applying your design is very important. An easy way to test your pressure is by the handle; you should be able to close it comfortably with two hands and have some resistance when you lock the press.
Even out the application surface! Zippers, seams, v-necks or pockets affect the transfers by not allowing for a smooth pressing area. We recommend that you use pressing pillows or perfect pads to keep the area flat.
Make changes when needed! If you have a project that fails, don’t press another transfer using the same settings. You may need to recheck the application instructions or modify the temperature or pressure on your heat press to ensure a better end product.
Know how to layer vinyl! If you are planning on layering two different colors of vinyl, set your heat press for half of the time, it calls for. You’ll press the first color for a few seconds; then, you’ll add your second color and press it for the full length of time listed on our website. Make sure that all HTV is protected by the clear backing and your nonstick sheet.
Place the designs carefully! Be careful when deciding on placement for your design- if possible, let the seams from the neckline, sides, sleeves, and bottom hang over the side of the heat press as seams can get in the way resulting in uneven pressure. This could cause the vinyl not to apply correctly.
