Calling all vinyl addicts! We have recently expanded our vinyl inventory to include sign vinyl, which can be applied to a variety of surfaces without heat. Check out our post a few weeks back on how to apply vinyl to a planter.
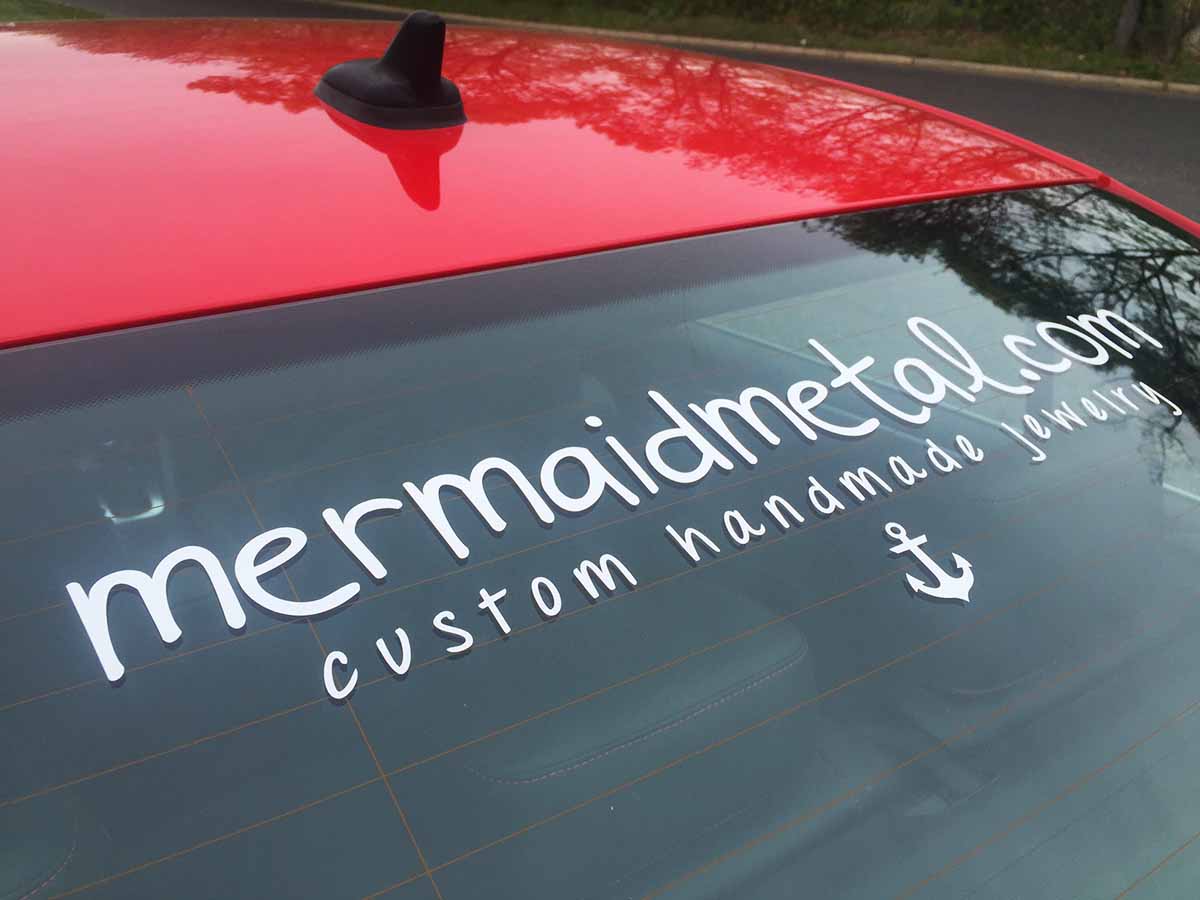
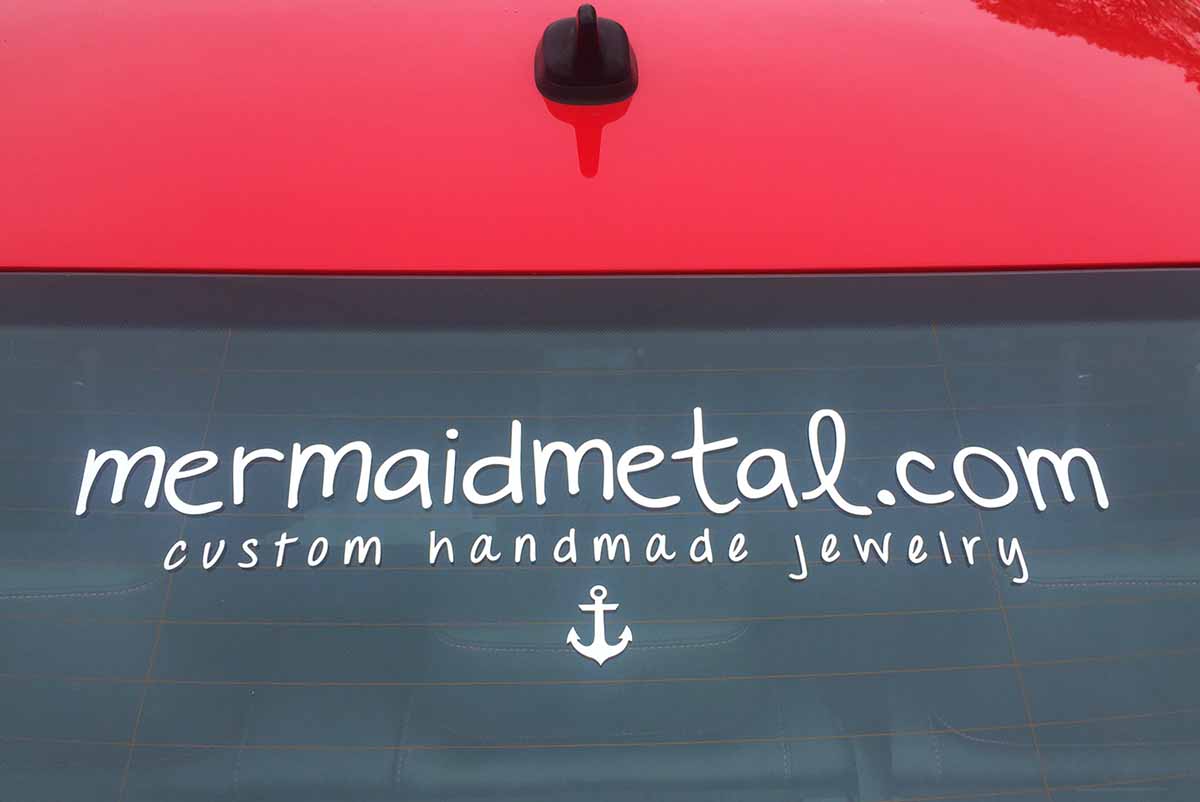
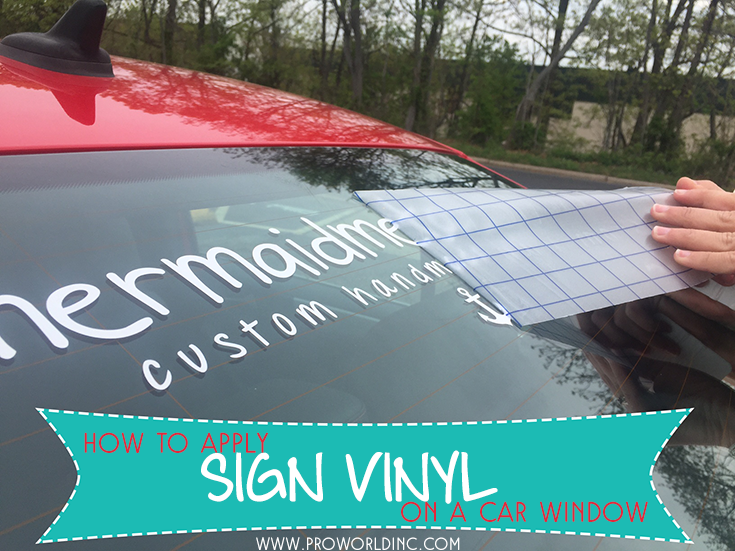
Today, we will show you how to apply our FDC High Gloss vinyl to a car window. This is a great way to add a personal touch to your vehicle, whether you may be advertising your business or creating your own unique stick figure family!
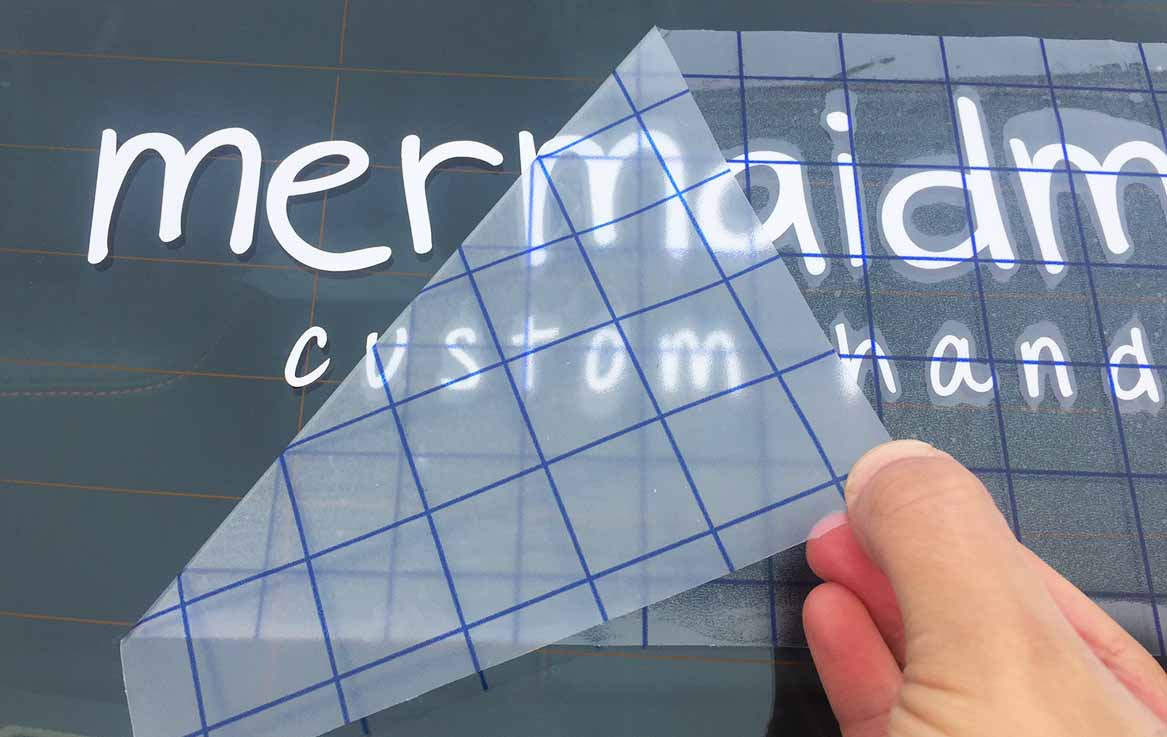
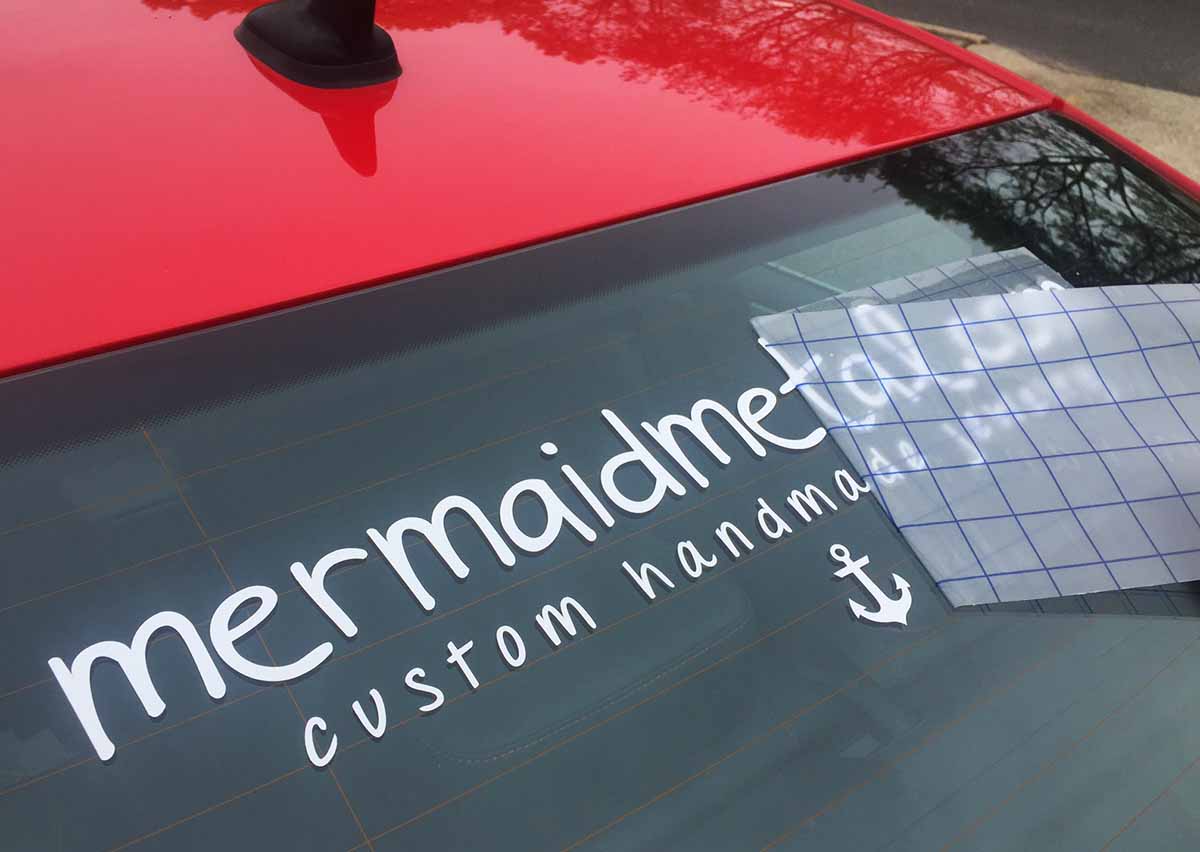
This process only takes a few minutes, but does require you to work slowly, especially when working with a larger design area. You want to pay careful attention to make sure that the design is transferred smoothly and evenly.
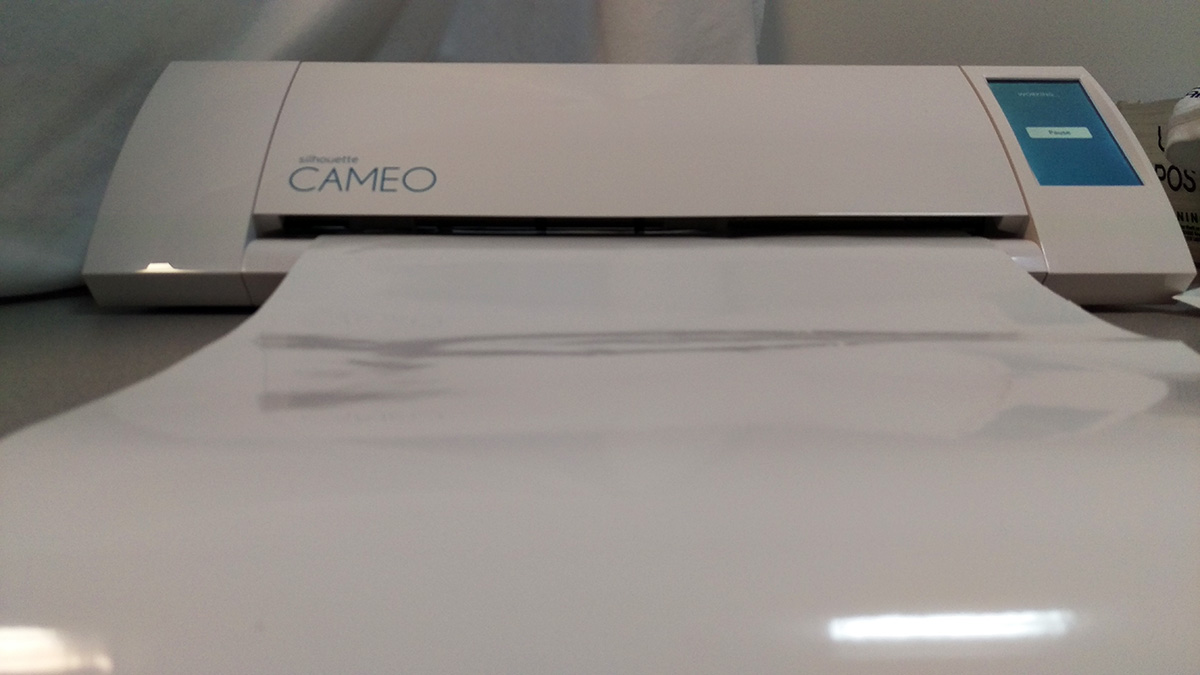
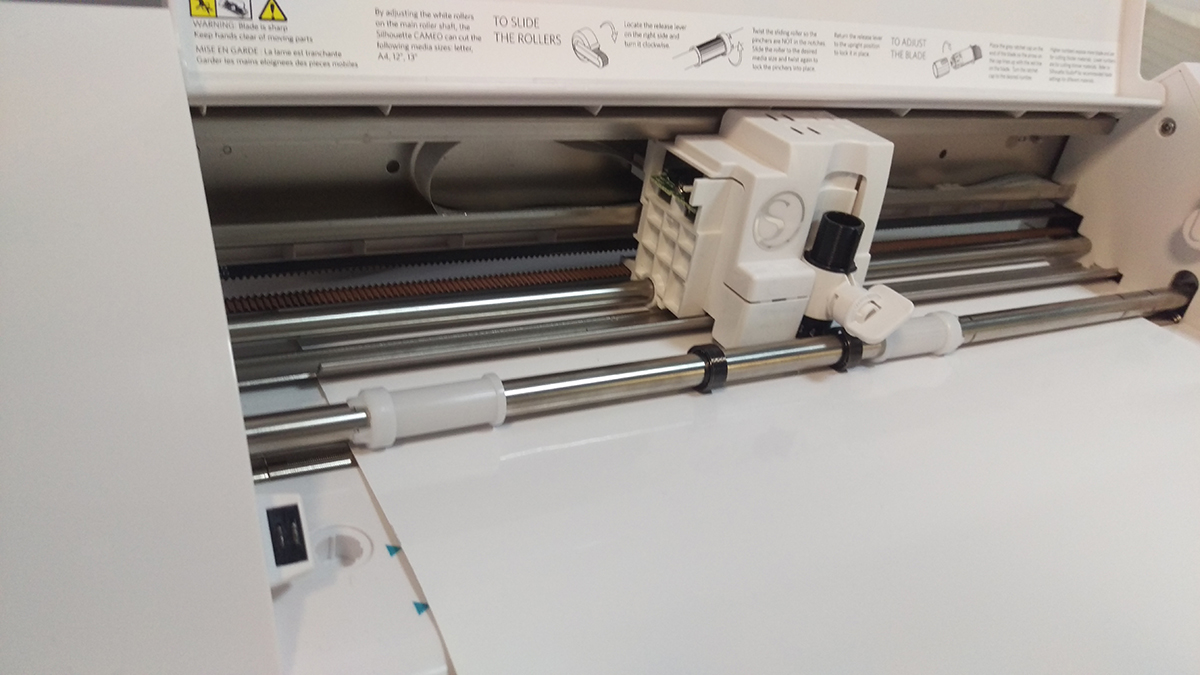
I started off by creating my design in Adobe Illustrator, and exporting the file as an AutoCAD Interchange File (*.DXF) to work with our in-house Silhouette cutter. I loaded my white glossy vinyl into the cutter, and off to work it went!
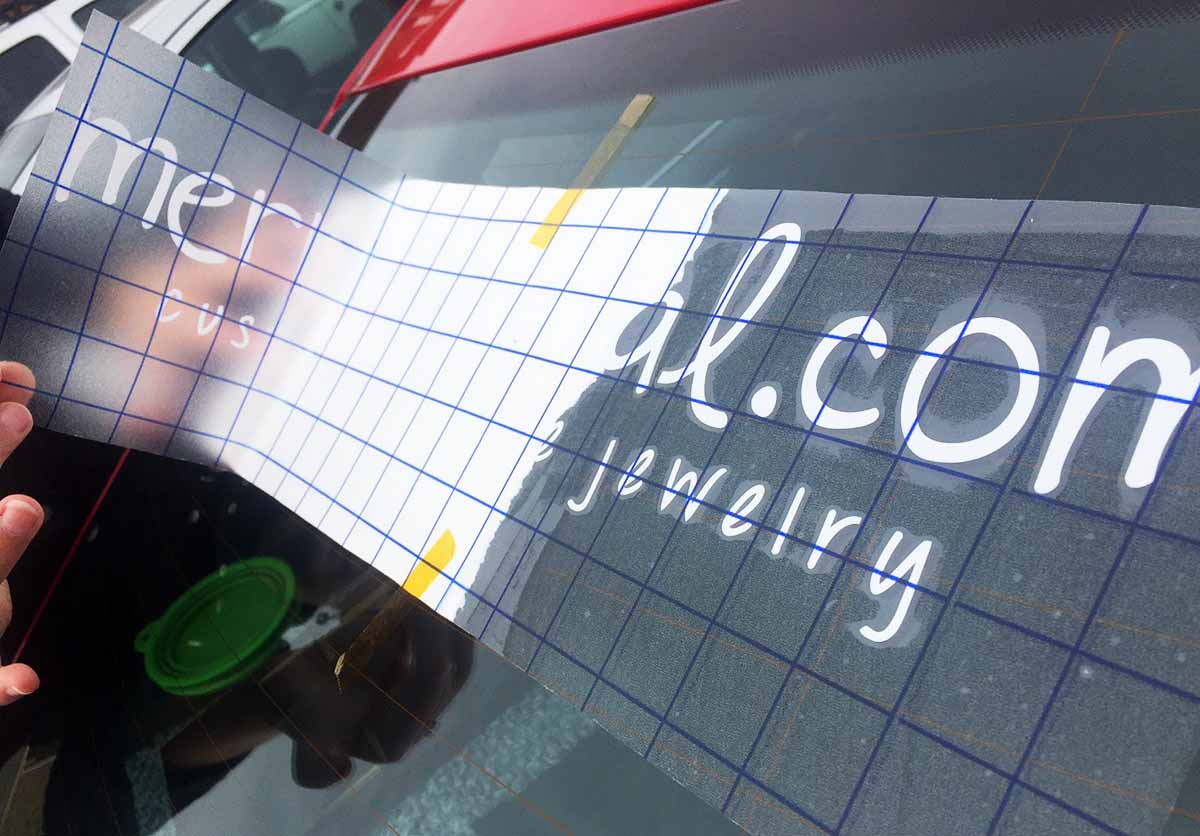
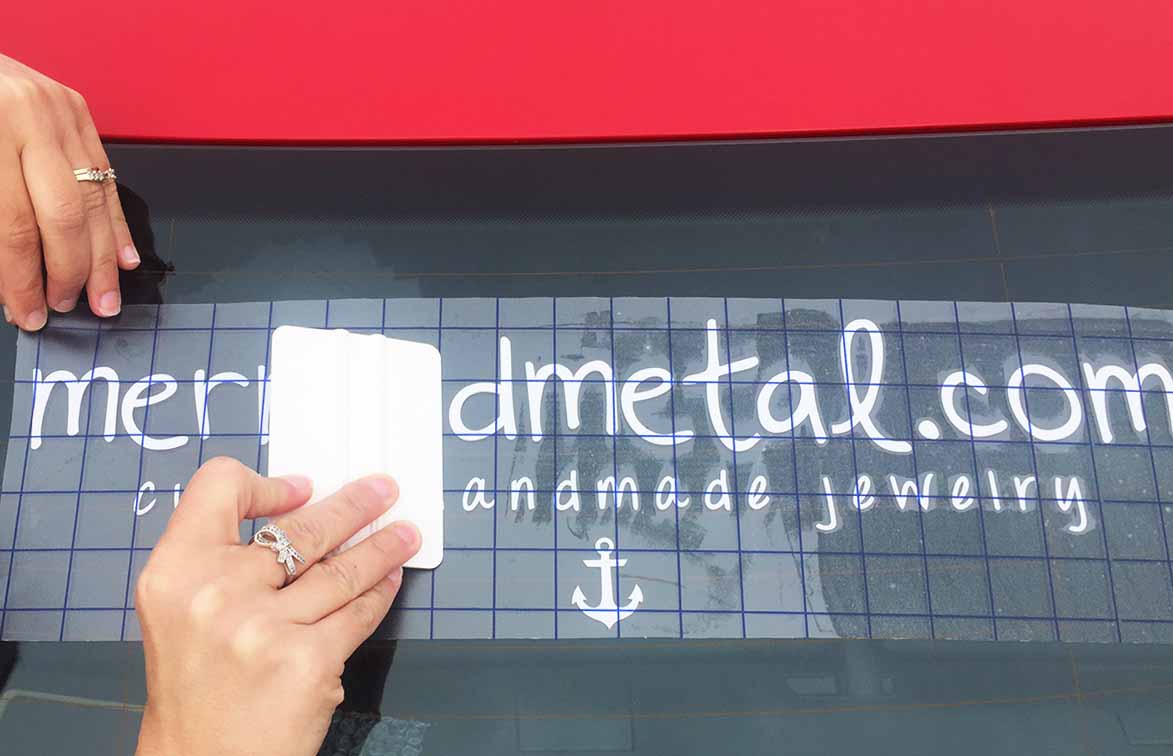
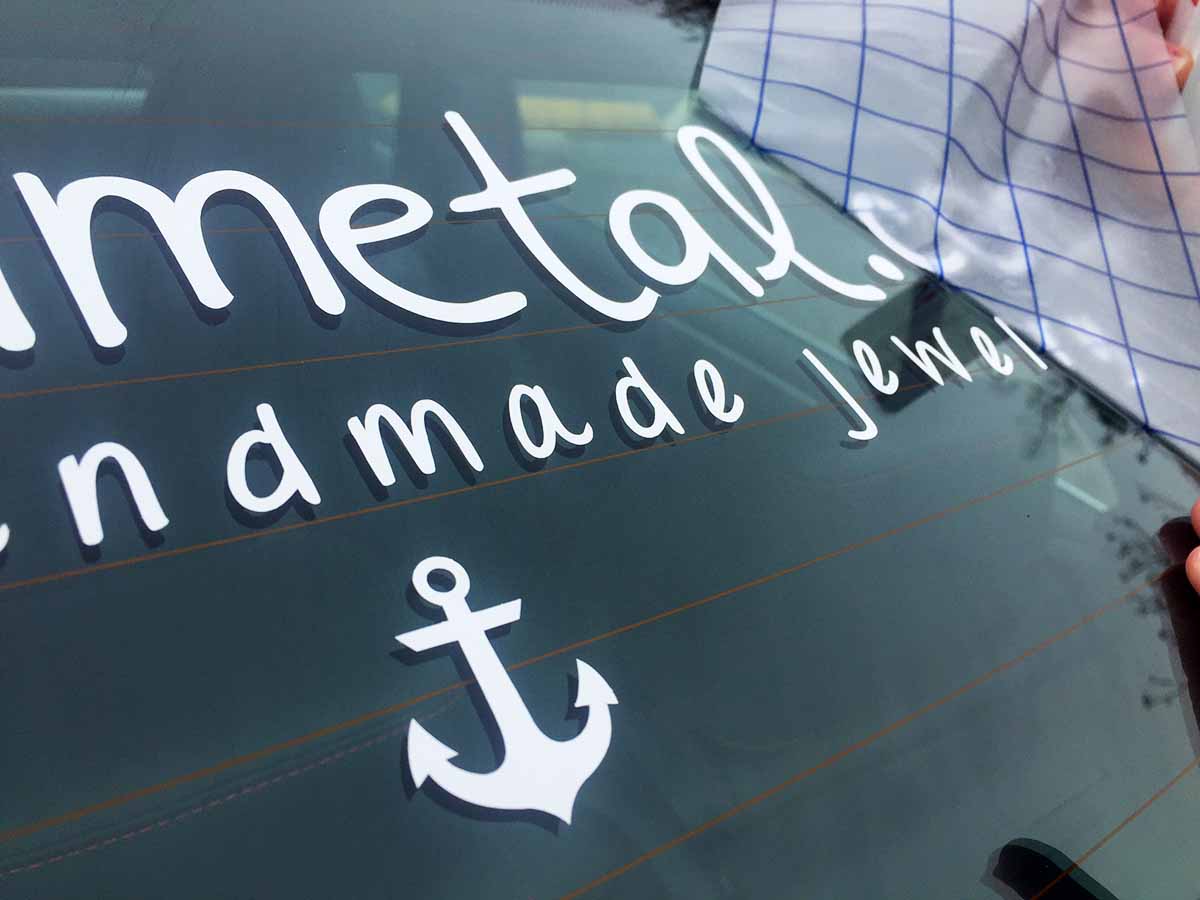
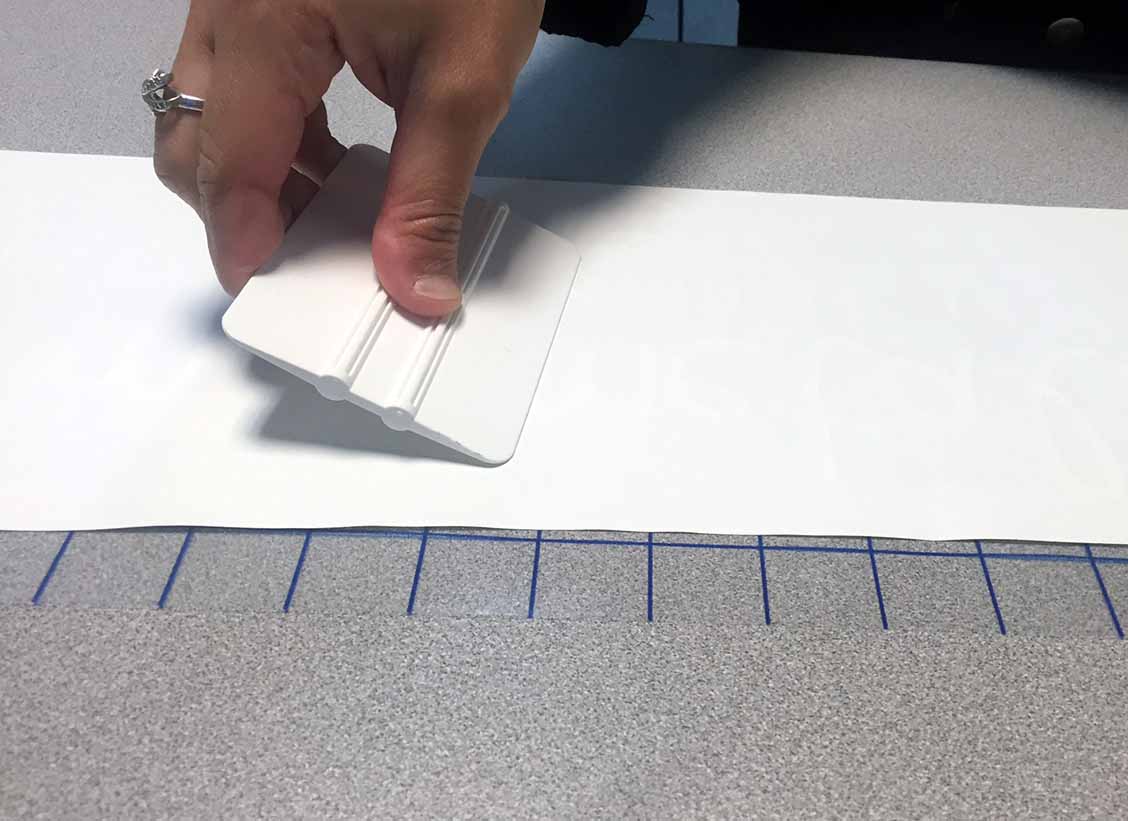
After the design is cut, I used a weeding tool to weed away the excess material. Next, I cut a piece of gridded clear/blue application tape to the size of my design, peeled the backing off the tape, and applied the adhesive side of the tape to the vinyl. Prepare the sticker for application by firmly rubbing a squeegee or credit card across the clear transfer tape to remove any air bubbles that may have formed.
Before applying the vinyl, you want to make sure your surface area is cleaned thoroughly, using either rubbing alcohol or soap & water. Stay away from Windex or similar products – they will leave a residue behind that will prevent the vinyl from bonding well. Make sure the freshly cleaned area is as dry as possible before applying your design.
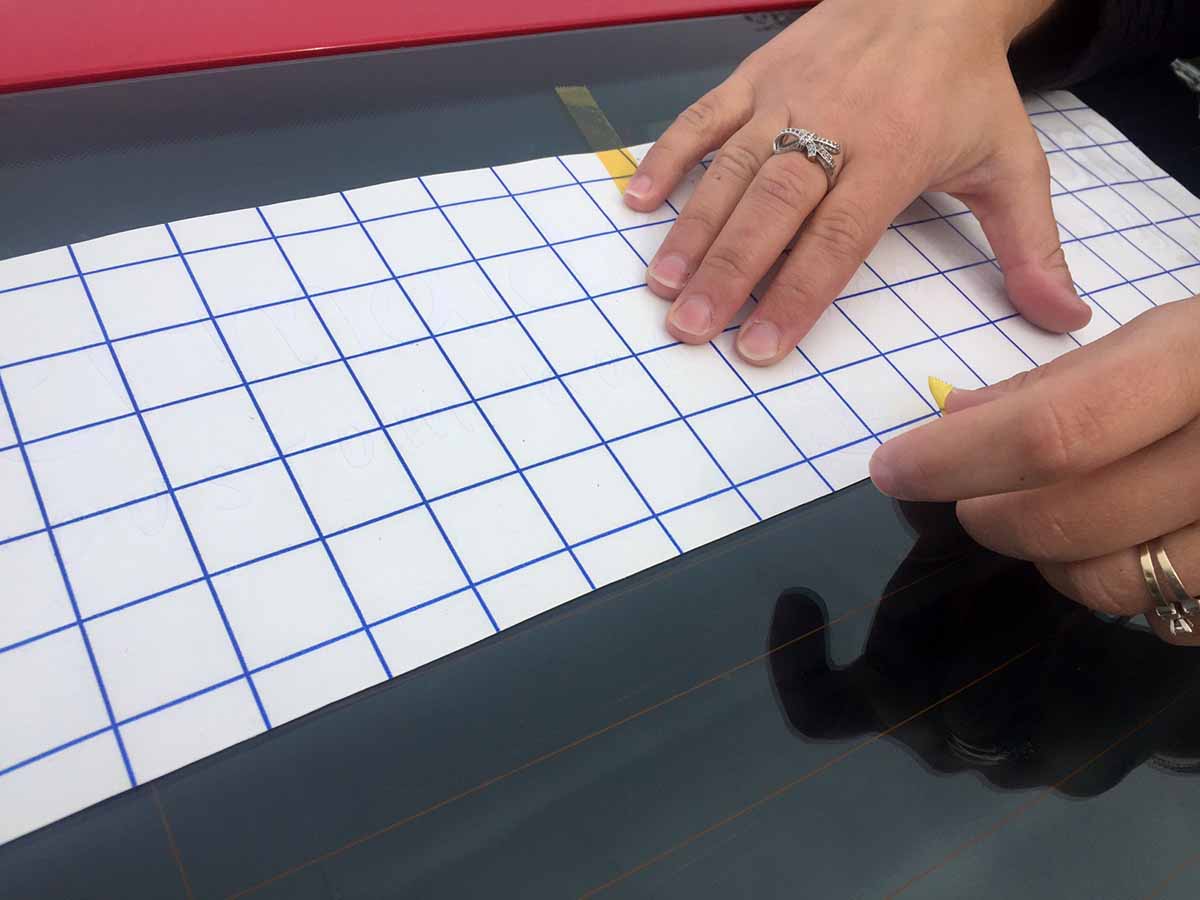
Before peeling the backing paper off, test the placement of your design on the window or windshield before adhering. Take this time to line up any text, and center your design. We used thermal tape to help keep the design in place as we did our aligning.