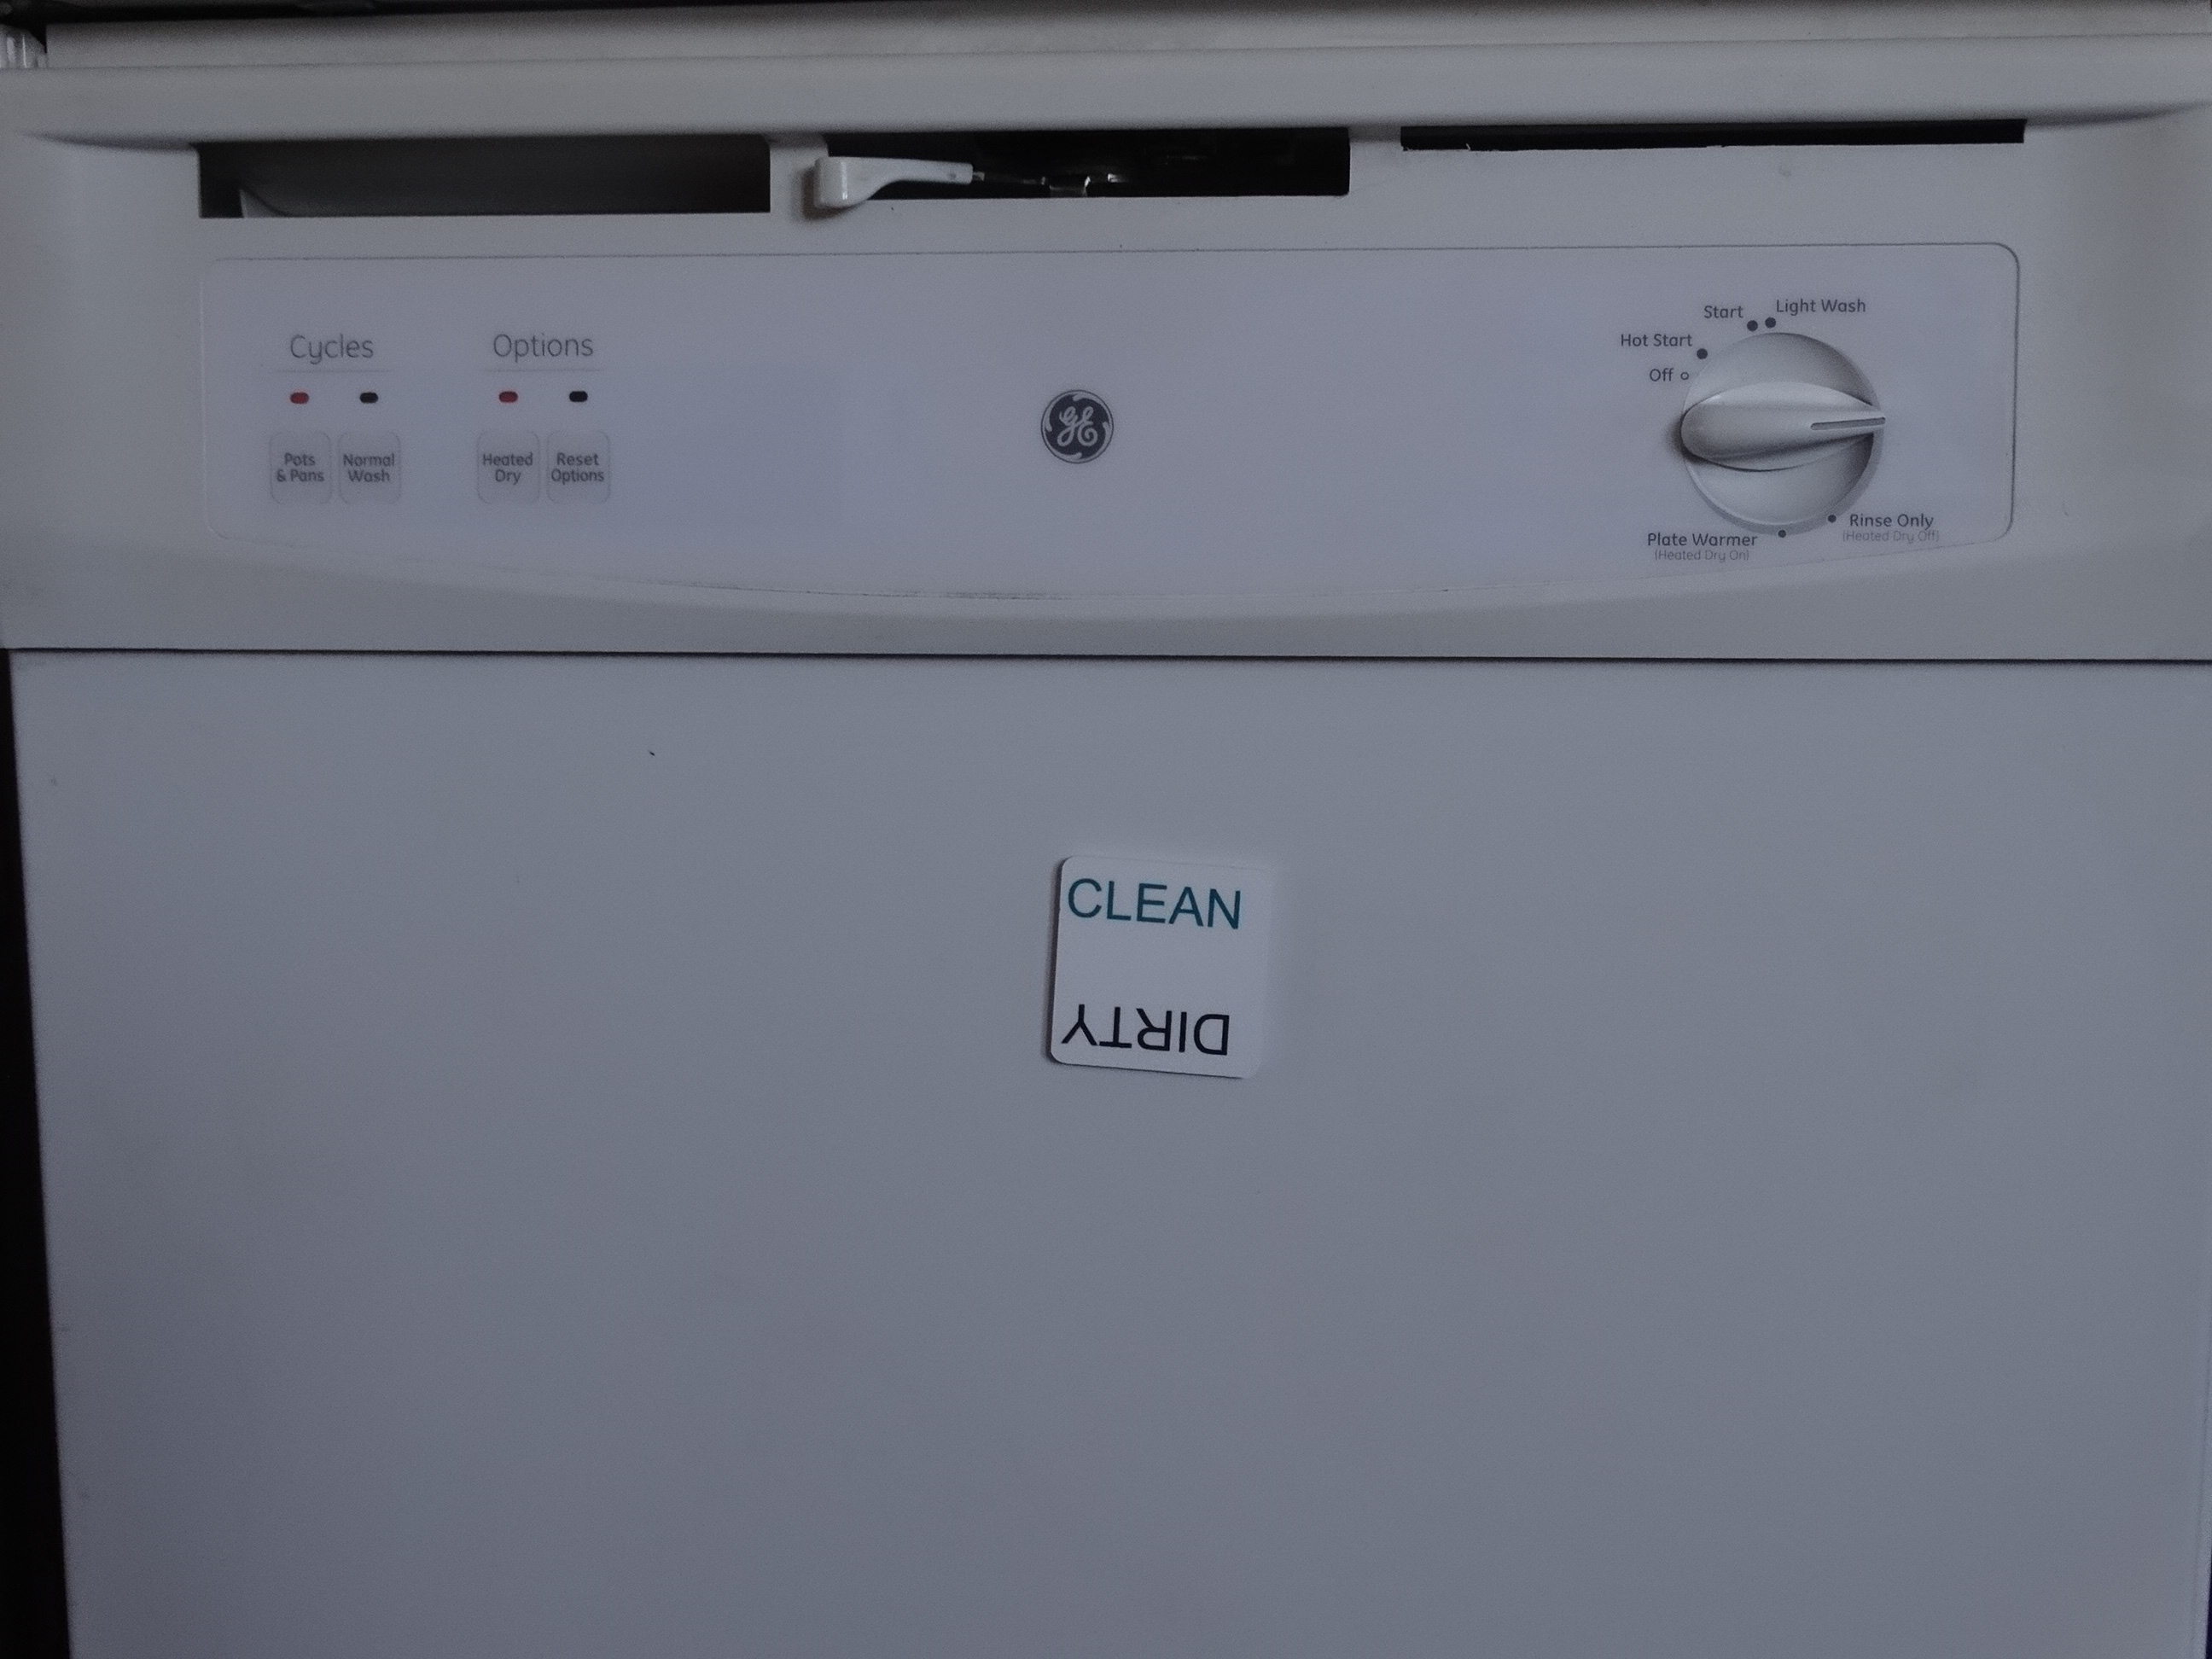
Today we are going to show you how to sublimate multiple magnet designs using the Creative Studio software while printing the images on one sheet of paper!
- You Need:
- Sublimation Printer
- Sublimation Paper
- Thermal Tape
- Computer
- Heat Press
- Magnet
1. Start by opening Creative Studio, which is located on the Sawgrass website.
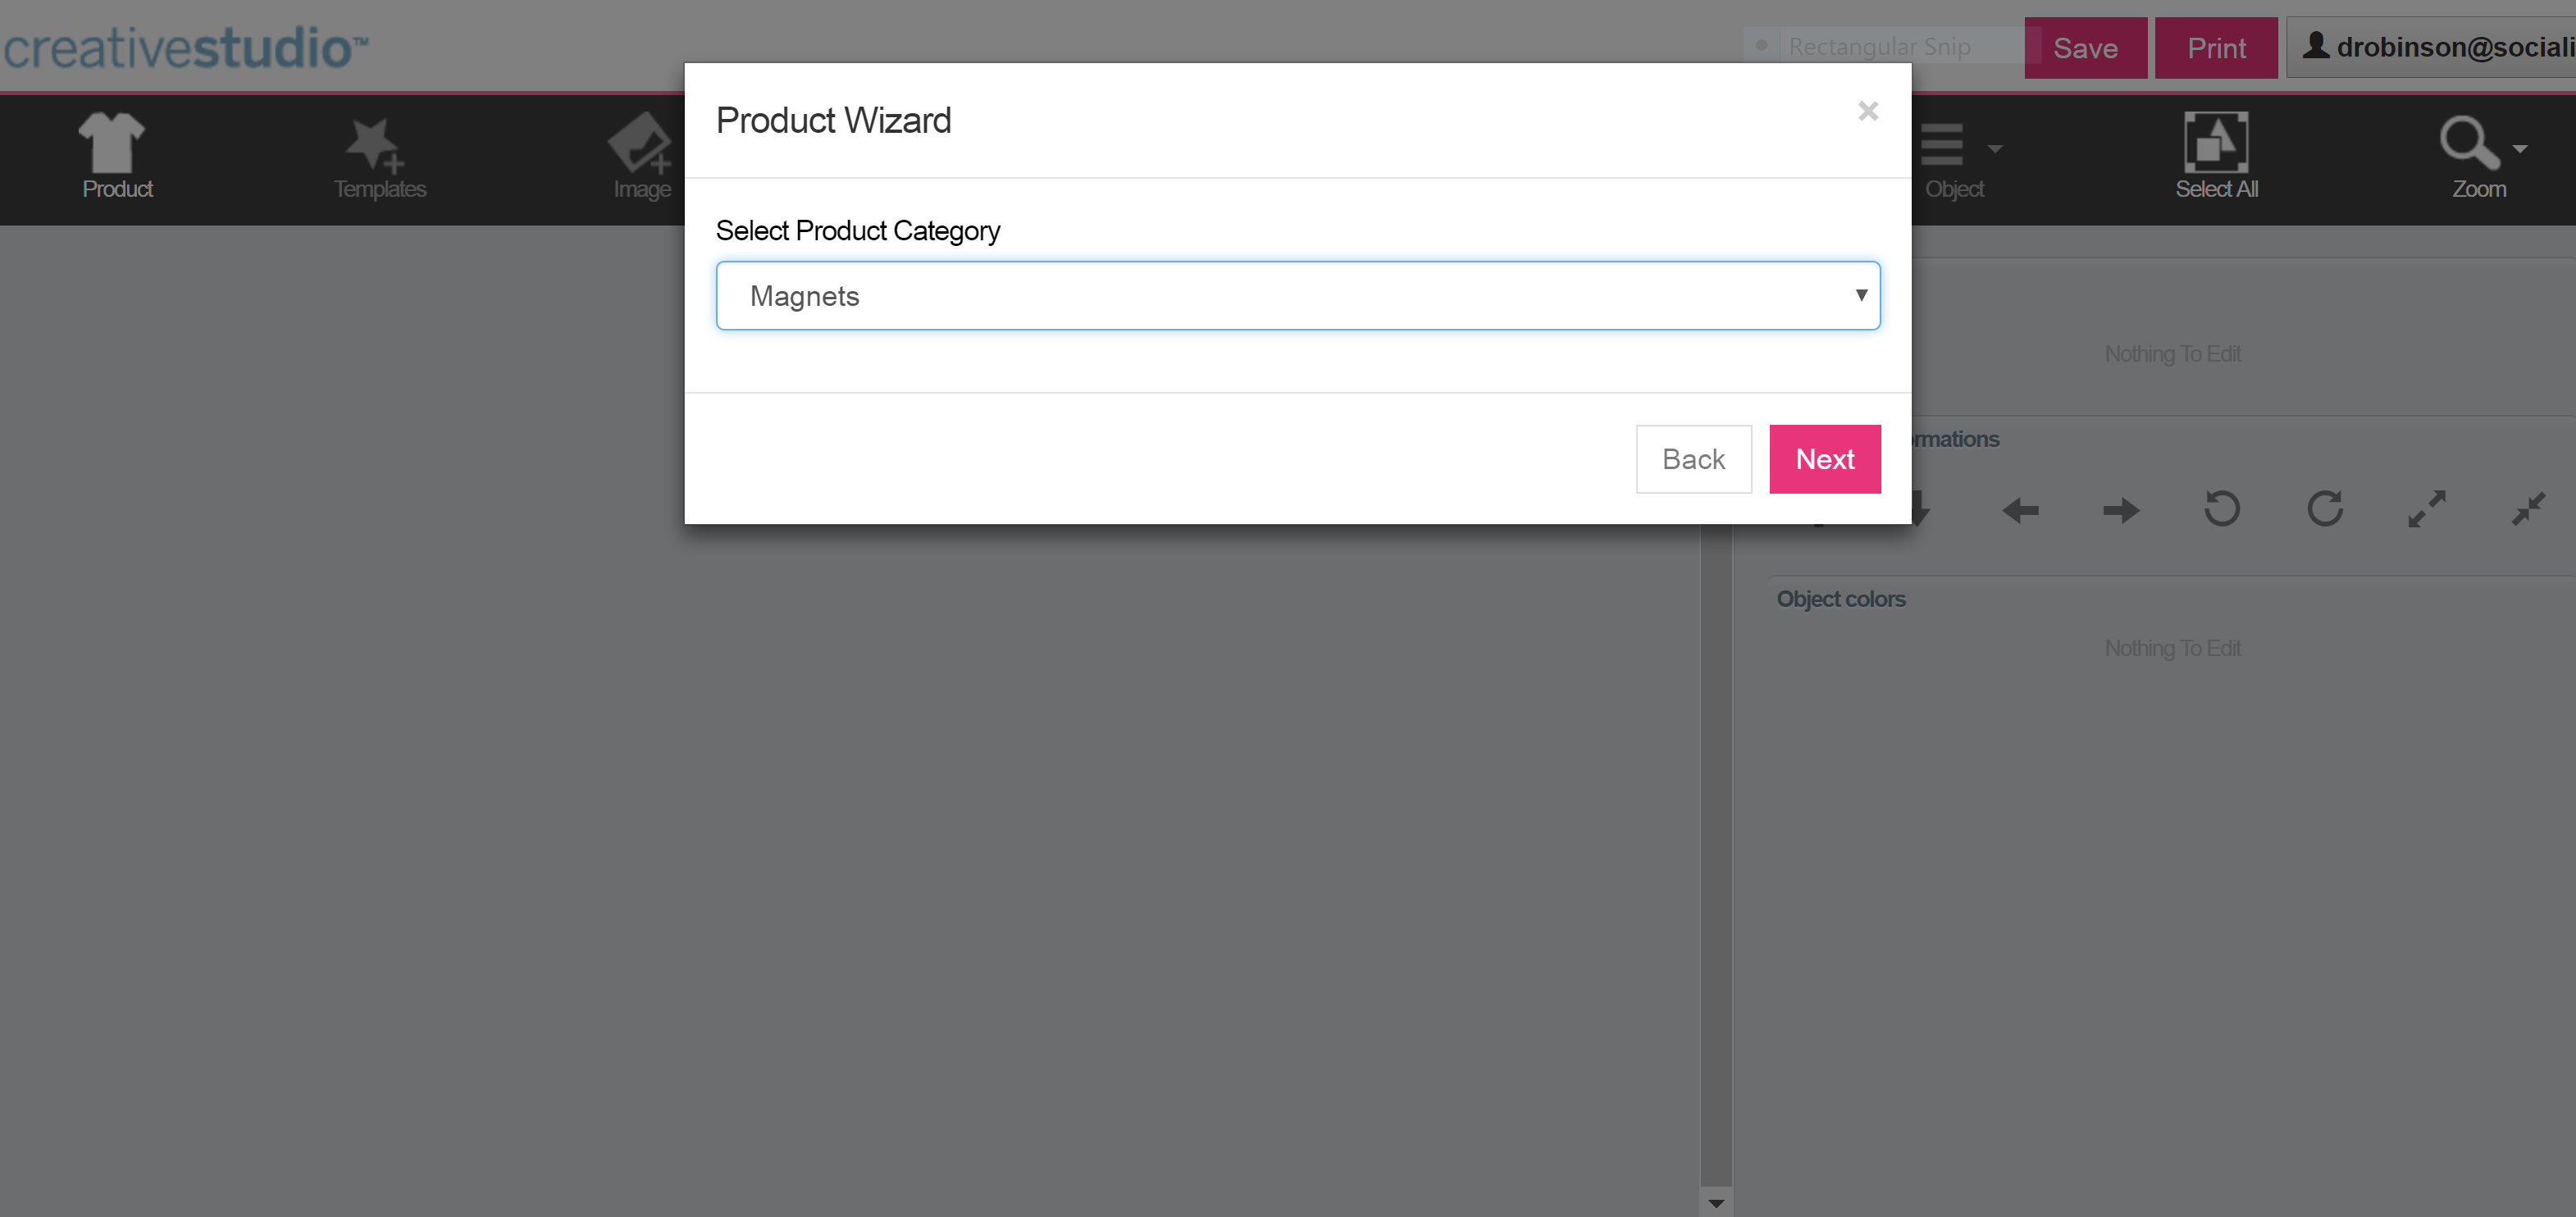
2. Select your product category.
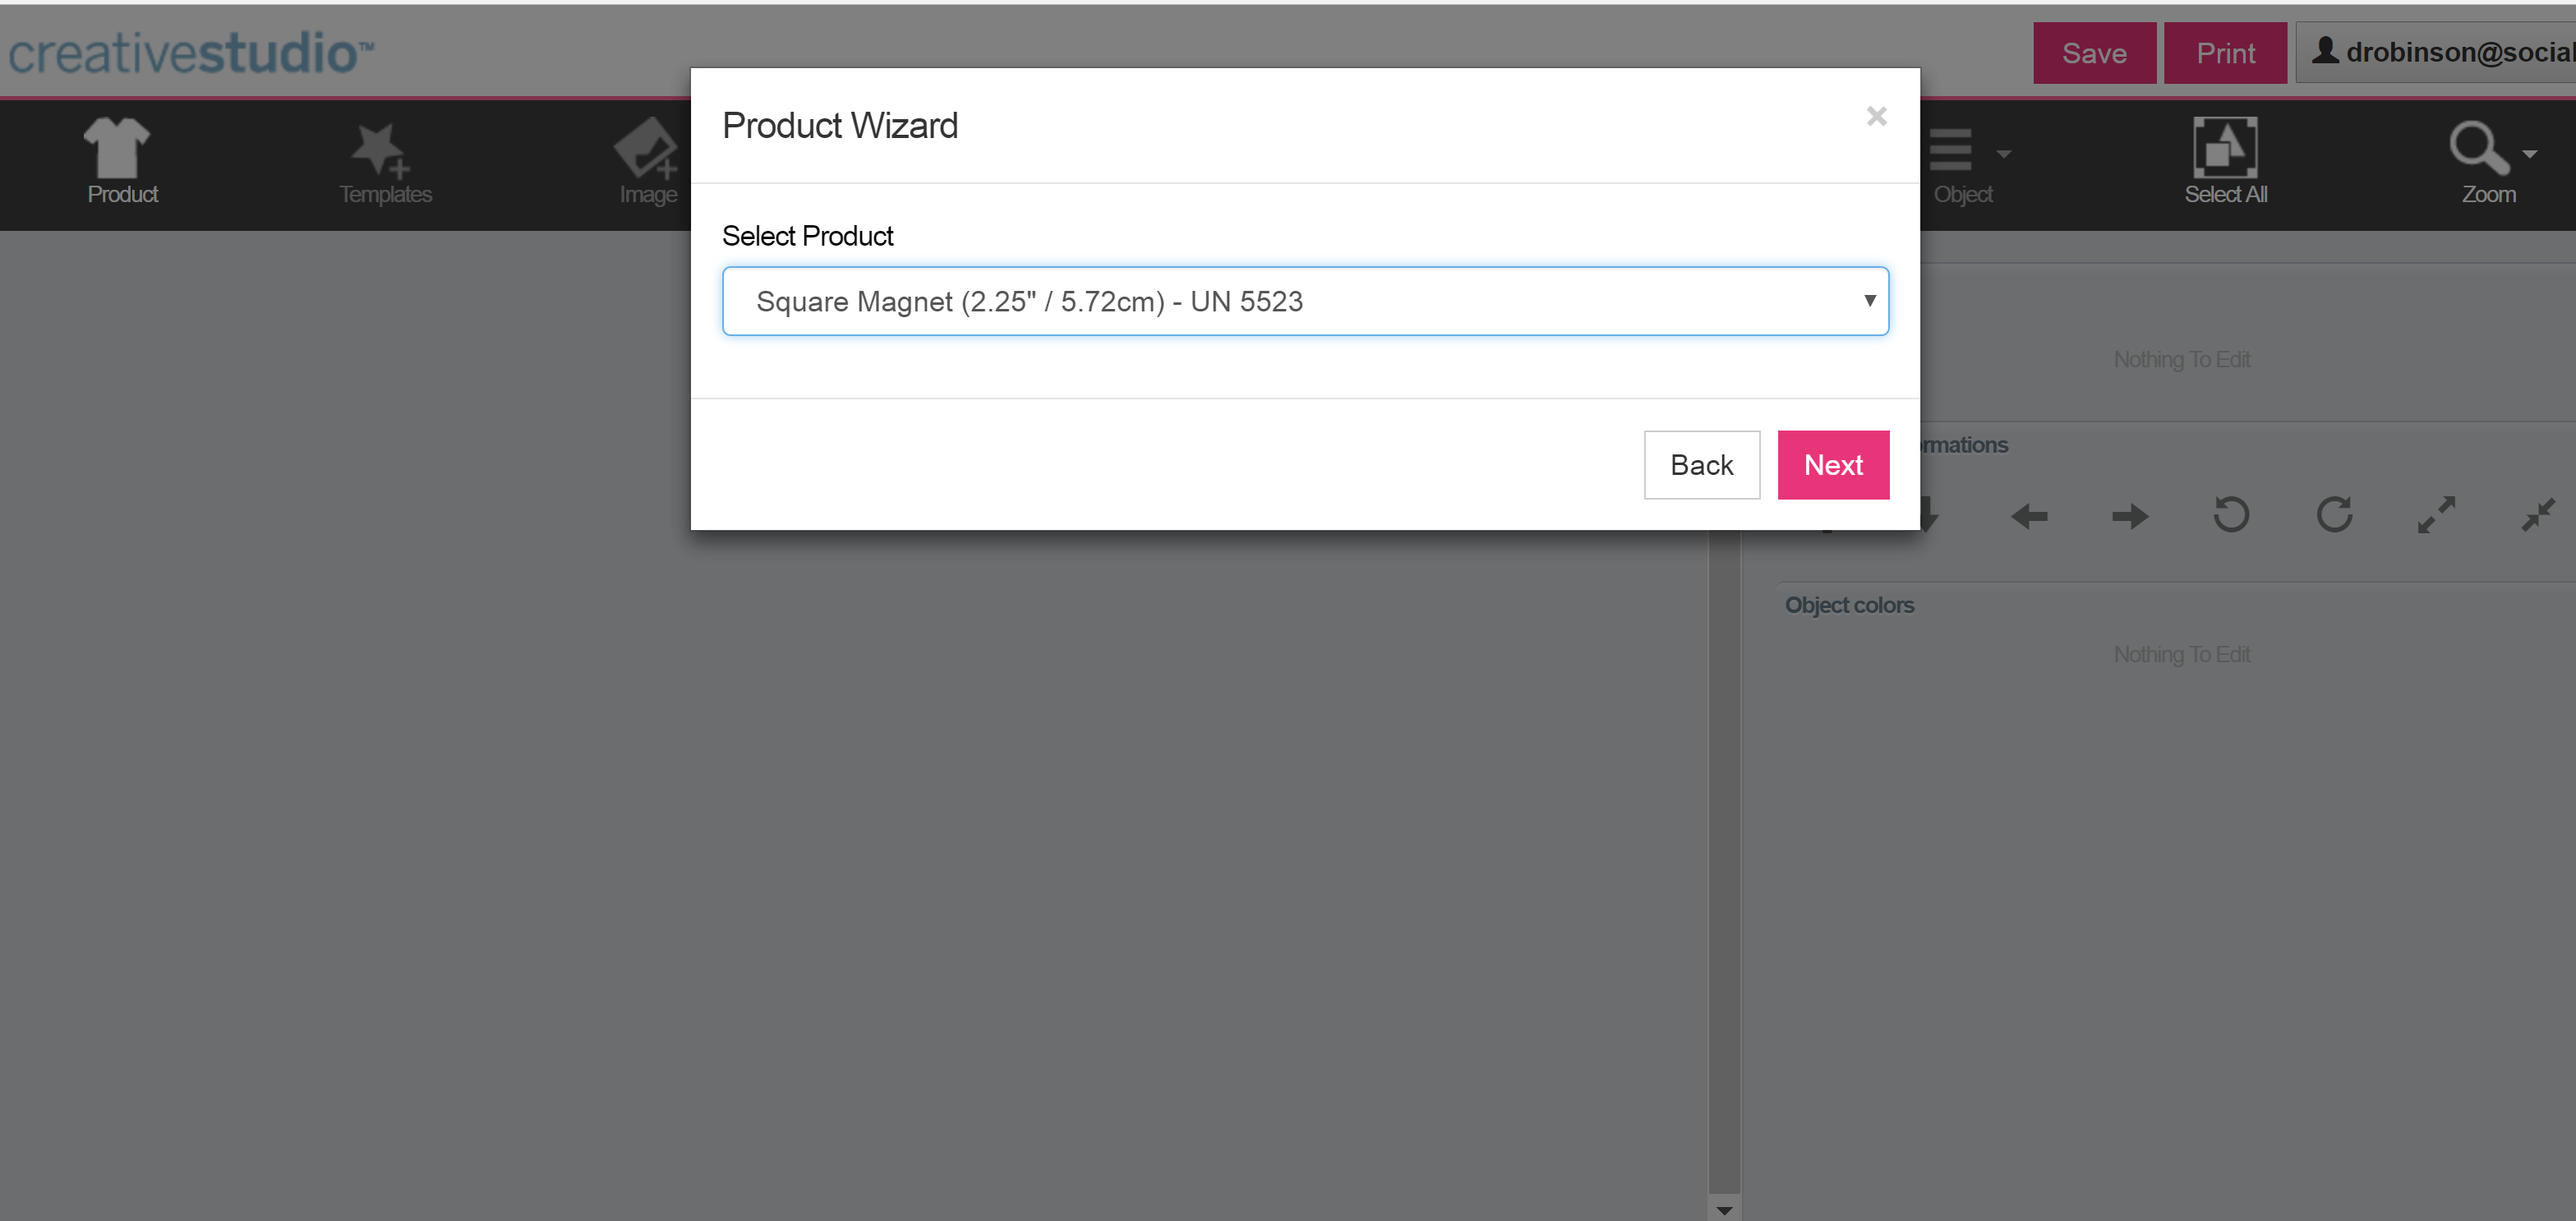
3. Select your product.
4. Select product color, product size and click start!
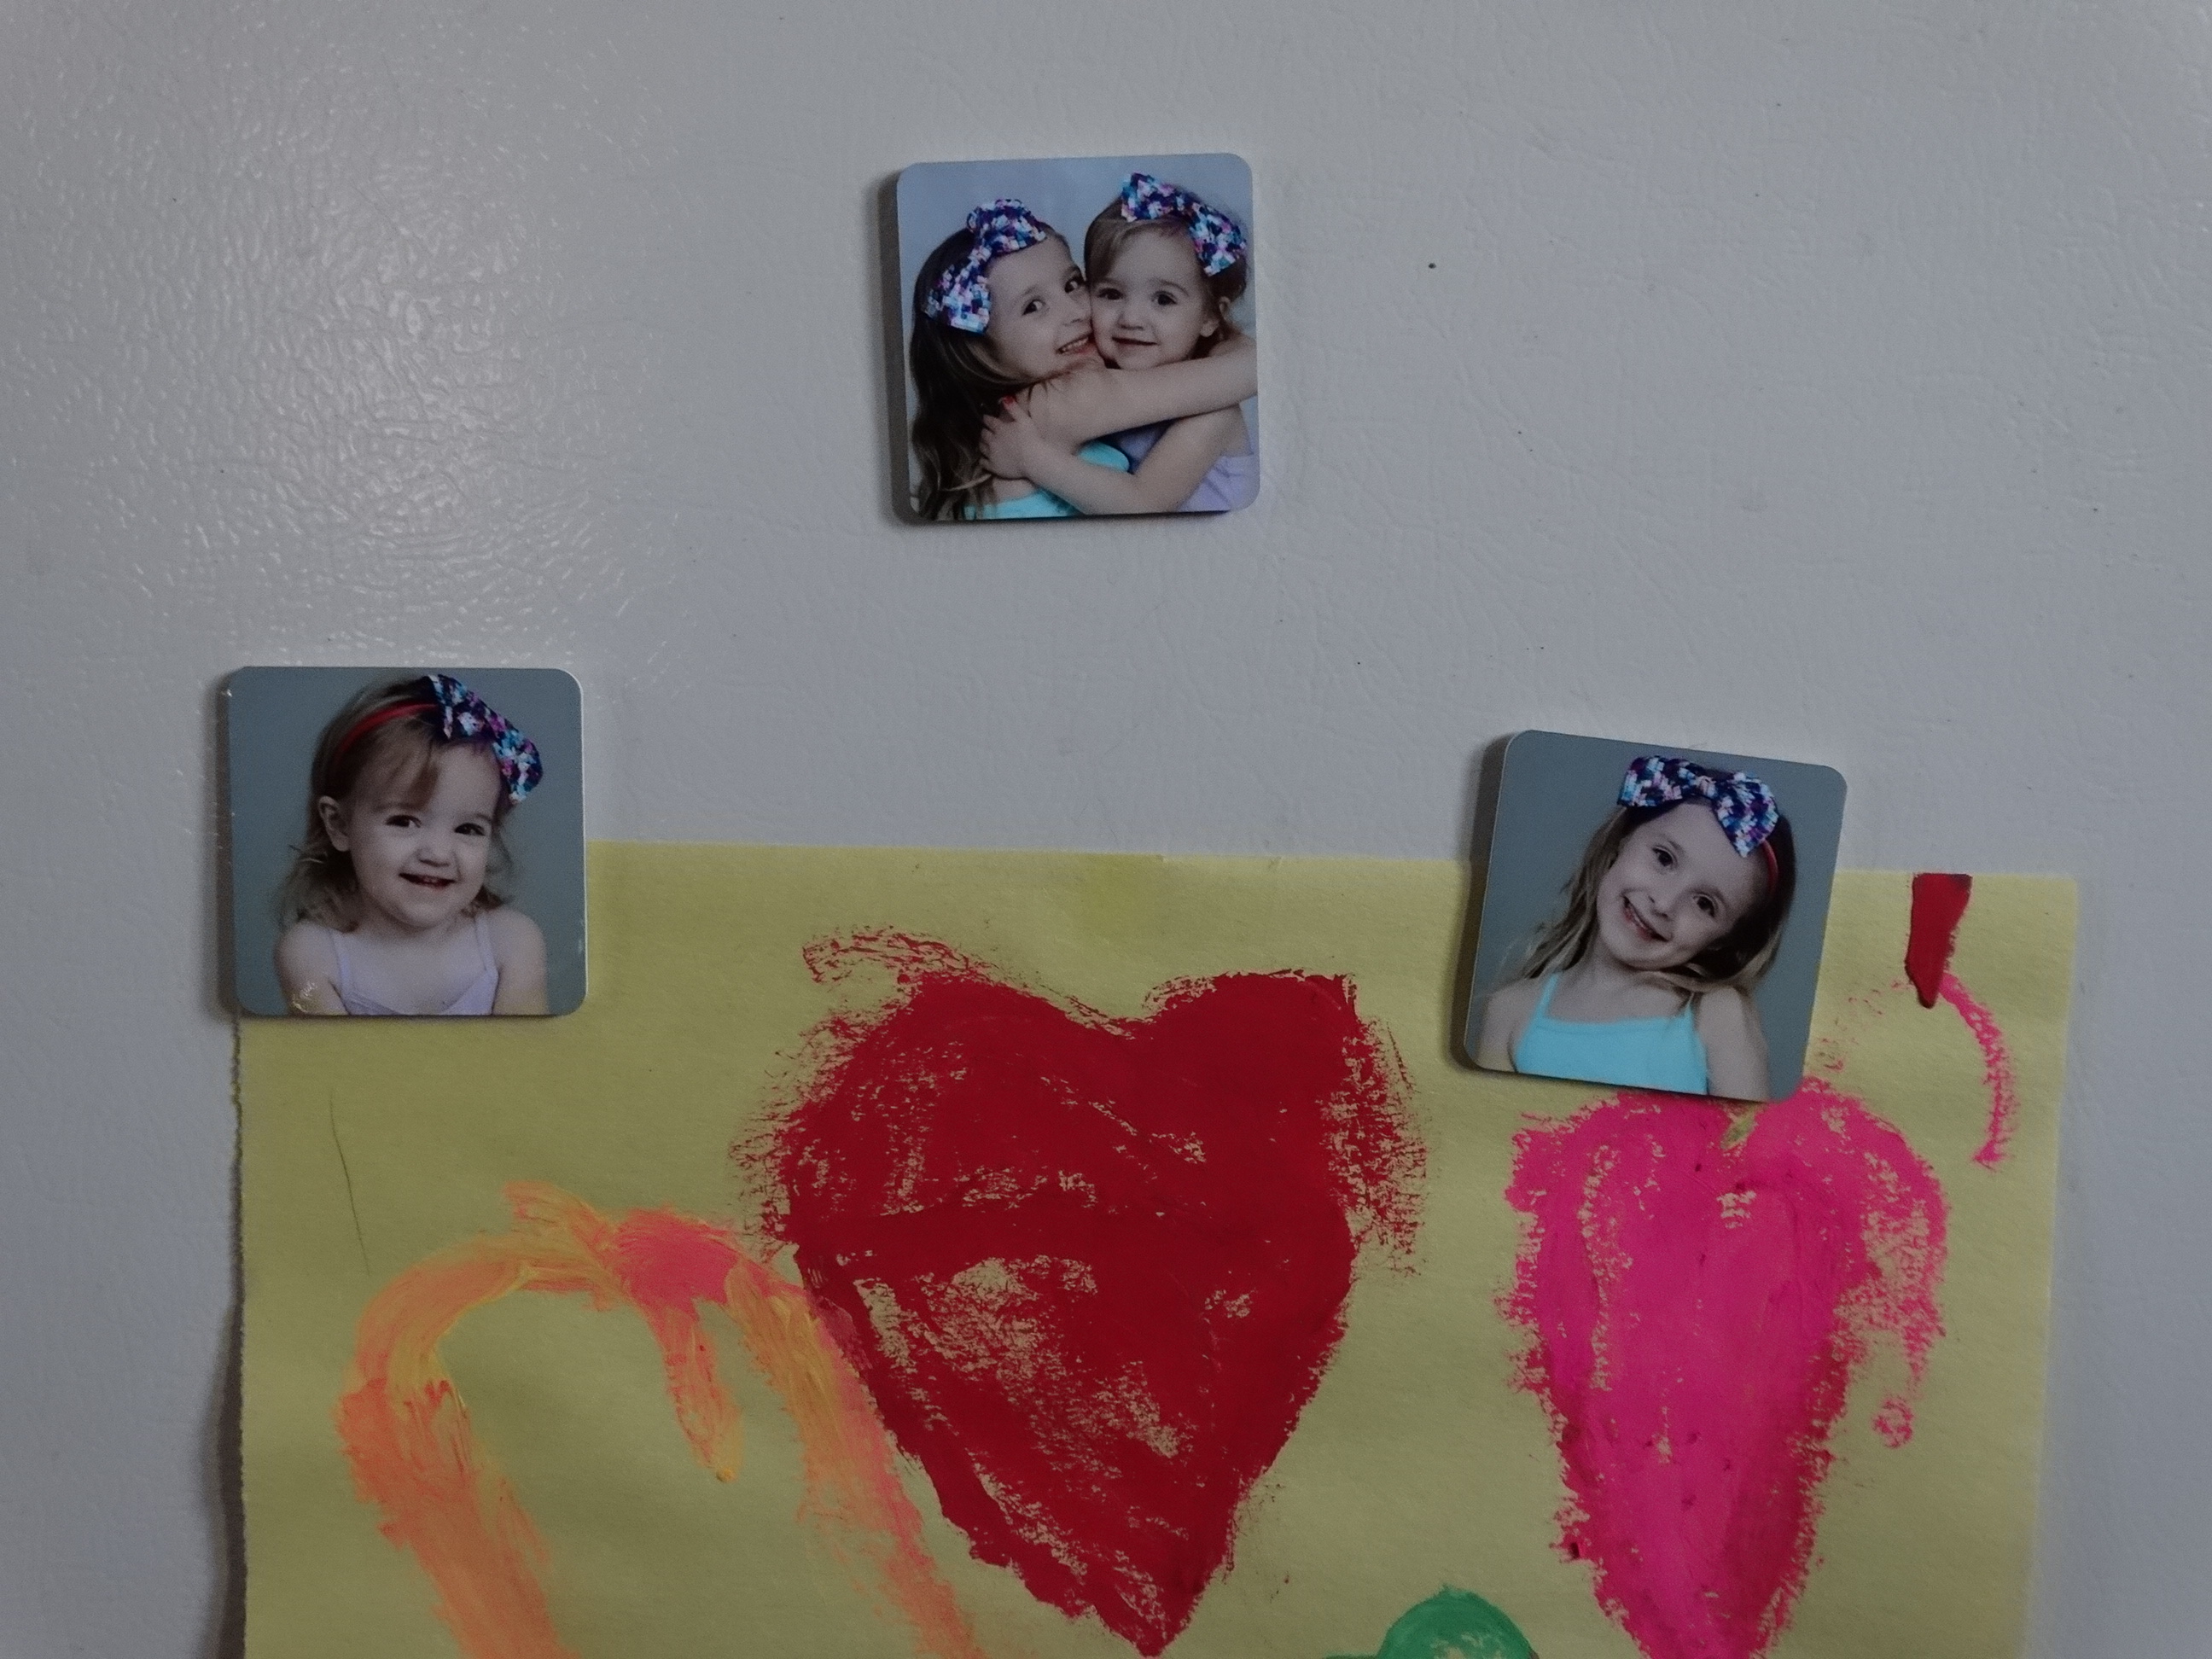
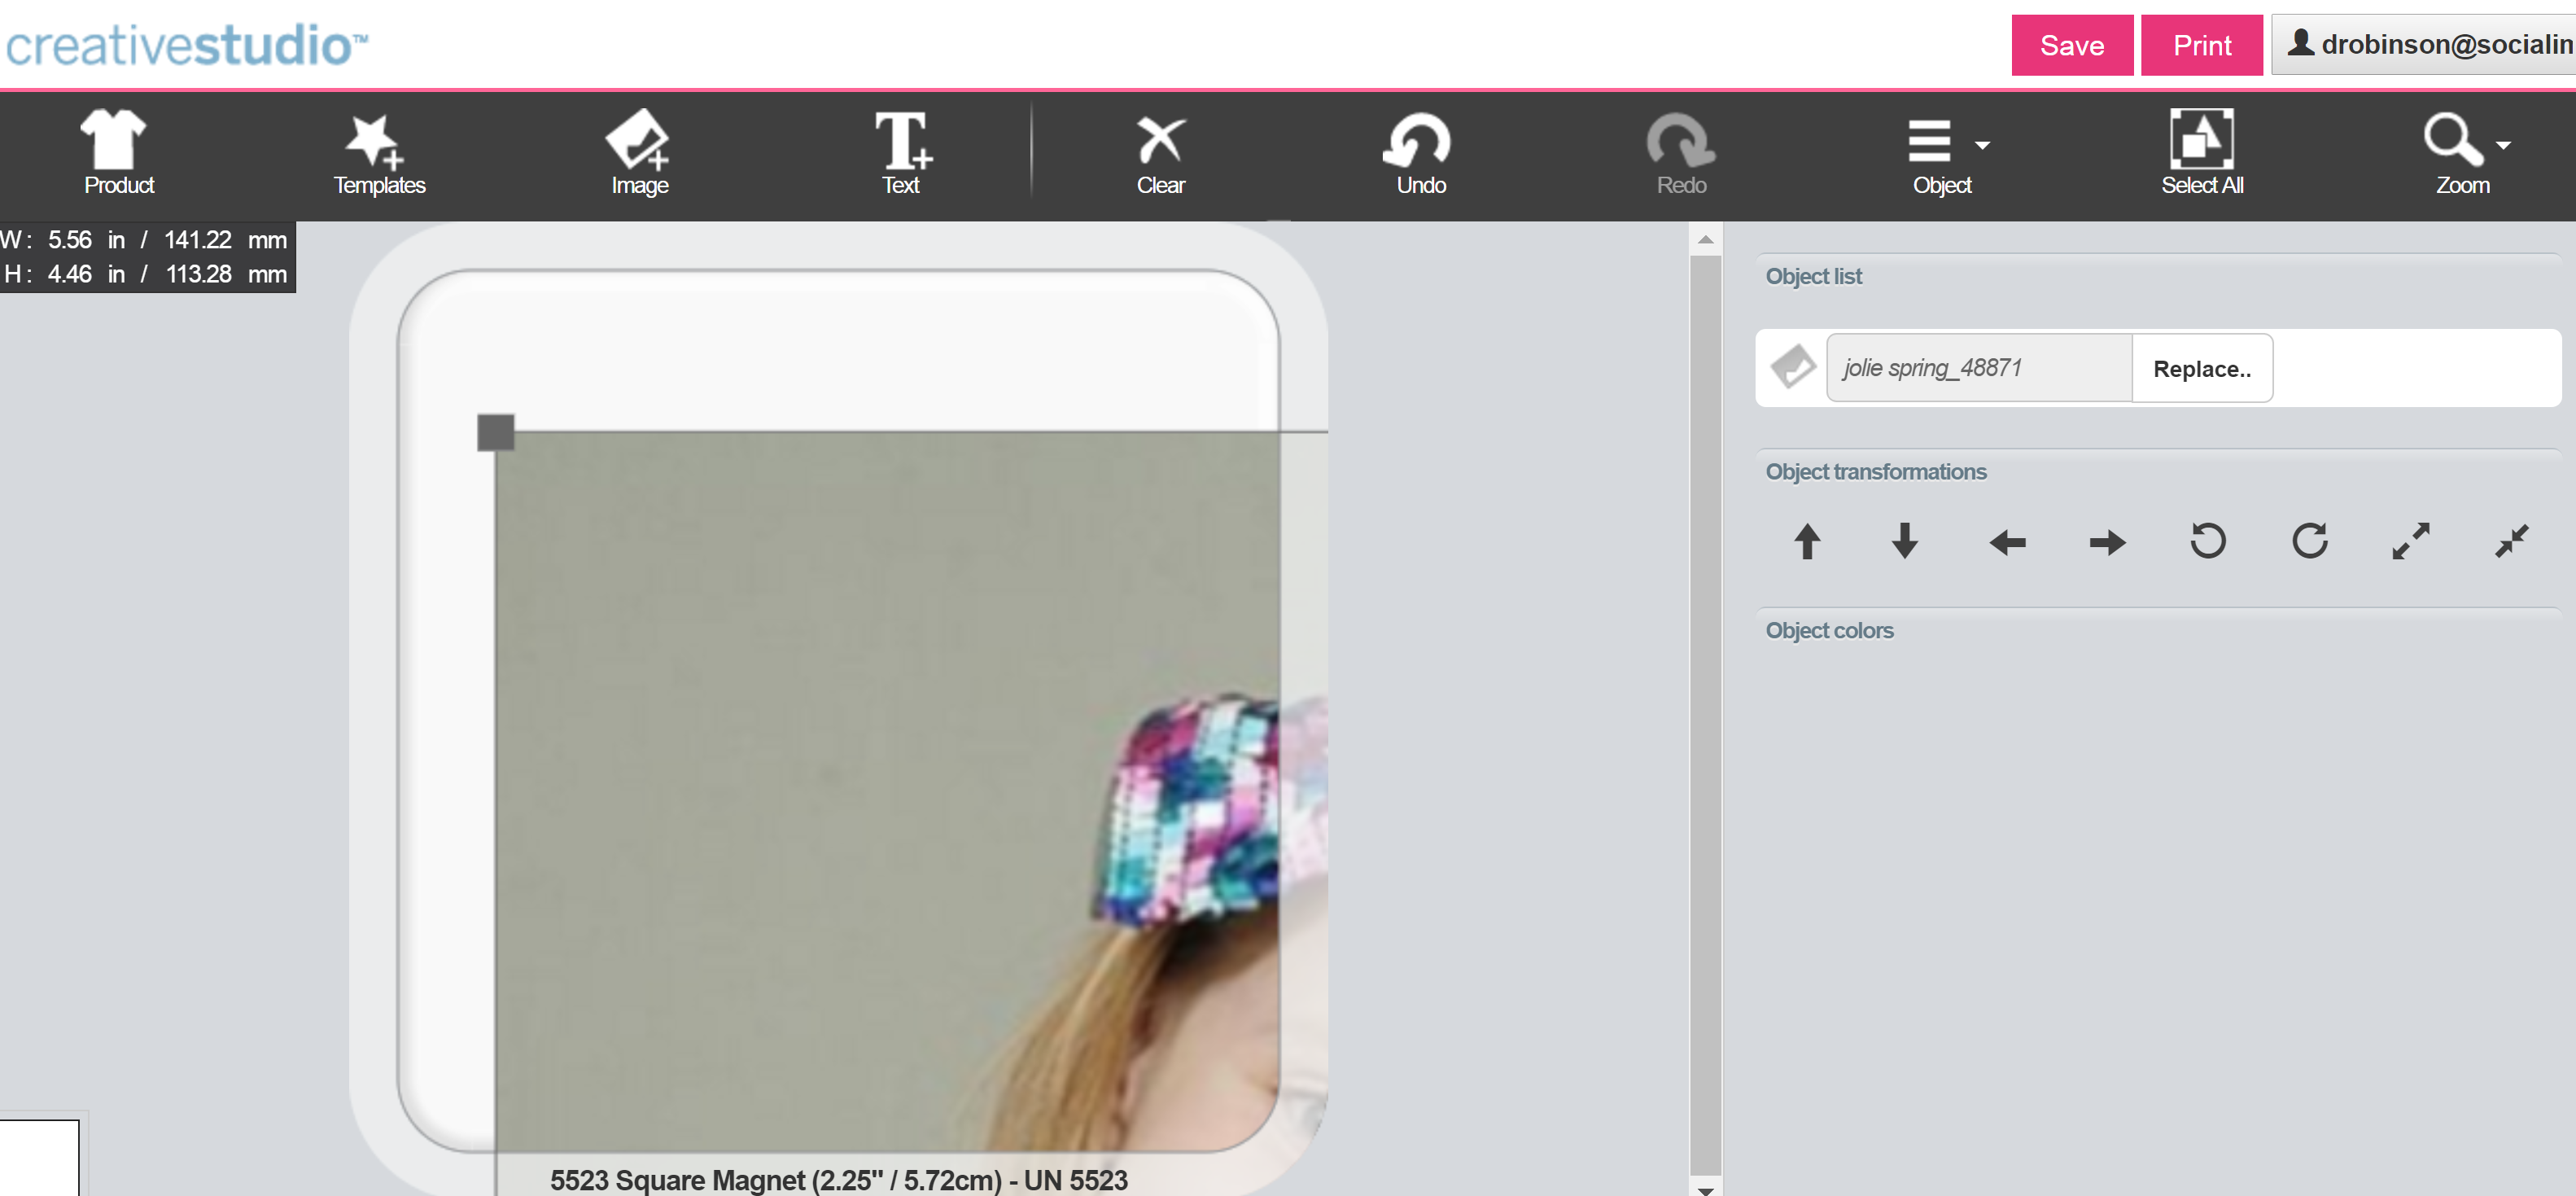
5.a. If you want to make a photo magnet click on the add image button, upload your image and resize it to fit the magnet.
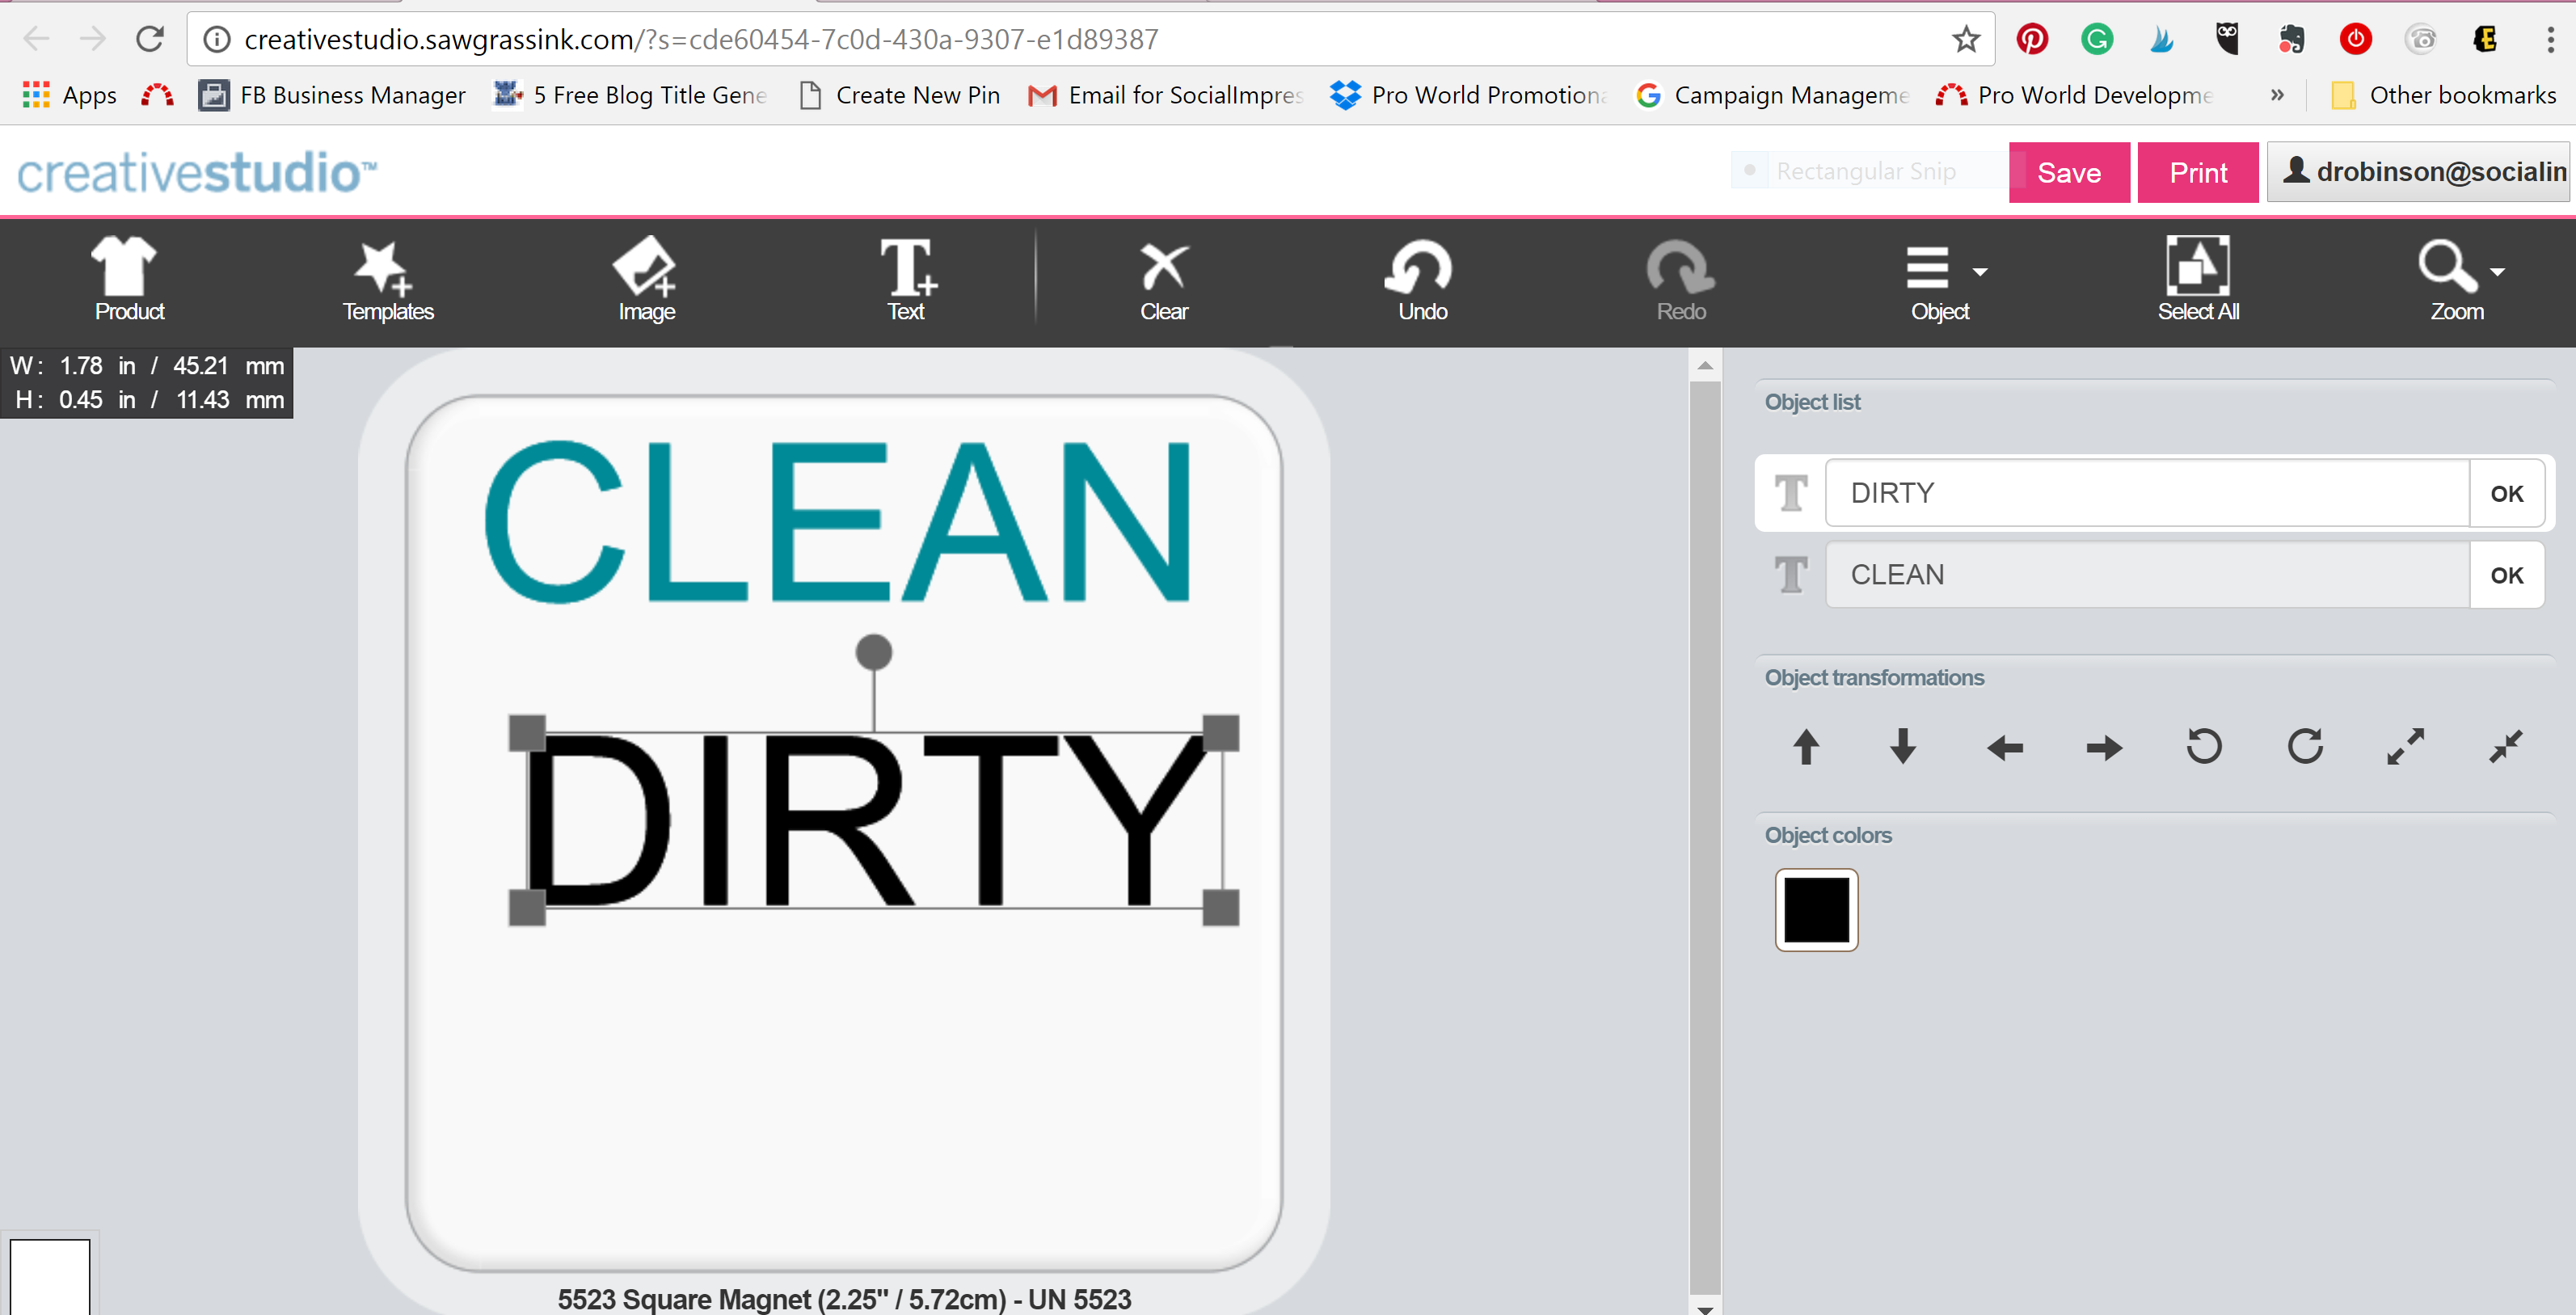
5.b. If you want to create a magnet with text, click on the Add, Text button.
6. Once your image reflects your vision. Click the Print button.
7. If you want to create multiple magnets, click the Print Button after each magnet is created. BUT do not open any downloads. Wait untill all of your designs are finished and then go to the top right corner, click on your email address, and the administration button.
8. Select each image that you would like to print.

9. Click Print.
10. This will generate a download, open it.
11. Select the Group Images Button.
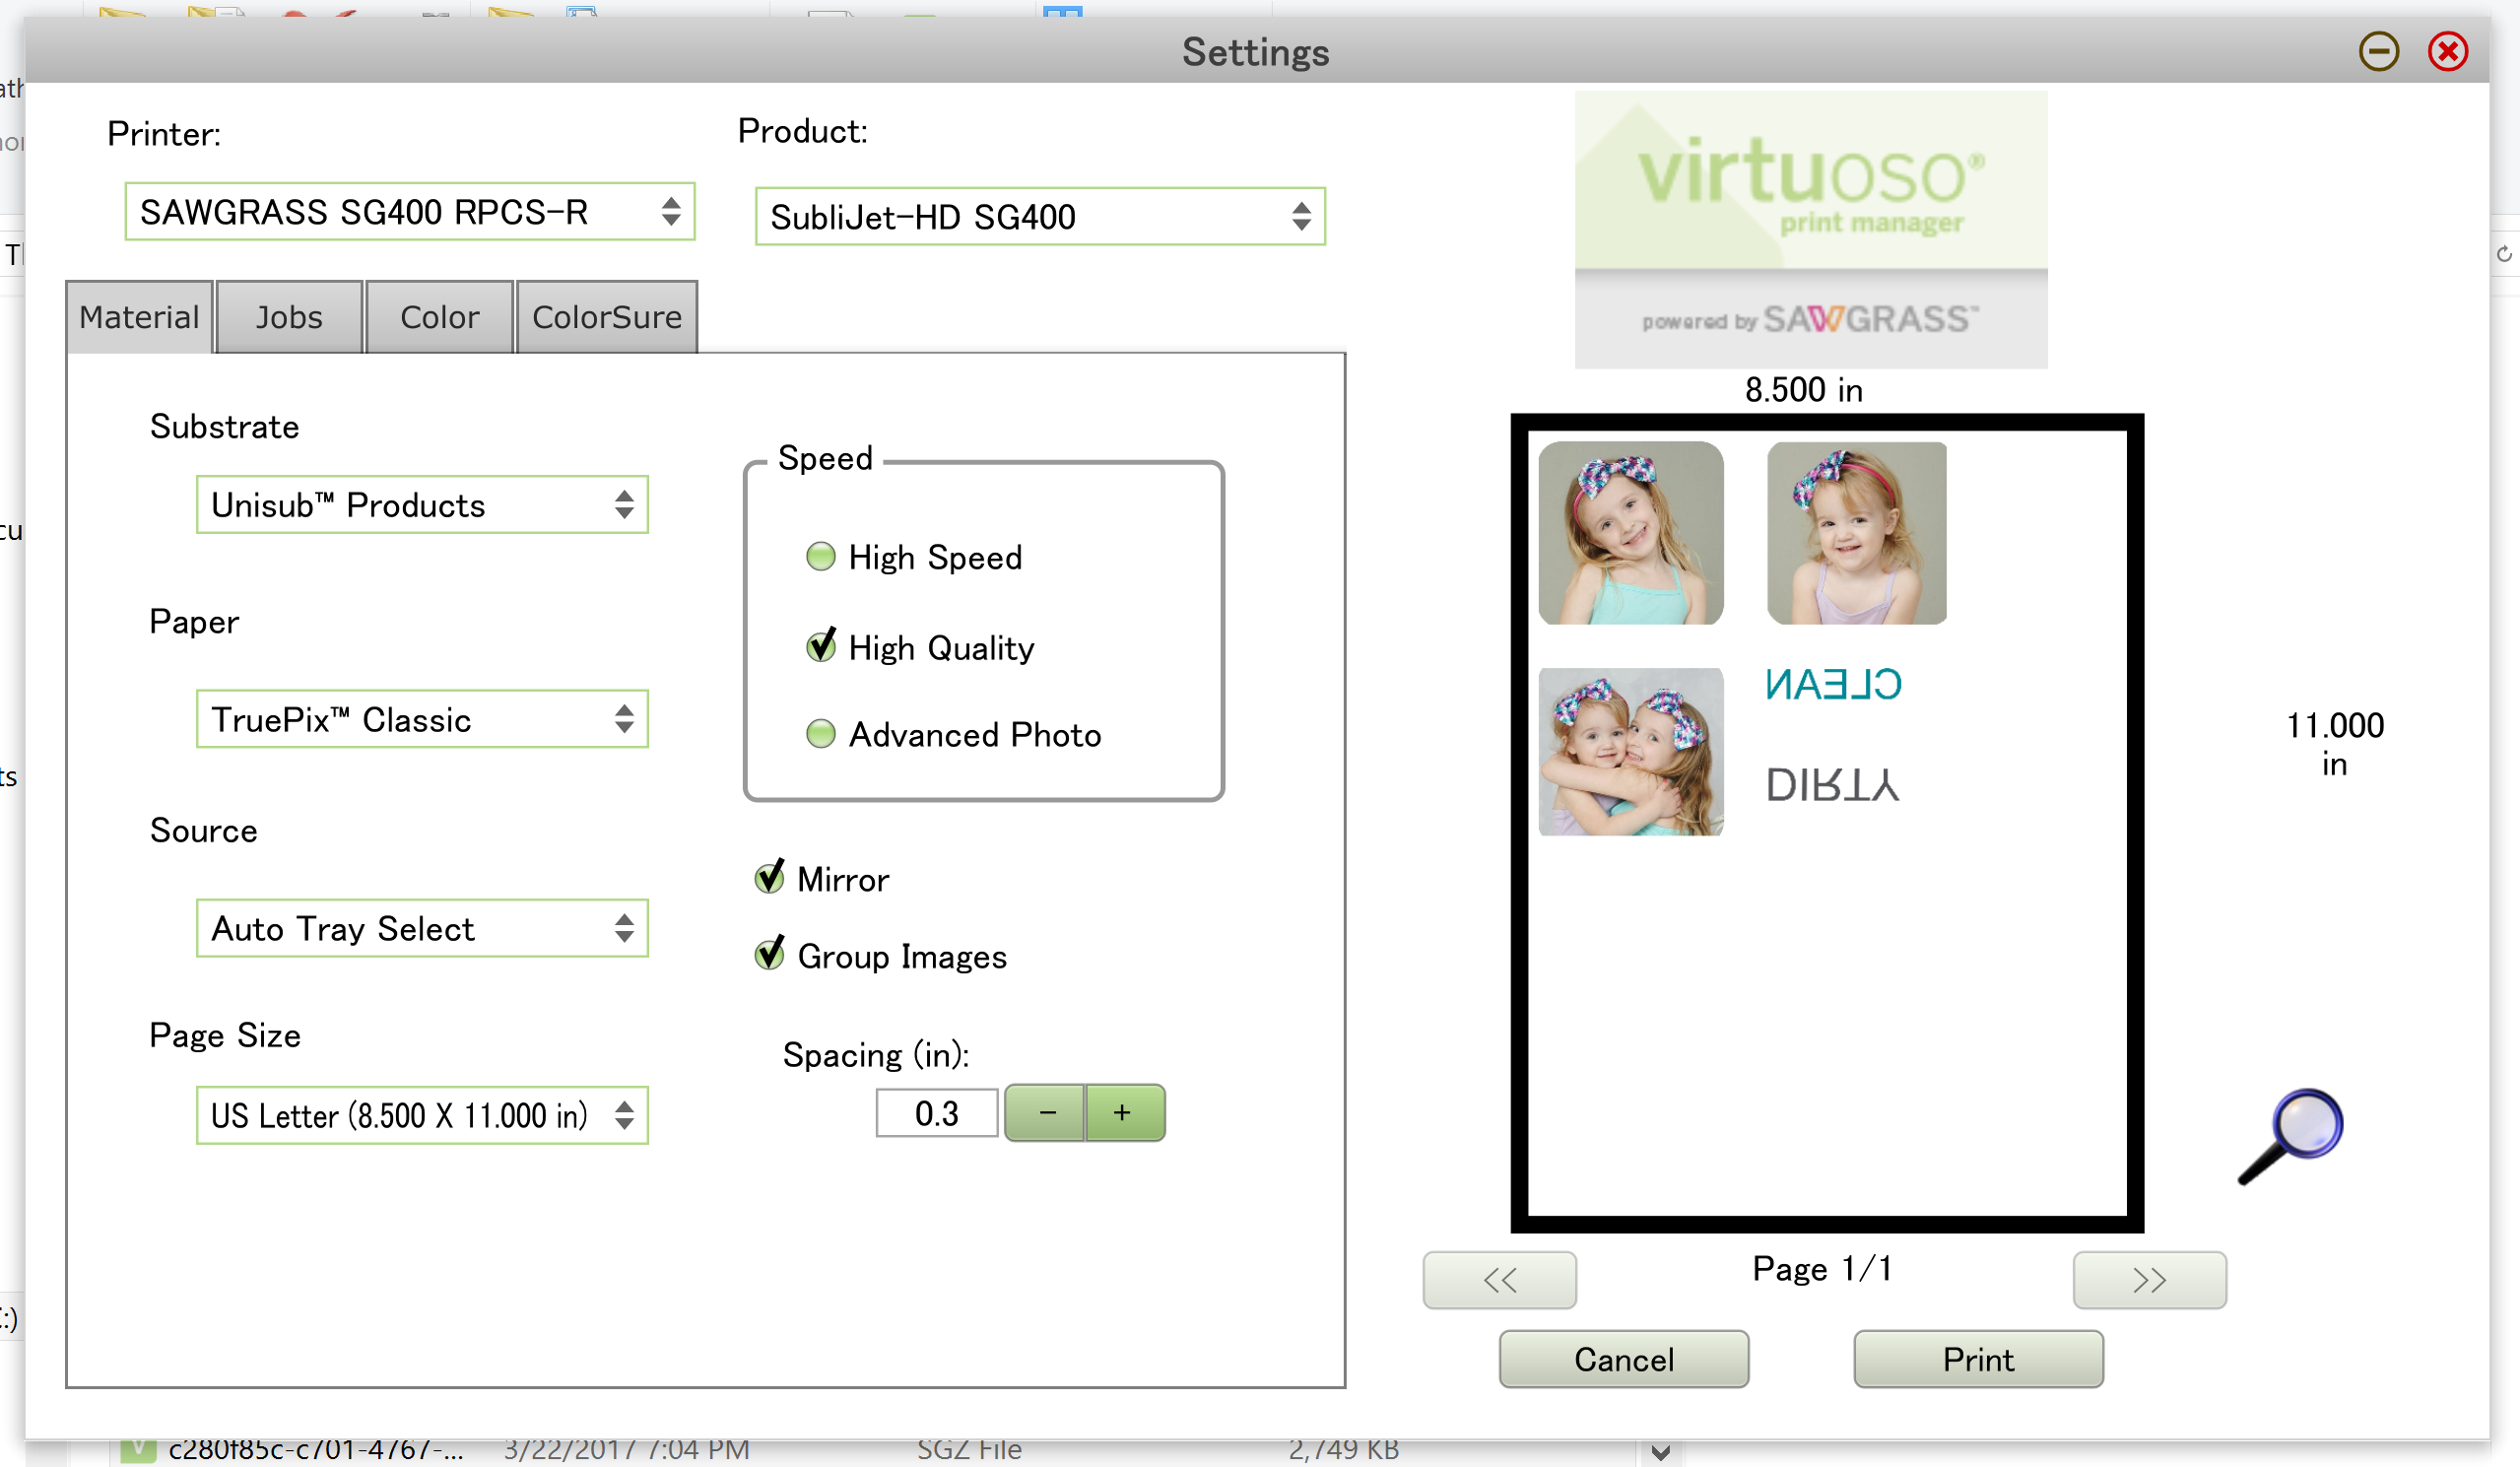
12. If you need to increase the distance between the images, change the spacing with the + or – button.
13. Click Print.

14. Now that you’ve printed your images it is time to assemble!
15. Cut your images so that they fit your magnet.
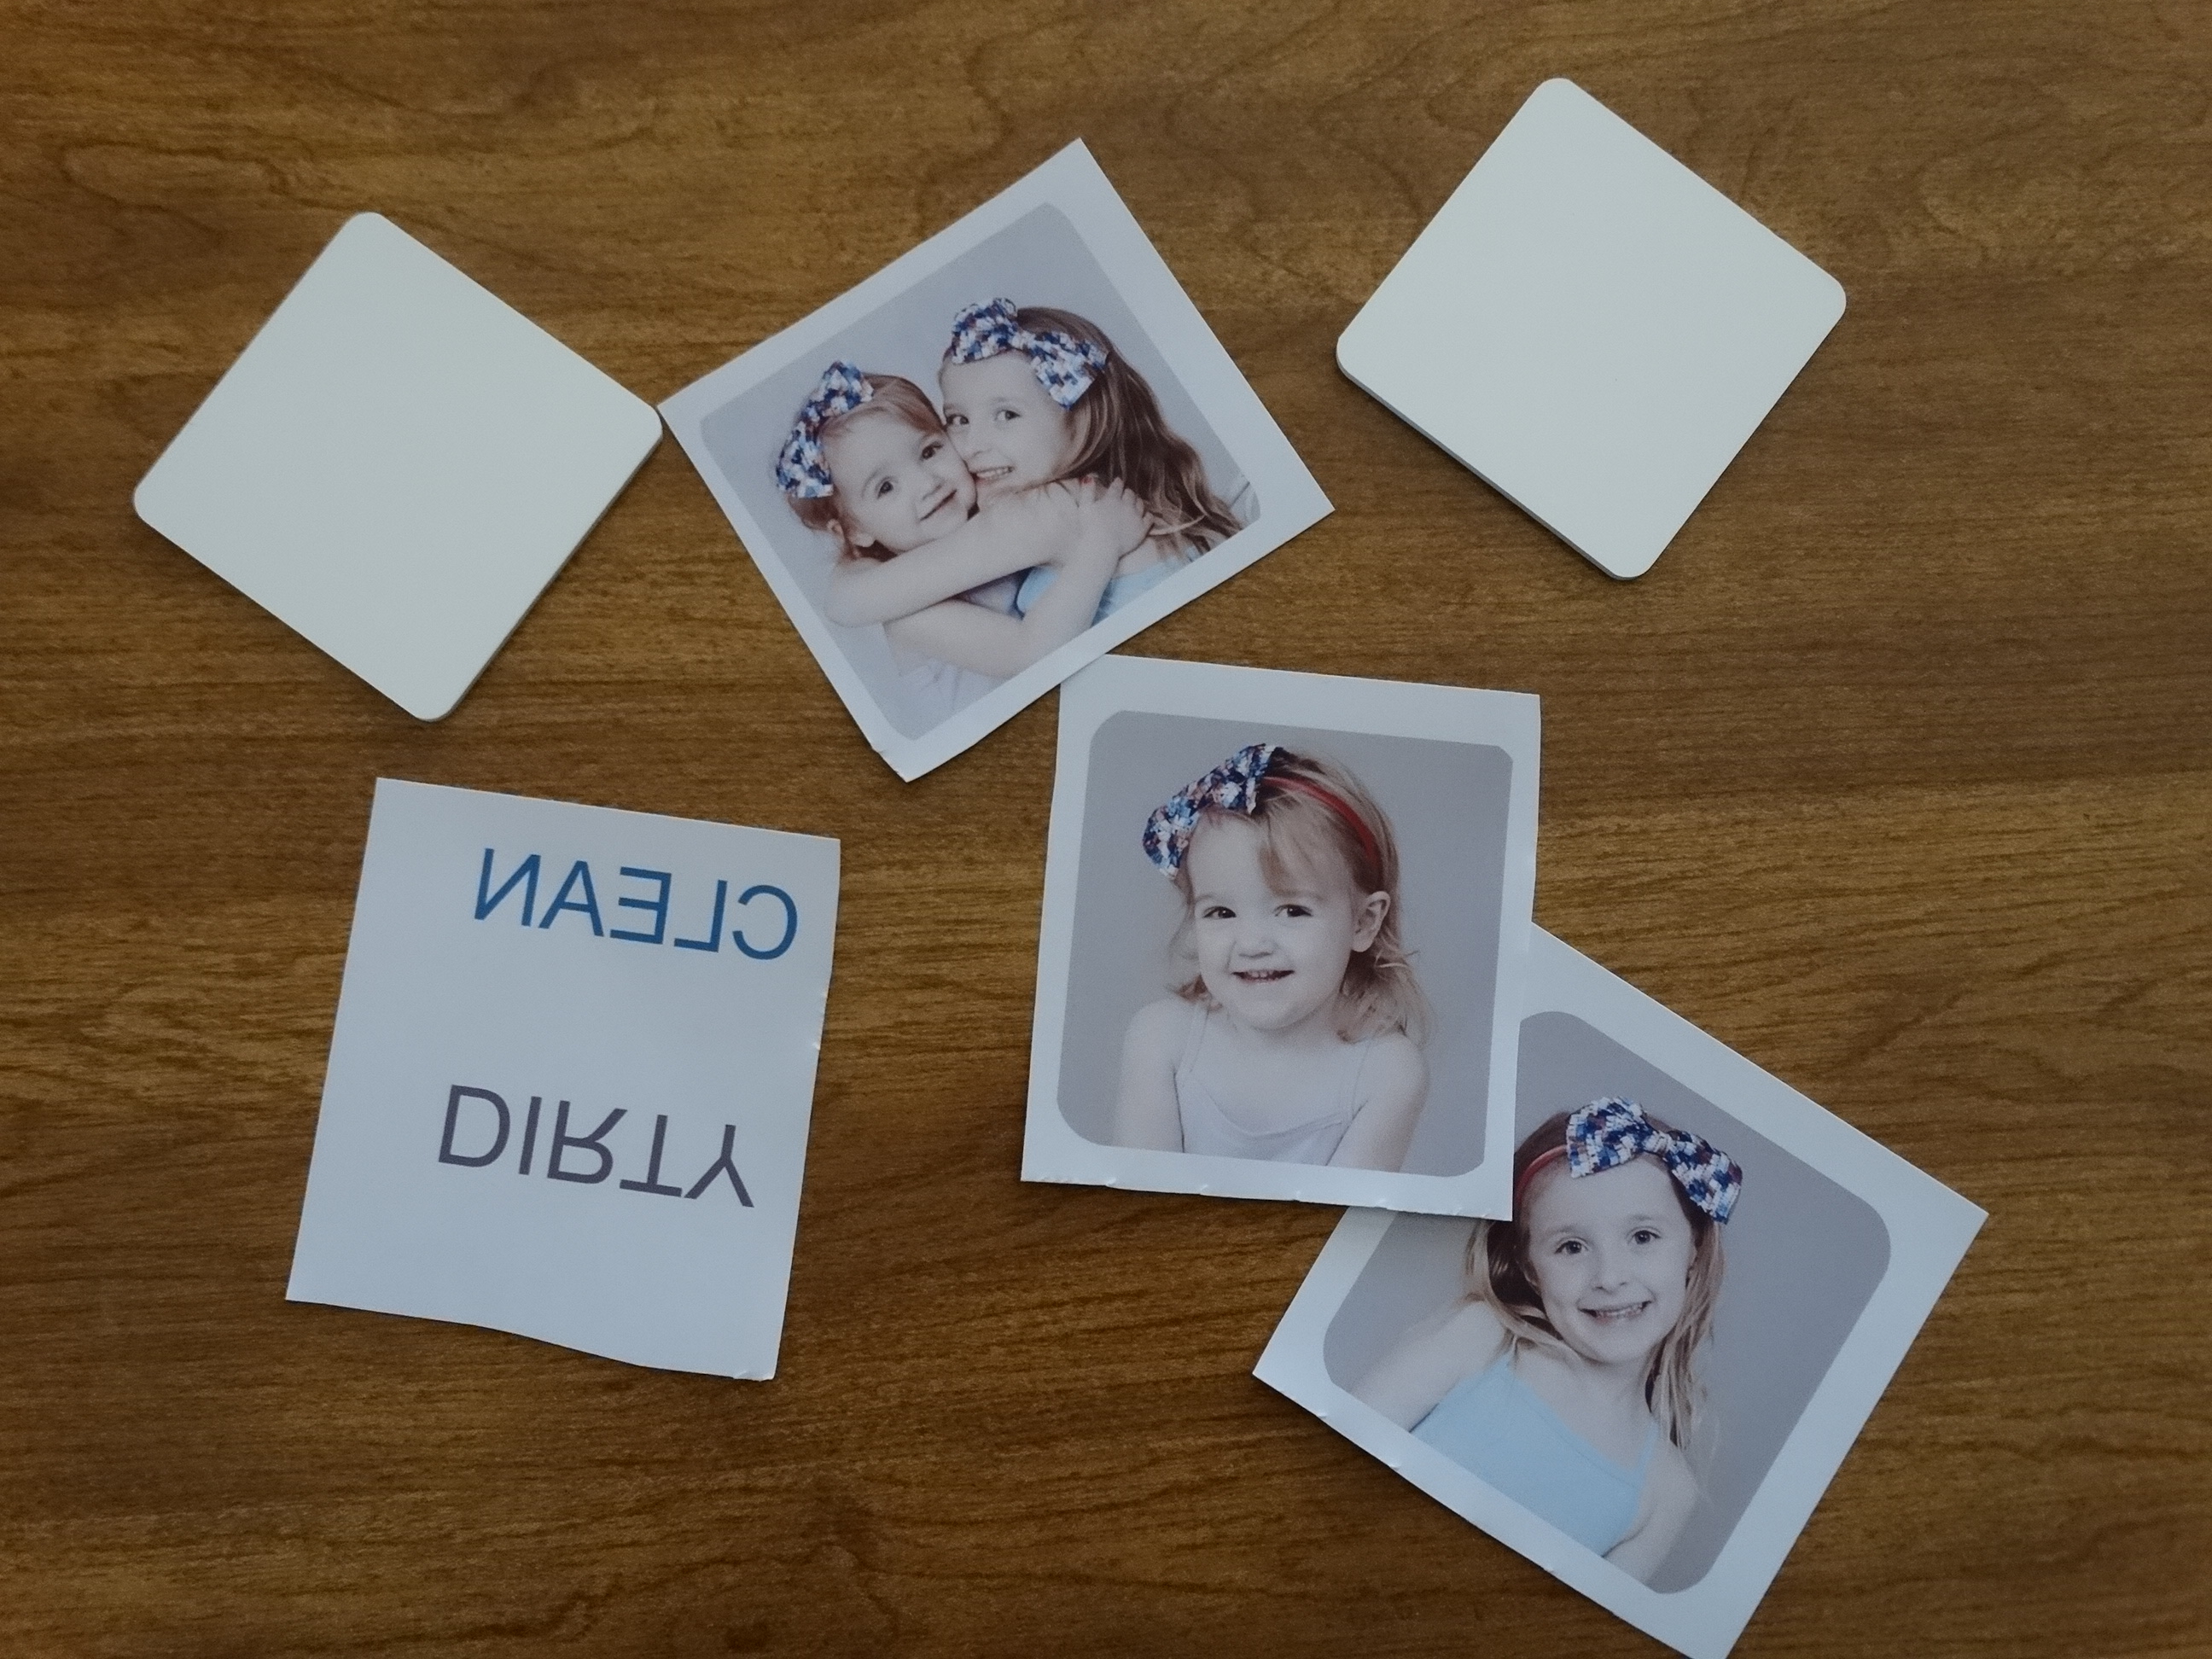
16. Preheat your heat press to 400 degrees F.
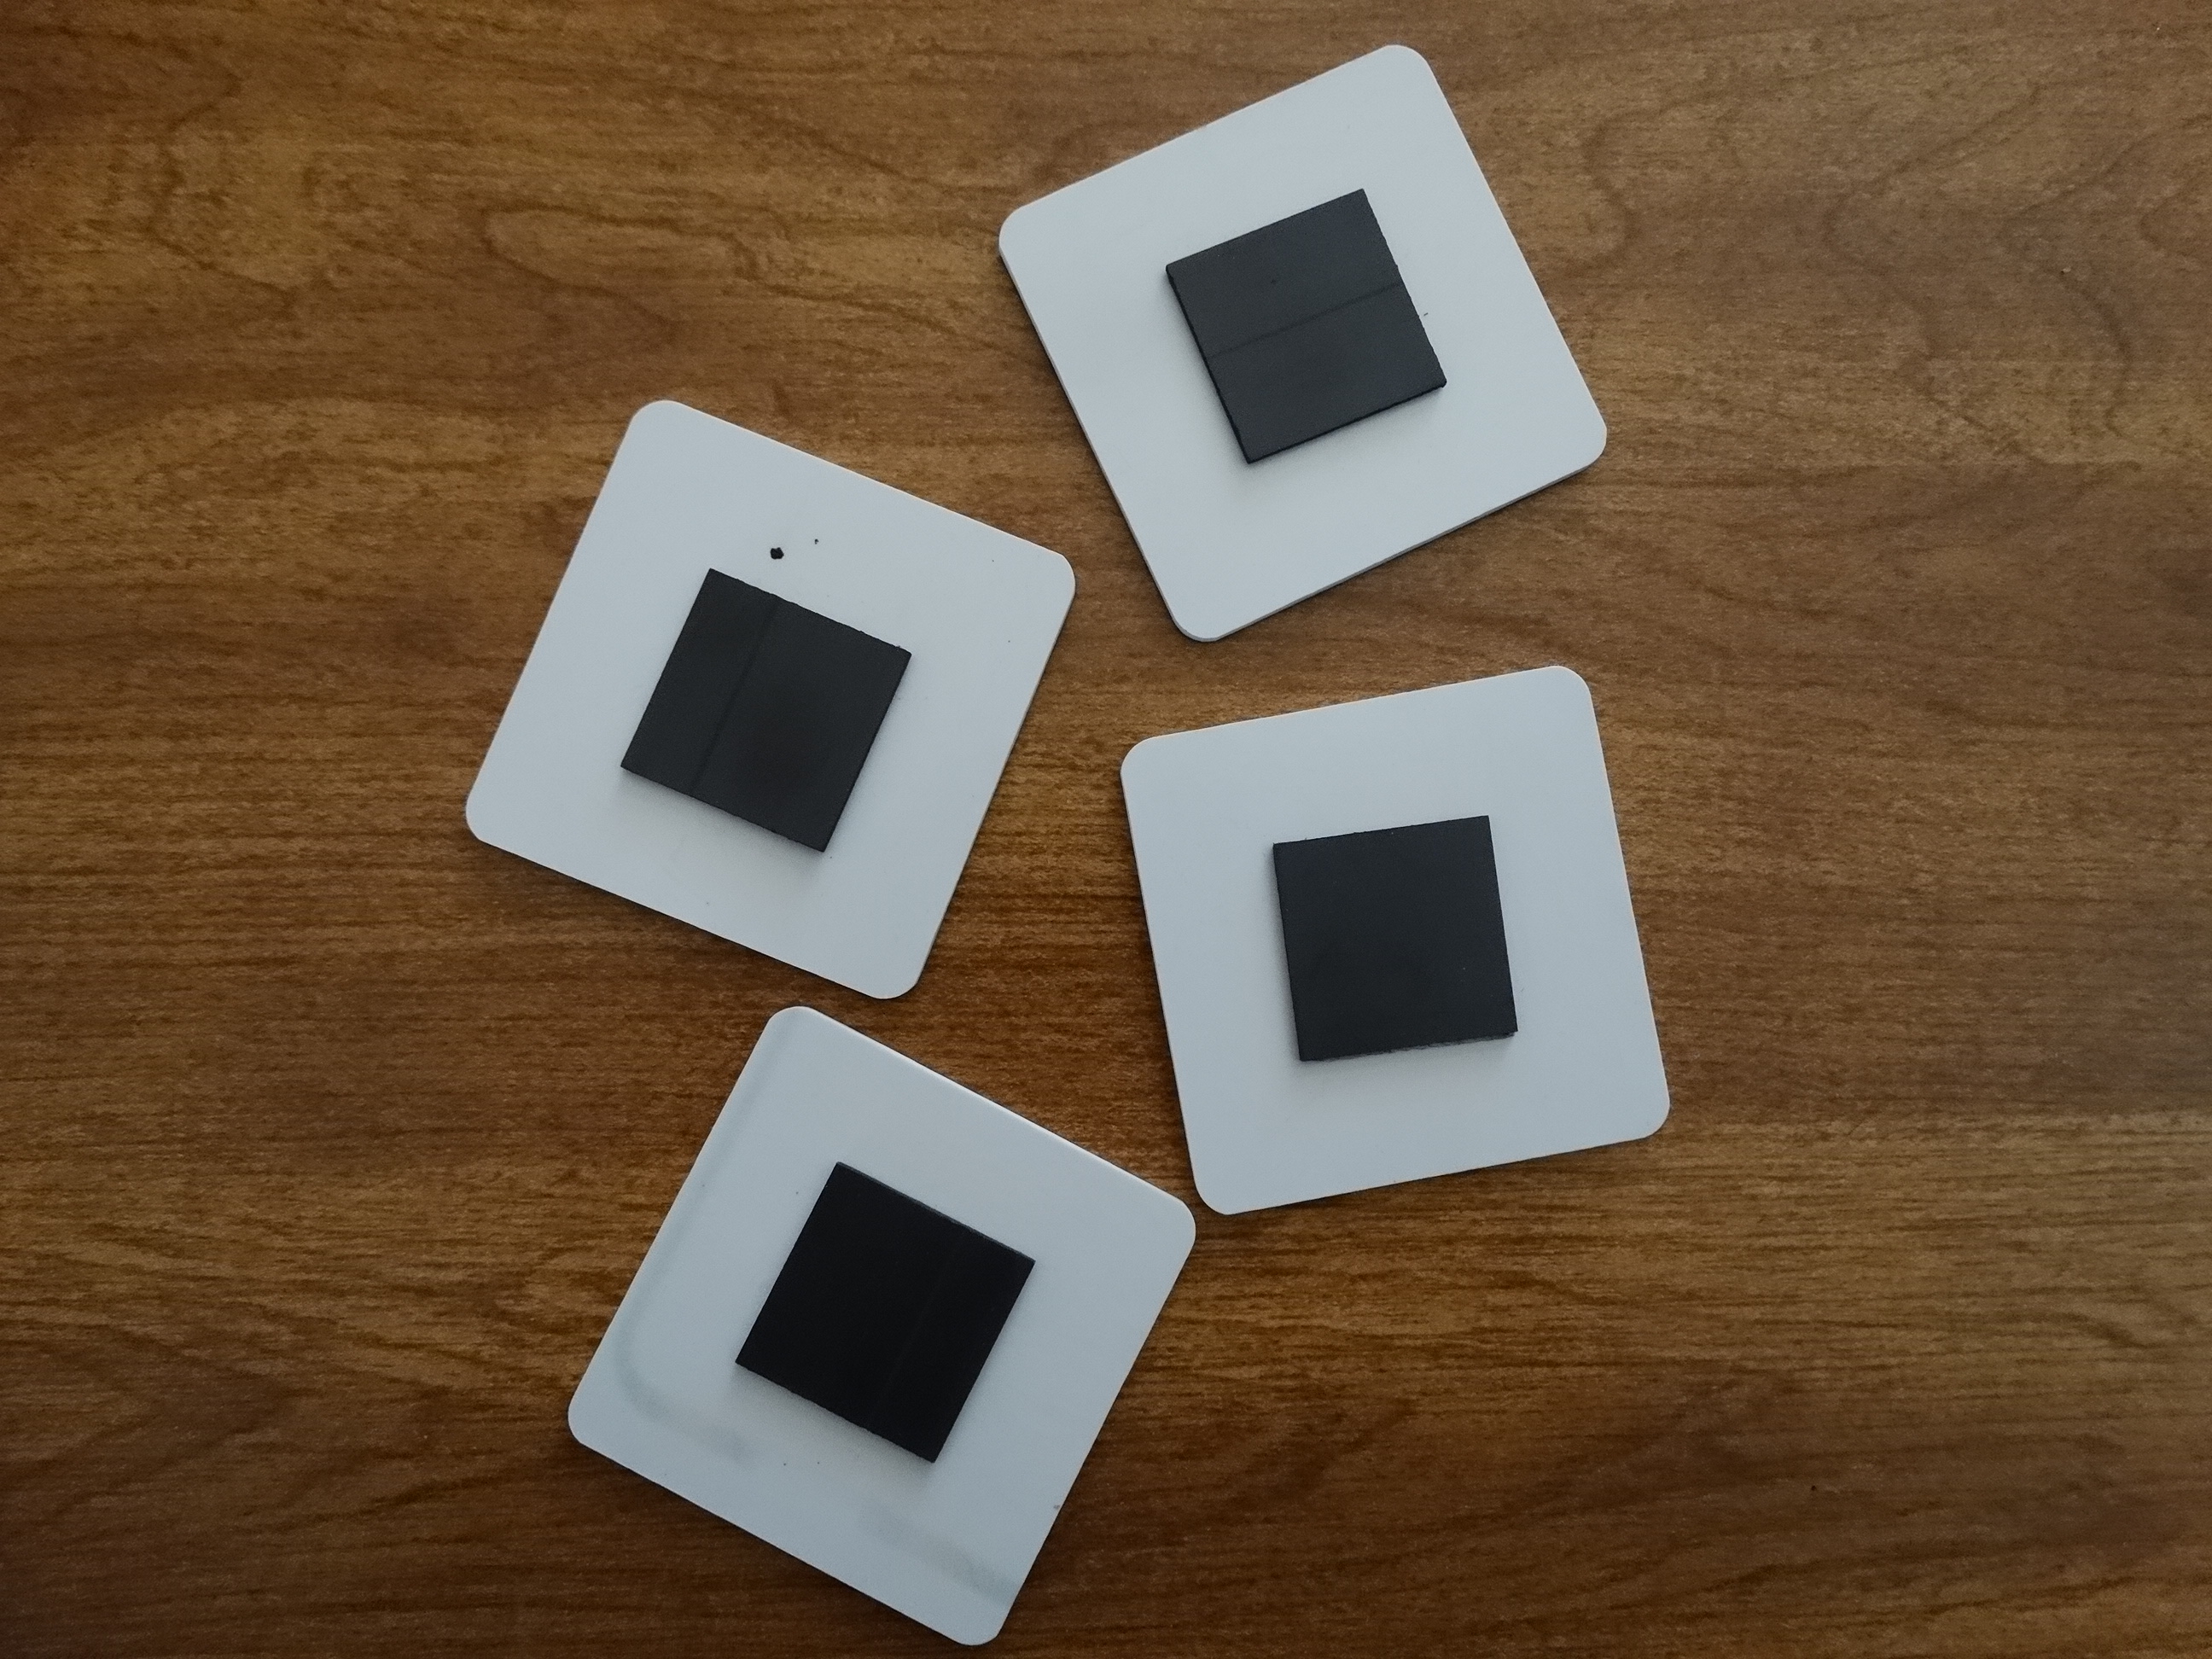
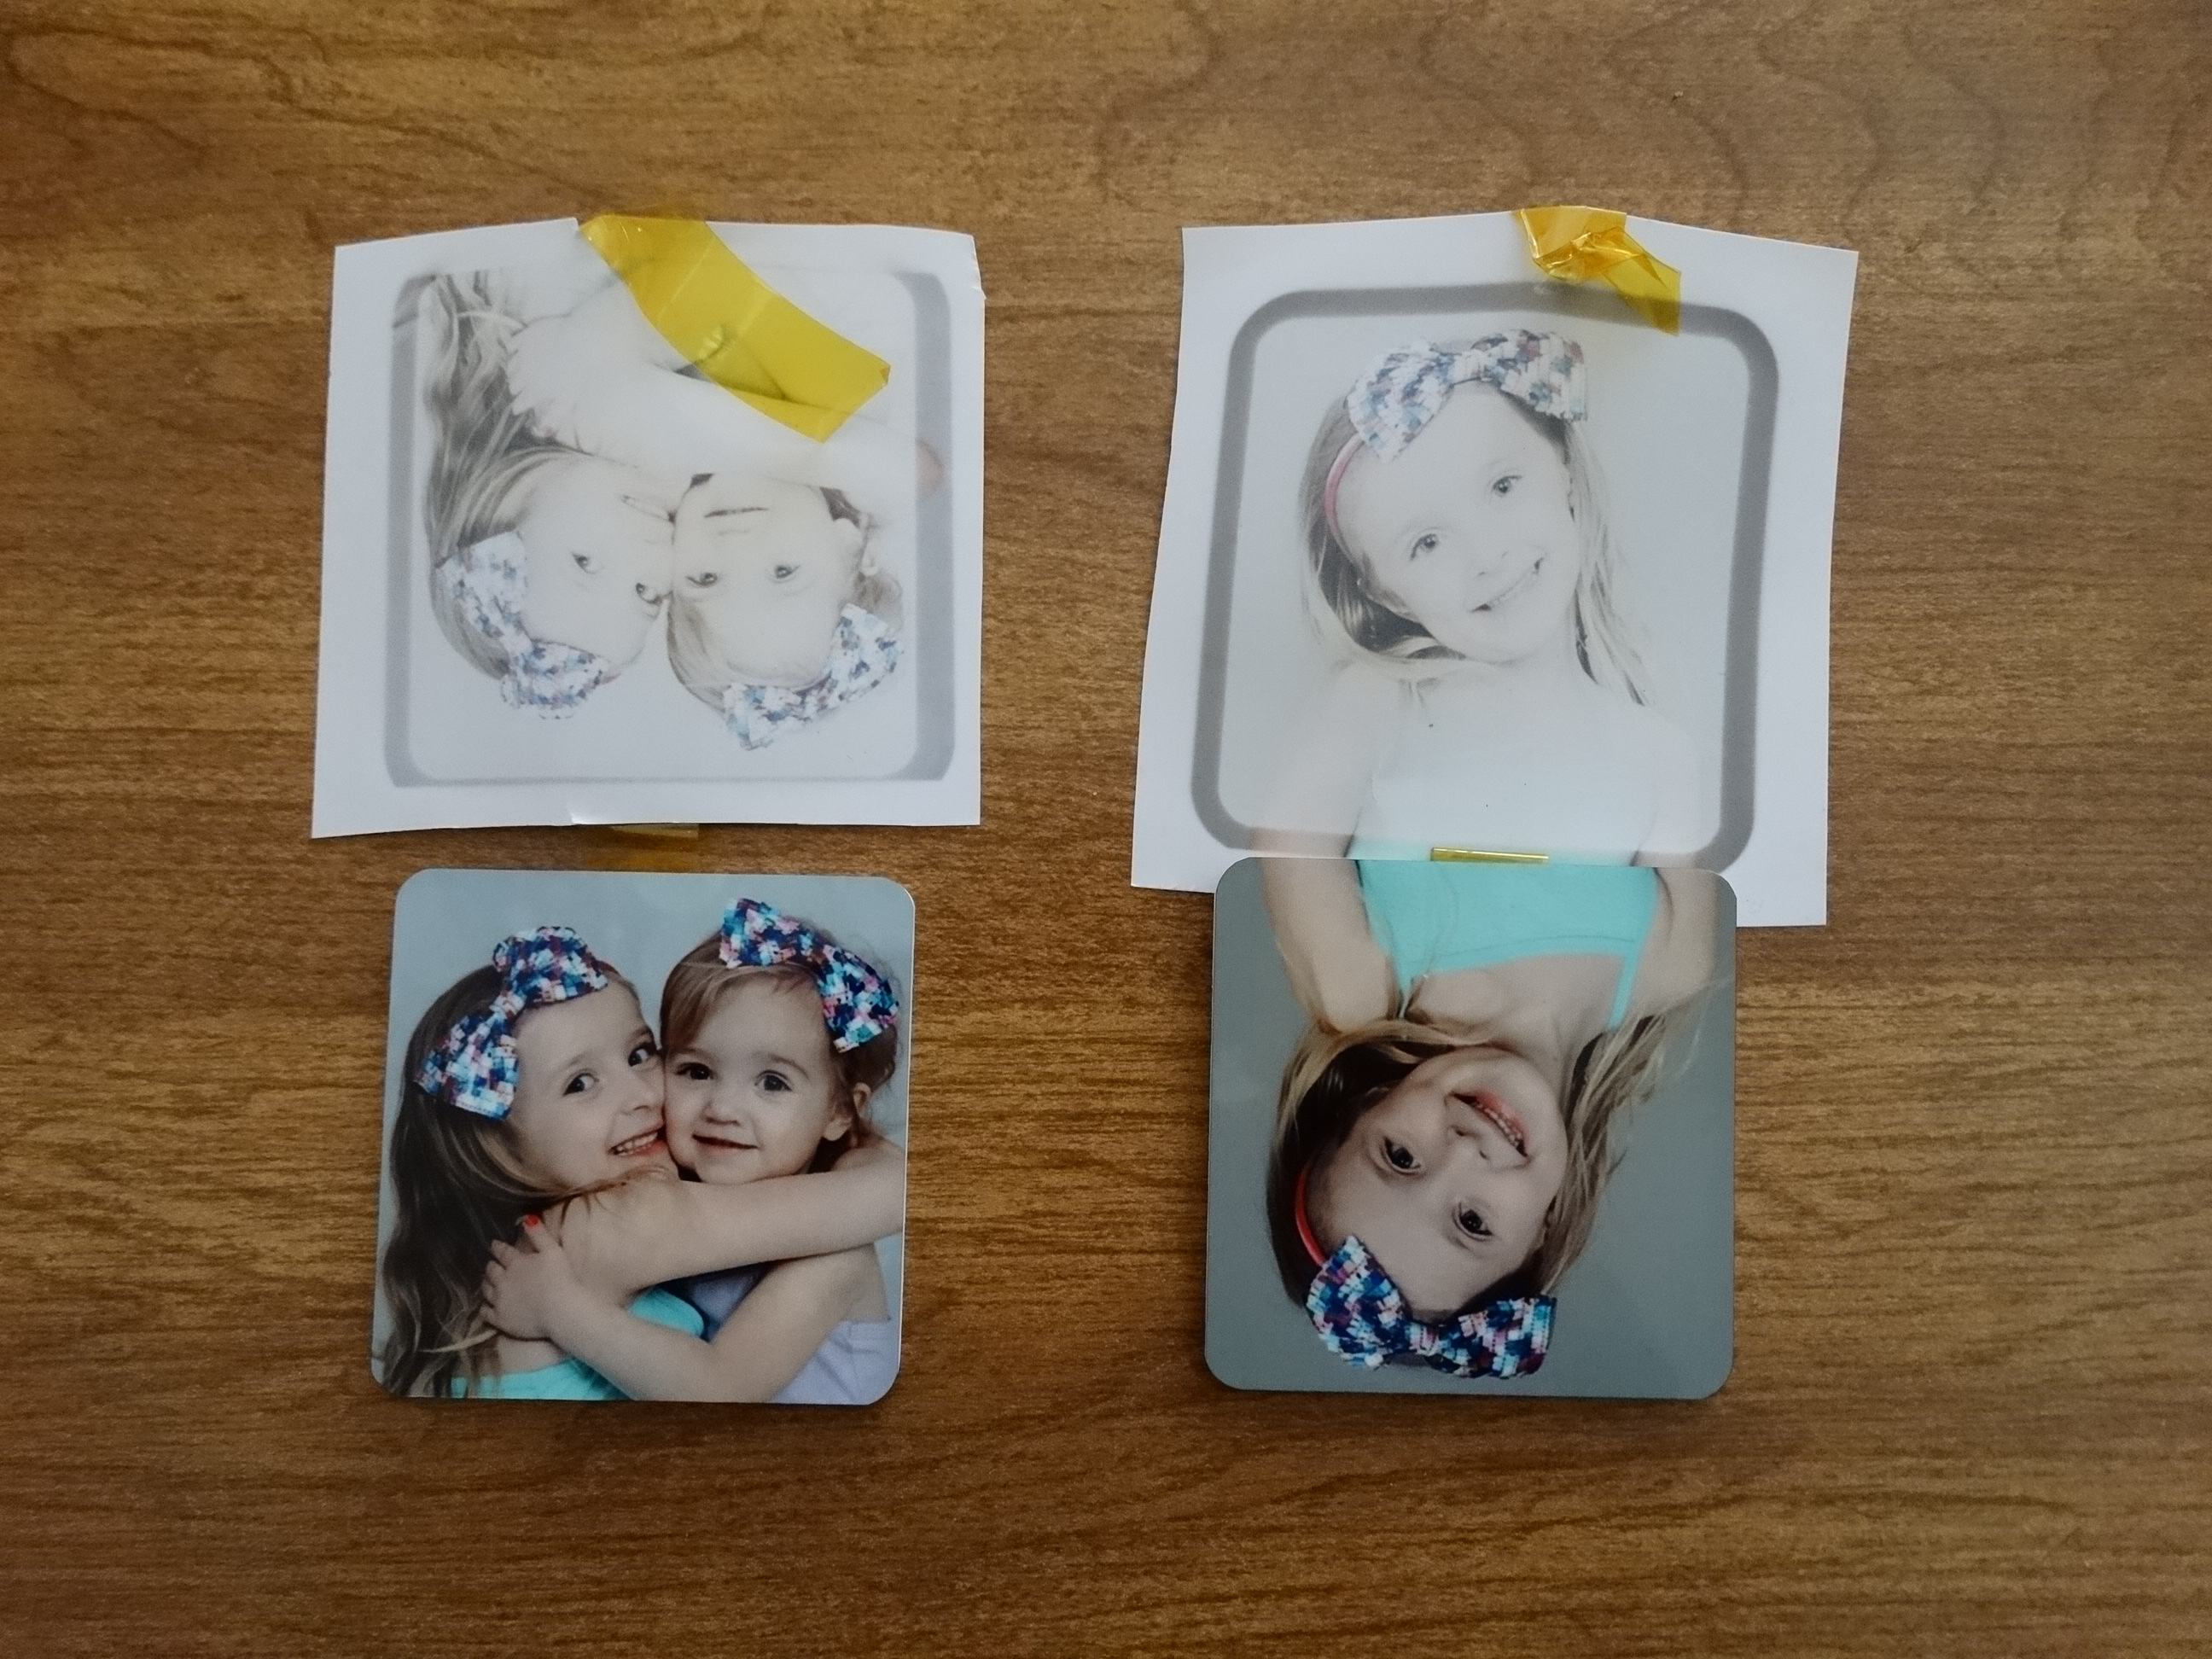
17. Using heat resistant tape, tape the paper to the magnet so that the image does not move.
18. Lay your magnet with the paper side up on your heat press. Set the timer to 45-60 second, and set your pressure to medium. Cover the magnets with a non stick sheet and press.
19.Remove immediately from press once finished and peel hot.
20. Apply the magnet strip to the back and you are done!