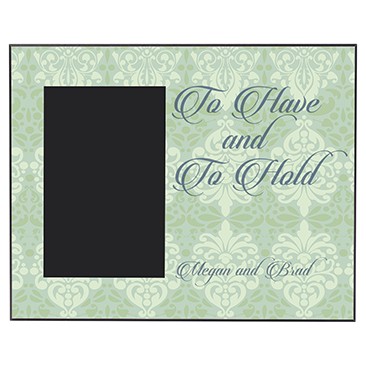
A photograph is an amazing thing–with one glance it can instantly transport you back to a single moment in time. Everyone loves to display their photos, so why not create a custom frame that will make your photos stand out? Maybe you want to create custom frames to sell, or to decorate your house, or as gifts for Mother’s Day. Sublimation makes personalizing frames simple, so if you need a selection of frames, you are in luck! Pro World just expanded our selection of frames to give you more options to choose from.
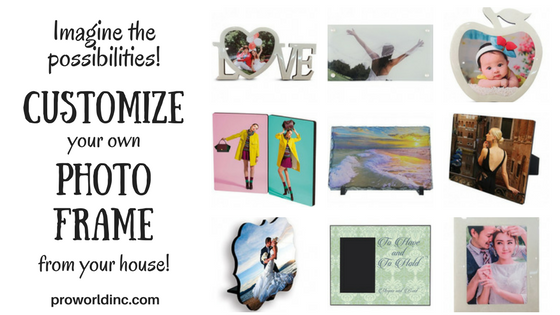

Do you want to customize your own photo frames? Here’s what you need:
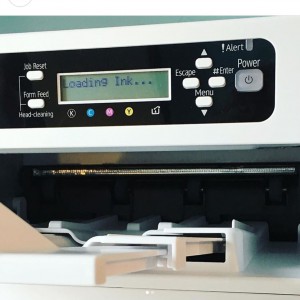
- Sublimation Printer
- Sublimation Ink
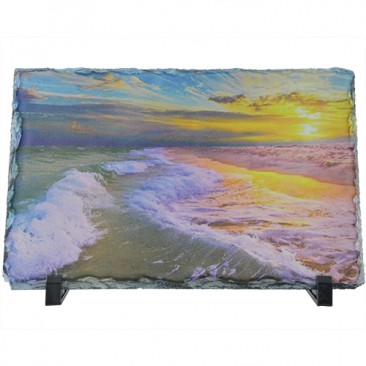
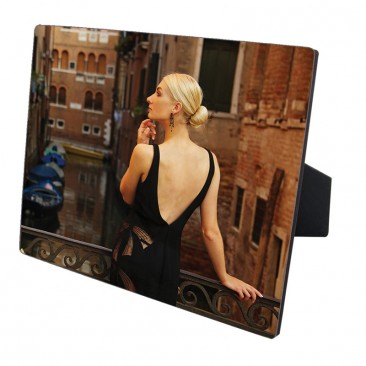
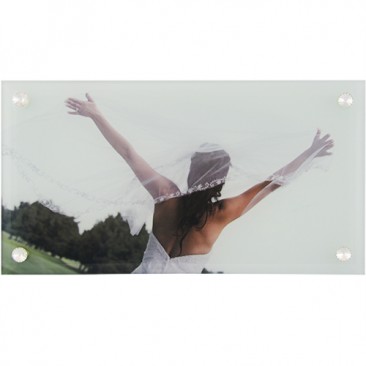
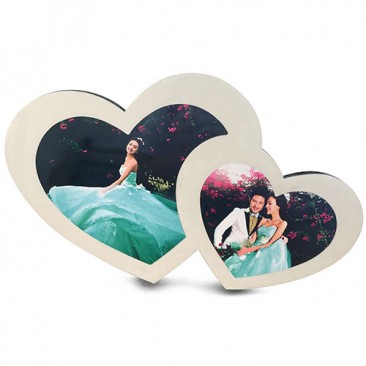
- Sublimation Photo Frame Blank
- Gloves
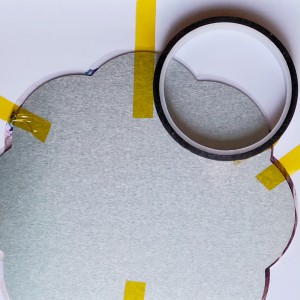
- Thermal Tape
- Non-Stick sheet
When it comes to sublimating it is simple. You start by:
Step 1 – Design your image or design.
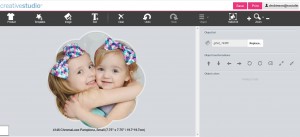
Step 2 – Mirror your image and send it to your sublimation printer.
Step 3 – Turn on your heat press and set it to the proper temperature. To find the temperature look at the instructions on the product page.
Step 4 – Use your thermal tape to adhere your image to your sublimation product.
Step 5 – Place a non-stick sheet or even a blank piece of paper on your heat press to catch any leaking.
Step 6 – Place your item on top and then cover it with a non-stick sheet.
Step 7 – Press your item for the time instructed on the product instructions.
Step 8 – Peel the paper off of the item. Make sure to read the instructions to see if your product is a cold or hot peel.

Step 9: Admire your results.