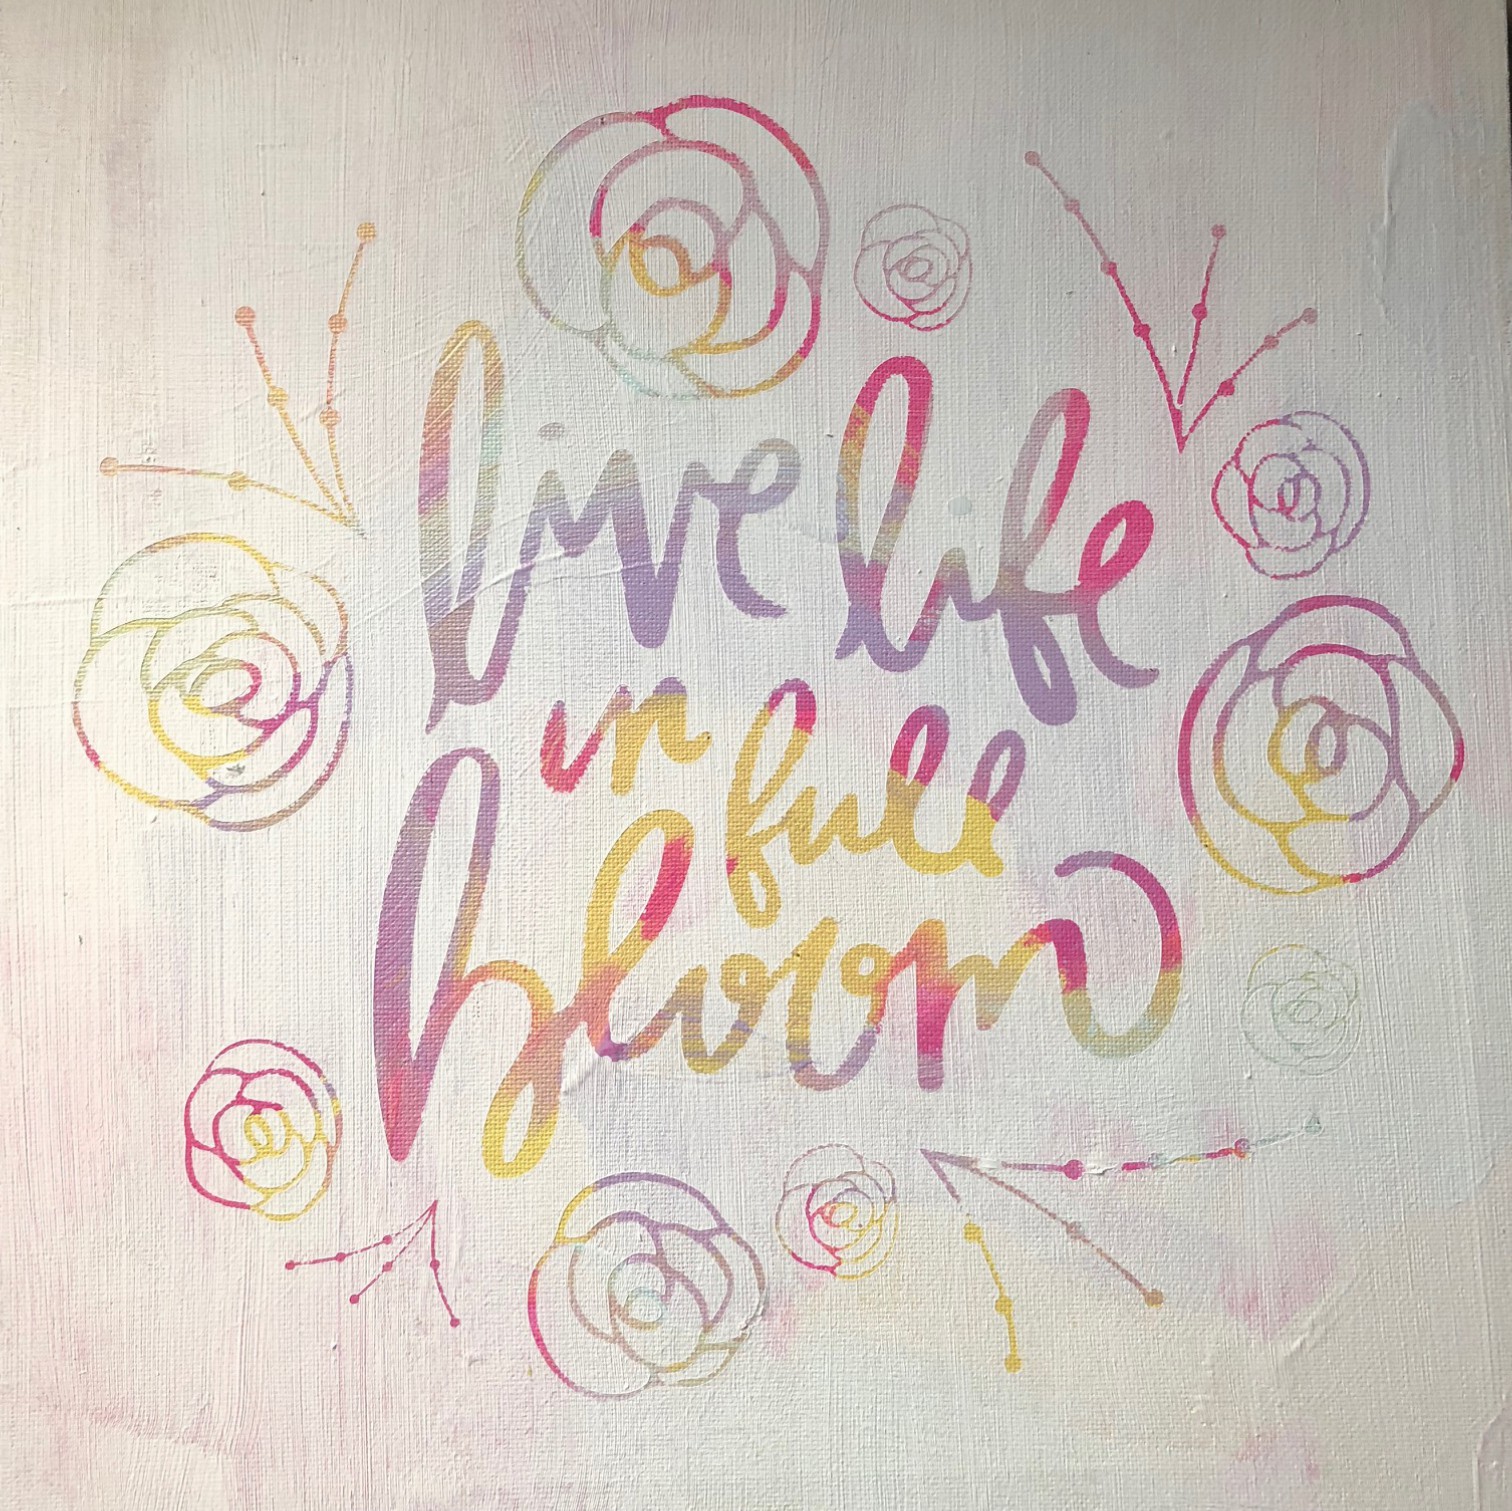
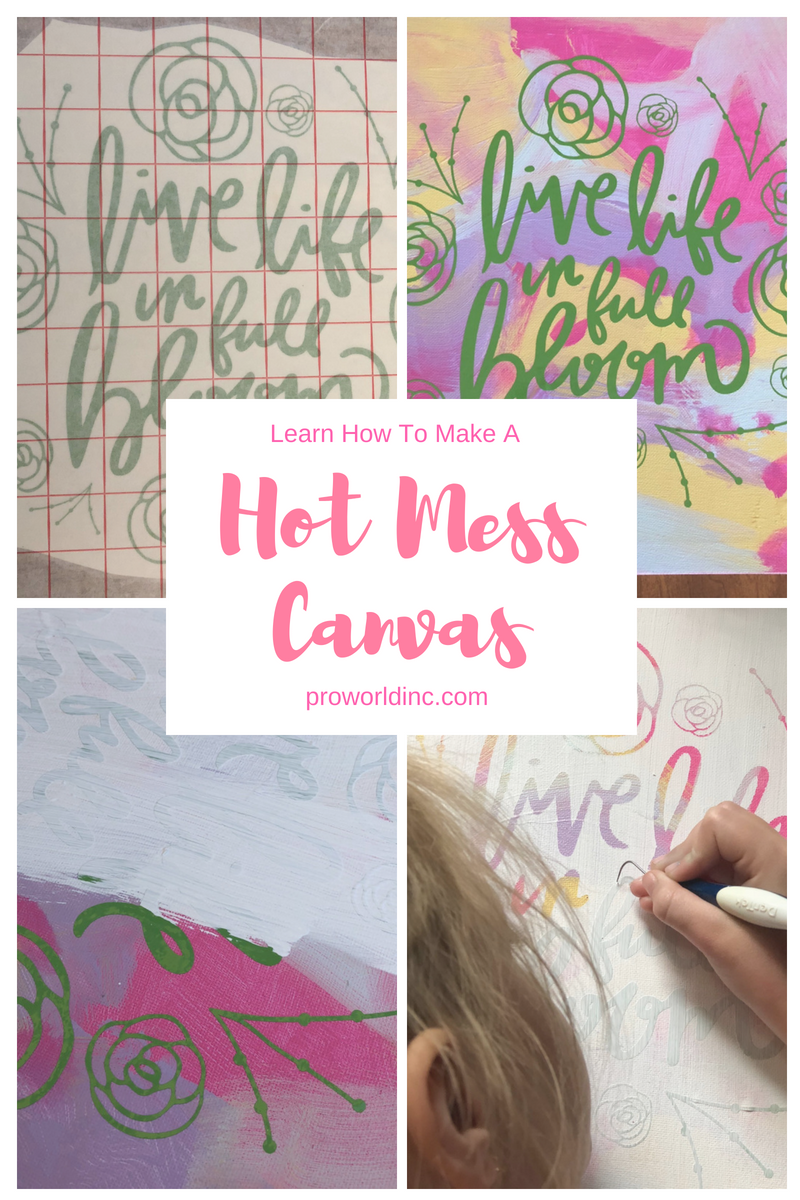
Did you know that if you paint a canvas, add vinyl, repaint it and peel the vinyl, it is called a Hot Mess Canvas? Neither did we! Until now that is.
The technique gets its name due to the loose painting restraints. When you apply the first layer of paint, you can use as many colors as you want, There is no rule to paint placement, allowing you to make it a Hot Mess and still get gorgeous results.
Want to make one for yourself? This is what you need:
- Cutting Machine
- Permanent Adhesive Vinyl (651)
- Application Tape
- Canvas
- Paint
- Paintbrush
Now that you have your supplies, let’s get started! Follow the steps below:
1- Use your cutting software to design an image.
2 – Cut and weed your adhesive vinyl. We recommend using permanent 651 so that it adheres to the canvas.
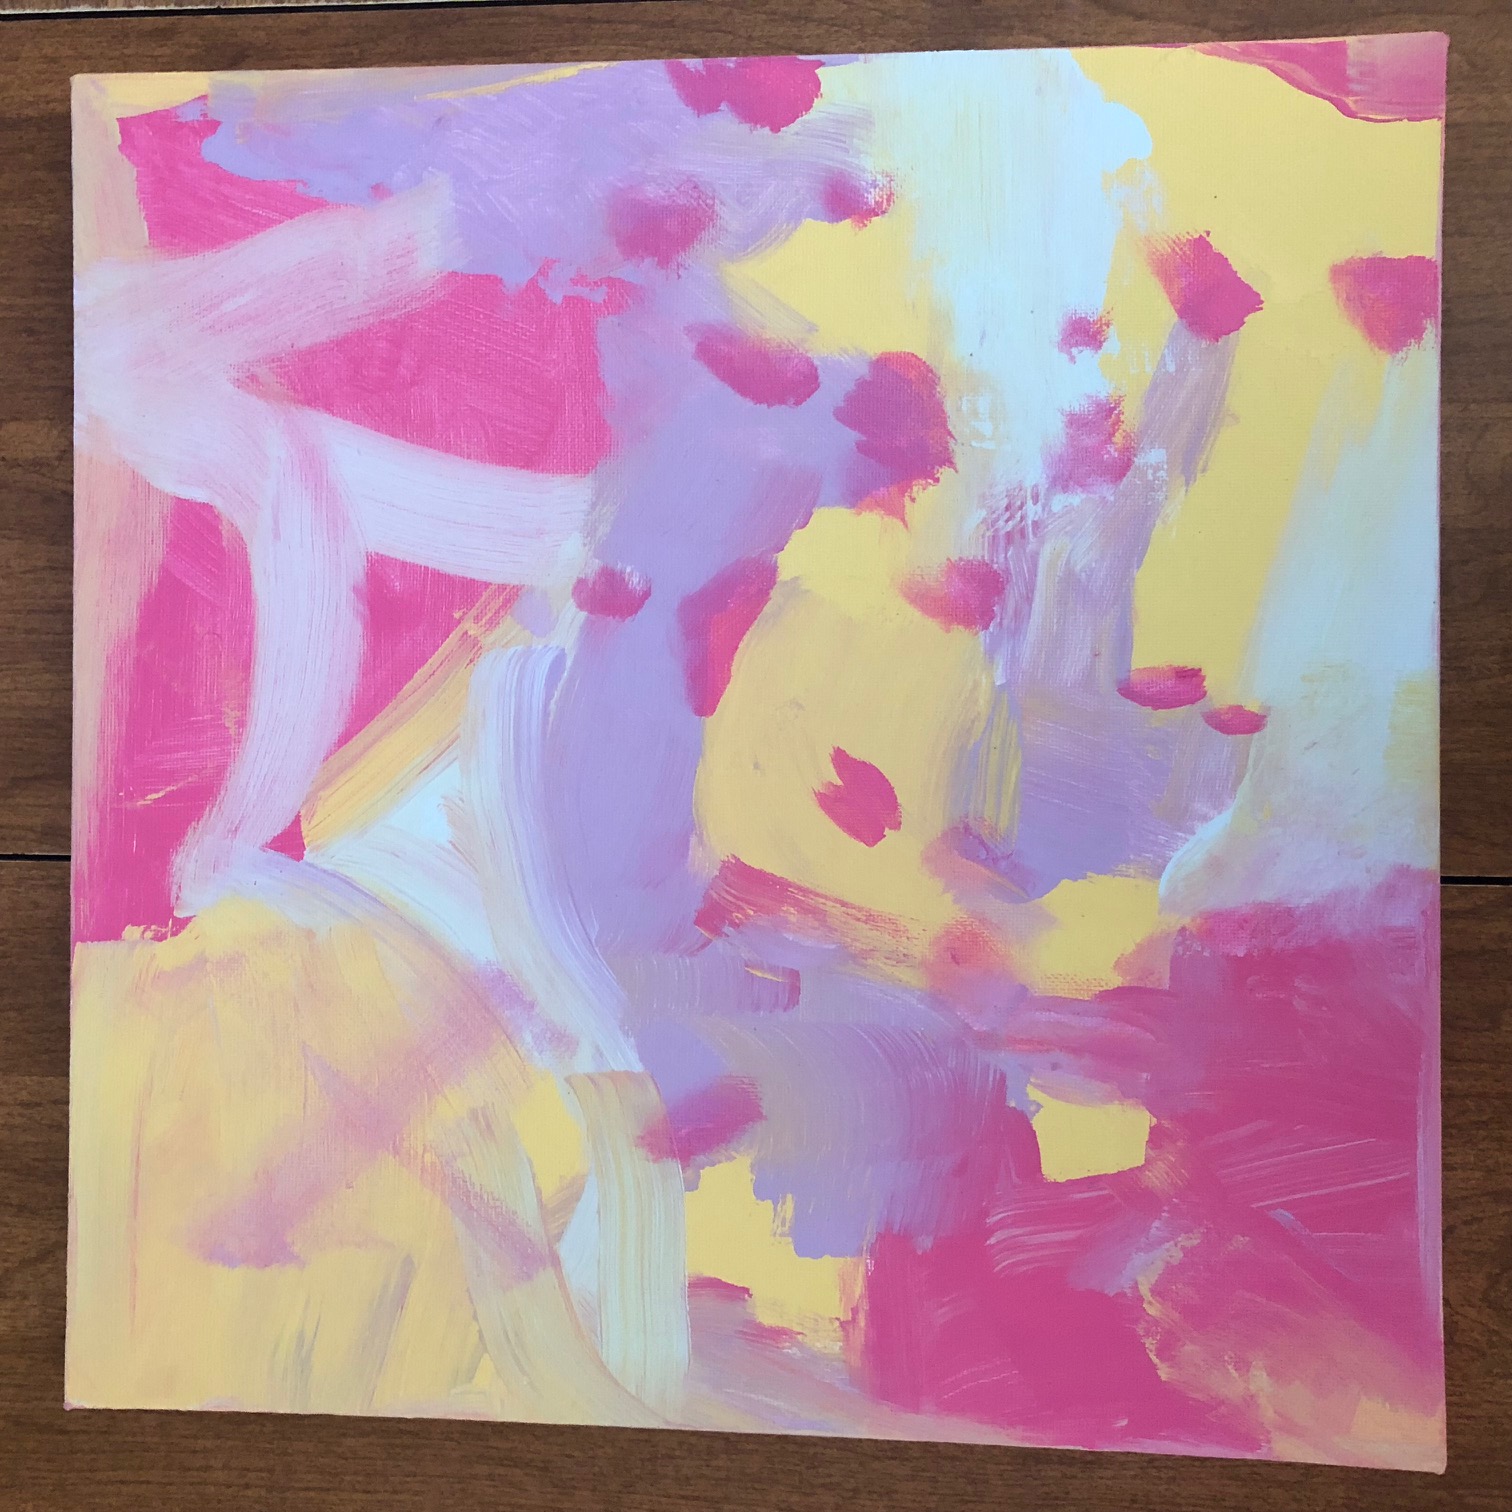
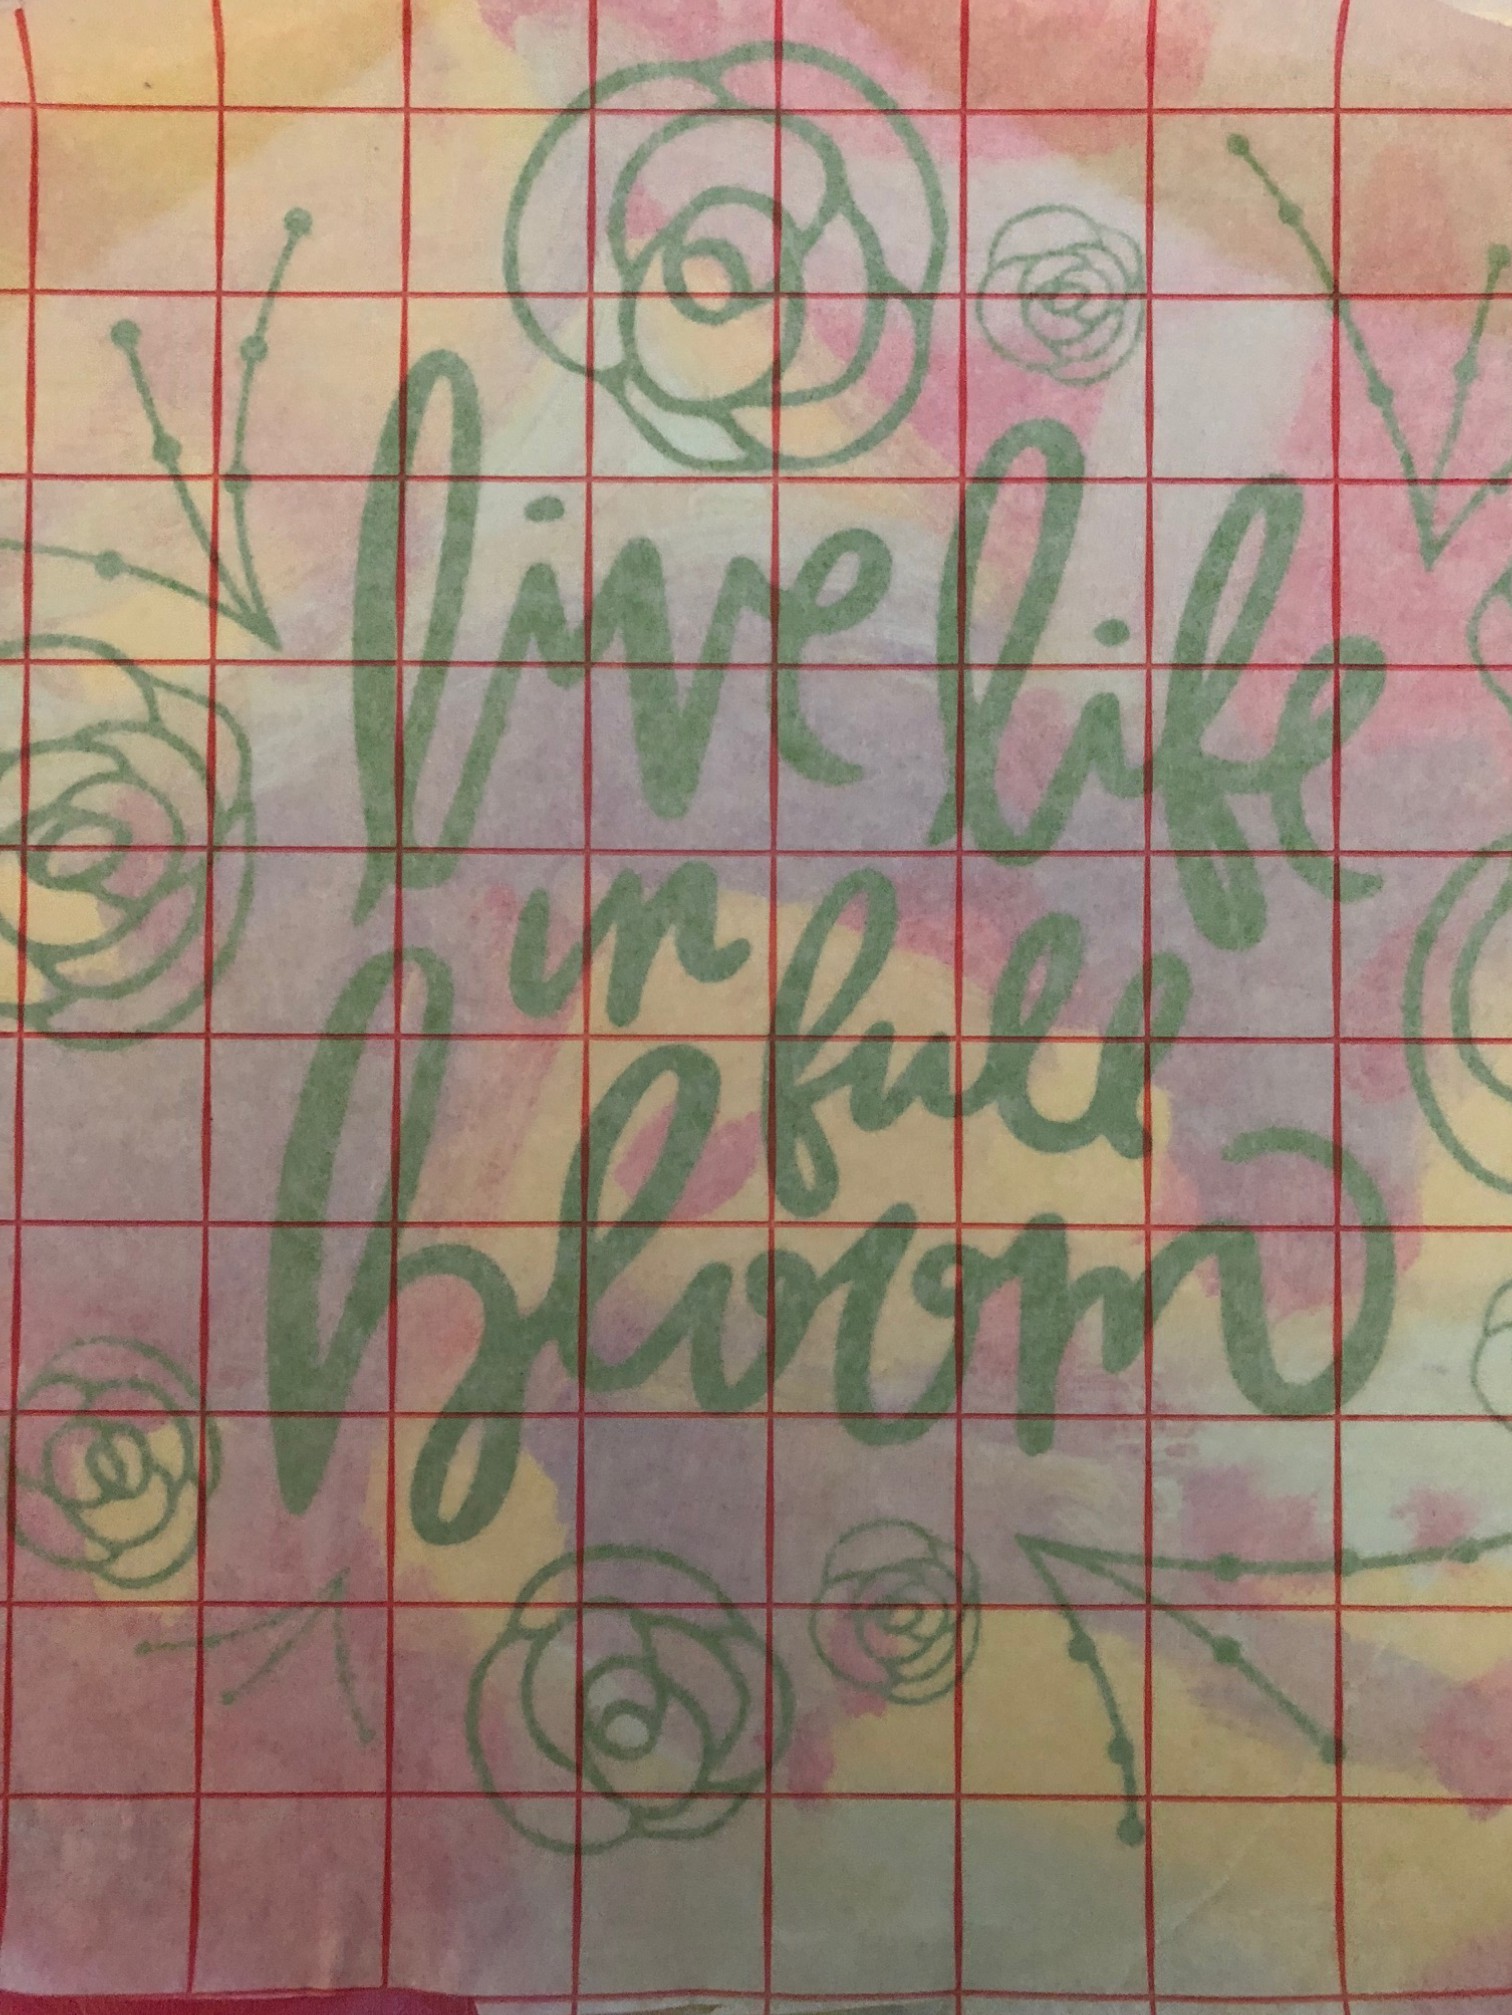
3 – Paint your canvas with a variety of colors and let it dry. There are NO RULES when painting the canvas. You can use as many colors as you would like in no particular order. Just make sure that you don’t have any white showing.
5 – Take your weeded design and apply your application tape.
PRO TIP: Adhere the top of your application tape to your work surface and then place it on your design. By having it anchored to the table, it will help you control your application tape so that it eliminates bubbles. 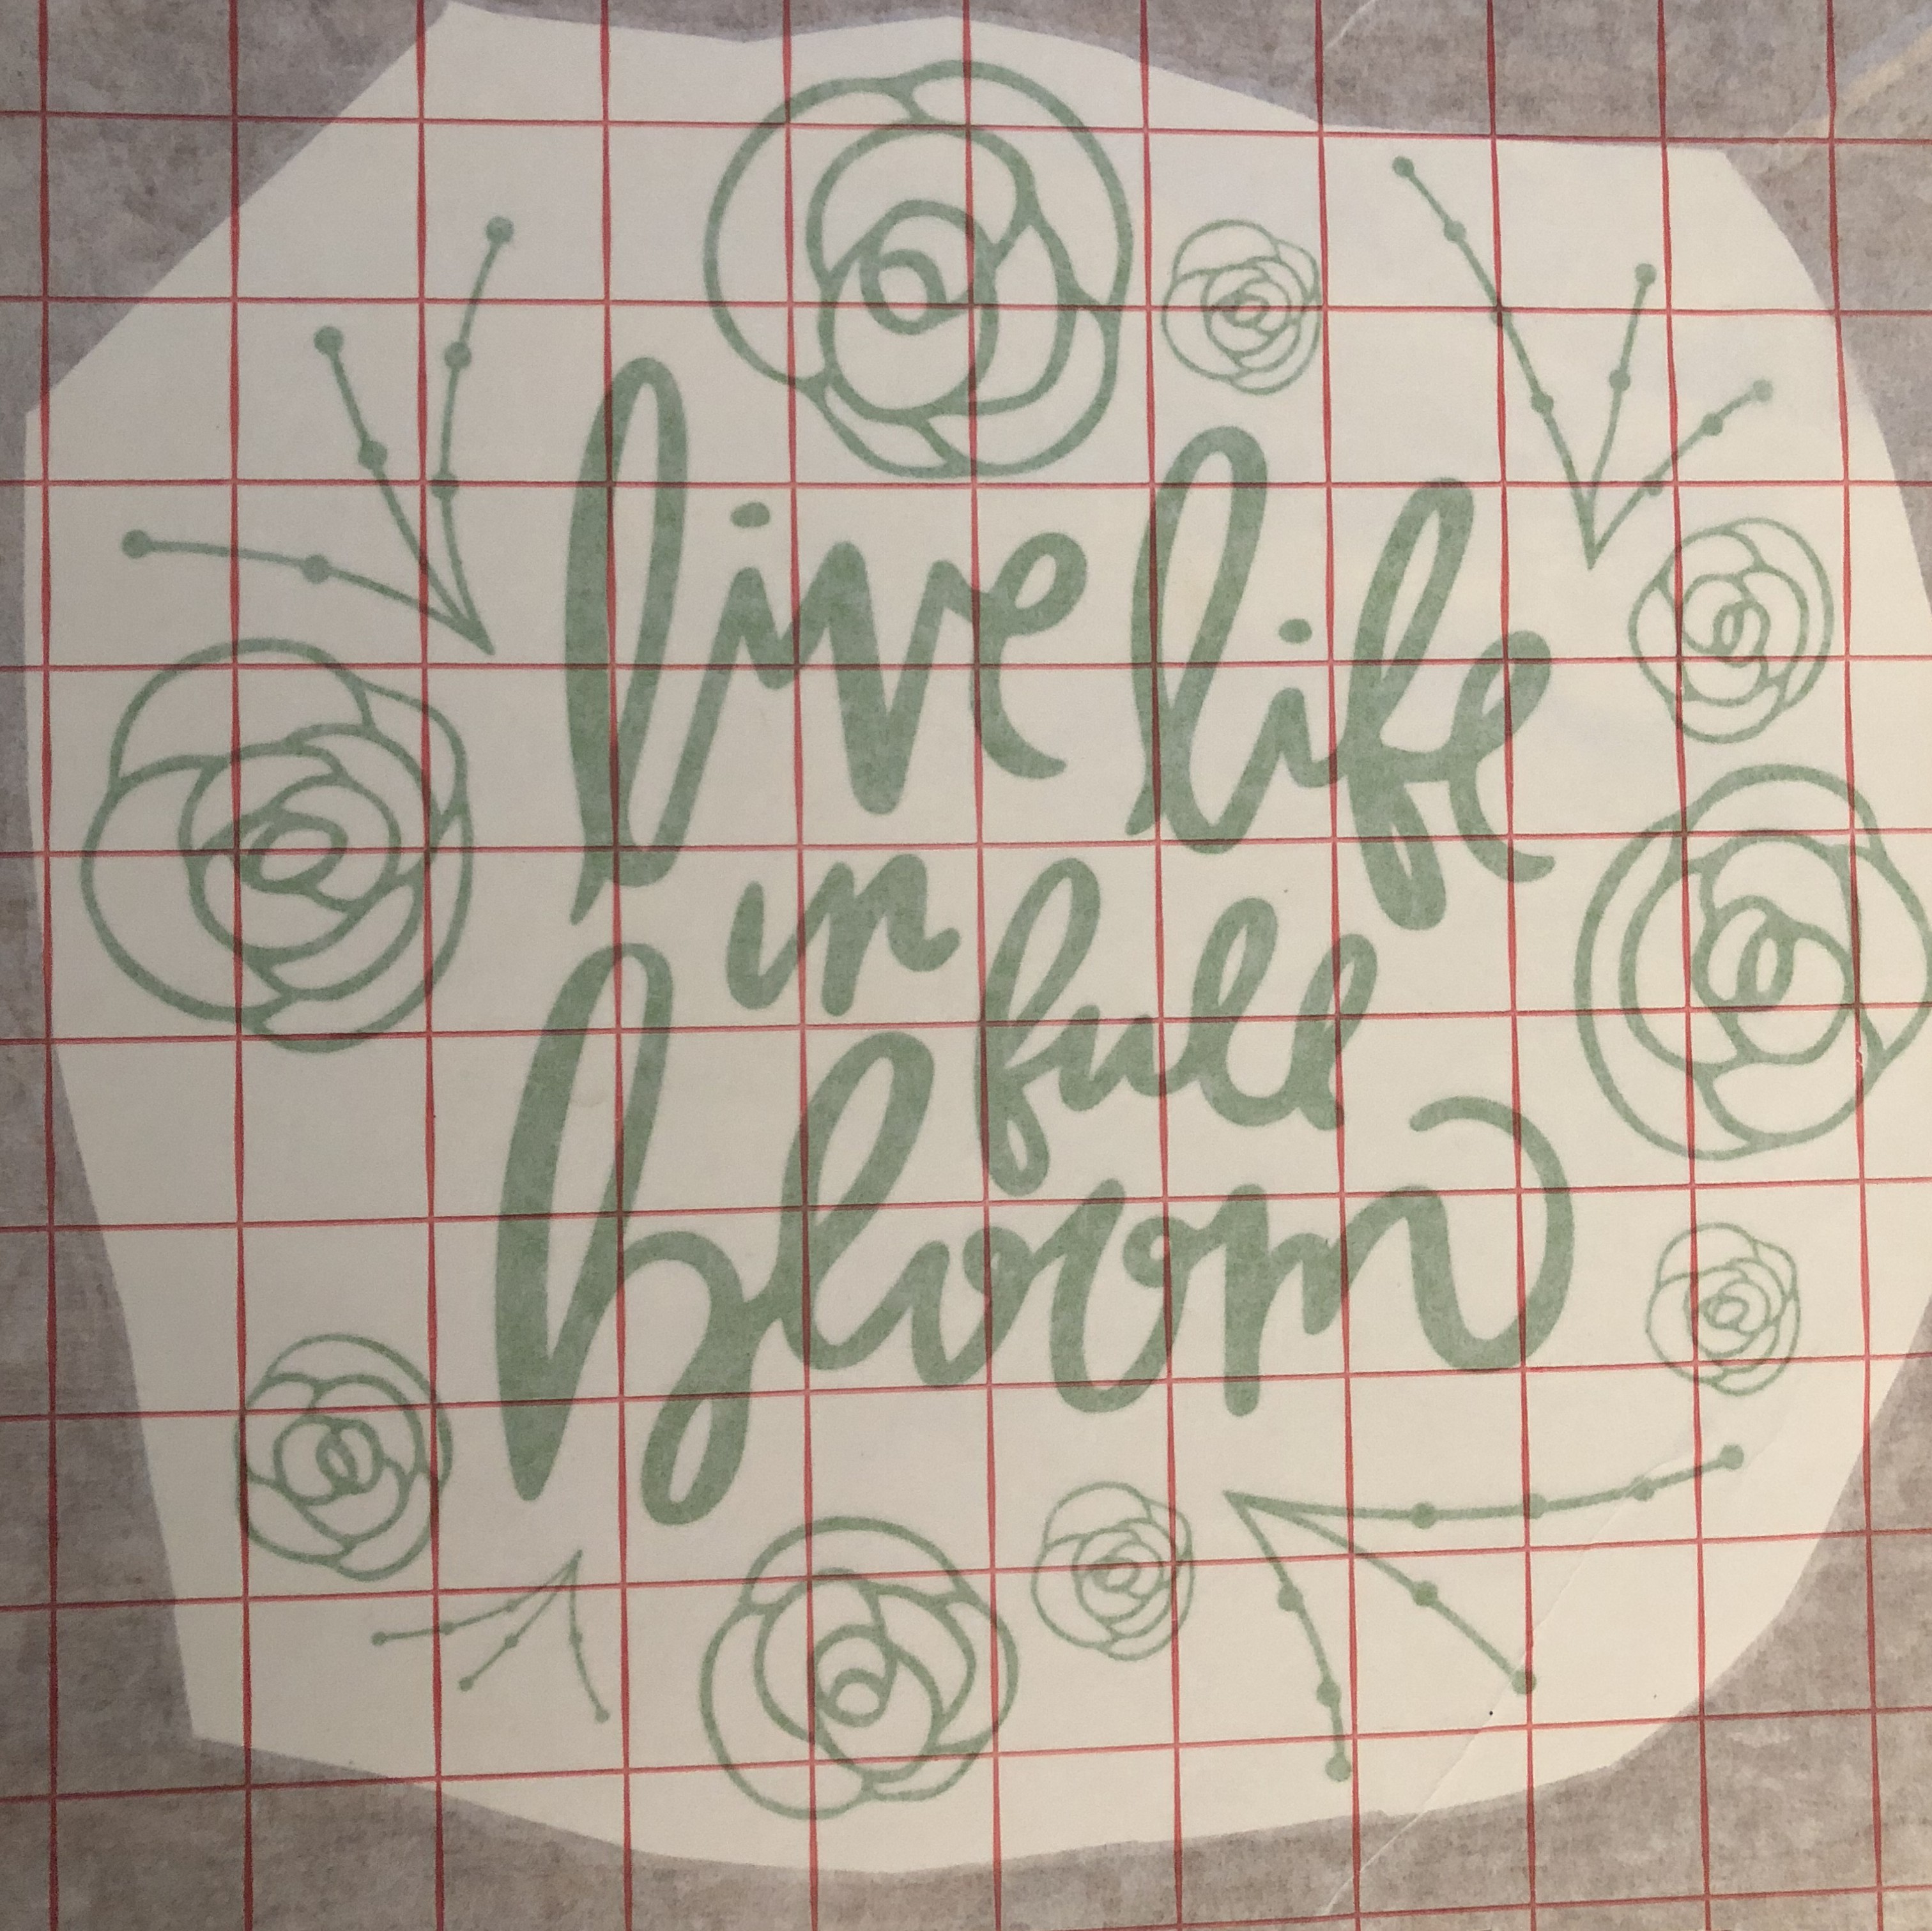
6- Place your design on your canvas and carefully peel the application tape back from your design.
7 – Paint the entire canvas a solid color and let dry.
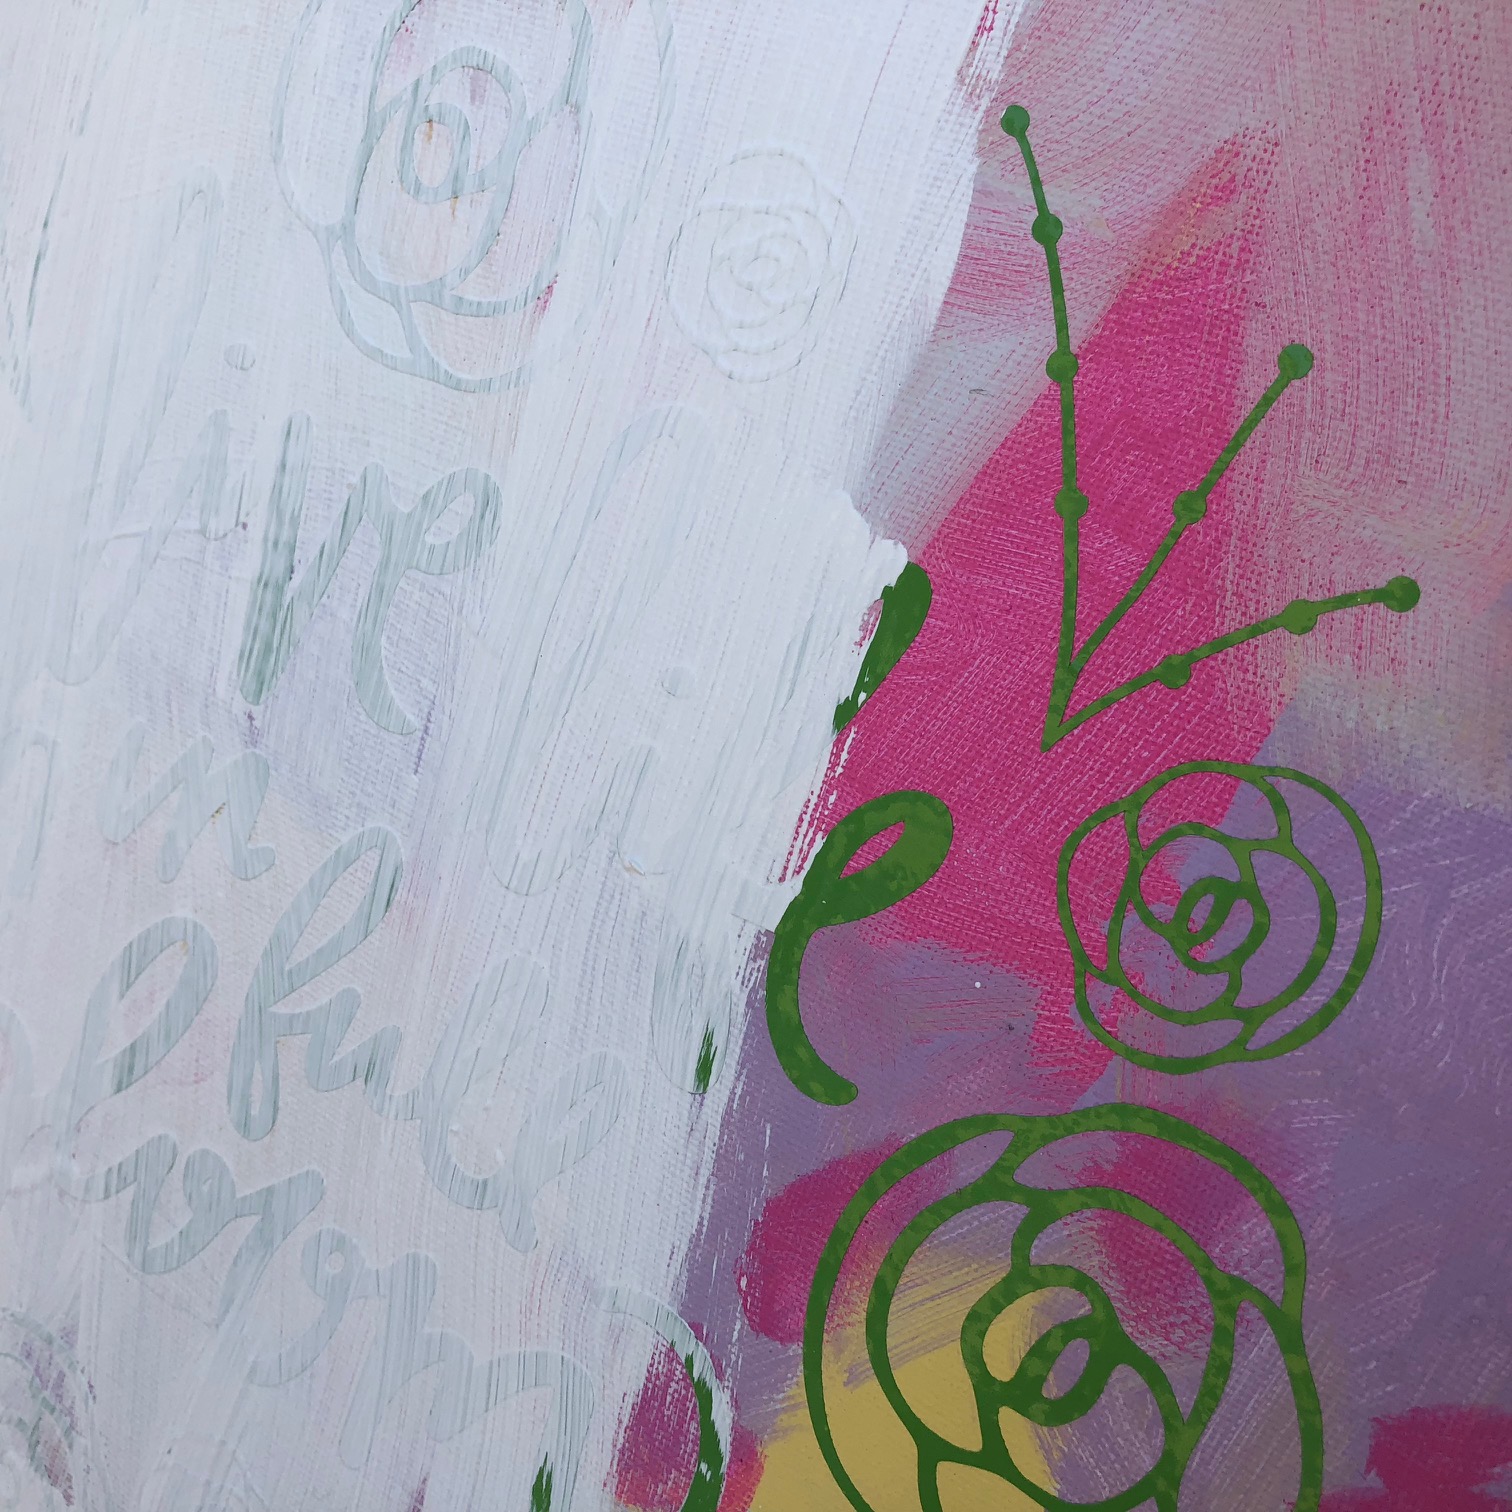
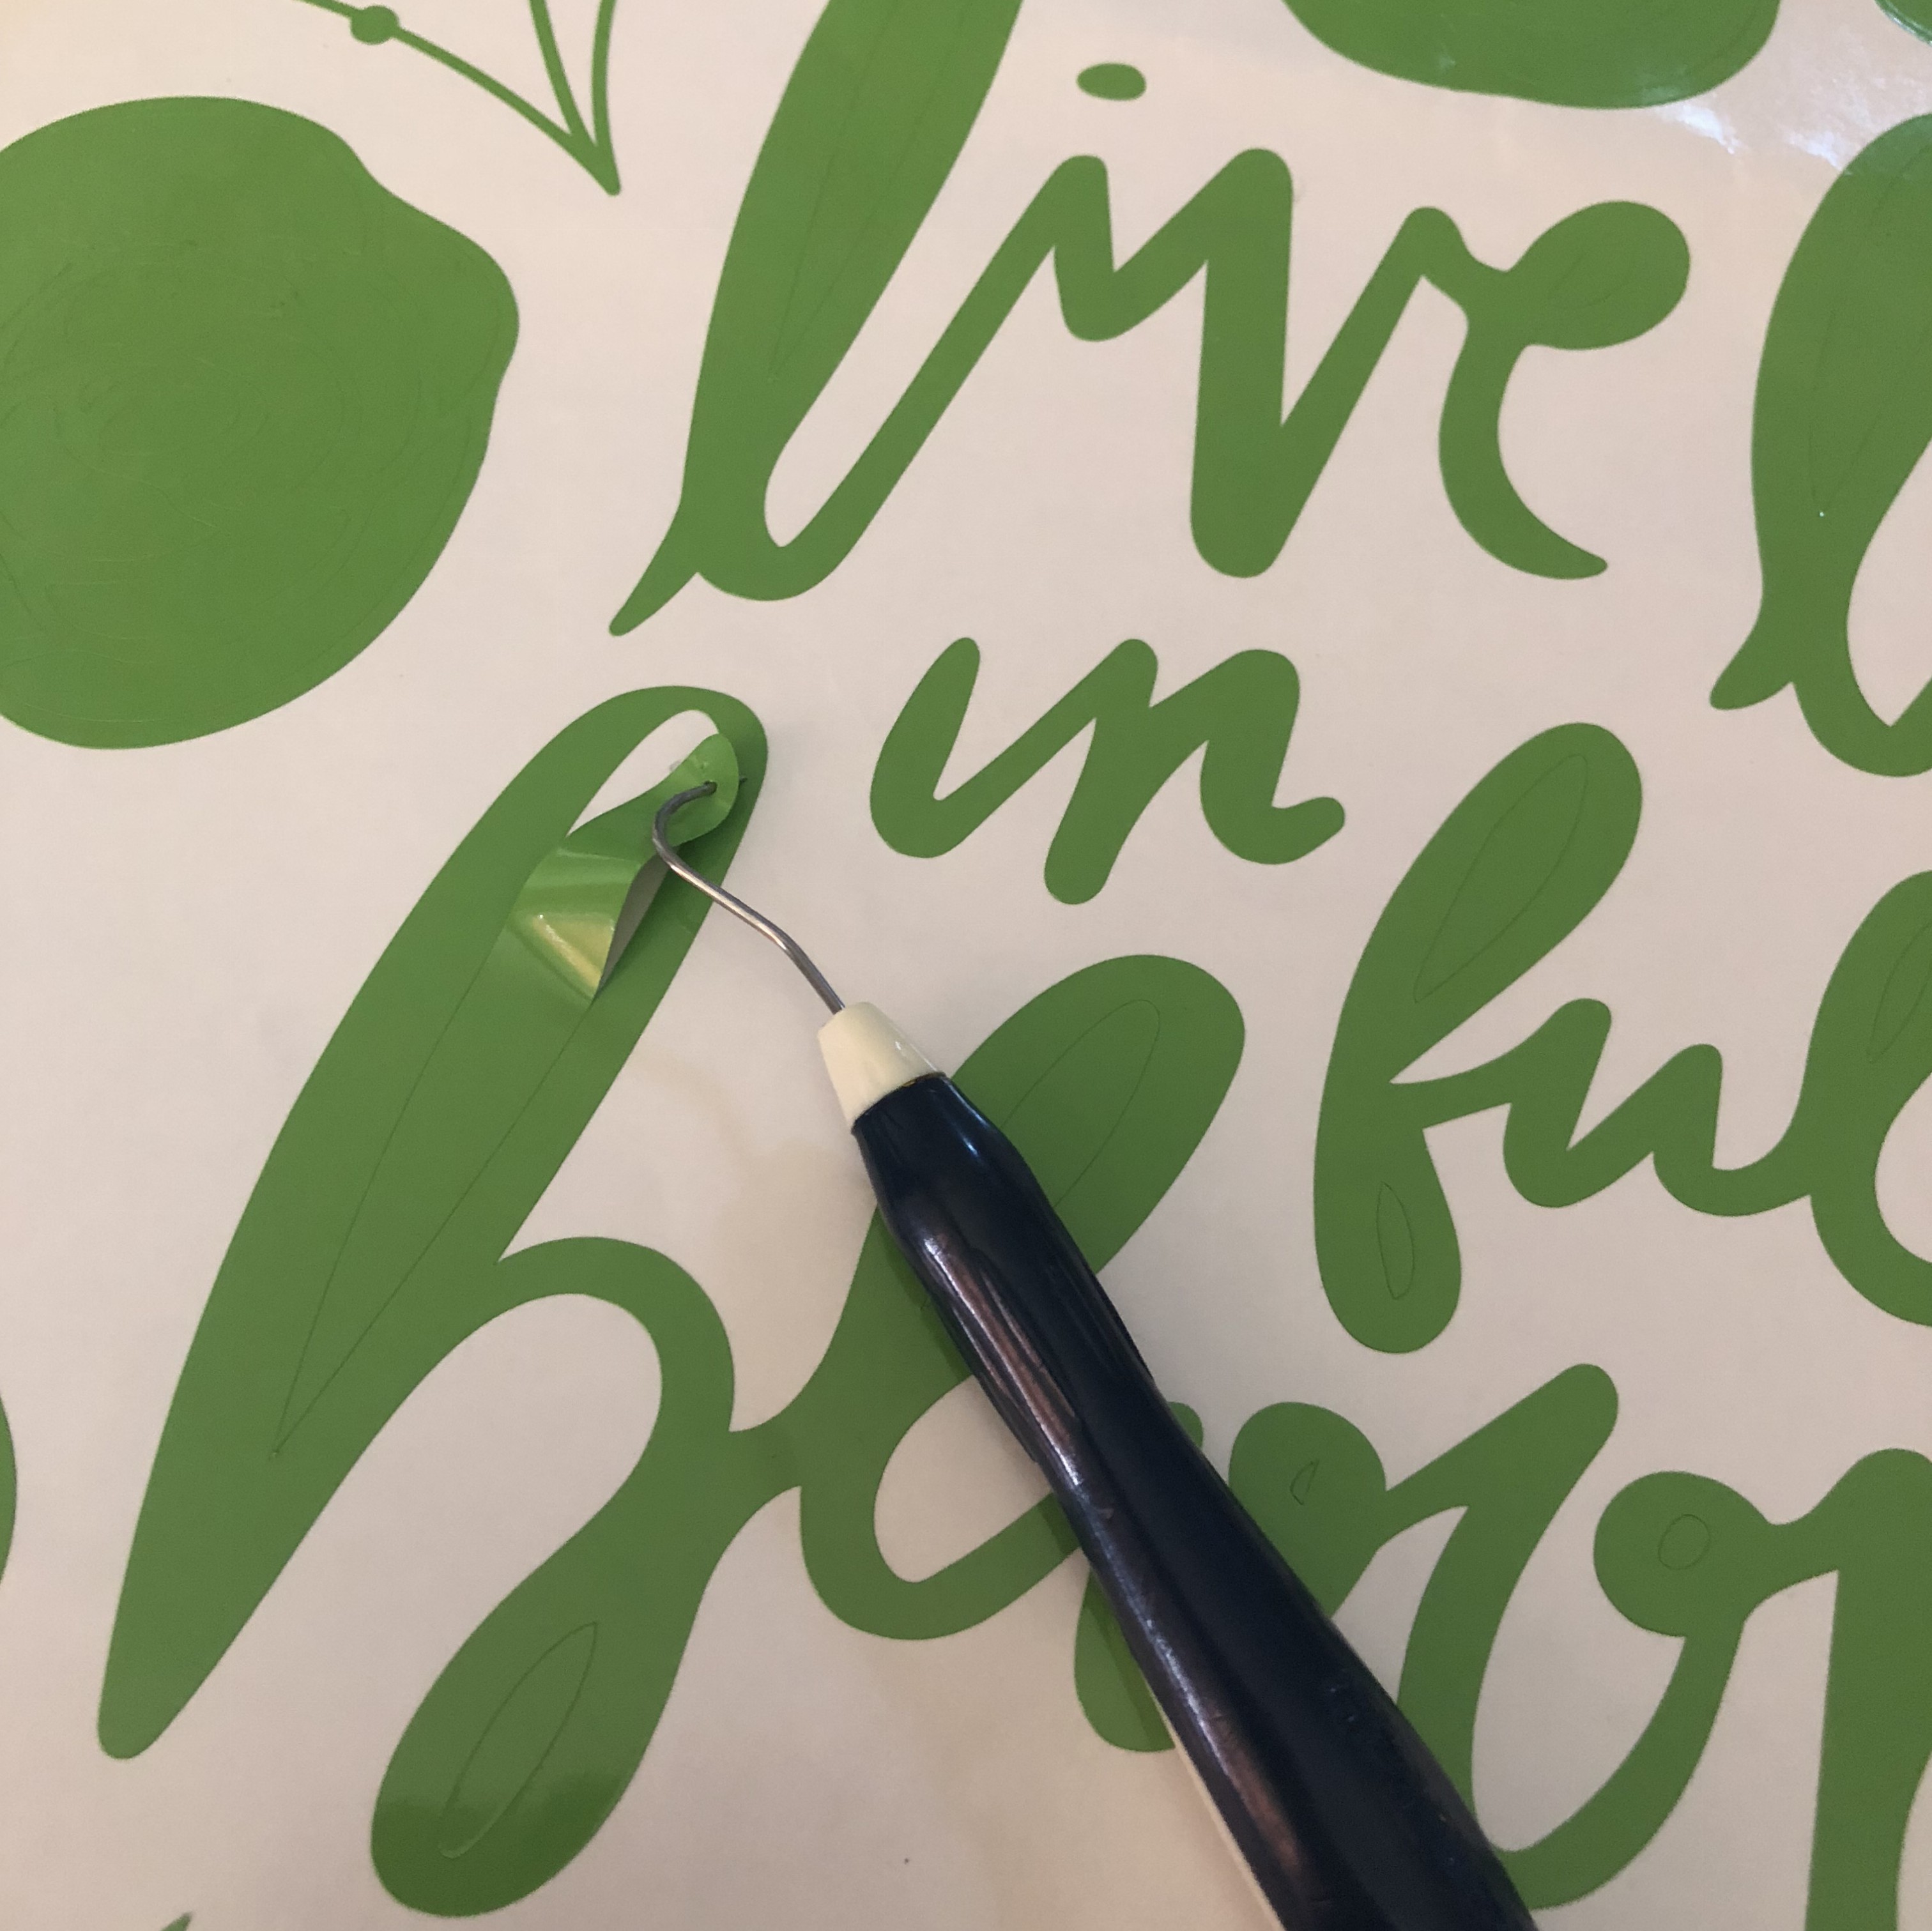
8- Once the paint is dry, carefully weed your design.
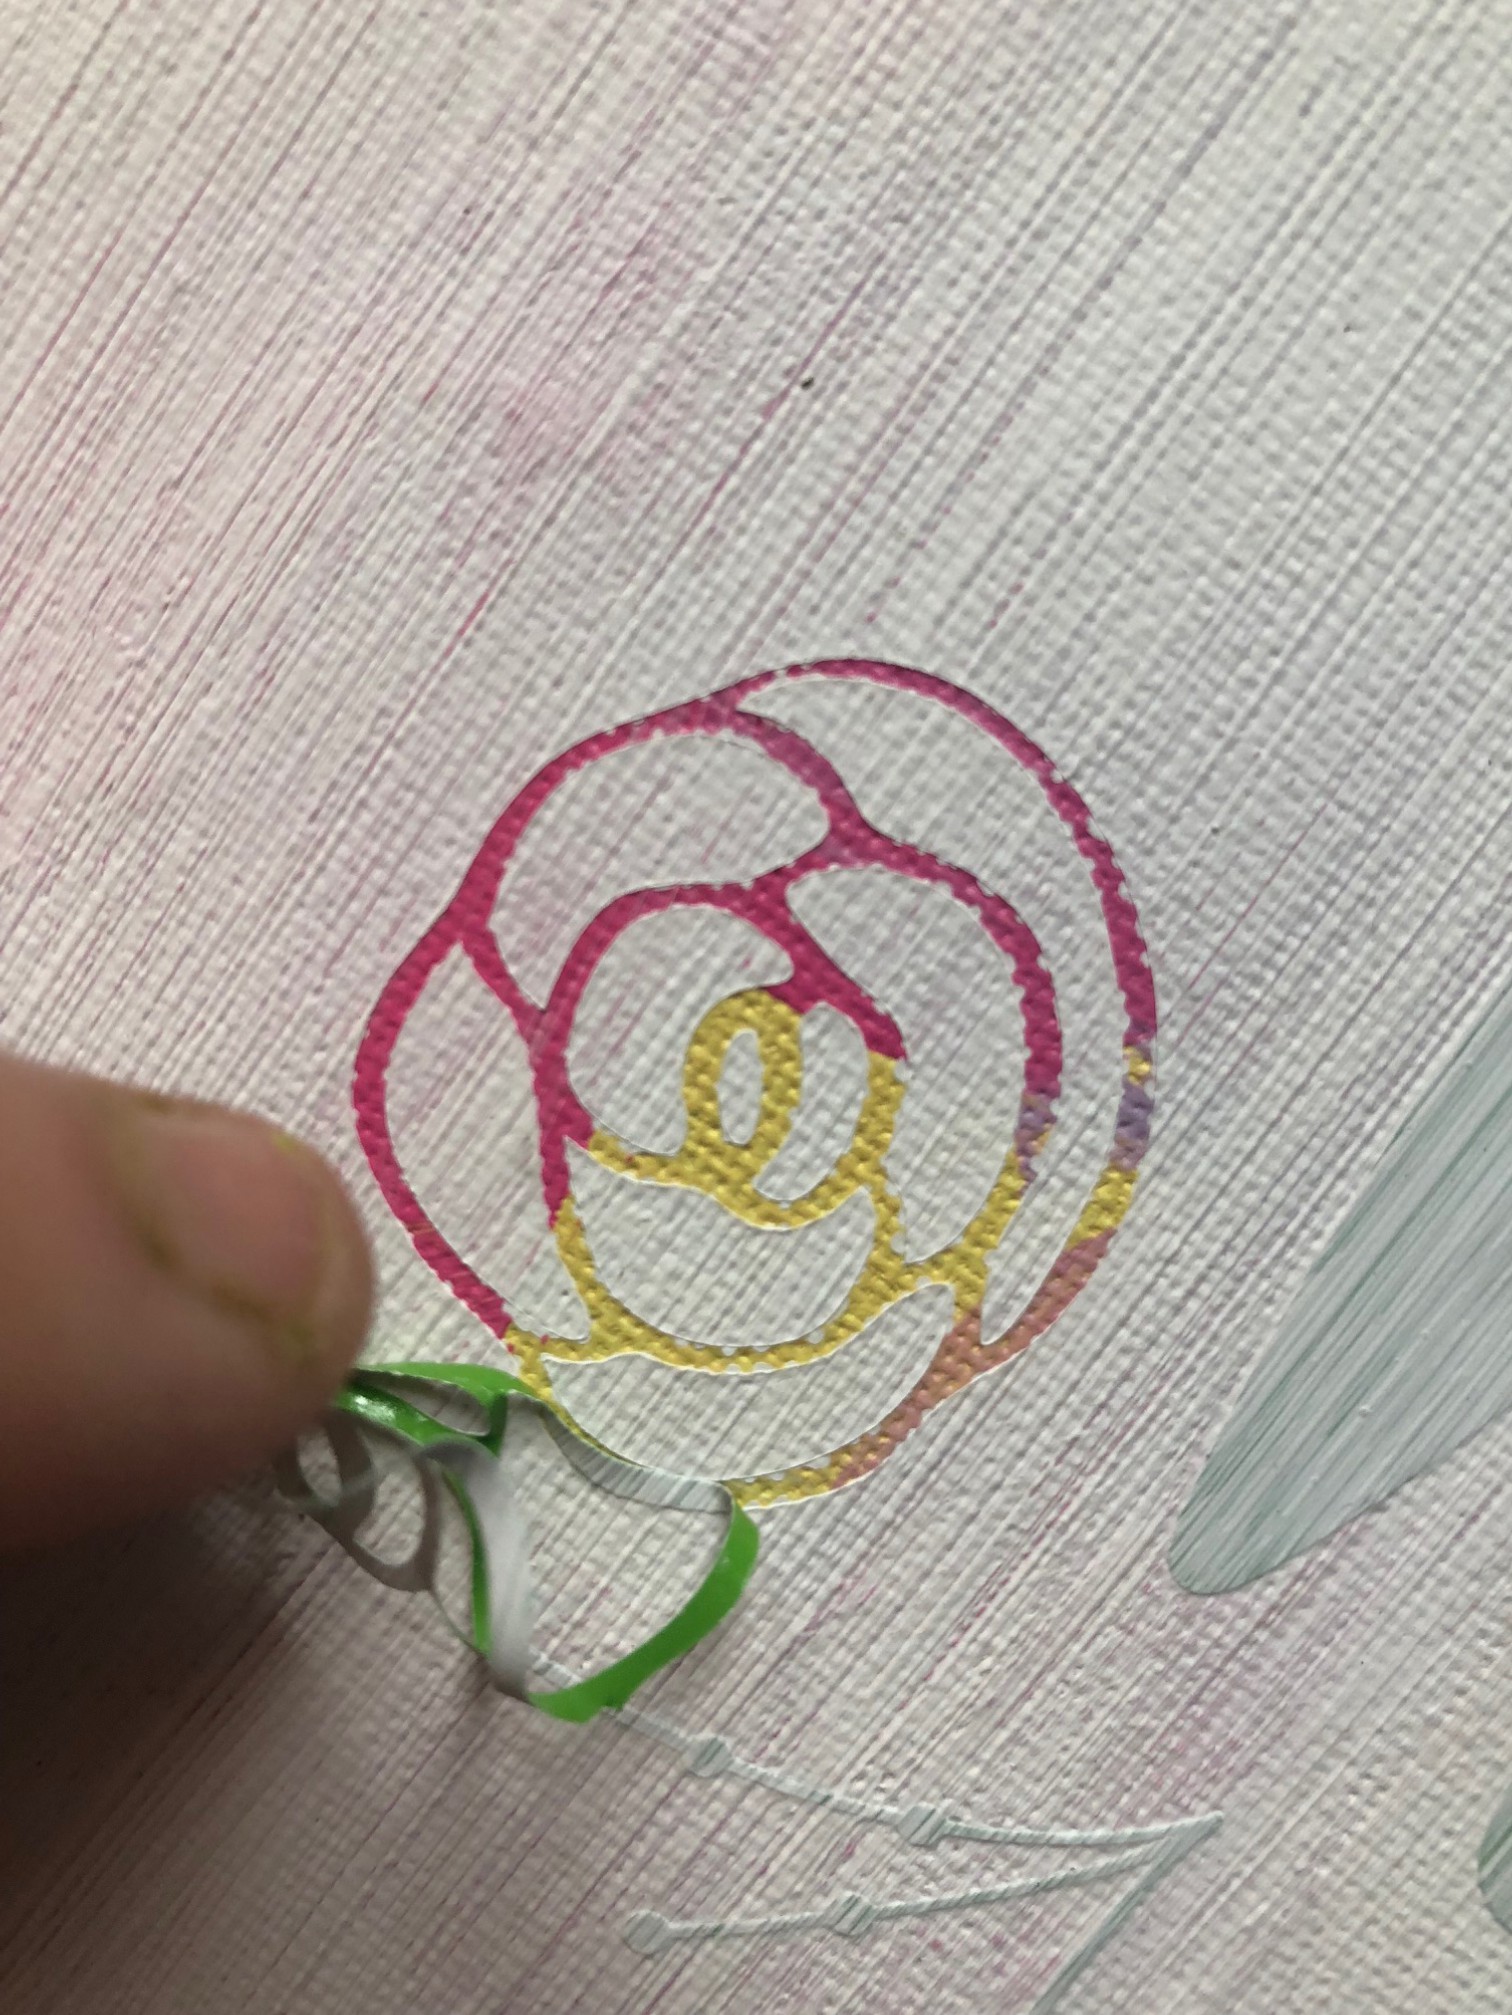
9 – Admire your results.