Tips for Applying Adhesive Vinyl

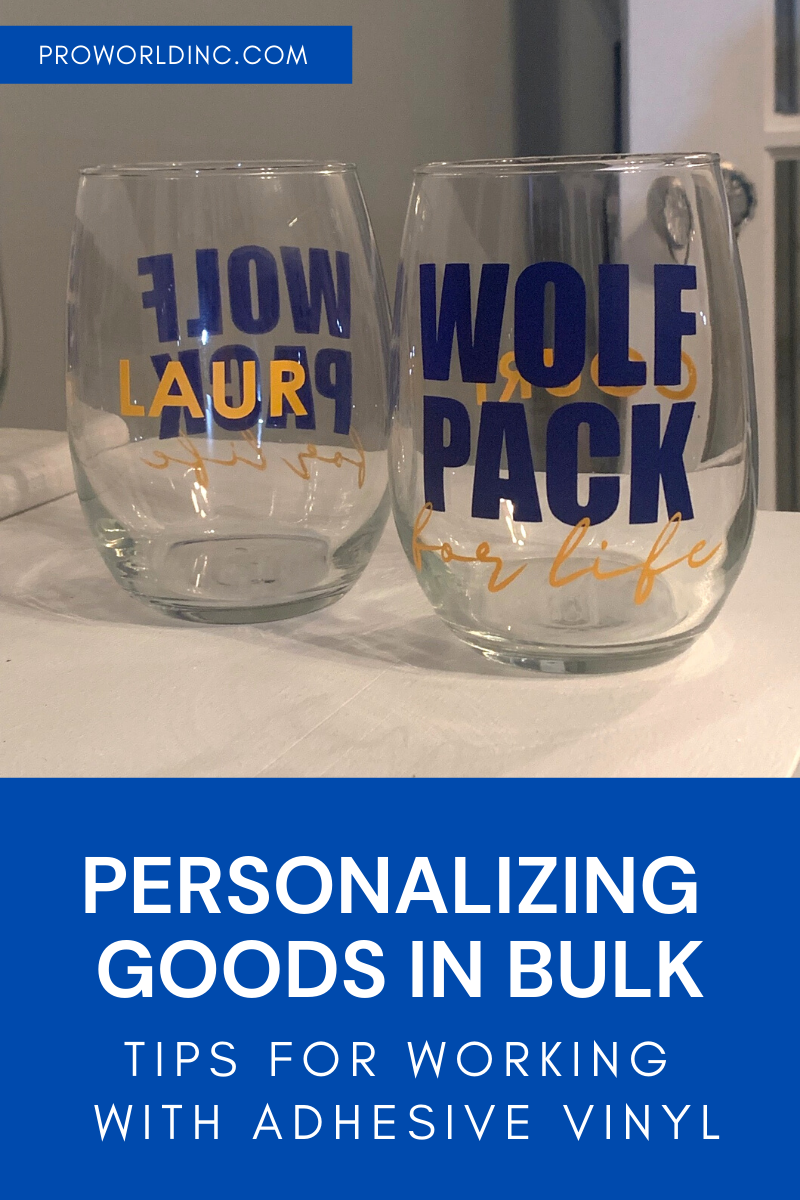
Have you heard of the wet application technique for adhesive vinyl? If you’ve ever had a vinyl project ruined by those annoying air bubbles, you’re going to want to save this post!

tips for applying adhesive vinyl

When should you use this application technique?

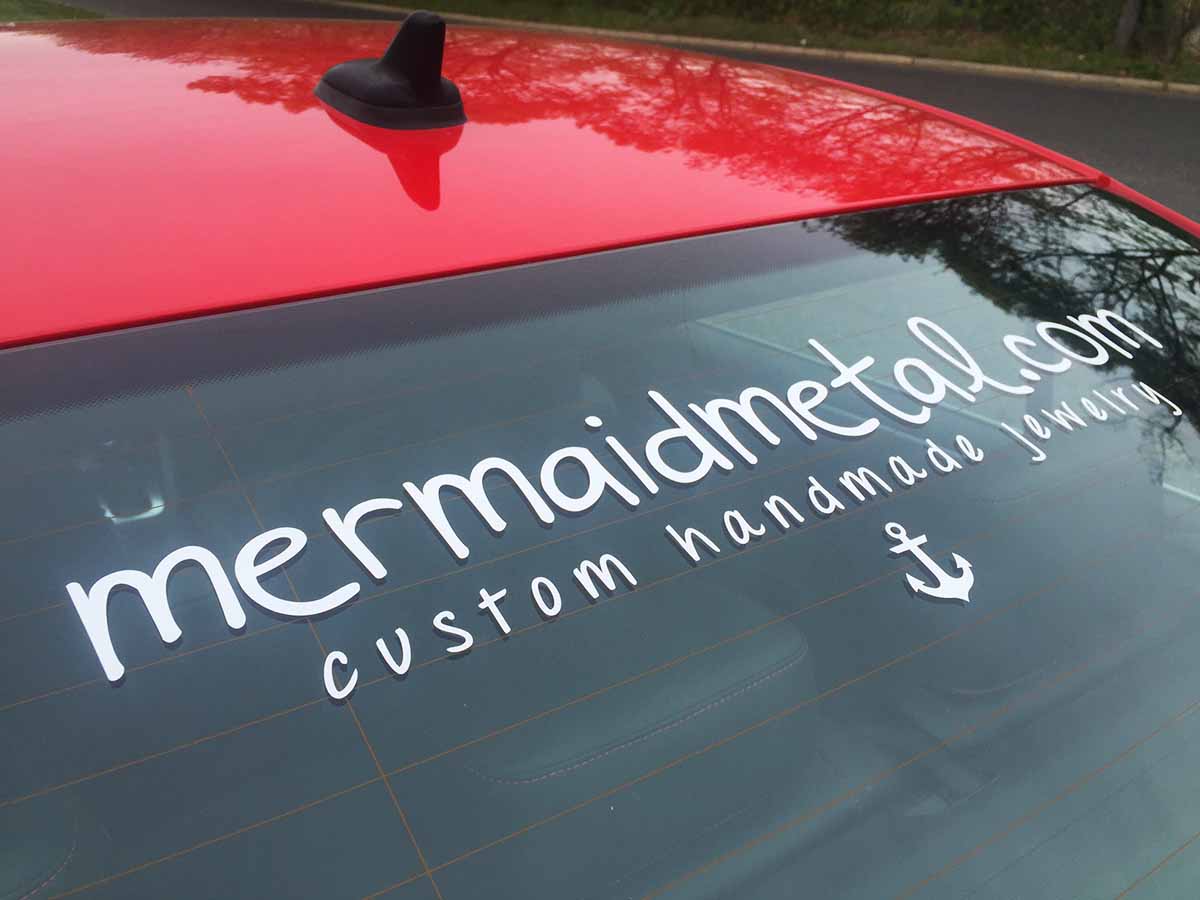
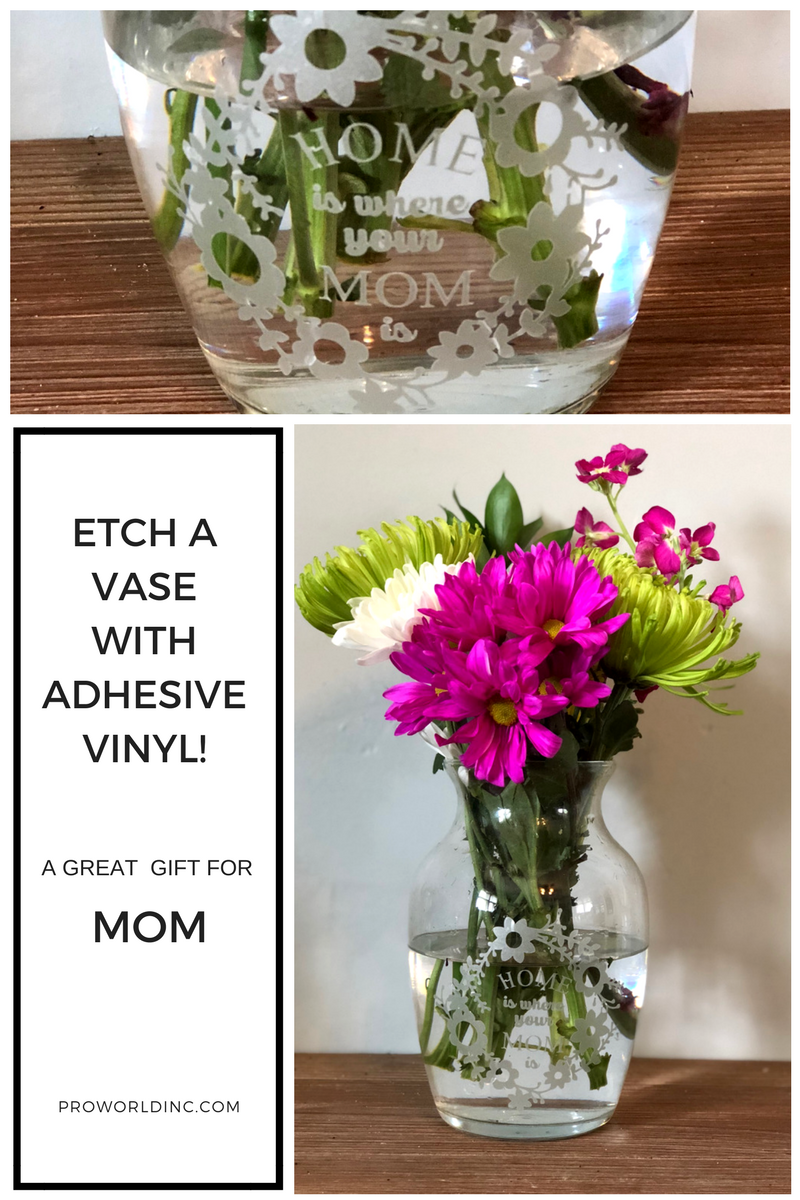
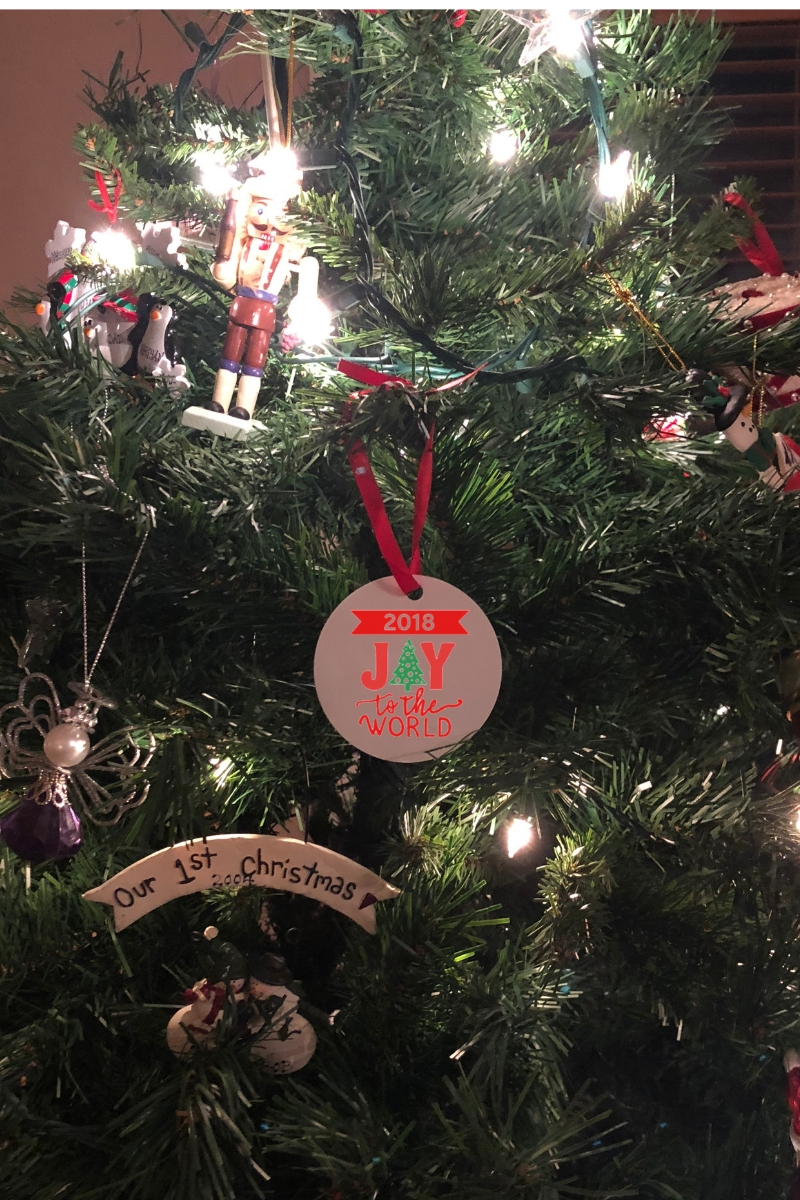
This method is helpful when you’re applying adhesive vinyl to any type of hard, non-porous surface (plastic, metal, glass, etc). With these types of surfaces, air bubbles are a common occurrence. But when you apply using water, you’re able to easily push the air bubbles out- leaving you with a smooth finished product!

tips for applying adhesive vinyl

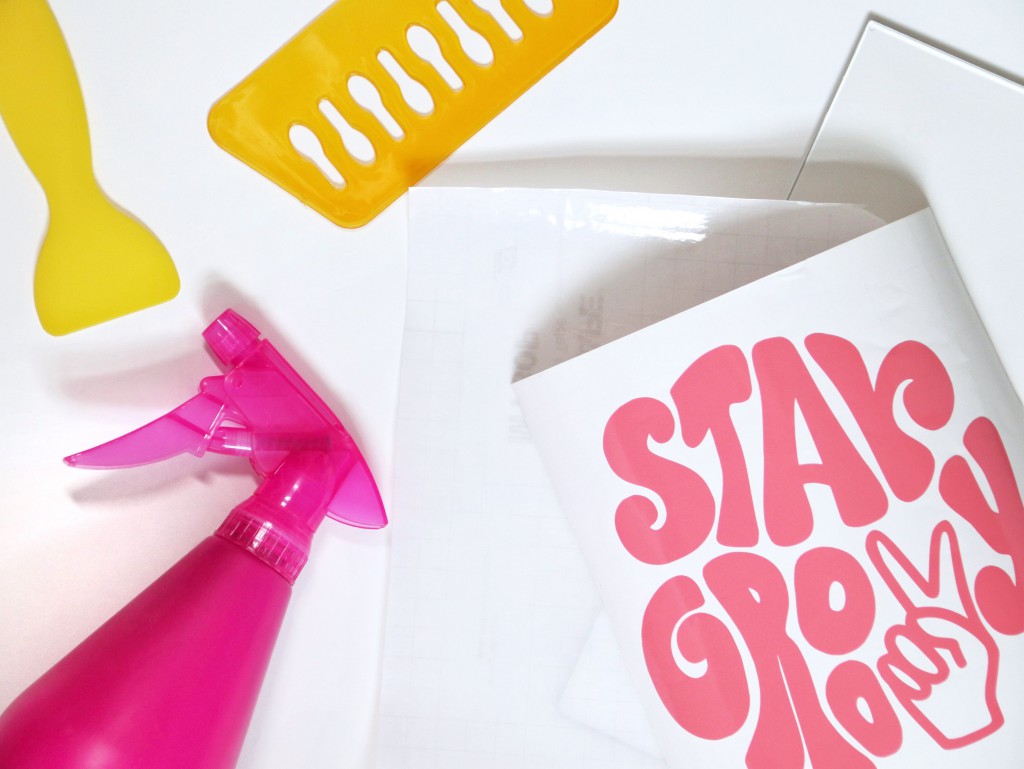
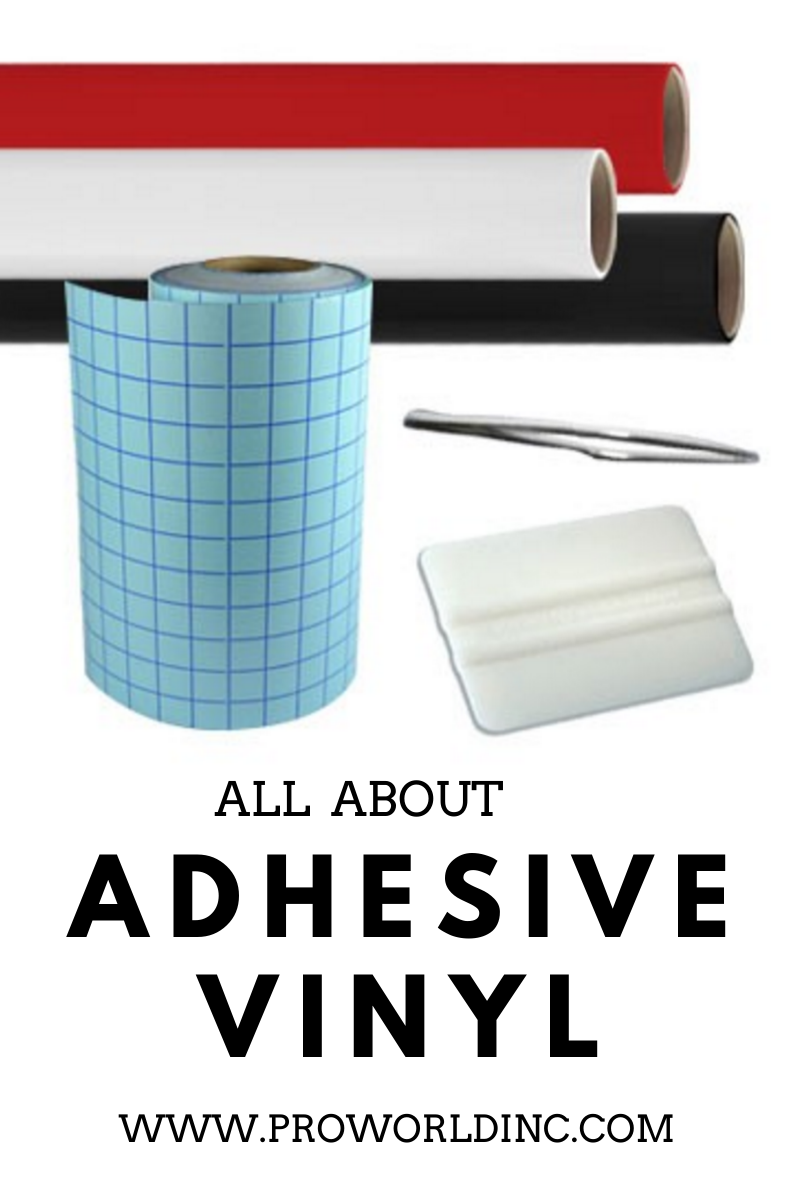
Here’s what you need:

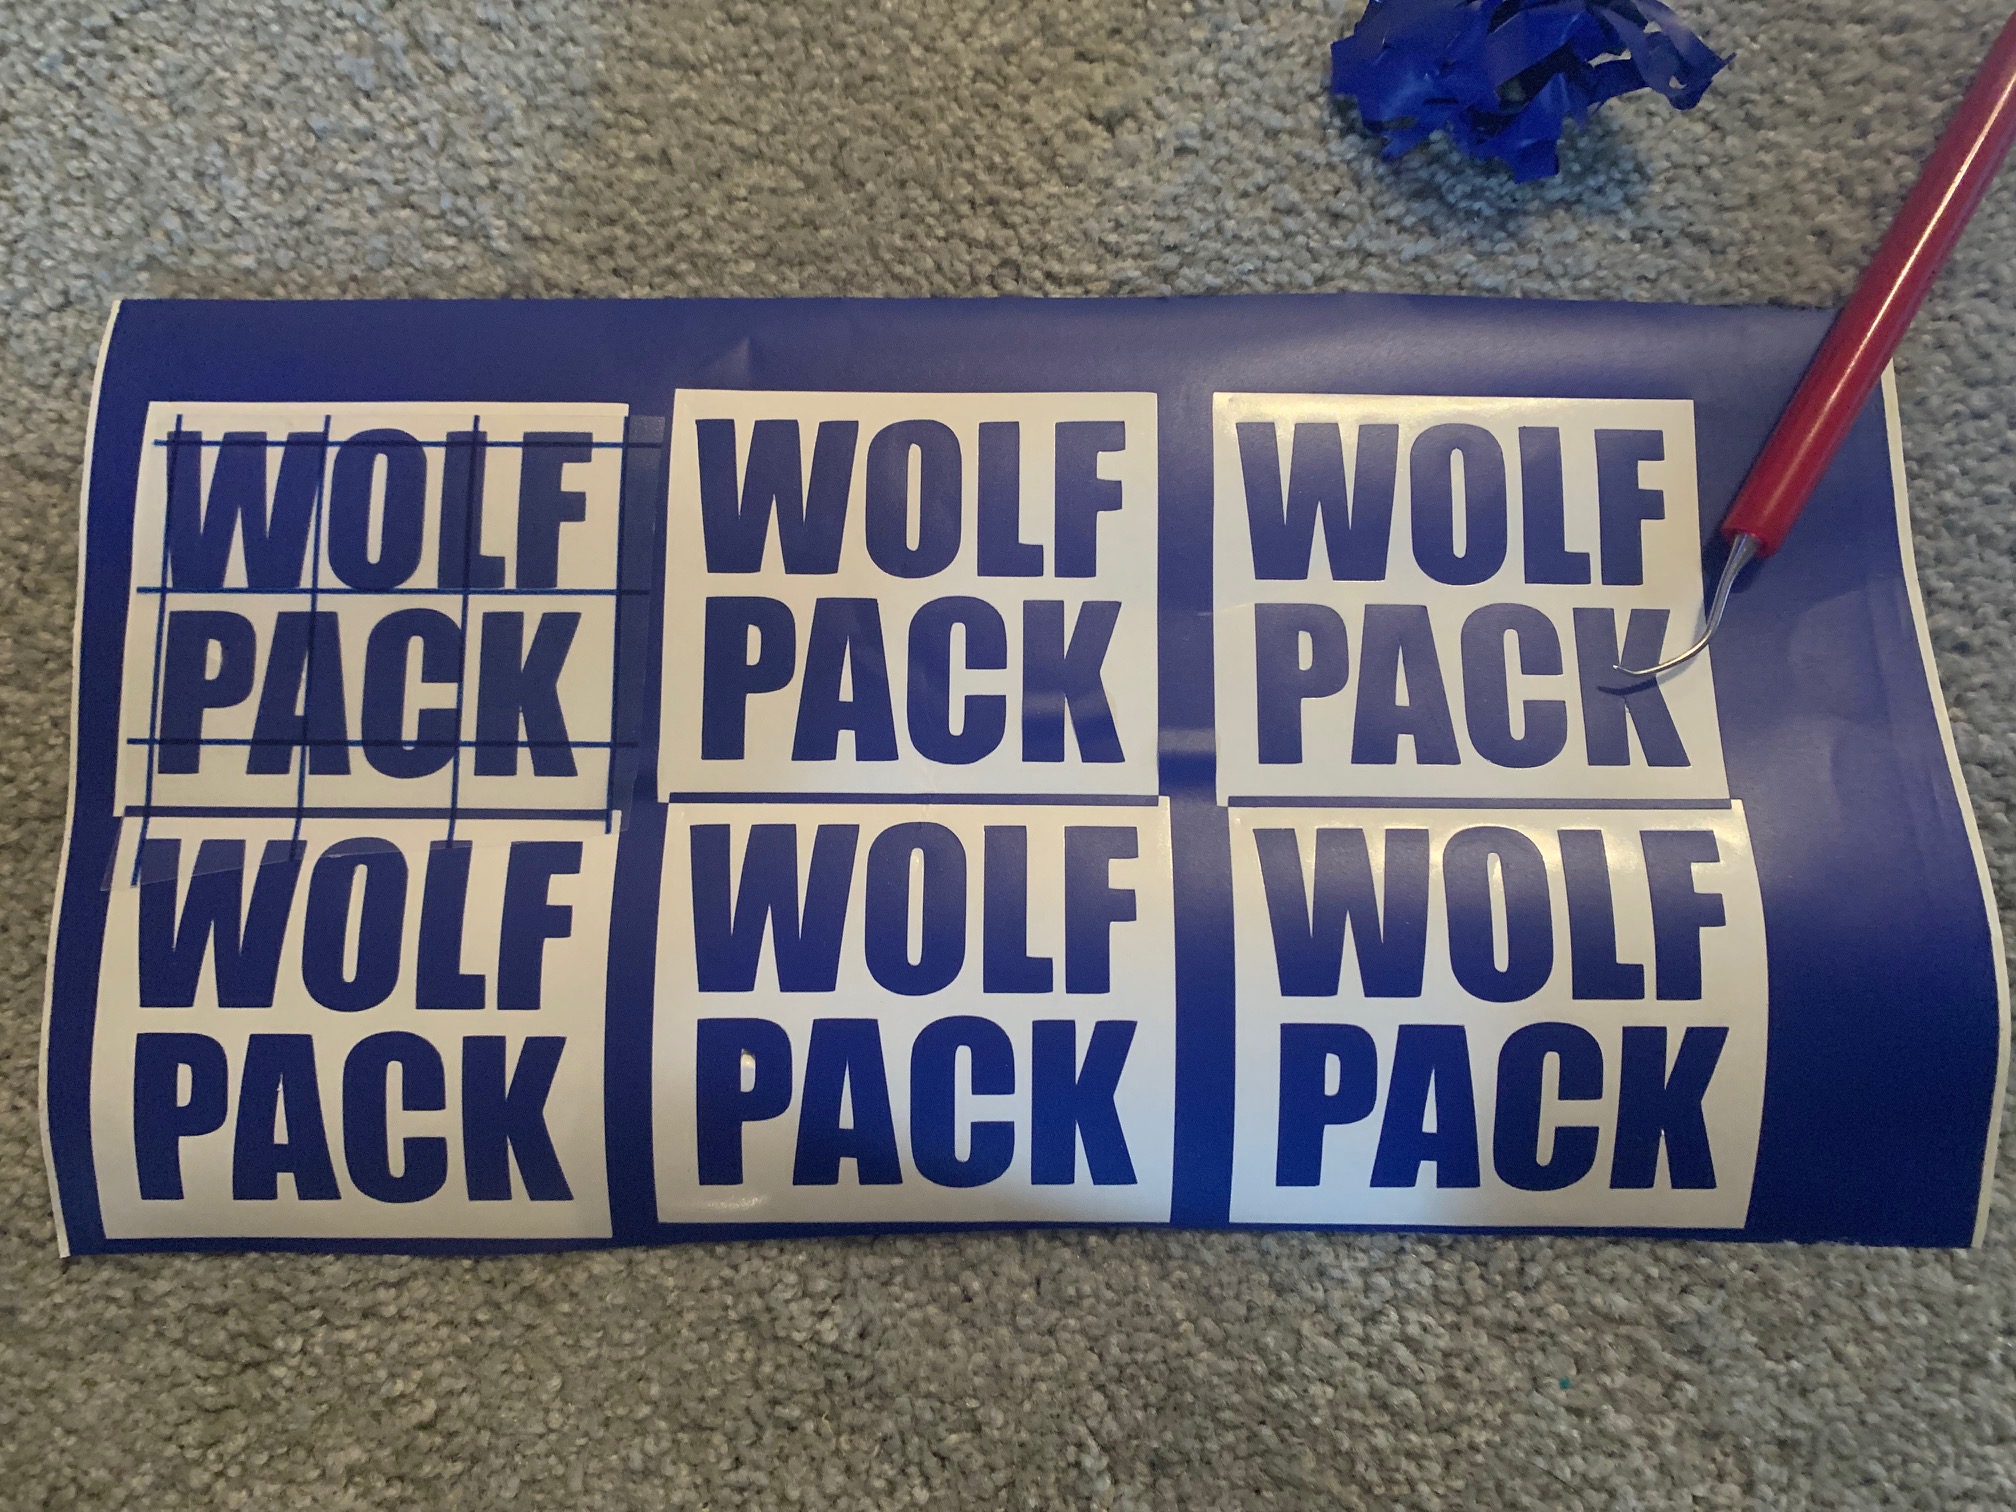
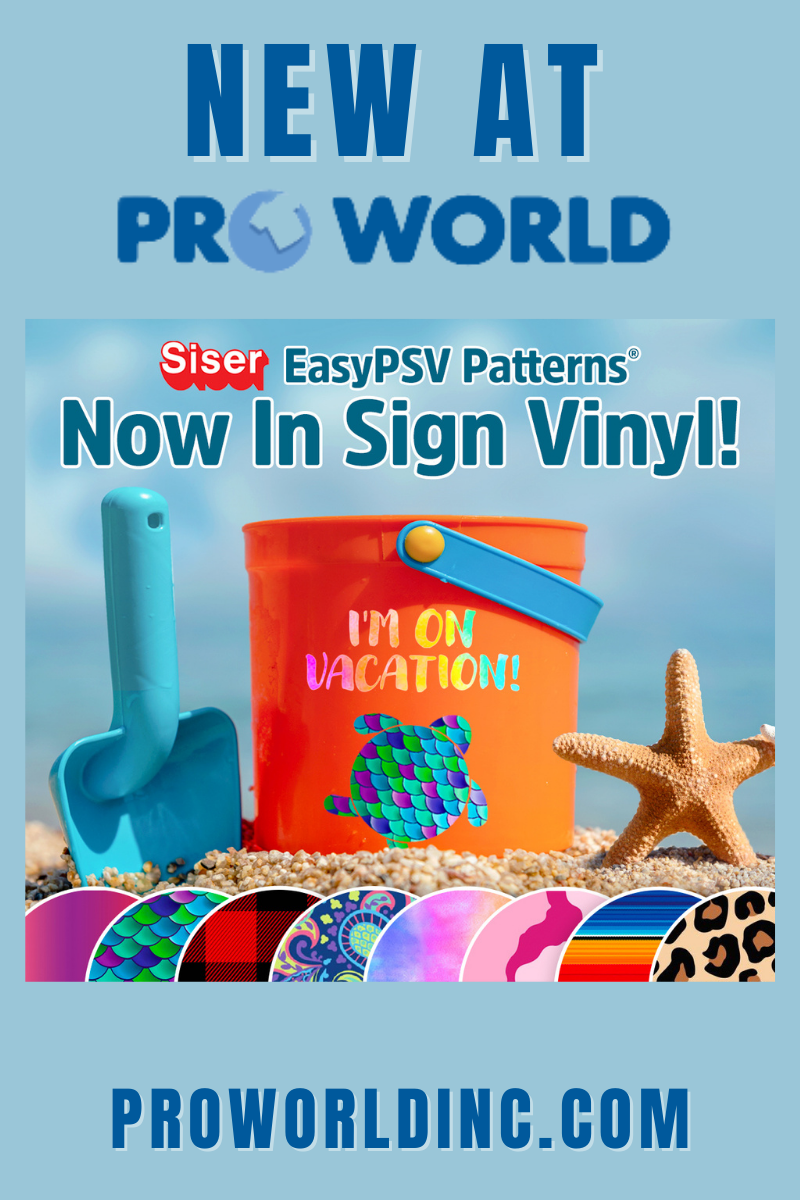
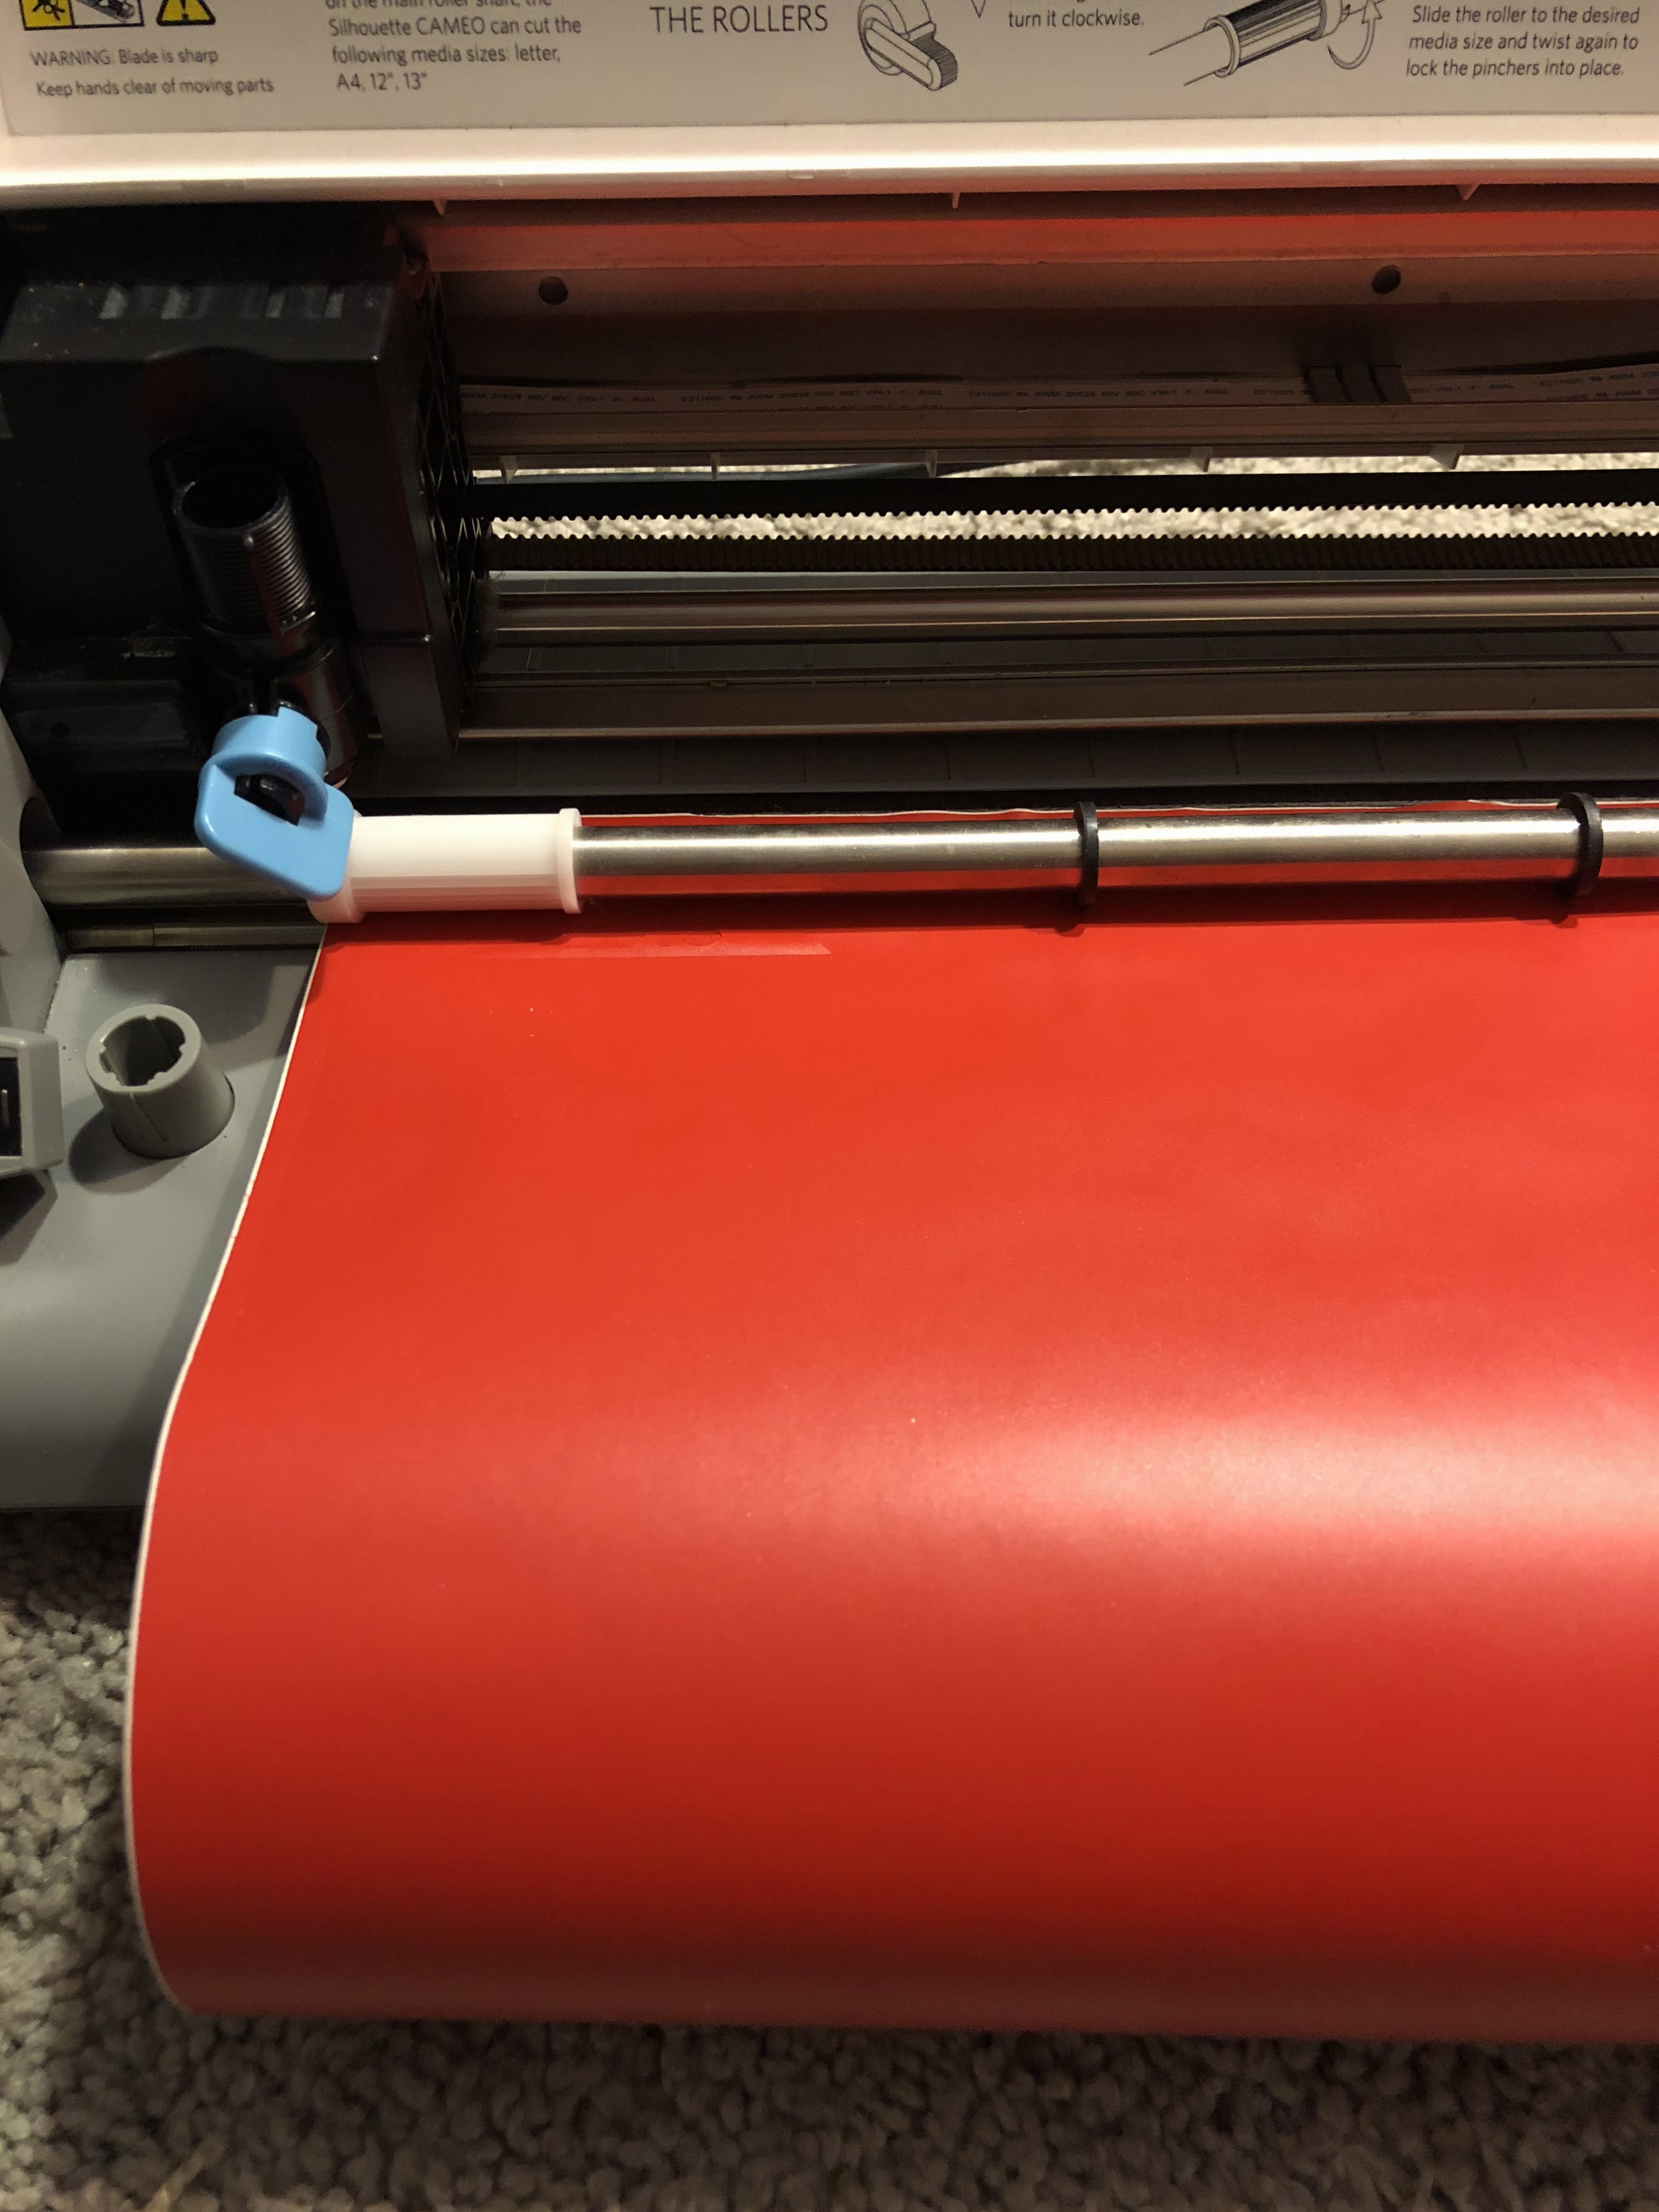
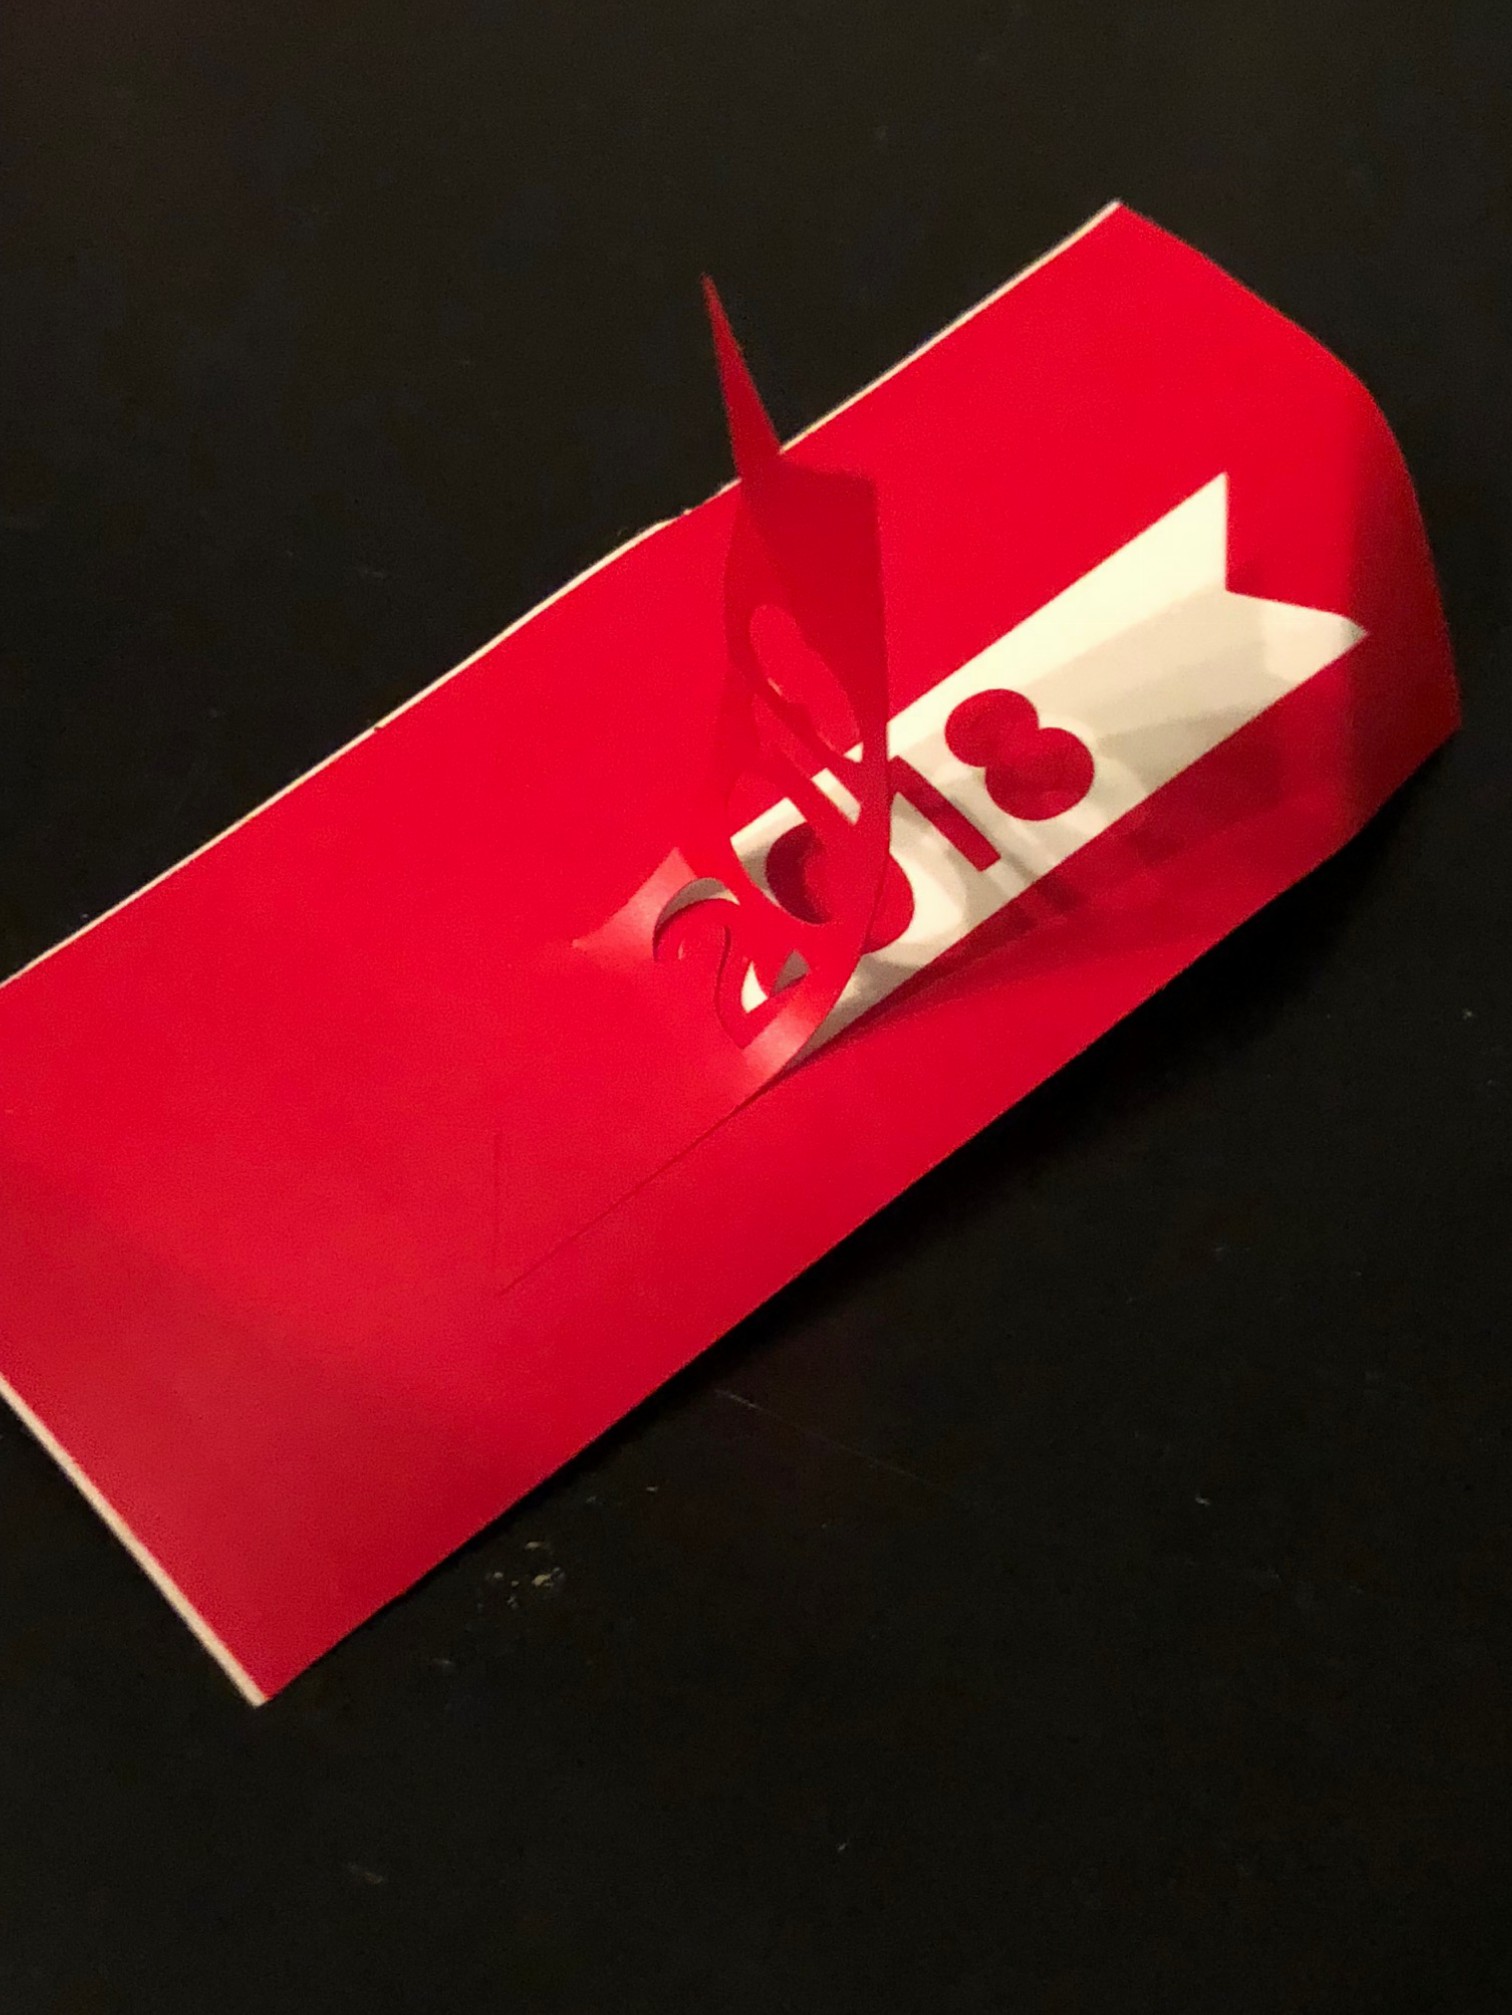
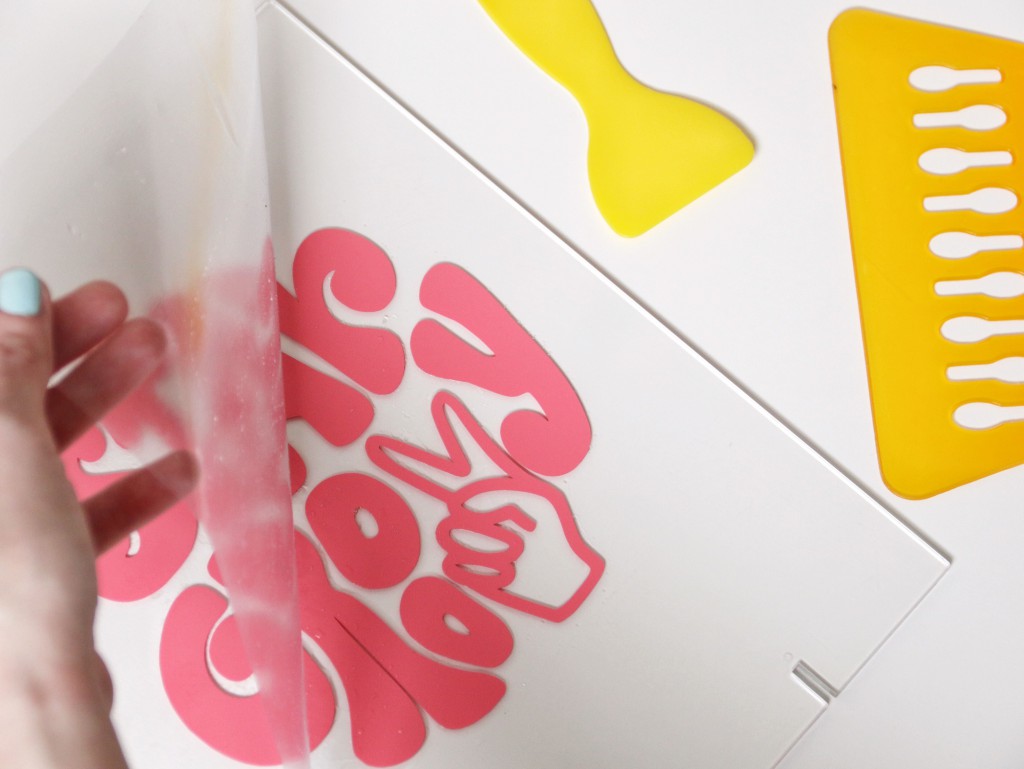
  • Cut vinyl design (we’re using Siser Easy PSV in the color “Coral Reef”)
  • Surface you’re applying it to
  • Spray bottle with water + a drop of dish soap
  • Squeegee tool
  • Transfer tape
  • Paper towel or rag

Applying your vinyl:

how to apply adhesive vinyl

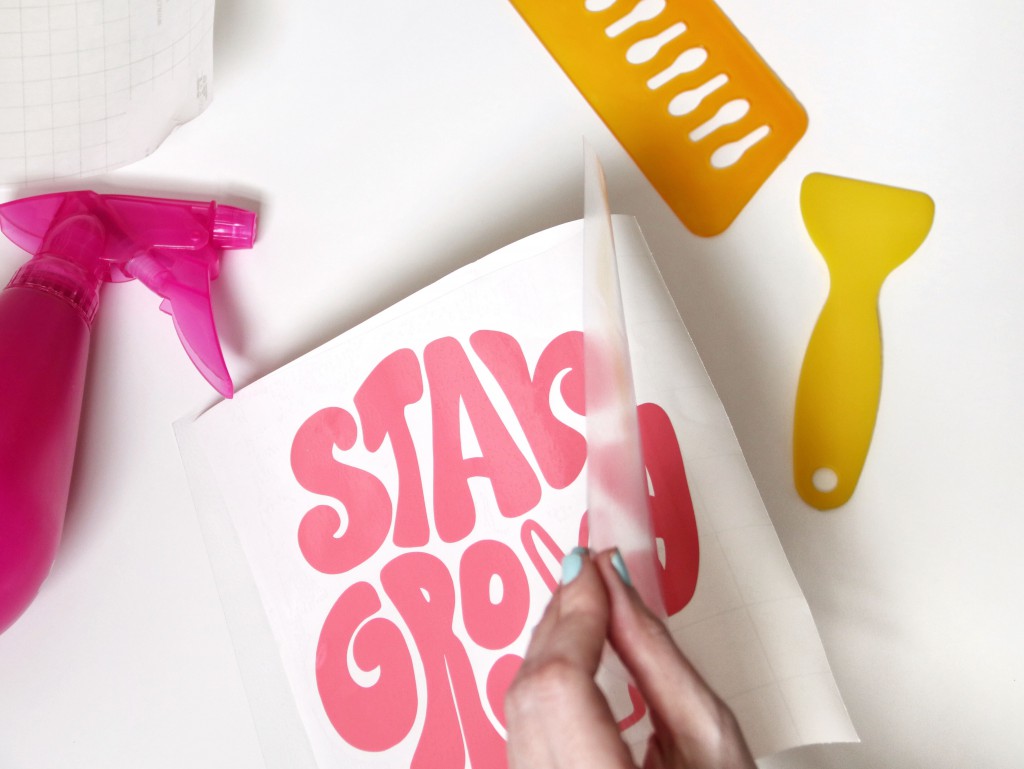
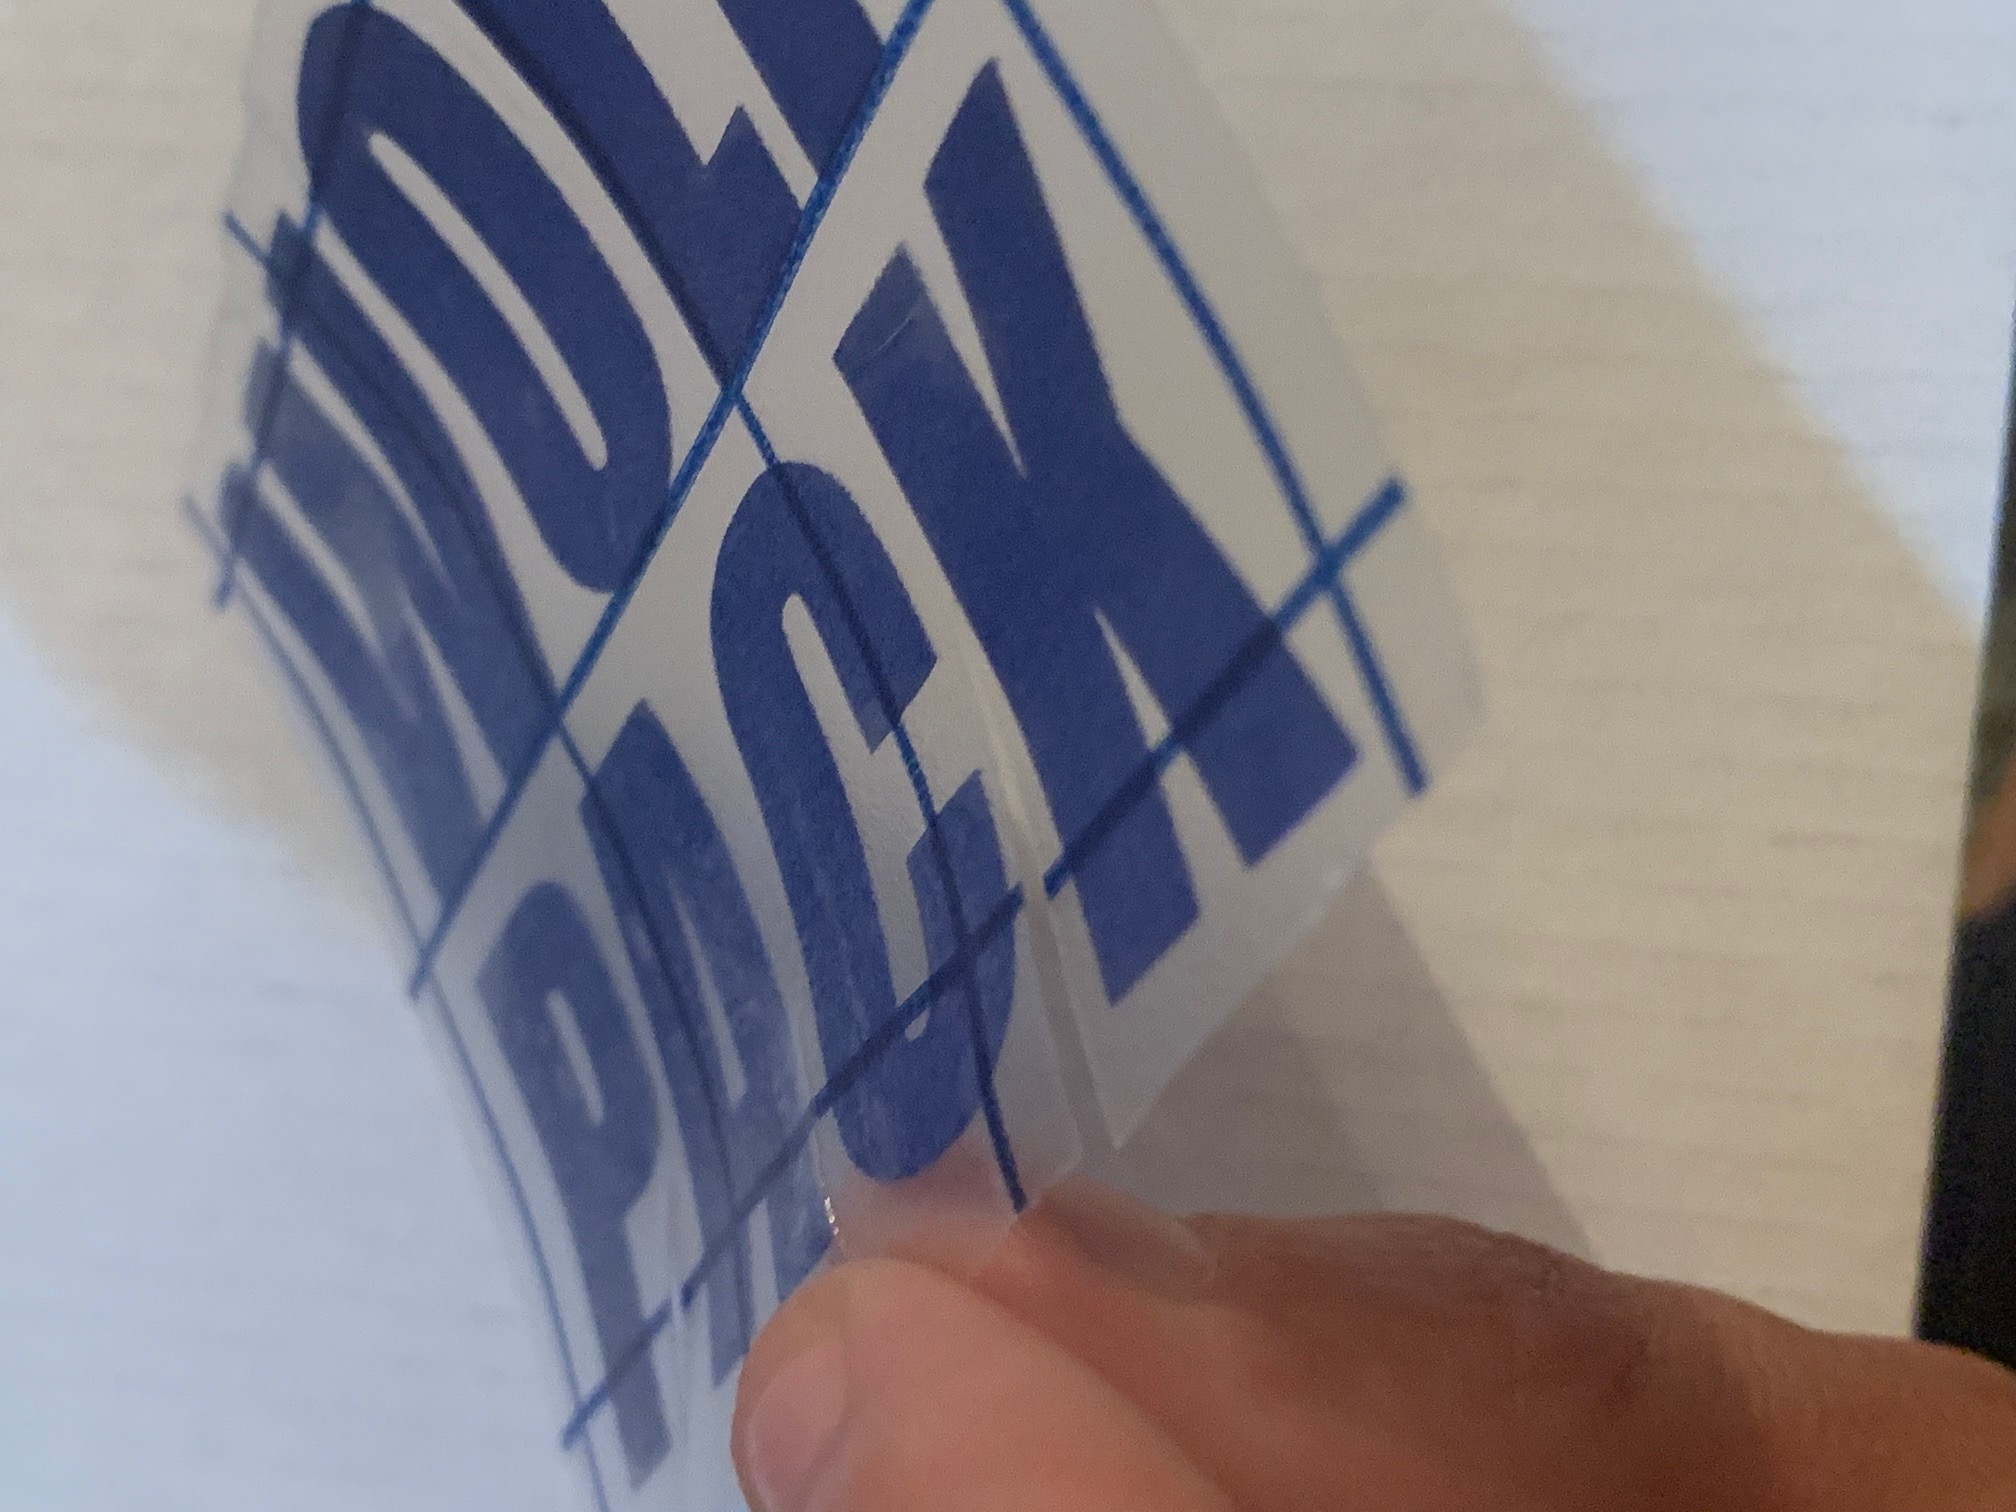
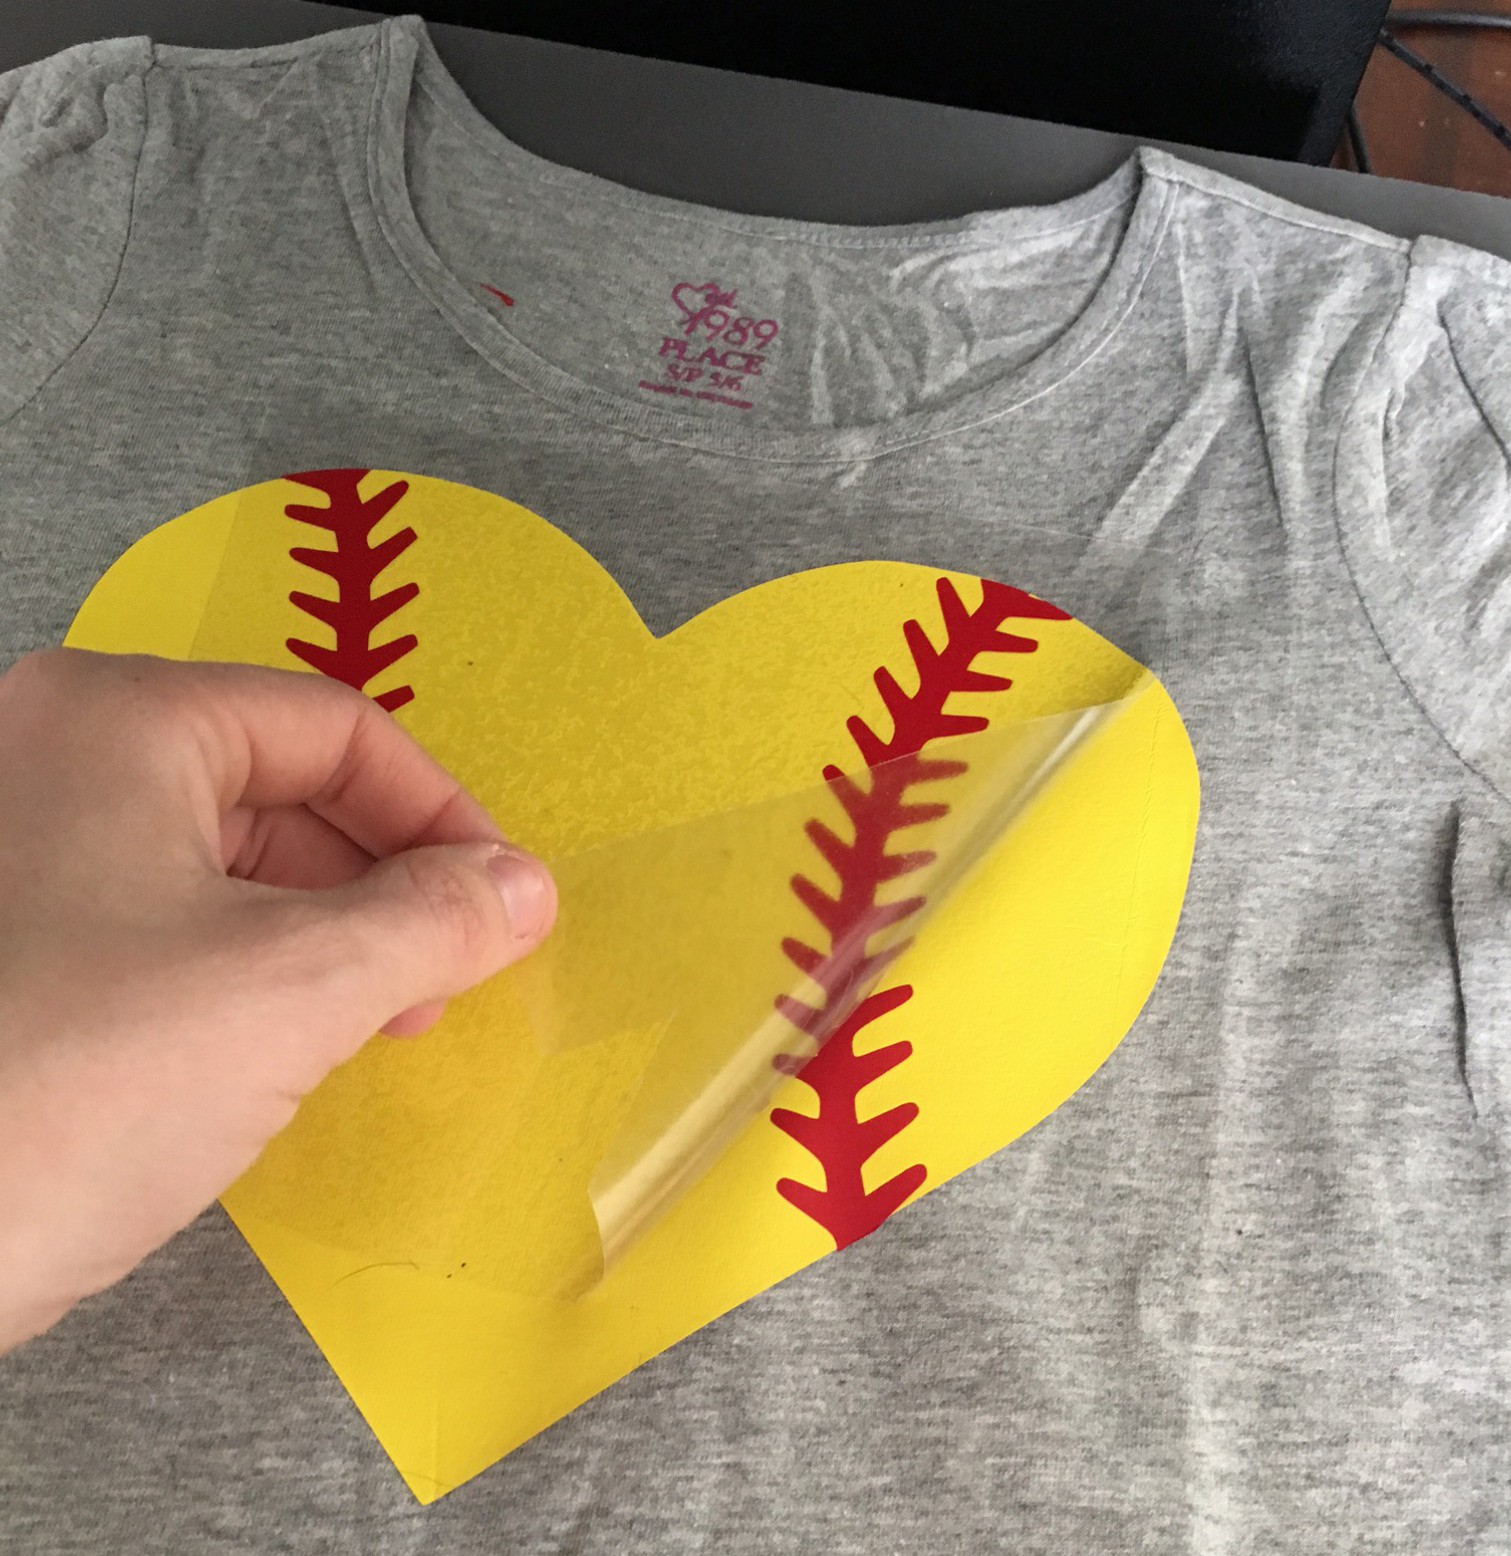
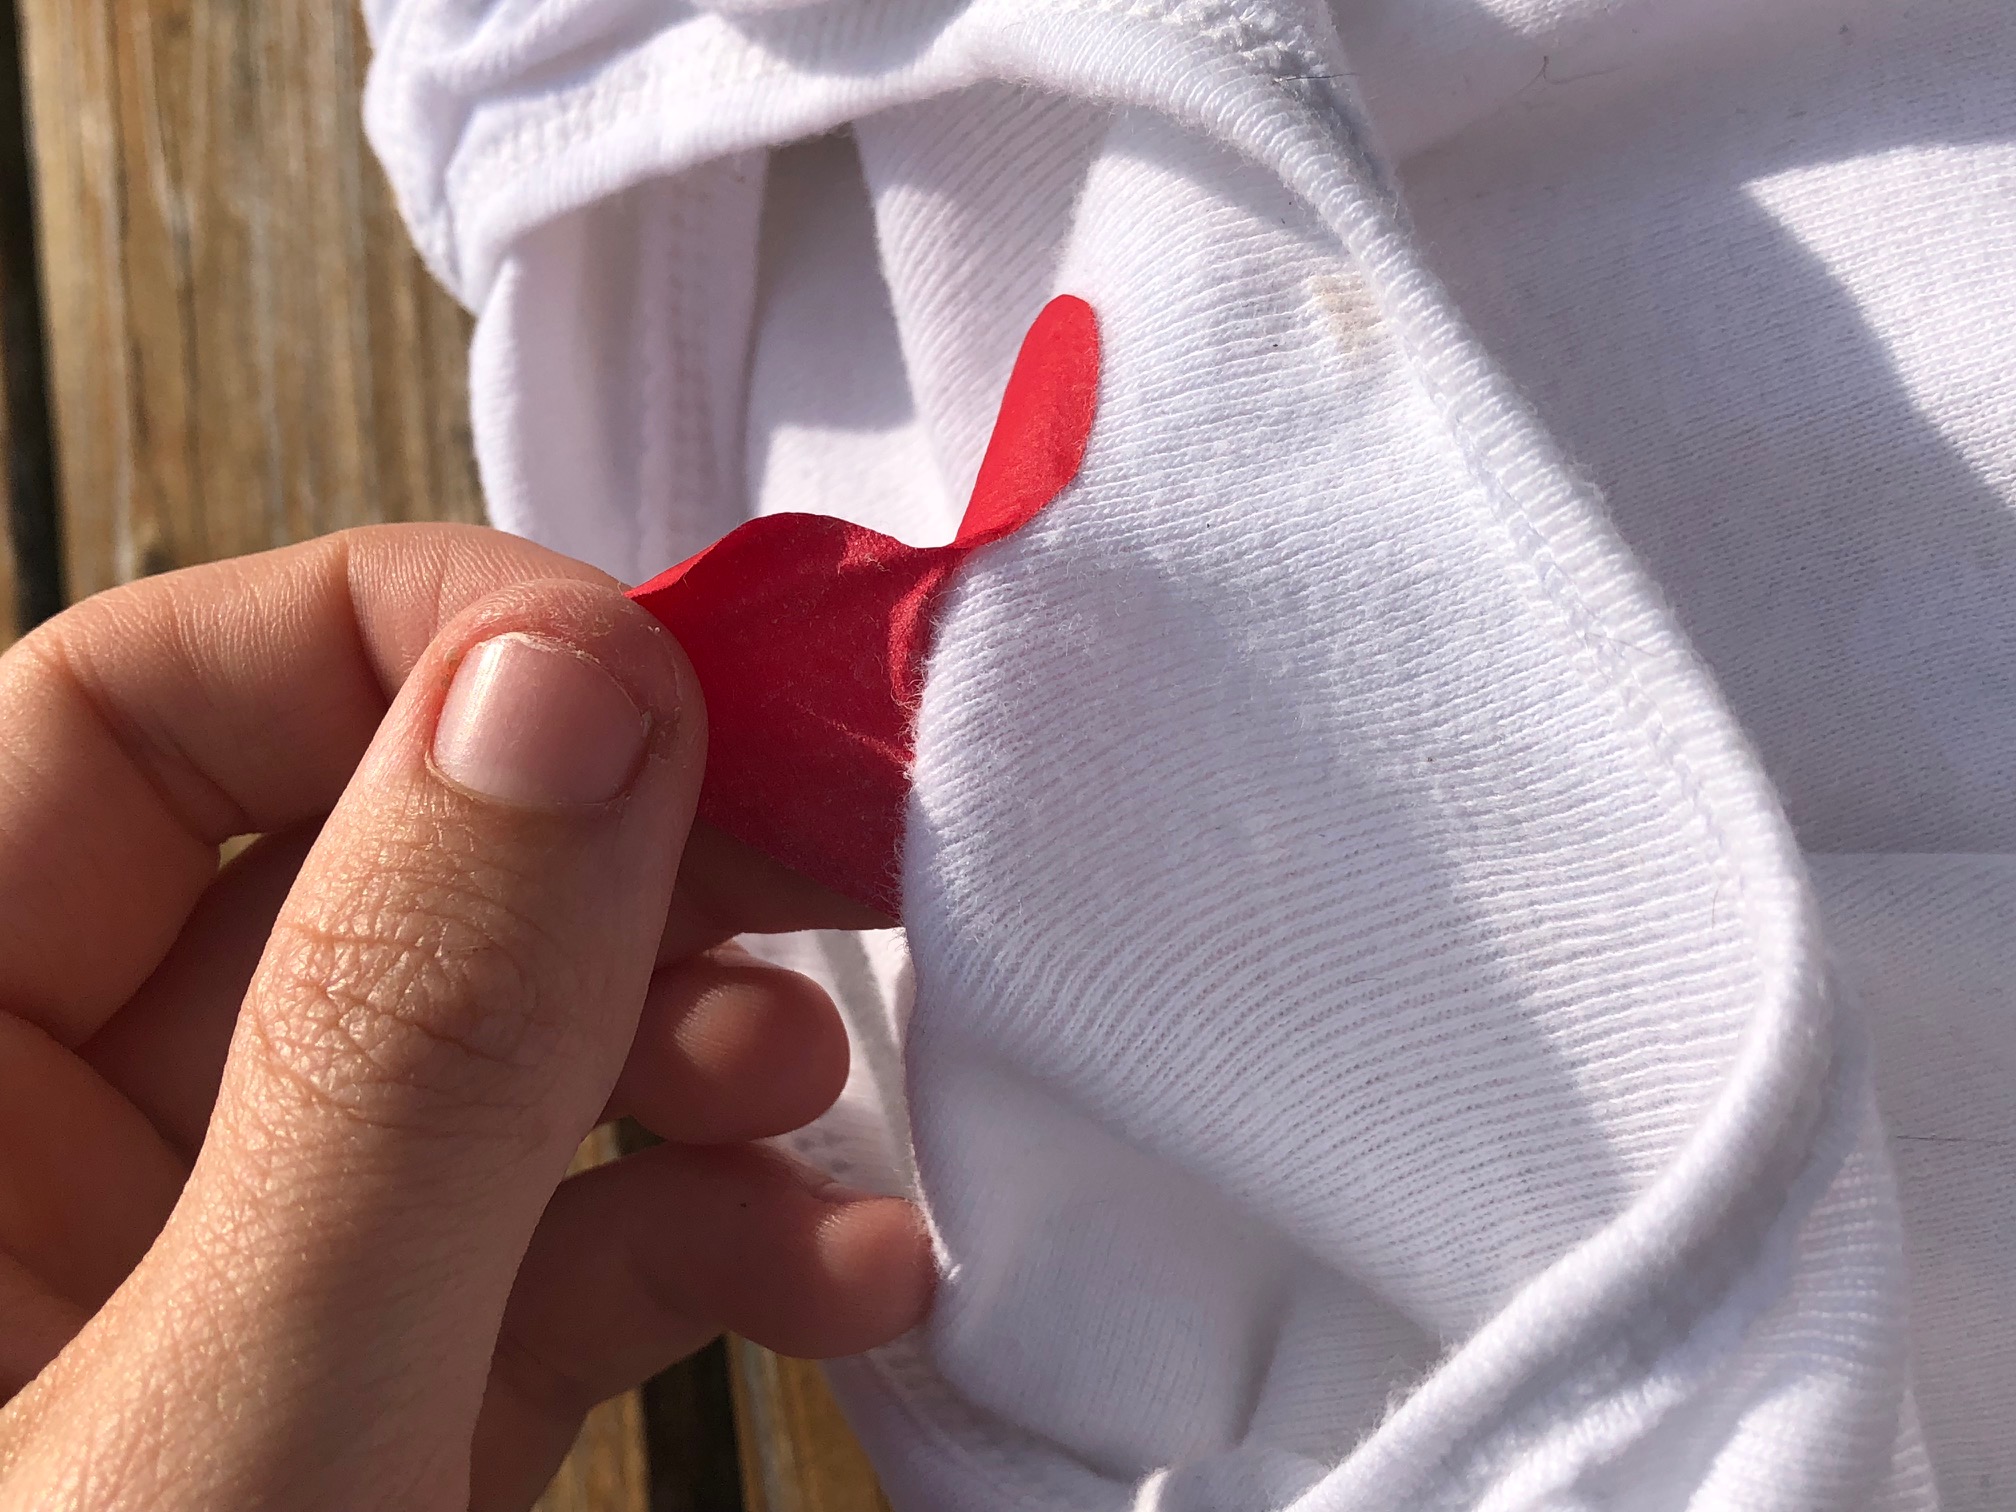
The first step is applying transfer tape to your design, just like you normally would.

TIP: If you’re having trouble getting your design to stick to the transfer tape, try turning it over and burnishing on the back side!

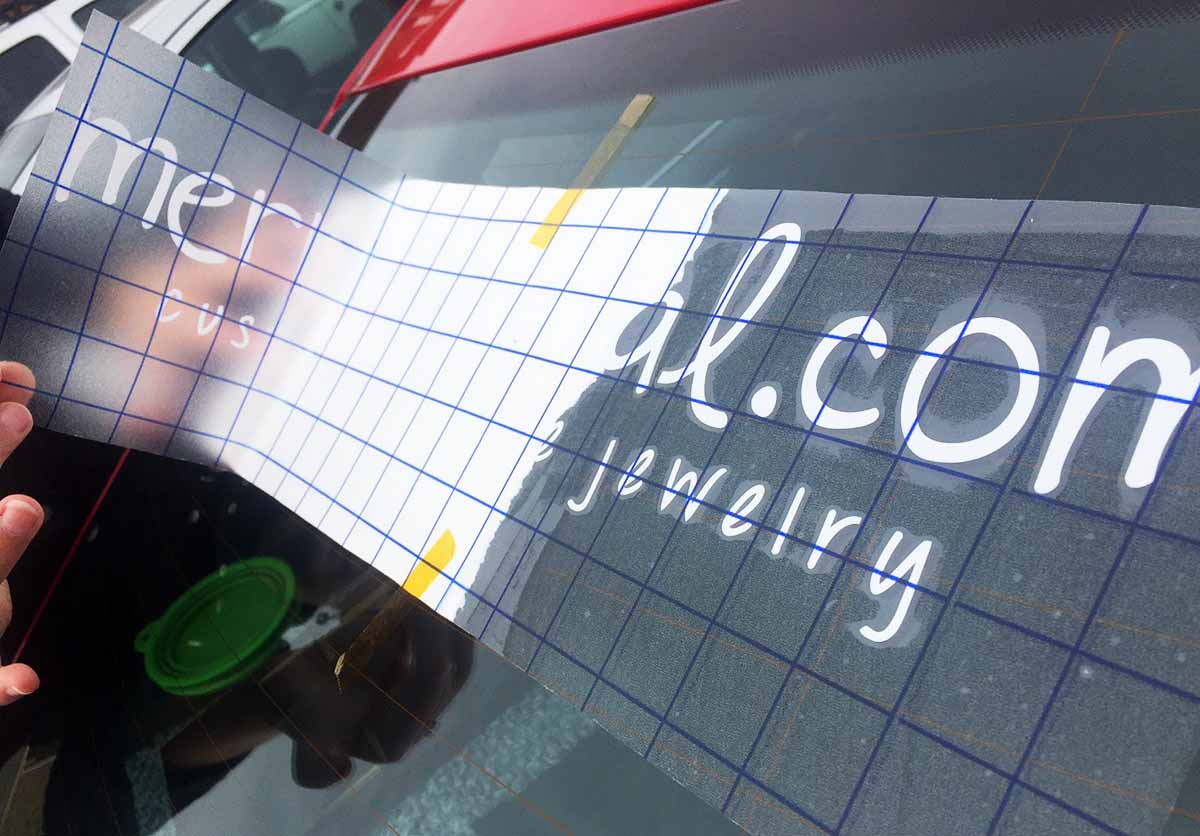
Once your design is secured to the transfer tape, use your spray bottle to lightly spray water onto the surface you’re decorating. If you have a larger design, you can also apply a little bit of water to the back of your vinyl.

how to apply adhesive vinyl

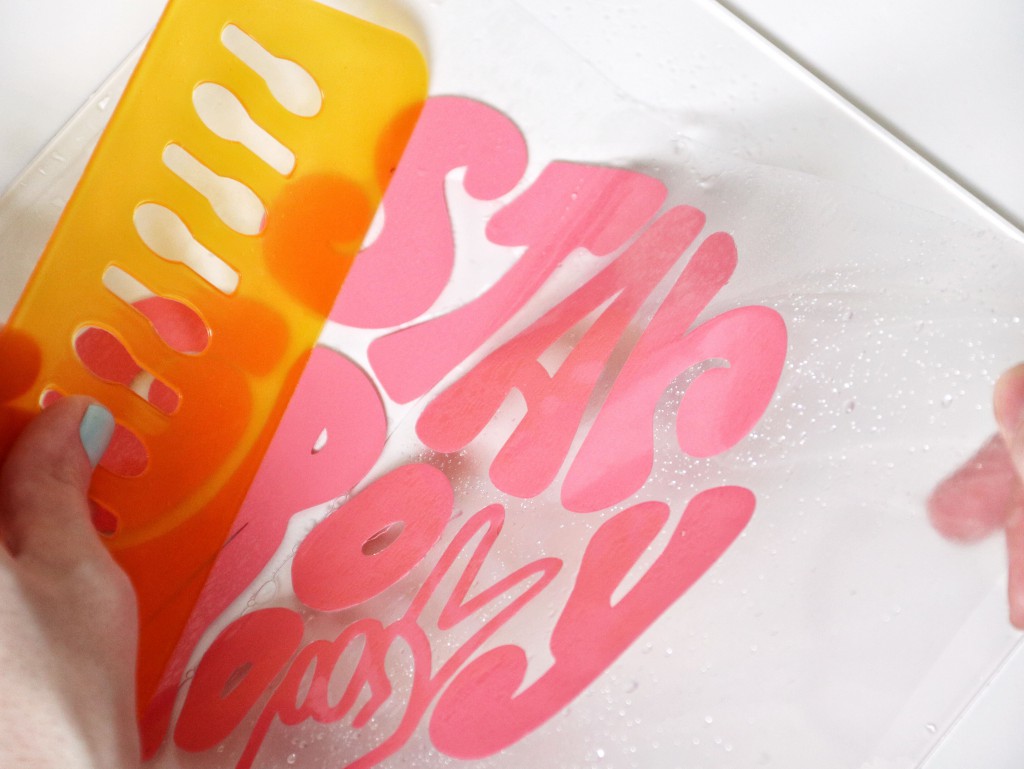
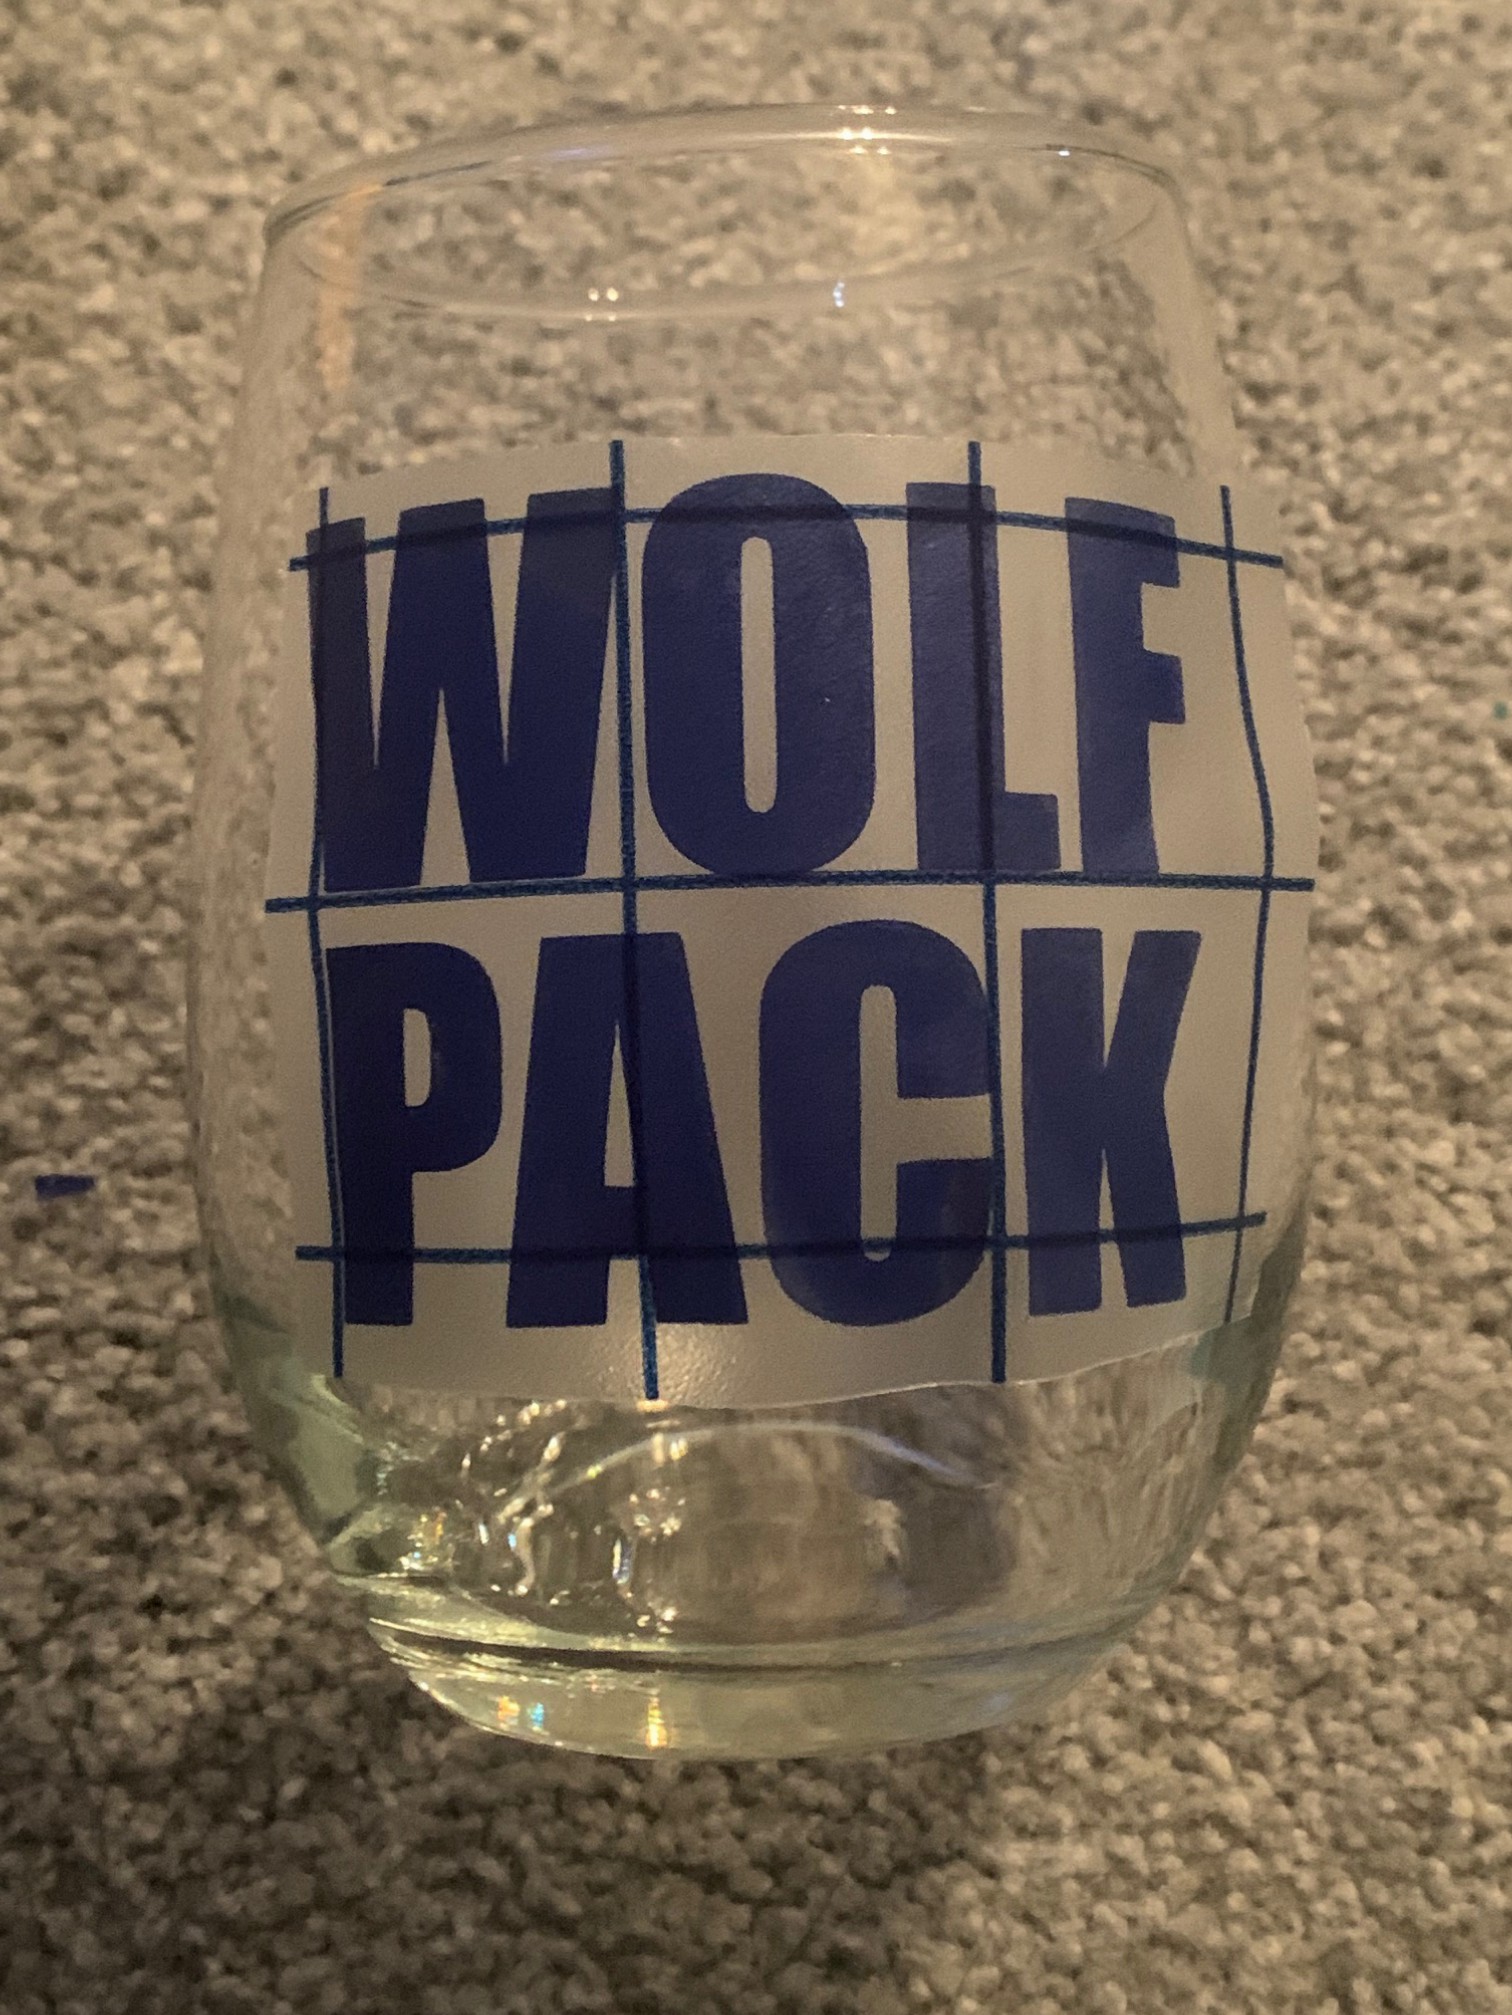
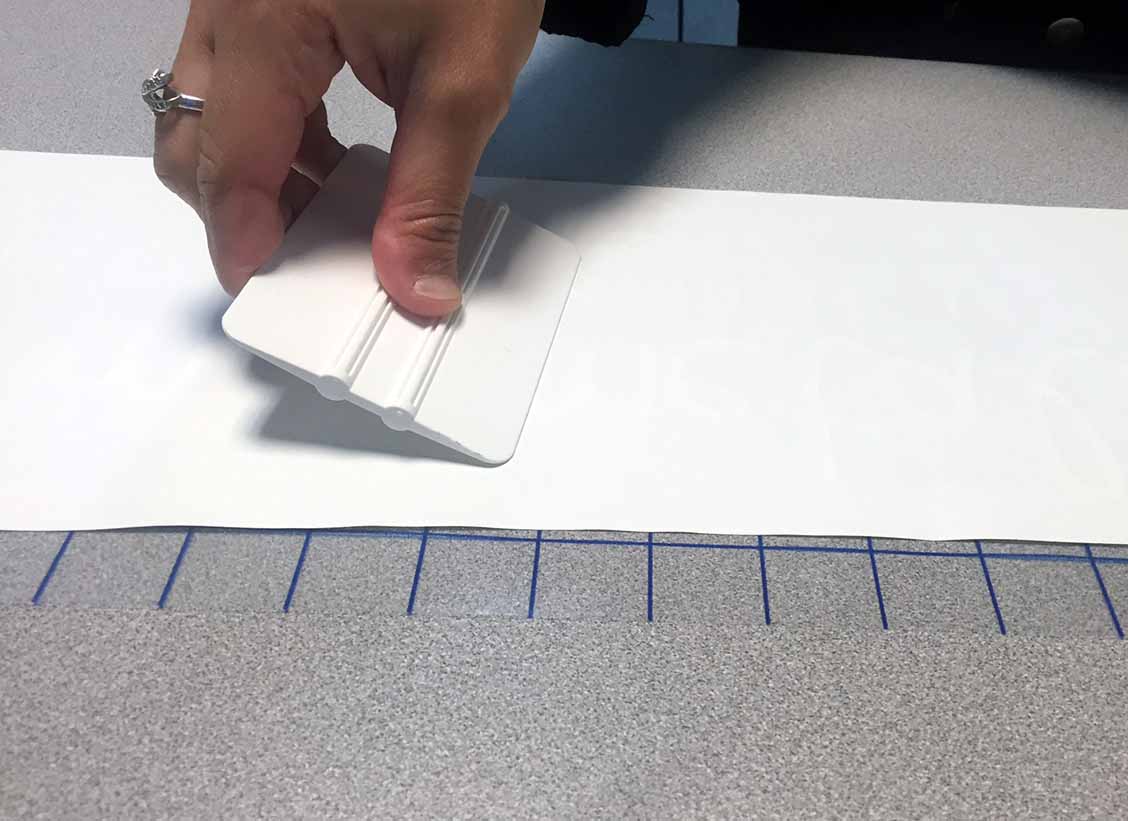
Place your design where you want it (the water will allow you to more easily reposition if needed). Use your squeegee to push out the water and any air bubbles.

how to apply adhesive vinyl

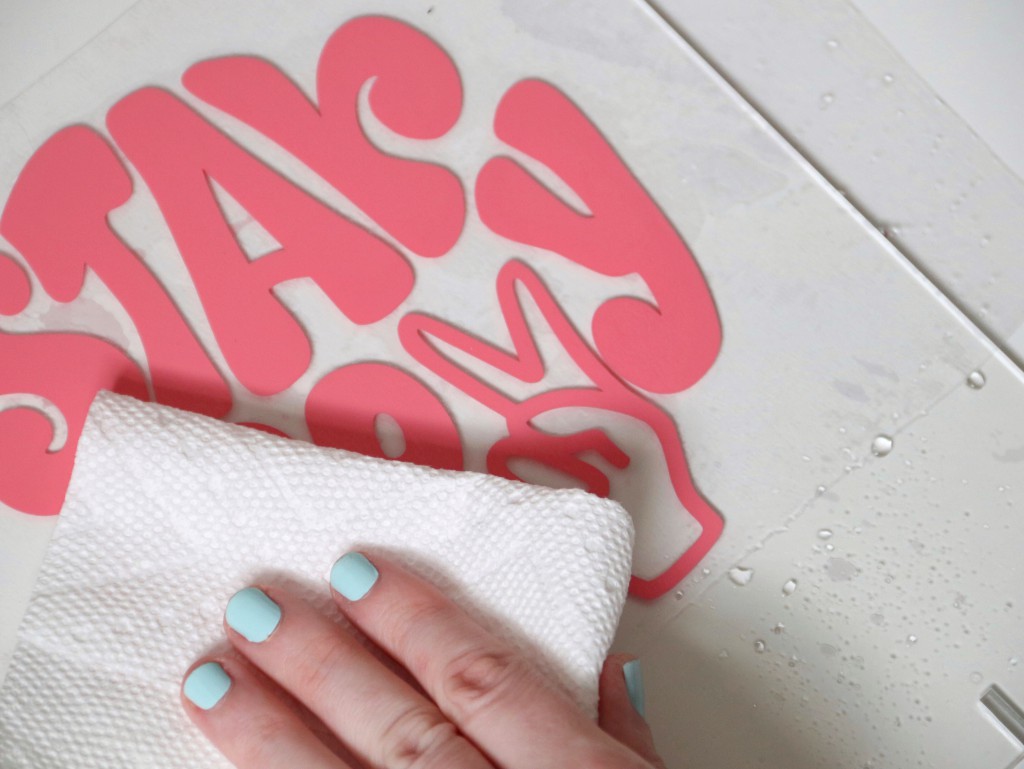
Repeat this process with your squeegee until it looks like most of the water is gone. Use a paper towel to wipe away any water you squeegee out.

how to apply adhesive vinyl

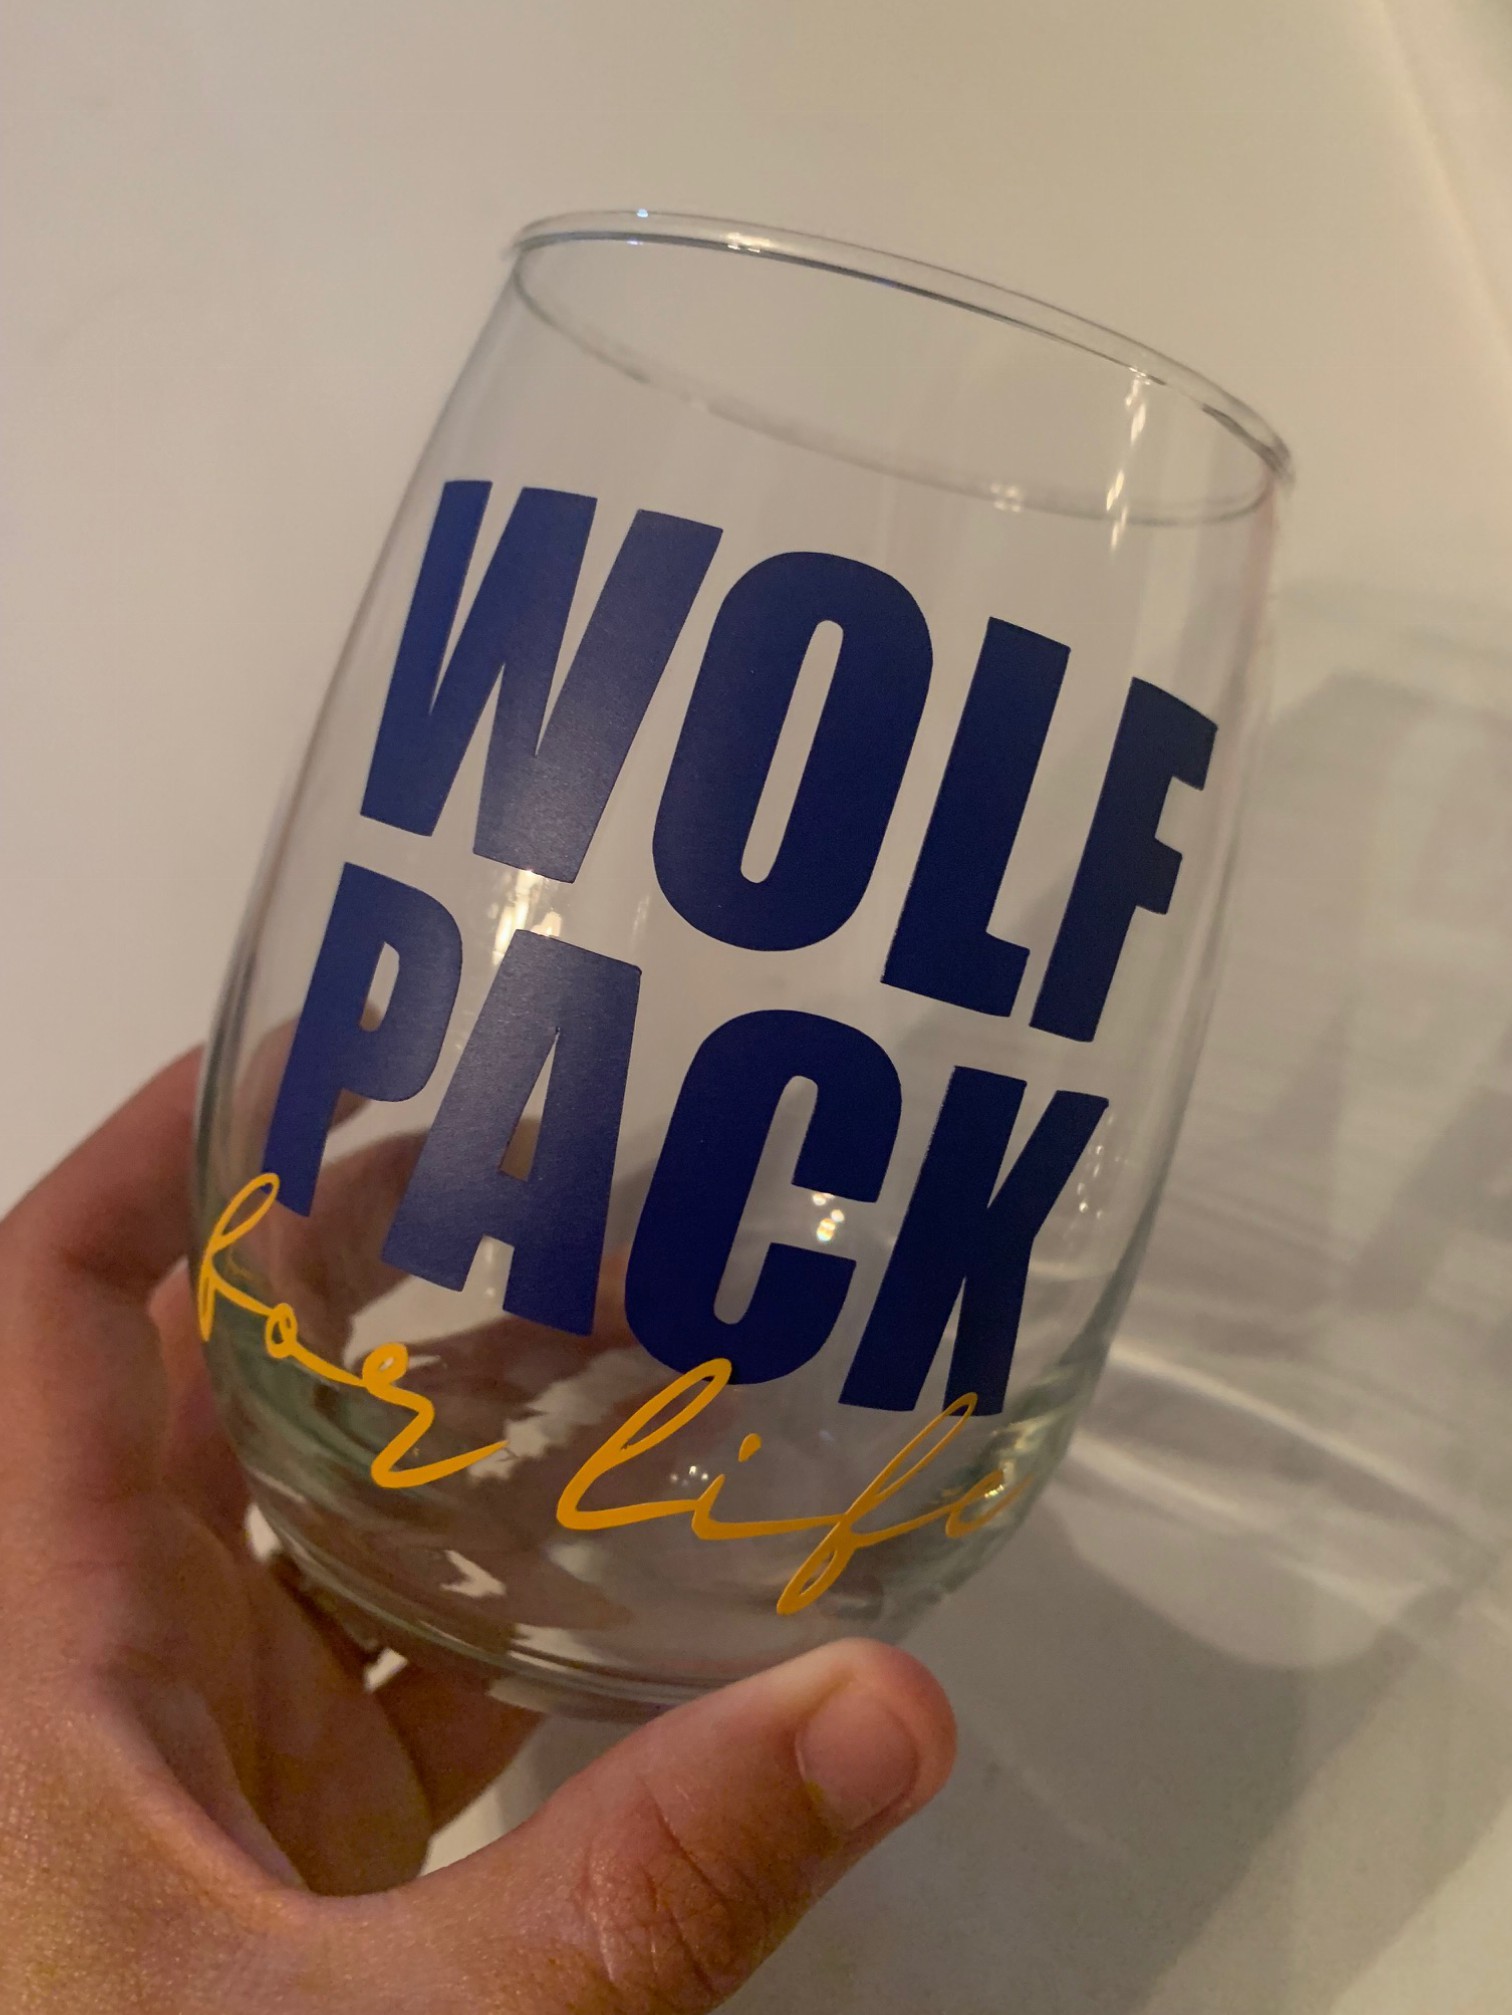
Carefully peel the transfer tape away from your design and dry any remaining drops of water. Lastly, allow your project 24-48 hours for the adhesive to fully cure (this step applies even if you don’t use this method).

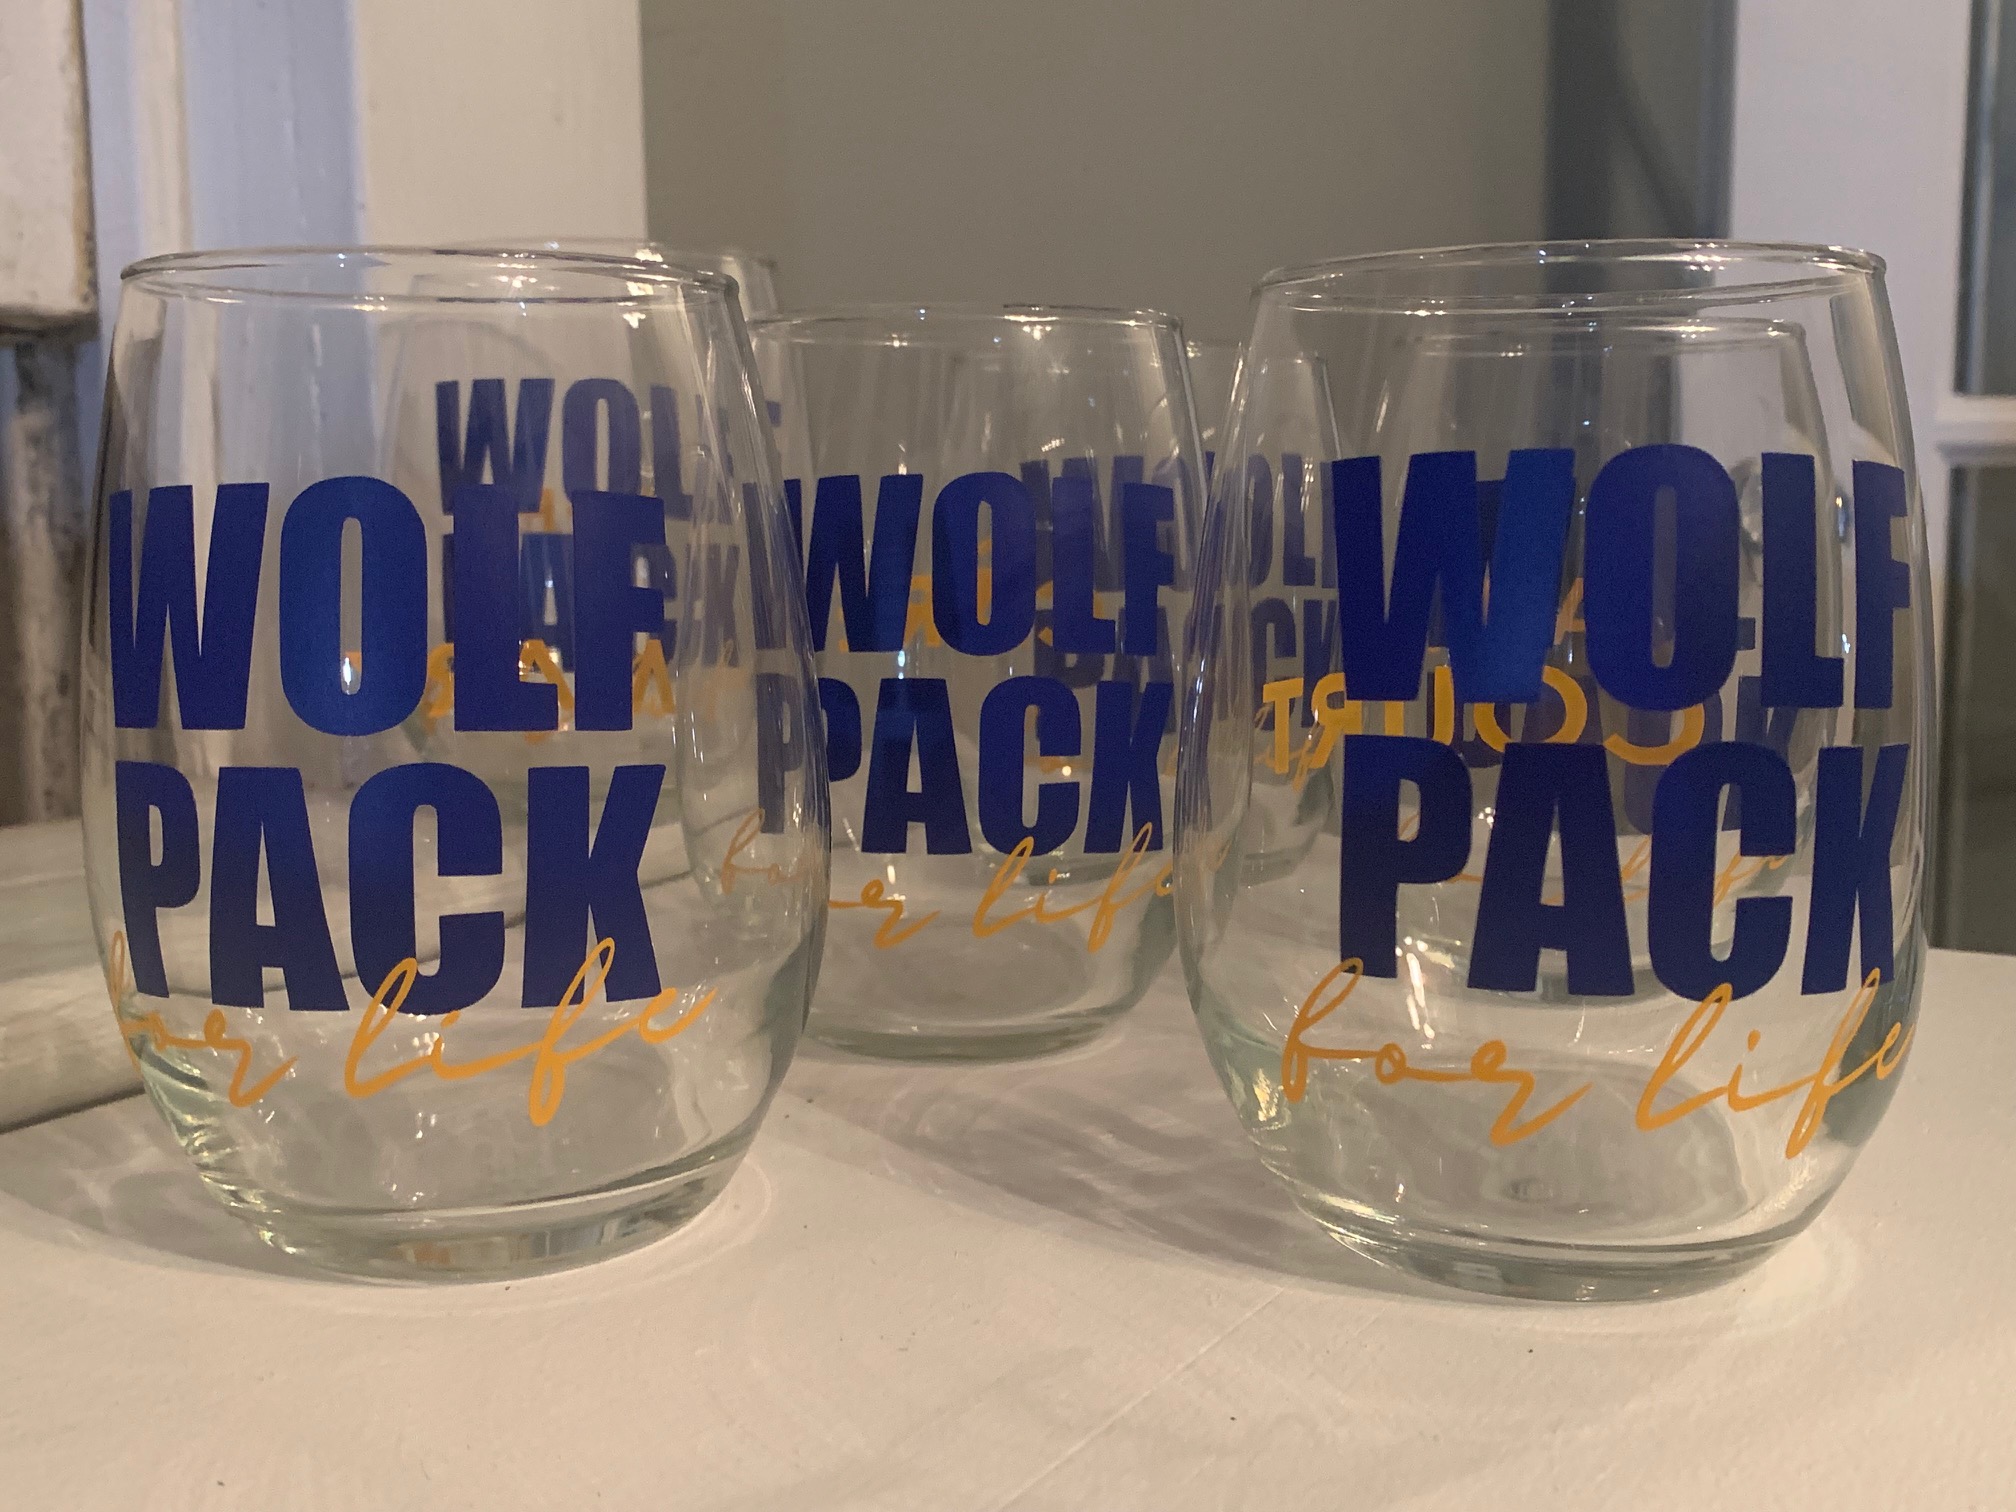
Are you going to try this method?? Let us know how it works out for you!


View & Add Comments

Create a Custom Printed Garment at Pro World: Video Tutorial

Need a custom garment printed? Pro World can help! We provide a large selection of high-quality customizable products and a powerful online designer making things easy and quick for you.

Pro World (4)

Ready to get started with your custom garment? Go here!

Want to see how the process works? Watch this video!

When it comes to ordering your custom garment. You have options! You can make your selection by garment style, brand, or even type! Then click through to see all of our product offerings!

shirt style

bybrand

by style

Once you select your product you will head to a more detailed page. Select your color and then Start Designing!

DESIGN

Add your text, upload your image or both! Then click Next Step.

hoodie

Choose your quantity and click Get Price.

hoodie2

Finalize your order and you are done!

View & Add Comments

Personalizing In Bulk: Tips For Working With Adhesive Vinyl

When it comes to filling large custom orders, there are a few tricks that you can use to help make the process smoother for you. The key is with your prep work. Make sure you work systematically. Have all of your materials gathered from the start. Cut, weed and place the designs all at the same time to create a systematic flow.

Want a few more tips? See the adhesive vinyl step-by-step below!

pro world new products (3)

1 – Create your design!

DESIGN


2 – But before you send your design to the vinyl cutter, you will want to do a few things to help speed up your weeding process. For starters, place a rectangle around each single color design. This will help reduce the risk of having your adhesive vinyl catch on the design.

BOX

3 – Next group like colors together so that you can maximize your cutting surface and cut at one time.

COLOR

4 – Send your design to the vinyl cutter!

IMG_8802

5 – Weed your design as you send your next color to the vinyl cutting machine.

IMG_8806

6 – Add your application tape and begin to apply it to your design.

IMG_8810

7 – Place your design onto the surface. If your surface is round you can cut little slits near the letters to help apply it straight.

IMG_8808

8 – Slowly remove the transfer tape.

IMG_8812

9 – Repeat the steps above until your order has been filled.

IMG_8818

Need help creating your bulk order? We can now help with that! Go here.

View & Add Comments

Vinyl Questions, Answered!

Have a vinyl question? Today we are sharing answers!

proworldinc.com (1)

What is Heat Transfer Vinyl?

Heat Transfer Vinyl, which is also known as HTV is used for decorating garments and is applied with a heat press or an iron.

htv

What Is Adhesive Vinyl?

Adhesive Vinyl is used as decorative vinyl for creating signs or craft projects. It has an adhesive back and can be applied to just about any hard surface. Adhesive Vinyl comes in three adhesive strengths – semi-permanent (631), permanent (651), and professional grade.

personalized mug for bride using FDC sign vinyl

How Do You Cut Adhesive Vinyl?

 When you cut adhesive vinyl you want to cut on the shiny color. Not on the paper backing. After your design is cut you will weed it. Then apply the transfer tape and remove the paper backing. 

cutting vinyl

What is weeding mean? The best way to explain weeding is to show you the photo below. See how the excess vinyl is being lifted away from the design? That is weeding!

weeding heat transfer vinyl


How do you apply Application Tape?

To apply gridded application tape you place it on the top of your design. Carefully lay the tape on your design and then smooth out any bumps. 

FDC Vinyl


What Do You Use Adhesive Vinyl For?

Adhesive Vinyl is used to decorate items. From decorating walls, windows, mirrors to products like notebooks, canvases, and more. Adhesive vinyl comes in two different types of vinyl permanent and temporary giving you different options to meet your needs.

Can You Share Some Ideas On What You Can Use Adhesive Vinyl For?

personalized banner with vinylpaw prints for a puppy party from vinyl FDC Vinyl on car Trace your kids art or handwriting and cut it from vinyl! That way you can preserve it forever. See how at Pro World Inc

Can you remove Heat Transfer Vinyl after it’s been pressed?

In some cases, you can! You need VLR in order to do it. You can read all about it here. 

remove HTV for VLR

Have you made something with vinyl? Let us see. Tag us at proworldinc on instagram.


View & Add Comments

NEW EasyPSV Patterns Sign Vinyl at Pro World

We have some exciting news. We now carry EasyPSV Patterns Sign Vinyl
With our new adhesive vinyl addition, you can decorate any smooth surface with patterns! We have 12 fun and decorative vinyl patterns that can’t wait to be applied to your windows, metal, plastic, or ceramic mugs.
Ready to get started? Scroll down to see what you need!
proworldinc.com
To work with adhesive vinyl you will need the following supplies:


Wondering where to begin? And how to make use of your adhesive vinyl efficiently? Take a look at this Tutorial we made earlier in the year. It will show you how to use your scraps of vinyl so that you have less waste!

View & Add Comments

5 Ideas On Things To Make With Your Kids

Looking for something to do with the kids? Take out your cutting machine and/or Heat Press! There are plenty of projects that you can do together. You just need to think a bit outside the box :)

This is why today we are showing you 5 projects that we’ve made, and the kids helped!

5 ideas to make with your kids

1  – Coloring Tees

Do you have a child who likes to color? Or maybe a budding fashion designer? Have them help you personalize clothes for themselves OR their furry stuffed friends with coloring tees!

Coloring tees bring endless fun because you can create an outlined image on a garment, give them some Crayola markers and let them add the color. Once they are tired of it (or dirty) throw it in the wash to start again. See how to make it here!
Kids Coloring T-shirt Party Favor

2 – Paint OVER vinyl using the Hot Mess Technique

Does your kiddo like to paint? You are going to want to try the Hot Mess Canvas technique. It’s cute, messy, and absolutely no way that they can mess it up! See how to do it here.

hot mess canvas

3 – Make that doodle last forever

Do you have a doodler on your hands? Or want to preserve that precious handwriting forever? Trace it and make it last permanently with adhesive vinyl. See how here!

IMG_3857-1024x808

4 – Permanently Colored Gifts

Would your child like to make a gift for someone special? Have them design a crayon drawing and apply it to fabric! See how here.

IMG_1327

5 – Color Changing Apparel

Watch your clothes change colors right before your eyes thanks to Solar Heat Transfers! This project is the simplest of them all, but your kiddo will sure have fun watching it change colors before their eyes! See how to make them here.

solar heat transfers


Do your kids help you with your custom projects? We would love to see it! Tag us at @proworldinc or #proworldinc

View & Add Comments

All About Adhesive Vinyl: Top Questions Answered

If you are new to creating custom goods. Today we are explaining what Adhesive Vinyl is and How To Use it.

If you are an experienced crafter scroll down to get some adhesive vinyl inspiration and get the code for our Adhesive Vinyl Sale.

ADHESIVE VINYL


From December 17th to December 21st take advantage of this coupon!2012-10offsignvinyl-social

What Is Adhesive Vinyl?

Adhesive Vinyl is used as a decorative vinyl for creating signs or craft projects. It has an adhesive back and can be applied to just about any hard surface. Adhesive Vinyl comes in three adhesive strengths – semi-permanent (631), permanent (651), and professional grade.

How Do You Cut Adhesive Vinyl?

 1 – When you cut adhesive vinyl you want to cut on the shiny color. Not on the paper backing.

cutting vinyl

2 – Once cut you will want to weed your design.

weeding heat transfer vinyl

3 – Apply your gridded application tape on top of the design. This will help you align your design on the surface and place everything in one shot.  Make sure it’s stuck well.

FDC Vinyl

4 – Peel away the paper backing and apply your design

FDC Vinyl on window

What Do You Use Adhesive Vinyl For?

Adhesive Vinyl is used to decorate items. From decorating walls, windows, mirrors to products like notebooks, canvases, and more. Adhesive vinyl comes in two different types of vinyl permanent and temporary giving you different options to meet your needs.

Can You Share Some Ideas On What You Can Use Adhesive Vinyl For?

personalized banner with vinyl ETCH A VASE WITH ADHESIVE VINYL BY PRO WORLD paw prints for a puppy party from vinyl matte vinyl FDC Vinyl on car Trace your kids art or handwriting and cut it from vinyl! That way you can preserve it forever. See how at Pro World Inc

Have you made something with adhesive vinyl? Let us see. Tag us at proworldinc on instagram.


View & Add Comments

The Official Crafter Guide

If you have a crafter or inspiring custom entrepreneur in your life the holidays are a great time to gift them the new equipment that they’ve been dreaming of!
Today we are rounding up the TOP 5 GIFTS that are sure to be on their wish list!
crafter gift guide

Heat Press!  The #1 wish list item from crafters is a HEAT PRESS! Now is the time to make their wish come true!   Our most popular heat press, the Trans Pro 15 x 15, is an easy to use, manual heat press ideal for applying heat transfers to t-shirts, jackets, mouse pads, tiles, and more.

heat press

Silhouette Machine! There’s a reason that Silhouette machines are always on the holiday wish list because they are GREAT! And this year there is a brand new machine that many crafters are going to want to upgrade to! The Silhouette Cameo 4 Plus is the largest Silhouette machine on the market meaning that you can cut bigger and better!  

SH-CUT-C4PLUS4T_1

Vinyl!  A crafter can never have enough vinyl! Just mix and match the different prints and patterns of the adhesive and heat transfer vinyl.

vinyl collage

Sublimation Printer!  If your gift recipient is ready to take their crafting business to the next level, get them a sublimation printer. With a sublimation printer, your crafter can create one-of-a-kind, custom pieces like mugs, phone cases, frames, license plates, tags, and more. And if you purchase the Sublimation Starter Pack, they will have everything they need to get started!

bun-045_1

Mug Press! If the crafter in your life already has a custom business there’s a good chance that a mug press is a nice item on their wish list!  From making custom mugs, waterbottles, glasses, and everything in between they’ll be raising your glass to you for years to come!

diy-photomugs-amy-tangerine-04
What is on your holiday wish list this year? Tell us by commenting below or tagging us on social media!


View & Add Comments

Silhouette Cameo 4 Pro: What you need to know and how to get one

Did you hear the news? The Silhouette Cameo 4 Pro is here!!

If you like to cut large designs this Silhouette Cameo is for you!! This crafting dream machine has all of the same amazing features as the Cameo 4 model but with a 24″ area to cut!!

Just imagine all of the things that you can make!!  Want to learn more about it? Scroll down.

silhouette cameo 4 pro

The Silhouette Cameo 4 Pro has:

  • A 24″ wide cutting surface
  • Register and cut printed materials
  • PixScan™ compatible
  • Cut or sketch with the dual carriage system
  • Has a dual-carriage
  • Bluetooth® compatible
  • Automatic tool detection
  • Built-in roll feeder that cuts up to 60′
  • Work with thick materials the Pro has 3 mm clearance

Want one? Preorder it now!! The Silhouette Cameo 4 Pro will be shipping out in early December so that you have it in time for the holidays.

silhouette cameo 4 pro (1)

View & Add Comments

Decorate A Christmas Ornament With Sublimation and Adhesive Vinyl

Tis’ the season for custom gifts! Well, it’s the start of the season at least. Today we are helping you jumpstart your custom gift list and show you how we used a sublimation ornament blank 2 ways!

2 ways to decorate a christmas ornament

To sublimate your ornament, you need:
Computer
Ornament Sublimation Blank
Sublimation Printer
Heat Press
Teflon Sheet
White Sheet of paper
Gloves
To sublimate the ornament here is how:
1. Design your ornament with your sublimation software.
Capture
2. Print it out.
IMG_1323
3. Warm your heat press to 400 degrees.
4. Tape your paper to the ornament.
IMG_1324
4. Place your ornament down with the paper on top and your Teflon sheet on top of that. Keep it pressed for 60 seconds.
5. Lift off the paper.
6. Hang it on your tree.
IMG_1330
To decorate your ornament with adhesive vinyl you need:
Computer
Ornament Blank
Vinyl Cutter
Adhesive Transfer Tape
Weeder
Scraper
To decorate your ornament with adhesive vinyl you need to:
1 – Design your decal with your cutting program
2- Cut your design on adhesive vinyl
IMG_0689 (1)
3 – Weed your design
IMG_0694
4 – Apply the transfer tape to your design
5 – Carefully lift the transfer tape off of the adhesive vinyl backing
6 – Apply your design to your ornament blank
joy adhesive vinyl ornament
Have you started making holiday gifts yet? Tag us and let us see! Use @proworldinc or #proworldinc
View & Add Comments