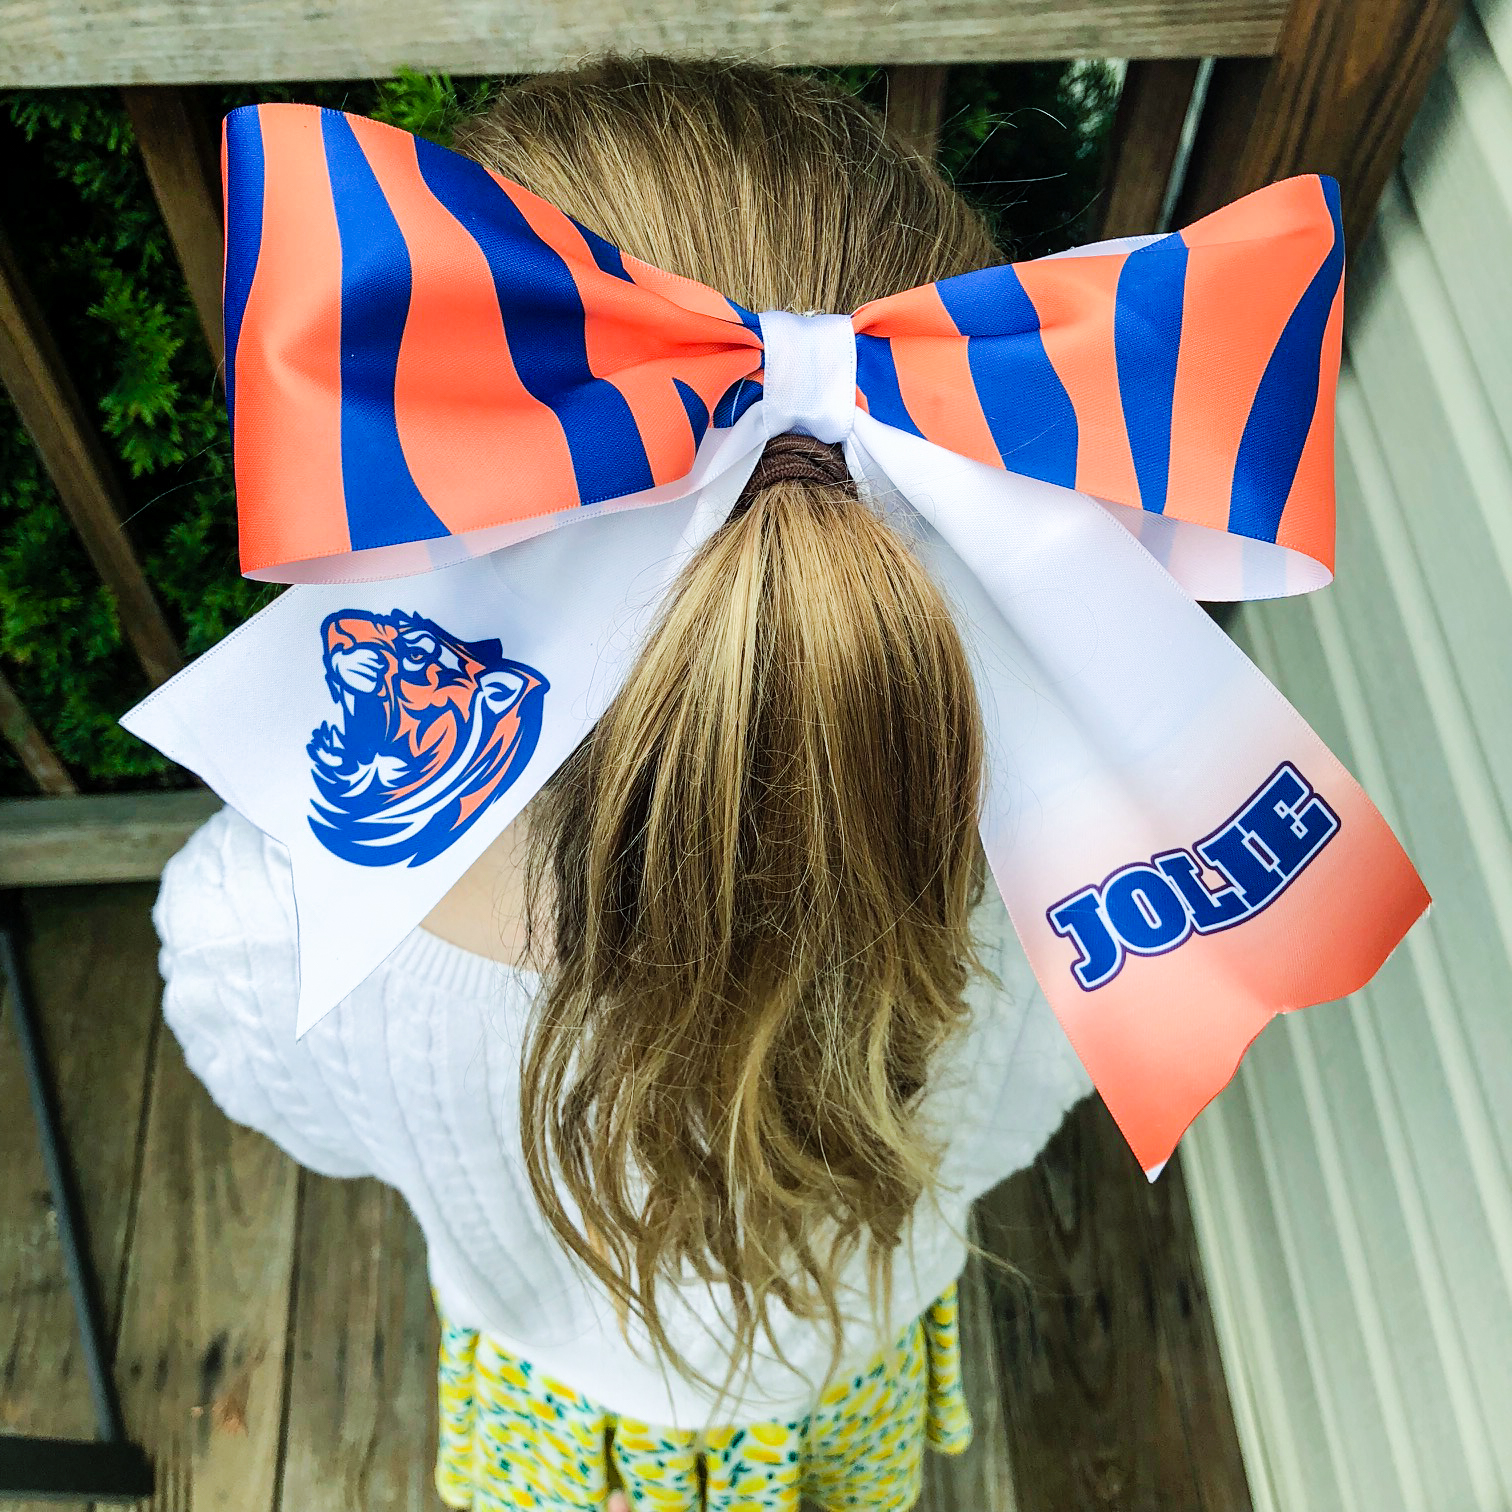
Are you looking for a fun, high-profit product to add to your sublimation store? Try this decorative bow project!! With only a few supplies, you can take a plain white ribbon and turn it into a personalized piece of art. Want to learn how? Read below!

To decorate a bow you need:
- Sublimation printer
- Sublimation ink
- Sublimation paper
- Computer
- Heat Press
- Heat Tape
- 3″ Grosgrain Ribbon
Making the bow is easy! Just..
1-Design your bow using your design software. We used Creative Studio. You need to design 4 sections that are 8″ x 3″ each and send to your Sublimation Printer.
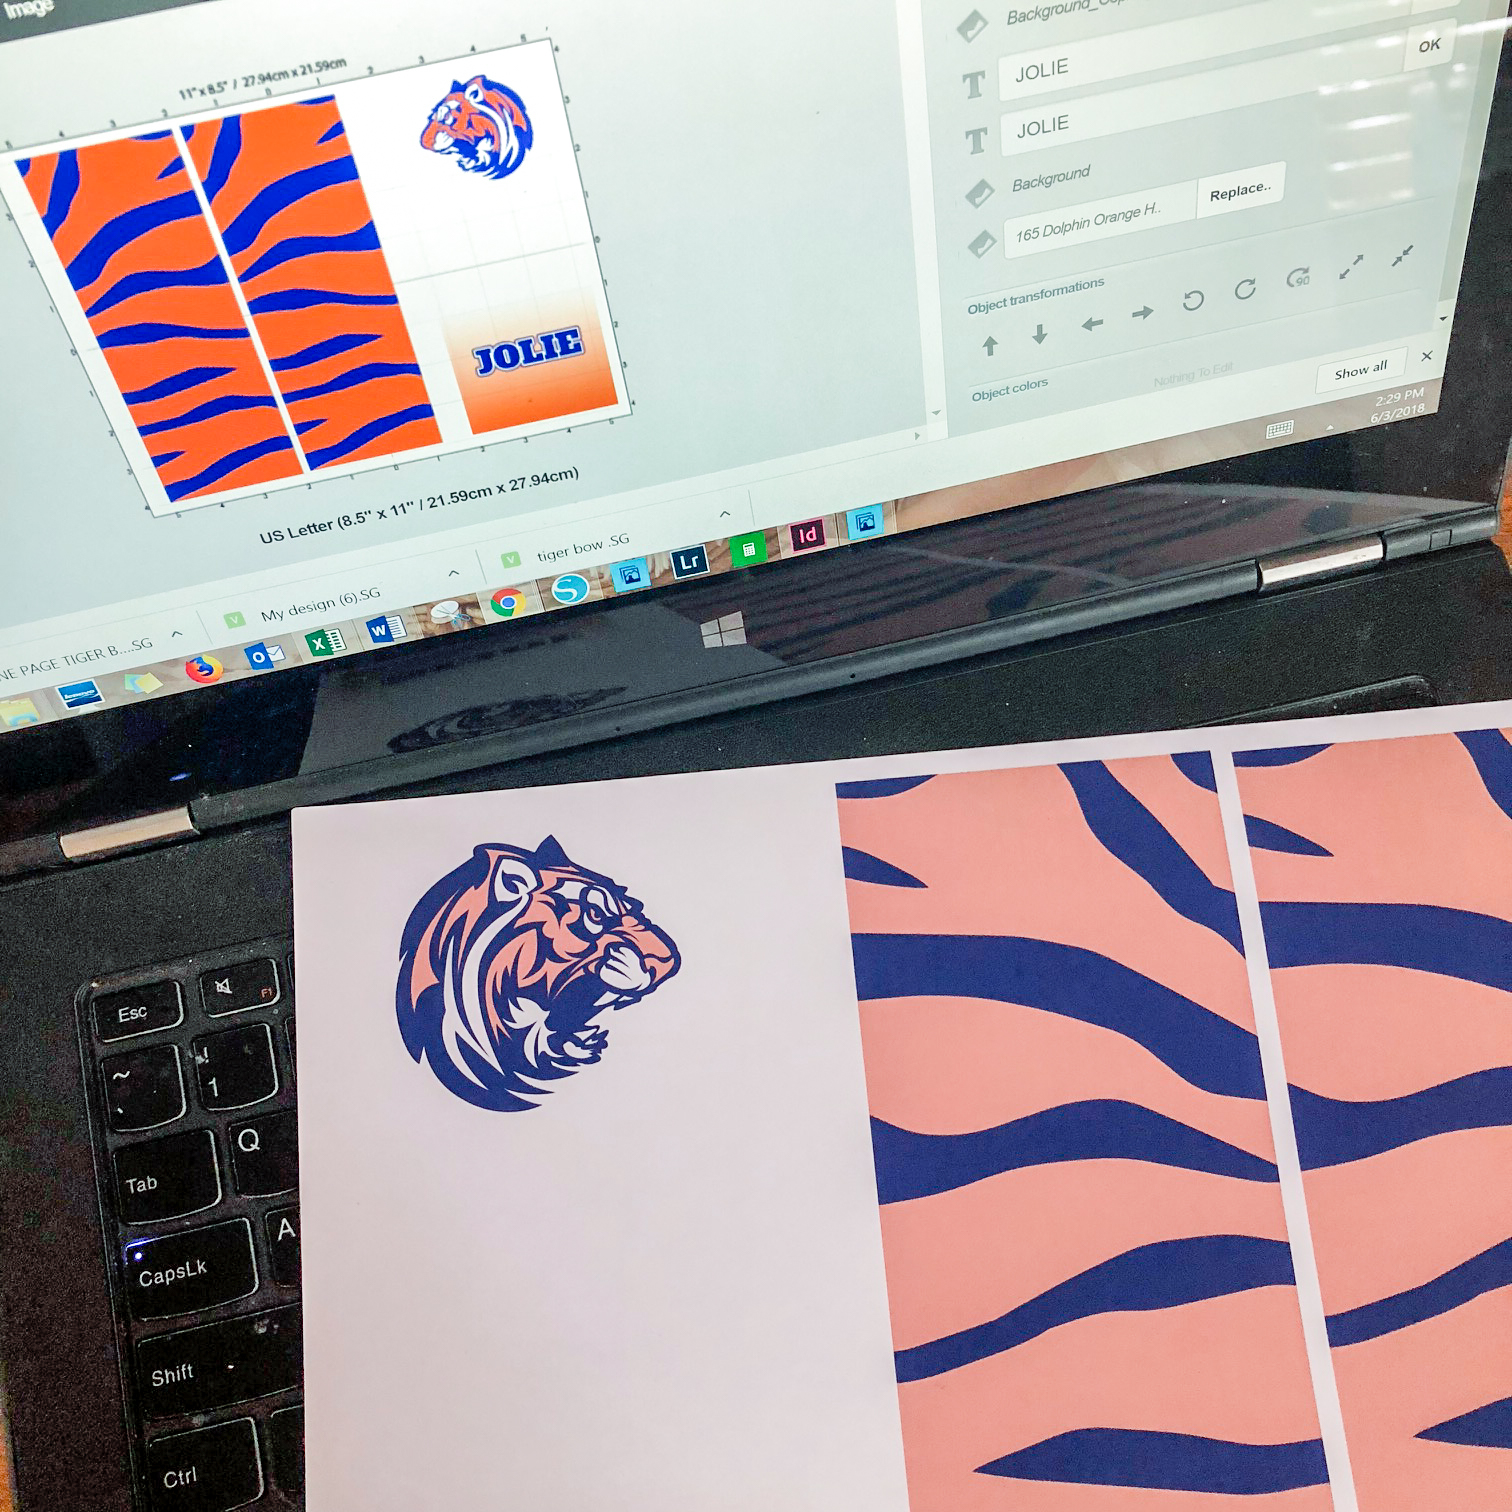
2- Take your print out and cut it into 4 sections.
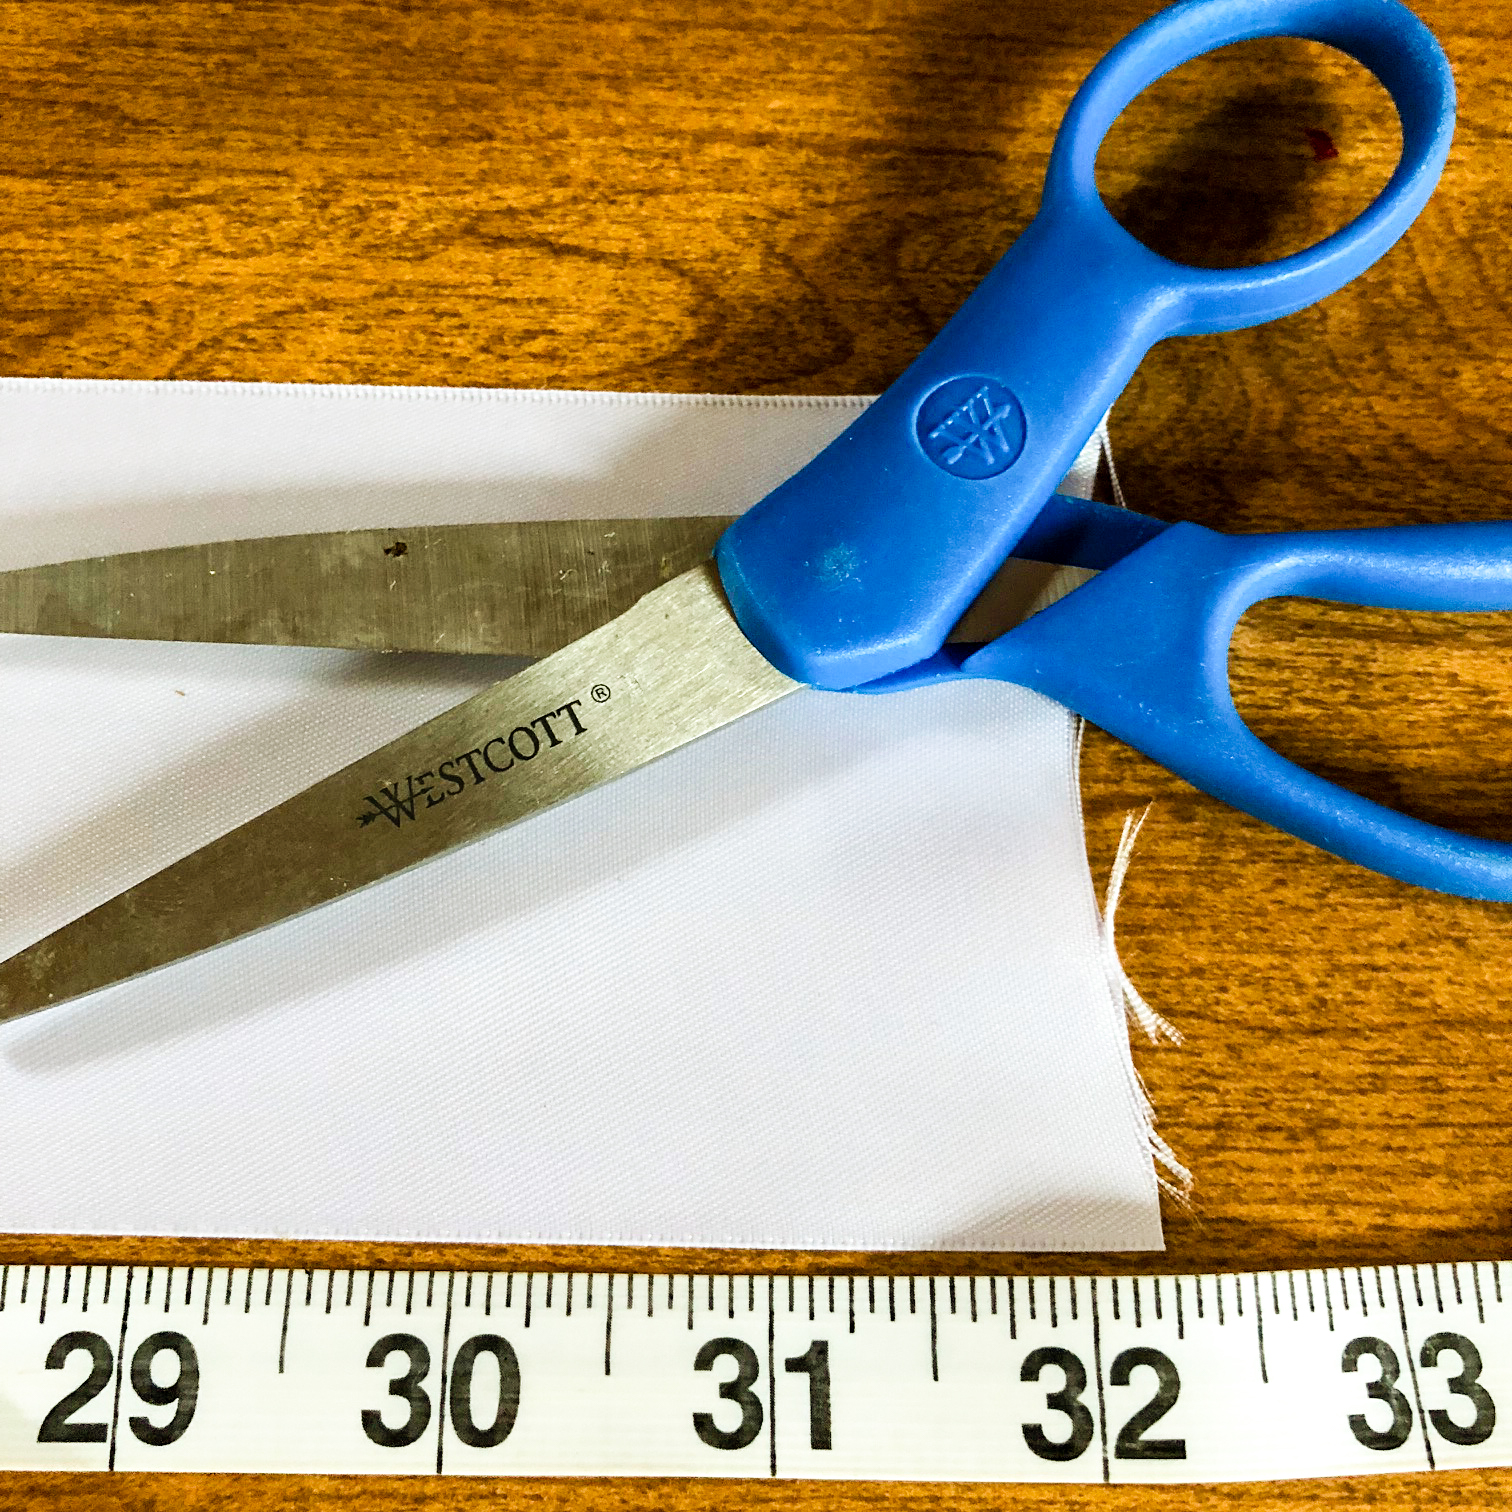
3.- Unroll your ribbon and measure it to 32″ and cut.
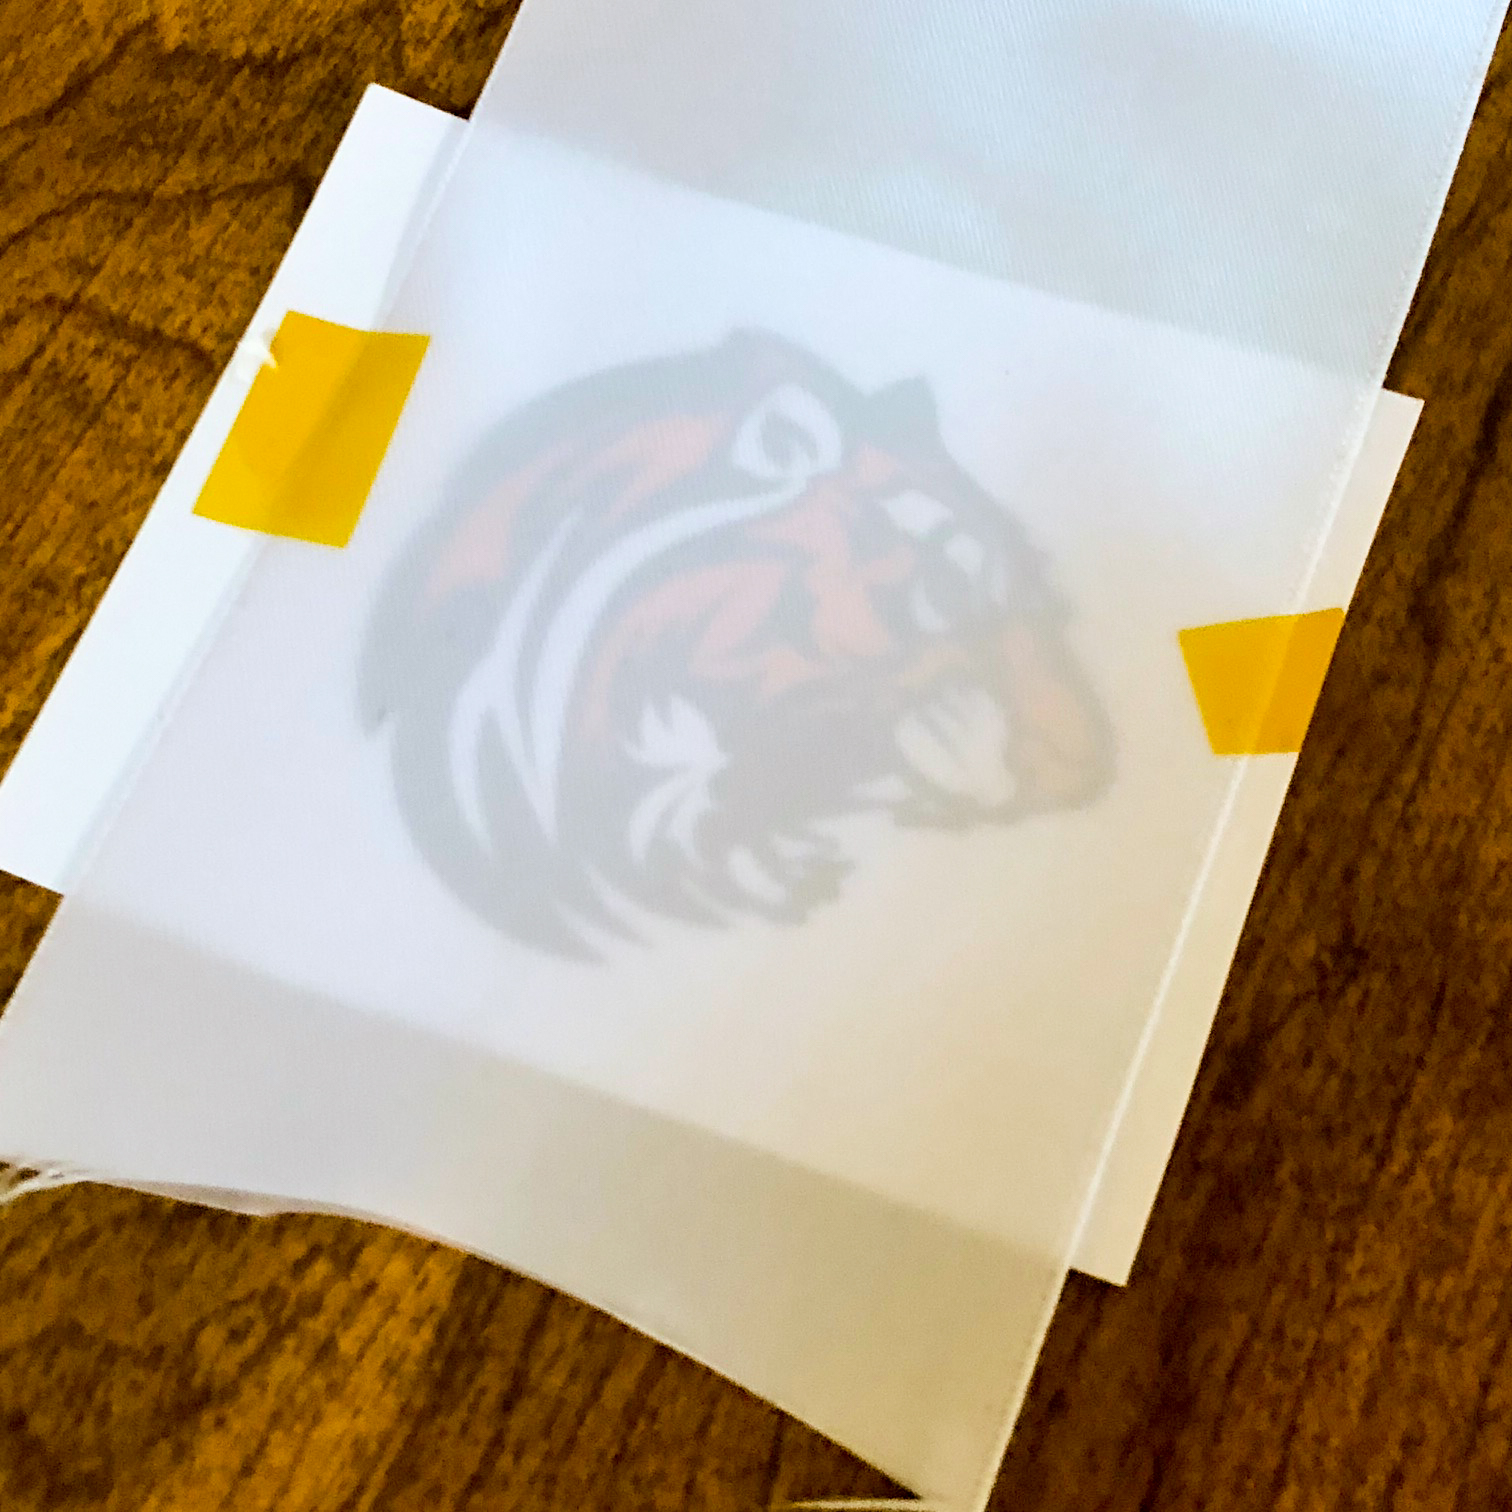
4 – Now fold it in half, so that you know where the center of your ribbon is, and tape two strips of your paper onto each side. When taping your paper, you will have 2 strips on the top center of the ribbon. Place the 2 remaining strips on the back end side of the ribbon.
5 – Press each section at 400 degrees for 60 seconds.
6 – Now that your ribbon is decorated it’s time to fold your bow and hot glue a clip to the back.
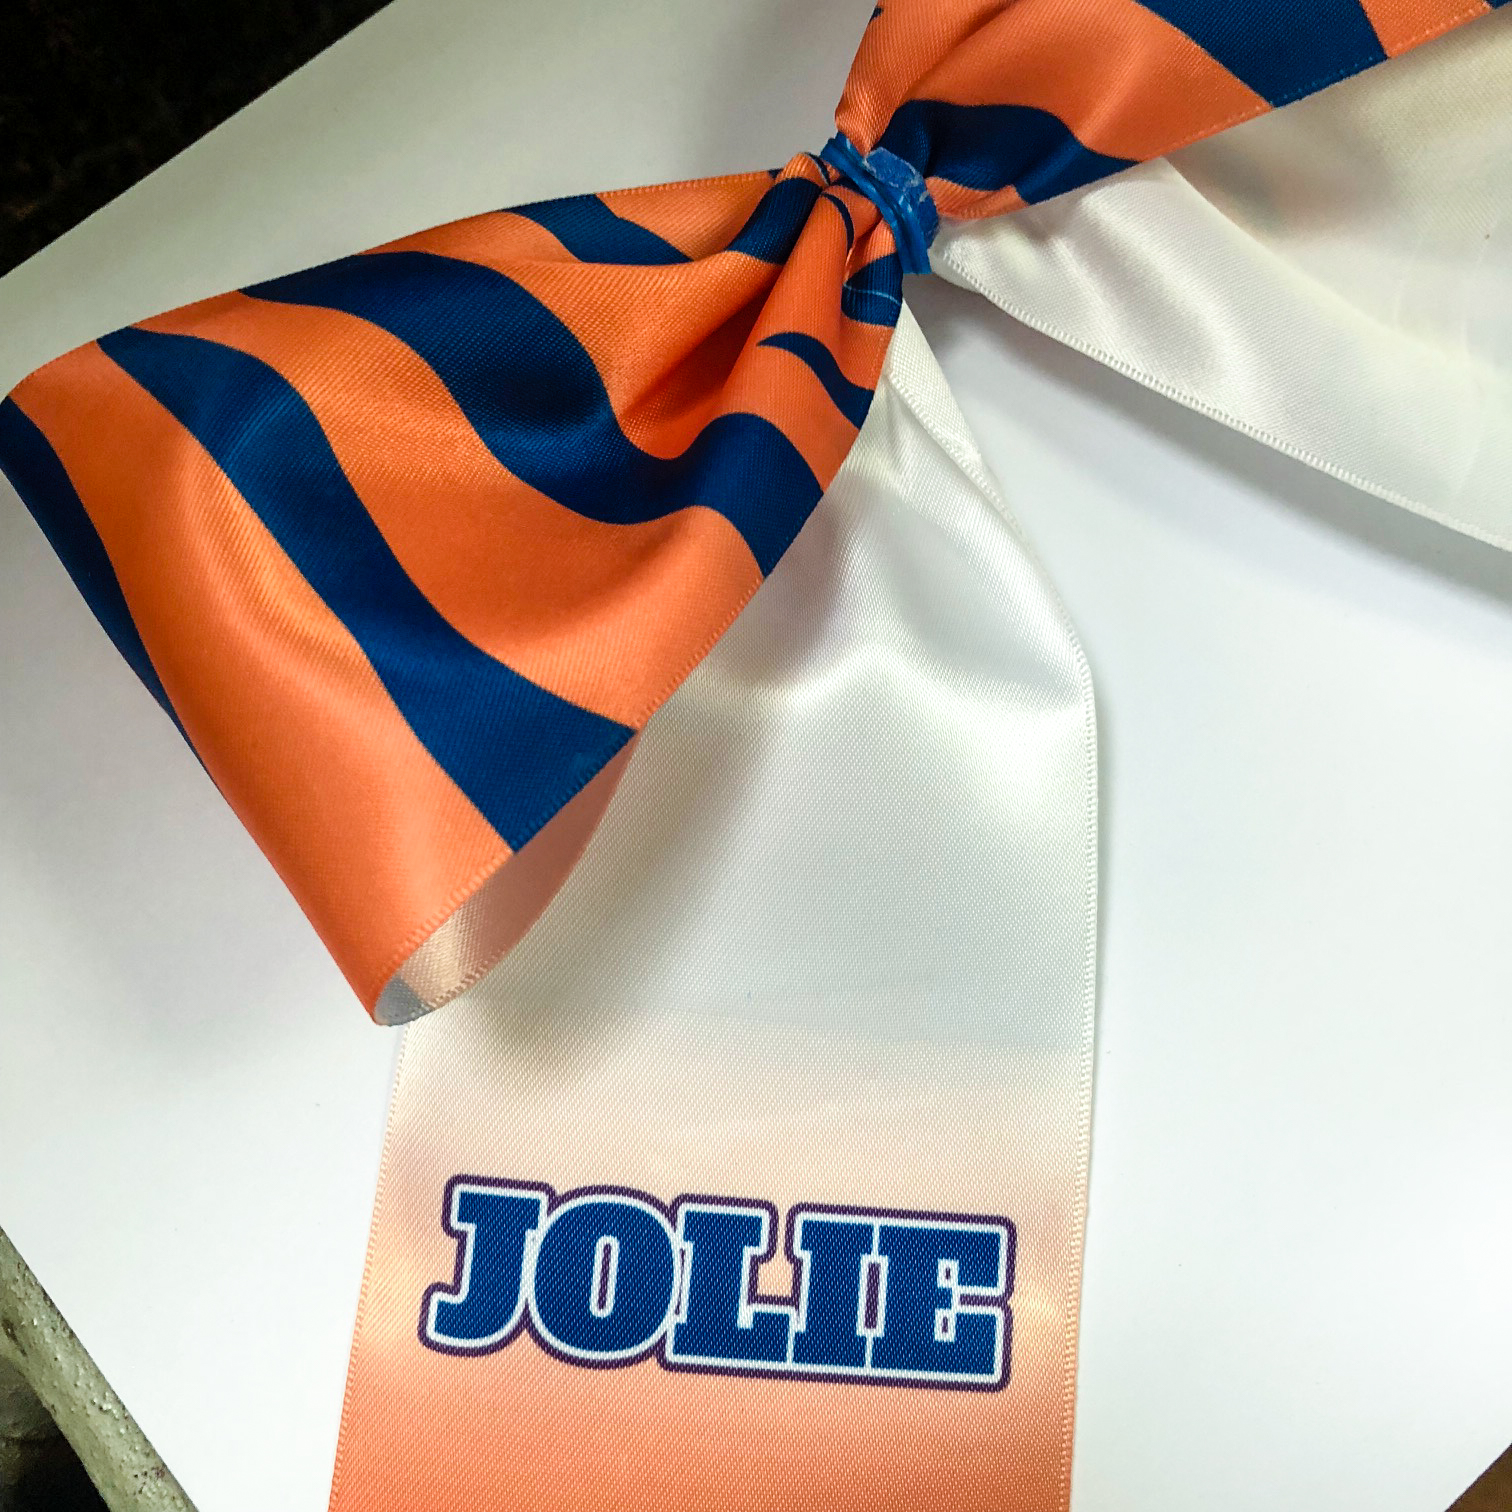
7 – That’s it. Admire your results!