How and Why You Should Use Heat Press Pillows

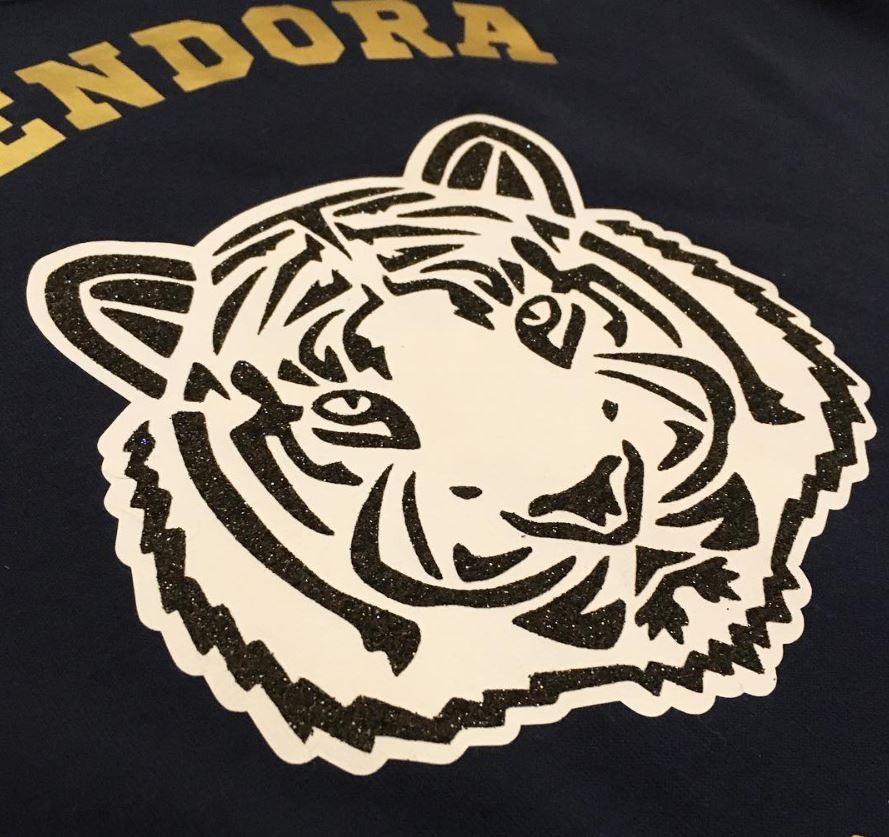
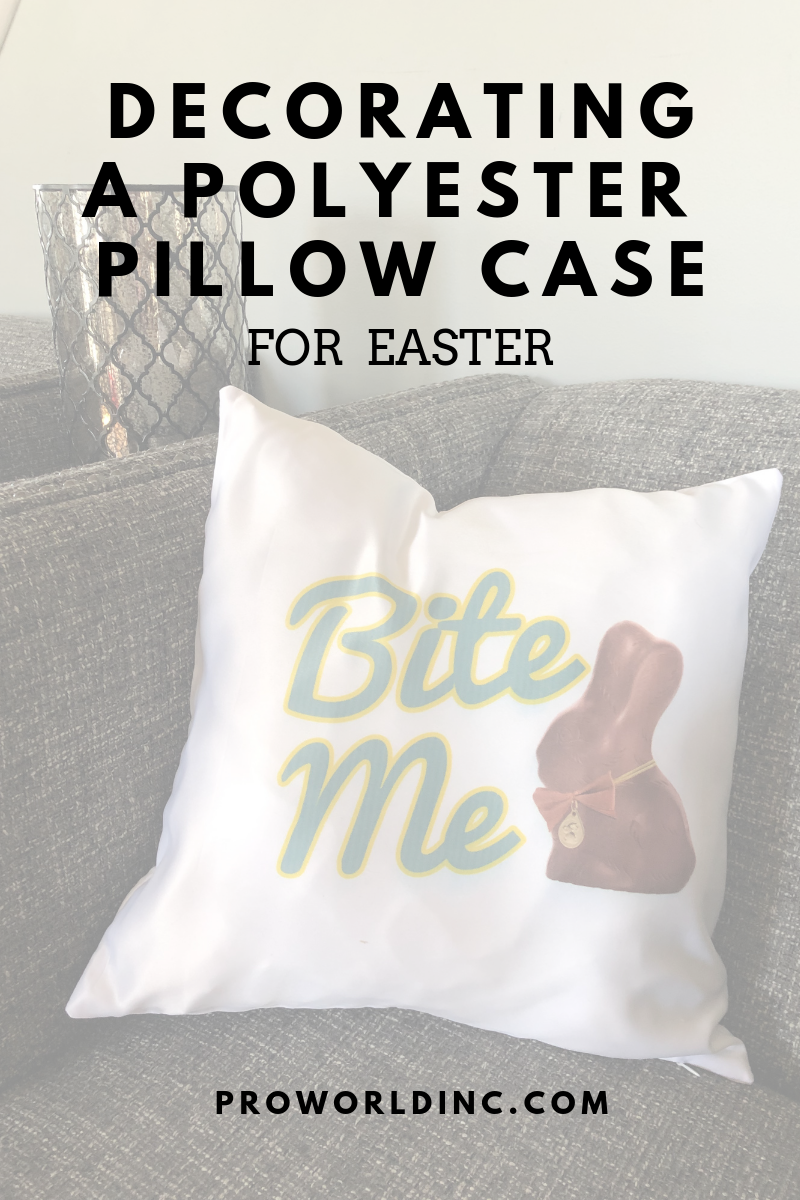
Whether you work with heat transfer vinyl or sublimation, our heat press pillows are the key to helping you consistently achieve professional looking results!

when and how to use heat press pillows

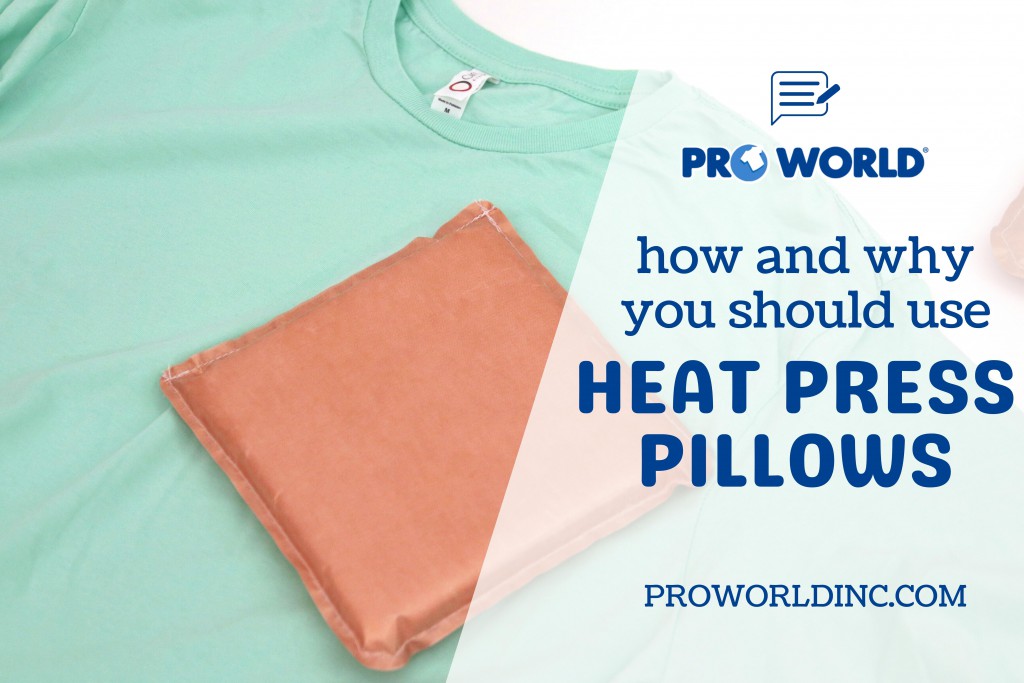
What are heat press pillows?

If you don’t know what heat press pillows are, they’re soft foam squares or rectangles that are covered with teflon. These foam pillows go inside or under garments, causing thick seams, zippers, buttons, etc to be pressed down into the pillow. This eliminates pressure points, allowing pressure to be evenly distributed across your garment.

Four different sizes: 6"x6", 5"x16", 10"x10", & 15"x15"

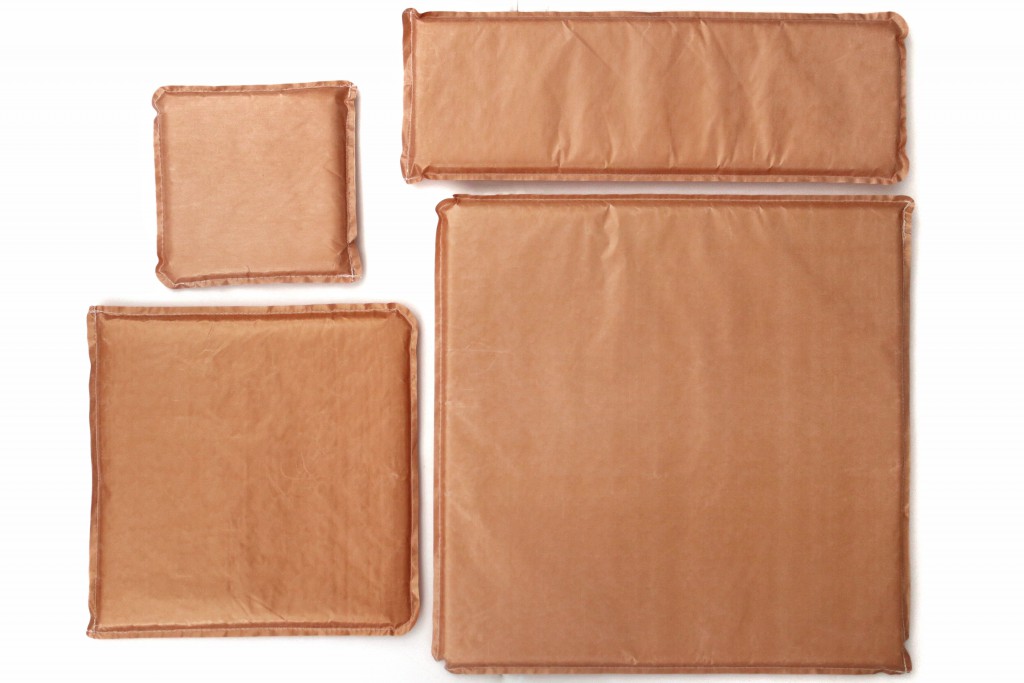
Four different sizes: 6″x6″, 5″x16″, 10″x10″, & 15″x15″

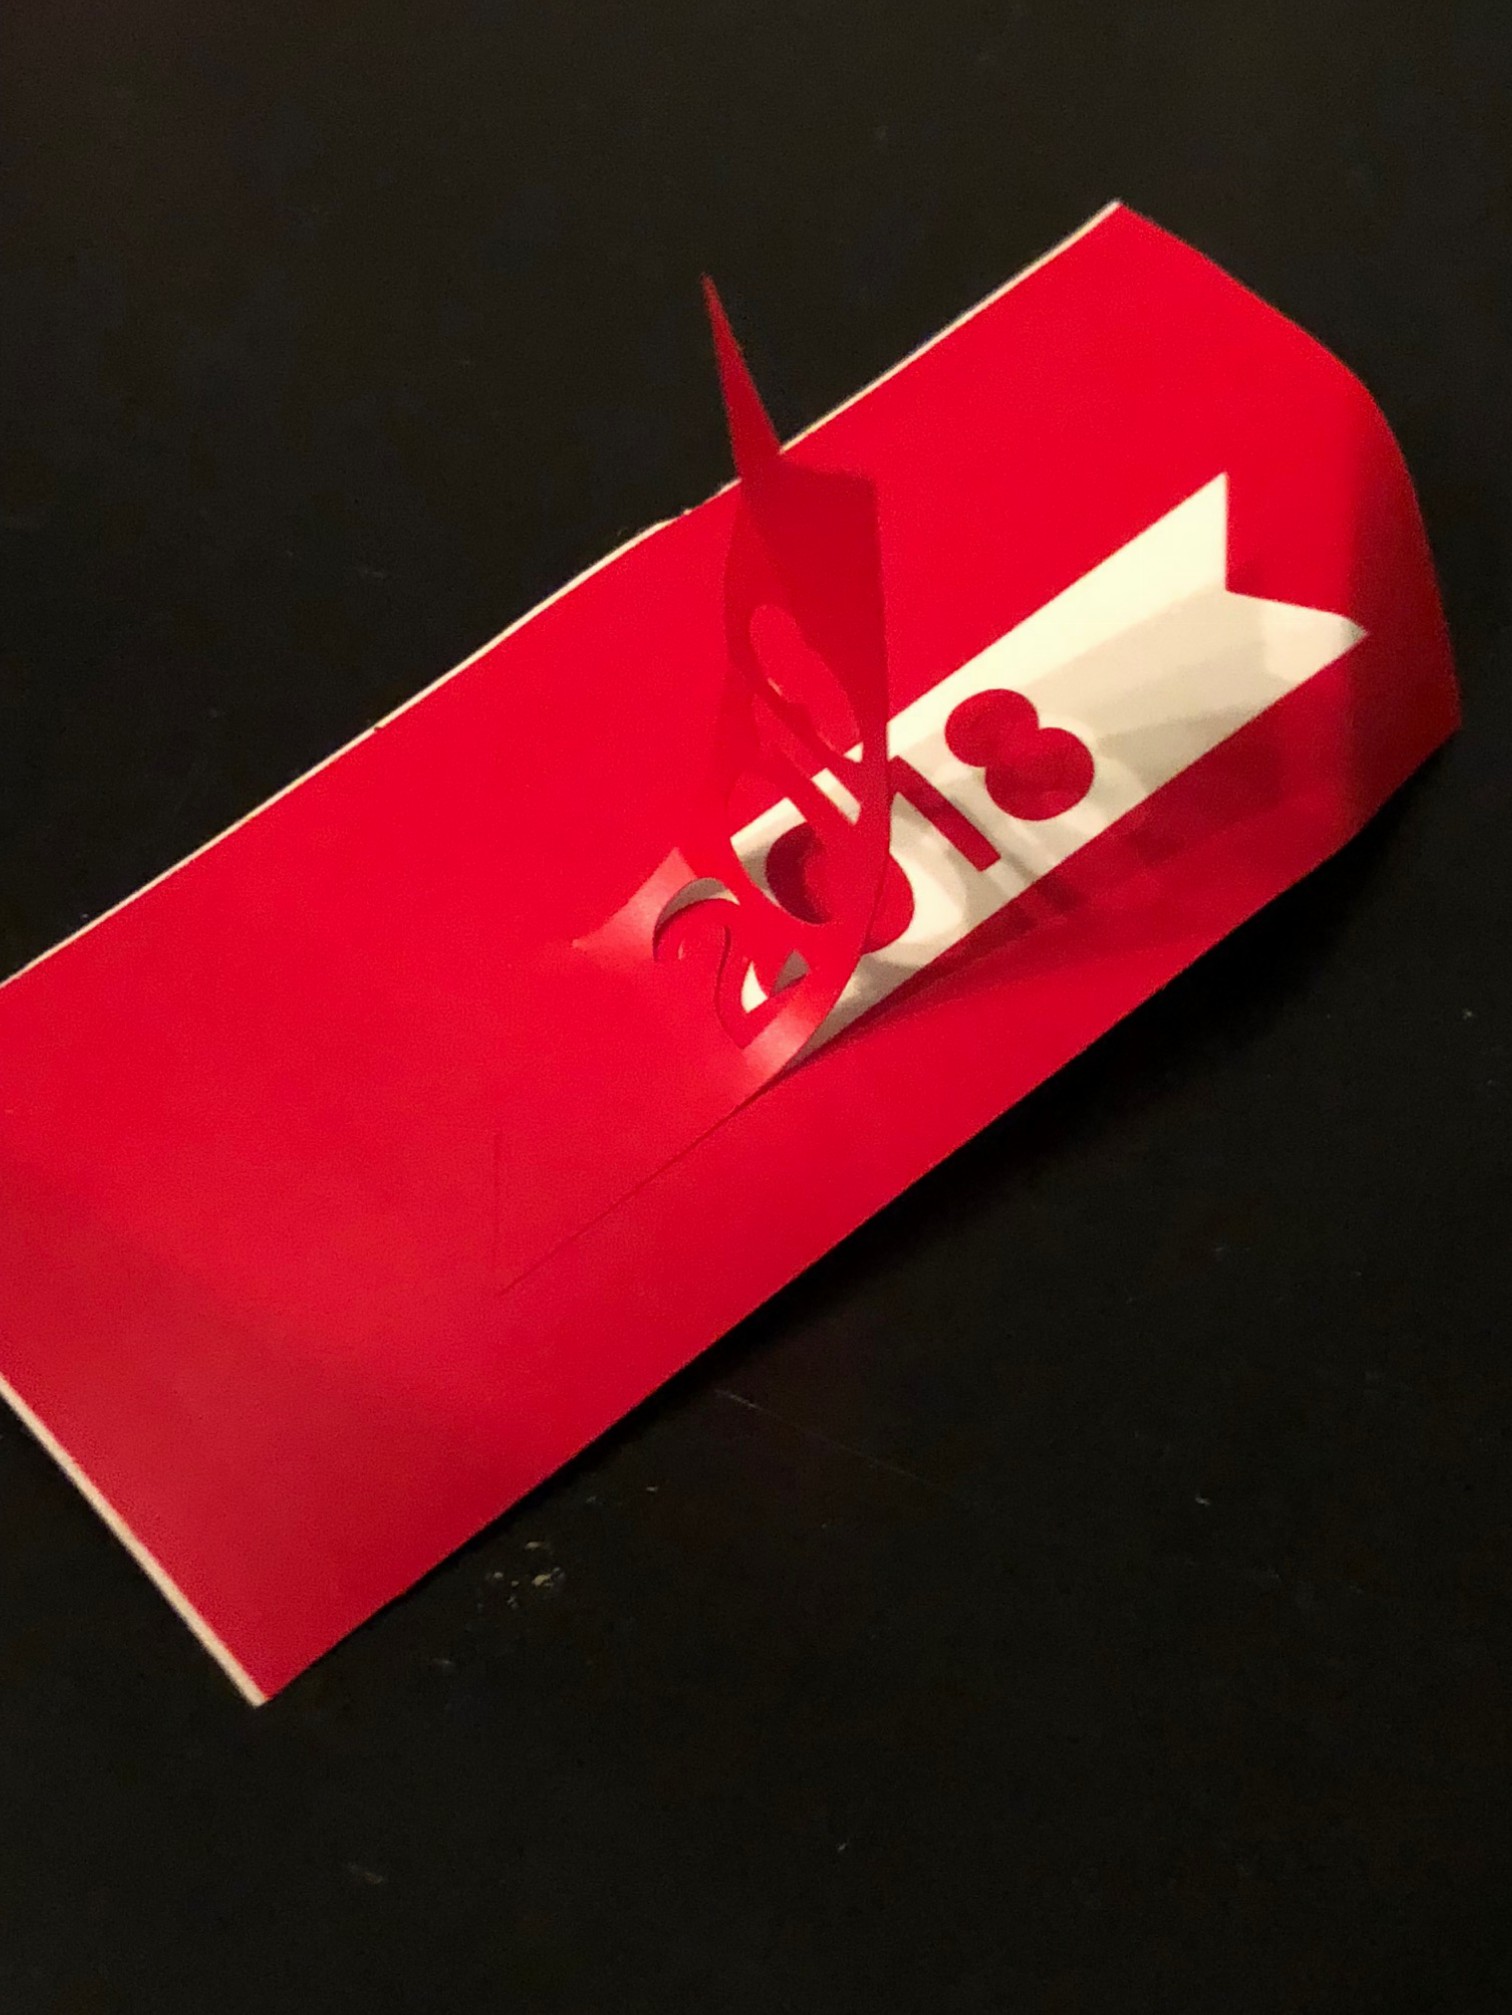
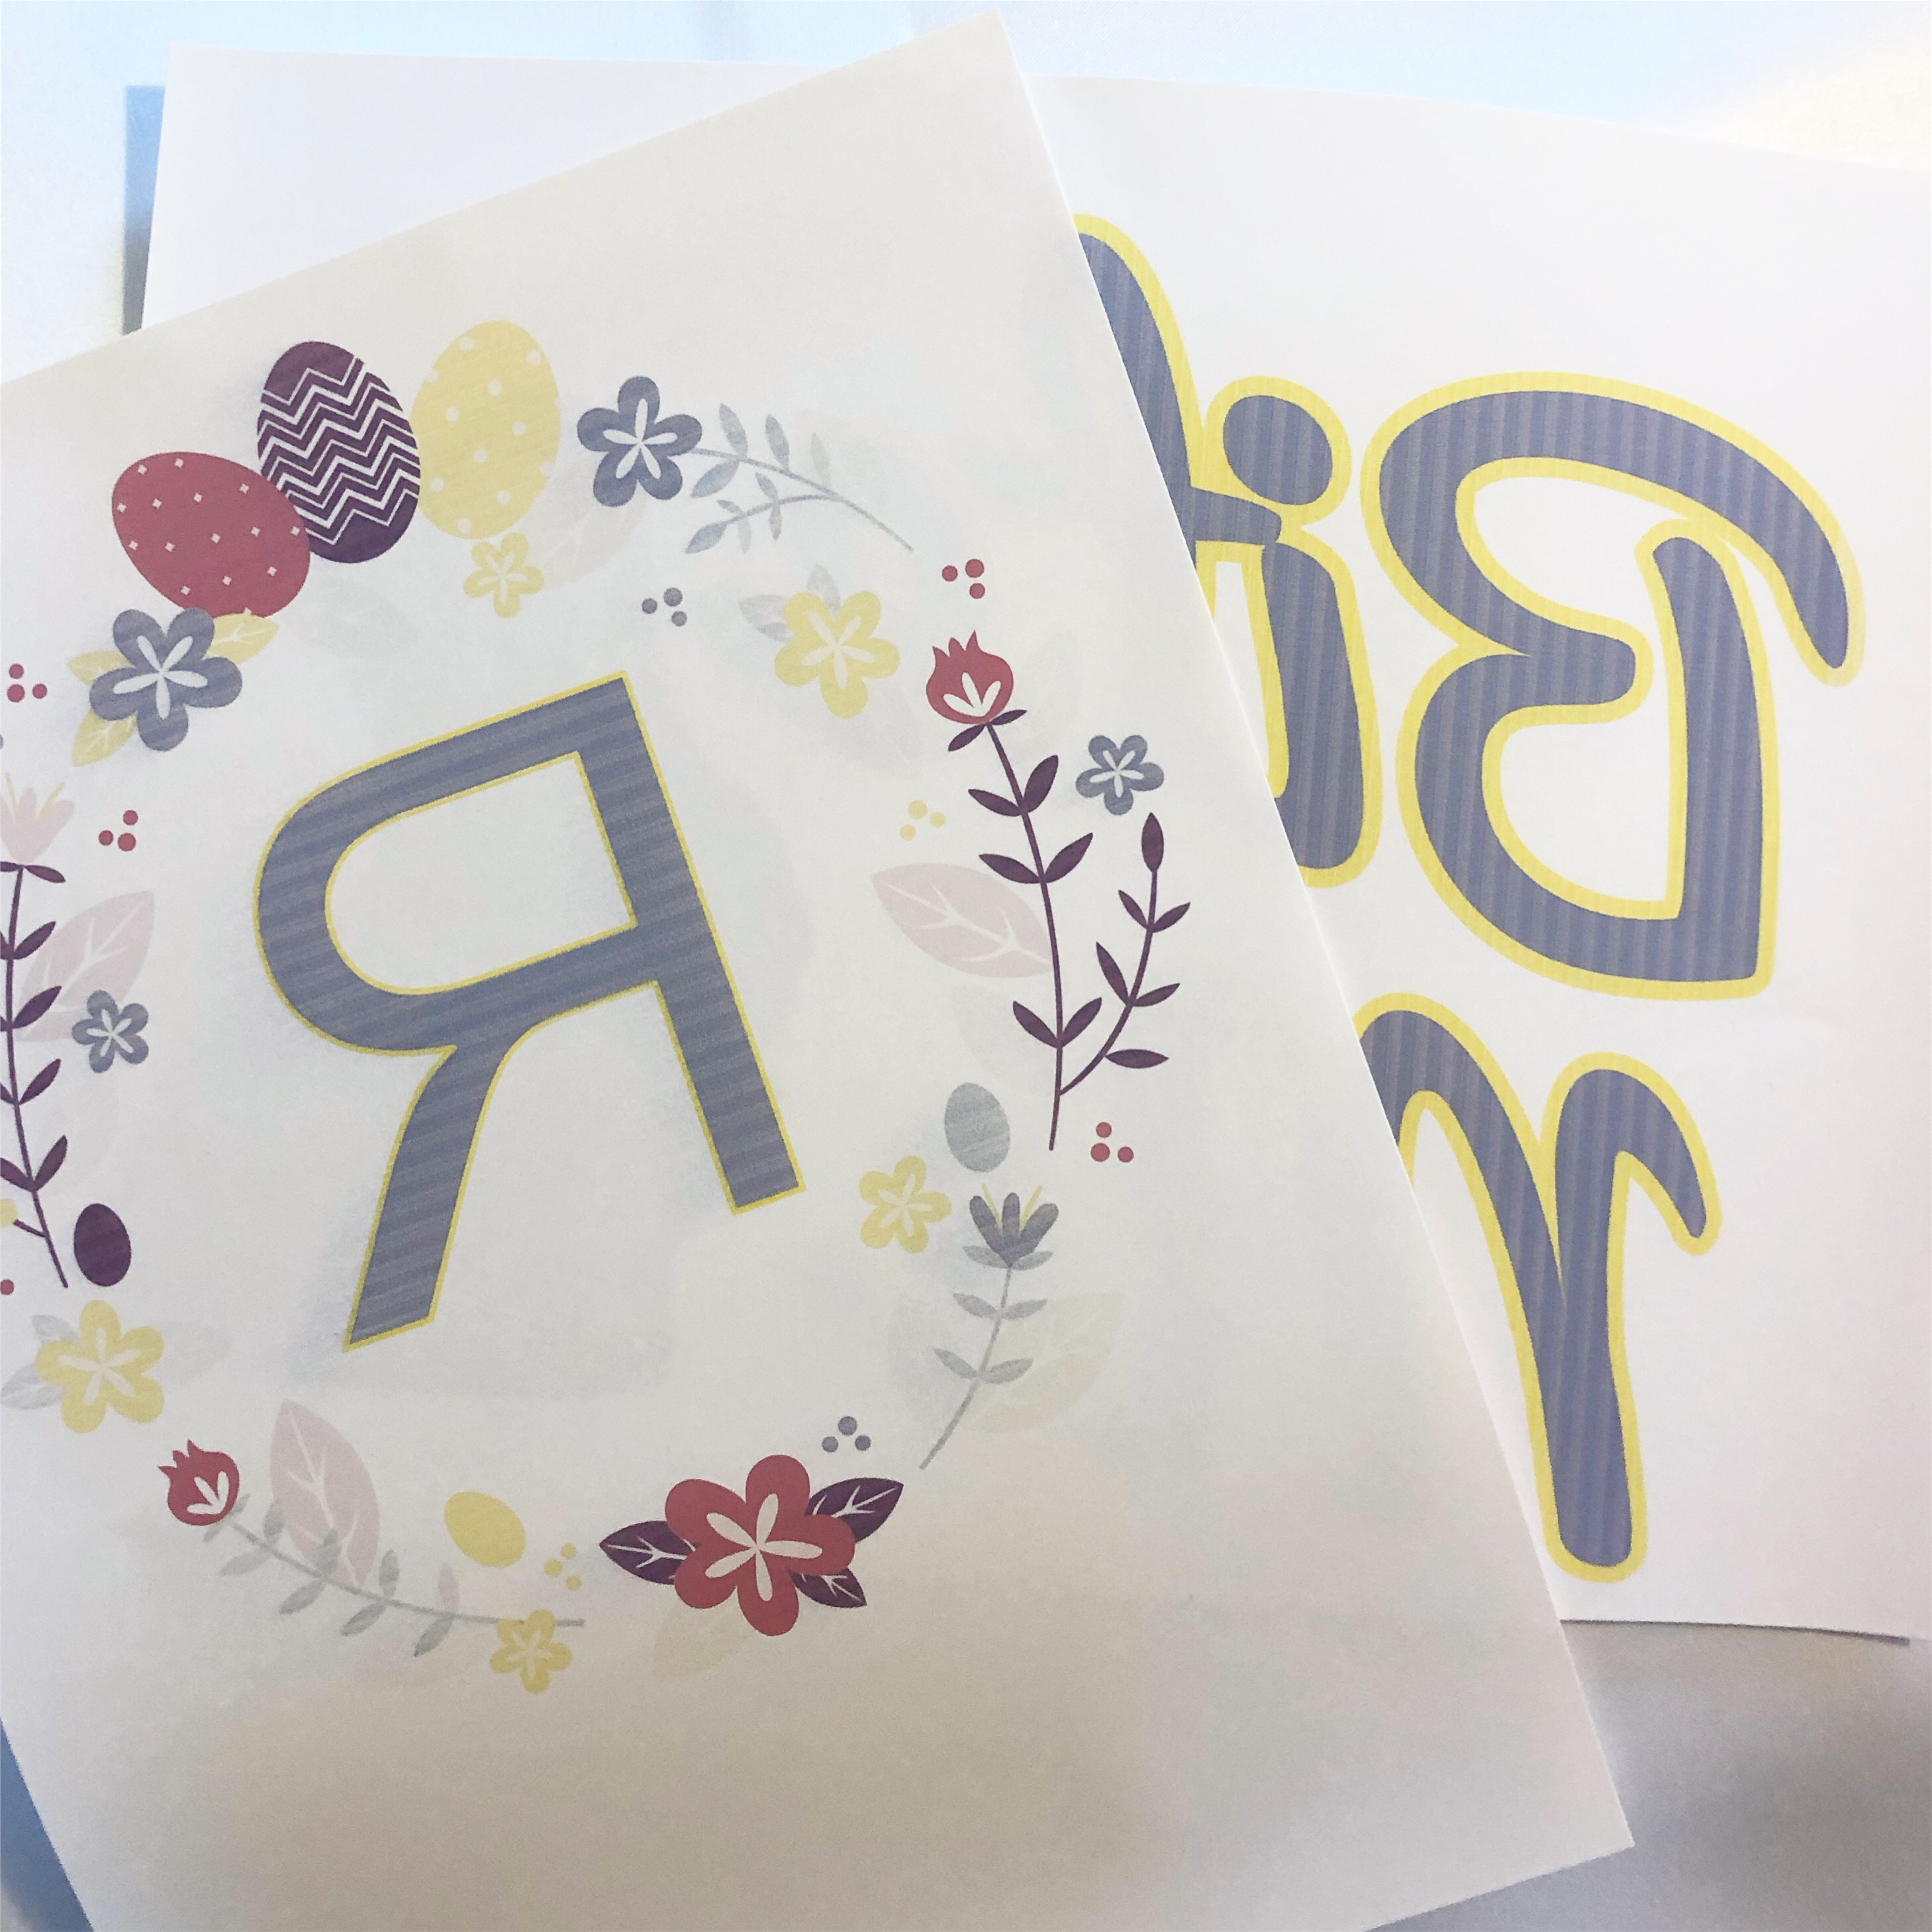
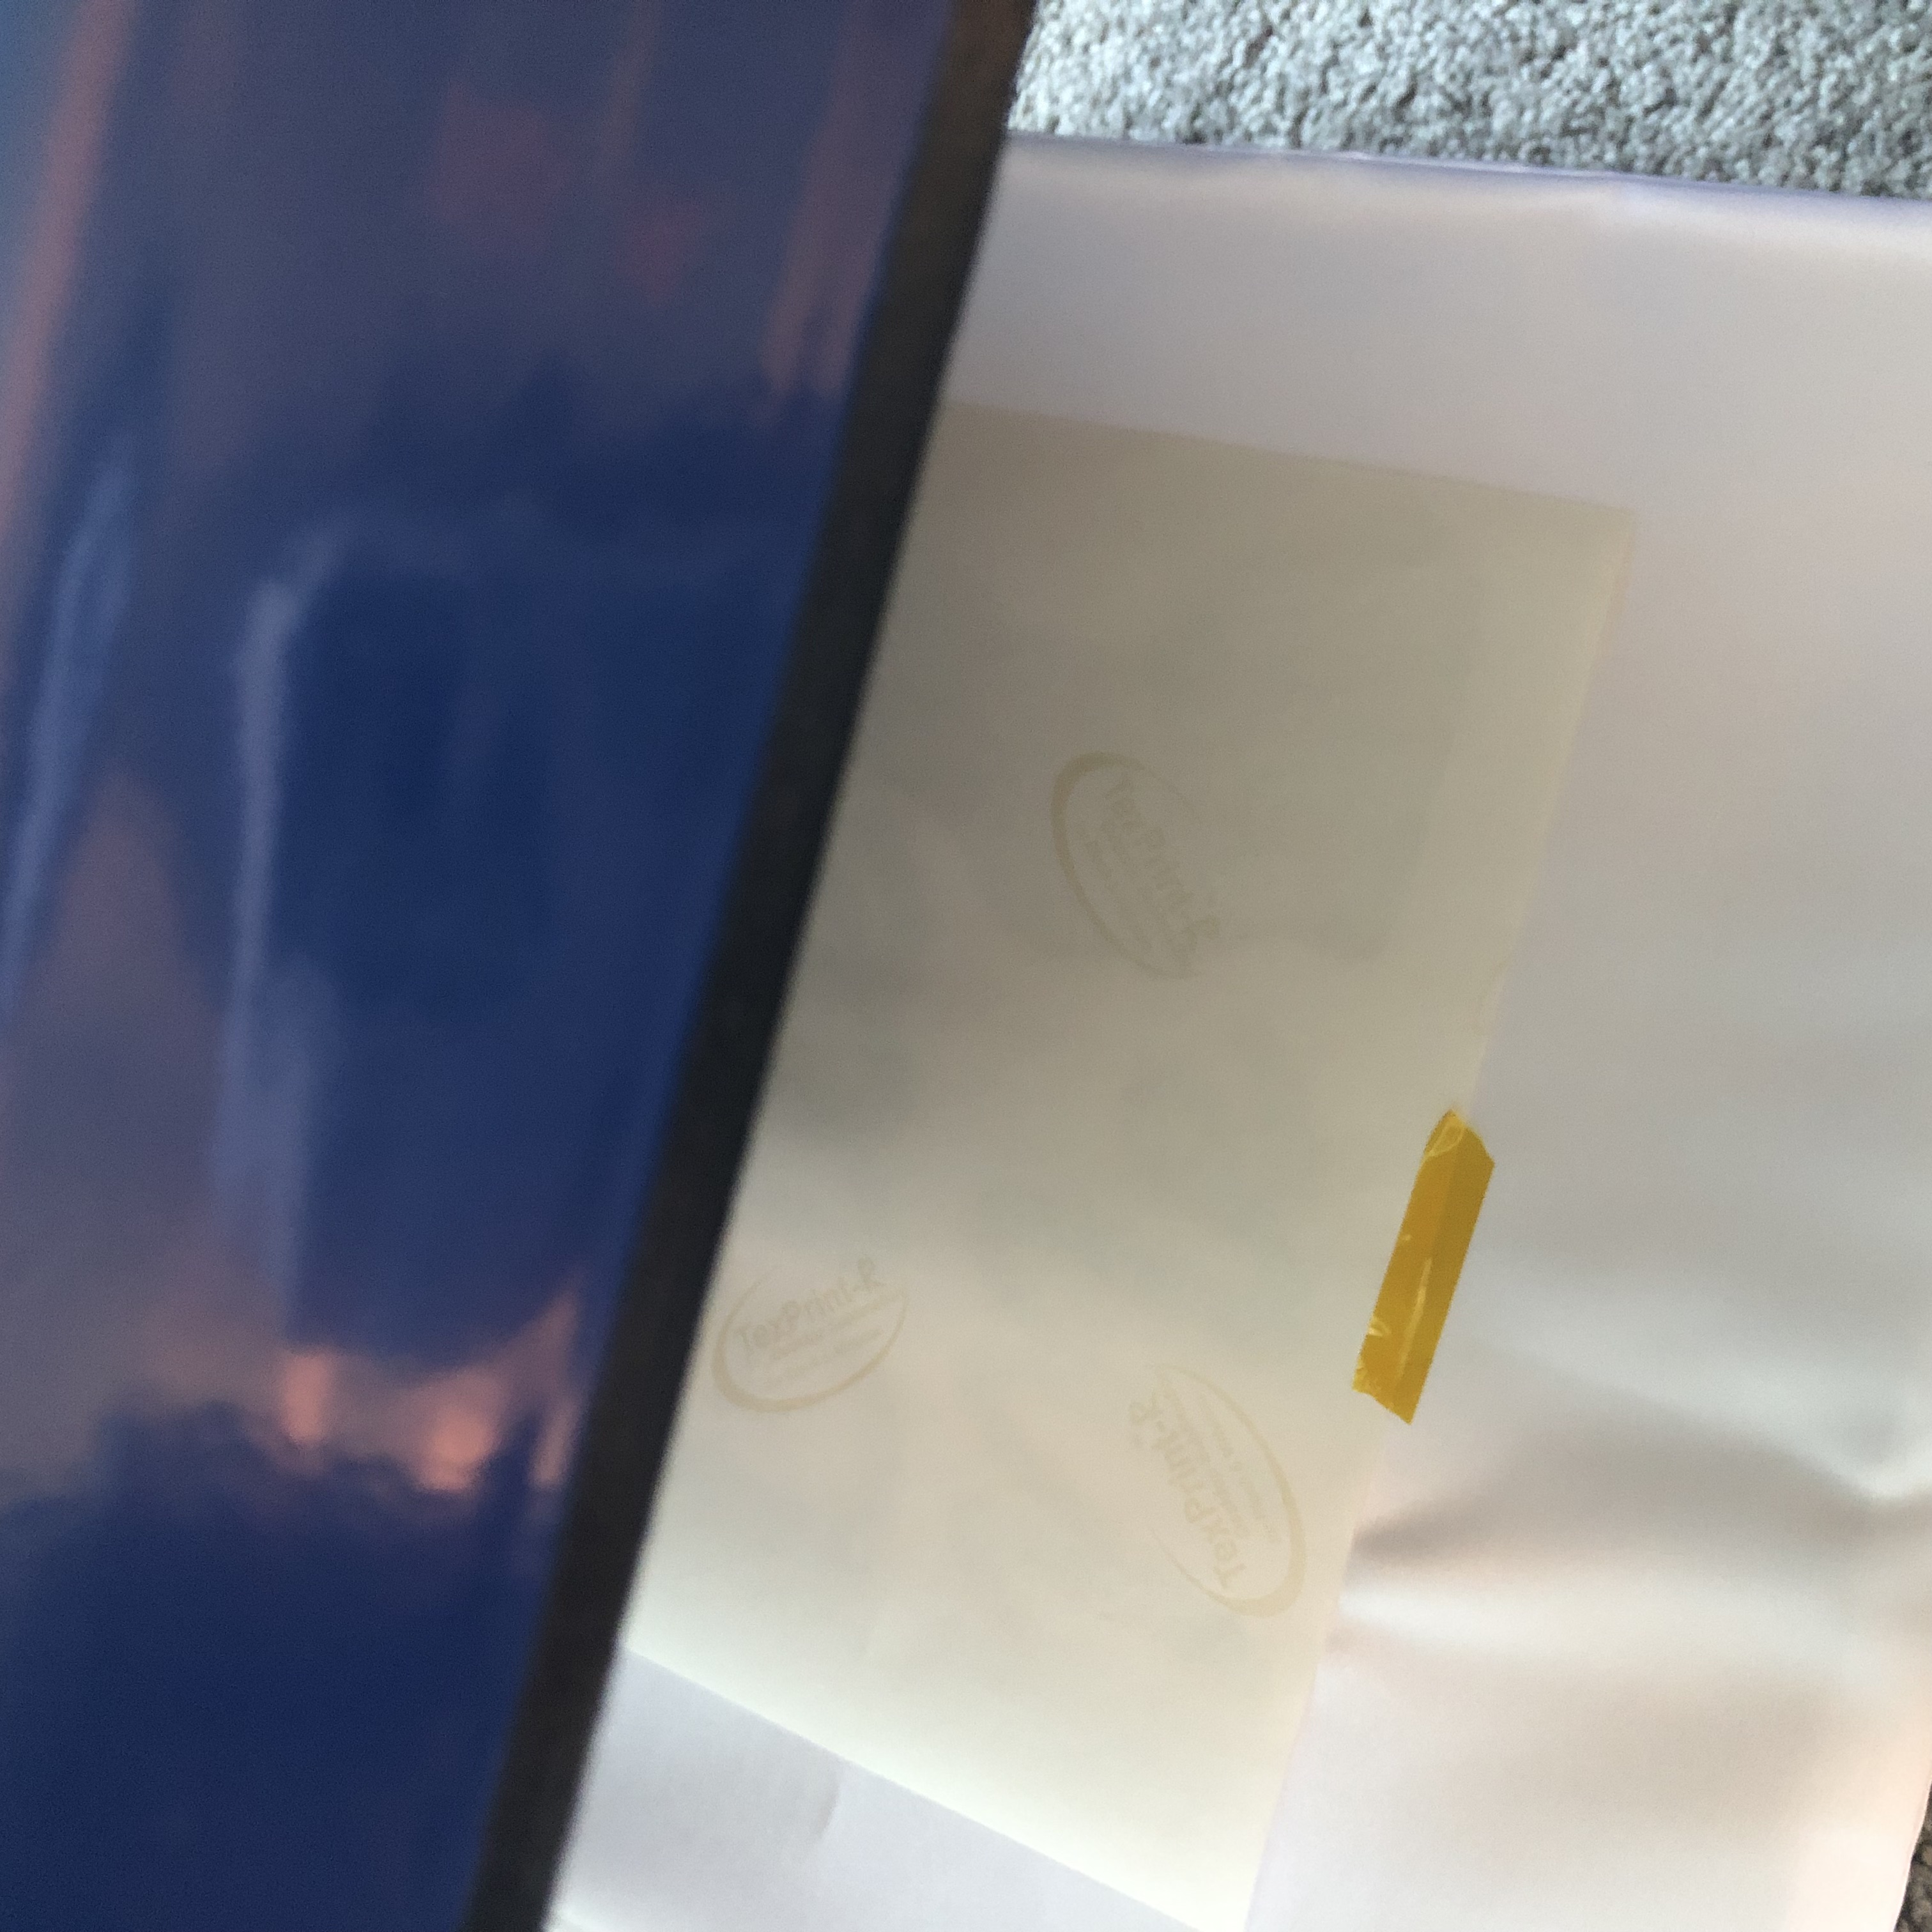
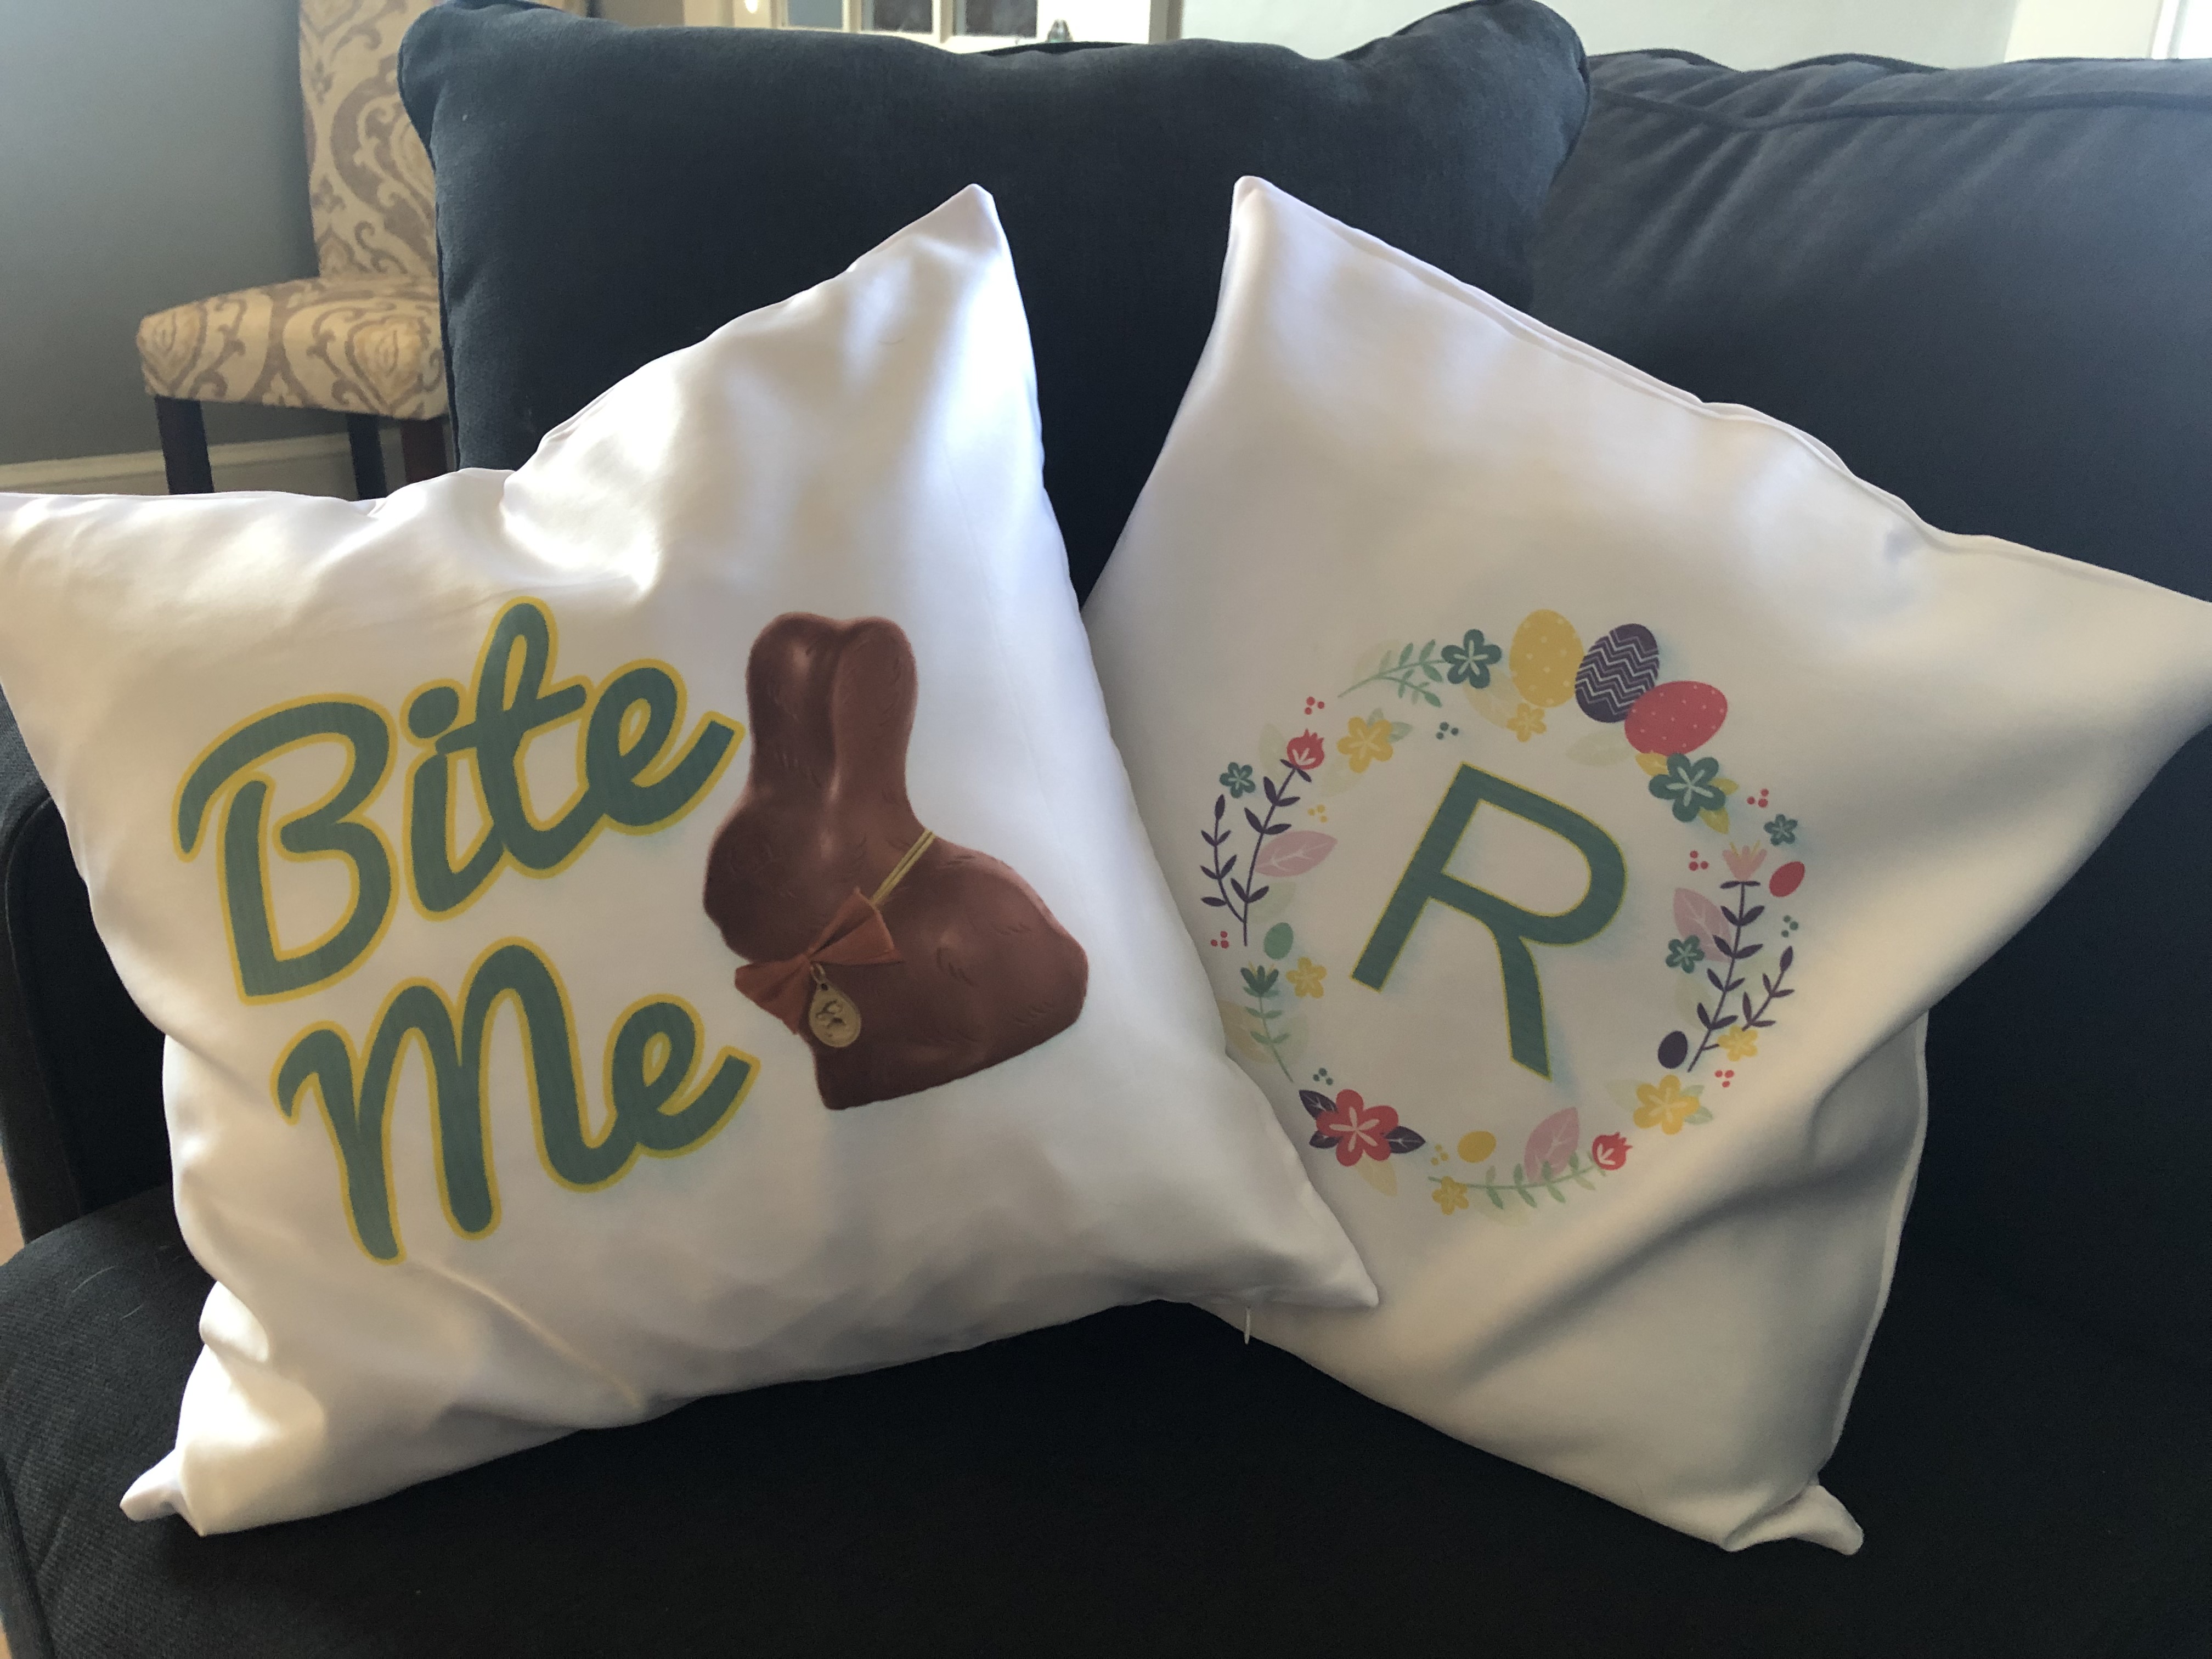
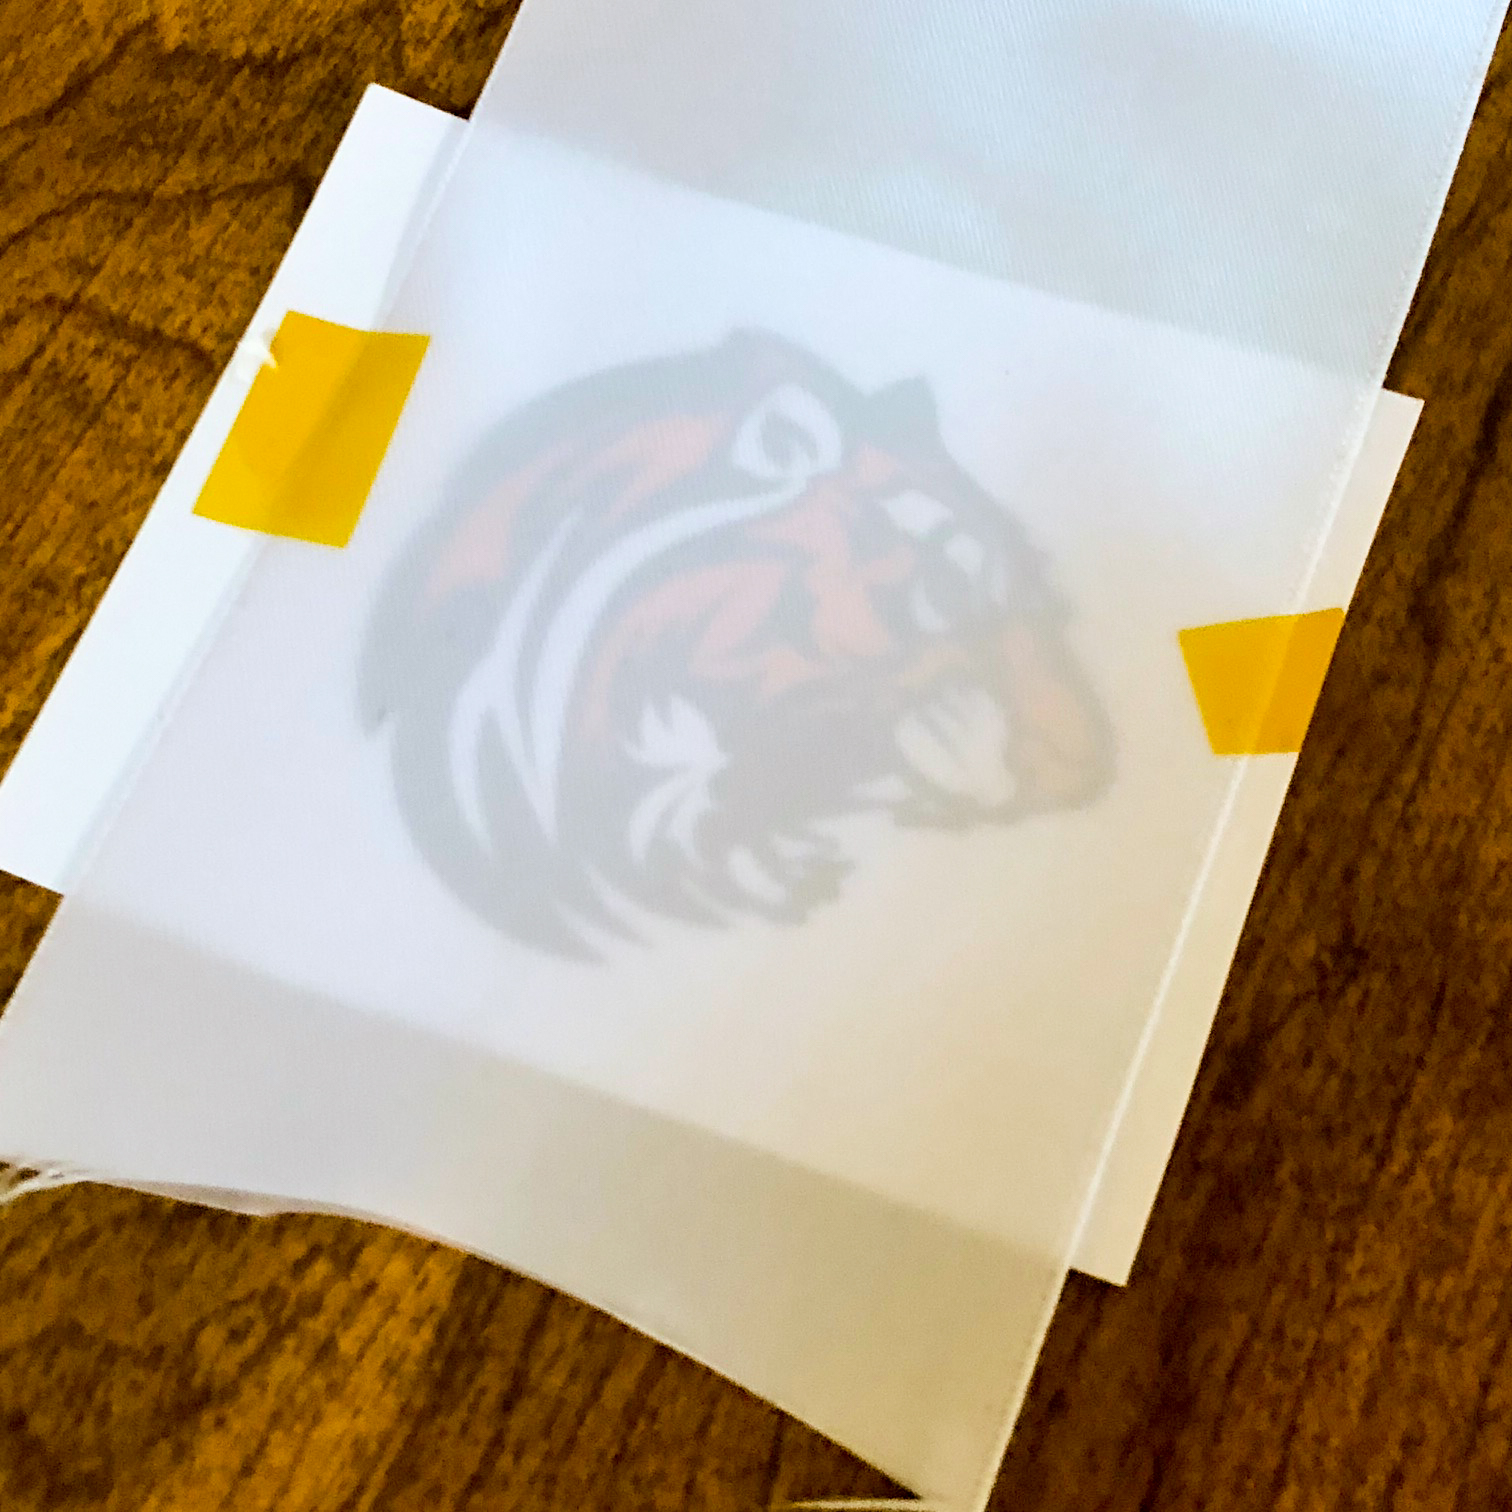
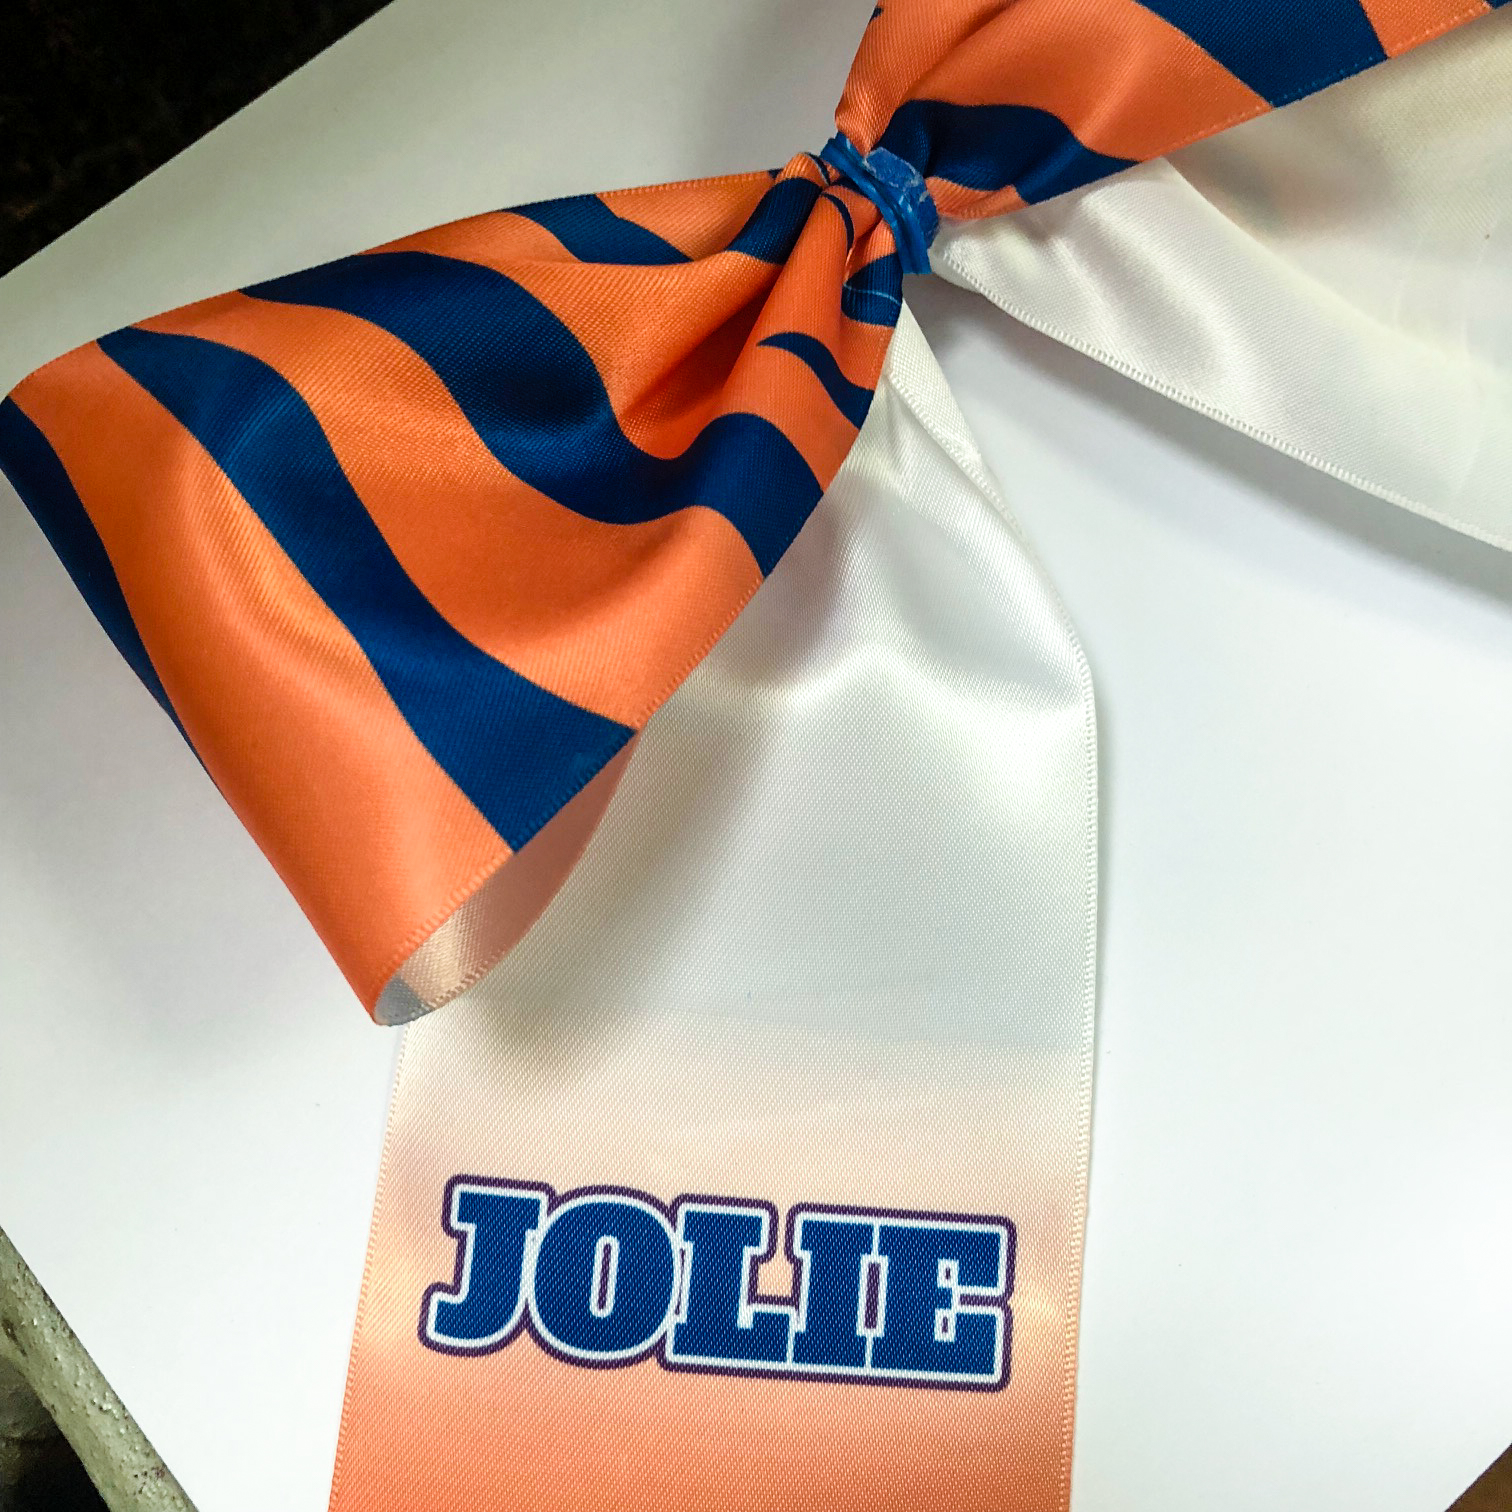
Have you ever ended up with paper indentations on your garment after pressing a sublimated design?? Pressing pillows can help with this! Try using a pillow that is smaller than your transfer paper, but larger than your design. This will prevent the edges of the paper from touching your garment and ensure you’ll have no indentations.

If I were applying a smaller logo to the left chest area of this shirt, I would use the 6"x6" pillow to make sure the seams along the sleeve don't interfere

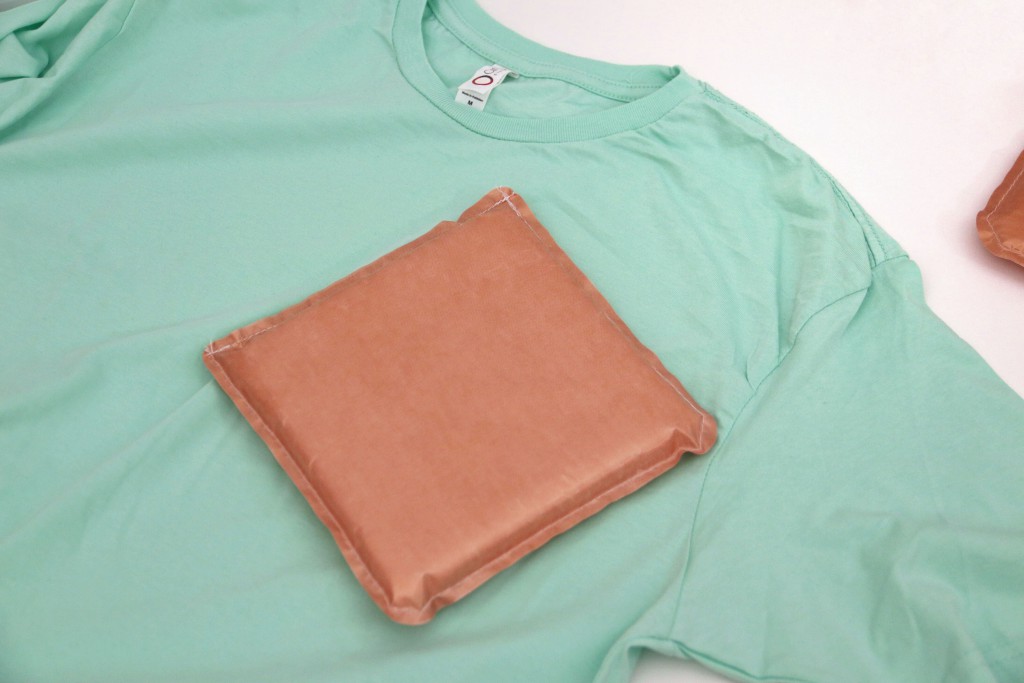
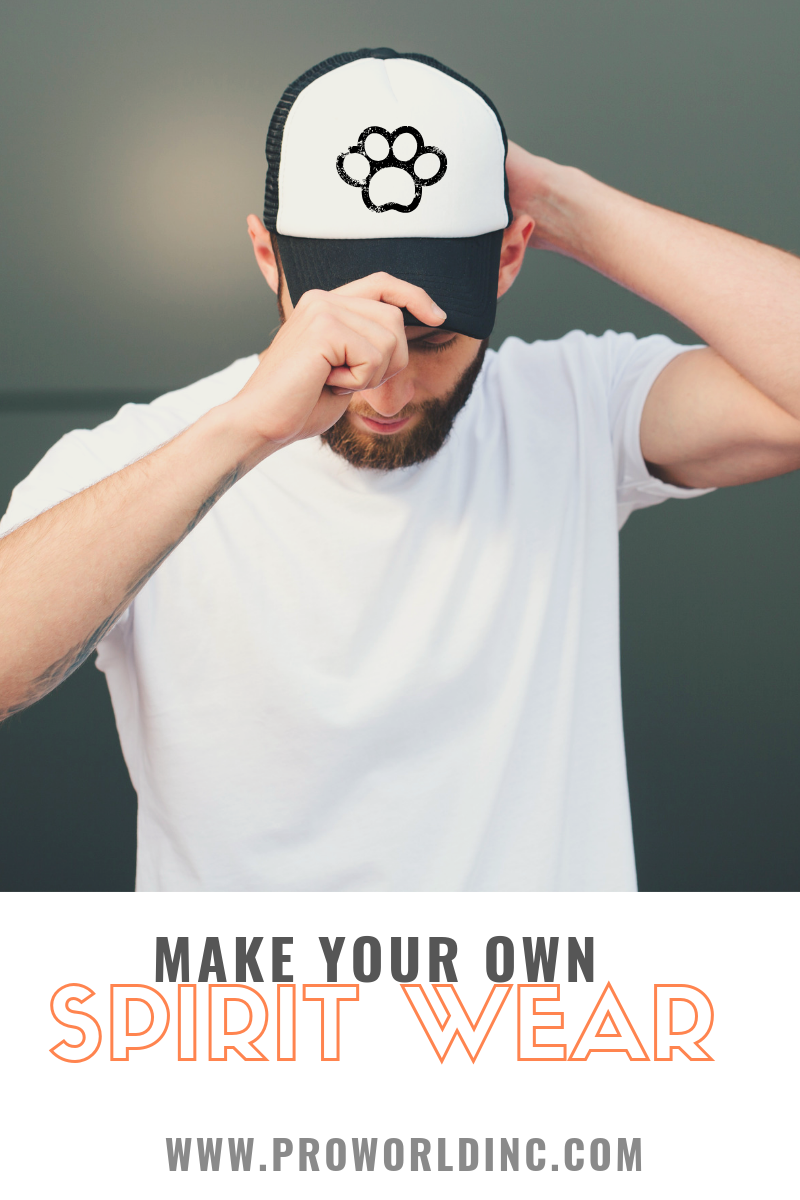
If I were applying a smaller logo to the left chest area of this shirt, I would use the 6″x6″ pillow to make sure the seams along the sleeve don’t interfere

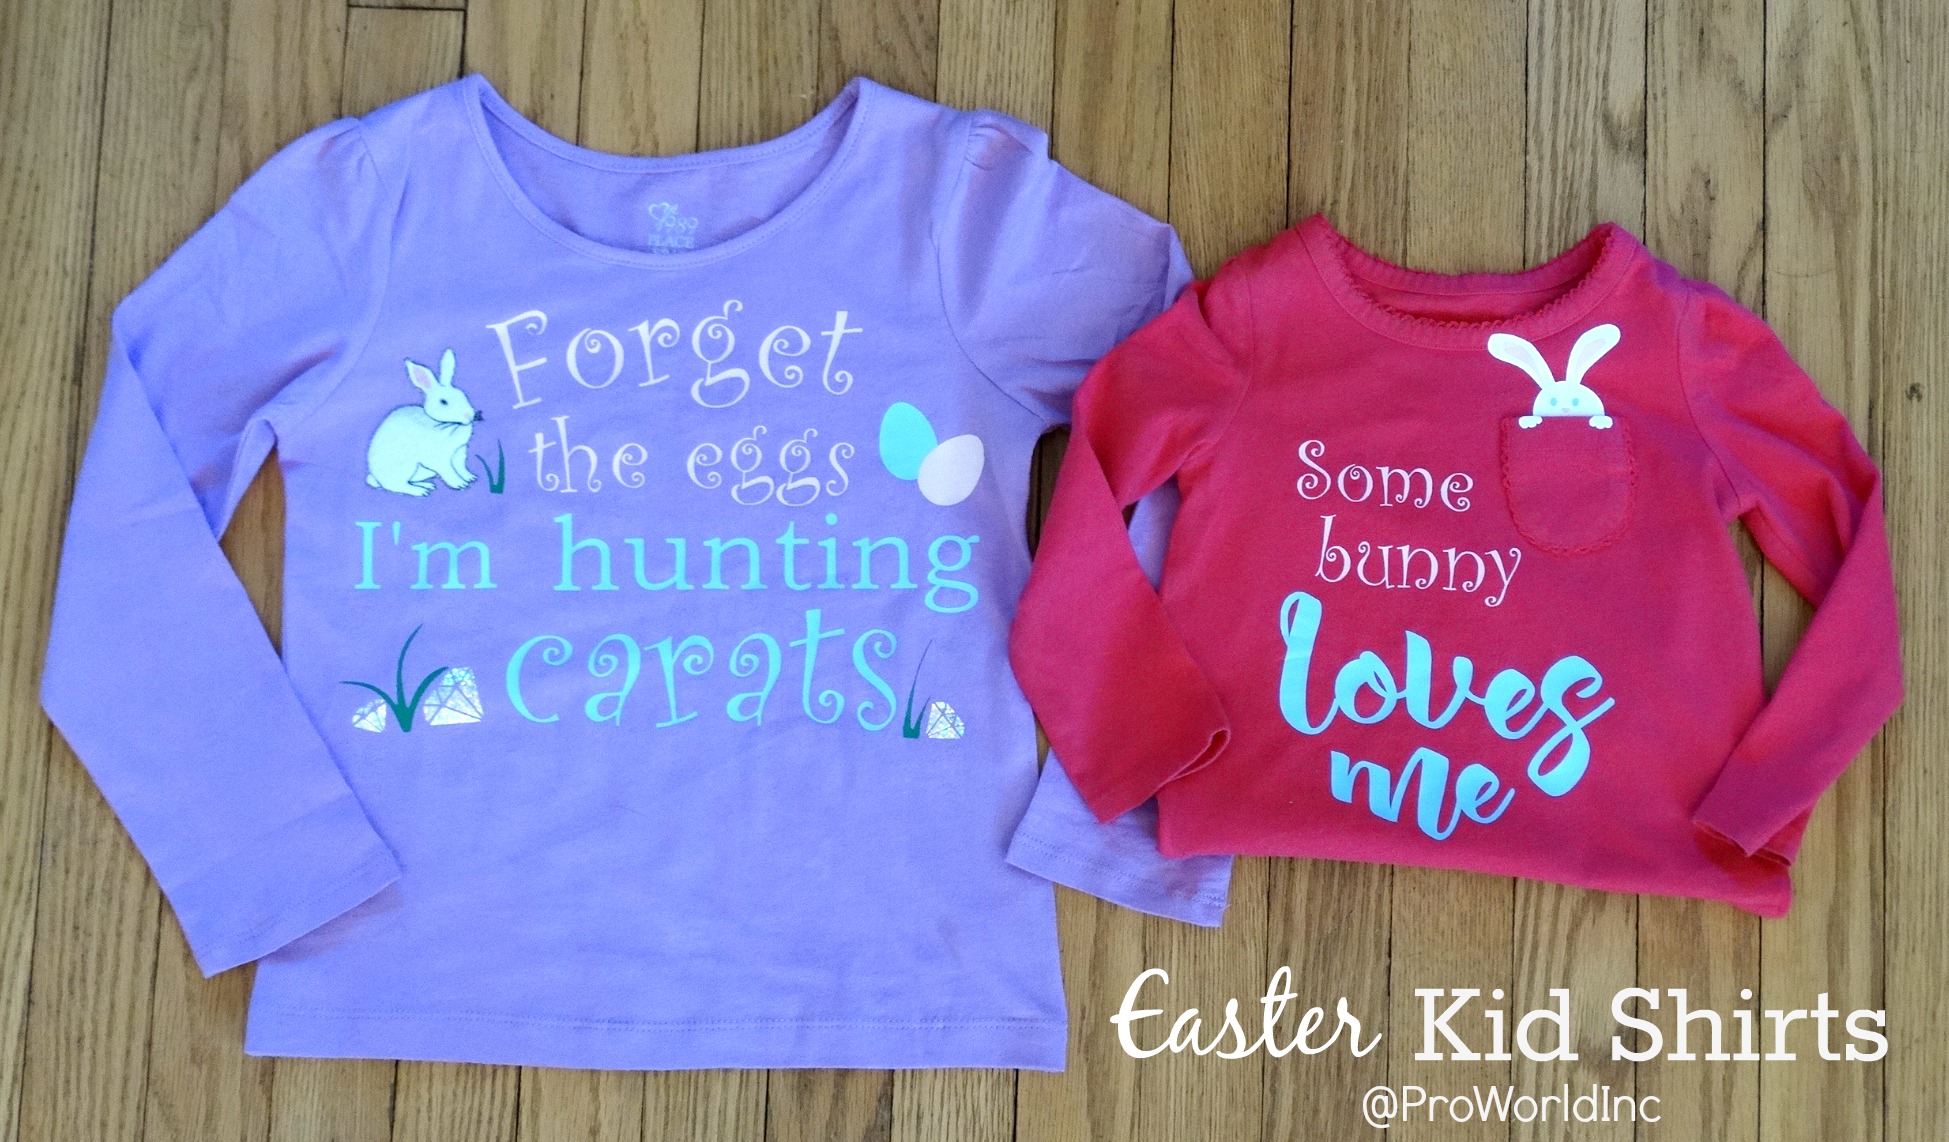
When applying heat transfer vinyl; zippers, buttons, and thick seams can stop your top platen from fully reaching the area where you want to apply your vinyl. If this happens, your vinyl might not receive the amount of pressure it needs to properly bond to your garment.

The 10"x10" size would be perfect for applying a larger design onto this tote bag

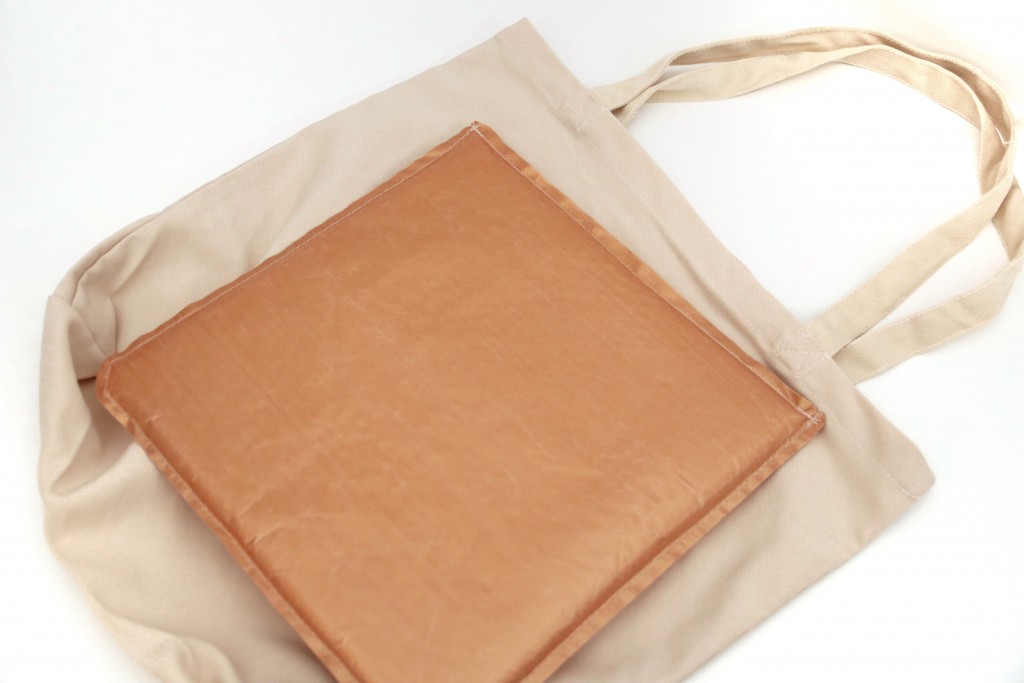
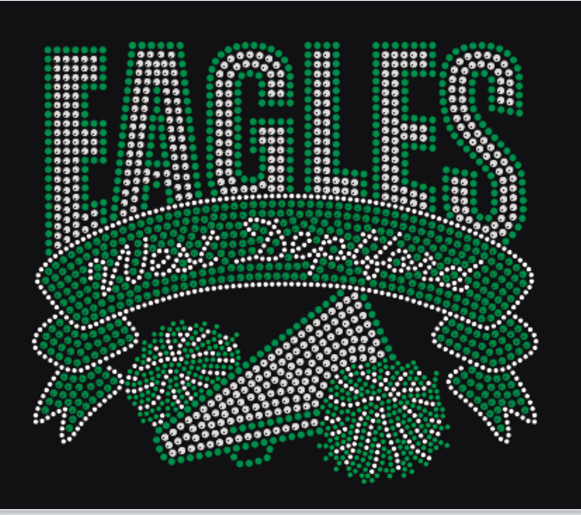
The 10″x10″ size would be perfect for applying a larger design onto this tote bag

how-to-heat-press-shirts

In this case, place the pressing pillow under or inside your garment before using your heat press. This will raise the area where you want to place your design, allowing your vinyl design to get the right amount of even pressure.

heat-press-pillows

If you’re ready to find out how heat press pillows can benefit you and your business, head over to our website where you can purchase your own pack!

View & Add Comments

Decorate A Christmas Ornament With Sublimation and Adhesive Vinyl

Tis’ the season for custom gifts! Well, it’s the start of the season at least. Today we are helping you jumpstart your custom gift list and show you how we used a sublimation ornament blank 2 ways!

2 ways to decorate a christmas ornament

To sublimate your ornament, you need:
Computer
Ornament Sublimation Blank
Sublimation Printer
Heat Press
Teflon Sheet
White Sheet of paper
Gloves
To sublimate the ornament here is how:
1. Design your ornament with your sublimation software.
Capture
2. Print it out.
IMG_1323
3. Warm your heat press to 400 degrees.
4. Tape your paper to the ornament.
IMG_1324
4. Place your ornament down with the paper on top and your Teflon sheet on top of that. Keep it pressed for 60 seconds.
5. Lift off the paper.
6. Hang it on your tree.
IMG_1330
To decorate your ornament with adhesive vinyl you need:
Computer
Ornament Blank
Vinyl Cutter
Adhesive Transfer Tape
Weeder
Scraper
To decorate your ornament with adhesive vinyl you need to:
1 – Design your decal with your cutting program
2- Cut your design on adhesive vinyl
IMG_0689 (1)
3 – Weed your design
IMG_0694
4 – Apply the transfer tape to your design
5 – Carefully lift the transfer tape off of the adhesive vinyl backing
6 – Apply your design to your ornament blank
joy adhesive vinyl ornament
Have you started making holiday gifts yet? Tag us and let us see! Use @proworldinc or #proworldinc
View & Add Comments

Make Your Own Spirit Wear

With the fall season around the corner, it is time to start thinking about spirit wear.  Schools are always looking for new ways to fundraise, so now is the perfect time to expand your business into the spirit wear market with a fall shop!

spirit wear

You have a few options when it comes to creating branded merchandise. You can:

Create items in bulk with ease by taking advantage of our Custom Transfers.

pw-custom-2

Or you can use a premade heat transfer design, after all, we have thousands to choose from. You can see some of them here!


Sublimation is another great option for you to try! You can sublimate polyester and poly-coated items like water bottleskeychain for bag tags, hairbows or even awards!

learn how to sublimate a cheer bow


And we can’t forget about heat transfer vinyl!

htv tiger


View & Add Comments

Decorating a Polyester Pillow Case for Easter

With Spring in full swing, it is time to update your space to reflect the new season and holiday ahead! And the easiest way to do that is with some seasonal pillows! For today’s project, we are taking our Polyester Sublimation Pillow Case and decorating them for Easter!

EASTER PILLOW

Our gorgeous sublimation blank pillows, are soft with a subtle shine which make them pretty to look at and rest your head!

Here’s what you need:
Heat press
Sublimation Pillow Case
Sublimation Printer and Ink
ThermalTape
-Pillow Stuffing

To make your own you should:
1- Open your creative studio software and select the pillow design template
2- Choose a design to use

PILLOW 2
3- Edit the colors to reflect your color scheme

PILLOW 4
4- Print

A7EAC5C4-2413-4279-BA5B-6DEBCCB5220D
5- Press at 450 degrees 45-55 seconds

IMG_2921
6- Peel Hot
7- Stuff your pillows
8- Put them on display

IMG_2924

Below are a few past Spring/Easter Projects that we thought you may like!

Some bunny loves you easter shirt

spring wall art

View & Add Comments

Learn How To Sublimate a Cheer Bow

Are you looking for a fun, high-profit product to add to your sublimation store? Try this decorative bow project!! With only a few supplies, you can take a plain white ribbon and turn it into a personalized piece of art. Want to learn how? Read below!

sublimated cheer bow

To decorate a bow you need:

Making the bow is easy! Just..

1-Design your bow using your design software. We used Creative Studio. You need to design 4 sections that are 8″ x 3″ each and send to your Sublimation Printer.

sublimate a cheer bow

2- Take your print out and cut it into 4 sections.

3.- Unroll your ribbon and measure it to 32″ and cut.

sublimate a cheer bow

4 – Now fold it in half, so that you know where the center of your ribbon is, and tape two strips of your paper onto each side. When taping your paper, you will have 2 strips on the top center of the ribbon. Place the 2 remaining strips on the back end side of the ribbon.

learn how to sublimate a cheer bow

5 – Press each section at 400 degrees for 60 seconds.

6 – Now that your ribbon is decorated it’s time to fold your bow and hot glue a clip to the back.

learn how to sublimate a cheer bow

7 – That’s it. Admire your results!

learn how to sublimate a cheer bow

View & Add Comments