Have you heard of the wet application technique for adhesive vinyl? If you’ve ever had a vinyl project ruined by those annoying air bubbles, you’re going to want to save this post!
When should you use this application technique?
This method is helpful when you’re applying adhesive vinyl to any type of hard, non-porous surface (plastic, metal, glass, etc). With these types of surfaces, air bubbles are a common occurrence. But when you apply using water, you’re able to easily push the air bubbles out- leaving you with a smooth finished product!
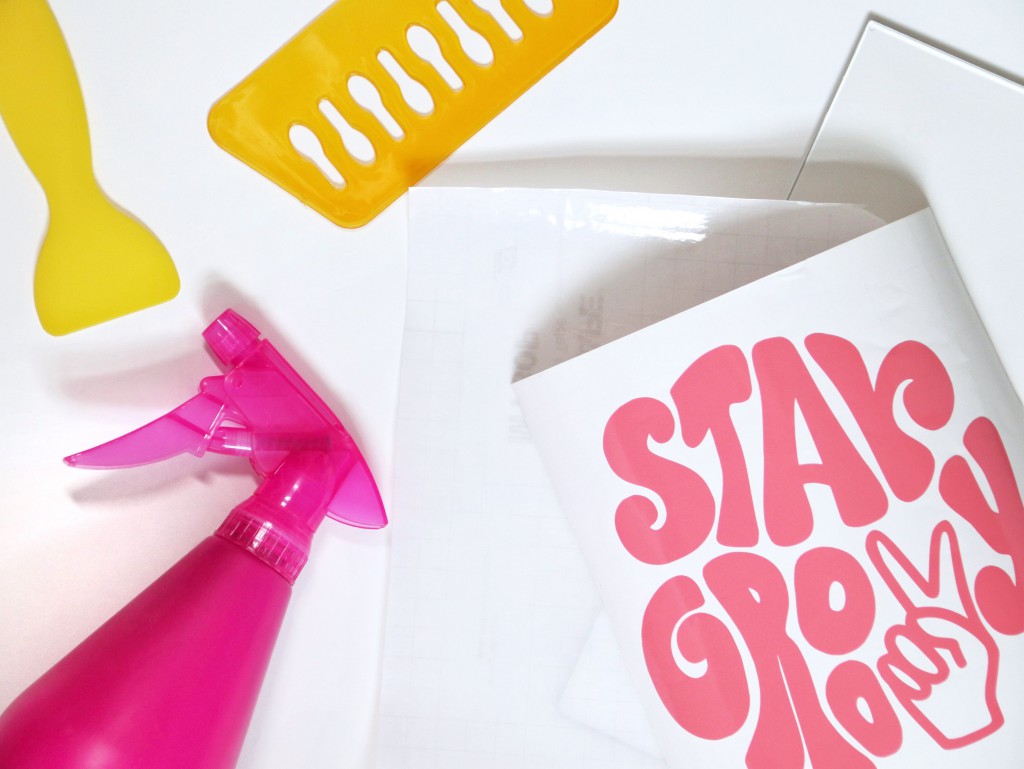
Here’s what you need:
- Cut vinyl design (we’re using Siser Easy PSV in the color “Coral Reef”)
- Surface you’re applying it to
- Spray bottle with water + a drop of dish soap
- Squeegee tool
- Transfer tape
- Paper towel or rag
Applying your vinyl:
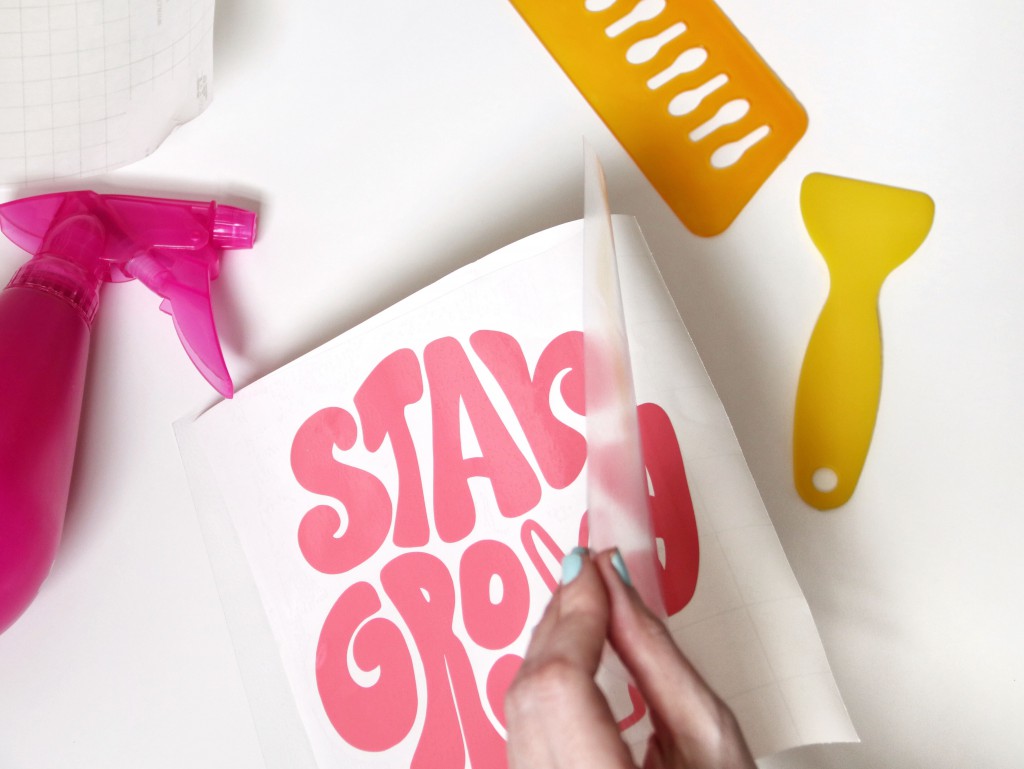
The first step is applying transfer tape to your design, just like you normally would.
TIP: If you’re having trouble getting your design to stick to the transfer tape, try turning it over and burnishing on the back side!
Once your design is secured to the transfer tape, use your spray bottle to lightly spray water onto the surface you’re decorating. If you have a larger design, you can also apply a little bit of water to the back of your vinyl.
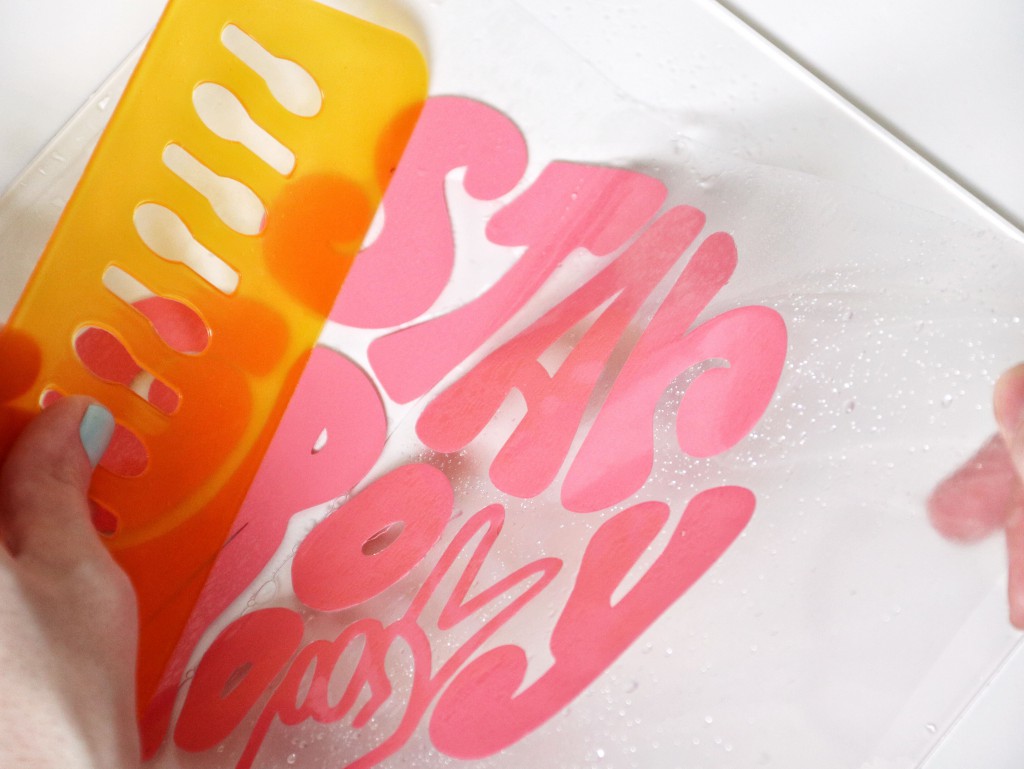
Place your design where you want it (the water will allow you to more easily reposition if needed). Use your squeegee to push out the water and any air bubbles.
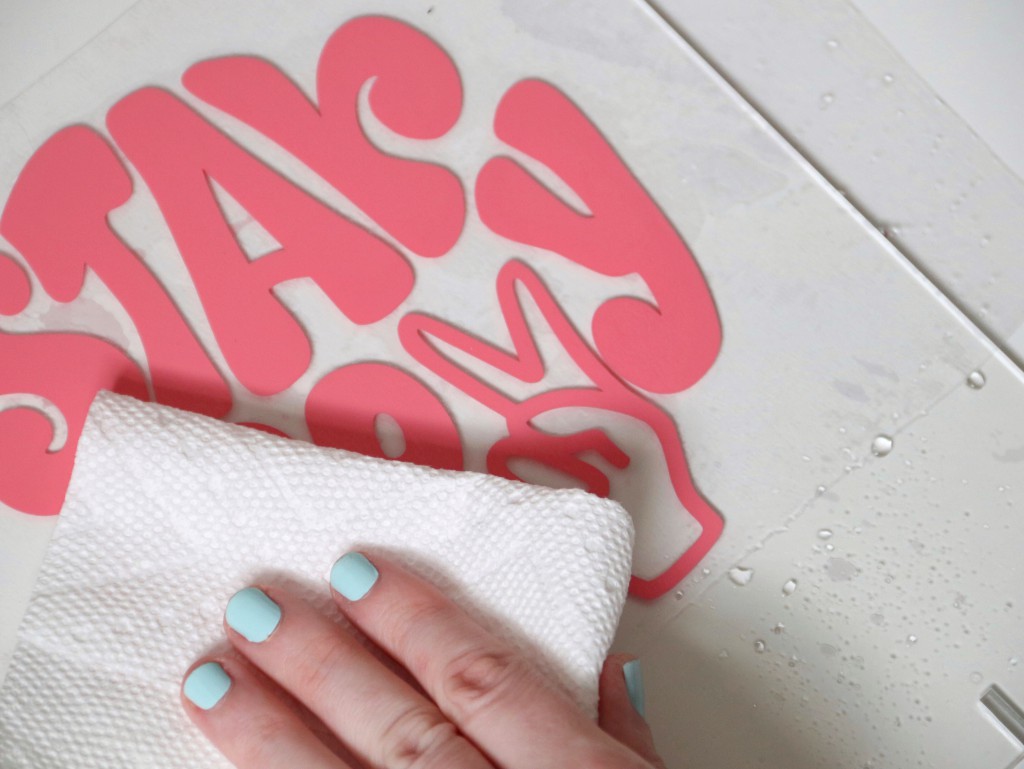
Repeat this process with your squeegee until it looks like most of the water is gone. Use a paper towel to wipe away any water you squeegee out.
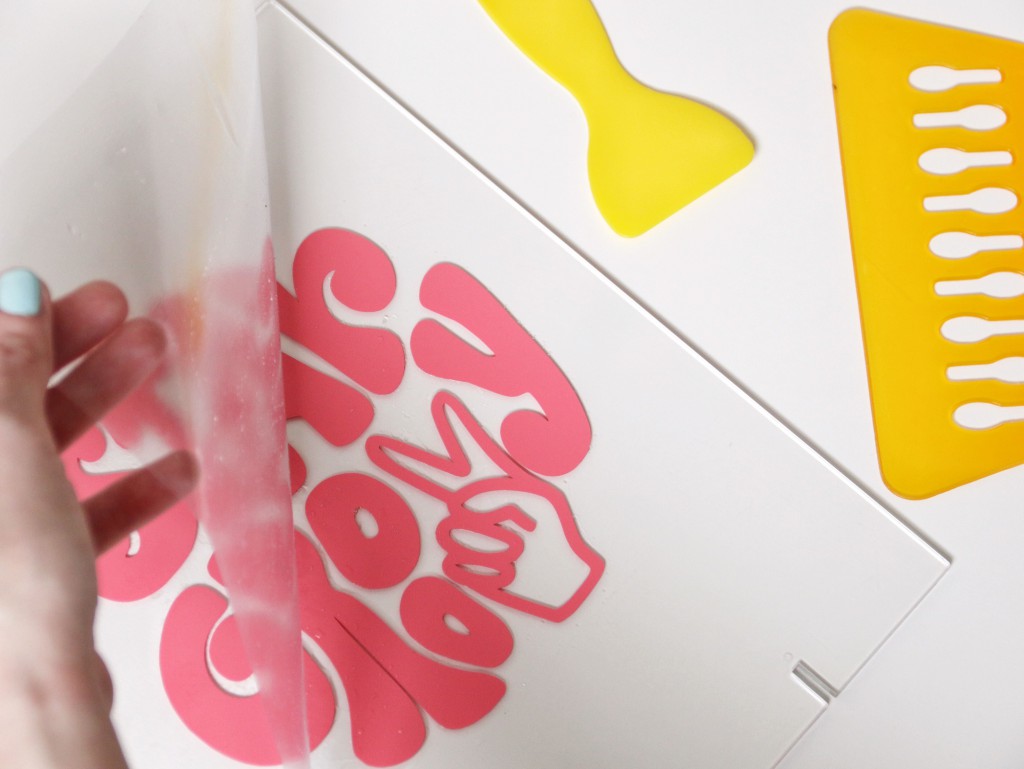
Carefully peel the transfer tape away from your design and dry any remaining drops of water. Lastly, allow your project 24-48 hours for the adhesive to fully cure (this step applies even if you don’t use this method).
Are you going to try this method?? Let us know how it works out for you!
