Learn How To Use EasyWeed Adhesive with Foil Rolls

Our new EasyWeed Adhesive and colorful Foil Rolls give you even more creative options than ever before. Now you can add dimension to your garments by creating shiny, distressed looks in just a few minutes. Below we will explain how you can create one-of-a-kind pieces with our EasyWeed Adhesive and Foil Rolls.
easyweed adhesive
You Need:
To Do:
Create your file within your design application.
DSC07730 (2)
1. Reverse the design and cut! (visit our website, http://www.proworldinc.com/, for the correct blade and speed information).
DSC07736
2. Weed the design.
DSC07738 (2)
3. Preheat your heat press to 275 degrees F.
4. Once the press has reached your desired temperature, preheat your shirt for 3 seconds.
5. Once your shirt is preheated, apply the adhesive and press for 5 seconds.
DSC07744
6. Peel the transparent adhesive cover from the shirt while it is hot.
7. Quickly lay your foil on top of the adhesive. Make sure you place it with the silver side down, leaving the color facing up.
8. Cover the foil with a non-stick sheet.
9. Press for 10 seconds.
10. Wait until the foil is cool to the touch and then peel it.
DSC07754 (2)
 Admire your work!
DSC07758 (2)
View & Add Comments

Heat Press Tips for HTV (and a GIVEAWAY)

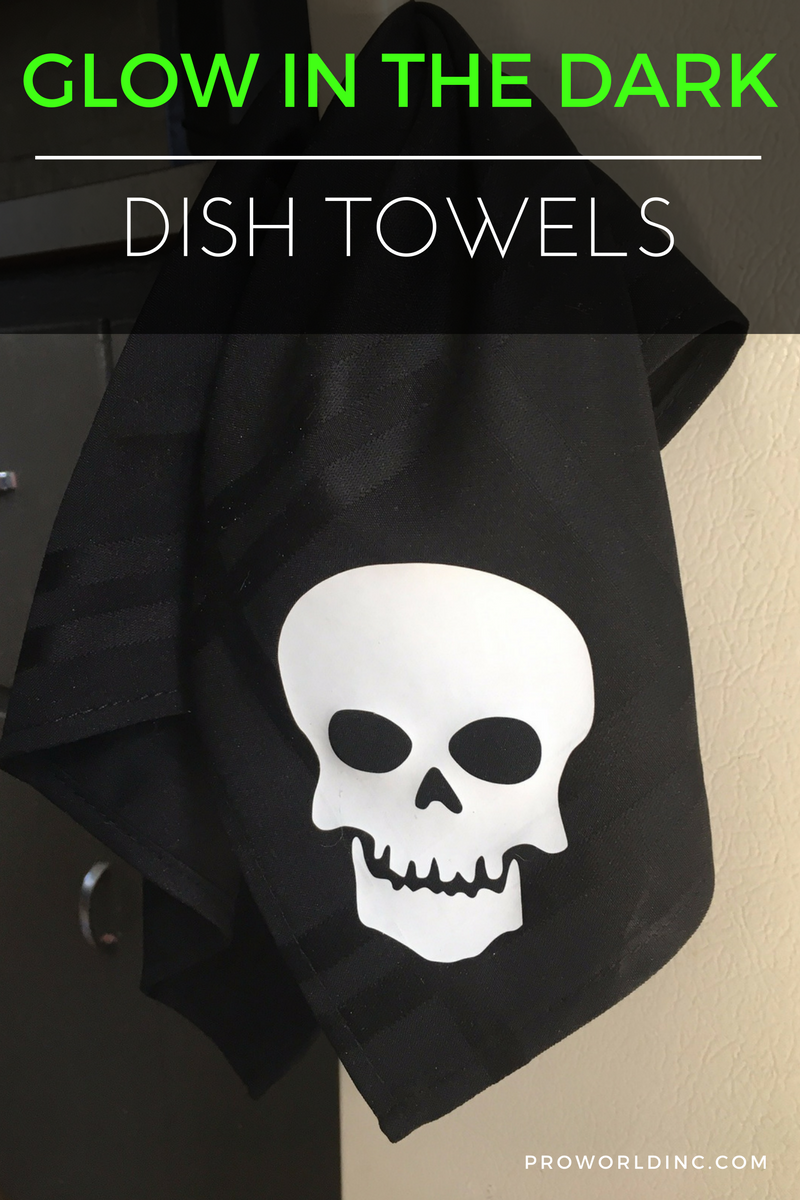
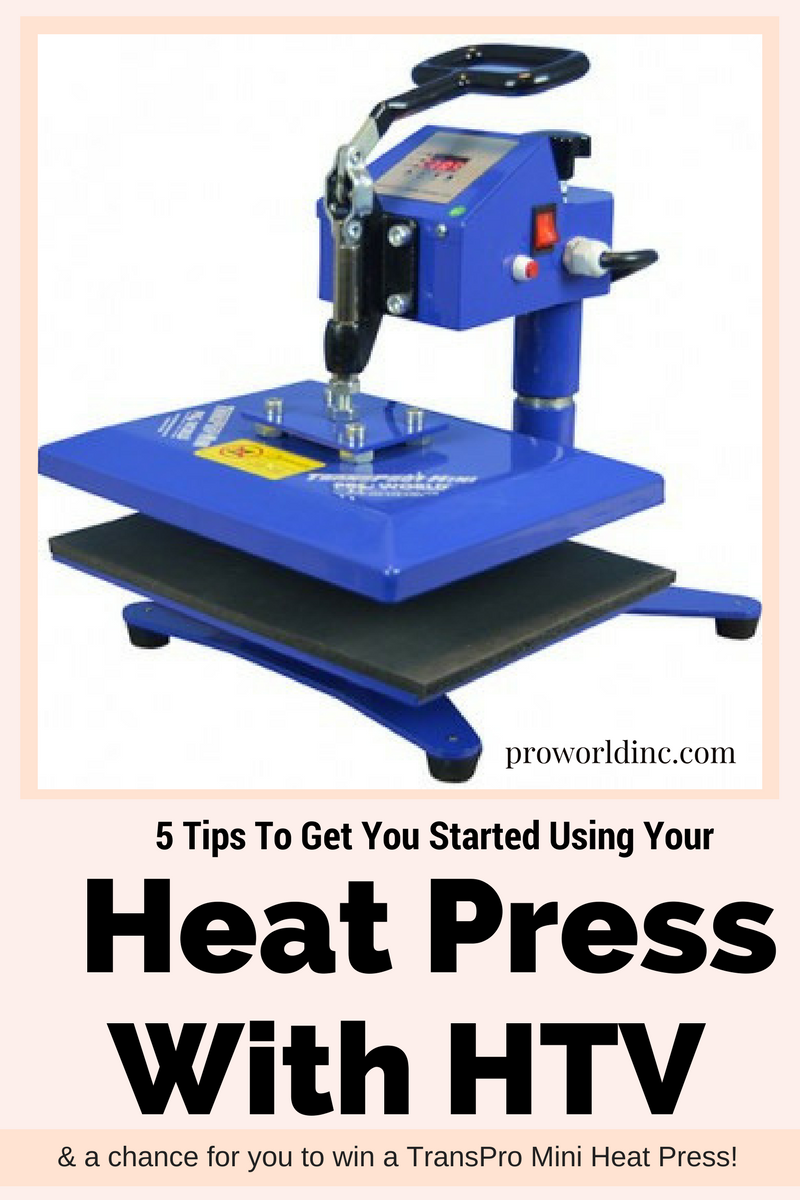
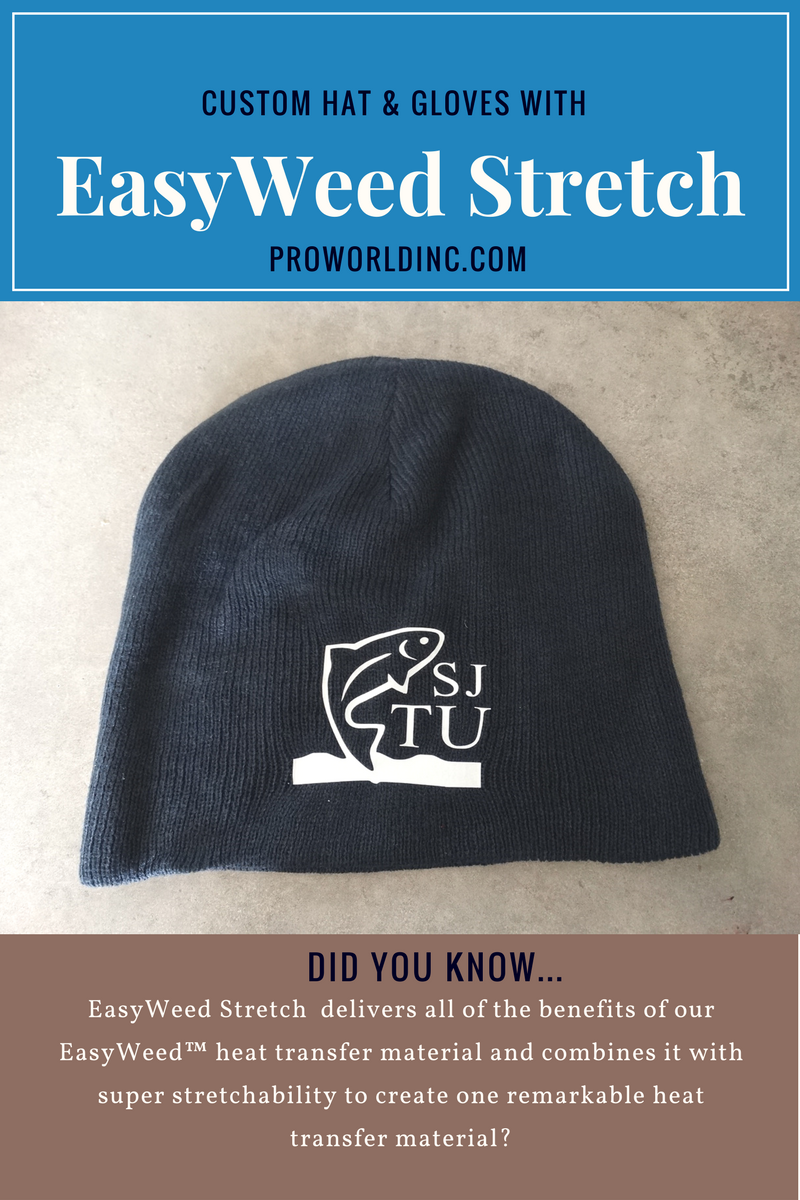
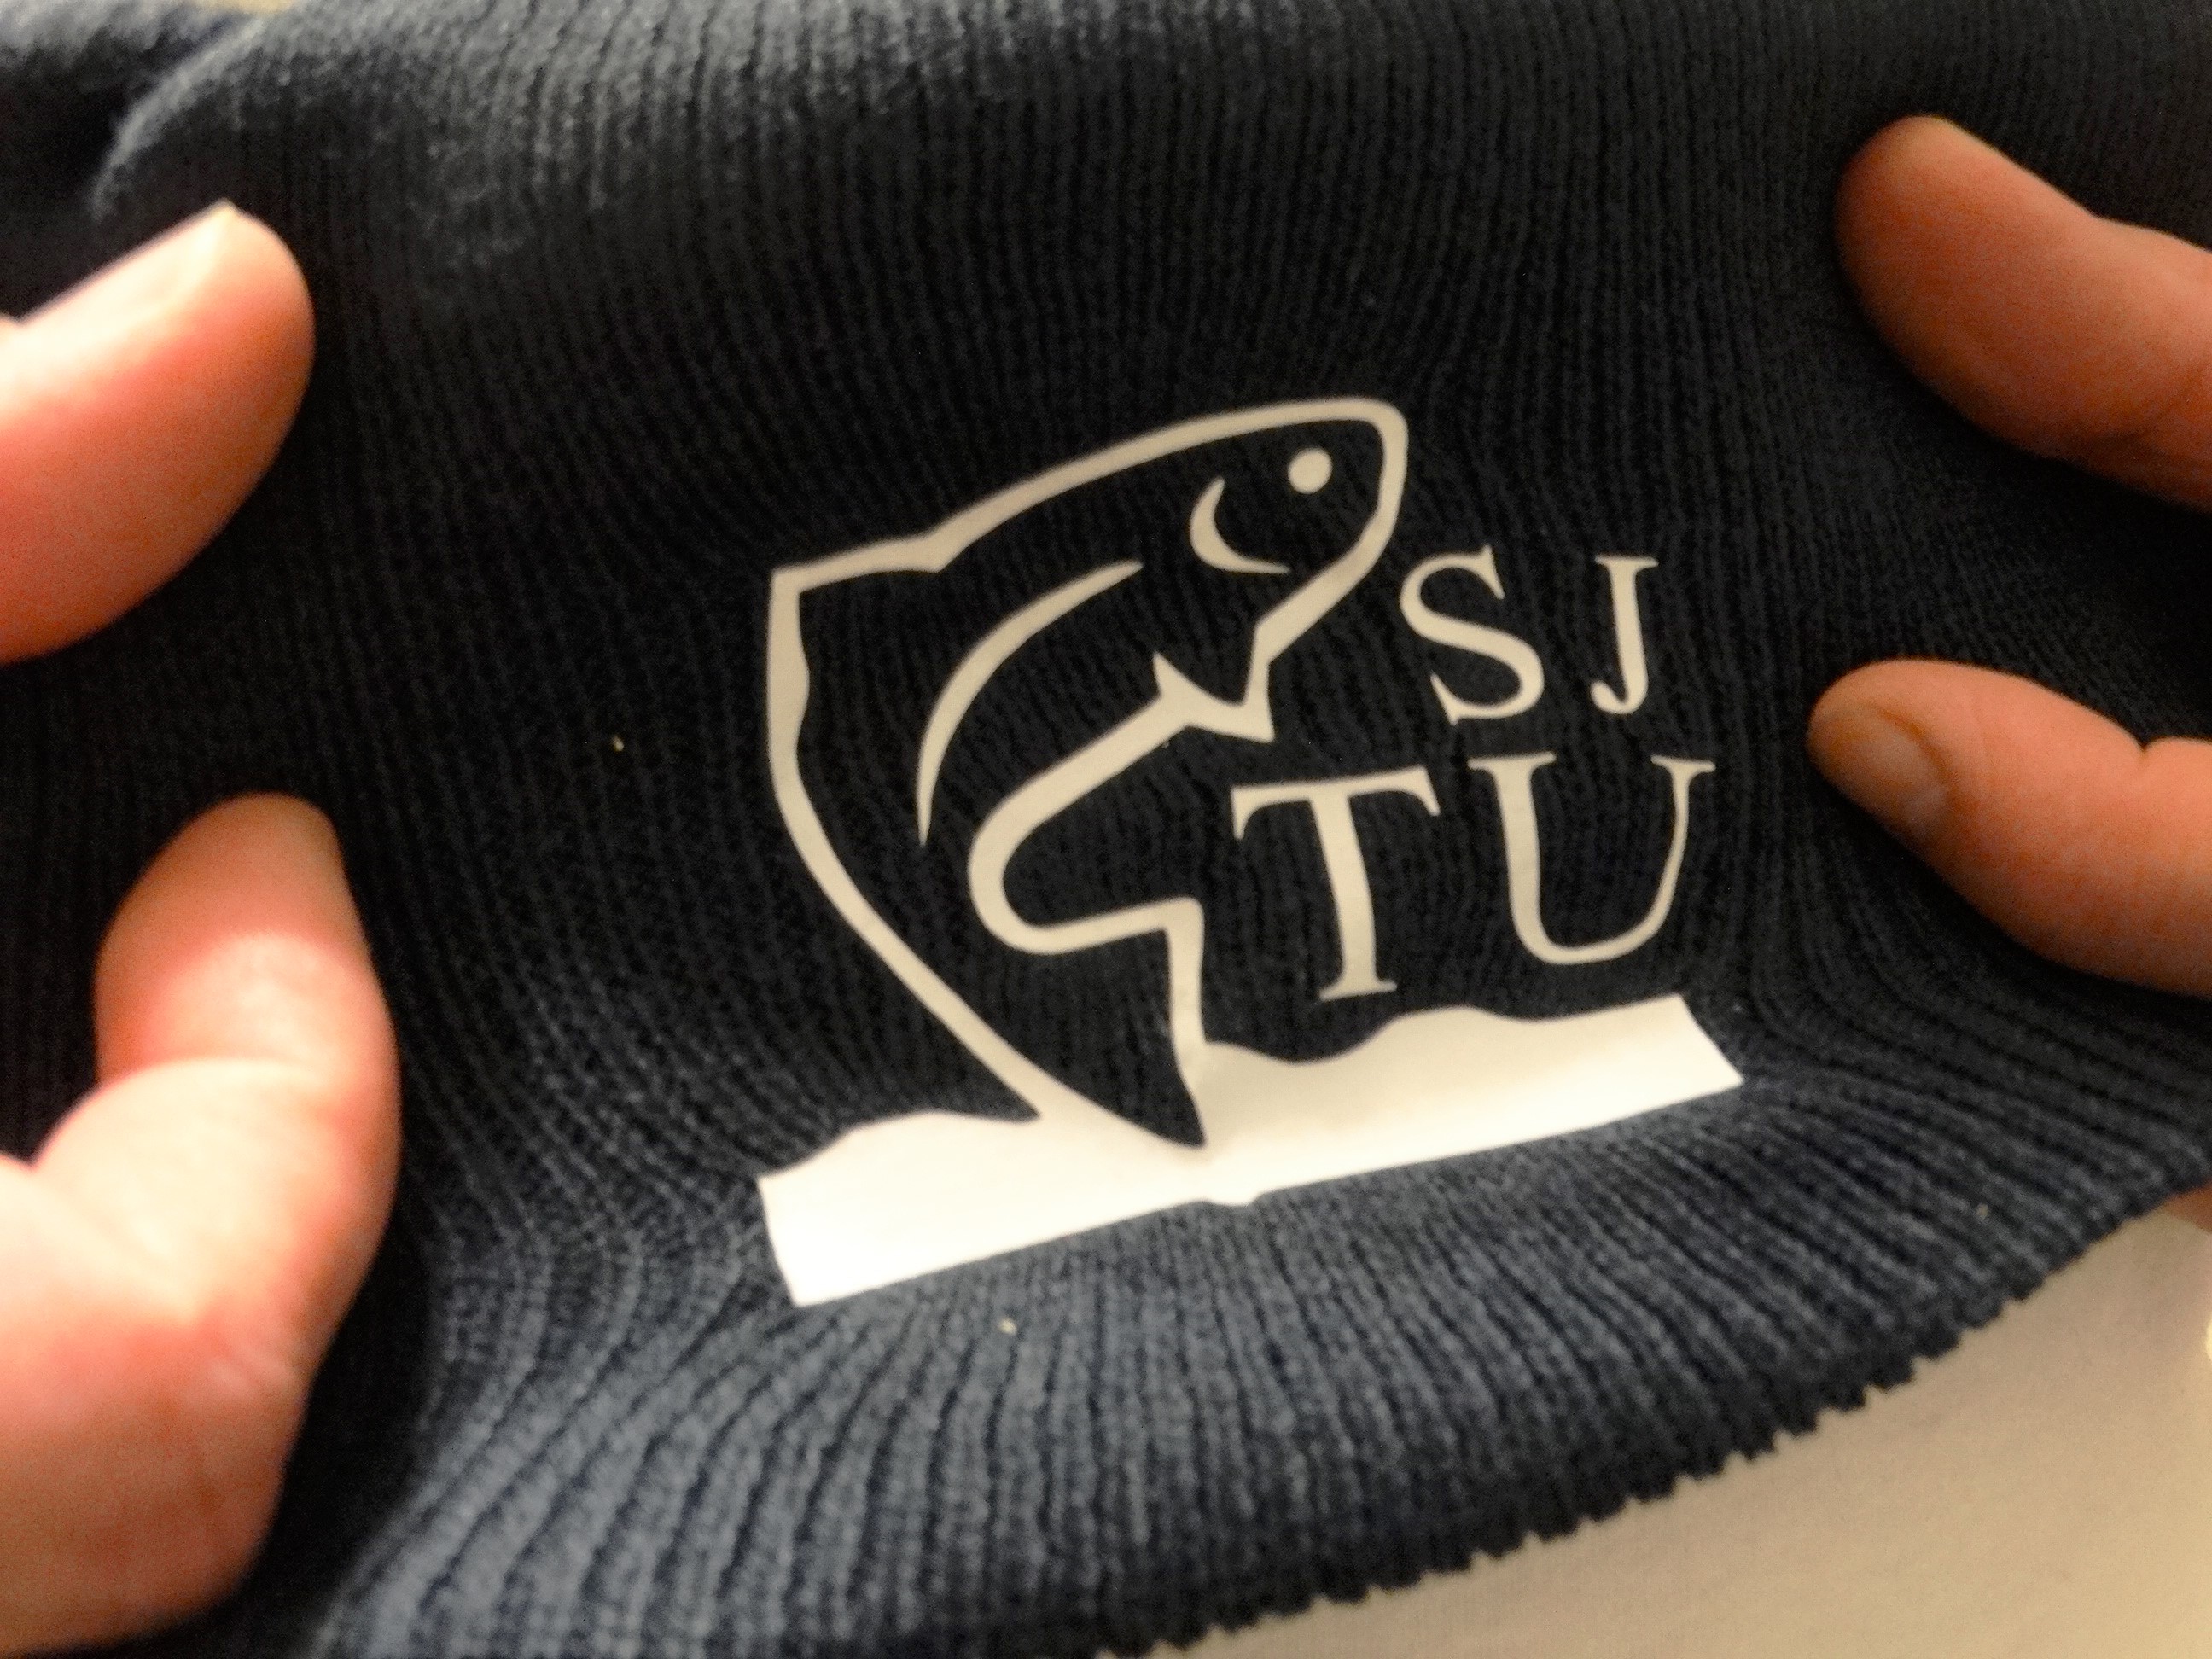
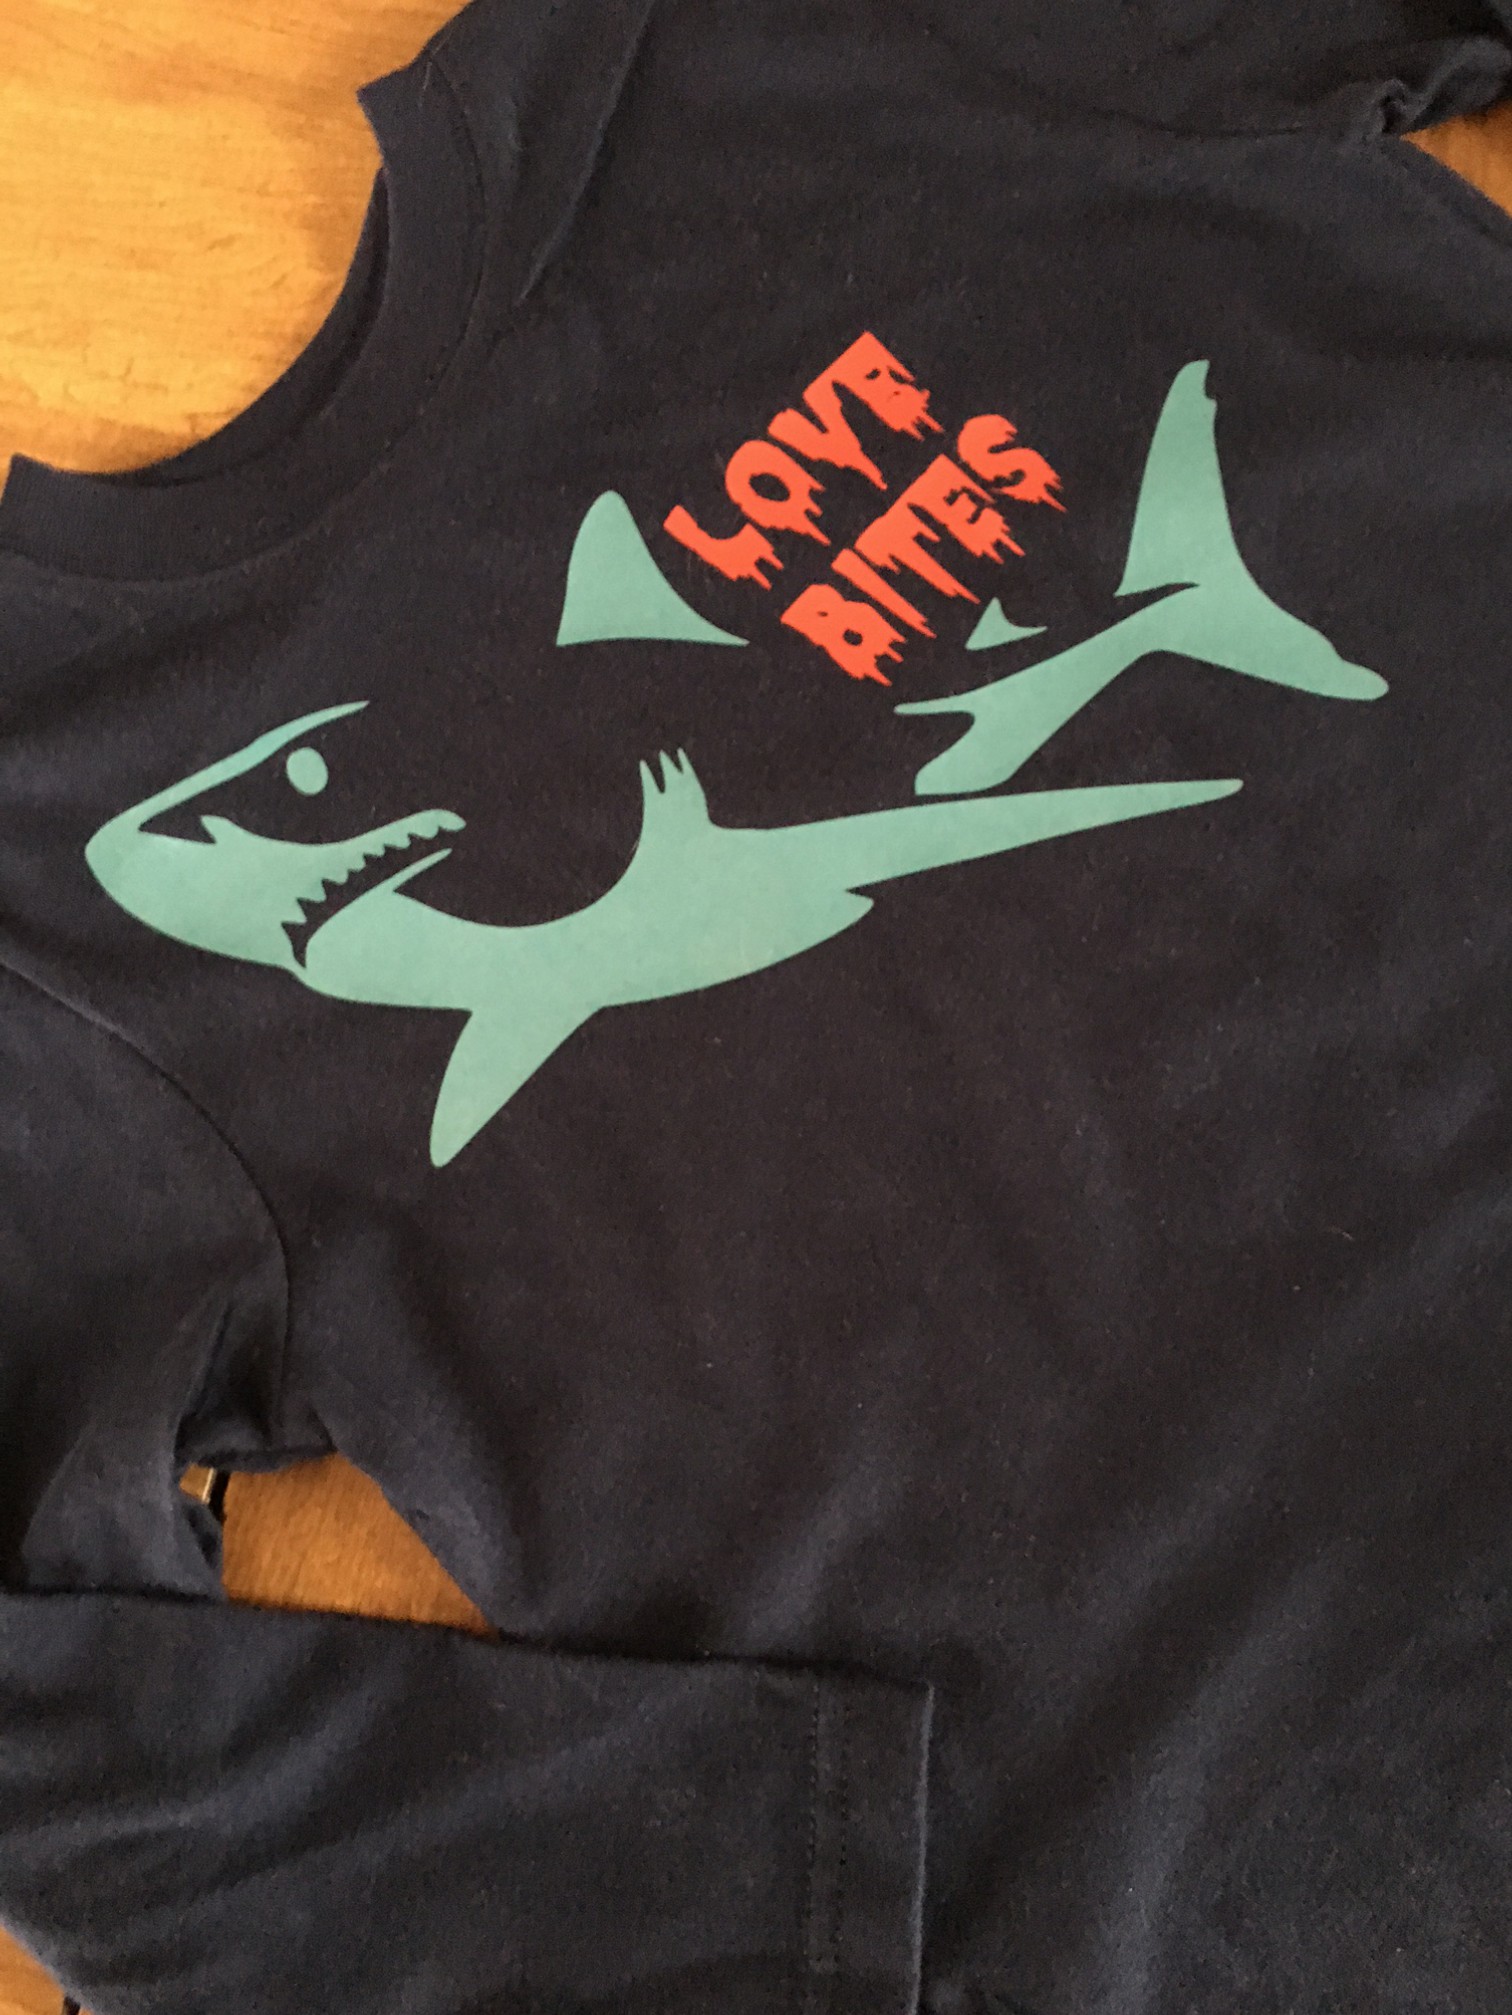
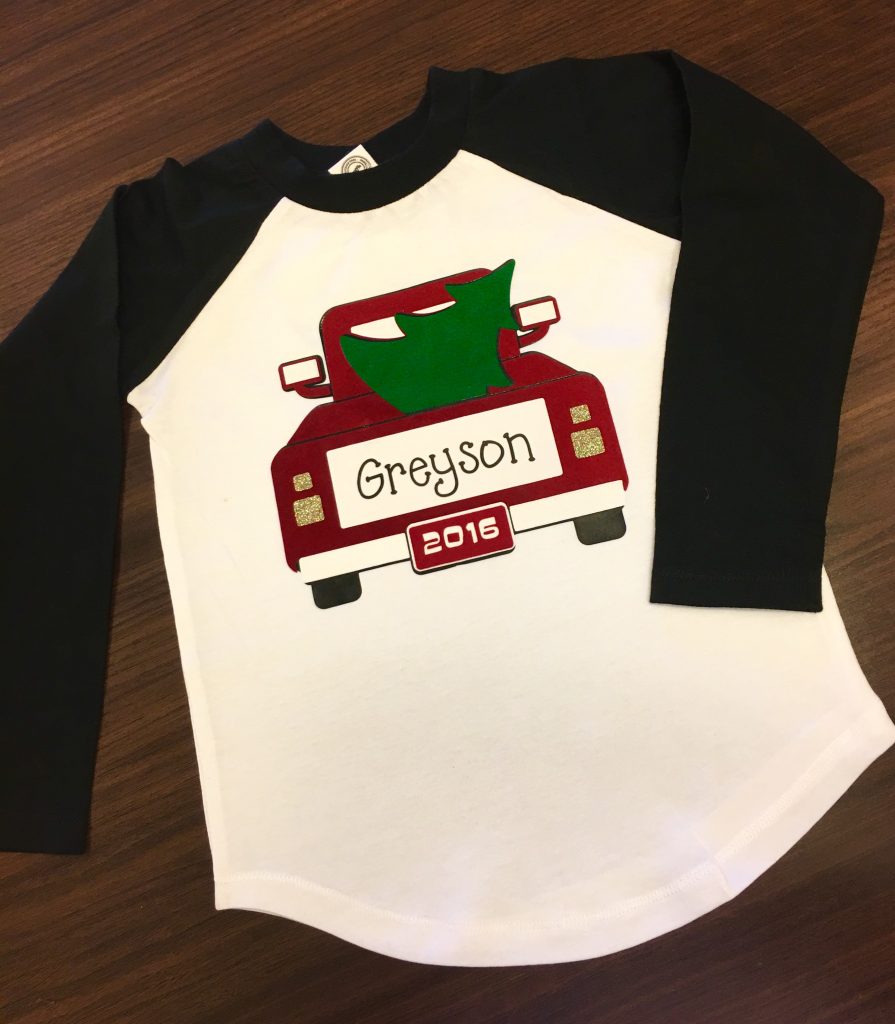
Did you recently purchase a Heat Press? Congratulations! A heat press can take your business, or personal crafting, to a whole new level. Our TransPro Heat Presses are ideal for applying heat transfer vinyl (HTV), transfers to t-shirts, jackets, mouse-pads, tiles, and more.

Today we are sharing  5 tips to help get you started using your heat press with heat transfer vinyl (HTV) and giving one lucky customer a chance to WIN a TransPro Mini Heat Press!  Head to the bottom of the post and see how to enter.

5 Heat Press Tipsto get you started& a GIVEAWAY! (2)

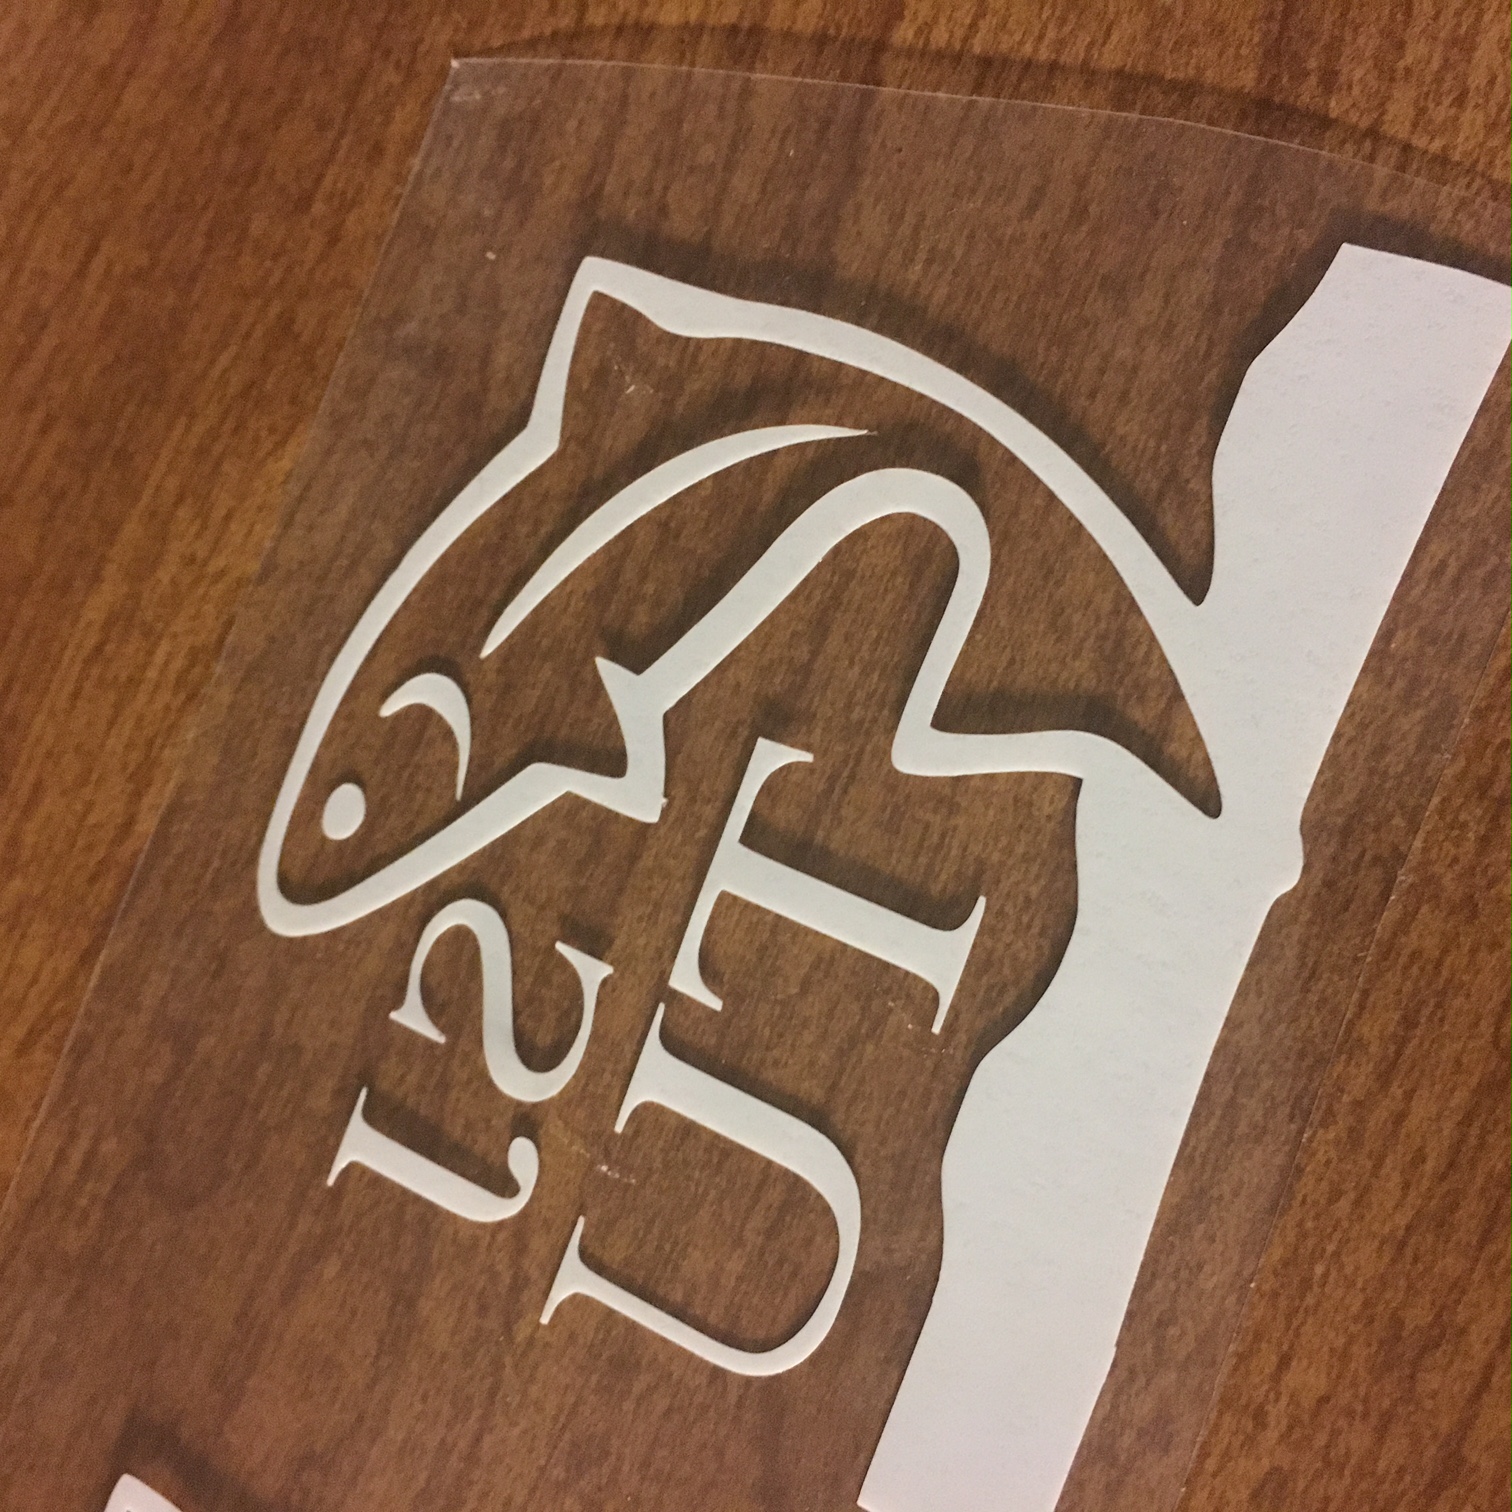
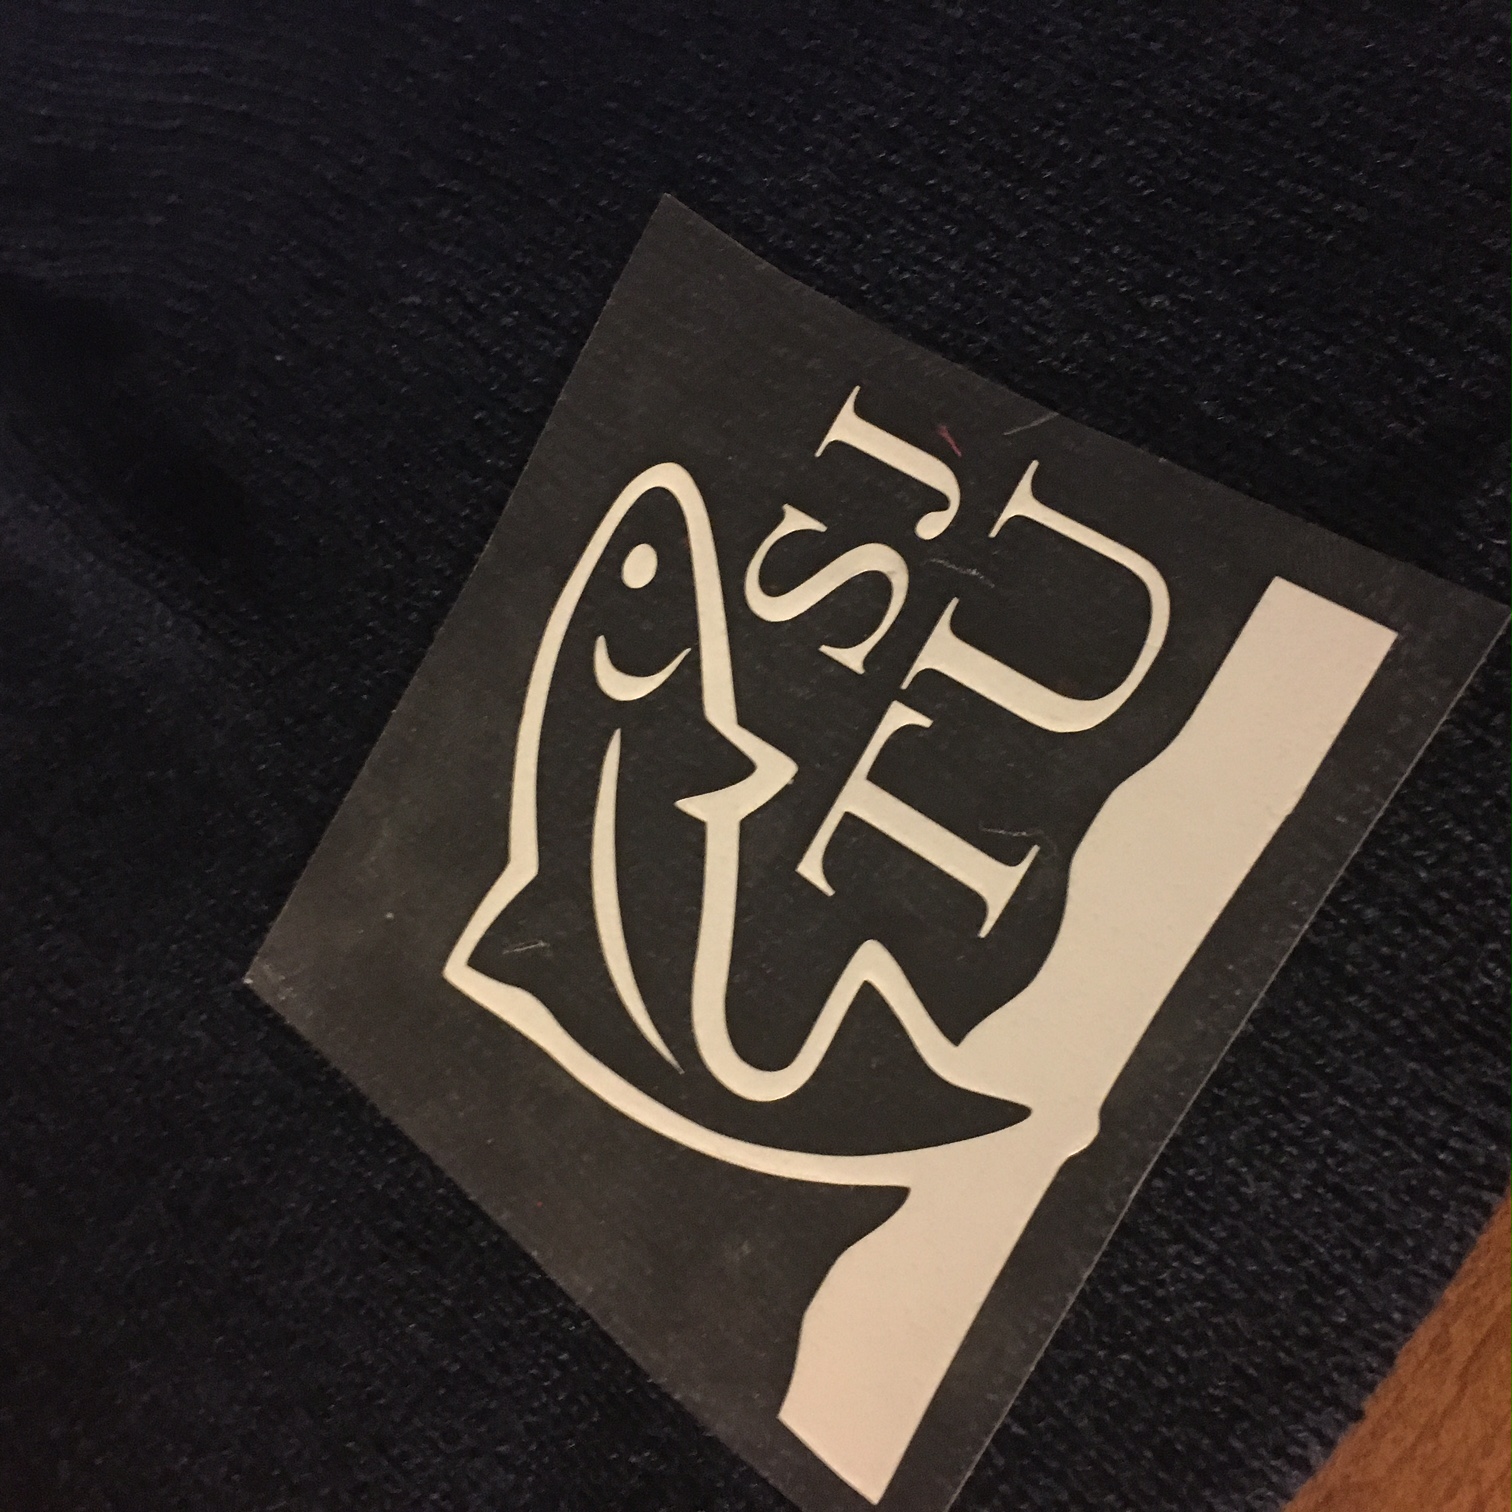
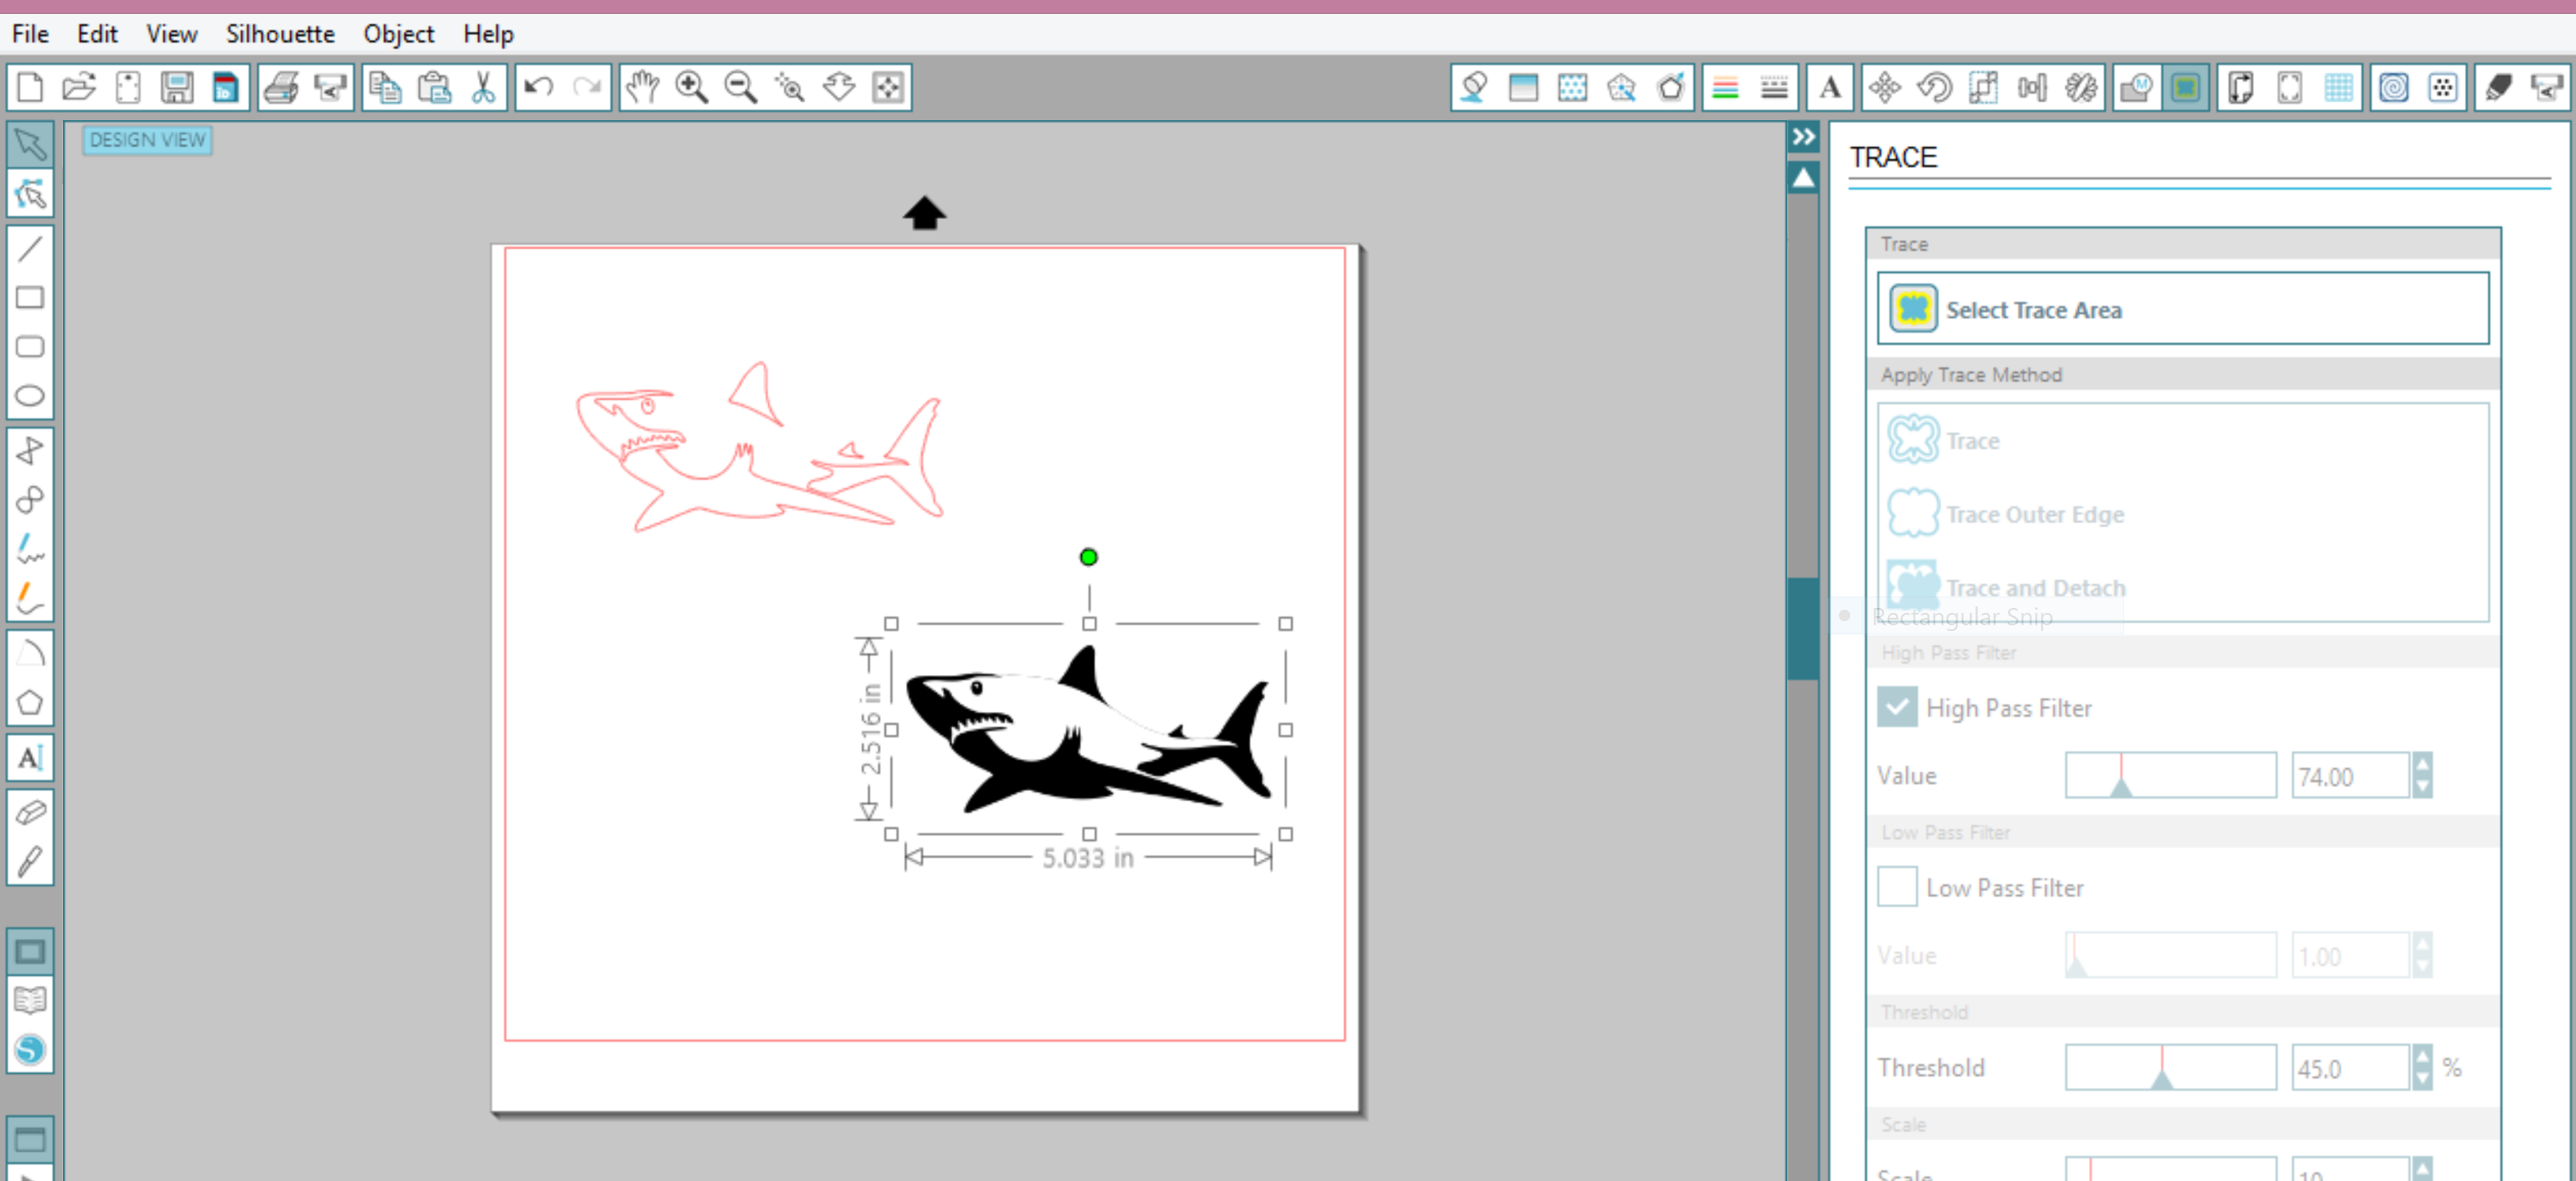
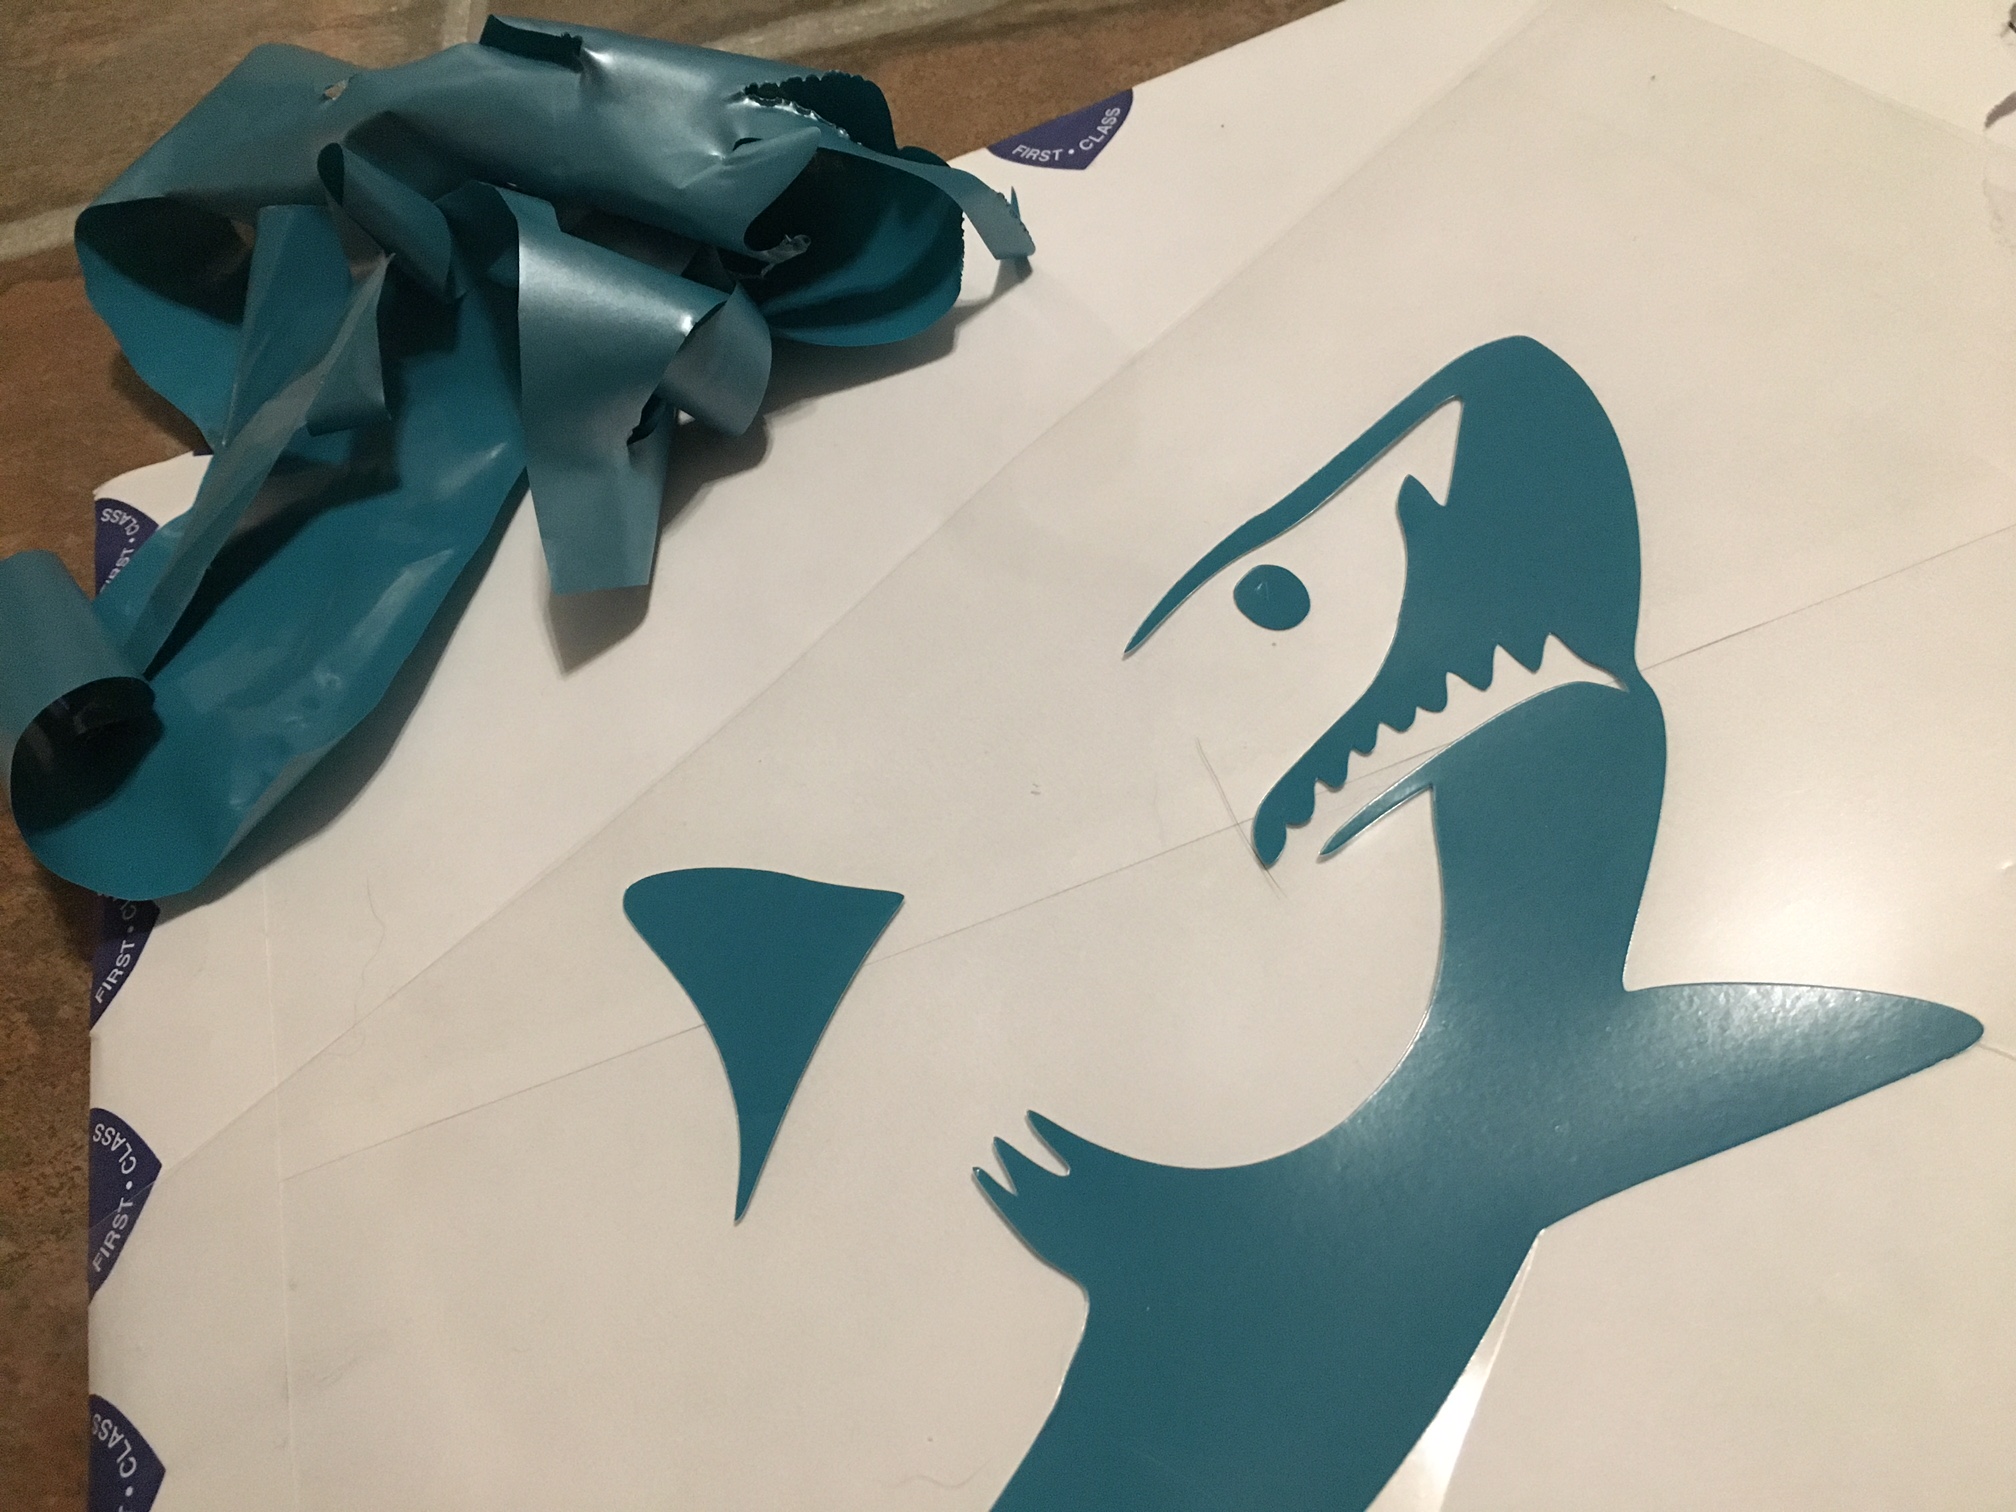
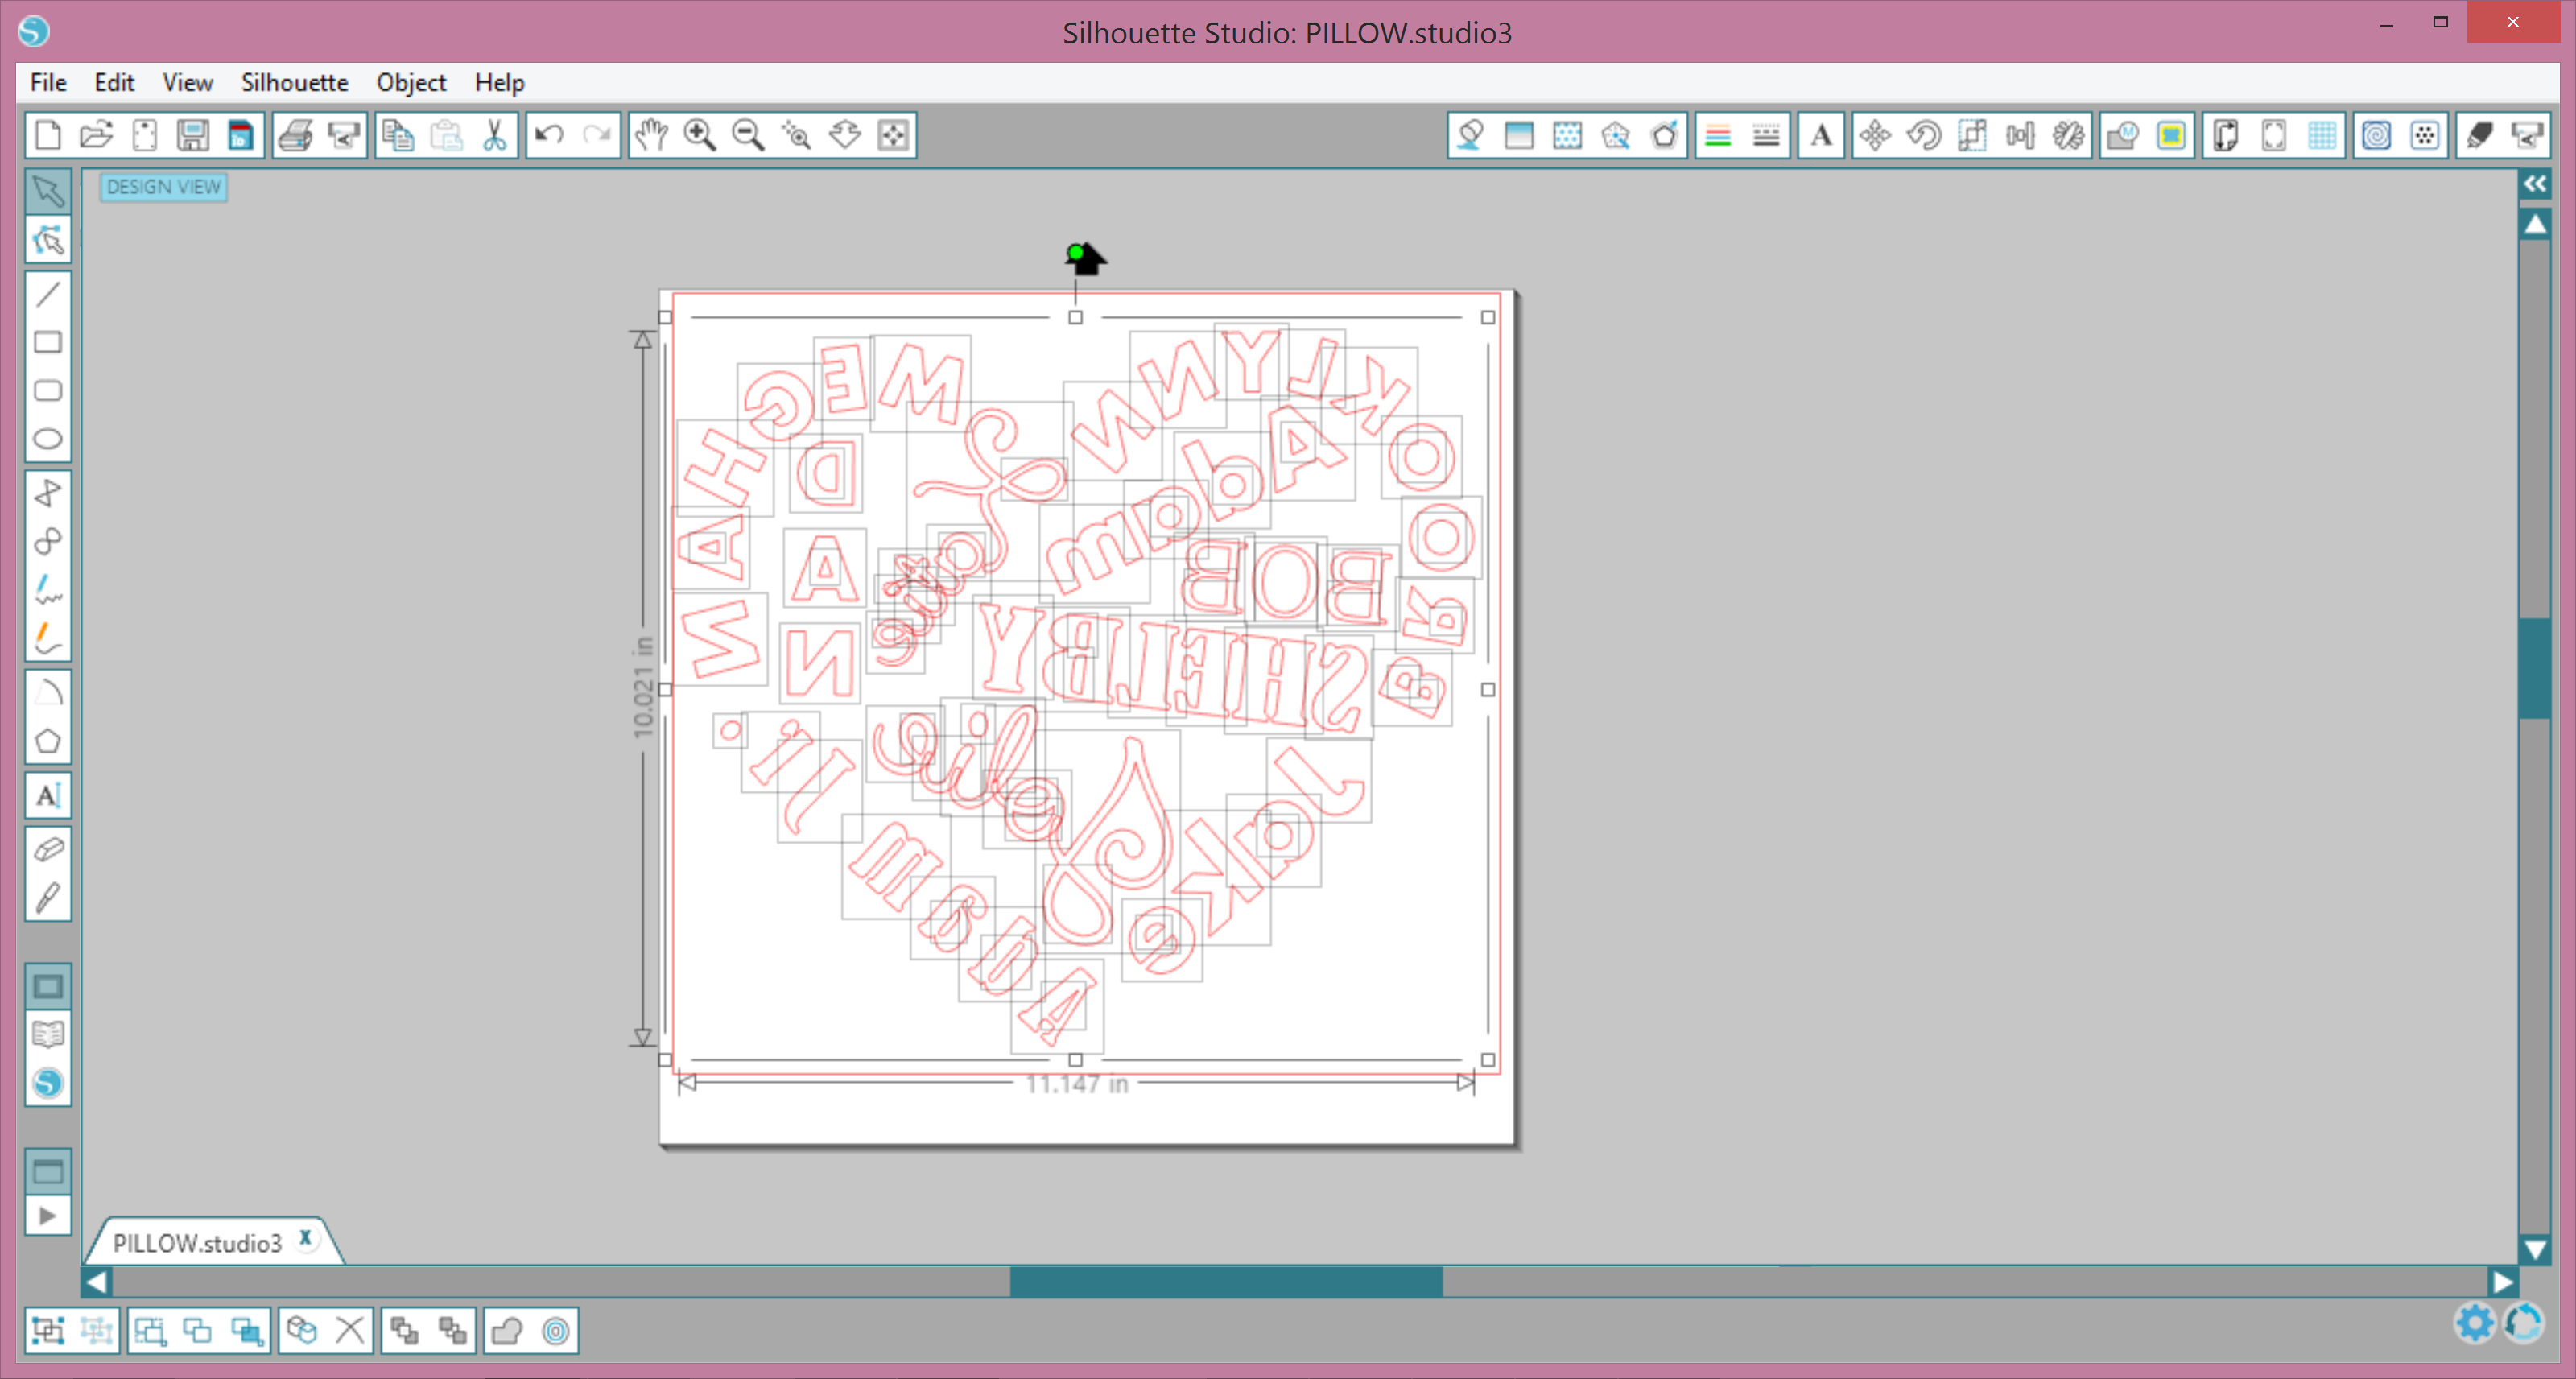
1 – You want to make sure the press is set to the proper temp and time for the specific vinyl you are using. You’ll also need to know whether to peel the backing off when it’s still hot, warm or if you need to wait till it has cooled. You can find both answers on our website.

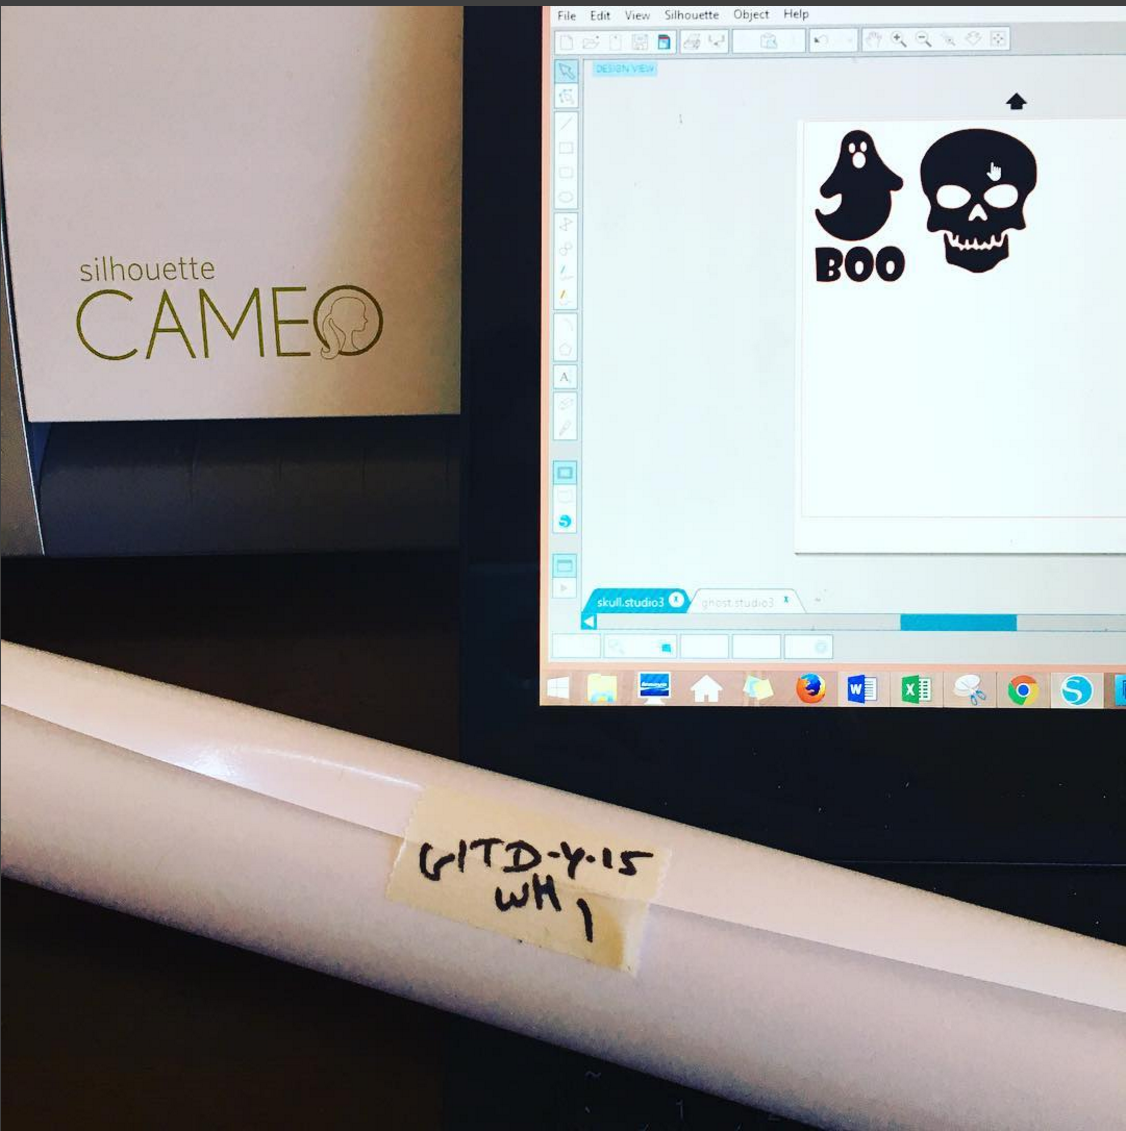
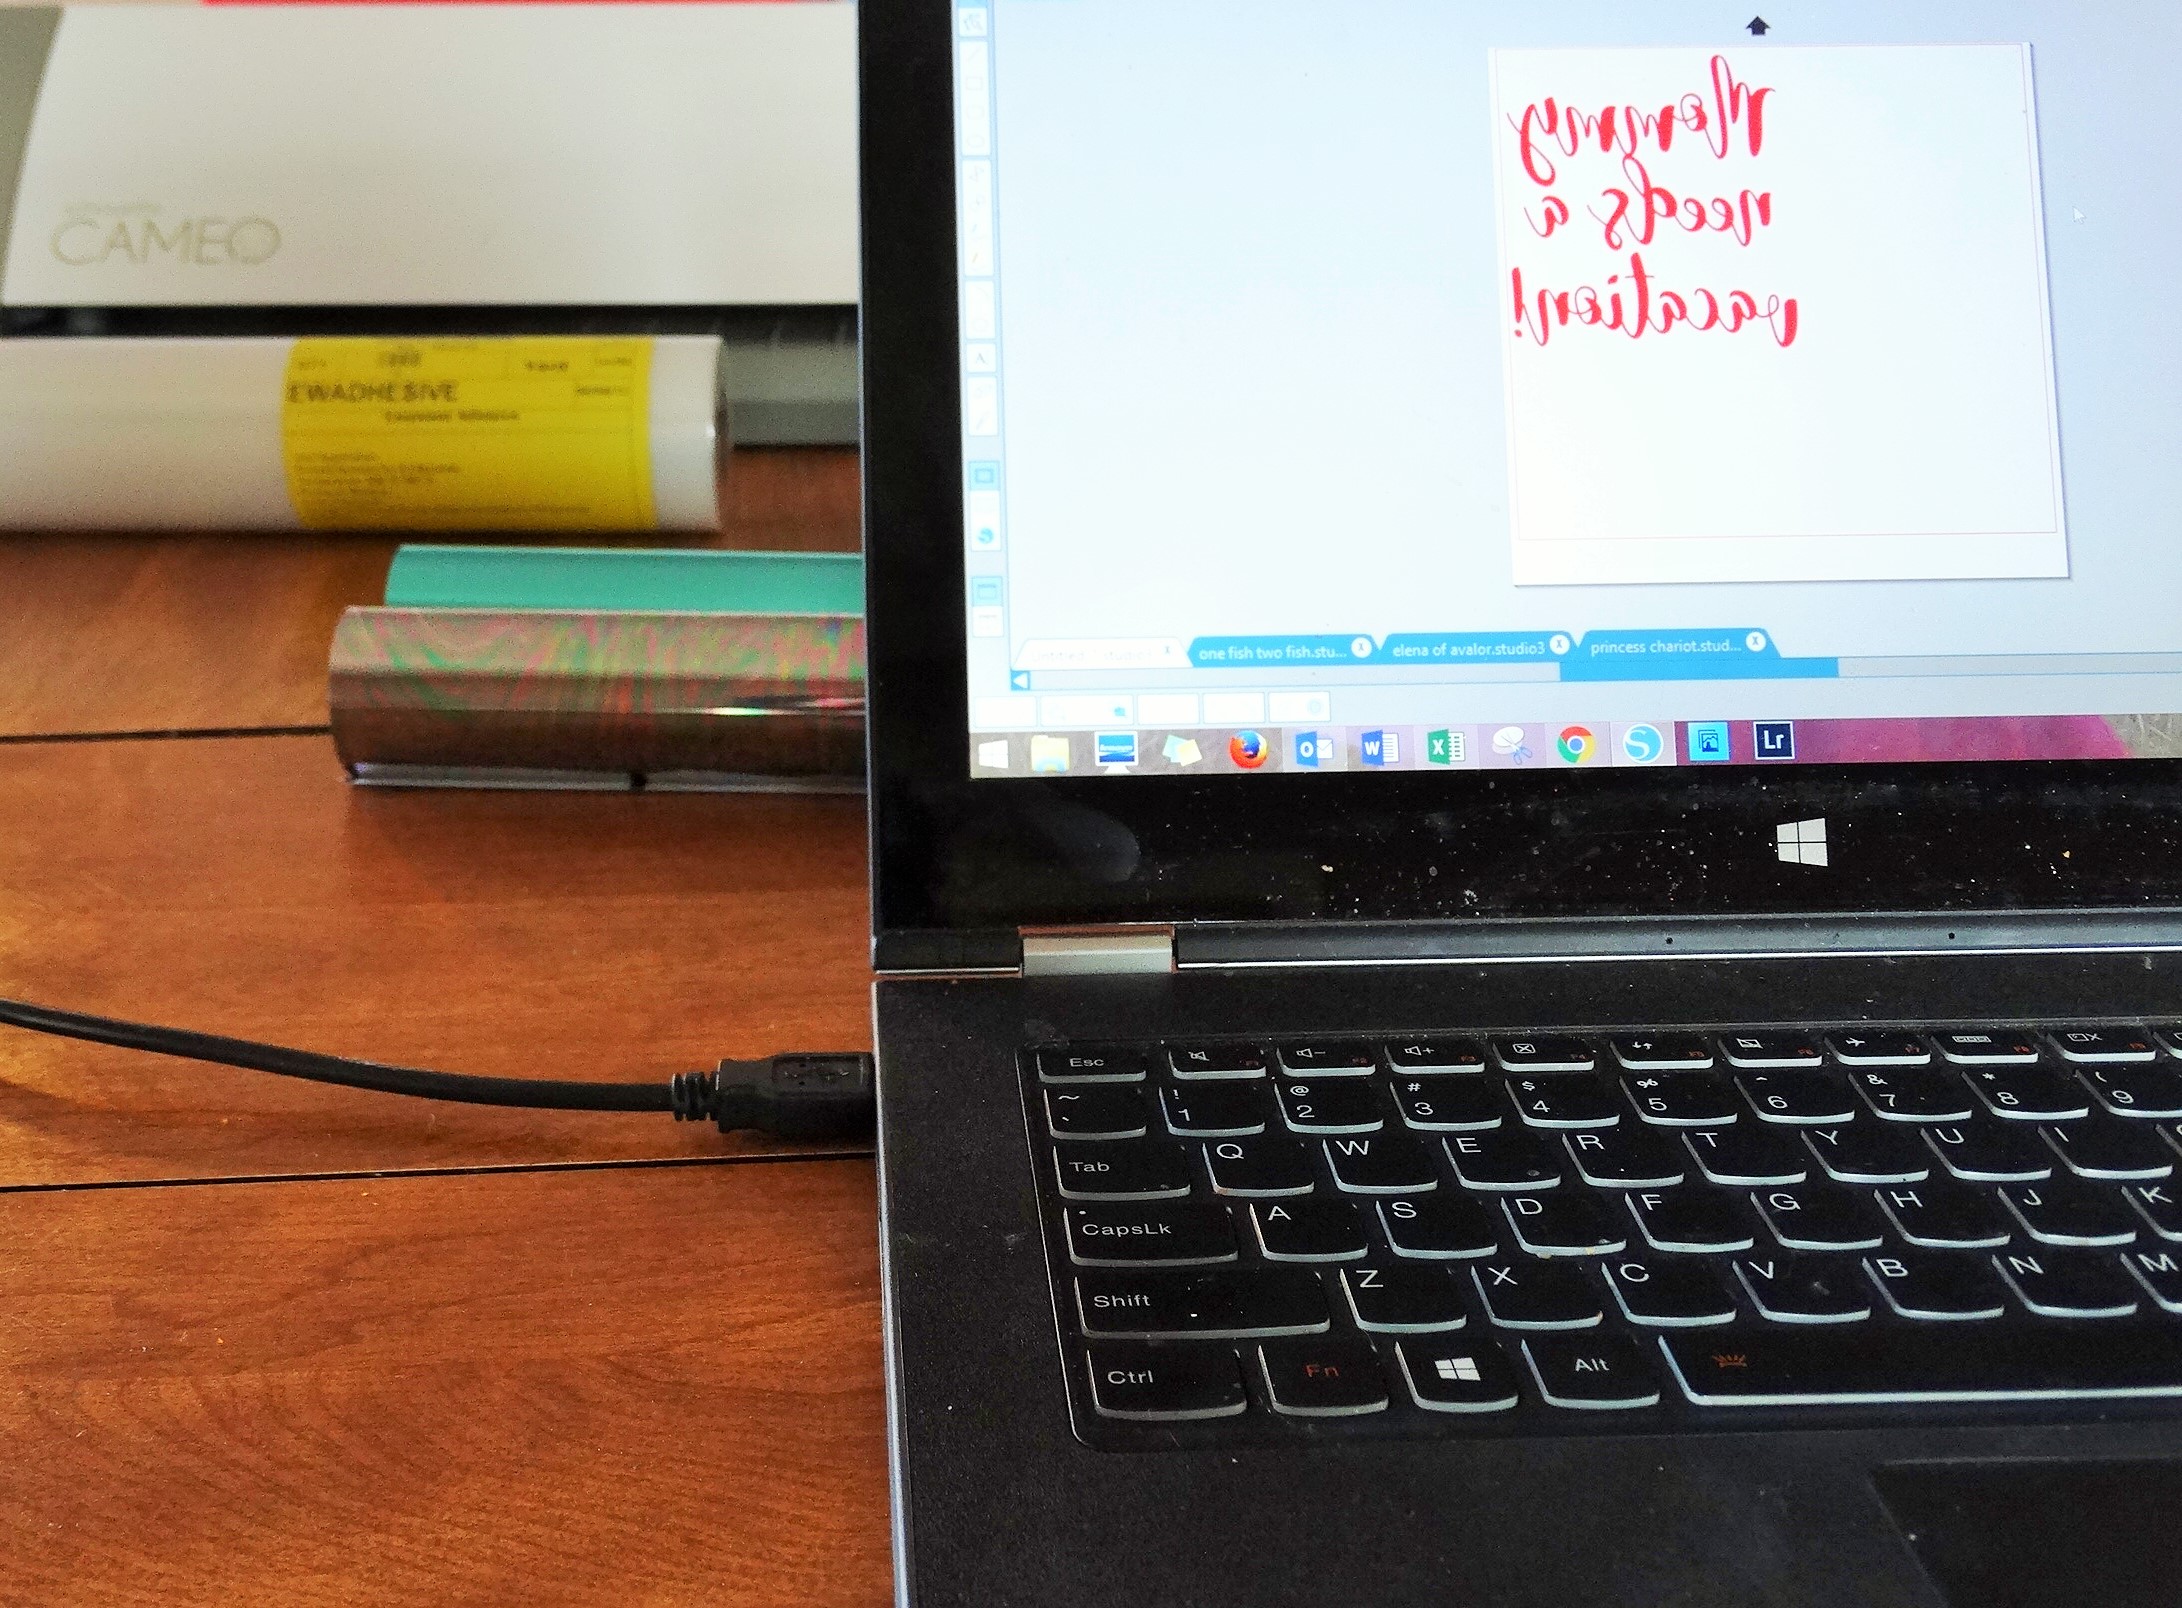
2 – While you are designing and cutting your image, turn on the heat press so it can warm up to the desired temperature.

3 – Once your heat press has reached the desired temperature, place the garment on the bottom plate and press it for a few seconds to warm up the material, remove any moisture from the fabric, and get rid of wrinkles.

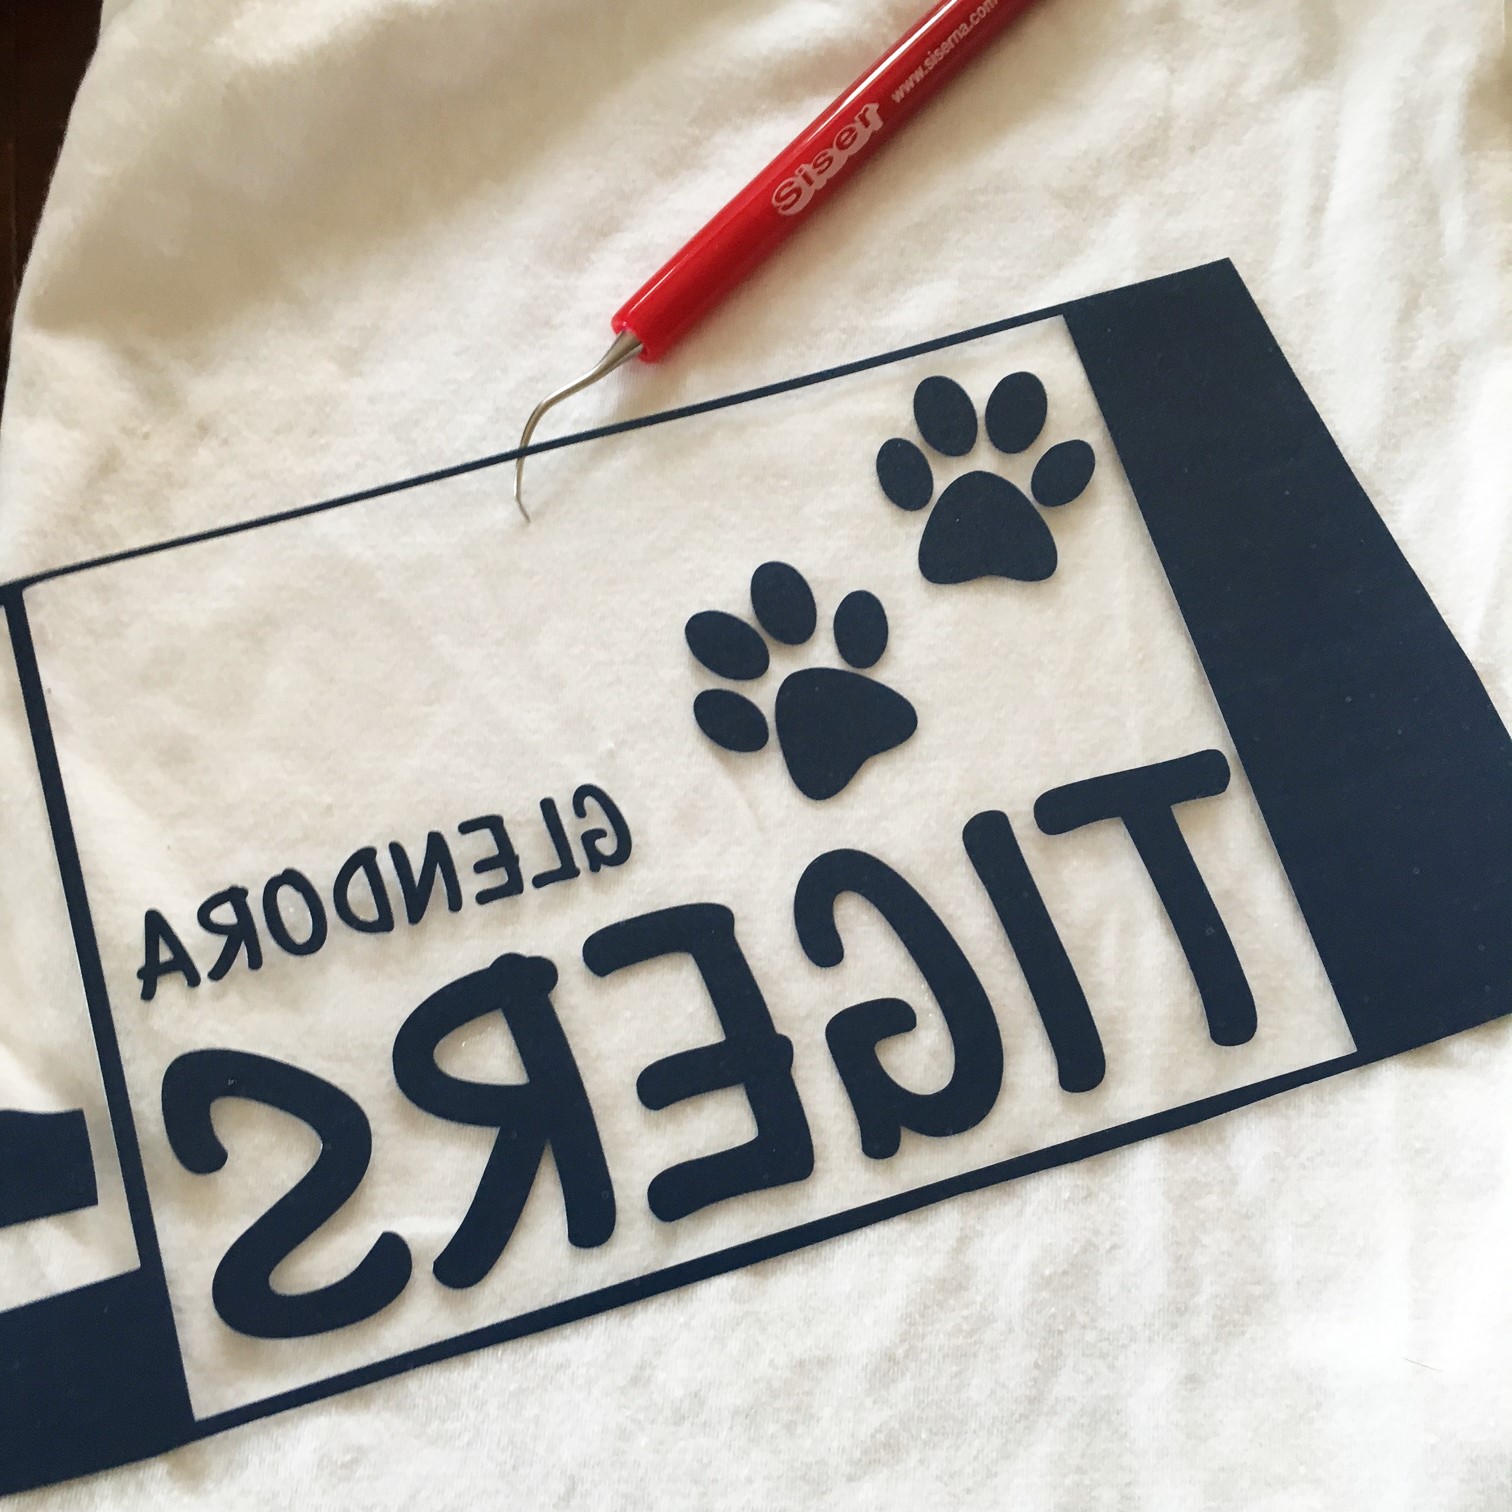
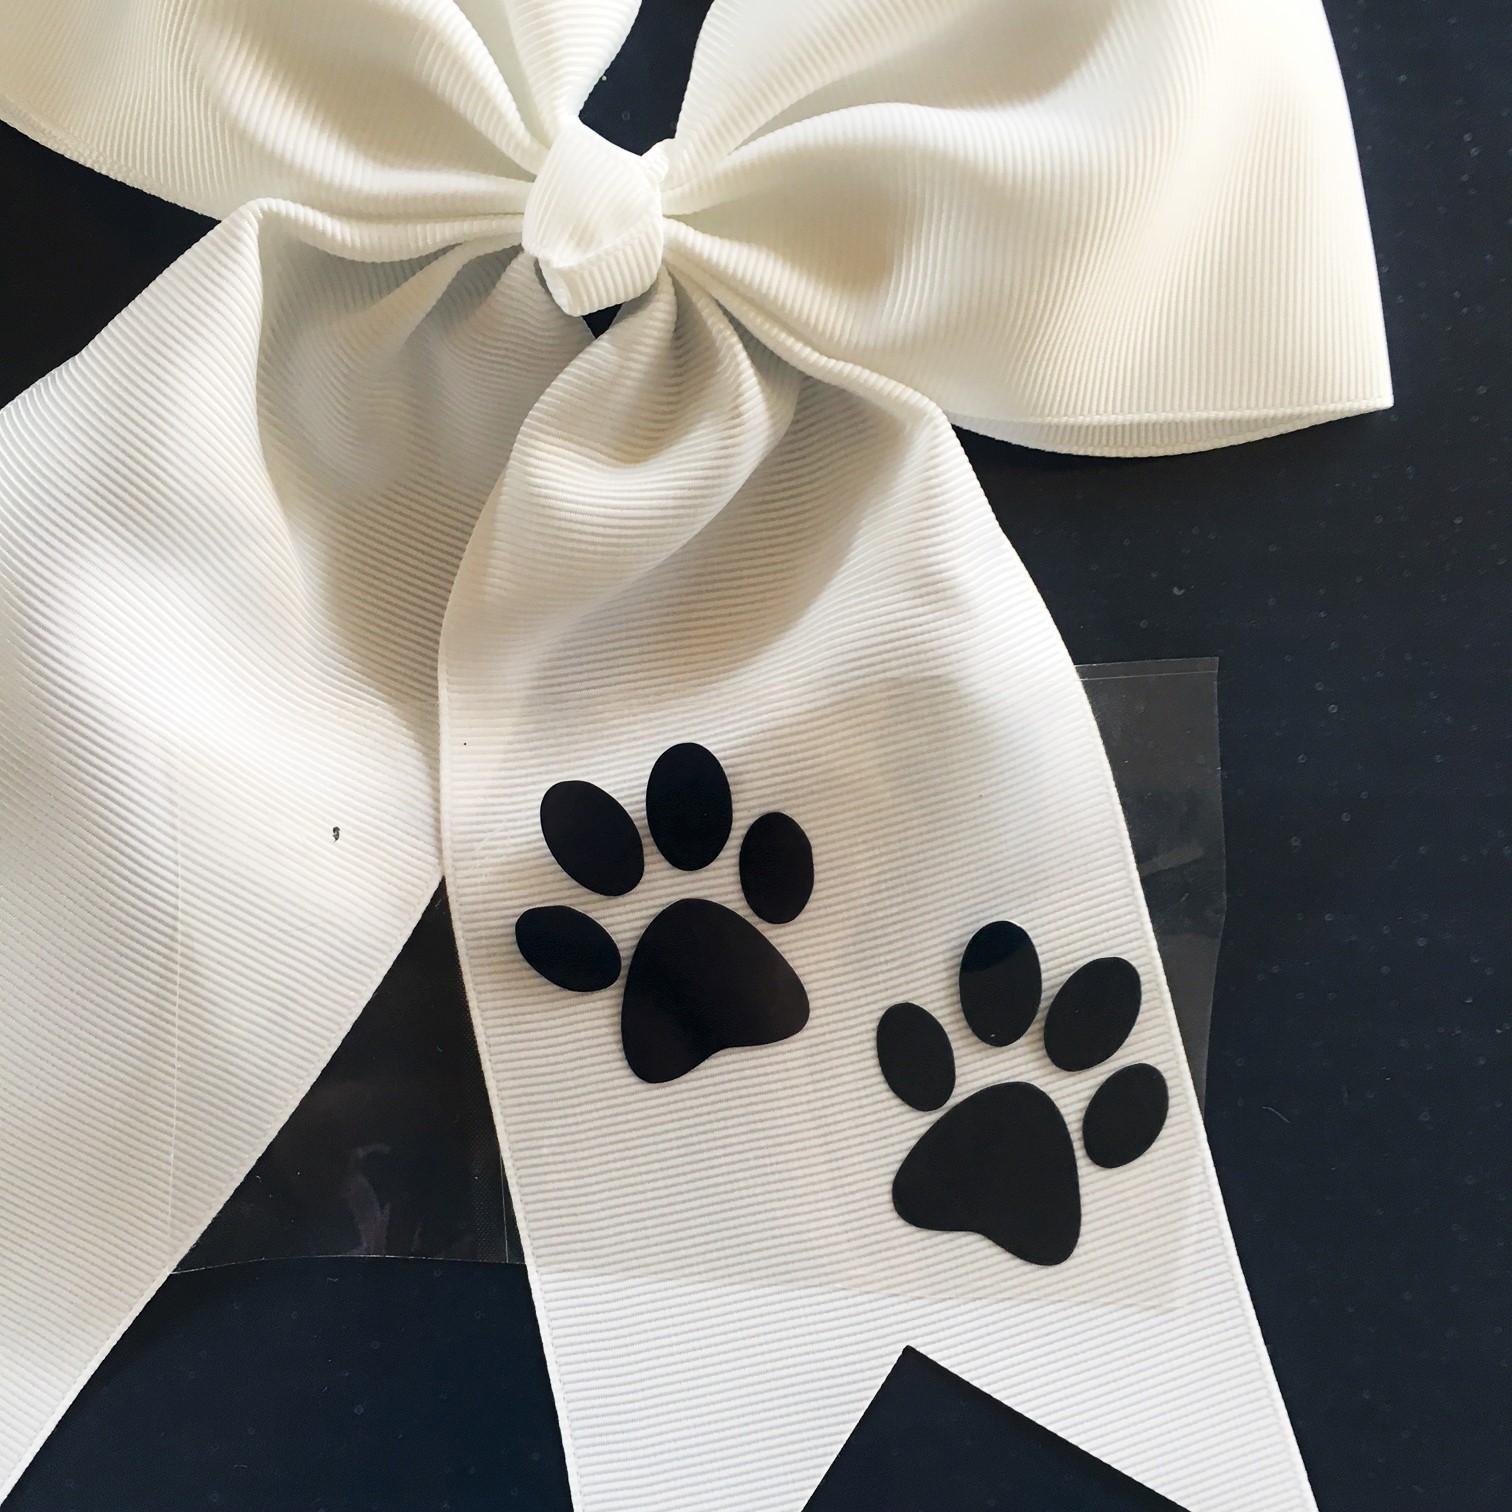
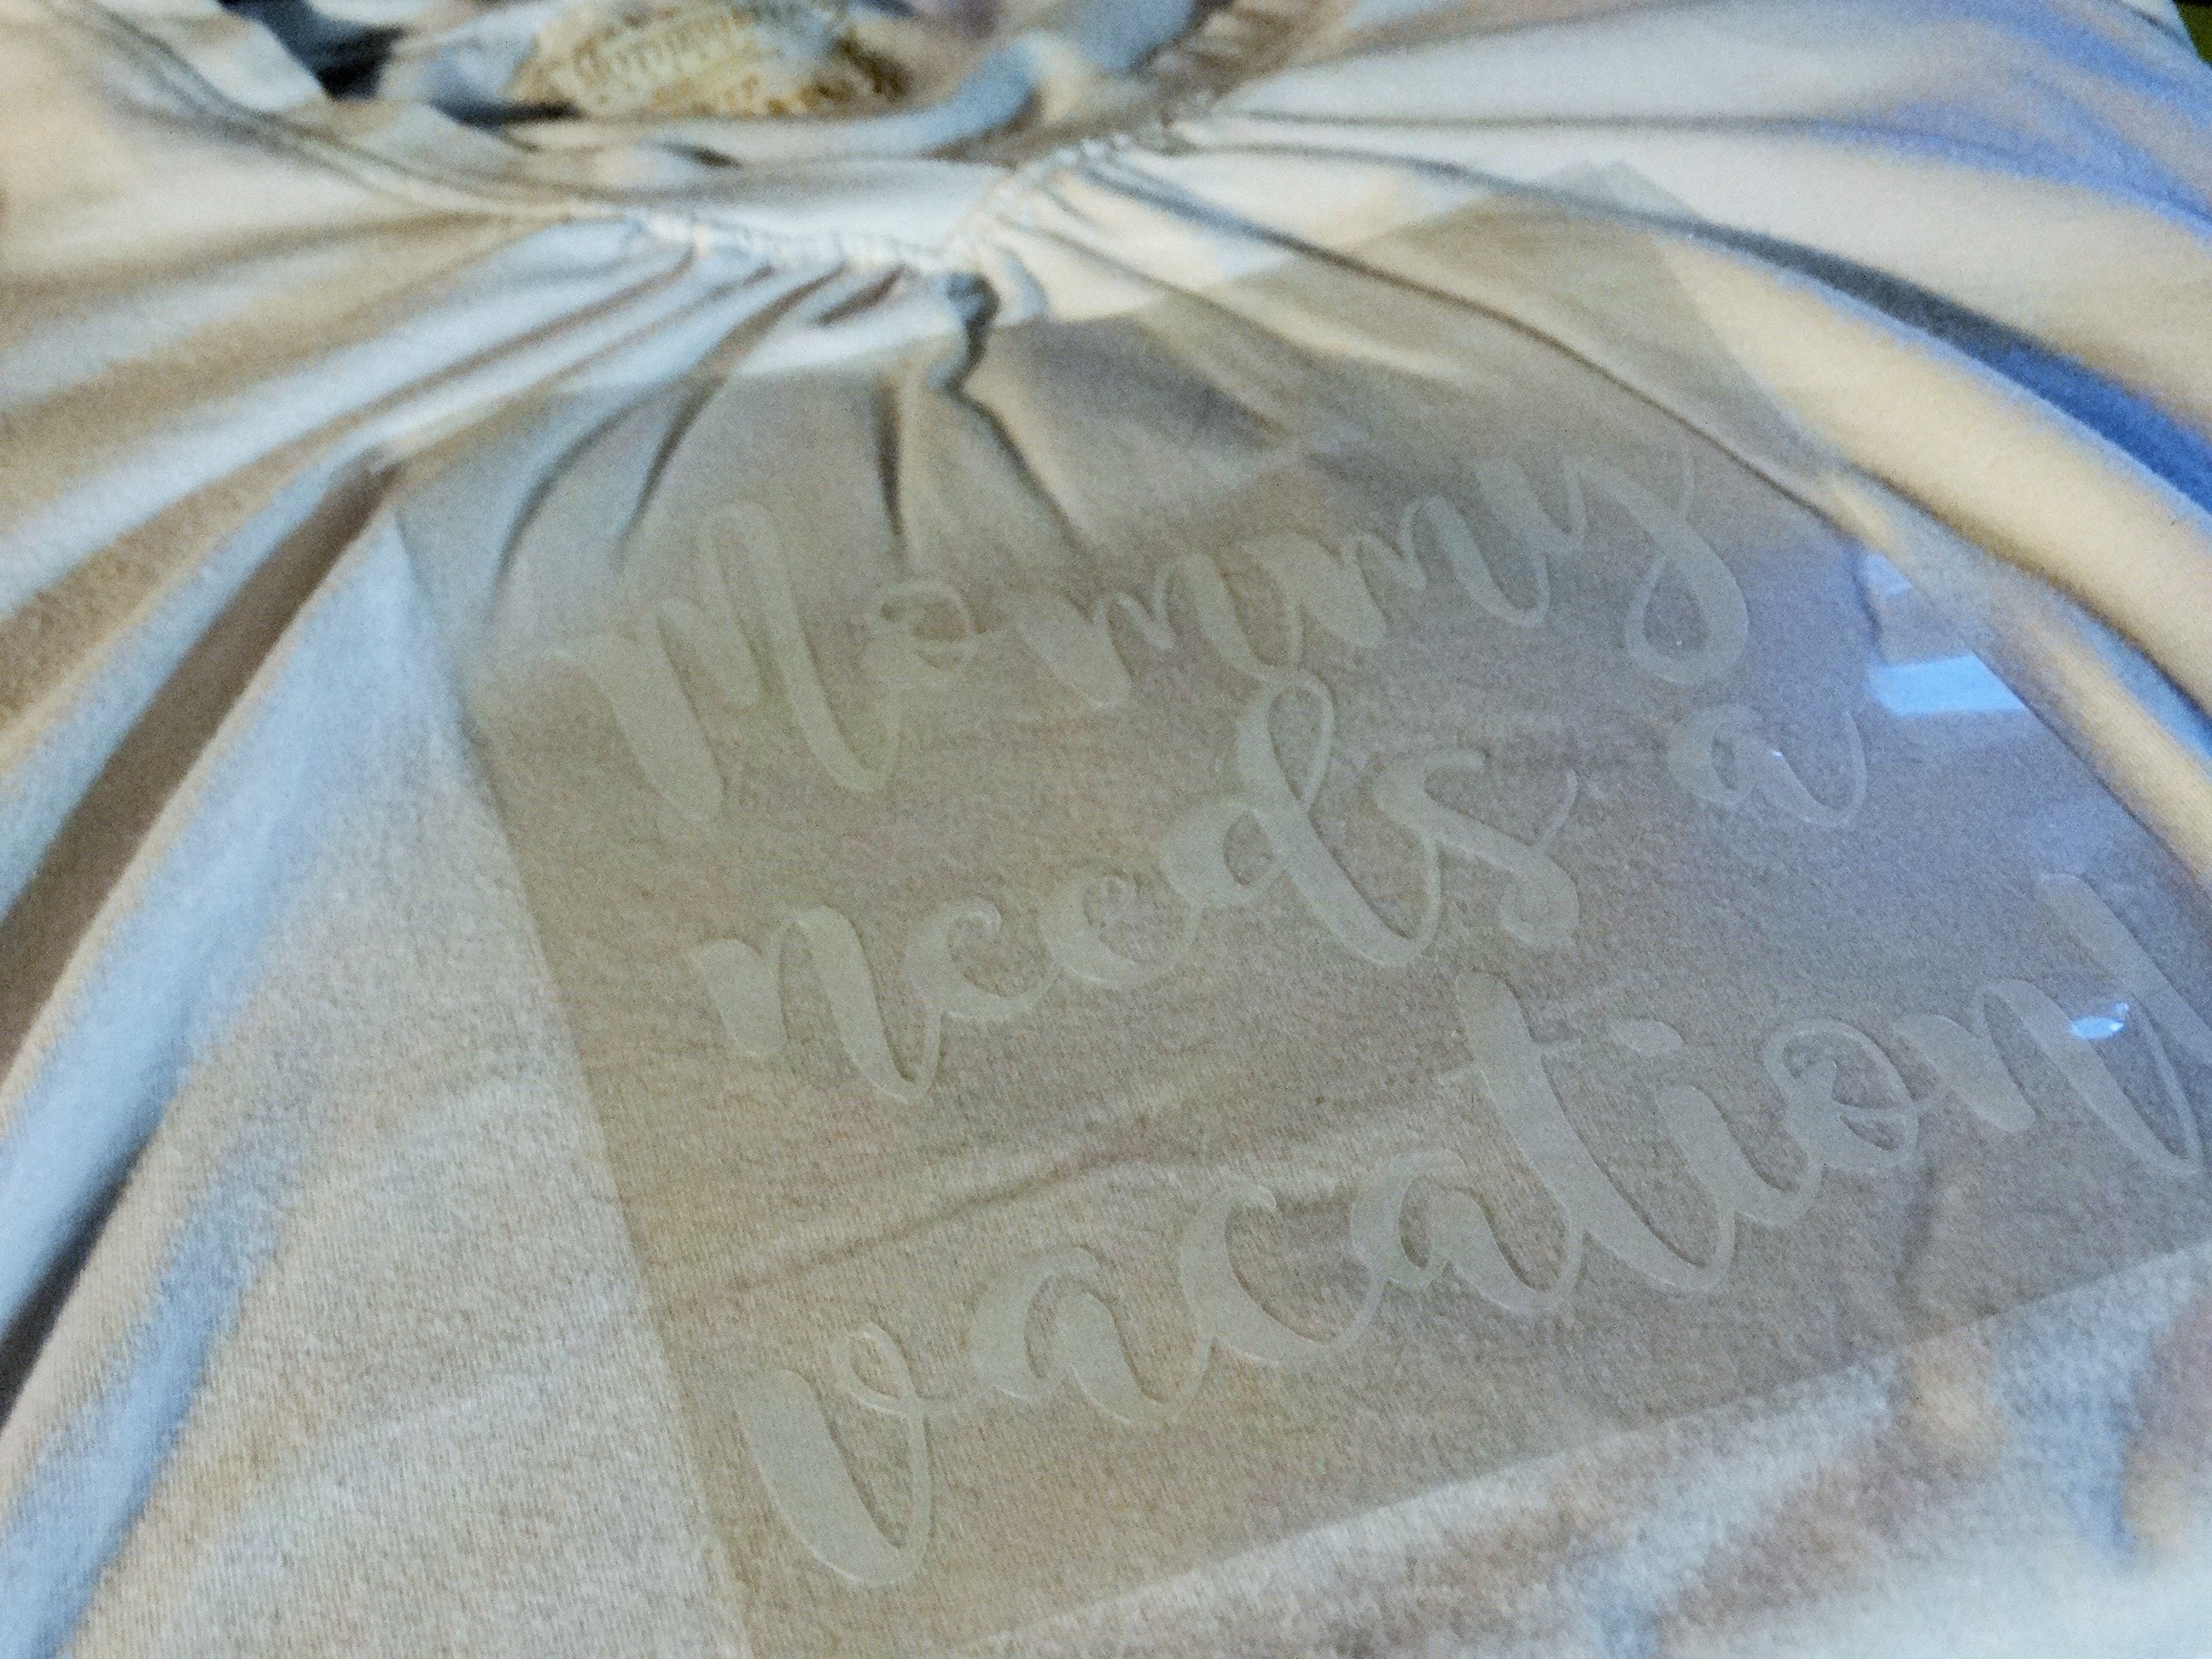
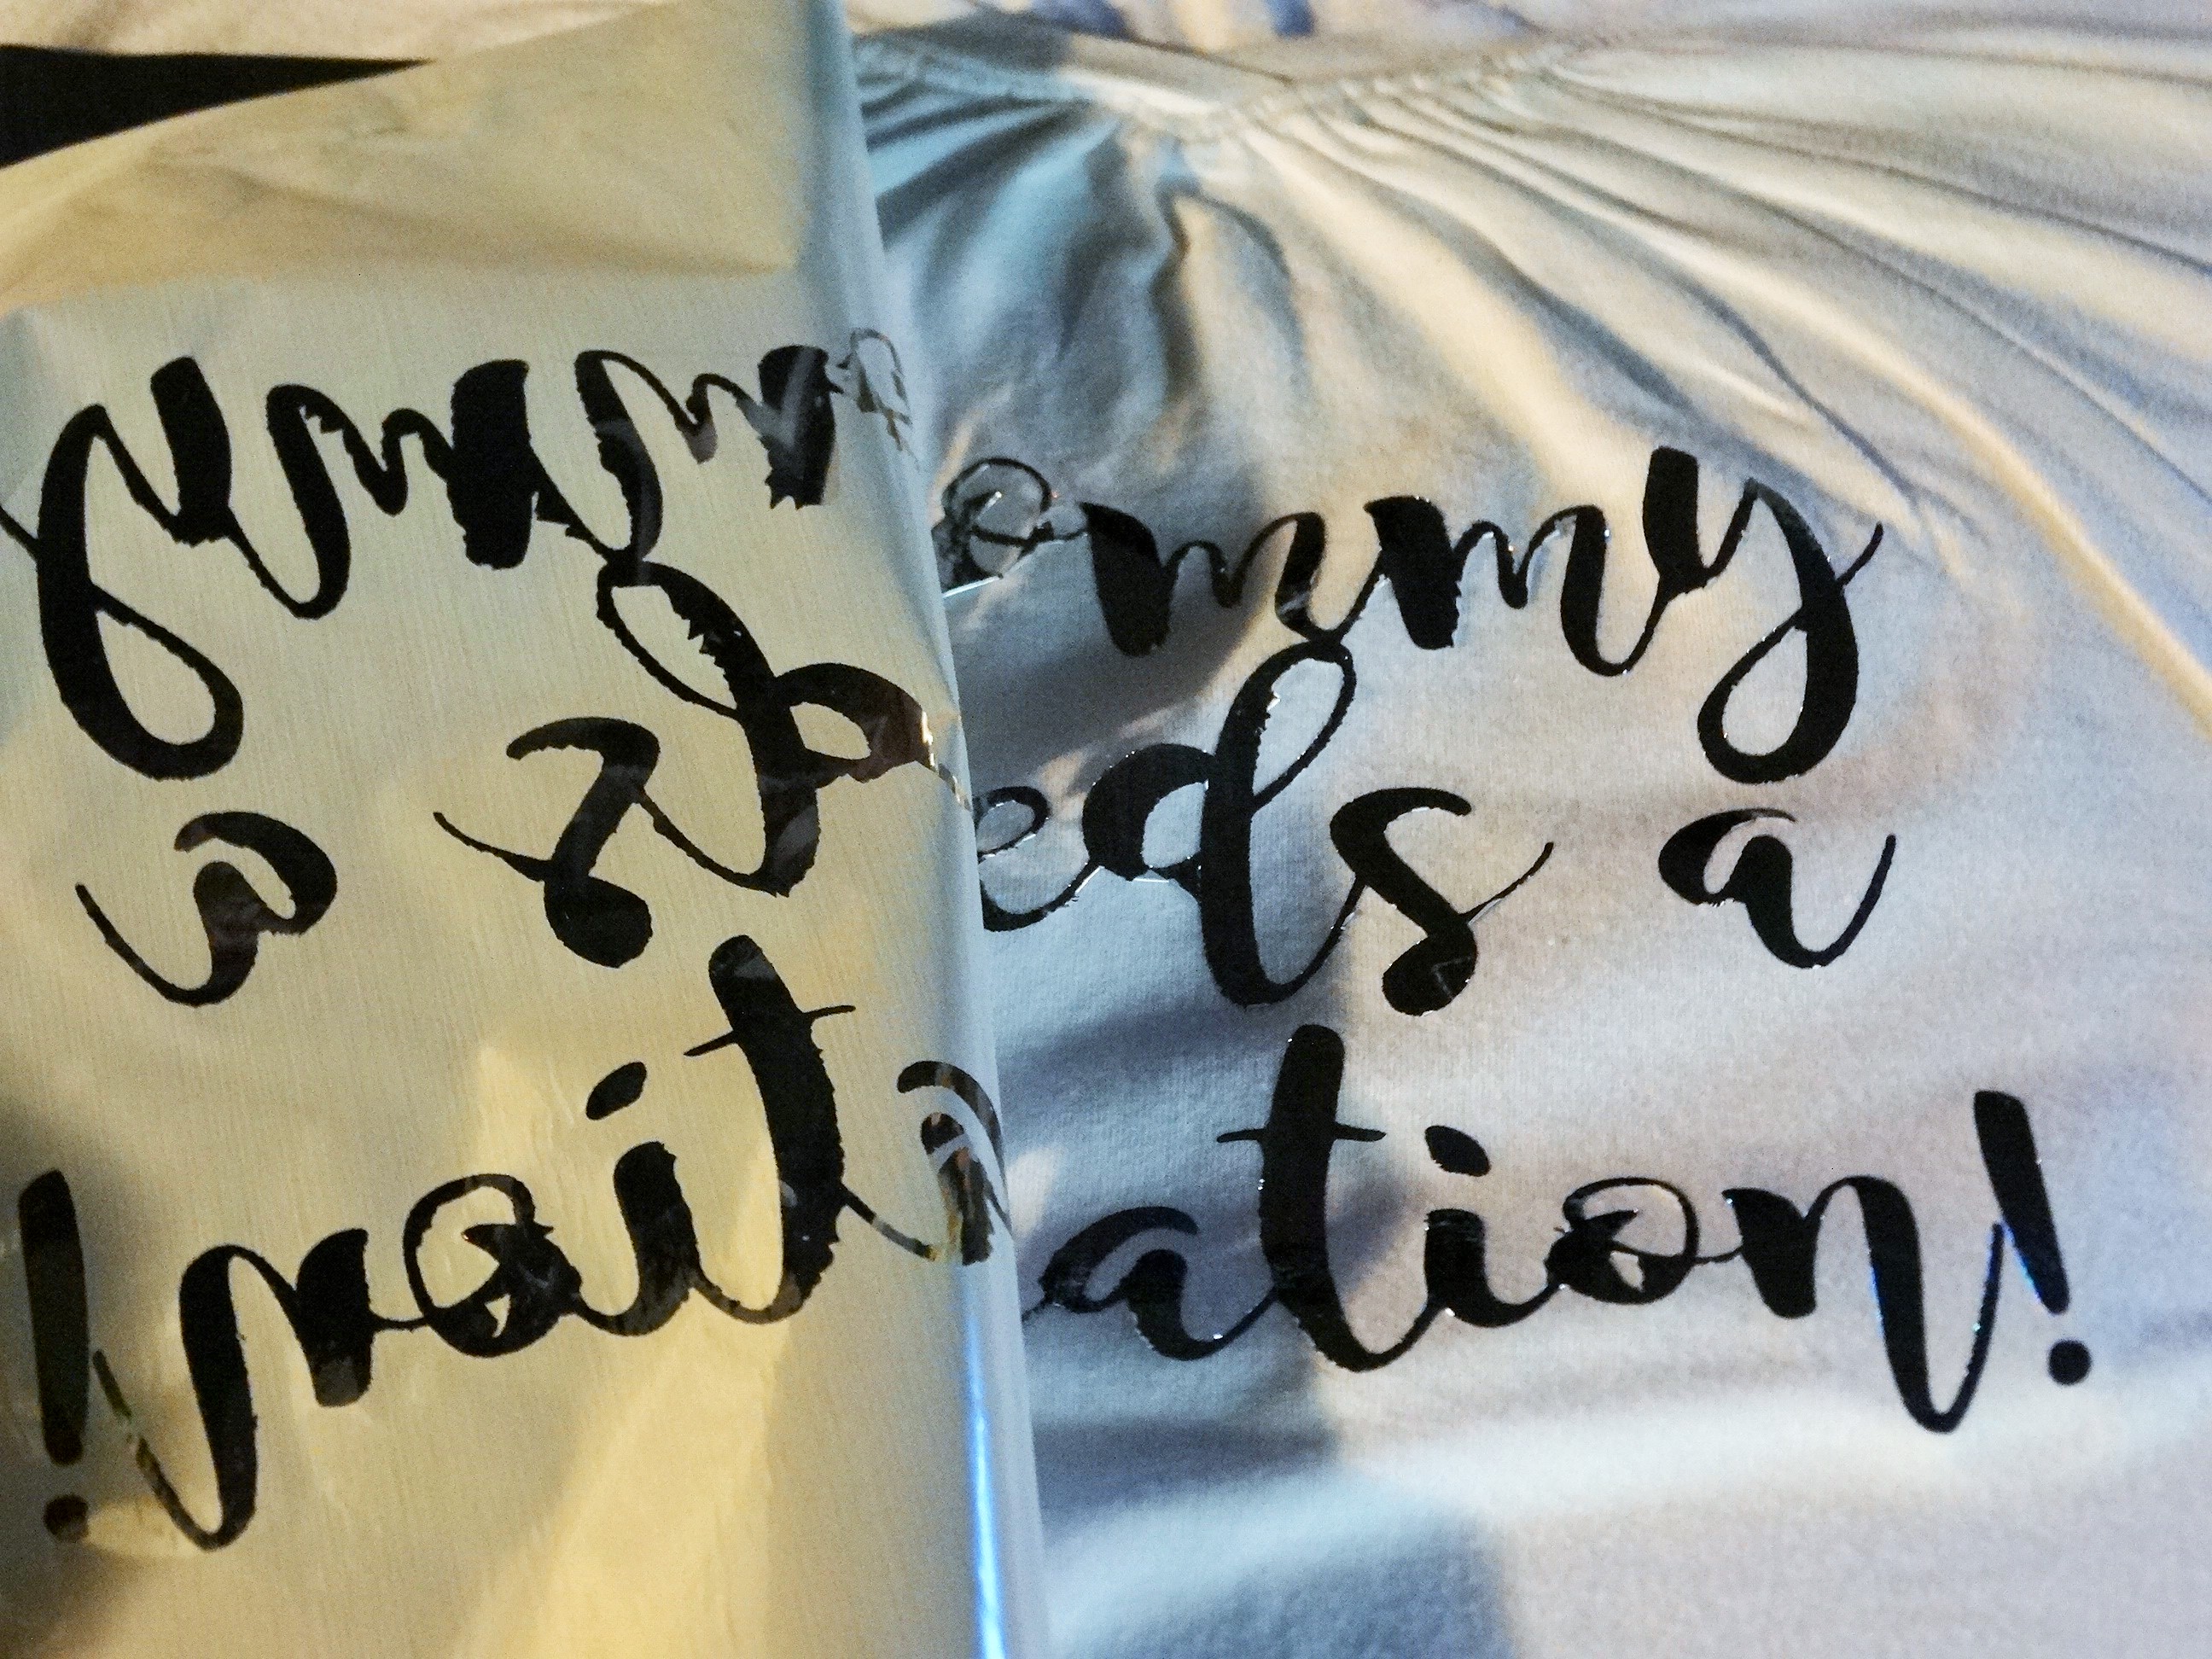
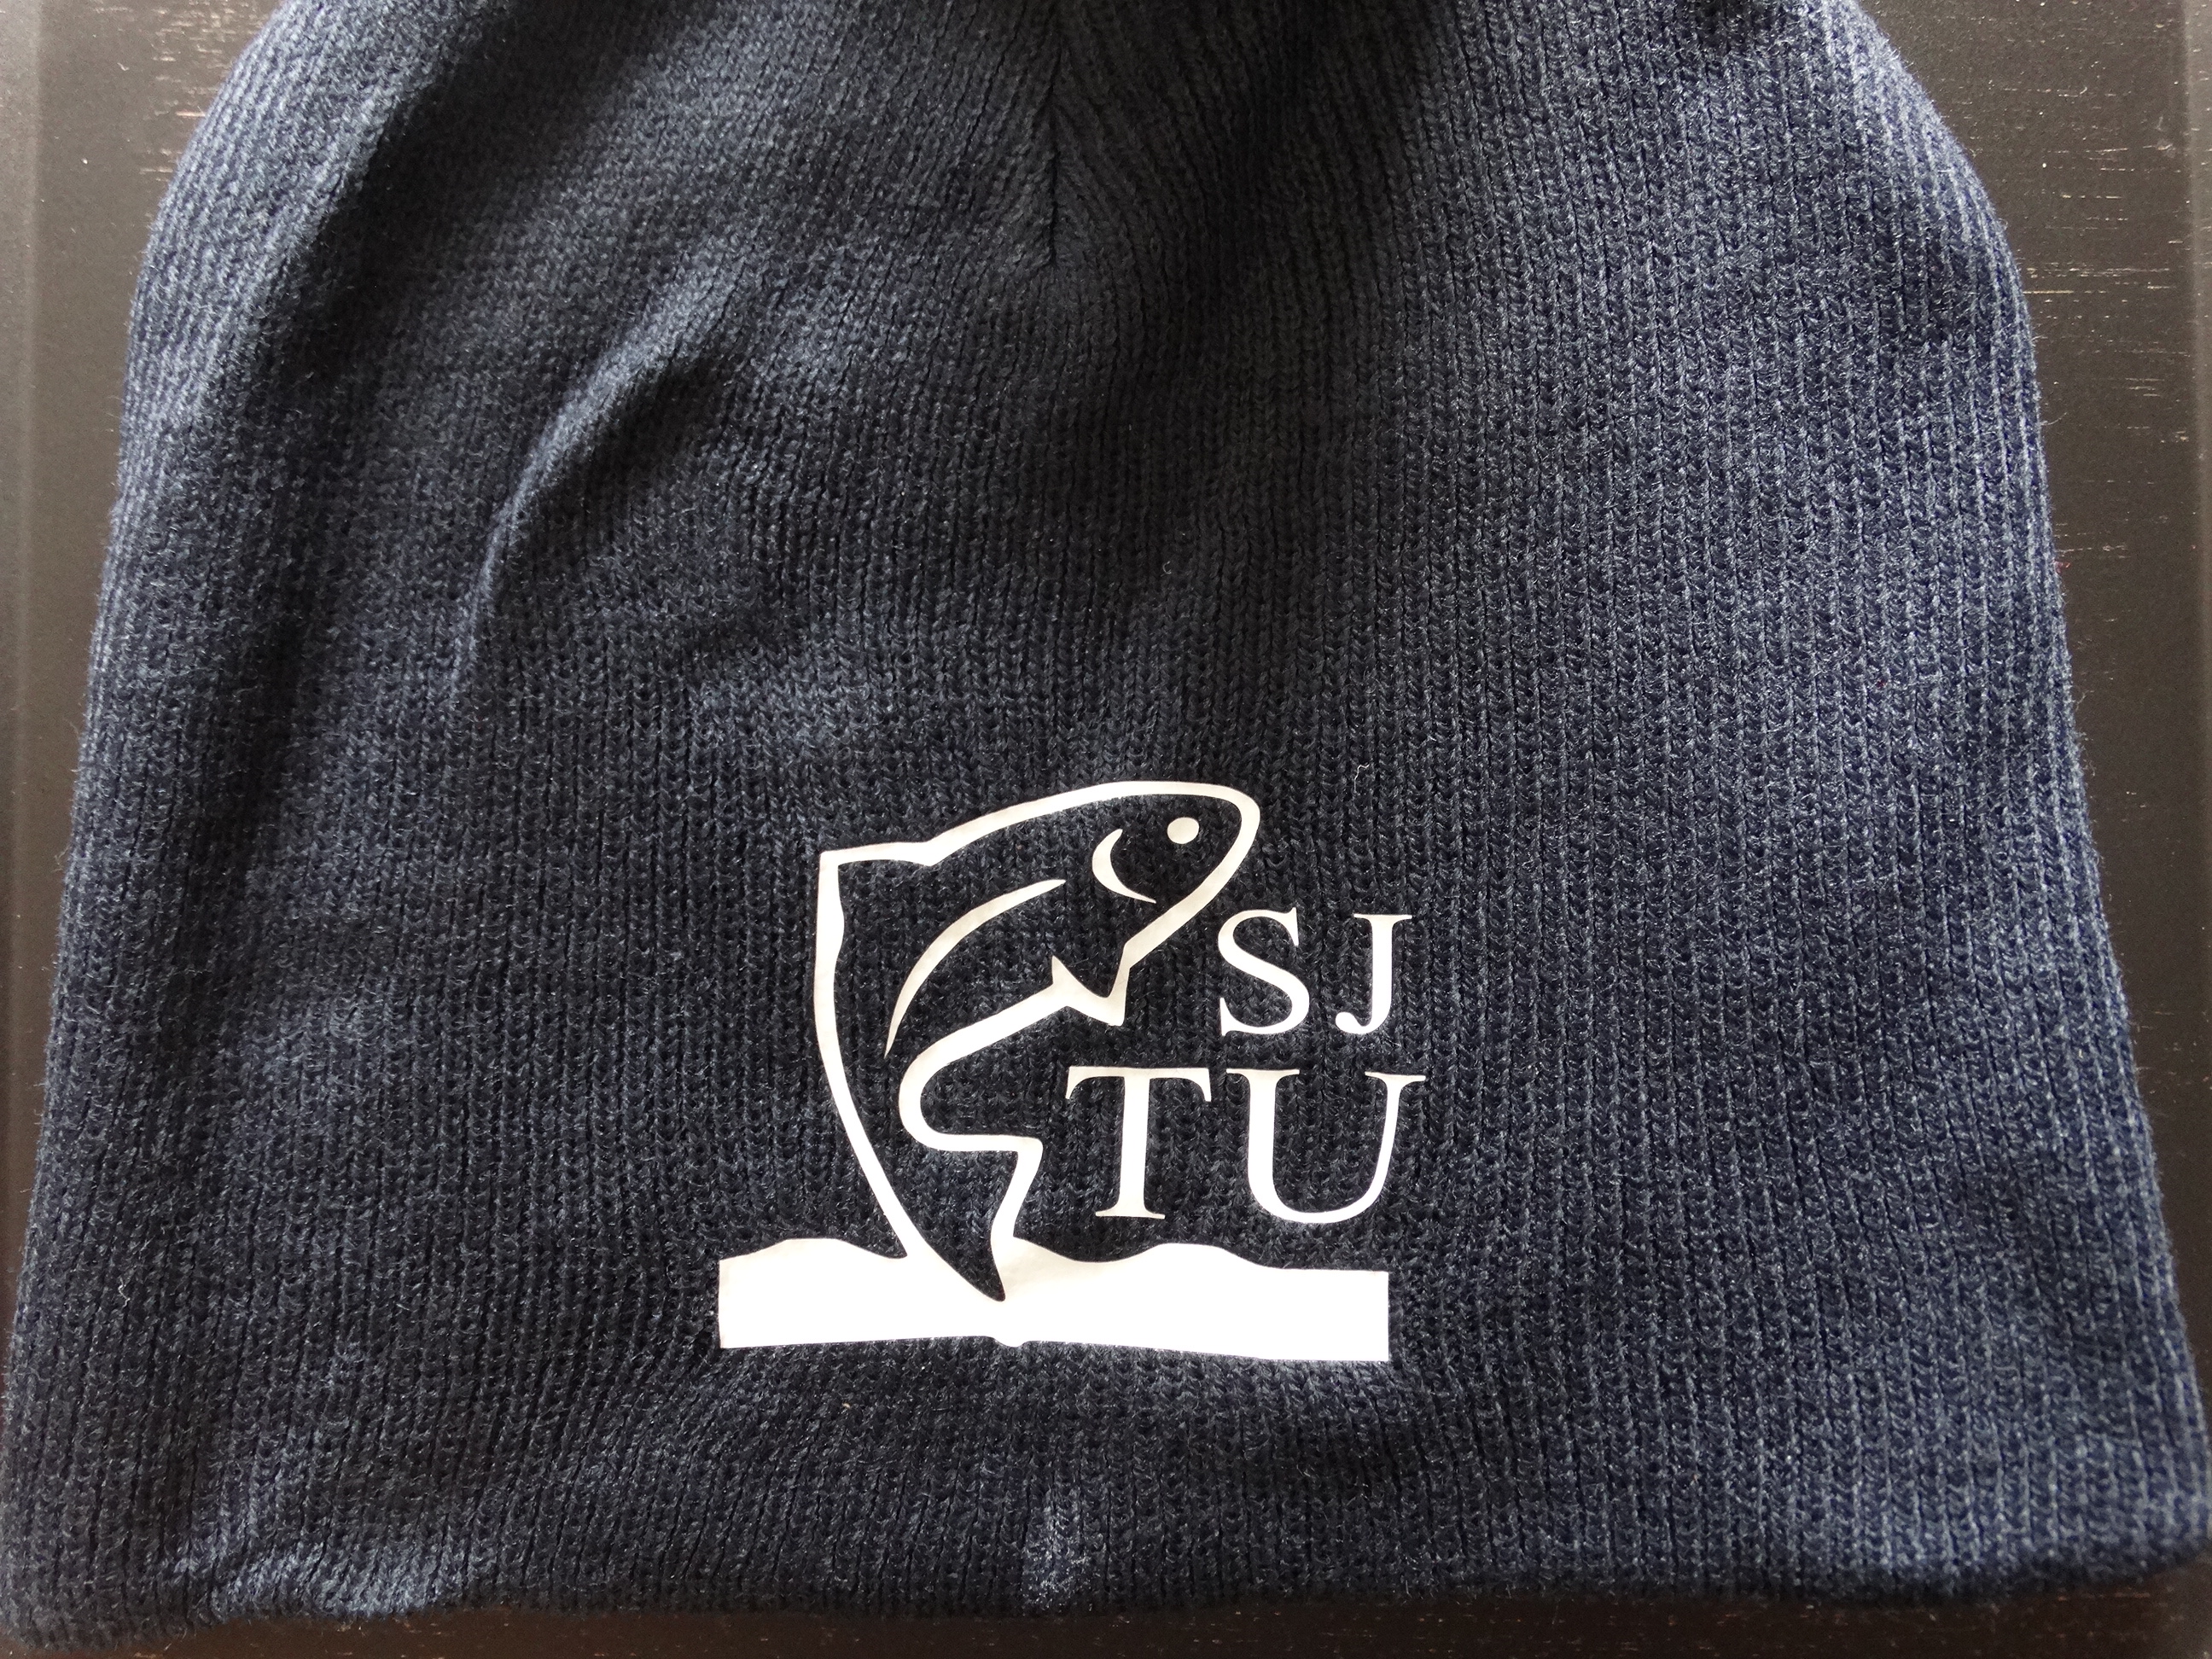
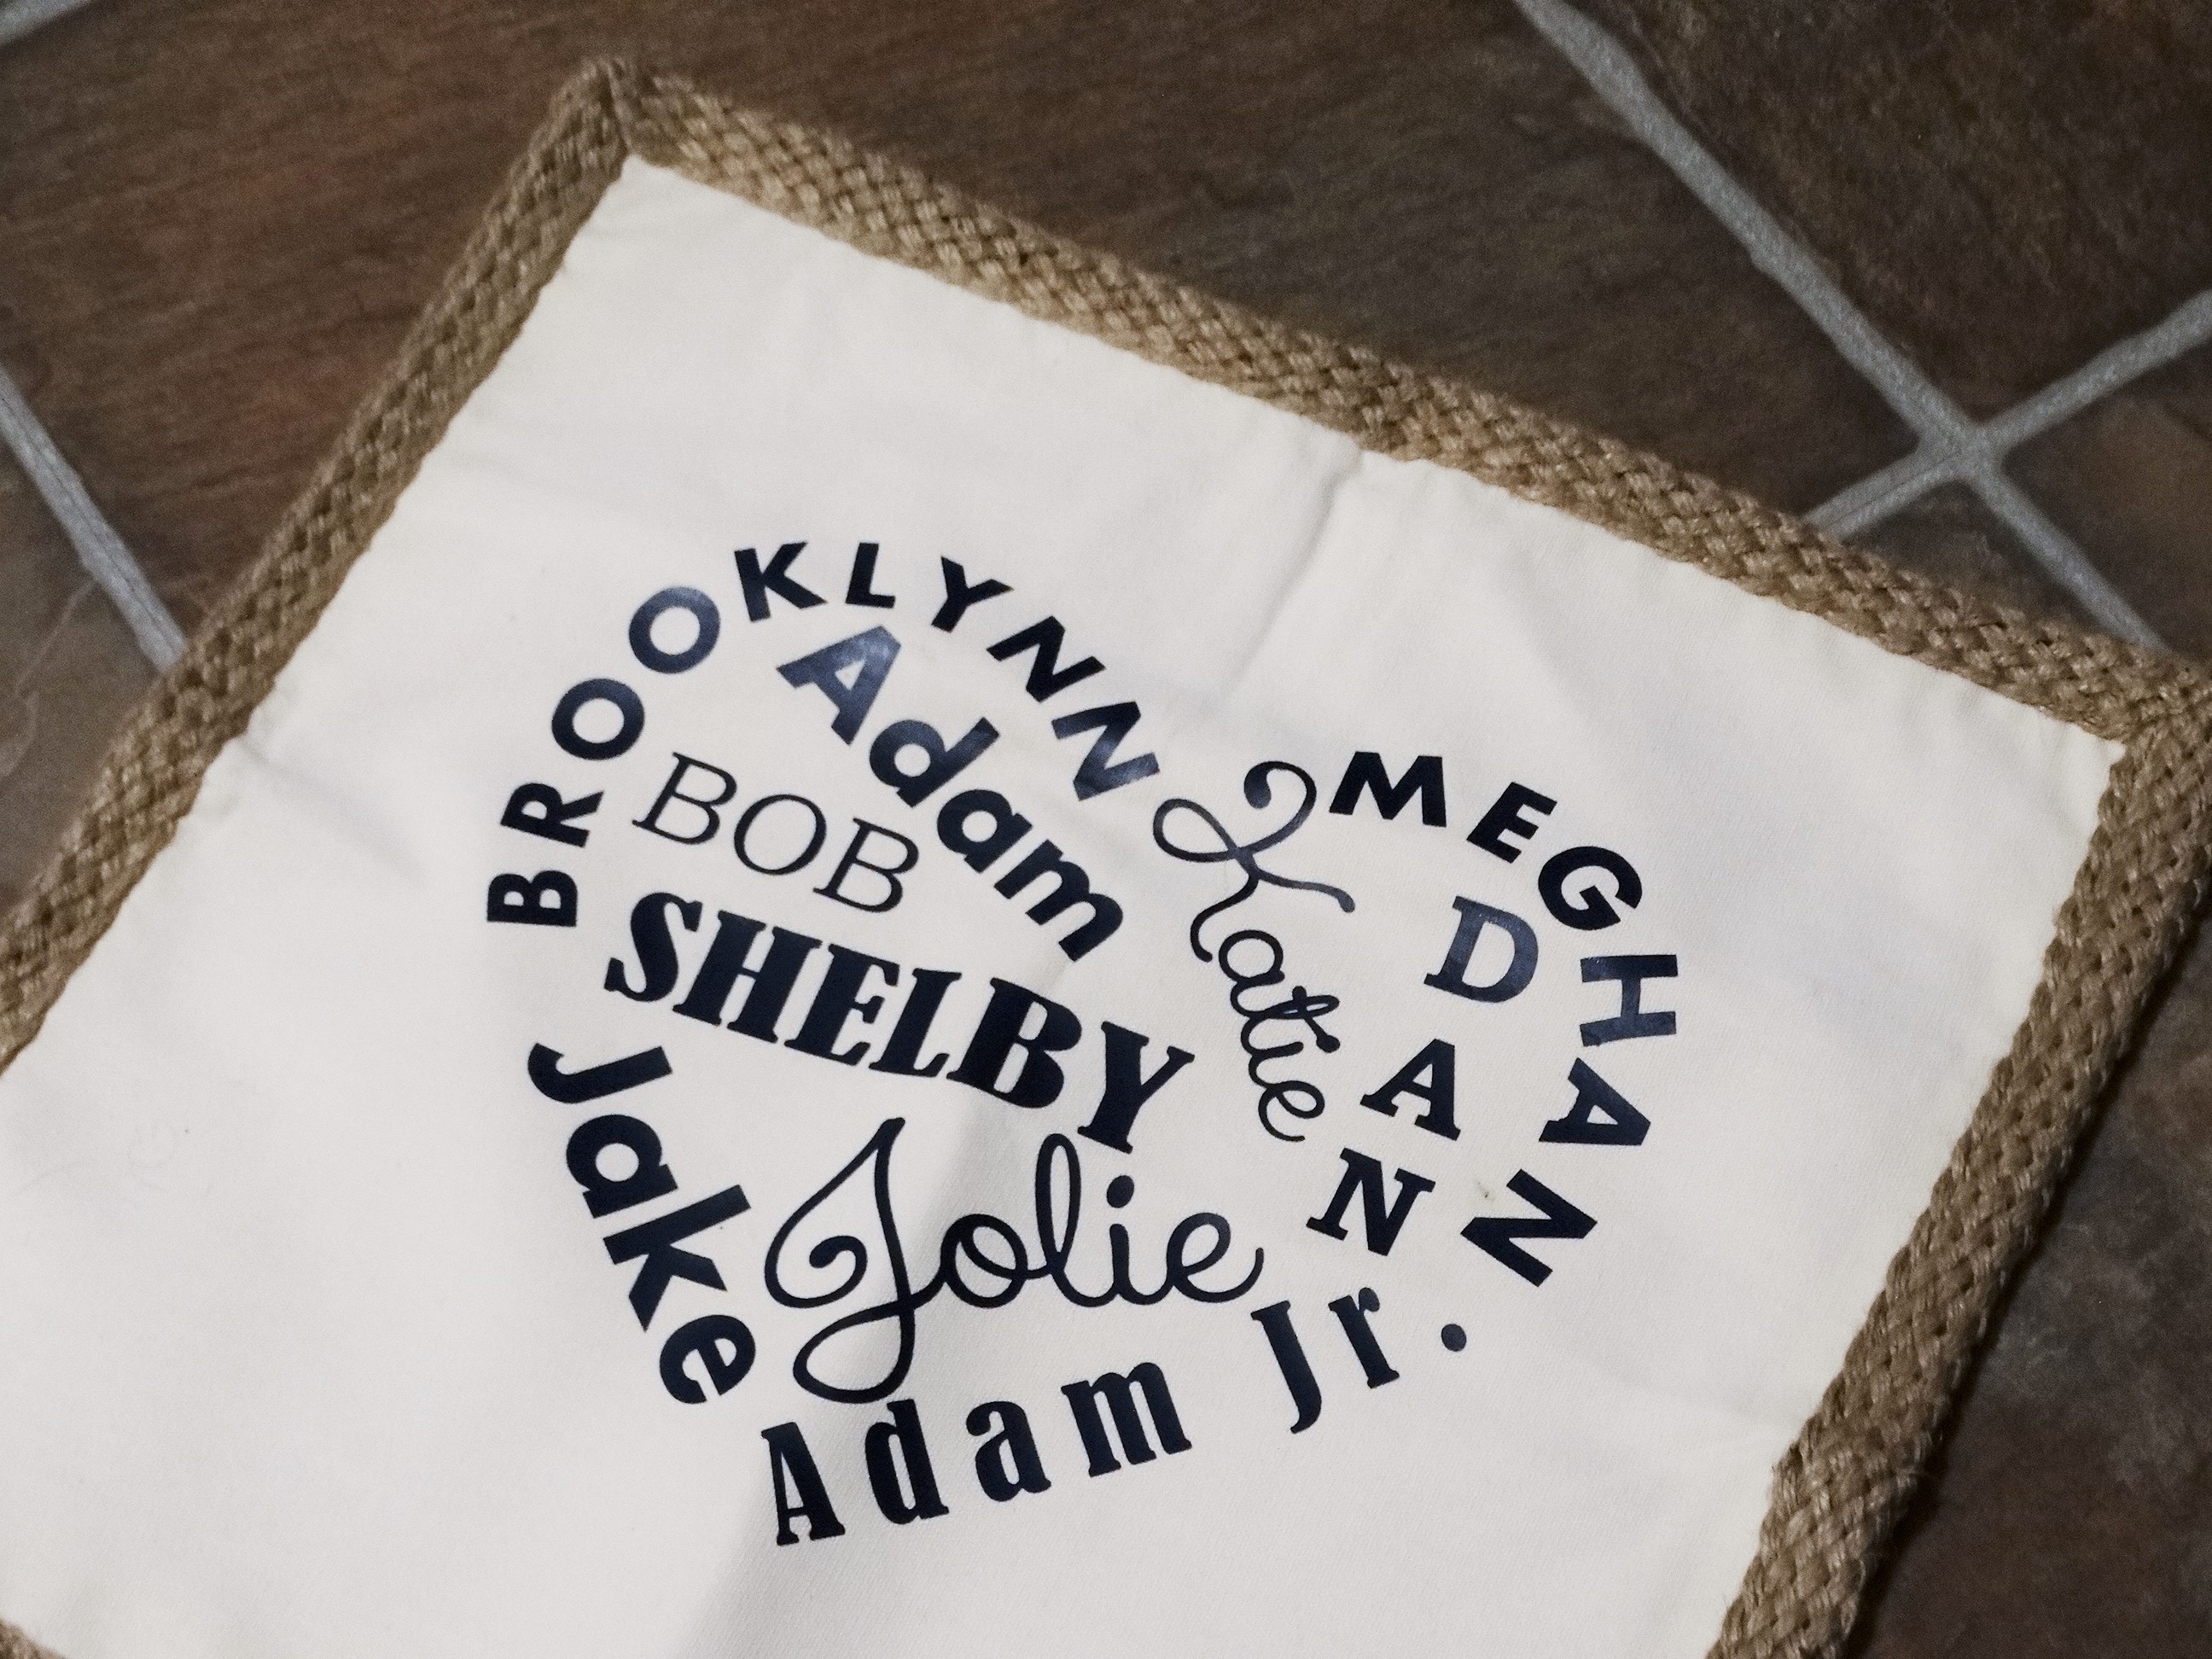
4-Be careful when deciding on placement for your design- if possible, let the seams from the neckline, sides, sleeves, and bottom hang over the side of the heat press as seams can get in the way resulting in uneven pressure. This could cause the vinyl not to apply correctly.

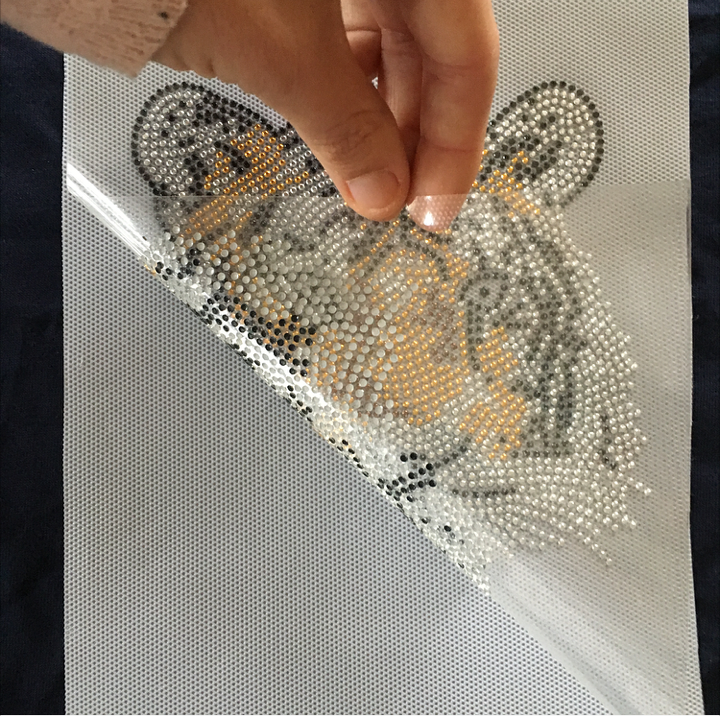
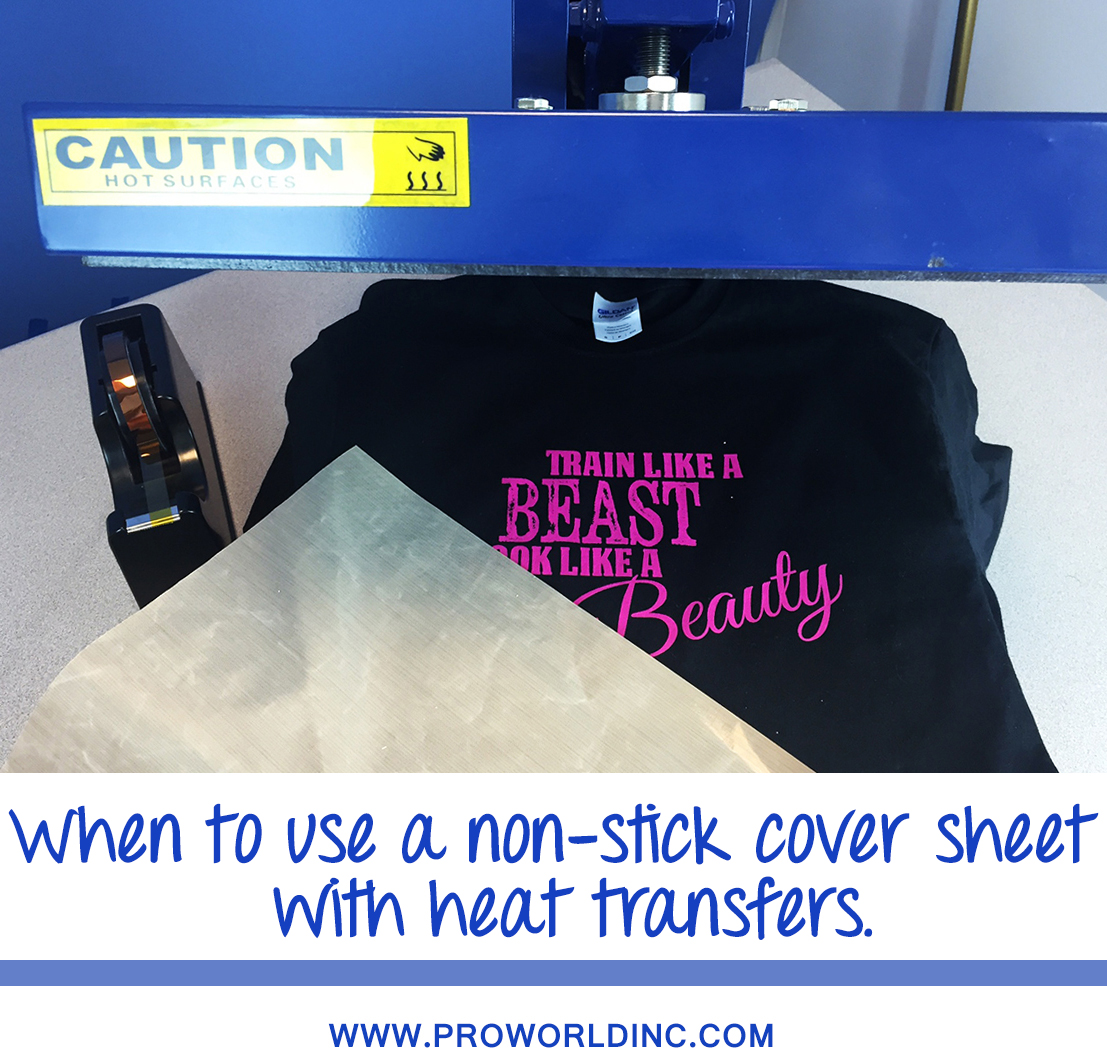
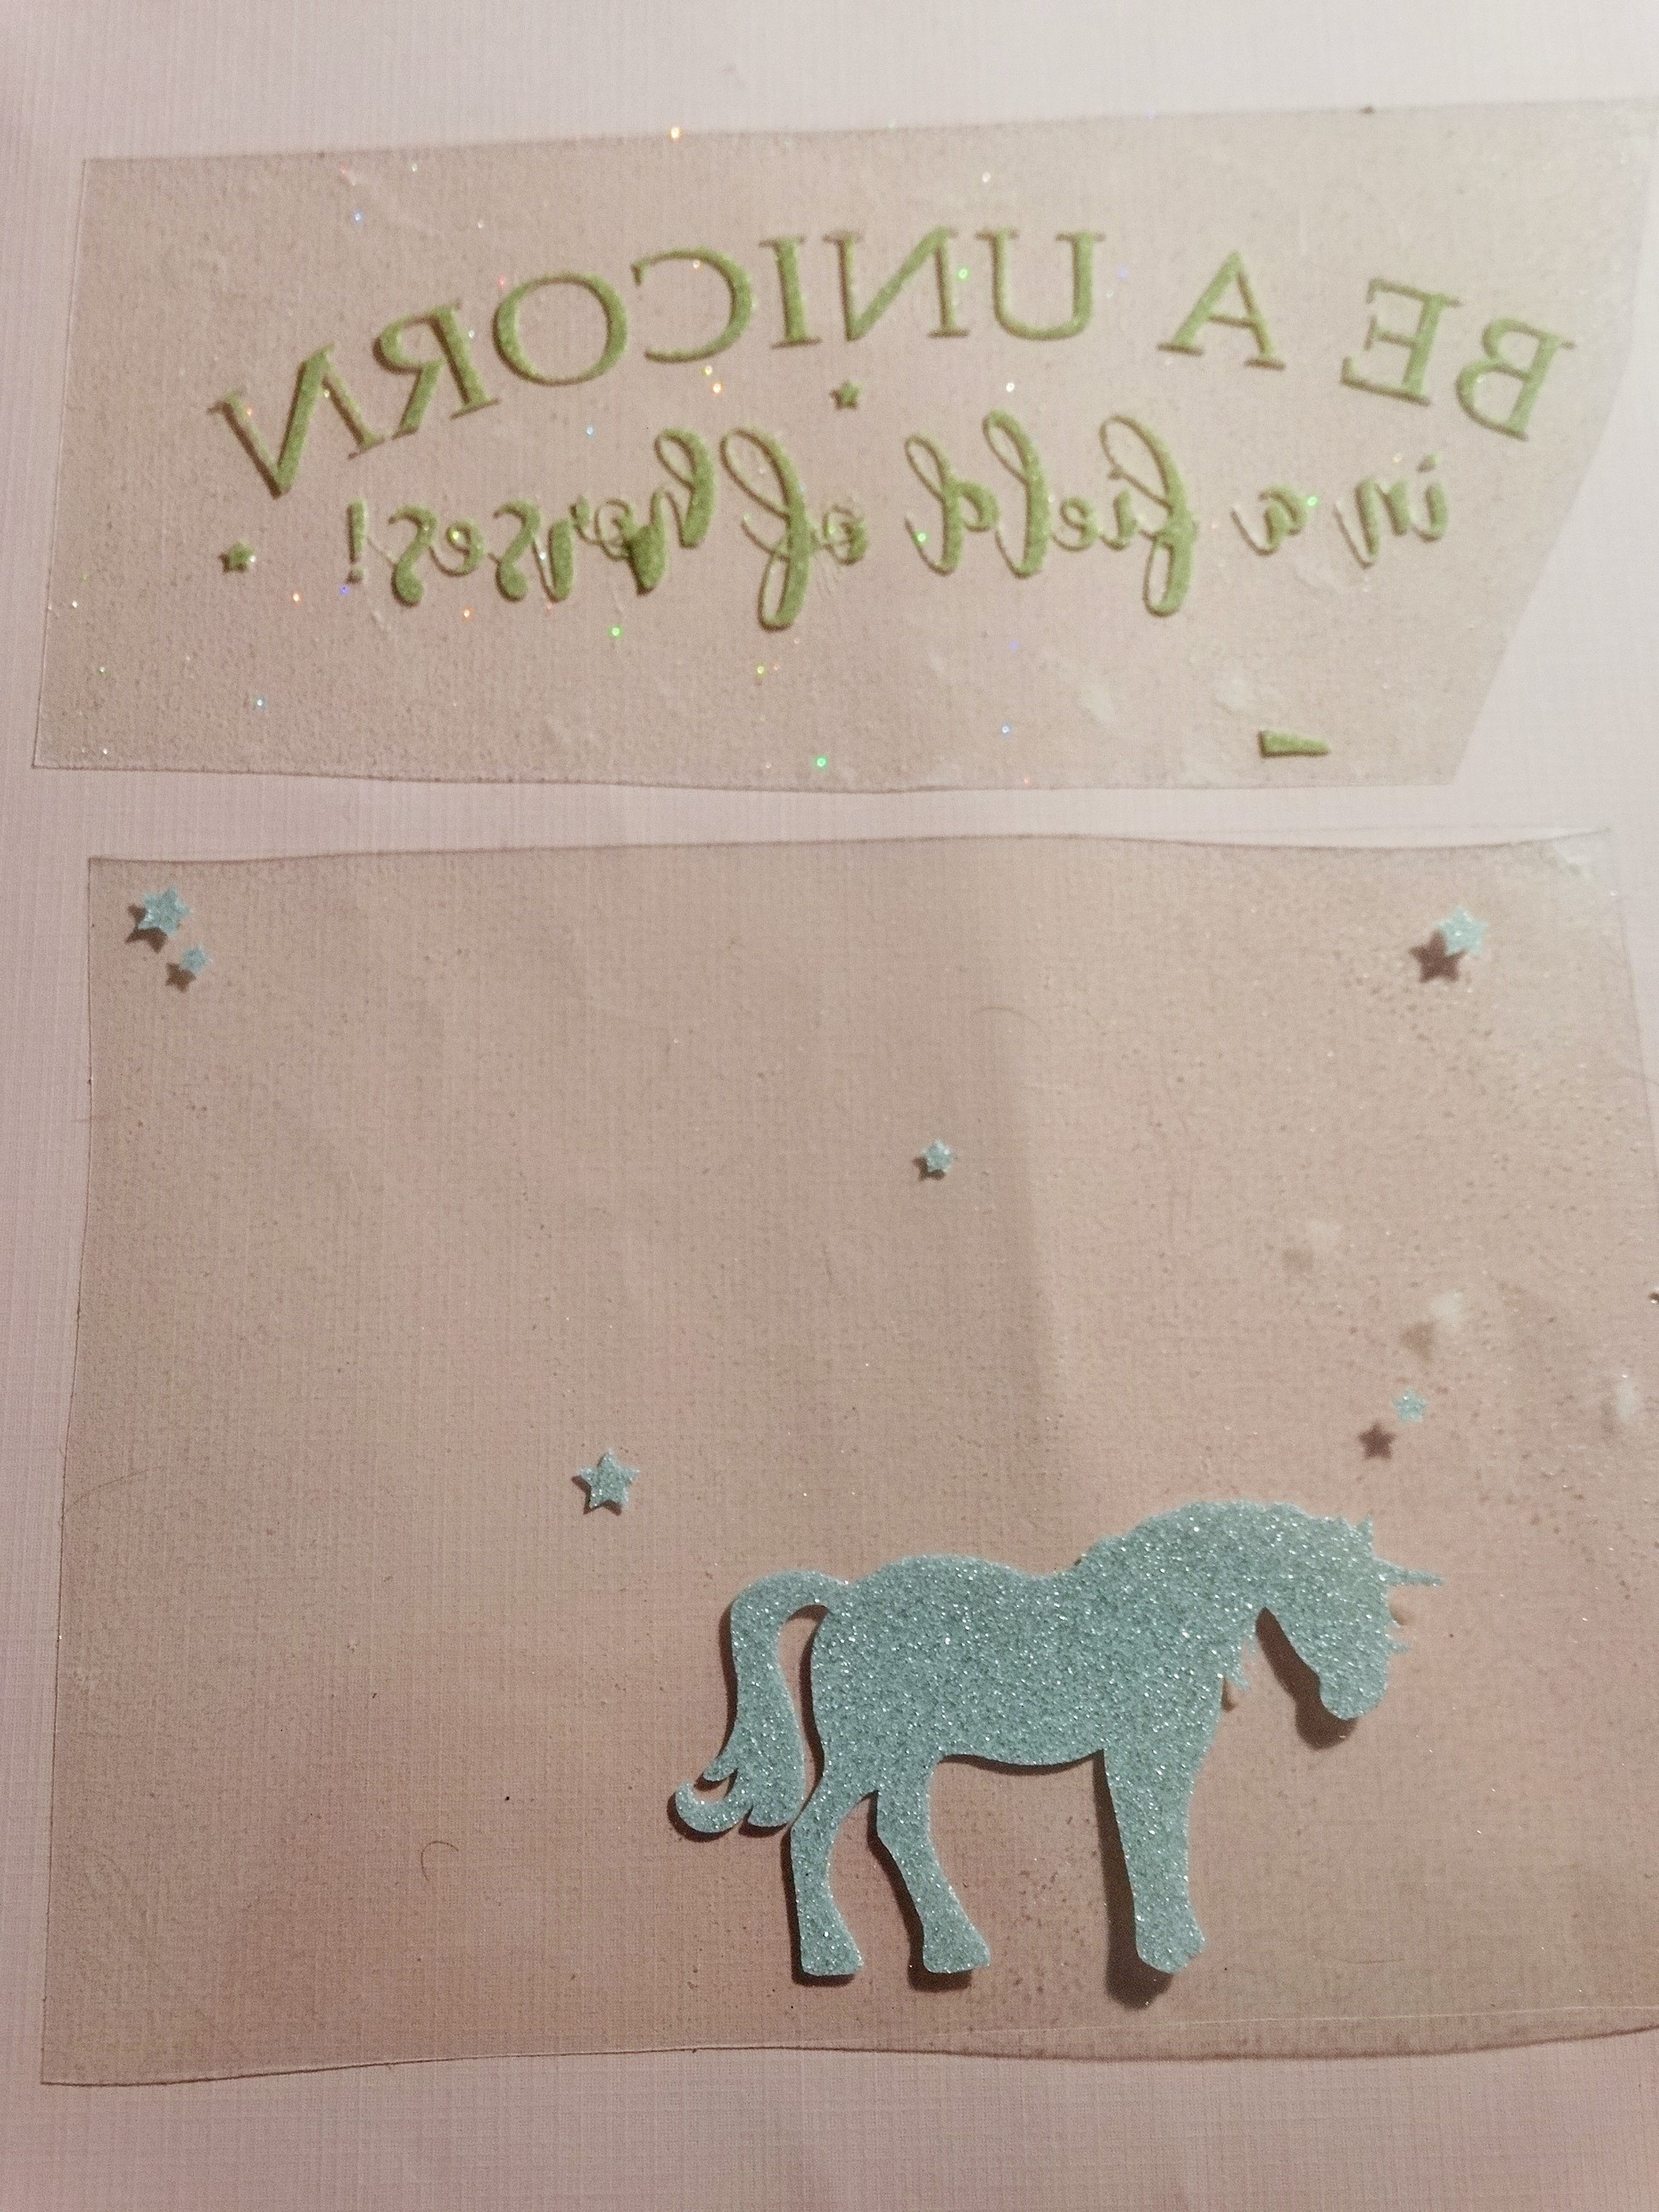
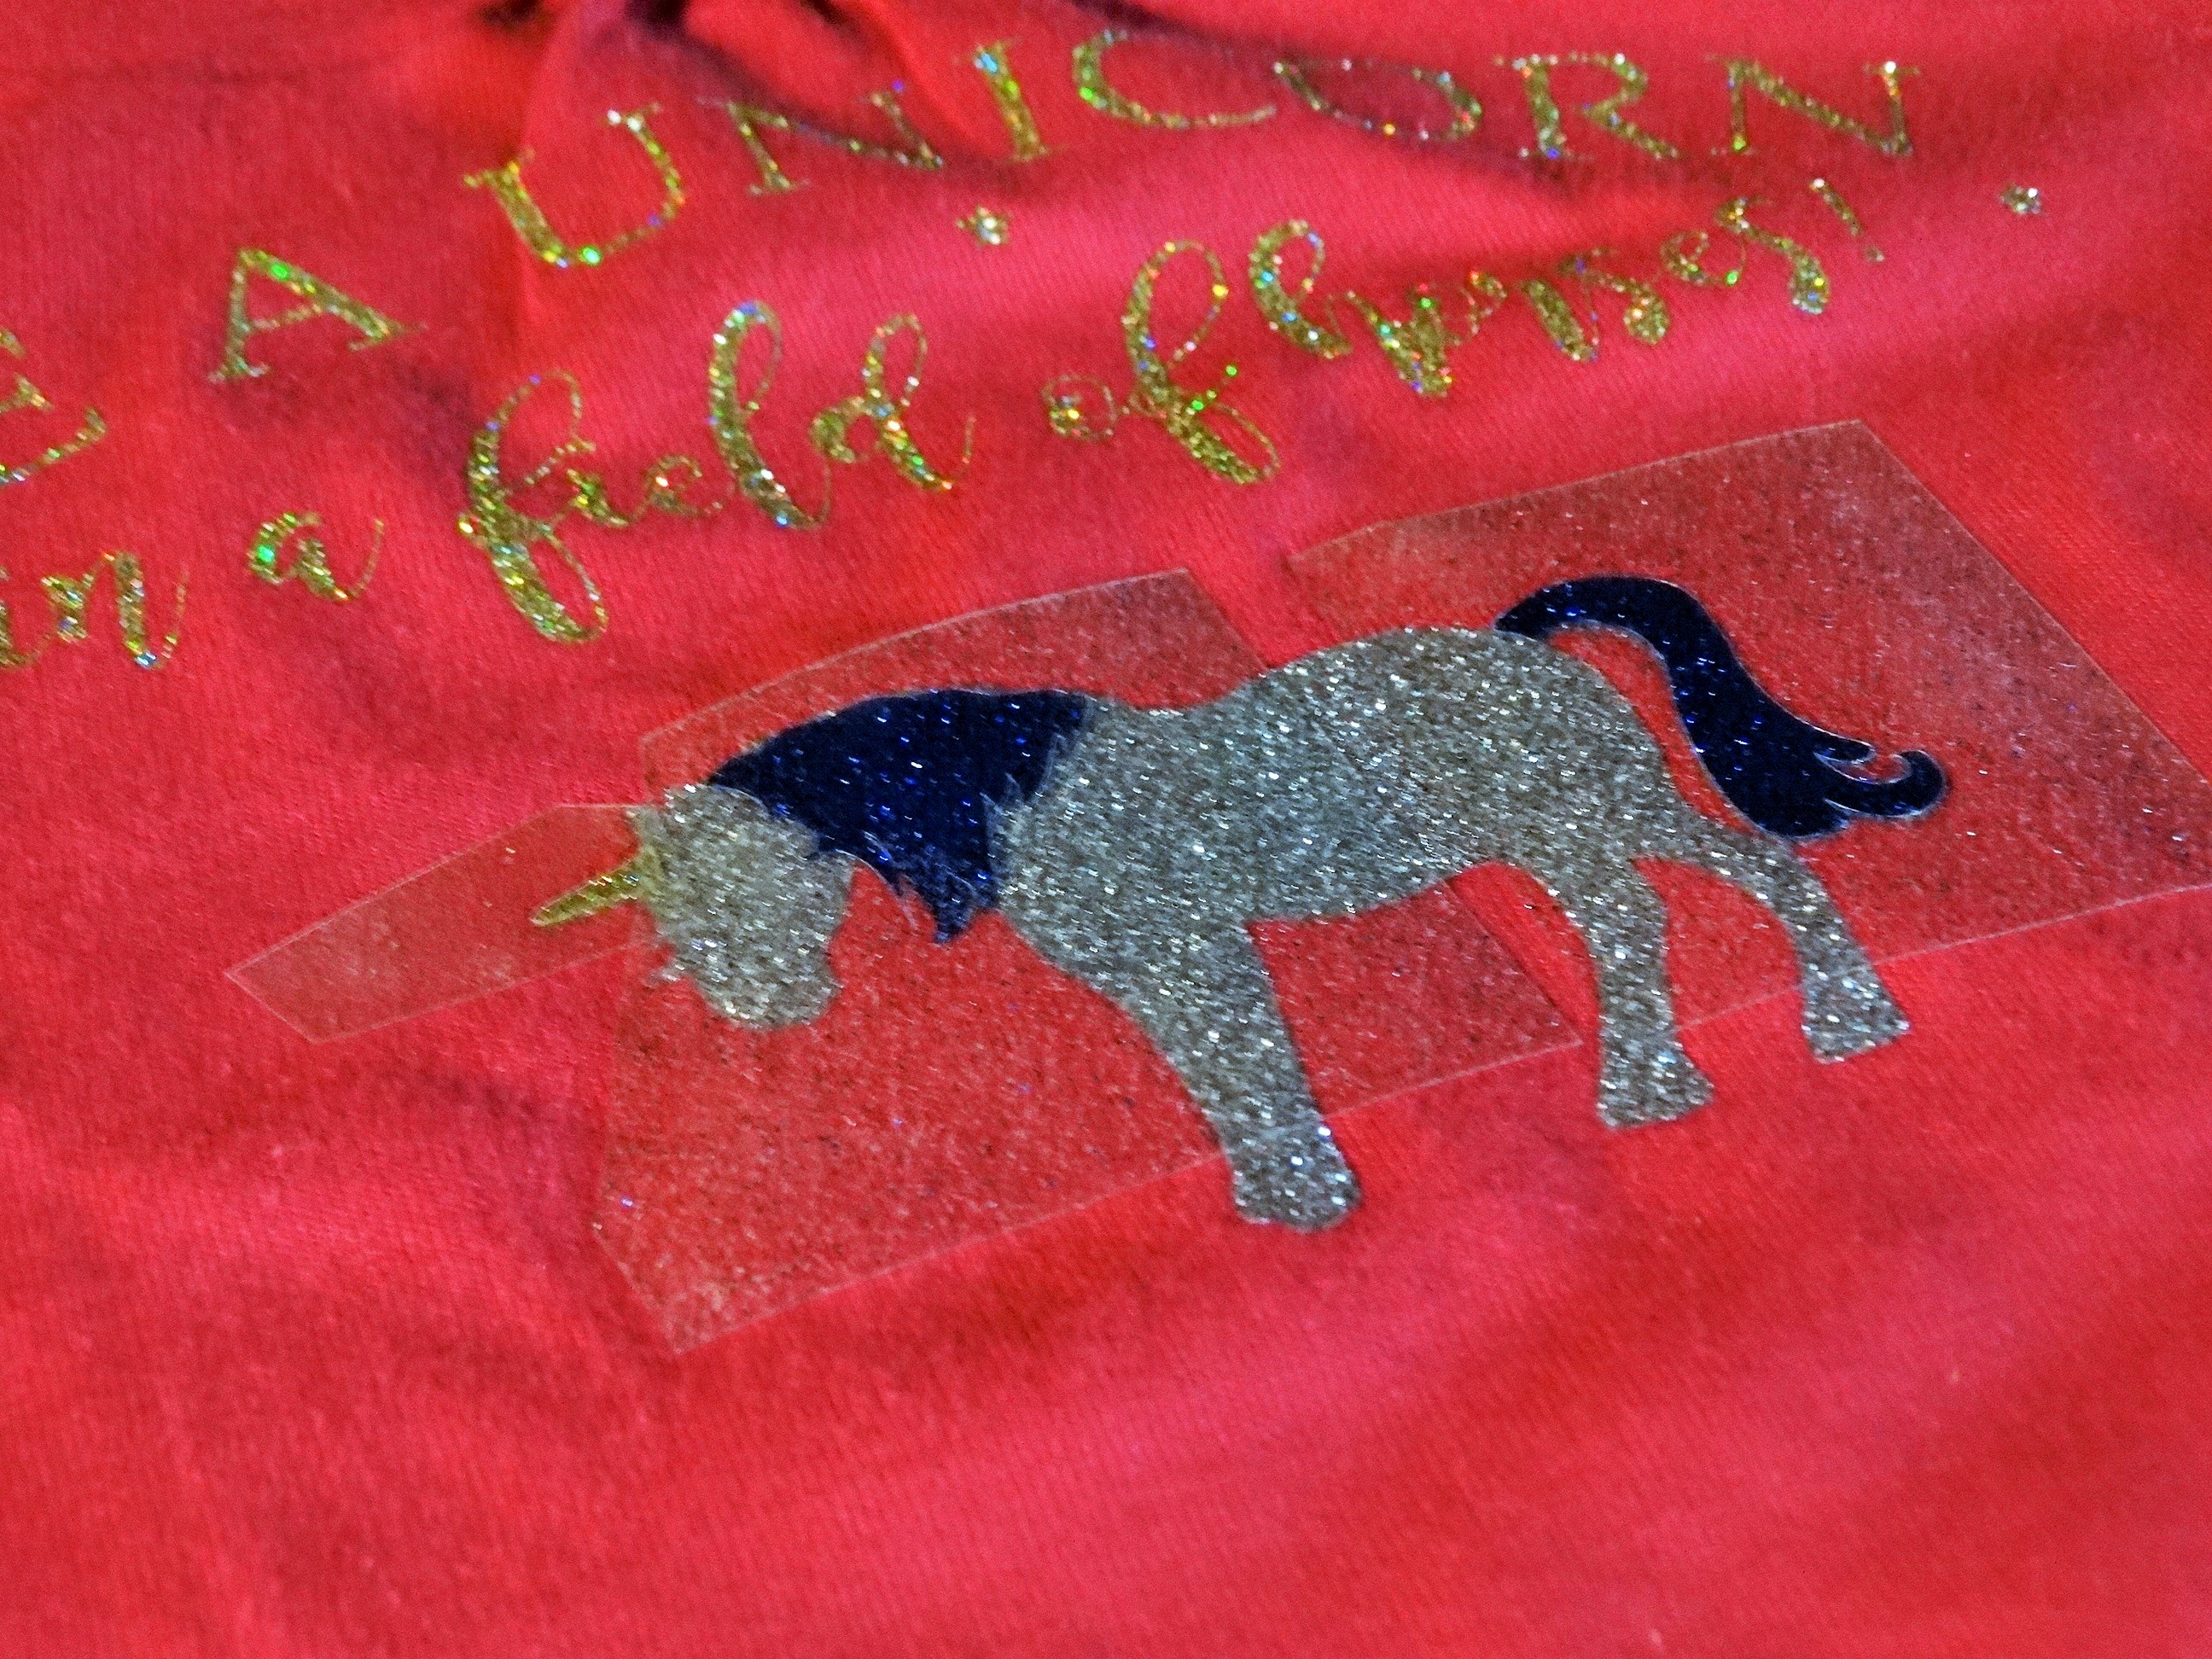
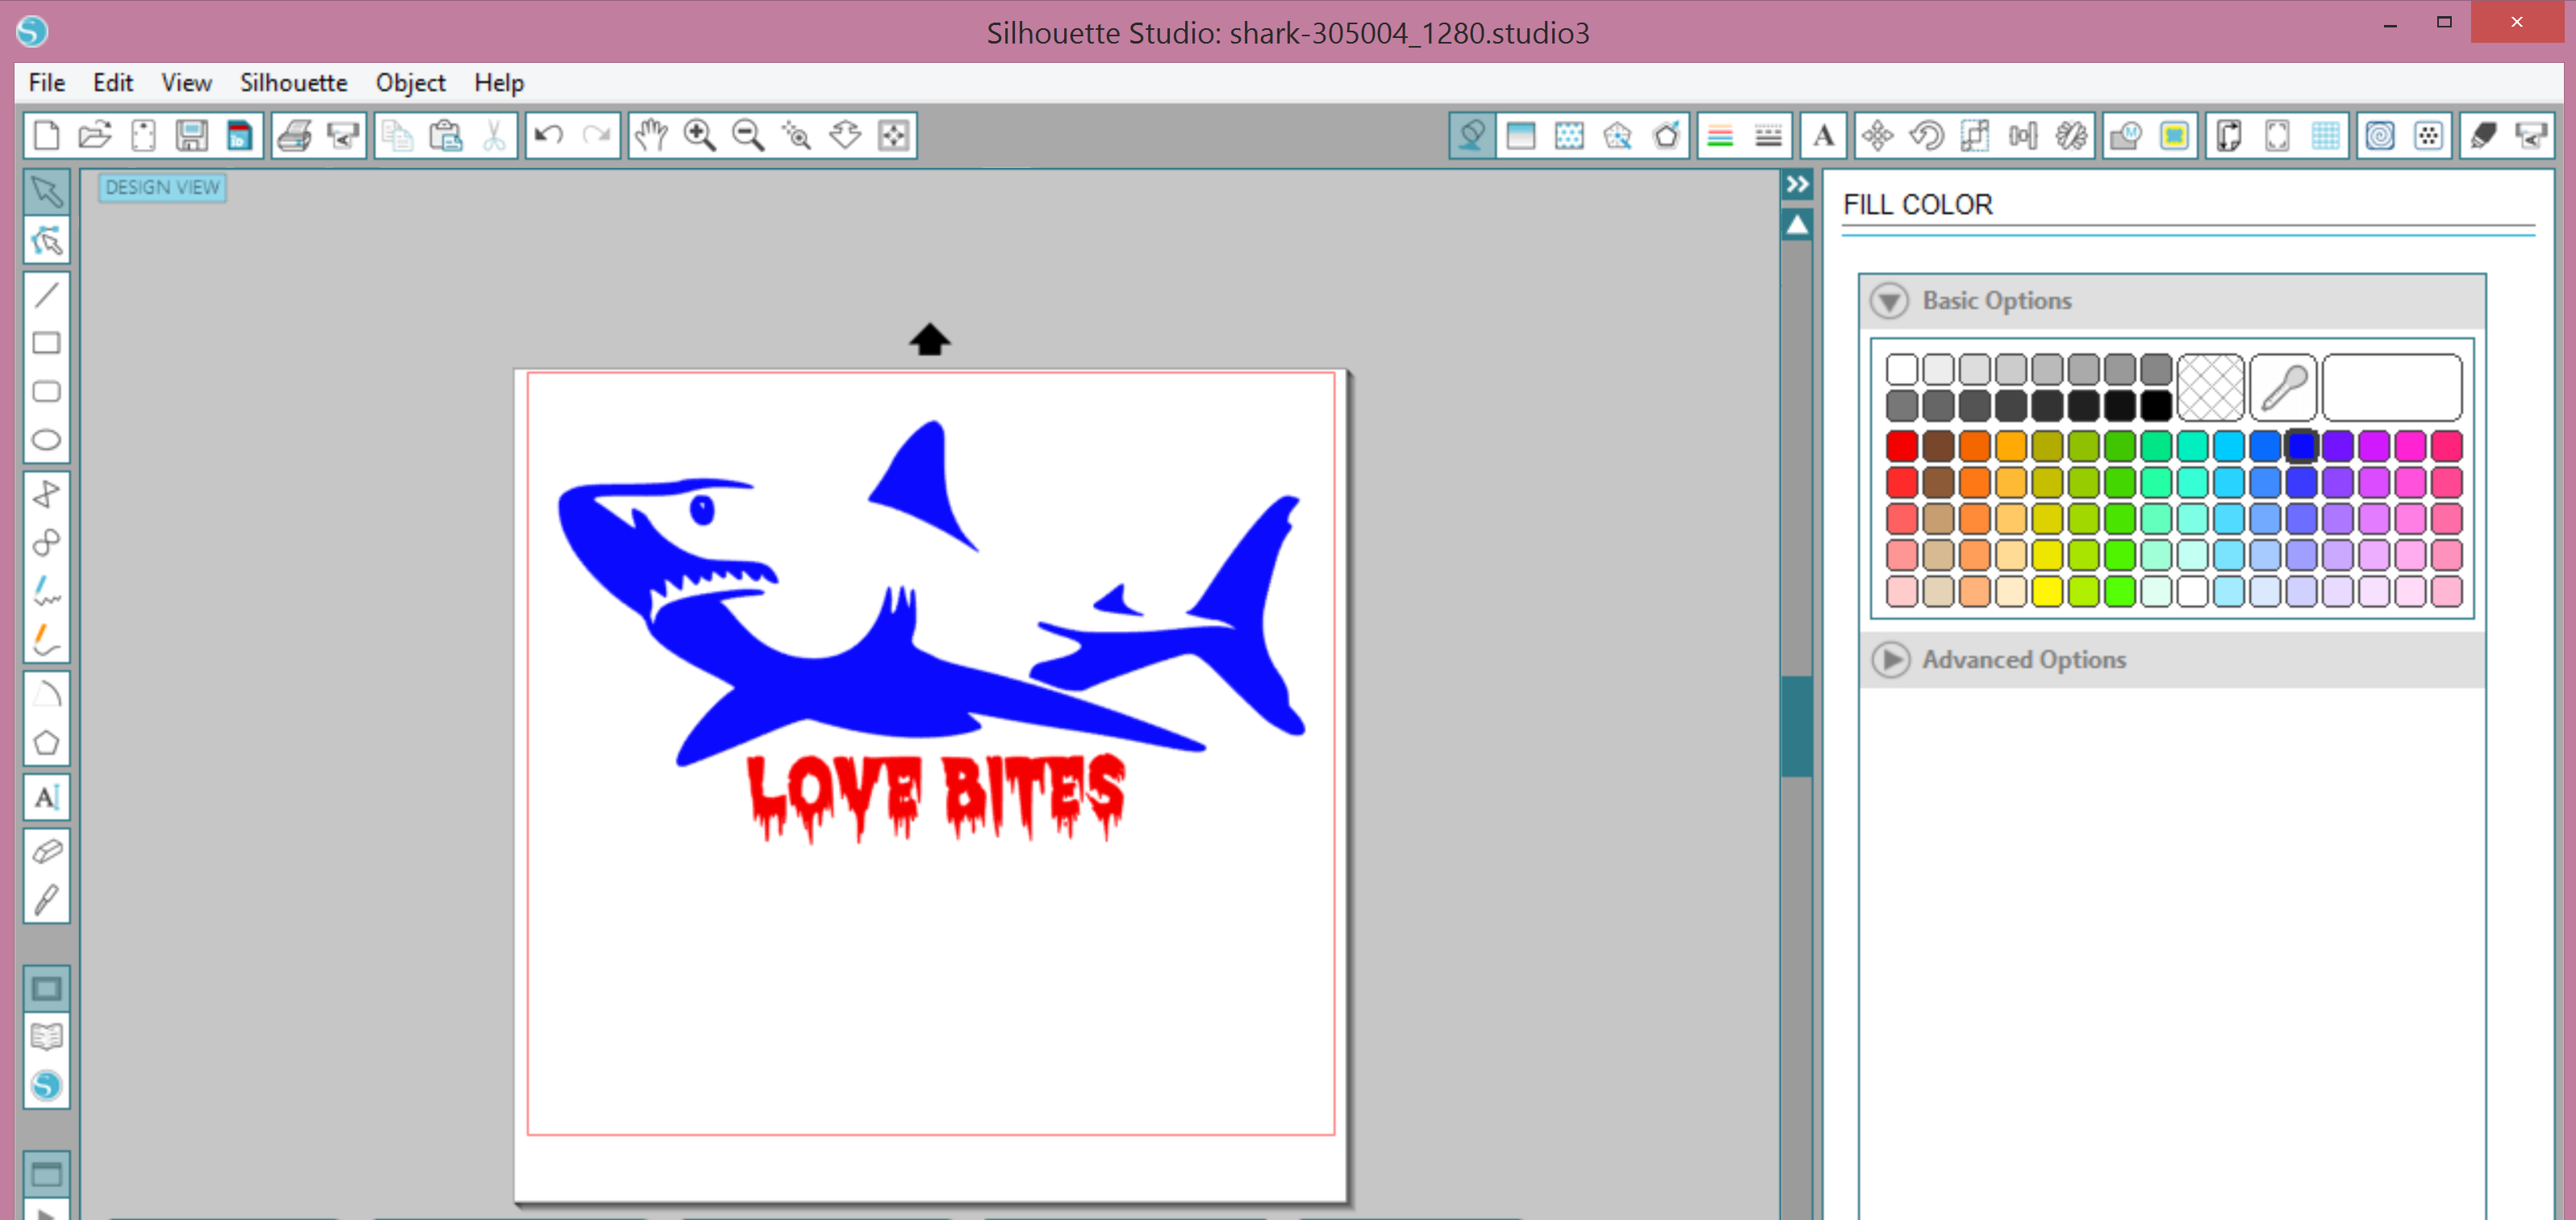
5 – If you are planning to layer two different colors of vinyl, be sure to set your heat press for half of the time it calls for. You’ll press the first color for a few seconds; then you’ll add your second color, and press it for the full length of time listed on our website. Make sure that all HTV is protected by the clear backing and your nonstick sheet.

Now that you know the basics for pressing vinyl the possibilities are endless! Show us your creations by using the hashtag #proworld on Instagram.

blog pro world

Want to get your hands on your own TransPro Mini Heat Press? We are giving one away on our Instagram page.

Now through Thursday, March 2nd at 11:59 pm EST, you can win your own Trans Pro Mini. Just follow us on Instagram, comment on our post, and tell your friends. The more you comment, the more chances you’ll have to win! The winner will be announced on March 3rd.

View & Add Comments

Learn how to layer GLITTER HTV

Did you know that you can layer GLITTER HEAT TRANSFER VINYL?! Read on for details and a step by step how to.

Learn how to layer GLITTER HTV (1)

To prepare for your project you need to:
-Design your cut file.
-Preheat your heat press and set it to 320 degrees F.


Now that you have all of your materials and equipment ready, take your multiple cuts of Chemica Bling Bling Heat Transfer Vinyl.

DSC07612

Warm up your heat press, and press your first vinyl layer at 320 degrees F for 10 seconds.

DSC07613

Peel the plastic transfer paper off.

And lay your next piece of bling bling on top.
DSC07616

Cover your full design with a teflon sheet and press it again (at 320 degrees F) for 10 seconds.

Peel back your plastic overlay and admire your sparkly results!

DSC07624

Peel back your plastic overlay and admire your sparkly results! Still have another layer to add? No problem! You can add up to 3 layers of Chemica Bling Bling Heat Transfer Vinyl, so just repeat the steps from above.

Once you’ve completed your project, tag us on Instagram using the hashtag #proworldinc so we can check out your awesome creations!

DSC07618

View & Add Comments

Custom Hat & Gloves with EasyWeed Stretch

Now that it’s February and the cold weather is here to stay, why not face the elements with a custom creation?
For today’s project we are using Siser EasyWeed Stretch. It delivers all of the benefits of our EasyWeed™ heat transfer material and combines it with super stretchability to create one remarkable heat transfer material!  The thinnest of any Siser material, EasyWeeed Stretch has been designed to move with your garment without any cracking. This makes it the perfect medium for performance wear, hats, gloves, and other tight fitting garments!
 Sweet treats to make for mom
You Need:
Plain Knit Hat (or gloves)
Take your hat and measure the available space.
Use your team logo or grab a free clip art image and trace it with your Silhouette Software.
Next, mirror your image and insert the heat transfer vinyl into your machine.
trout3
Double check your settings and click cut.
Weed your design.
IMG_3423
Place it on your item and press it with your Heat Press.
IMG_3424
You are done!
DSC07565
stretch hat
View & Add Comments

Love Bites Valentine’s Day Shirt

Want to add a little bite to your Valentine’s Day shirt this year? Try the Siser EasyWeed Electric! Just like the original EasyWeed that you have come to love, it weeds easy and can be peeled HOT or COLD, but the colors are vibrant with a pearlescent metallic sheen!
For today’s project we decided to face Valentine’s Day head on with a shark shirt for your little Valentine to wear!
Love Bites Valentine's Day Shirt (1)
You Need:
Plain Shirt
Take your shirt and measure the space that you have available.
Find a free clip art image, and trace it in your Silhouette Software.
shark trace 2
Now, pick your favorite font and type “Love Bites”.
shark trace 3
Next, mirror your image and insert the heat transfer vinyl into your machine. Double check your settings and click cut.
Weed your design.
IMG_3287 (1)
Place it on your shirt and press it with your Heat Press. You are done!
IMG_3296
View & Add Comments

Personalize a pillow with heat transfer vinyl

Now that the holidays are behind us you can take a break from filling your custom orders and treat yourself to something nice. For today’s post, we will show you how to make a personalized pillow that will look great in your house and provide you with the perfect excuse to kick up your feet!

proworldinc-com

You Need:

Start by opening your design program and adding a blank shape. We used a heart.

Add all of the names individually, and move them around the pillow until the image is filled.

pillow-adding

Now you need to delete the outside shape (if you are using Silhouette Studio you will need to make a compound path, delete the heart, and release compound path)

pillow-make-compound-path
pillow-release-compound

Next, you should mirror your image, and insert your heat transfer vinyl into your machine, double check your settings and click cut!pillow-filp

Now weed your design. Place it on your empty blank and press it with your Heat Press.

dsc07384-2

Insert your pillow form into the pillow case and you are done!

personalized heart pillow

View & Add Comments

Holiday Inspiration & Heat Press Giveaway

For today’s blog post we thought it would be fun to partner with 9 bloggers so that they could bring you some Holiday Heat Transfer Vinyl  Inspiration and give YOU A CHANCE TO WIN A Trans Pro Mini Heat Press!

We sent them all a package with red, green and white Siser Strip Flock Heat Transfer Vinyl and Black Siser EasyWeed.  The rules were simple. . . they could create whatever they wanted but it had to be HolidayThemed.

Want to see what they made?

Click on the image to link to the project tutorial and scroll to the bottom of the page to ENTER TO WIN A TRANS PRO MINI HEAT PRESS! But make sure you hurry, the giveaway ends on 12/12/16.

pro-world-holiday


Mama Cheaps

Terri Johnson Creates
terri-johnson

Curly Crafty Mom
curly-crafty-mom

Unoriginal Mom
unoriginal-mom

Cutesy Crafts
uoriginalmom

Daze Knights
dazeknights

Finnegan and The Hughes
finnegan


contest3-instagram-v2a Rafflecopter giveaway

Contest Terms and Conditions: A winner will be randomly selected and contacted on 12/12 via the social channel that they won from. The winner will have 24 hours to claim their prize. At that time Pro World will mail the heat press to the winner so that they can start crafting! In order to win the heat press you must be 18 years or older and live within the United States. This giveaway is in no way sponsored by facebook, instagram or twitter.

View & Add Comments

Increase your business with Heat Transfers

Did you know that Pro World stocks thousands of pre-designed stock Heat Transfers? Transfer types range from screen print, rhinestone, solar, sequins, mixed media and more! Read on to see how Heat Transfers can help you increase your business!

increase your business with heat transfers and a heat press | pro world

What are Heat Transfers?

Heat Transfers are images on a transfer release paper that allow for you to produce quality items quickly.  Here at Pro World we sell thousands of heat transfers! You can purchase screen printed transfers, rhinestone/stud transfers, glitter transfers, solar transfers, glow in the dark transfers and you even have the ability to design your own custom heat transfers!

It is so simple a shirt can be made in under 15 seconds!

Just lay it on your garment, press it with your heat press according to the instructions listed online, and peel the release paper. It’s that easy!

The advantage to using Heat Transfers with your custom business is the ability to create quality garments quickly! With speed on your side you can create 2-4 shirts a minute depending on the type of transfer you’re printing – which is ideal for bulk orders or when you are preparing for a selling event.

Take a look at all of your options:

Screen Printed Transfers

vibratrans3-1


Add some bling with Rhinestone Transfers

img_1756


Or some sparkle with Sequin Transfers
pumpkin


See colors change with Solar Transfers

img_0187

You can even add letters with Screen Printed Transfers or Rhinestone Transfers!

266c181d-b228-4ded-aaad-2590ecc40d9c

Mixed Media Transfers offer a combination of screen print, sparkles, and/or rhinestones

hope


Personalize your garment by adding vinyl around your Transfers

img_1565


Or, create Custom Heat Transfers at PW Custom.

pin


Your options are endless! View all of our Heat Transfers on our website!


You may also like:


img_2931-1-1

View & Add Comments

Vinyl on a Hair Bow

Today we have a quick and easy DIY project that is sure to make you cheer! Did you know that you can add vinyl to a hair bow? You sure can! By following these simple steps, the possibilities are endless.

You Need:

To create your own spirit day bow you should first measure the tail of your bow, and size your design to fit it. Reverse your design, and send it to your cutting machine.
img_1554
 Weed the excess vinyl from your design, and then simply use your heat press to apply.
img_1557
 Peel the transfer tape and you are done!
img_1621
 Voila! 
Are you going to design your own hair bow? We want to see!  Tag us by using the #proworldinc or by tagging us at @proworldinc
View & Add Comments

Glow In The Dark Halloween Towels

With October sneaking up on us, it is the perfect time to try our Siser Glow in the Dark heat transfer vinyl! Today we are going to show you how we cut two spooky designs and applied them to kitchen towels to add some fright to the kitchen!

glow-in-the-dark

Want to create a Glow in the Dark towel for yourself?  You would need:

glow in the dark vinyl

First, you need to design your image, then load your heat transfer vinyl, flip your image, and cut! Since the glow in the dark HTV is part of the Siser EasyWeed product line, it cuts and applies like a dream!

img_1643

Once your design is finished cutting… it is time to weed your design and pre-heat your heat press.

img_1647

Now you can press your design onto your towel at 305F for 10 seconds.

img_1649

Peel the carrier sheet from your design because you are done!

And if you are short on time, but need some Halloween images that have already been created… we have you covered! Go to the “Heat Transfer” tab on our website to find over 40+ Halloween heat transfer designs ranging from screen printed to rhinestones, and even some glow in the dark!

View & Add Comments