Headed to a baby shower? Here are some fun, personal gifts for the new mom in your life.
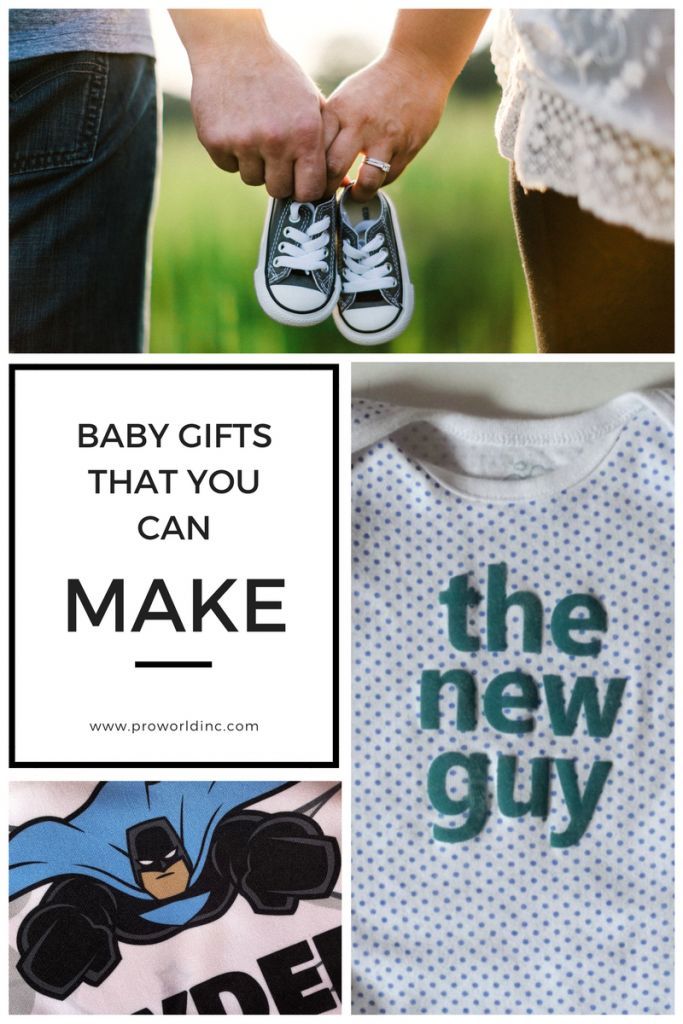
With the step by step tutorials below, your gifts will be ready in no time.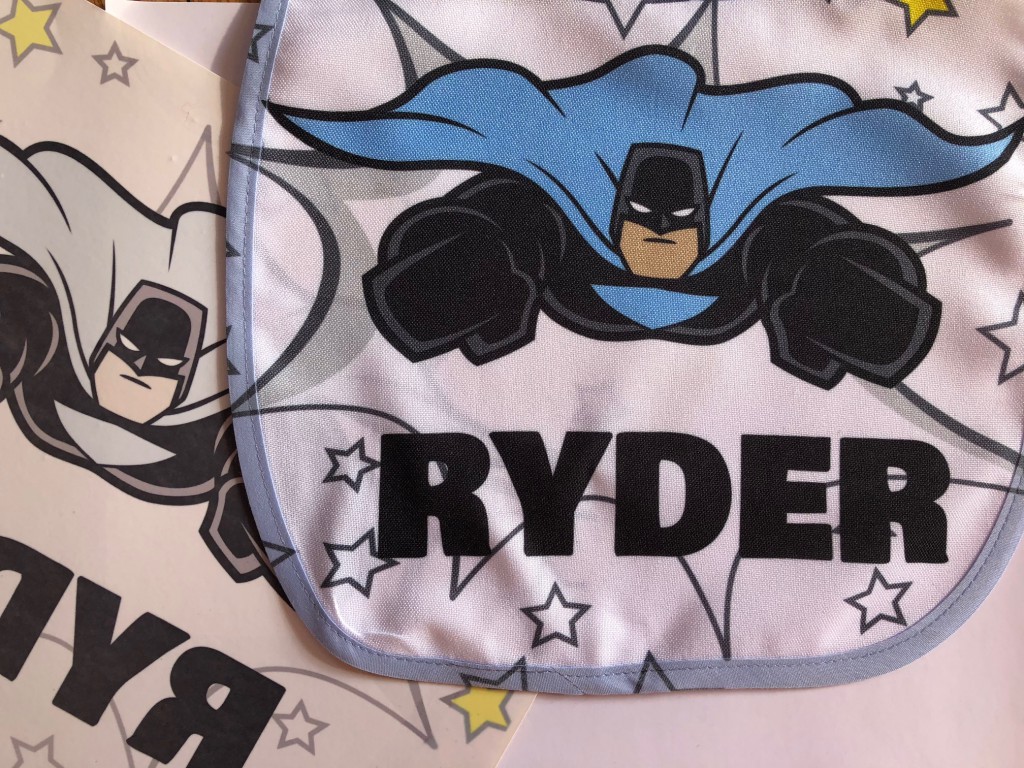
Gift idea #1- sublimate a bib
For this project you will need-
-A bib
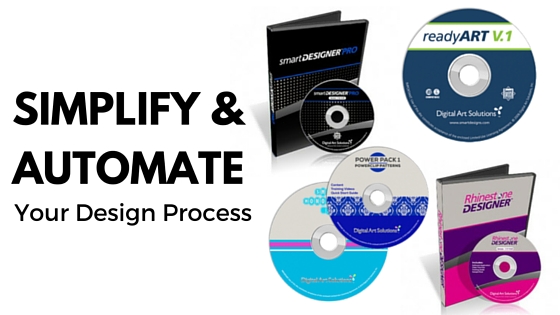
-design software
Instructions:
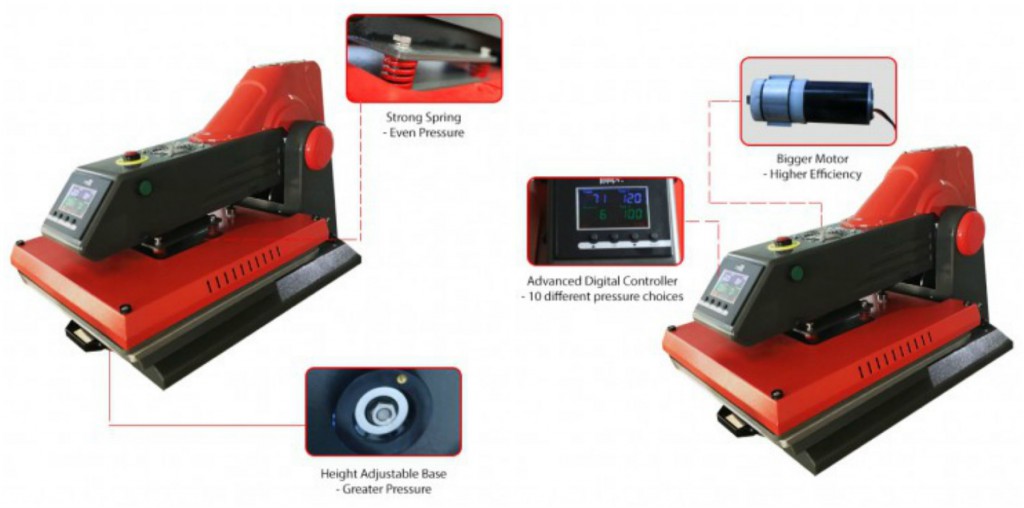
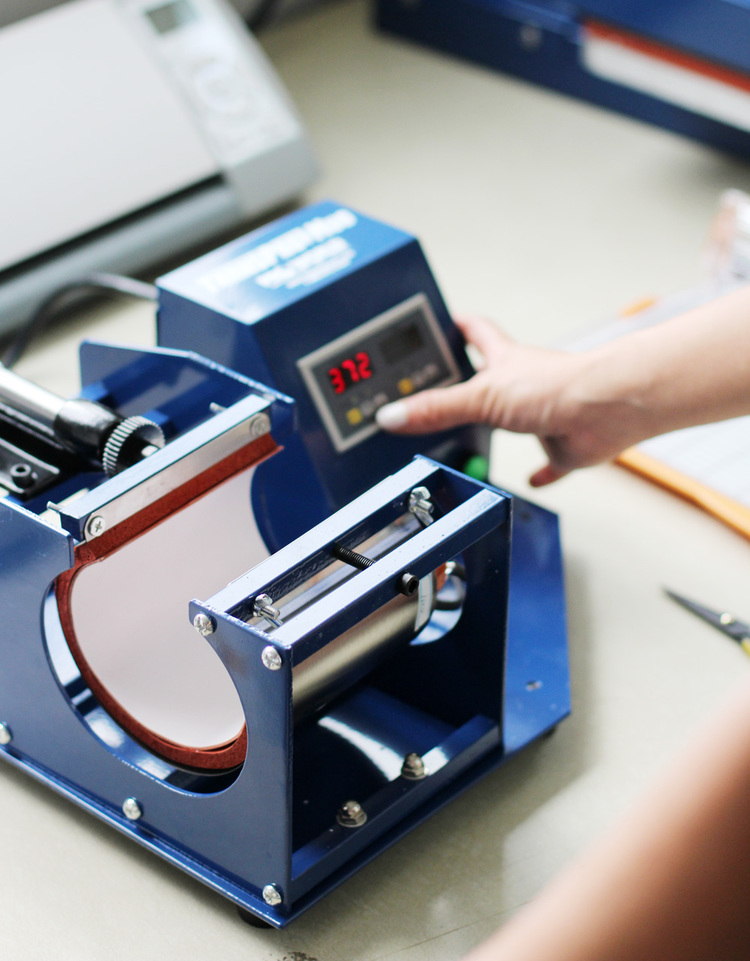
- Set your heat press to 400-degree Fahrenheit.
- Set the timer for 45 seconds.
- And then set the pressure to medium.
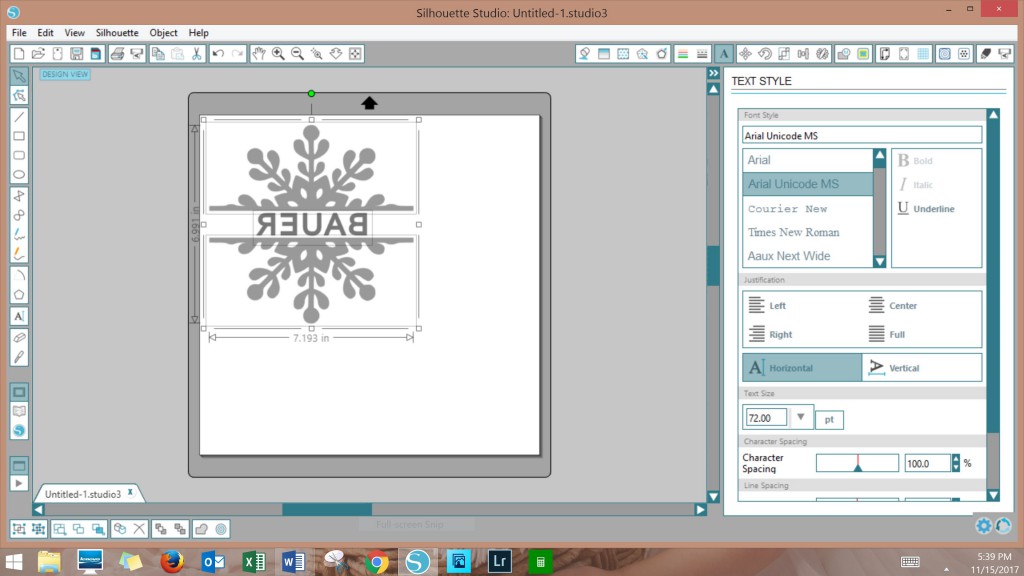
- Create your design and using your software switch to a mirror image (if you need to).
- Print a mirror image of your design onto Texprint Paper.
- Then place the paper face down on the bib.
- Cover the design with a non stick sheet.
- Press your design at 400 degrees F for 45 seconds with medium pressure.
- Remove the paper immediately and peel hot.
- Admire your work and wrap your personalized gift!
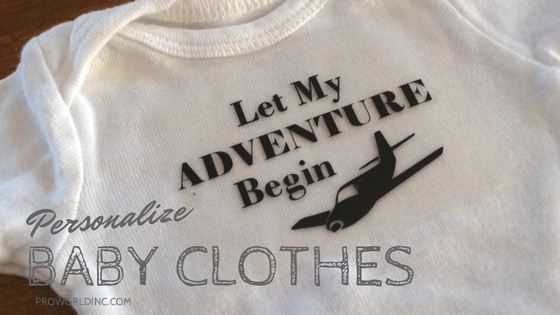
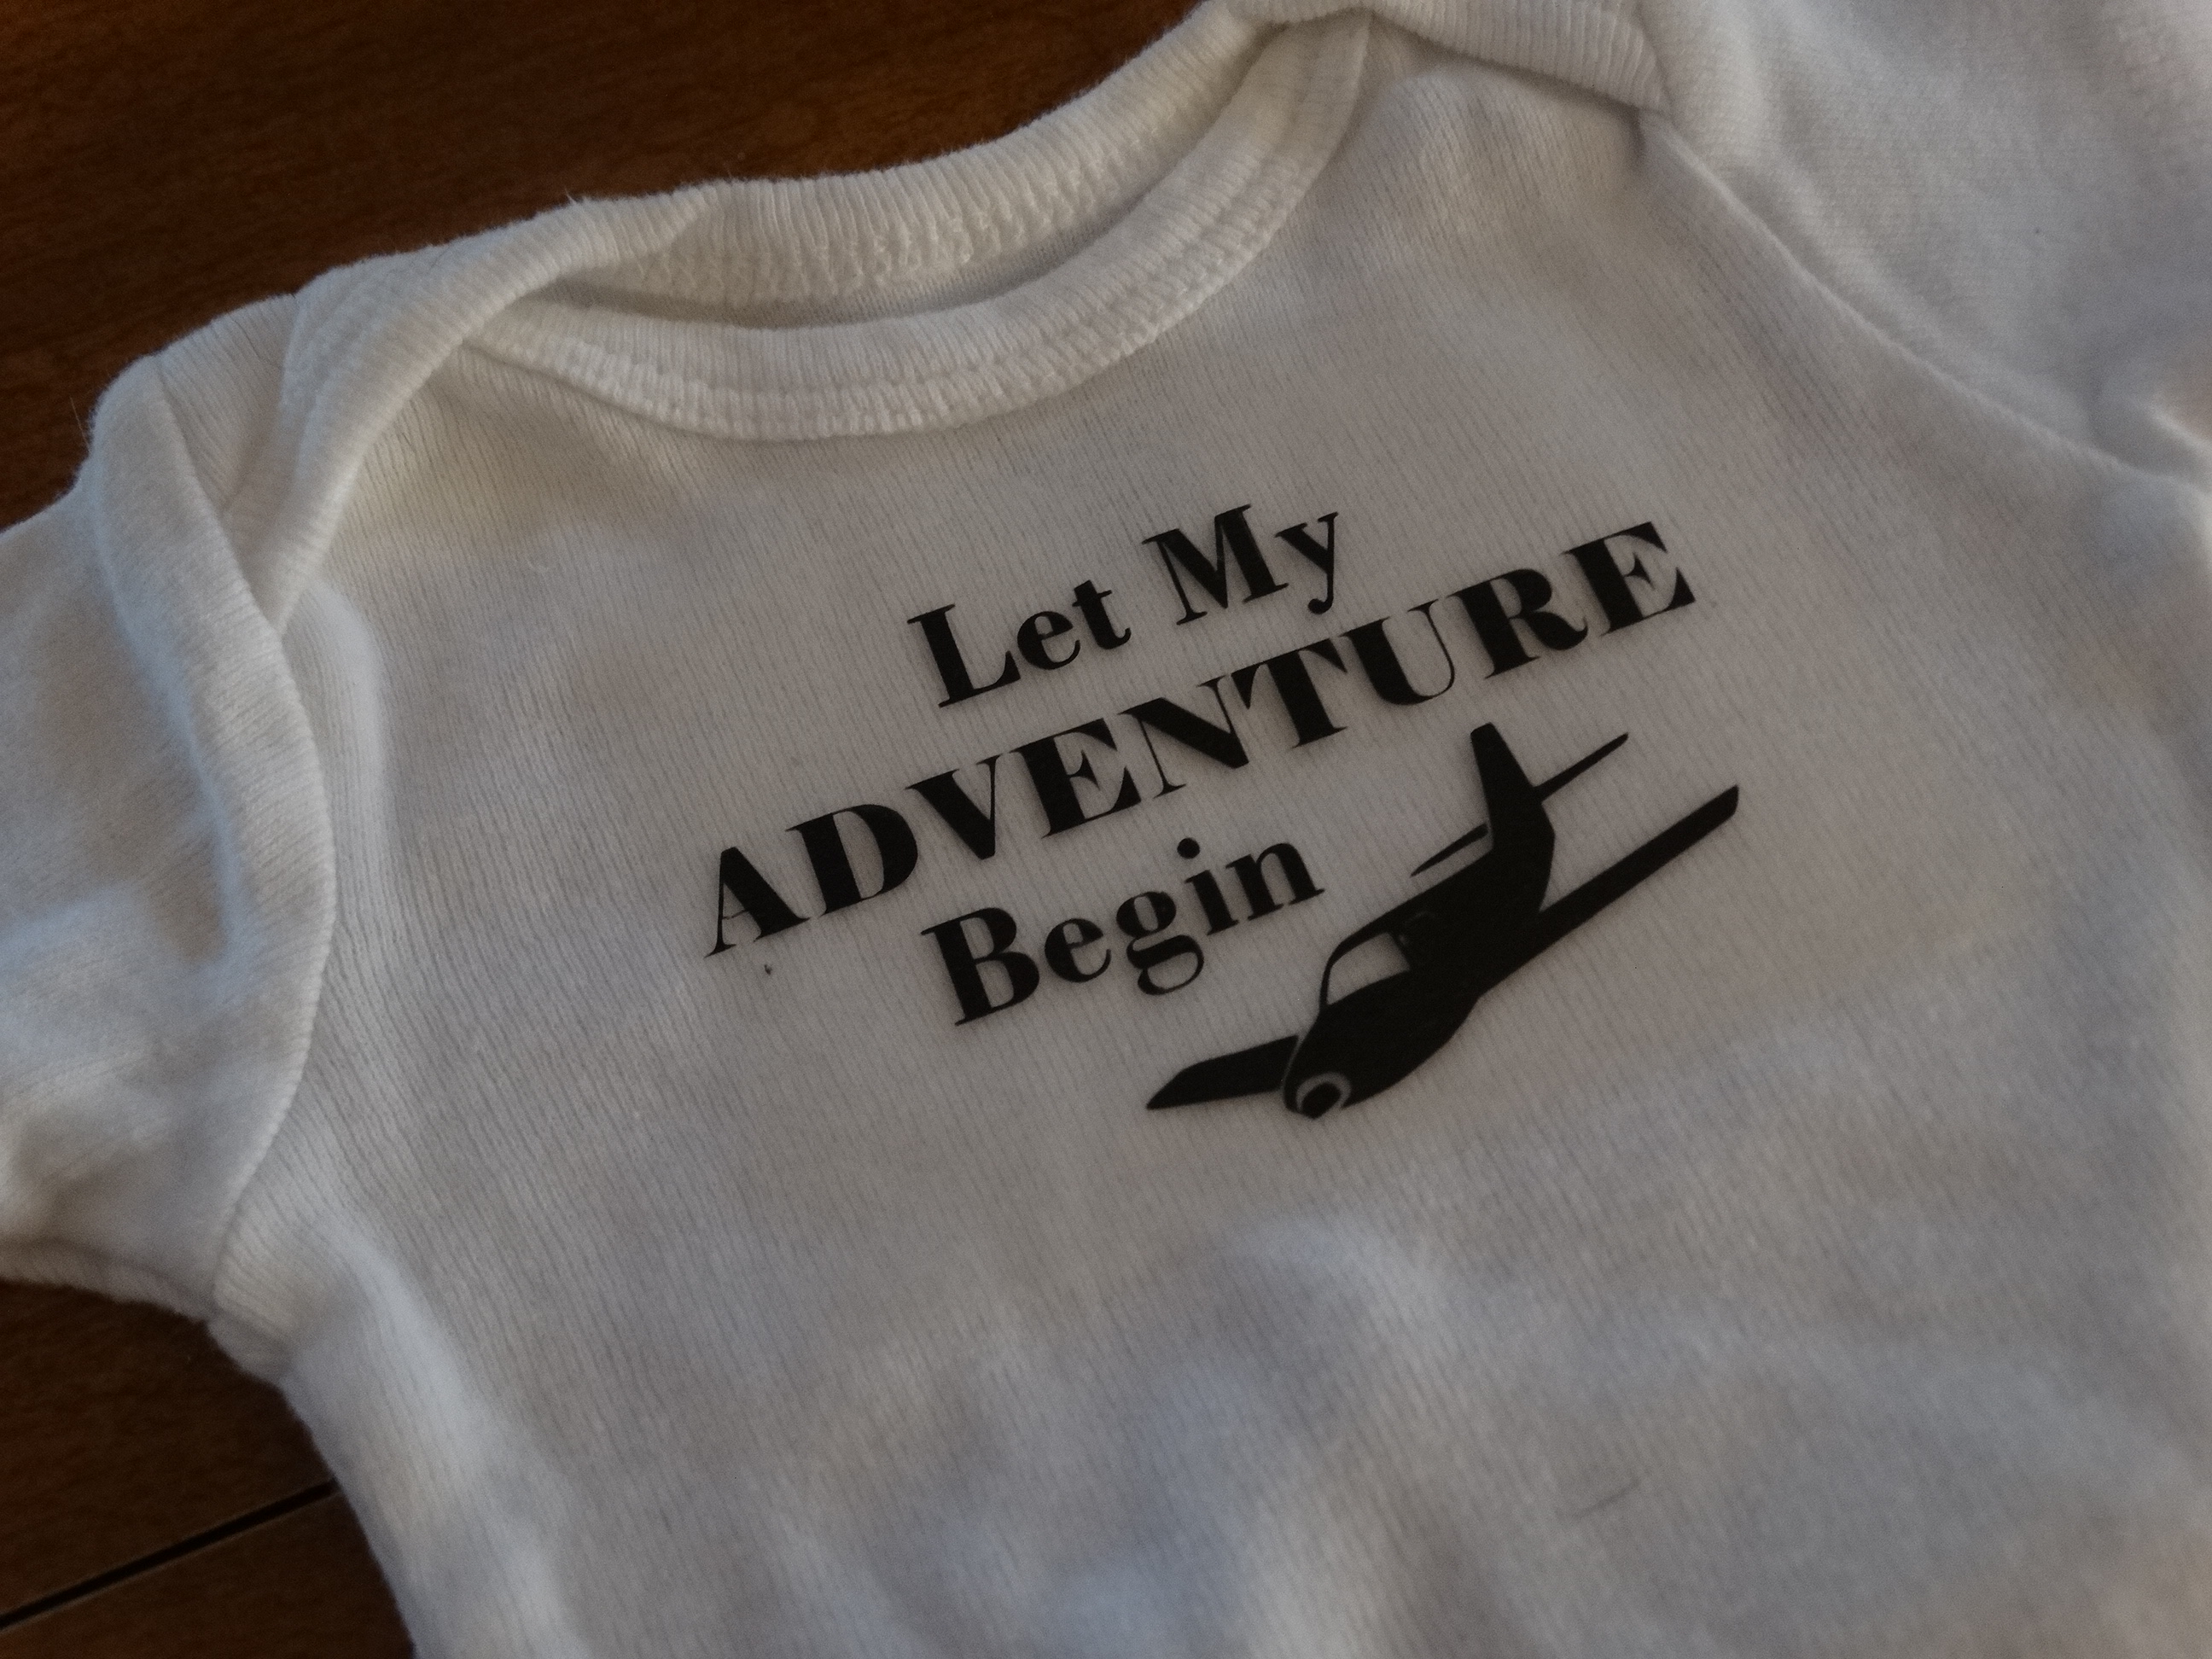
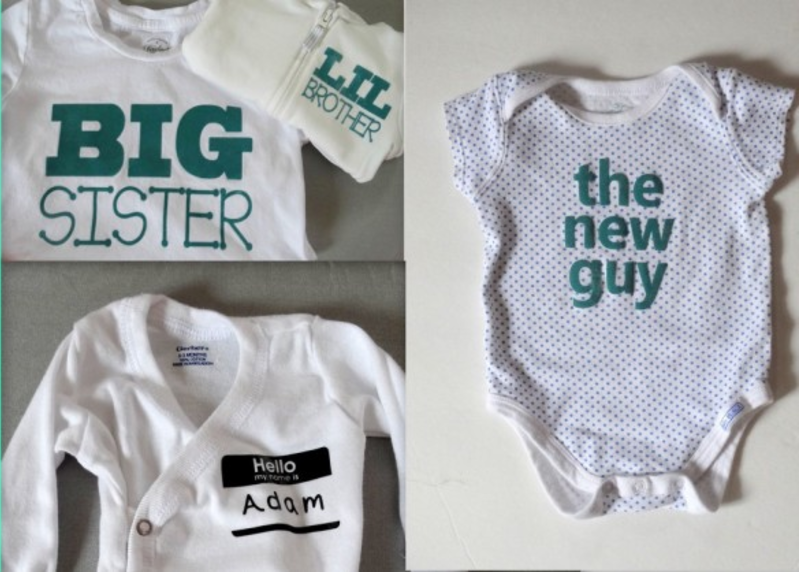
Gift idea #2- personalized onesie

For this project you will need-
-a baby bodysuit
Once you have your supplies follow these steps:
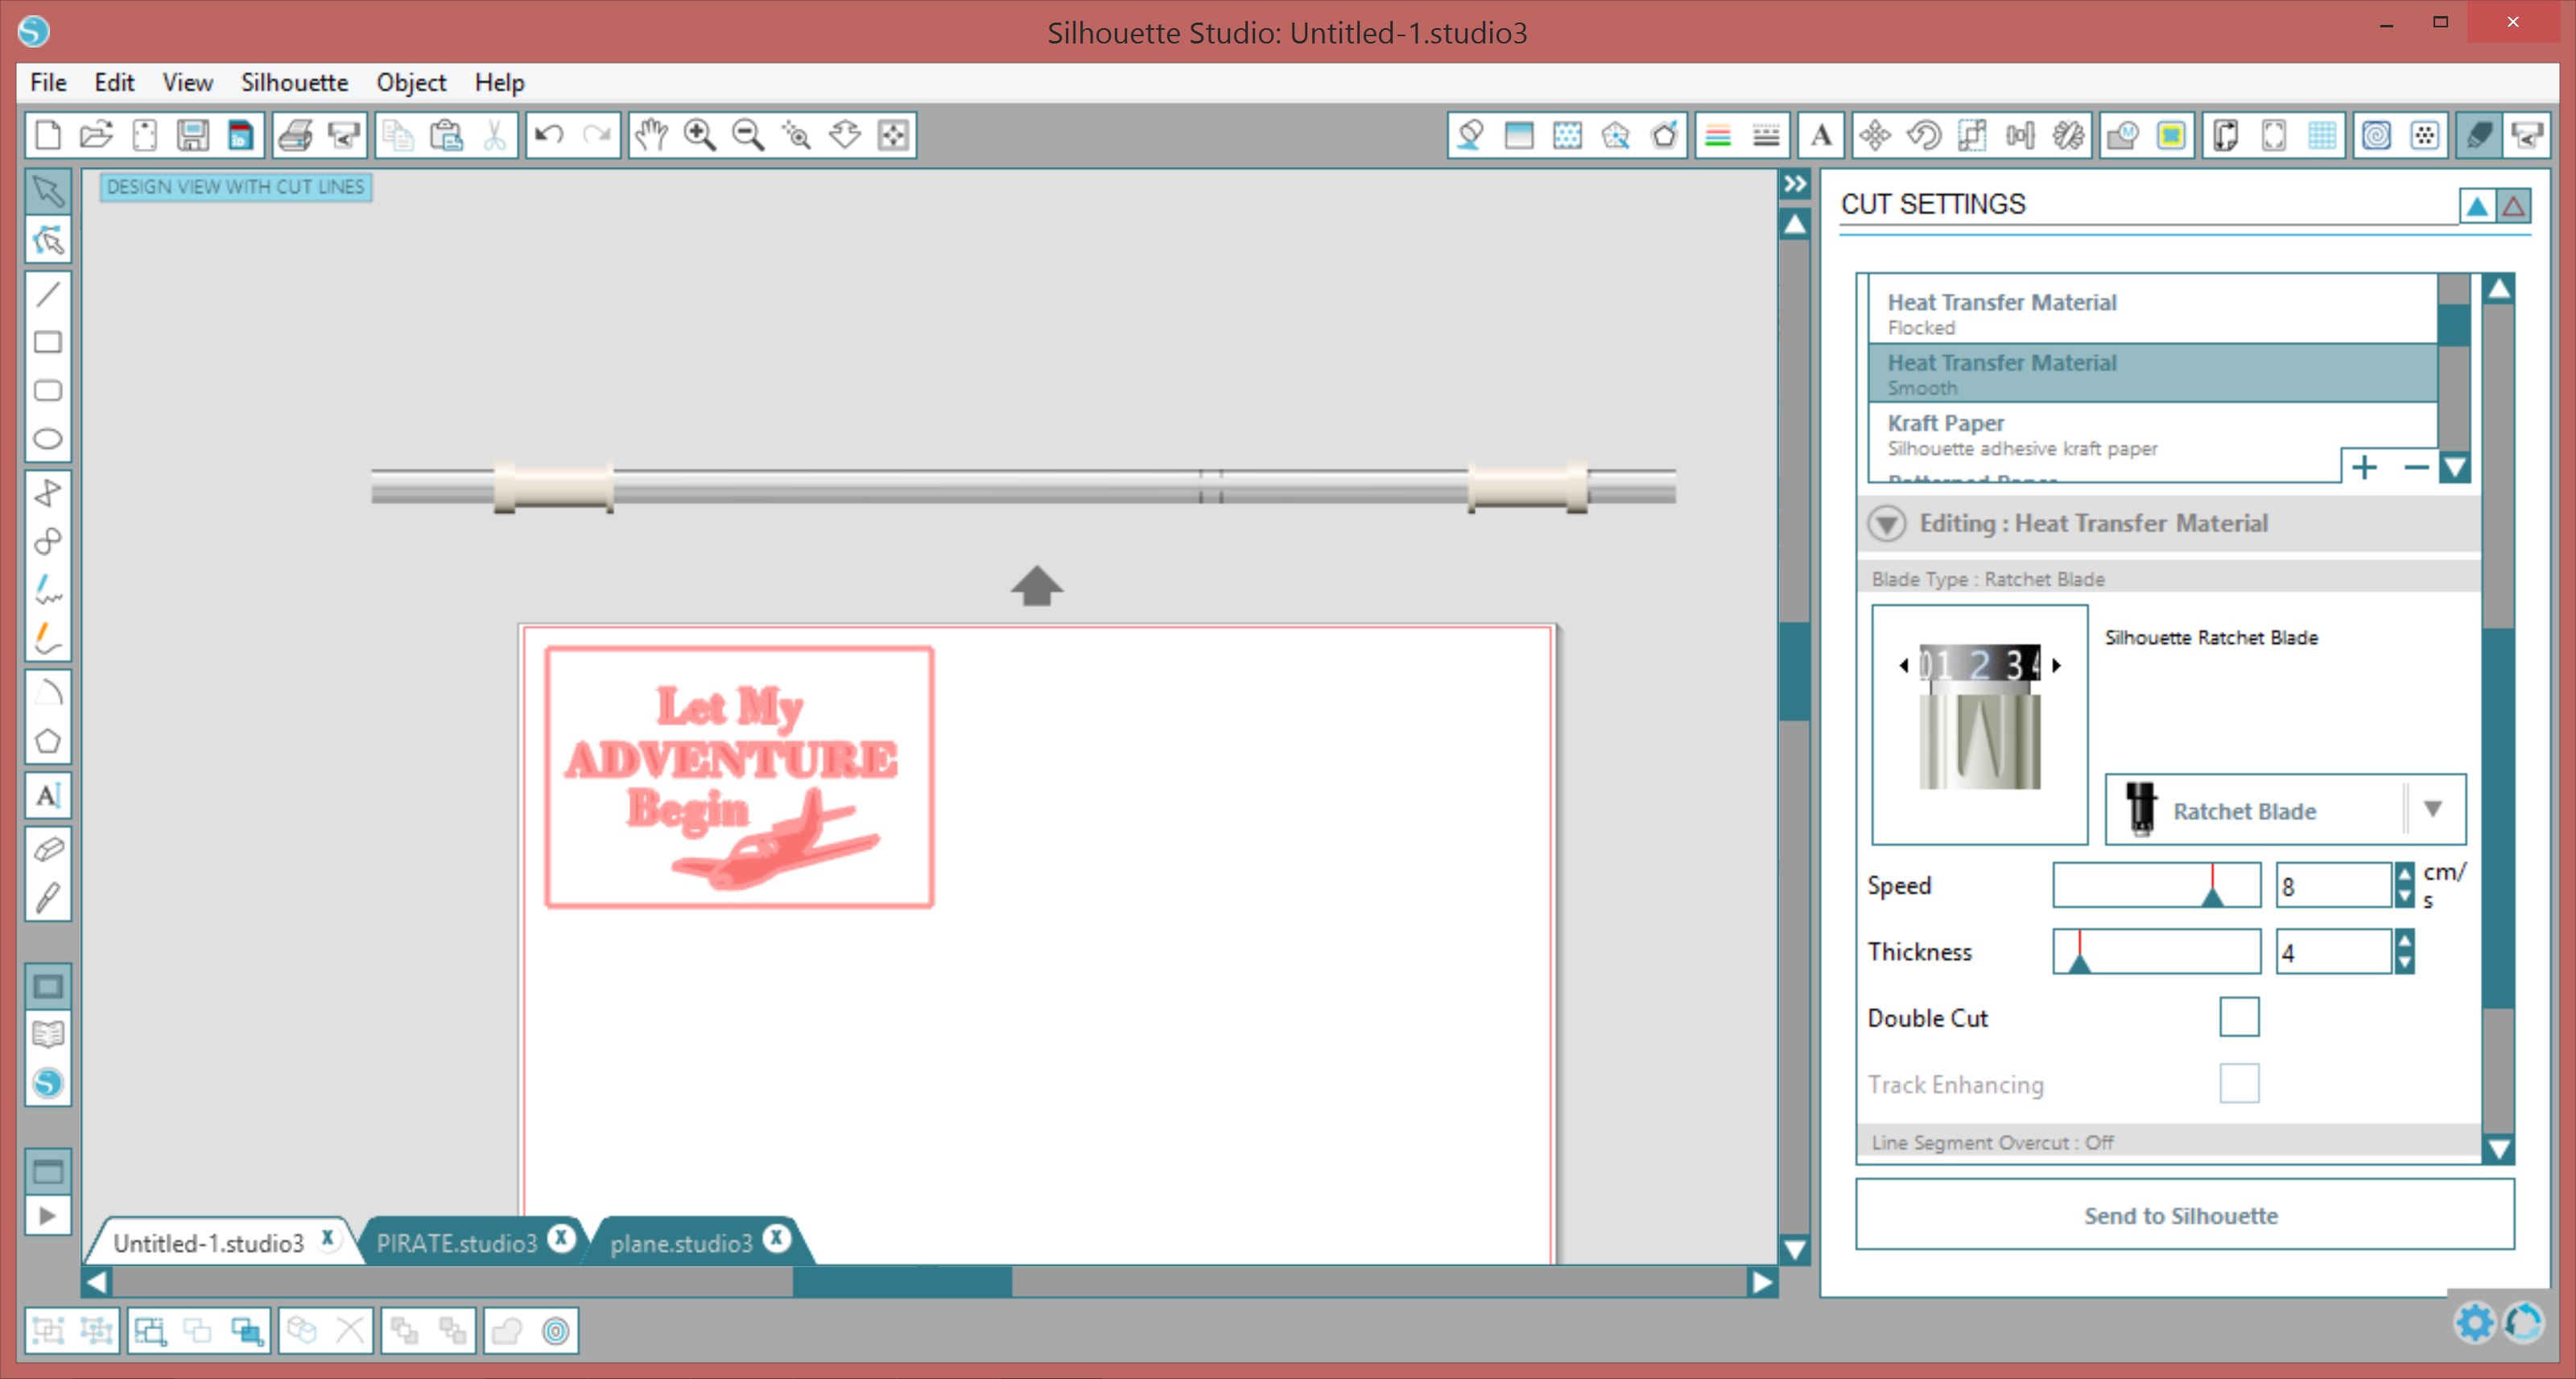
- Choose or create your design using your software.
- Next, mirror your image.
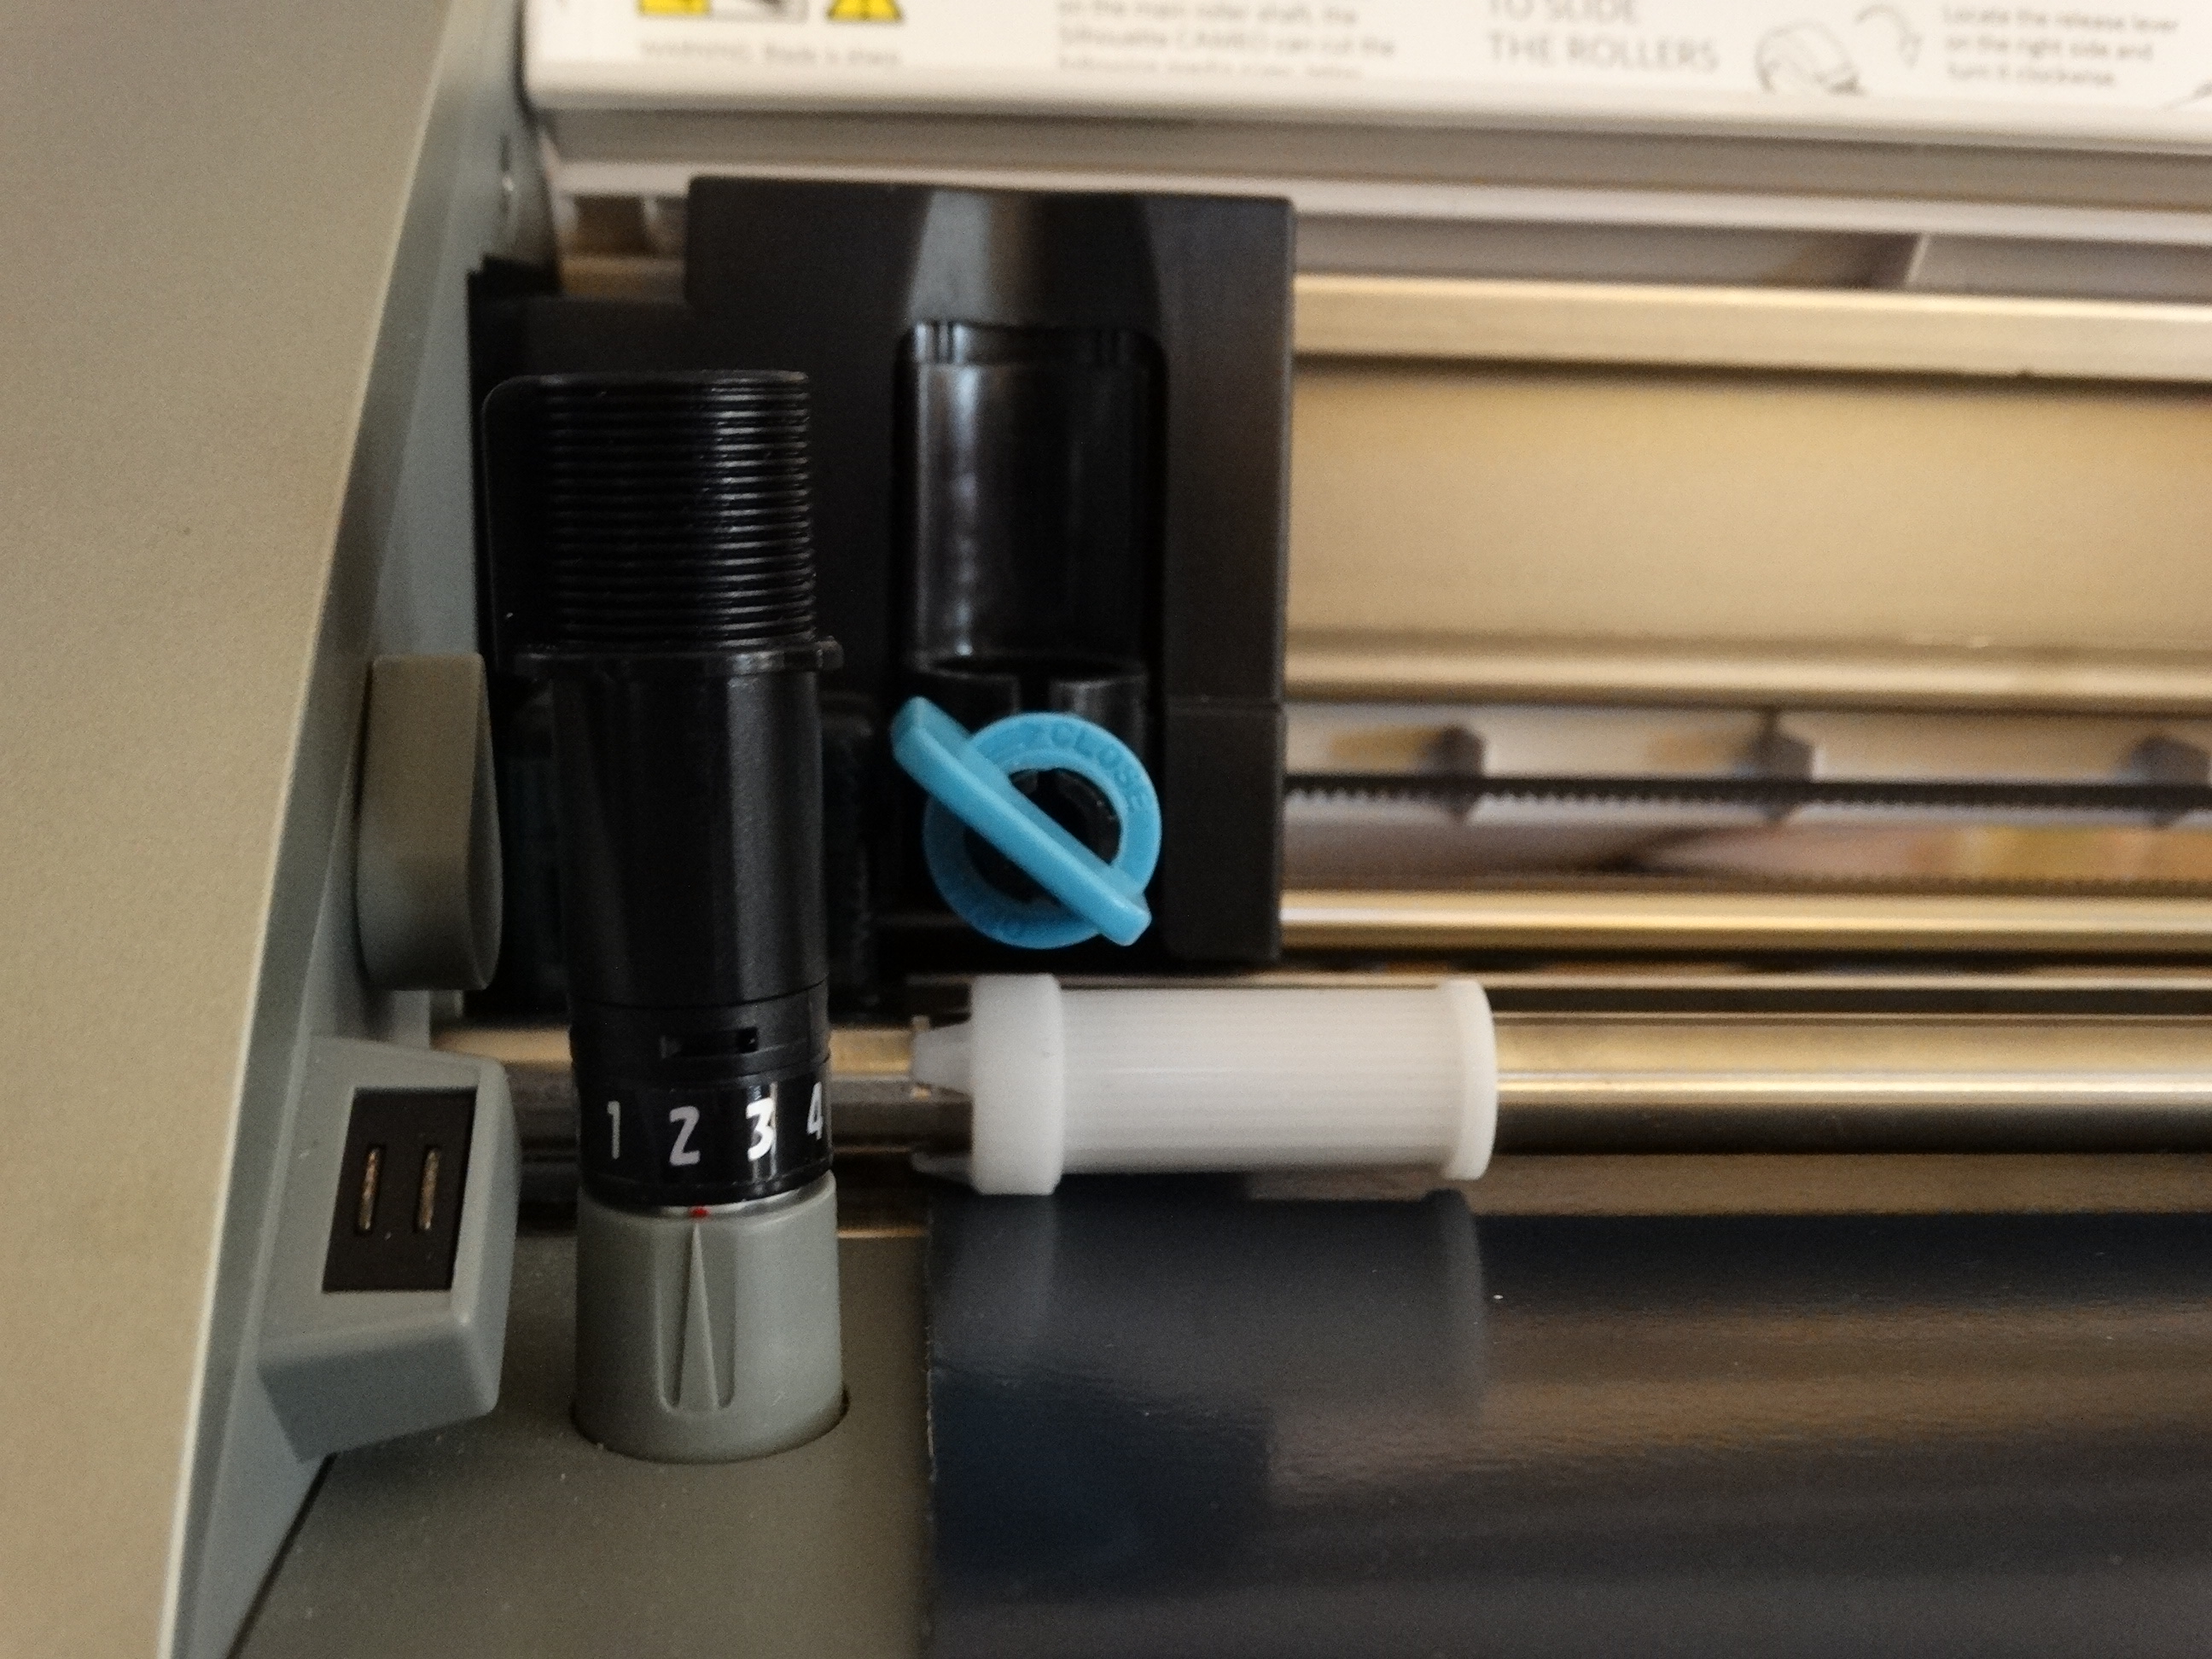
- Insert the heat transfer vinyl into your cutting machine.
- Double check your settings and then print your design.
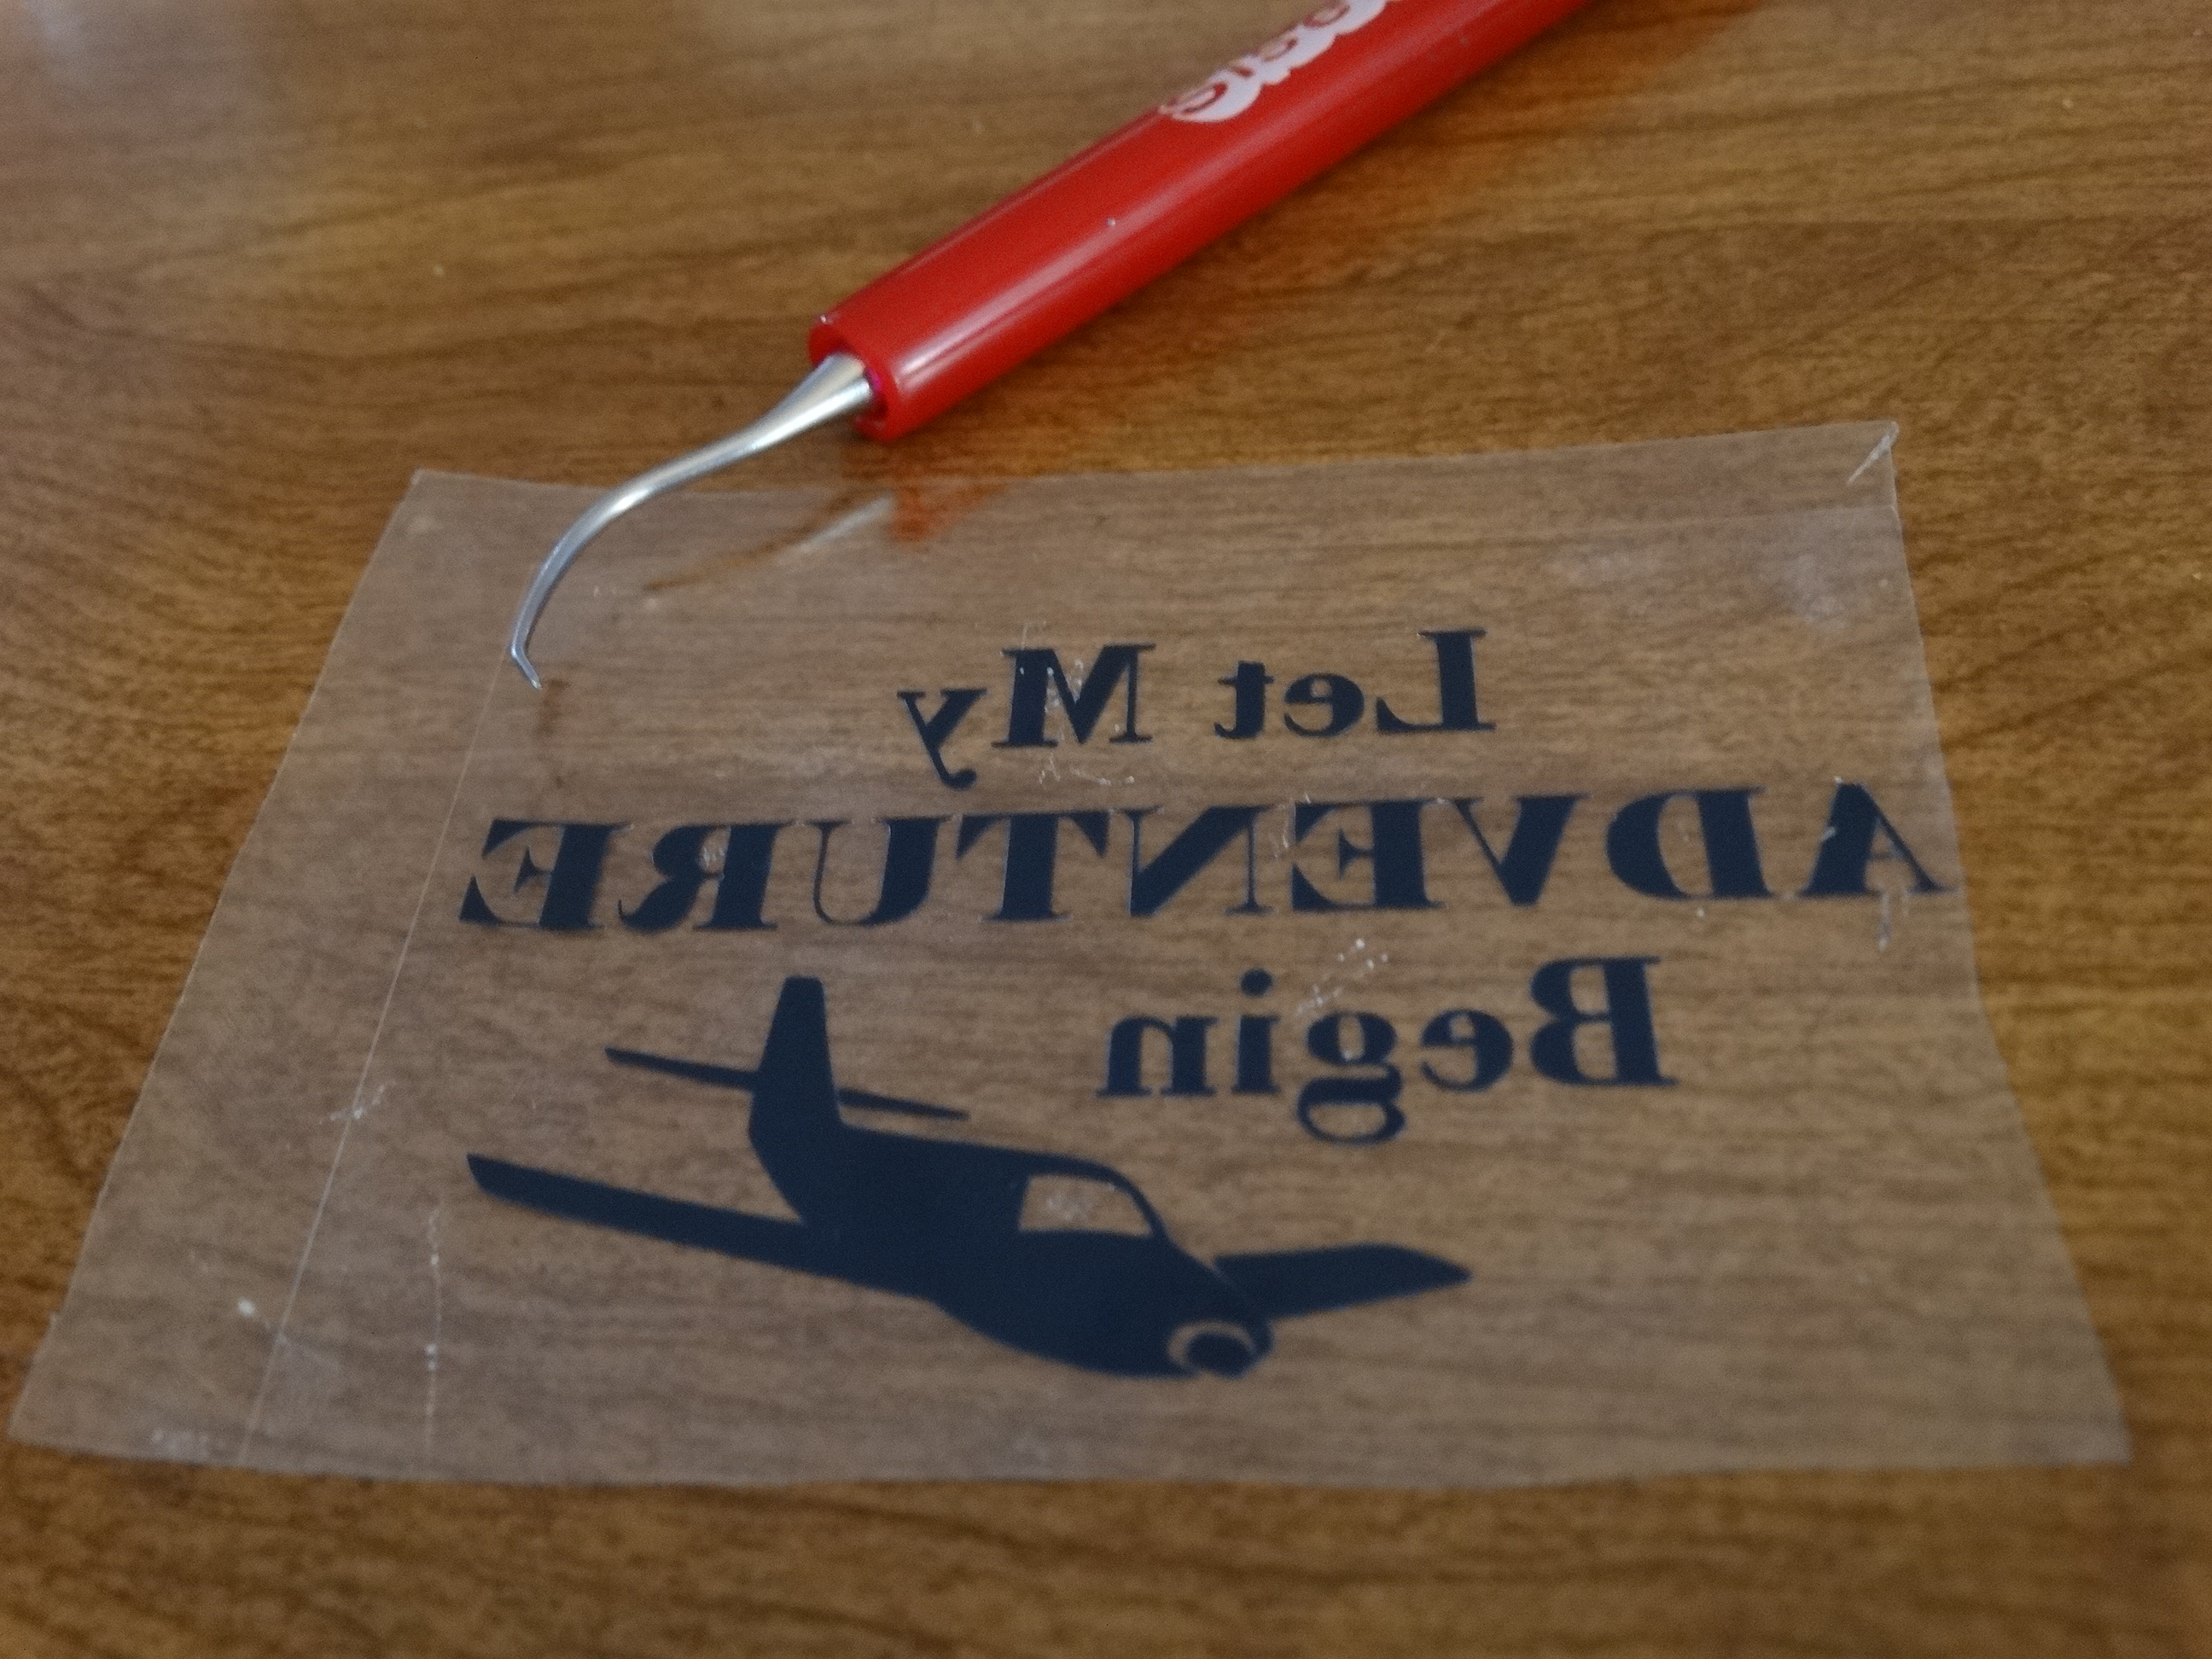
- Weed your design.
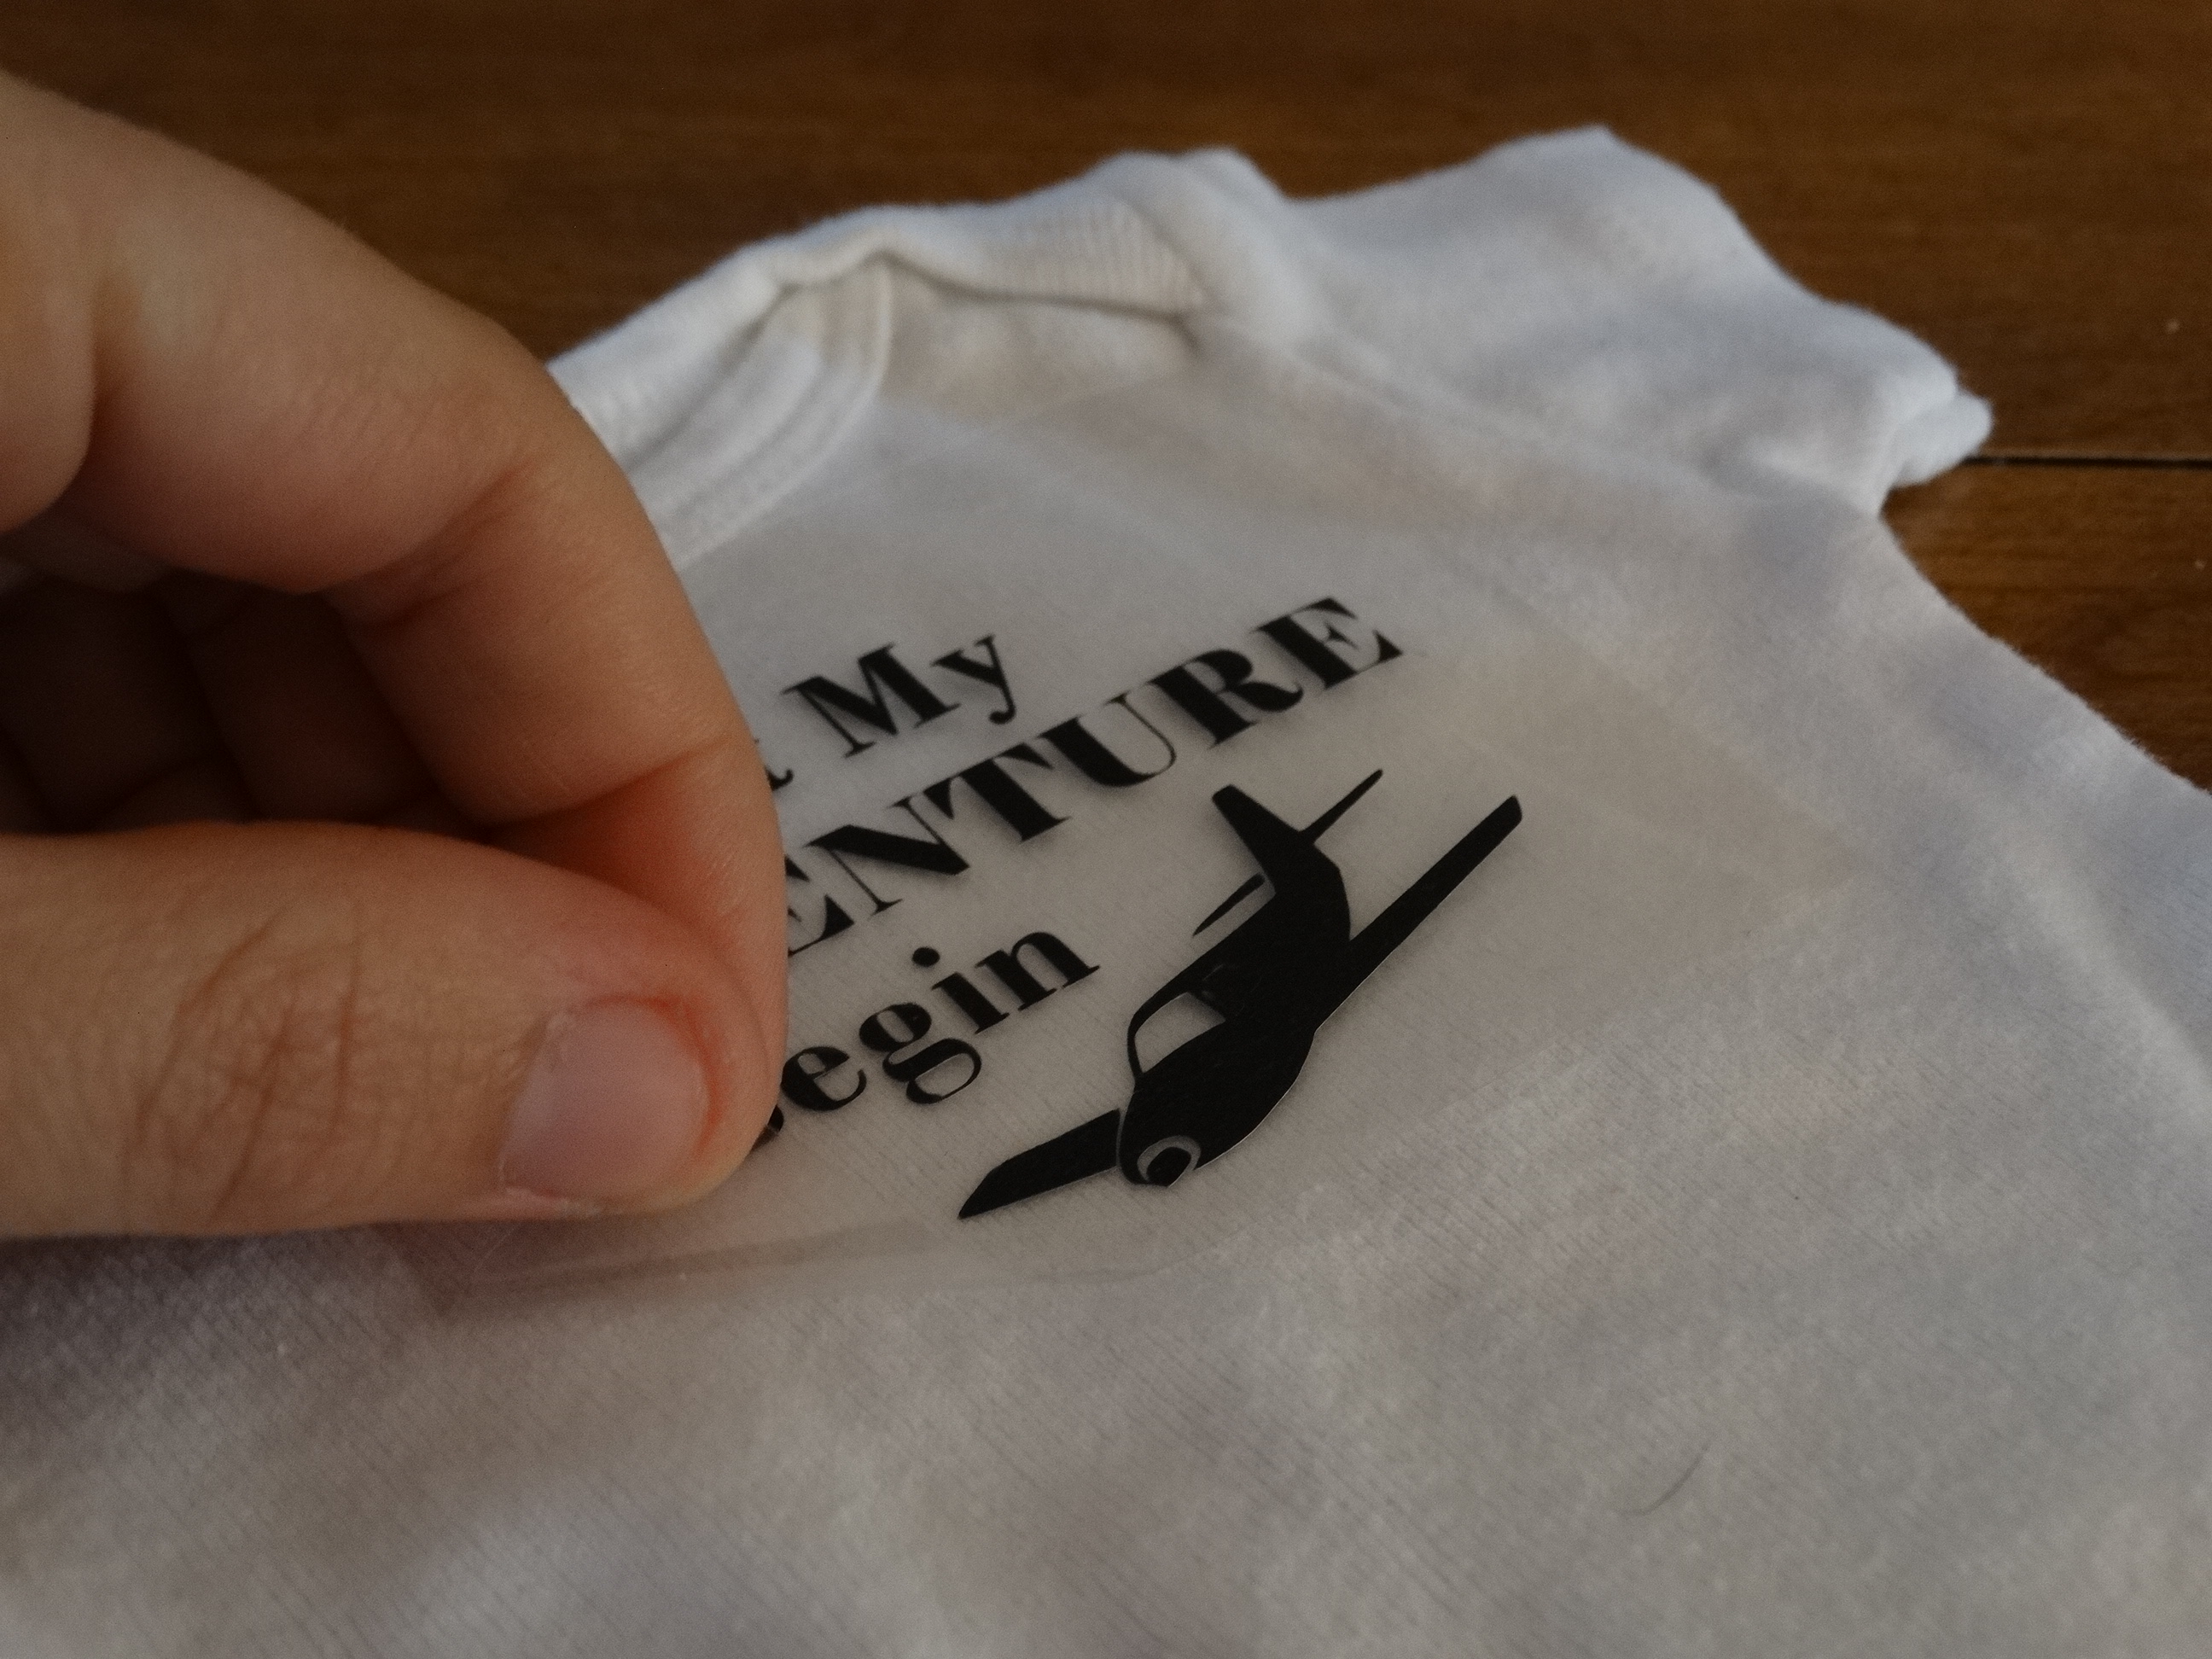
- Place your weeded design on your baby bodysuit and press it with your heat press.
- Voila! Your adorable gift is ready to give!