
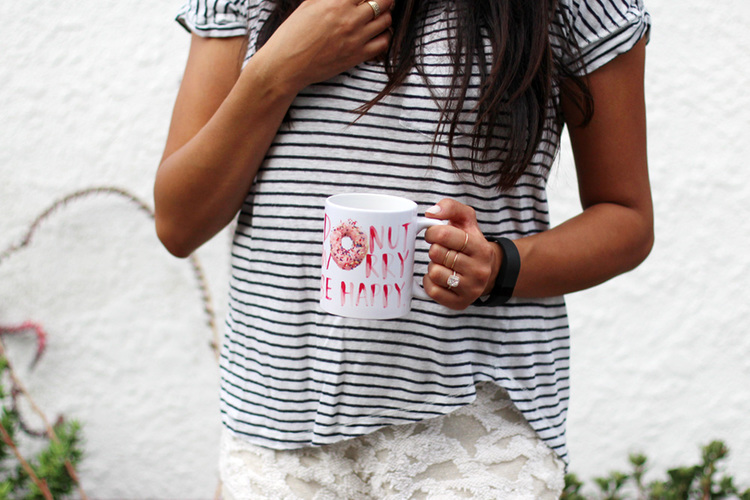
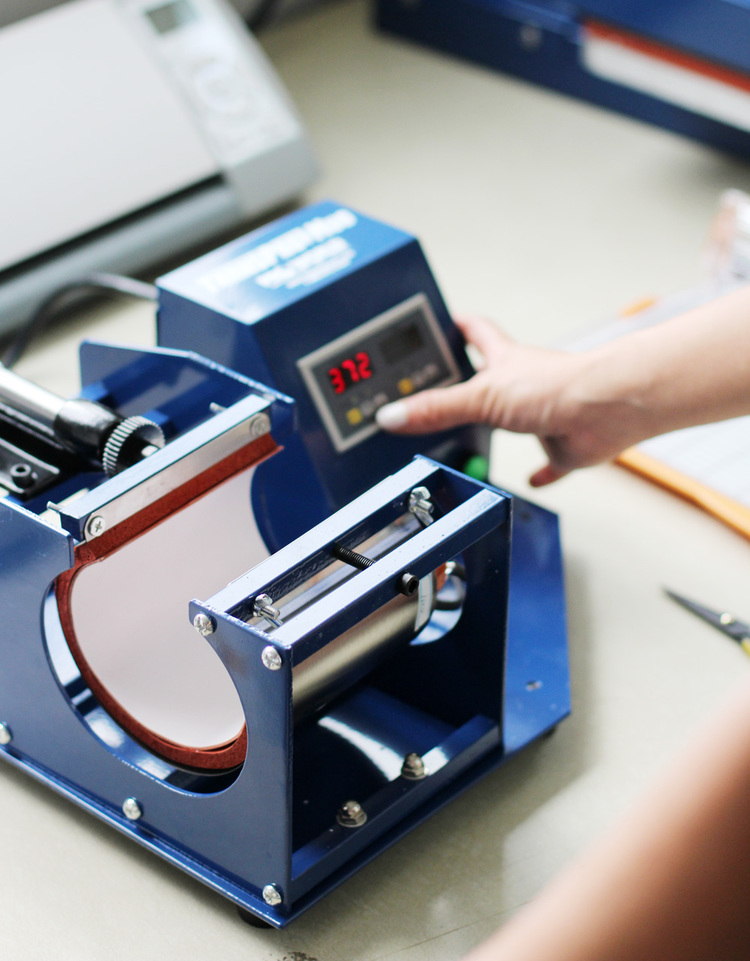
 I can’t even tell you how excited I am about a little thing called a mug press. For my collaboration with Pro World, I started to dream up ideas for making custom items and felt giddy. It reminded me of when I was 23 years old, thinking about starting a tee shirt line back in 2002. One of my mentors referred me to someone who advised I invest in a heat press. Back then internet shopping had really only just begun for me, and I scoured eBay to try and find a heat press (similar to this one) that was gently used. Then I realized that if I am going to purchase a piece of equipment that would be a business expense and an investment, I should consider buying a new one. It was so long ago and such a crazy time in my life working as a freelance stylist, part-time cocktail waitress, and then dabbling in tee shirt designs, I can’t remember how I actually even obtained the heat press. But I sure do wish I had a resource like Pro World back then. I started off just experimenting. I would print designs onto scrap pieces of fabric. I used heat transfer paper similar to this and my home printer. I printed the design (in reverse) and then cut it out by hand. Once heat pressed onto the scrap fabric, I would then hand sew them onto a tee shirt or tank top. The process was so much fun and I felt like the potential to create was limitless. When I decided to take things to the next level, I decided to print by own labels onto muslin that would then be hand stitched into every garment. By that point I had found seamstresses and local hand sewers (in Atlanta), and I had a little business going. It was enough to allow me to quit working in the restaurant and forced me to take it all more seriously rather than just doing it for fun. While I don’t think I have the desire to start making mugs for a side business, it sure is fun and someone should do it! Perhaps one of you out there?
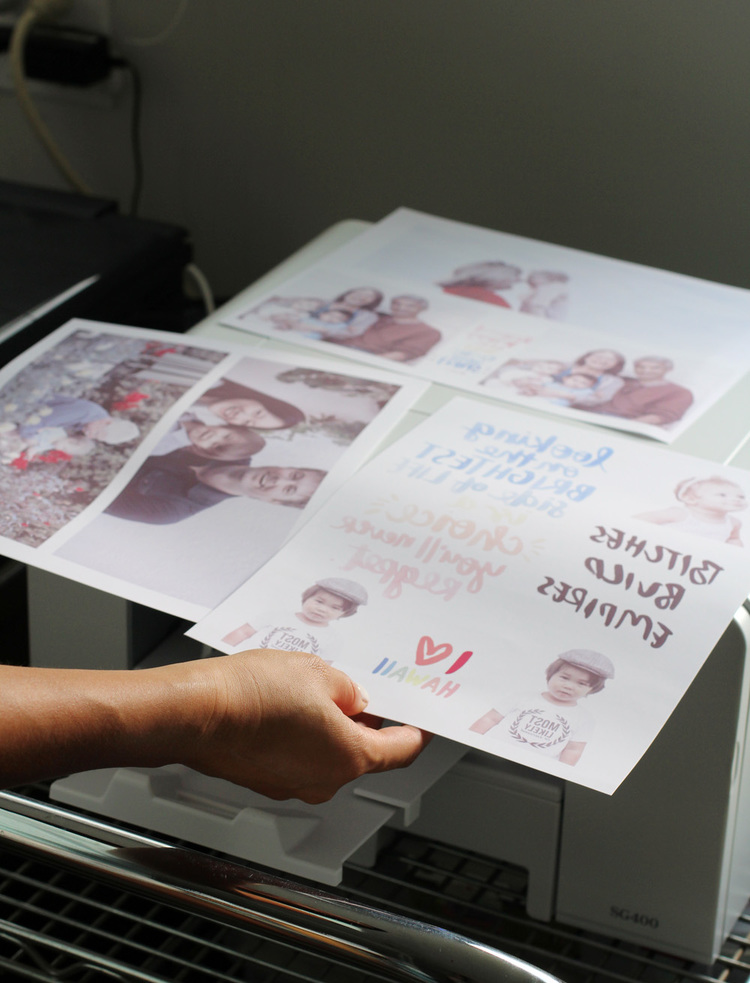
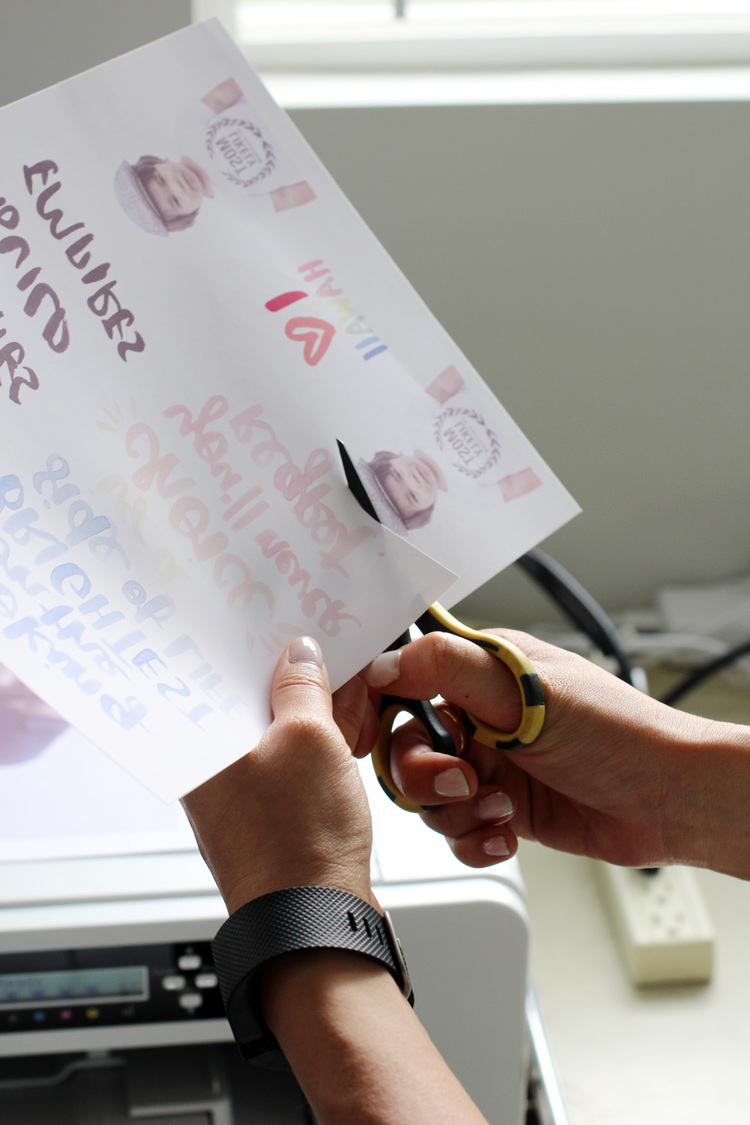
Using the sublimation printer that came in the Pro World Mug Starter Package, I printed multiple designs onto the special paper in reverse (flipped horizontally). Not wanting to waste space on the paper, I experimented with several types of images and made sure to fill up as much of the sheet as possible. I trimmed around the design – the coolest thing about sublimation printing is that you don’t have to worry about trimming so close to the design to avoid anything white. When using regular iron on transfer papers and an ink jet printer, you typically have to trim as close as possible.
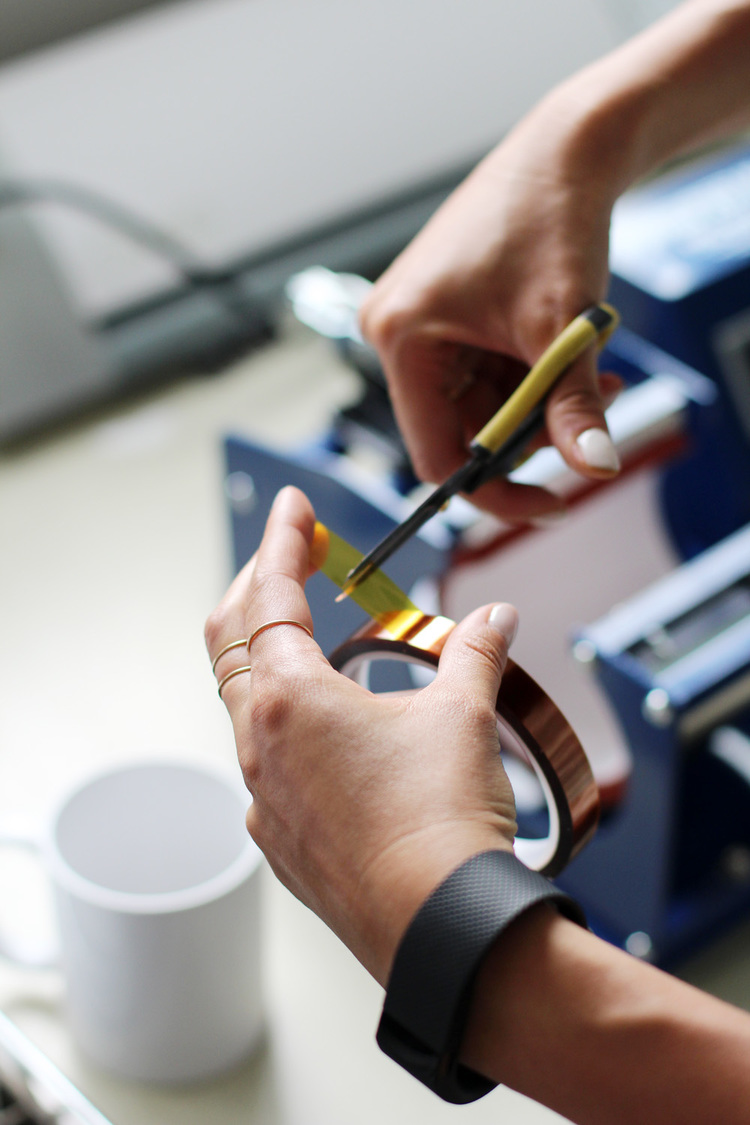
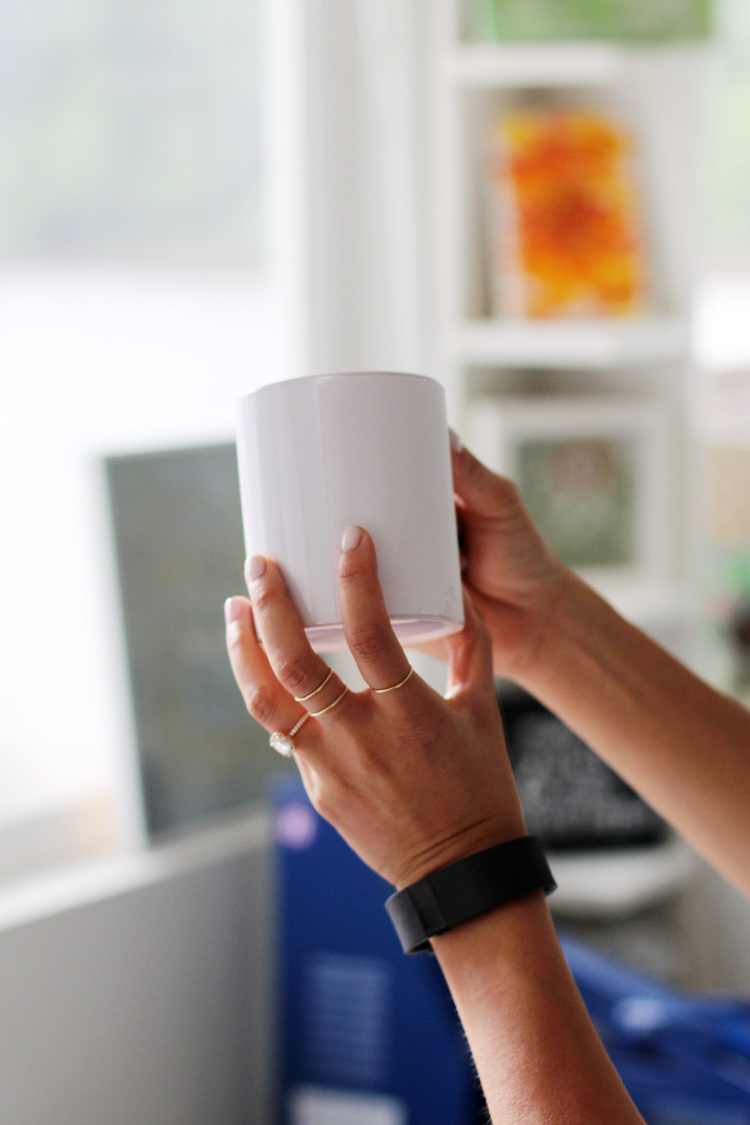 Using heat resistant tape, I attached the design face down to the mug while the mug press was warming up.
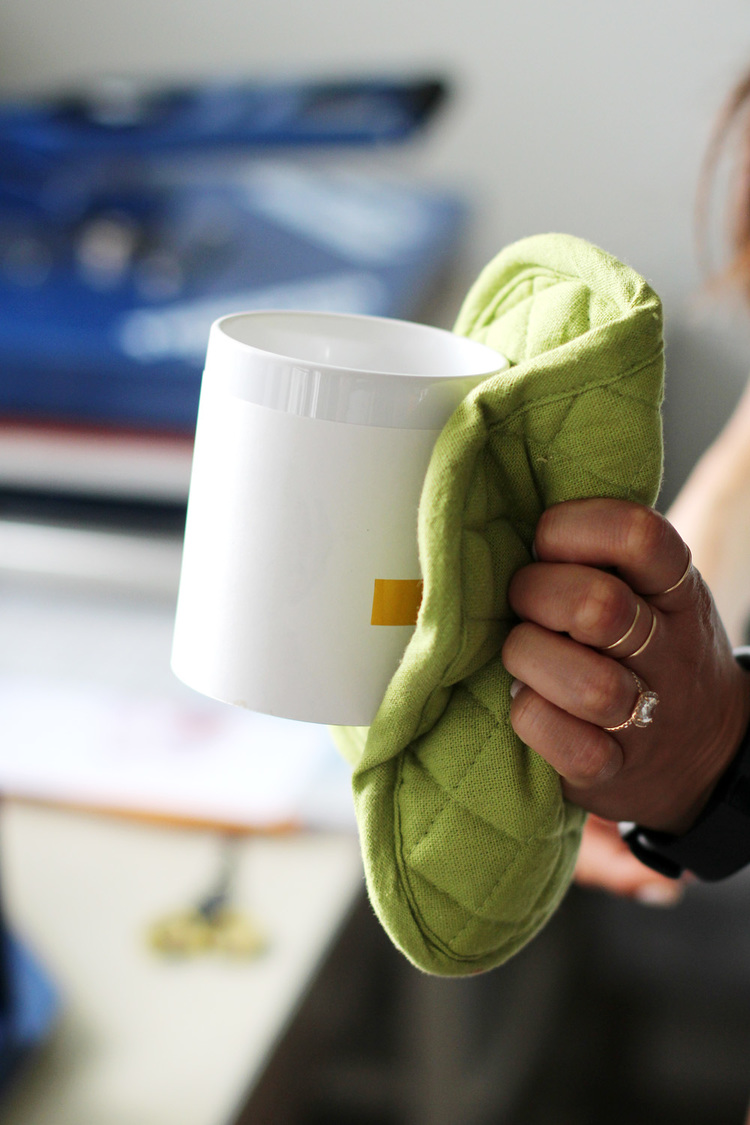
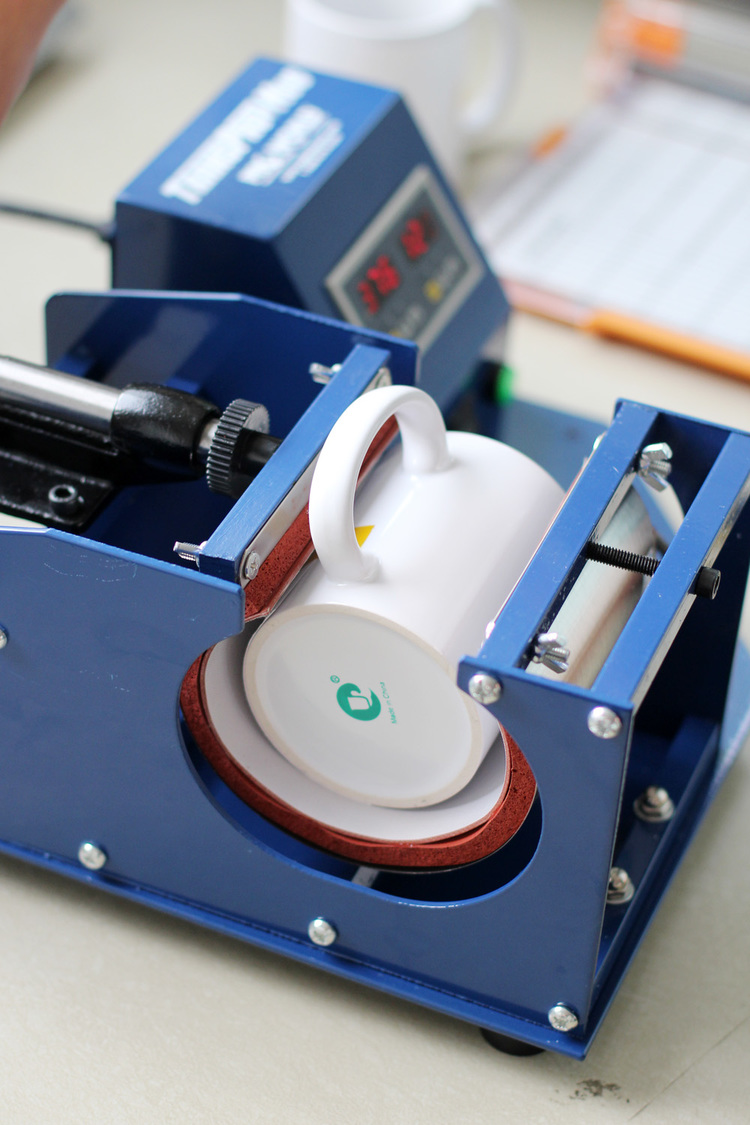 I recommend using something like an oven glove once the machine has done it’s job, as the mug is still pretty hot.
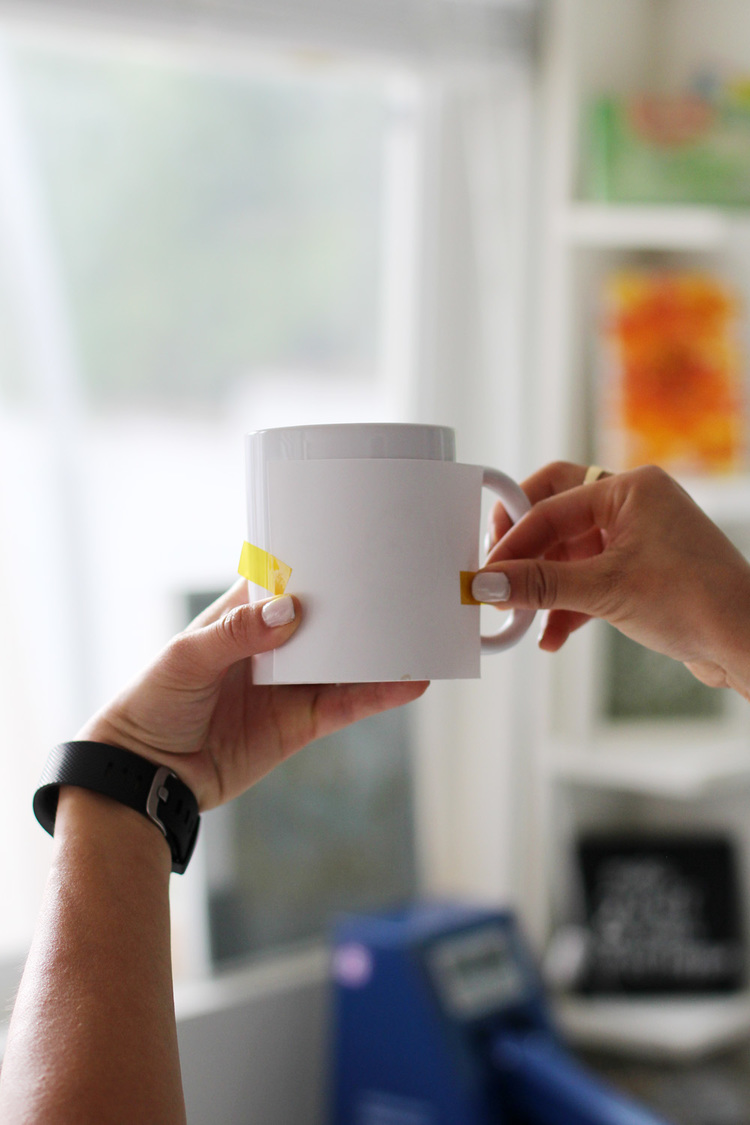
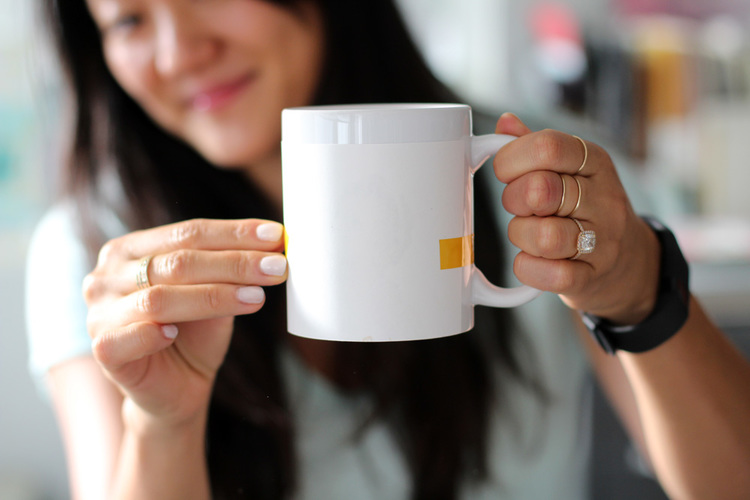
 Once cooled off enough, peel off the heat resistant tape. It comes off easily, but I would recommend not getting too excited about peeling it off that you burn yourself, as I almost did.
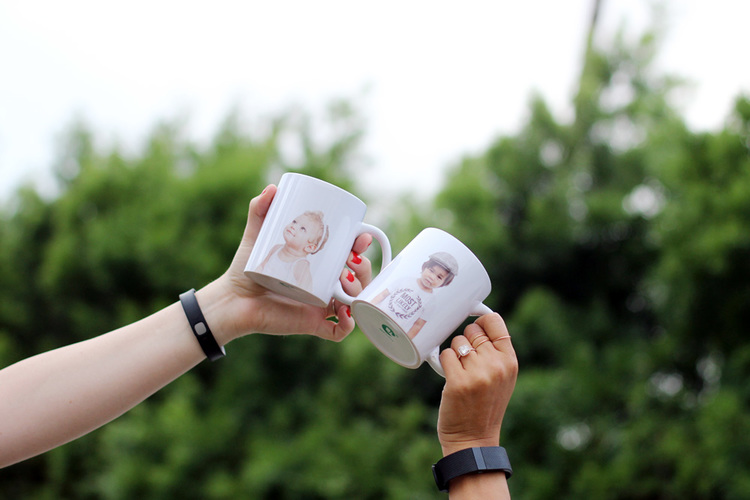
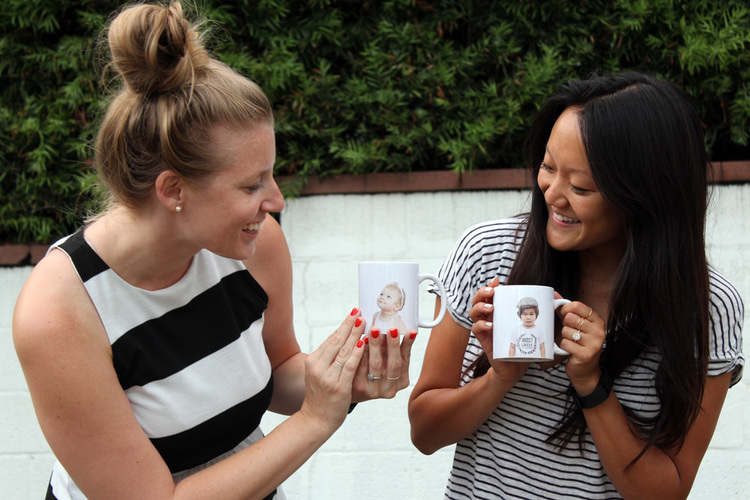
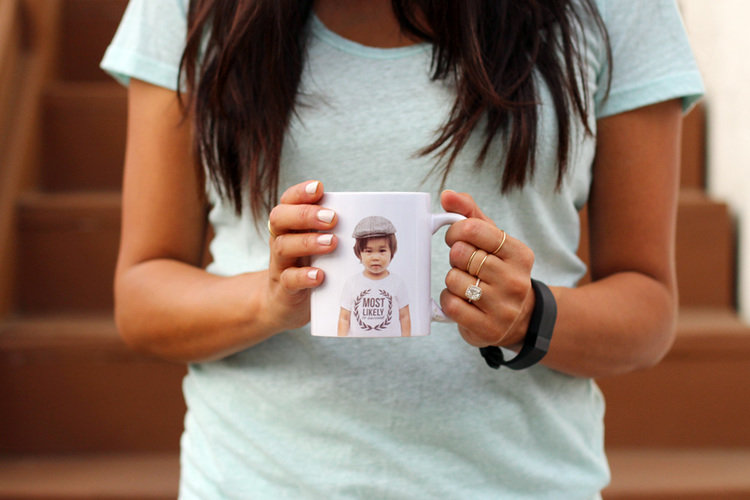 Ann-Marie and I were laughing and dying over how cute our little ones look on these mugs!
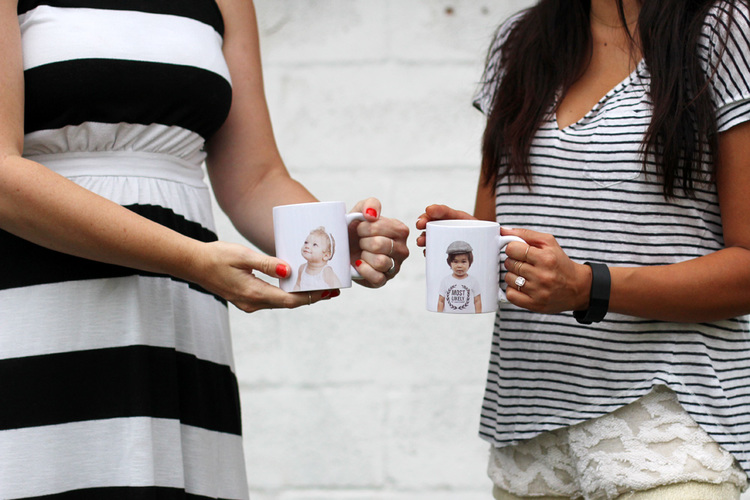
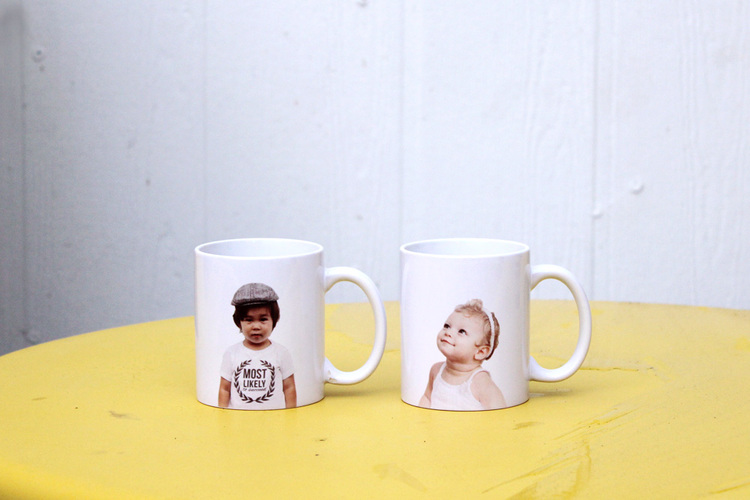
 As a small business owner, I think the possibilities would be endless for promotional products. These would make great giveaways or even add-on’s as part of a line. I could totally see people adapting card designs or tee shirt designs onto these mugs! What would you like to see on a mug?