Pro World Video Tutorials

Along with being the world’s largest supplier of heat applied graphics and materials, Pro World also has an extensive collection of helpful videos on our YouTube Channel. We pride ourselves on being the premier source for creative entrepreneurs and we’re going to take it a step further.

Between our YouTube videos and blog tutorials, we hope you’ve been able to expand your product offerings and skill set. But now, starting next month we’re also going to offer weekly Facebook Live Posts. If there is anything specific you’d like to see us talk about please leave us a comment below and let us know!

Here is a sampling of our top viewed videos on YouTube. If there’s something you want to see or learn more about, and you don’t see it there, please let us know!

TOP

Selling custom shirts can be a big undertaking, let PW Custom, by Pro World help make it easier for you. Just upload your artwork, tell PW how many transfers you need, what size you want them, and what colors you need them in, and we will print and ship them to you. Just have your heat press and supply of shirts ready to be pressed and you’re all set!

In the market for a new heat press? Check out this video for an overview of the Transpro 15×15, our most popular heat press. This is a great step-by-step tutorial.

This is a great step-by-step tutorial for our TransPro Transfer Machine. If you’re new to this or still deciding if it’s something you want to do, watch this three minute video.

Sublimation printing on latte mugs with our 3 in 1 mug press is super easy. We’ll show you exactly how in this brief, step-by-step video.

In this video we give you an overview of our Transpro Mini Heat Press. Don’t be fooled by its size, it can do anything our larger heat presses can do, but it is portable and is great for taking to craft shows and vendor events at just 35 pounds.

For more videos, please visit our YouTube Channel, and for more information on ProWorld and our offerings, visit our main website. Don’t forget to leave us a comment below letting us know what you’d like to see in our Facebook Live Posts.

View & Add Comments

Custom Bunny Pajamas

For today’s post, we decided to create a pair of customized Easter pajamas.

See how we layered multiple pieces of Siser Glitter Heat Transfer Vinyl to create a one-of-a-kind design on a wafflecomb fabric!

EASTER BUNNY PAJAMAS

You Need:
Cutting Machine
Heat Press
Heat Transfer Vinyl (we used Siser Glitter)
Non-Stick Sheet
Siser Weeders

1 – Take your shirt and measure the available space.

2 – Find a design(s) and upload it into your design software. We mixed multiple images, to create our one-of-a-kind image.

Since we applied our Heat Transfer Vinyl to a wafflecomb fabric it was important to choose a thicker HTV so that the texture of the fabric did not show through the vinyl. We decided to go with Siser Glitter Heat Transfer Vinyl.

3 – Seeing that you cannot layer Siser Glitter HTV you will need to subtract your design so that it can be pieced together like a puzzle. You will notice that we subtracted the pink line from the egg shape to create an open space.

pw bunny 2 subtract

4 – Next, you will want to mirror your image.

5 – Insert your first color heat transfer vinyl into your machine.

DSC07771

6 – Double check your settings and click cut.

7 – Repeat steps 4 & 5 for your other heat transfer vinyl colors.

9 – Weed your design.

DSC07772

10 – Place it on your item and press it with your Heat Press.

DSC07773

11 – Repeat step 10 until you’ve pressed all of your layers. Remember to keep your HTV covered from the pressing plates if you’ve removed the clear protective barrier. You can do this by laying your non-stick sheet over top of the vinyl.

DSC07776

12 – Admire your work!

View & Add Comments

How To Make Sublimated Magnets

Today we are going to show you how to sublimate multiple magnet designs using the Creative Studio software while printing the images on one sheet of paper!

make

1.  Start by opening Creative Studio, which is located on the Sawgrass website.

2. Select your product category.

magnet sublimation 1
3. Select your product.

magnet sublimation 2

4. Select product color, product size and click start!

5.a. If you want to make a photo magnet click on the add image button, upload your image and resize it to fit the magnet.

magnet sublimation 4
5.b. If you want to create a magnet with text, click on the Add, Text button.

MAGNET TYPE
6. Once your image reflects your vision. Click the Print button.

7. If you want to create multiple magnets, click the Print Button after each magnet is created. BUT do not open any downloads. Wait untill all of your designs are finished and then go to the top right corner, click on your email address, and the administration button.

8. Select each image that you would like to print.

sublimation new 3

9. Click Print.

10. This will generate a download, open it.

11. Select the Group Images Button.

sublimation new 4

12. If you need to increase the distance between the images, change the spacing with the + or – button.

13. Click Print.

DSC07759

14. Now that you’ve printed your images it is time to assemble!

15. Cut your images so that they fit your magnet.

DSC07760
16. Preheat your heat press to 400 degrees F.
17. Using heat resistant tape, tape the paper to the magnet so that the image does not move.

18. Lay your magnet with the paper side up on your heat press. Set the timer to 45-60 second, and set your pressure to medium. Cover the magnets with a non stick sheet and press.
19.Remove immediately from press once finished and peel hot.

DSC07761

20. Apply the magnet strip to the back and you are done!

DSC07763


DSC07764

DSC07767

View & Add Comments

Spring Wall Art with Adhesive Vinyl

Since Spring is just around the corner, we wanted to combine some of our favorite things- adhesive vinyl, mason jars, flowers, and wood for our latest project. By adding adhesive vinyl to wood, we’ve given this sign a unique look. Freshen up your space, add new offerings to your shop, or give this piece as a sweet gift.
spring wall art
You’ll Need:
Wood
Fake Flowers
Hot Glue

Making this sign is super simple!

1 – Open your design software and create your mason jar and quote.
2 – Insert your adhesive vinyl into your machine, check your cut lines and settings and click cut.
3 – Weed your design and apply the transfer tape over it.
adhesive vinyl
 4 – Place it onto the wood, burnish, and remove the tape.
IMG_4011
 5 – Take your fake flowers and cut the stems close to the head of the flower and hot glue the blooms into place.
IMG_4012
 6 – Your jar of flowers is ready to be hung!
IMG_4017
View & Add Comments

3 Troubleshooting Tips for Sublimation

Do you have a sublimation printer? Congratulations! Sublimation printing is a great way to for a businesses to create customized and personalized full-color products on demand. And as you are probably already aware, the production technique is relatively simple. When sublimation inks are heated to 400°F, they turn into a gas and form a permanent bond to 100% white or light color polyester fabric or items that have a polymer coating. The result is a premium full-color, photographic-quality image that will not crack, peel or wash away from the substrate.

As with all good things, there are three common problems that you may encounter at some point. So we’ve compiled a list to help you troubleshoot them quickly.

3 tips for troubleshooting sublimation

1. Banding

banding-v3

If you encounter lines of missing ink in your printouts, then you are most likely having banding issues. There are two reasons for banding. The quickest reason to troubleshoot is running out of ink, so be sure to check your ink levels. The second, most common cause is from clogged print head nozzles. Like it or not, ink dries out over time. . .  all ink, not just sublimation ink. If this happens inside the print heads, then obviously the flow of ink will be inhibited, which results in streaks of missing ink on the printout.

As long as you are printing on a regular basis – at least several times per week – the ink will not have an opportunity to dry out. However, for long stretches of time with no printer activity, you could have issues.

The simplest way to deal with this is to run a small quantity of ink through the print heads on a routine basis, by using the head cleaning function of your printer. In the case of Virtuoso and Ricoh printers, this is done for you automatically, as long as you leave the printer powered up. However, for Epson printers, you will need to perform a manual head cleaning every few days, which means pushing a button. There are some software programs available that will prompt your printer to perform a head cleaning at specified intervals so that you can set it and forget it as long as you leave everything powered up!

2. Moisture Issues

moisture-v3
The introduction of moisture into the sublimation process can cause unwanted results. During production with a heat press operating at 400 degrees, that moisture can flash to steam and blow away the ink from its intended target. Some of the problems that are attributed to moisture include: color shifting (colors lose accuracy), bleeding of the image, and uneven transfer of solid filled areas.

Under normal circumstances, a small amount of moisture can accumulate in your transfer paper, and it’s usually absorbed directly into the substrate during pressing. However, hard substrates like metal and ceramic are unable to absorb excess moisture. Thus, it’s important that you take steps to minimize the introduction of moisture into the process.

The first step is to protect the paper from moisture absorption. As a preventative measure, you should store your paper in dry place. Avoid using Zip-Top plastic bags as they can trap moisture within.

If you suspect moisture, set the paper on your press for a few seconds. Do not press it. Just expose it to the warmth. The heat radiating from the press should help evaporate most of the moisture.

Another trick is to use newsprint or butcher paper instead of a Teflon sheet. The paper will help absorb moisture from the transfer sheet during pressing (Teflon will not). Be sure to use a fresh sheet of paper on each pressing.

If you are working with garments or fabric, it’s also possible that the substrate may contain a bit of moisture. Pre-pressing the garment for about 3 seconds should remove the moisture and any wrinkles as well. Do not overheat the substrate! Applying a sublimated transfer to a hot surface will start the gassing process prematurely, which may lead to ghosting.

Also, you should focus on your work environment. If there is a high level of humidity present, it may be contributing to the moisture issues. A dehumidifier may be necessary to help control moisture issues. However, reducing it too much can have adverse effects on the inks and your equipment. Thus, you should invest in a hygrometer and take some readings. The ideal operating conditions for sublimation are 70o – 80o F with 35% – 65% relative humidity (no condensation).
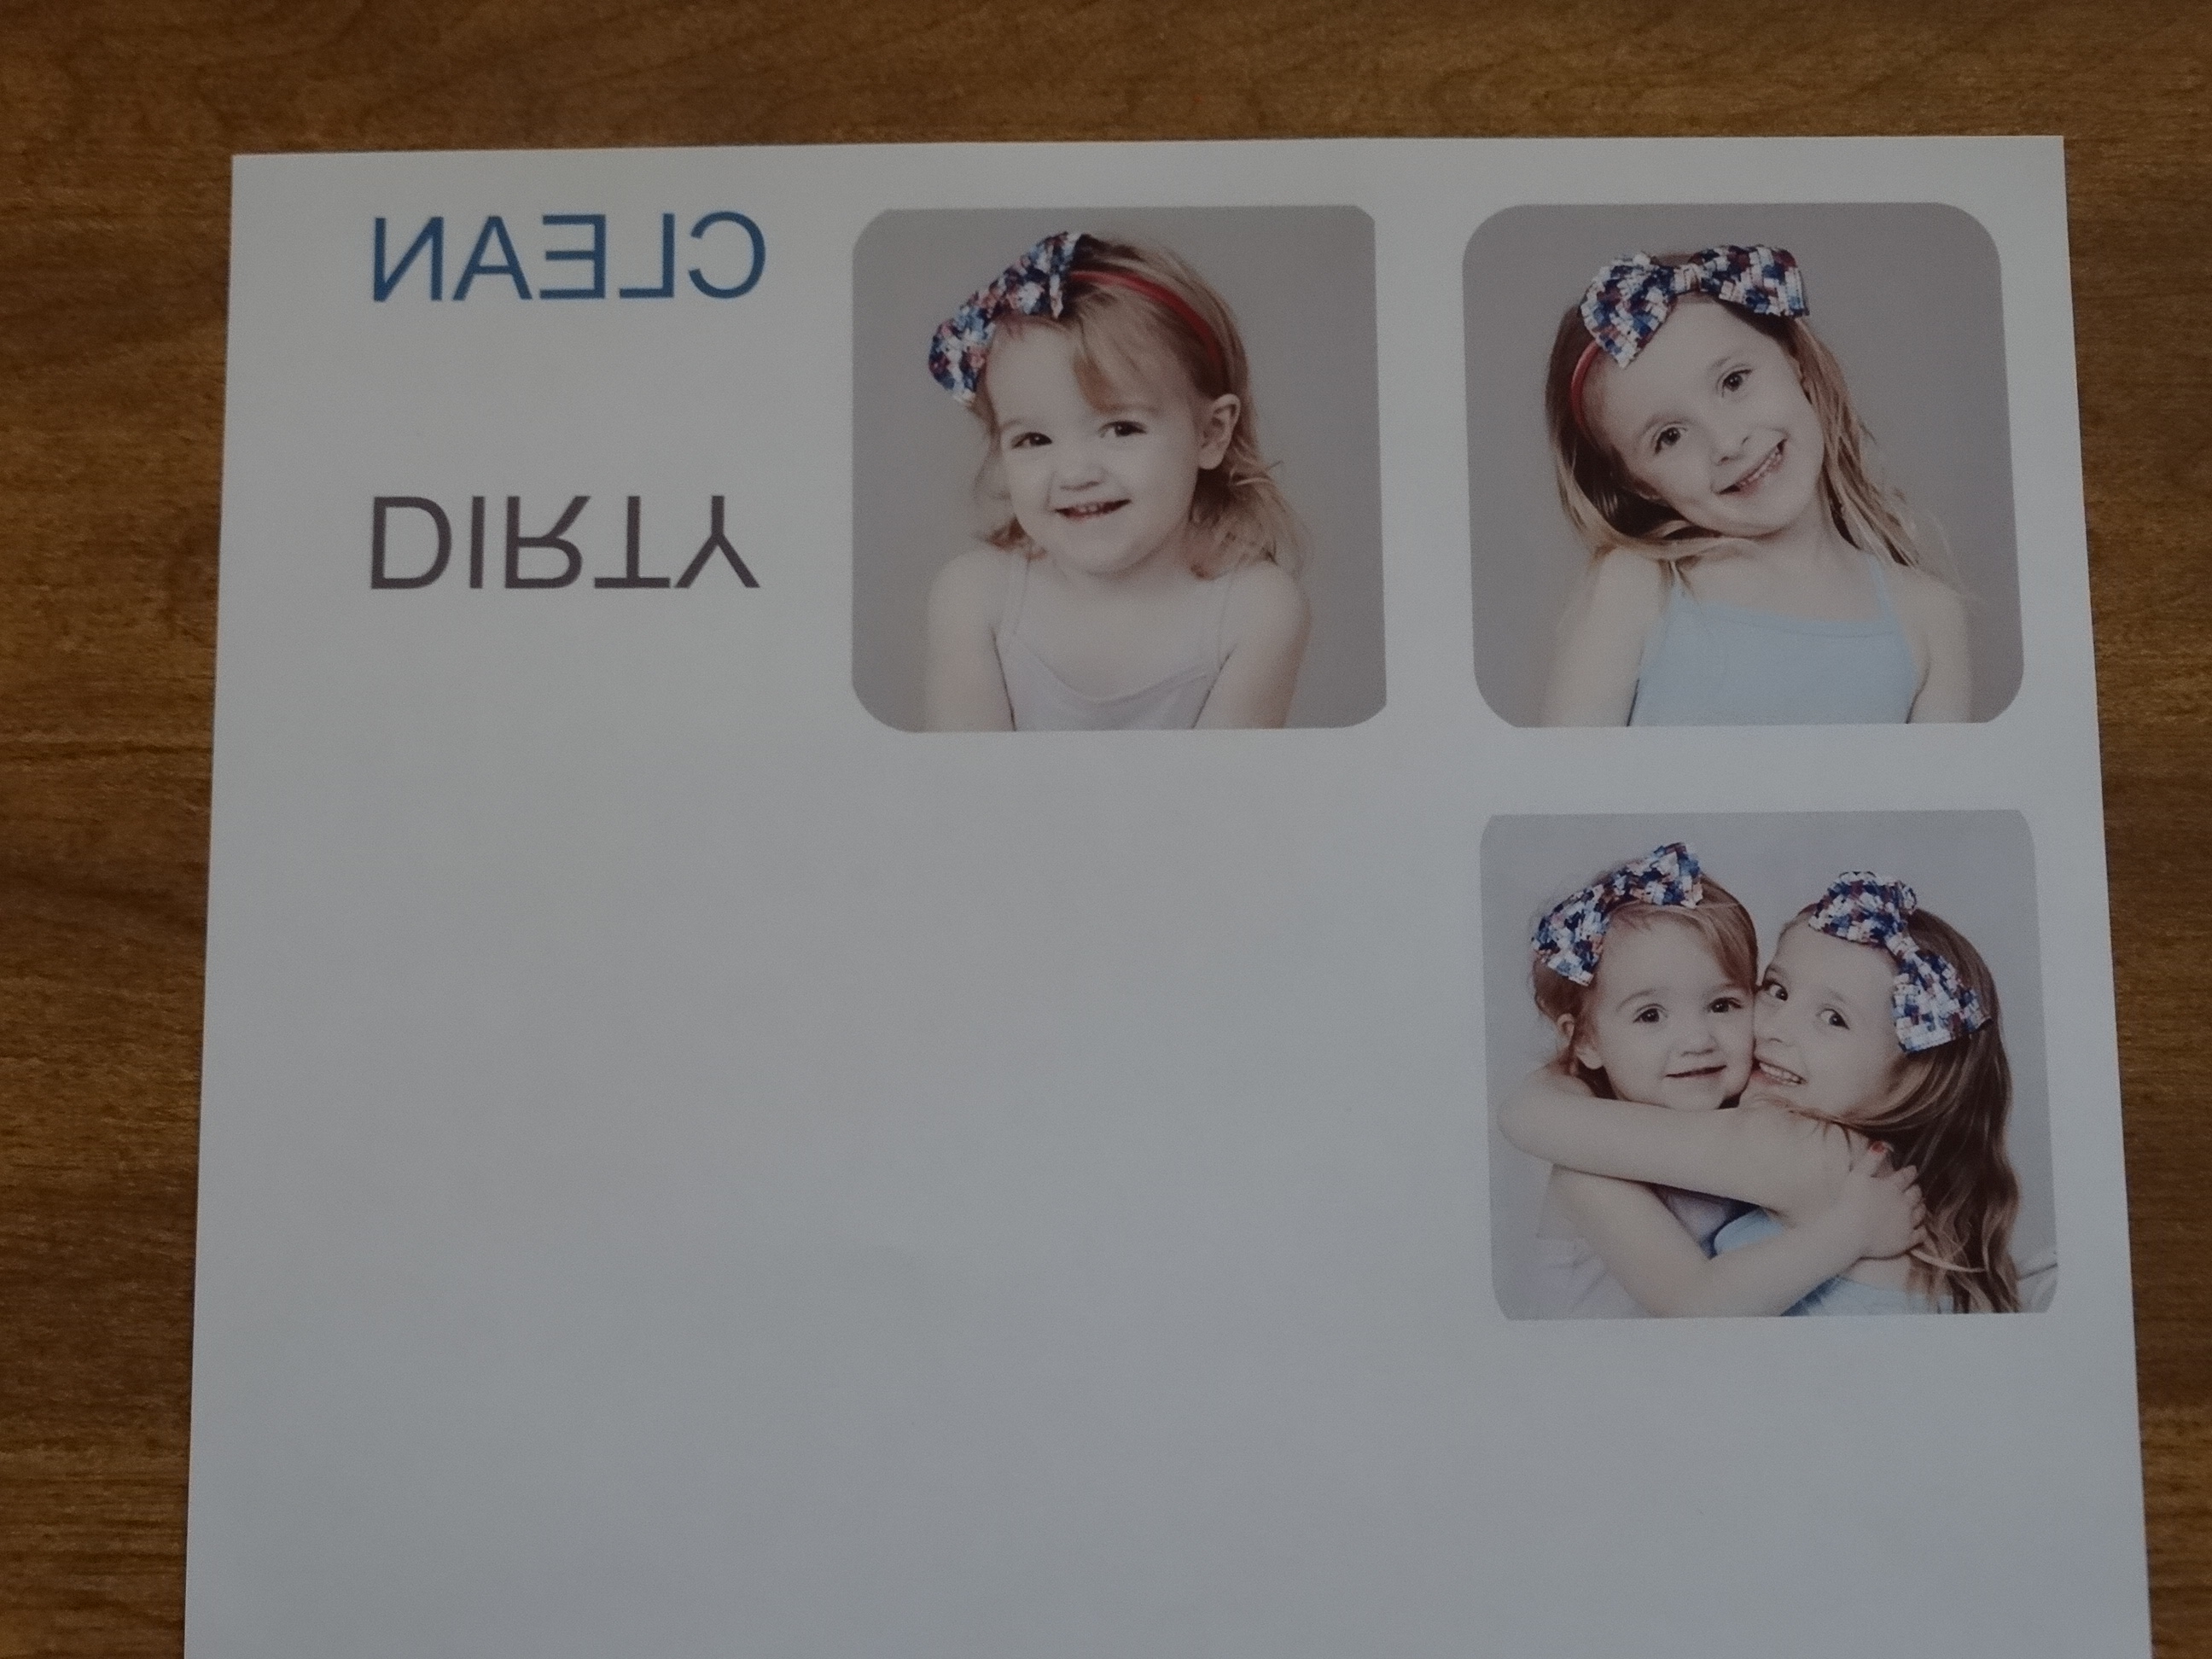
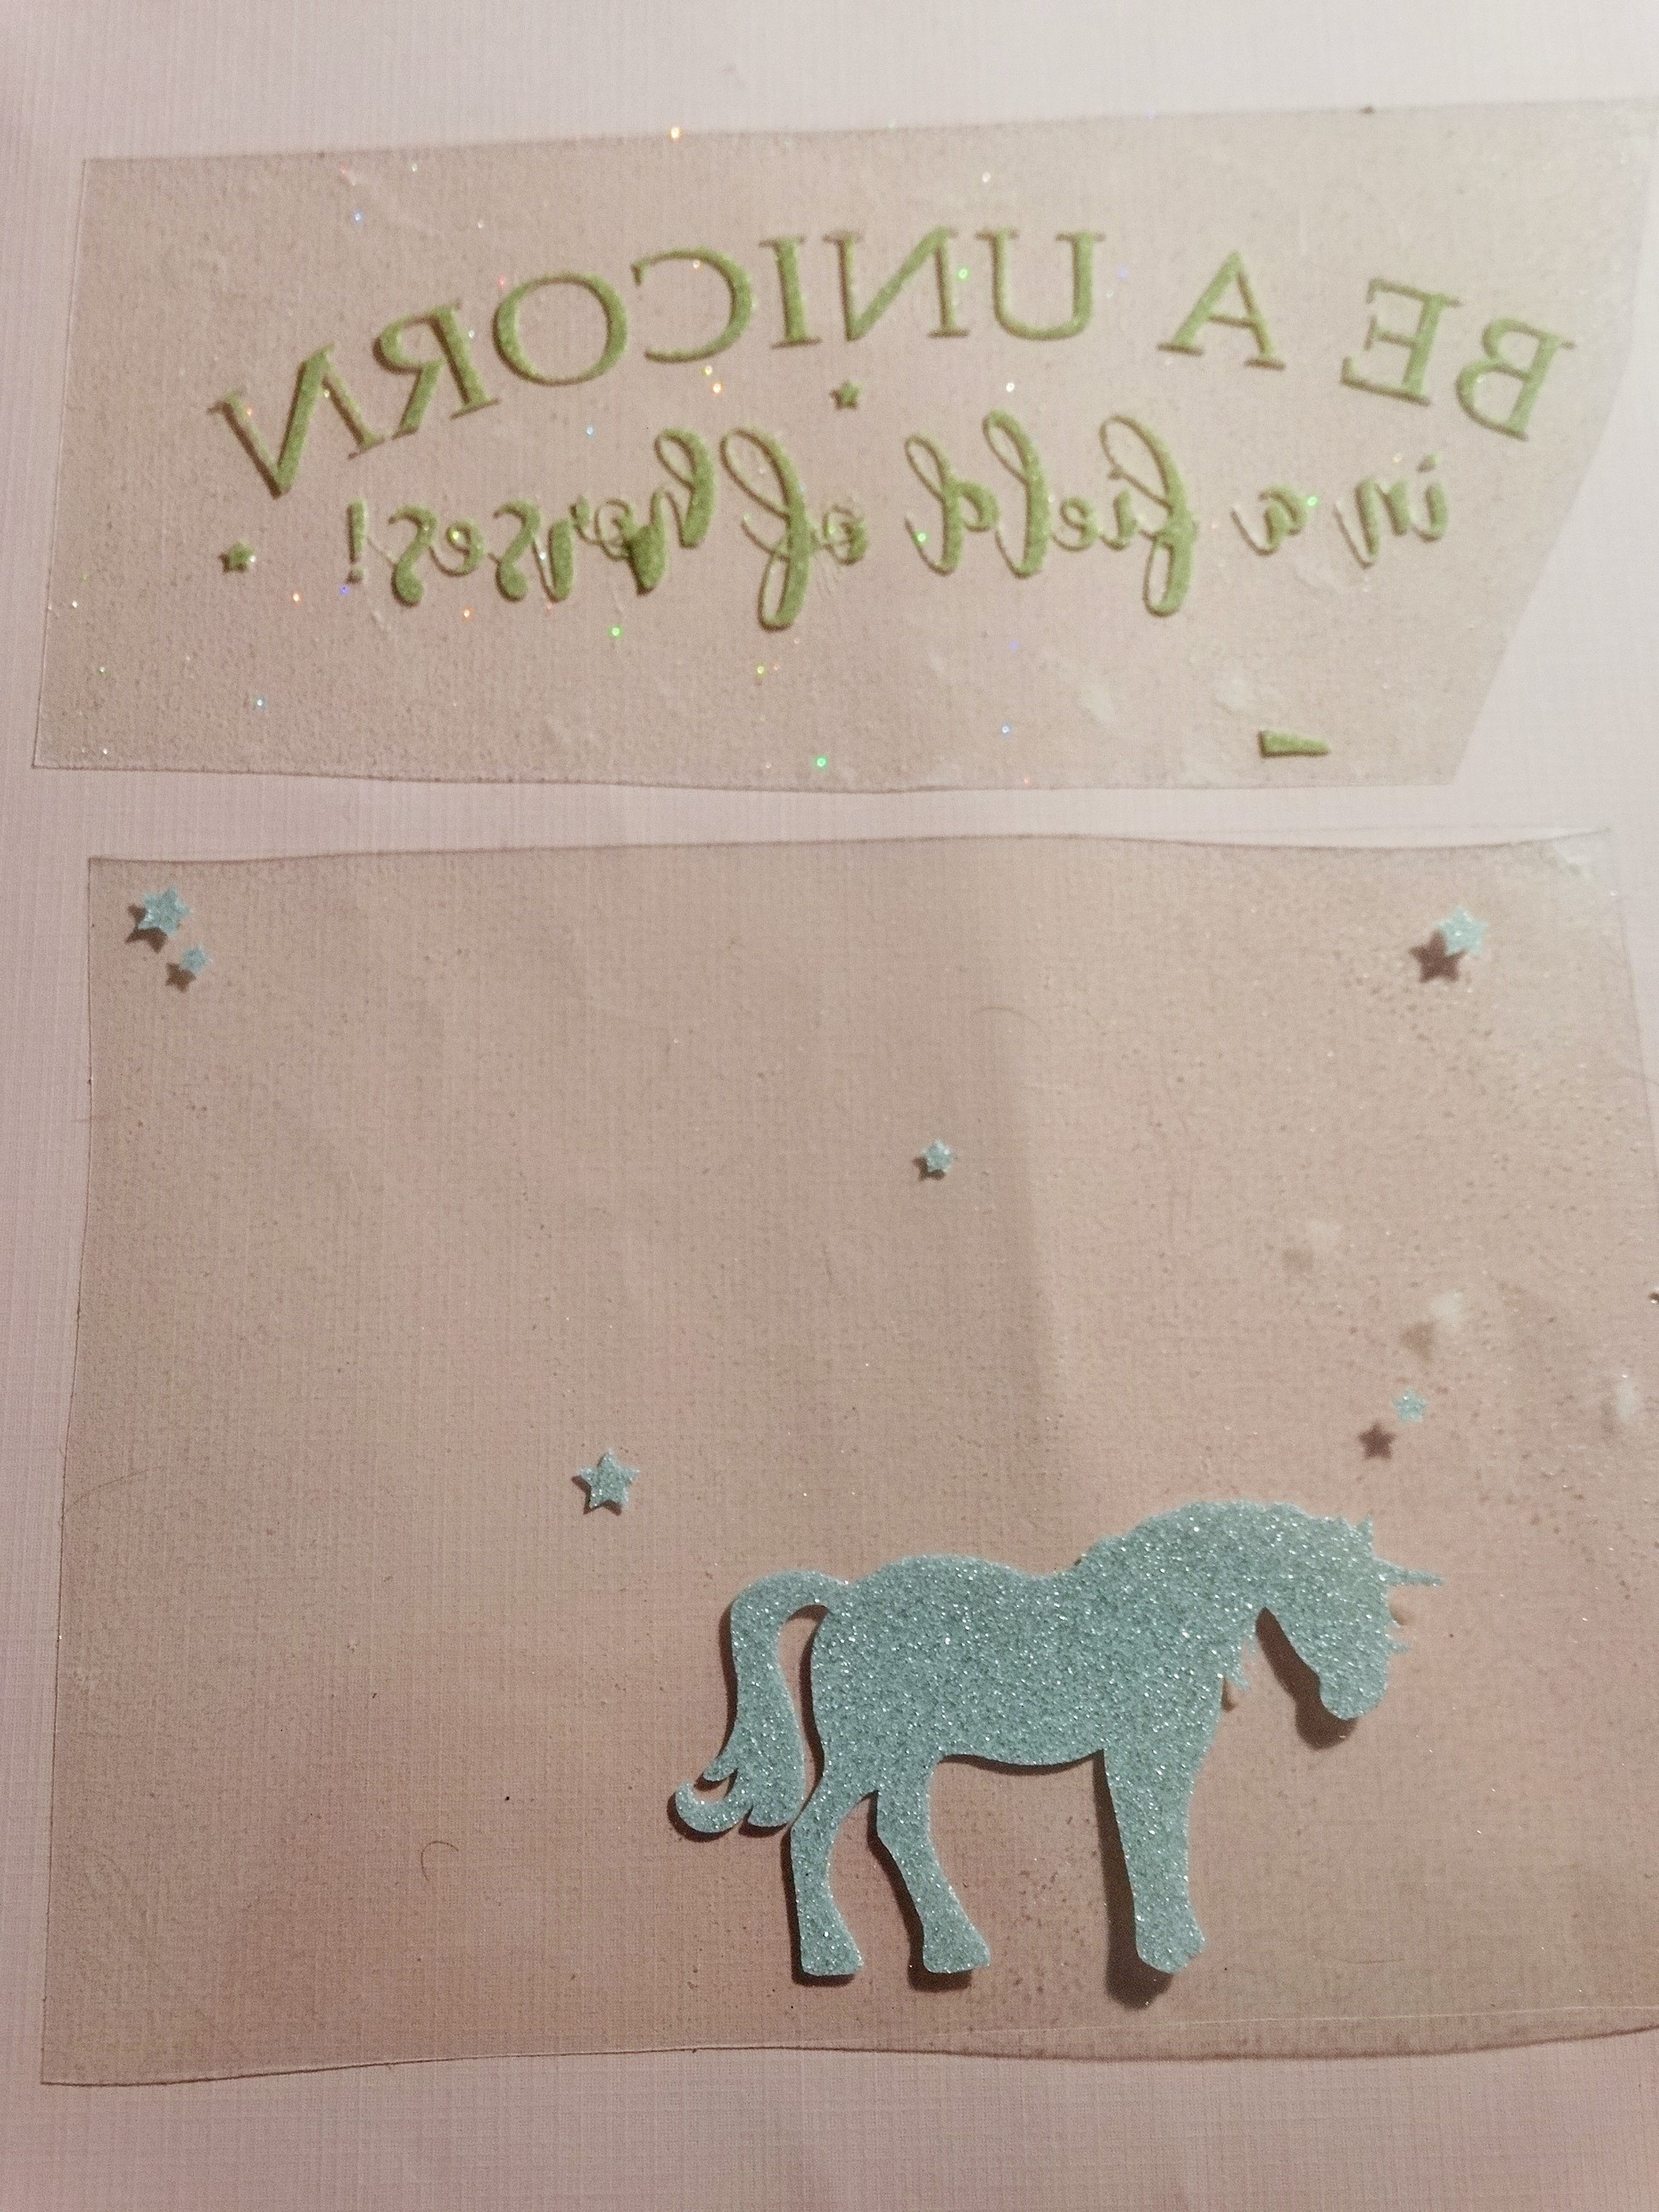
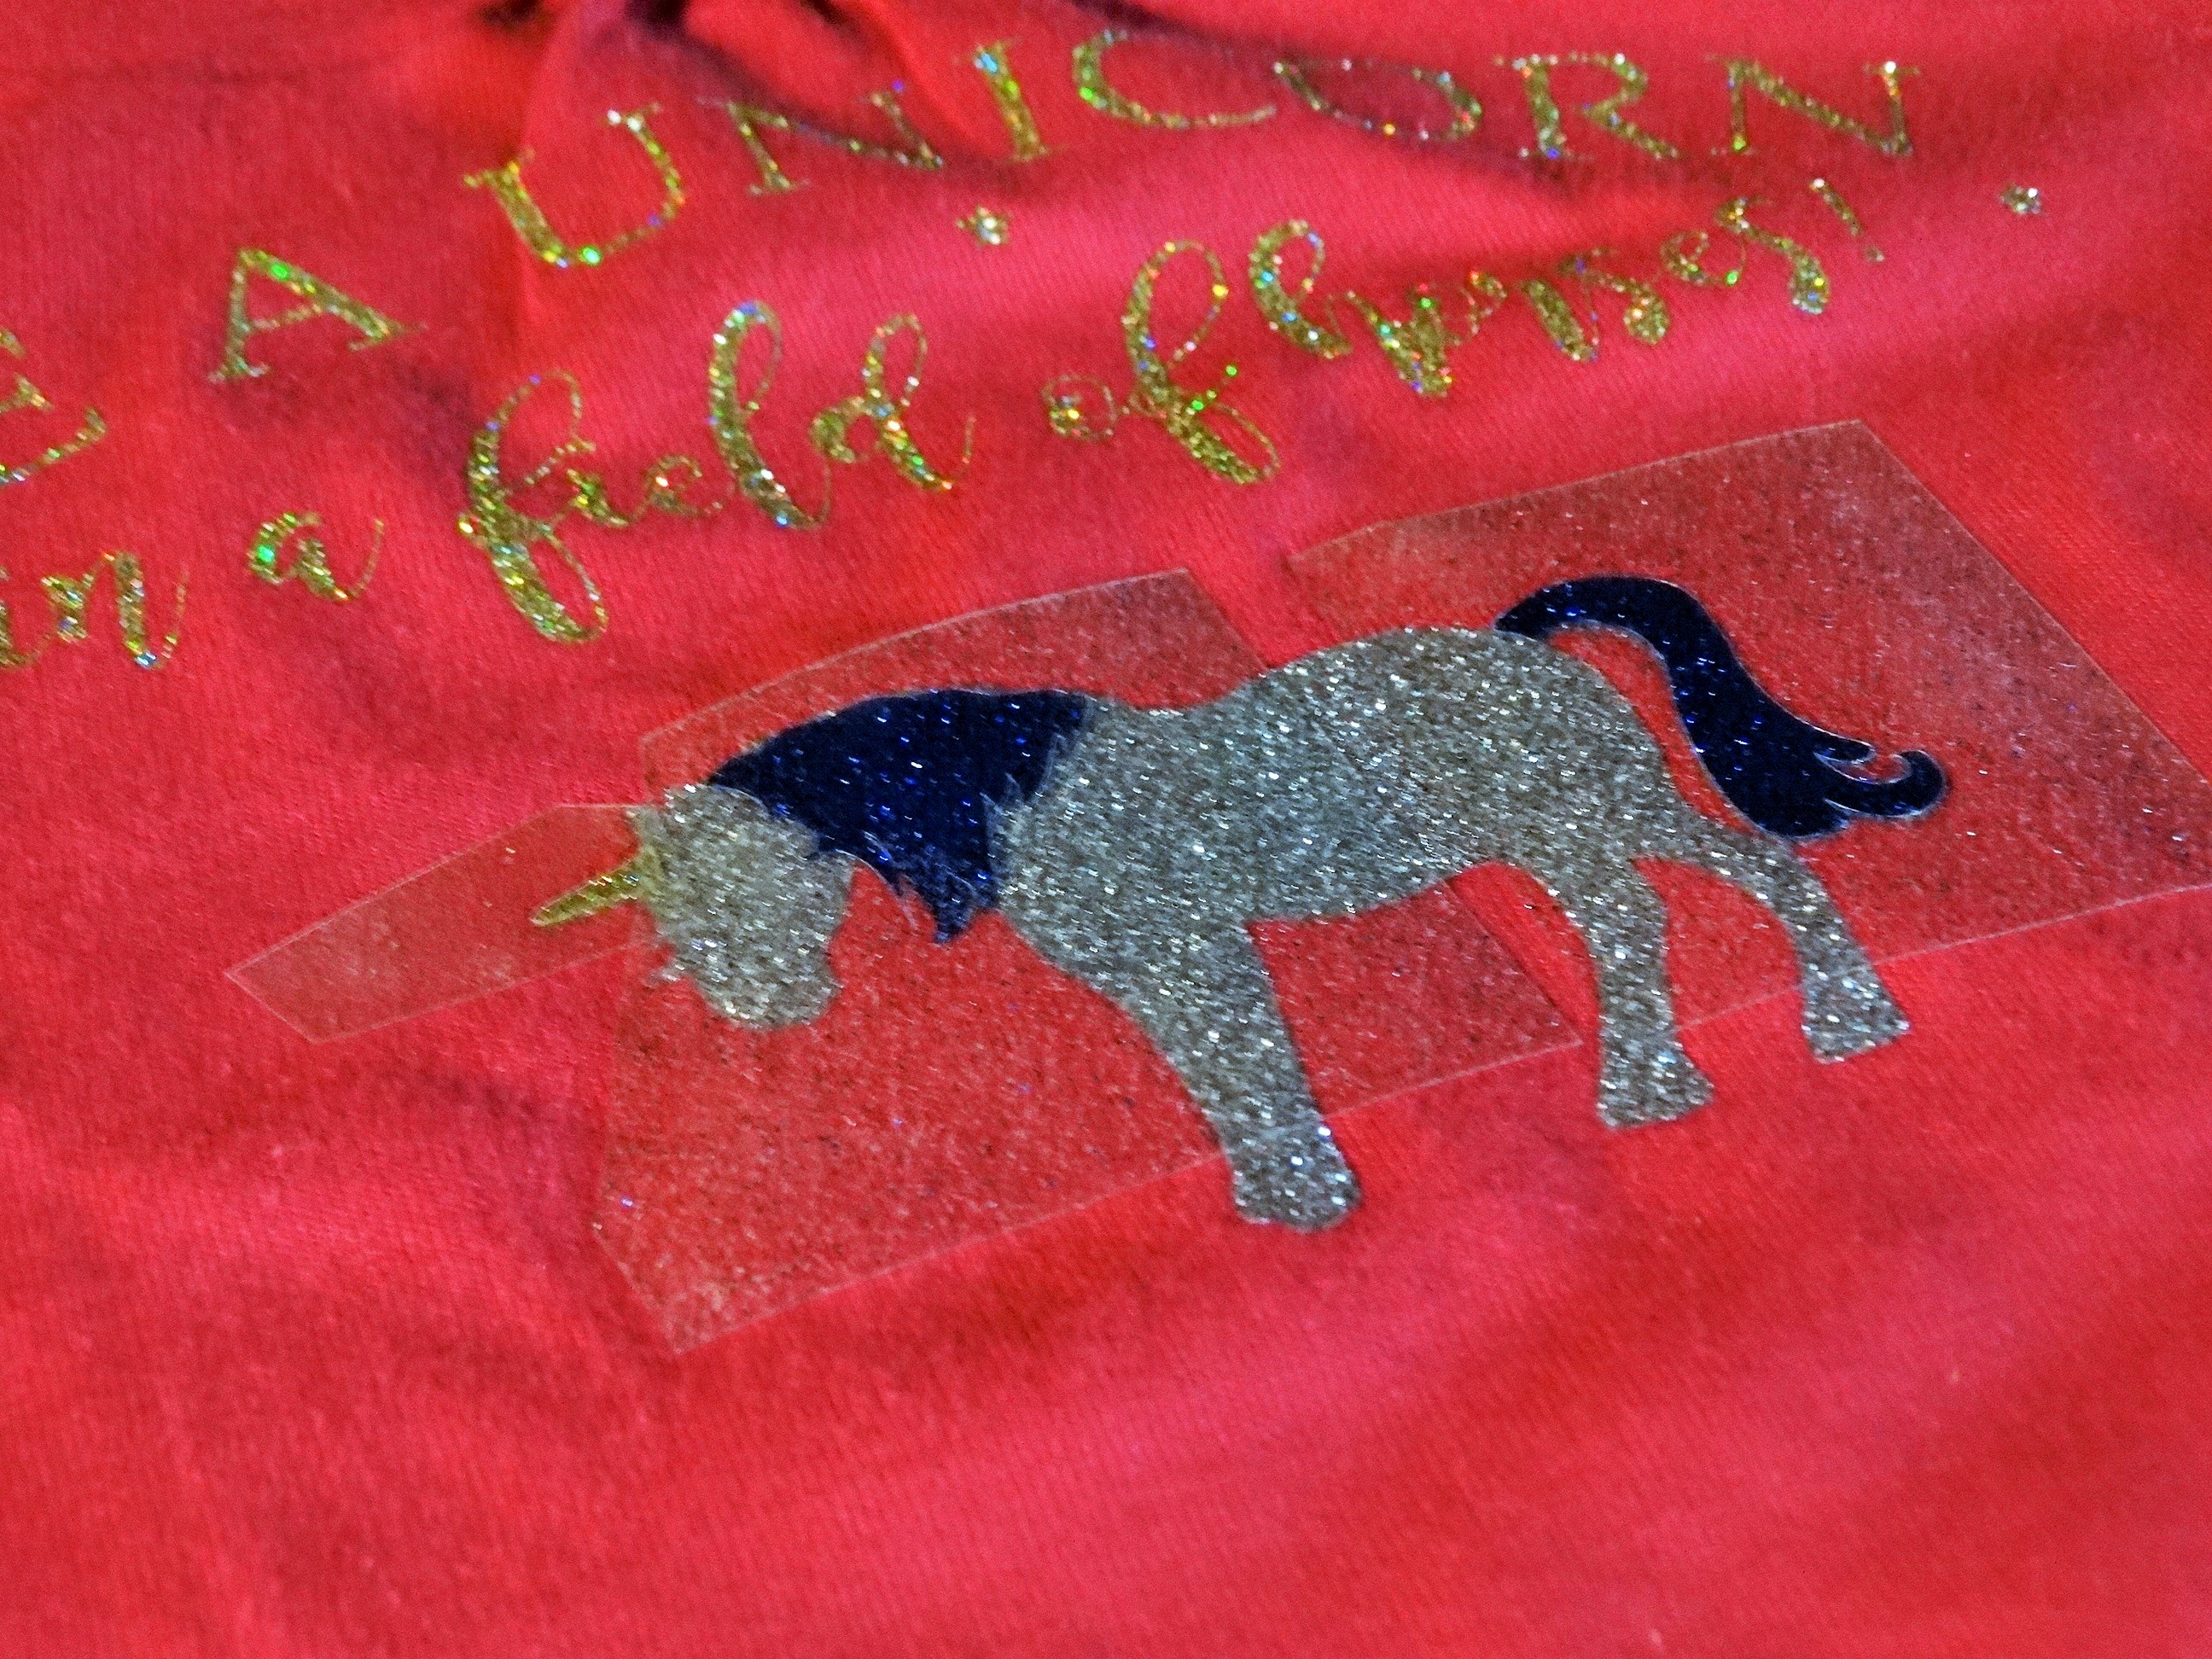
3. Ghosting & Gassing Out

ghosting-v3
Sublimation requires a tight marriage between the transfer paper and the blank product during pressing. If the paper shifts or is not firmly planted against the substrate, then the result will be ghosting and/or gassing out.

Ghosting is when you end up with a blurry image, typically characterized by a shadow effect along or outside of the edges. Gassing Out is when you end up with a “burst” of ink outside of the image area.

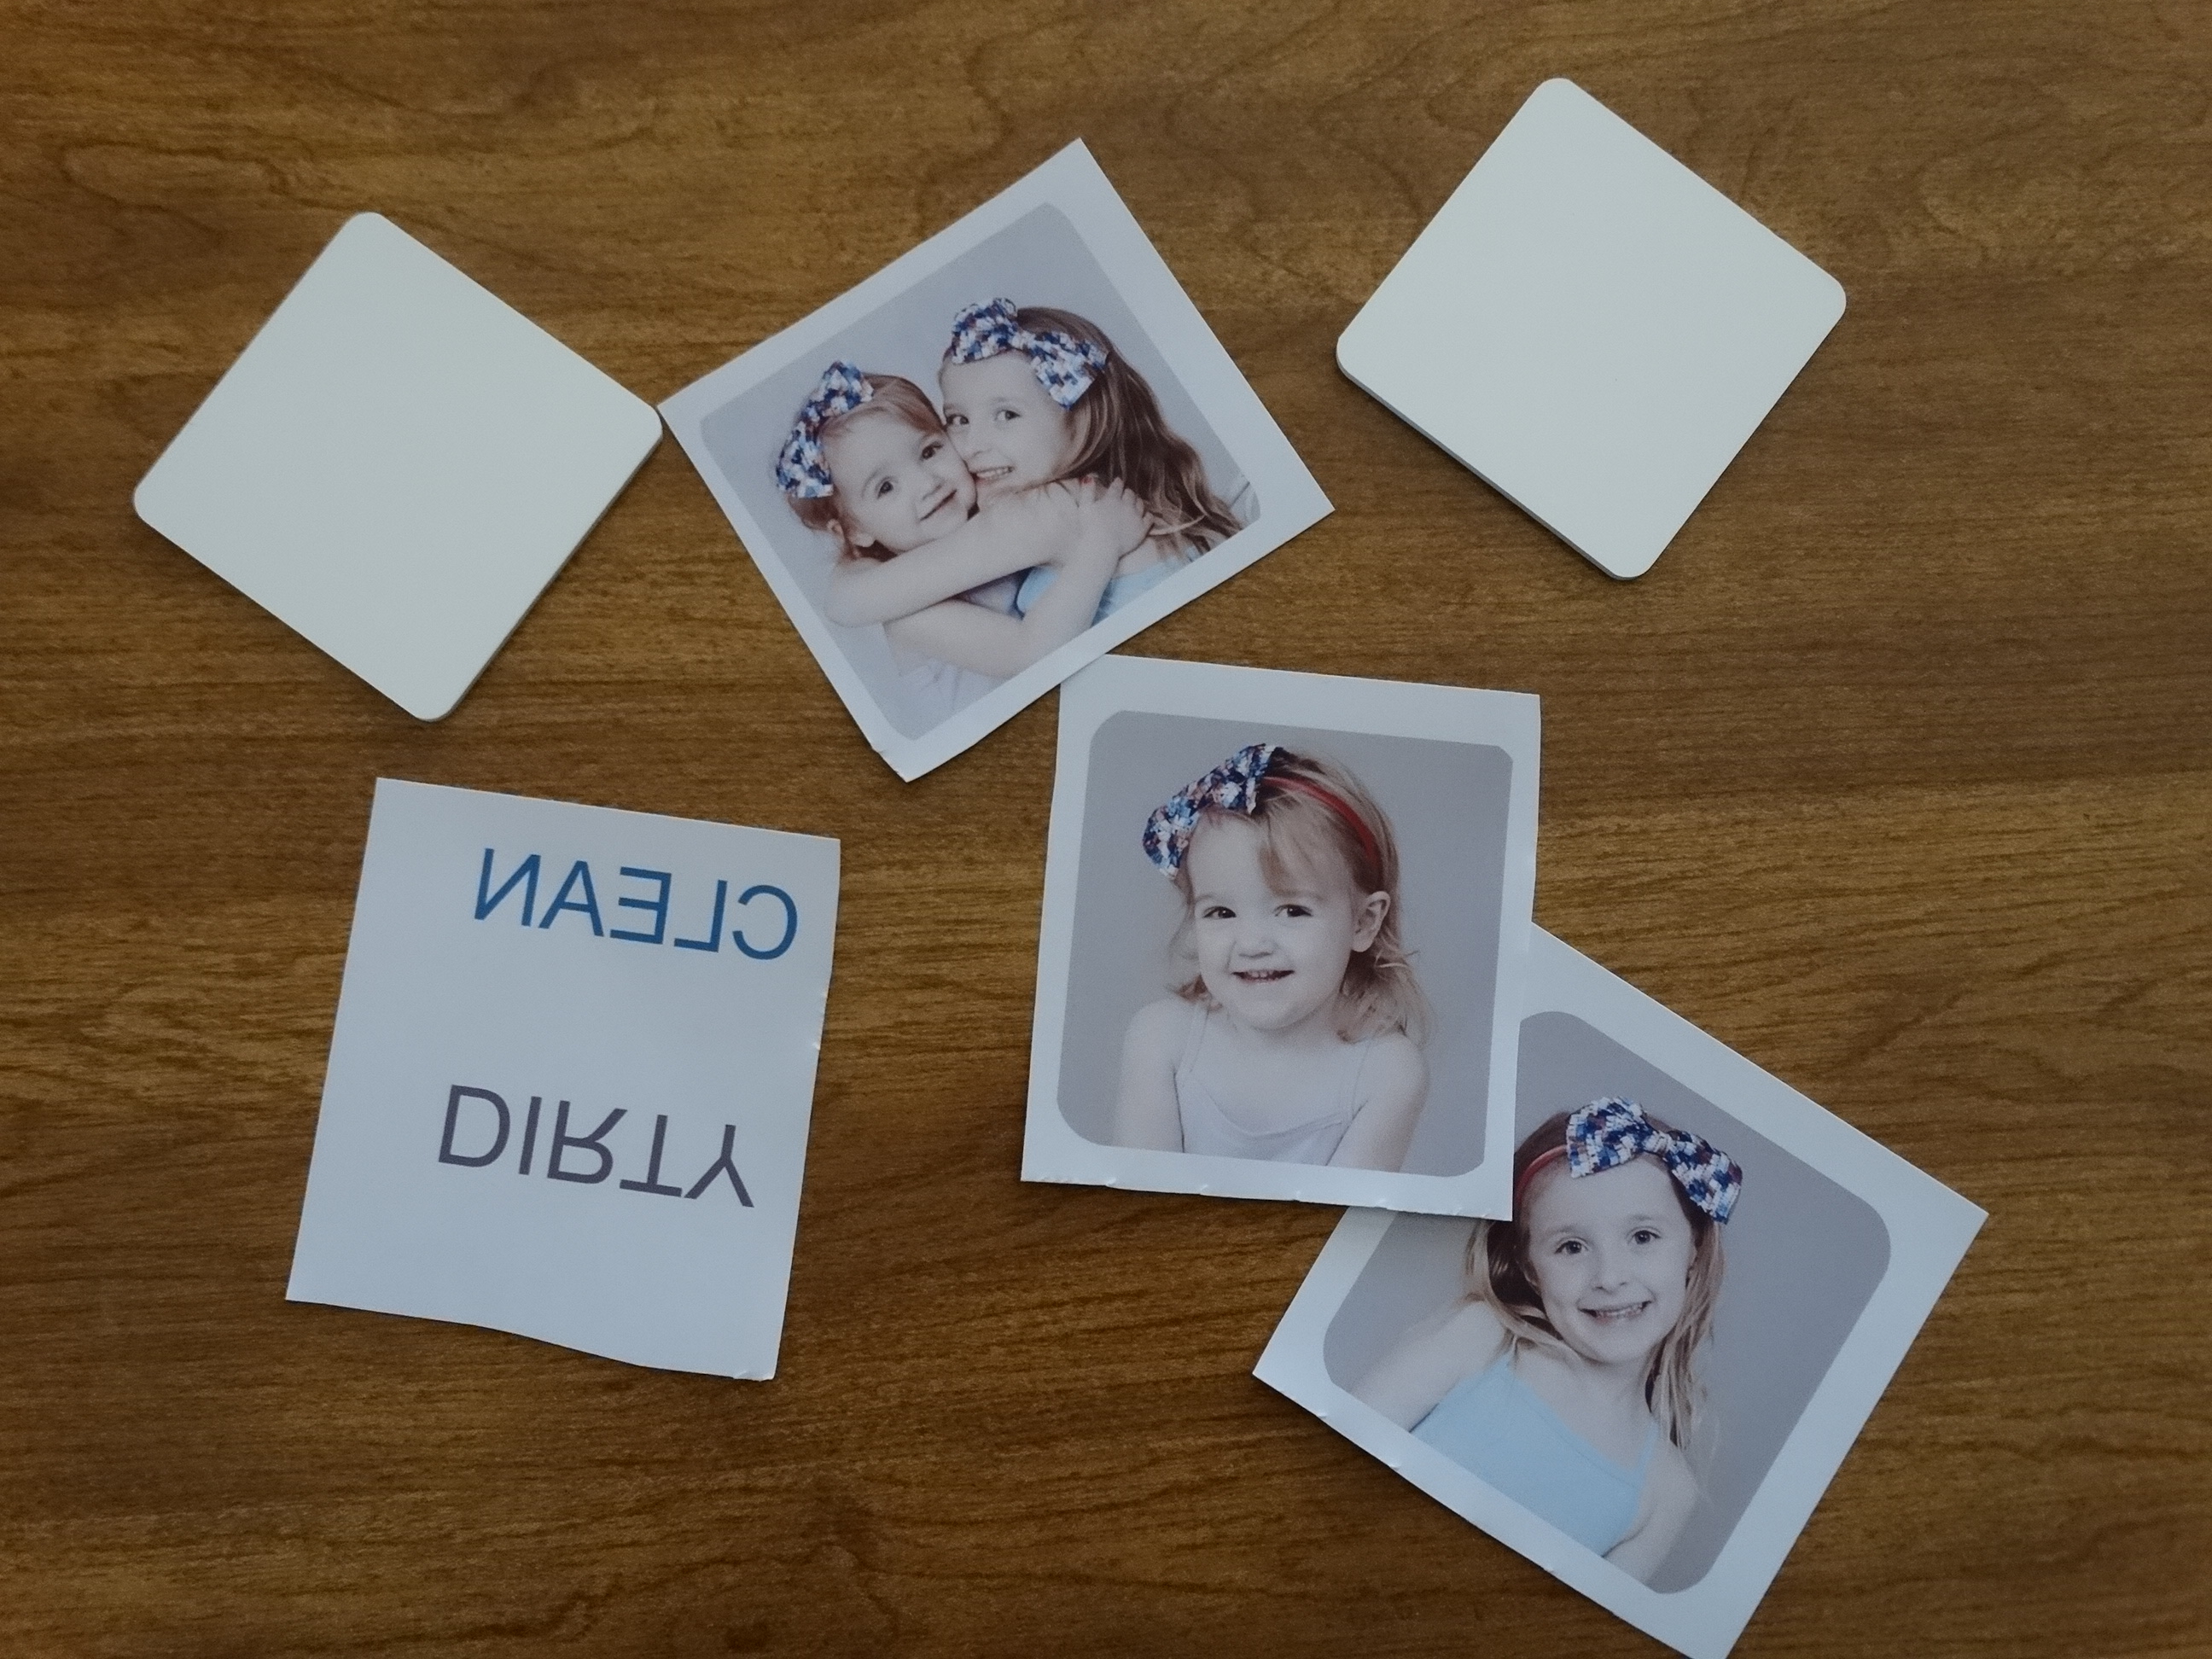
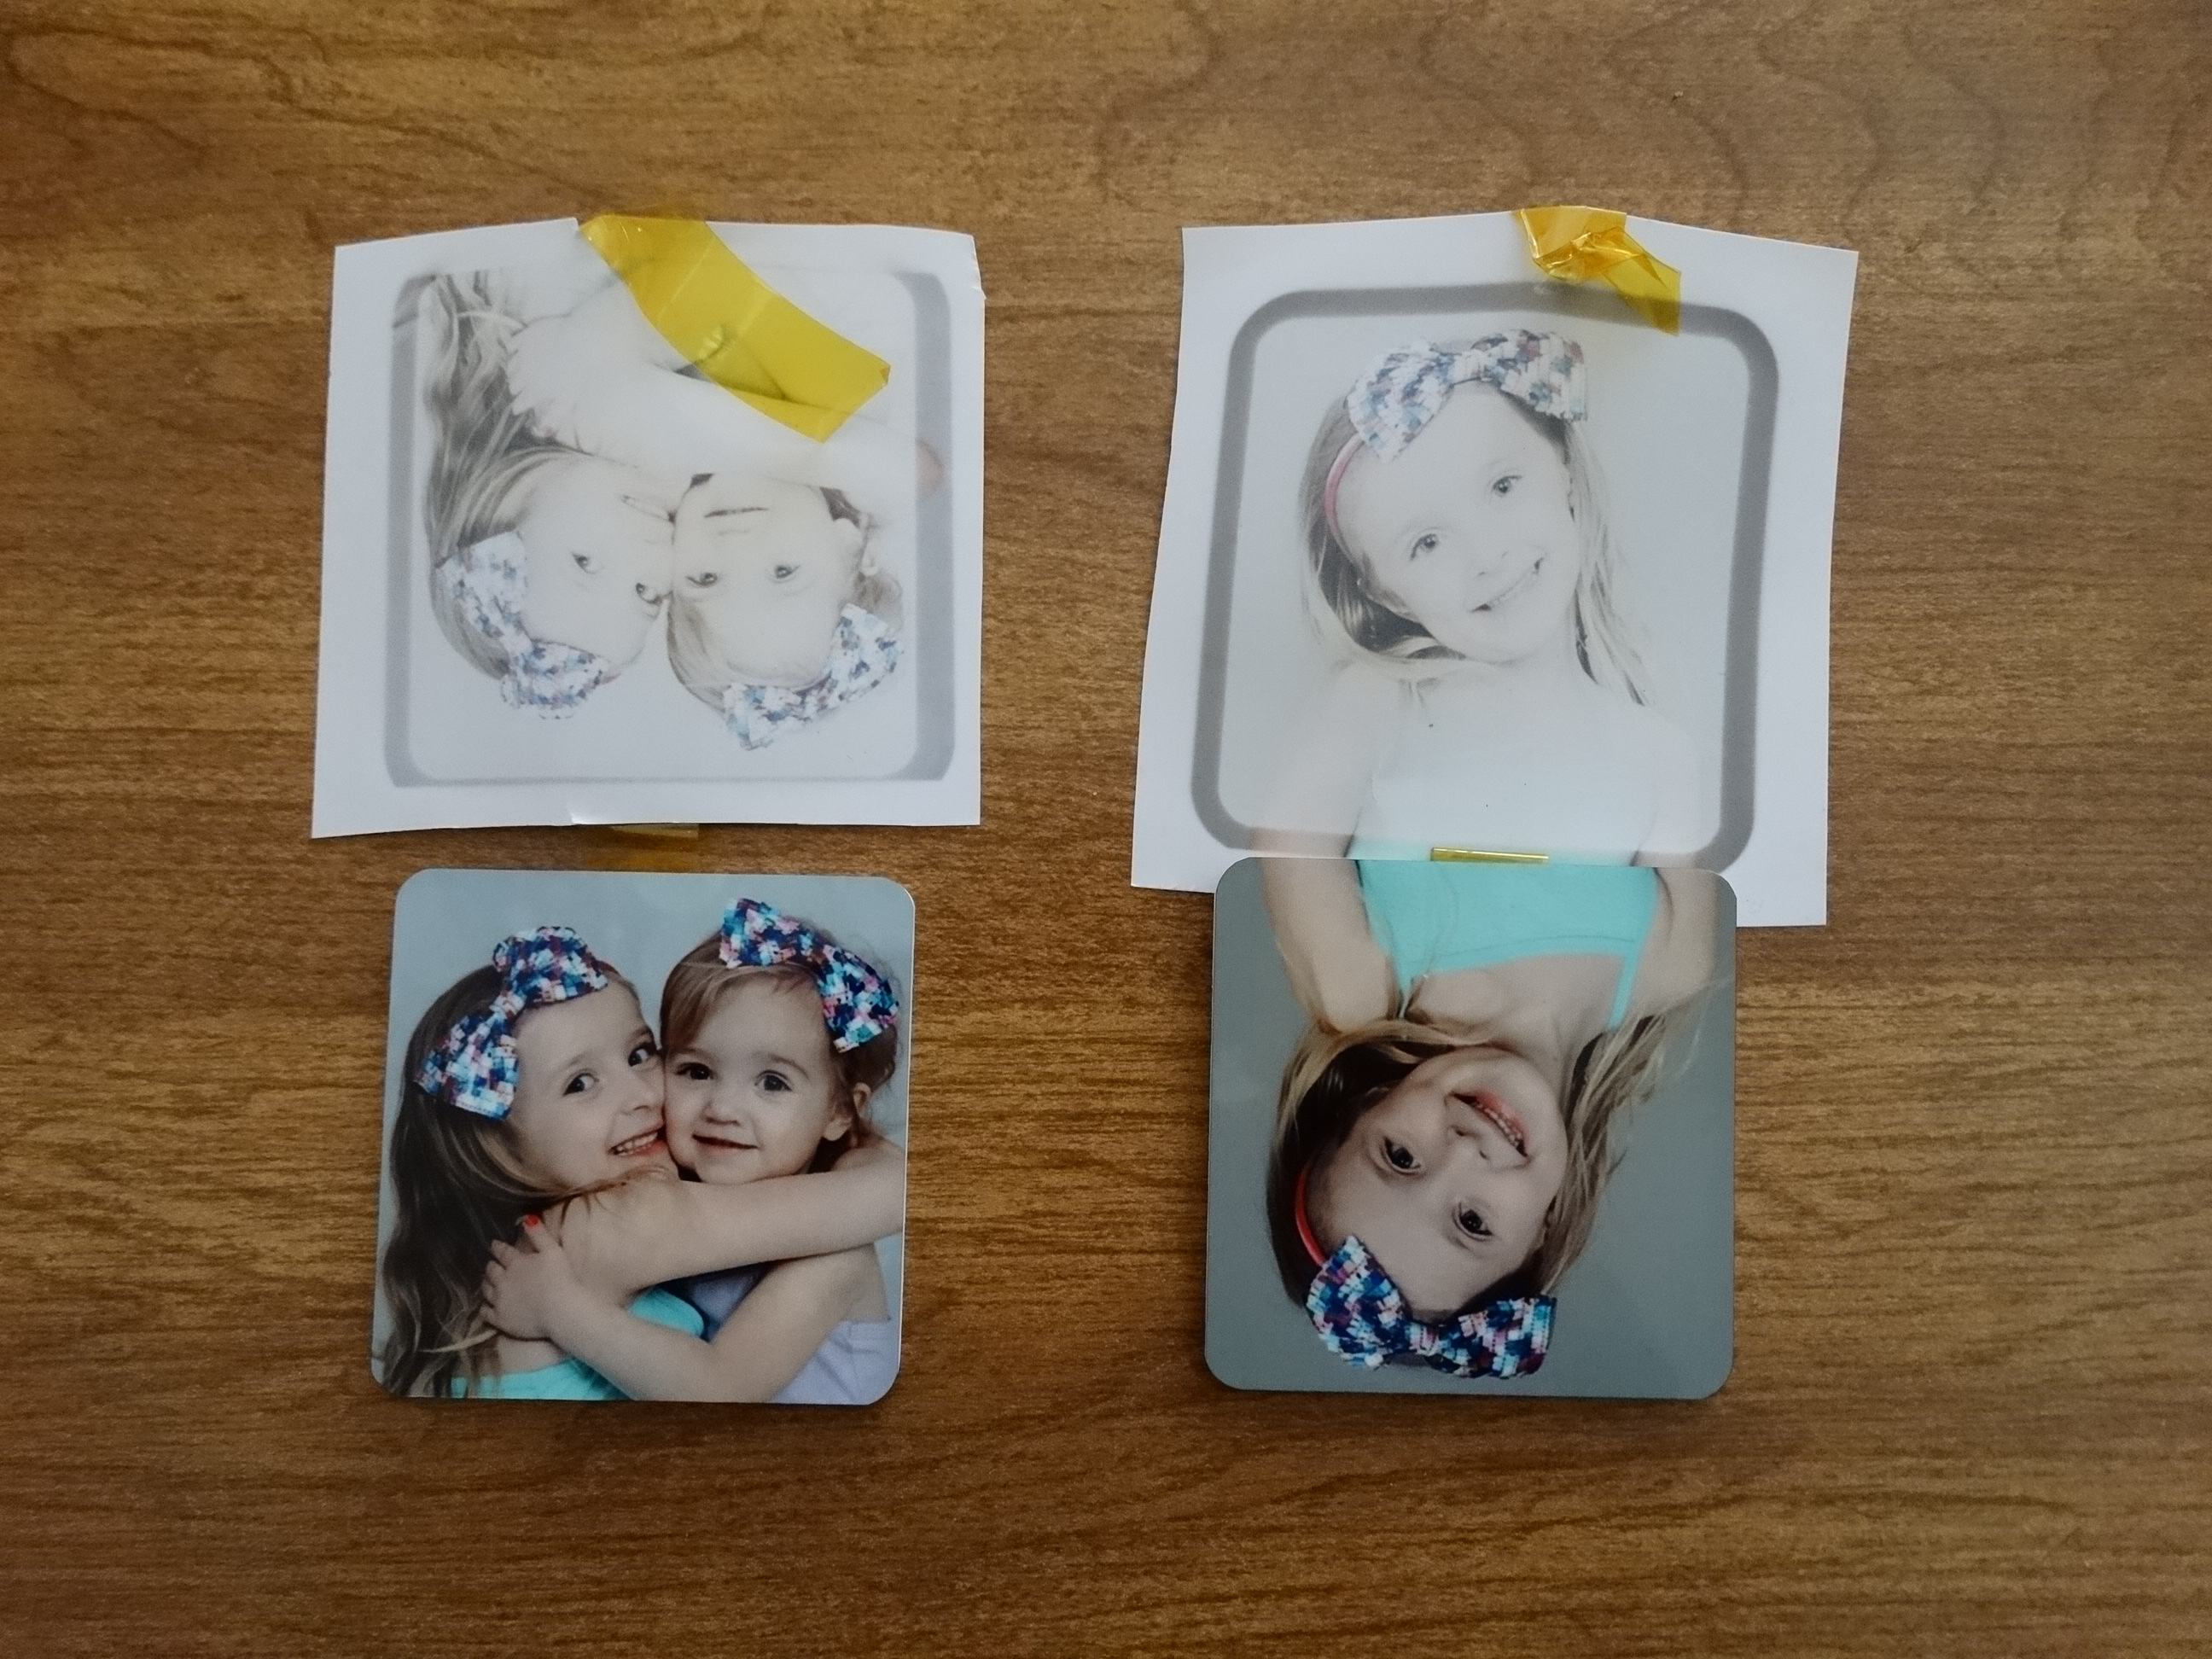
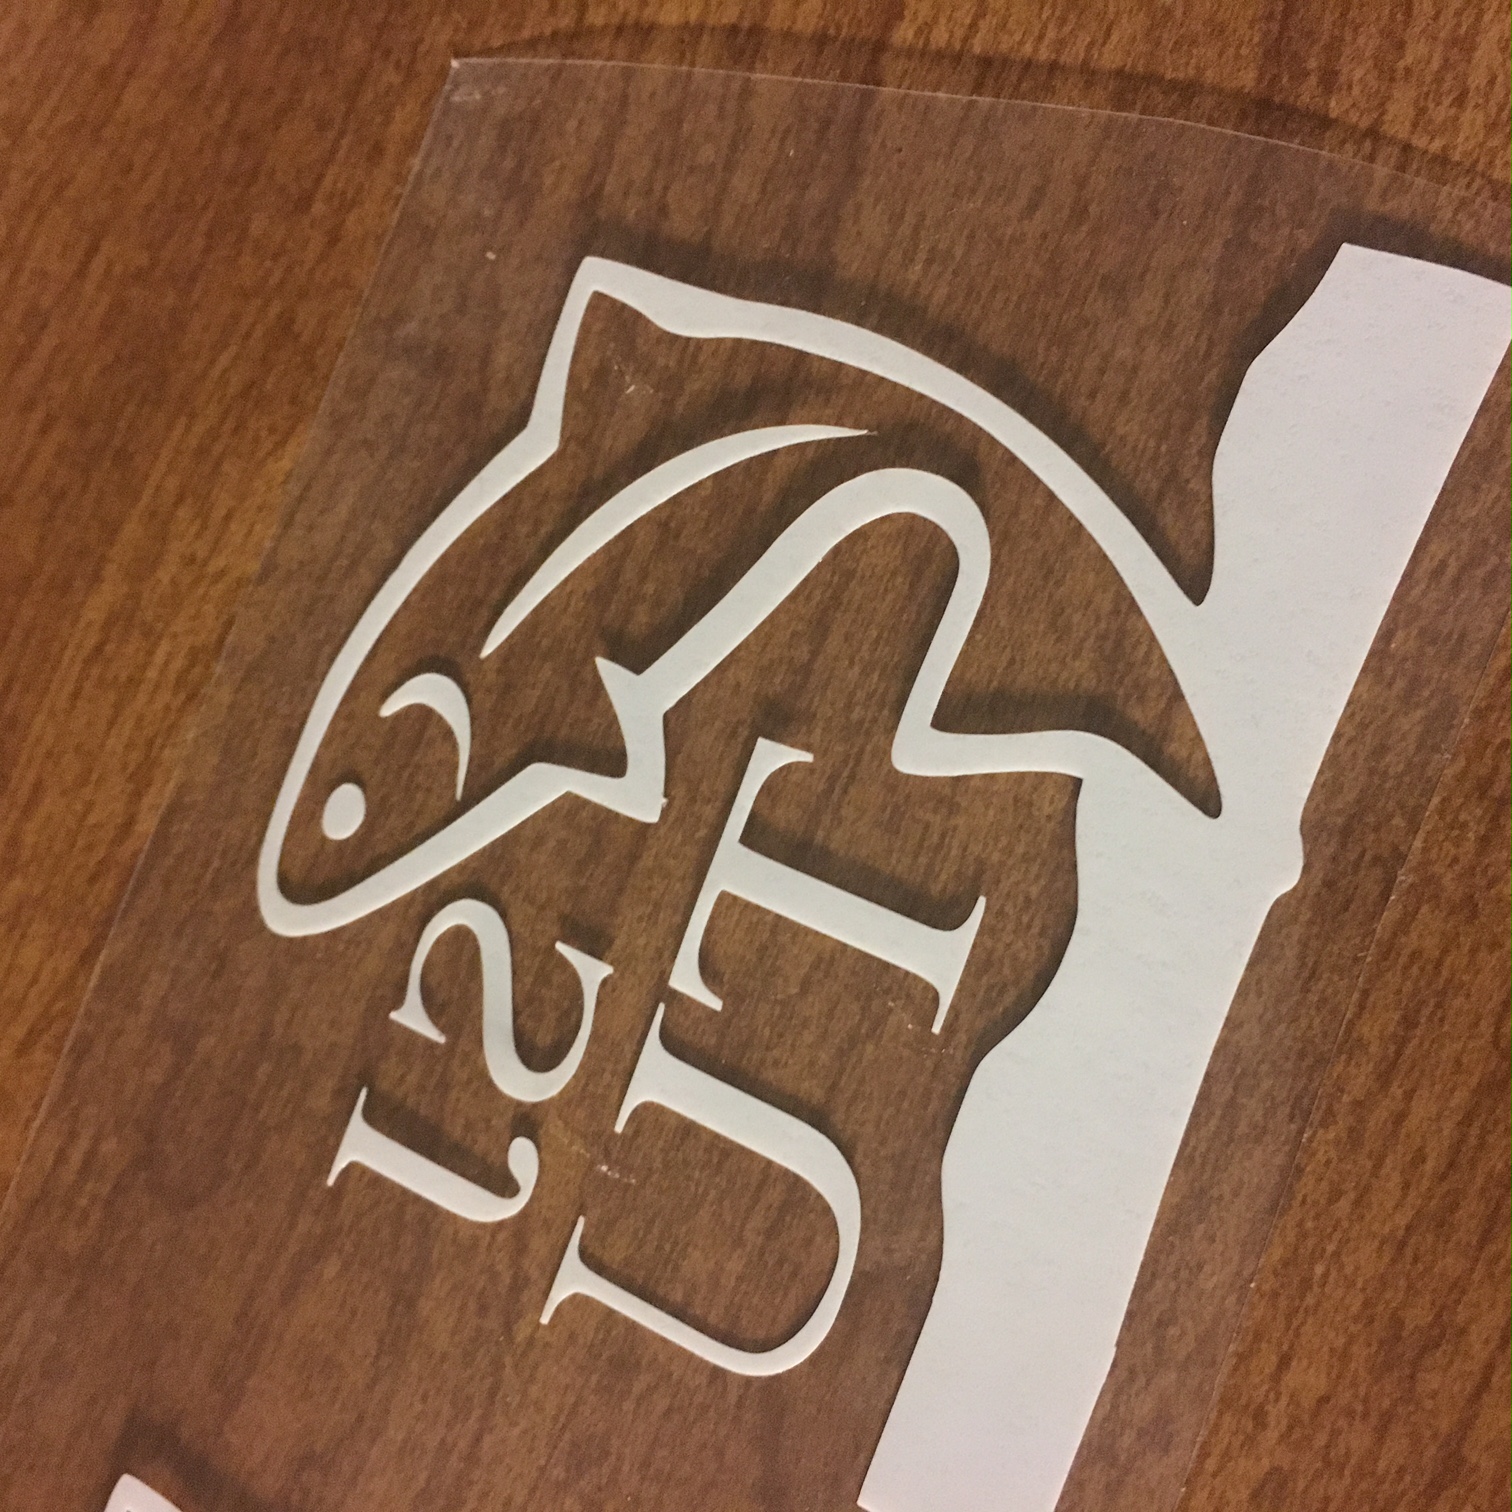
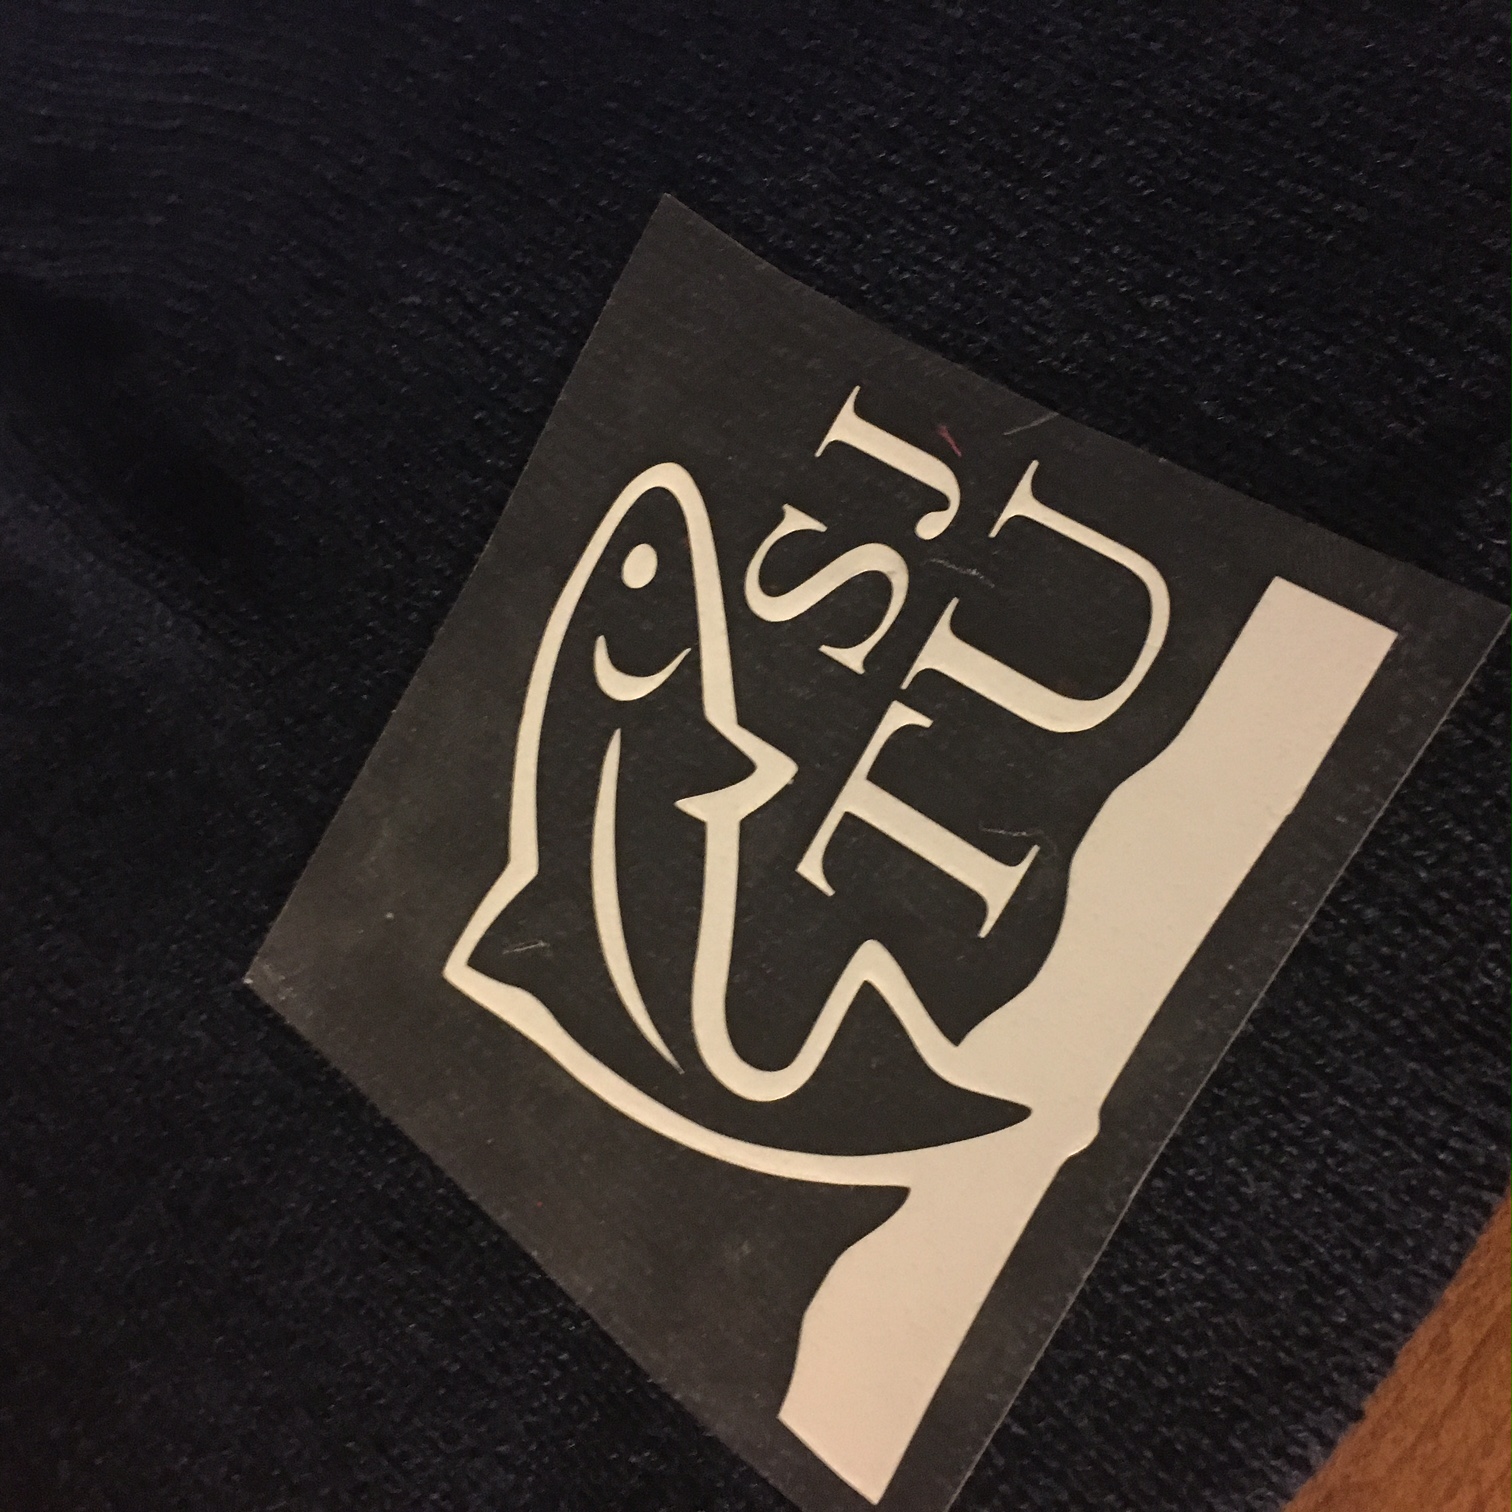
The key to avoiding ghosting is by making sure you have a tight fit between the transfer paper and the substrate. We recommend using a heat resistant tape to secure the transfer to the product. But be careful not to tape across the image area as this can often damage the image quality. Just use a minimal amount of tape along the edges, as you will need to be able to easily and quickly remove the transfer after pressing.

Another option when sublimating apparel is to use “repositionable” adhesive spray instead of tape. Apply a very light mist on the image side of the transfer paper from about 12-18″ away. Do not spray the shirt. If you position it incorrectly, you can lift it off and reposition it. Then press the transfer paper to the product.

Regardless of how you adhere the transfer paper to the product, it’s important that when you remove it, it doesn’t slide along the surface of the substrate, as this may spread sublimation dye into unwanted areas, and cause ghosting. Ideally, with hard substrates, the transfer will be lifted off the surface, quickly and cleanly. With apparel, it may work better to grab one end of the paper and pull it away slowly, while firmly holding the garment down.

These are three of the most common issues encountered when printing with sublimation. Each of them is relatively easy to resolve. If you are still having trouble, make sure you contact your equipment supplier to discuss.

View & Add Comments

Learn How To Use EasyWeed Adhesive with Foil Rolls

Our new EasyWeed Adhesive and colorful Foil Rolls give you even more creative options than ever before. Now you can add dimension to your garments by creating shiny, distressed looks in just a few minutes. Below we will explain how you can create one-of-a-kind pieces with our EasyWeed Adhesive and Foil Rolls.
easyweed adhesive
You Need:
To Do:
Create your file within your design application.
DSC07730 (2)
1. Reverse the design and cut! (visit our website, http://www.proworldinc.com/, for the correct blade and speed information).
DSC07736
2. Weed the design.
DSC07738 (2)
3. Preheat your heat press to 275 degrees F.
4. Once the press has reached your desired temperature, preheat your shirt for 3 seconds.
5. Once your shirt is preheated, apply the adhesive and press for 5 seconds.
DSC07744
6. Peel the transparent adhesive cover from the shirt while it is hot.
7. Quickly lay your foil on top of the adhesive. Make sure you place it with the silver side down, leaving the color facing up.
8. Cover the foil with a non-stick sheet.
9. Press for 10 seconds.
10. Wait until the foil is cool to the touch and then peel it.
DSC07754 (2)
 Admire your work!
DSC07758 (2)
View & Add Comments

Heat Press Tips for HTV (and a GIVEAWAY)

Did you recently purchase a Heat Press? Congratulations! A heat press can take your business, or personal crafting, to a whole new level. Our TransPro Heat Presses are ideal for applying heat transfer vinyl (HTV), transfers to t-shirts, jackets, mouse-pads, tiles, and more.

Today we are sharing  5 tips to help get you started using your heat press with heat transfer vinyl (HTV) and giving one lucky customer a chance to WIN a TransPro Mini Heat Press!  Head to the bottom of the post and see how to enter.

5 Heat Press Tipsto get you started& a GIVEAWAY! (2)

1 – You want to make sure the press is set to the proper temp and time for the specific vinyl you are using. You’ll also need to know whether to peel the backing off when it’s still hot, warm or if you need to wait till it has cooled. You can find both answers on our website.

2 – While you are designing and cutting your image, turn on the heat press so it can warm up to the desired temperature.

3 – Once your heat press has reached the desired temperature, place the garment on the bottom plate and press it for a few seconds to warm up the material, remove any moisture from the fabric, and get rid of wrinkles.

4-Be careful when deciding on placement for your design- if possible, let the seams from the neckline, sides, sleeves, and bottom hang over the side of the heat press as seams can get in the way resulting in uneven pressure. This could cause the vinyl not to apply correctly.

5 – If you are planning to layer two different colors of vinyl, be sure to set your heat press for half of the time it calls for. You’ll press the first color for a few seconds; then you’ll add your second color, and press it for the full length of time listed on our website. Make sure that all HTV is protected by the clear backing and your nonstick sheet.

Now that you know the basics for pressing vinyl the possibilities are endless! Show us your creations by using the hashtag #proworld on Instagram.

blog pro world

Want to get your hands on your own TransPro Mini Heat Press? We are giving one away on our Instagram page.

Now through Thursday, March 2nd at 11:59 pm EST, you can win your own Trans Pro Mini. Just follow us on Instagram, comment on our post, and tell your friends. The more you comment, the more chances you’ll have to win! The winner will be announced on March 3rd.

View & Add Comments

Learn how to layer GLITTER HTV

Did you know that you can layer GLITTER HEAT TRANSFER VINYL?! Read on for details and a step by step how to.

Learn how to layer GLITTER HTV (1)

To prepare for your project you need to:
-Design your cut file.
-Preheat your heat press and set it to 320 degrees F.


Now that you have all of your materials and equipment ready, take your multiple cuts of Chemica Bling Bling Heat Transfer Vinyl.

DSC07612

Warm up your heat press, and press your first vinyl layer at 320 degrees F for 10 seconds.

DSC07613

Peel the plastic transfer paper off.

And lay your next piece of bling bling on top.
DSC07616

Cover your full design with a teflon sheet and press it again (at 320 degrees F) for 10 seconds.

Peel back your plastic overlay and admire your sparkly results!

DSC07624

Peel back your plastic overlay and admire your sparkly results! Still have another layer to add? No problem! You can add up to 3 layers of Chemica Bling Bling Heat Transfer Vinyl, so just repeat the steps from above.

Once you’ve completed your project, tag us on Instagram using the hashtag #proworldinc so we can check out your awesome creations!

DSC07618

View & Add Comments

Custom Hat & Gloves with EasyWeed Stretch

Now that it’s February and the cold weather is here to stay, why not face the elements with a custom creation?
For today’s project we are using Siser EasyWeed Stretch. It delivers all of the benefits of our EasyWeed™ heat transfer material and combines it with super stretchability to create one remarkable heat transfer material!  The thinnest of any Siser material, EasyWeeed Stretch has been designed to move with your garment without any cracking. This makes it the perfect medium for performance wear, hats, gloves, and other tight fitting garments!
 Sweet treats to make for mom
You Need:
Plain Knit Hat (or gloves)
Take your hat and measure the available space.
Use your team logo or grab a free clip art image and trace it with your Silhouette Software.
Next, mirror your image and insert the heat transfer vinyl into your machine.
trout3
Double check your settings and click cut.
Weed your design.
IMG_3423
Place it on your item and press it with your Heat Press.
IMG_3424
You are done!
DSC07565
stretch hat
View & Add Comments

The 5 Top Valentine’s Day Gifts

With Valentine’s Day around the corner, why not buy your sweetheart a gift that keeps on giving? Here are the top 5 gifts for the crafter in your life!

heat press

Heat Press
Let your Valentine put the iron away for good by surprising them with our most popular heat press, The TransPro® 15×15.  This easy to use, manual heat press is ideal for applying heat transfers to t-shirts, jackets, mousepads, tile, and more! The even pressure and temperature will make creating custom items a breeze!

package-optional-mini-v4

Silhouette Cameo Value Package
Has your Valentine been dreaming of a Silhouette Machine? Then this package is perfect! With the Silhouette Cameo Value Package, your sweetheart will receive a Silhouette Cameo 3, a Vinyl Starter Kit, a Rhinestone Starter Kit, and a Heat Transfer Starer Kit. Plus, you can add a discounted 15 x 15 Heat Press to your order to make the gift extra special.

sublimation pacl

Sublimation Bundle
Help your Valentine take their custom business to the next level with the Sublimation Starter Package! They will be able to create one-of-a-kind, custom pieces like mugs, phone cases, frames, license plates, tags, and more. This bundle includes a high-performance sublimation printer, ink and paper, and easy to use creative software. You can also add a heat press!

vinyl collage

VINYL
Show your Valentine how much you care with a package full of vinyl! Pro World offers an extensive selection of heat transfer vinyl from all major vinyl manufacturers including Siser, Chemica, FDC, and Specialty Materials. With a wide array of colors and prints you can create a one of a kind gift that will make your sweetheart smile! Plus, you can add a mini heat press to your order for ONLY $89 when you spend $199, or add a 15 x15 Heat Press for $99 when you order $399 of merchandise!

bun03-mug-starter3
Mug Starter Package
Nothing says love like the combination of coffee and crafting! With the Pro World Mug Starter Package, your Valentine will receive a Virtuso Sublimation Printer, Trans Pro Mug Heat Press, Ink, Paper, Mugs and More. The perfect way to start your day will always be within reach!

5

View & Add Comments