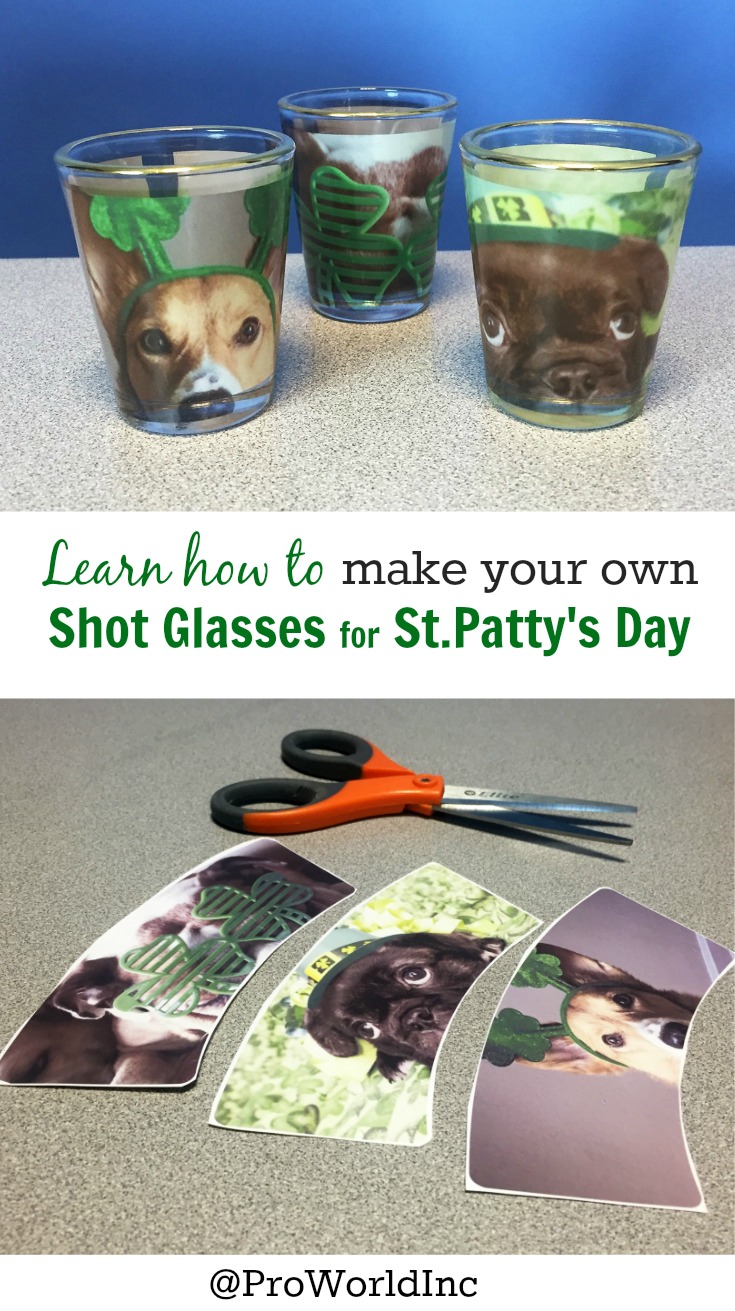
With St. Patrick’s Day just three weeks away, we are going to show you step-by-step instructions on customizing some shot glasses with sublimation. And what makes everything better in life? That’s right… puppies! We decided to incorporate some adorable dogs into this St. Patty’s Day theme.
First things first, you will need a sublimation printer. We used our in-house Ricoh printer, which is an older model that we had previously sold in the past. The upgraded (and more feature rich) model can be purchased on our website, the Sawgrass Virtuoso. This printer will come with the required Sublijet inks. You will also need some sublimation paper on which to print your design. We recommend Texprint paper.
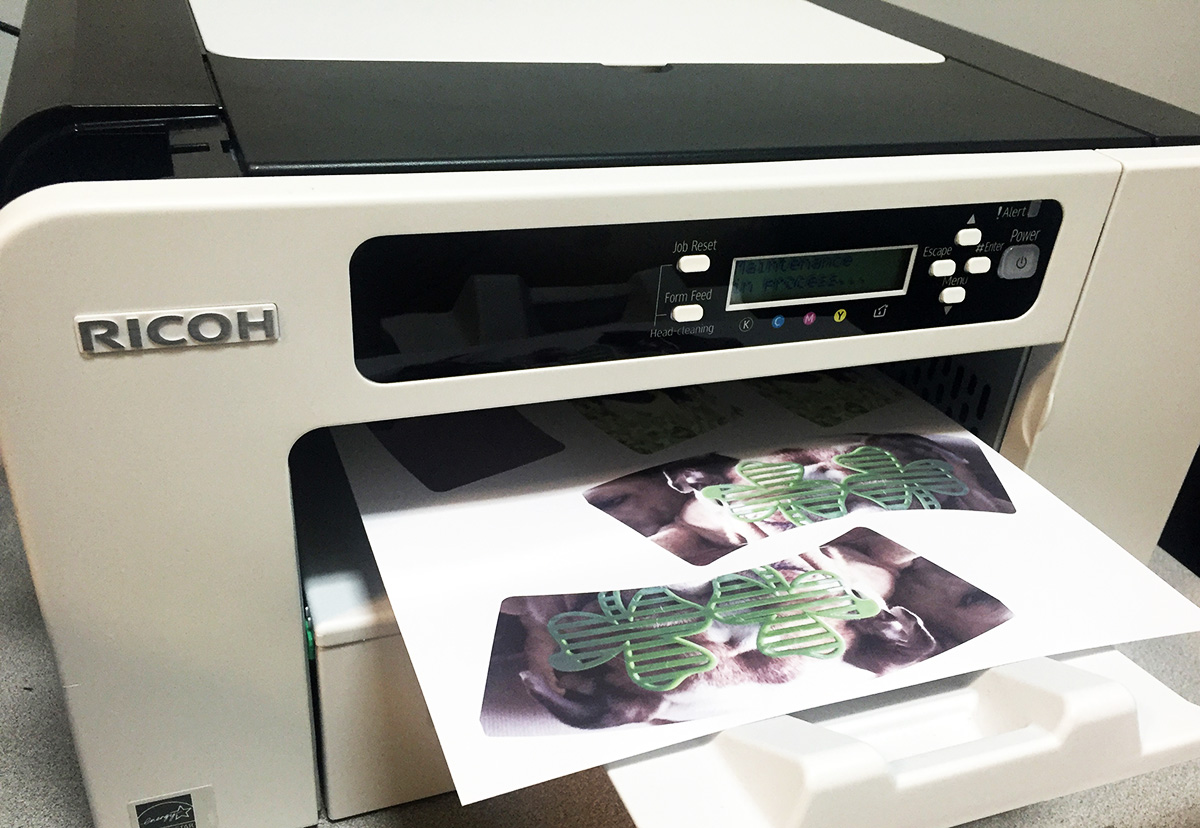
I used the shot glass template to create my artwork and then I set multiple images up on an 8.5 x 11″ sheet to get the most out of my paper. The template will ensure that you create images with enough bleed room (i.e. area outside of the print), as well as helping to re-create the shape of the shot glass. Be sure to mirror print your image so that your artwork is printed in reverse.
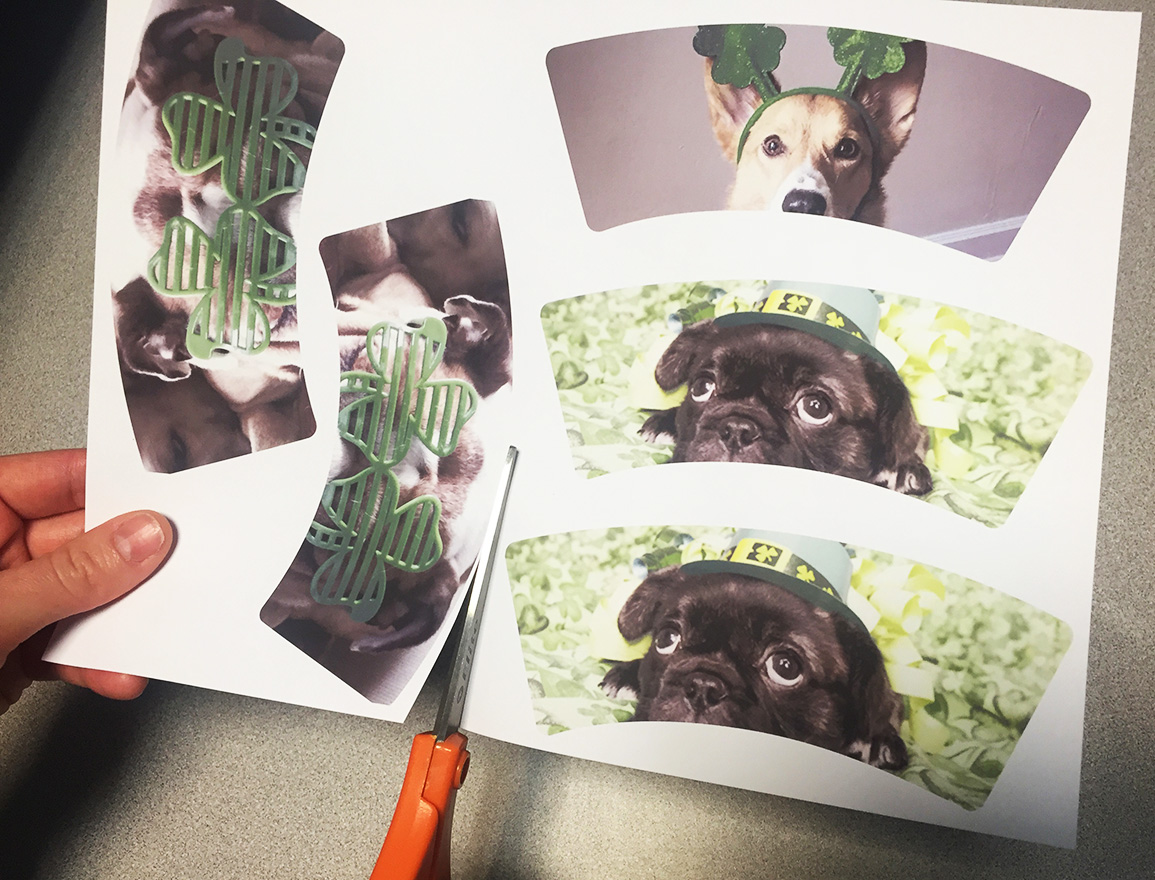
Next, take your scissors and cut the prints apart, leaving a little bit of white trim around the edges to avoid cutting into your design. Once the designs are cut apart, you will want to prep them to be taped to the shot glasses.
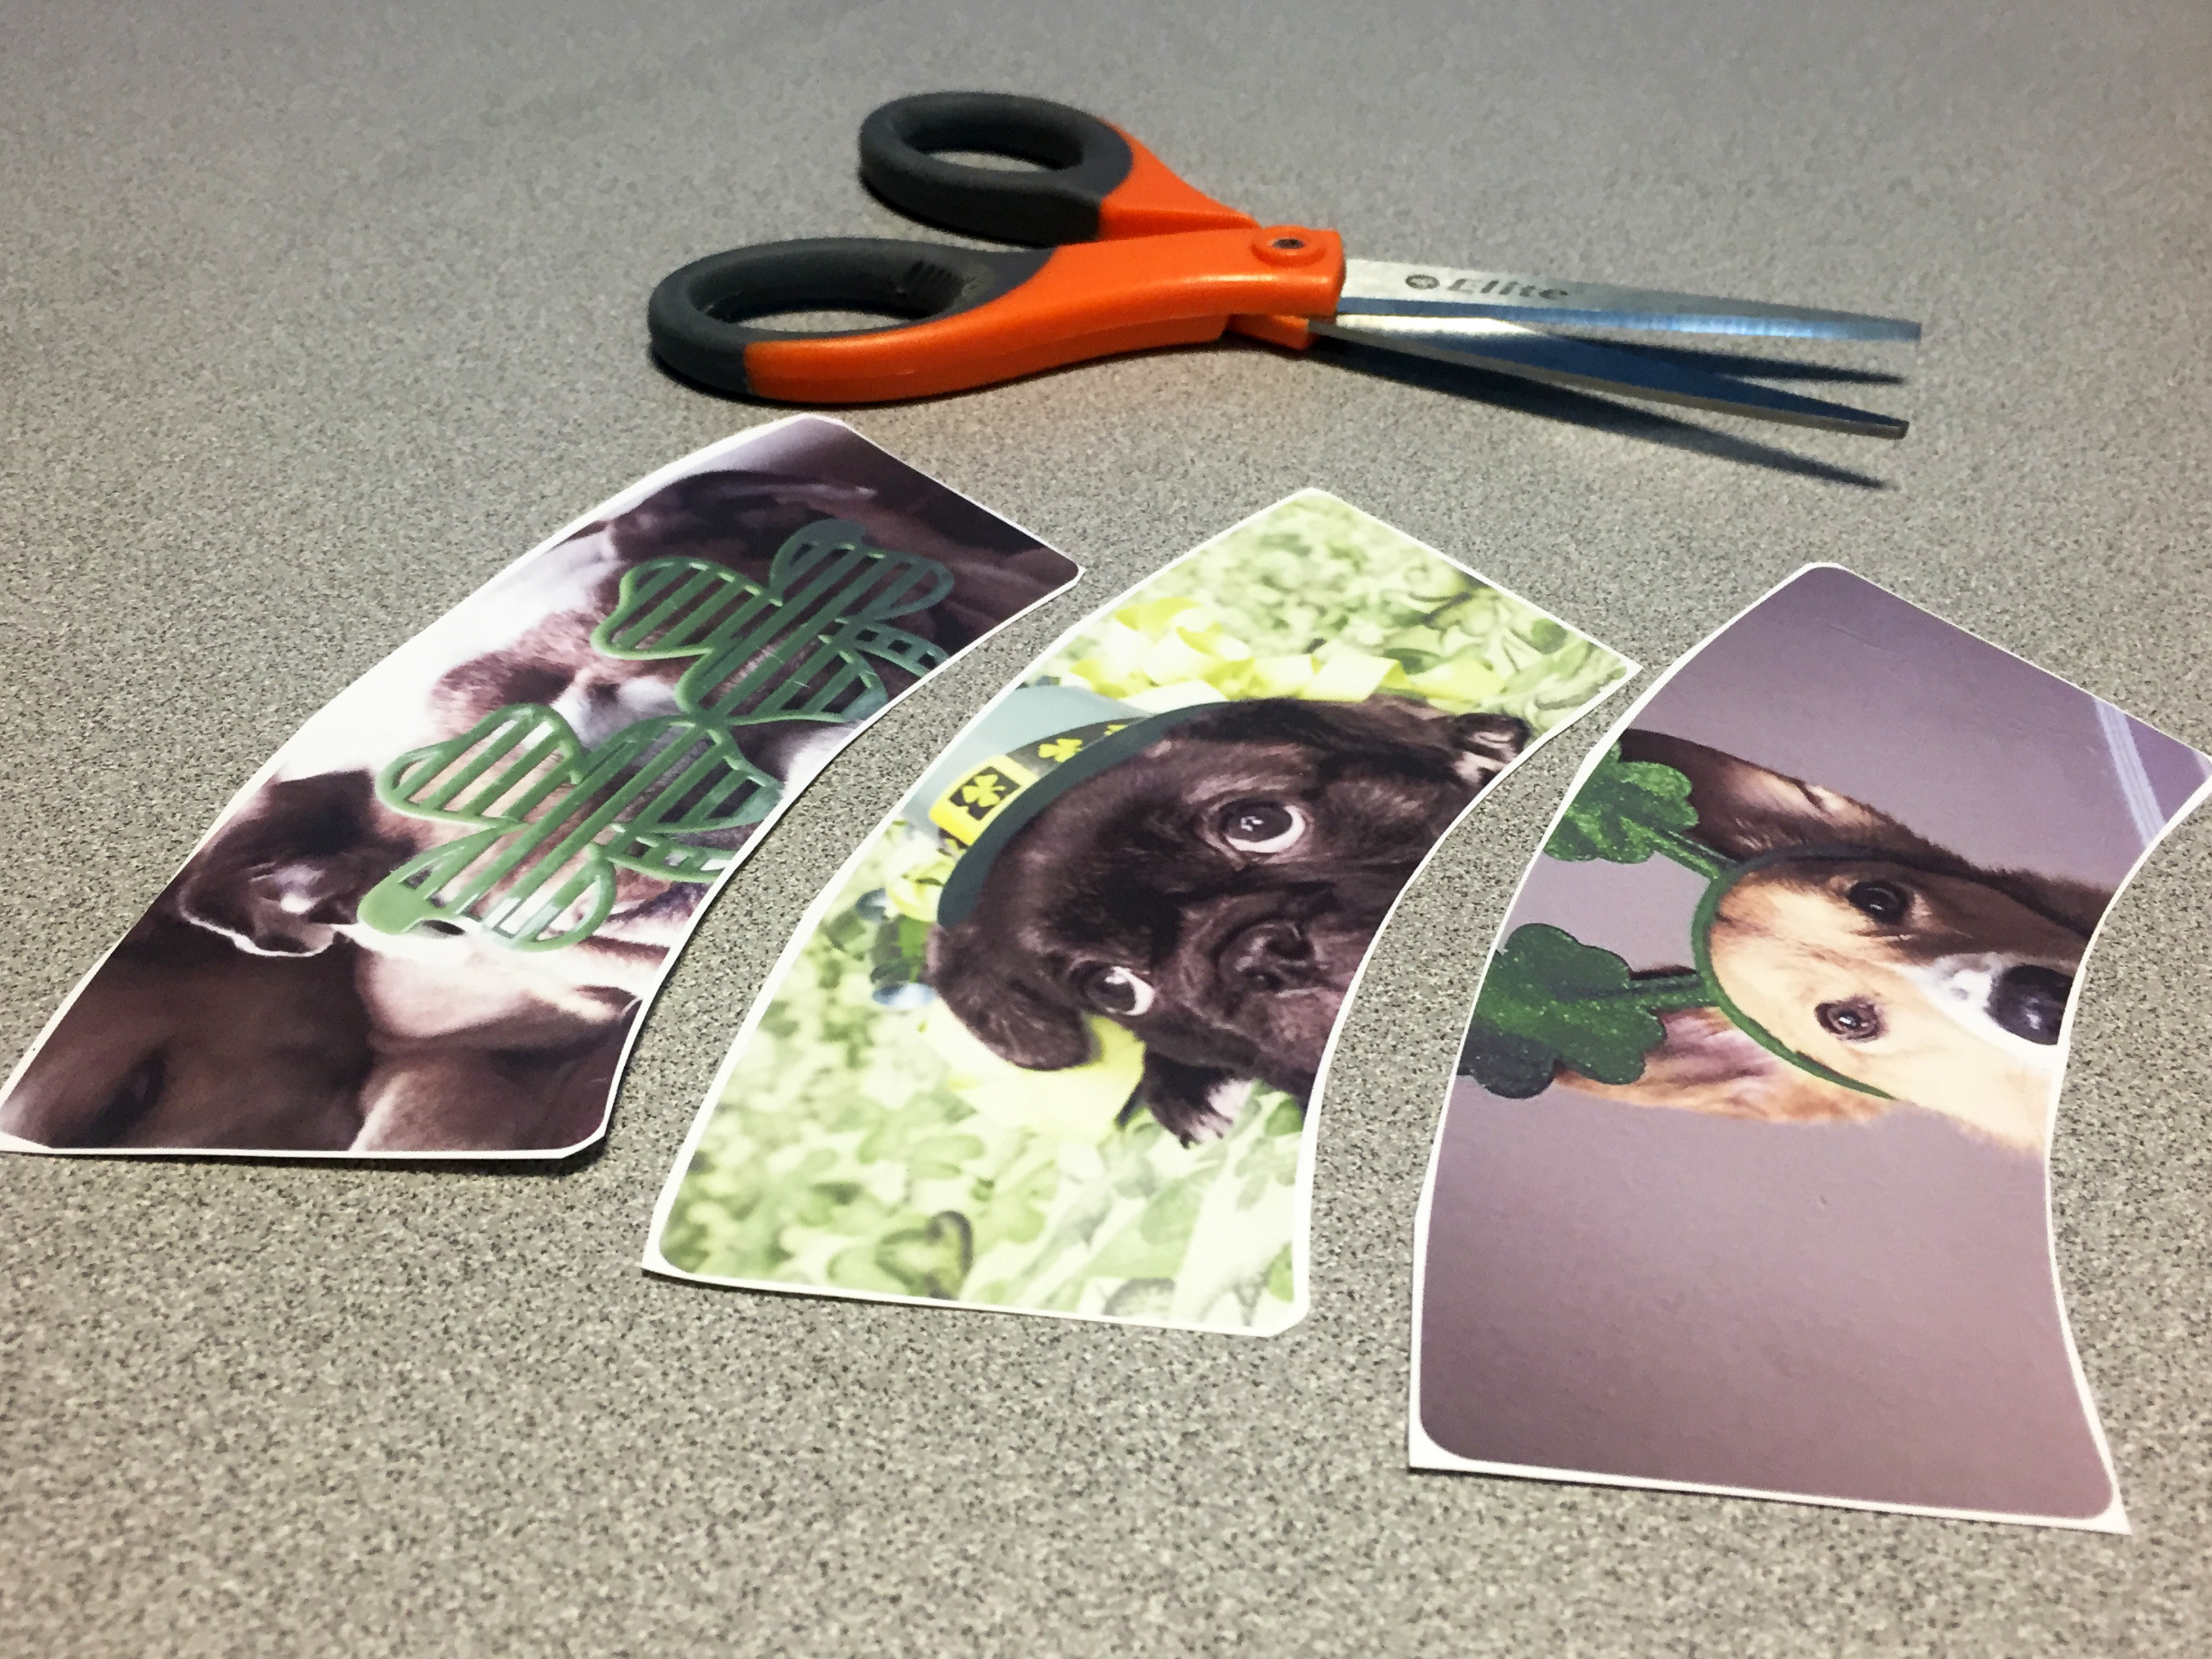
Keep in mind that the shot glasses we carry do have a white coating, which means that any area of your design that is not filling the template will have a white background.
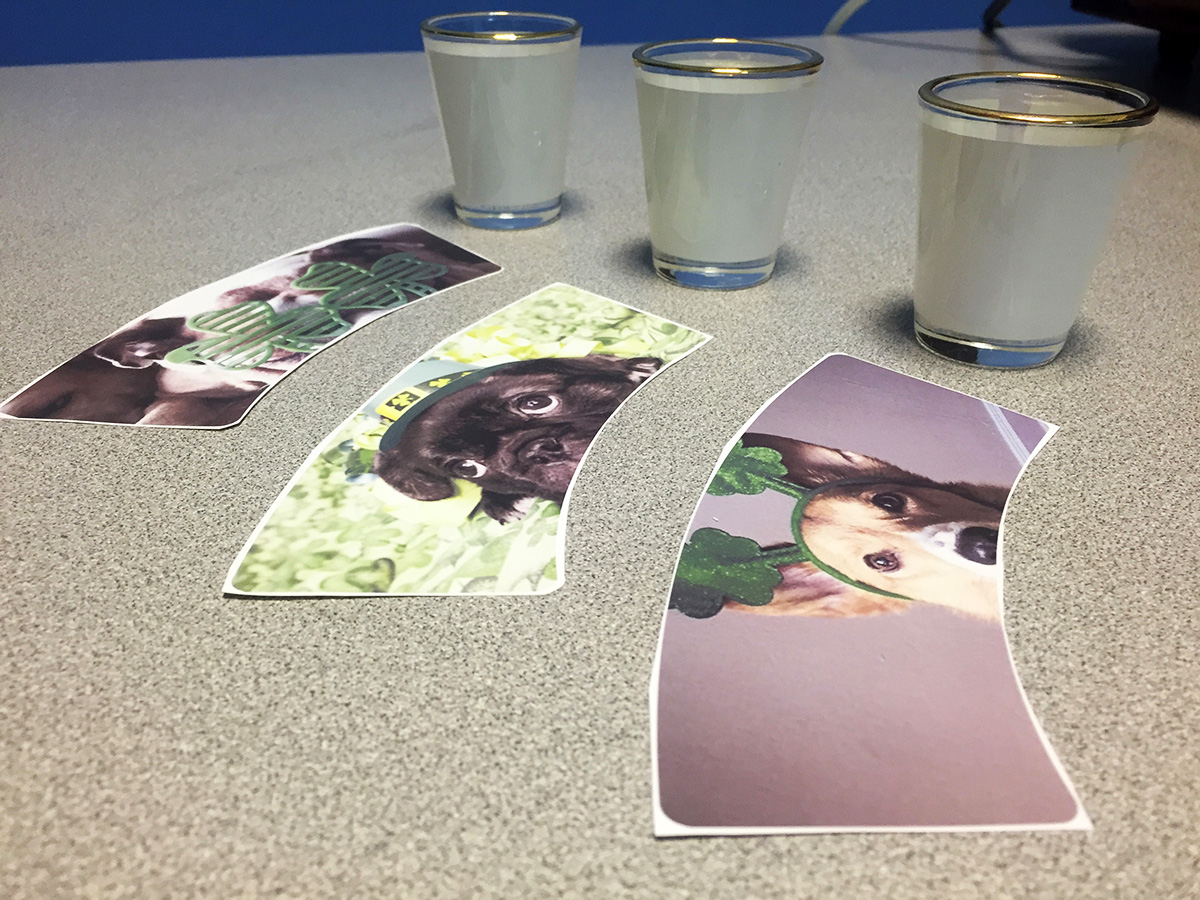
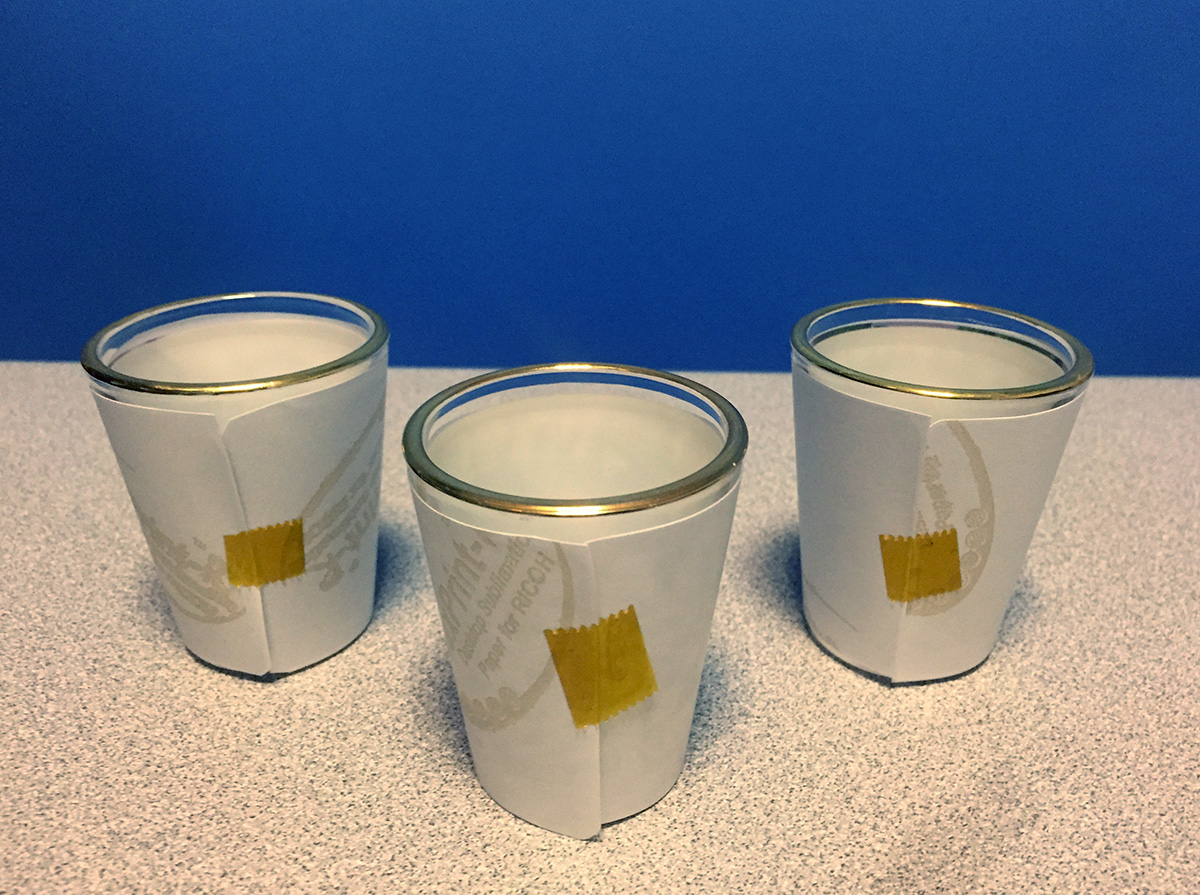
After the designs are cut, wrap them around each shot glass and attach the image to the shot glass using heat resistant transfer tape to keep the paper in place.
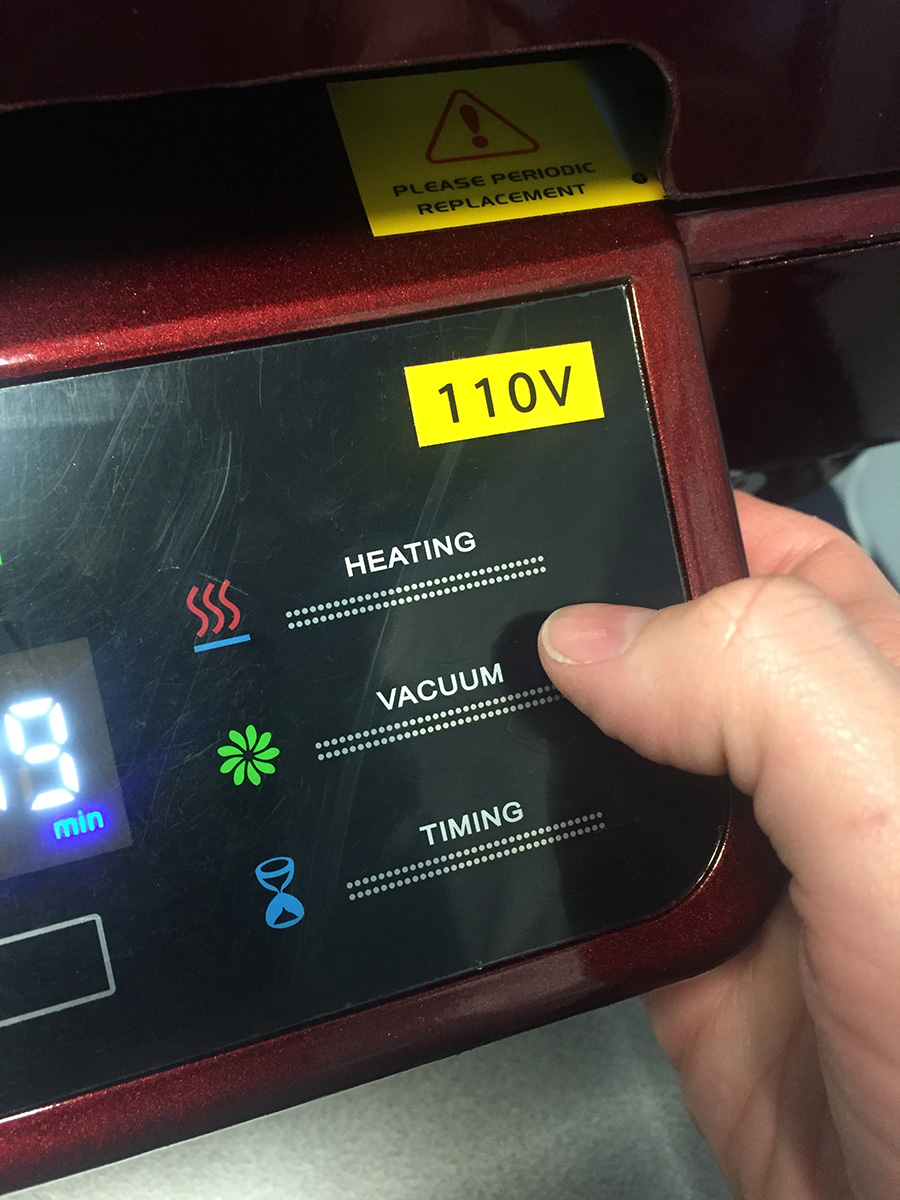
Now that your glasses are prepped, we need to get the heat press ready. You can also do this before printing to allow the press some time to heat up. Plug in your 3D Vacuum Heat Press and flip the switch on the back left side. Press the “Power” twice to get to the settings, and then press the “Temperature” settings button and set at 200 degrees Celcius. Now press the “Time Setting” button and set to 13 minutes. After both are set, press the “Heating” button twice. The press will now start heating up, and will beep once it hits 200 degrees.
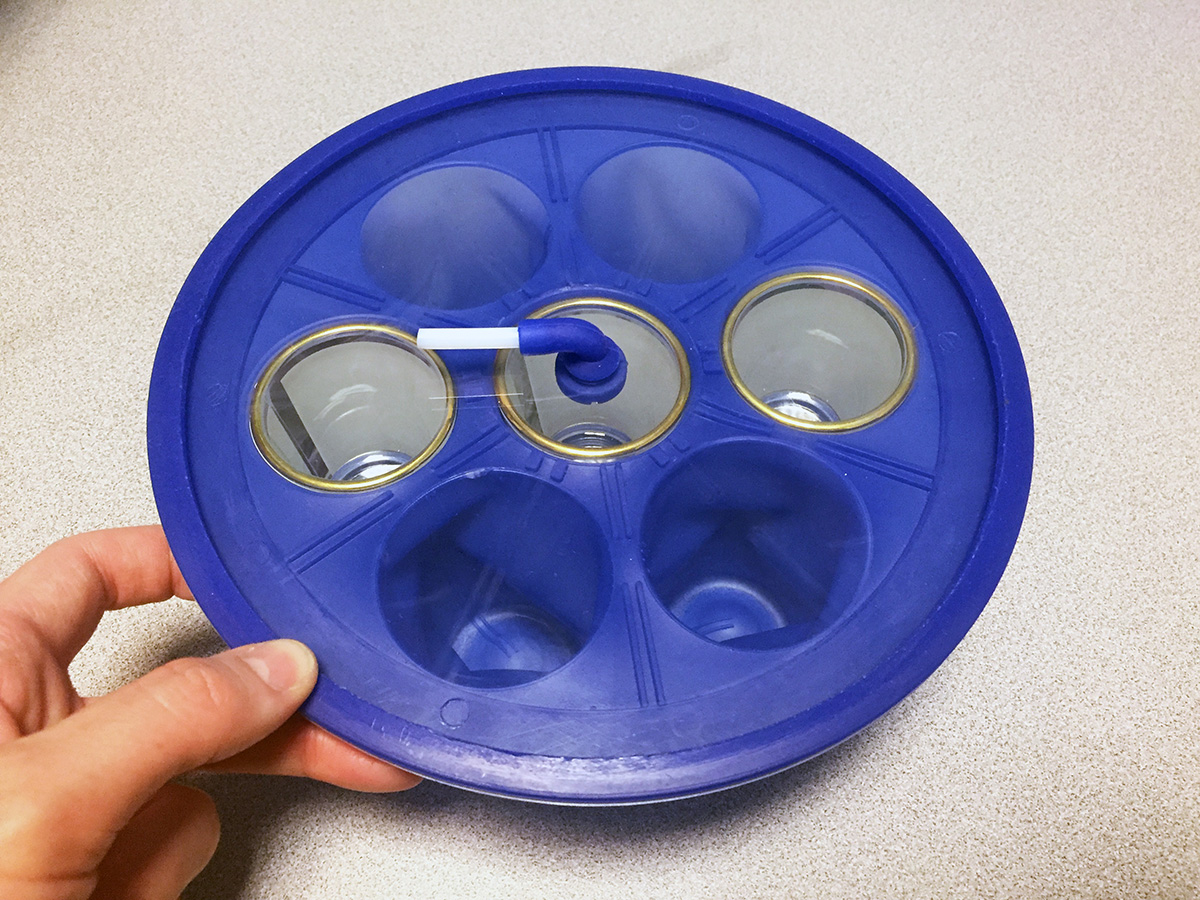 Place the shot glasses into the shot glass mold and cover with the glass lid. Once the heat press is ready, place the shot glass mold inside of your 3D Vacuum heat press.
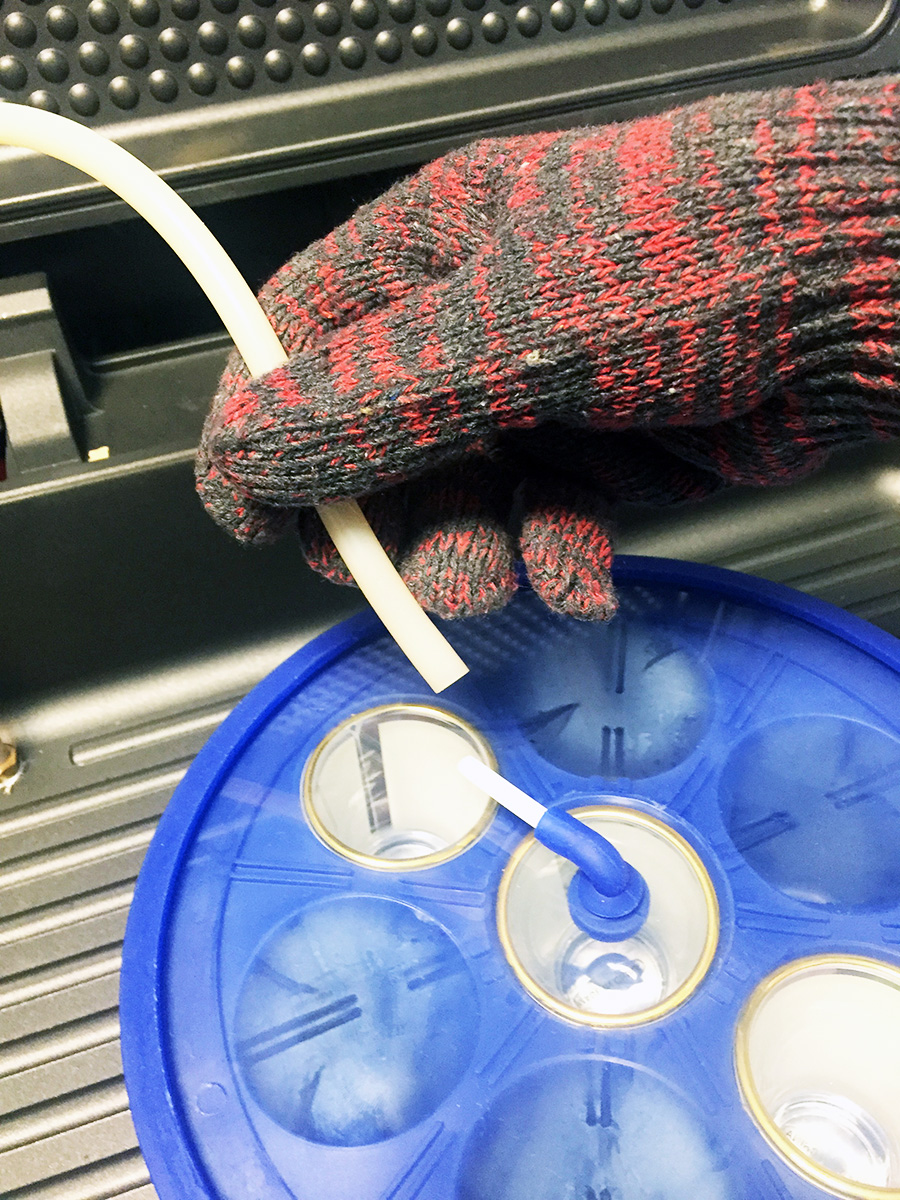
Attach the rubber tube (that is connected to the bottom of the 3D Vacuum Press) to the white tube sticking out of the mold. After the tube is connected, press the “Vacuum” button. The tube will then suck all of the air out of the mold. Pick up the mold carefully (while wearing protective gloves) and check to make sure that there are no wrinkles where the mold has been suctioned around the shot glasses. After flattening out any wrinkles, close the heat press and press the “Timing” button. The machine will begin to count down.
Remove the mold once the time is up, making sure to wear your protective gloves. Peel the paper off of the shot glasses immediately. Use caution as the glass will be very hot! Let the shot glasses cool down, and admire your finished product! Fill with your favorite liquor, and drink til yer Irish! Ruff Ruff. . . sorry I couldn’t resist!

