Layering Chemica Glitter Heat Transfer Vinyl

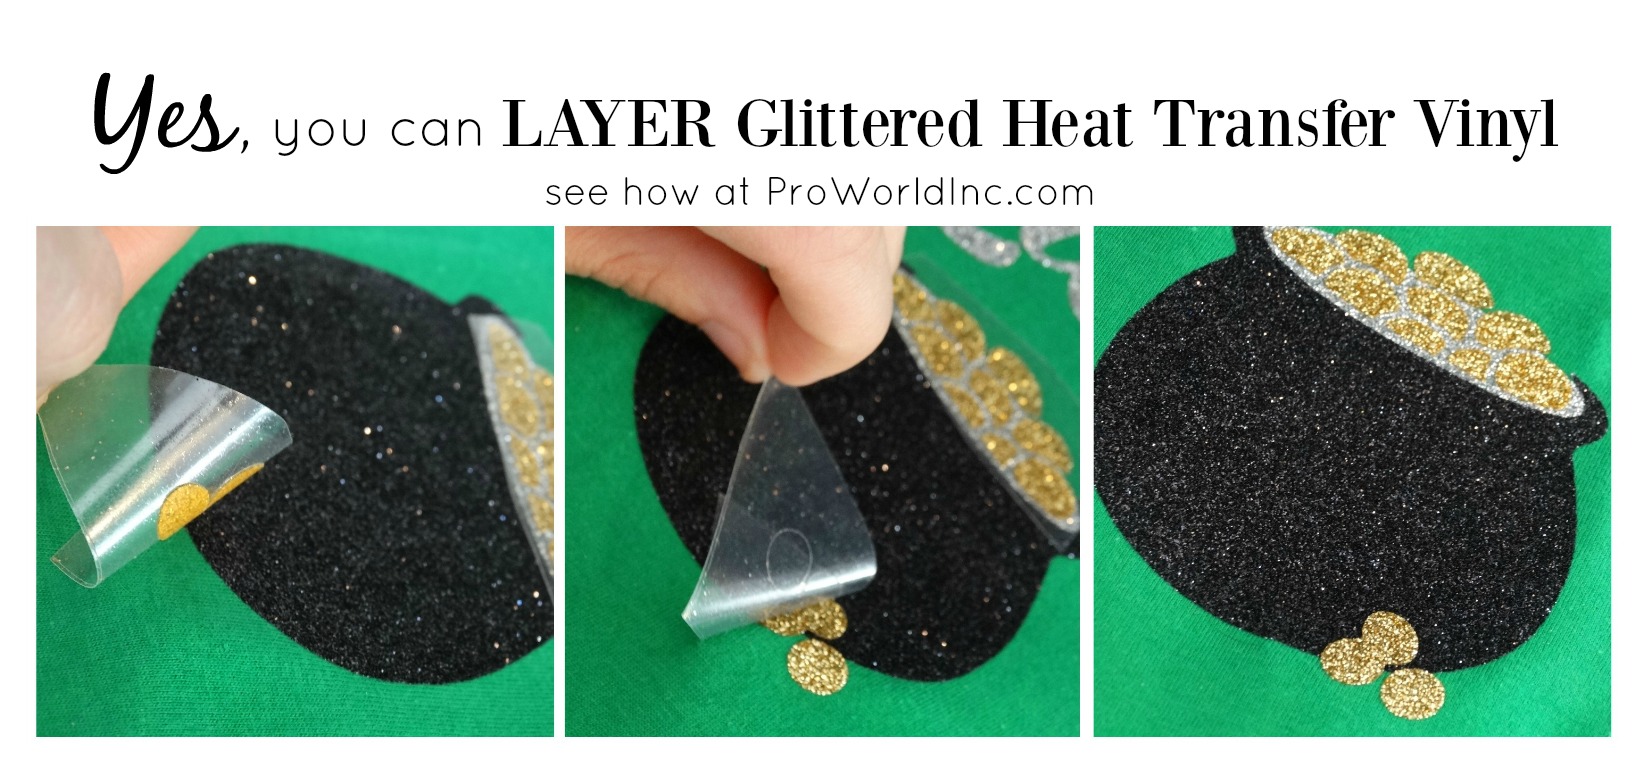
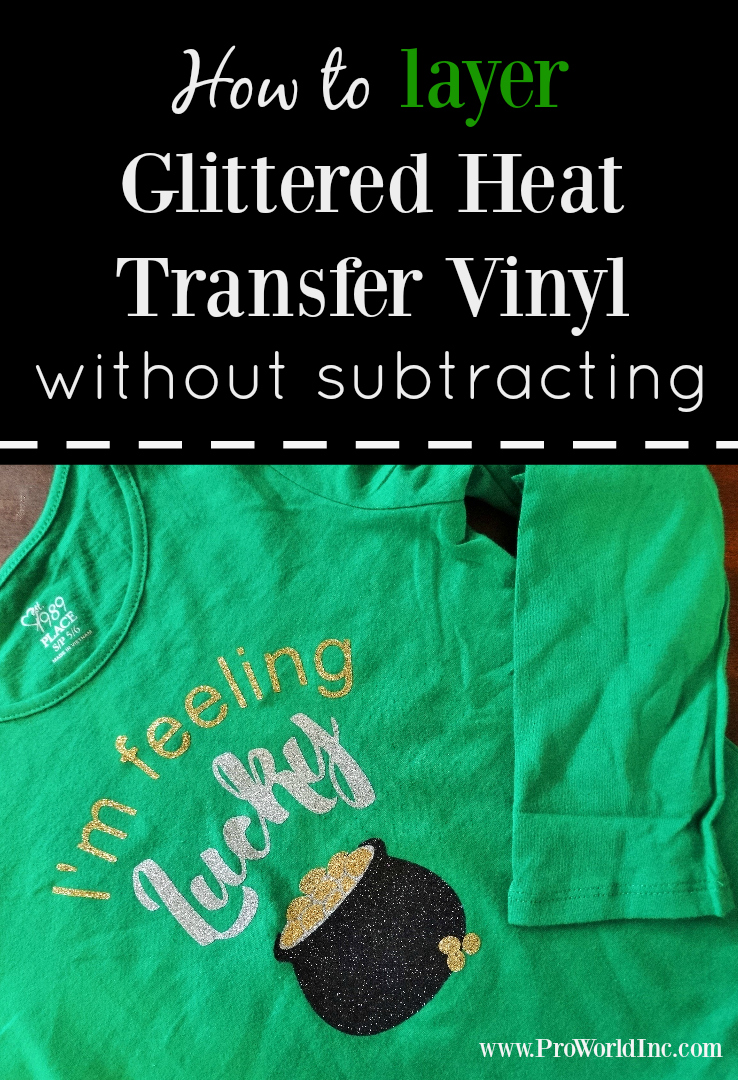
Happy St. Patty’s Day! Today we are going to show you how to layer Chemica Bling Bling heat transfer vinyl.

yes you can layer glittered HTV see how at @proworldinc

But first you need to grab a few supplies:

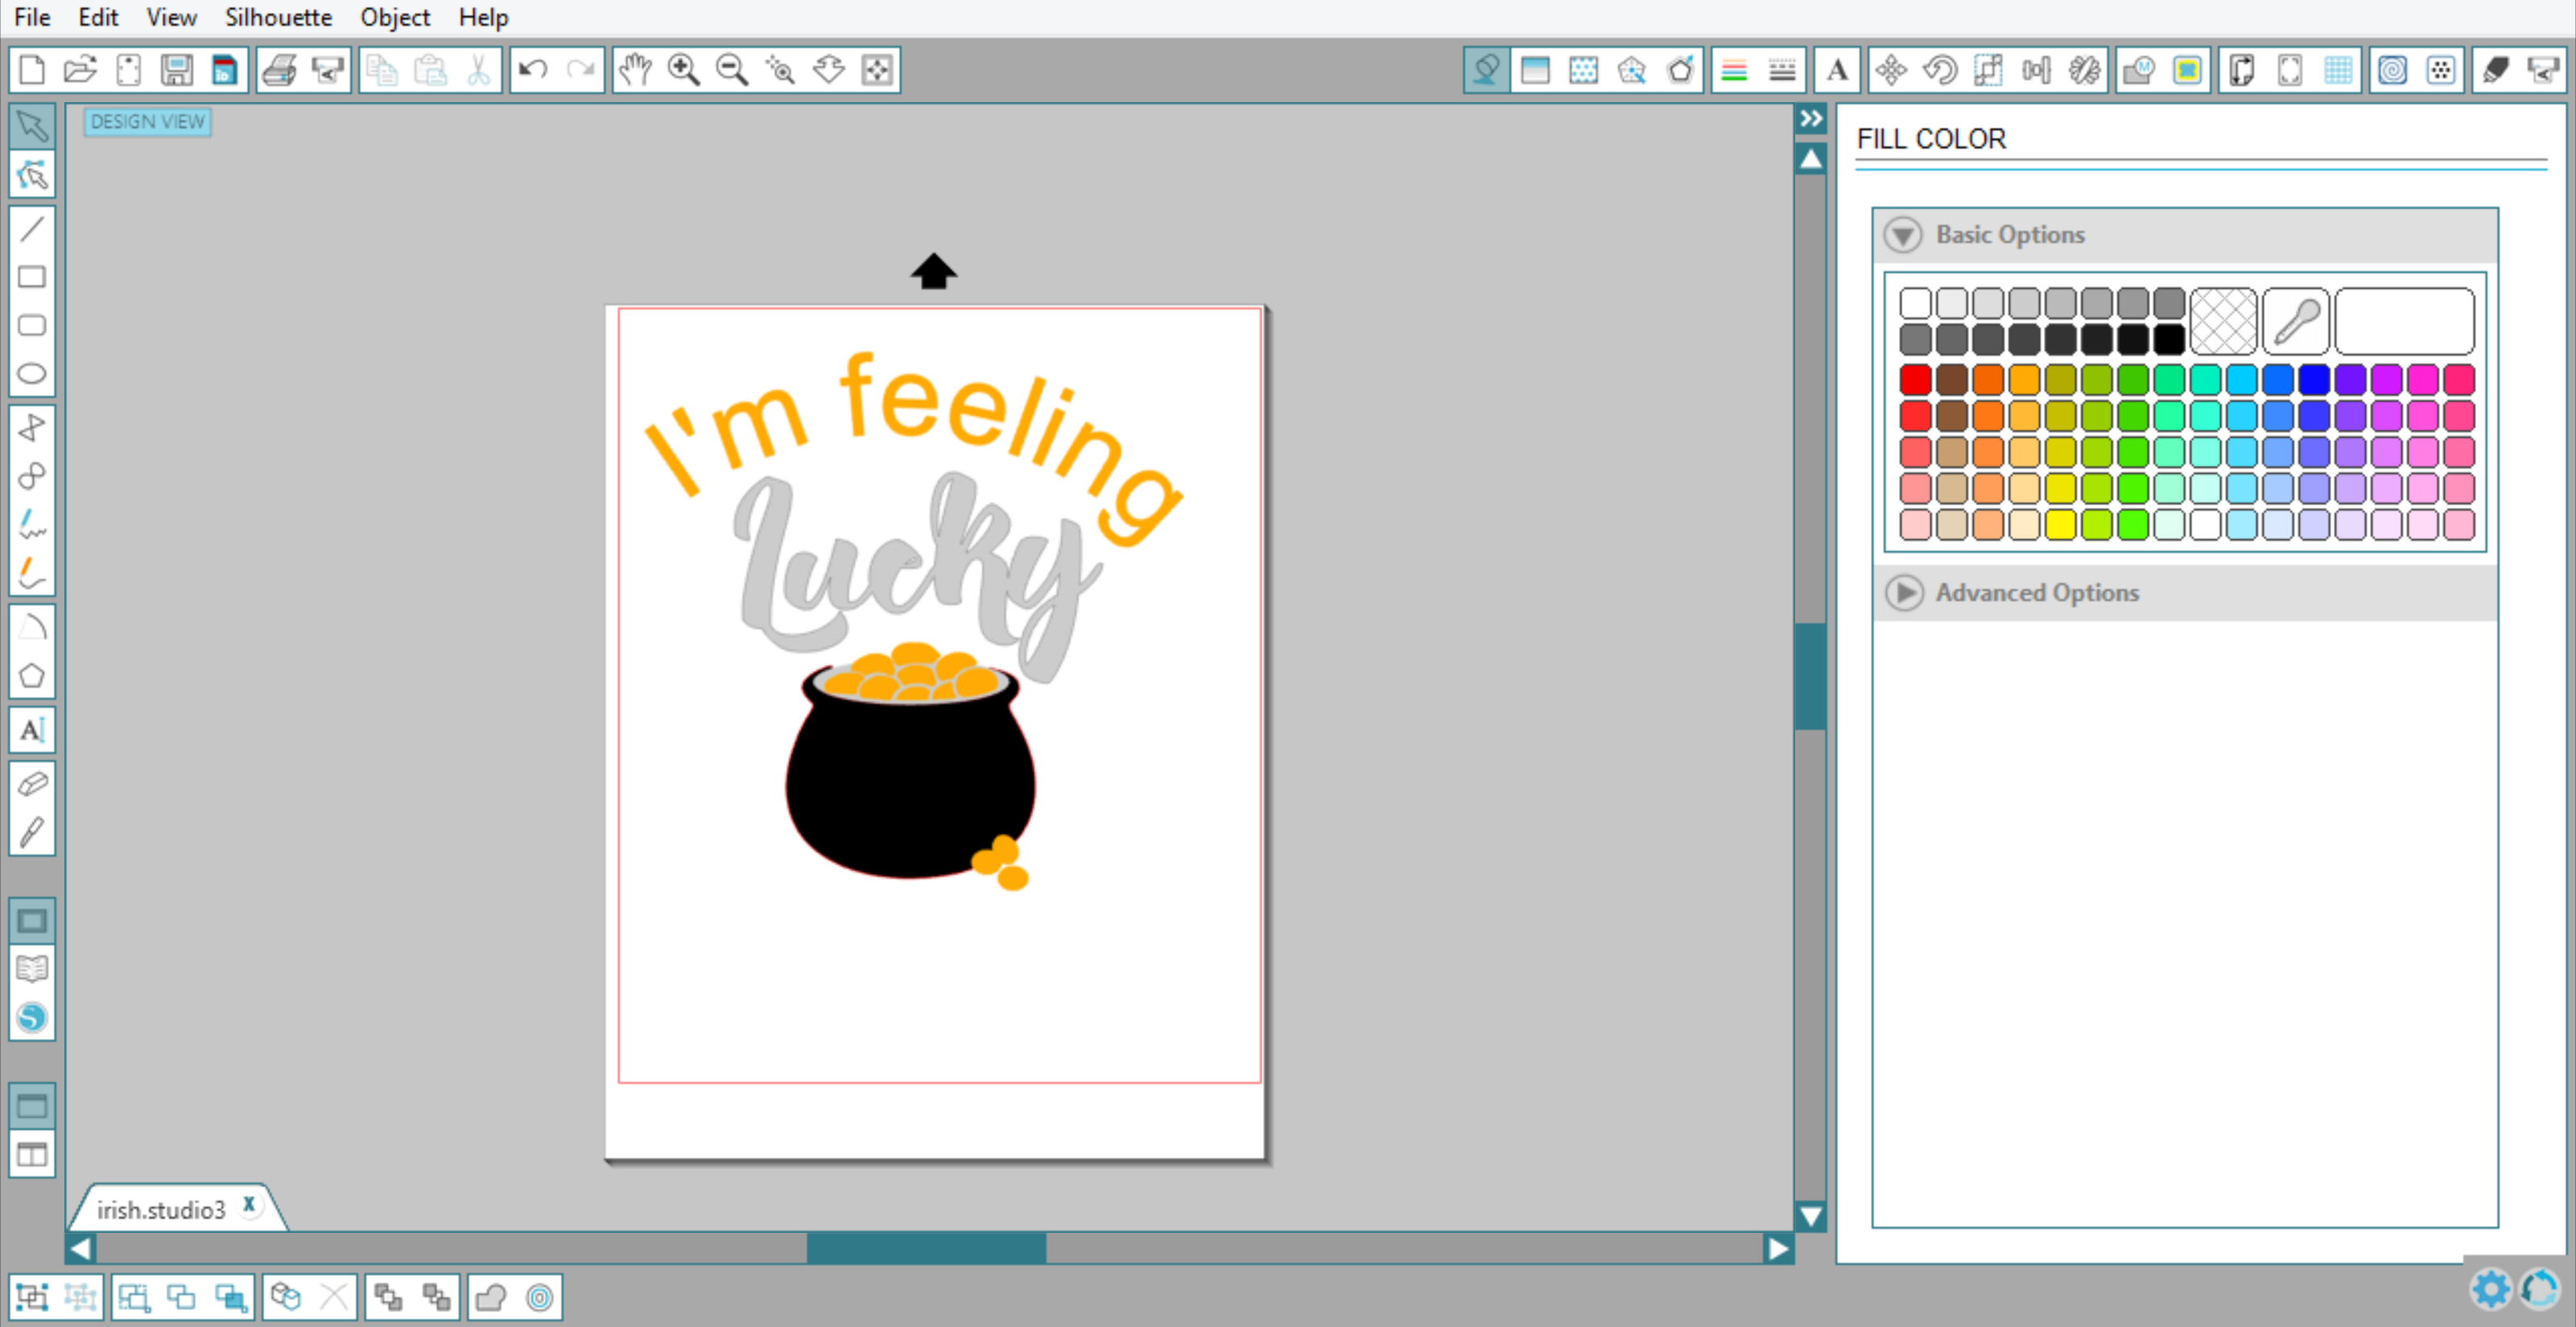
Design, Cut and Weed your Chemica Bling Bling pieces.

Screenshot (218)

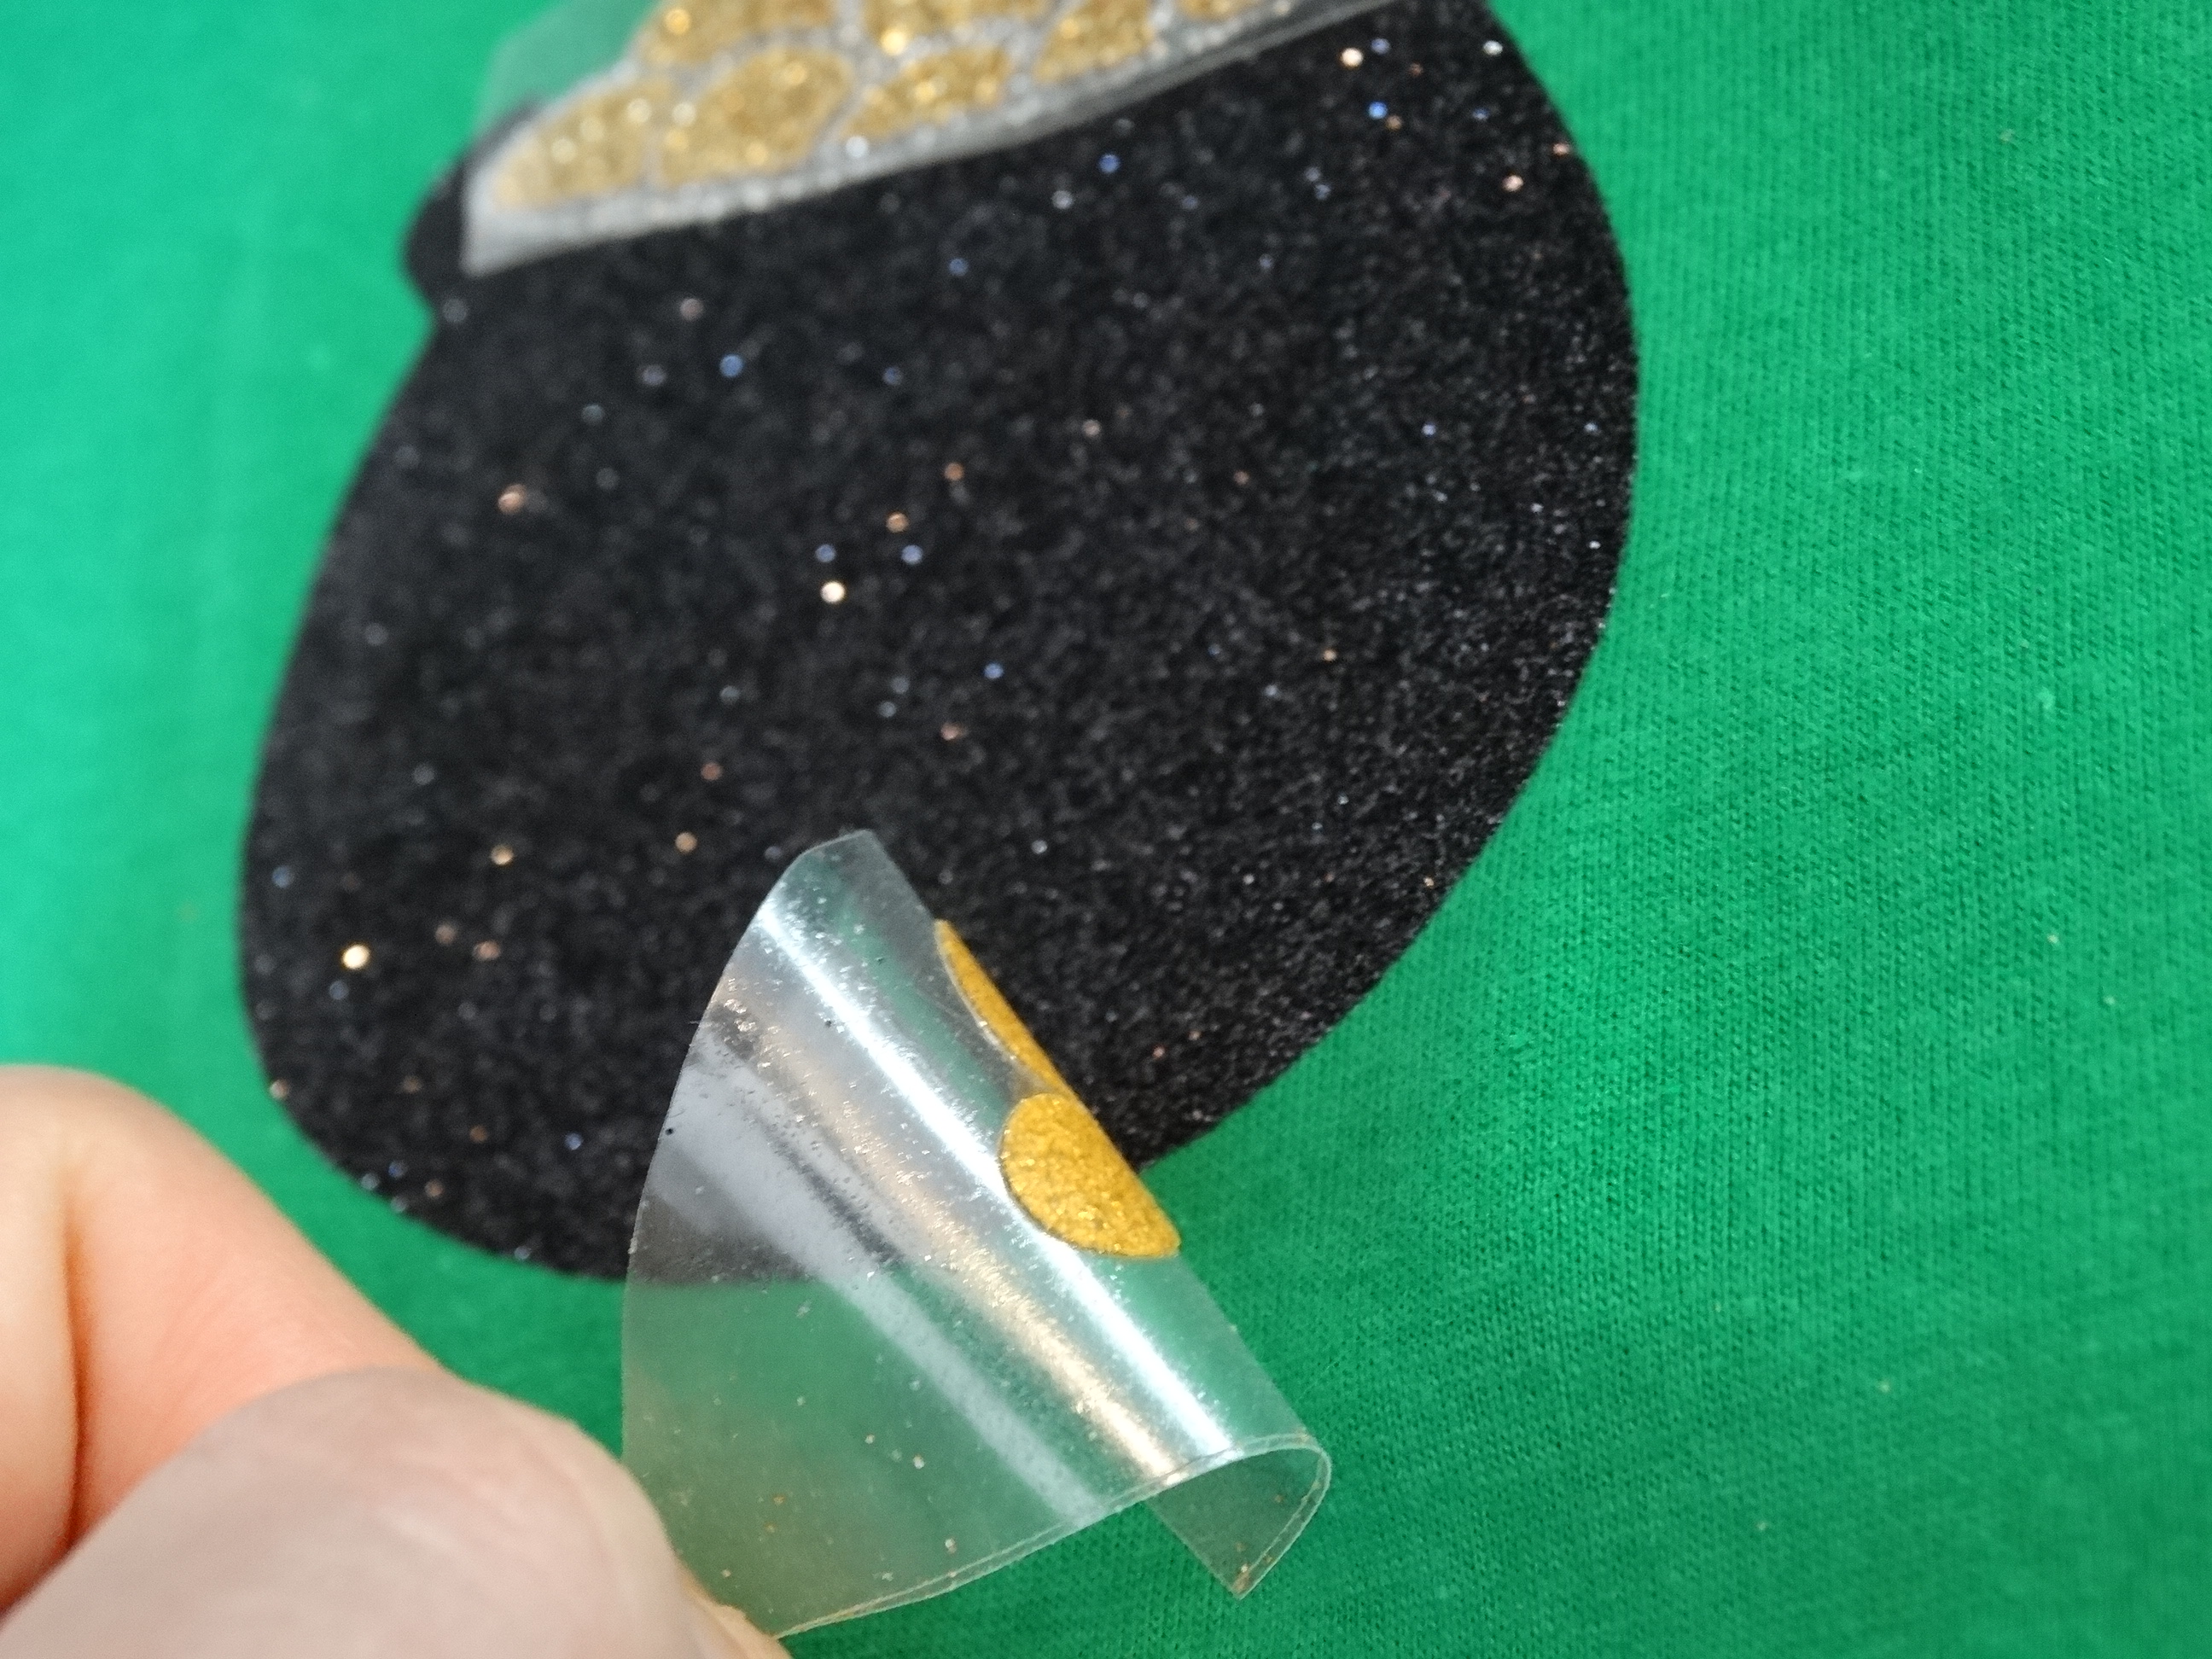
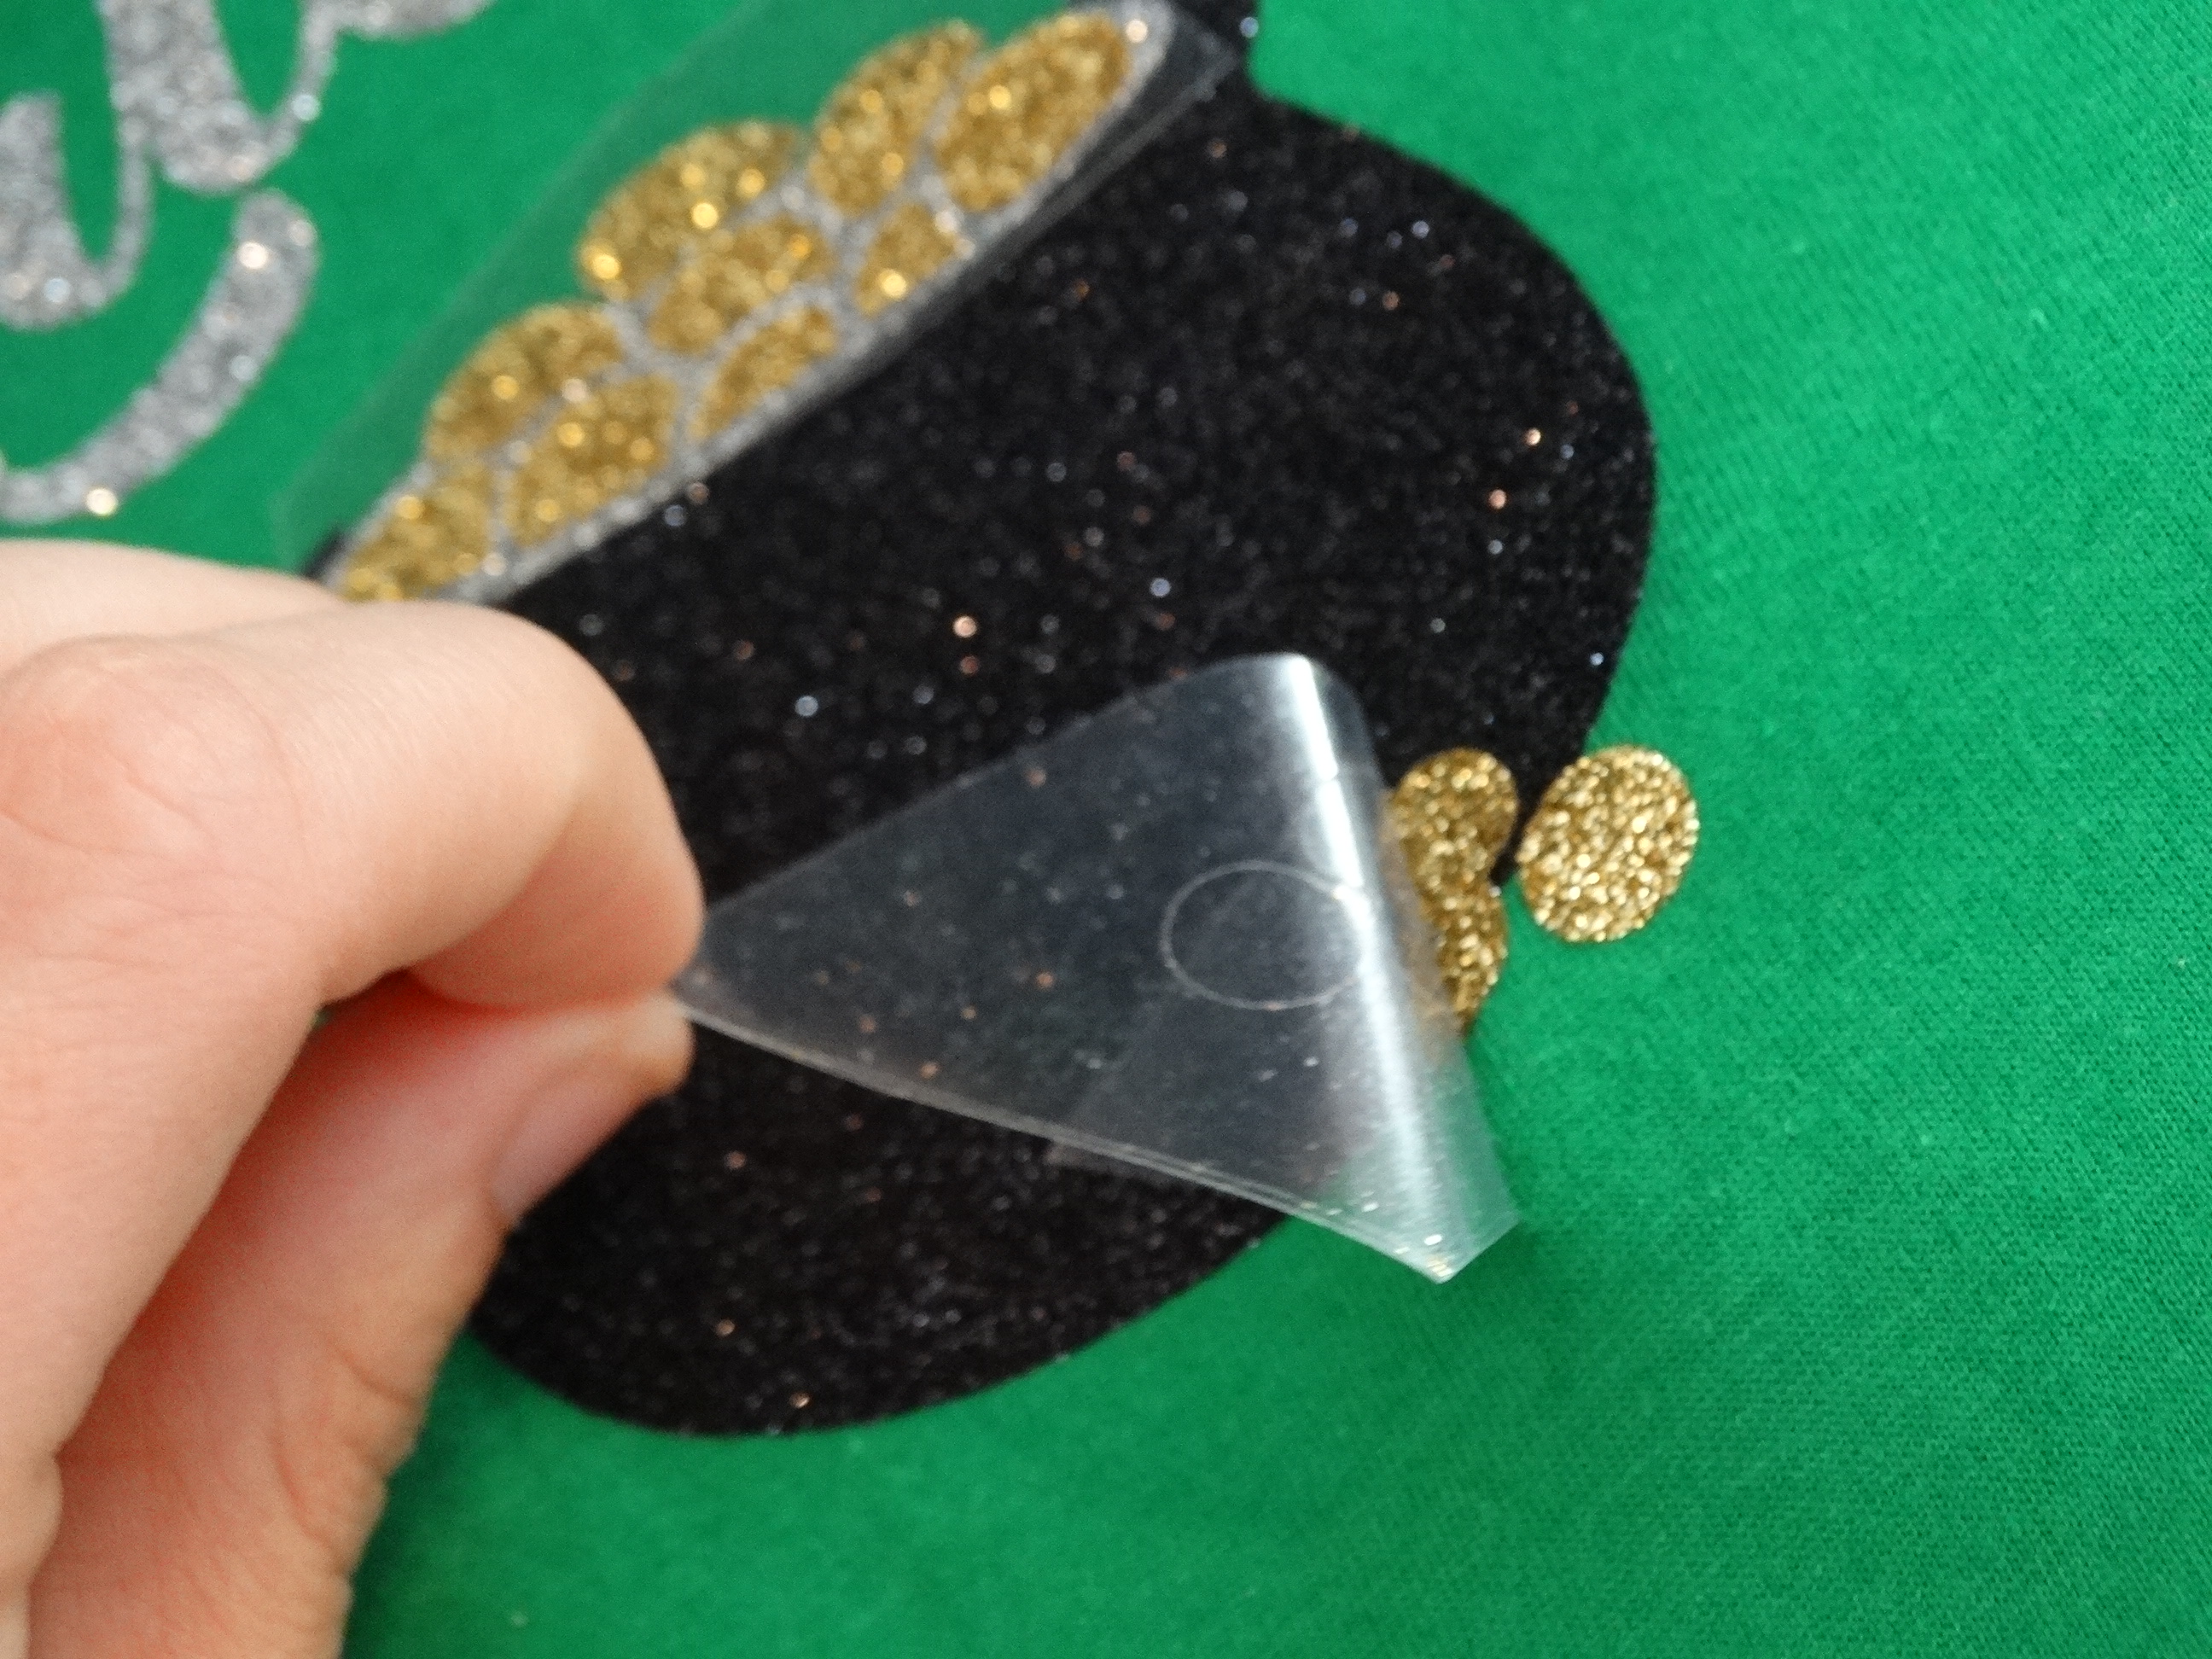
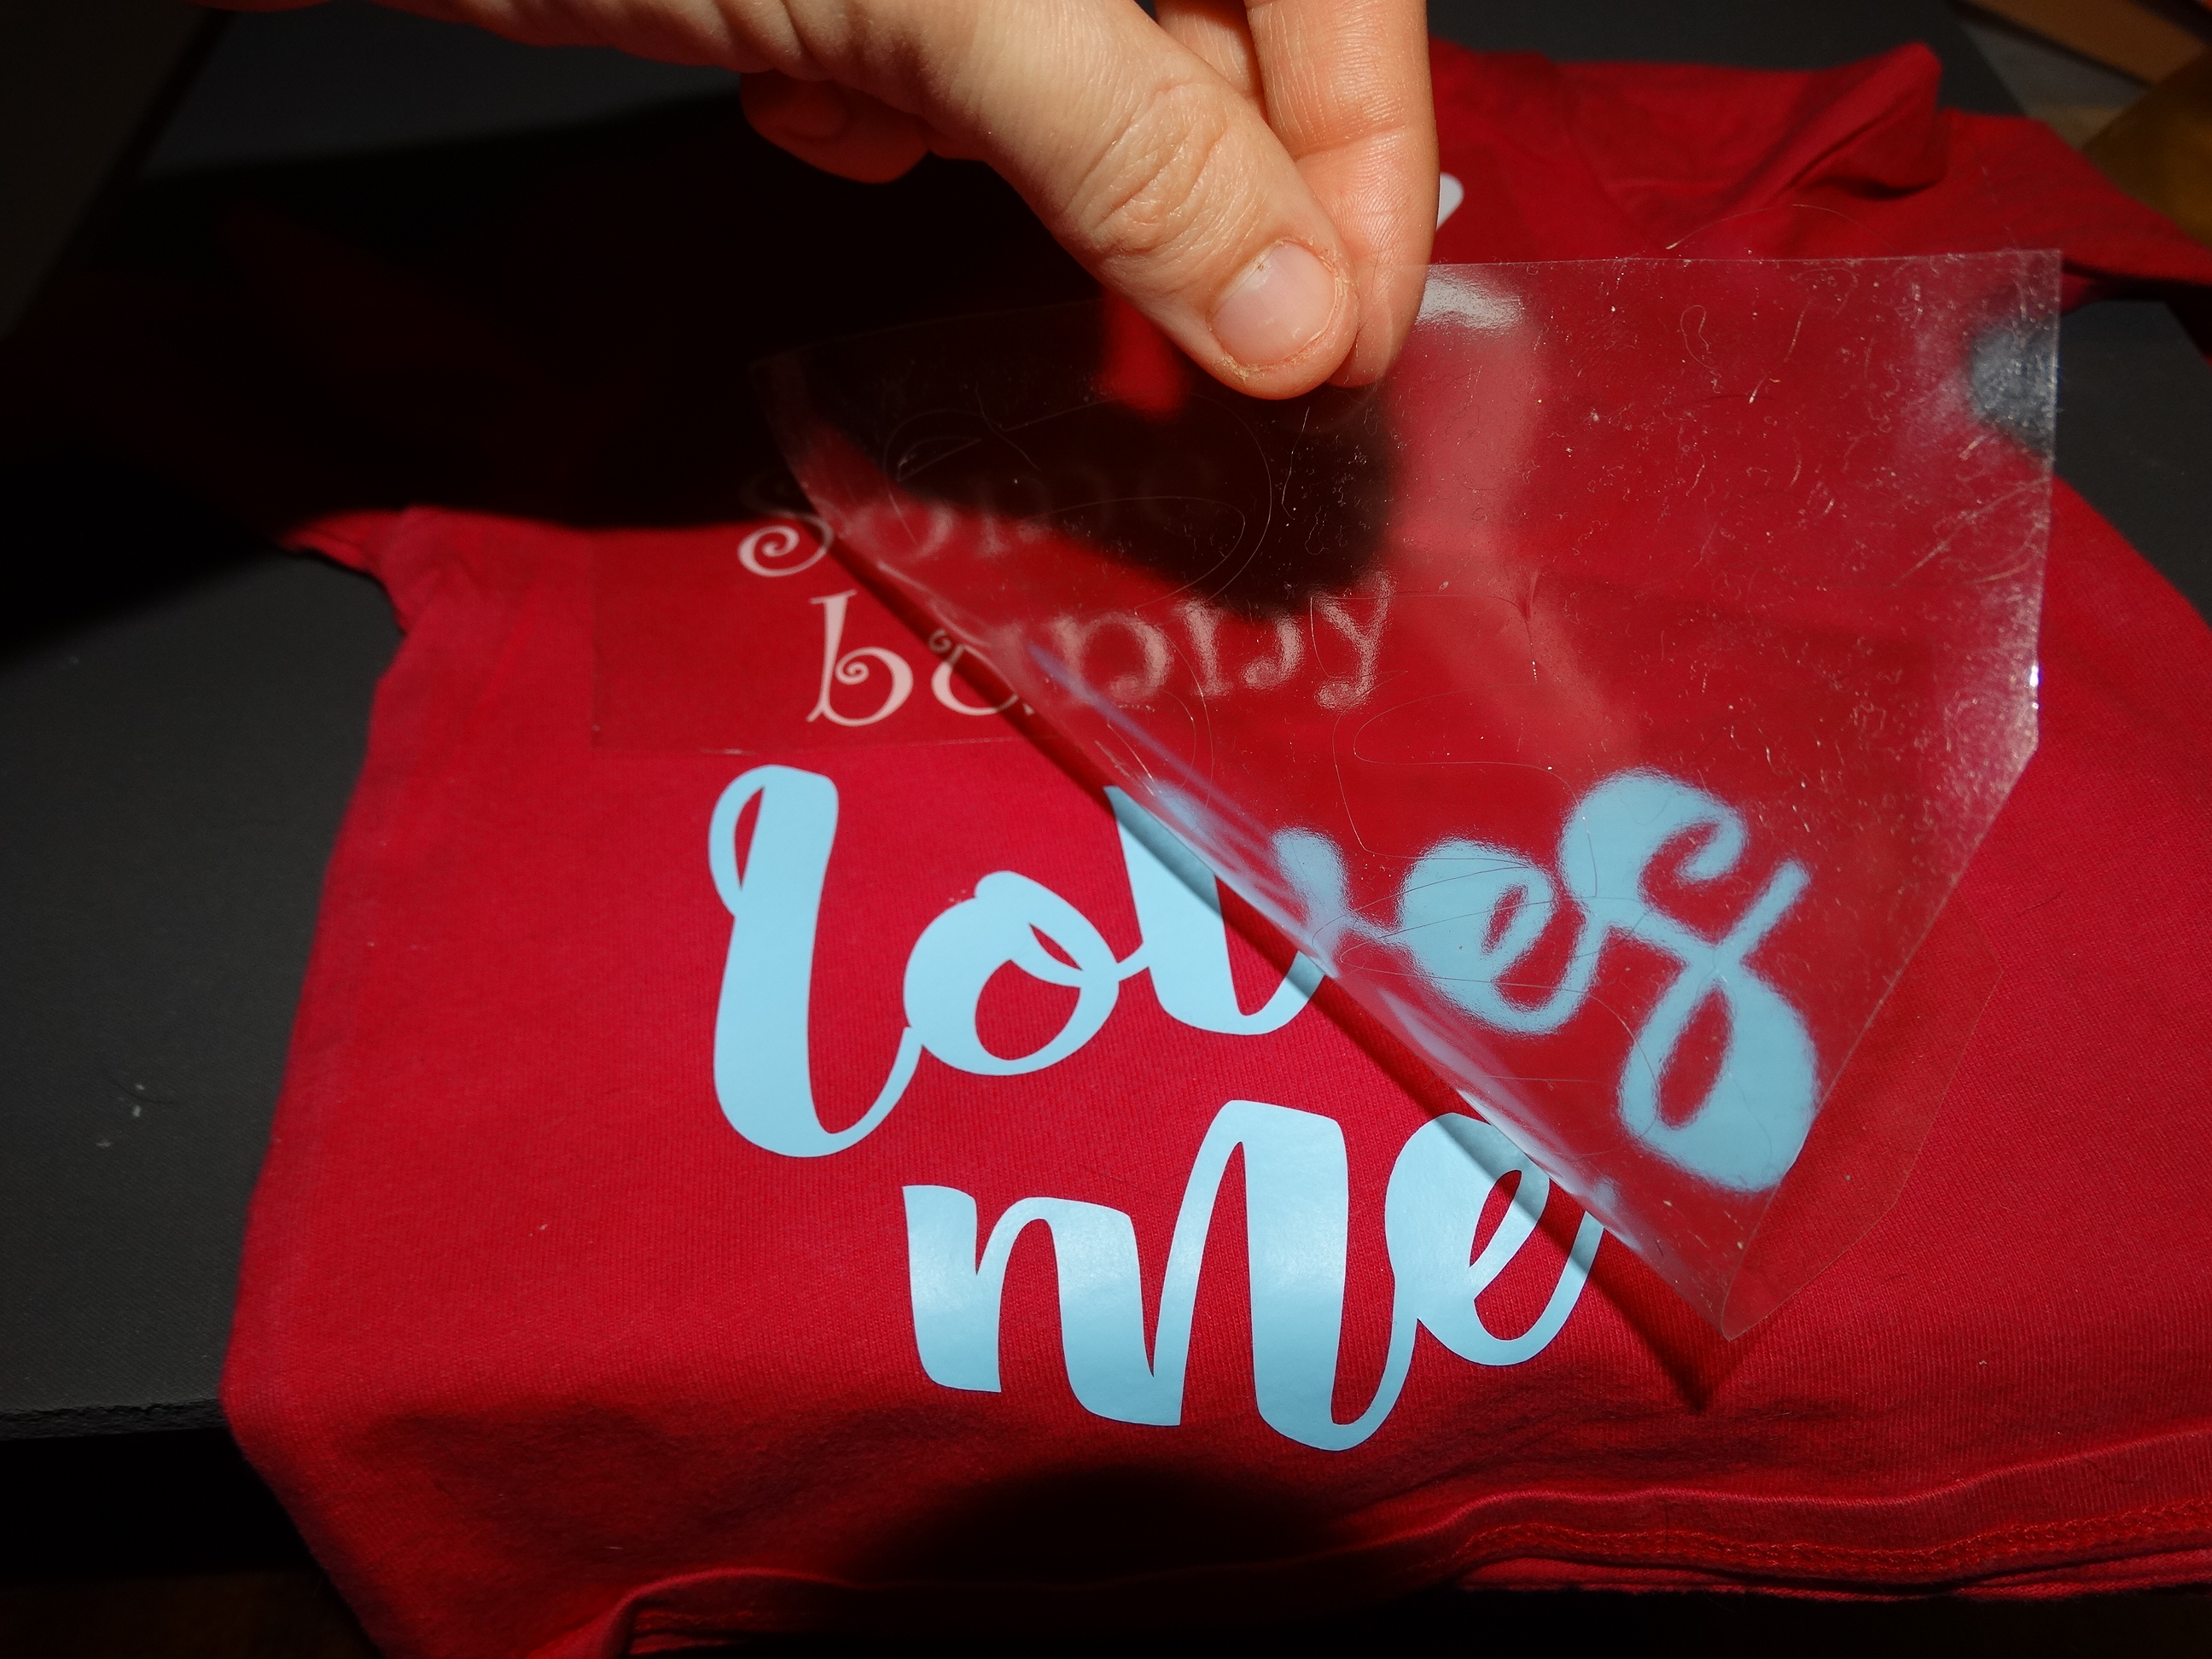
Warm up your heat press, and press your first vinyl layer at 320 degrees F for 10 seconds. Peel the plastic transfer paper off, and lay the next shiny piece on top.

Layer Glitter Heat Transfer Vinyl! See how!

Cover your full design with a teflon sheet, and press it again at 320 degrees F for 10 seconds.

layering glittered heat transfer vinyl without subtracting

Peel back your plastic overlay and admire your sparkly results!

Now it’s  your turn to try. Tag us on Instagram so that we can see your projects by using the #proworldinc

how to layer glittered heat transfer vinyl


View & Add Comments

Guest Blogger – Amy Tangerine takes over with DIY Photo Mugs

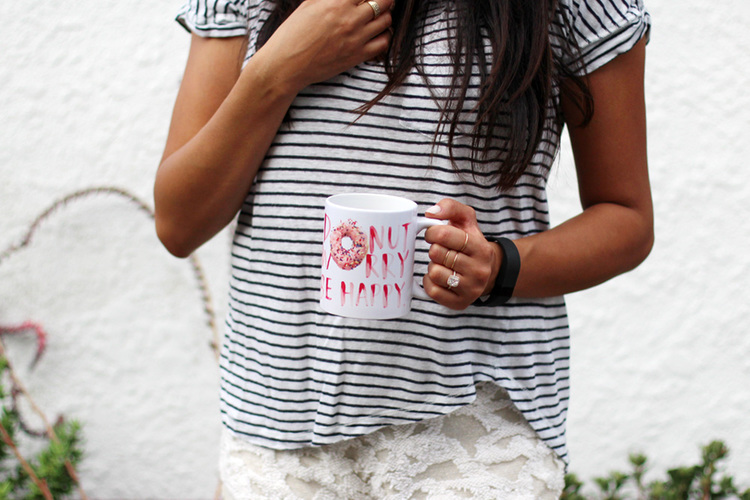
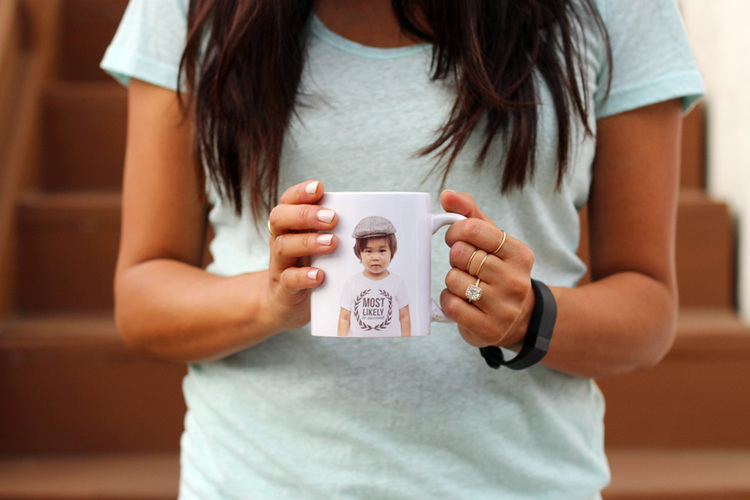
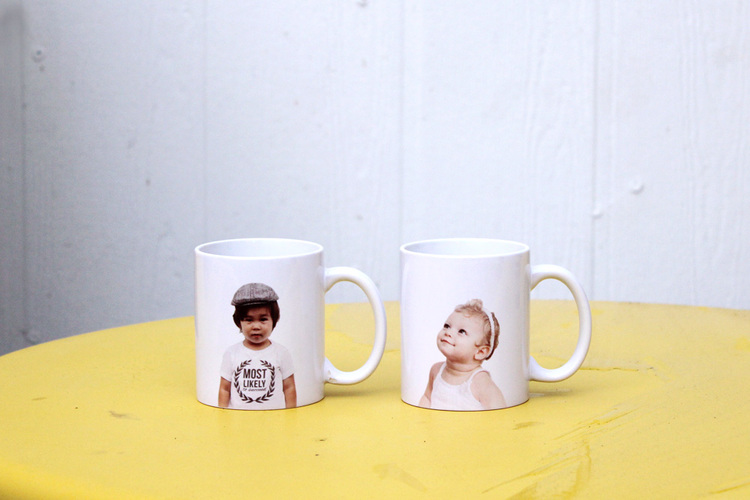
diy-photomugs-amy-tangerine-00I can’t even tell you how excited I am about a little thing called a mug press. For my collaboration with Pro World, I started to dream up ideas for making custom items and felt giddy. It reminded me of when I was 23 years old, thinking about starting a tee shirt line back in 2002. One of my mentors referred me to someone who advised I invest in a heat press. Back then internet shopping had really only just begun for me, and I scoured eBay to try and find a heat press (similar to this one) that was gently used. Then I realized that if I am going to purchase a piece of equipment that would be a business expense and an investment, I should consider buying a new one. It was so long ago and such a crazy time in my life working as a freelance stylist, part-time cocktail waitress, and then dabbling in tee shirt designs, I can’t remember how I actually even obtained the heat press. But I sure do wish I had a resource like Pro World back then. I started off just experimenting. I would print designs onto scrap pieces of fabric. I used heat transfer paper similar to this and my home printer. I printed the design (in reverse) and then cut it out by hand. Once heat pressed onto the scrap fabric, I would then hand sew them onto a tee shirt or tank top. The process was so much fun and I felt like the potential to create was limitless. When I decided to take things to the next level, I decided to print by own labels onto muslin that would then be hand stitched into every garment. By that point I had found seamstresses and local hand sewers (in Atlanta), and I had a little business going. It was enough to allow me to quit working in the restaurant and forced me to take it all more seriously rather than just doing it for fun. While I don’t think I have the desire to start making mugs for a side business, it sure is fun and someone should do it! Perhaps one of you out there?

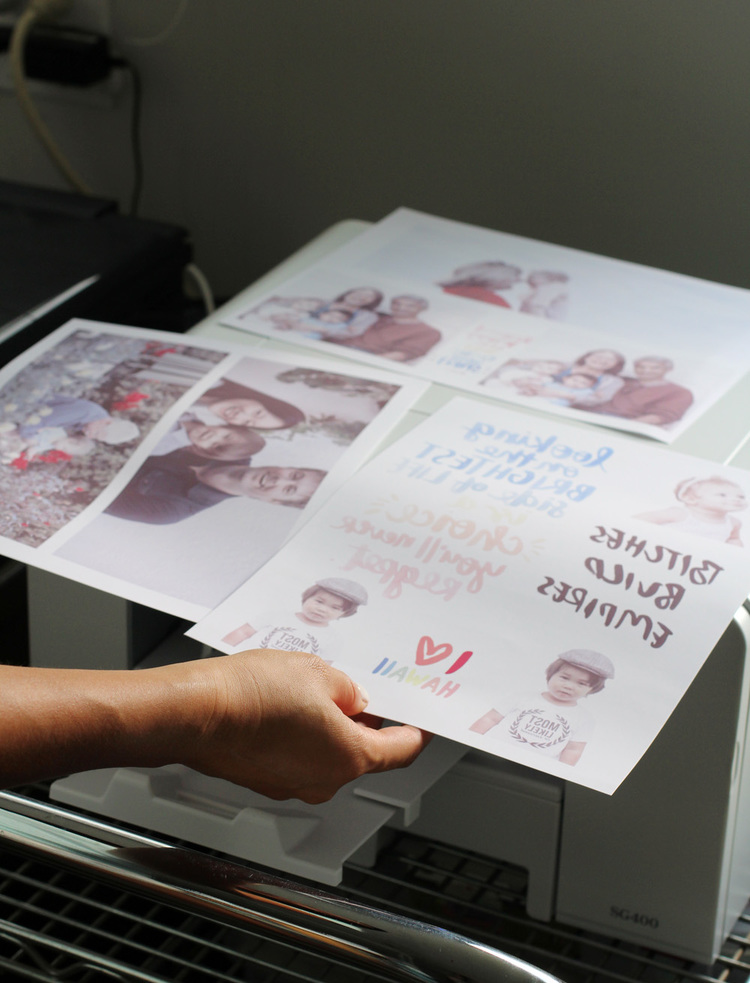
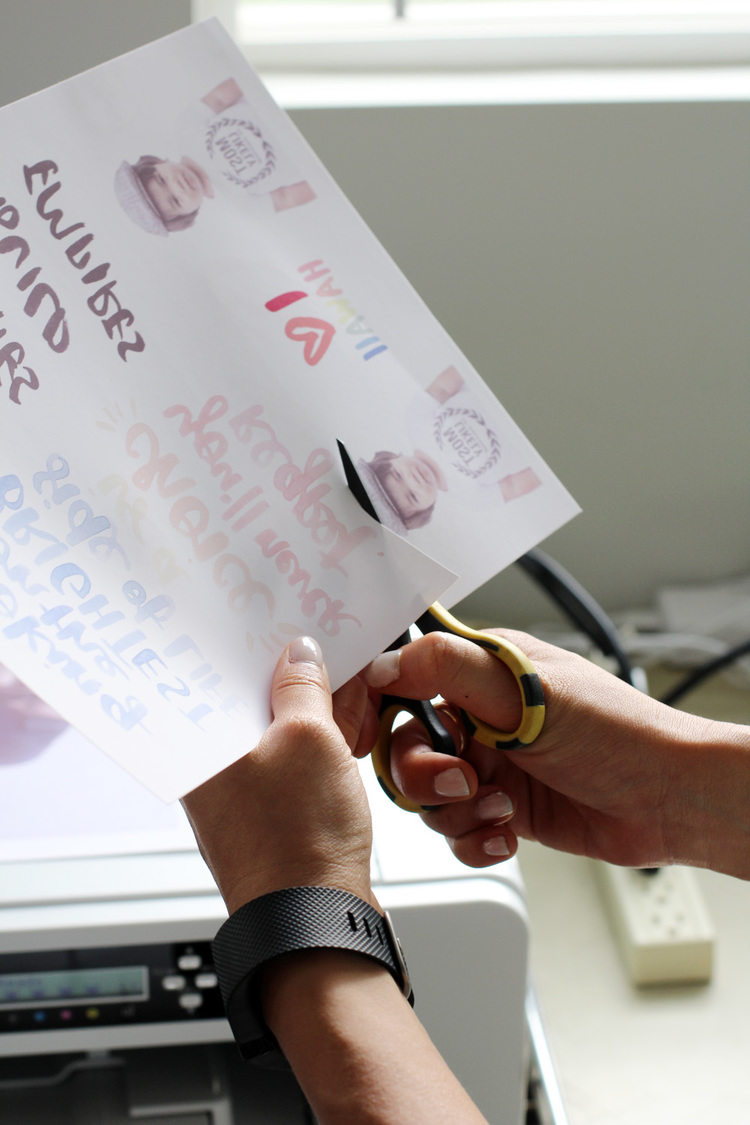
Using the sublimation printer that came in the Pro World Mug Starter Package, I printed multiple designs onto the special paper in reverse (flipped horizontally). Not wanting to waste space on the paper, I experimented with several types of images and made sure to fill up as much of the sheet as possible. I trimmed around the design – the coolest thing about sublimation printing is that you don’t have to worry about trimming so close to the design to avoid anything white. When using regular iron on transfer papers and an ink jet printer, you typically have to trim as close as possible.

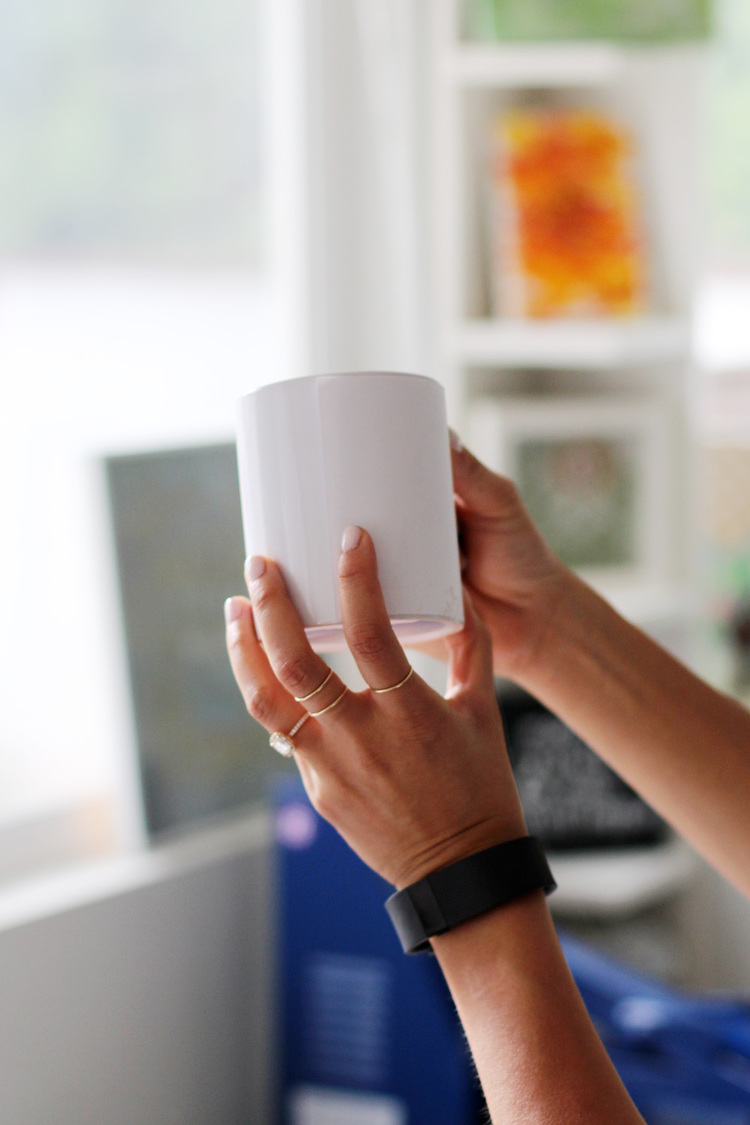
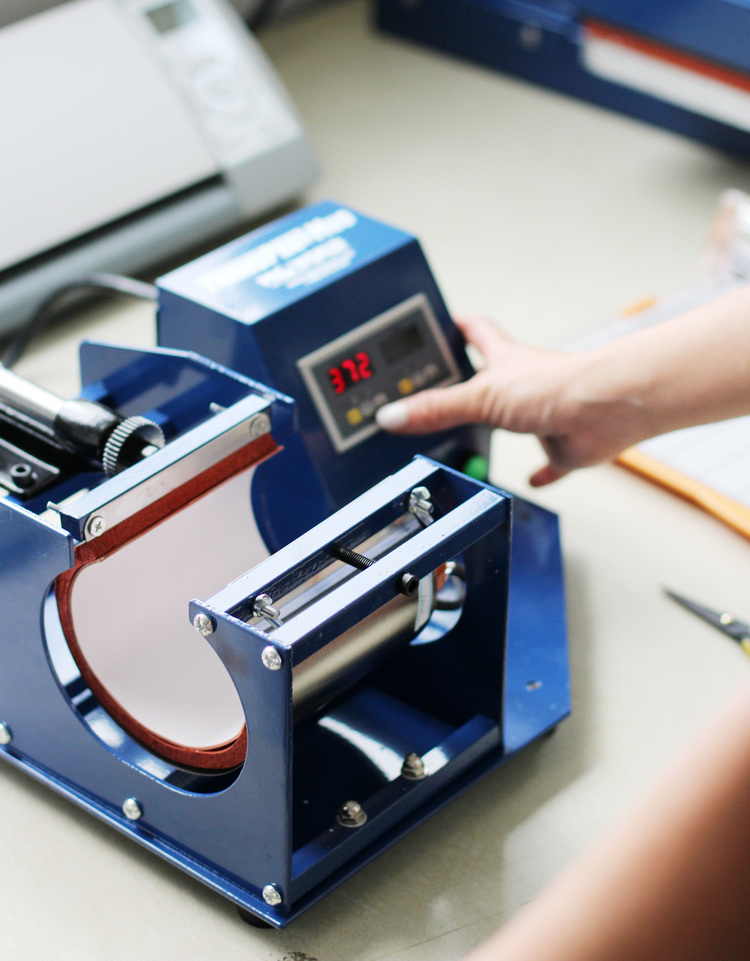
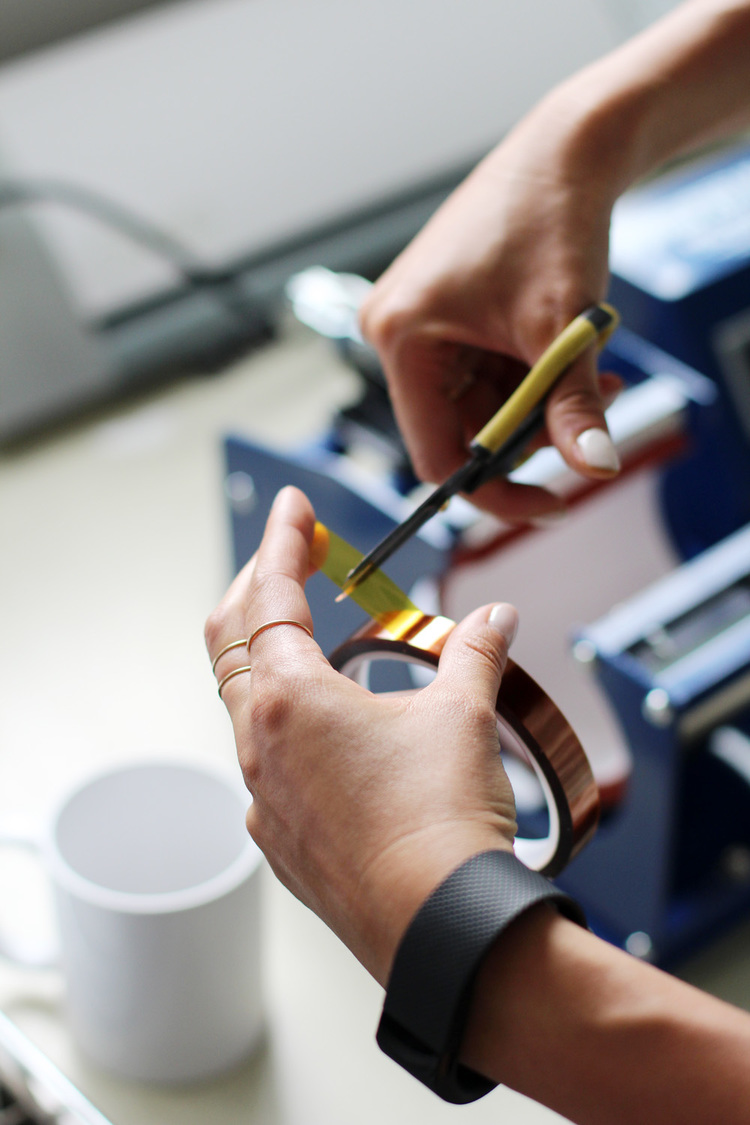
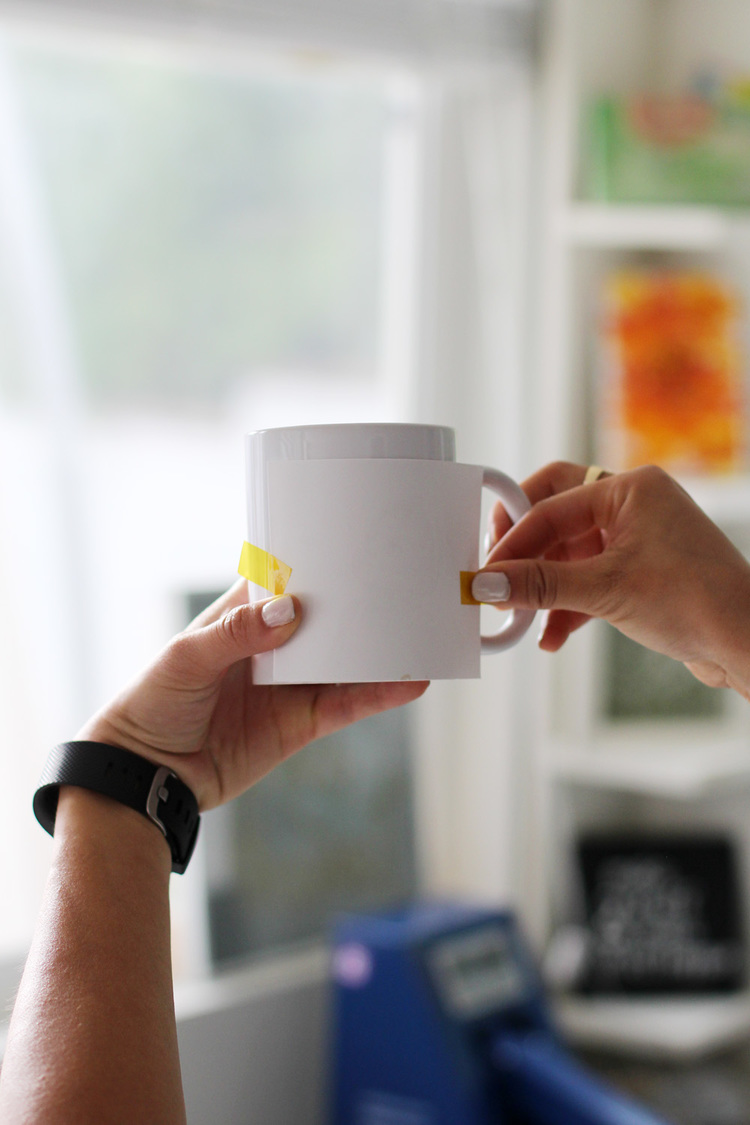
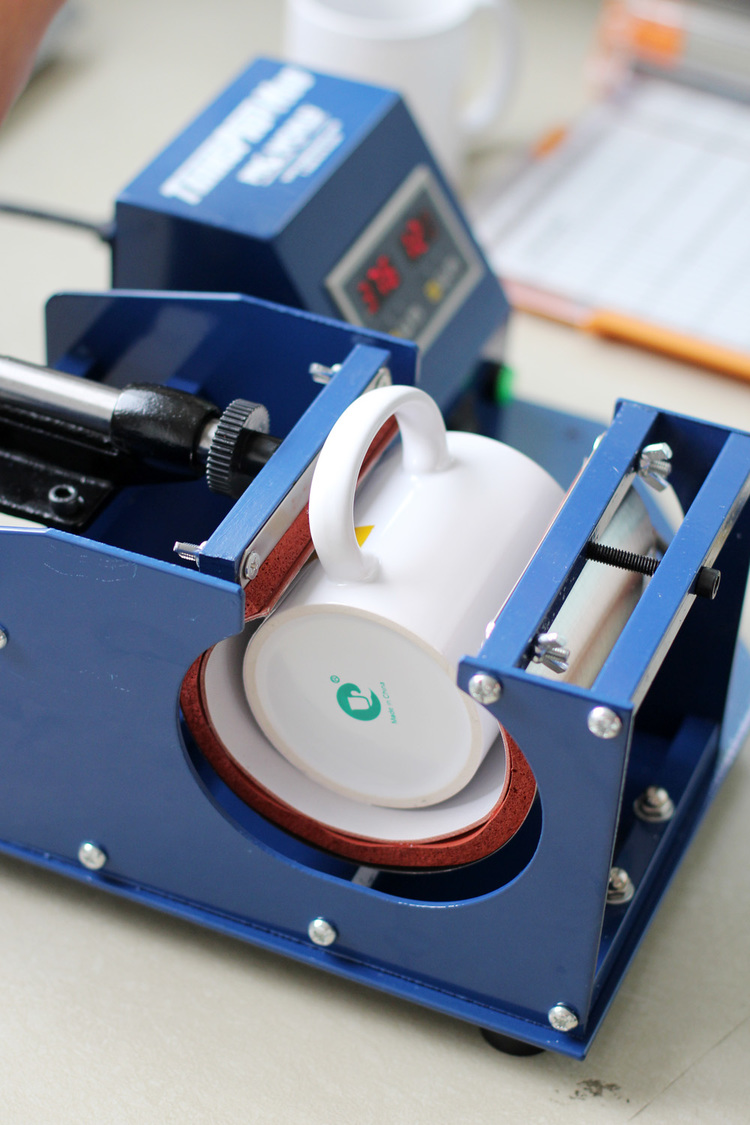
diy-photomugs-amy-tangerine-01 diy-photomugs-amy-tangerine-02 diy-photomugs-amy-tangerine-03Using heat resistant tape, I attached the design face down to the mug while the mug press was warming up.

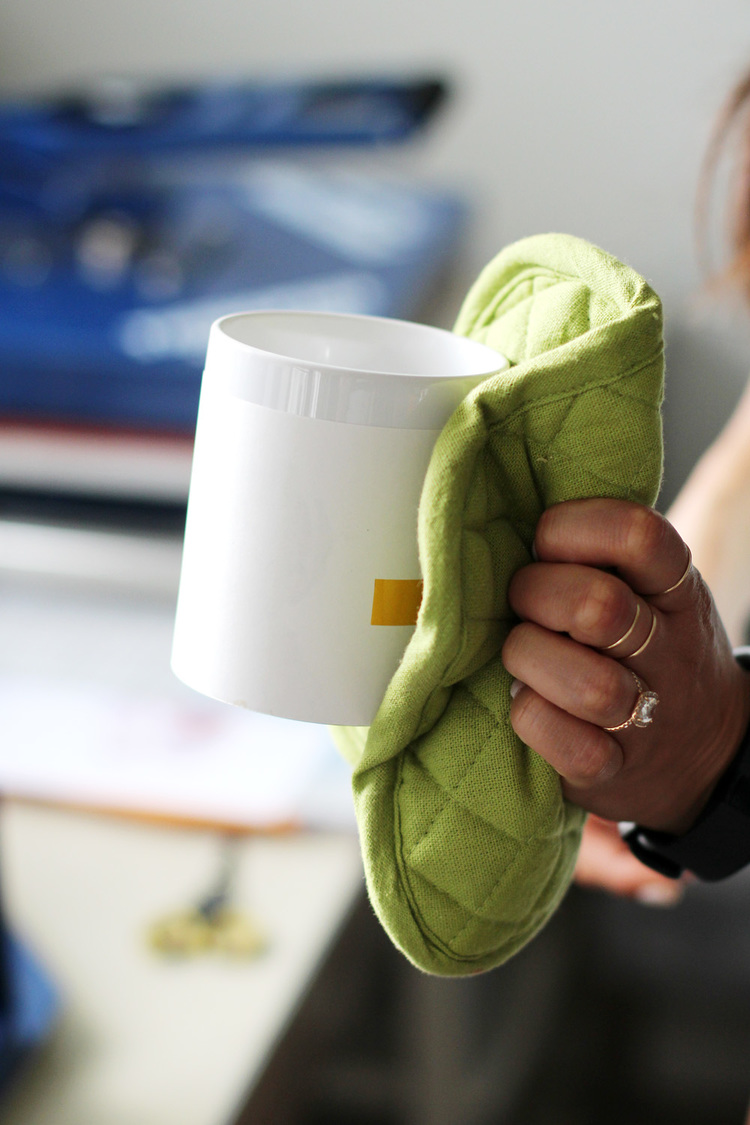
diy-photomugs-amy-tangerine-04diy-photomugs-amy-tangerine-05diy-photomugs-amy-tangerine-06diy-photomugs-amy-tangerine-07I recommend using something like an oven glove once the machine has done it’s job, as the mug is still pretty hot.

diy-photomugs-amy-tangerine-08Once cooled off enough, peel off the heat resistant tape. It comes off easily, but I would recommend not getting too excited about peeling it off that you burn yourself, as I almost did.

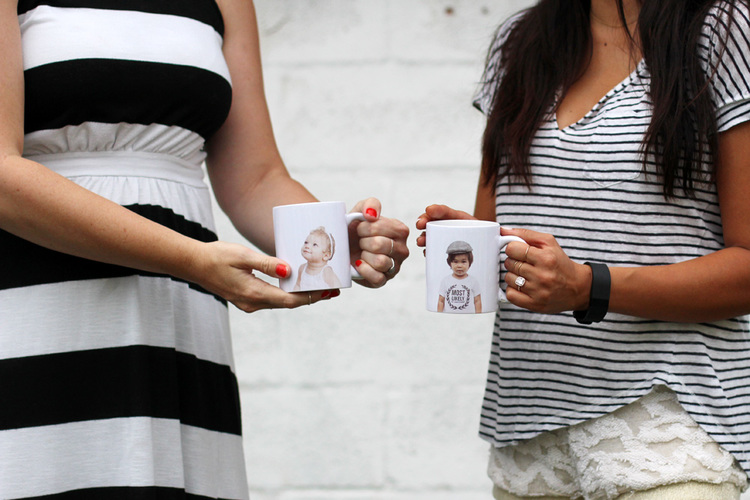
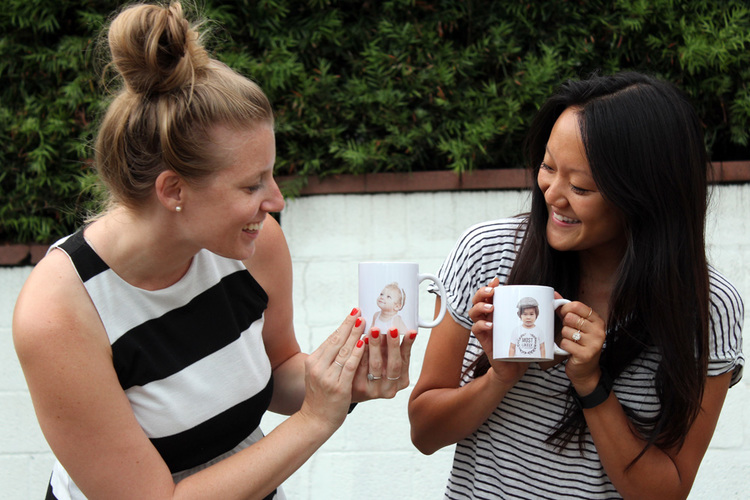
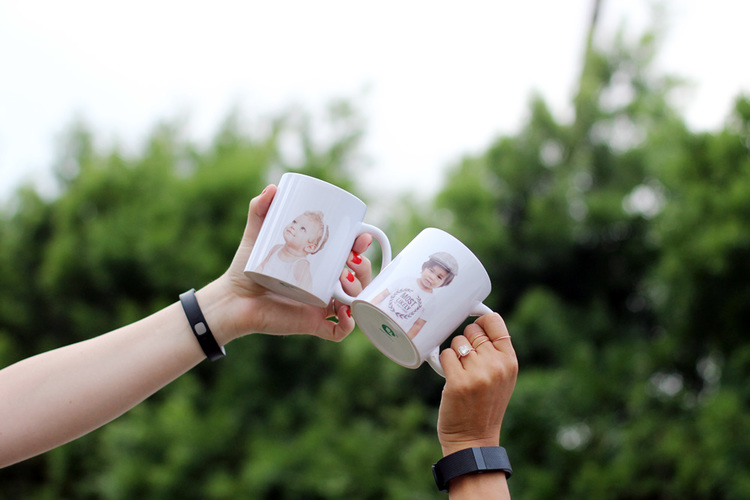
diy-photomugs-amy-tangerine-09 diy-photomugs-amy-tangerine-10Ann-Marie and I were laughing and dying over how cute our little ones look on these mugs!

diy-photomugs-amy-tangerine-11diy-photomugs-amy-tangerine-12diy-photomugs-amy-tangerine-13 diy-photomugs-amy-tangerine-14As a small business owner, I think the possibilities would be endless for promotional products. These would make great giveaways or even add-on’s as part of a line. I could totally see people adapting card designs or tee shirt designs onto these mugs! What would you like to see on a mug?

View & Add Comments

Some Bunny Loves Me – Easter Kid Shirt Tutorial!

Can you believe that it’s already March? That means Easter is right around the corner! Luckily we just received an enormous order of pastel vinyl, so we are ready to support your Easter crafting needs! And to help with the creative inspiration we’ve invited our friend Dee who blogs over at From Wine to Whine to show us how she made her daughter an Easter shirt using Siser Vinyl and a Silhouette Cutter. Take it away Dee…

Hi, I’m Dee! And I‘m an overthinking, crafty Mom from NJ who likes to spark creativity on a budget! Like the rest of you, I tend to have a lot to do, with only a little bit of time to do it in. So I try to focus my efforts on projects that are quick and easy! Which leads me to why I am writing on the Pro World Blog today, I am going to show you not one, but TWO adorable Easter shirts ideas that you can recreate for your kids! Aren’t you “egg”cited?
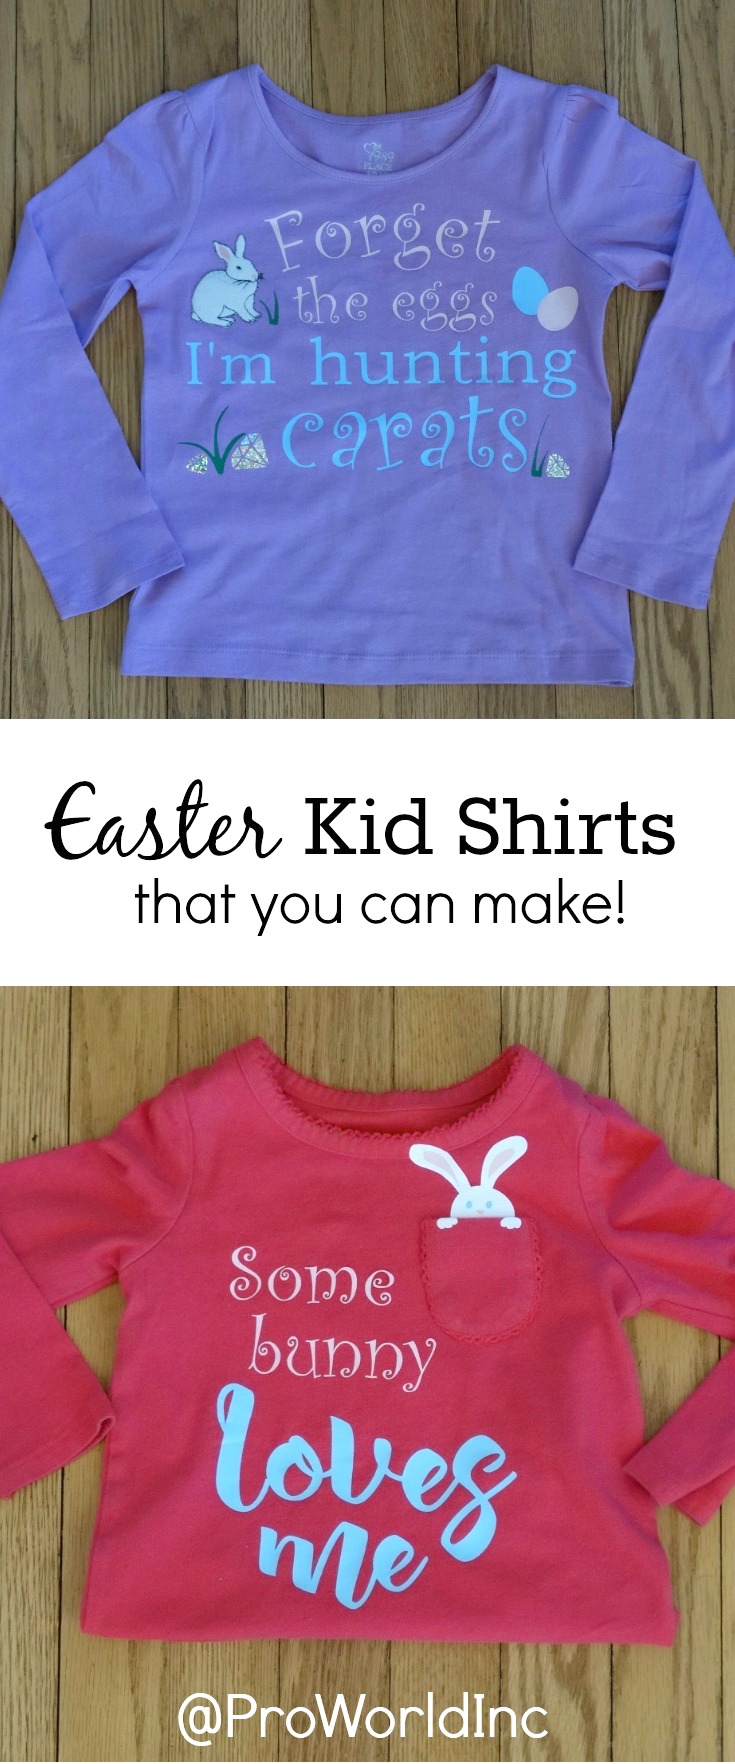
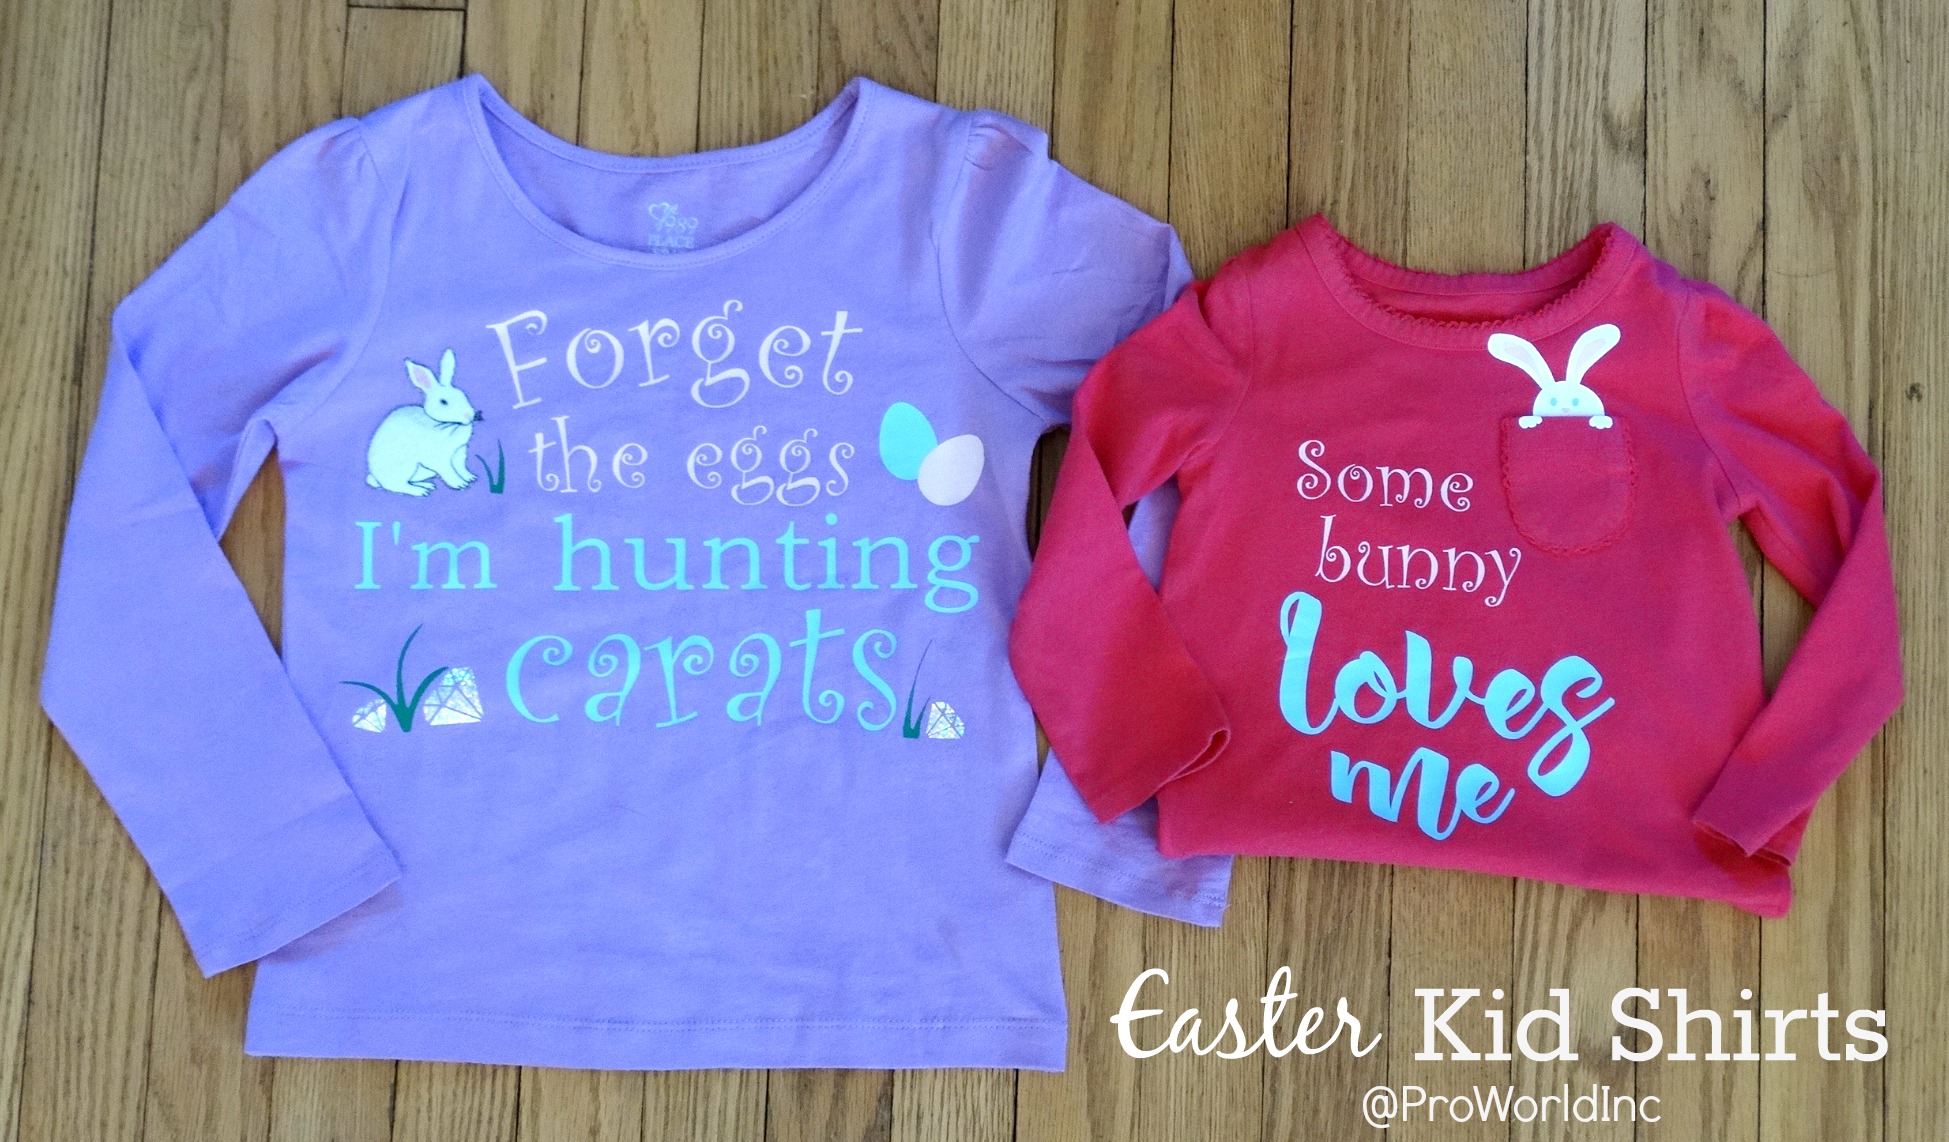
Make your own Easter kid shirts!

Want to recreate them? You only need a few supplies:

First you need to design your shirt using your Design Software. Since I used my Silhouette Machine, I used the Silhouette Design Program to create the layout. Just pick a font that you like and start typing your shirt quote. I went with: “Some Bunny Loves Me’ and my personal favorite “Forget the eggs I’m hunting carats.”

For the rabbit on the carat shirt, I used an embroidered heat transfer which brought a lot of dimension to the shirt. Plus my 4-year-old daughter loved that it felt slightly fuzzy! To make designing easier, I used a placeholder bunny about the same size and build so that I could lay my items out accordingly. As for the other shirt images I bought the pocket bunny file, made the Easter eggs and traced the diamonds and grass.
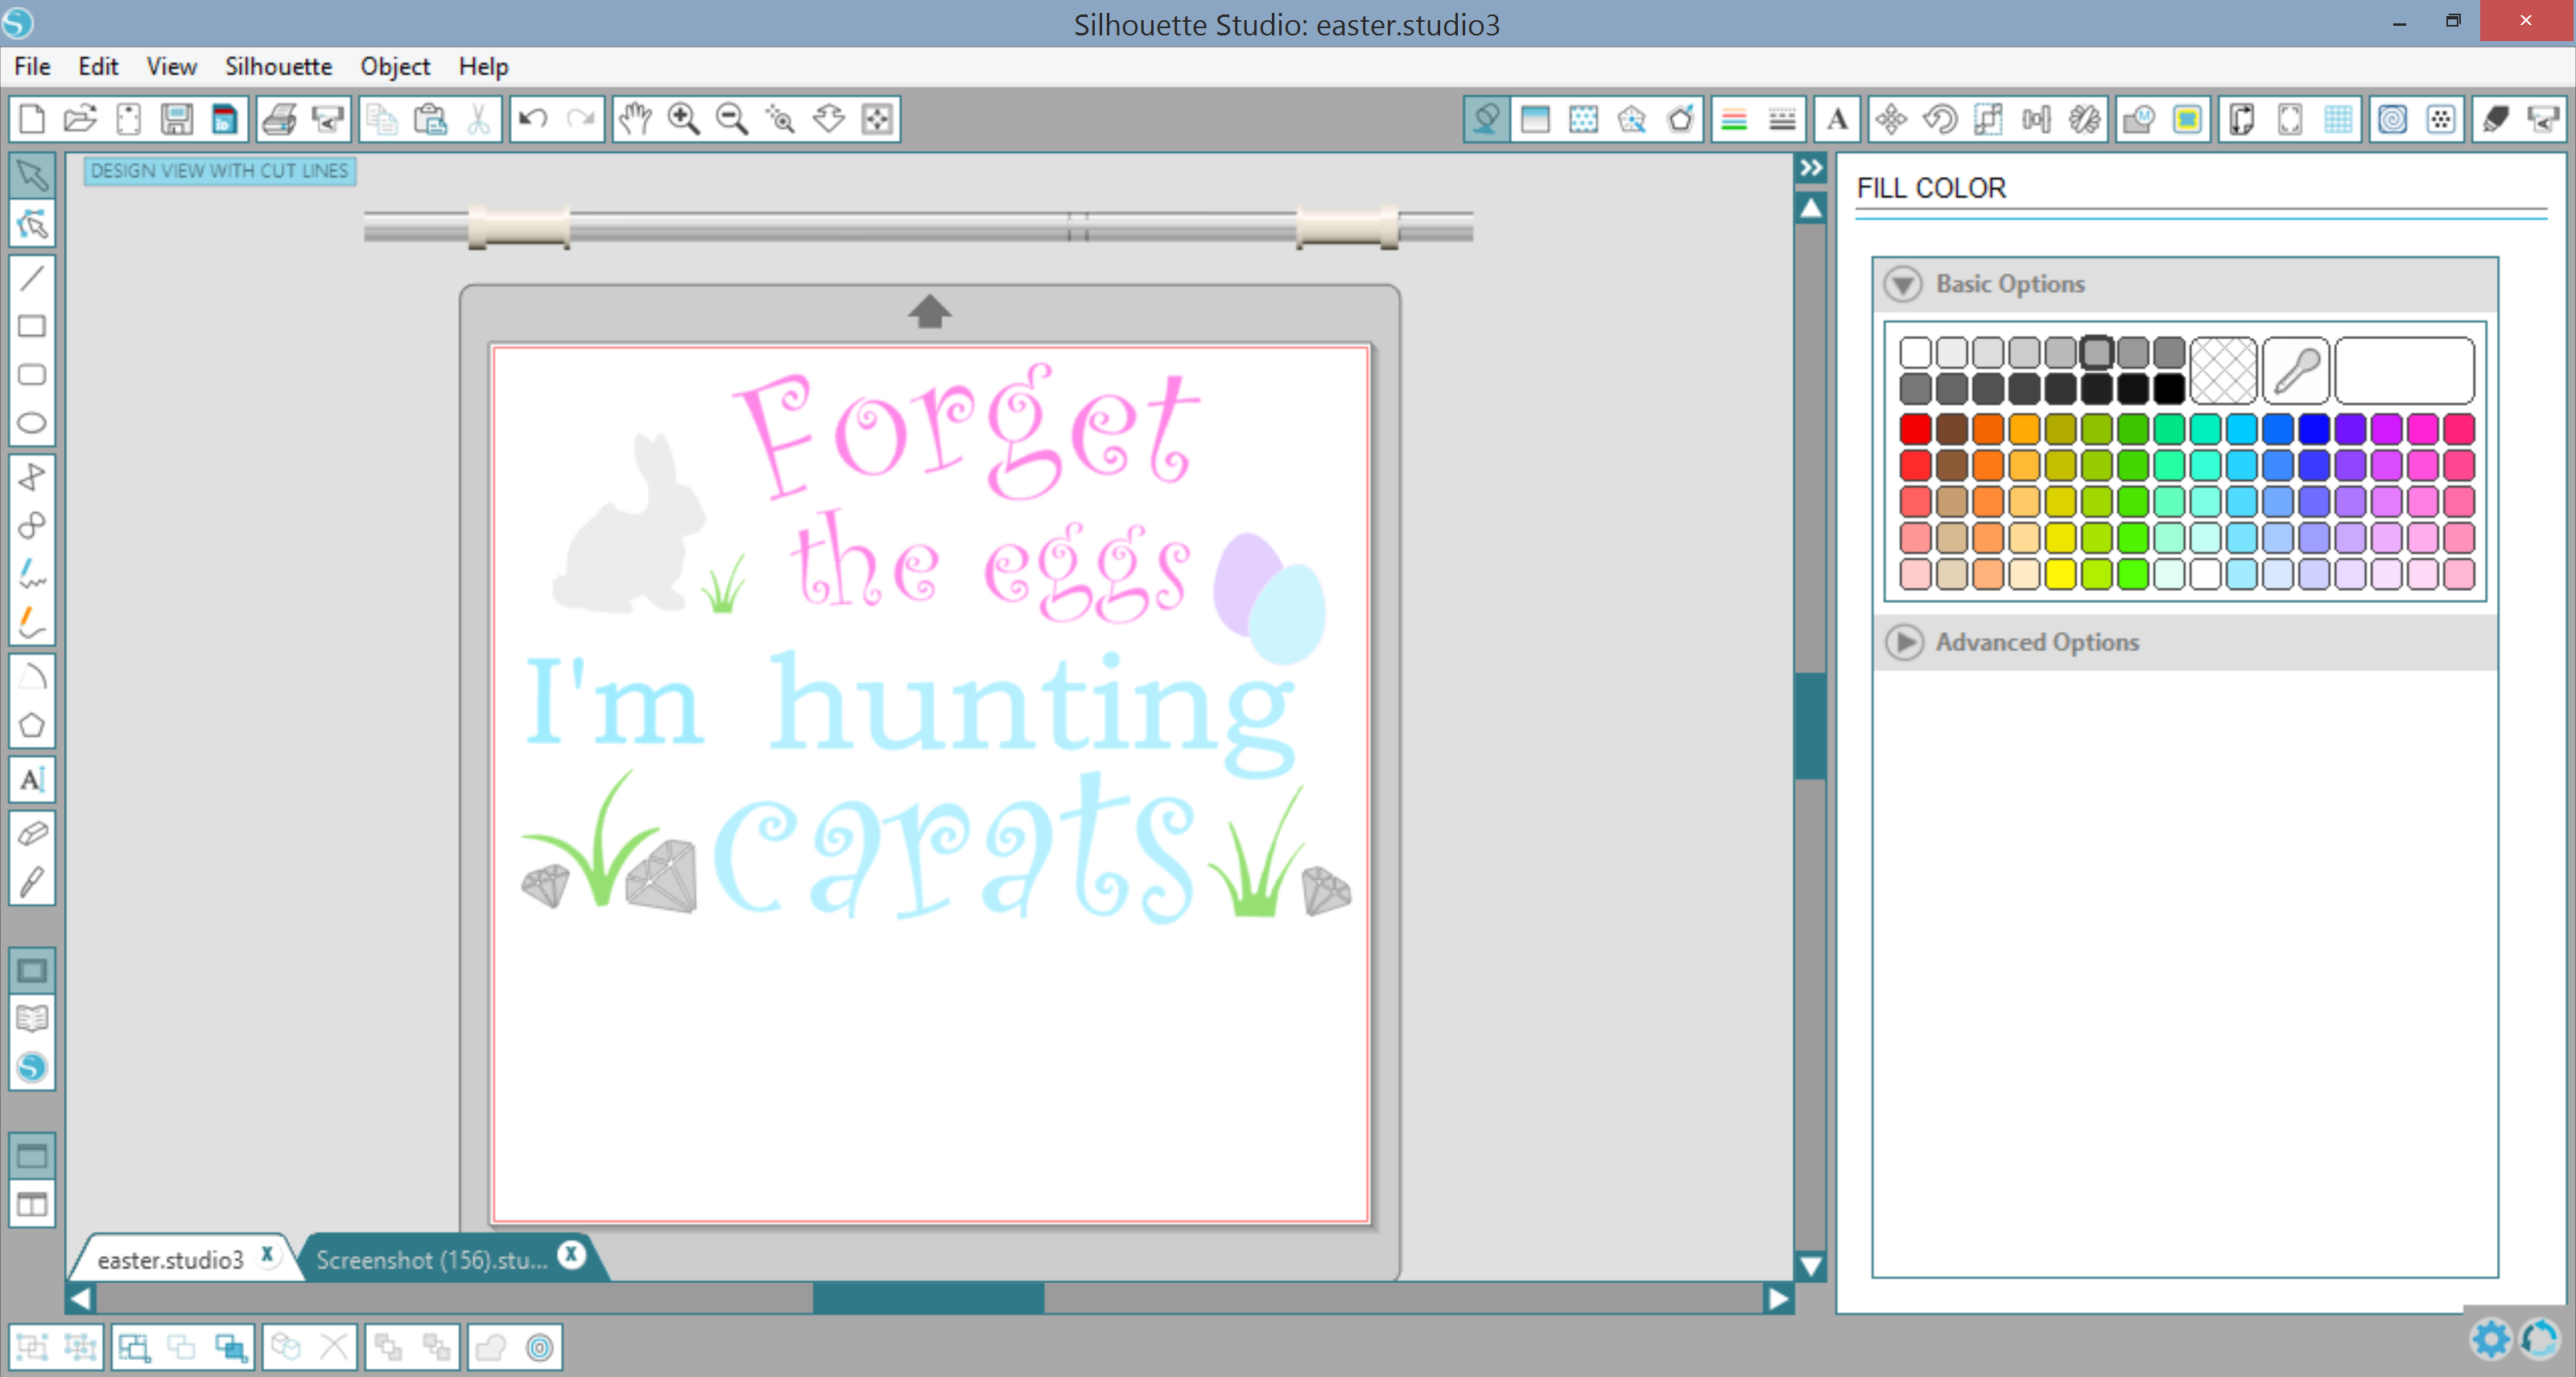
Screenshot (159)

When cutting multiple colors, I ALWAYS recommend that you color code your items so that you can quickly identify your layers. The only thing worse than cutting the wrong color is forgetting to flip your design horizontally. So make sure you do that right now!
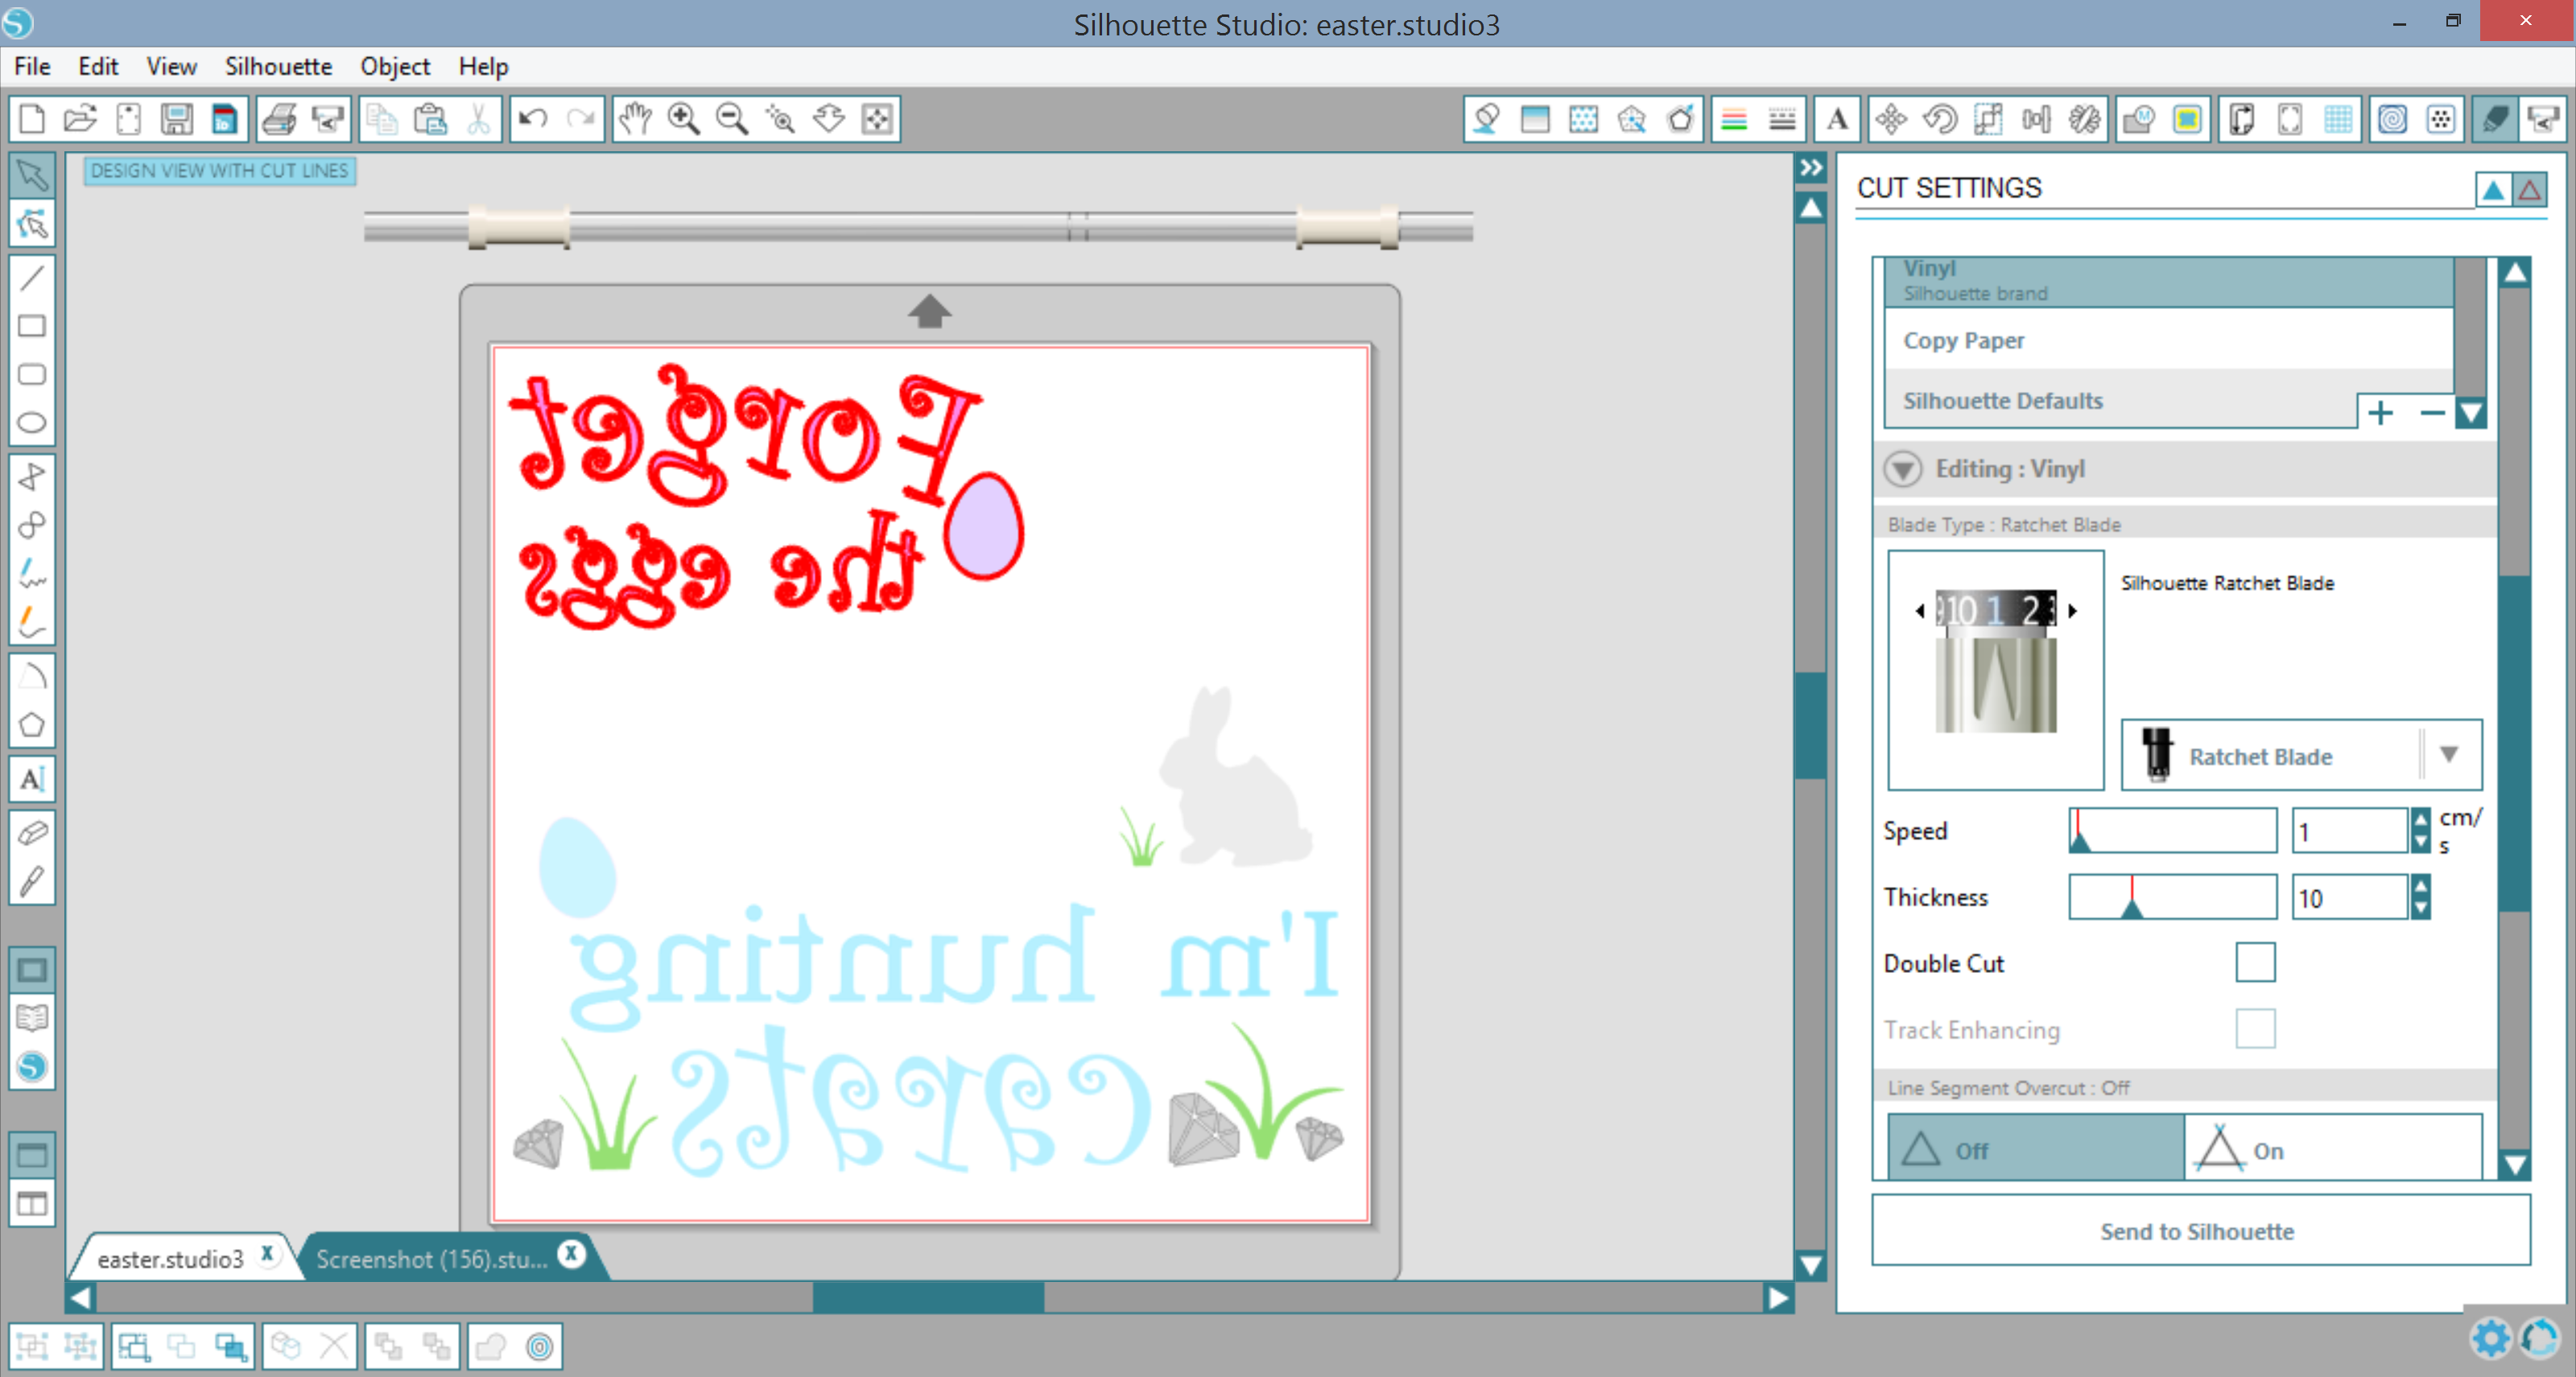
Screenshot (160)

Once everything has been designed, colored and flipped it is time to cut! Deselect ALL of your layers and then reselect the colored items that you are going to cut. Select the Heat Transfer setting, load your vinyl into the machine and click Send to the Silhouette!

Select the Heat Transfer setting, load your vinyl into the machine and click Send to the Silhouette!

Repeat the last step until all of your pieces have been cut out.

Now it’s time to get your designs on your shirts! First you want to warm your heat press to 320F since we are going to press the holographic vinyl. Once it reaches the temperature press it for 10-15 seconds and peel.

Now lower your heat press setting to 305F. Once your heat press adjusts to the new temperature, add your EasyWeed pieces and the Heat Transfer Bunny. Press for 10-15 seconds
DSC04616

Slowly peel the transfer paper because you are done! Now put it on your little model and admire your work!
Some bunny loves you easter shirt

I hope you liked today’s post as much as I enjoyed making the shirts! If you follow me at From Wine to Whine, you’ll be able to see my little models trying out their cute new shirts! And don’t forget to snap a photo of your own. We would love to see how your shirts came out! Just tag us at @ProWorldInc or by using the #proworldinc hashtag when you upload to Facebook, Instagram, Twitter or even Pinterest!

View & Add Comments
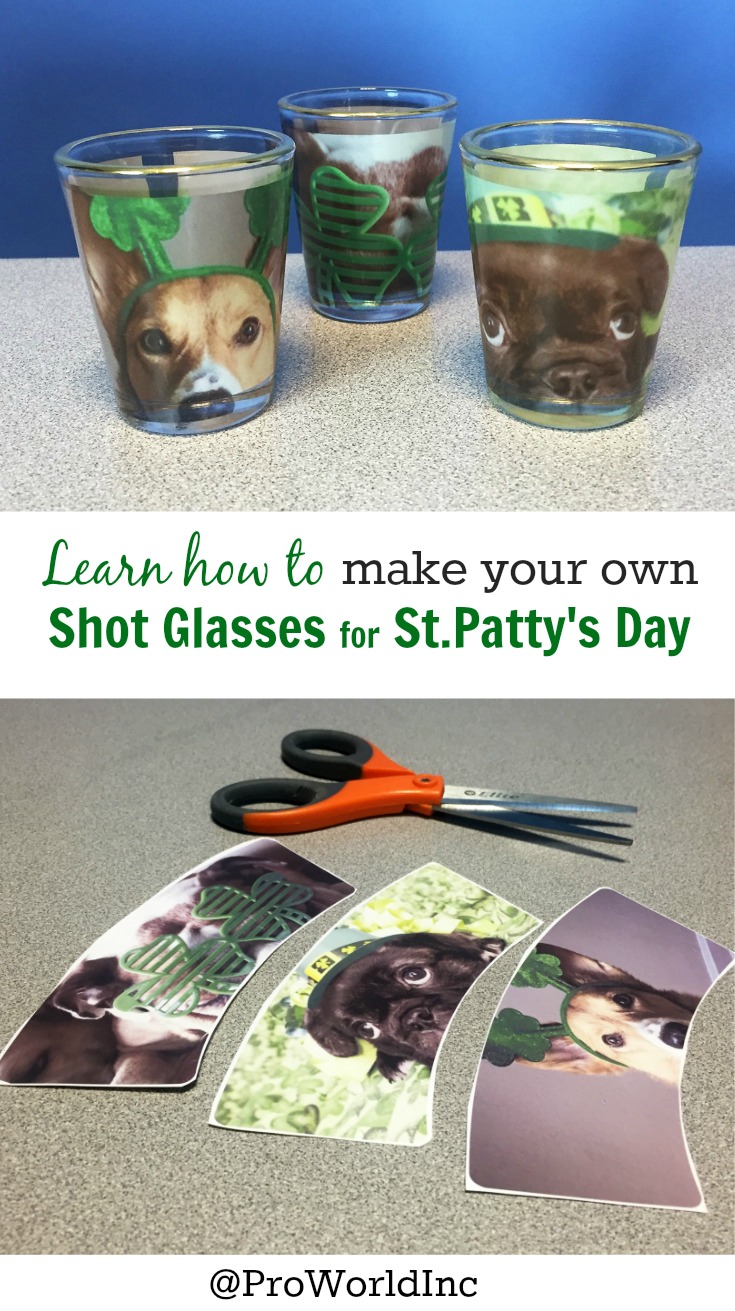
St. Patrick’s Day Shot Glasses with a bit of Bark!

With St. Patrick’s Day just three weeks away, we are going to show you step-by-step instructions on customizing some shot glasses with sublimation. And what makes everything better in life? That’s right… puppies! We decided to incorporate some adorable dogs into this St. Patty’s Day theme.

Make your own St.Patty's Day Shot Glasses! See how on the Pro World Blog!

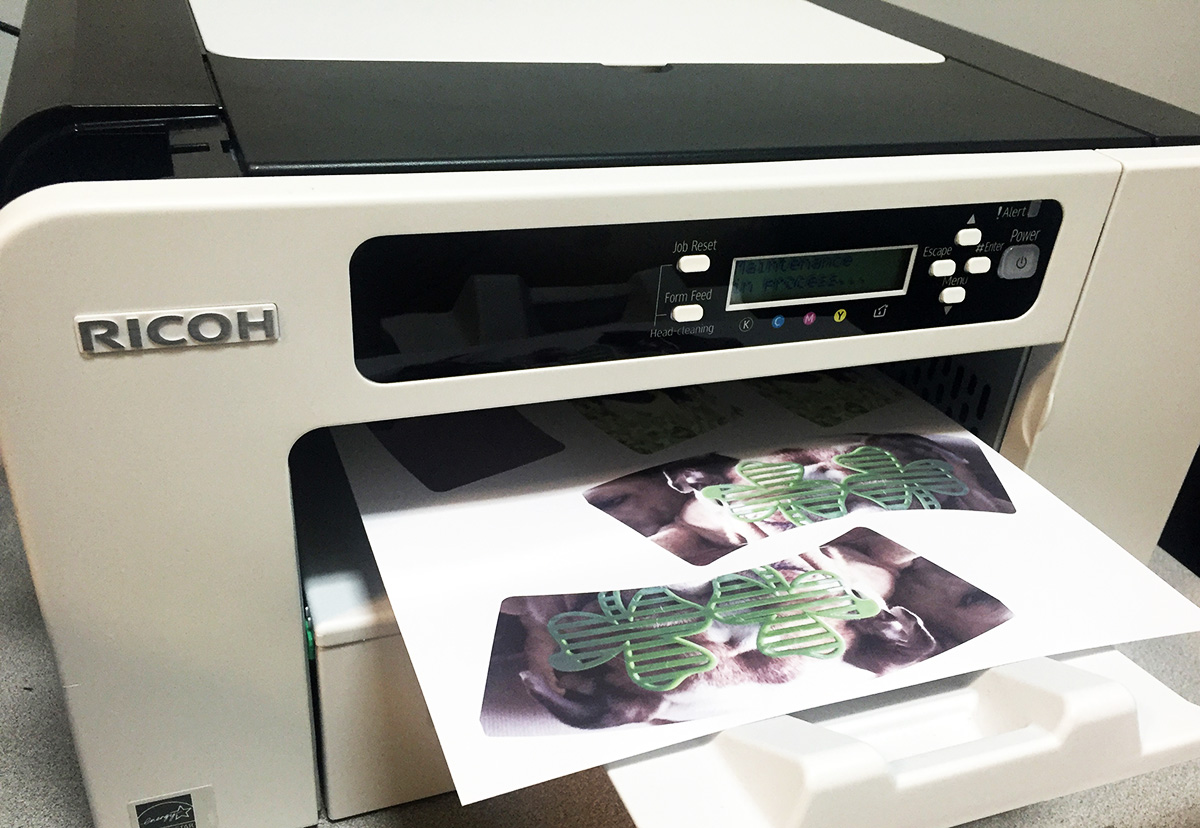
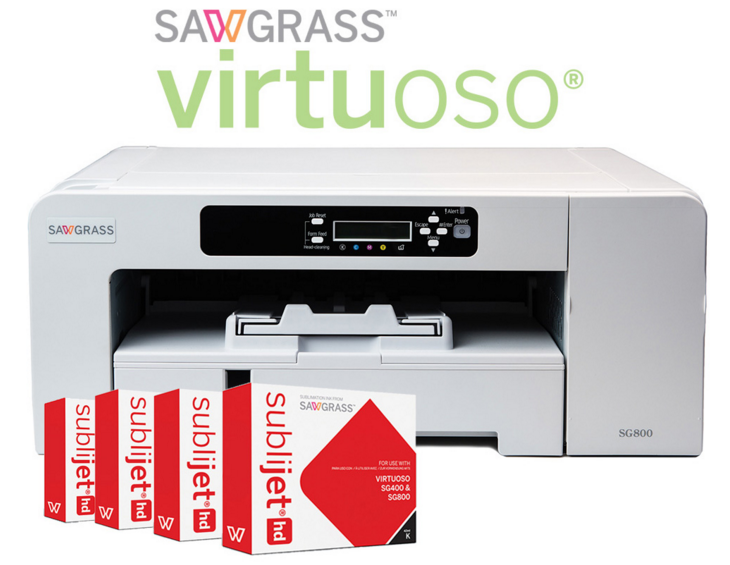
First things first, you will need a sublimation printer. We used our in-house Ricoh printer, which is an older model that we had previously sold in the past. The upgraded (and more feature rich) model can be purchased on our website, the Sawgrass Virtuoso. This printer will come with the required Sublijet inks. You will also need some sublimation paper on which to print your design.  We recommend Texprint paper.

Make your own St.Patty's Day Shot Glasses! See how on the Pro World Blog!

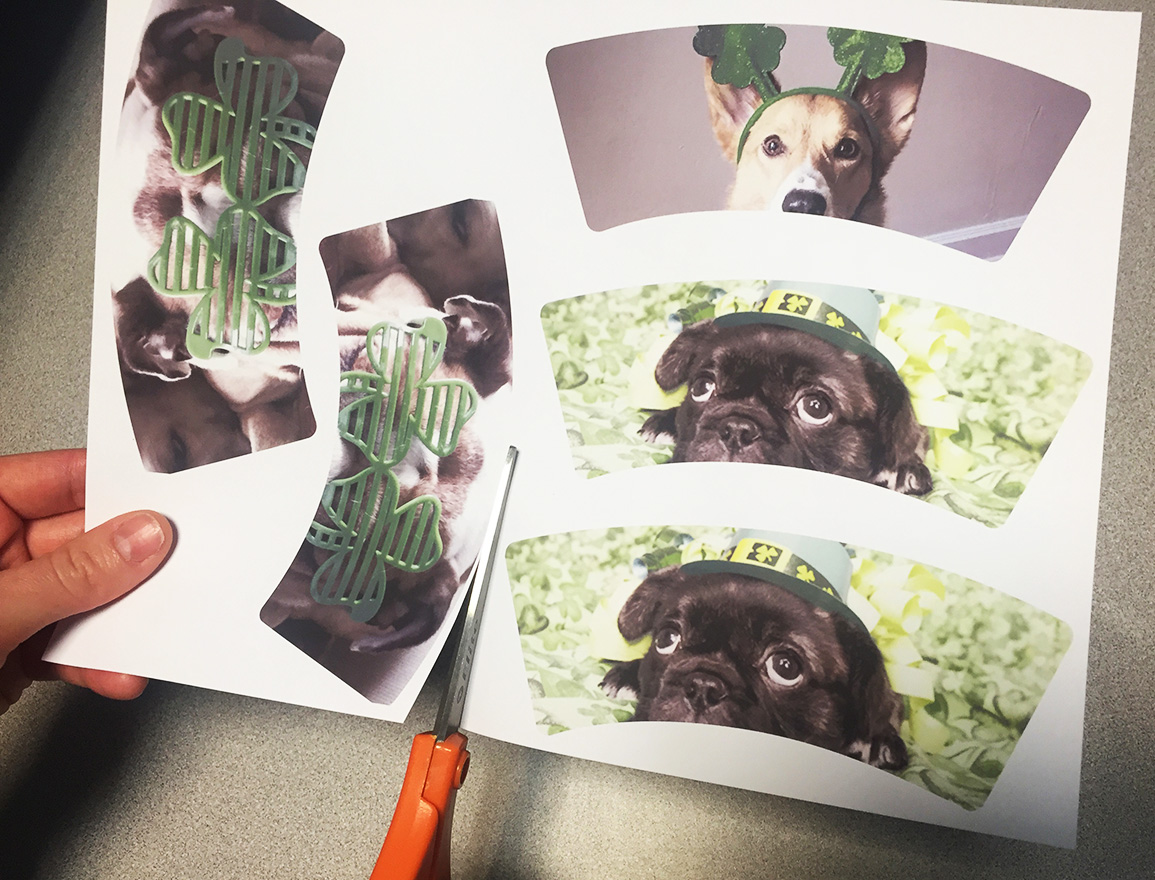
I used the shot glass template to create my artwork and then I set multiple images up on an 8.5 x 11″ sheet to get the most out of my paper. The template will ensure that you create images with enough bleed room (i.e. area outside of the print), as well as helping to re-create the shape of the shot glass. Be sure to mirror print your image so that your artwork is printed in reverse.

Make your own St.Patty's Day Shot Glasses! See how on the Pro World Blog!

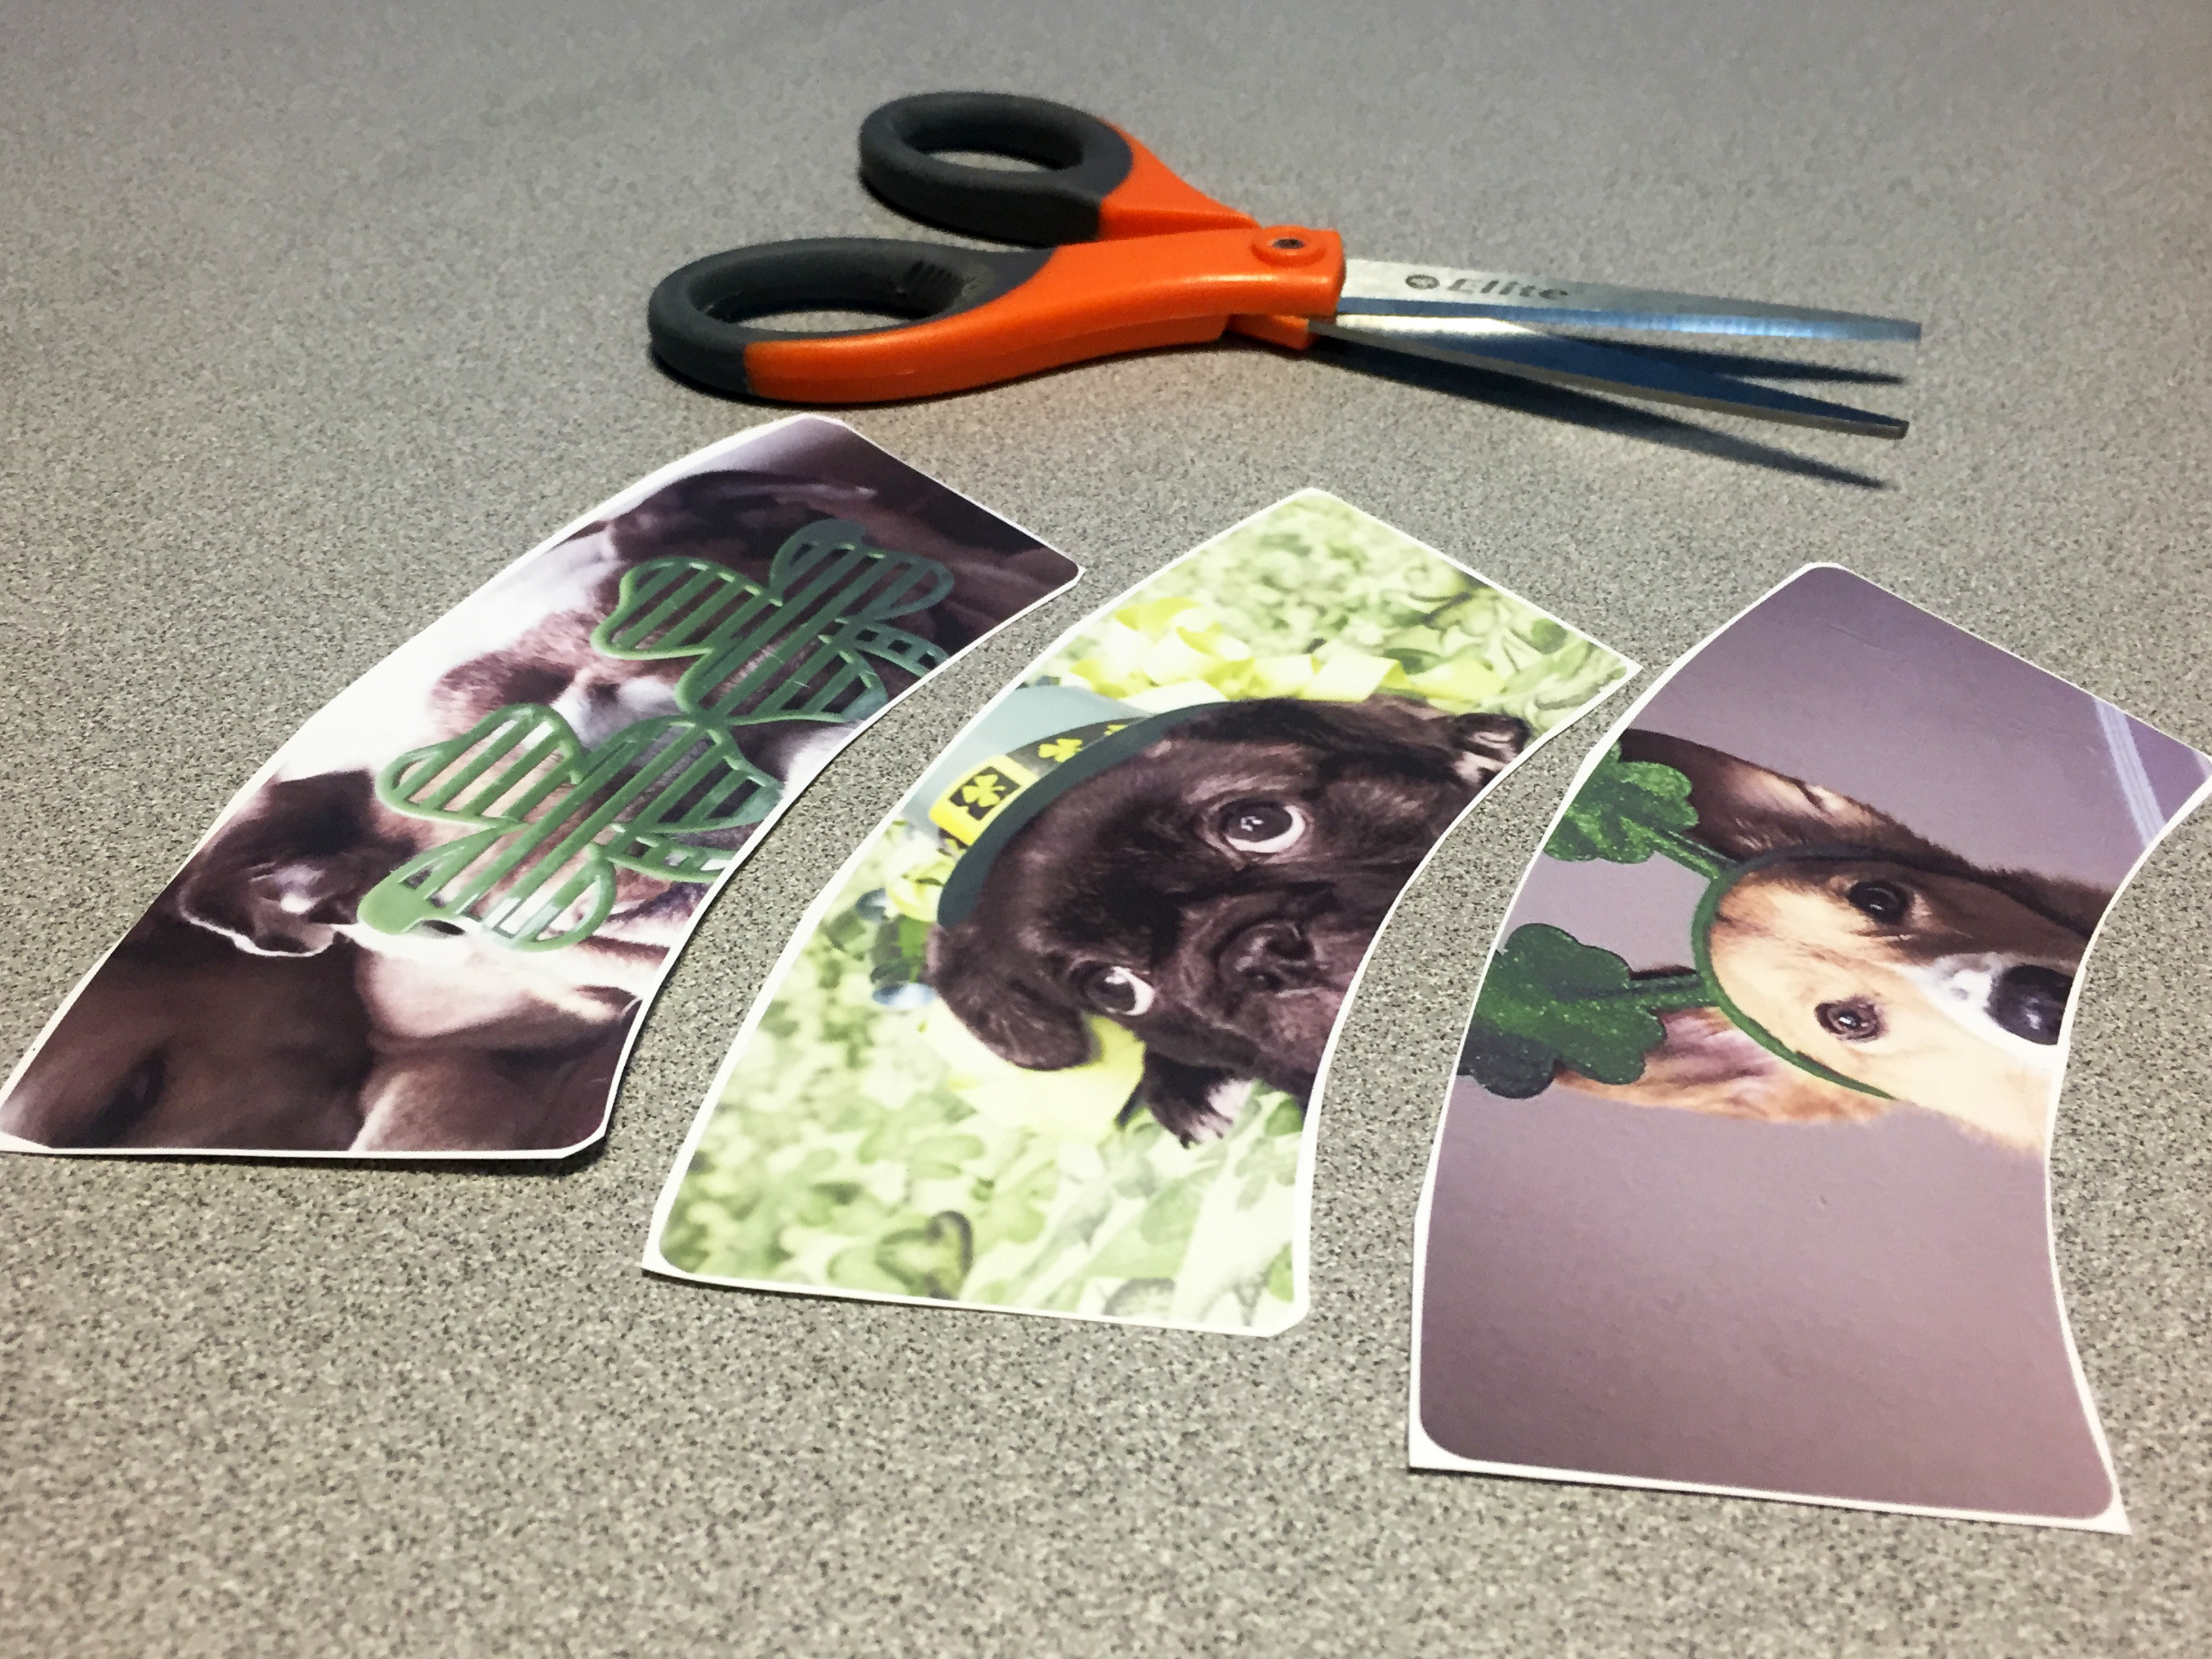
Next, take your scissors and cut the prints apart, leaving a little bit of white trim around the edges to avoid cutting into your design. Once the designs are cut apart, you will want to prep them to be taped to the shot glasses.
Aren't these puppies adorable? Use a cute print to make your own shot glasses! See how on they made St. Patty's Day shot glasses Pro World Blog!

Keep in mind that the shot glasses we carry do have a white coating, which means that any area of your design that is not filling the template will have a white background.

Make your own St.Patty's Day Shot Glasses! See how on the Pro World Blog!

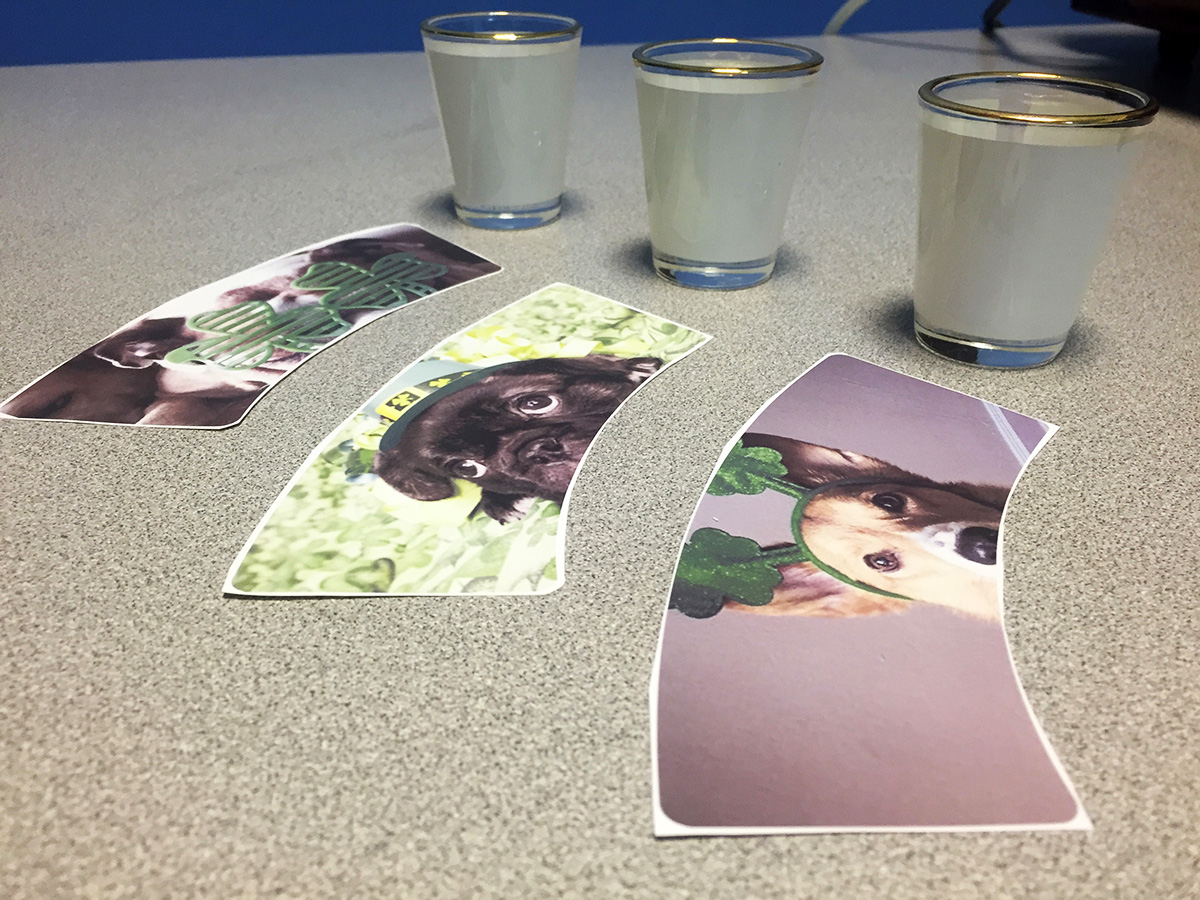
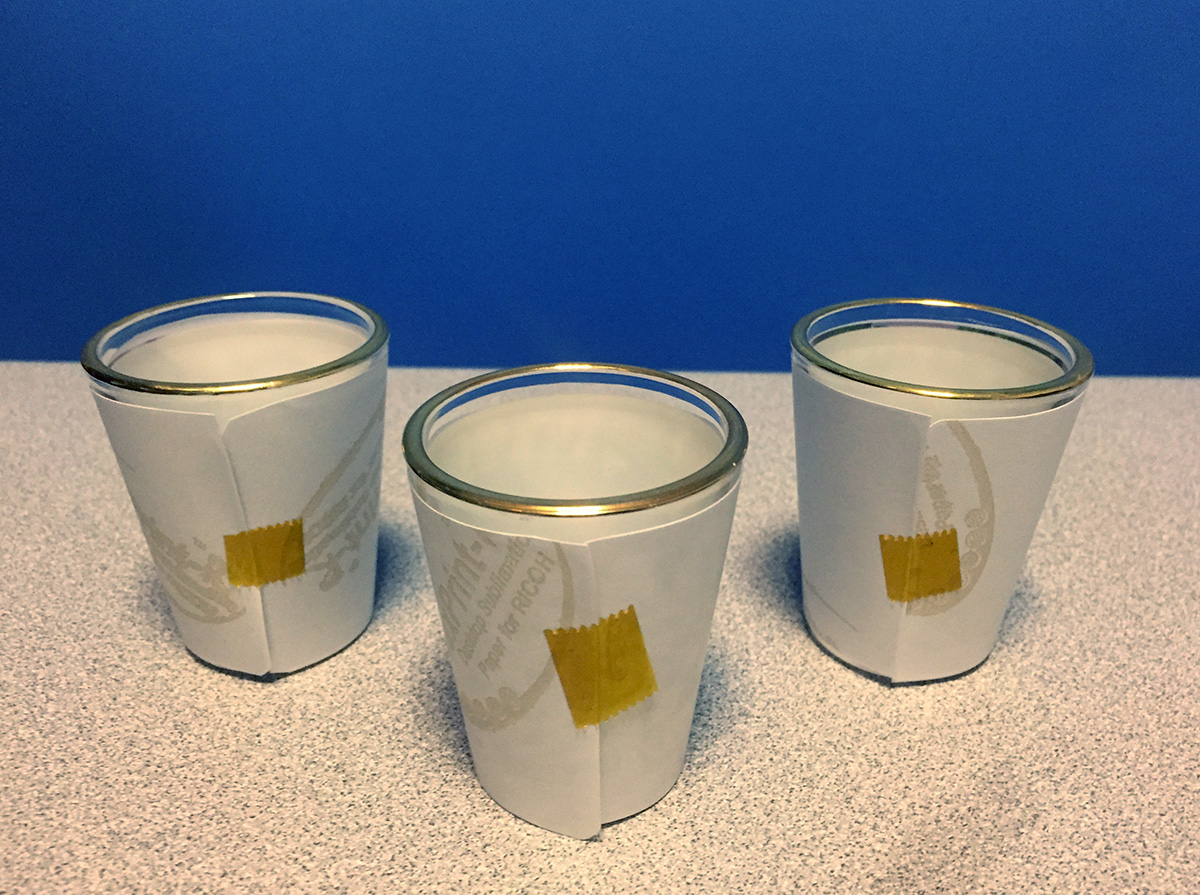
After the designs are cut, wrap them around each shot glass and attach the image to the shot glass using heat resistant transfer tape to keep the paper in place.

Make your own St.Patty's Day Shot Glasses! See how on the Pro World Blog!

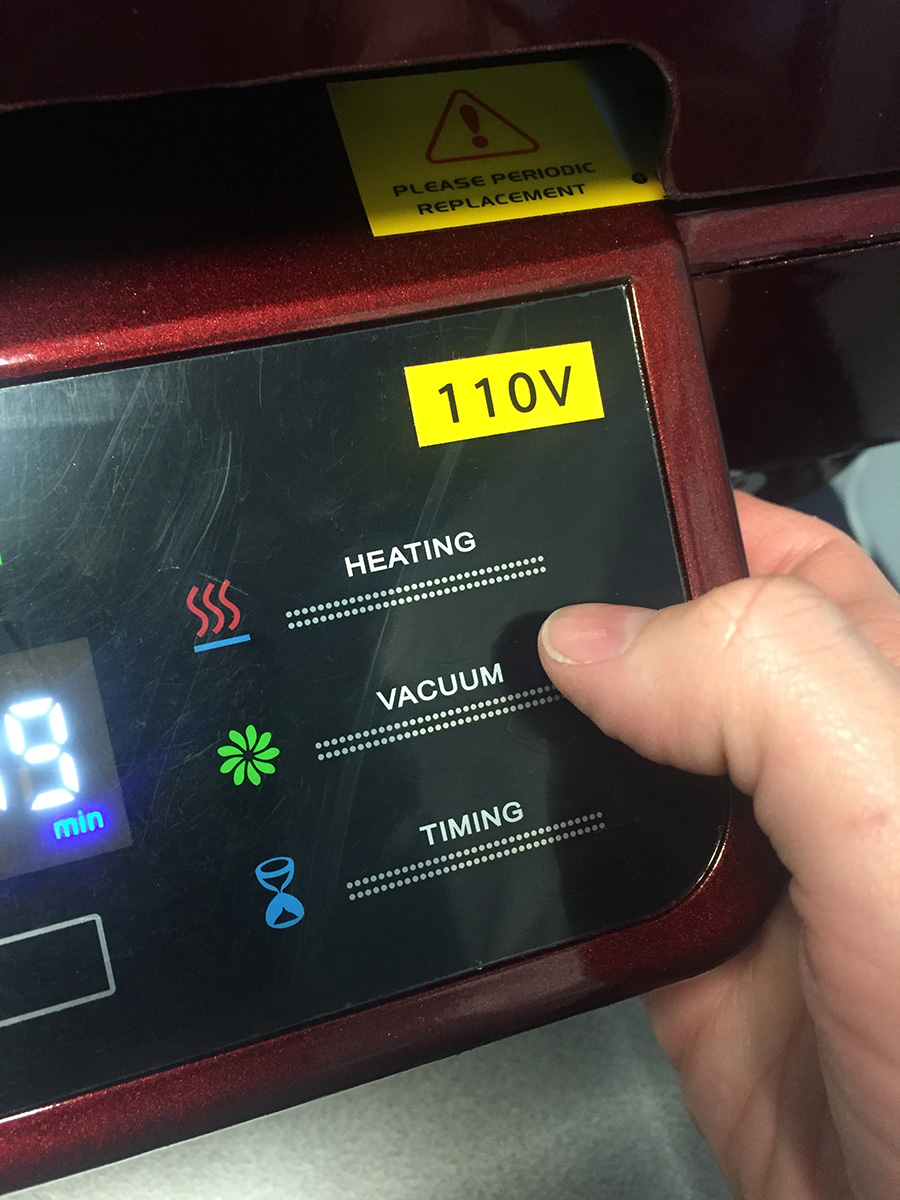
Now that your glasses are prepped, we need to get the heat press ready. You can also do this before printing to allow the press some time to heat up. Plug in your 3D Vacuum Heat Press and flip the switch on the back left side. Press the “Power” twice to get to the settings, and then press the “Temperature” settings button and set at 200 degrees Celcius. Now press the “Time Setting” button and set to 13 minutes. After both are set, press the “Heating” button twice. The press will now start heating up, and will beep once it hits 200 degrees.

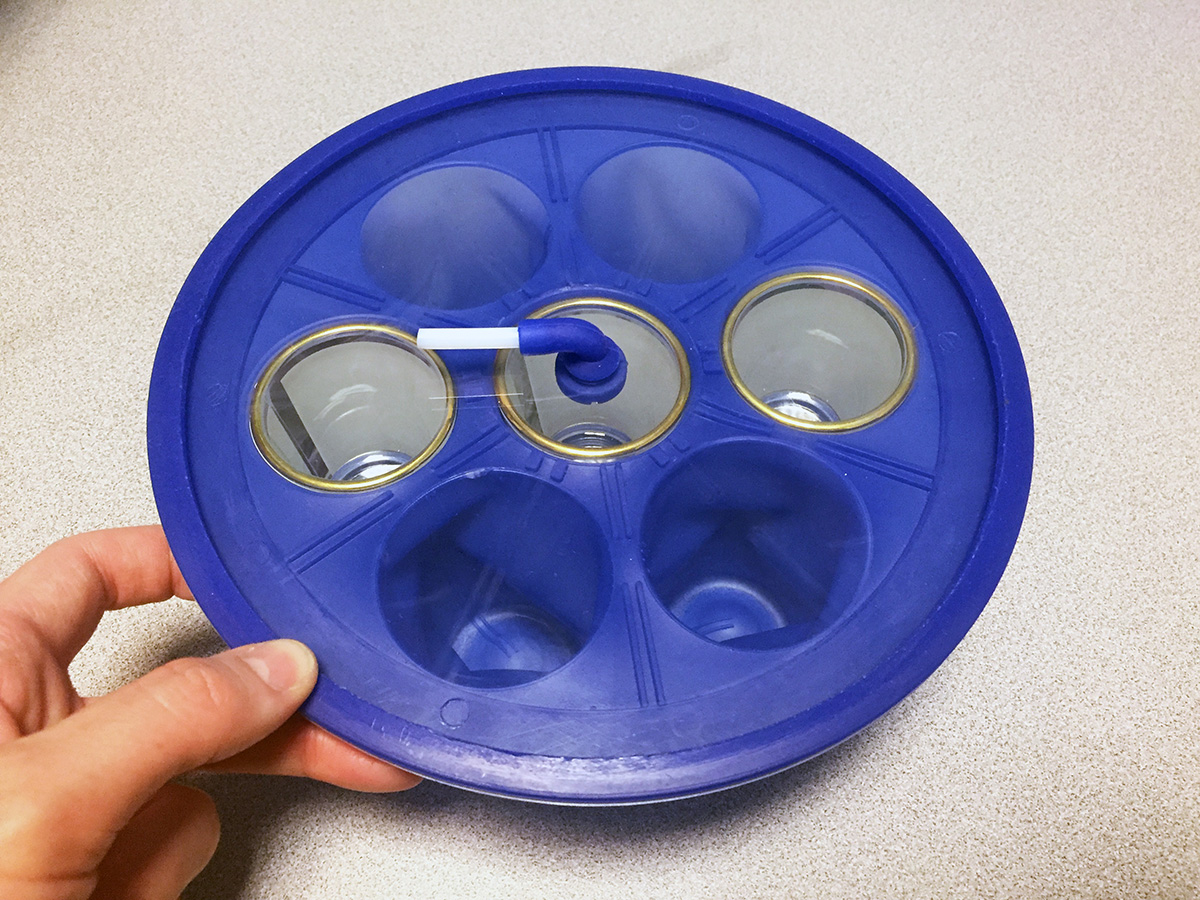
Want to make your own shot glasses? You need this!Place the shot glasses into the shot glass mold and cover with the glass lid. Once the heat press is ready, place the shot glass mold inside of your 3D Vacuum heat press.

IMG_0654

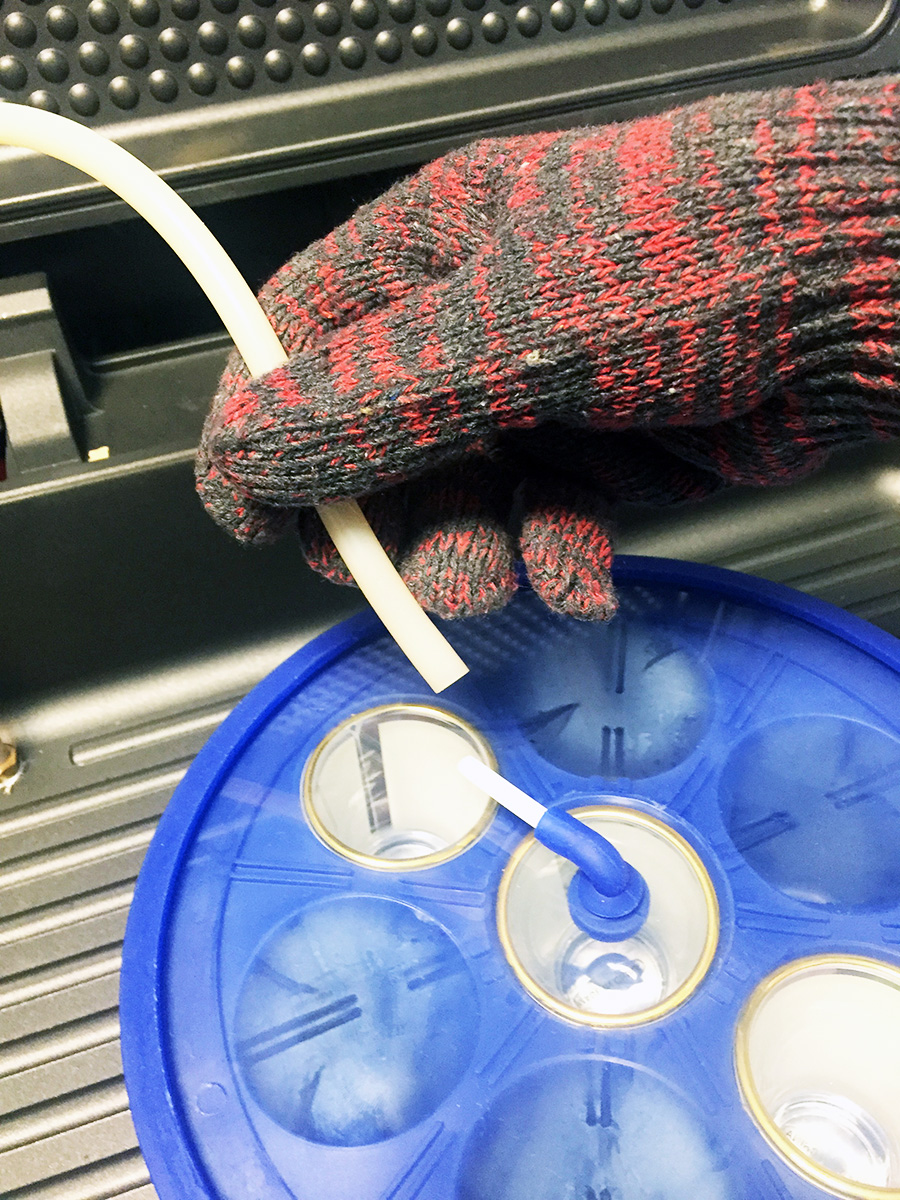
Attach the rubber tube (that is connected to the bottom of the 3D Vacuum Press) to the white tube sticking out of the mold. After the tube is connected, press the “Vacuum” button. The tube will then suck all of the air out of the mold. Pick up the mold carefully (while wearing protective gloves) and check to make sure that there are no wrinkles where the mold has been suctioned around the shot glasses. After flattening out any wrinkles, close the heat press and press the “Timing” button. The machine will begin to count down.

IMG_0657

Remove the mold once the time is up, making sure to wear your protective gloves. Peel the paper off of the shot glasses immediately. Use caution as the glass will be very hot! Let the shot glasses cool down, and admire your finished product! Fill with your favorite liquor, and drink til yer Irish! Ruff Ruff. . . sorry I couldn’t resist!

Drink from a cute glass! Make your own St.Patty's Day Shot Glasses. See how on the Pro World Blog!


Make your own shot Glasses for St. Patty's Day! See how at @proworldinc

View & Add Comments

An Introduction to Sublimation

sublimationWhat is sublimation, and why should you be offering it? If you don’t, someone else in your market will! Sublimation is a great way to expand the business you are already in. Let’s talk about this wonderful process and the endless amount of products that can be created.

virtuoso

First… let’s get technical. Sublimation is a process that will only work when using paper made specifically for sublimation, along with sublimation ink and a sublimation printer. This is very important, as you will not be able to use just any old printers or ink.  You also will need a heat source such as a garment heat press (for flat objects) or a 3D vacuum heat press which works like an oven, for objects that will not work under a heat press. Certain products may require wraps to hold the product in place when working with the 3D heat press.

When printing on garments, please note that the SubliJet inks that we offer only work on 100% white (or very, very light-colored) polyester fabric only. Sorry, no dark or cotton garments! The heat from the heat press causes the pores of the polyester to open up, the sublimation ink turns into a gas, and embeds itself into the garment. Once cooled, the pores close up. Because of this process, the final product is nearly permanent, extremely vibrant, and leaves no texture when rubbing your hand over the garment. You can sublimate on poly-blends, but keep in mind that the ink will only dye the polyester fibers, leaving a distressed look as the final outcome.

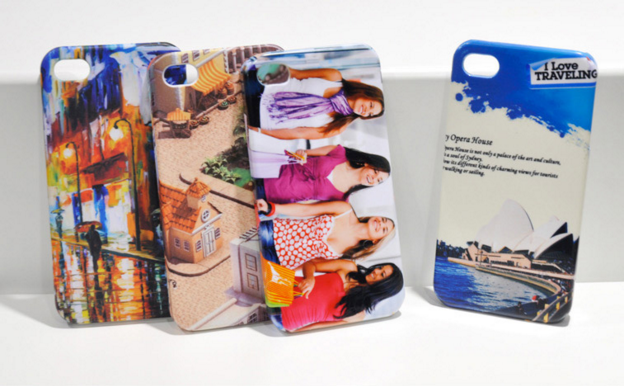
phonecases

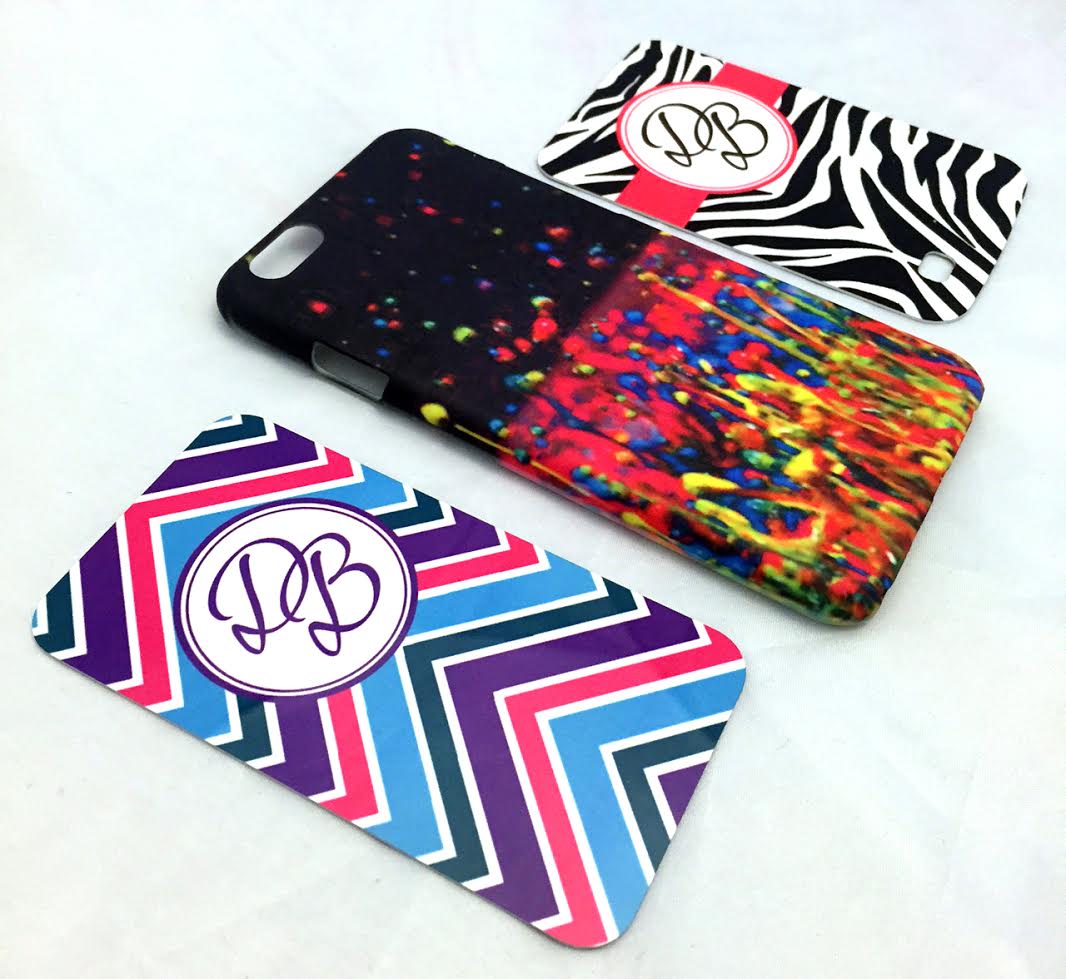
If you primarily offer garments, adding sublimation allows you to now offer products like mugs, coasters, custom phone cases, photo panels, and much more.  Make sure that the product you are customizing is poly-coated, by purchasing blanks made specifically for sublimation.  Different products will have varying applications, so be sure to read the instructions for the item you are pressing before you dive in.  We have a growing inventory of help videos that you can access for different sublimation blanks.

Sublimation is super easy, but like anything else you may make mistakes during the learning curve. Plan for them ahead of time, instead of letting it hinder you. Learn from your mistakes and watch your business grow.

Stay tuned for step-by-step posts on different sublimation products in the near future. In the meantime, check out some of the starter packages that we offer to jump start your new business!

Sublimation Starter Package

Mug Starter Package

Expanded Sublimation Starter Package

Super Starter Package

View & Add Comments

Pro World Open House – A Great Success!

IMG_0260

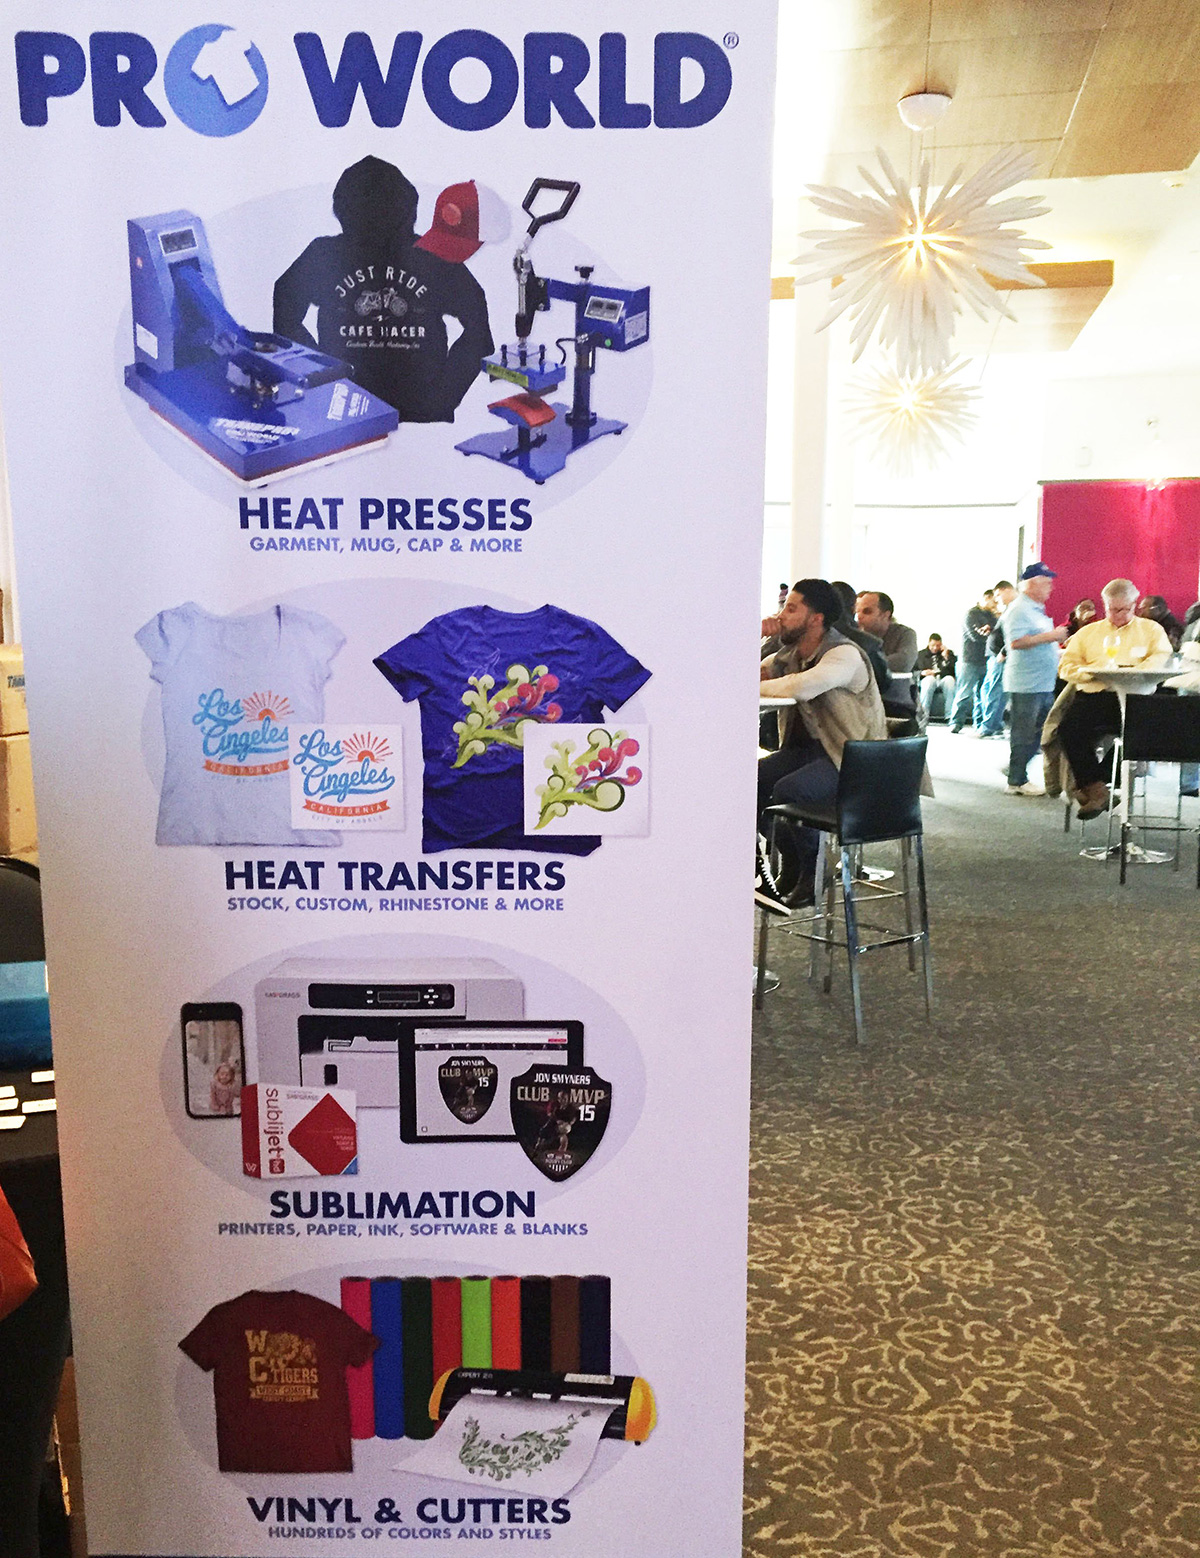
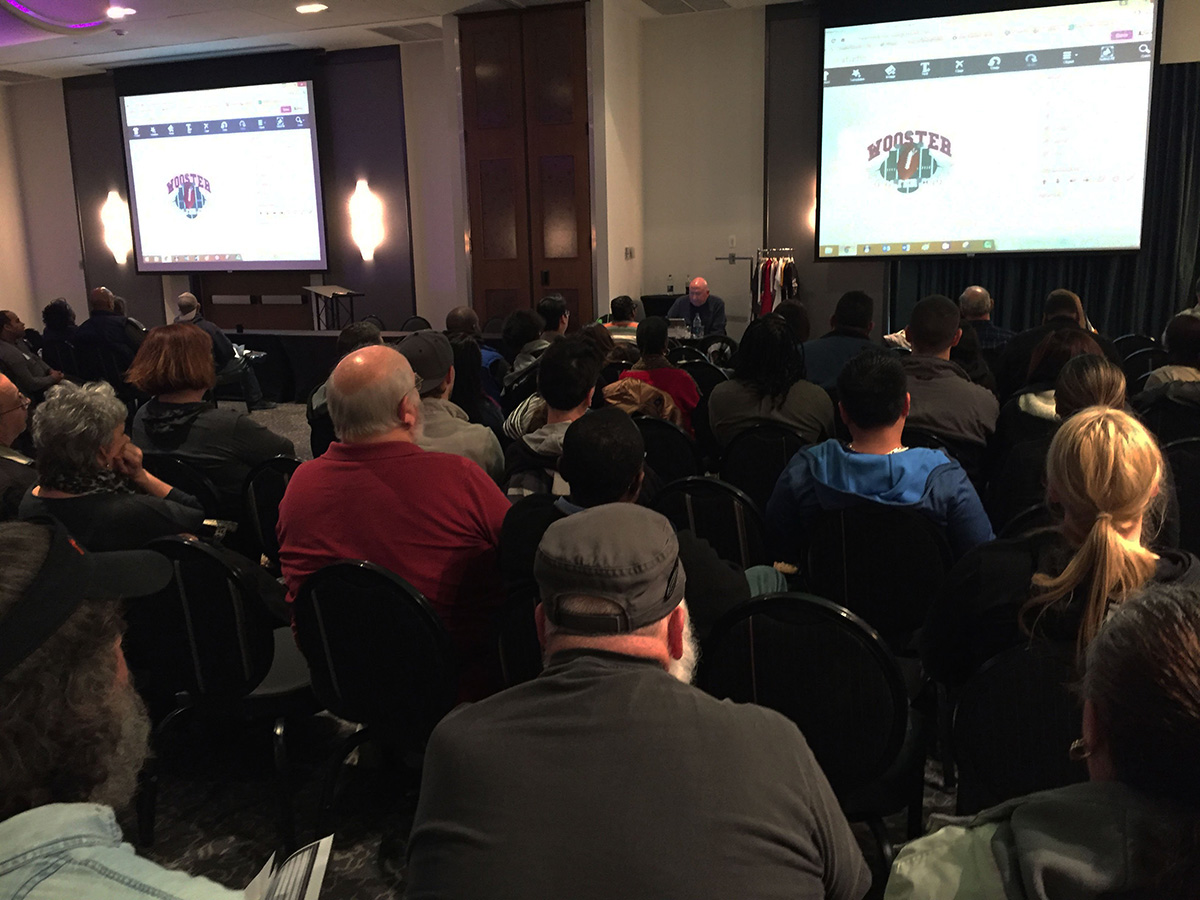
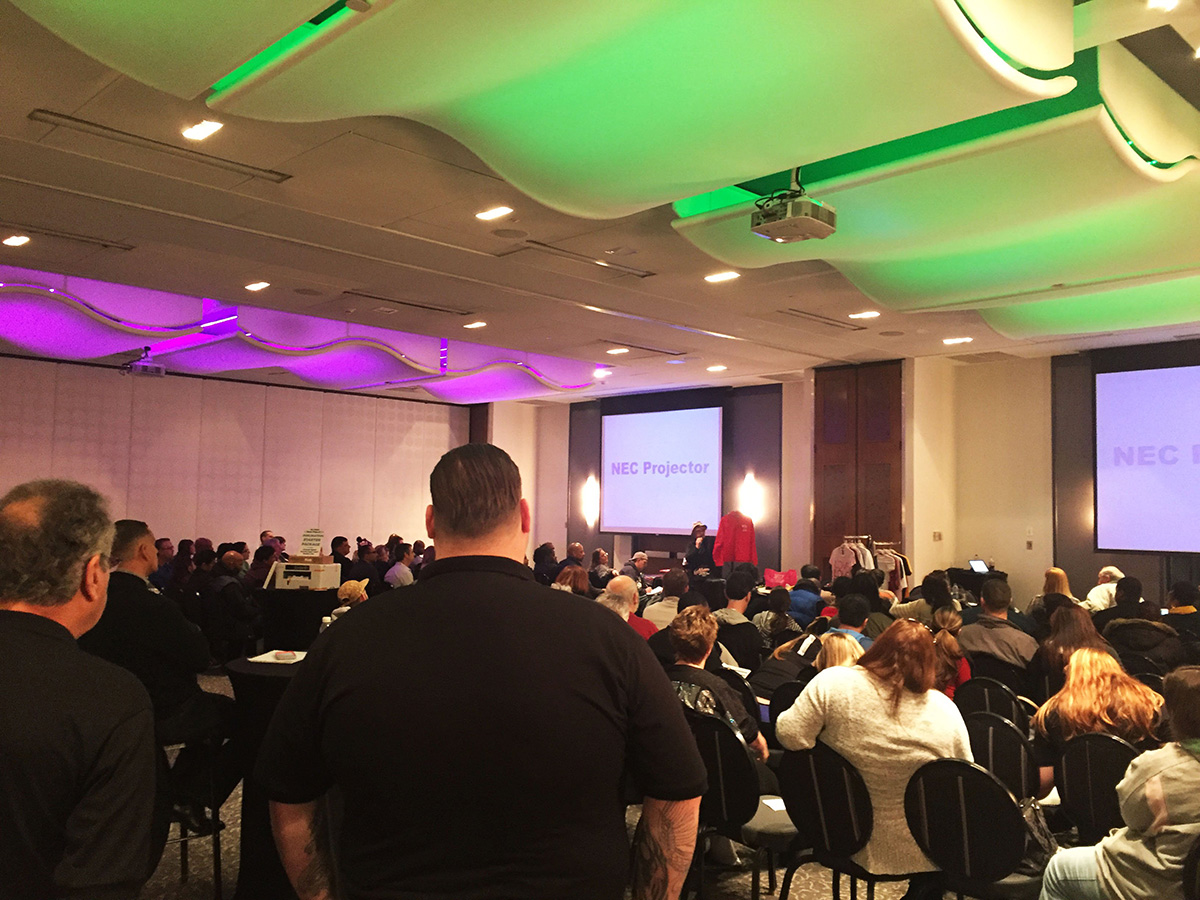
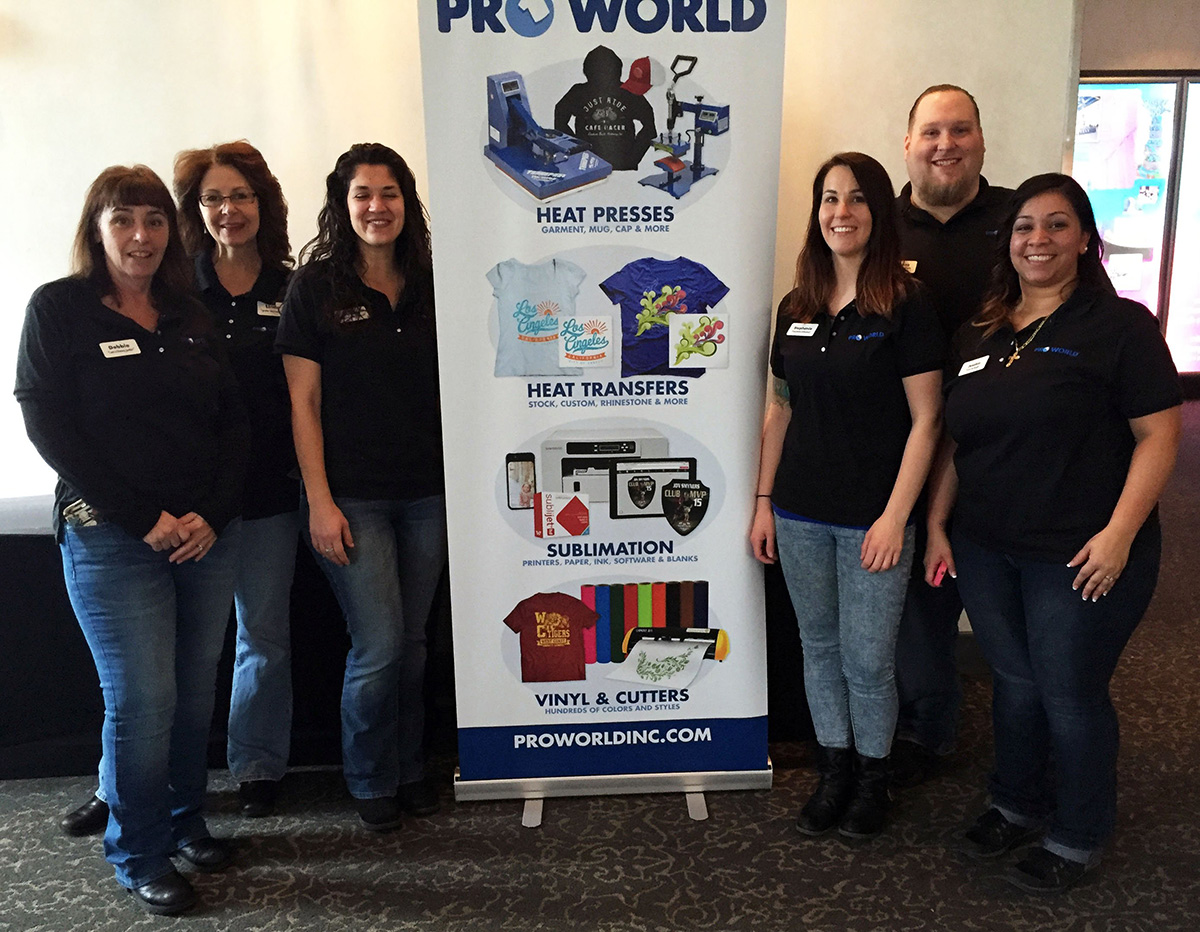
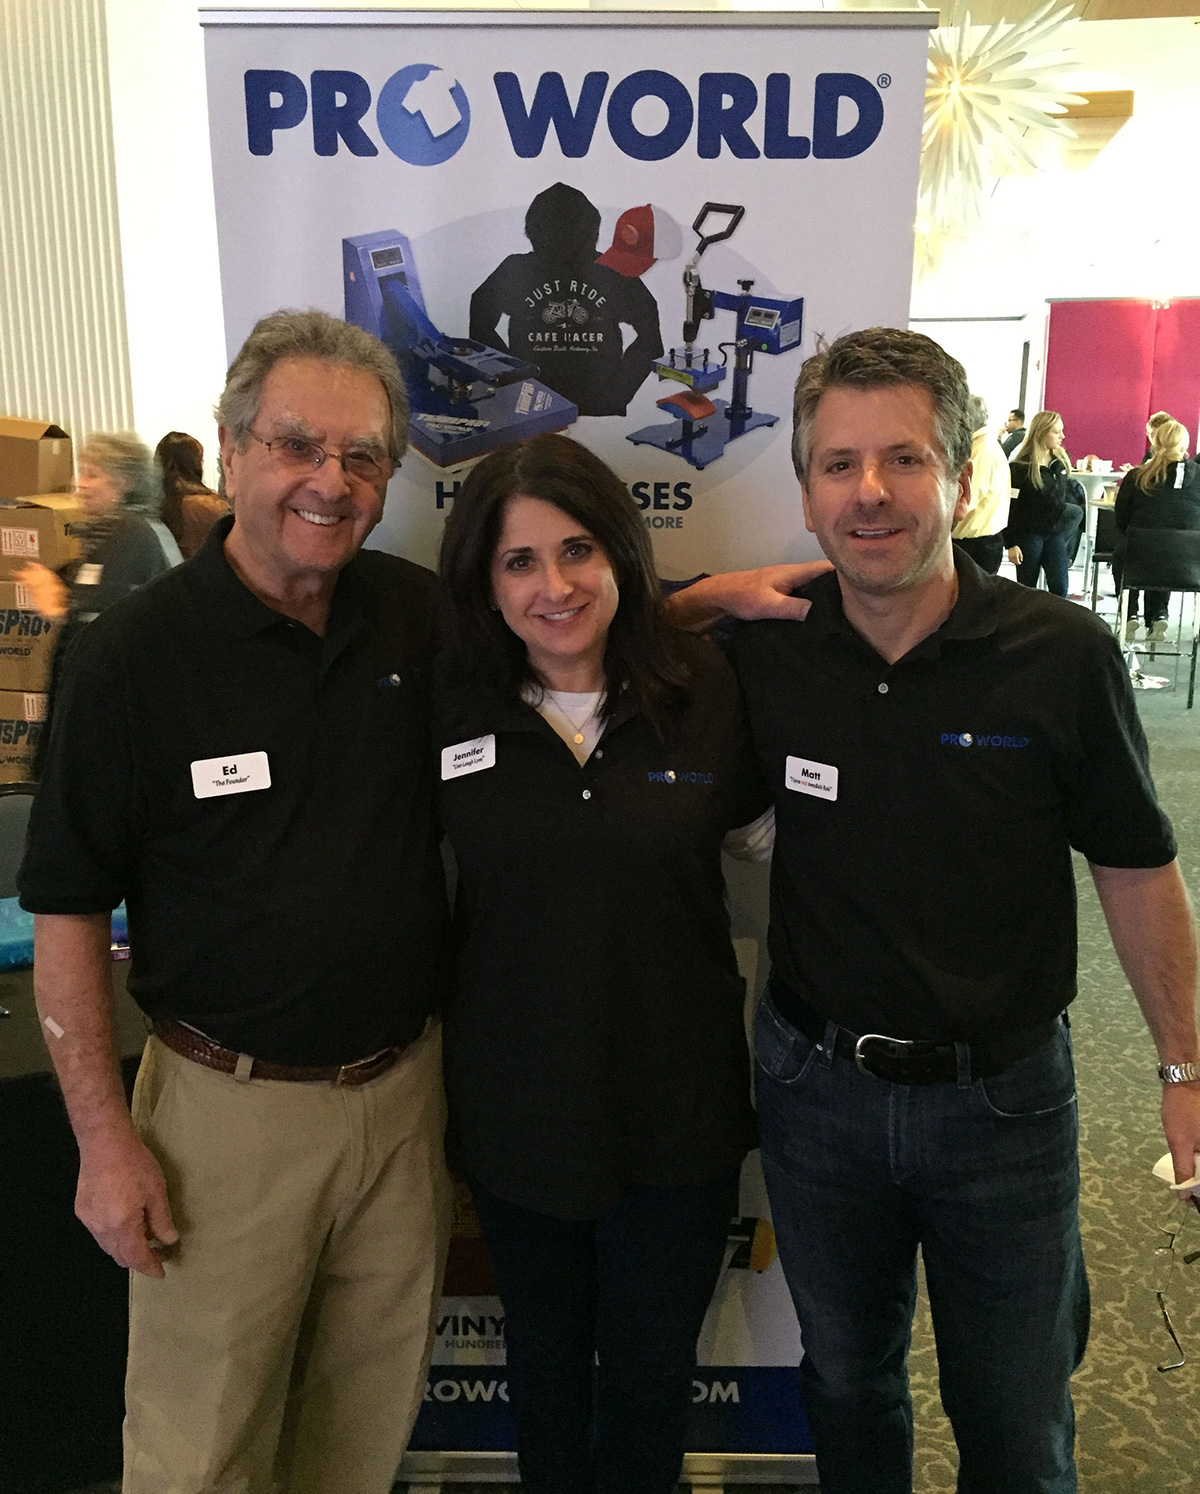
This past weekend, Pro World hosted it’s very first Open House at the Aloft in Mt. Laurel, NJ. The turnout was even better than we expected! It was a very successful day with tons of great information provided by Jimmy Lamb from Sawgrass and Kathleen Servais from Siser. Other vendors included Unisub, Alphabroder, and Hotronix.

IMG_0298IMG_0289

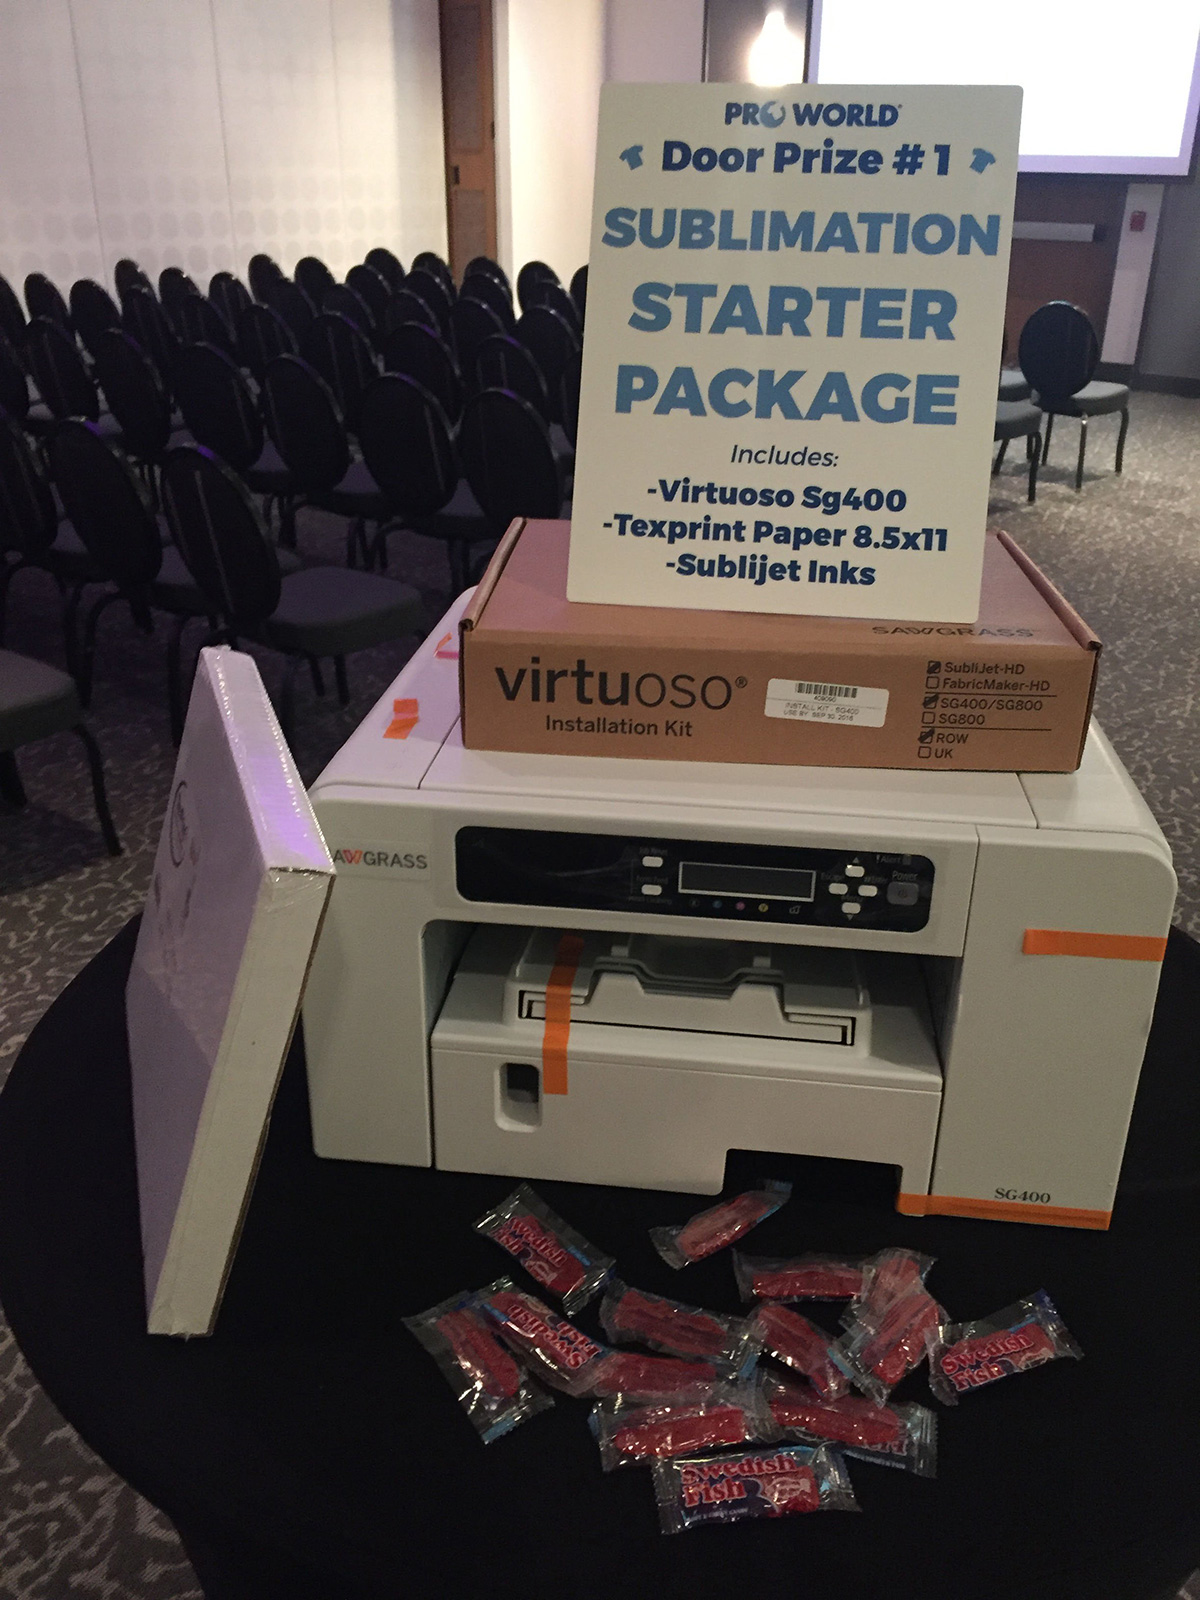
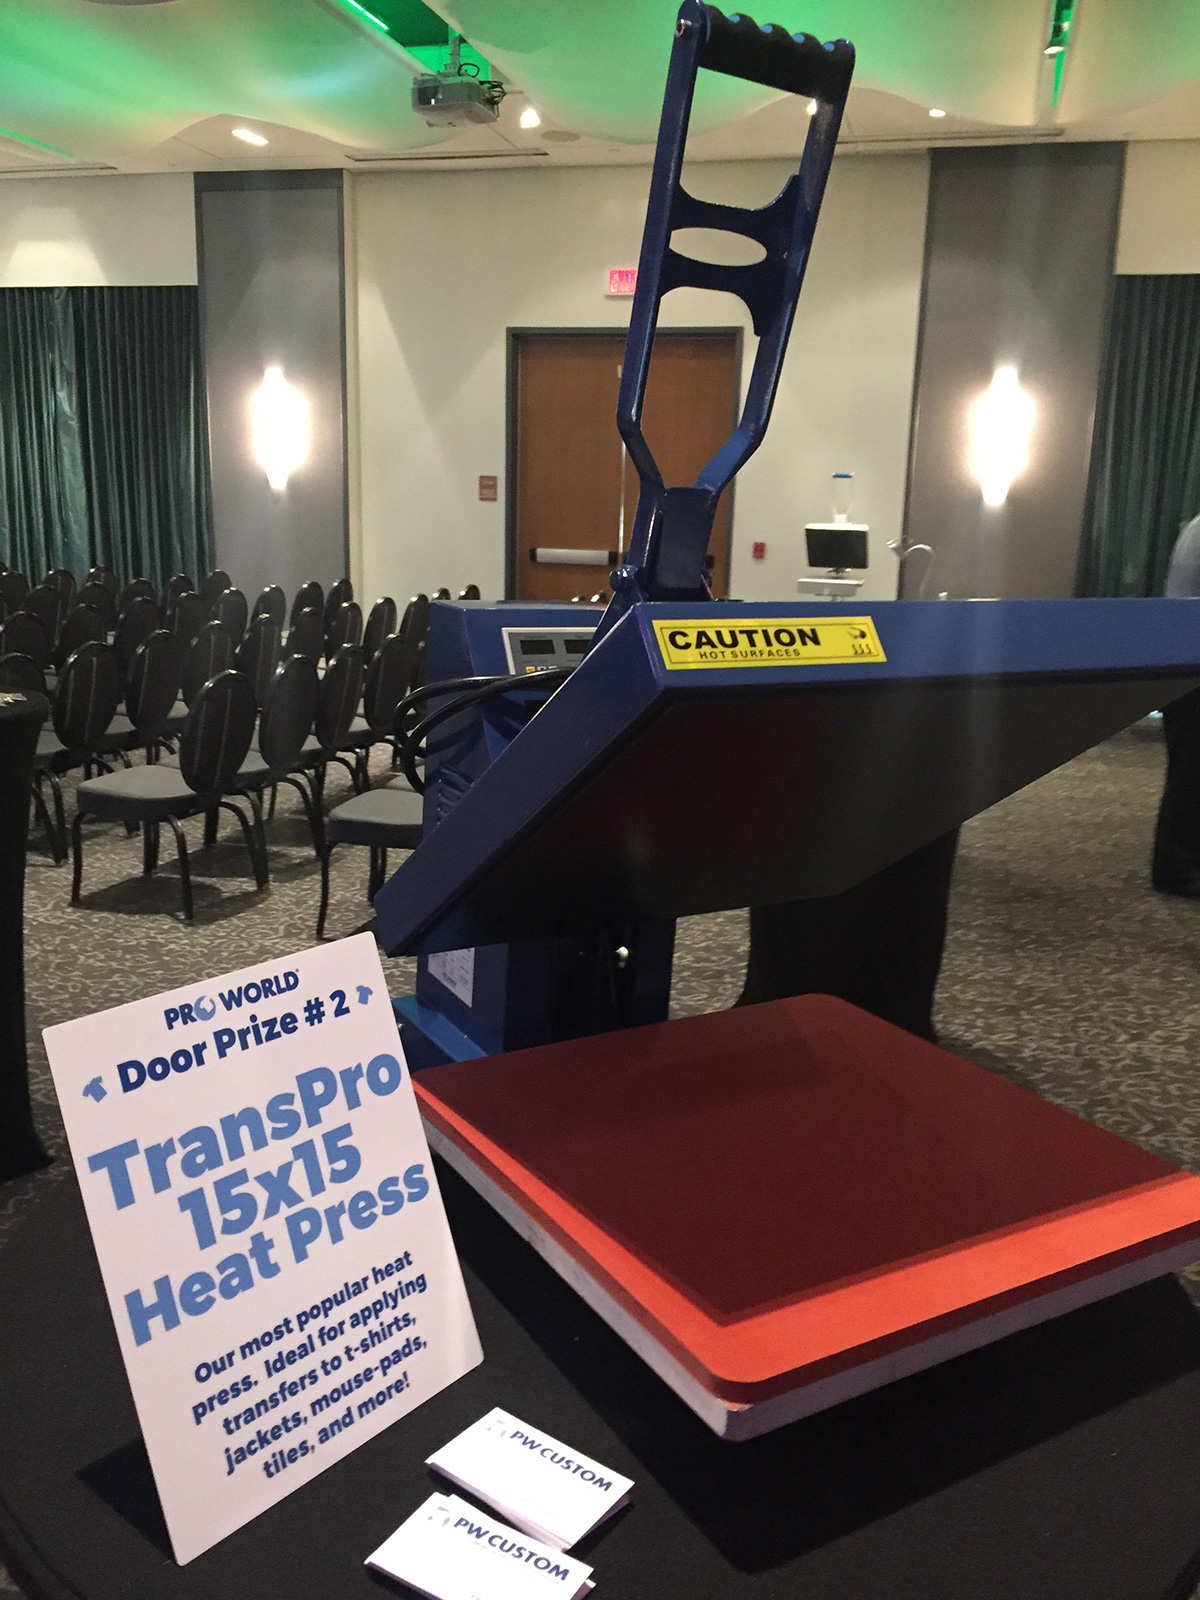
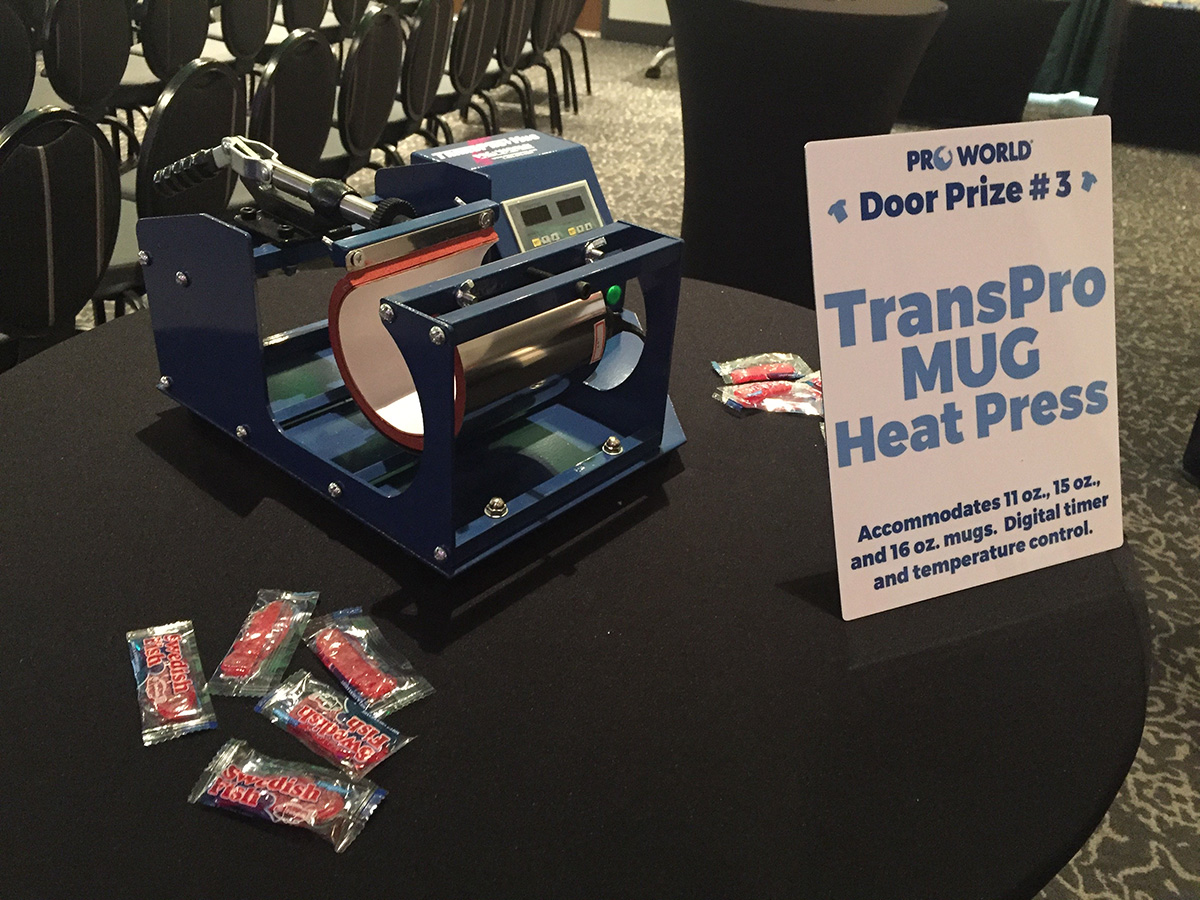
Congratulations to all of the winners of our Door prizes, which included a TransPro 15×15 heat press, a TransPro Mug heat press, and a Sublimation Starter Package!

IMG_0268IMG_0265IMG_0266

We want to thank each and every one of our customers for coming out and learning how to expand their business. It was wonderful being able to meet you guys face-to-face!

IMG_0296IMG_0297

View & Add Comments

Please Stay Tuned…

collage02Hey there! We have been working hard behind the scenes to get this blog up and running with high quality photos, inspiration, and creative content. We have hit some minor bumps along the way, but not to worry! We are actively posting on Instagram and would love if you followed us there. You can also find us on Pinterest, Twitter, and Facebook too.

Don’t forget that we are currently running a free shipping special for the month of December on any orders placed online over $99. And as always, we are offering discounts on our TransPro Heat Presses with a stock purchase of $299 for first-time customers.

Keep checking back here for updates, and thanks for following!

View & Add Comments
Happy Holidays!

All throughout the month of December, we are offering FREE UPS Ground or USPS Priority Mail shipping on all orders over $99! (Continental U.S. Only)

This offer applies to orders placed online only through www.proworldinc.com and does not apply to custom transfer orders.

We hope all of our customers enjoy their holiday(s) and have a happy new year!

free-shipping

View & Add Comments
We’re back, and we’re ready to blog!

filmingOkay, so it’s been a few years since you heard from us. The PW blog has been in hibernation (literally and we’re a bit embarrassed to say so), but we figured it was about time to dust off the ole journal and provide our customers with a little insight, information, and inspiration.
phone-cases

So, what can you expect?  A little bit of everything, really.  New products, helpful videos and tutorials, sublimation sessions, do-it-yourself projects, occasional tips and tricks, and even a little “behind the scenes” action.  Plus, we might even have a few surprises up our sleeves. You’ll just have to stick around to find out.

In the meantime, check us out on Instagram @proworldinc for inspiring photos to educate and delight you and your business.  We are also on Twitter and Facebook (links are posted below).

What would you like to see? Leave us some comments!

View & Add Comments