Make Your Own Spirit Wear

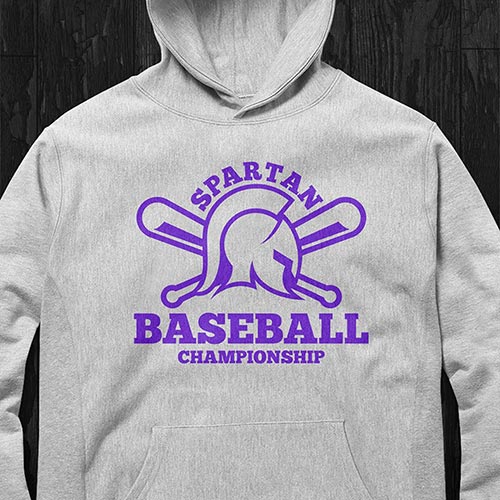
With the fall season around the corner, it is time to start thinking about spirit wear.  Schools are always looking for new ways to fundraise, so now is the perfect time to expand your business into the spirit wear market with a fall shop!

spirit wear

You have a few options when it comes to creating branded merchandise. You can:

Create items in bulk with ease by taking advantage of our Custom Transfers.

pw-custom-2

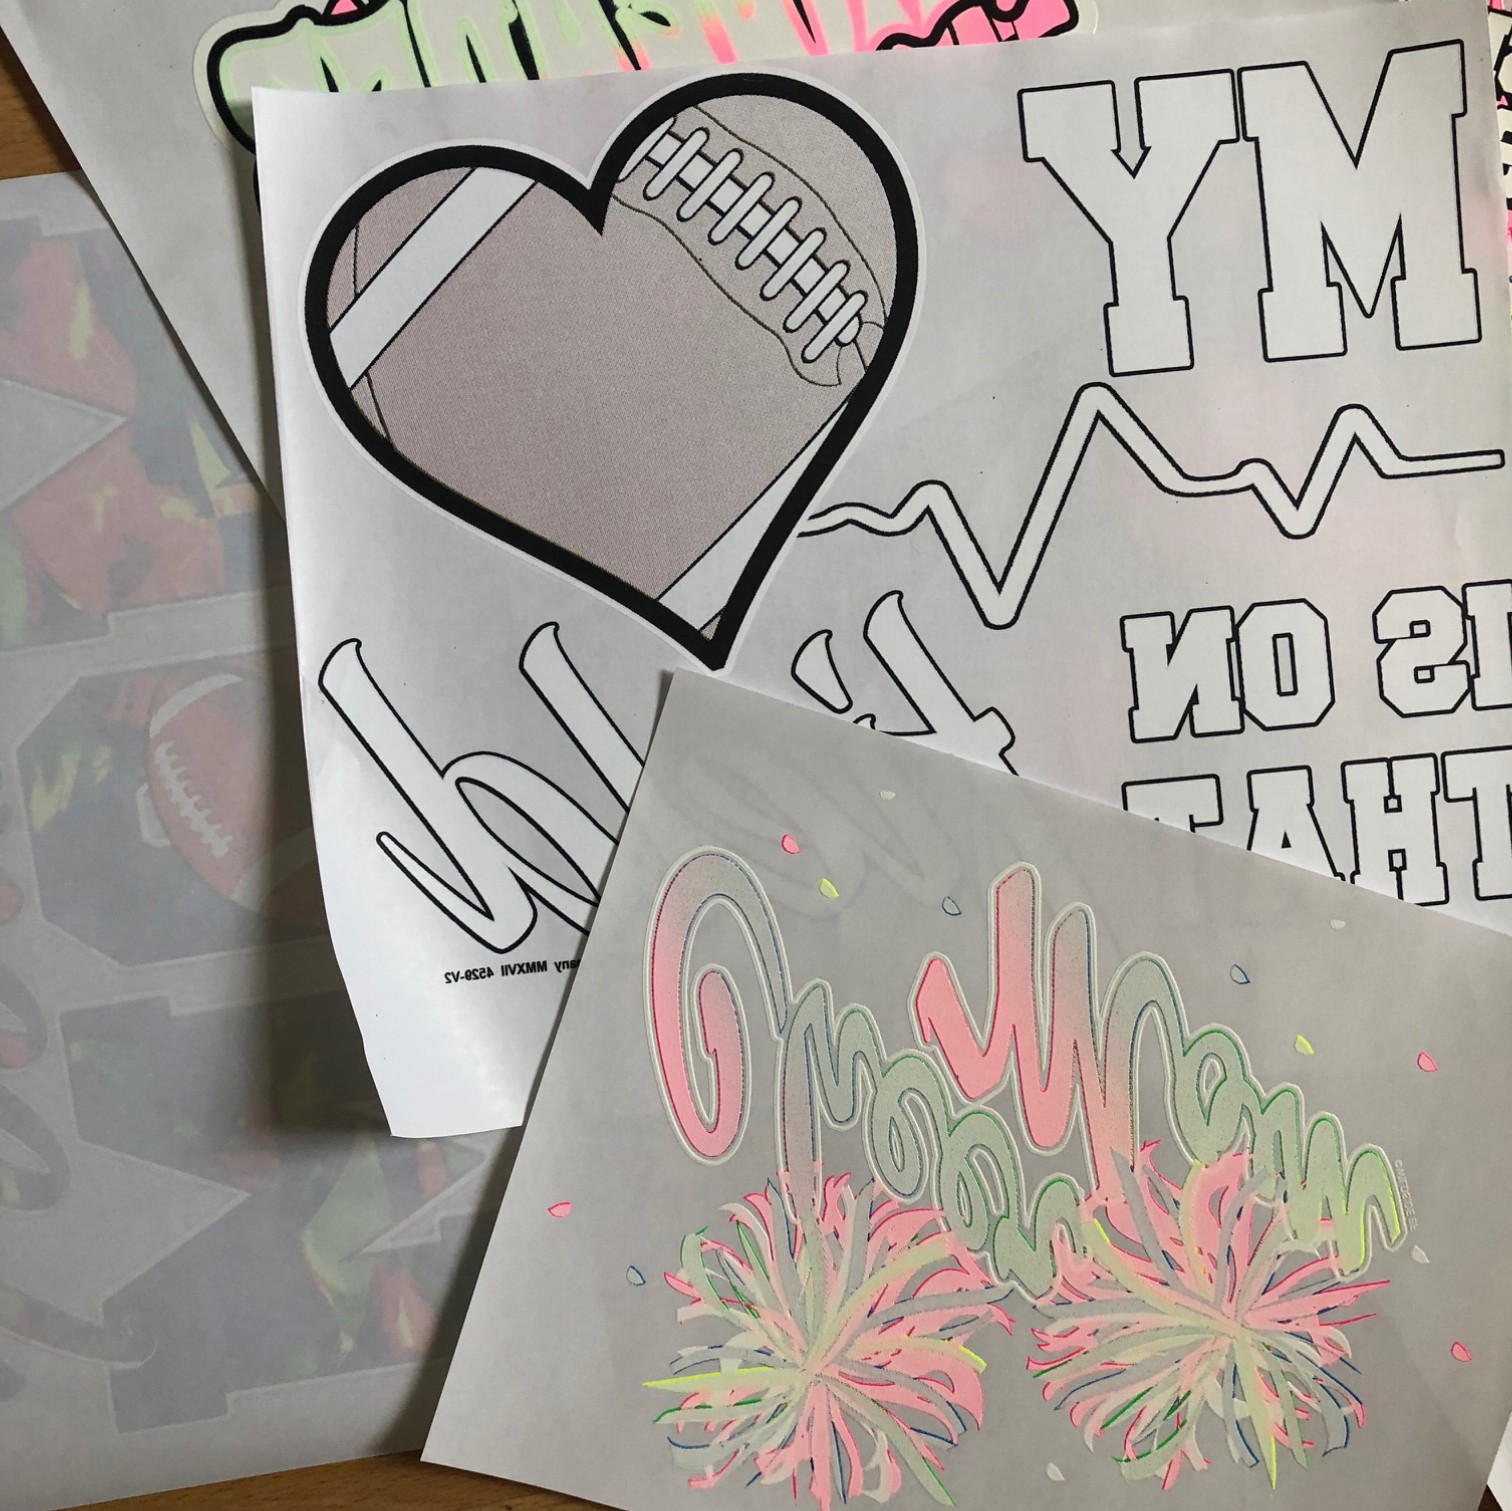
Or you can use a premade heat transfer design, after all, we have thousands to choose from. You can see some of them here!


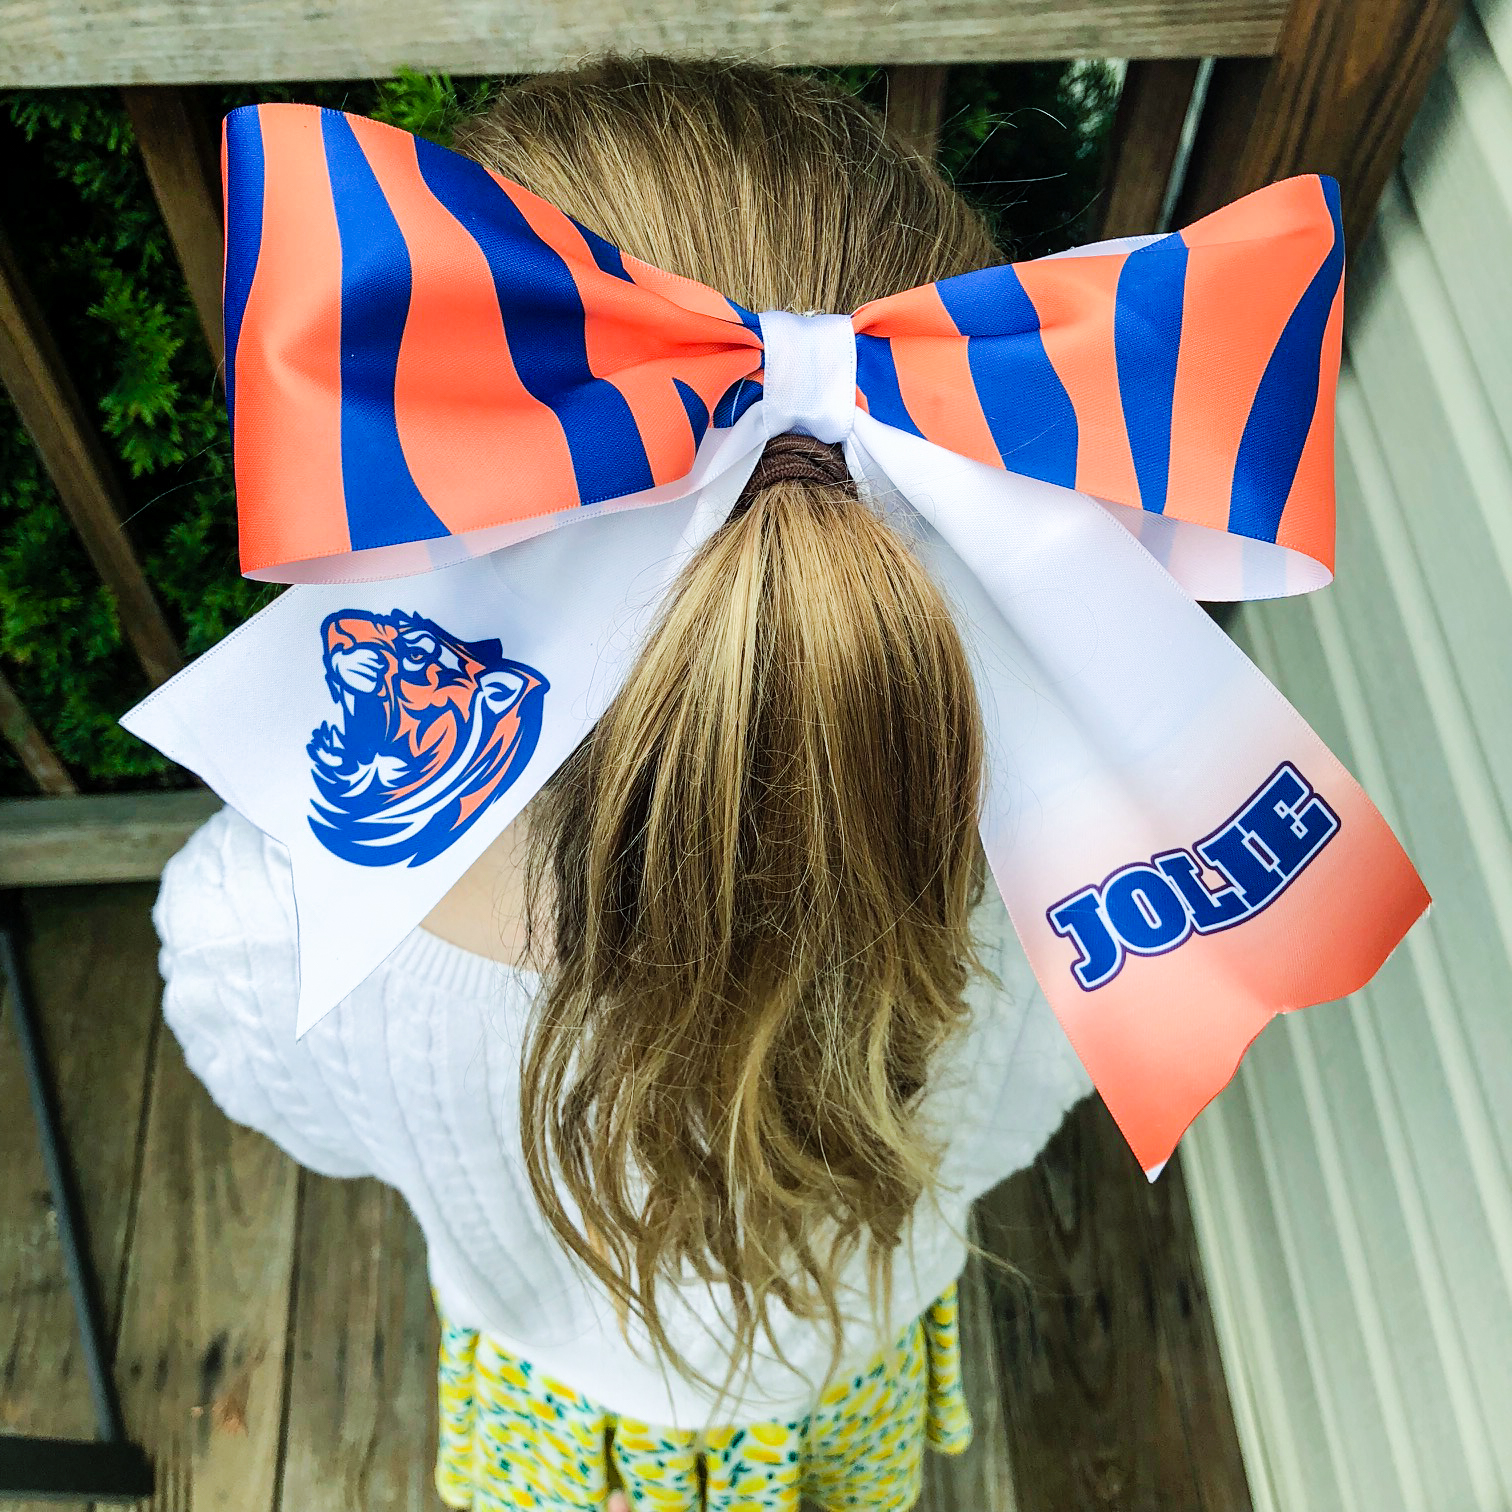
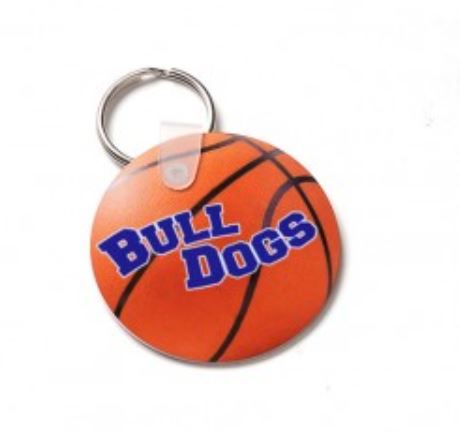
Sublimation is another great option for you to try! You can sublimate polyester and poly-coated items like water bottleskeychain for bag tags, hairbows or even awards!

learn how to sublimate a cheer bow


And we can’t forget about heat transfer vinyl!

htv tiger


View & Add Comments

Back To School with personalized goodies

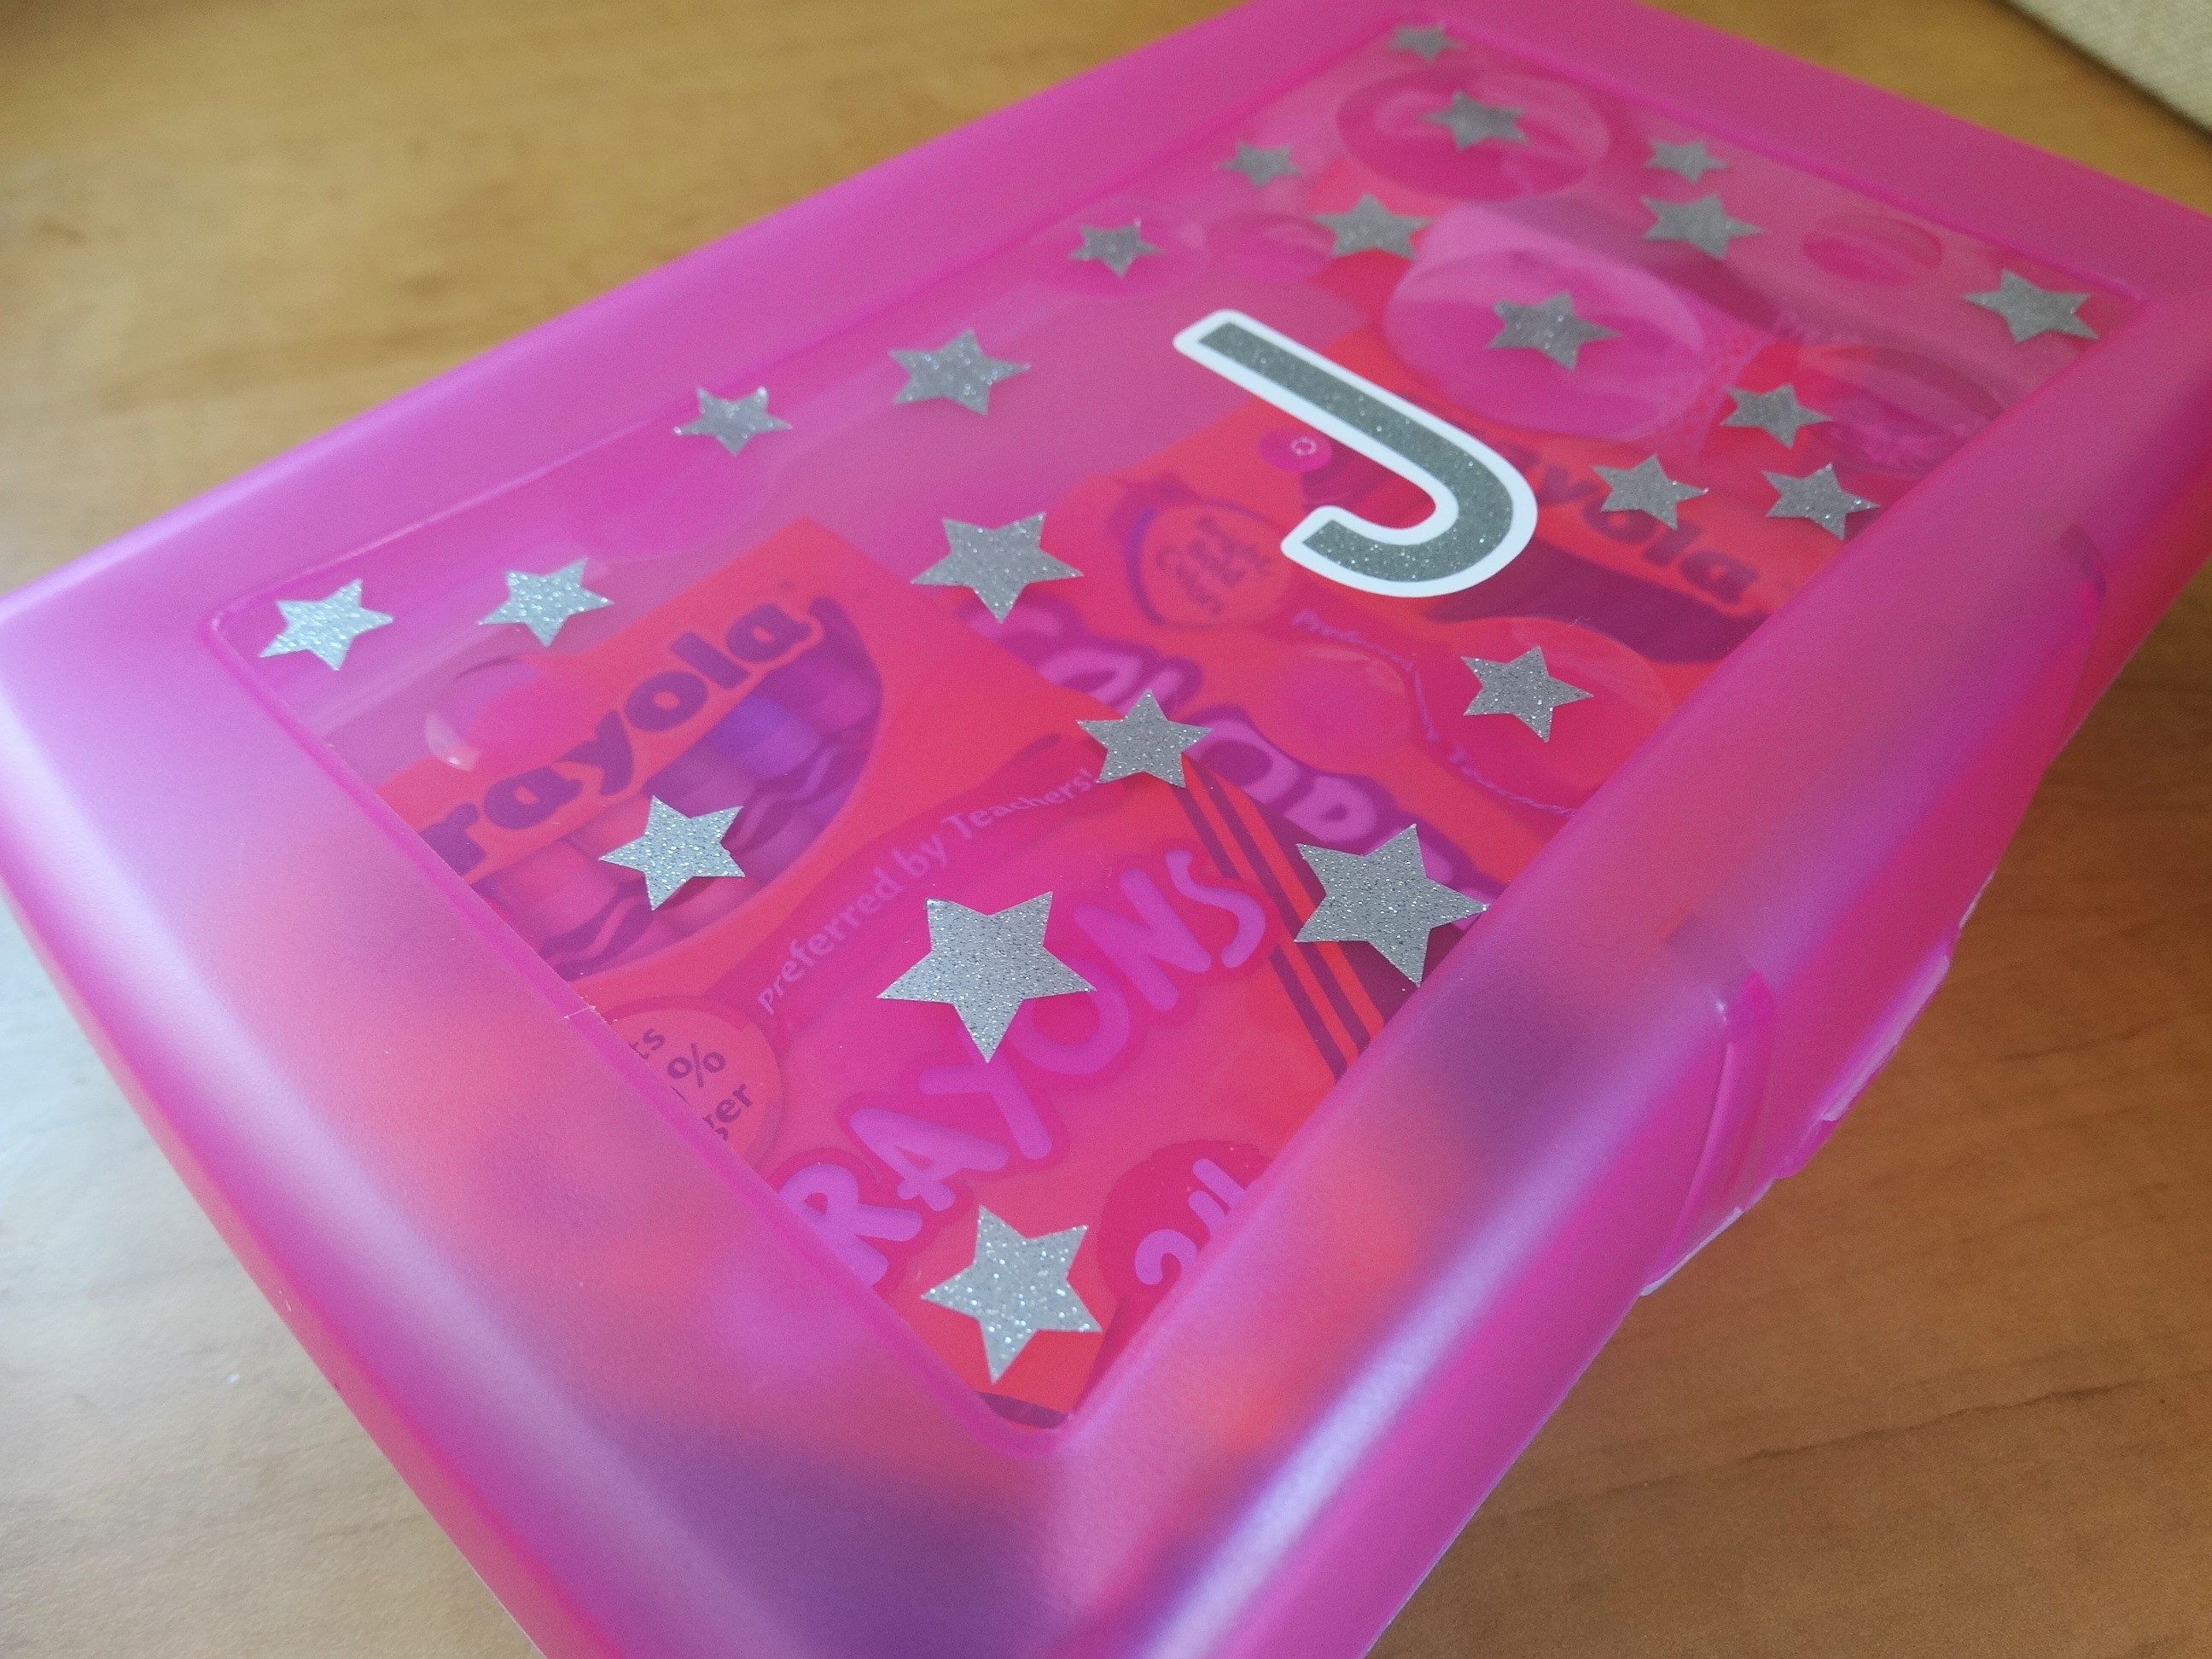
We know, it feels like summer just started, but the start of school is just right around the corner, and it’s never too early to start thinking of ways to decorate a classroom or locker. Need some inspiration? We have you covered!

Back To School (1)

You can make:

Have you started creating your Back to school products? Let us see! Tag us on Instagram at proworldinc

View & Add Comments

Layering HTV: Personalizing Aprons

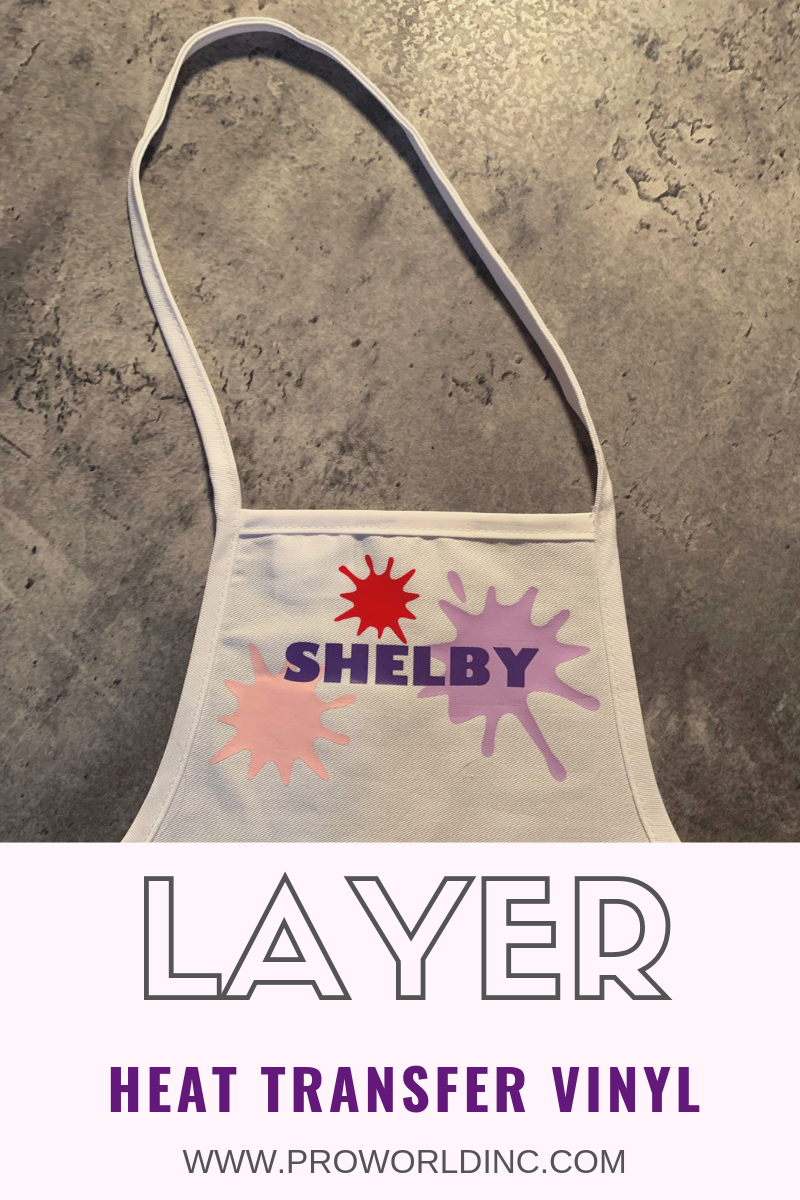
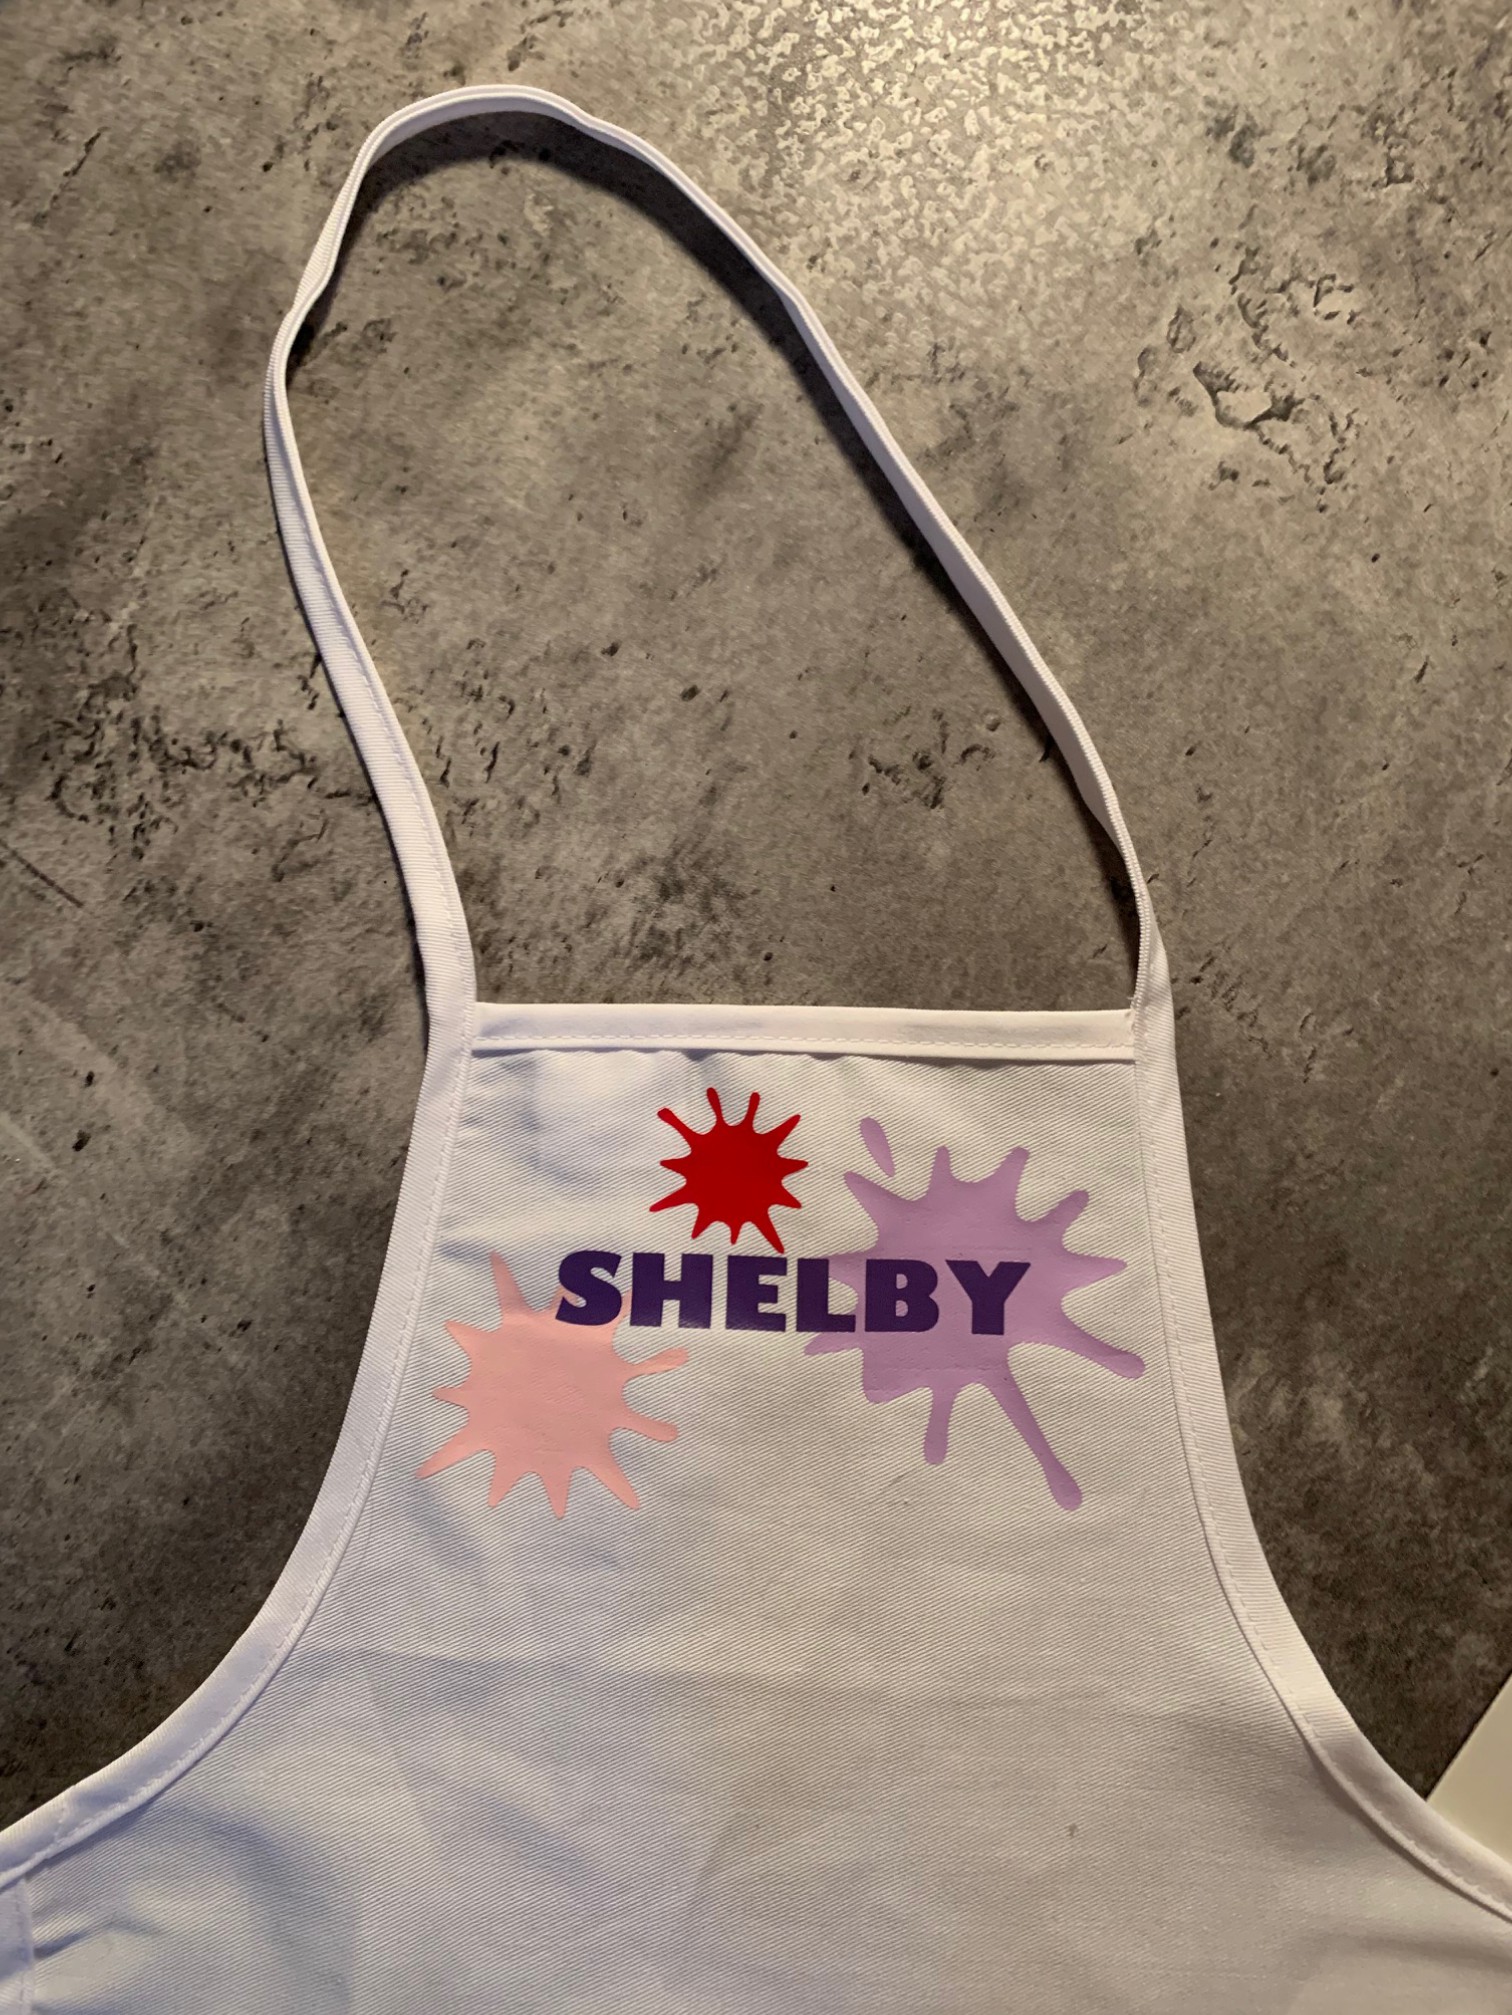
For today’s project, we are making children’s art smocks as a personalized party favor that will double as a great back to school smock! When you think about it aprons have lots of uses. They can be used for kids art classes, when cooking or even just for your average DIY project… since there are a lot of reasons that you may want to cover up your clothes you mine as well have some fun and PERSONALIZE IT with HTV!

layer HTV

To make your own personalized apron/smock you will need:

Here’s how to do it:

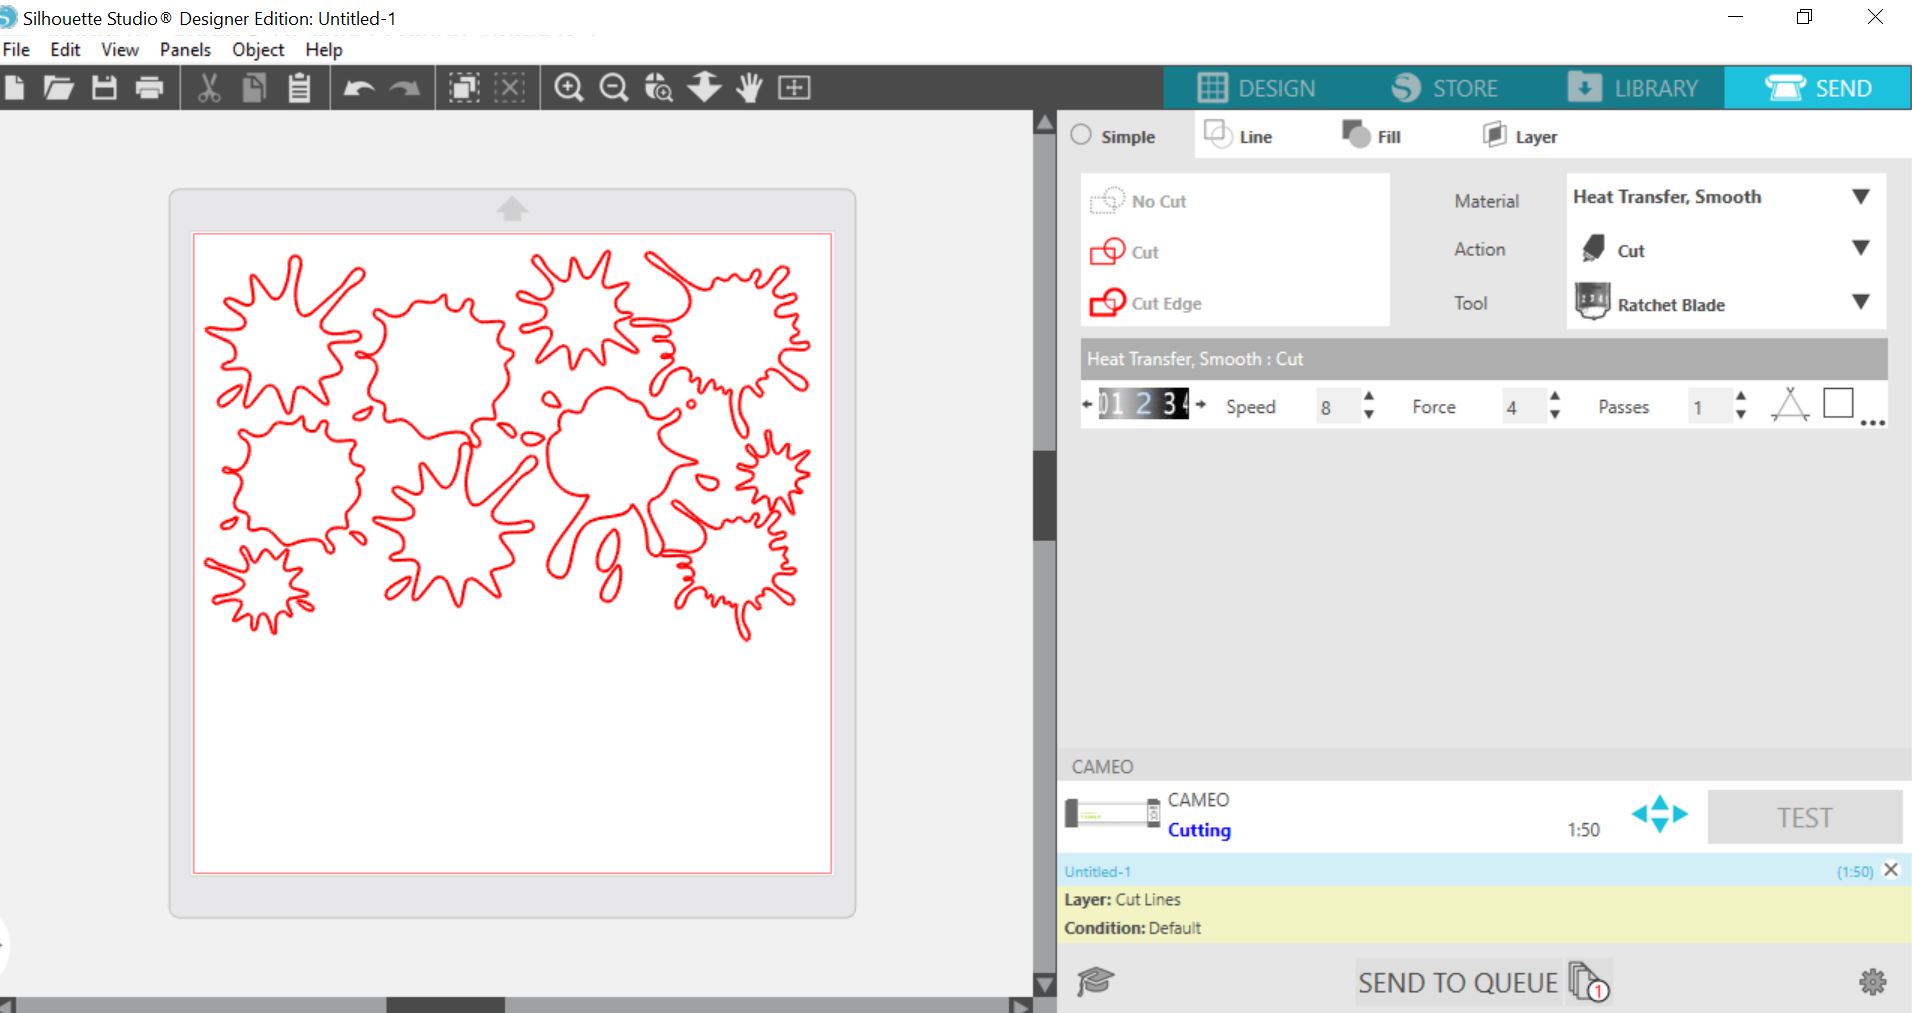
  1. Design your cut file.
  2. Load your HTV into your cutting machine.
  3. Click cut.paint 1
  4. Weed your design(s).
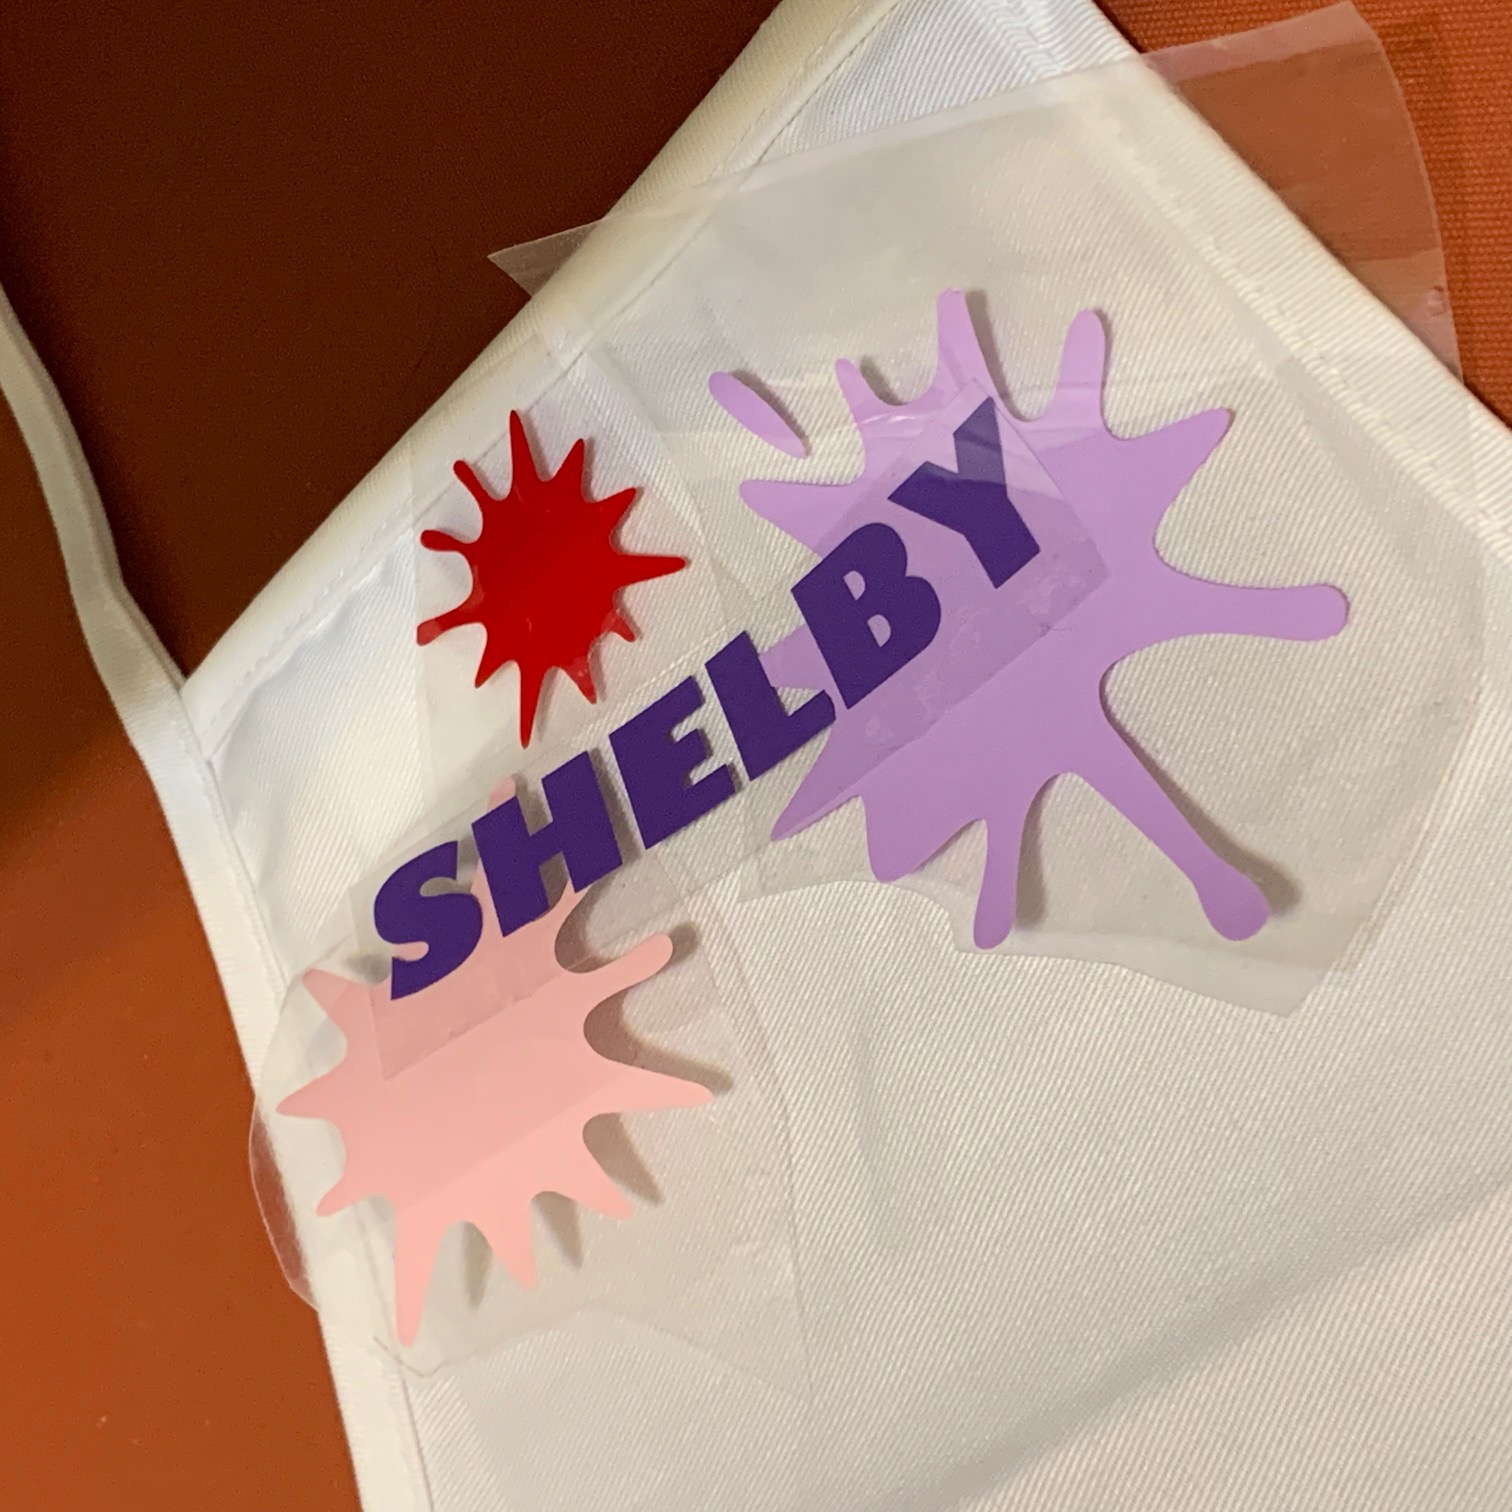
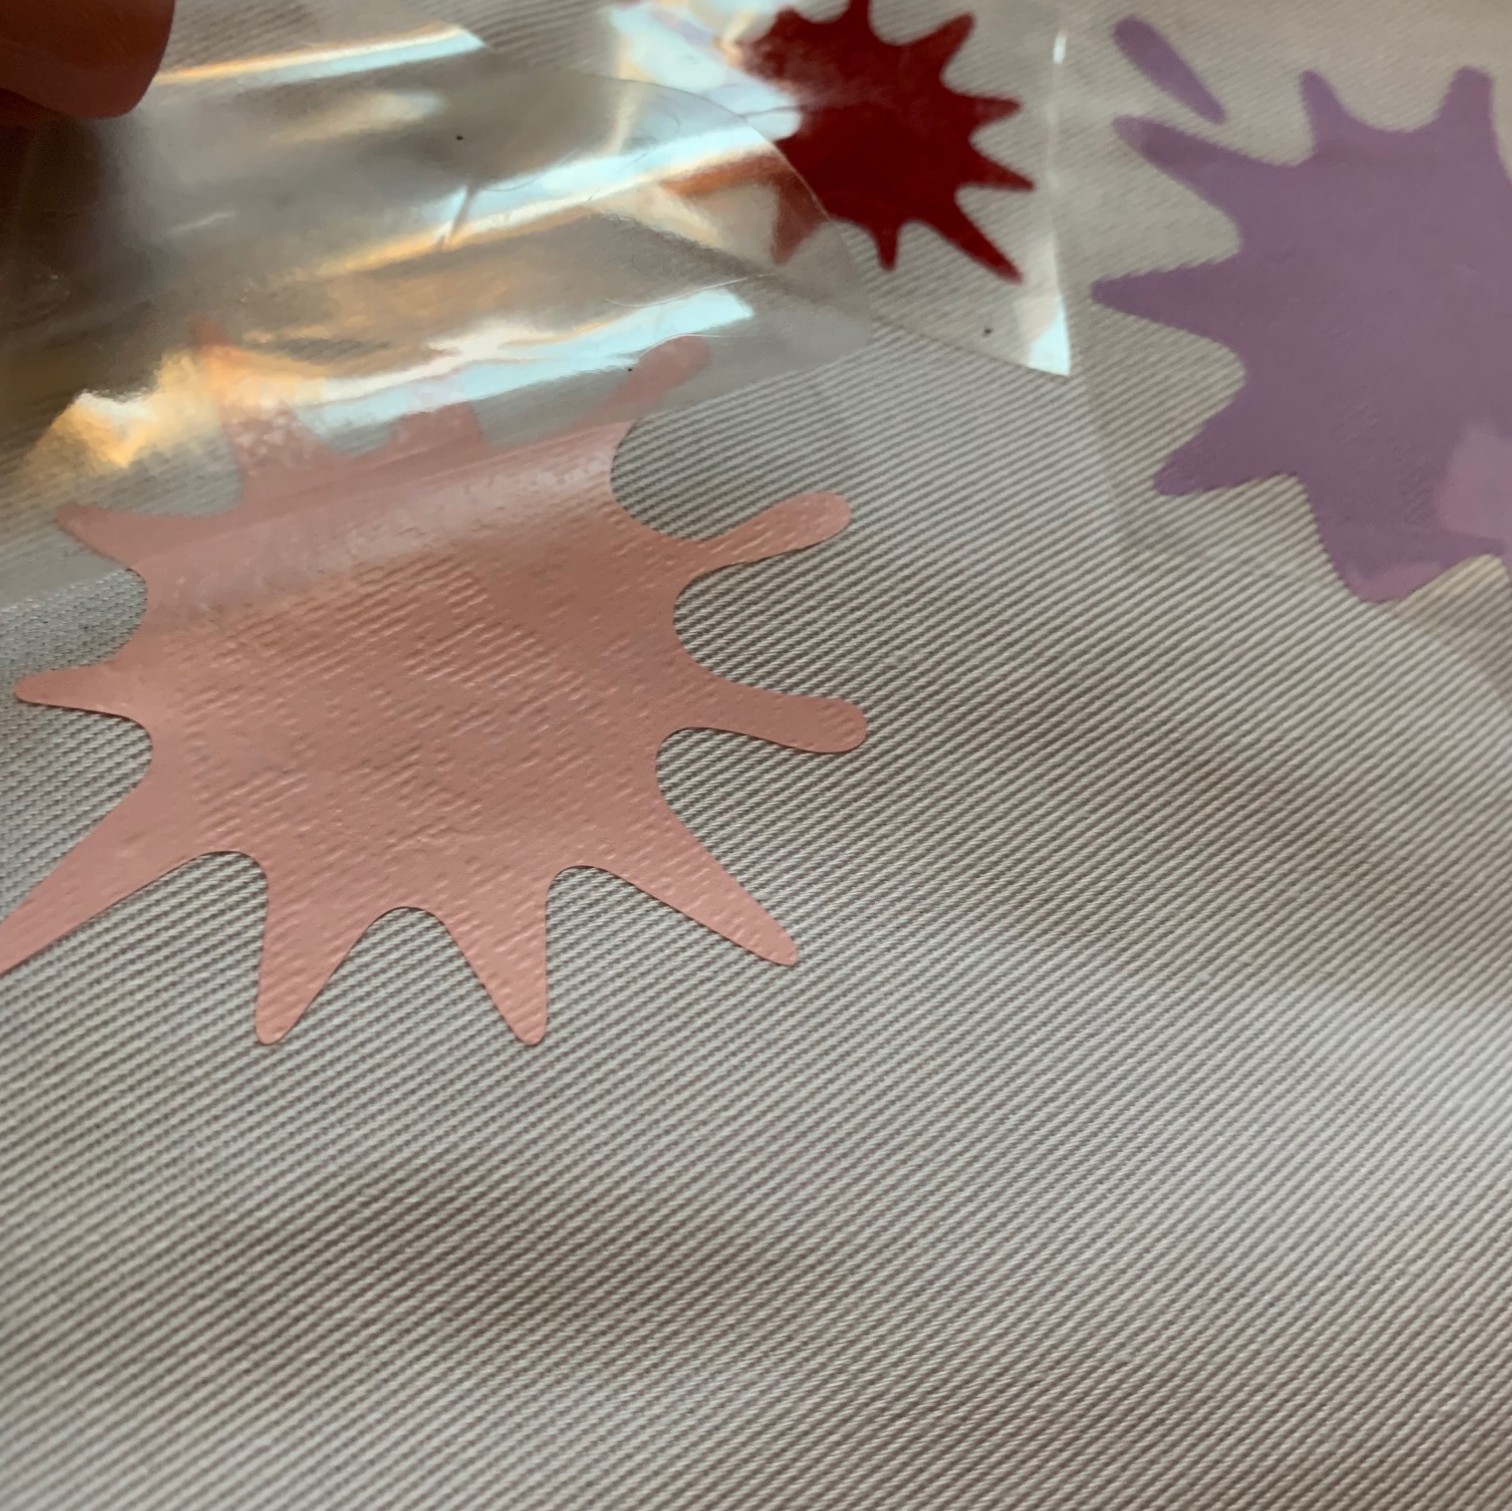
  5. Arrange where you want your HTV to go. Then take everything back off.IMG_5272
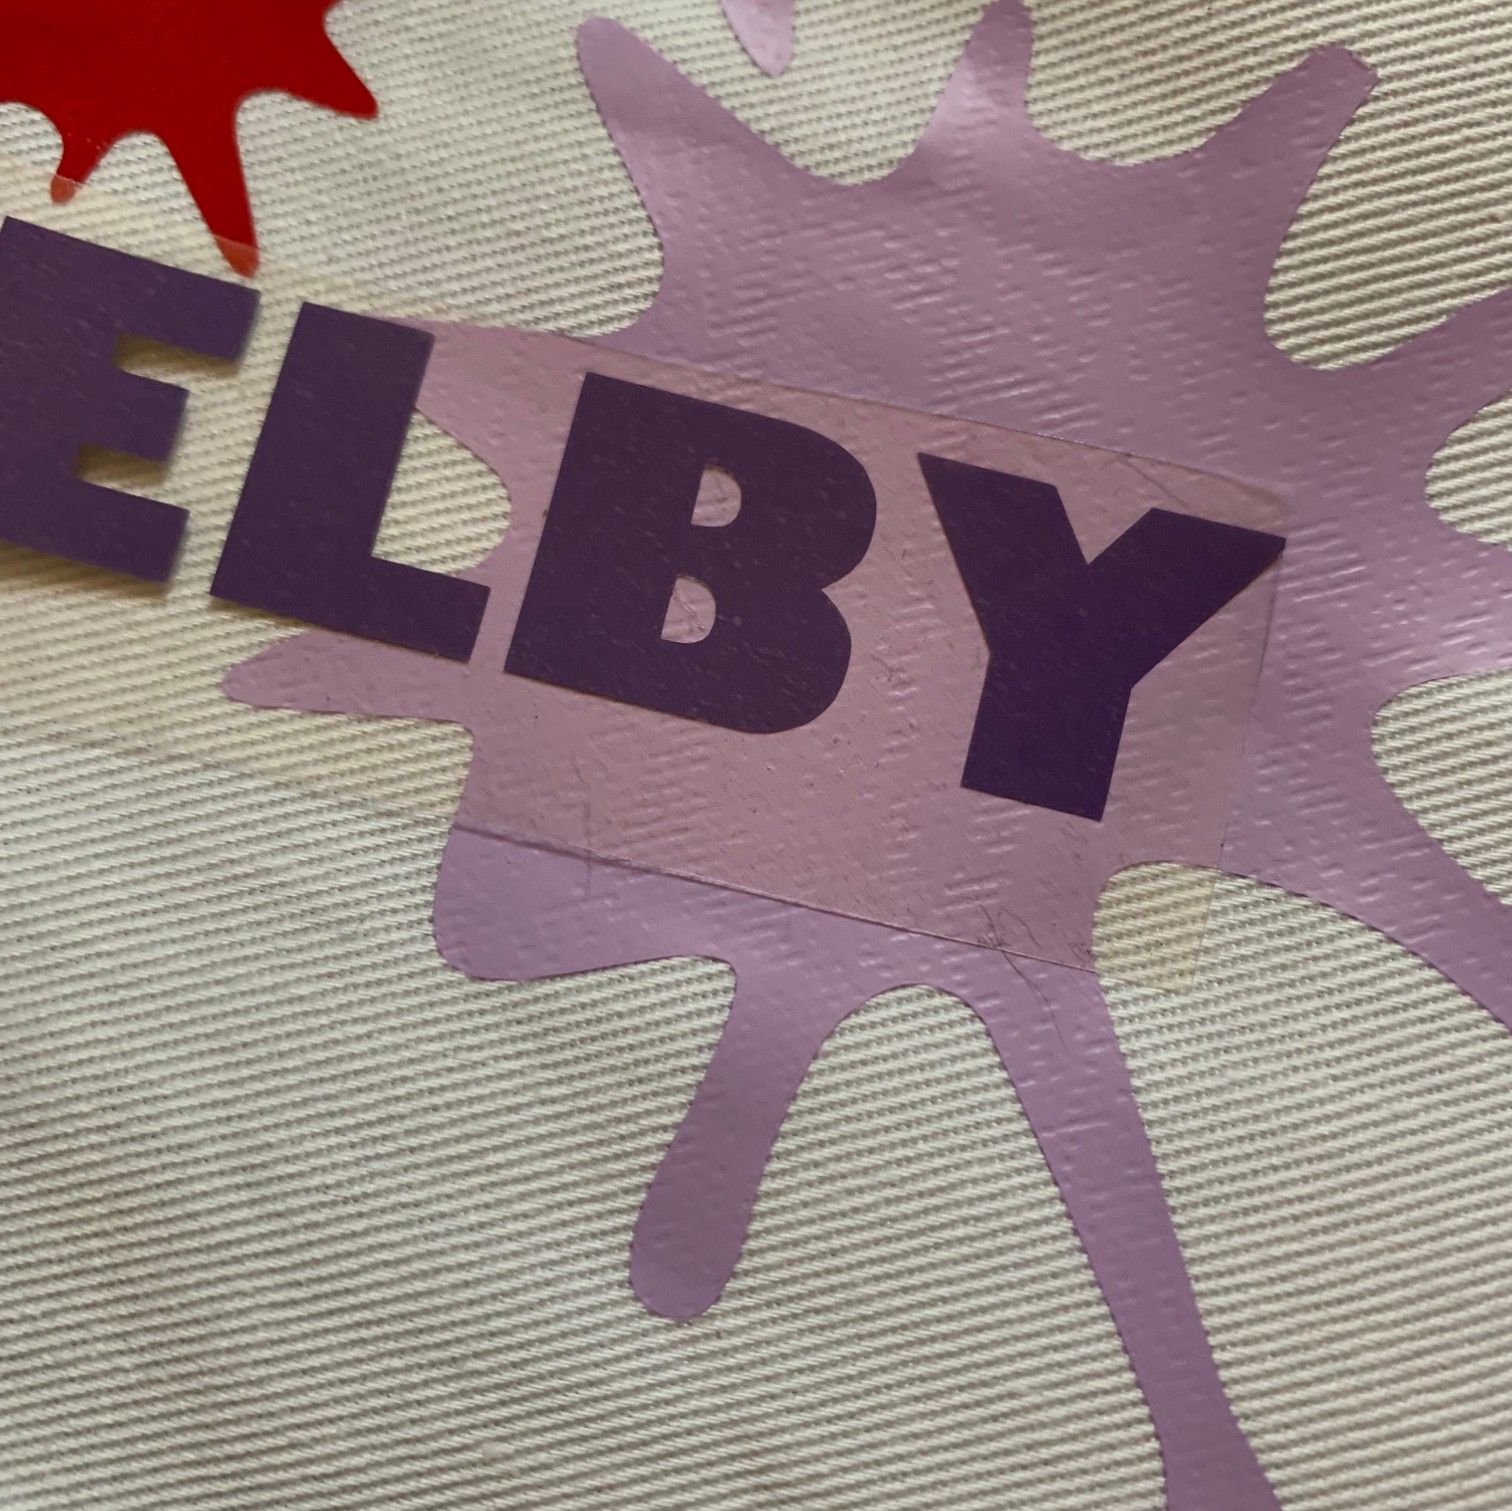
  6. Lay your first layer on the apron and press it with your heat press according to the instructions IMG_5274
  7. Repeat the steps until you are finished IMG_5273
  8. Admire your results IMG_5277 (1)

Have you personalized something recently? Send us a photo! Just tag us on facebook or instagram at @proworldinc

View & Add Comments

Stock Heat Transfers at Pro World

Did you know that Pro World carries thousands of Heat Transfers for you to choose from? And that now through Monday we are running a SALE so that you can stock up and save? 

1904-10offstocktransfers-social

To prepare you for your soon to be heat transfer order here are a few questions that we often receive.

What is a Heat Transfer? A heat transfer is a pre-designed image that can be pressed onto your garment with high heat temperatures.

What do you need to work with a Heat Transfer? All you need is the Heat Transfer, a heat press, and your garment!

How do you apply a heat transfer?

  1. Lay the heat transfer on your garment
  2. Press it with your heat press according to the instructions listed on our website
  3. Peel the backing paper off of your design
  4. Admire your results!  

What types of heat transfers do you carry? When it comes to heat transfer designs we carry them for both adults and children so it is important to check the dimensions of the transfer. The heat transfers also come in a variety of media types from screen printed, to sequins, solar transfer, to rhinestones.

Where can I find your heat transfers? Head to our website we have them categorized by different categories. From sports to weddings to funny to children. 

Do you run any sales for heat transfers? Now through Monday 7/22, we are giving you $20 OFF of your heat transfer order of $79 or more! Take advantage of the sale and stock up!

1904-10offstocktransfers-social


View & Add Comments

How To Use EasySubli with Video

A few weeks ago we introduced to you EasySubli, which is the best of both worlds in sublimation and vinyl.

If you are familiar with sublimation, you know that typically you could only sublimate on light polyester or sublimation coated products. But now thanks to EasySubli you can print directly onto EasySubli vinyl and then heat press it on a variety of light or dark fabrics such as cotton, cotton/poly blend, tri-blends, rayon, wool.

We have been hard at work producing videos to show you what it is, how to use it, and neat features for you to try out. You can view them by scrolling below or checking our YouTube page for more information!

3

Introduction To Siser EasySubli

See How To Contour Cut EasySubli!

Using Sublijet HD Inks With EasySubli

View & Add Comments

Vinul Cutter SALE

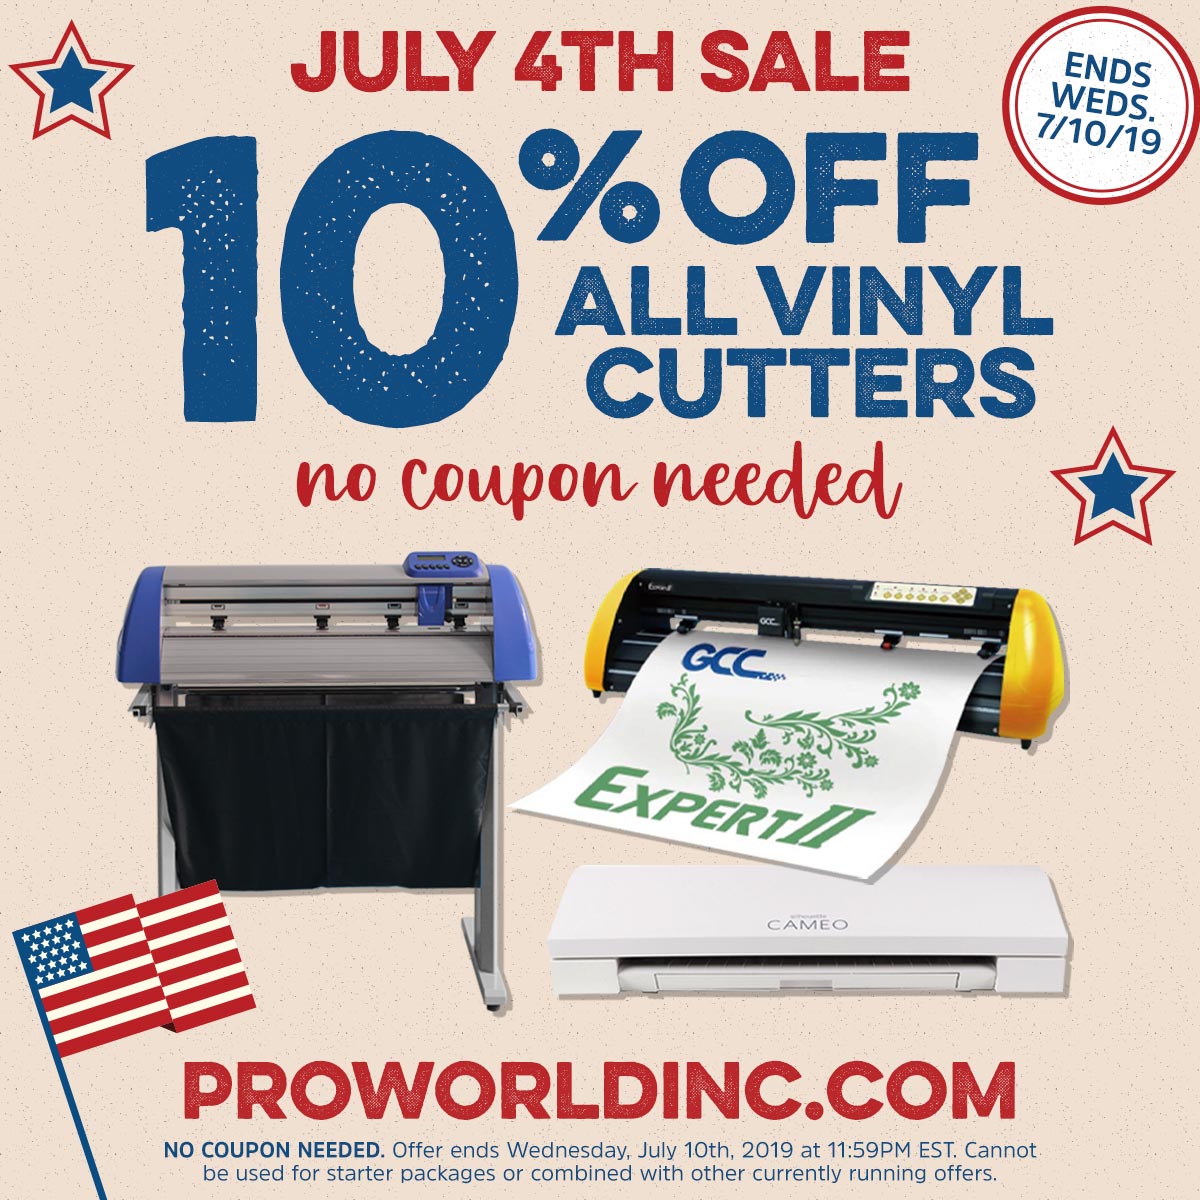
Have you been thinking about getting a new cutting machine? Now is the time to buy because we are giving you 10% OFF from now until July 10th!
1907-10offcutters-social

Which cutter should you buy? Well, considering we have over 20+ different types we thought it may be helpful to point out a few of the different options for you!

If you are looking for a Beginner Cutter you should consider the following:

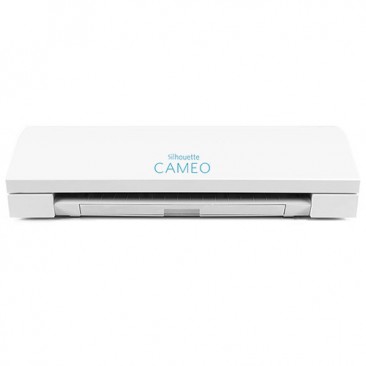
The Silhouette Cameo 3 is perfect for beginners and anyone looking to cut vinyl as  a hobby. It has the shortest learning curve with easy to use software.
cameo 3

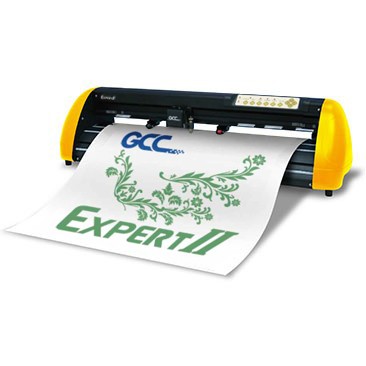
Another cutter you may consider using is the GCC Vinyl Cutter lI which is considered our premier beginner cutting machine because of it’s optimum speed, superior quality, and solid reliability.
gcc li

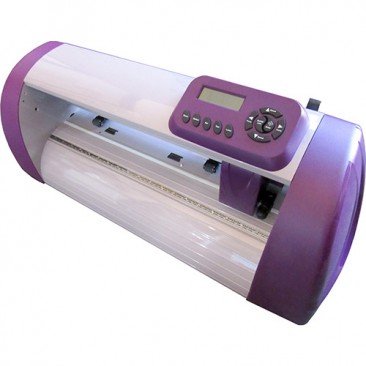
We also have the Galaxy Elite 15″, which is perfect for a mid-range professional wanting wanting to sell custom products. This reliable desktop cutter includes Dragon Cut Basic software and offers contour cutting abilities.
galaxy 15

Looking for more Professional / Advanced Cutter?  Here are two options to consider:

The Galaxy Pro 24″ offers a servo motor for quick and quiet cutting capabilities. This version includes a laser alignment system for registering your vinyl to the cutter for performing contour cutting. A stand, media basket and Dragon Cut Basic are also included.

If you are looking for something a bit larger but still fairly easy to use check out the GCC Cutter Expert Lx 52″. It will let you cut up to 52″ wide!
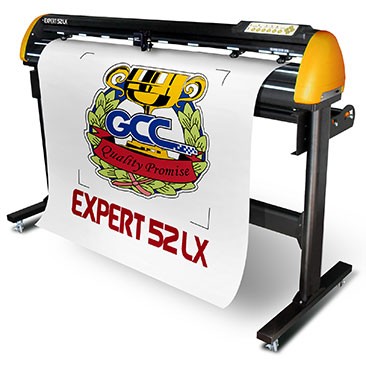
gcc 52


If you need a cutter to keep up with the demands of your professional cutting business you should consider upgrading to one of these cutters:

If speed is important, than the GCC Vinyl Cutter Rx II 40″ is for you! It cuts 60 inches per second! You’ll be able to get through your large orders fast with a speed like that!
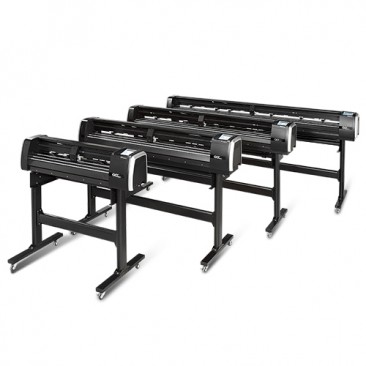
cutters-supremacy01_1

Another great option is the GCC Vinyl Cutter Jaguar V Lx 72“. Not only does it cut 72” wide but each pinch roller can be positioned and operated individually, widening the Jaguar cutting plotter’s range. A stand and media basket are also included, which will keep your vinyl off the floor and clean of debris.
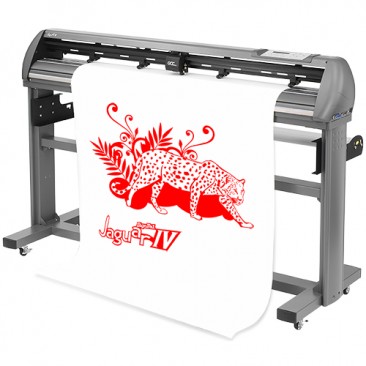
cutters-jag02_3

Still, don’t see what you are looking for? No problem! We have over 20 cutters for you. Check them out on our website or contact us and we can help assist you.


View & Add Comments
Working with Vinyl: Tips & Tricks

Here at Pro World we have customers at all cutting levels, but regardless if you are new to custom goods or a seasoned pro it’s always good to learn a new trick or two. So for today’s blog post we’ve compiled some of our favorite tips and tricks when working with vinyl!

working with vinyl

What’s, What?

When you save your vinyl scraps it can get confusing as to what vinyl is used for what type of application. Here are a few tricks to know what’s, what!

  • HTV has a shiny plastic top so you cut the back, adhesive vinyl has a paper on the back so you cut the front.
  • Need to tell the difference between your EasyPSV adhesive vinyl? Grey grids mean permanent, mint grids mean temporary!
  • Oracal Adhesive vinyl usually has a number on the backing which helps tell it apart. Here’s what the numbers mean: Oracal 651 is shiny and permanent, Oracal 641 is matte and permanent, Oracal 631 is matte and semi-permanent

Cutting Tricks!

  • Always test cut your design to make sure that it is cutting as it should!
  • Place a rectangle around your image before cutting to help you weed your design.
  • If you have an intricate design slow down the cutting speed.
  • When cutting multiple vinyl colors on your silhouette machine you can make cutting easier by cutting by color fill.
  • Want to cut multiple images of the same design with your Silhouette? Use the fill page button

Application Tips

  • When layering adhesive vinyl use guides to help line up where the vinyl goes. You can do this by adding small rectangles to the outside of your project. Line up the rectangles and your image is as it should be.
  • Occasionally the adhesive vinyl won’t stick to a surface because of the way that it was treated. You can usually make it stick by spraying an adhesive spray onto the hard surface.
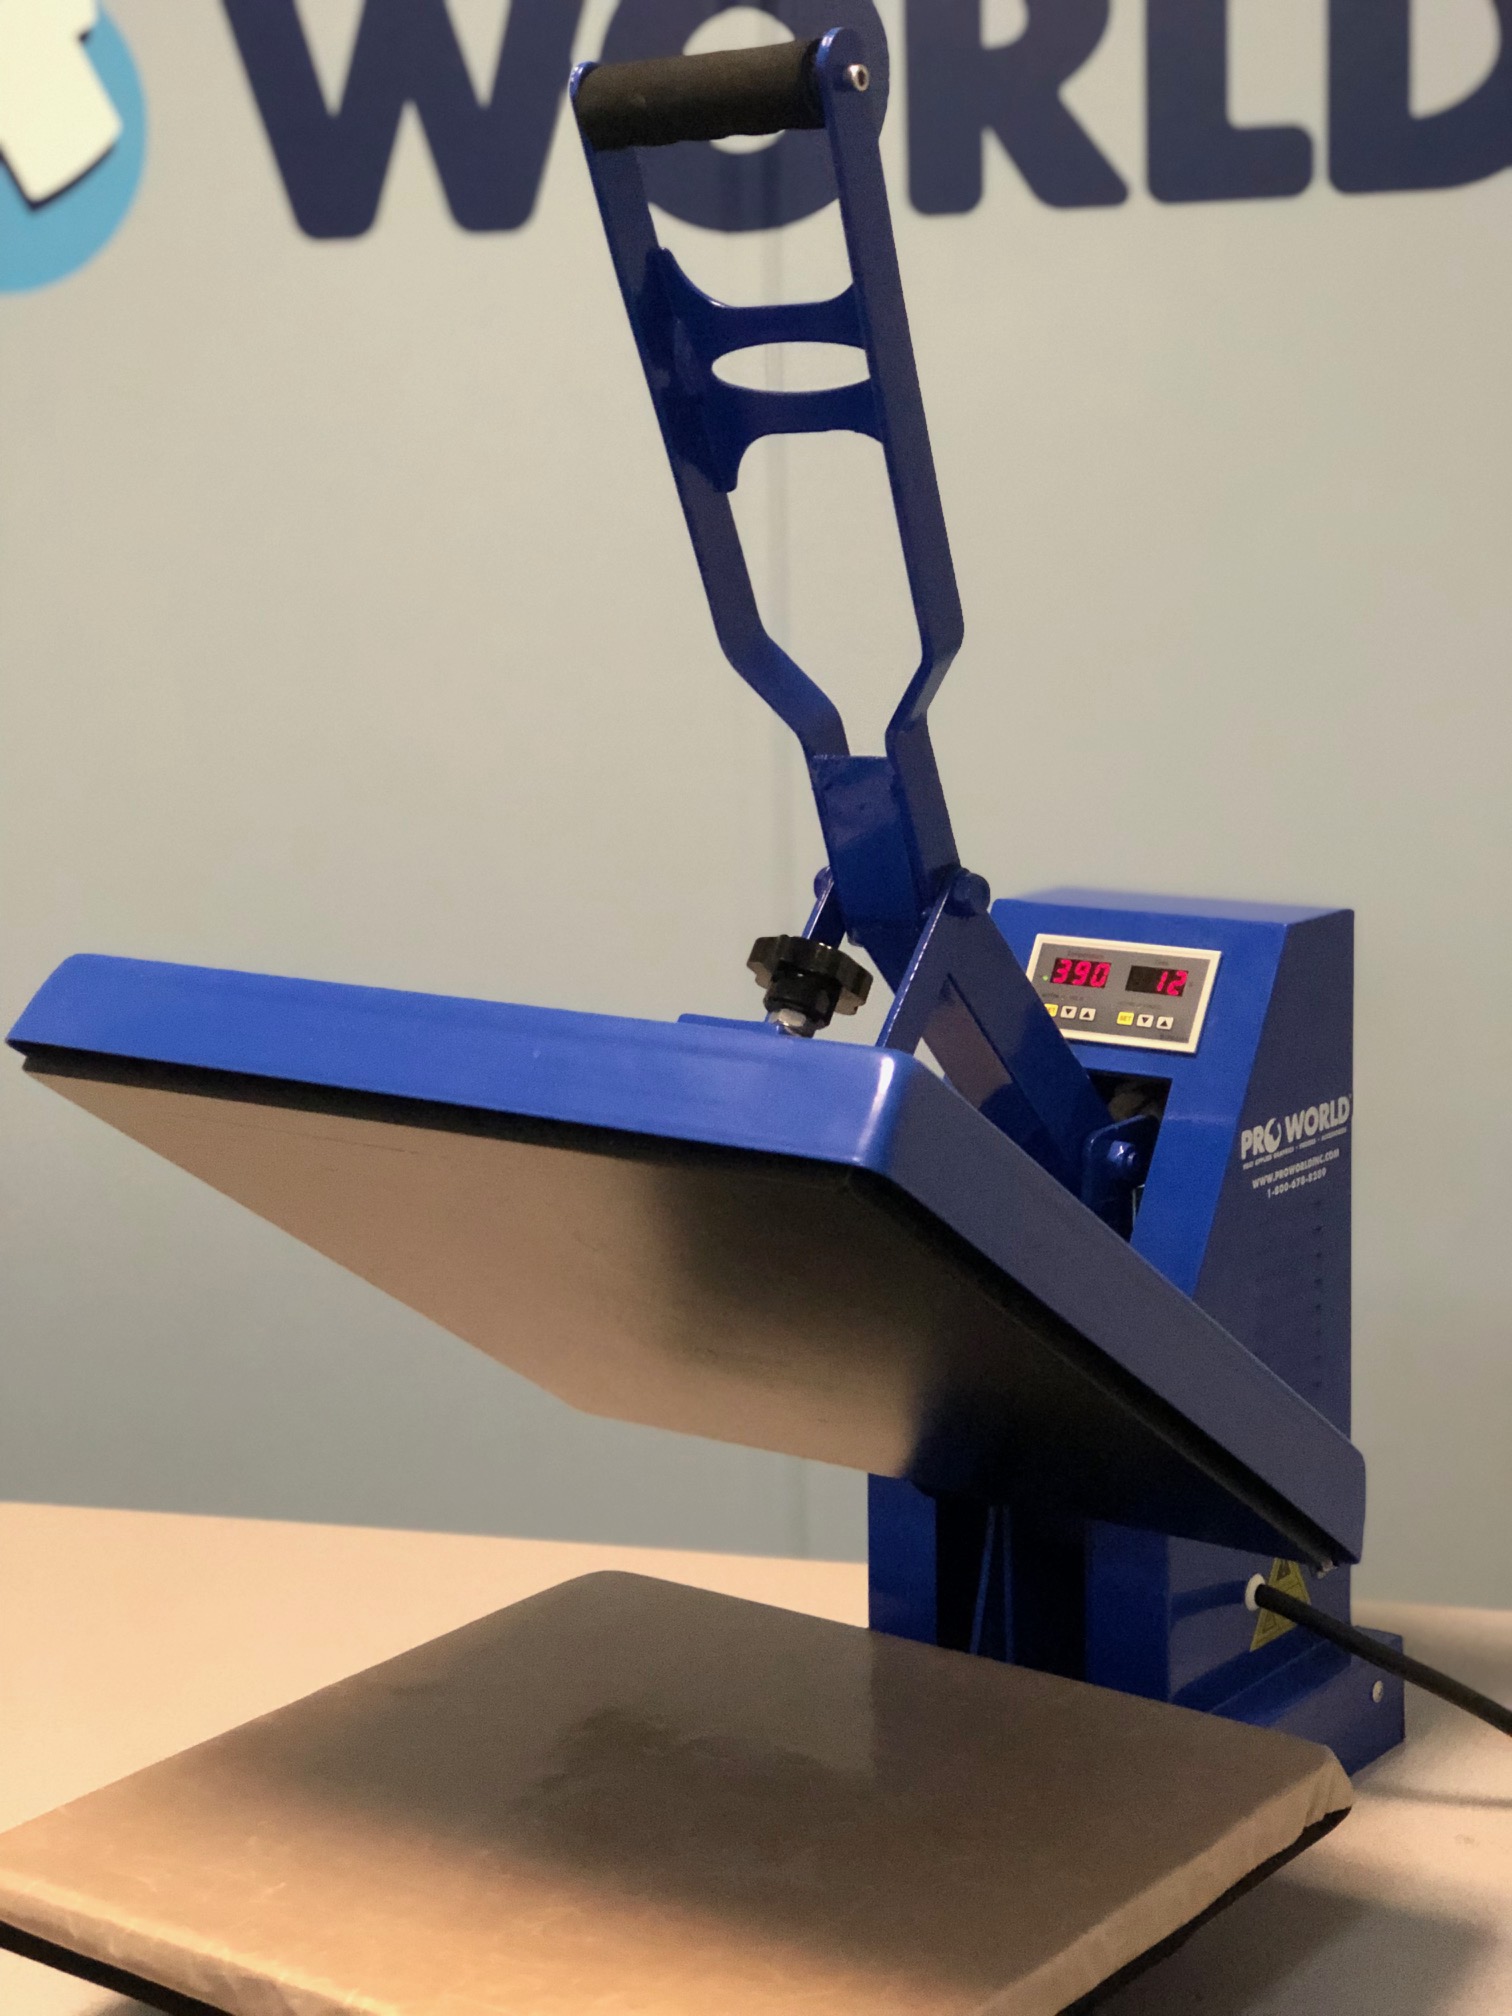
  • Use a pressing pillow for HTV for an even pressing area.
  • Combine heat transfers and HTV for a luxury result

Do you have a vinyl tip that we didn’t list? TELL US! Tag us on Facebook or Instagram so that we can add it to our list!

View & Add Comments

Heat Press Deals

Are you ready to take your craft business to the next level? Stock up and SAVE BIG!

We are now offering HUGE savings on our TransPro® heat presses!

transpro heat press

Purchase at least $399 of stock heat transfers, heat transfer paper, heat transfer vinyl, sublimation paper, sublimation printable blanks, and Silhouette products (excluding cutters). And you can get the…

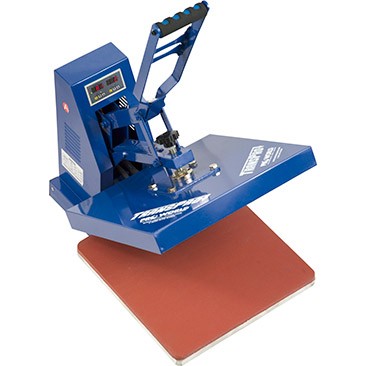
TransPro 15 x 15 for $99 ( retails for $329)

heat press

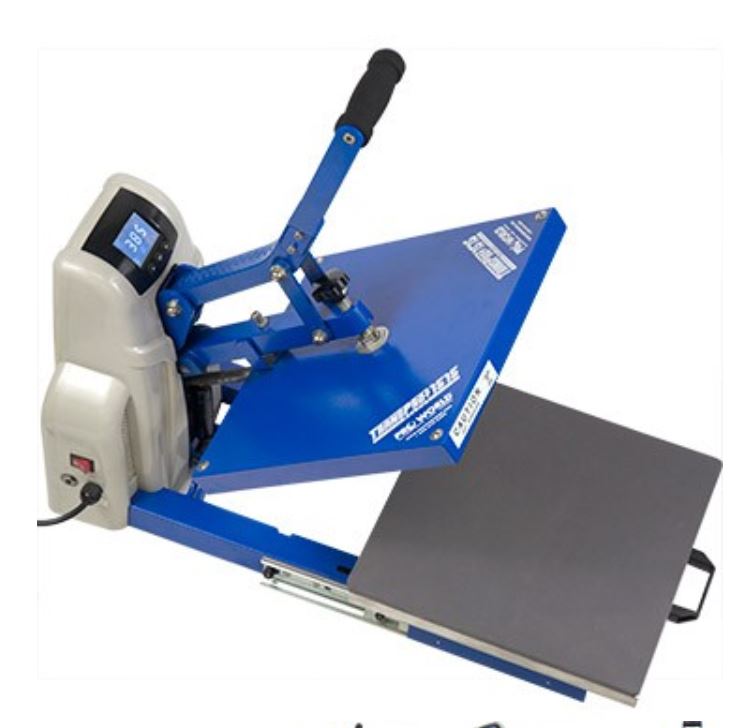
TransPro Select Semi Auto 15 x 15 for $259 (retails for $459)

transpro with pul out

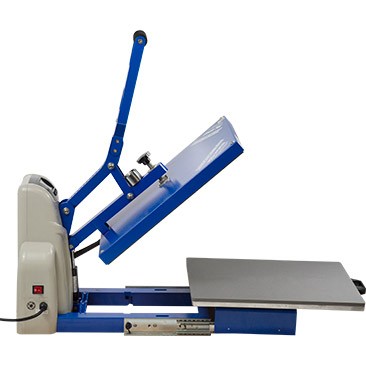
TransPro Select Semi Auto 16 x 20 for $399 (retails for $649)

16x20

OR if you prefer to purchase $399 in CUSTOM Heat Transfers from pwcustom.com (not including freight and miscellaneous charges) on a single order. You can get the TransPro 15 x 15 for $229. To take advantage of this deal you will get an email approximately 24 hours after placing your order you will receive an email with instructions on how to redeem your heat press for $229.

Need help figuring out what heat press is best for you? Contact us! We are happy to help you decide.

heat press deal

View & Add Comments

New Product at Pro World: EasySubli

What is EasySubli?

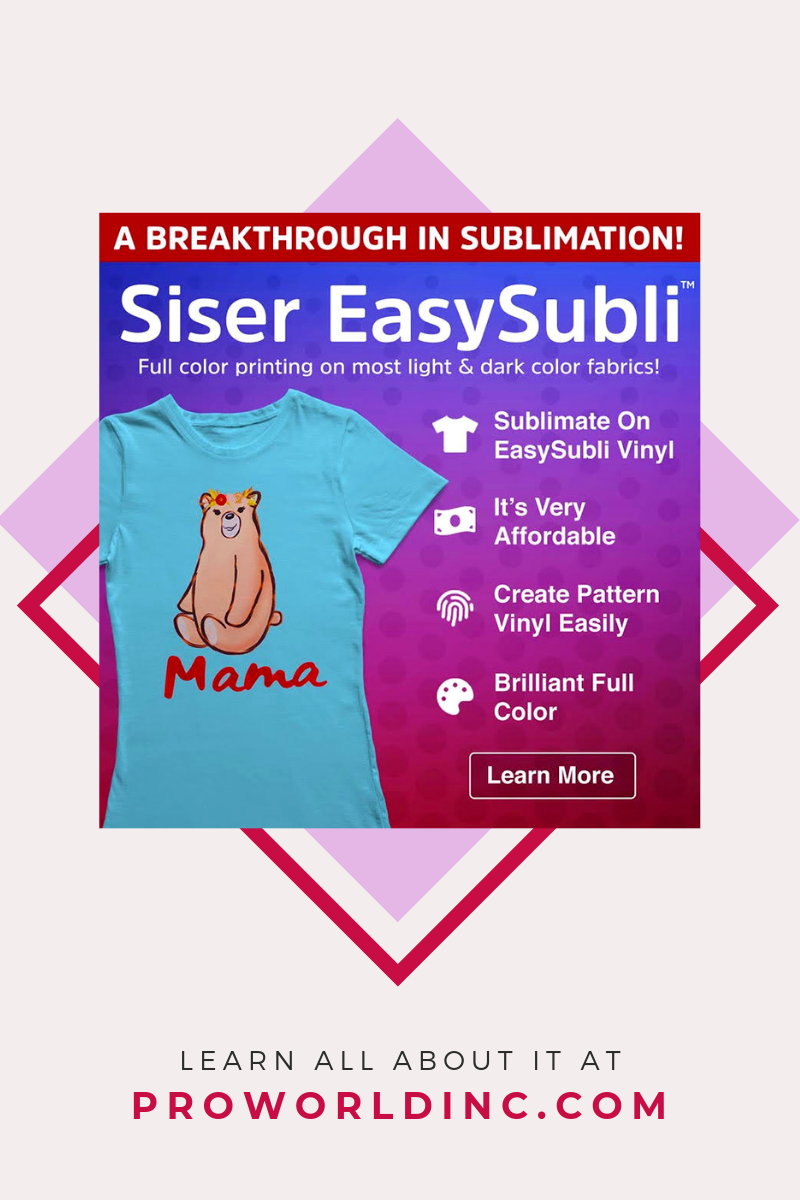
EasySubli is the best of both worlds in sublimation and vinyl. Unlike traditional sublimation which is limited to printing on white polyester material, you can now print directly onto EasySubli vinyl and heat press it on a variety of fabrics and colors such as cotton, cotton/poly blend, tri-blends, rayon, wool and more.

easysubli learn all about it

What is the benefit of EasySubli?

  • Sublimate on most fabrics
  • It’s affordable
  • Create patterned vinyl easily
  • Full-color possibilities

easysubli

How can you buy it?

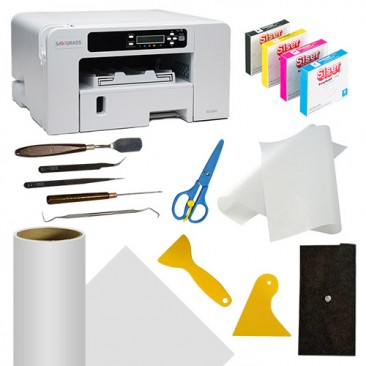
Here at Pro World you can buy it by the Sheet, by the Yard, or in a Starter Package!

If you’ve shopped with us before you know how we love to help you save money by bundling our products which is why we’ve created TWO New Starter Packages!

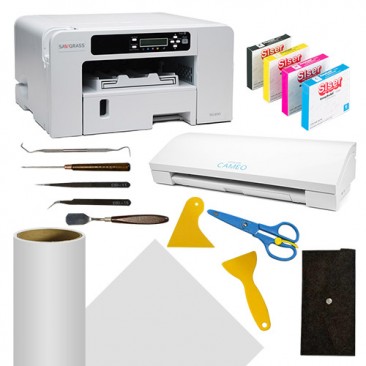
EasySubli and Silhouette Starter Package

easysubli silhouette

EasySubli Starter Package

easysubli

Want to see it in action? Watch our recent Facebook Live!

View & Add Comments

How To Heat Press Bumps & Bulk

Applying transfers, sublimation and HTV to a garment is simple with a heat press. As long as you know how to position your garment.

how to press

When you have a garment with buttons, zippers, pockets, or bulky seams, it can be challenging to position your garment flat on the heat press platen, which is why you would thread the garment. Threading means you put the bottom platen between the shirt so that just one layer of fabric is on the press instead of laying the garment down flat. Doing so helps you create a smooth surface to apply your design!

Want to see threading in action? Watch our past Facebook Live.

Another option besides threading is using a pressing pillow or a perfect pad.

When you use a pressing pillow you insert the pillow into the garment, so that the bulky obstacles sinks into the pillow (for instance a zipper won’t stick out causing printing issues) and eliminate the pressure points creating a smooth area.
Sof-fusion pressing pillows
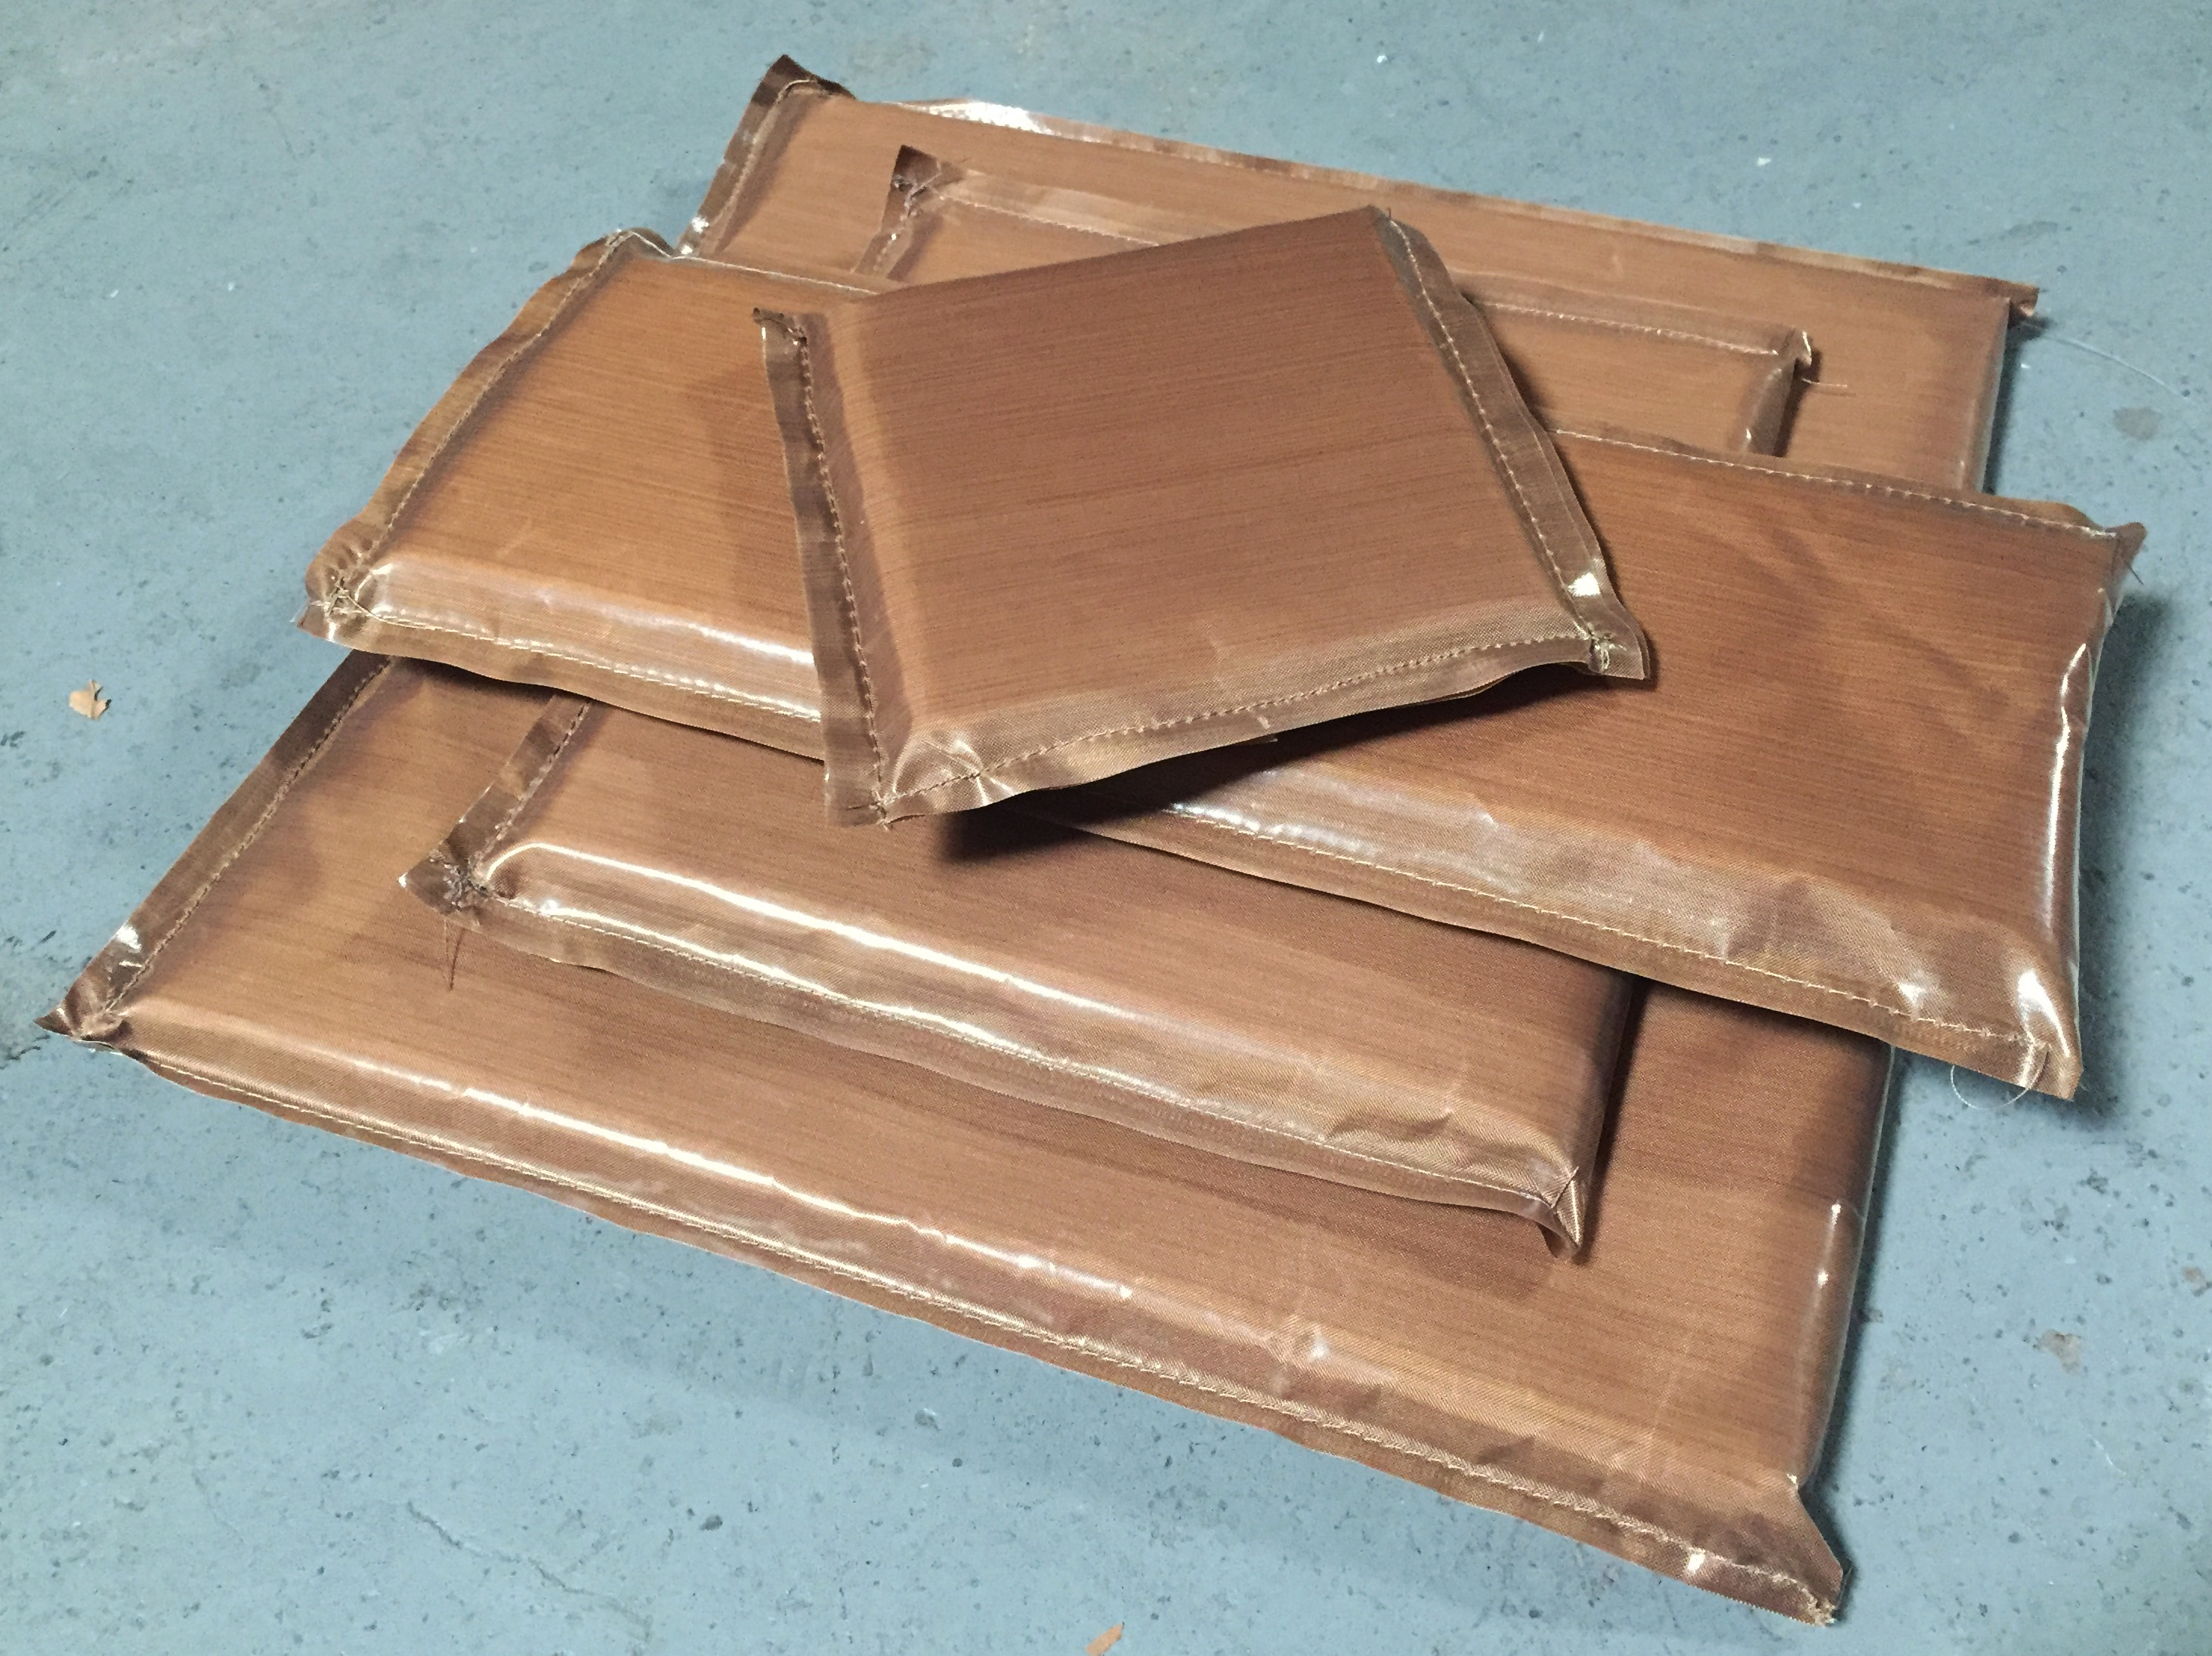
Whereas when you use a Perfect Pad it raises the printing area to work around the bulky elements. When using the pad it should be inserted directly under the area where the design will go, and not under any zippers, buttons, seams or anything creating an uneven surface because the Perfect Pads purpose is to maintain even pressure.


Now that you know how to press bumps and bulk what are you going to press?

View & Add Comments