Facebook Live Video Roundup

Did you know that every Friday at 12:15PM EST we go Live on our Facebook page? It’s true! You get to see behind the scenes of our office, get to know our team and see our product put to use as we answer questions on the spot!

Do you have something that you would like to see demonstrated? Let us know! By heading over to our Facebook page and leaving us a note on our wall.
facebooklive-instagram

Here are a few of our best Facebook Lives for you to replay. But don’t forget to mark your calendar for this Friday at 12:15PM EST and every Friday after that!

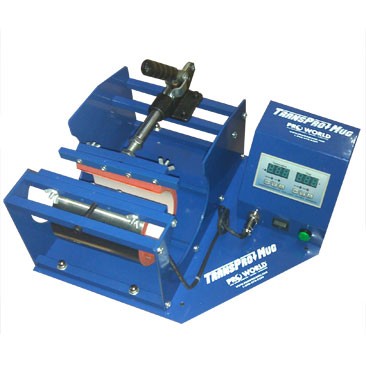
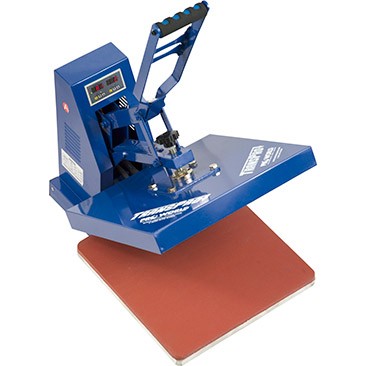
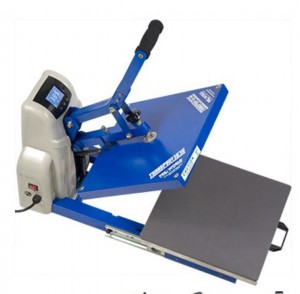
Do you want to get to know your vacuum press? Watch this video!!

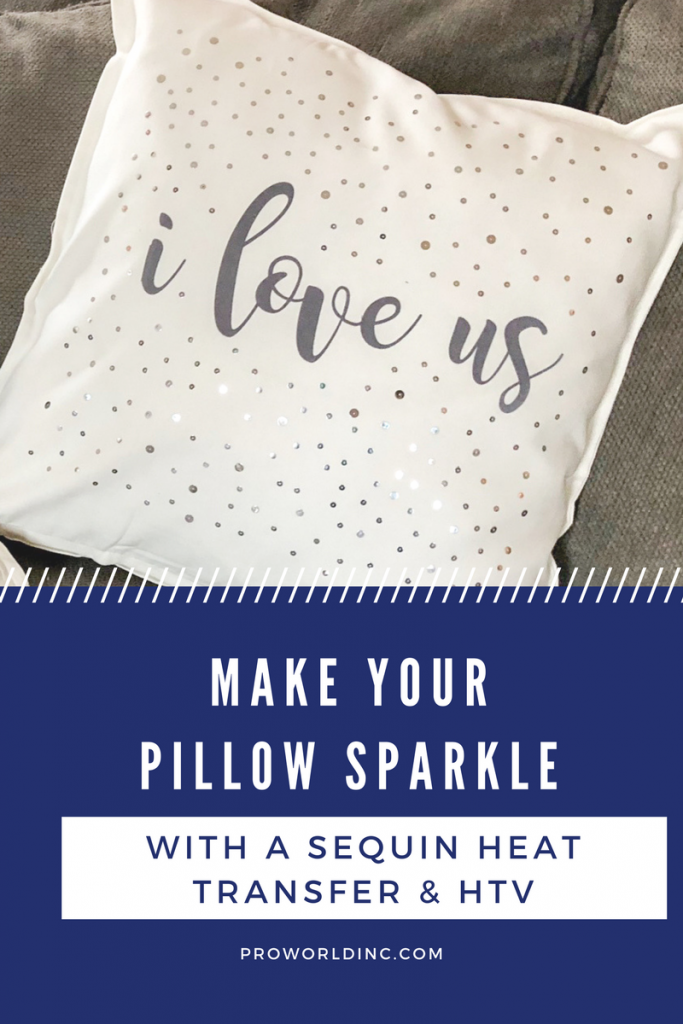
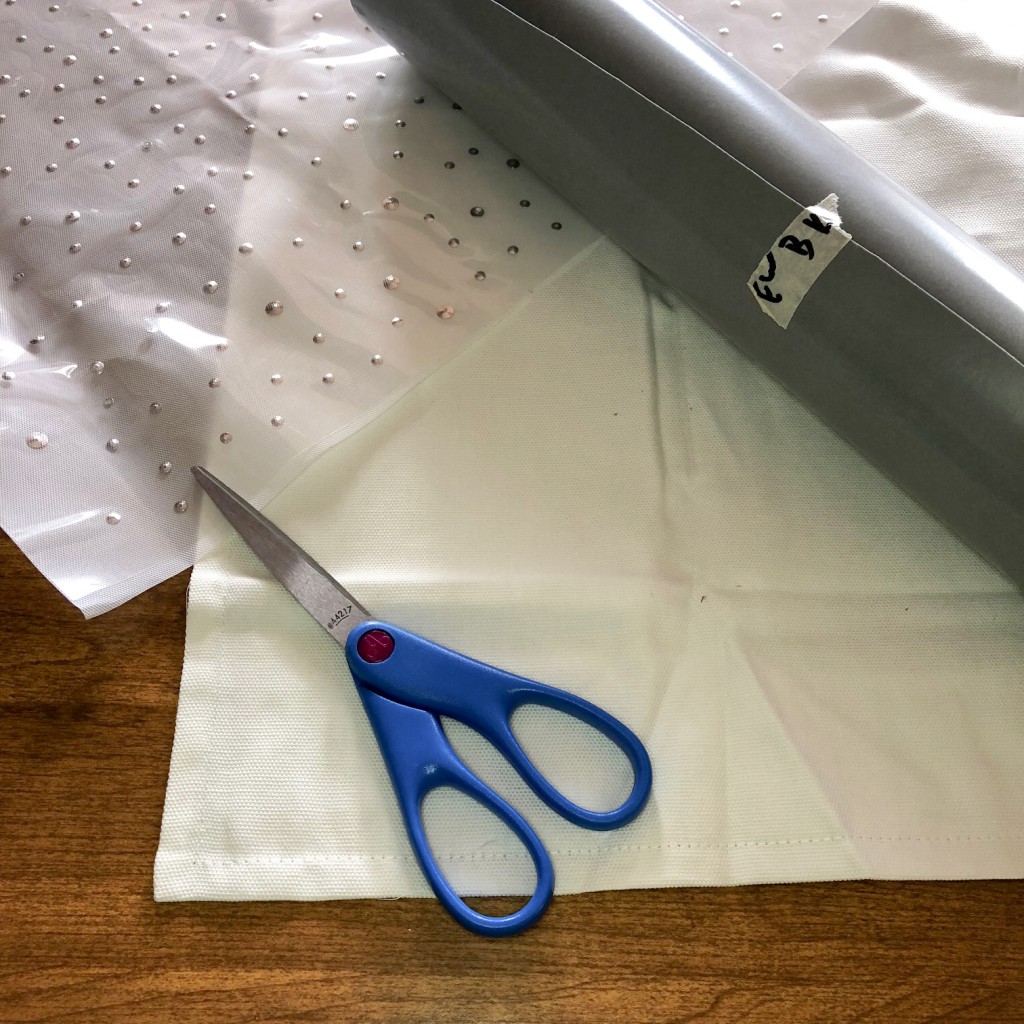
Pressing pillows are an important accessory when pressing certain materials! Learn when and how to use them here.

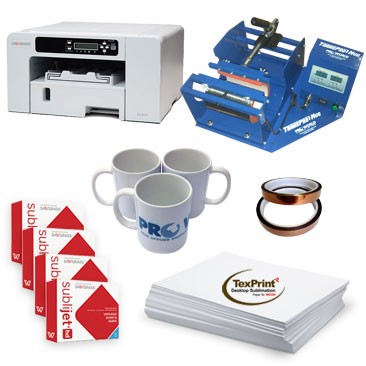
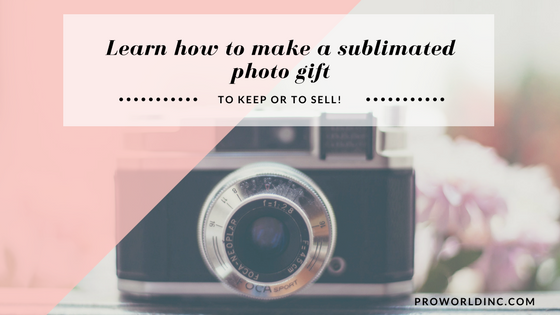
Do you have sublimation questions? We have sublimation answers!!

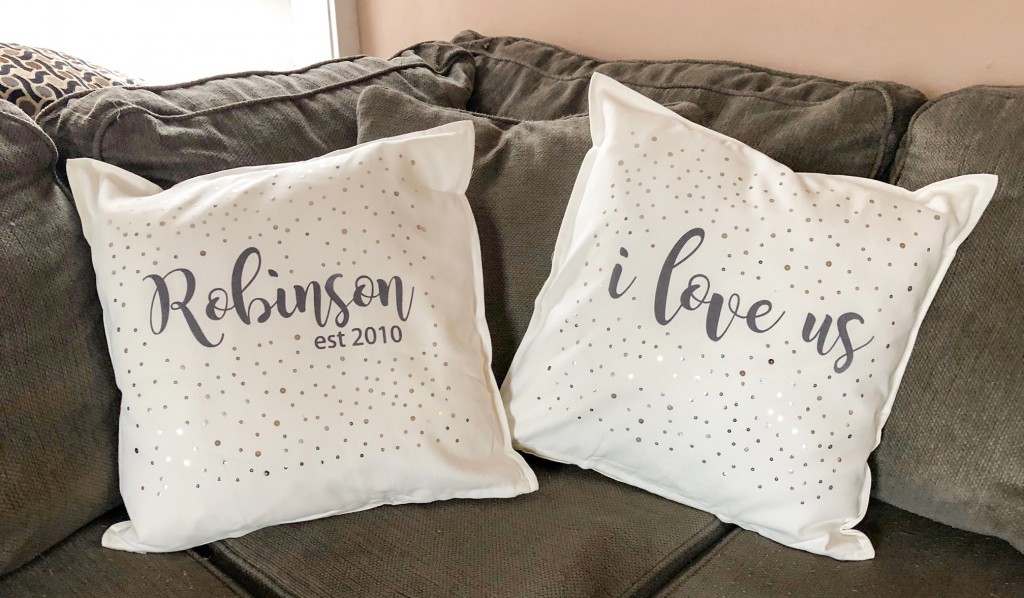
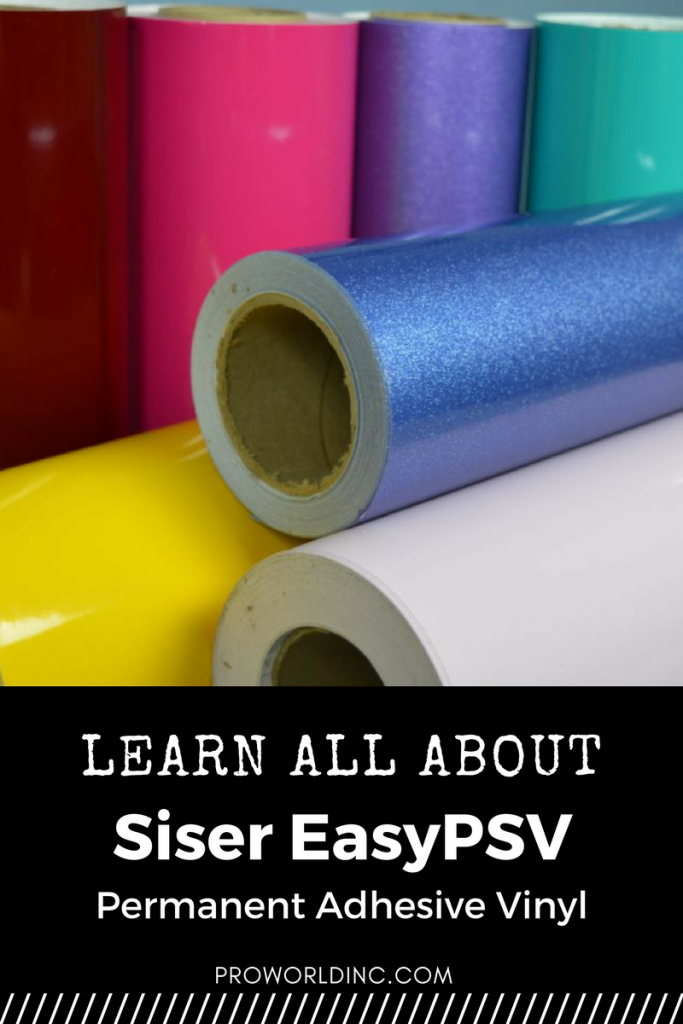
Watch as Melissa from Silhouette School shows us how to use foil with adhesive vinyl.

Which Facebook Live is your favorite?

View & Add Comments

Personalized Baseball Ideas to Make This Spring

Knock your sales out of the park this spring with personalized baseball and softball products! We have an extensive list of supplies that allow for you to create anything you can imagine.

baseball ideas (1)

From heat transfers, heat transfer vinyl, adhesive vinyl and even sublimation there is something for everyone. Need some ideas to get you started? Here are a few!

You can create batting helmet labels from adhesive vinyl, so that the team can tell each other apart.

DSC04772 (2)

Let the fans show their love of the game with shirts made from HTV or heat transfers.

IMG_3229-e1461730984340Our baseball and softball heat transfers come in screen print, rhinestone and even studs!

collage

You can personalize team jerseys with heat transfer vinyl.

neonbrand-423339-unsplash (1)

You can even sublimate your own baseball awards!

5680_homeplateplaque_mvp_hr

Bag Tags

17240007_908974129206338_6692576880790671914_o

Photo From Finnegan and the Hughes!

Need more ideas? Try personalizing bat bags, bat racks, water bottles (with vinyl or sublimation).  Hats and visors are great to customize as well.

View & Add Comments

Mug Press Round Up: Which mug press is best for you?

Do you want to decorate mugs and water bottles but don’t know where to start? Today’s post is going to help! Below you will find an overview of our different mug presses and videos on how to use them!

MUG PRESS ROUND UP (1)

1 – The TransPro Mug Heat Press – MP996 accommodates 11 oz mug, 15 oz mugs, and water bottles. It offers a digital timer and temperature control. And allows for easy pressure adjustment.

mp996 mug press

2 – The TransPro 3 in 1 Mug Heat Press – MGP6051 Is a 3-in-1 mug press which means you no longer have to buy separate heating elements or mug presses in order to press different drinkware. This mug press includes heating elements for 11 oz and 15 oz mugs, 12 oz latte mugs, large tumbler / travel mugs, and water bottles making mug printing a cinch!

mpg6051-5 mug press

3- Digital Knight Mug Heat Press – The DK3  is fully adjustable, accommodating all mugs available on the market. It offers a 5″ tall pressing area, which means it can press 11 oz, 15 oz, 16 oz mugs, steins and stainless steel travel mugs. The DK3 has a digital temperature, time and programmable presets, along with other helpful features to make pressing a mug easy.

dk3_1 mug press

4 – Are you brand new to custom work? Check out our Mug Starter Pack. It comes with everything you need to launch your business. It comes with:

bun03-mug-starter3 mug press

Want to see HOW you can use a mug press to decorate mugs and water bottles? View our videos below!

Use your mug press to sublimate a water bottle. Watch how:

Watch the different ways that you can decorate a mug:

Decorate a latte mug:

Have more questions? We have answers! Contact us through our website and we are happy to help you select the best heat press to suit your needs!

View & Add Comments

Sublimate Mermaid Scales

Iridescent color changing mermaid scales are one of the hottest trends right now. From pillows to apparel to accessories, you can buy mermaid scales on just about everything. But did you now that you can sublimate the white ones? It’s true! So now when you run your hand over the mermaid scales and watch their color change before your eyes, you will also find a sublimated message. Want to make one for yourself? It’s easy!

sublimate mermaid scale

You Need:

To customize your mermaid scale you:

1 – Open your design software. We used Creative Studio.

2- Choose a Blank Template and design your piece!

mermaid text

3- Print.

IMG_3444

4 – Cut your paper down to size and tape it to your accessory so that it does not slide. Press it at 400 degrees, and hold for about a minute. Peel hot.

IMG_3449

5- Admire your work!

View & Add Comments

St. Patrick’s Day Inspiration

You don’t need luck to bring you to the end of the rainbow this Saint Patrick’s Day. You just need a few supplies to fill your own pot of gold! You’ll find everything that you need here at Pro World.  Do you need some inspiration? Read below!

St. Patrick Day

You can take a plain beer mug and turn it into the perfect St. Patty’s drinking vessel with a little adhesive vinyl.

st. patty's day

Or make sublimated shot glasses

IMG_0683

Or sublimated koozies

IMG_3280

You can even make and sell shirts for the whole family from vinyl, heat transfers or both!

IMG_3283

how to layer glittered heat transfer vinyl (2)

IMG_3275

IMG_3281

Want to see some of our favorite heat transfers? Check them out!

st s3

st 2  s4


View & Add Comments

Make Your Project Sparkle: Combine a Sequin Heat Transfer with HTV

Want to add sequins to your next vinyl project?

Today we are going to show you how to make your project sparkle by using a sequin Heat Transfer with Heat Transfer Vinyl. By combing the two products, you can add sequins in one simple step!

combine heat transfers & HTV (1)

Want to make your own? You Need:

htv

1 – Design your cut file, flip your file horizontally, change your cut settings, insert your vinyl & click cut.

2 – Weed your design. ( we used Siser Strip Flock Heat Transfer Vinyl for a soft, 3-dimensional look)

stripflock htv
3 – Pre-heat your heat press.

4 – Now we need to trace your vinyl onto the back of your heat transfer. We did this by drawing a line around your HTV, which will make it easier to cut.

IMG_3148
5 – Carefully cut a hole in your heat transfer.

IMG_3149

6- Peel the backing off of your heat transfer and place it on your pillow case.

IMG_3150

7- Press and peel the Heat Transfer instructions.

8 – Now, place and press your heat transfer vinyl inside the blank space.

9 – Stuff your pillow and admire your work.

IMG_3156

View & Add Comments

5+ Things to Know About Heat Presses Before You Buy

Are you thinking about getting a heat press? That’s great news! Congratulations on wanting to take the next step. Heat presses are a wonderful way to scale your custom business. To help make your selection process a bit easier, we’ve compiled a list of important things for you to consider before you make your purchase. 

HEAT PRESS (1)There are 3 types of heat presses. You can choose a clam style which is an upward opening machine. 

heat press

a swing style, where the upper platen swings completely away, to the left or the right. 

mini

or a drawer style, where you pull the lower platen out towards you, like a drawer. Some of our TransPro Heat Presses have the clam style/pull out platen which is why it is one our best sellers. 

transpro with pul out

  • All heat presses are not created equal. The heat presses we sell are all equipped to handle plastisol ink transfers with a heavy pressure requirement, but not all heat presses on the market are created to allow for heavy pressure. For example, a heat press advertised as a sublimation heat press is designed for light pressure application and may not offer the heavy pressure setting needed.
  • When deciding on a good size for your heat press, you want to consider the transfer/design that you will be pressing – not the garment size. A 15×15 is considered a standard commercial size heat press, and you can press designs that are about 14×14. A 16×20 heat press offers more pressing area to work with, about 15×19. Any size shirt will fit on the bottom pad and either press can accommodate the different sizes.
  • Our heat presses cannot be connected to a computer to print designs. The heat press is designed to transfer already printed images.
  • The machine doesn’t come with one setting that will work for all items. The transfer, vinyl, or paper you are pressing will determine the settings – time, temperature and pressure.

Once you have the heat press here are a few secrets to using your heat press successfully:

  • Pressure is important. Make sure to have adequate pressure before applying the transfers. You should be able to close it comfortably with two hands and have some resistance when you lock the press.
  • Make sure to have an even surface for application. Zippers, seams, v-necks or pockets affect the transfers by not allowing for a smooth pressing area. Using pressing pillows or perfect pads will help fix this.
  • When a transfer fails, don’t press another transfer using the same settings. You may need to recheck the application instructions or modify the temperature or pressure on your heat press to ensure a better end product.
  • Heat presses take about 15-20 minutes on average to heat up to the desired temperature. This is similar to an oven.

Do you want to win a heat press for yourself?  Head to Instagram and enter our giveaway!valentine giveaway

View & Add Comments

Learn how to sublimate a photo gift

sublimated photoSublimation makes personalized gift giving easier than ever. It is a simple process that allows you to give a professional quality gift with your own design. We offer a number of items on our website that you can sublimate on for gift giving including rock slatesphoto frames, magnets, mousepads, mugs, coasters, jewelry, keychains, photo panels, cell phone cases, and even puzzles!

via GIPHY

Wat to create your own photo gift? Here’s what you need:

When it comes to sublimating it is simple. You start by:

  1. Designing your image or design.
  2. Mirror your image and send it to your sublimation printer.
  3. Turn on your heat press and set it to the proper temperature.
  4. Use your thermal tape to adhere your image to your sublimation product.
  5. Place a non-stick sheet or even a blank piece of paper on your heat press to catch any leaking.
  6. Place your item on top and then cover it with a non-stick sheet.
  7. Press your item per the instructions.
  8. Peel the item per the instructions.

If you want to see sublimation in action check out a couple of our Facebook Live videos. You can see us sublimate onto mousepads. 
Or even phone case panels

Have you sublimated any photo gifts recently? Share your creations with us on Instagram or Facebook.

View & Add Comments

Valentine’s Day Heat Transfers

There’s no better time to wear your heart on your sleeve (or shirt, tote, or pillow!) than Valentine’s Day!  And the easiest and fastest way to do it is with a heat transfer!

At Pro World you can find thousands of heat transfer options. They come in rhinestonesscreen printsmixed media and even embroidered options. And applying them is so easy! All you need is a heat transfer, a heat press, and your garment! Lay the heat transfer on your garment, press it with your heat press according to the instructions listed online, and peel the backing paper off of your design.  All it takes is 15 seconds!

Heat Transfers

Do you want to use a Heat Transfer for Valentine’s Day? We pulled together a few heart/love designs for you: 

Spell out love with a heart made of rhinestones:

heartrhine

Or spell it our in sequins:

love

Say it in another language:

amour

Paw prints make a happy heart:

paws

And flowers that say I love you:

flowers

When wine is your Valentine:

a4468e_2

Add some shine with these hearts:

sequins

Add some shimmer with a big sequin heart:

large

Want to see more? Head to our website. 

View & Add Comments

New Product Announcement: Siser EasyPSV Adhesive Vinyl

Did you hear the news? Pro World now carries Siser EasyPSV Adhesive Vinyl! But that’s not all. We were so excited during the product launch that we decided to reward our customers for purchasing Siser products! Here are the details:

siser program

Now you may be asking, what is Siser Easy PSV? It’s the latest adhesive vinyl to hit the market! It is available in Permanent, Permanent Glitter, Removable Chalkboard, Permanent Glow in the Dark, and Permanent Light Etch. See the product highlights below.

pro world

Siser EasyPSV Permanent Vinyl comes in 38 colors, and has a width of 12”. This outdoor rated adhesive vinyl is strong enough to survive the weather and UV conditions.

ps12
Siser EasyPSV Permanent Glitter Vinyl comes in 18 colors and has a width of 12”. Try it out on plastic, glass, ceramic, and more!

ps10

The Siser EasyPSV Removable Chalkboard Vinyl is perfect for creating a To Do list on your wall.

chalkboard

Do you want to create custom designs that will glow in the dark? The Siser EasyPSV Permanent Vinyl Glow in the Dark has a width of 13″ and look great during the day and at night!

glow

With Siser EasyPSV Permanent Vinyl Light Etch, you can put down that sandblaster! Now you can easily add a frosted look to your projects.

etch

To see the new Siser EasyPSV colors in person, check out our Facebook Live!

Don’t forget the Siser promotion is valid on any Siser order. So anytime you purchase over $59 you will get FREE US Shipping, double the reward points, and a $10 coupon with $99+ order *. So be sure to also order some Siser EasyWeed, Strip-Flock & Glitter!  

*Restrictions Apply see website for details.

View & Add Comments