Sublimated Personalized Jewelry

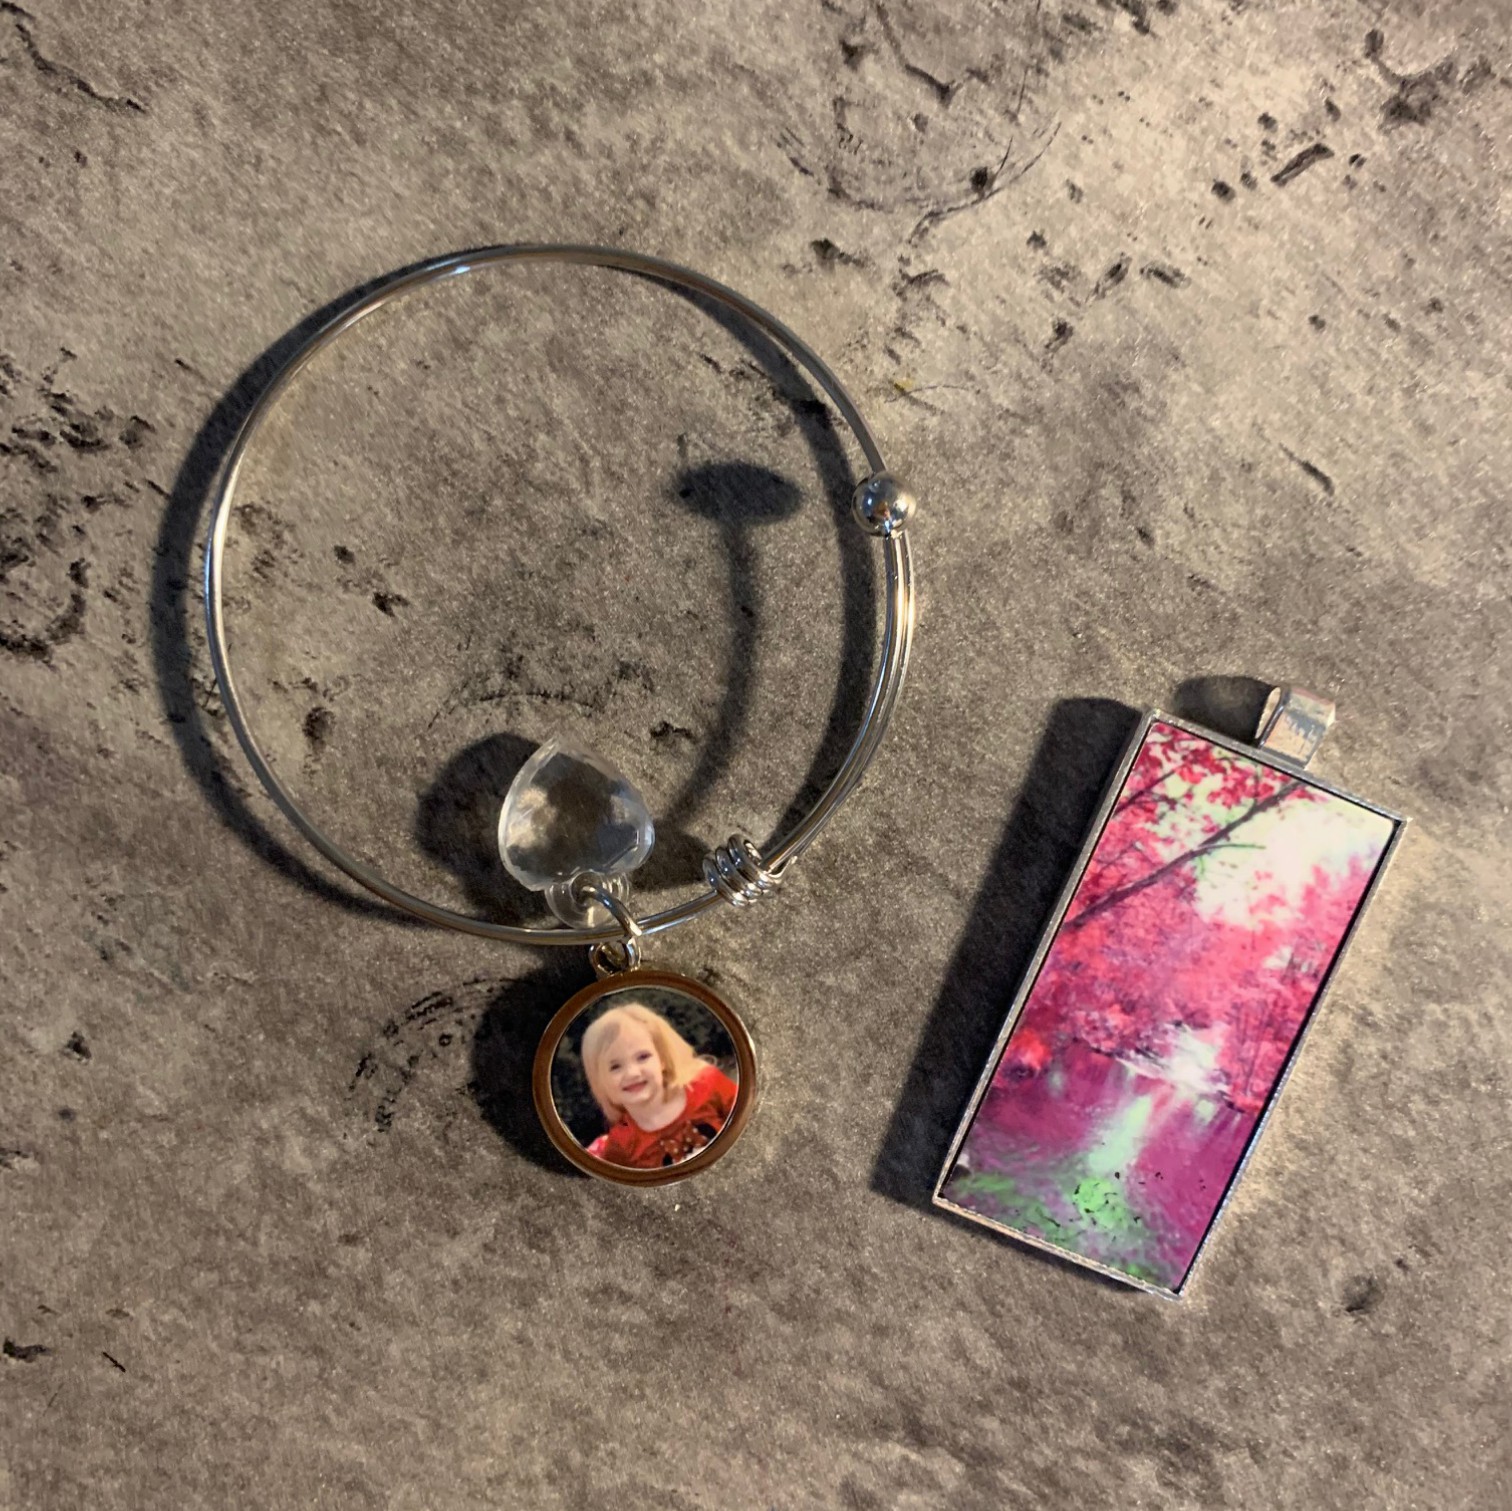
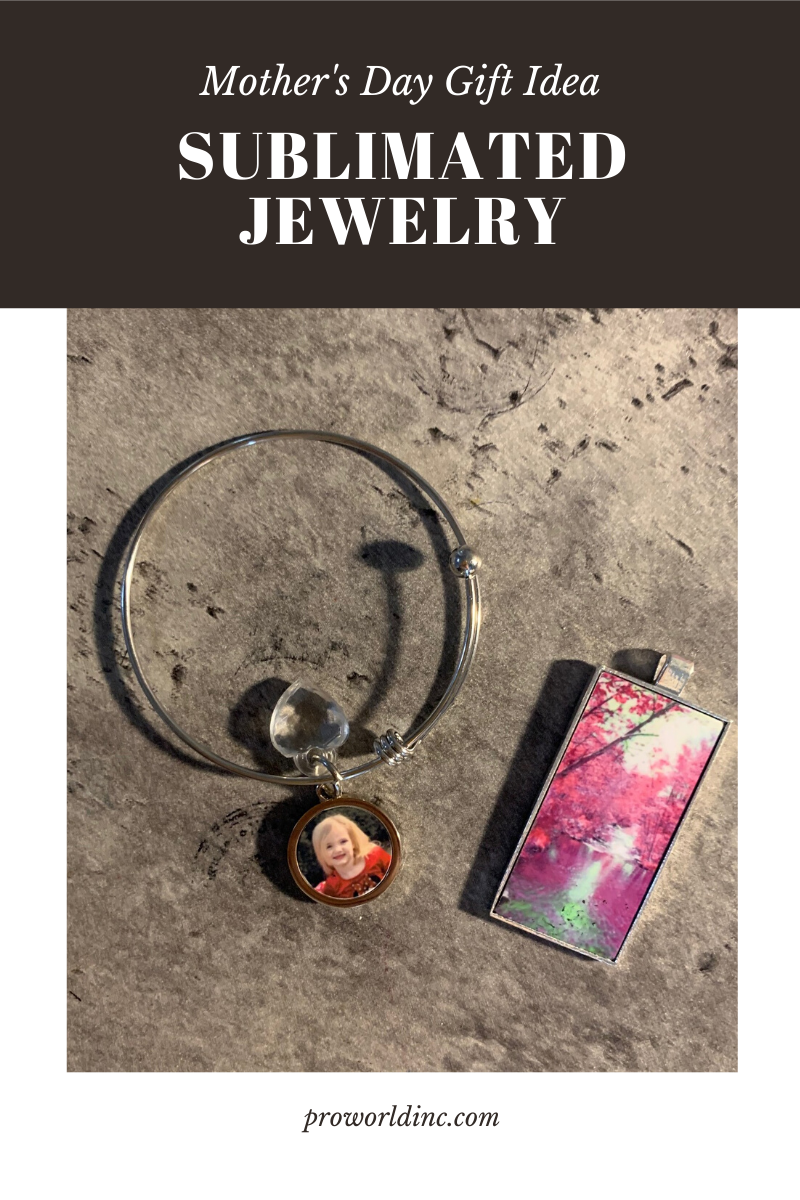
Do you know what Mom would love for Mother’s Day? Personalized Jewelry and with our new sublimation jewelry blanks, you can make it yourself! Scroll down to see what you need and how to make it!

mothers day jewelry (1)

You Need:


To Make Them You Need To:
1 – Open your design program
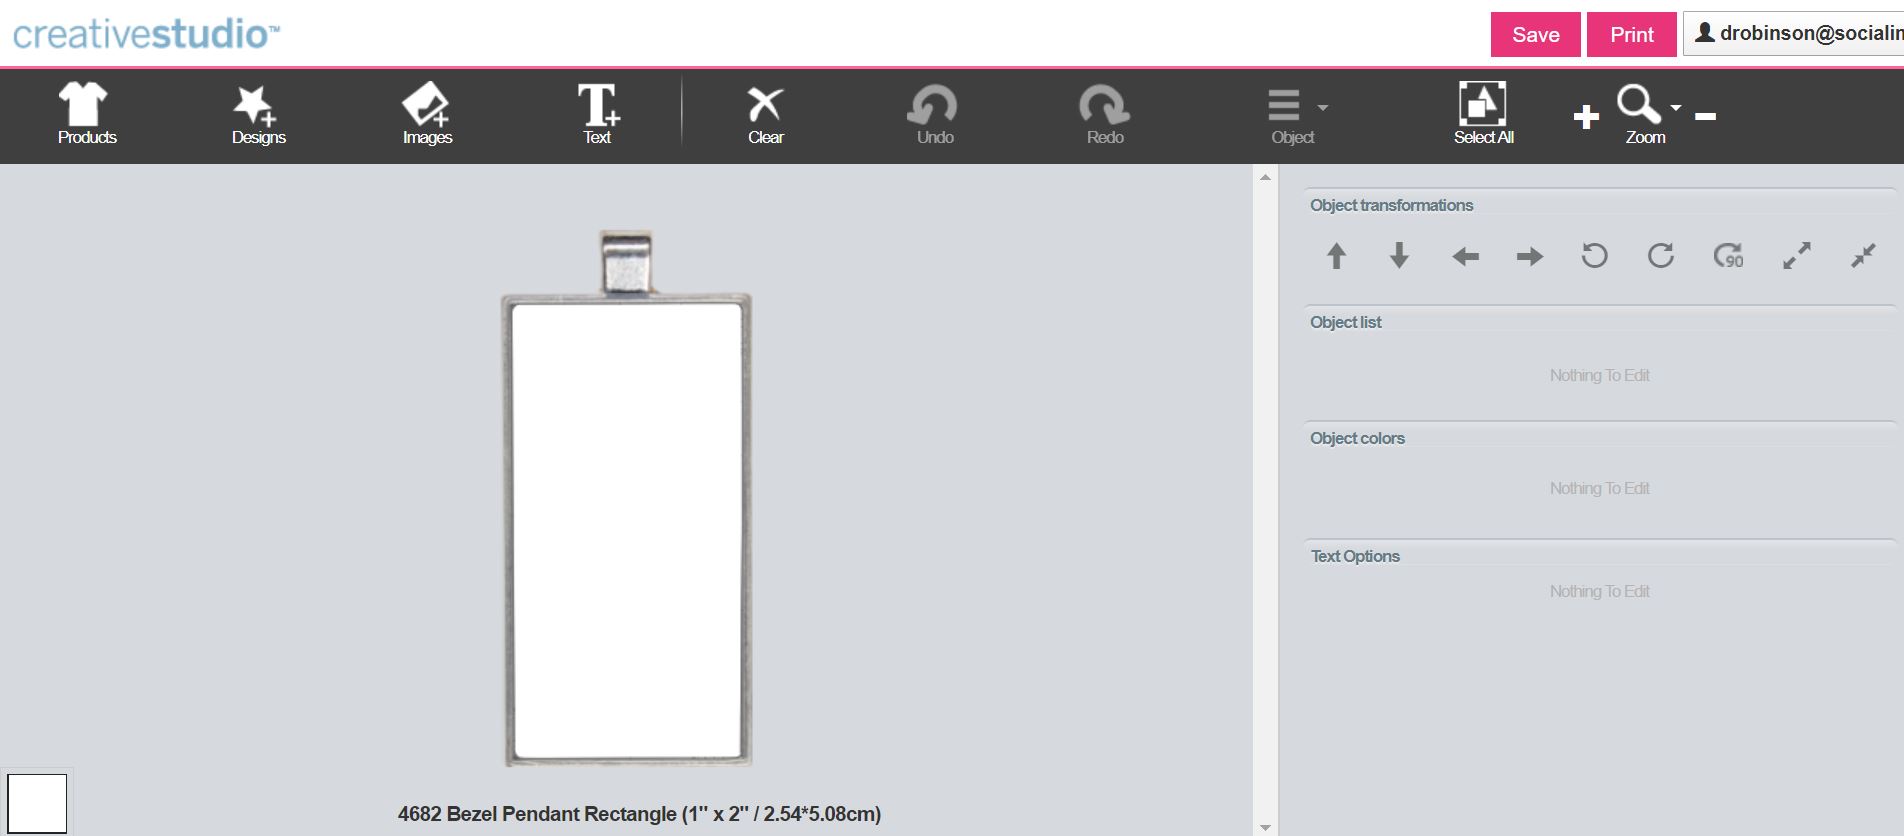
2 – Select the product

necklace1
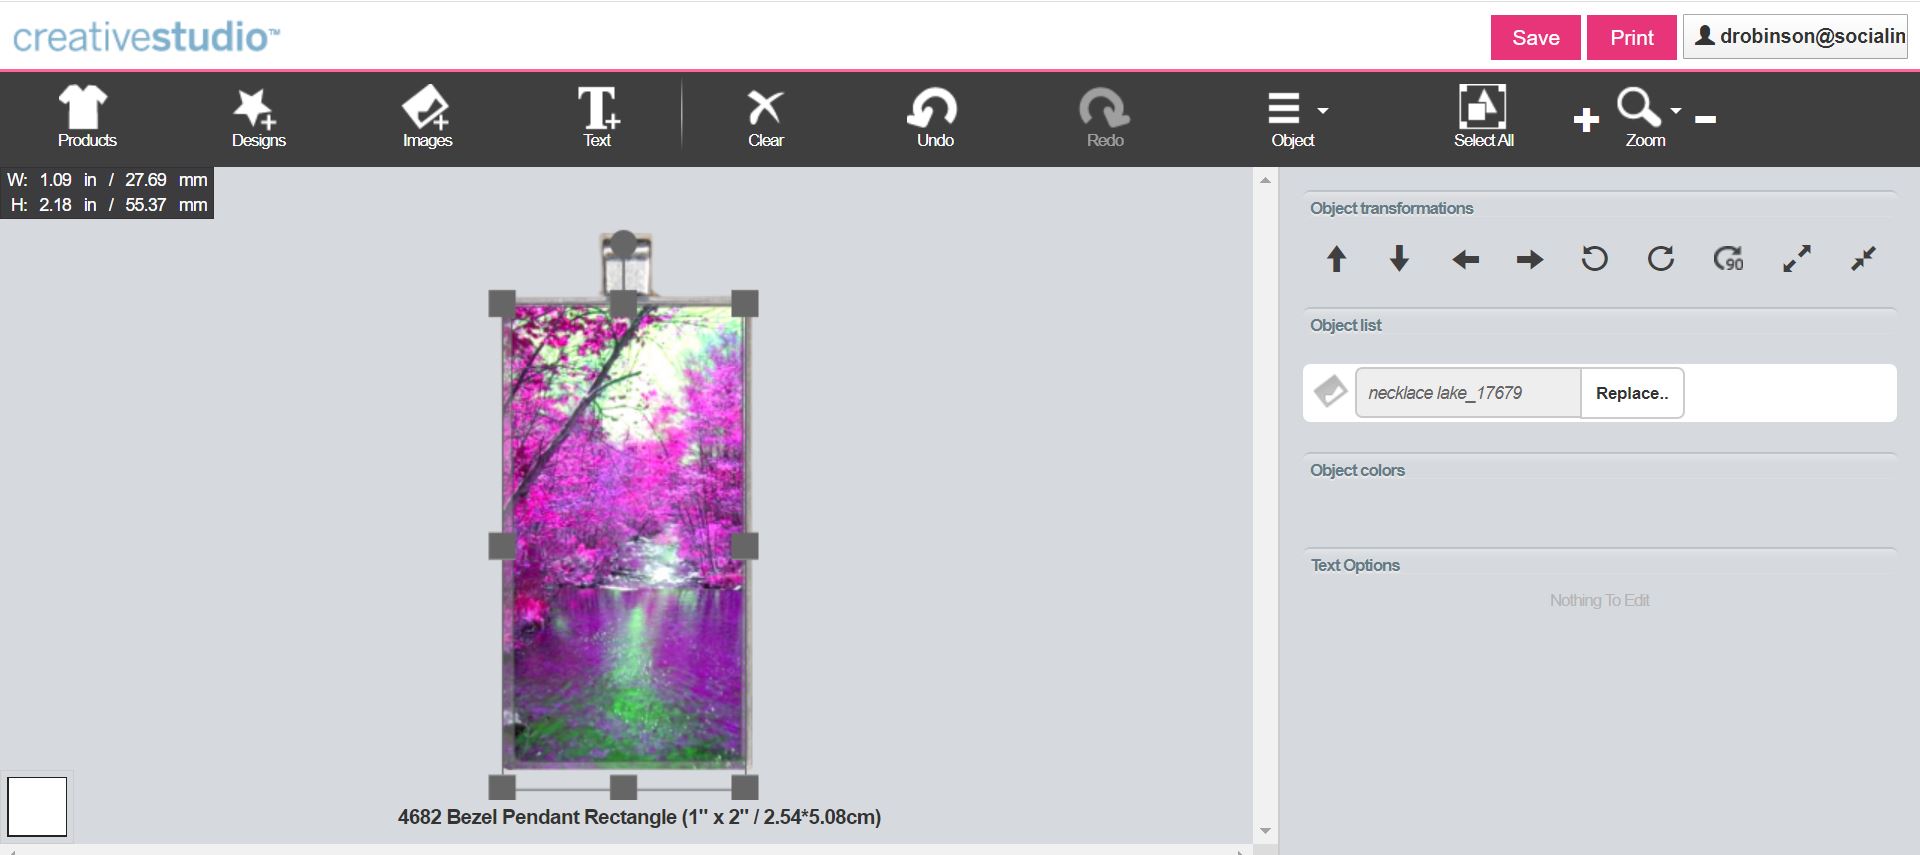
3 – Add your photo

necklace2
4 – Click Print
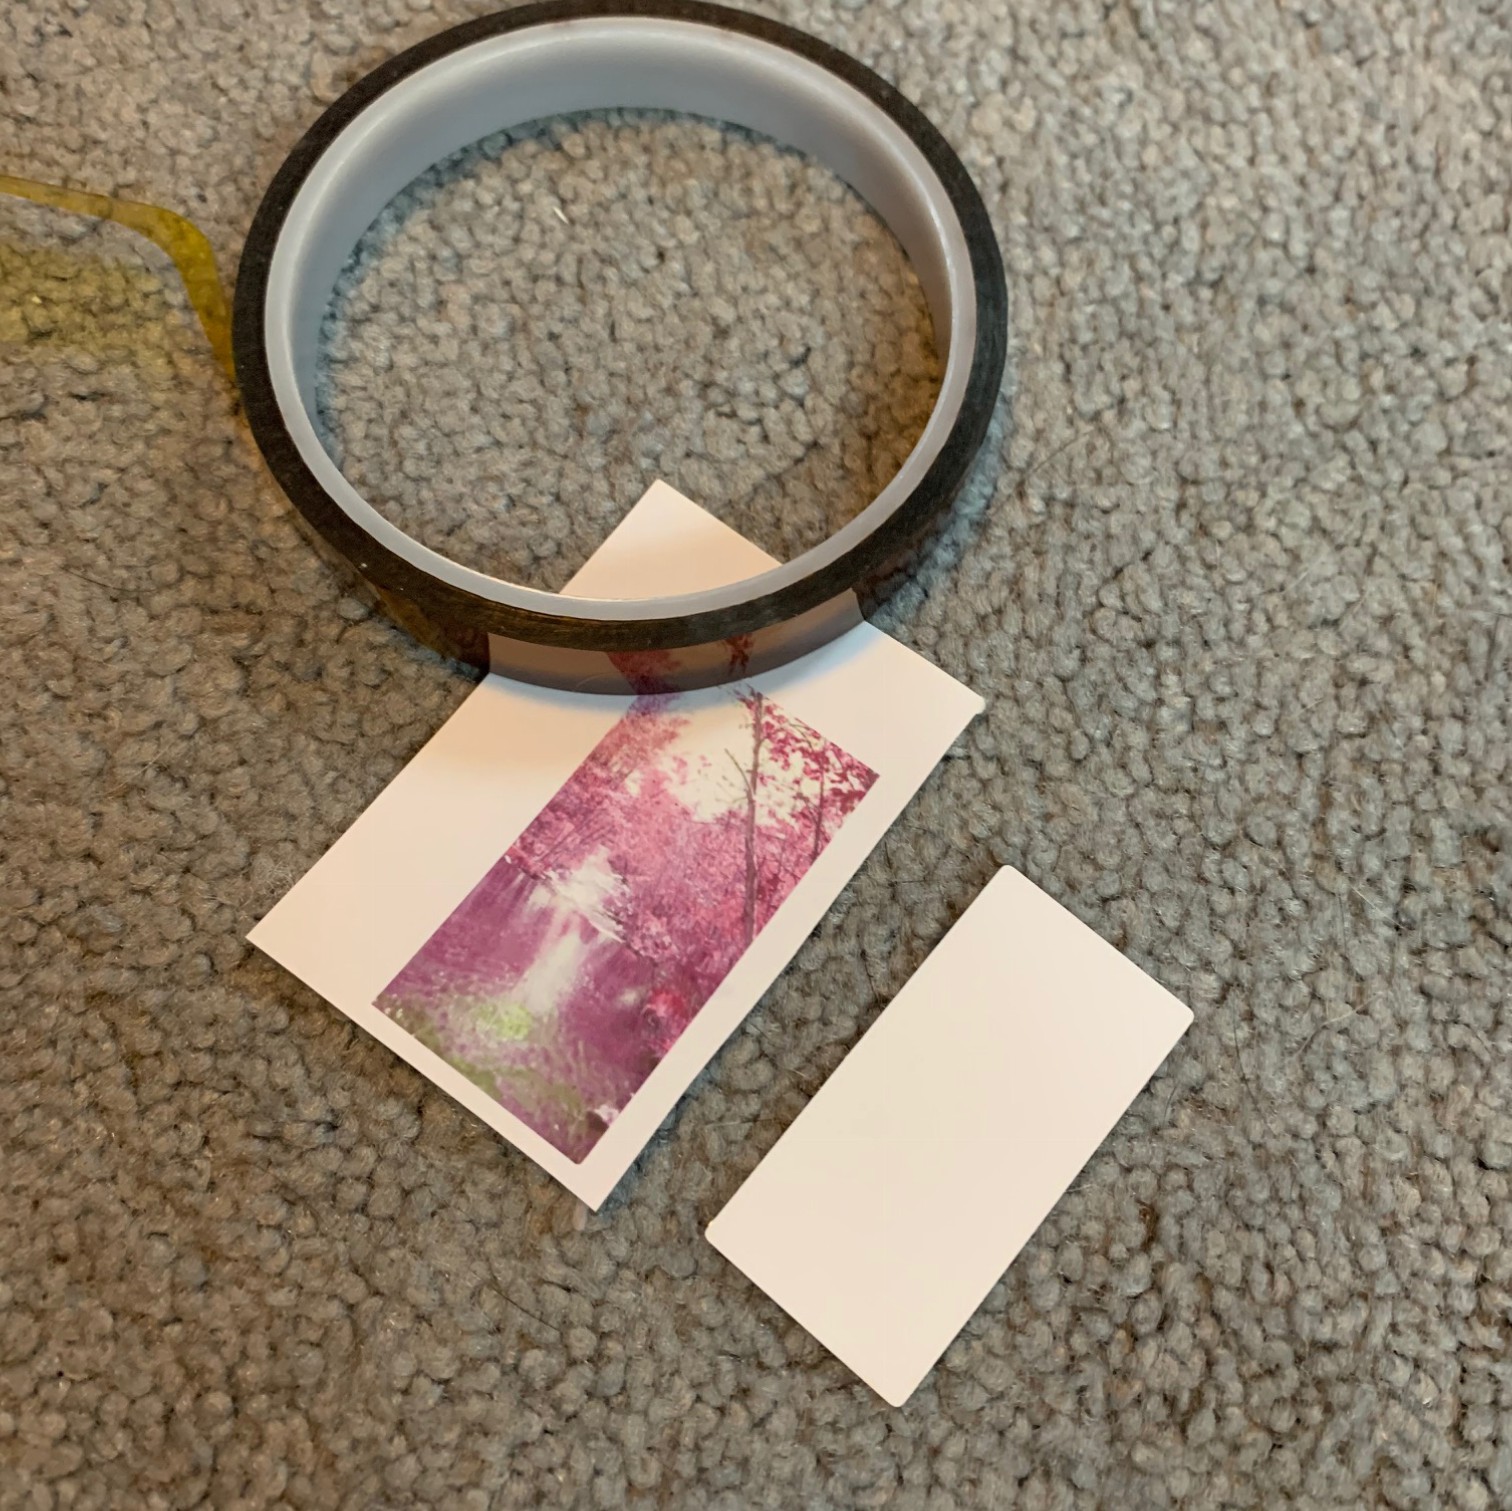
5 – Cut your design out & tape to the blank

IMG_3328
6 – Warm up your Heat Press to 400 degrees & press!
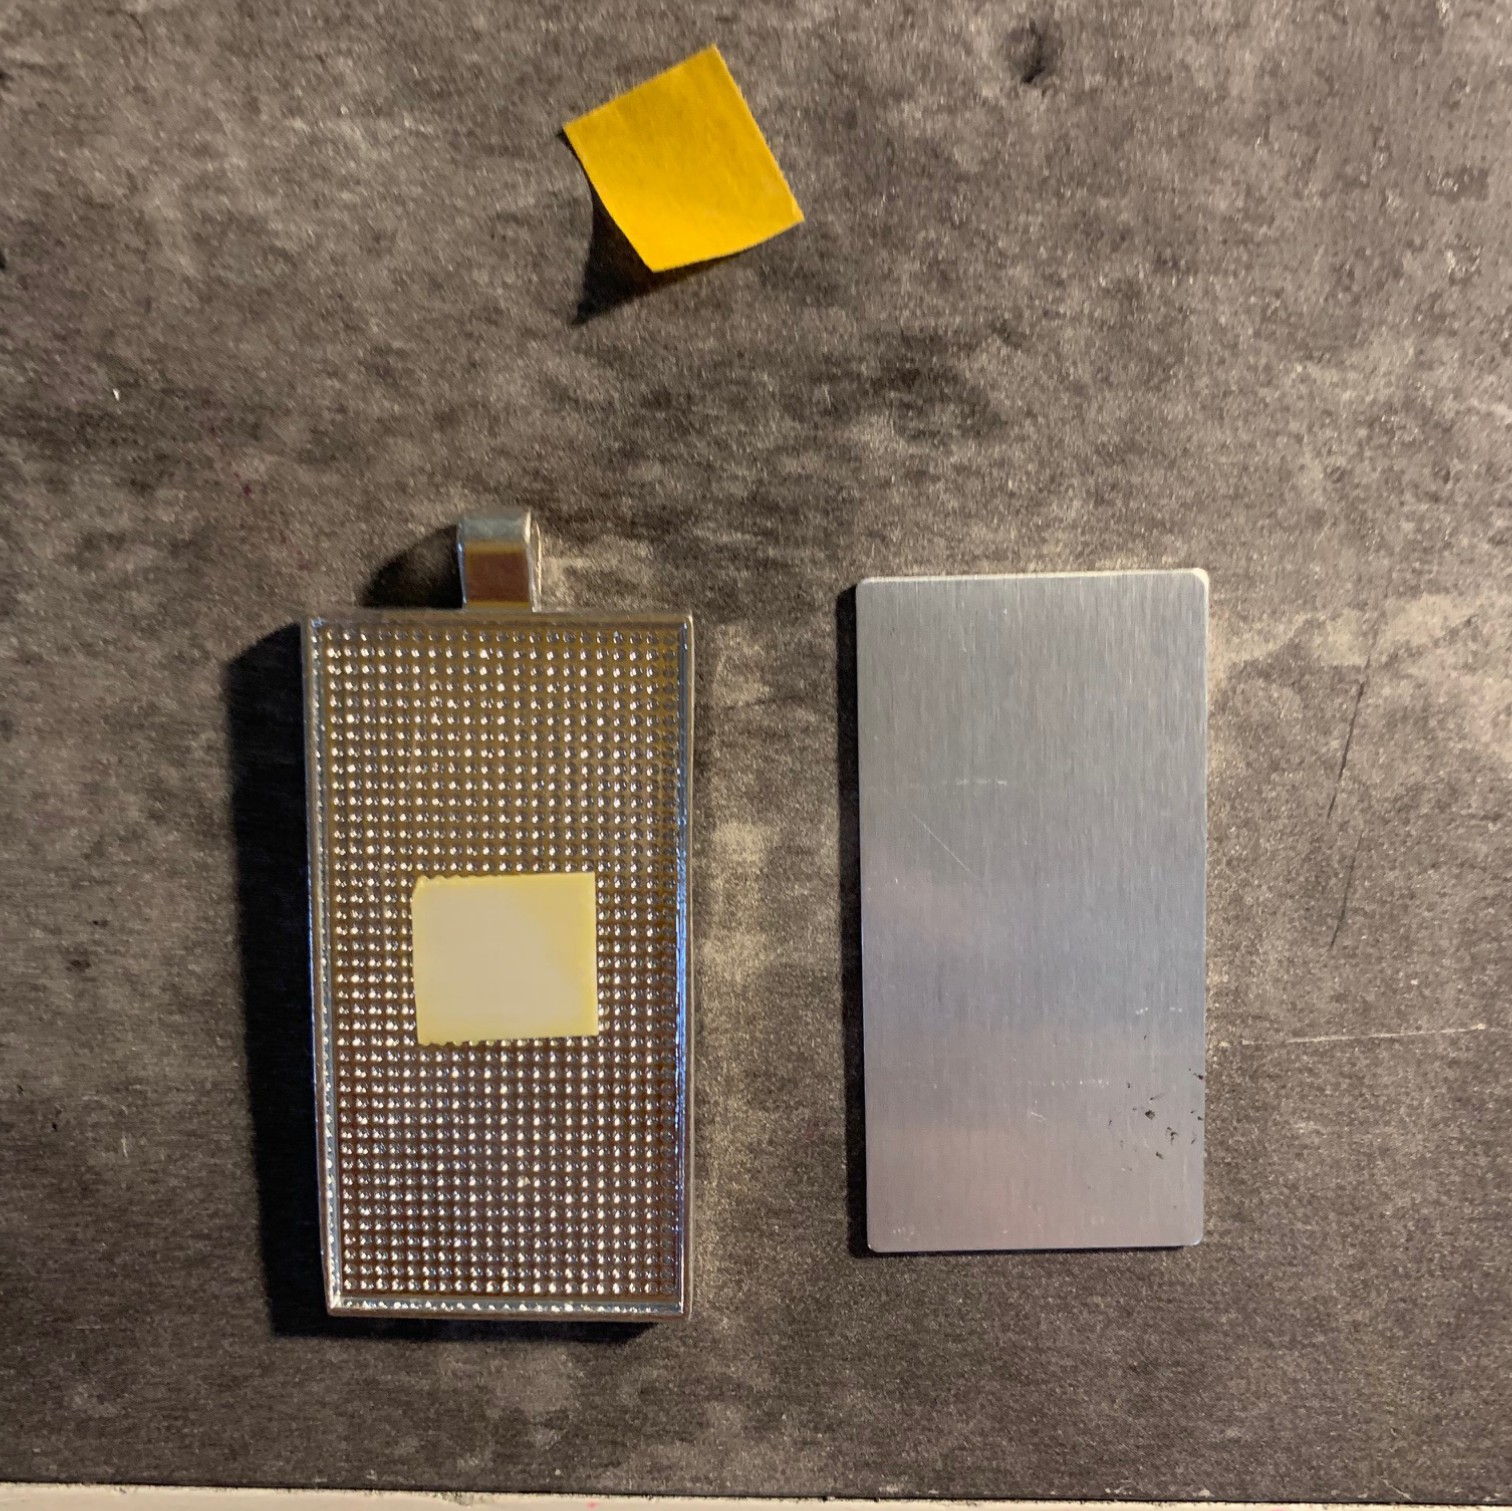
7 – Remove the backing from the double sided tape on the blank

IMG_3338
8 – Place your sublimated metal disk within the product area.

IMG_3340
9 – Wrap it up – you are done!

View & Add Comments

Crafting During The Coronavirus – Share Save & Support

crafting during the coronavirus

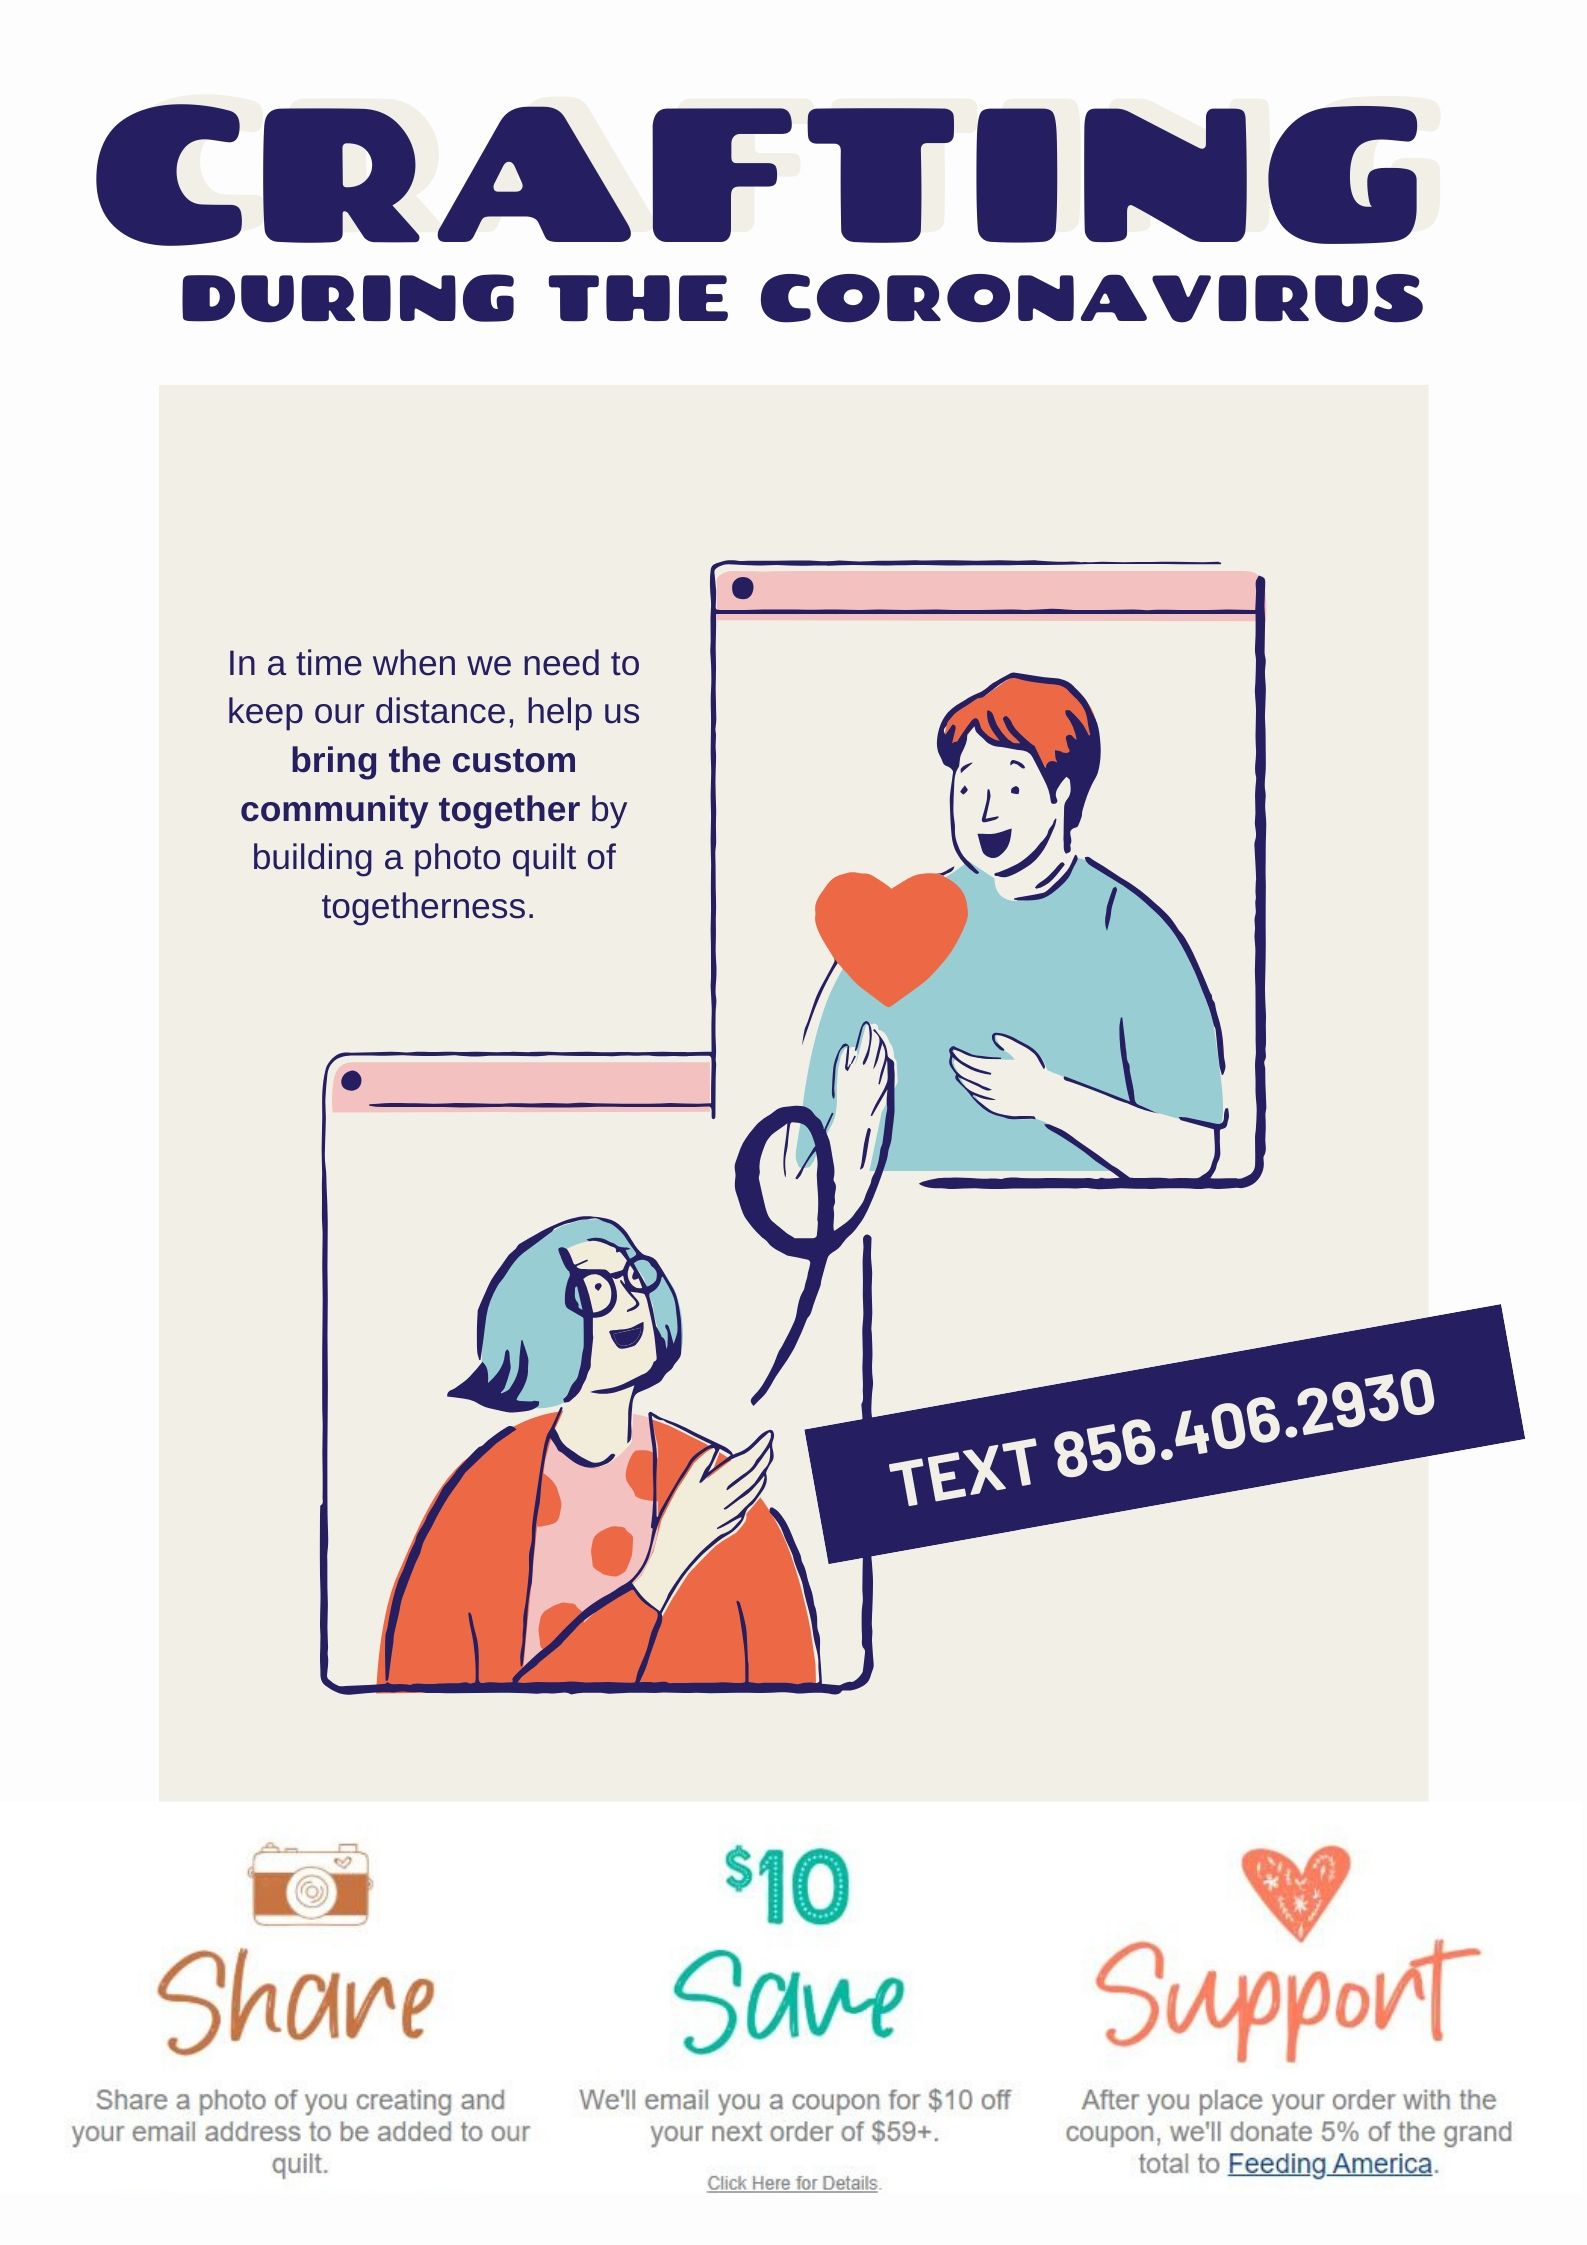
In a time when we need to keep our distance, help us bring the custom community together by building a photo quilt of togetherness. After all, we all share a common thread – a love for creating! 

We started this crafting quilt with the hope of spreading smiles, creativity, and to do some good for others! This is why we are calling it our Share, Save & Support Quilt! If you SHARE a crafting photo with us by texting us at 1-856-406-2930 we will send you a $10 coupon that will let you SAVE $10 off of your next Pro World order of $59 or more, and we will also donate 5% of the sale to SUPPORT feedingamerica.org

So tell show me… what are you making?! Want to see what others are doing? Head to the quilt! 2004-share-social

View & Add Comments

Treats For Your Pup That You Can Decorate

Here at Pro World, we love dogs! So when we located some new pet sublimation items we knew we had to bring them into stock so that all of you could enjoy them! Want to see the new Dog Sublimation items that we are carrying? Scroll down!

Treats for your pup that you can

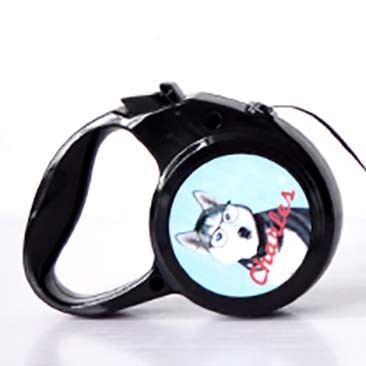
There’s no reason for your dog leash to be boring. Now you can decorate it! By sublimating our retractable leash. We currently have three sizes: Large, Medium and Small so that you can find the perfect size for you and your pup!

dog leash

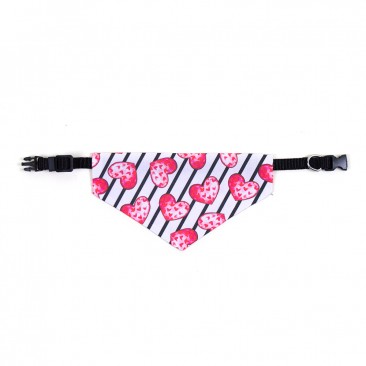
This 2 sided white sublimation pet scarf is what every pet needs! We currently have it in stock in small, medium, large, and XL.

dob banner

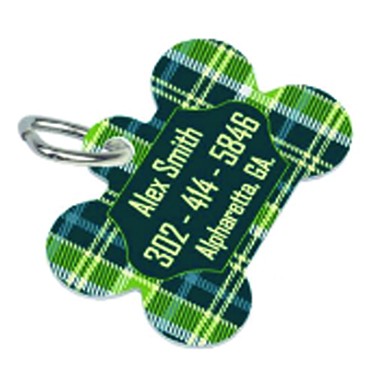
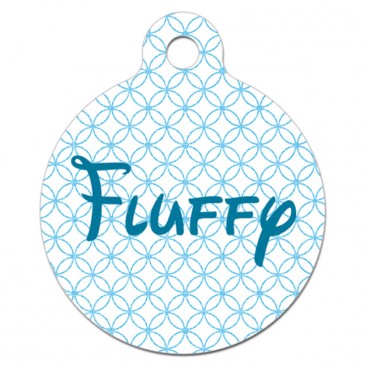
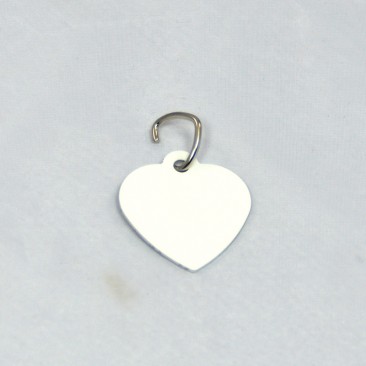
While we are talking about sublimated pet products. We have to mention our pet tags.

dog bone

dog circle dog heart


View & Add Comments

New Website Update

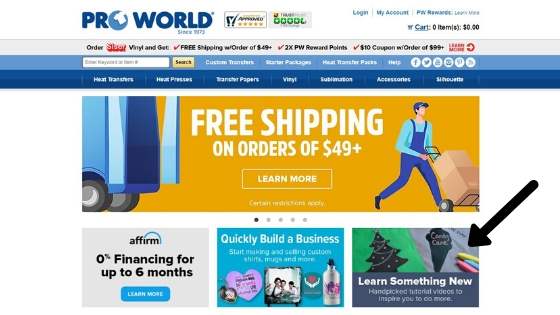
Have you seen our homepage recently? We’ve added a few new sections on the website for you to see!

For starters, we created a spot where we can store handpicked video tutorials to help inspire you to create even more! 

marketing don't make it a 4 letter word (1)

Currently, we have tutorials like:

  • How to make a reverse canvas
  • Using crayons with an inkjet printer
  • Using HTV on towels
  • Putting Heat Transfer Vinyl On Wood 

See them here! 

Is there a new technique or a product that you would like to see in action? Let us know! 

We also added a spot to help people create a business even simpler! So that you (or a friend of yours) can start making and selling custom items! 

See it here! 

marketing don't make it a 4 letter word

View & Add Comments

Sublimating a Sequin Bag

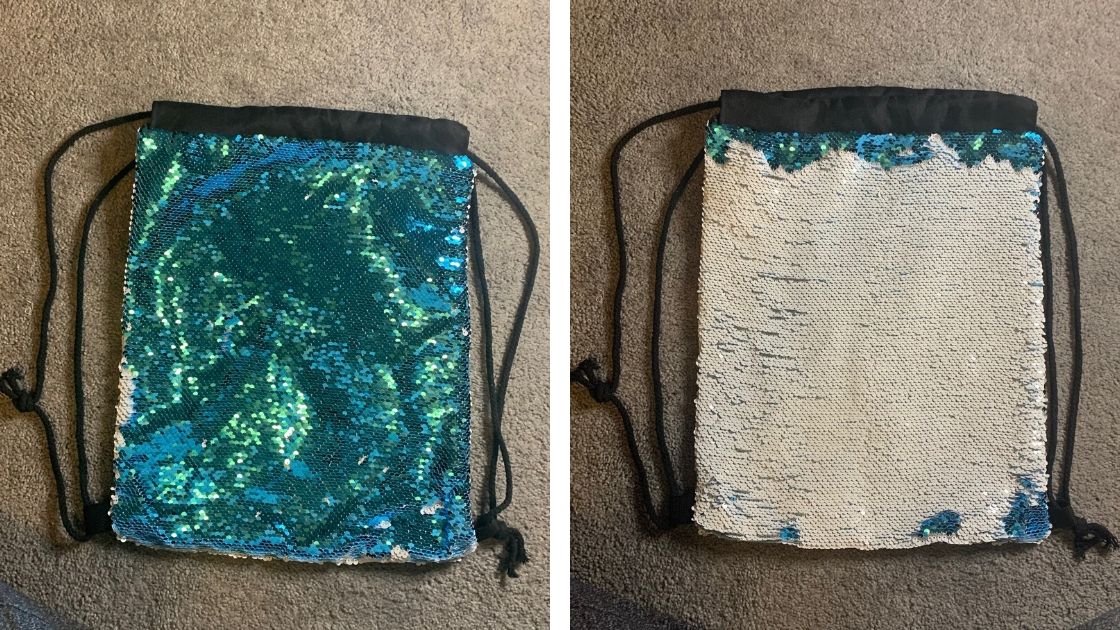
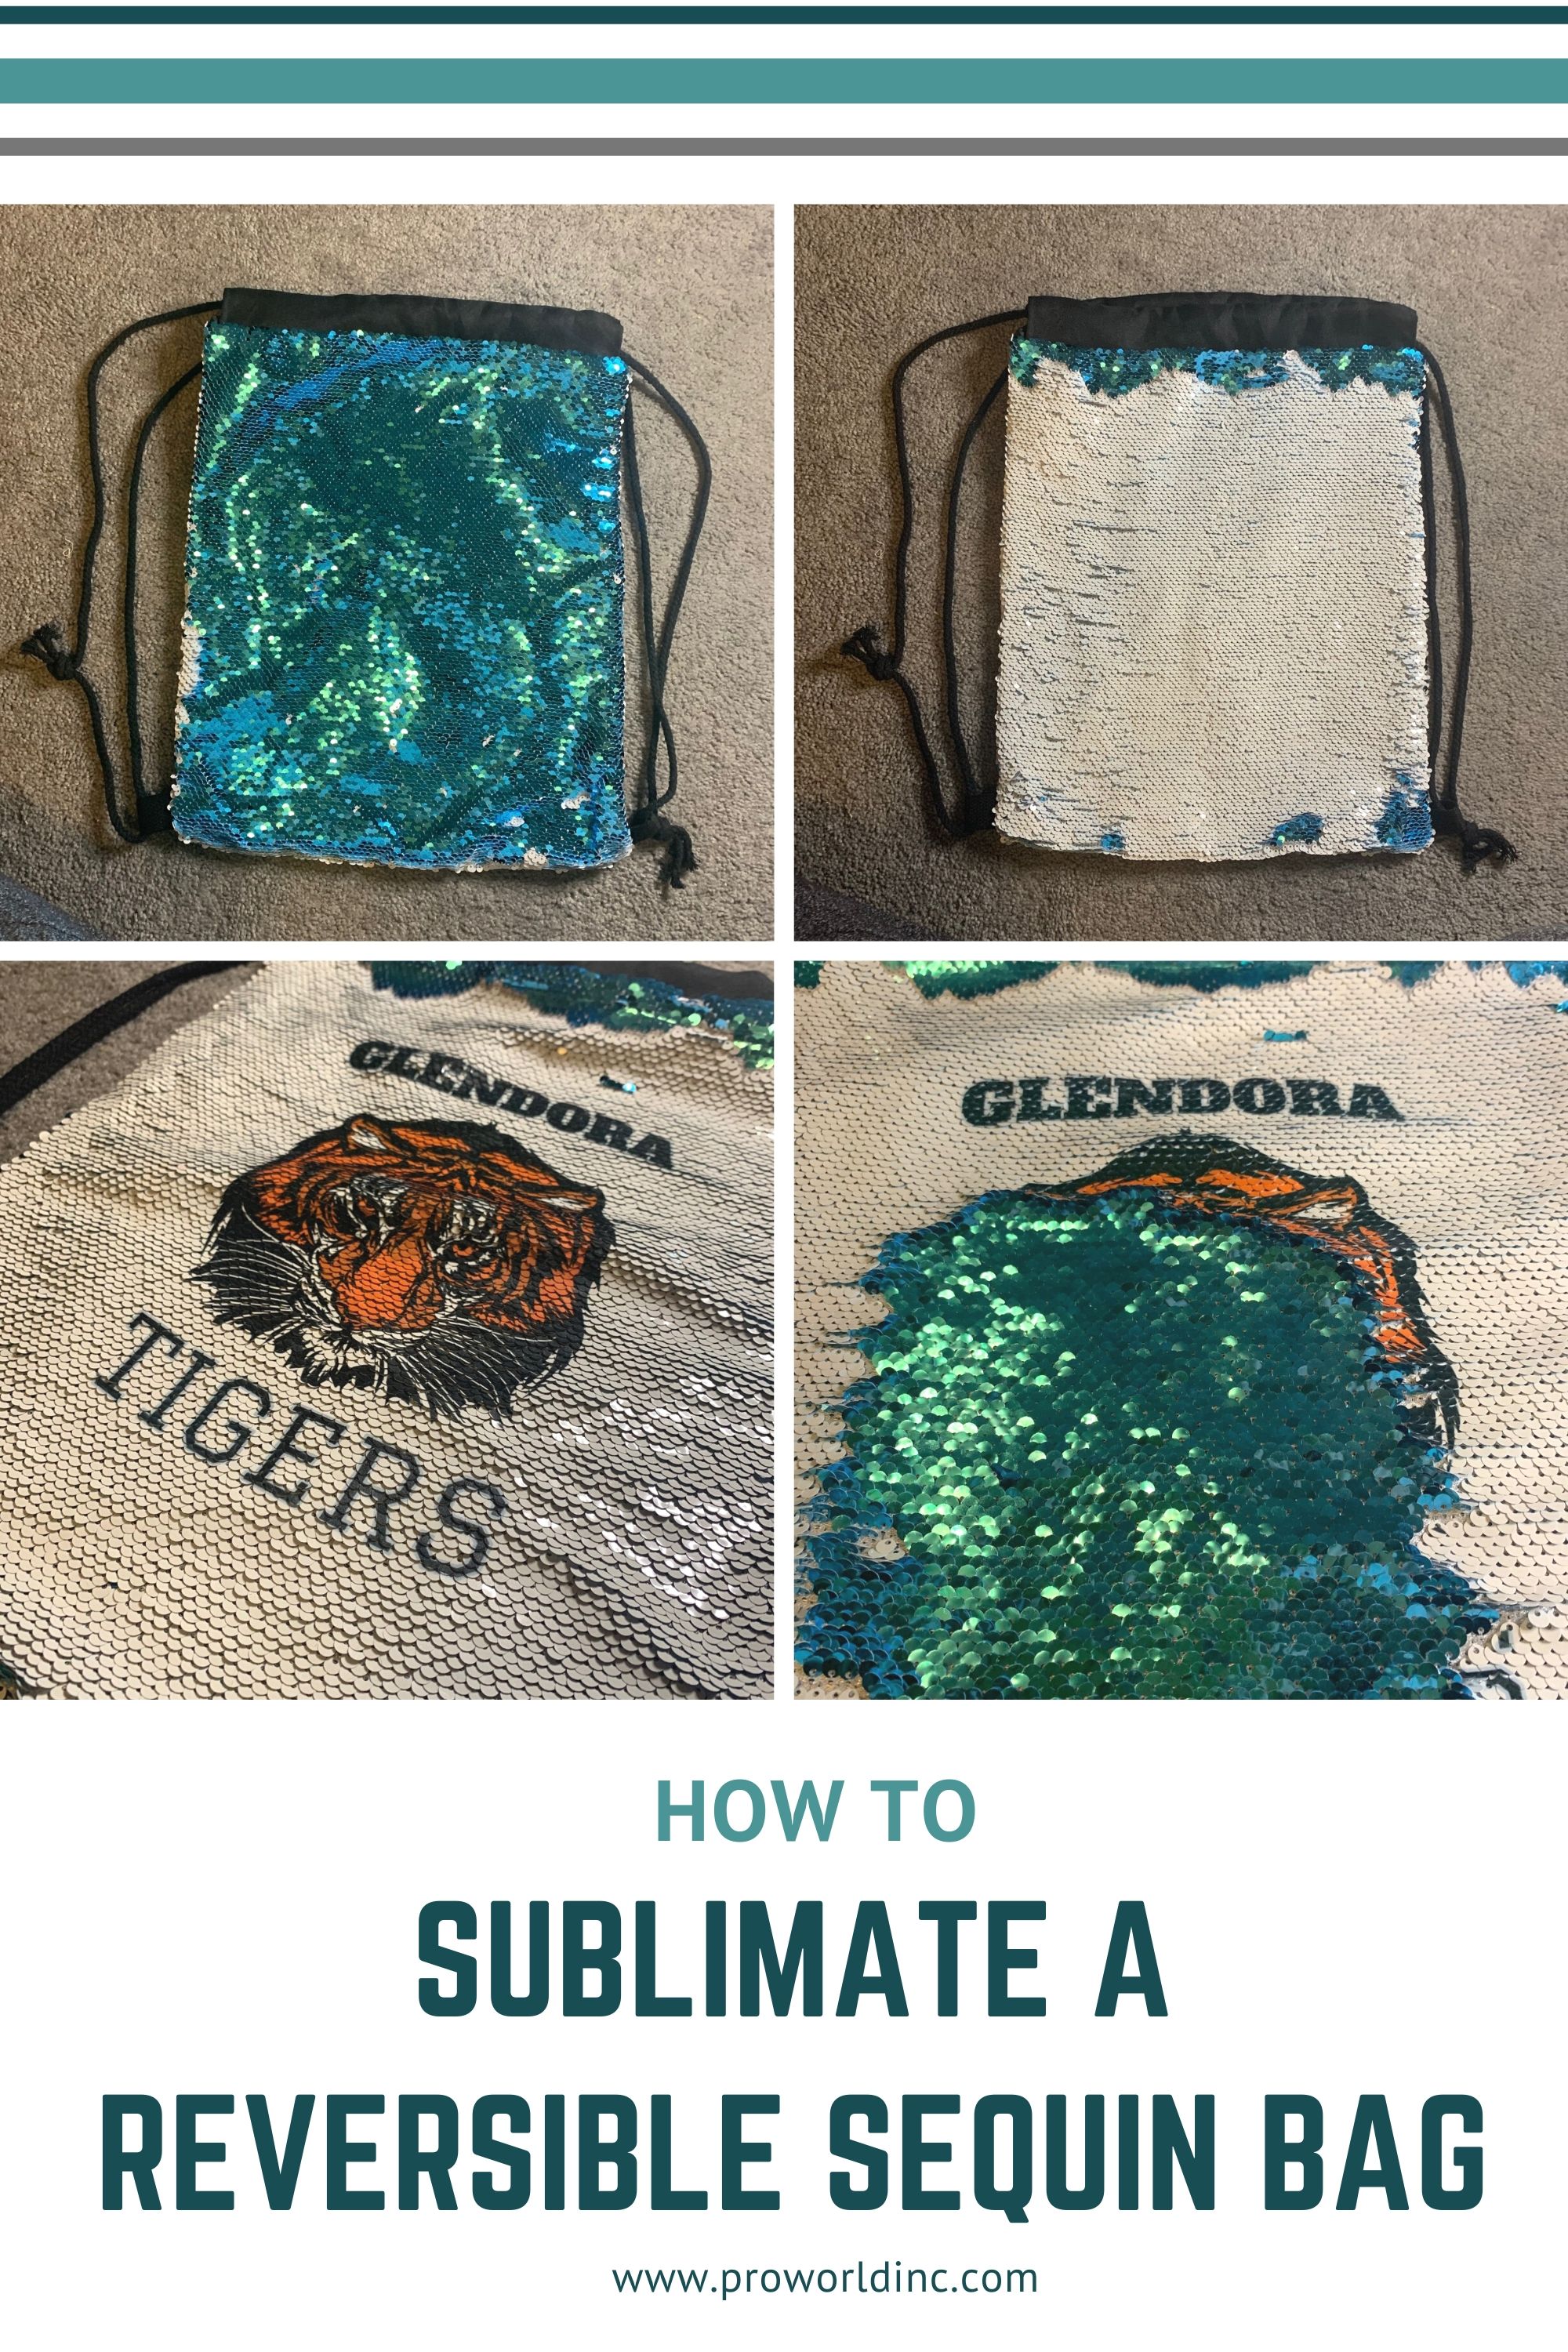
Have you seen our new reversible sequin bookbags? They are adorable! Perfect to customize for a gift or use to show your team spirit!

reversible sequin bag

Want to see a step by step tutorial on how to sublimate a sequin bag? See below!

HOW TO SUBLIMATE A REVERSIBLE SEQUIN BAG

You Will Need:

Here’s how to make it:

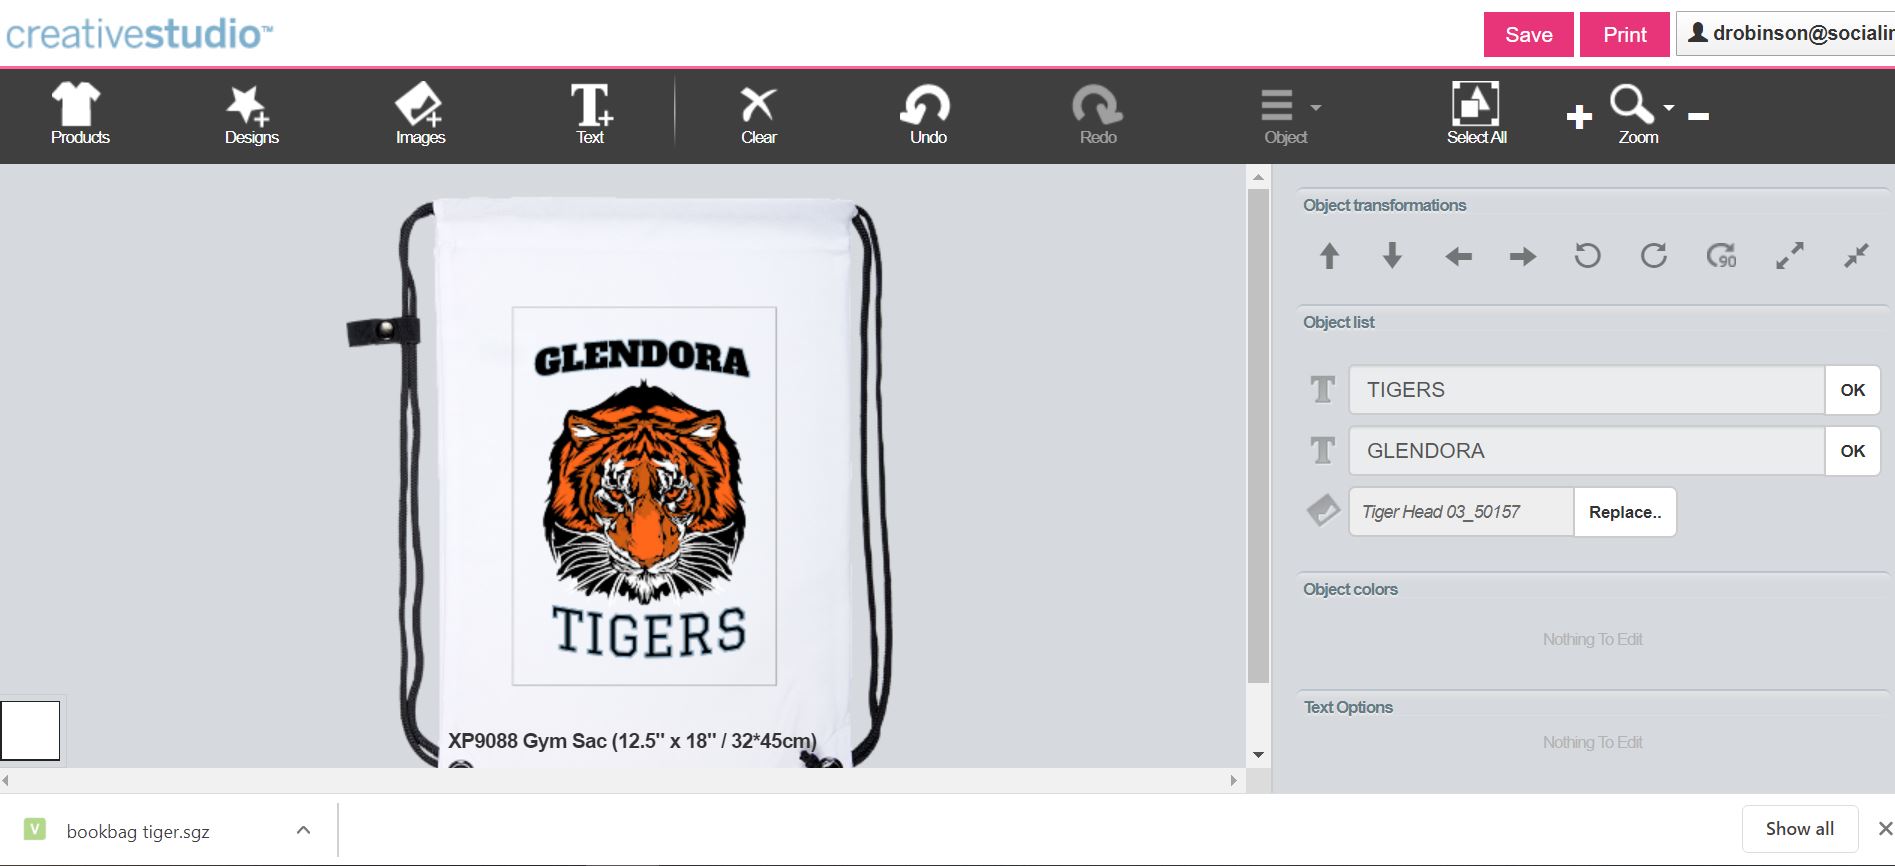
1- Select your blank from the sawgrass creative studio

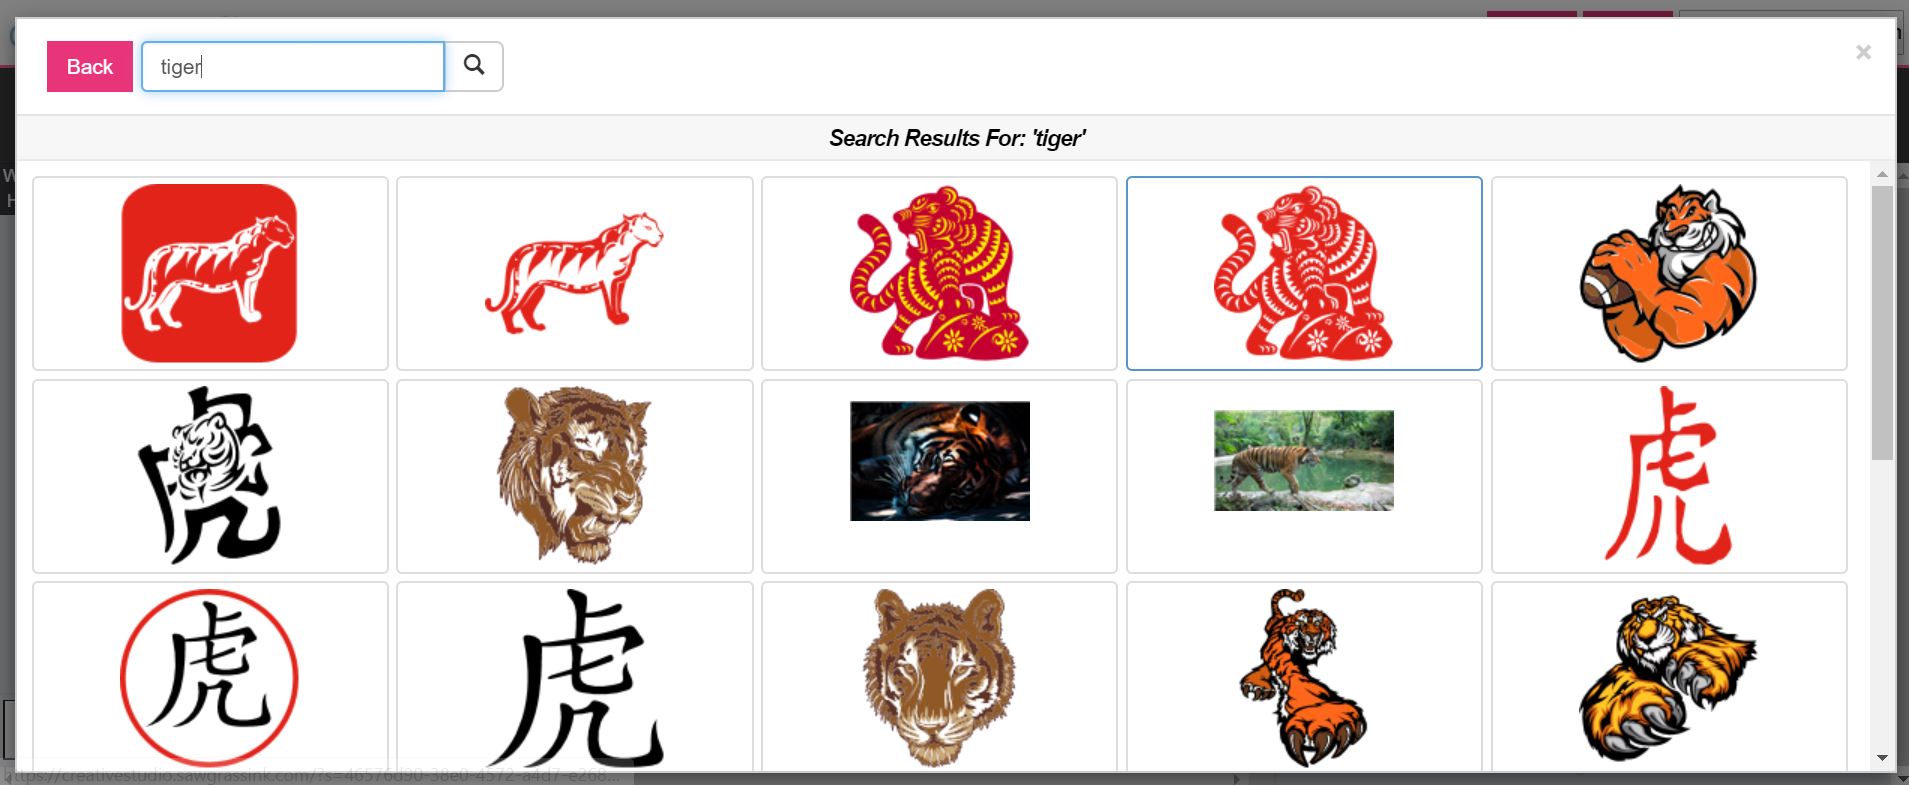
2 – Select your design

bag tiger

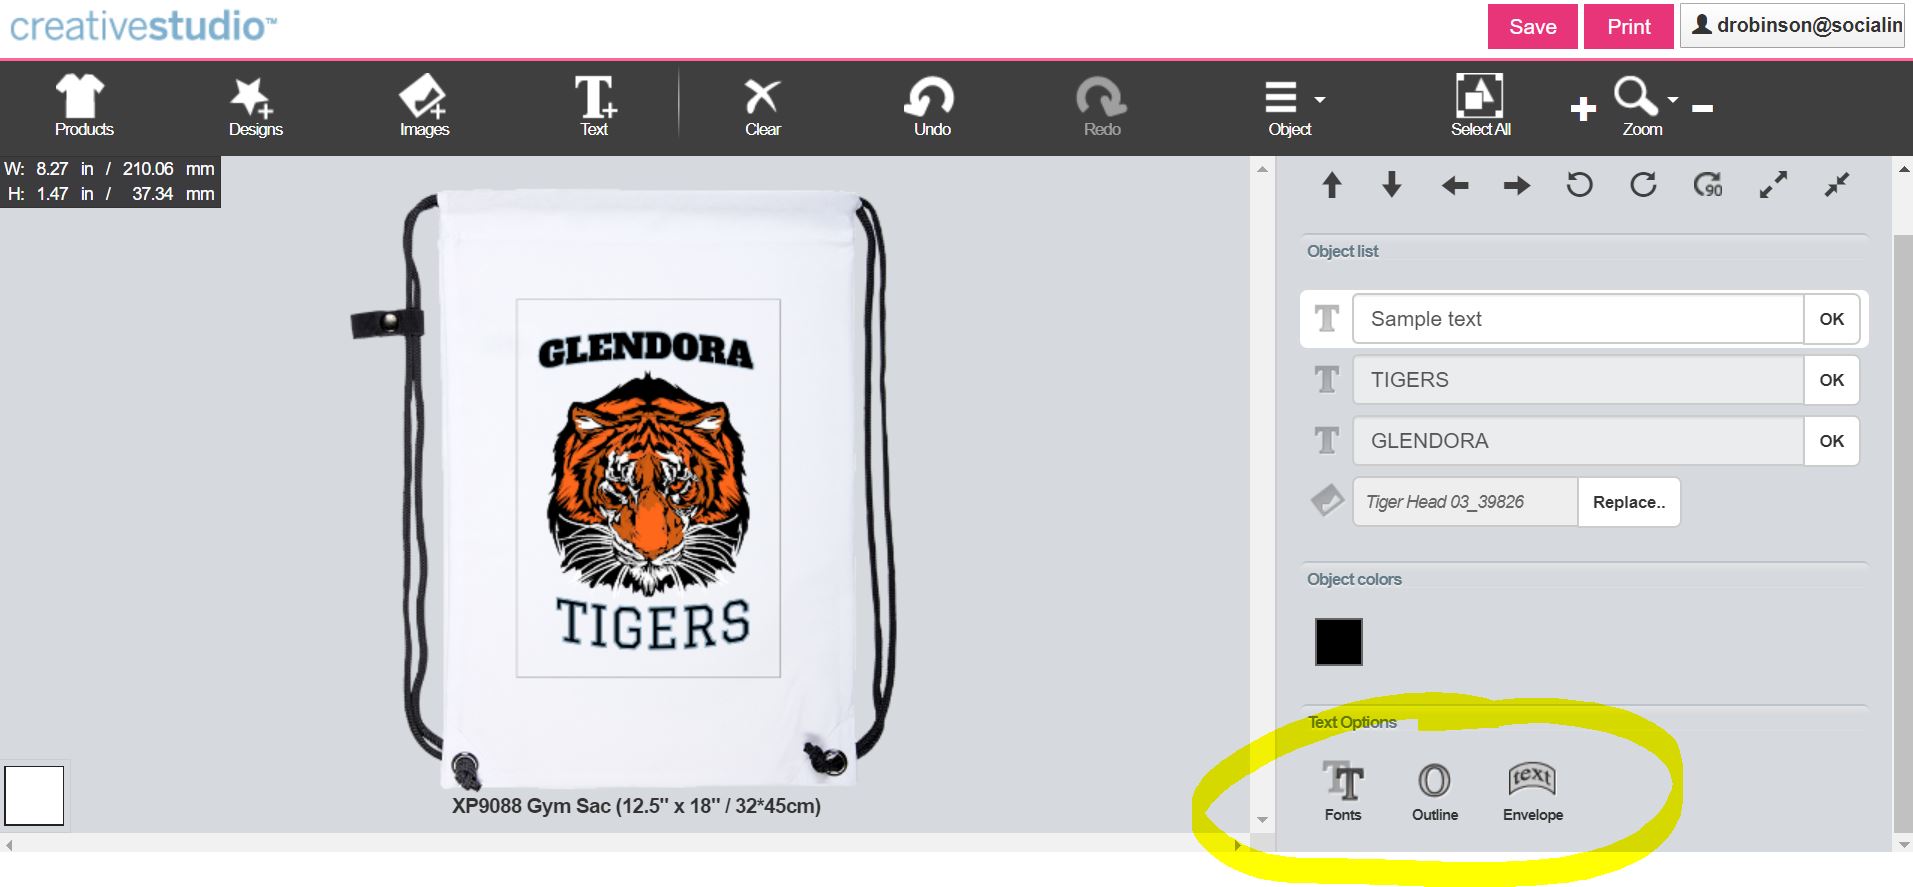
3 – Add text – Now you can also arch your text, add an outline, change the font really easy just click the buttons below the Object List

tiger font

4 – Print

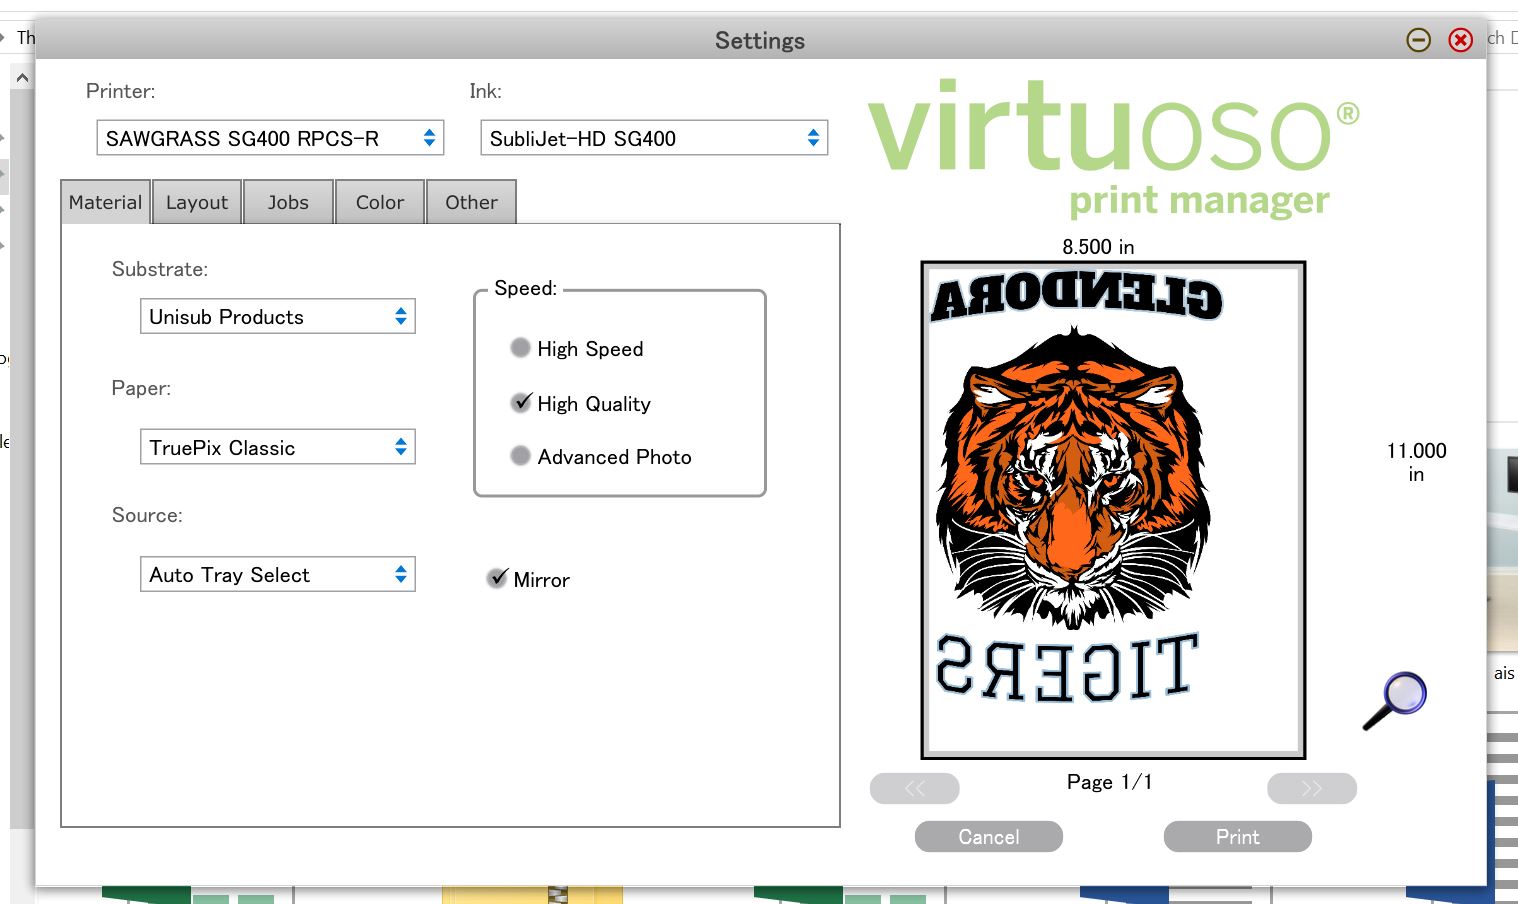
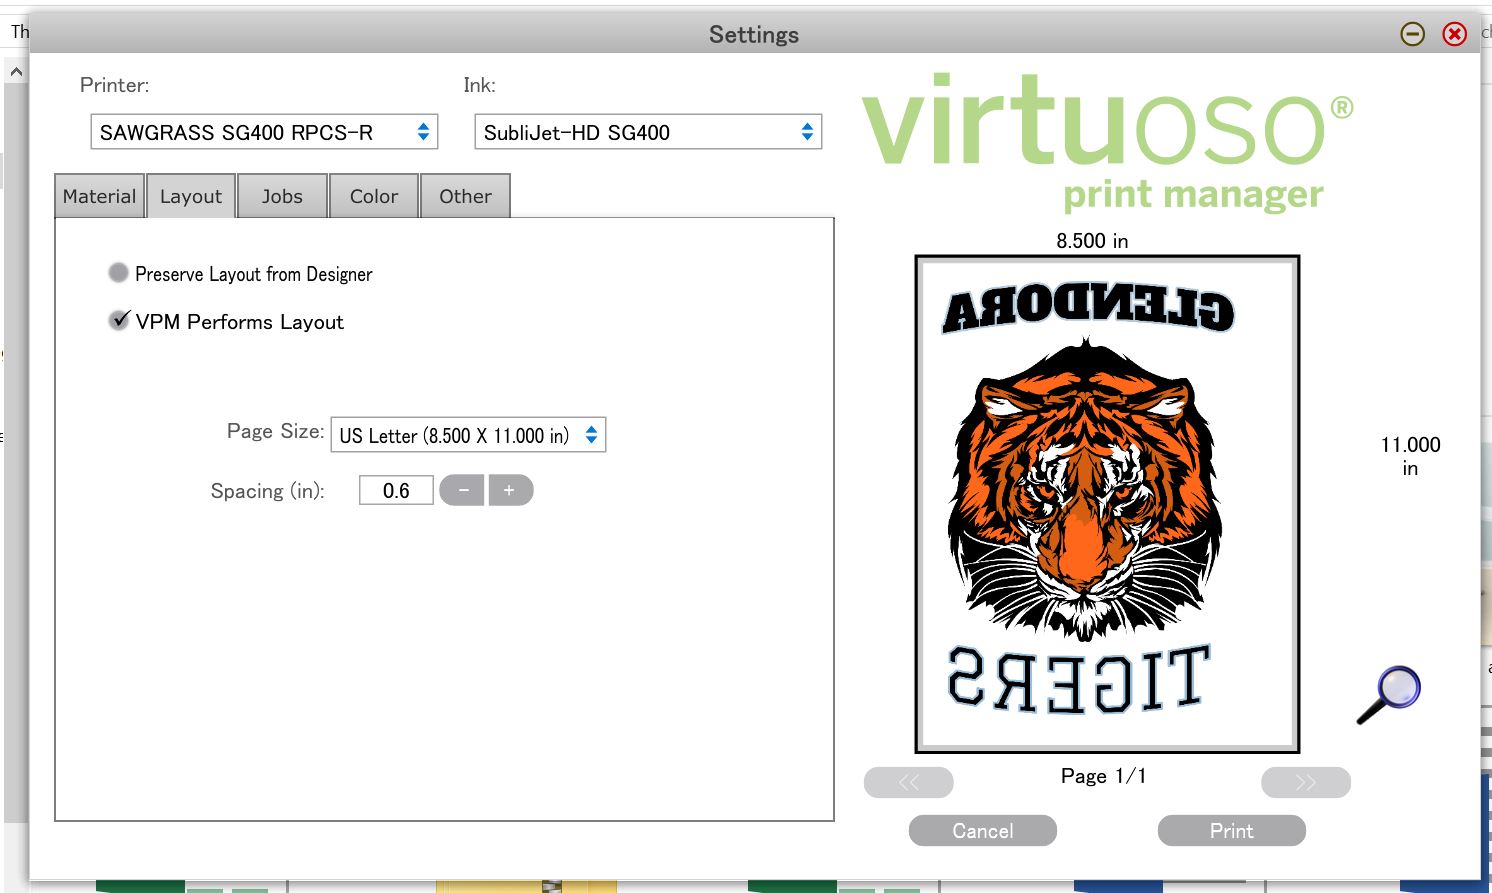
5 – Open the download print box, mirror your design

6- Click the Print button

bag print

7 – Open the print box – your image should be mirrored

tiger p

8 – If you want to move the design over. Click the layout tab and move the margins

tiger sp

9 – Warm up your heat press to 400 degrees

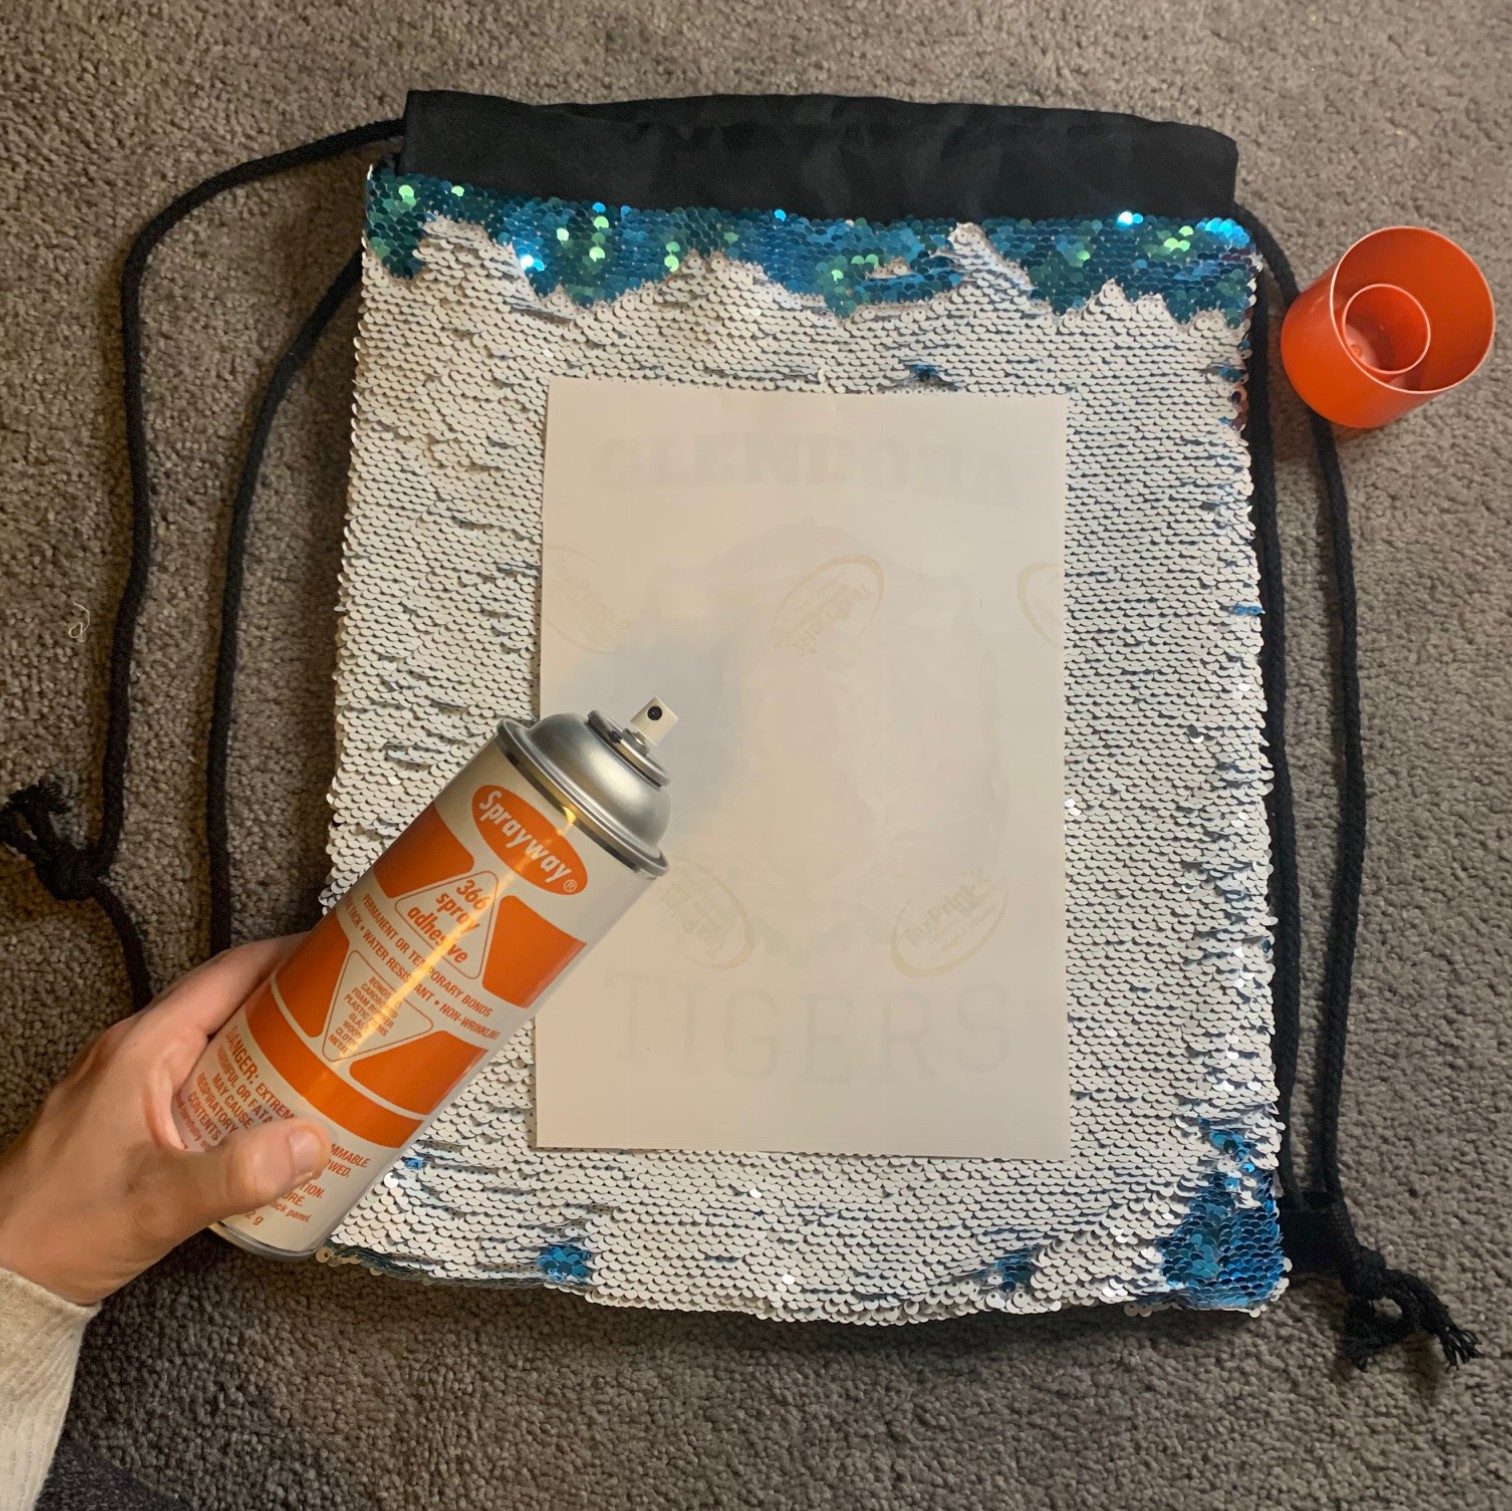
10 -Tape or Spray your design to your bag so that it does not move

IMG_2112

11 – Press for 45-55 seconds at medium pressure

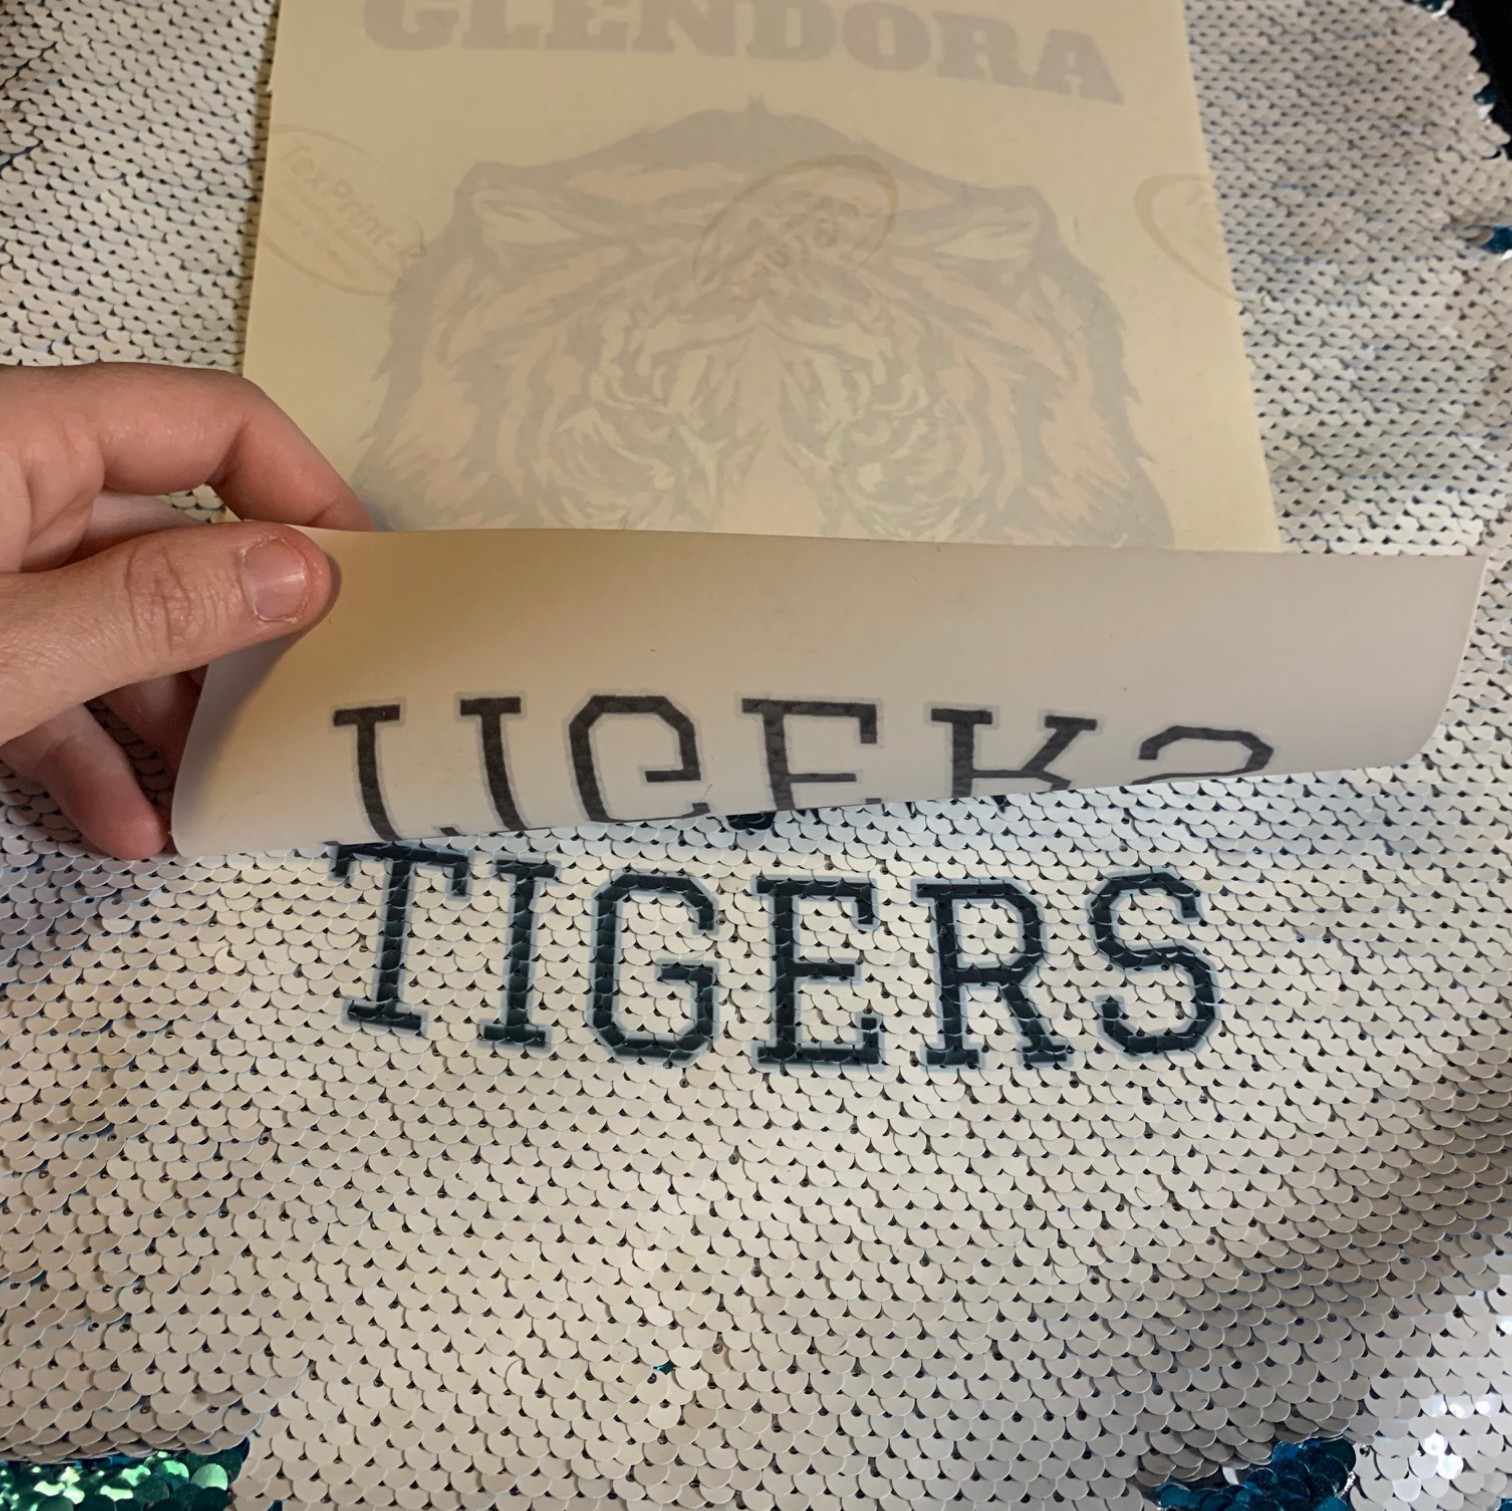
12 Peel HOT

IMG_2118

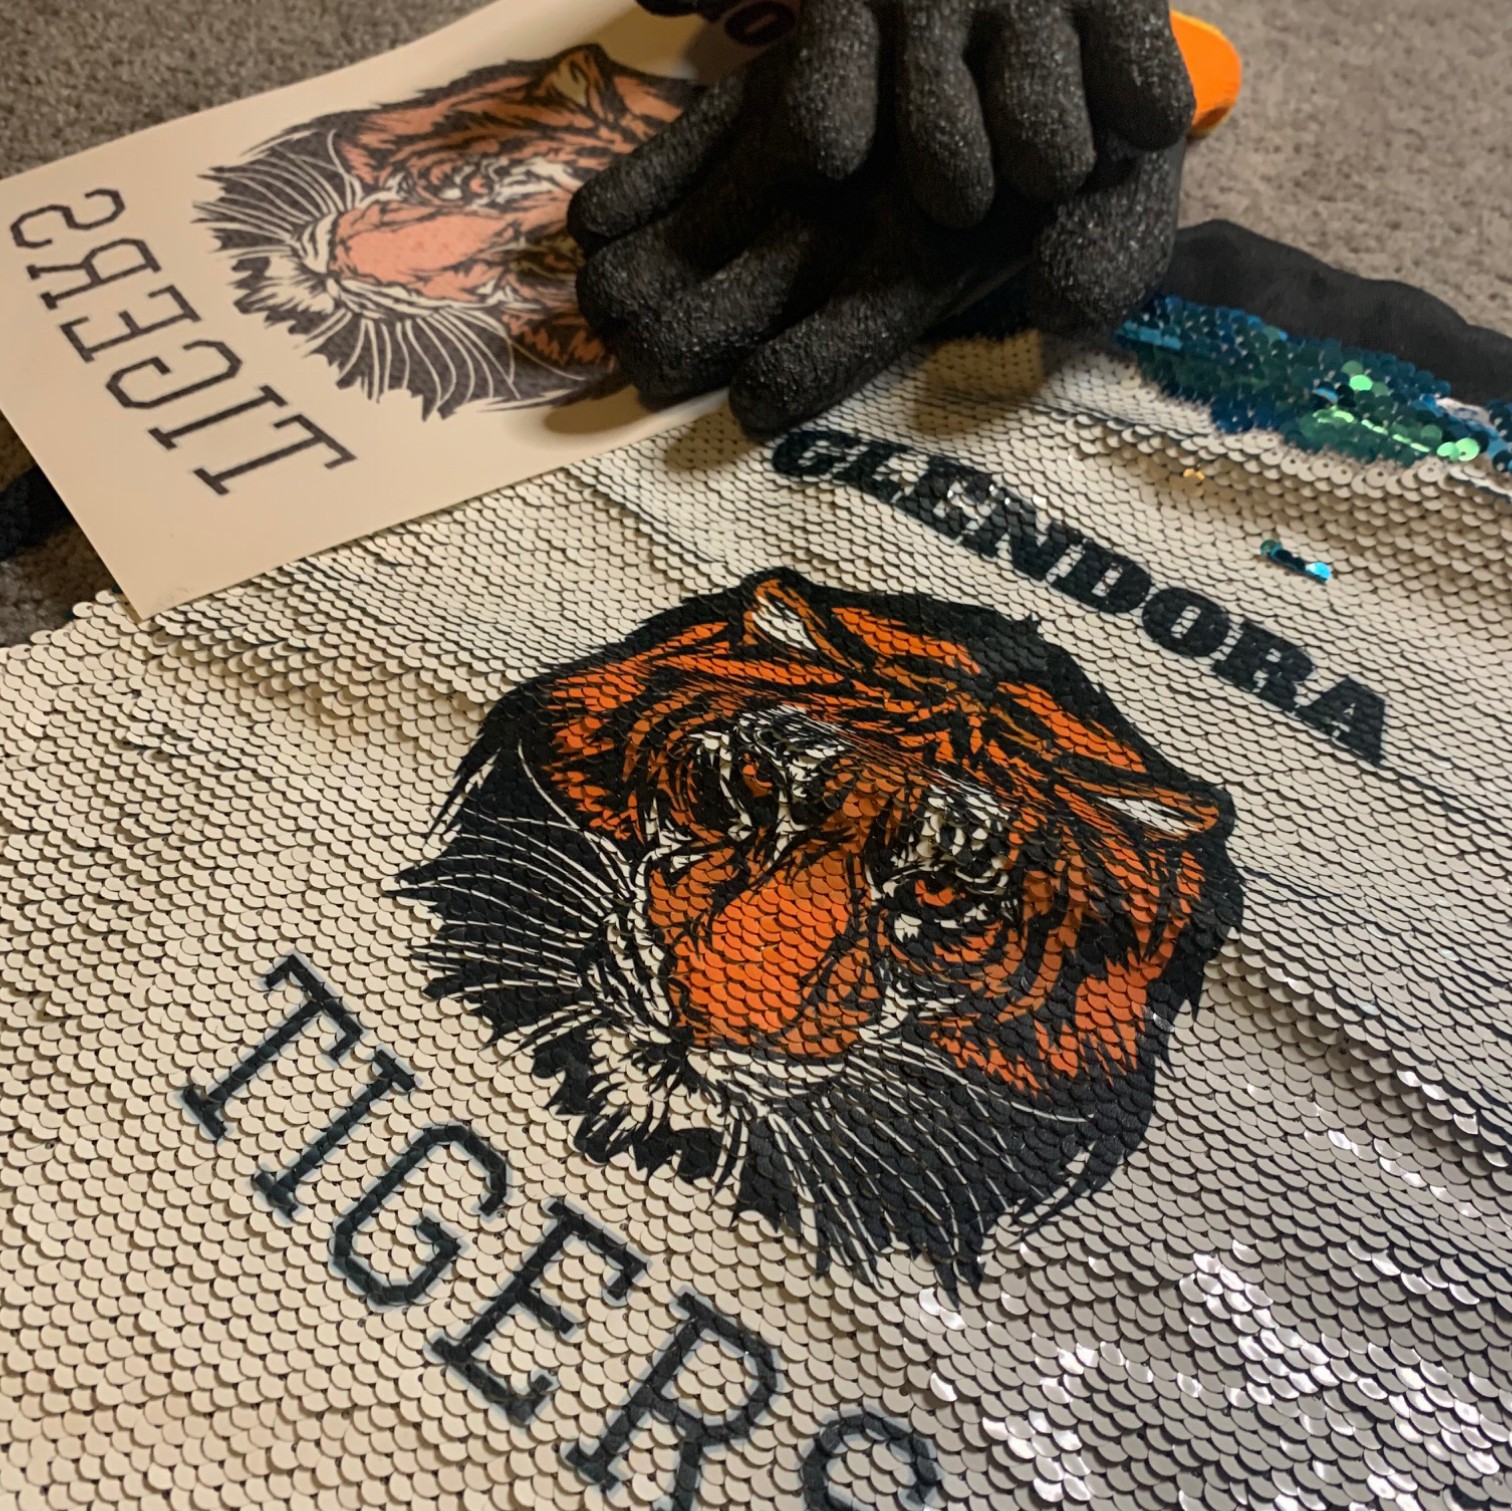
13 Admire your results

IMG_2113

View & Add Comments

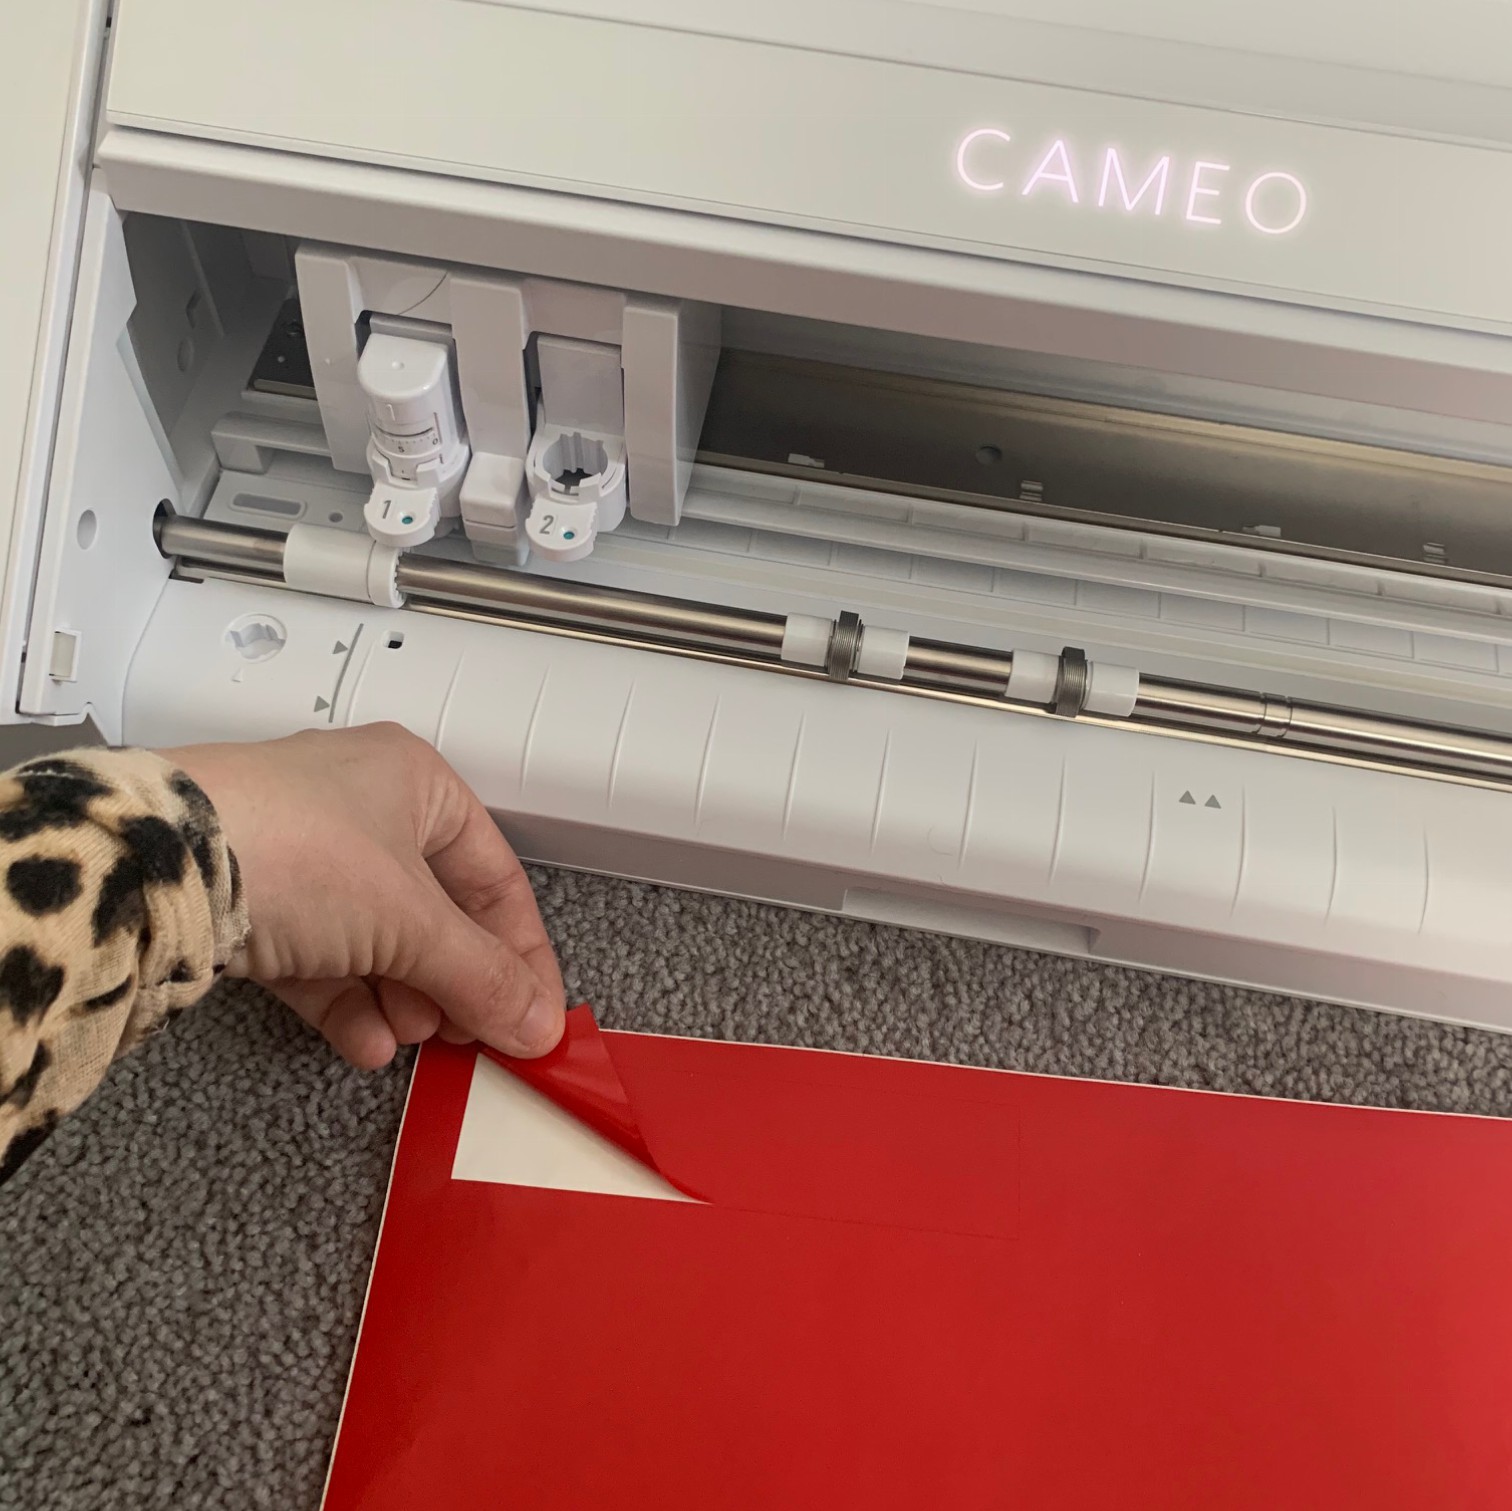
Unboxing Your Cameo 4

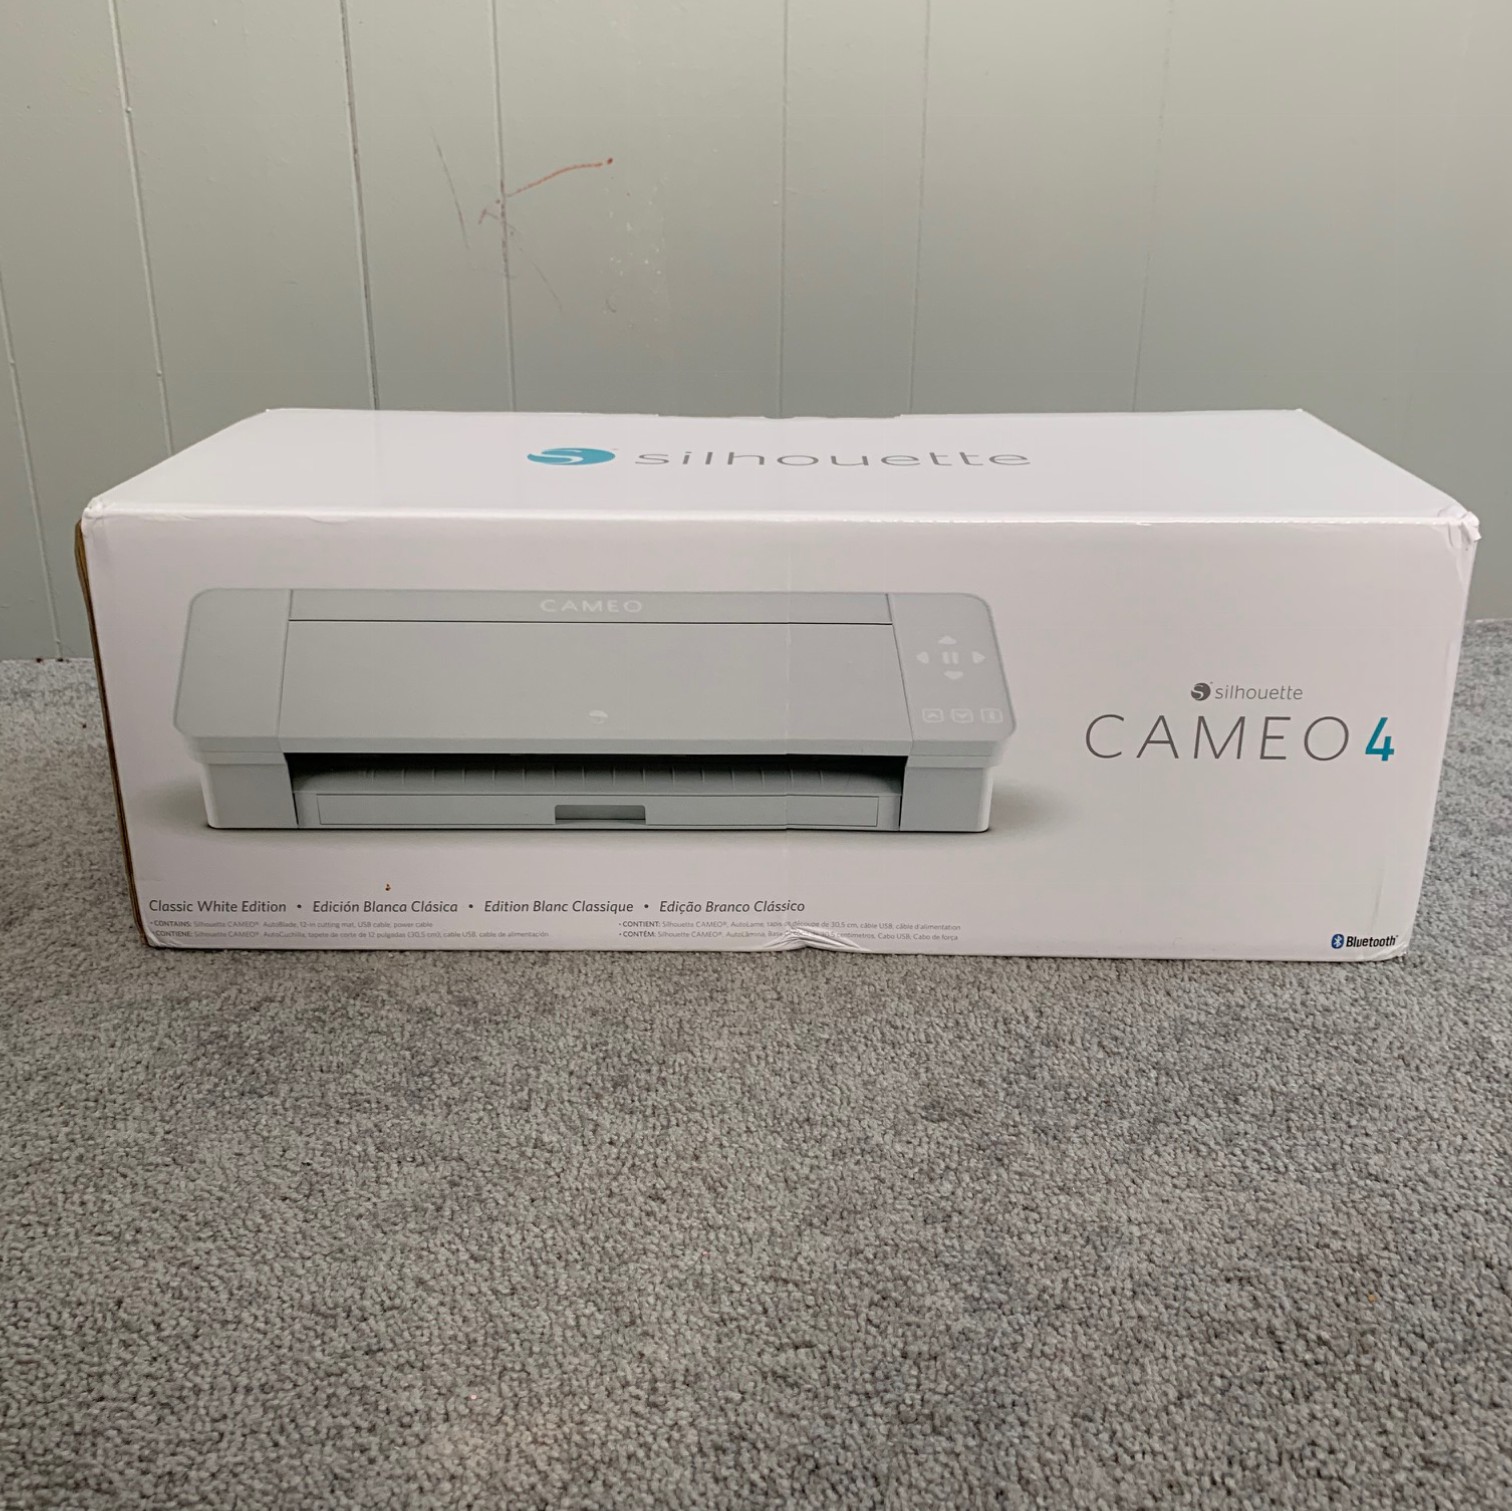
A common statement that we hear from customers is “I’ve had my Silhouette for about a week and I’m scared to take it out of the box” So we thought it would be a good idea to walk you through the unboxing process to show you that there is nothing to fear! In fact the quicker you do it the sooner you can start making awesome goodies!
IMG_1655

So first things first open your box.

IMG_1660

Inside you are going to find some papers, cords, cutting mat and of course your Silhouette Cameo.
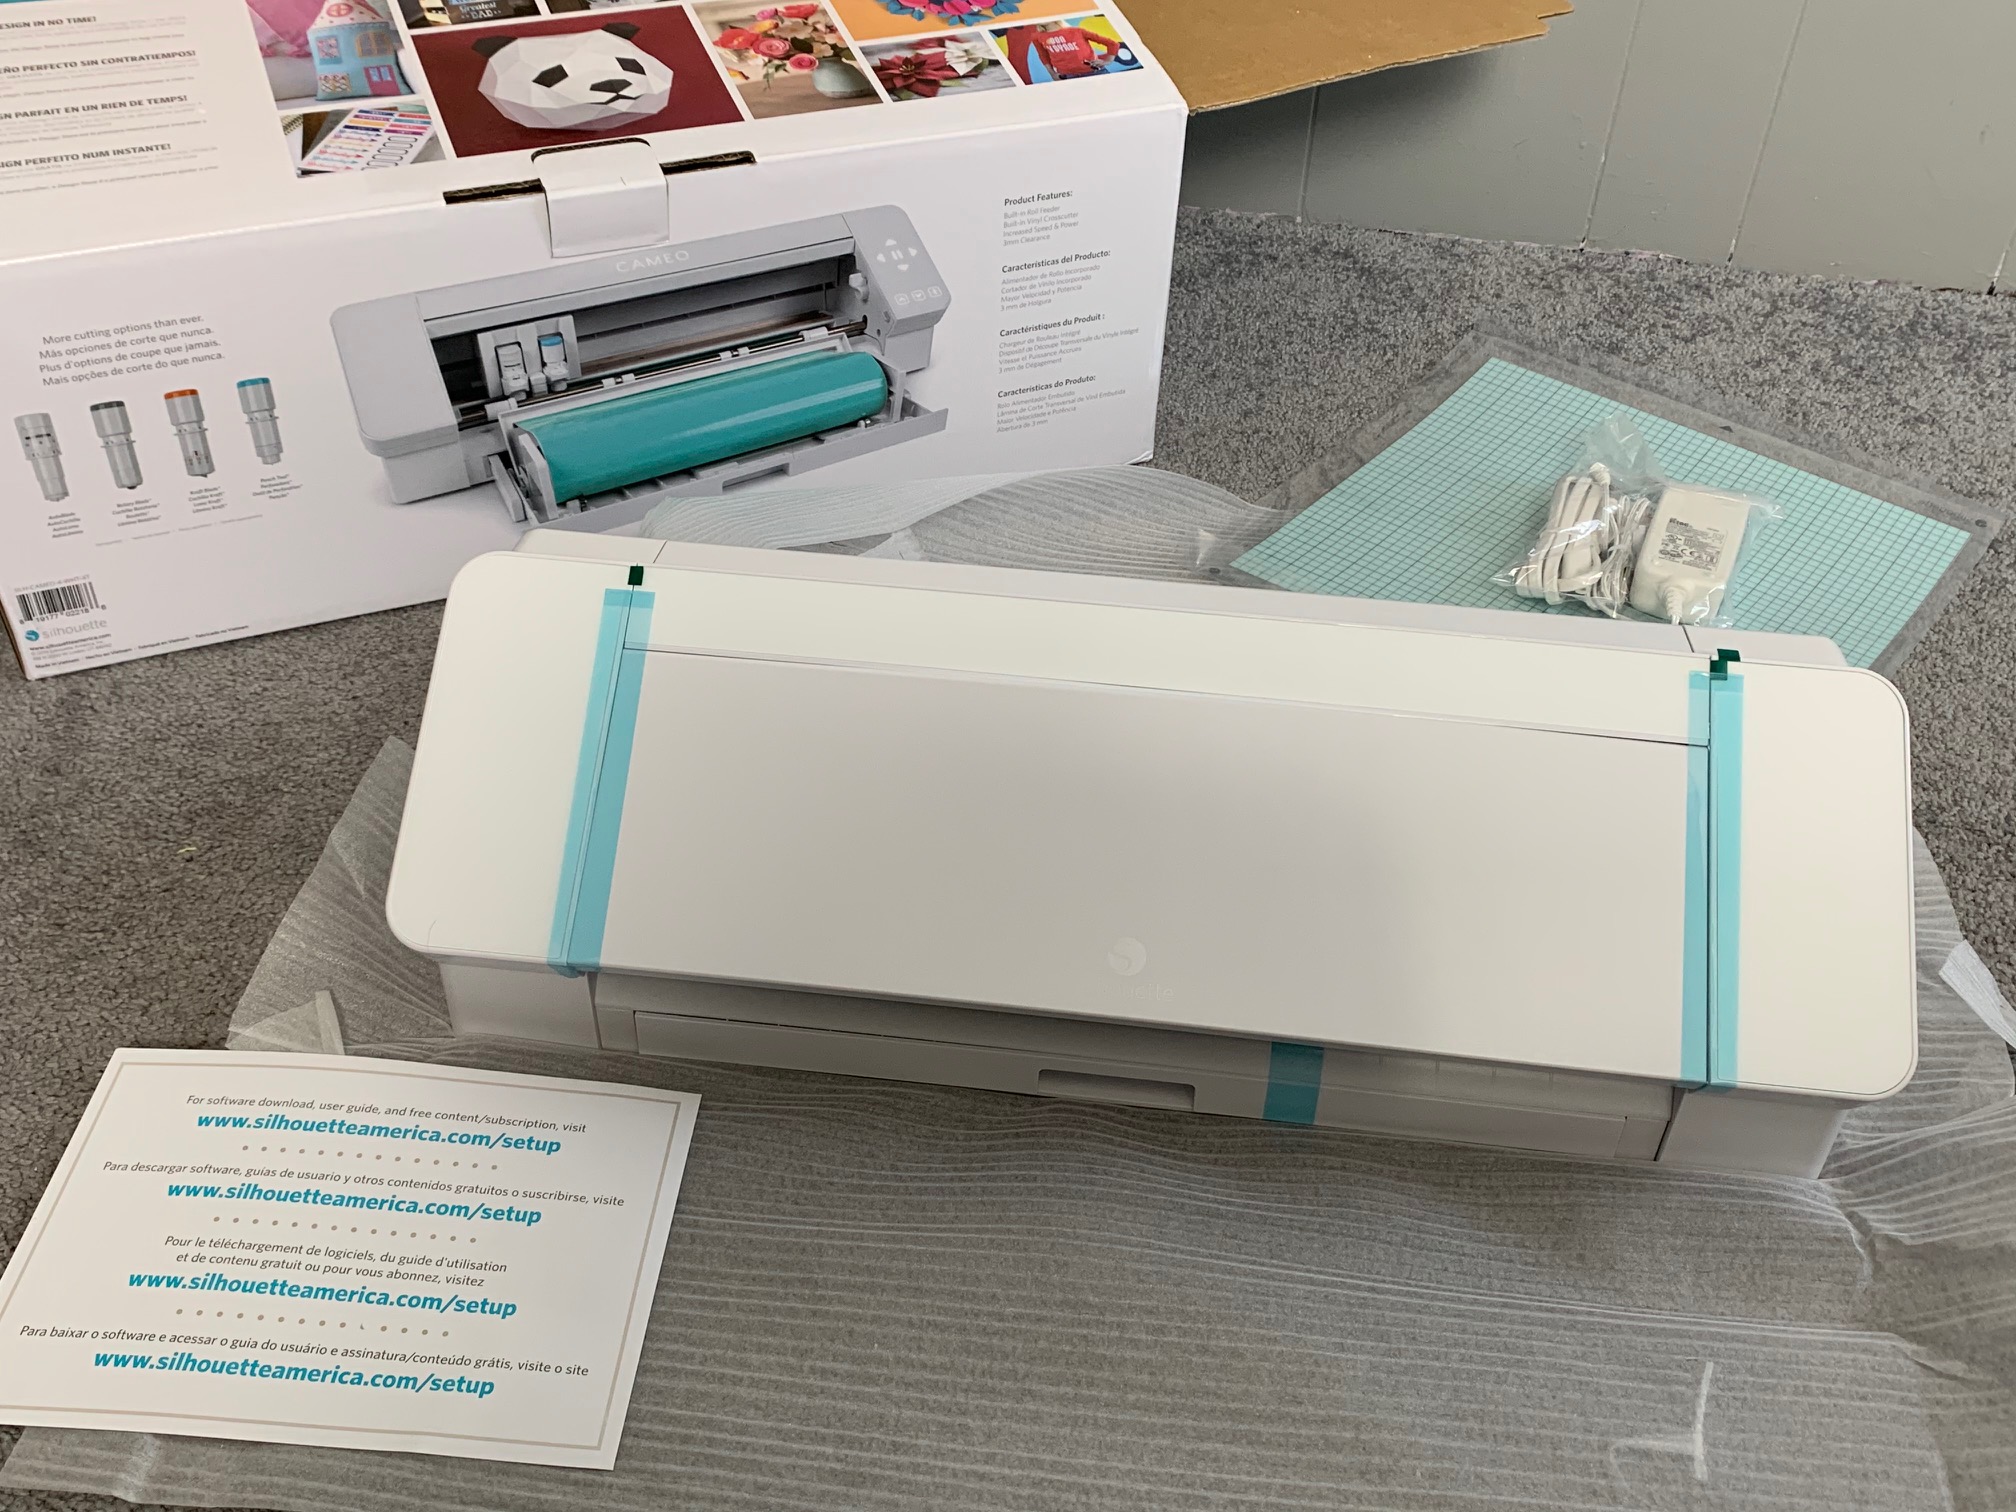
IMG_1666

As you start peeling away all of the packaging materials you will find some neat spots that move. Like this one for instance. Watch what happens.
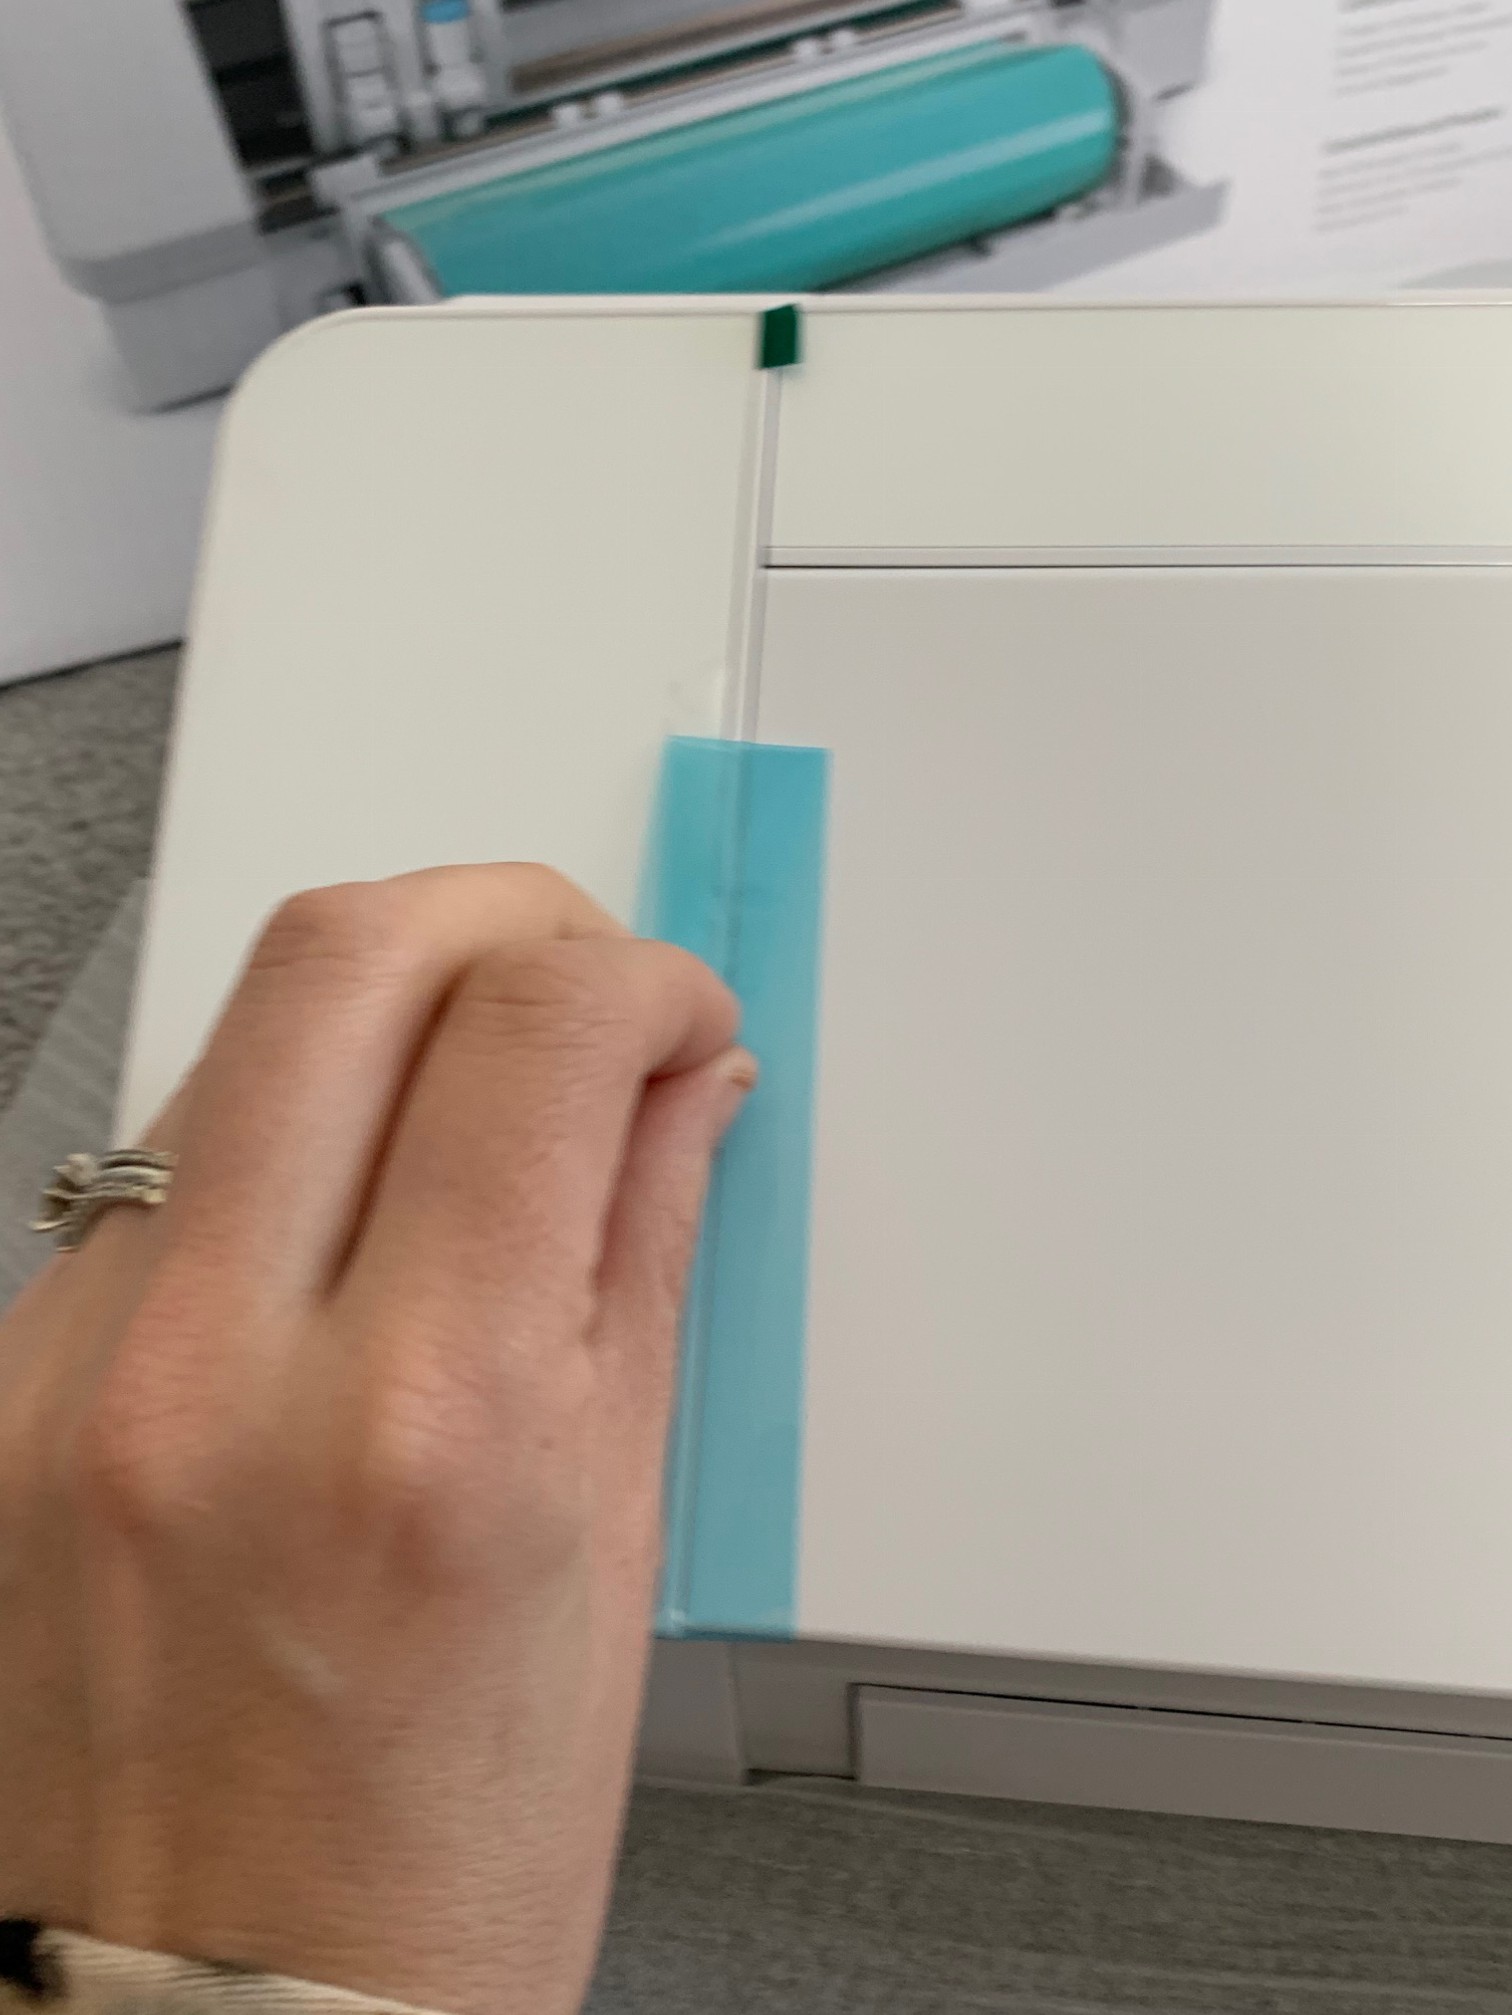
IMG_1667

It opens! It’s also the perfect size to store your extra Silhouette Blades.
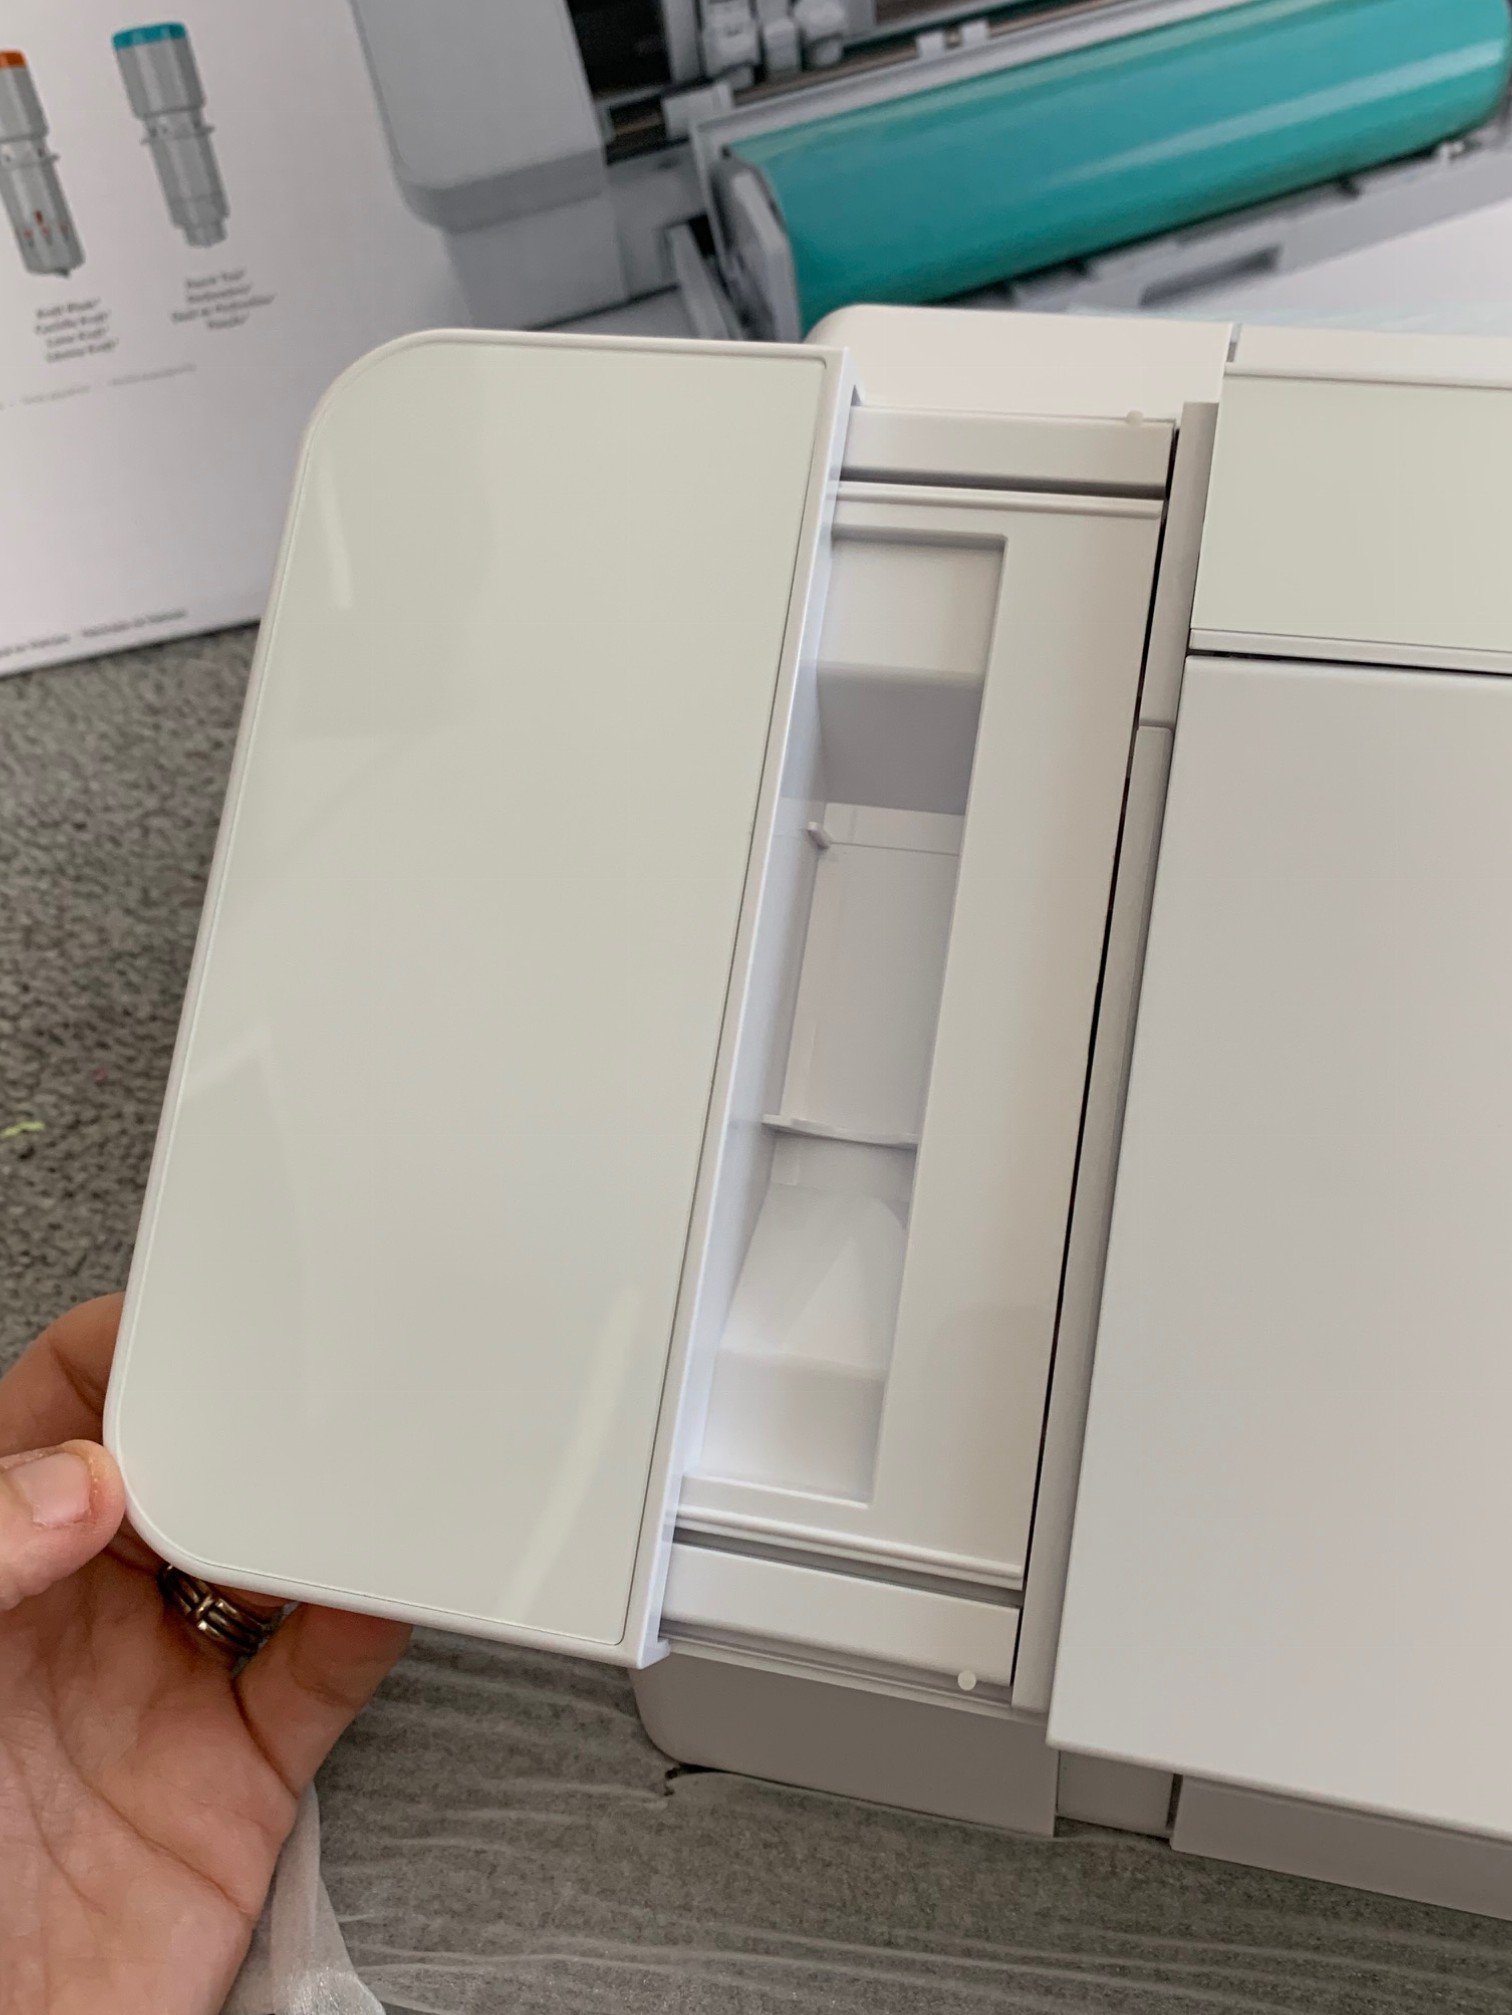
IMG_1668

If you’ve made it this far you may be wondering where the blade is. Look inside the tan triangle!IMG_1677

Now you should have the remaining pieces to put together.

IMG_1679

Start by plugging in all of your outlets.
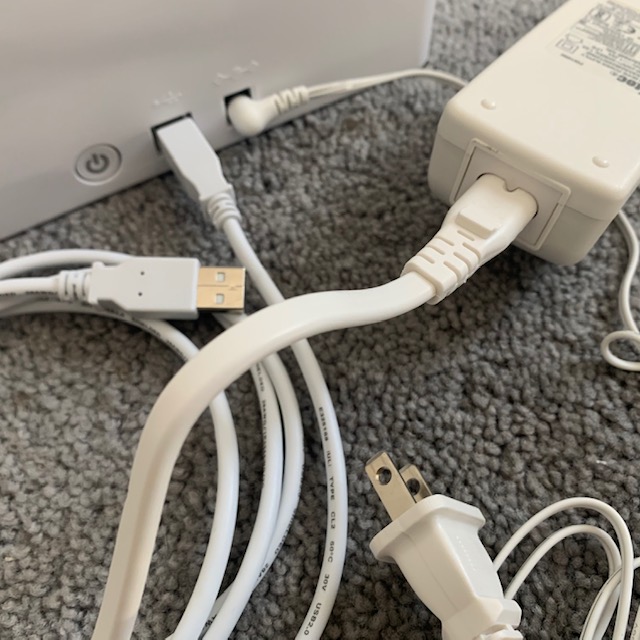
IMG_1685

Take your auto blade and place it into your machine.
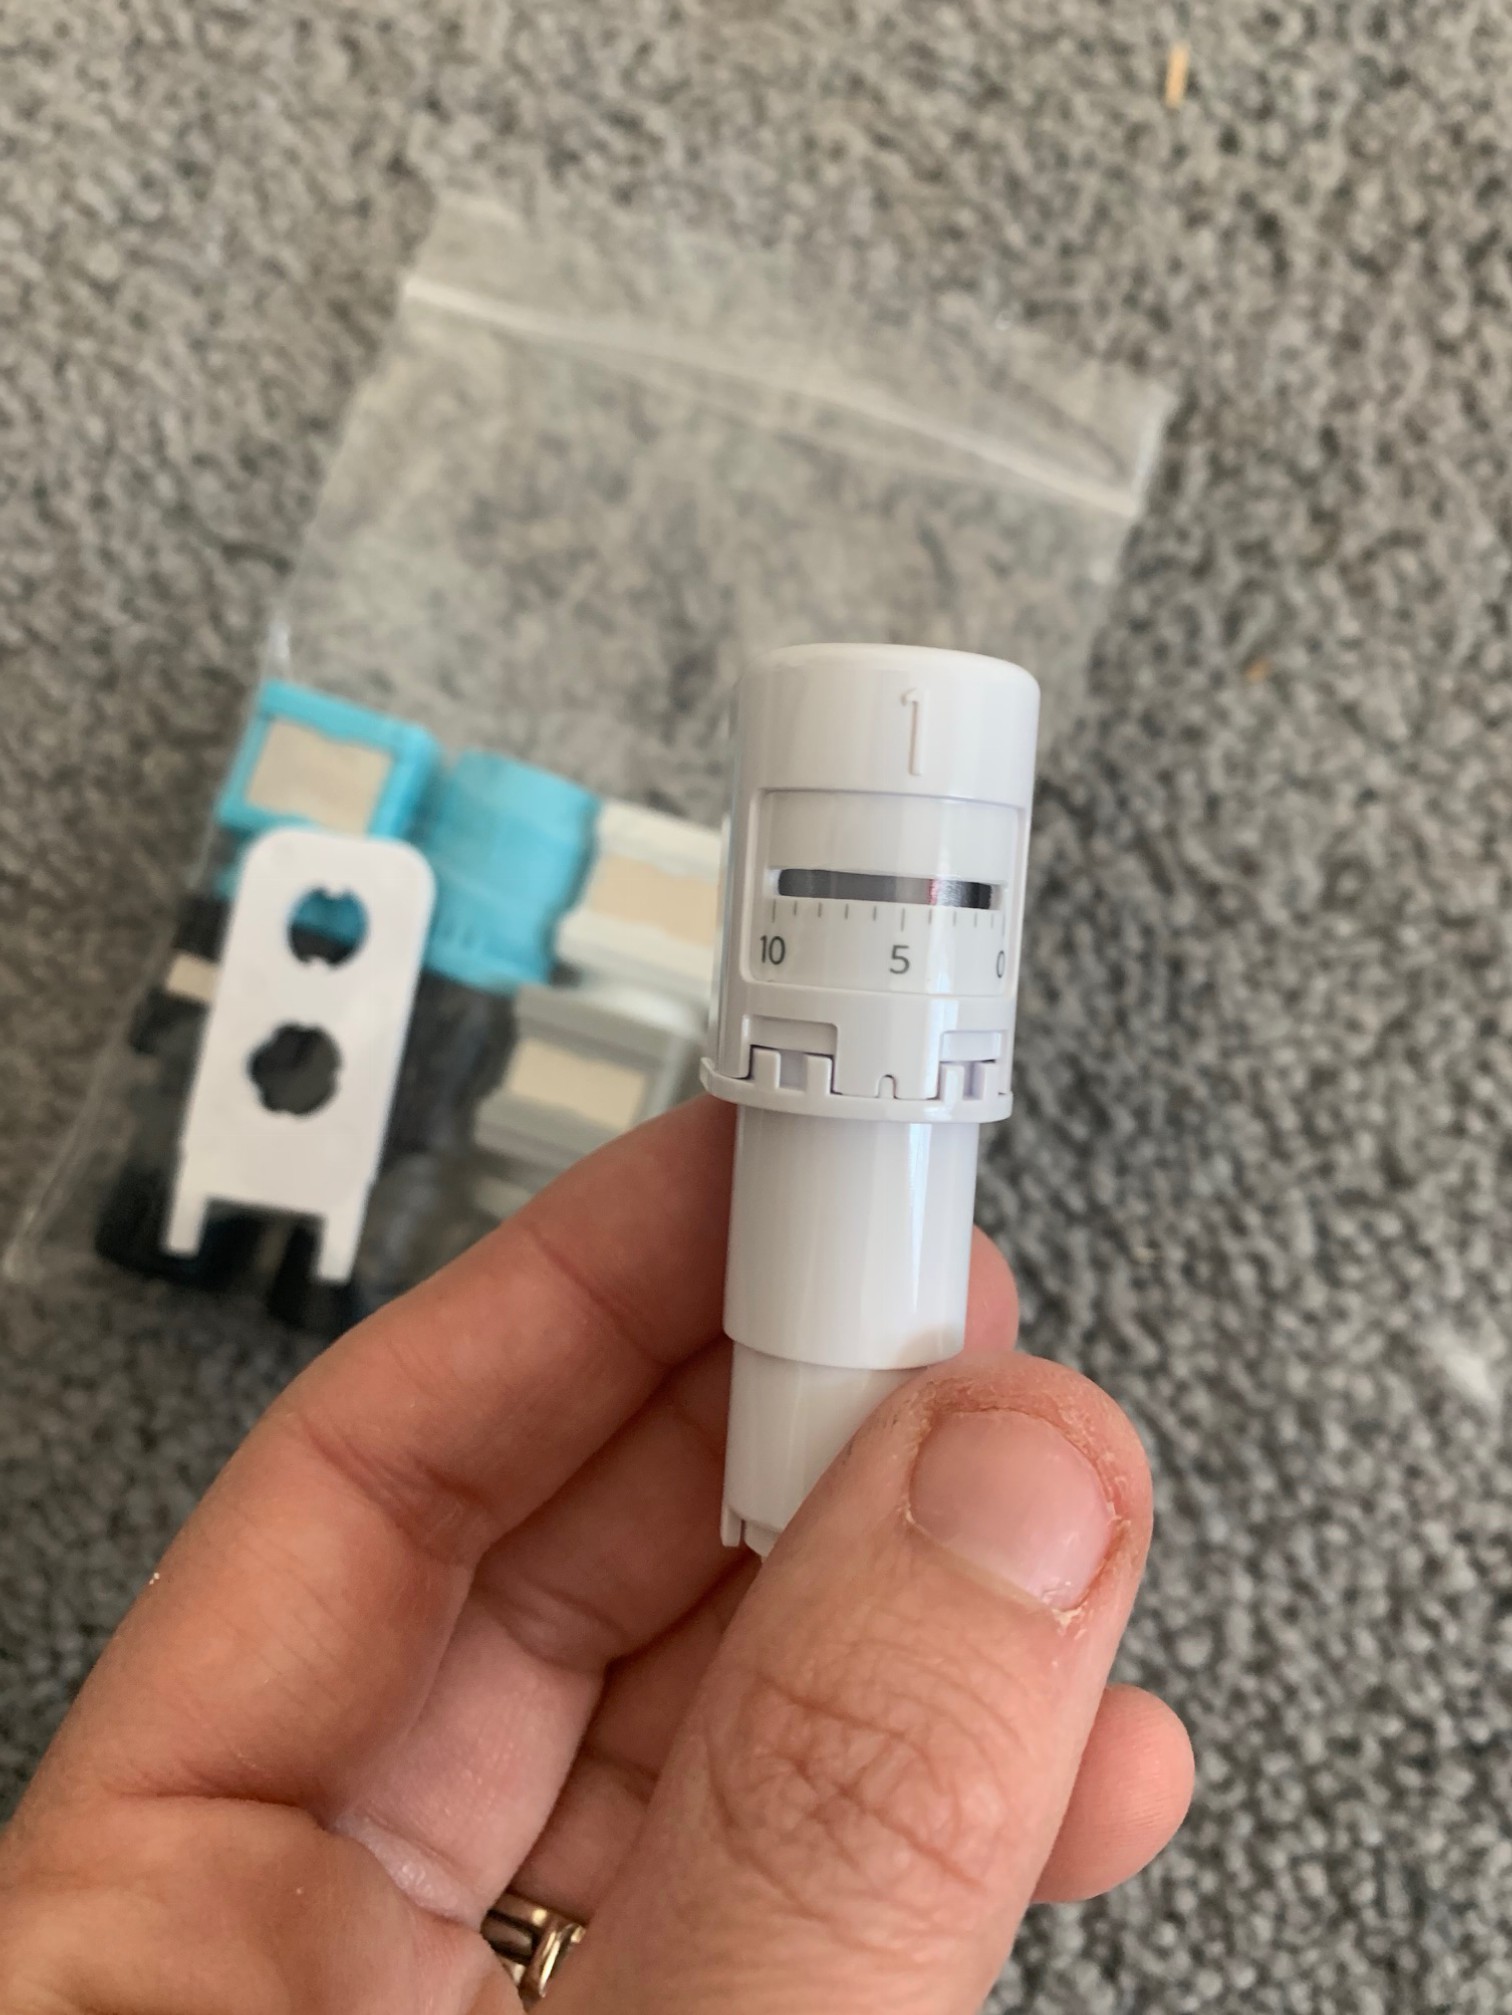
IMG_1680

To do this just pull the tab out, place the blade in and gently push the tab back.
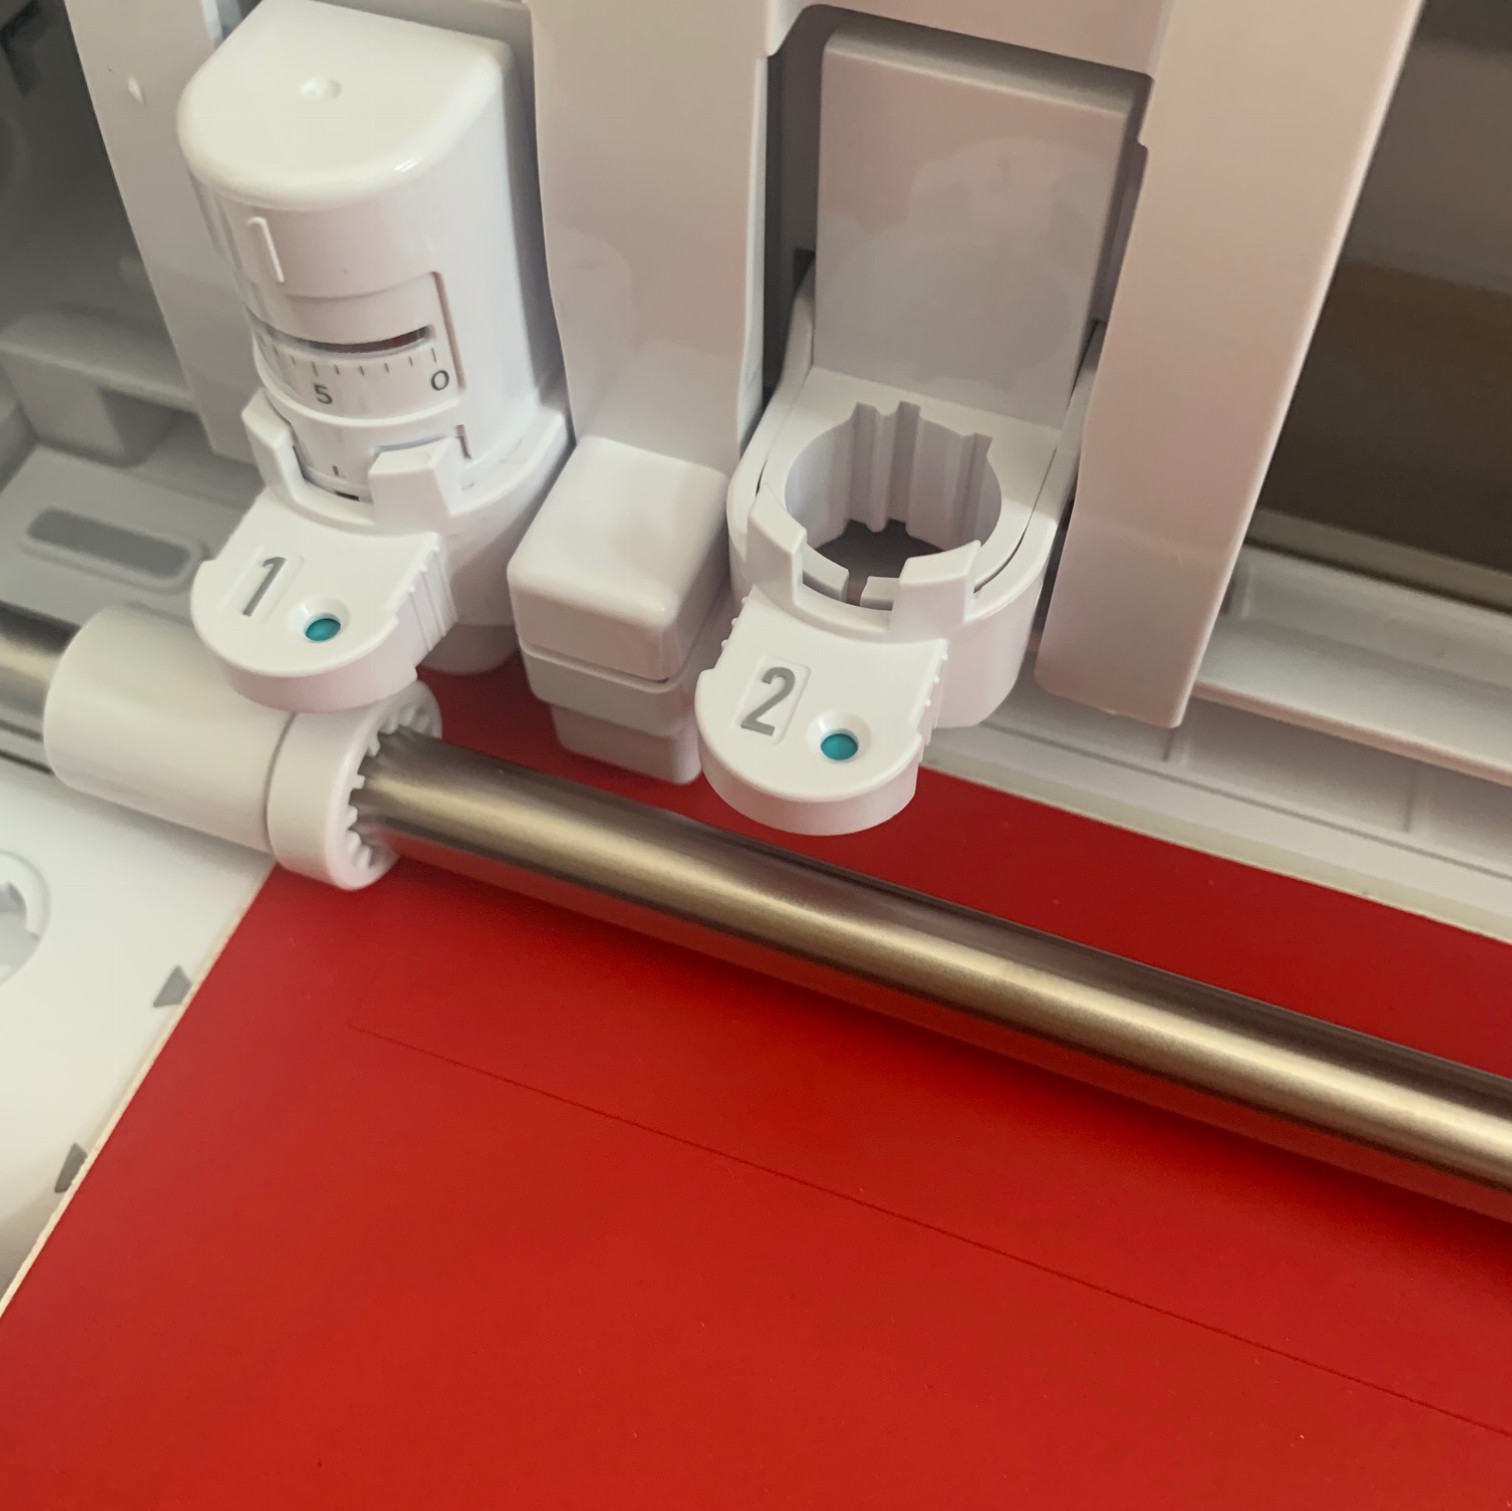
IMG_1707

At this point you are ready to design something and make your first cut! Youw ill need to download your Silhouette software by following the instructions on the card.

Open the program and start with a simple design/shape. As you see I used a rectangle.
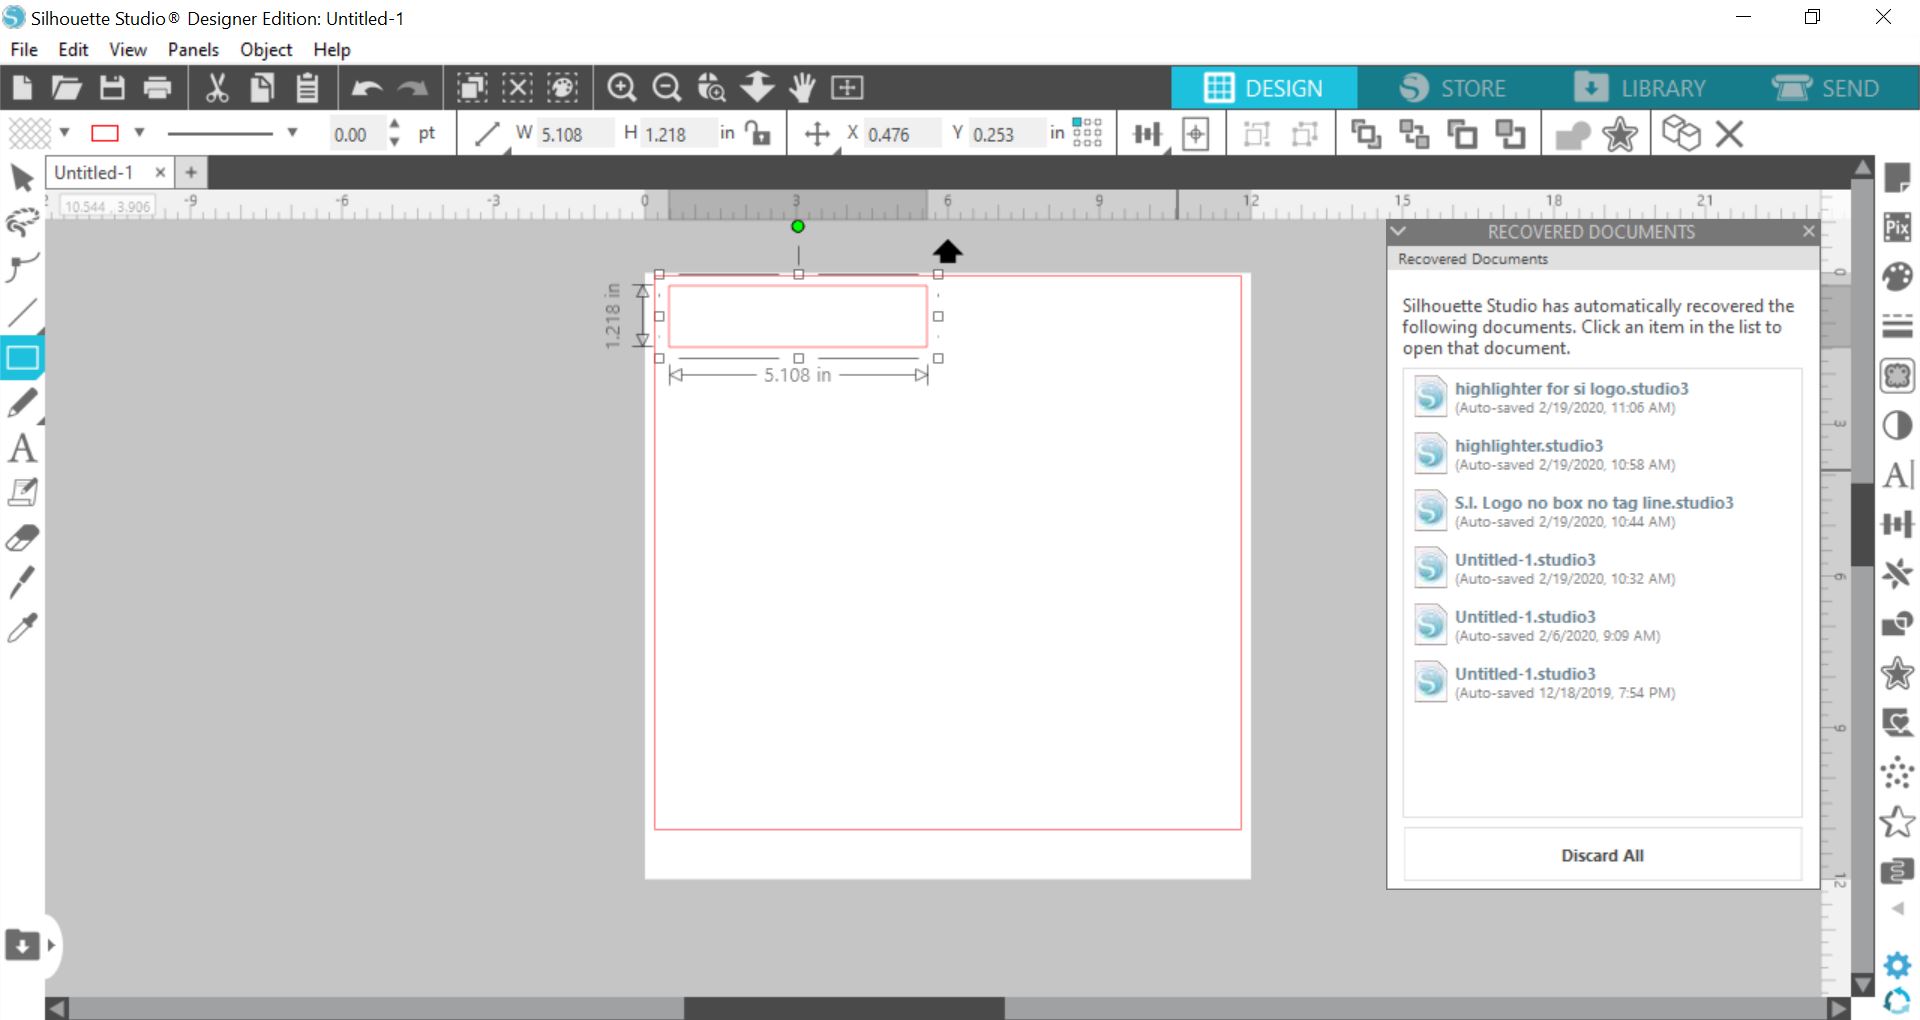
first cut 1

Now head over to the send option. Change the Material type to whatever you are cutting with. Make sure the blade is on Auto Blade and click cut!
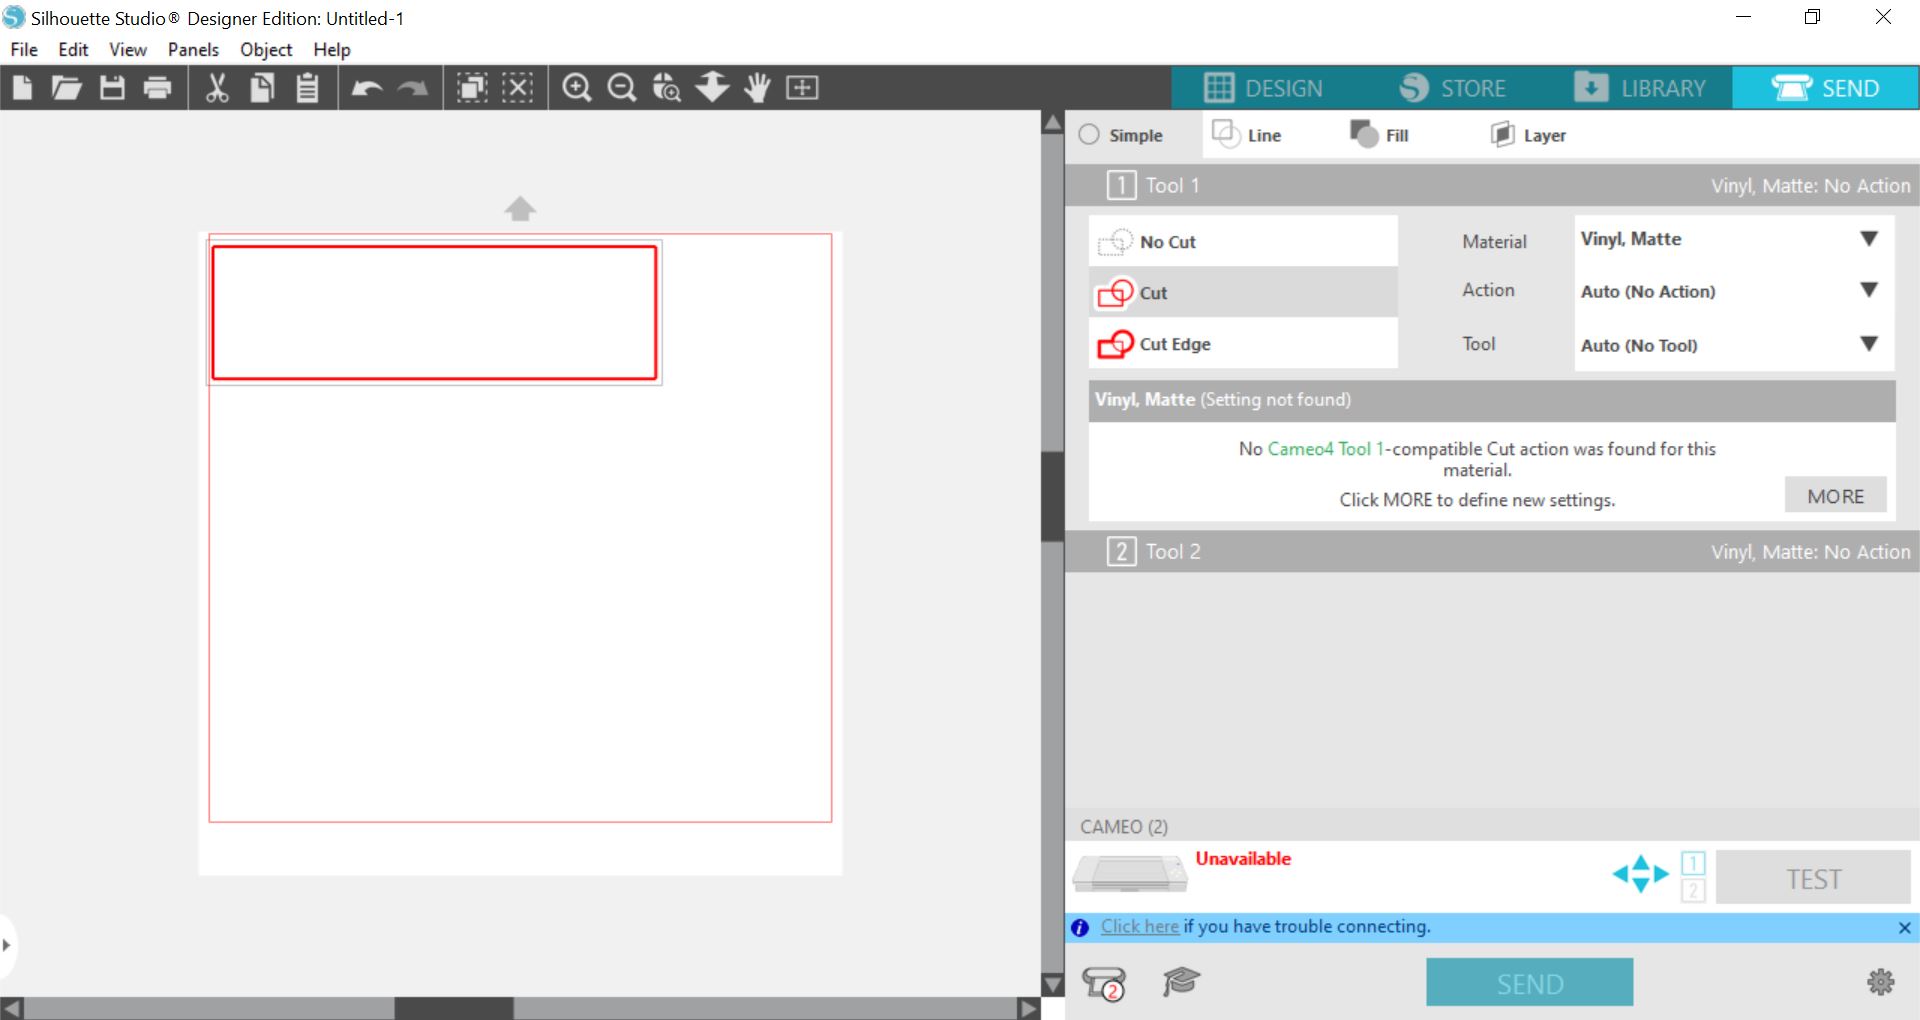
first cut 2

Once you cut you can weed your design!
IMG_1709 (1)

Congrats you are now ready to get to crafting!

View & Add Comments
Easter Items That You Can Make or Decorate!

With Easter “hopping” up around the corner. We thought it would be fun to share some ideas of things that you can make for Easter!

Easter


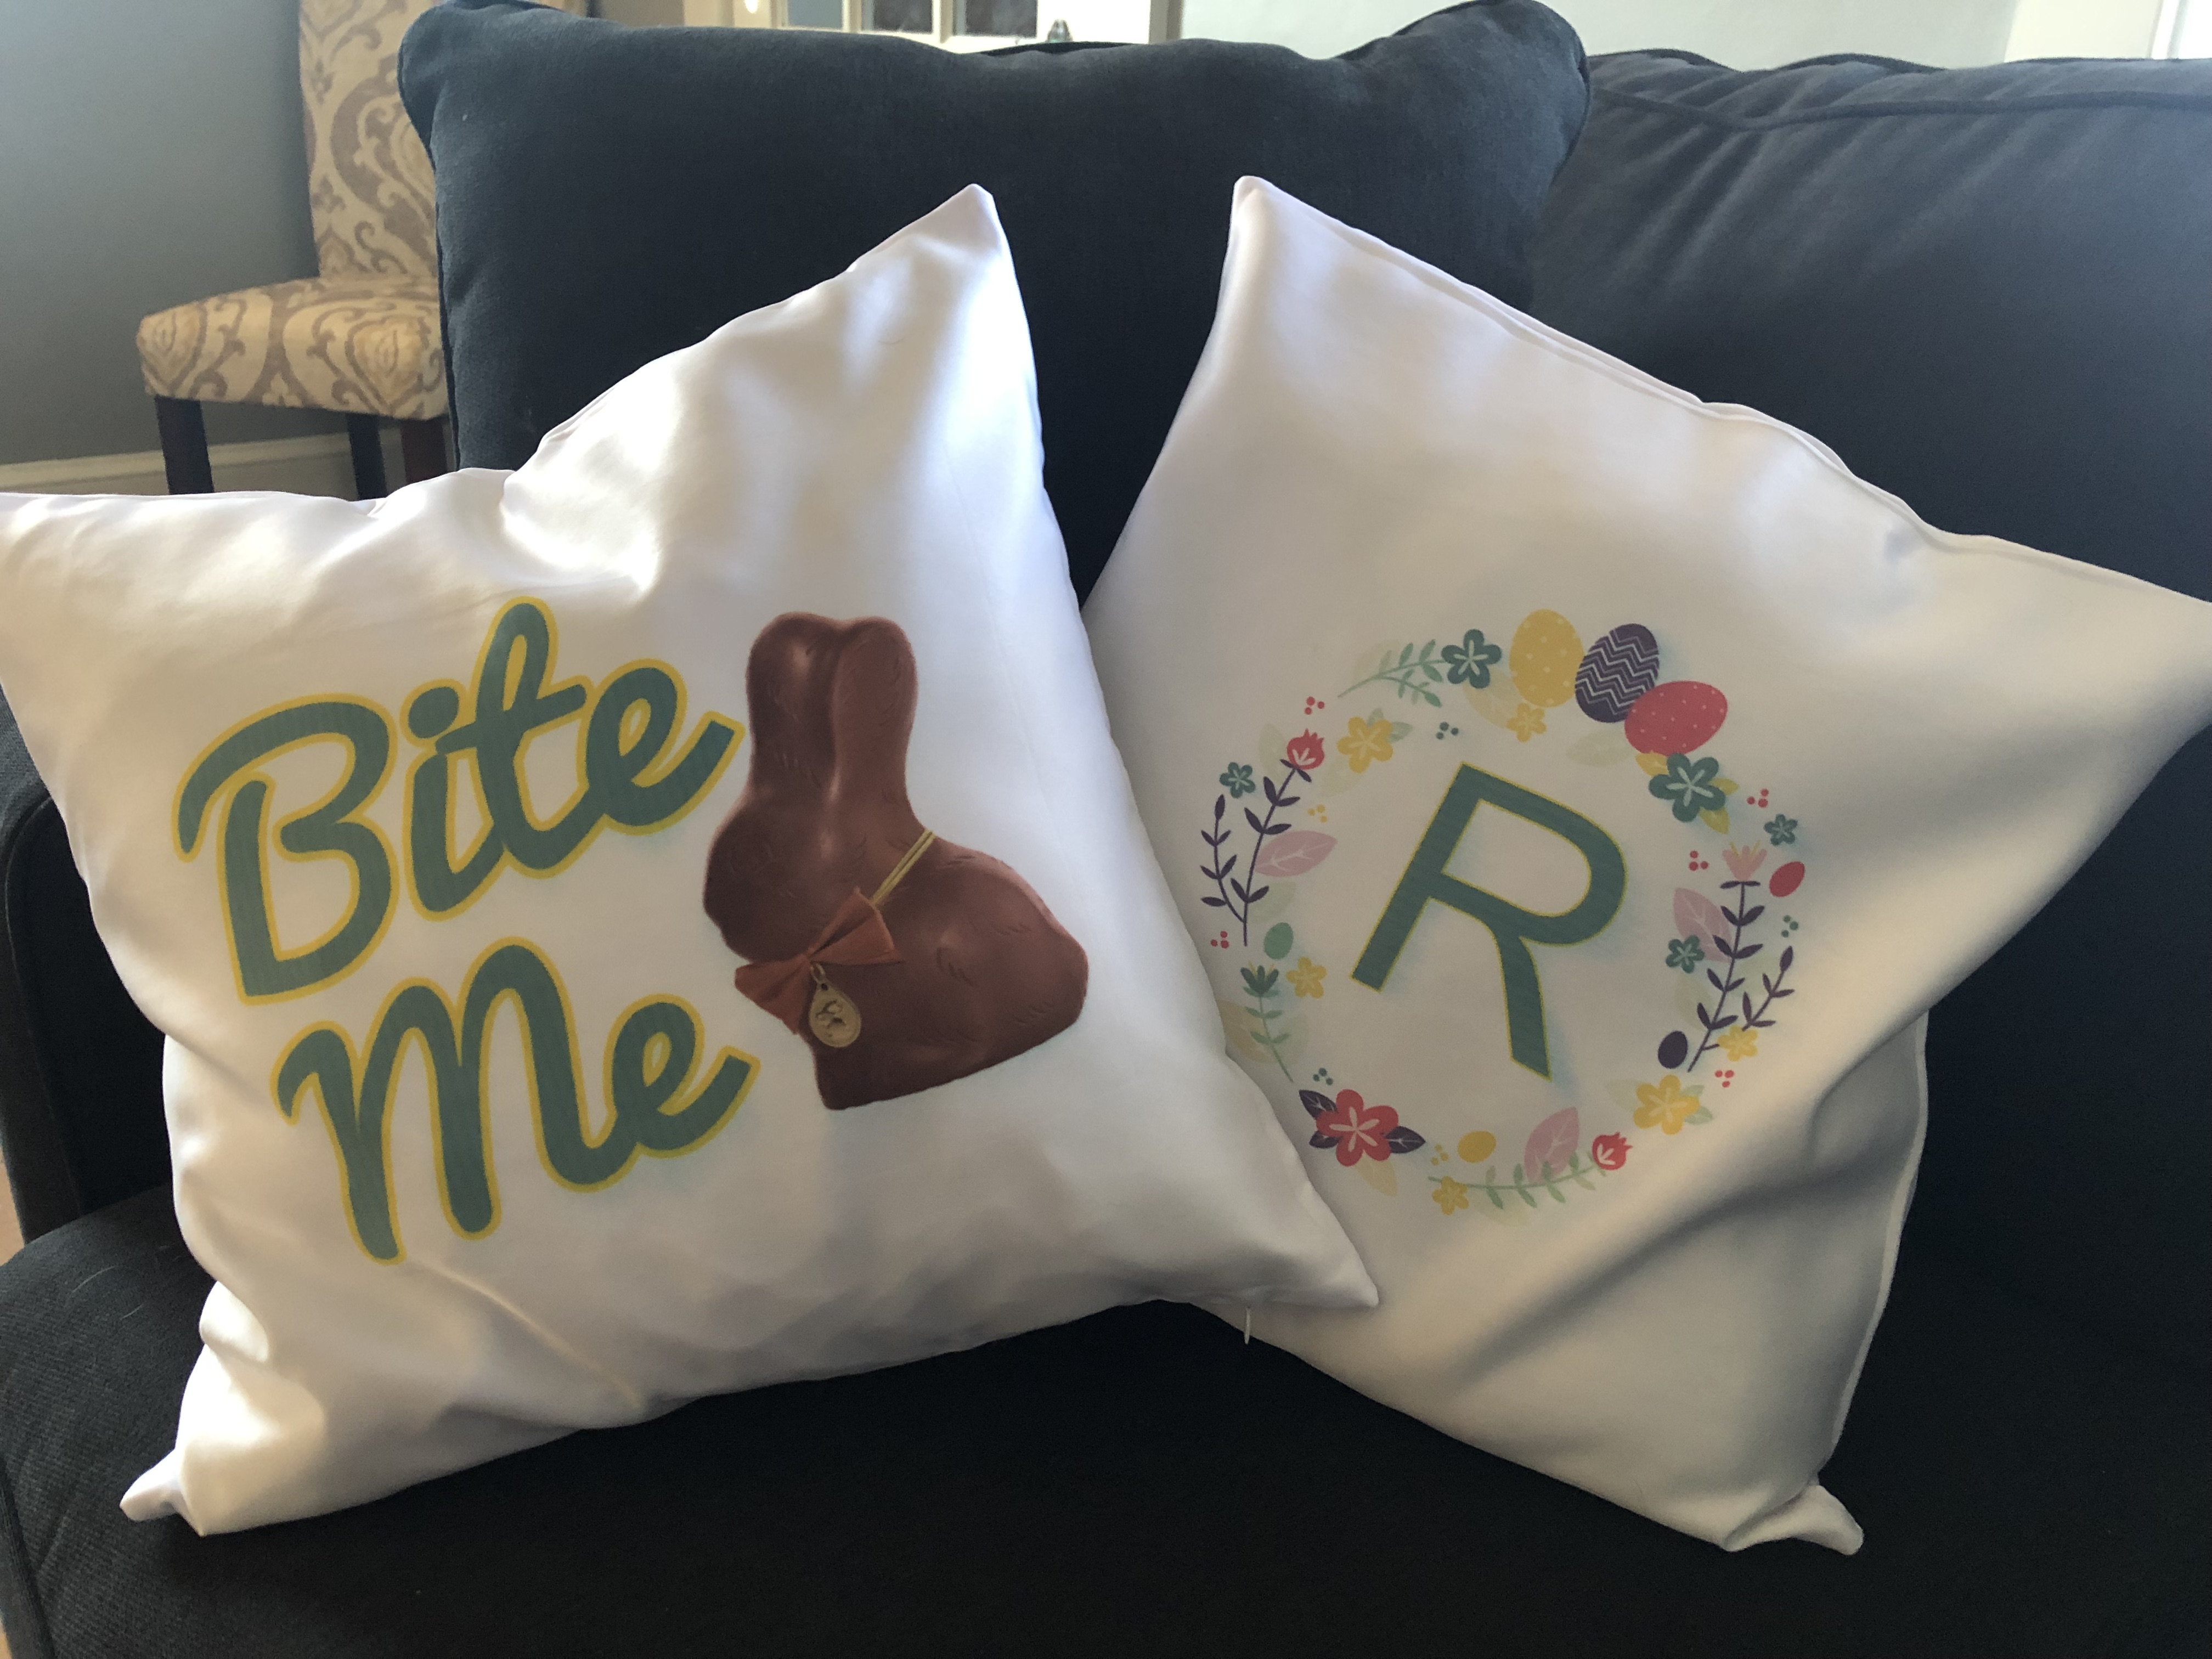
Want to decorate your space? Make Easter pillows! For this project, we used a sublimation printer and sublimation pillow blanks but you could also use HTV! See how we made them here!

easter pillow

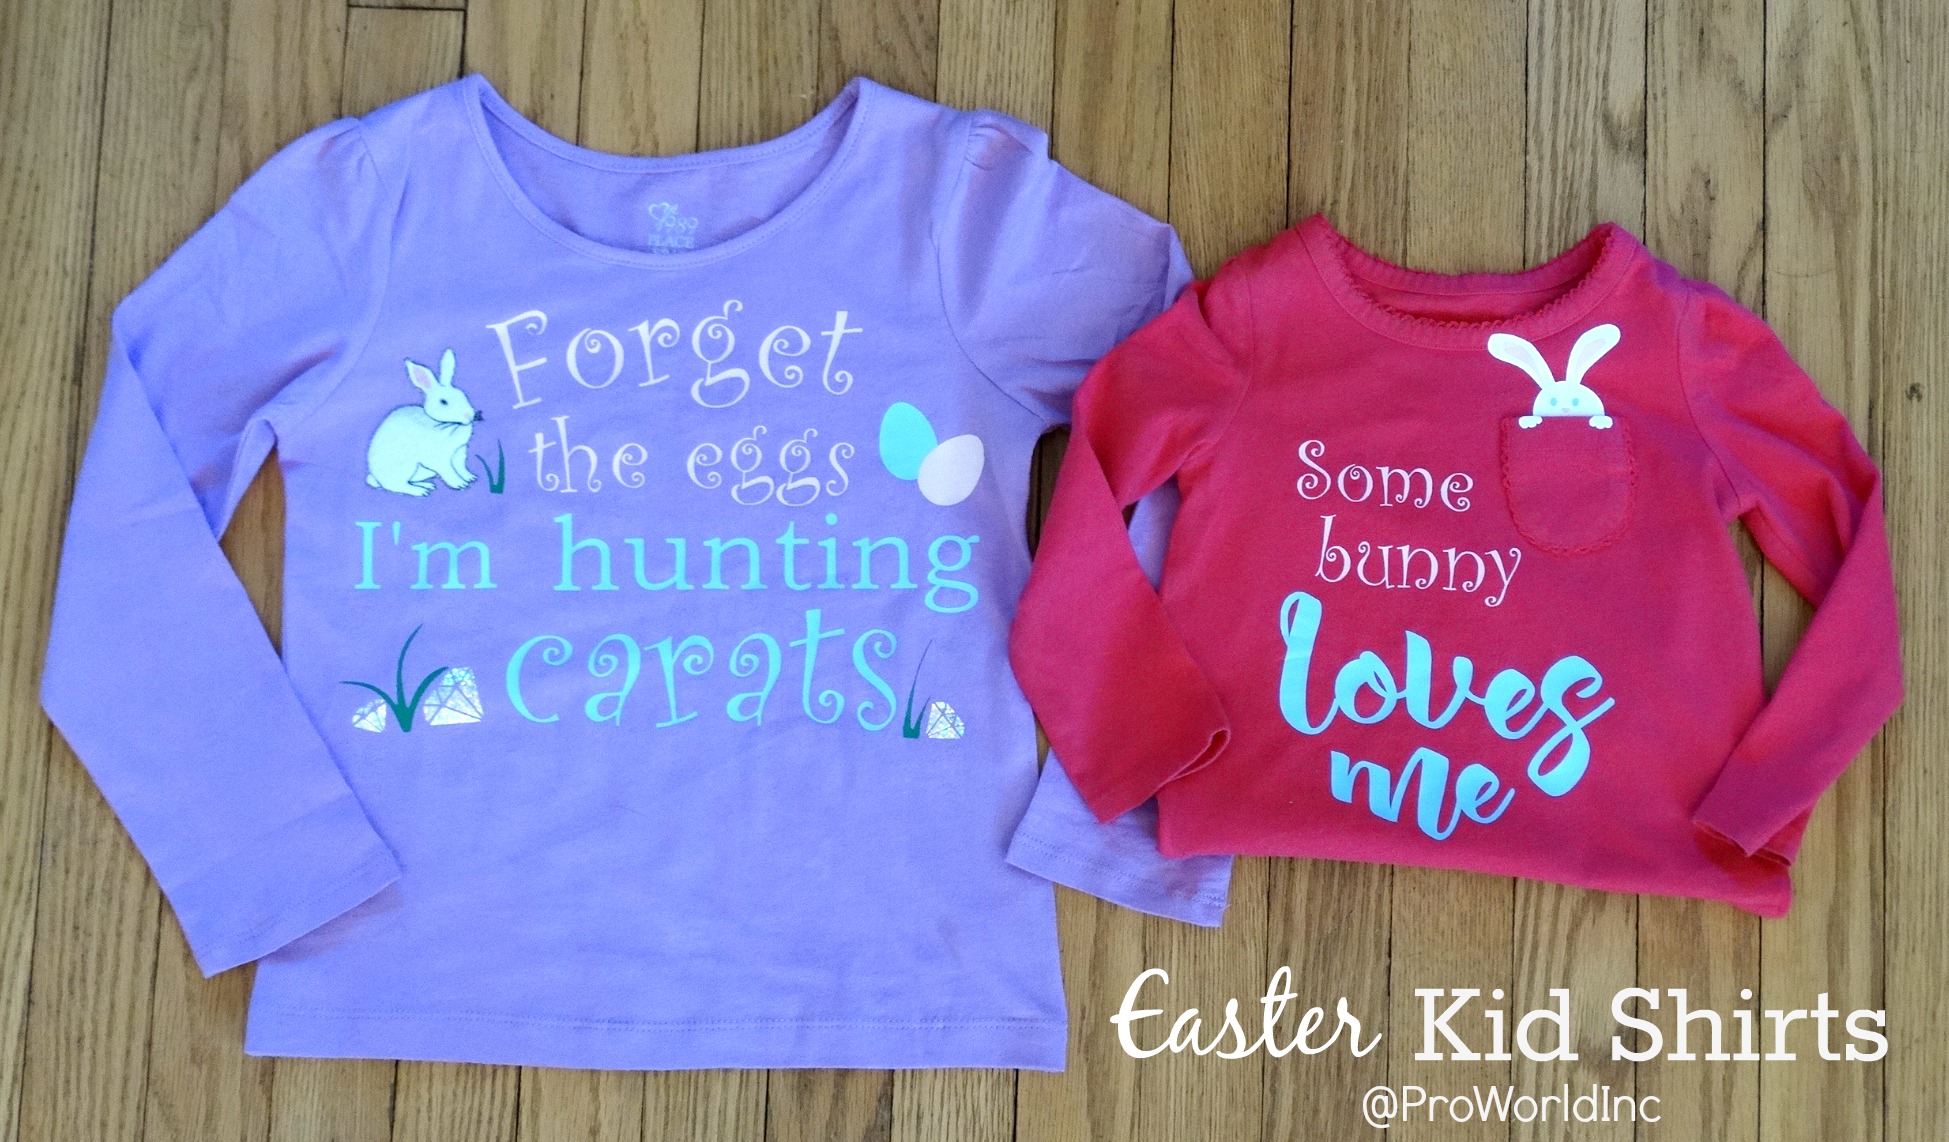
Want to make the kids some Custom Easter shirts? Roll out the HTV and get designing! Need a tutorial? Go here!

Some bunny loves you easter shirt

Want to make a shirt but don’t have a lot of time? Grab an Easter heat transfer and make a funny bunny shirt!

easter heat transfers

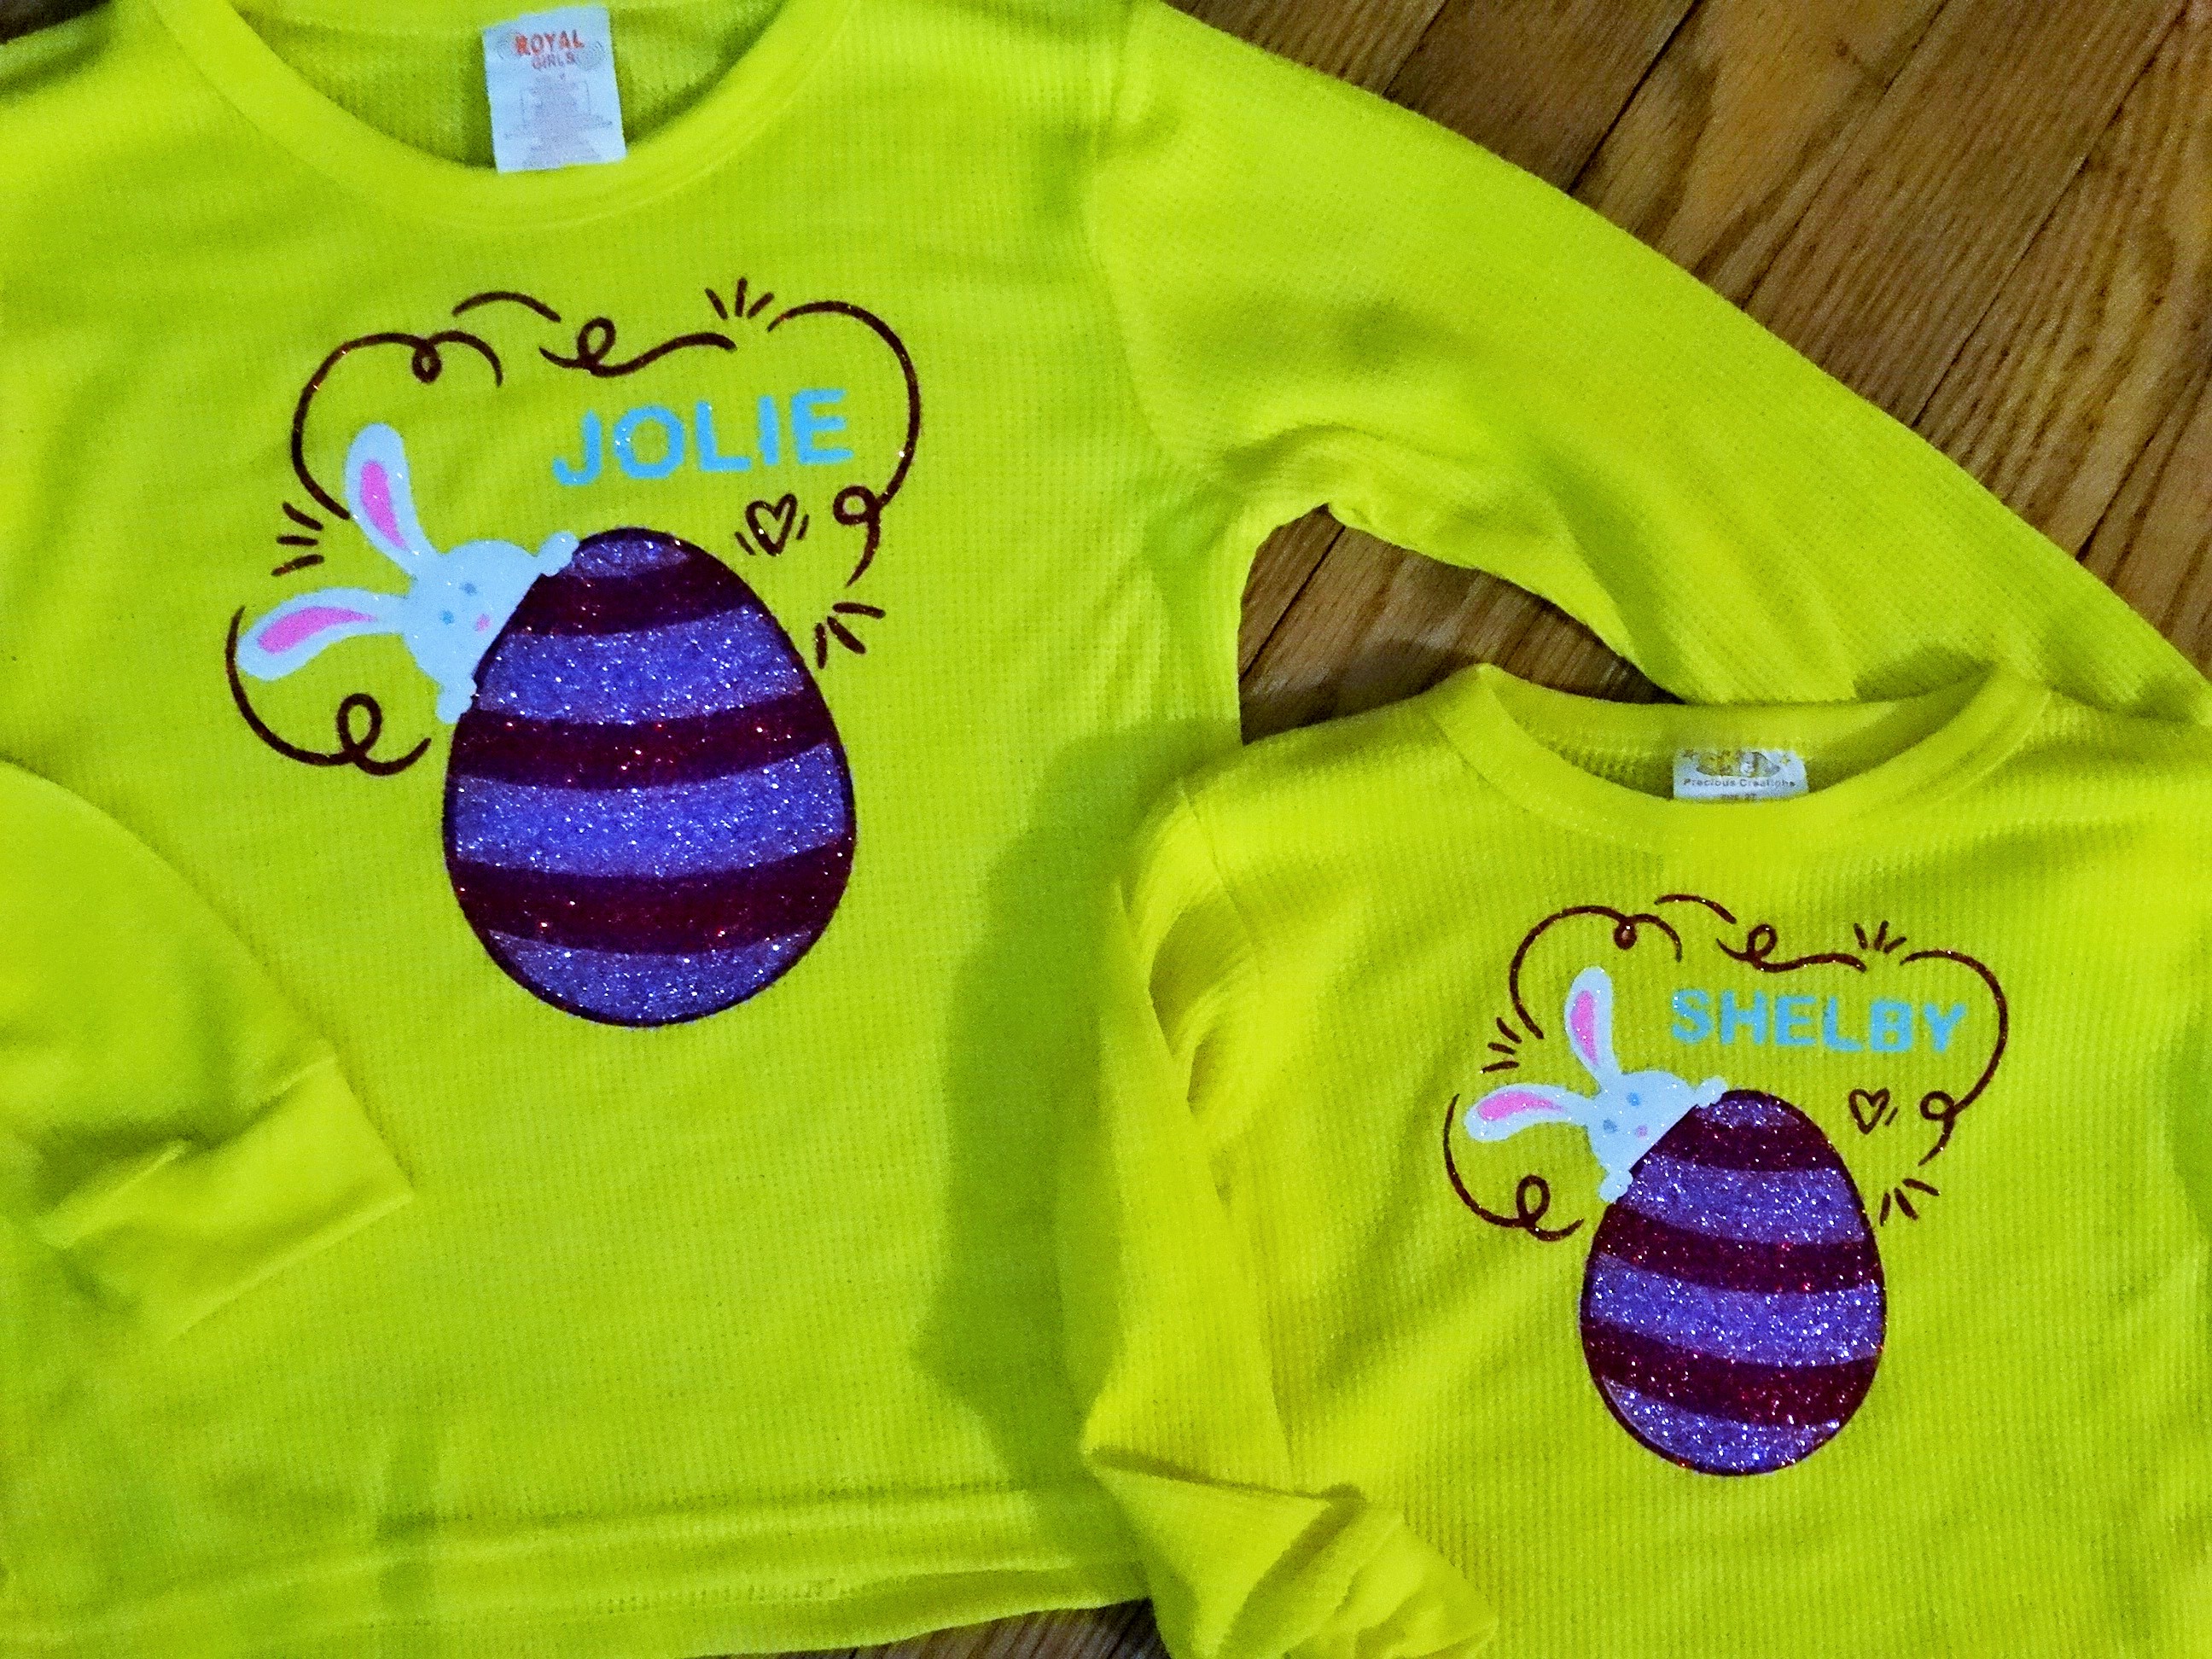
As your making things for the kids. How about you make them some custom Easter pajamas! That way they can wear them on Easter morning! If you want to see how we made them go here!

easter bunny pajamas

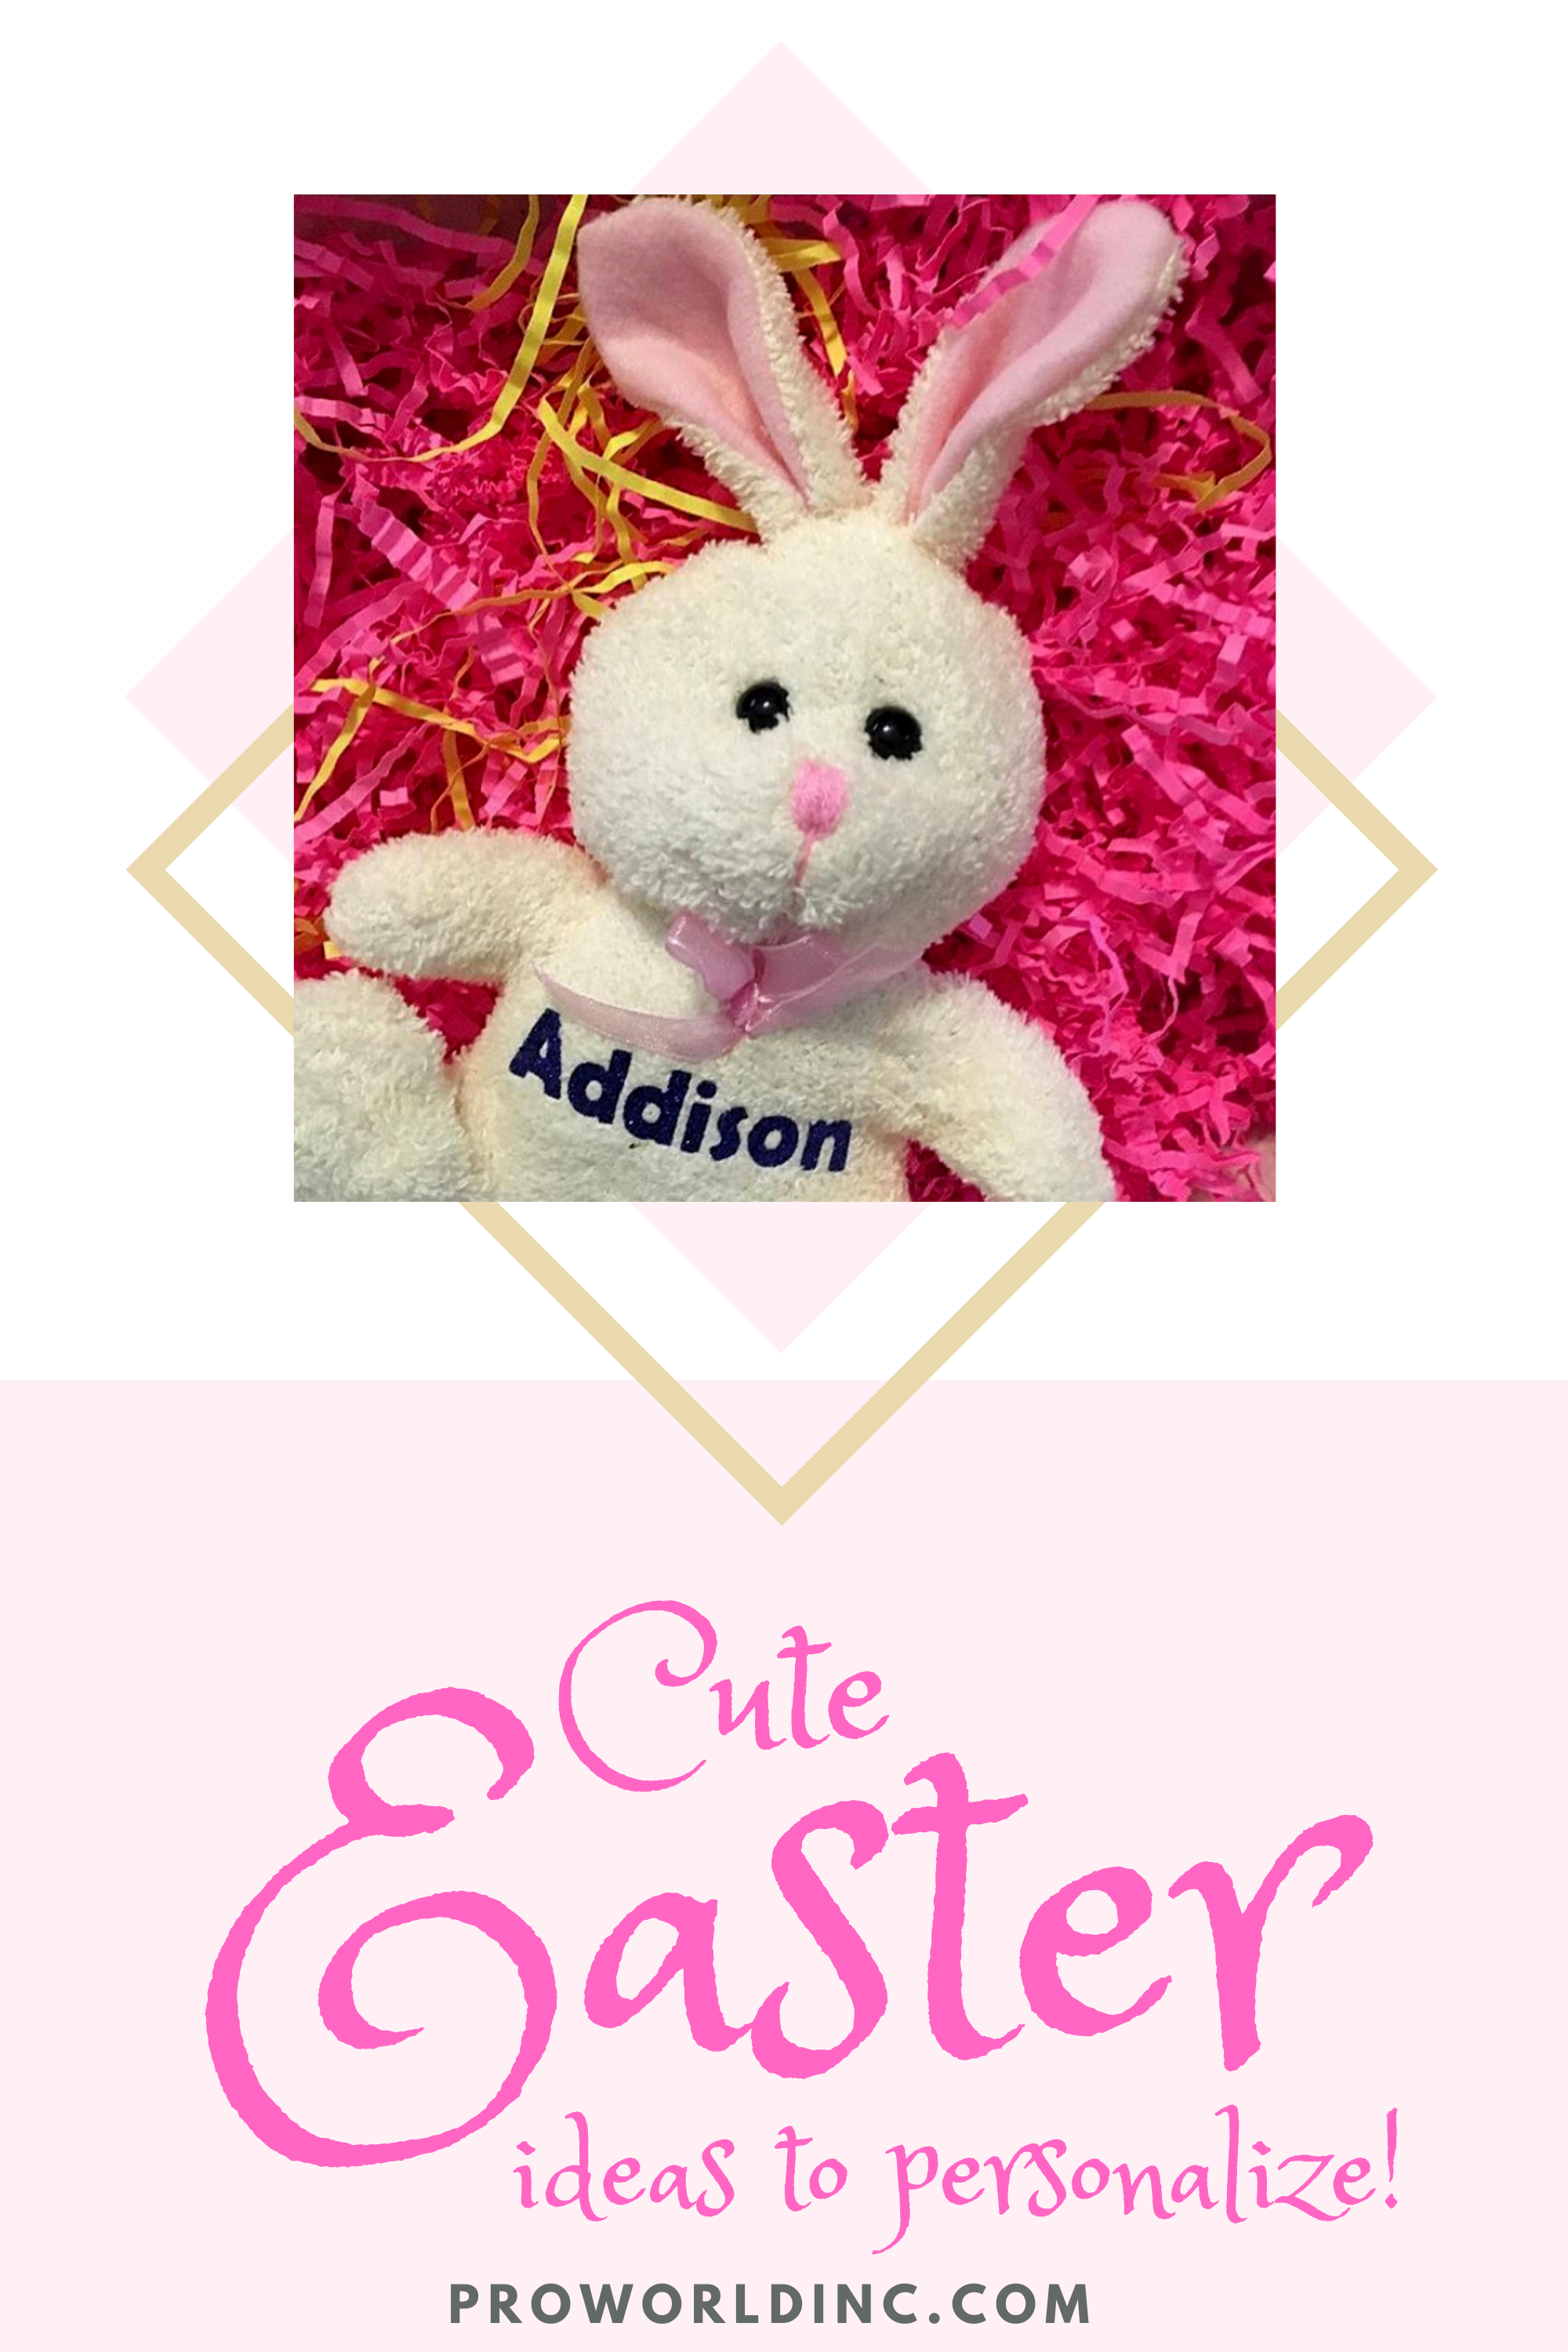
Looking to make some personalized items for the Easter Basket? Personalize a stuffed animal! Just cut the name and press!

easter stuffed animal

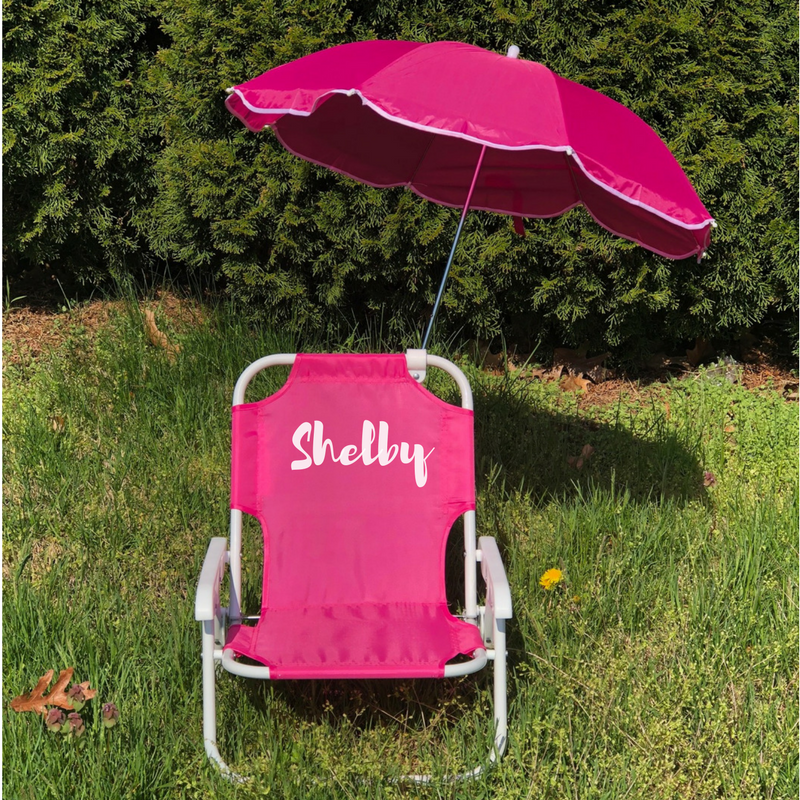
Or if you were looking for something a bit larger you could personalize a beach chair with some HTV!

chair


View & Add Comments
How to use Vinyl Letter Remover (VLR)

STOP throwing away your failed HTV projects!!! Now you can save them with VLR (Vinyl Letter Remover).

We’ve all been there. You weed your design, it looks good, you press it and BOOM you see the mistake….You forgot to weed a section!  Or maybe you create your design, you think it looks perfect, you press it and… it’s crooked! Well, fear no more, you can fix your HTV mistake with VLR Vinyl Letter Remover, and it is so simple to use. Below we are showing you HOW to use VLR on your HTV mistakes!

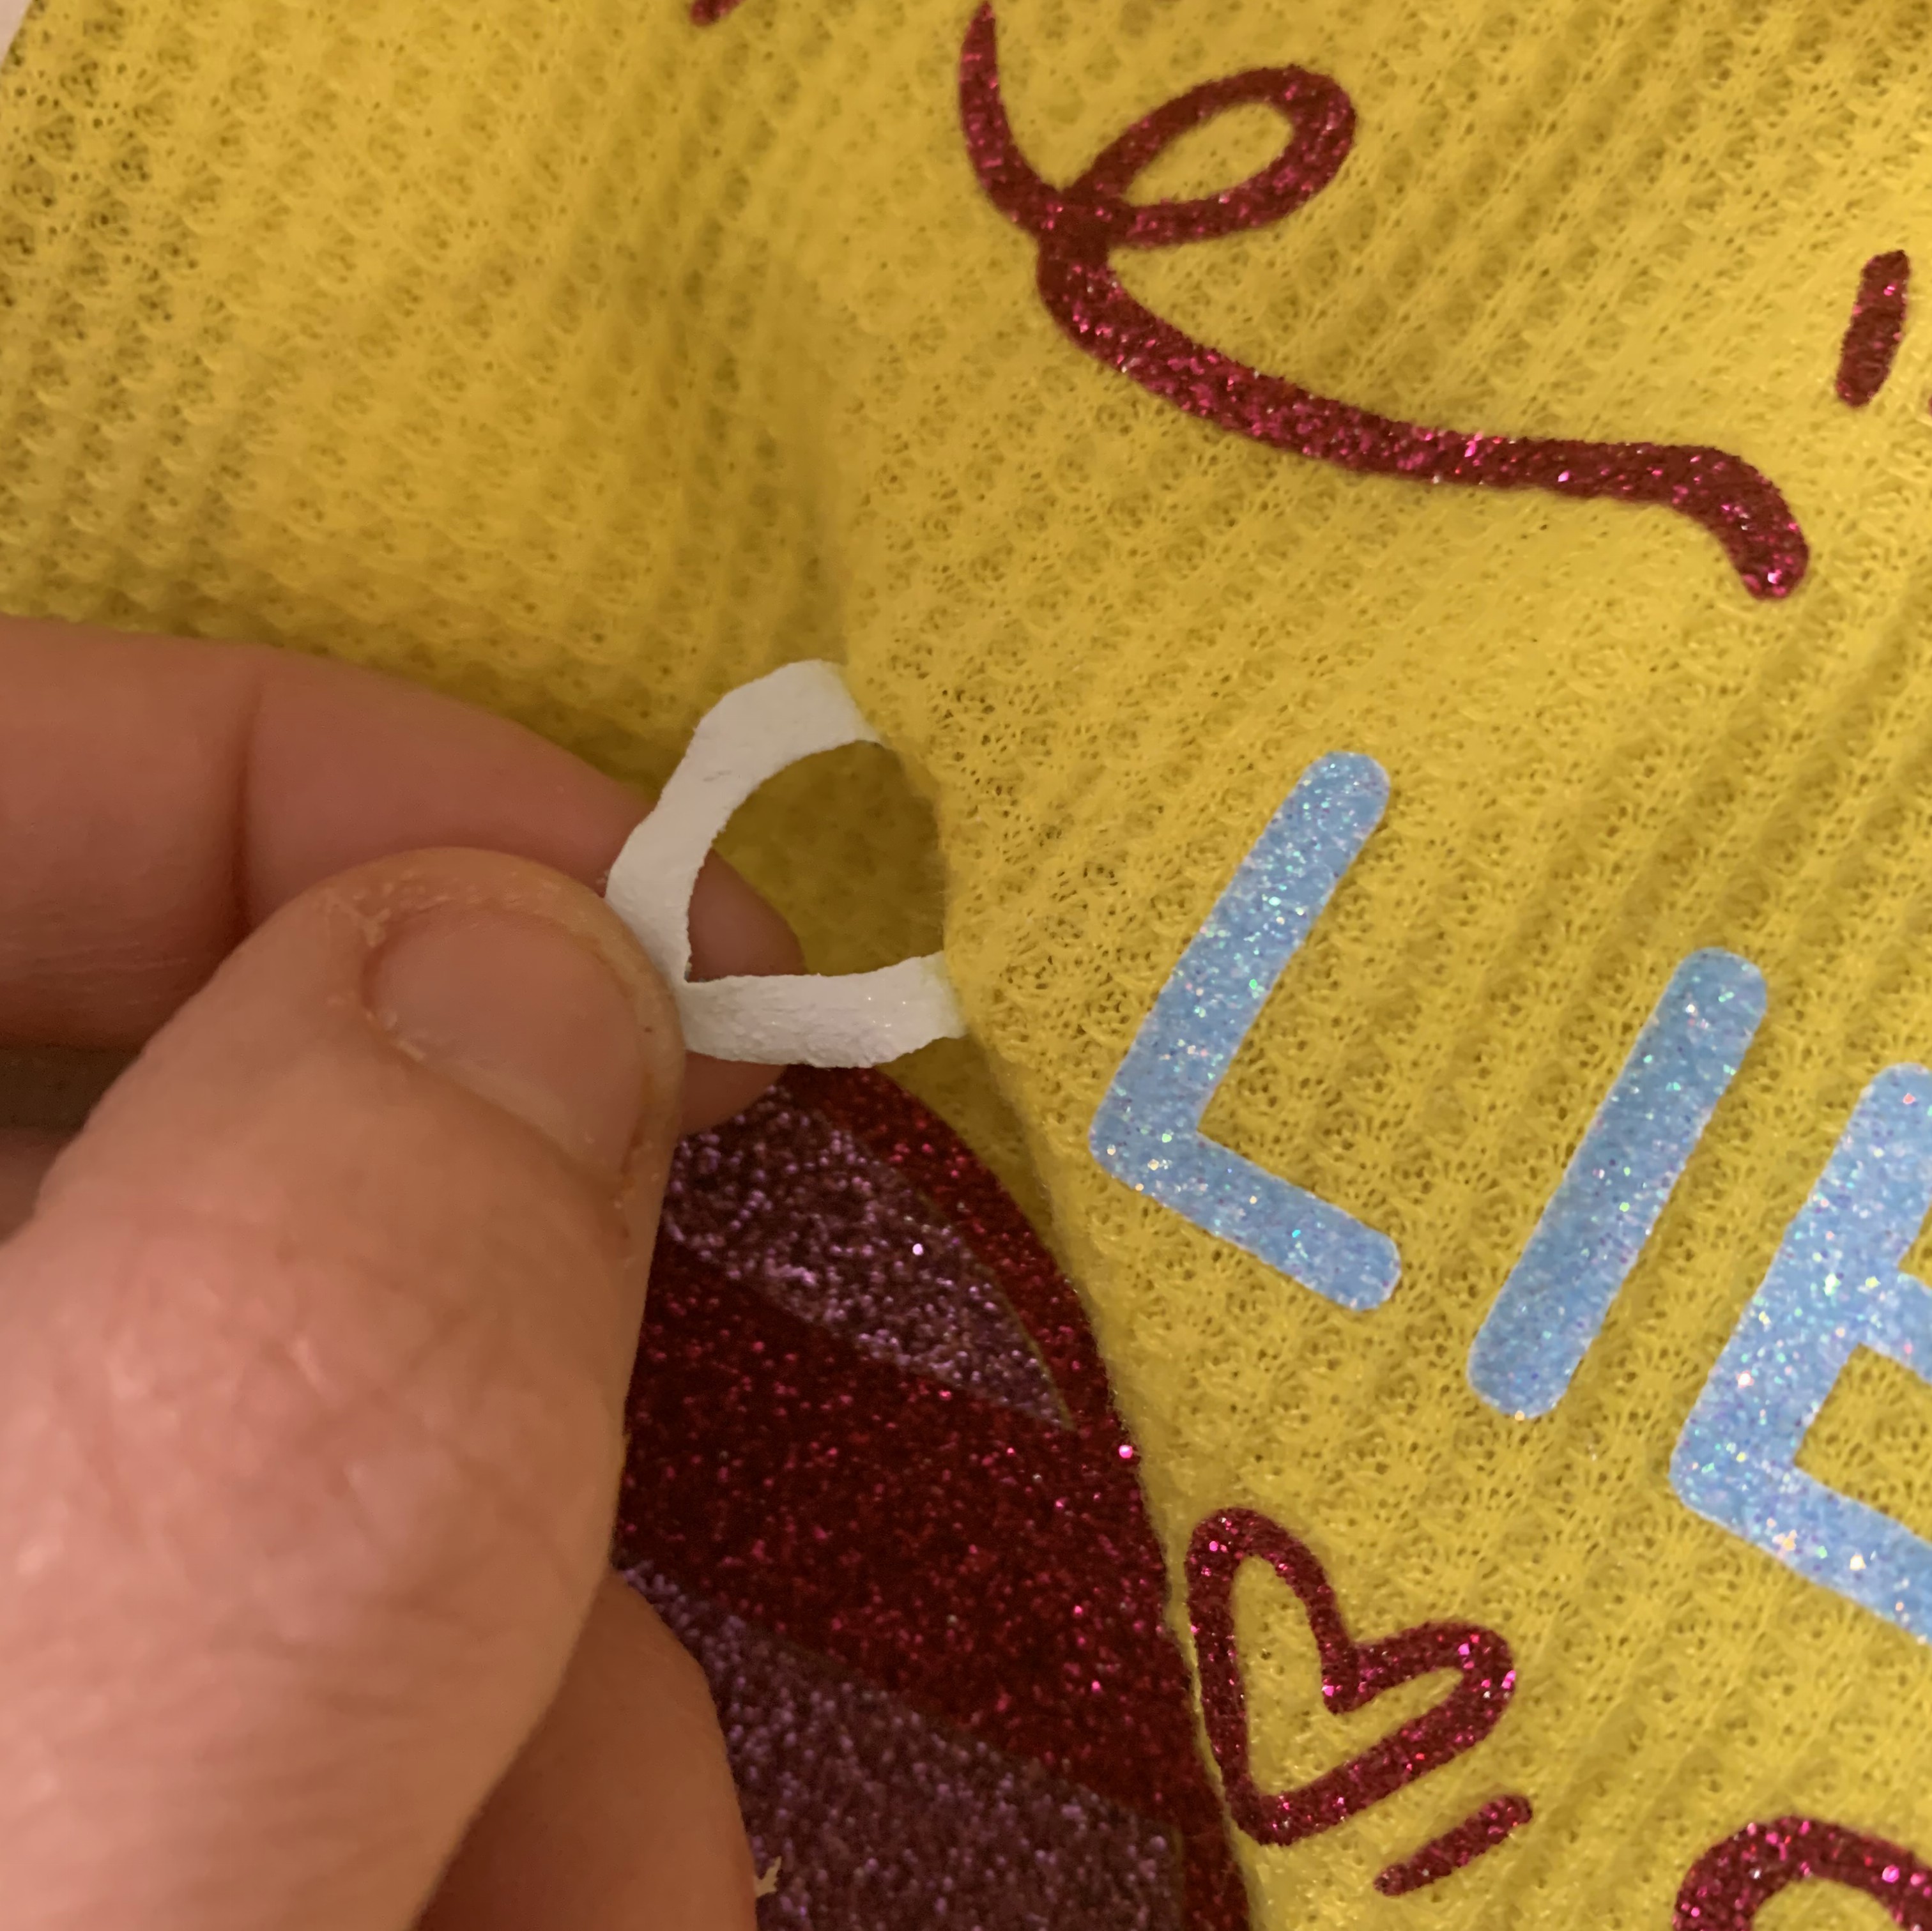
For this specific project, we took a shirt that had HTV put on over a year ago! Ready to see how to remove Heat Transfer Vinyl? you need:

Directions on how to use VLR:

1 – Take your garment and go to a well-ventilated area. 

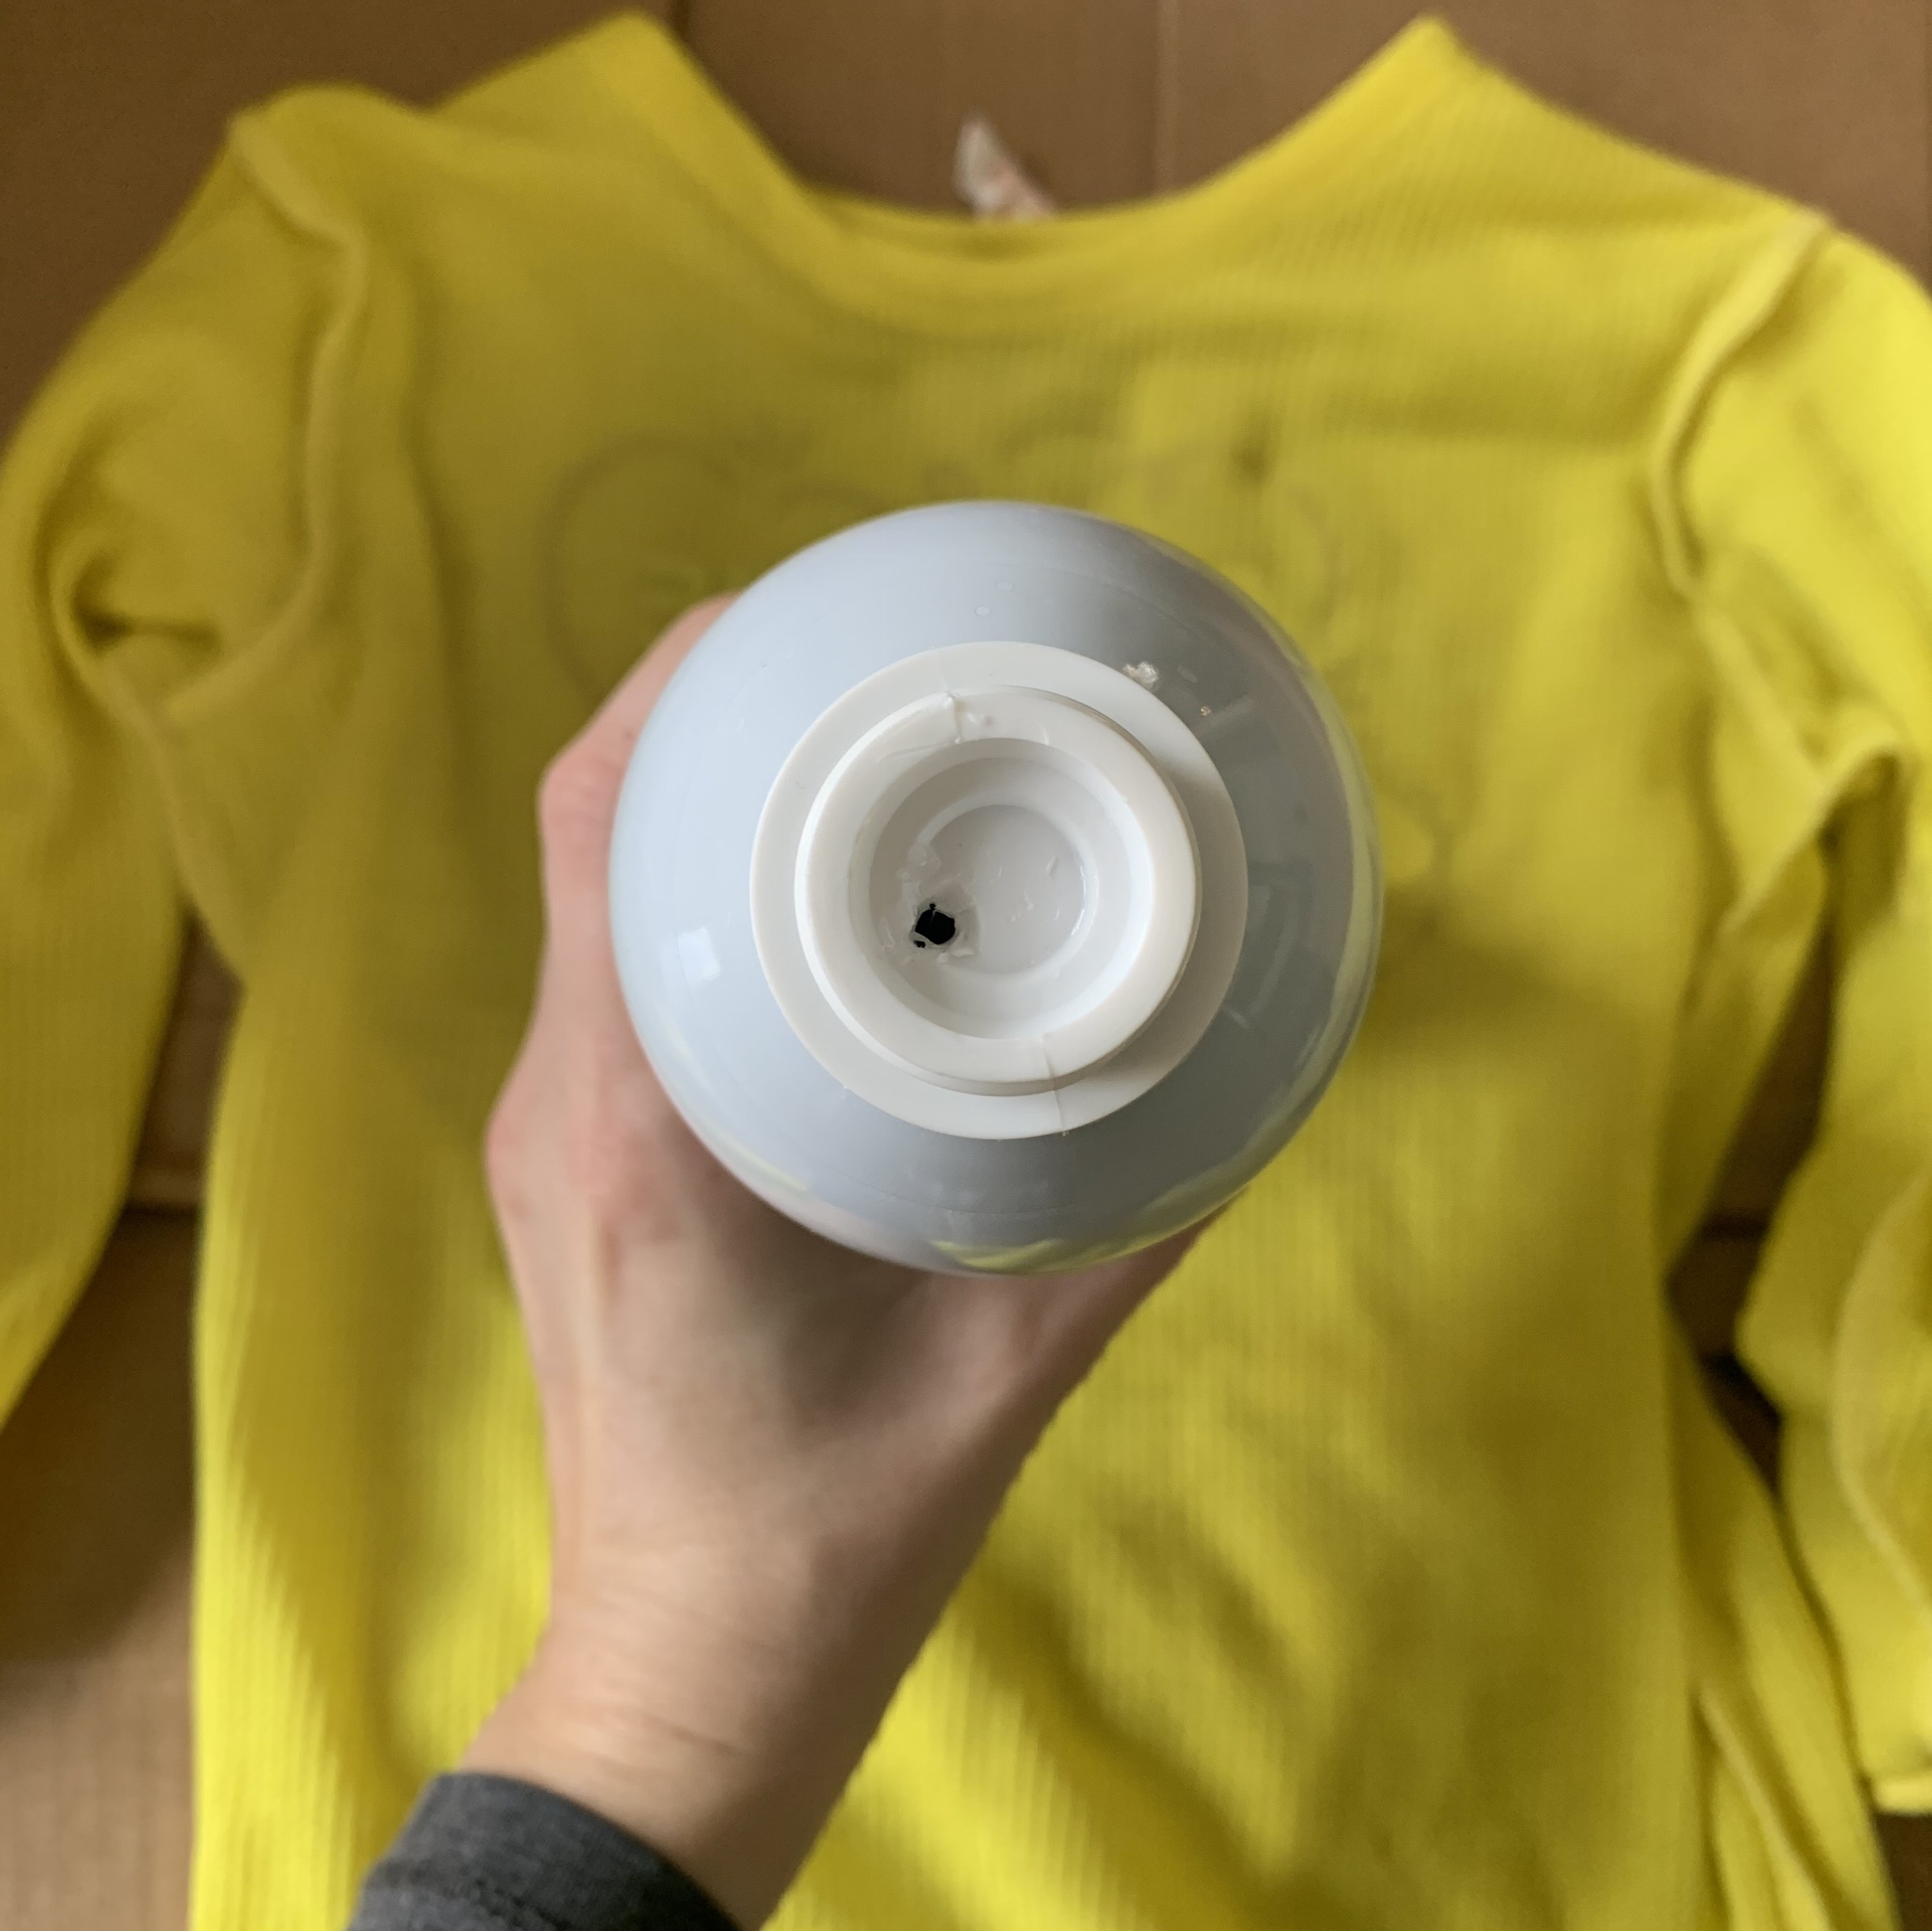
2- If it is your first time using VLR you will need to take off the cap and puncture the base. Then shake the VLR solution.

IMG_0608

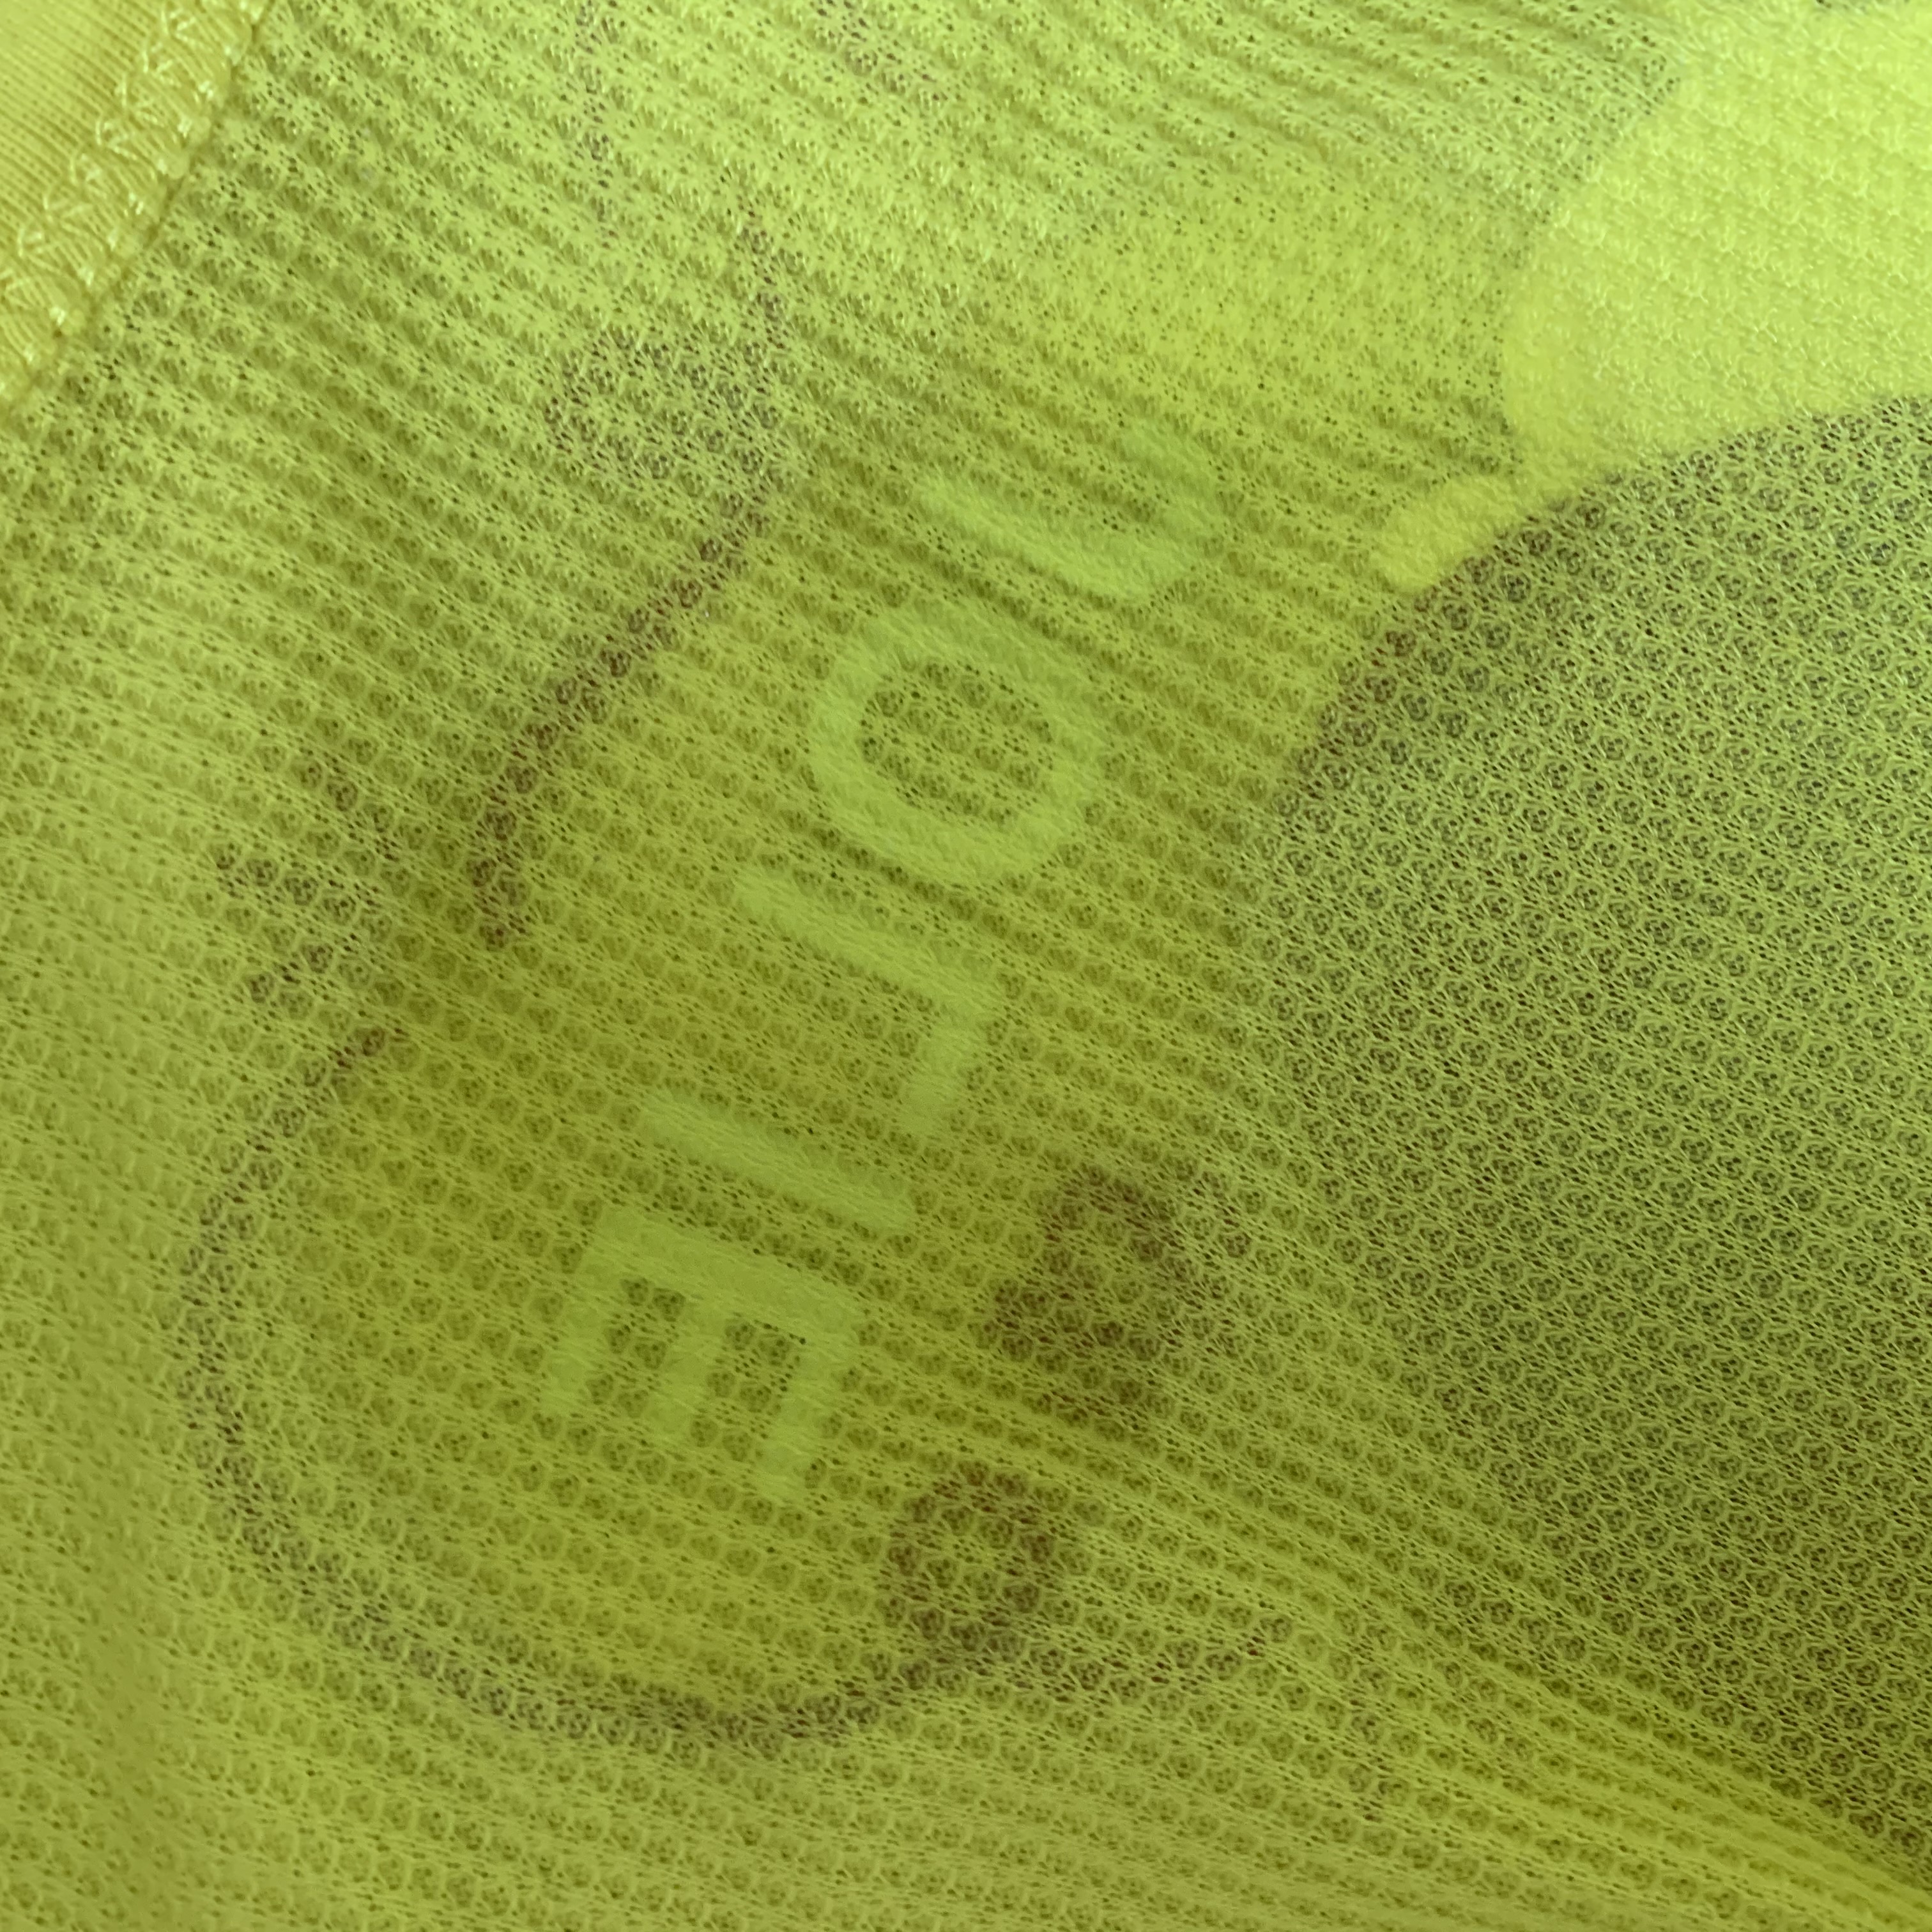
3- Turn the garment inside-out and apply the solvent to the underside of the heat applied material. This will release the vinyl from the garment. 

IMG_0609 (1)

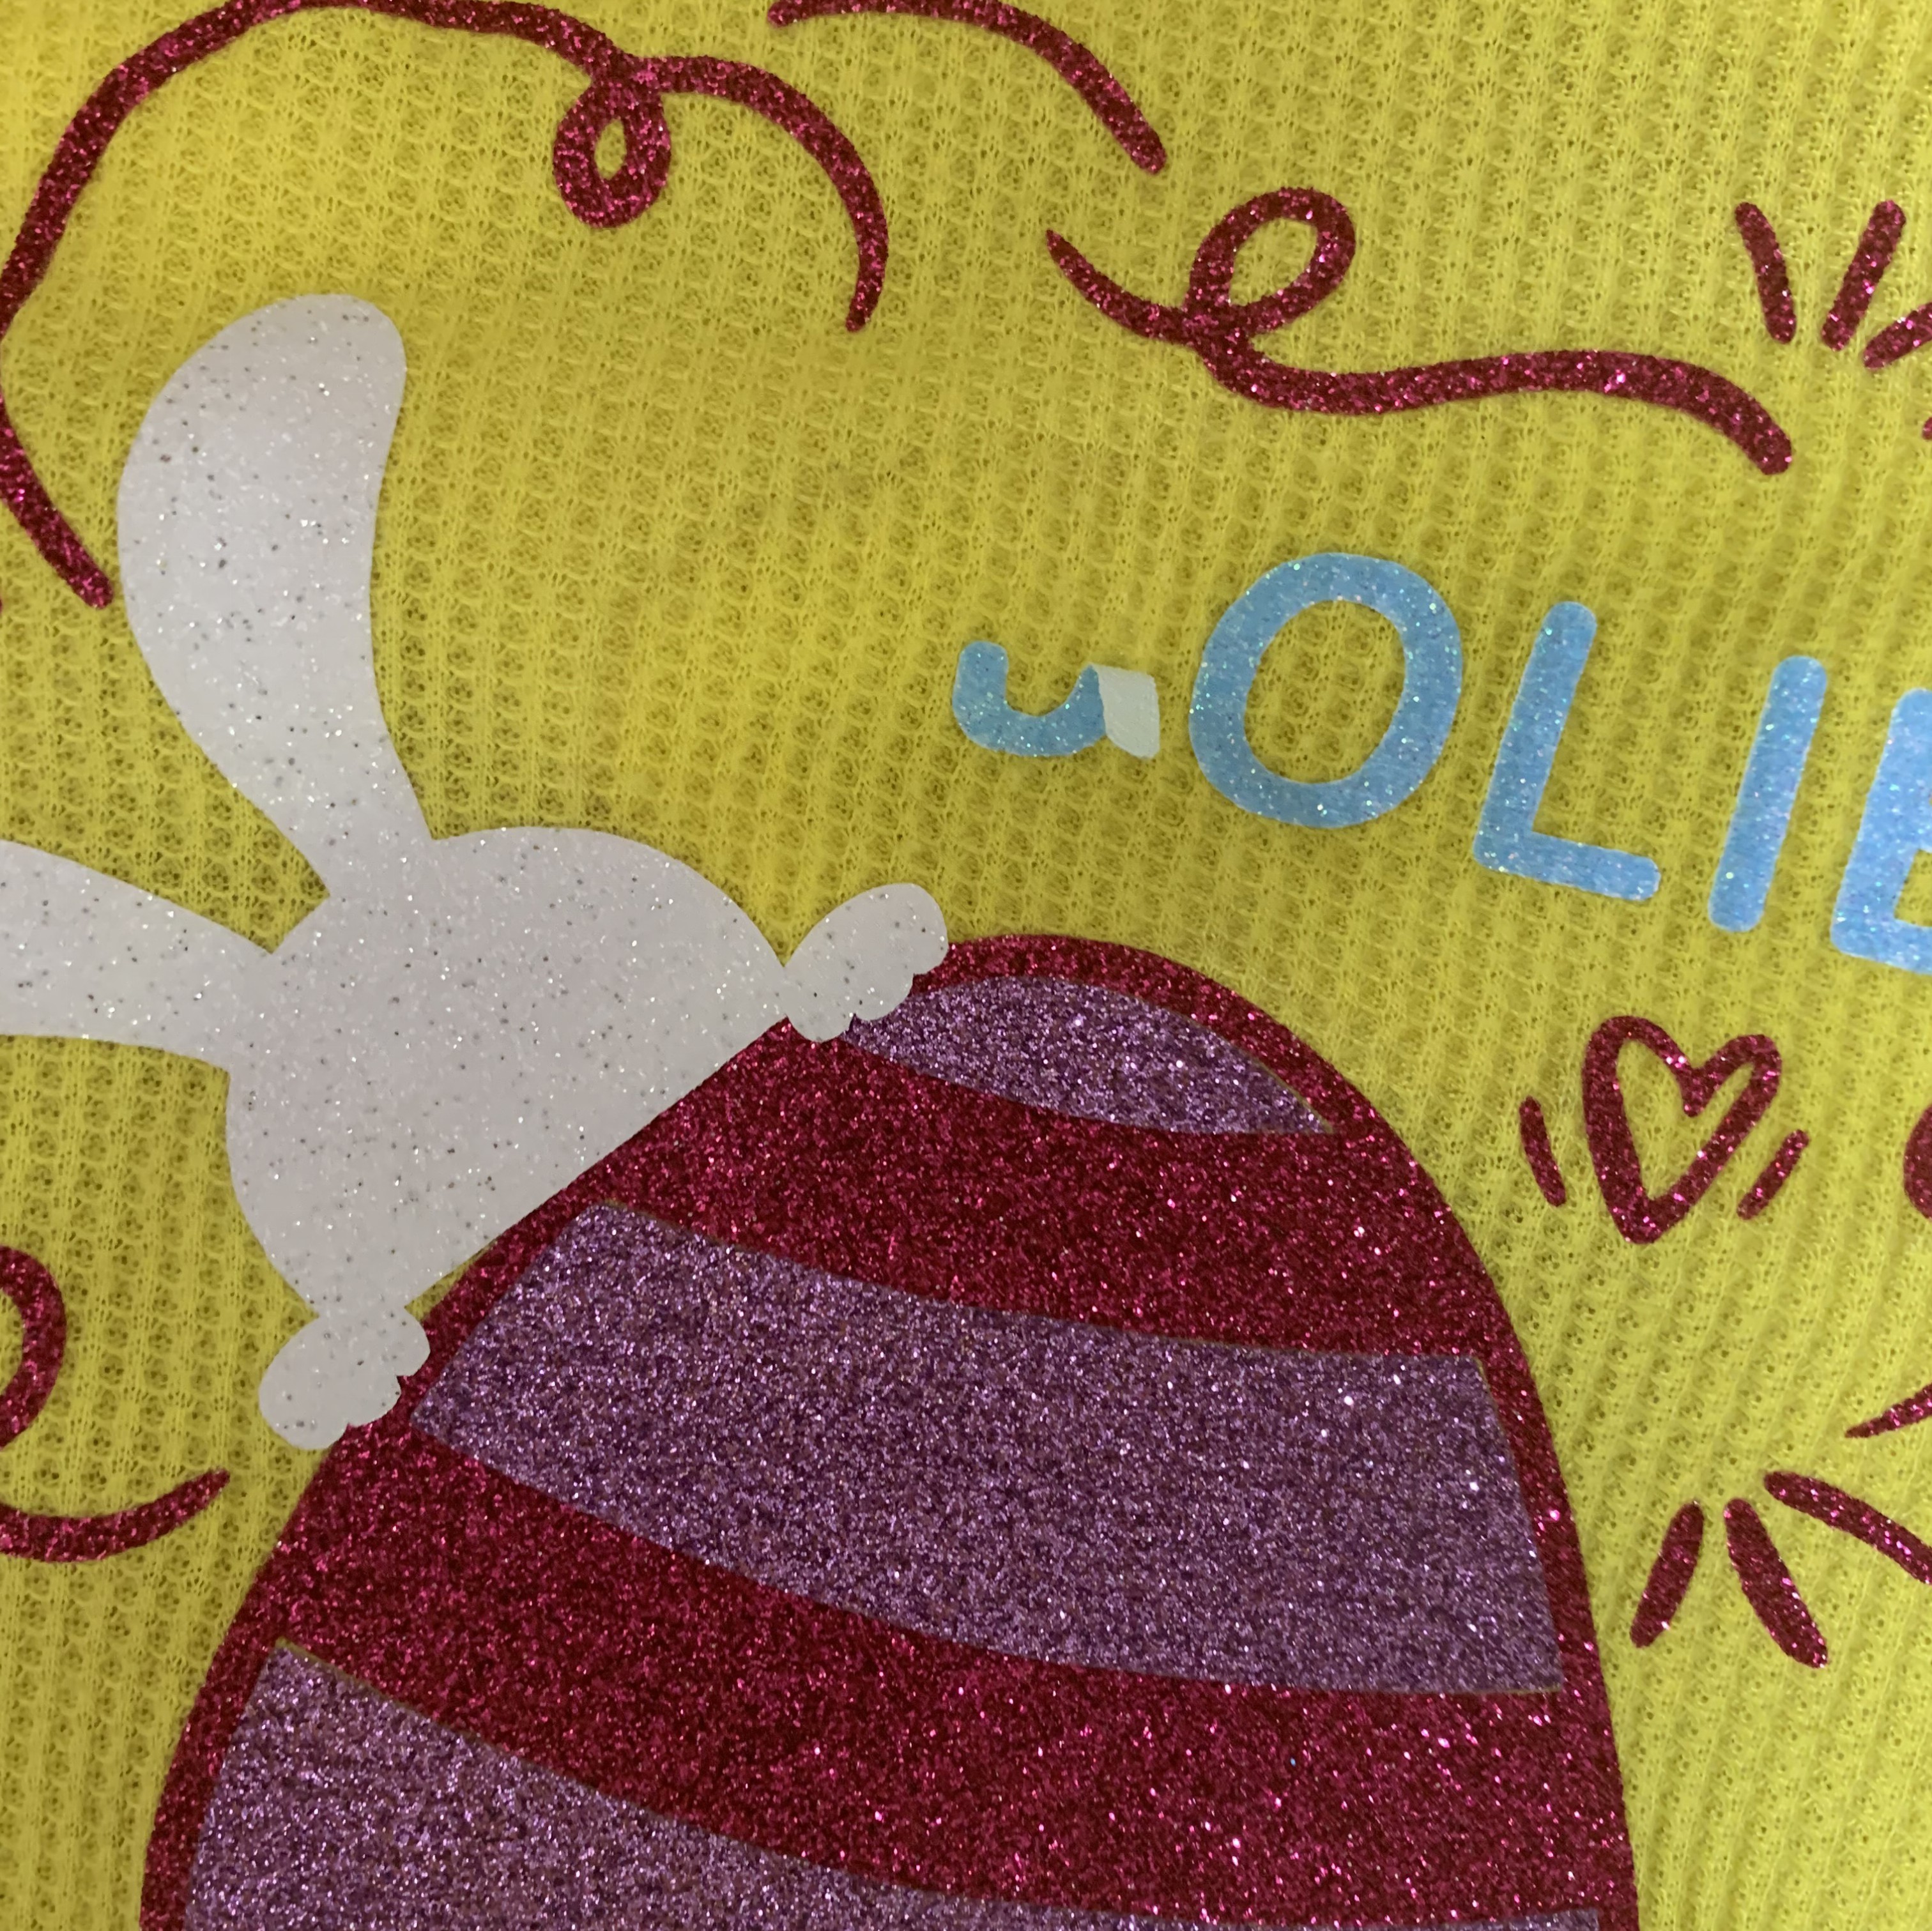
4- Once you have applied the VLR, it is best to stretch or pull the area with the mistake. This will make the heat applied material start to peel off of the garment.

IMG_0610

5-Pull off the remaining heat transfer vinyl. 

IMG_0611

6 – If there is any residue left, remove it from the front side of the garment by applying the Vinyl Letter Remover to a clean white rag and rubbing it off. 

7 – Repeat if necessary.

View & Add Comments
Create Custom Products for St. Patrick’s Day

Want to celebrate St. Patrick’s Day with custom products? Here are a few ideas for things that you can make with vinyl, heat transfers, and even sublimation

5+

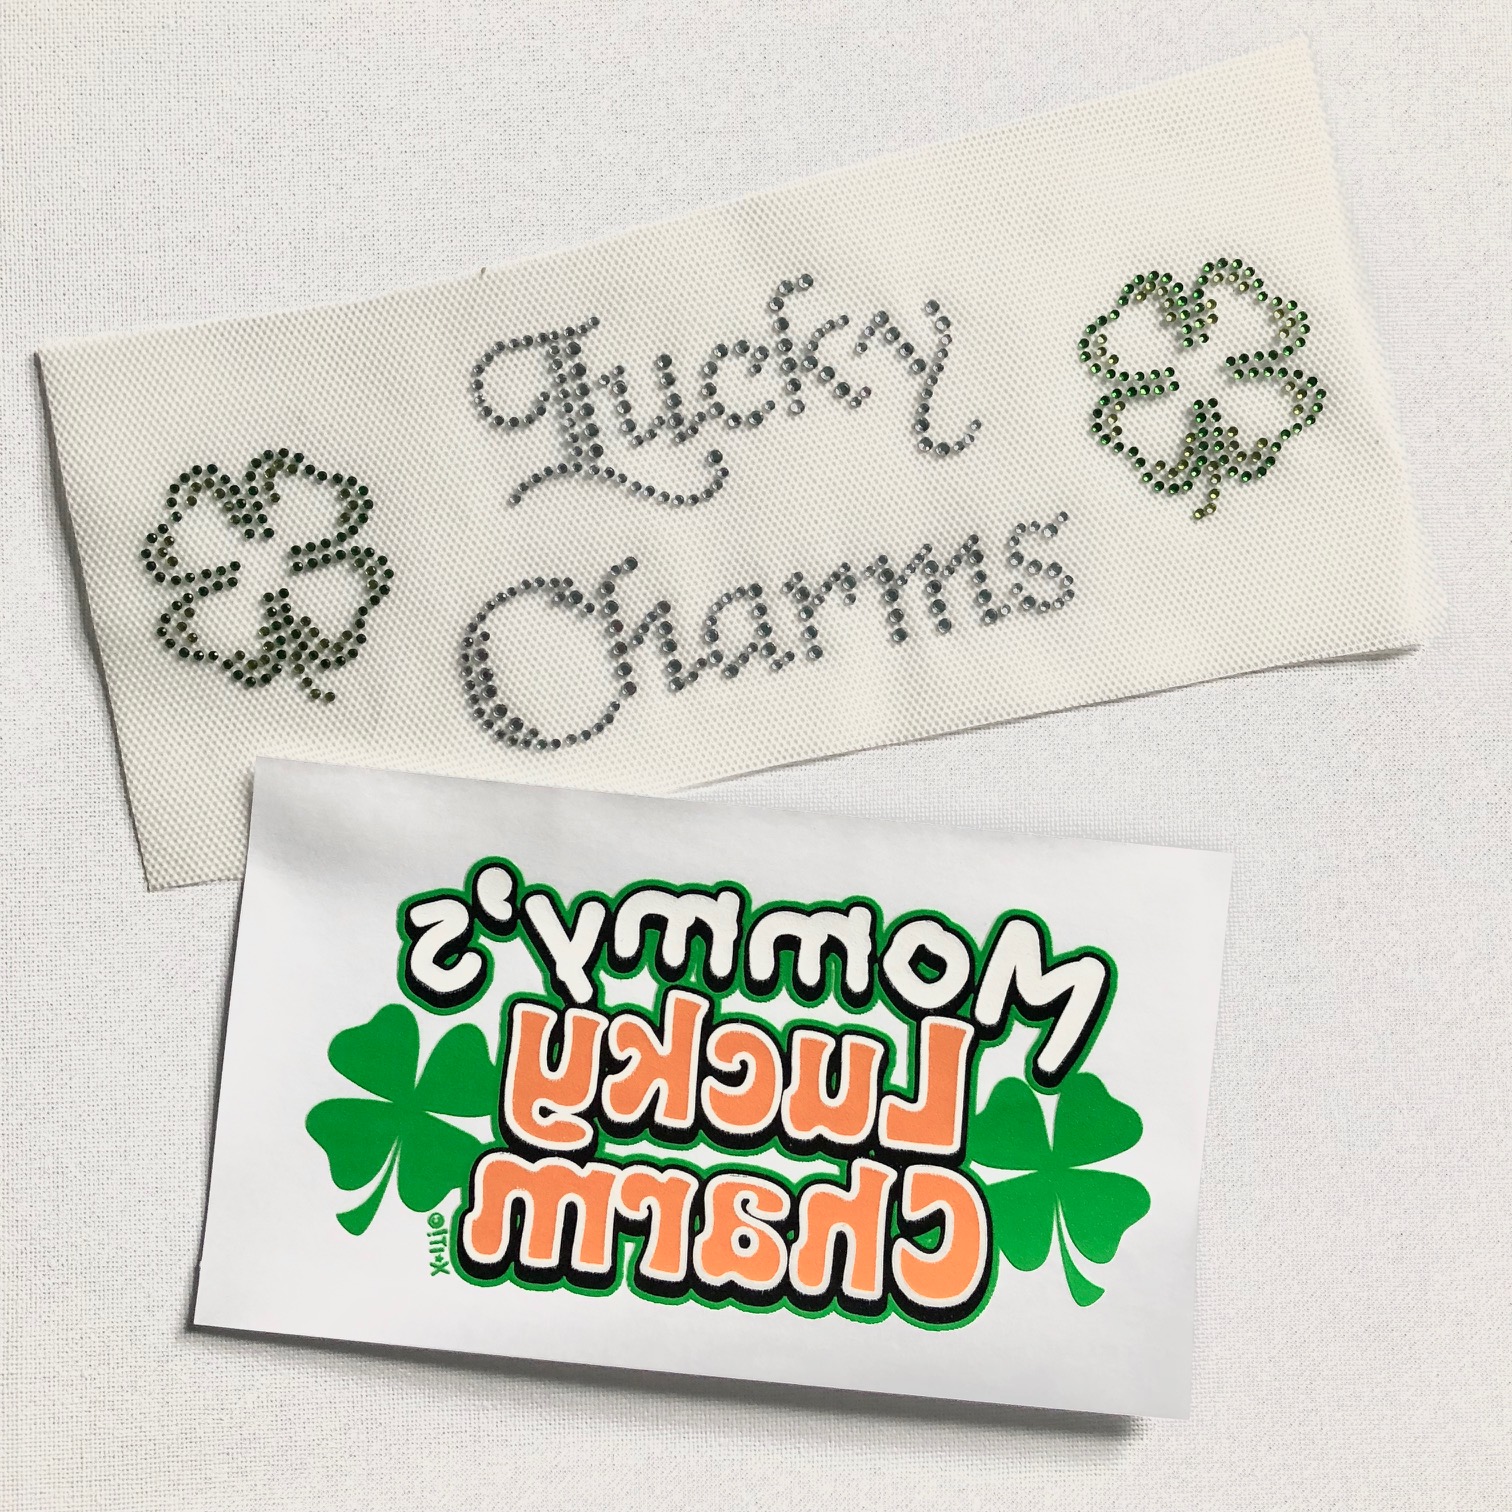
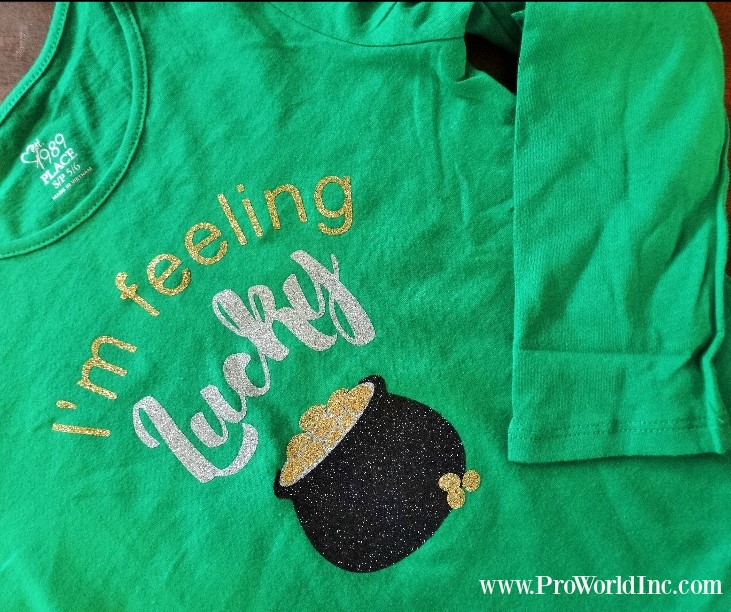
The quickest way to start earning “gold” is to press a heat transfer onto a garment! With over 60 St. Patrick Heat Transfer designs you are sure to find something that you like!

st patty

IMG_3275

Or if you know of a group hitting the town for the annual pub crawl offer to make them custom shirts! You’ll be able to produce them quickly by taking advantage of our Custom Heat Transfers.

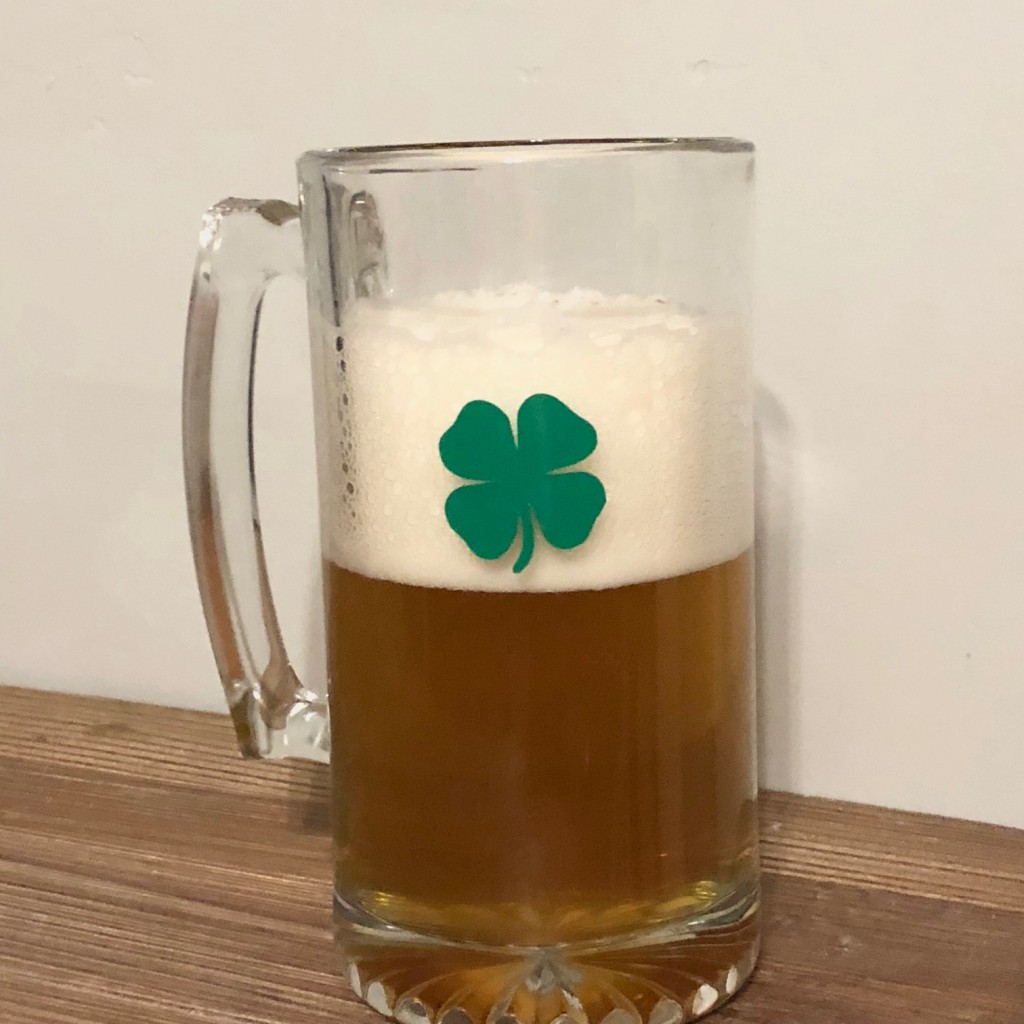
If you prefer to work with adhesive vinyl. You can take a plain beer mug and turn it into the perfect St. Patty’s drinking vessel.

st. patty's day

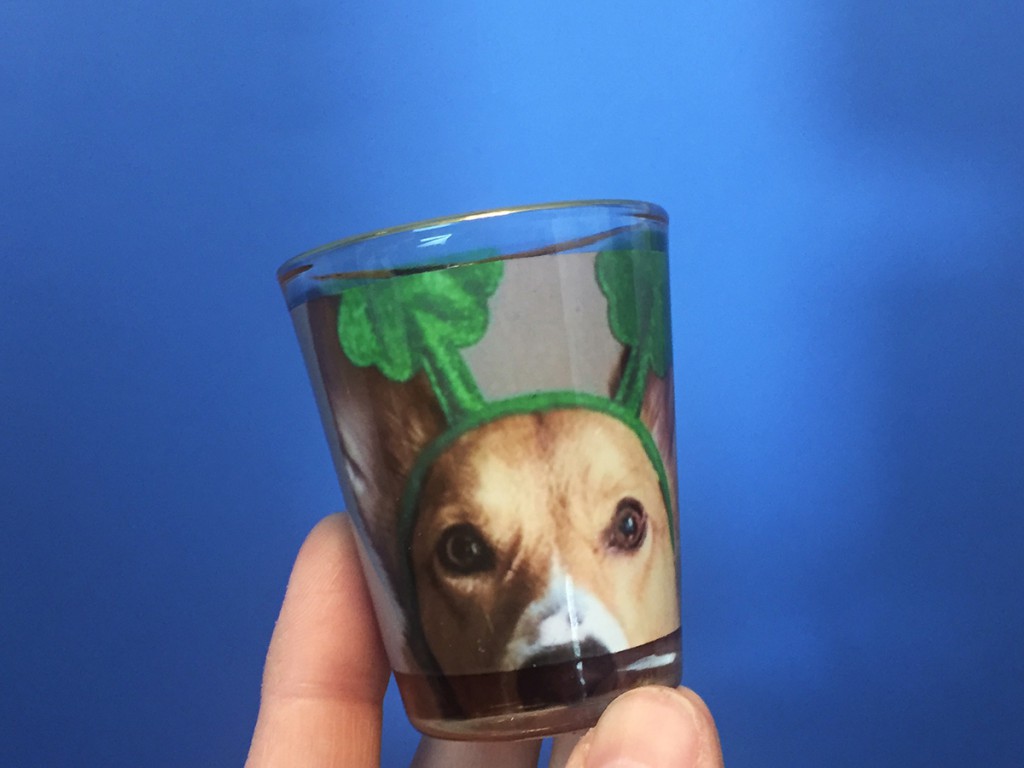
Or if you want to use your sublimation equipment make a sublimated shot glass

IMG_0683

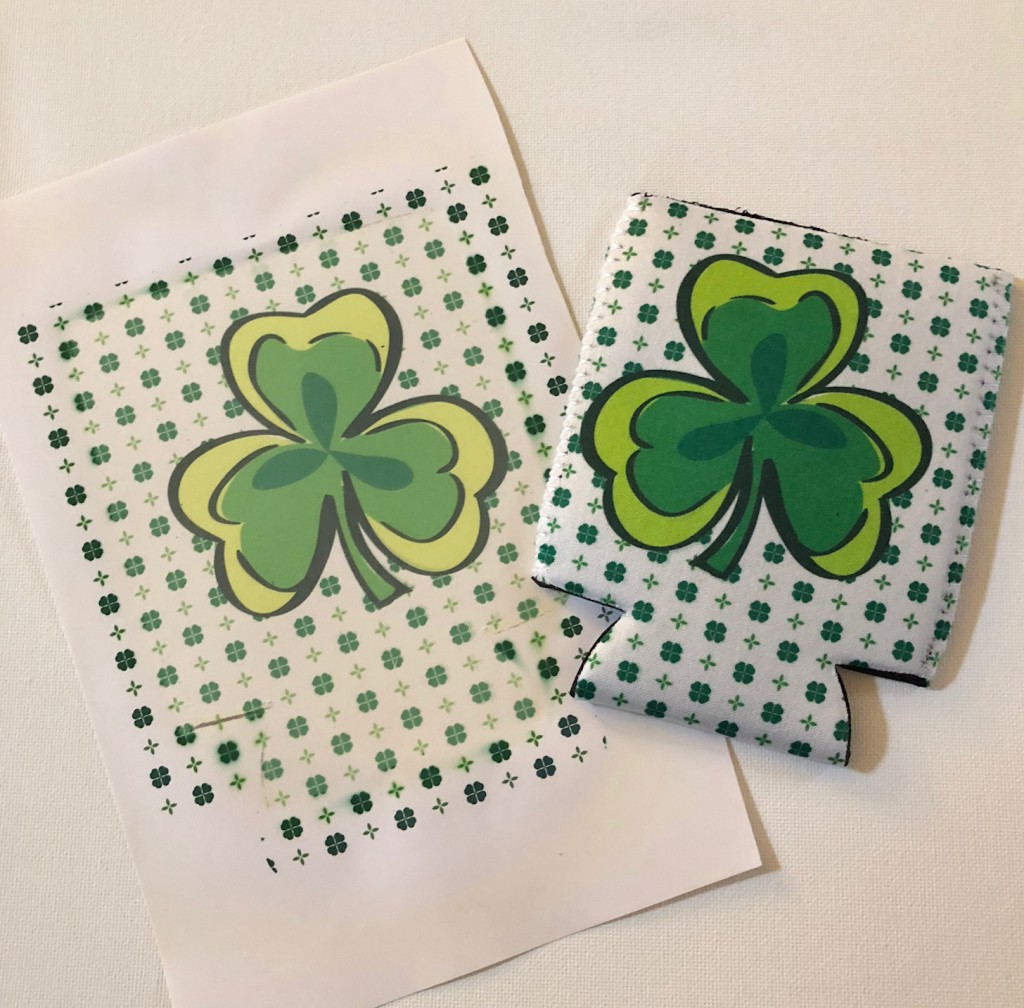
Or sublimated koozies.

IMG_3280

You can even make and sell shirts for the whole family by using heat transfer vinyl

IMG_3283

how to layer glittered heat transfer vinyl (2)

If you are still looking for some inspiration we had a St. Patty’s Facebook LIVE a few years back that is sure to give you a few cute ideas!

Did you make something already? Let us see it! Tag us on instagram at @proworldinc or use #proworldinc

View & Add Comments
Things To Sell for Baseball Season!

With Spring Training taking place this weekend it seemed like the perfect time to start talking about your baseball/softball product offerings! If you haven’t jumped on the baseball fan gear trend in the past this is the season to start! From t-ball to Varsity teams both the players and the parents love to represent the sport. So it’s a great way to start selling your products and creating loyal customers.

Ready to make your business a grand slam this season? Here are some ideas:

Apparel made from Heat Transfers

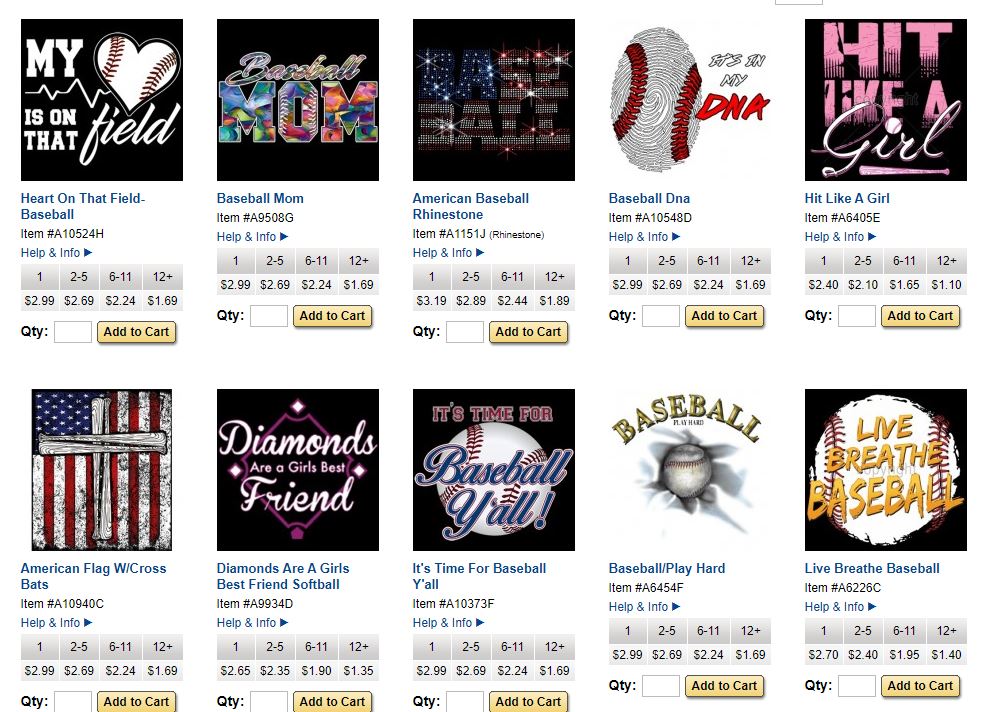
Baseball and Softball Heat Transfers are the easiest way to start making items! Just order your baseball heat transfer, peel the cover and press it onto the shirt! We have over 50 heat transfers ready to be purchased

heat transfer

Custom Heat Transfers

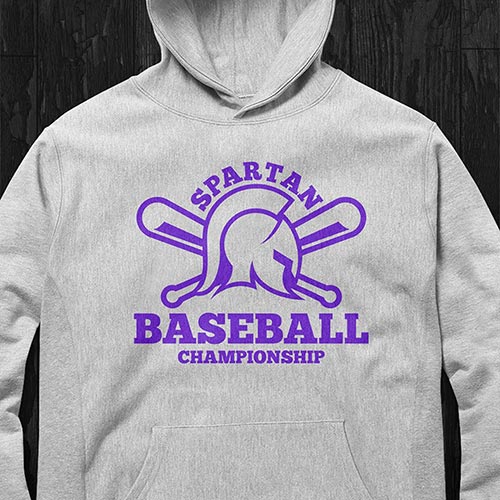
Are you supplying the custom team shirts? Don’t spend hours weeding HTV make a custom heat transfer over at pwcustom.com The bulk heat transfer order will save you so much time it will be worth it.

baseball value transfer

Bag Tags

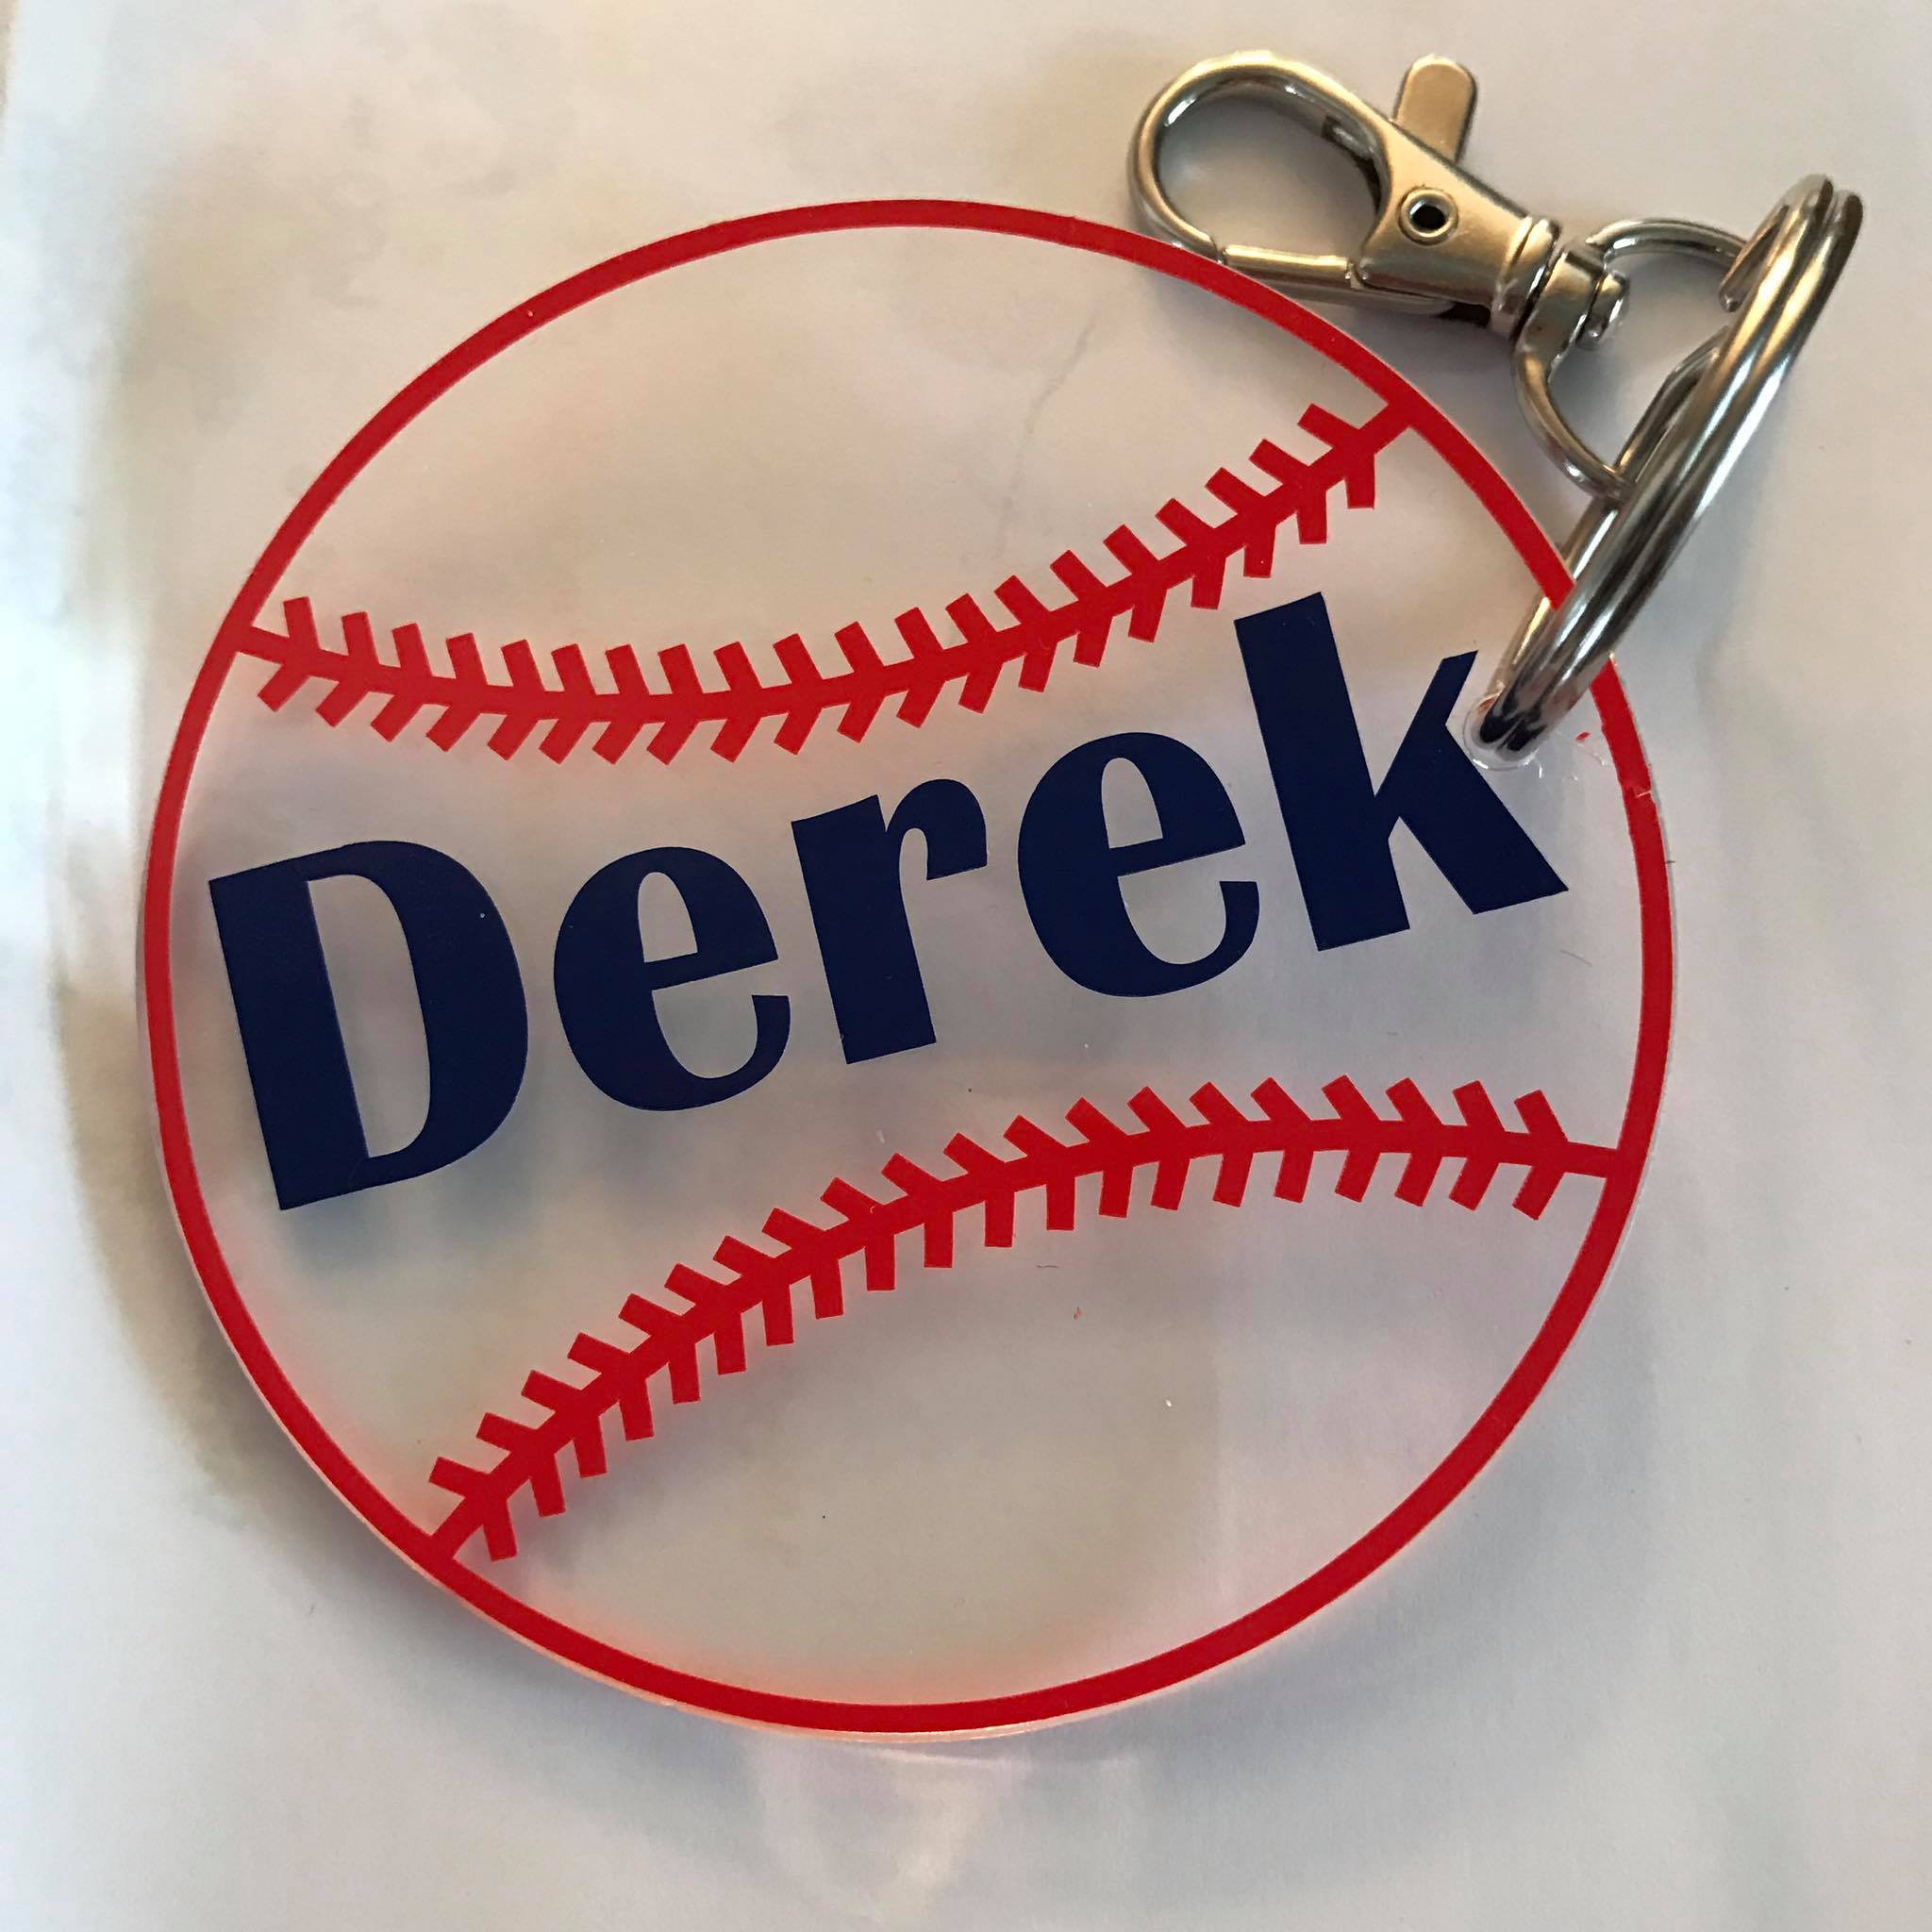
Make the softball bags stand apart from each other with personalized bag tags! You can use your sublimation printer for sublimated keychains or grab an acrylic keychain blank and decorate it with adhesive vinyl!

17240007_908974129206338_6692576880790671914_o

(Photo Credit: Finnegan and the Hughes)

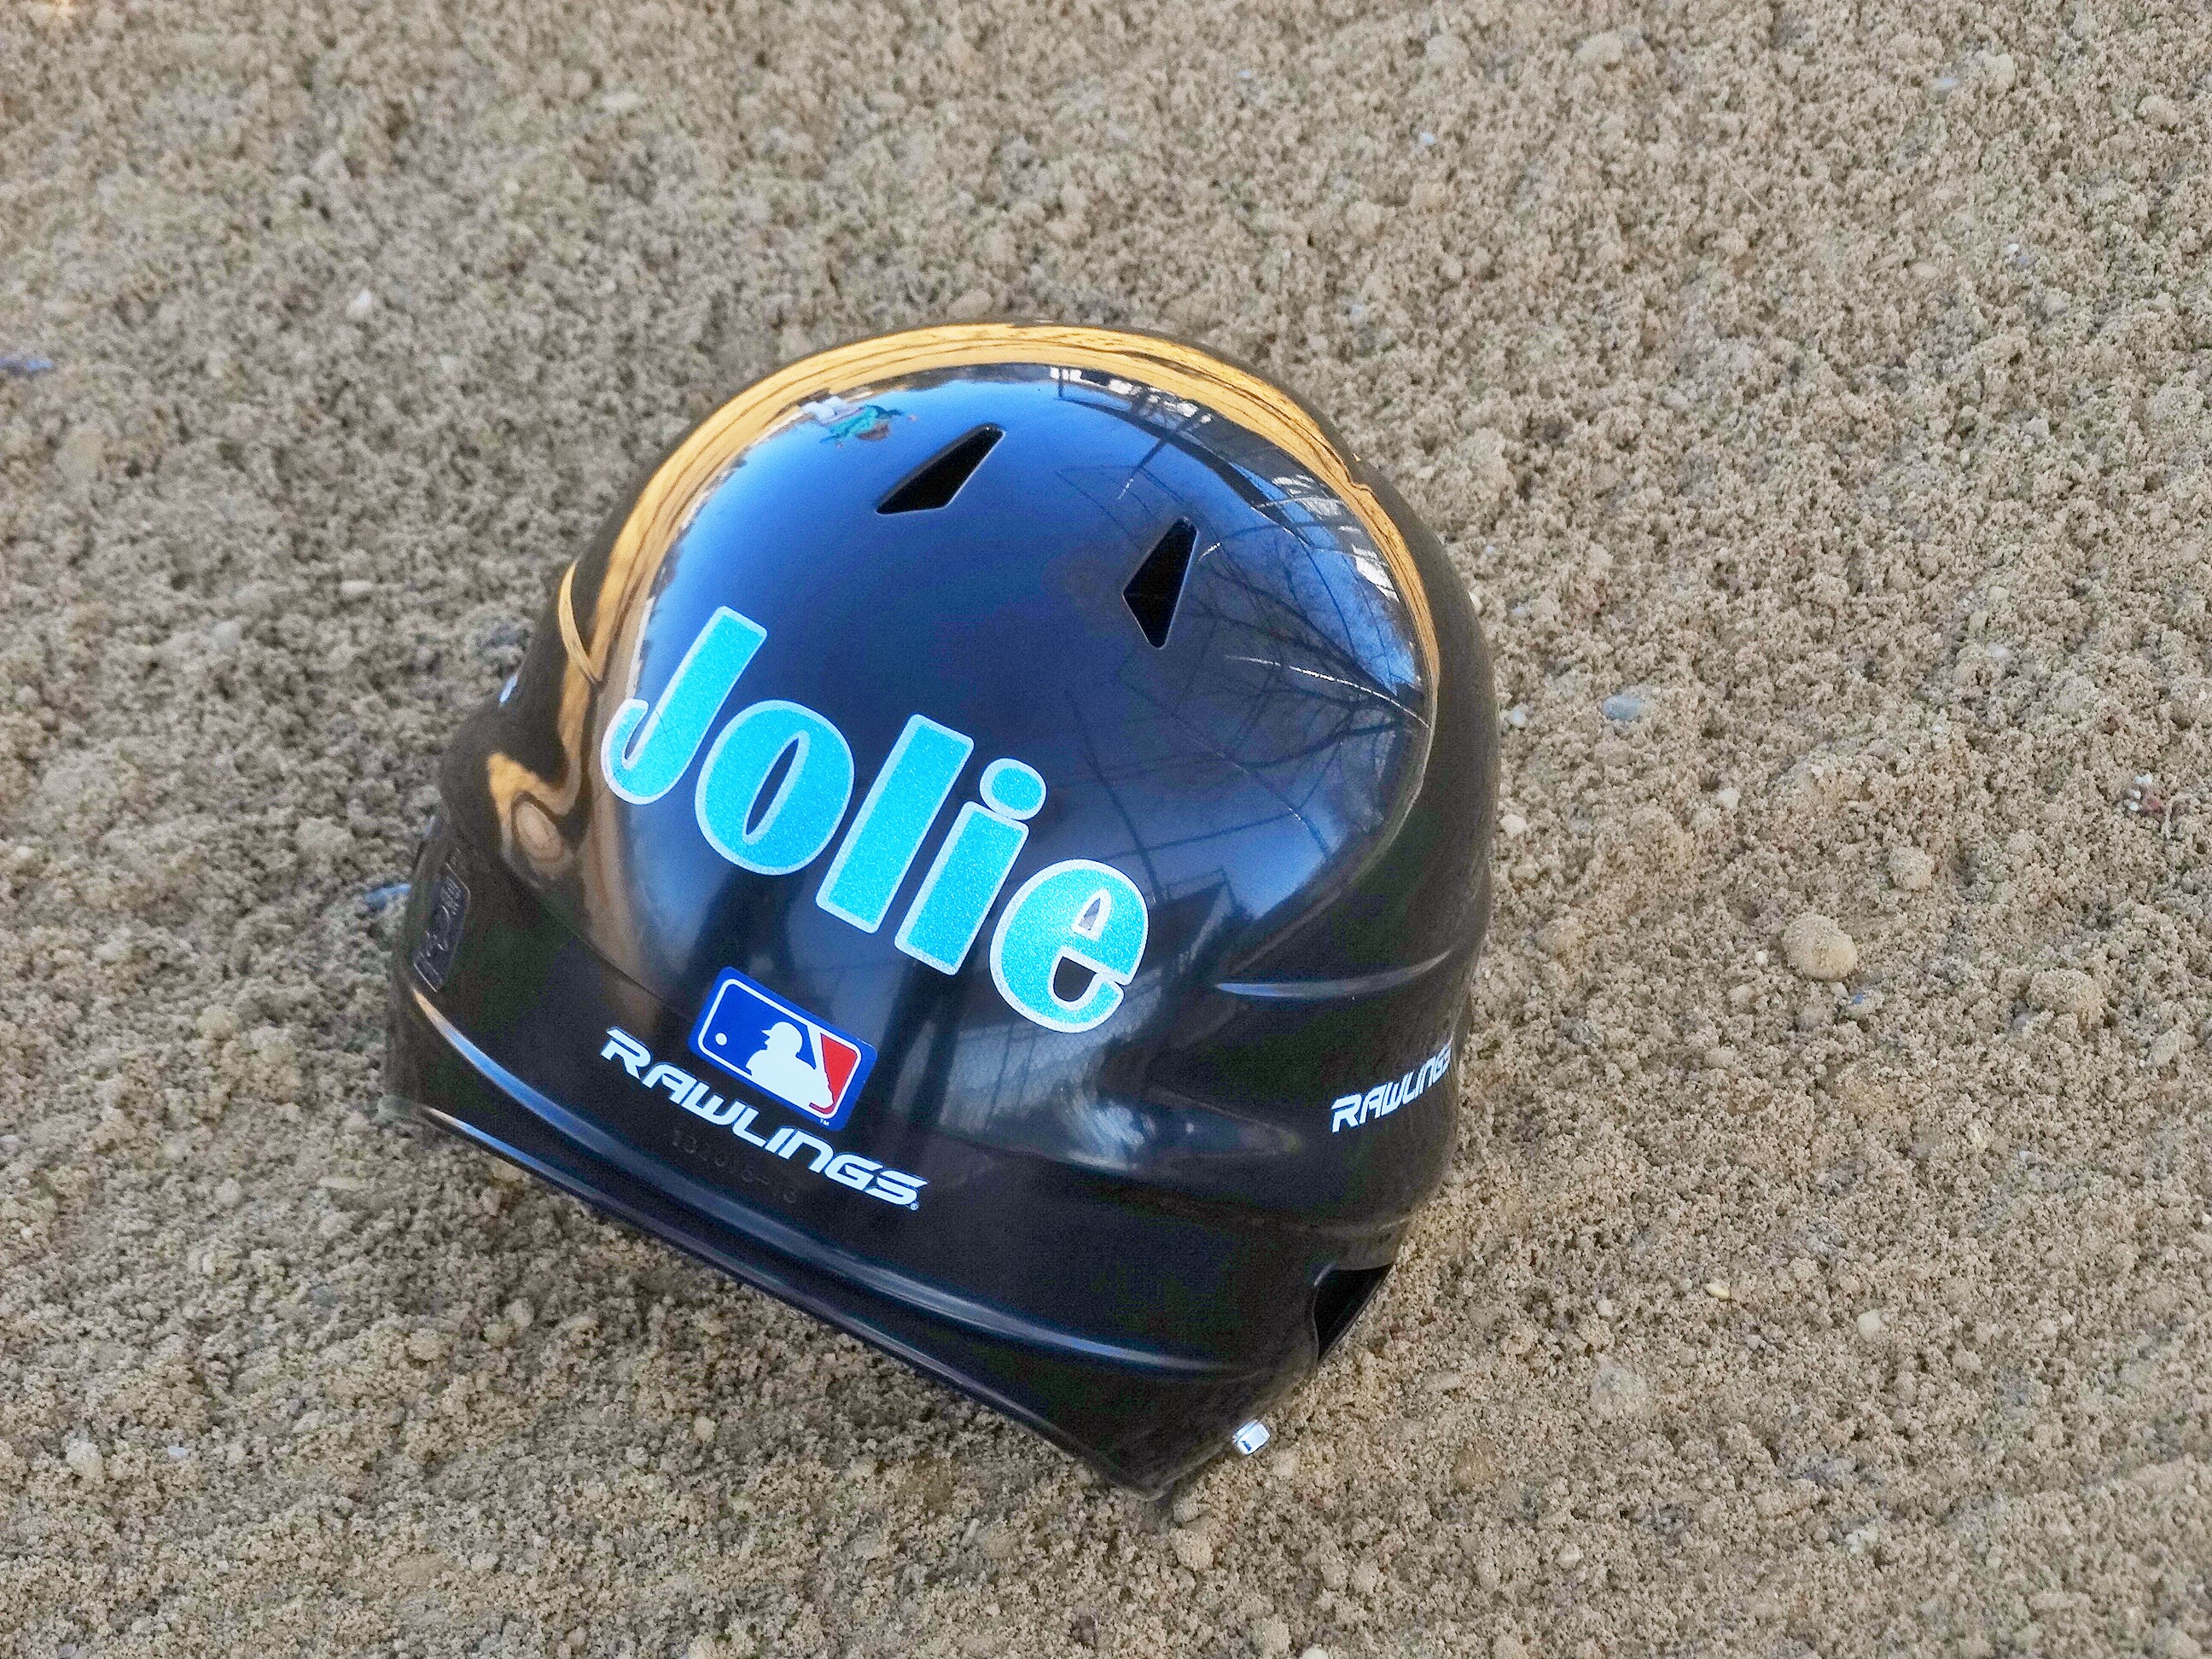
Helmet

Personalize a helmet with some adhesive vinyl!

DSC04772 (2)

Water bottles

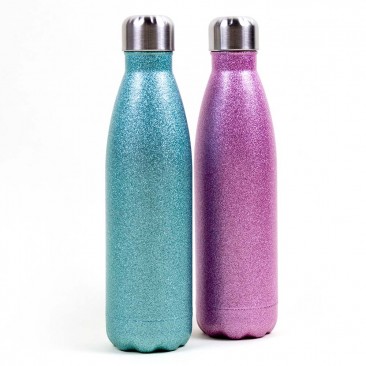
Make team water bottles with sublimation or some adhesive vinyl. Just remember to remind your team that they should not put vinyl water bottles in the dishwasher.

water bottle


Baseball Plaque

Team up with a local photographer and offer baseball plaques! You can take their high-resolution photo and sublimate it onto a piece of wall art.

5680_homeplateplaque_mvp_hr

Have you started making items for the baseball season? Let us see! Tag us on instagram at #proworldinc @proworldinc

View & Add Comments