Remove HTV with VLR

Have you ever made a heat transfer vinyl mistake?

We have, in fact, more than once…and it usually goes one of two ways. You weed your design, it looks good, you press it and BOOM you see the mistake….You forgot to weed a section!  Or maybe you create your design, you think it looks perfect, you press it and… it’s crooked! Well, fear no more, you can fix your HTV mistake with VLR Vinyl Letter Remover, and it is so simple to use.

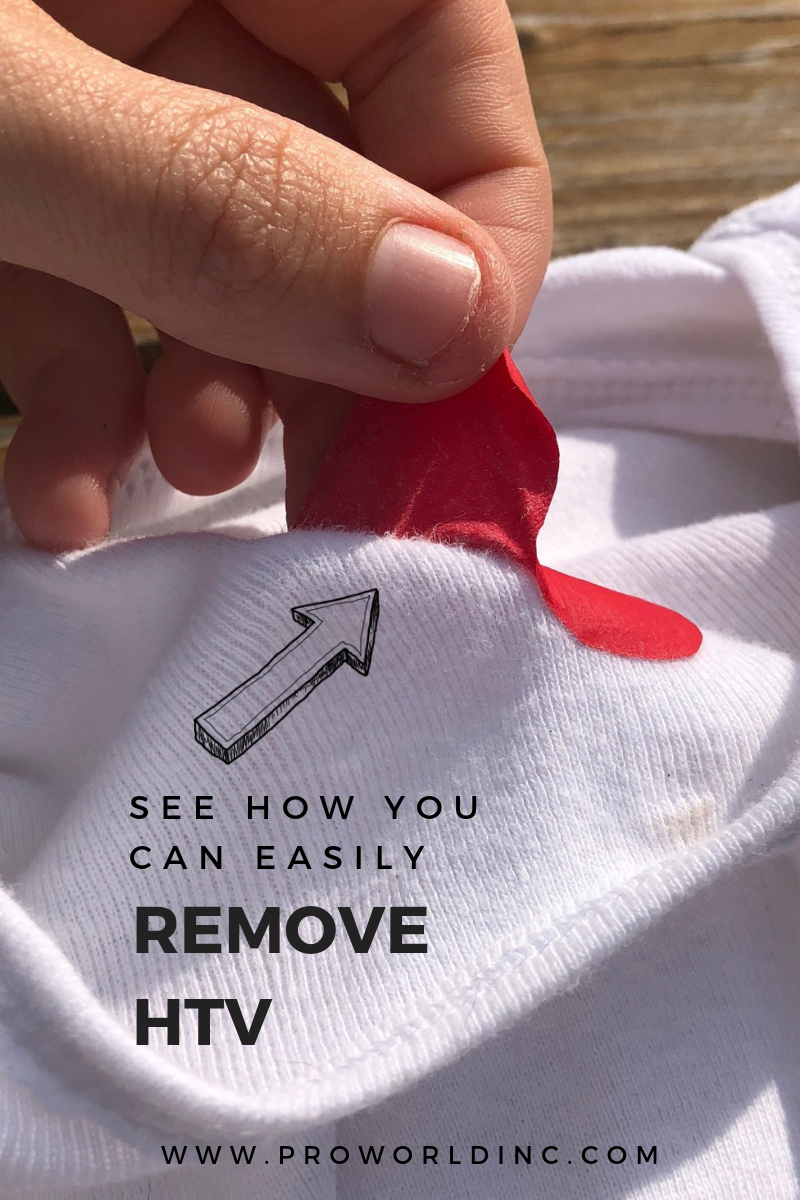
REMOVE HTV with VLR

To remove Heat Transfer Vinyl you need:

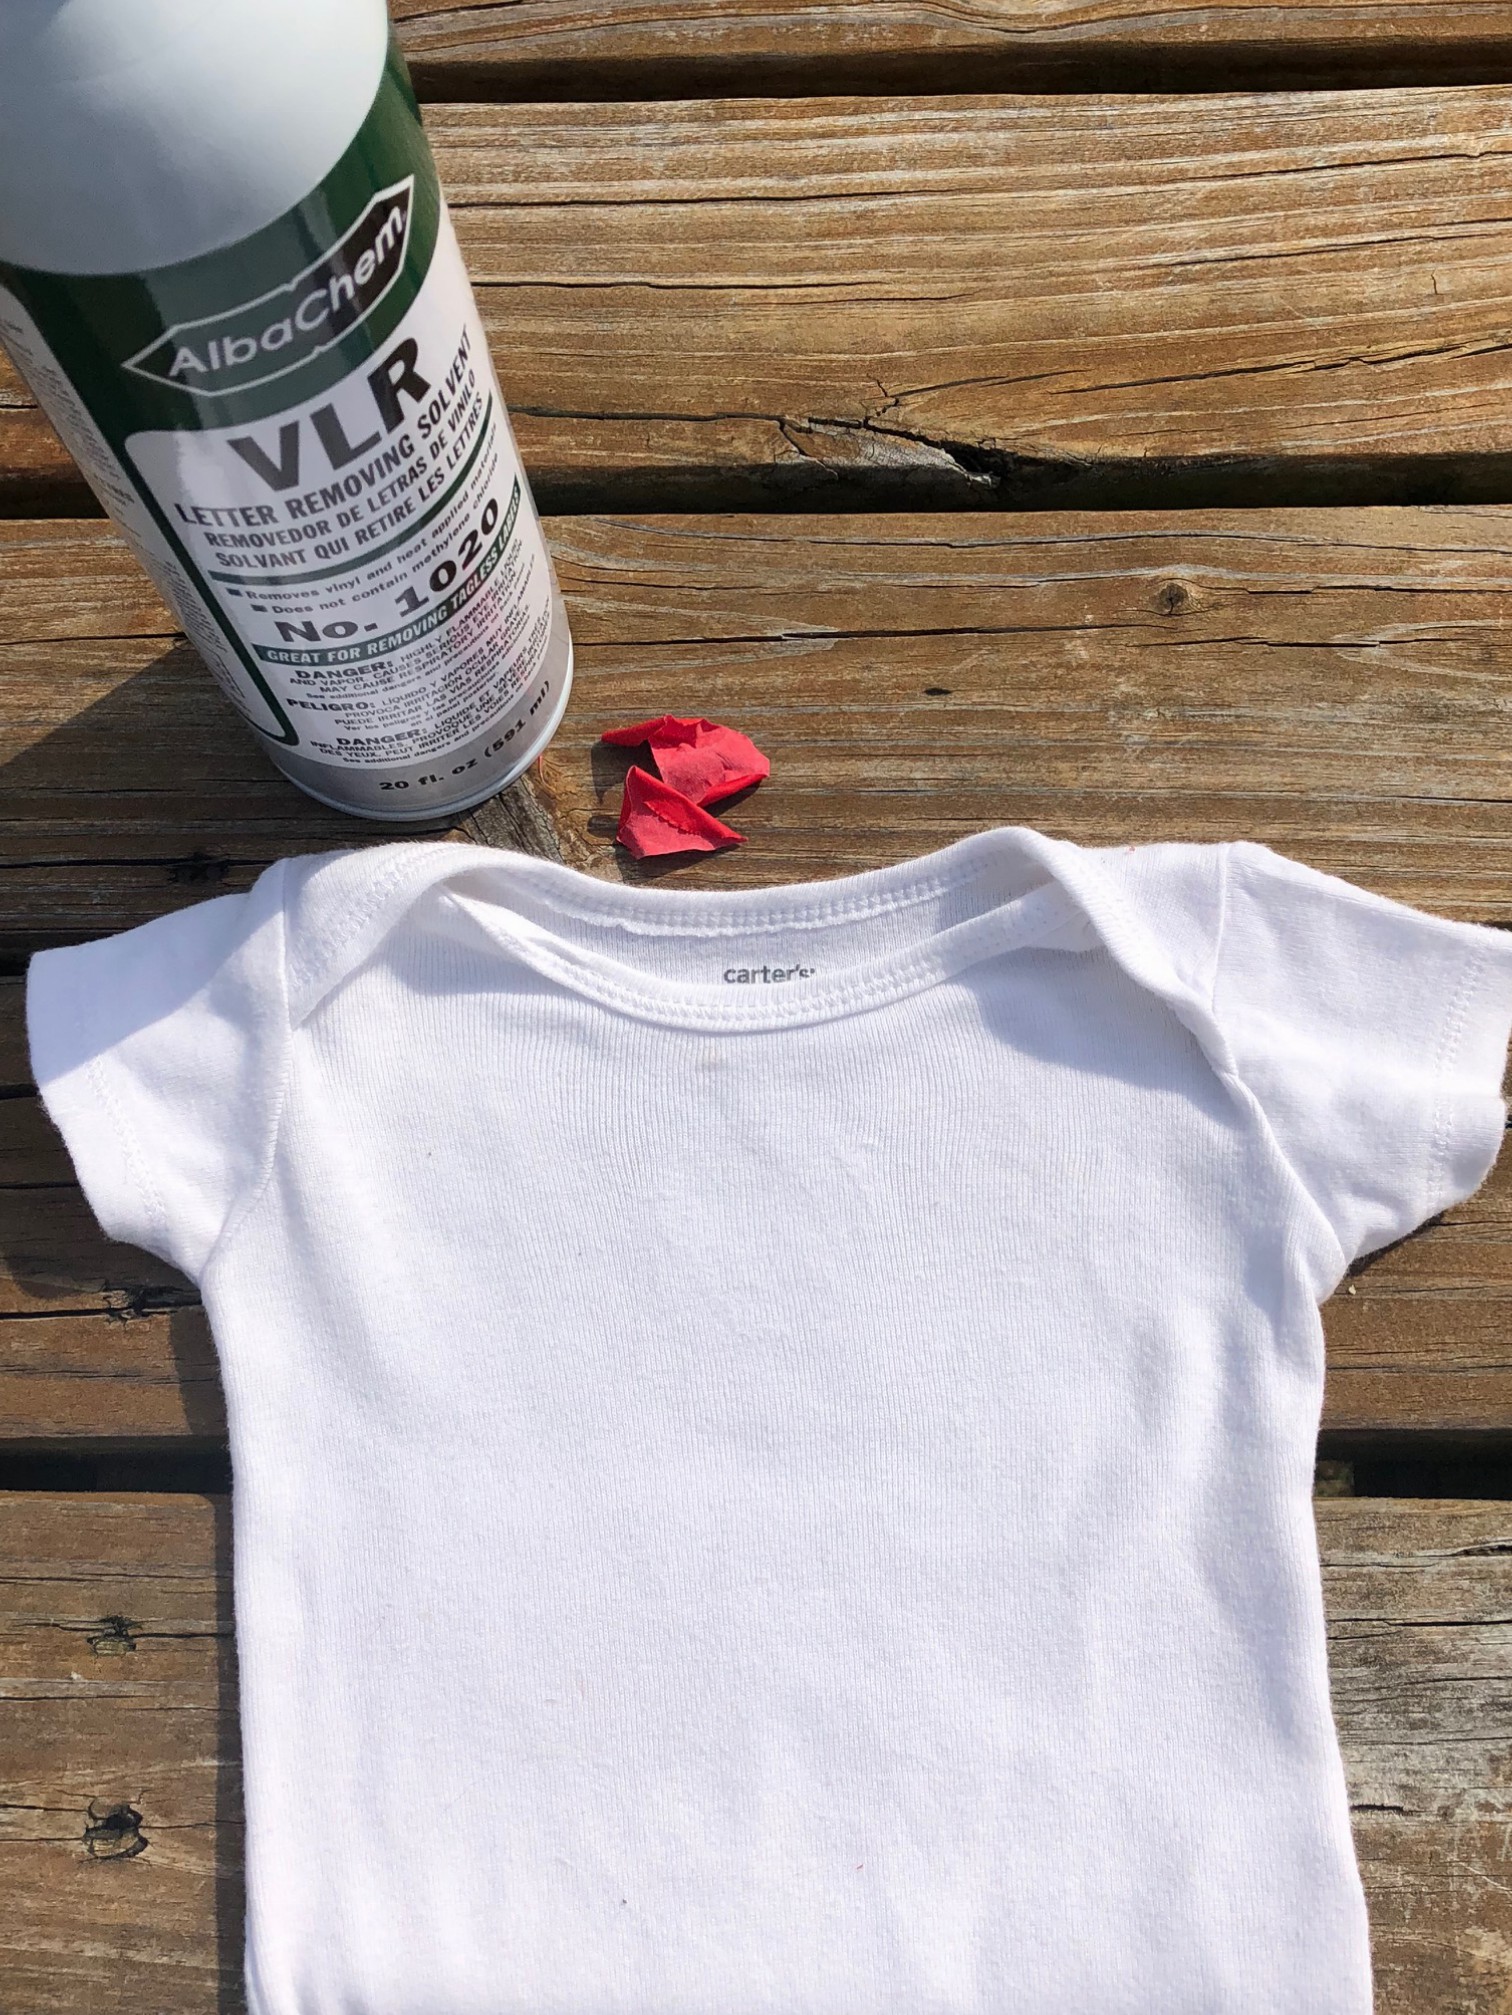
Vinyl Letter Remover (VLR)

Directions on how to use VLR:

1 – Take your garment and go to a well-ventilated area.

IMG_9278 

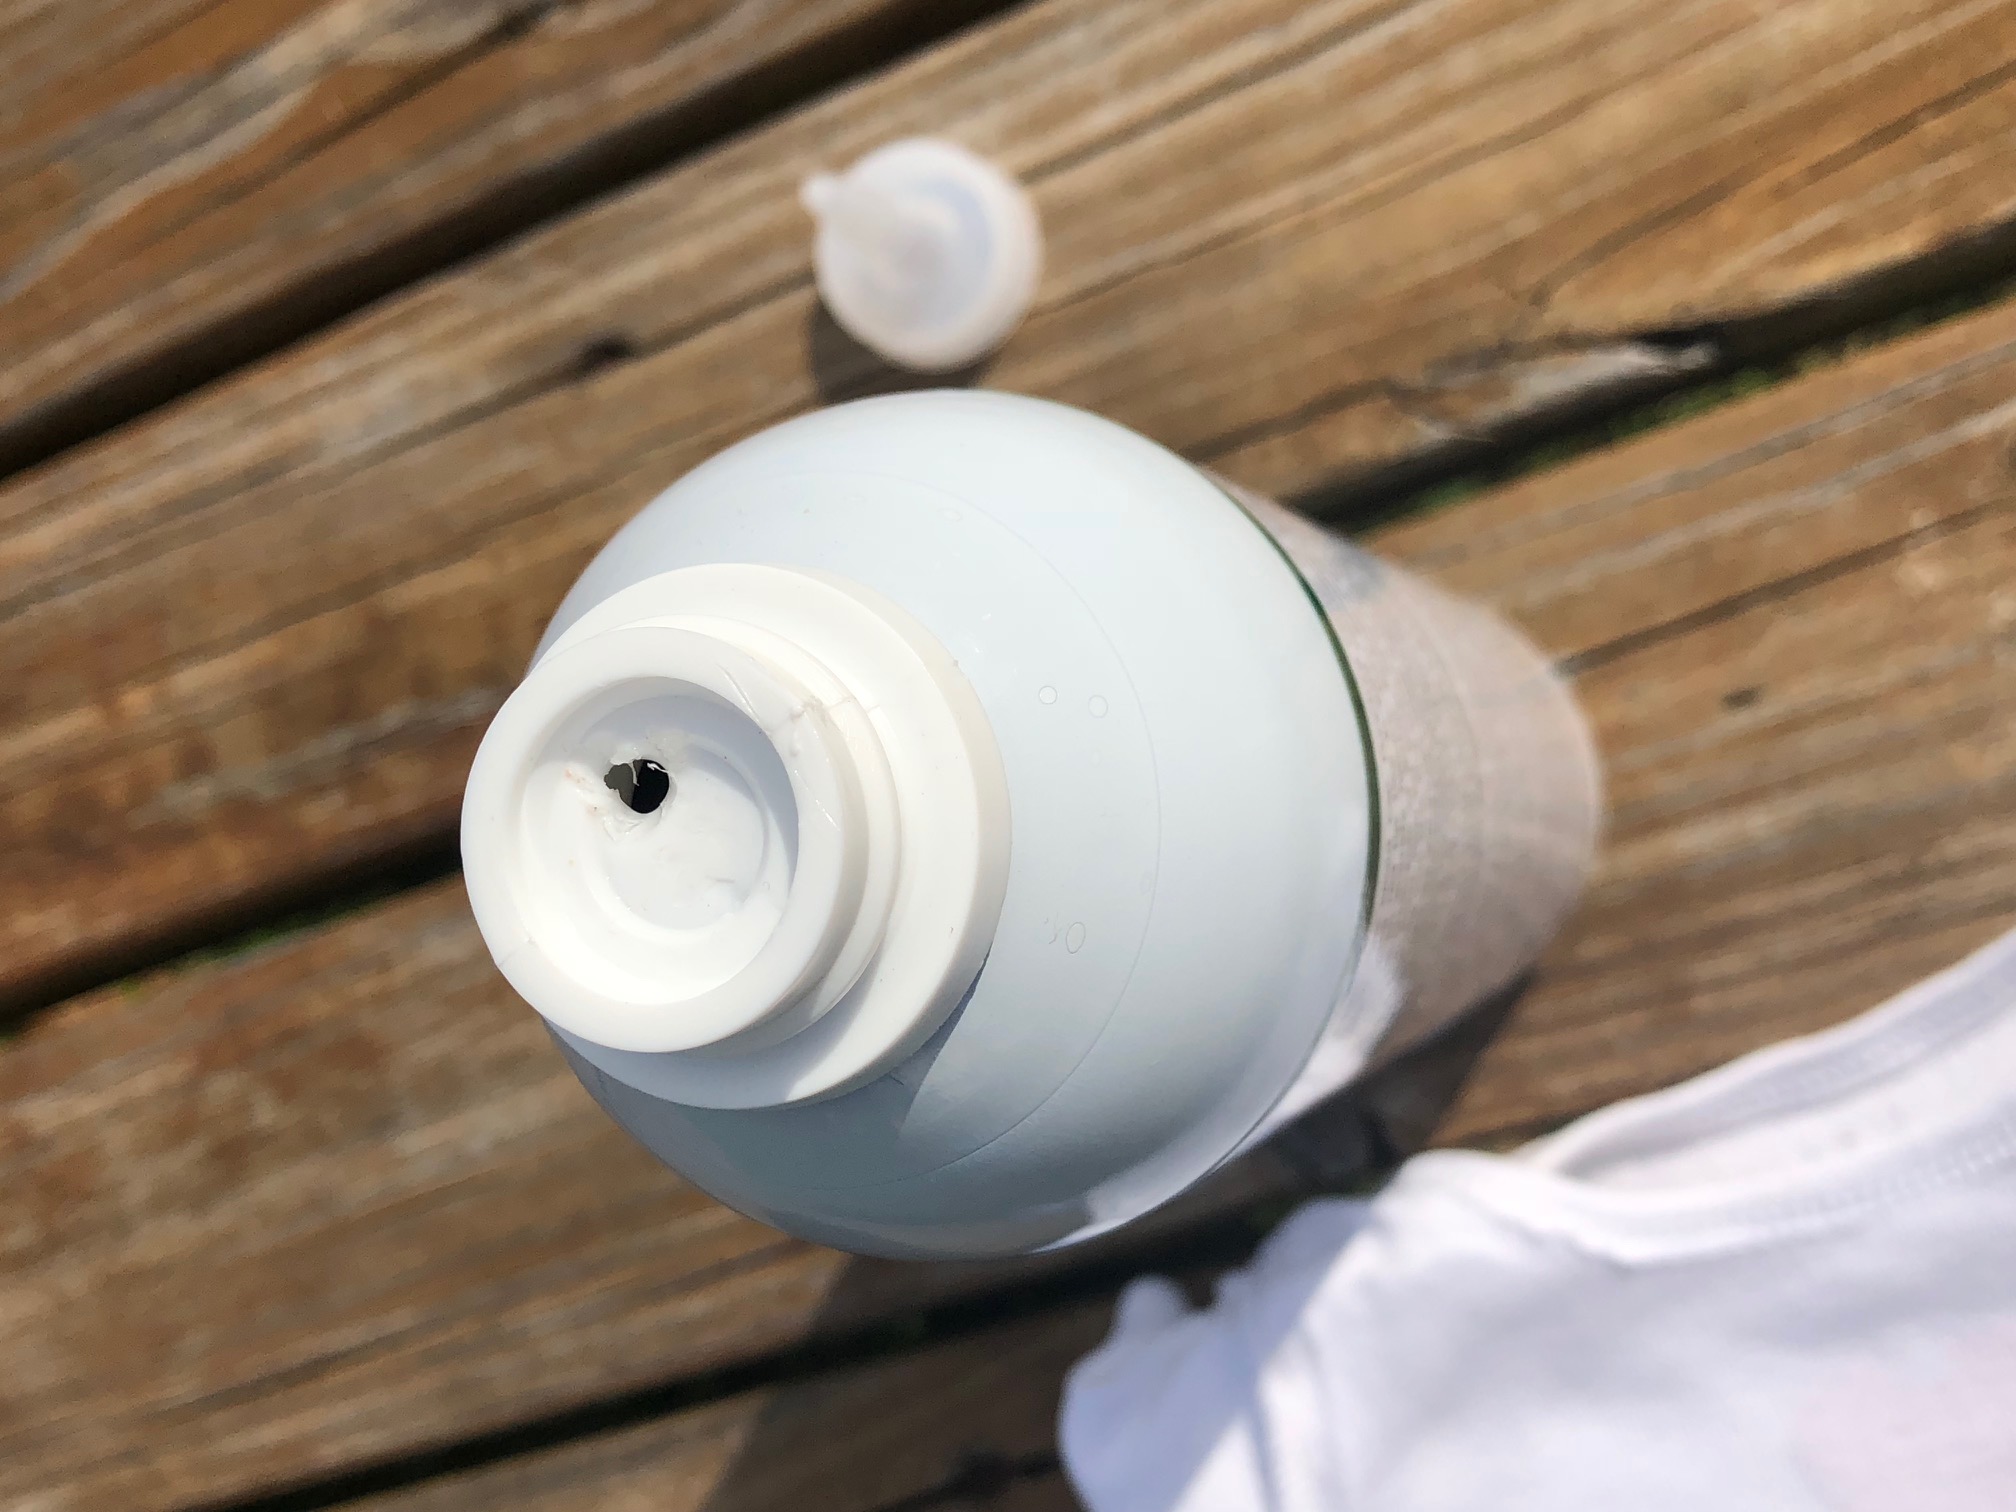
2- If it is your first time using VLR you will need to take off the cap and puncture the base. Then shake the VLR solution.

IMG_9280

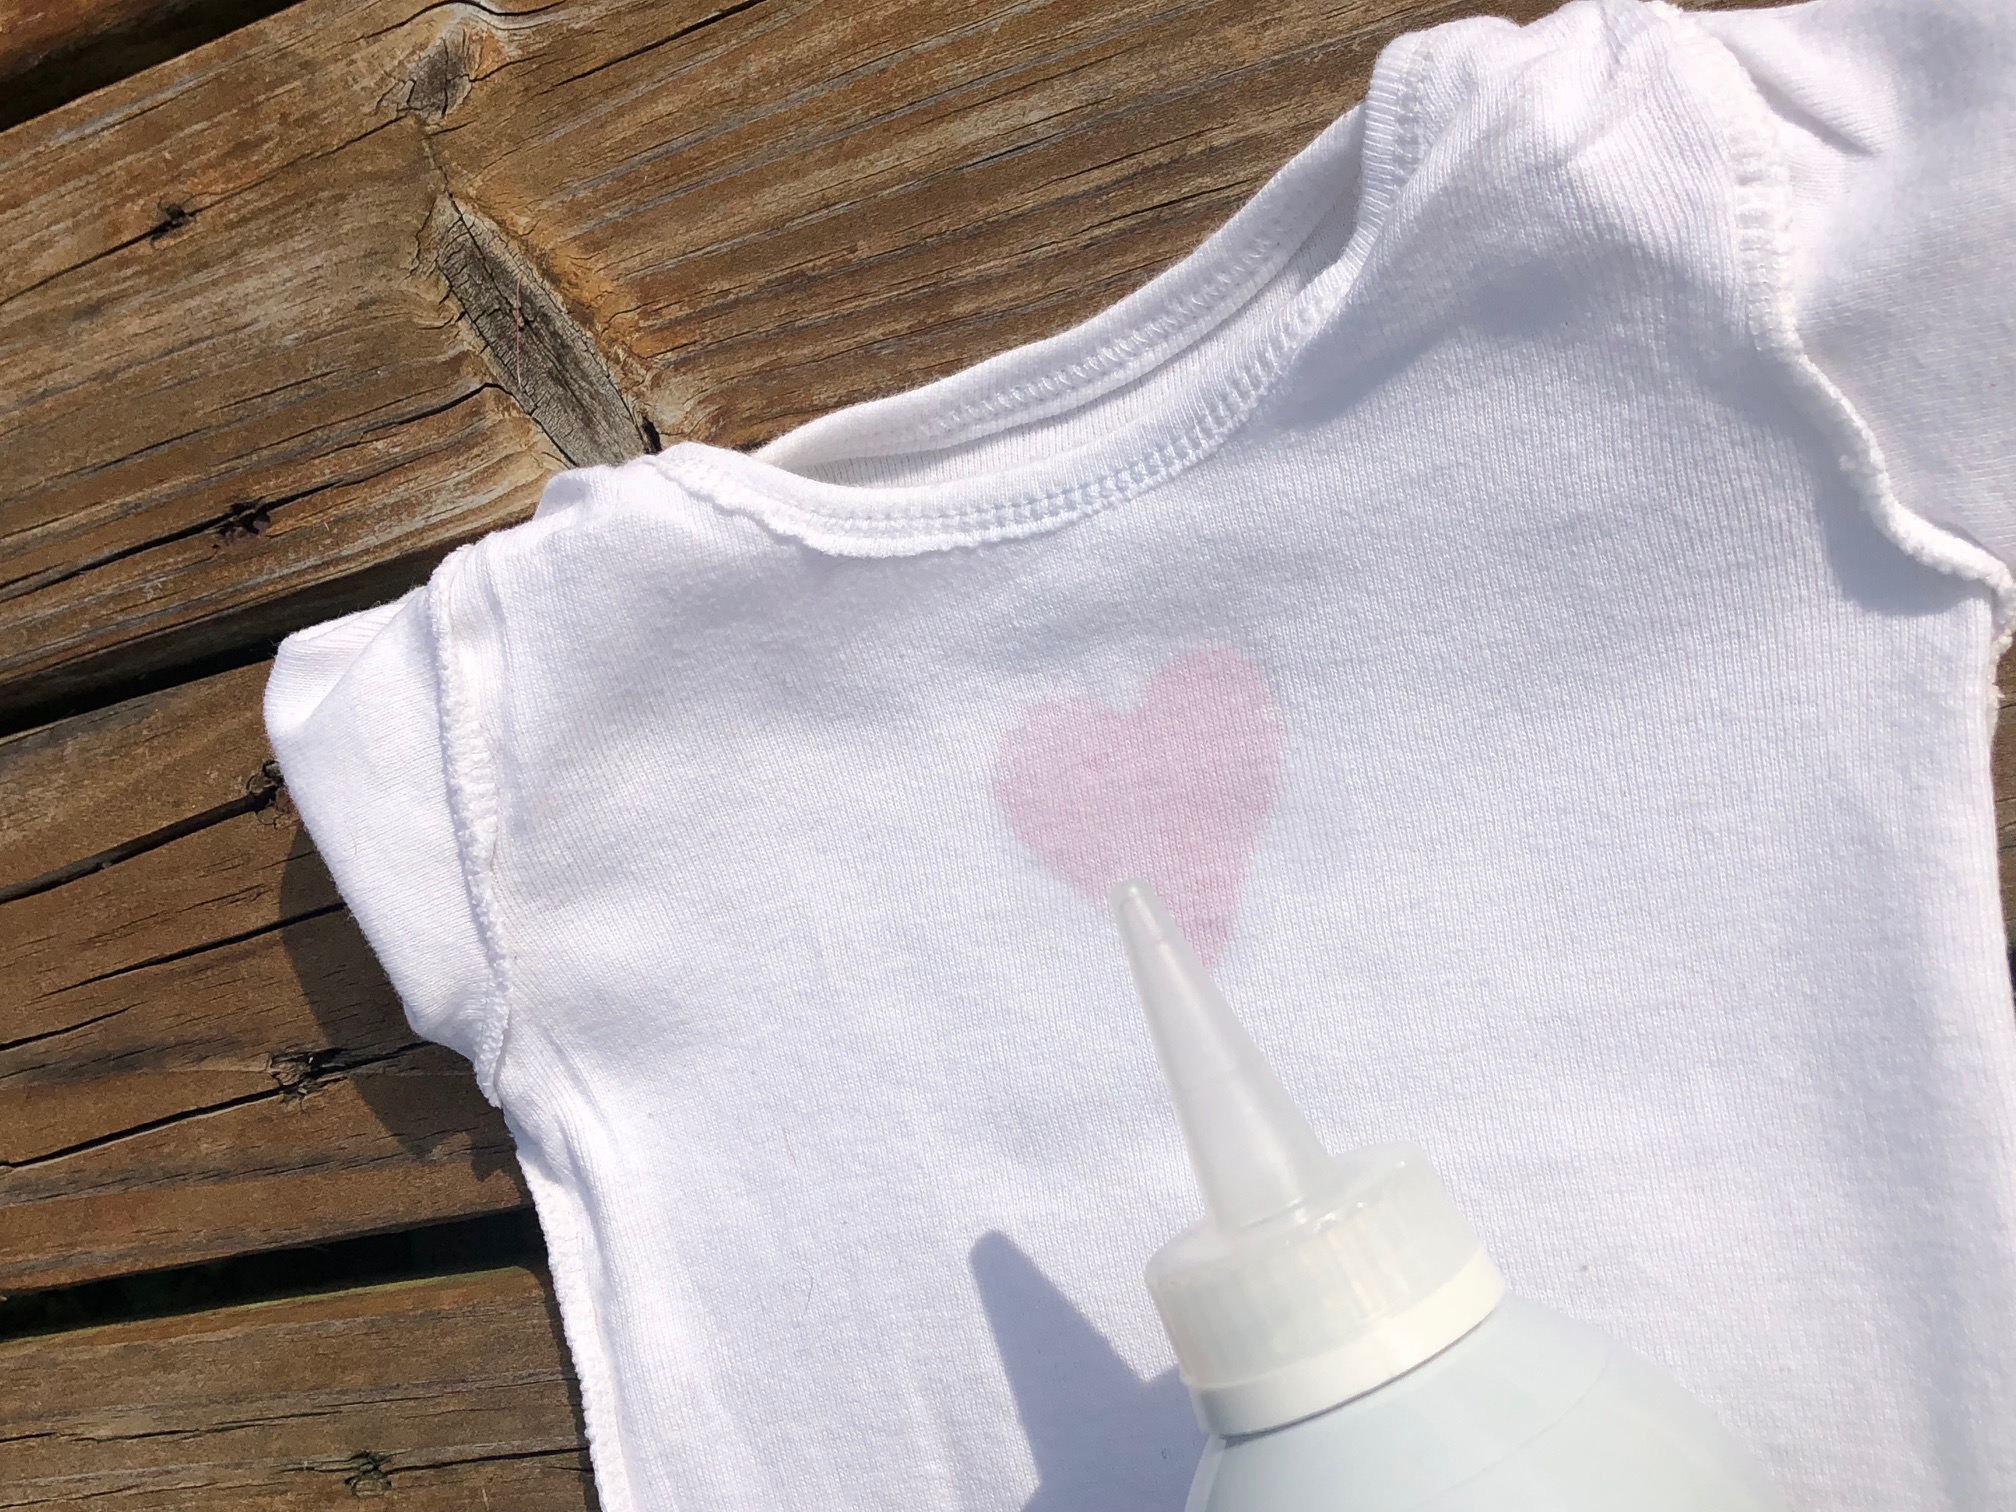
3- Turn the garment inside-out and apply the solvent to the underside of the heat applied material. This will release the vinyl from the garment.

remove HTV

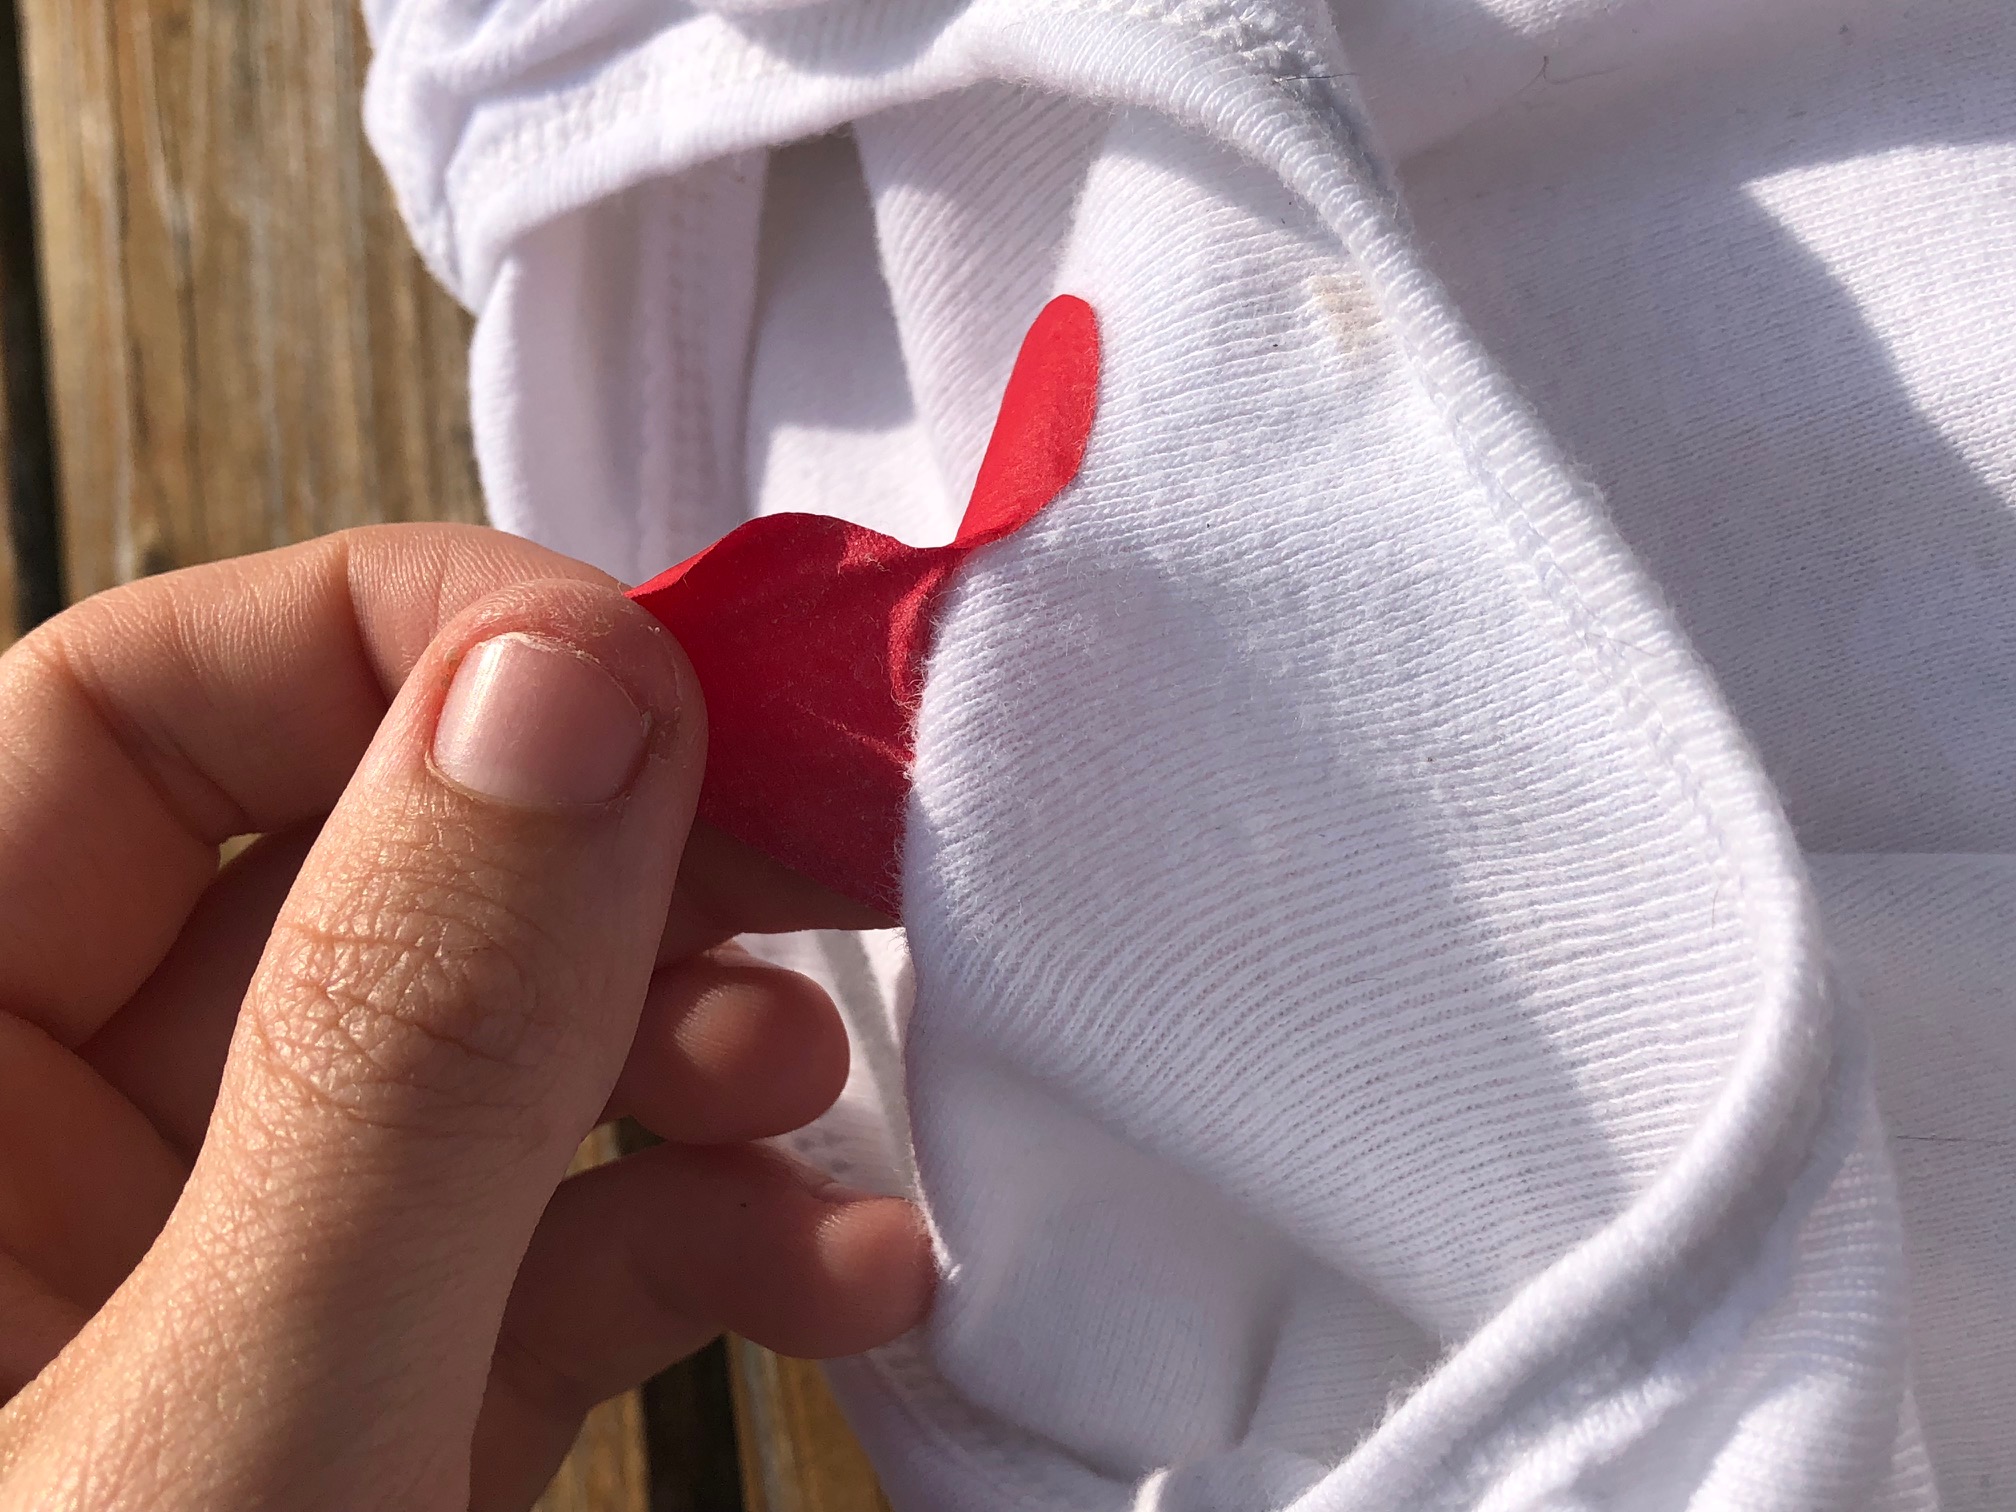
4- Once you have applied the VLR, it is best to stretch or pull the area with the mistake. This will make the heat applied material start to peel off of the garment.

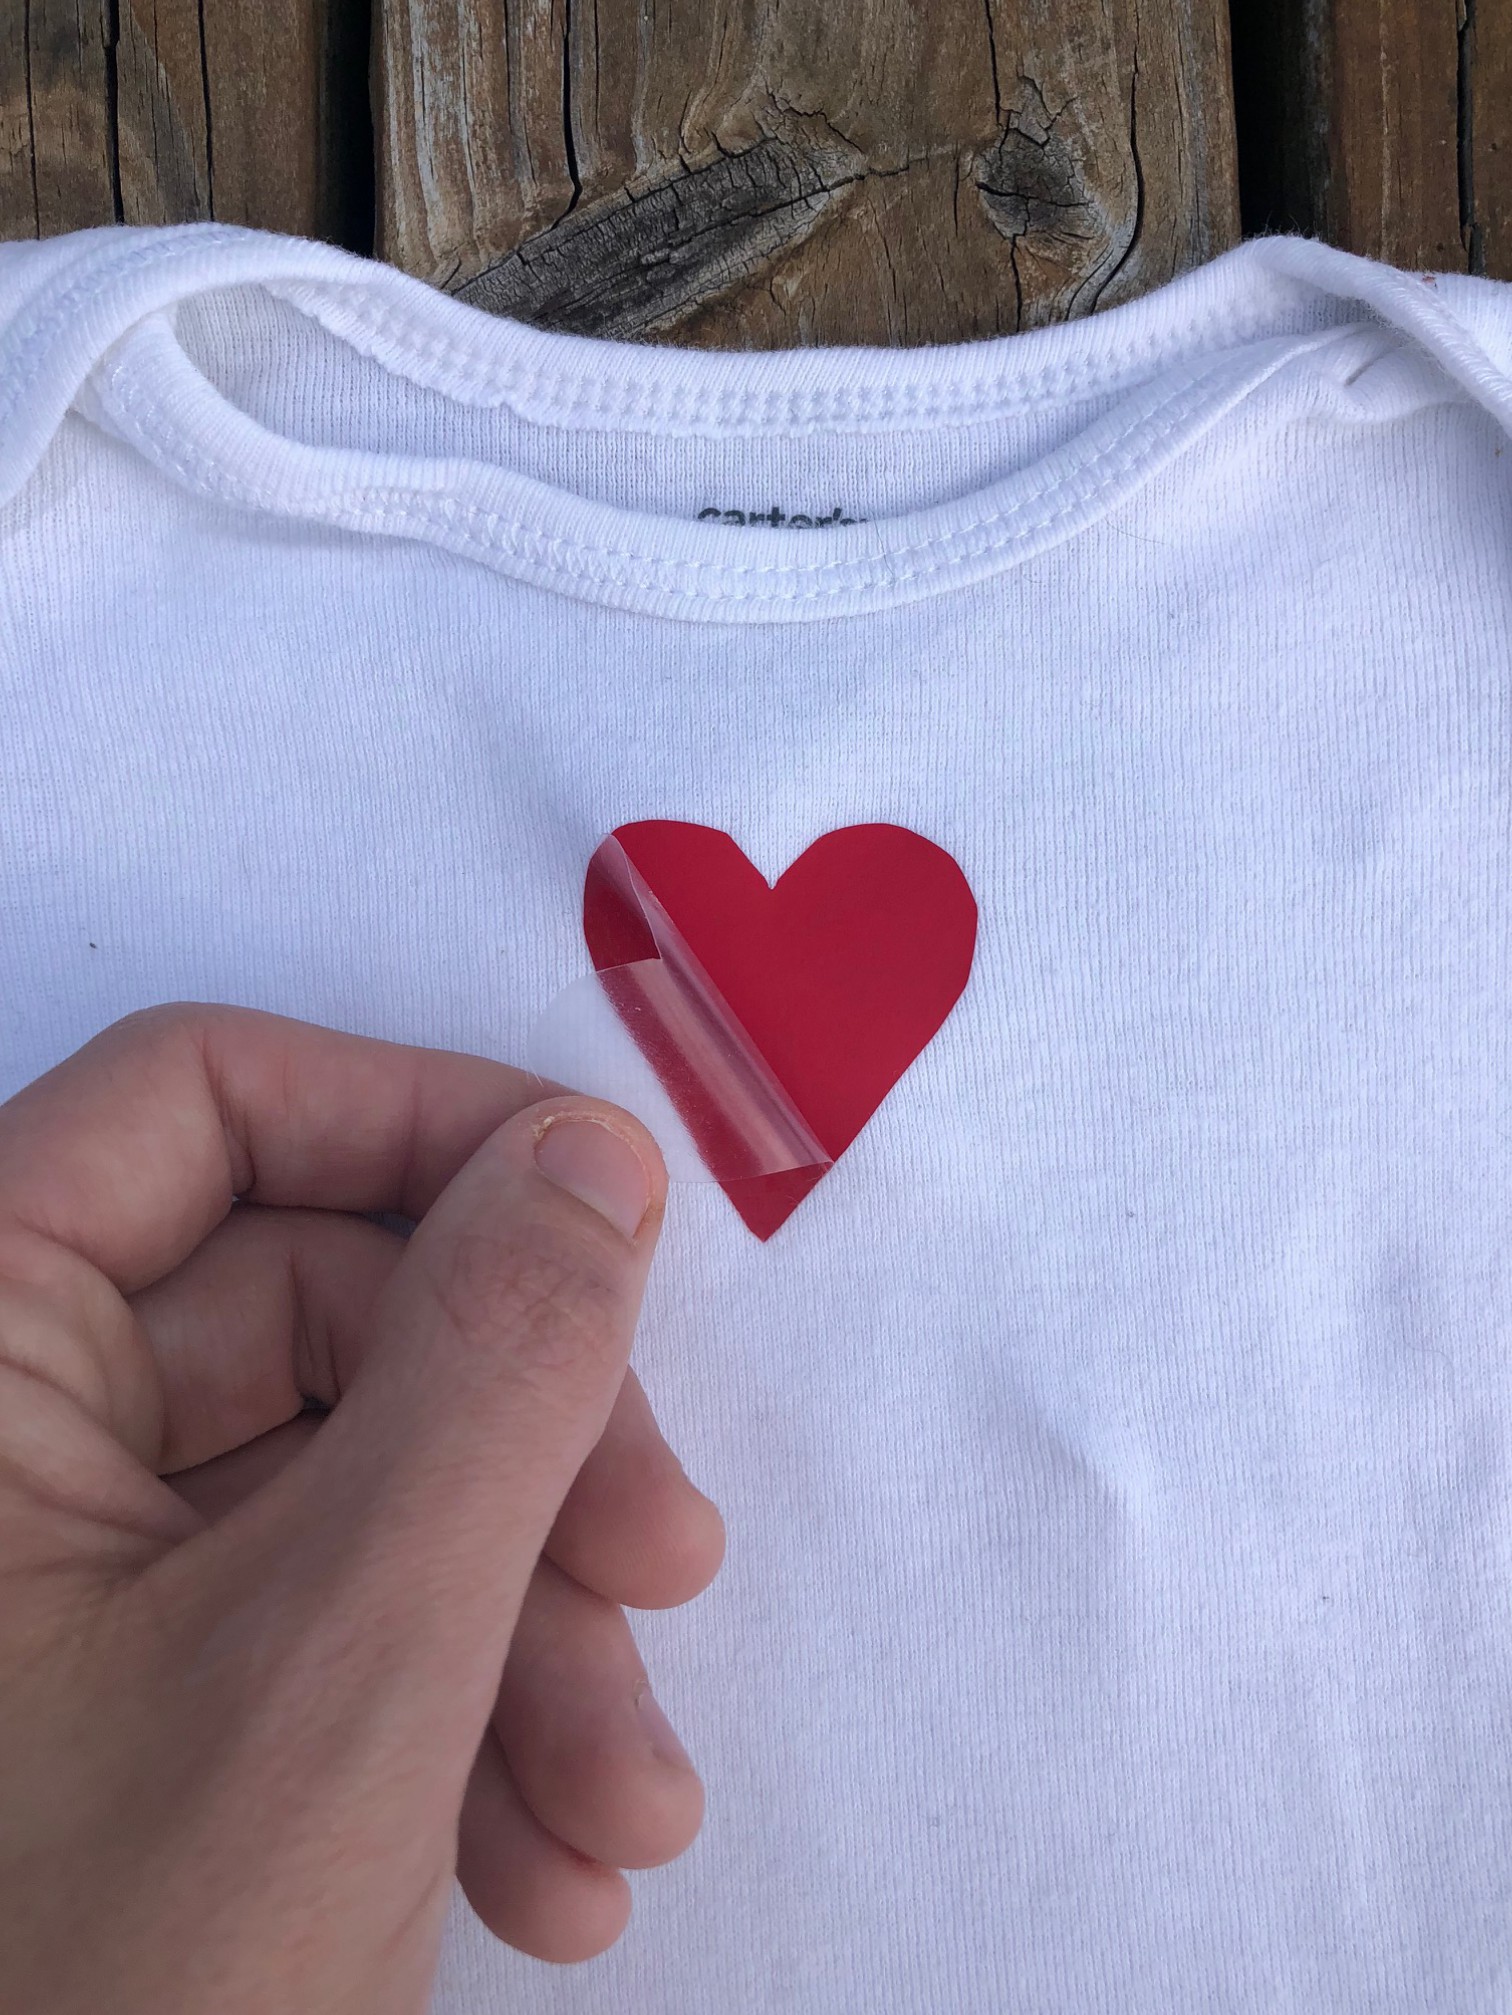
5-Pull off the remaining heat transfer vinyl.

remove HTV for VLR

6 – If there is any residue left, remove it from the front side of the garment by applying the Vinyl Letter Remover to a clean white rag and rubbing it off.

IMG_9288

7 – Repeat if necessary.

View & Add Comments

Sublimate a Compact Mirror

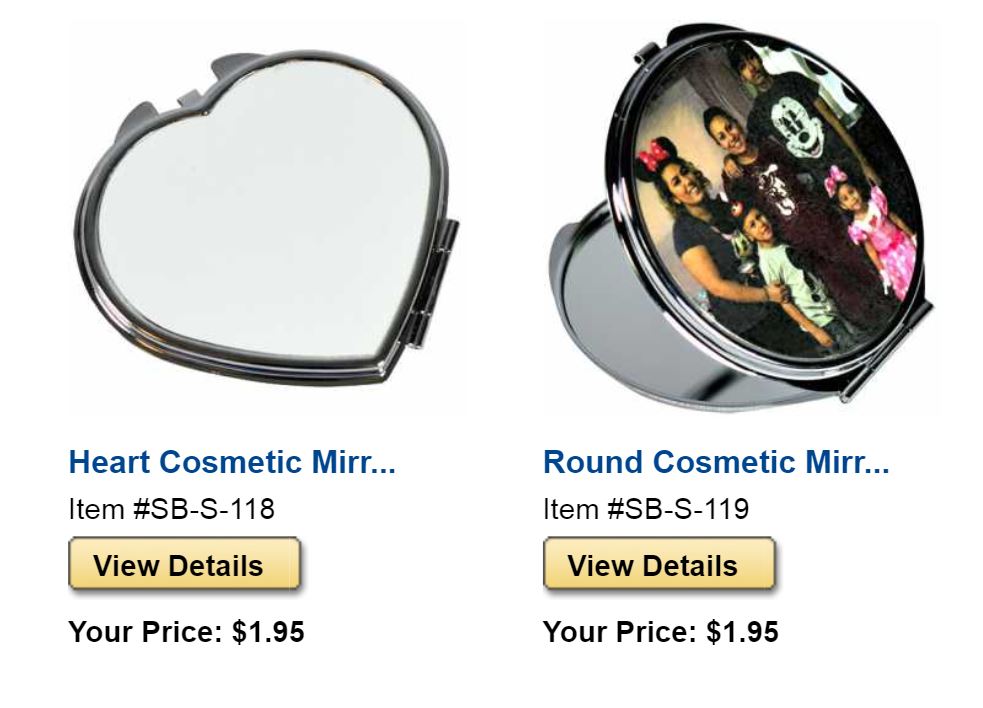
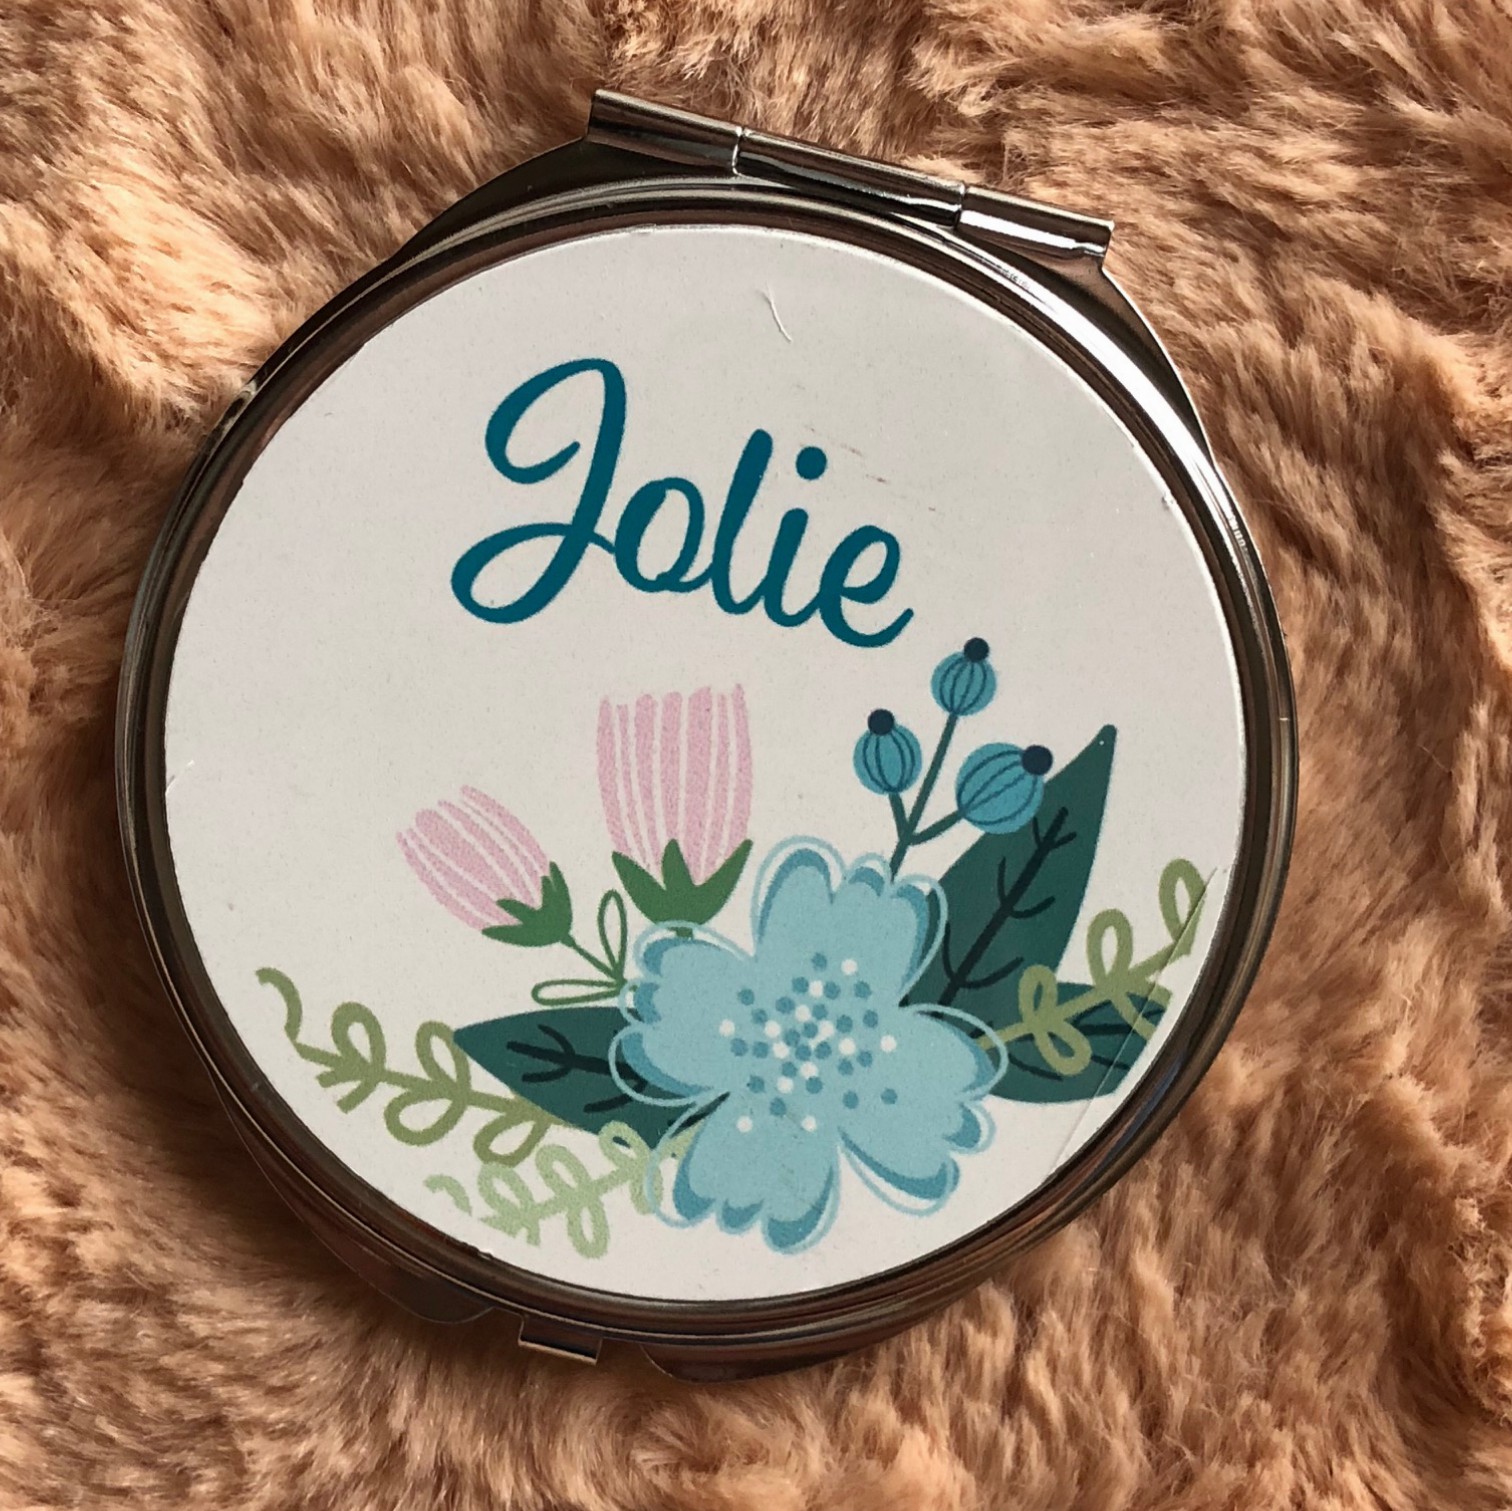
Our new sublimation blank is sure to be a beautiful addition to your current product offerings. The handheld compact comes in a round and heart-shaped design, and will give your customers plenty of options!

compact mirror

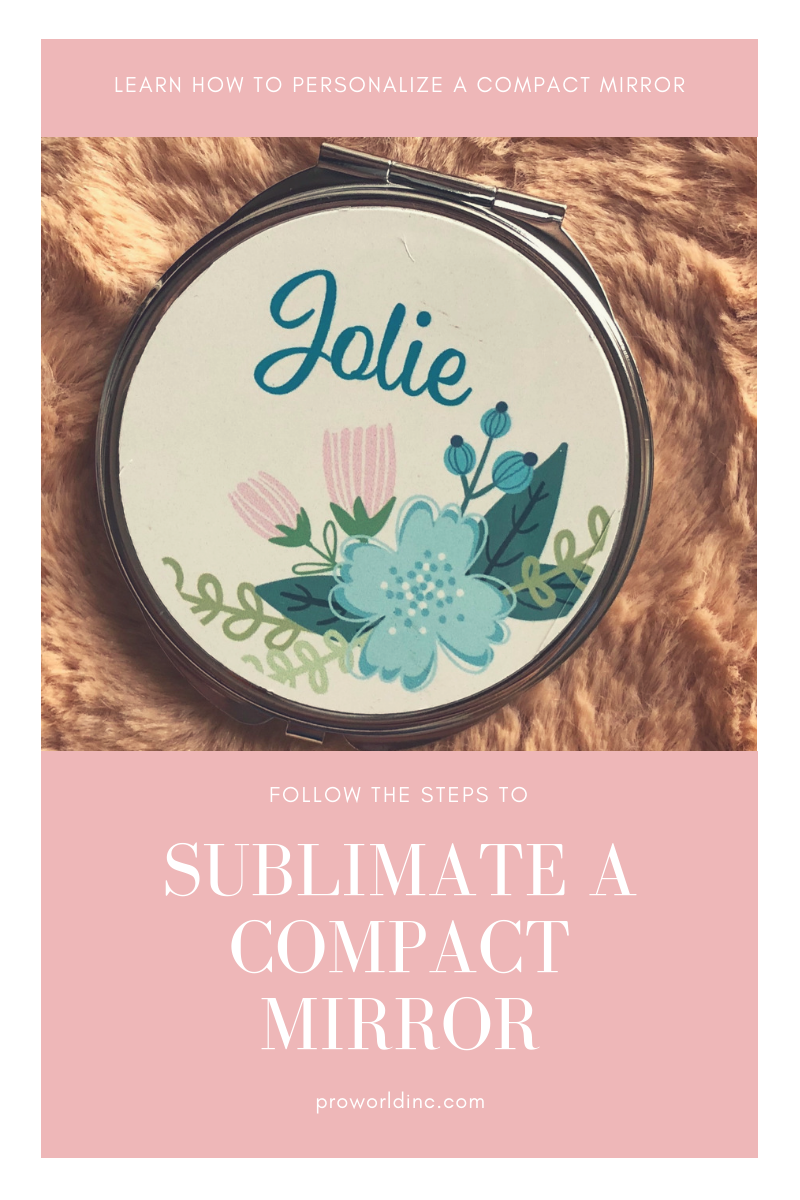
Do you want to decorate a compact mirror? Learn how below!

Personalize a compact mirrorYou need:

Sublimation is easy just follow the steps below:

1 – Set temperature on your heat press to 400 degrees Fahrenheit.

2 – Set timer to 30-45 seconds, with medium pressure.

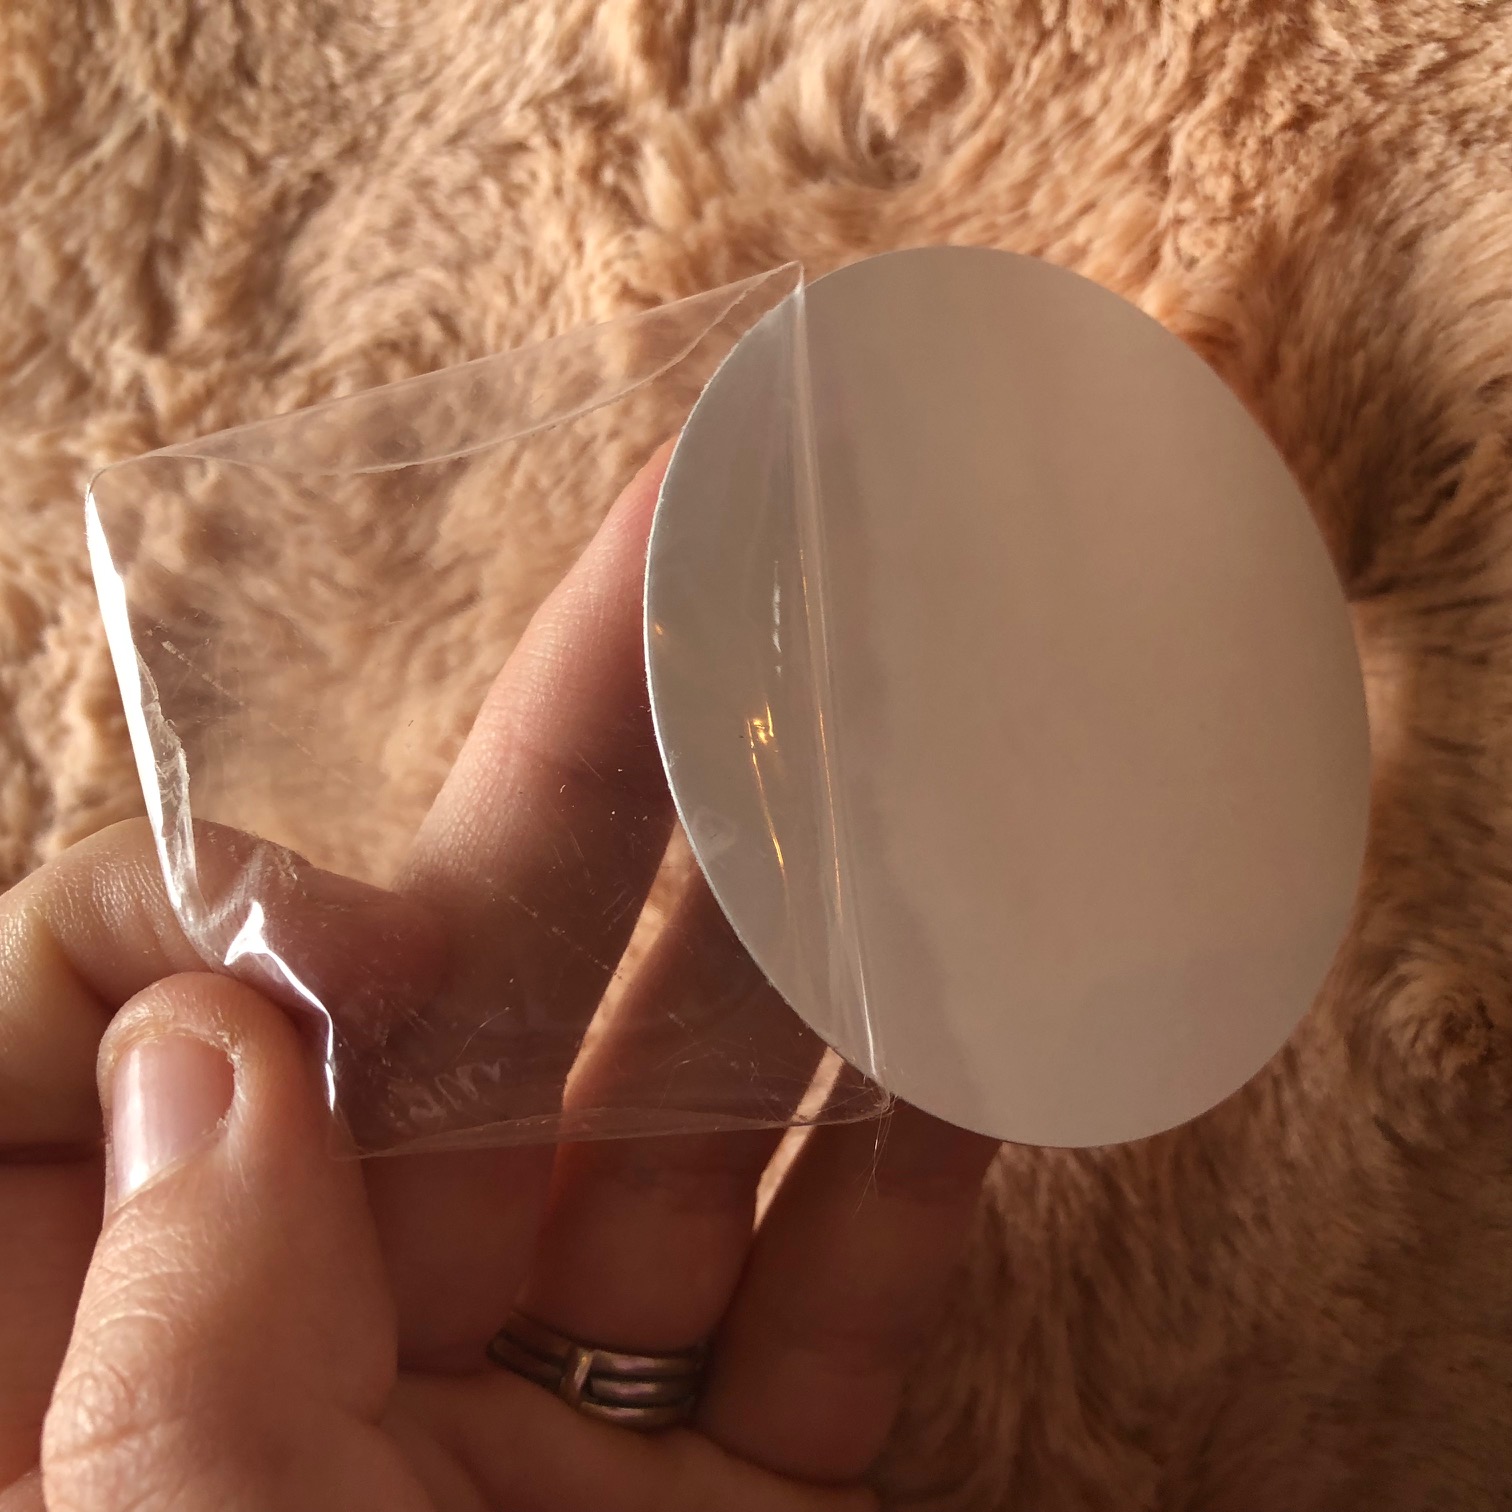
3 – Remove protective film from product.

IMG_9137

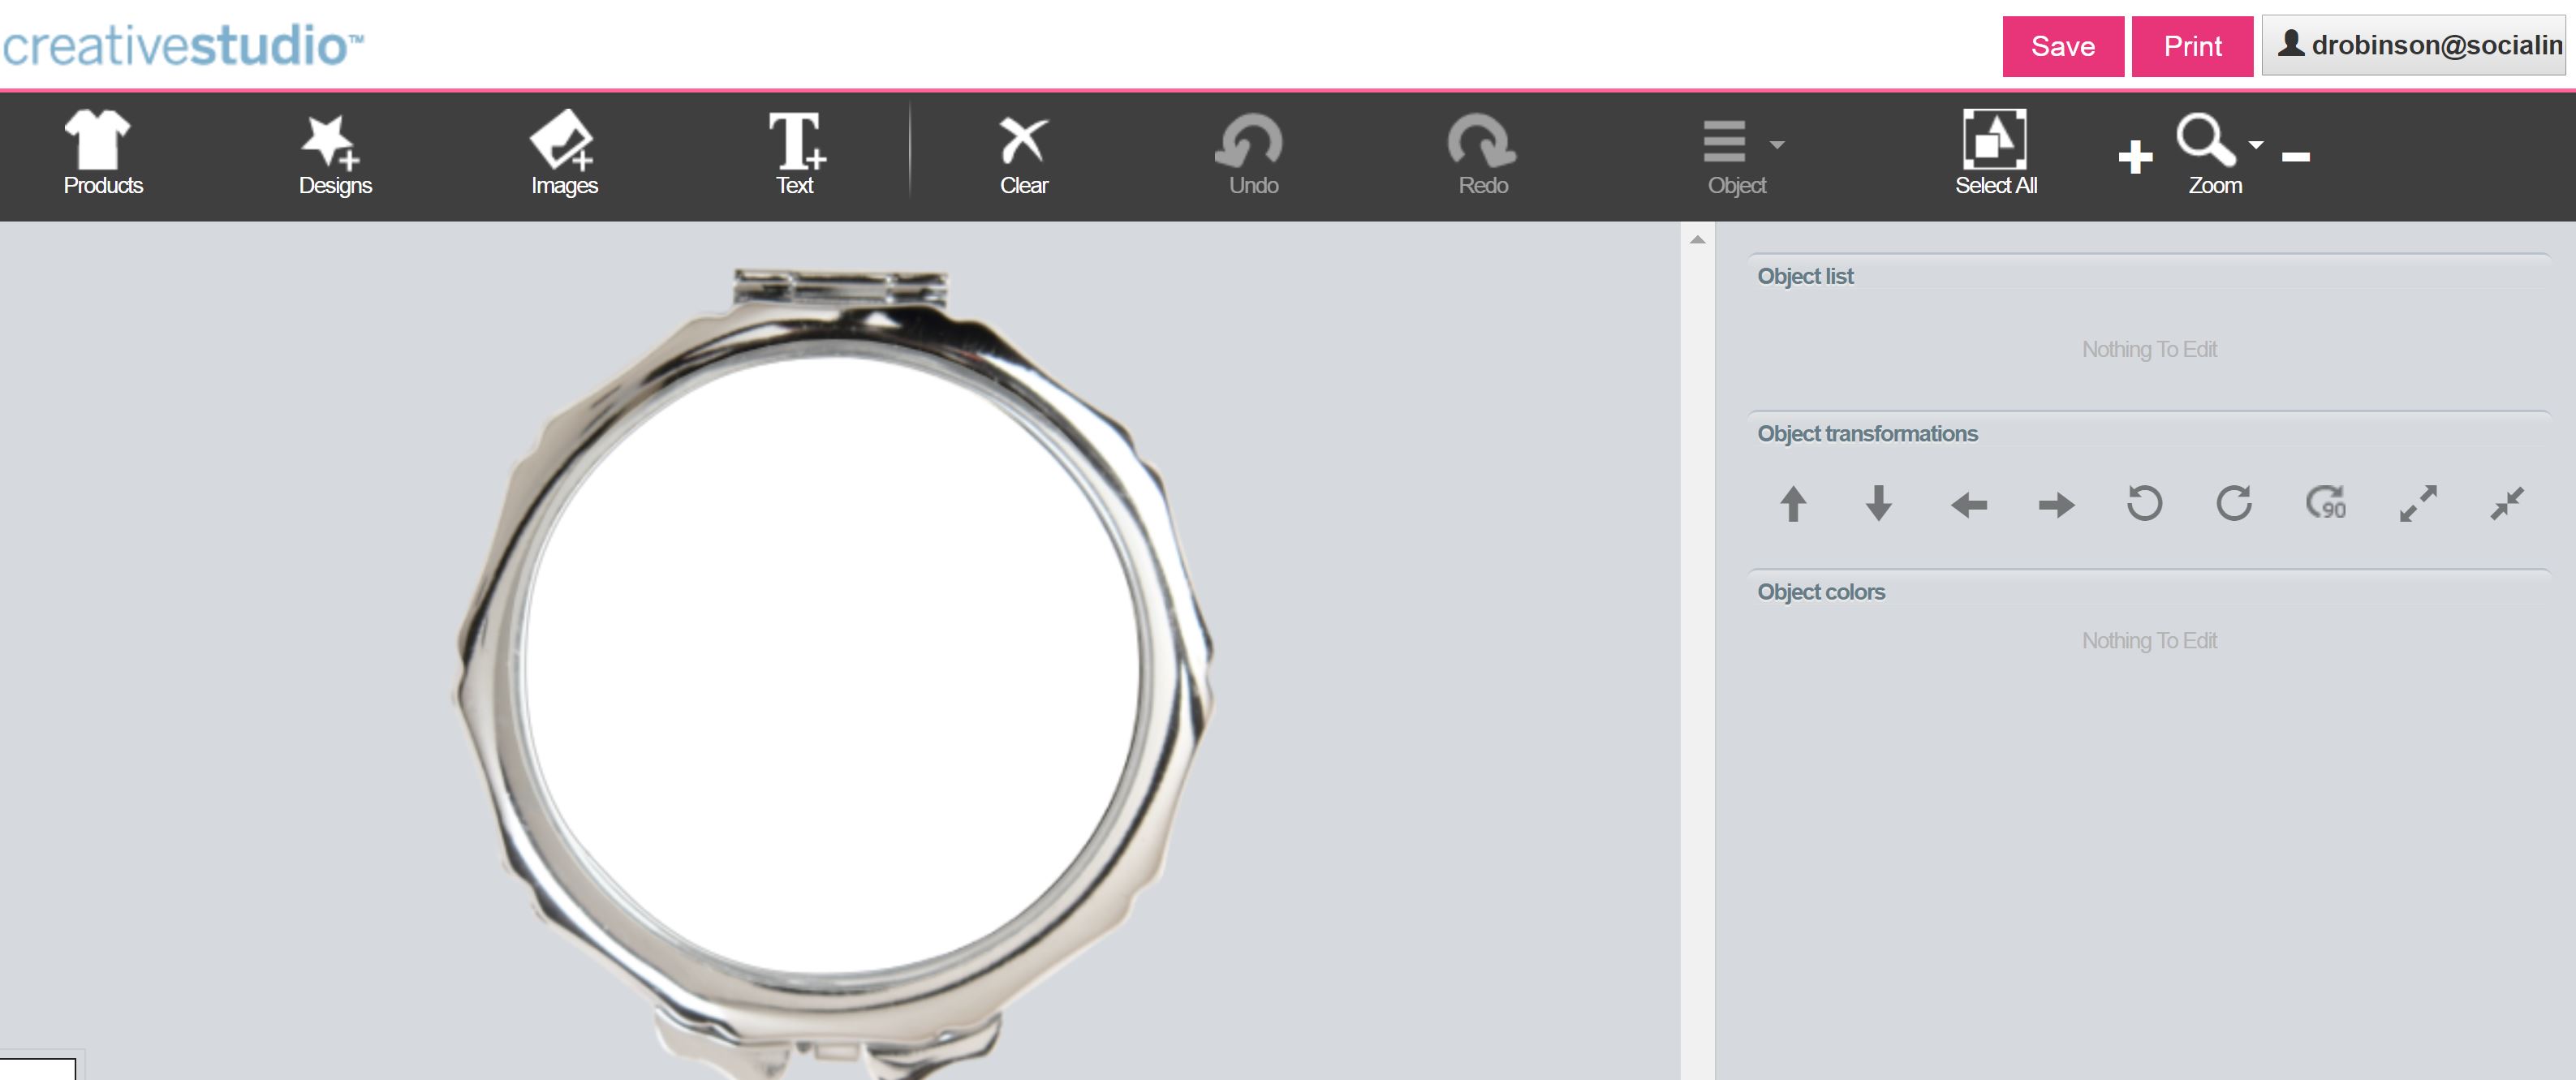
4 – Design your image. We used the Sawgrass Template.

mirror template

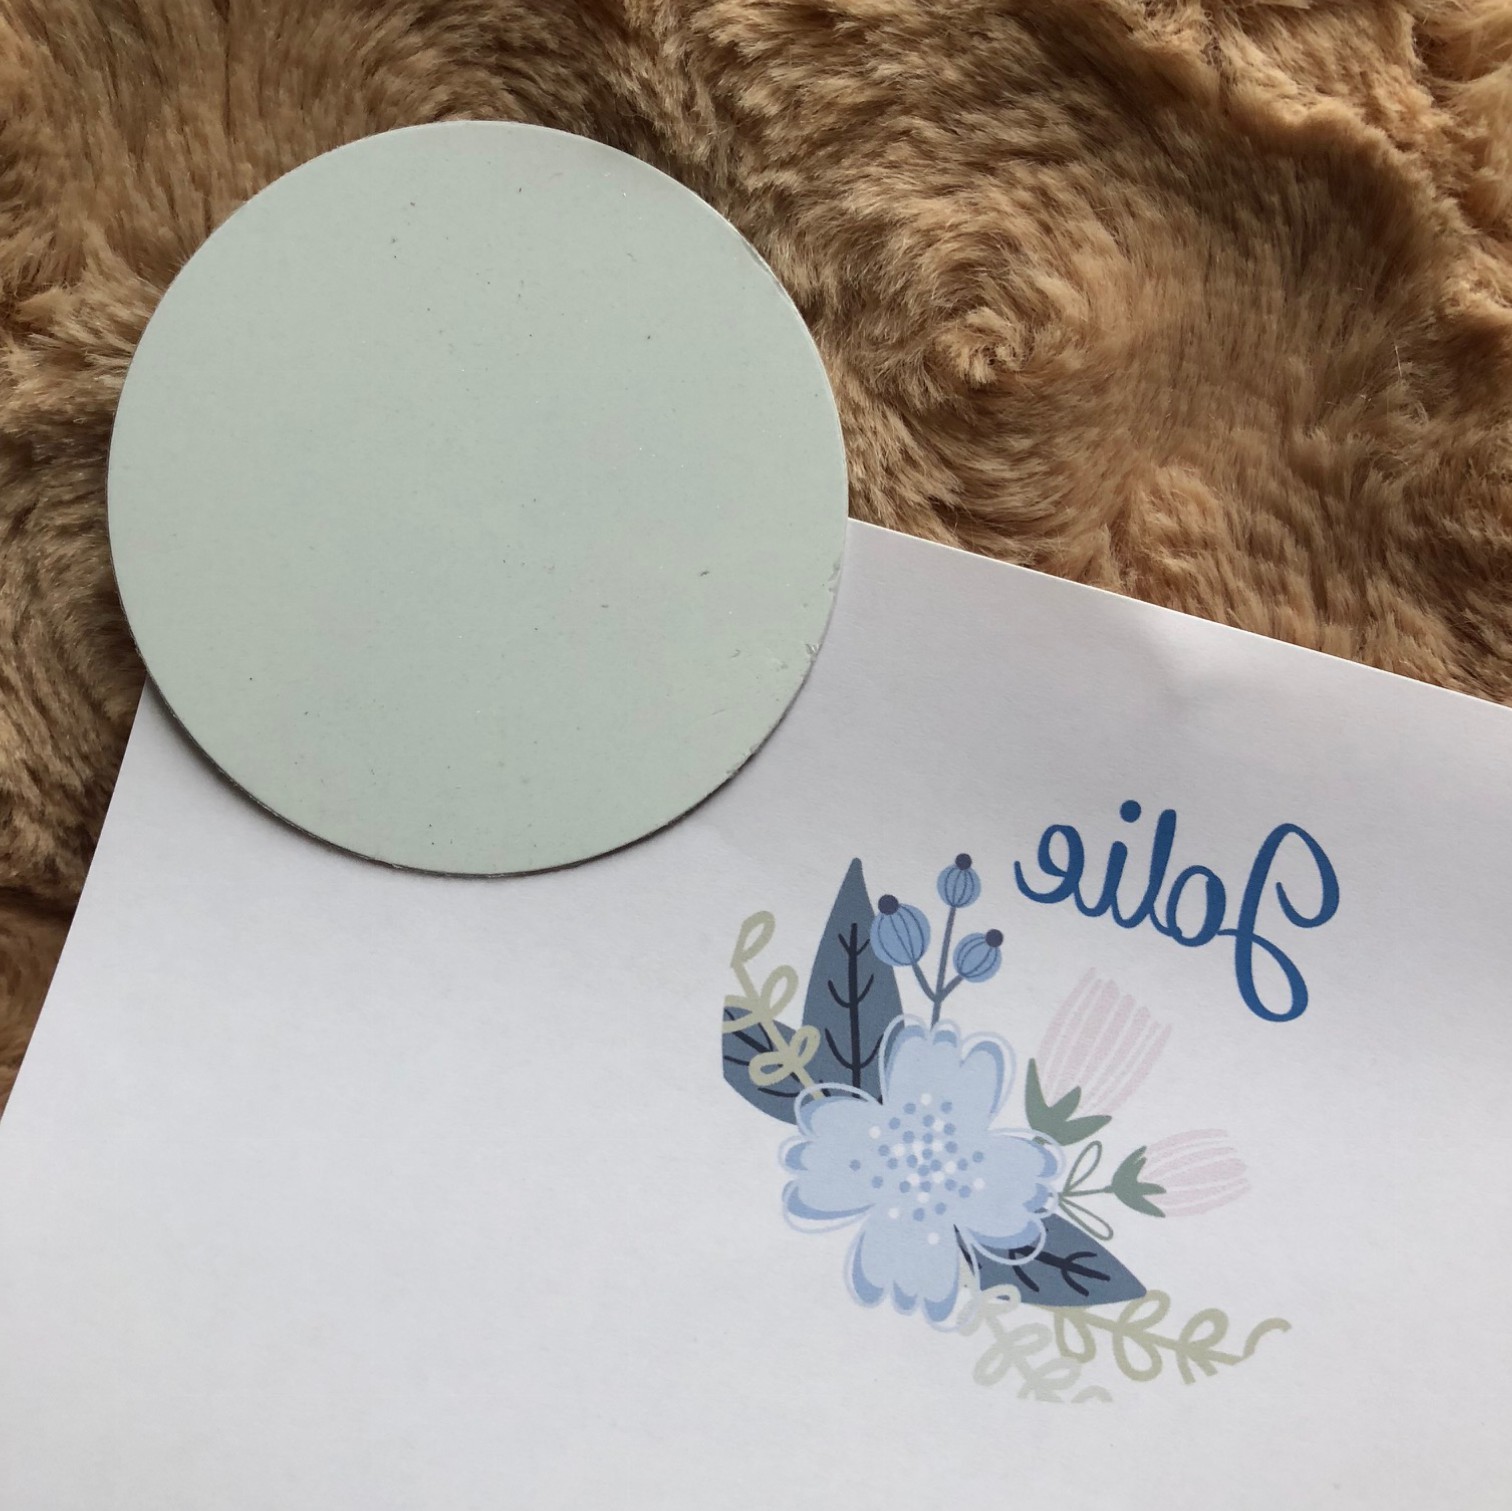
5 – Print a mirror image onto Texprint Paper. The image should be larger than the substrate.

IMG_9131

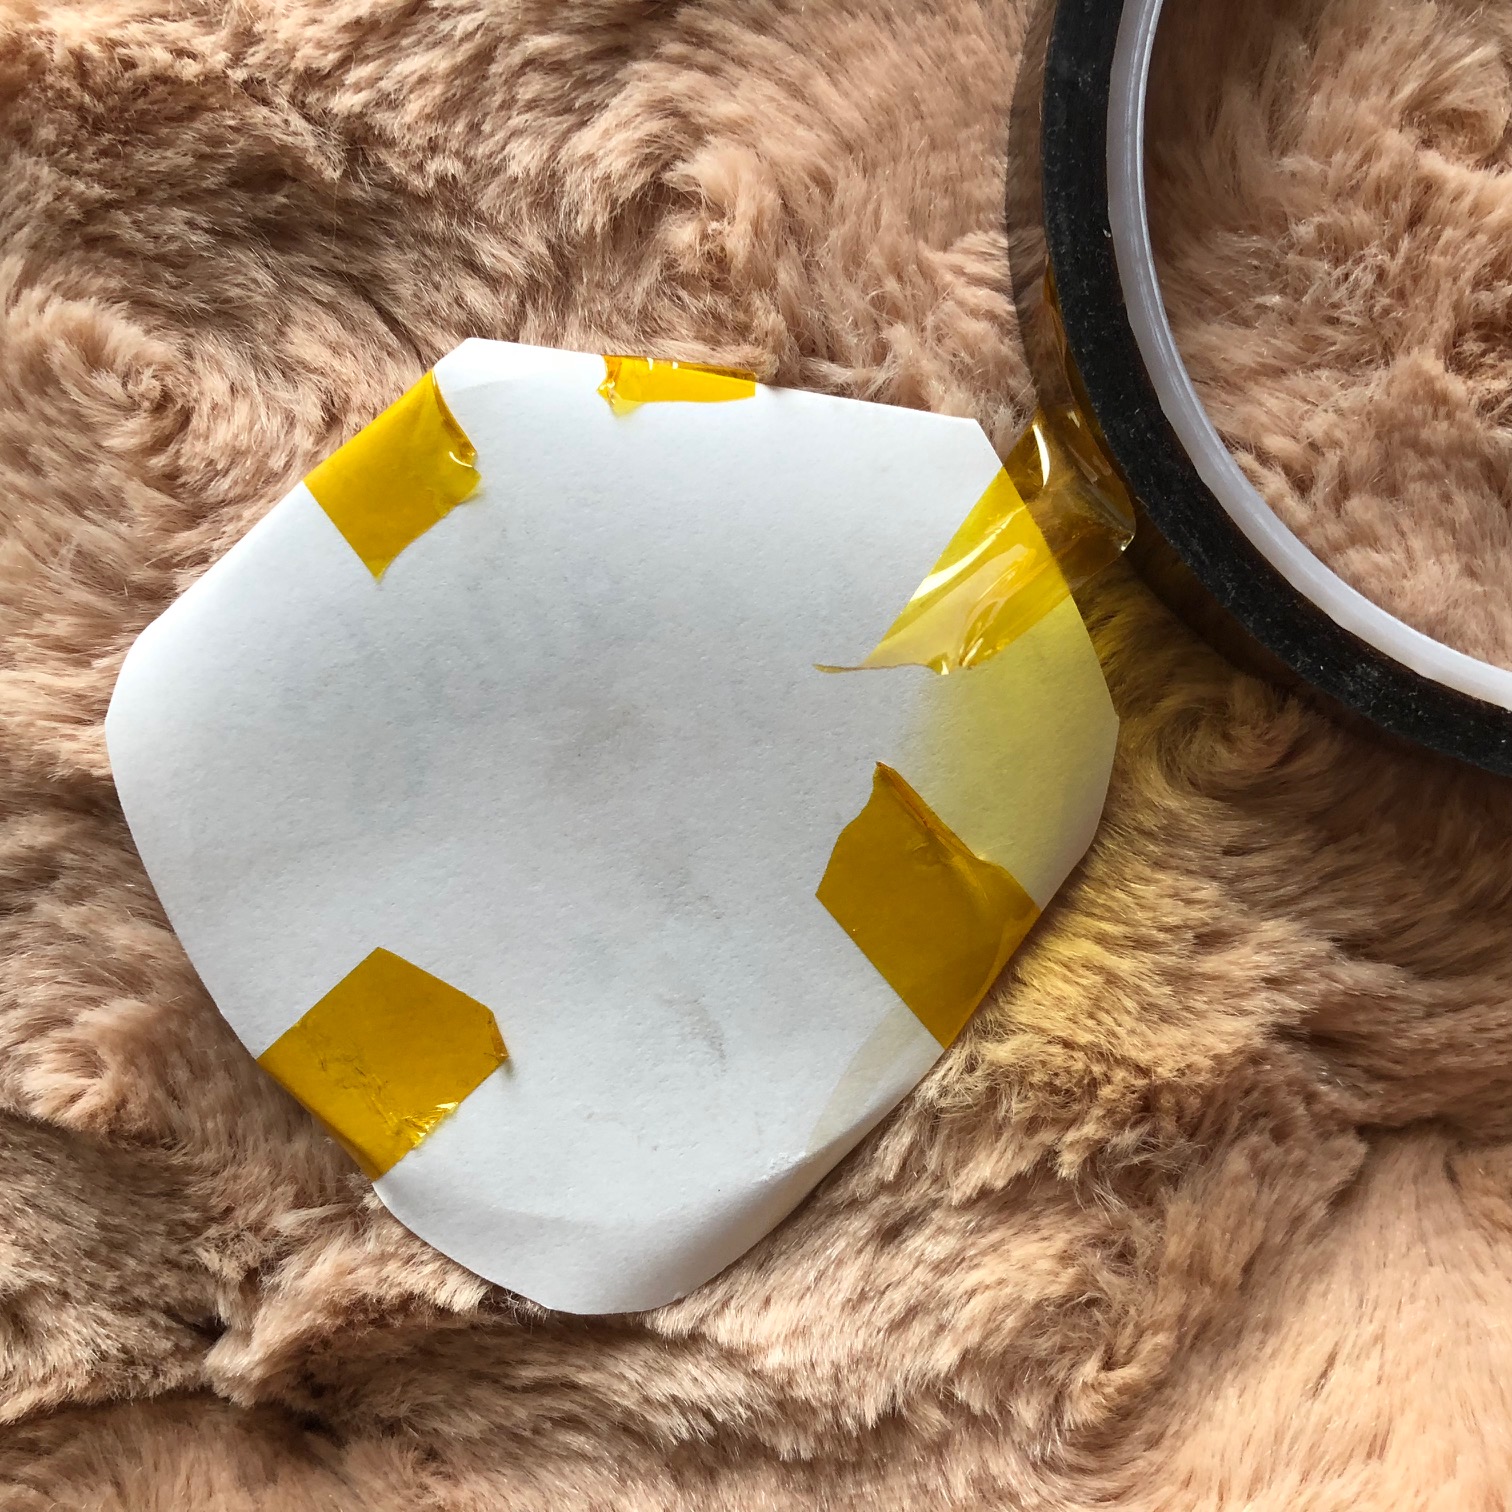
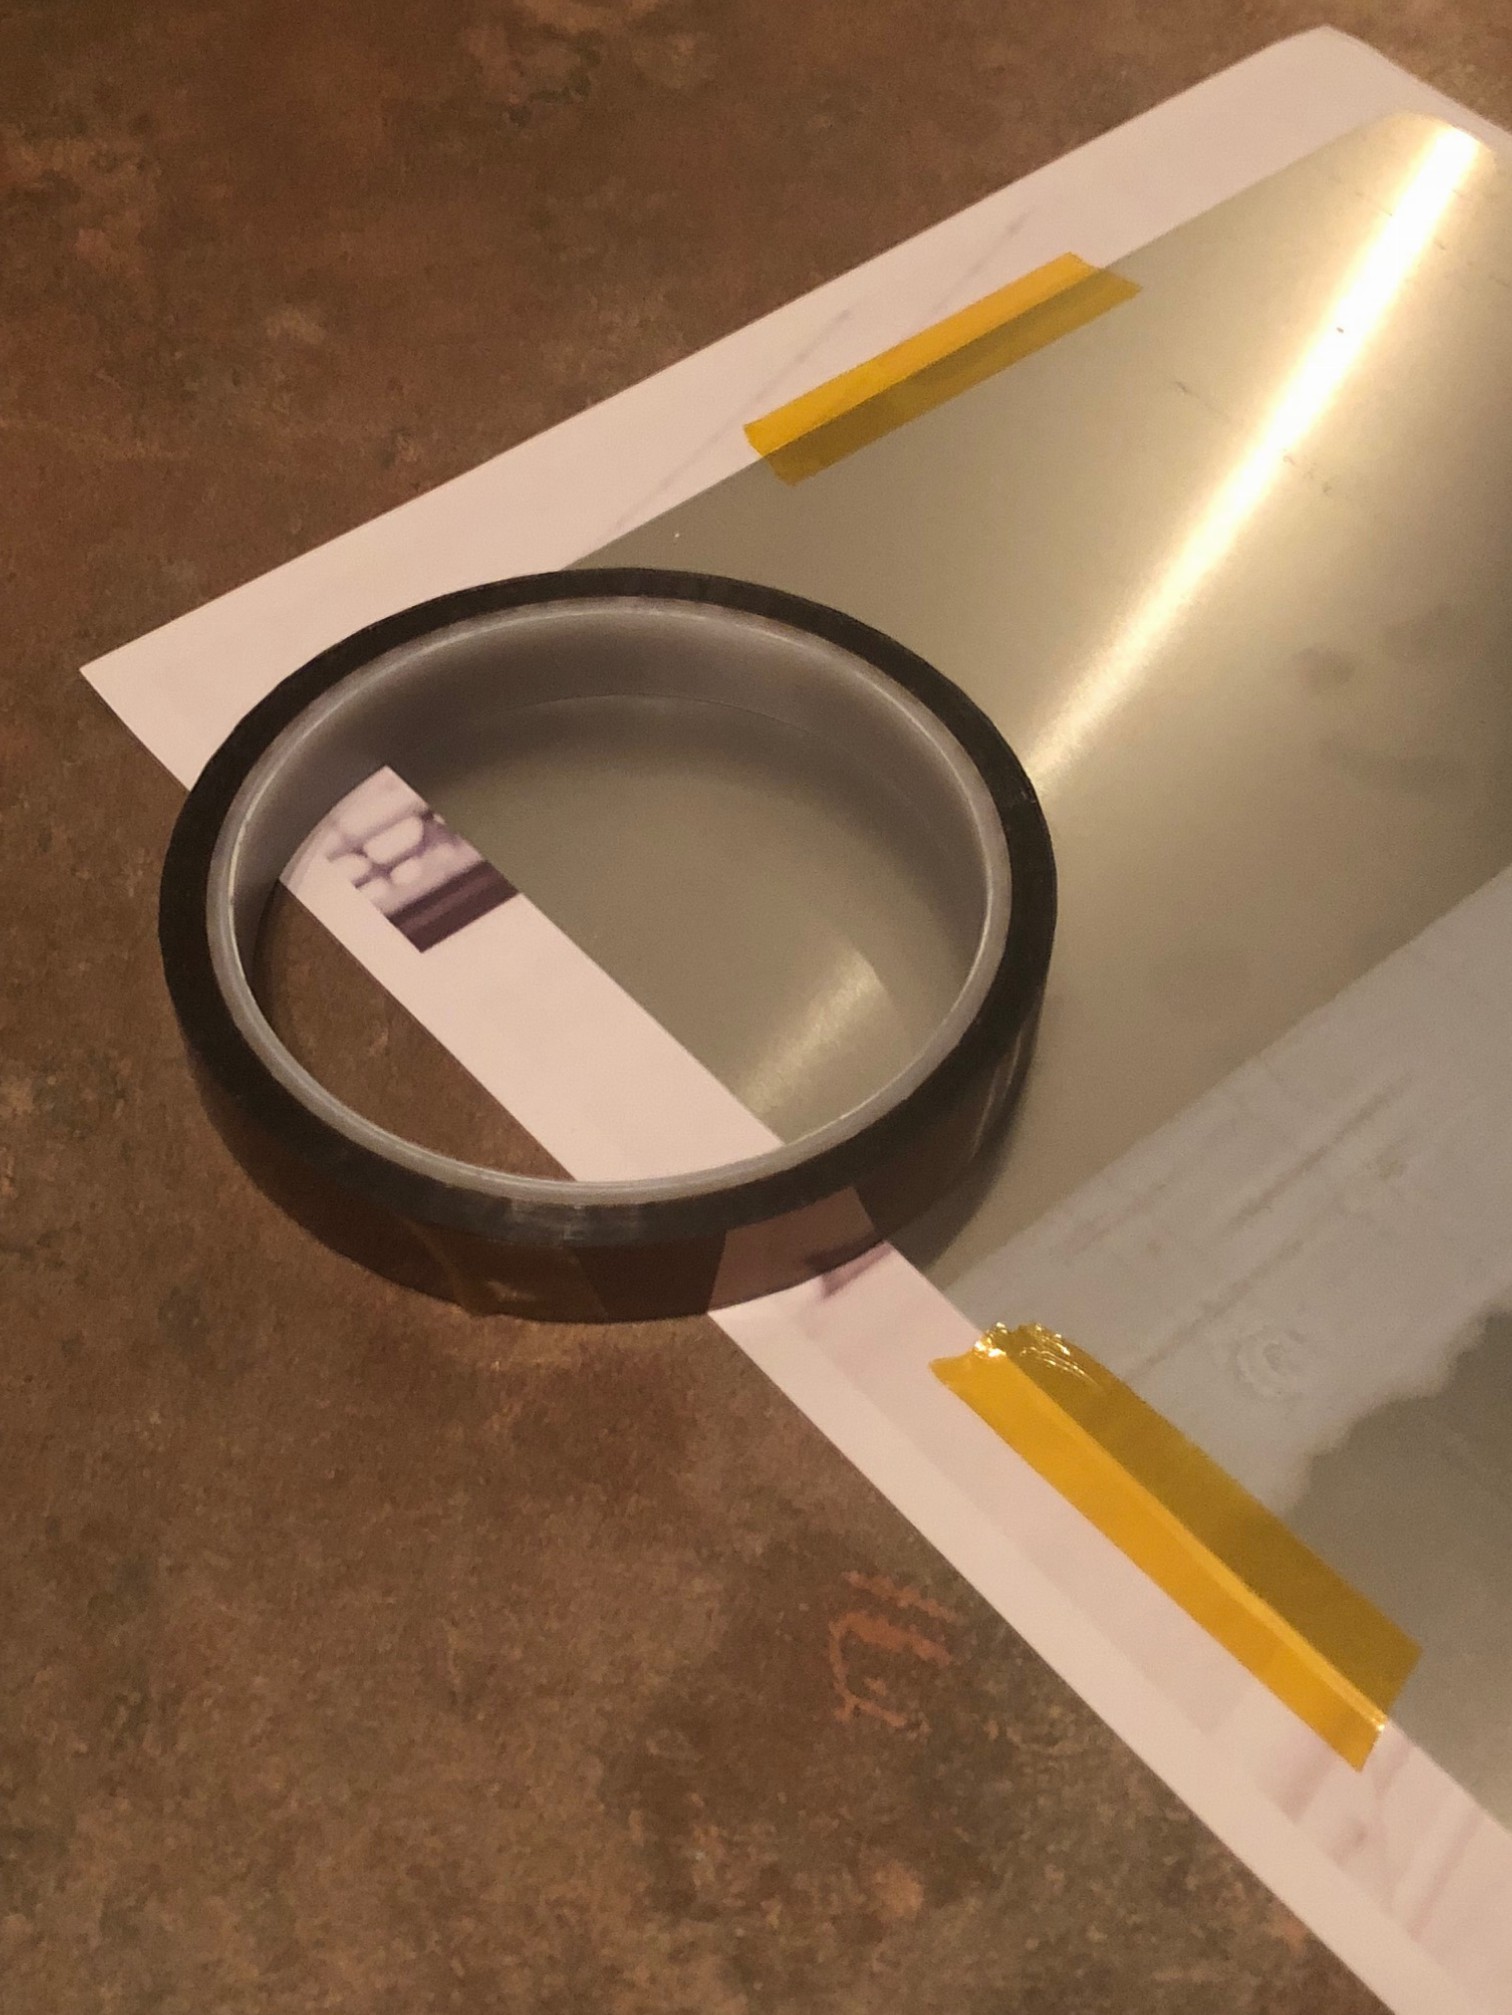
6 – Place the substrate face down on the transfer paper and tape the paper to the substrate using transfer release tape.

IMG_9139

7 – Put a blank sheet of paper on heat press platen to keep it clean.

8 – Place substrate face down on the heat press (metal surface up).

9 – Cover with a non stick sheet.

10 – Press at 400 degrees F for 30-45 seconds with medium pressure.

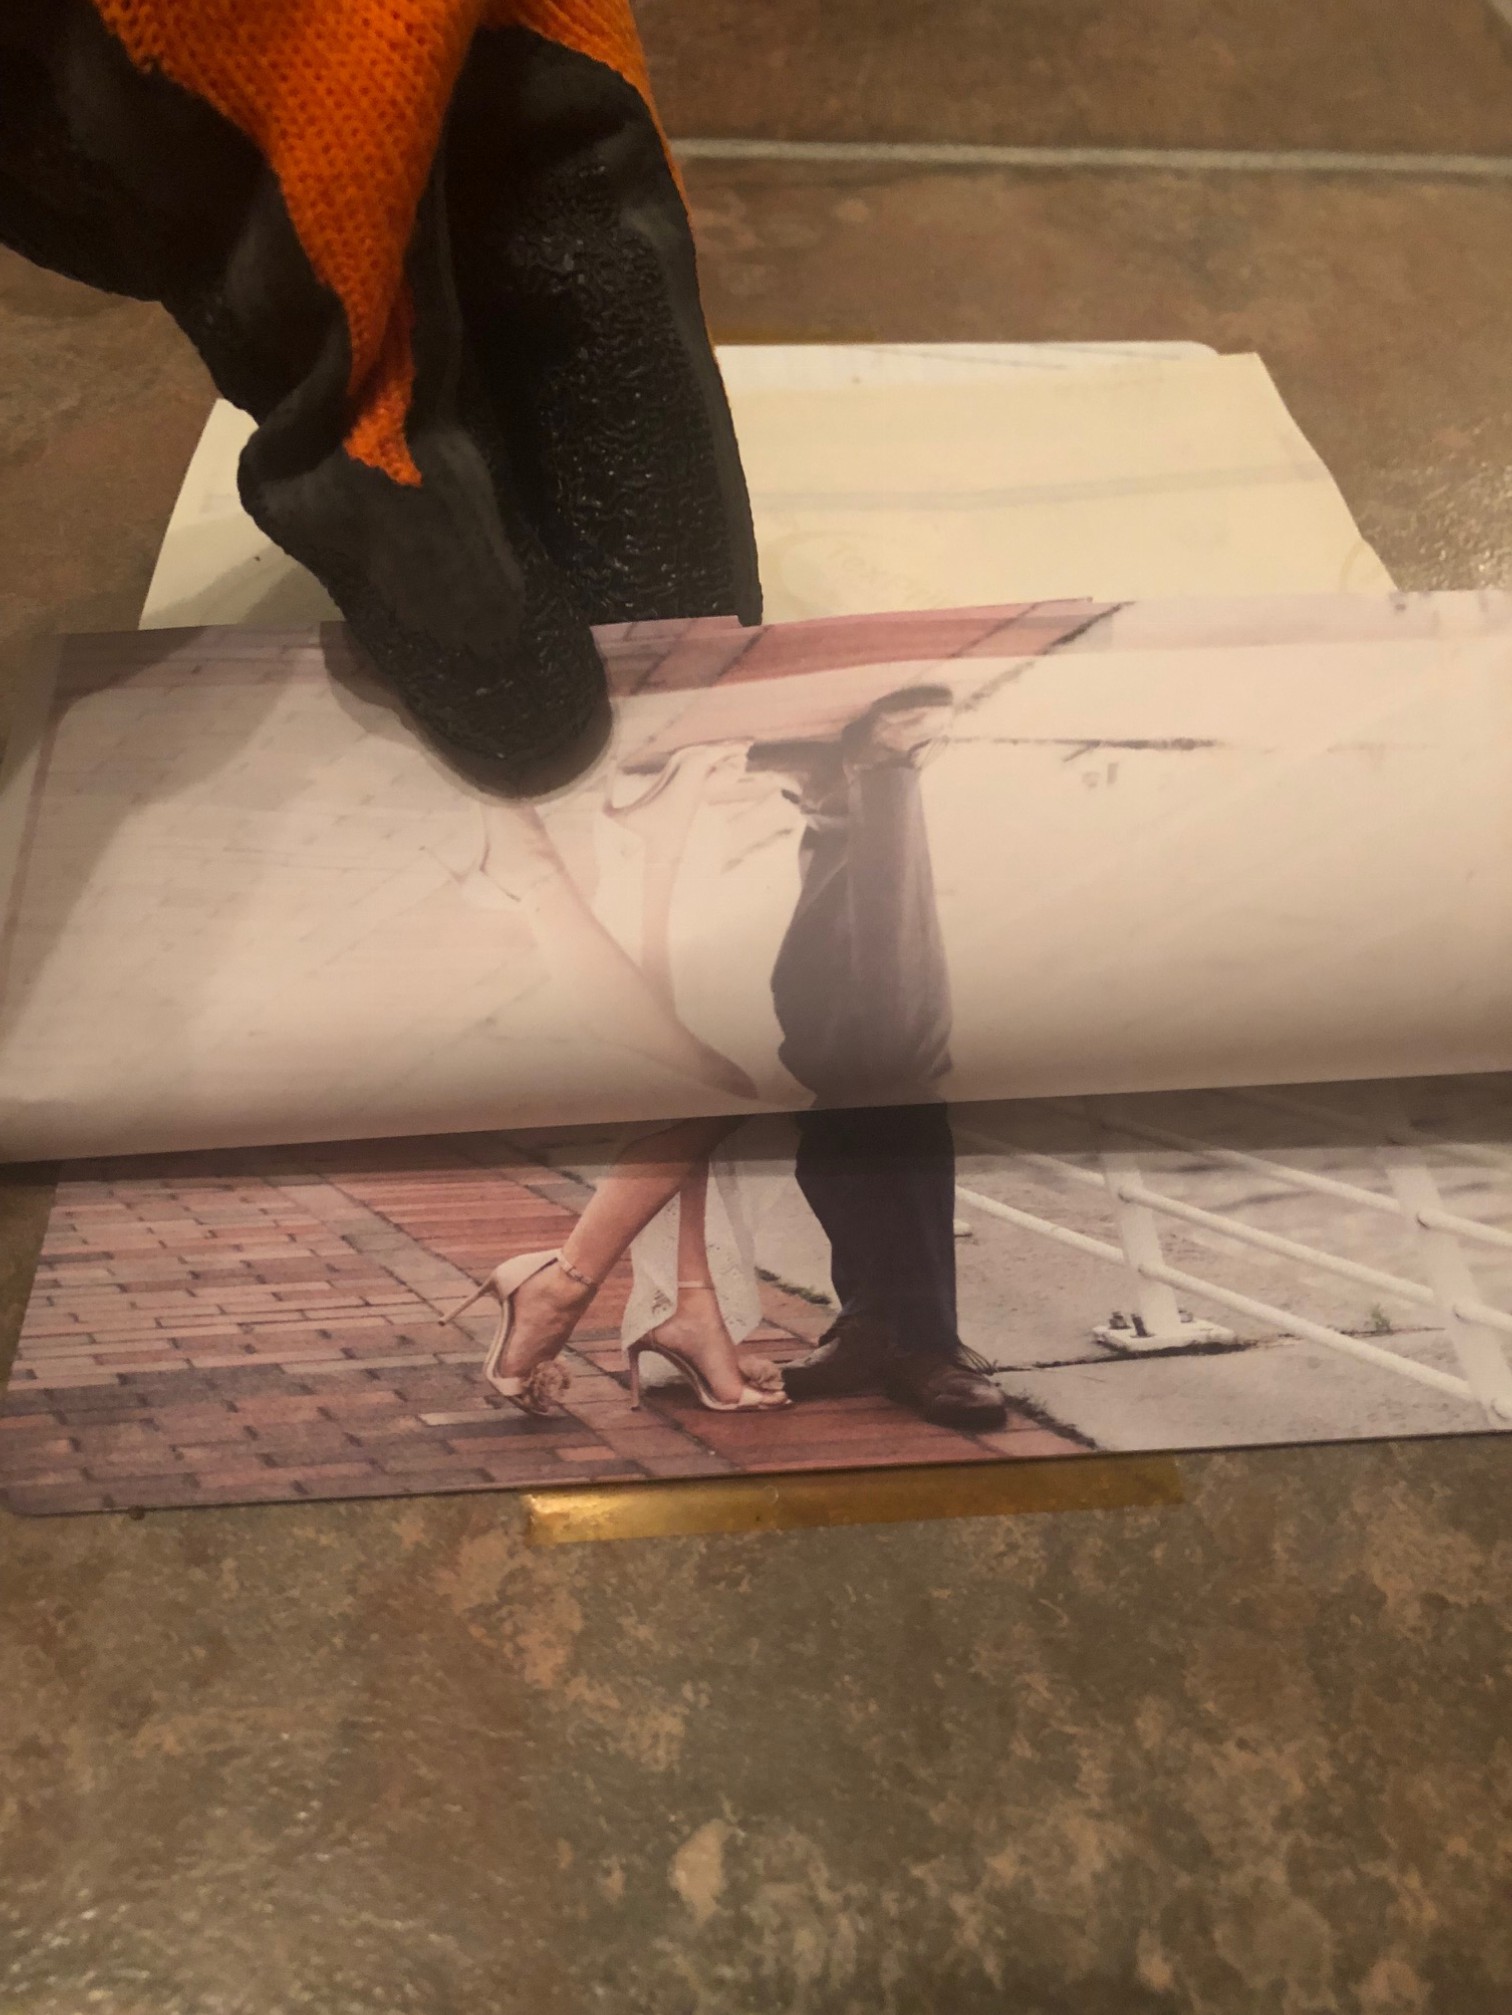
11 – Remove immediately from press once finished and peel hot.

IMG_9140

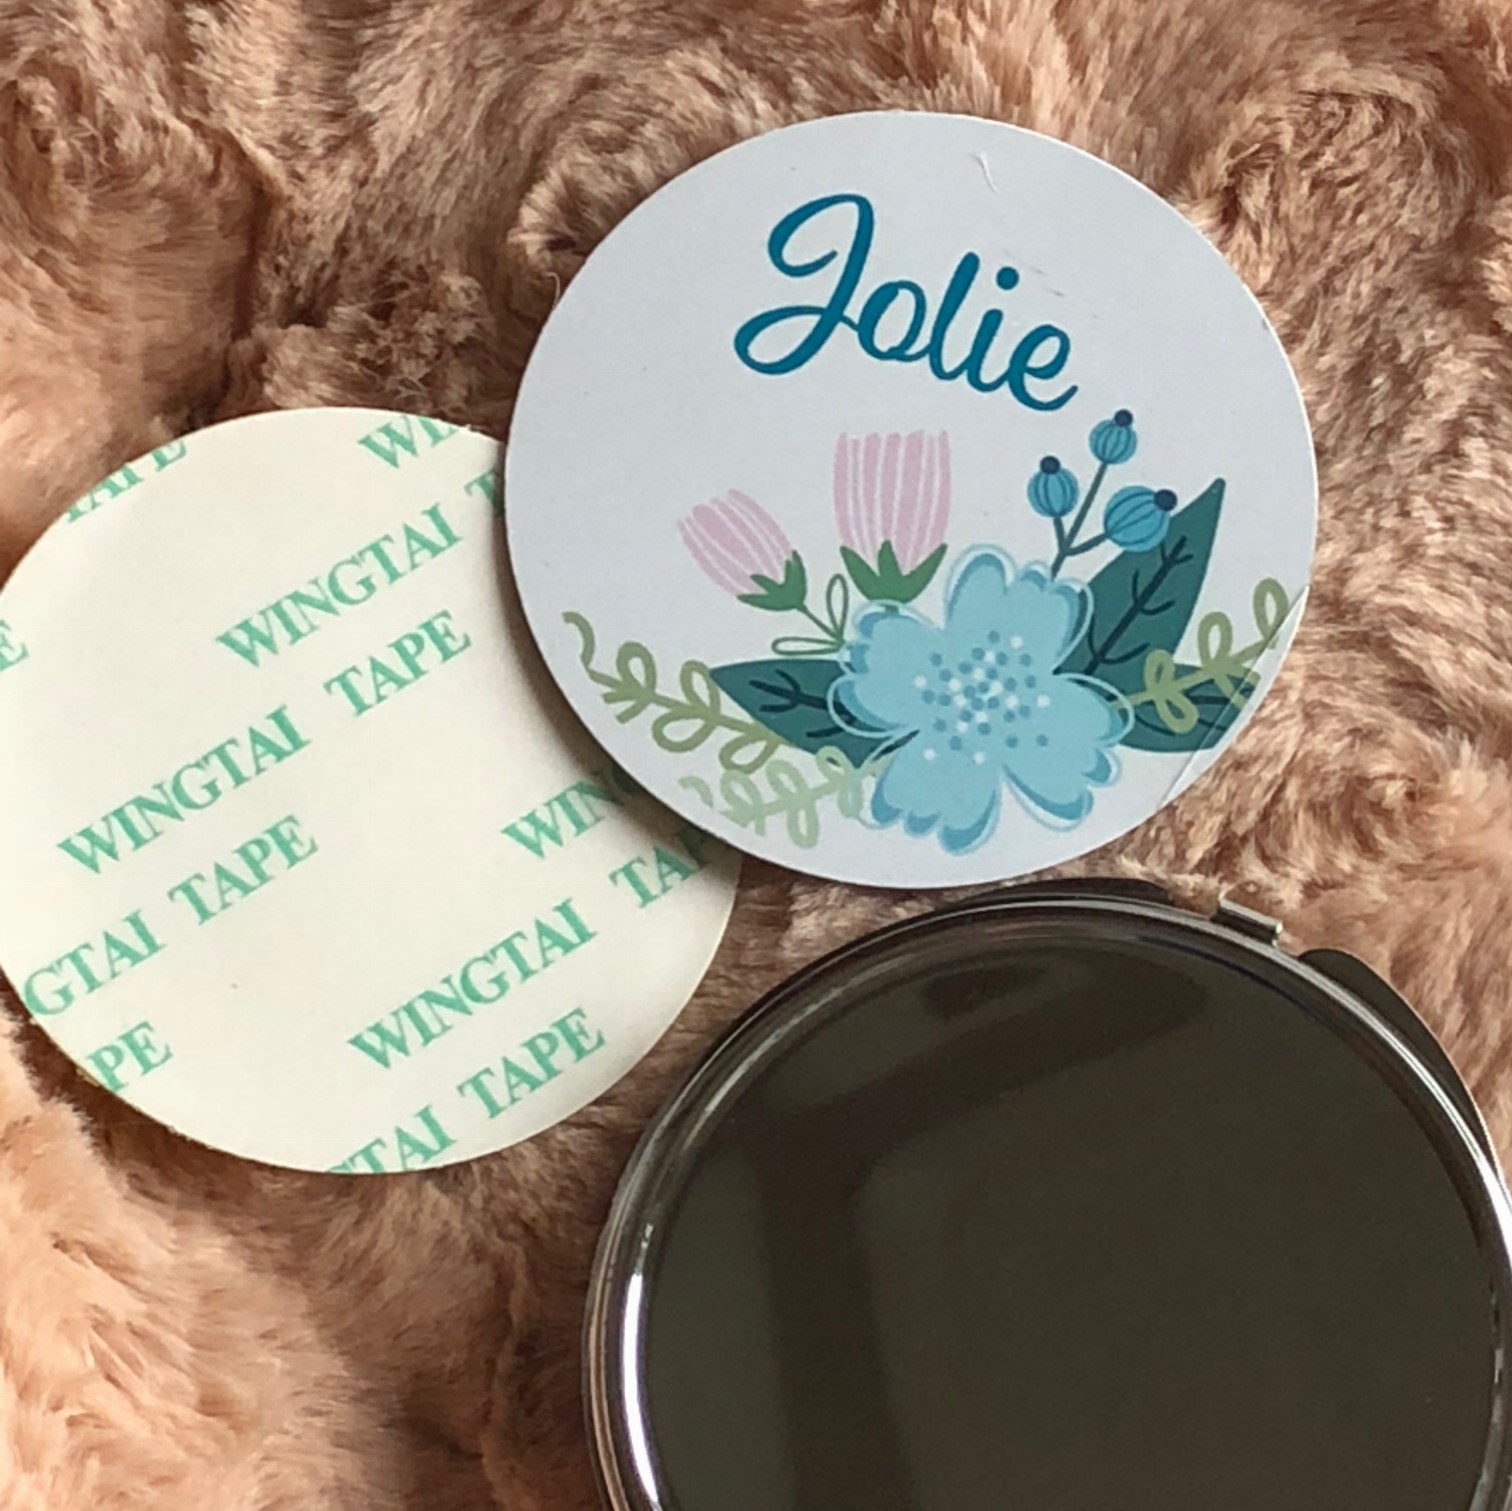
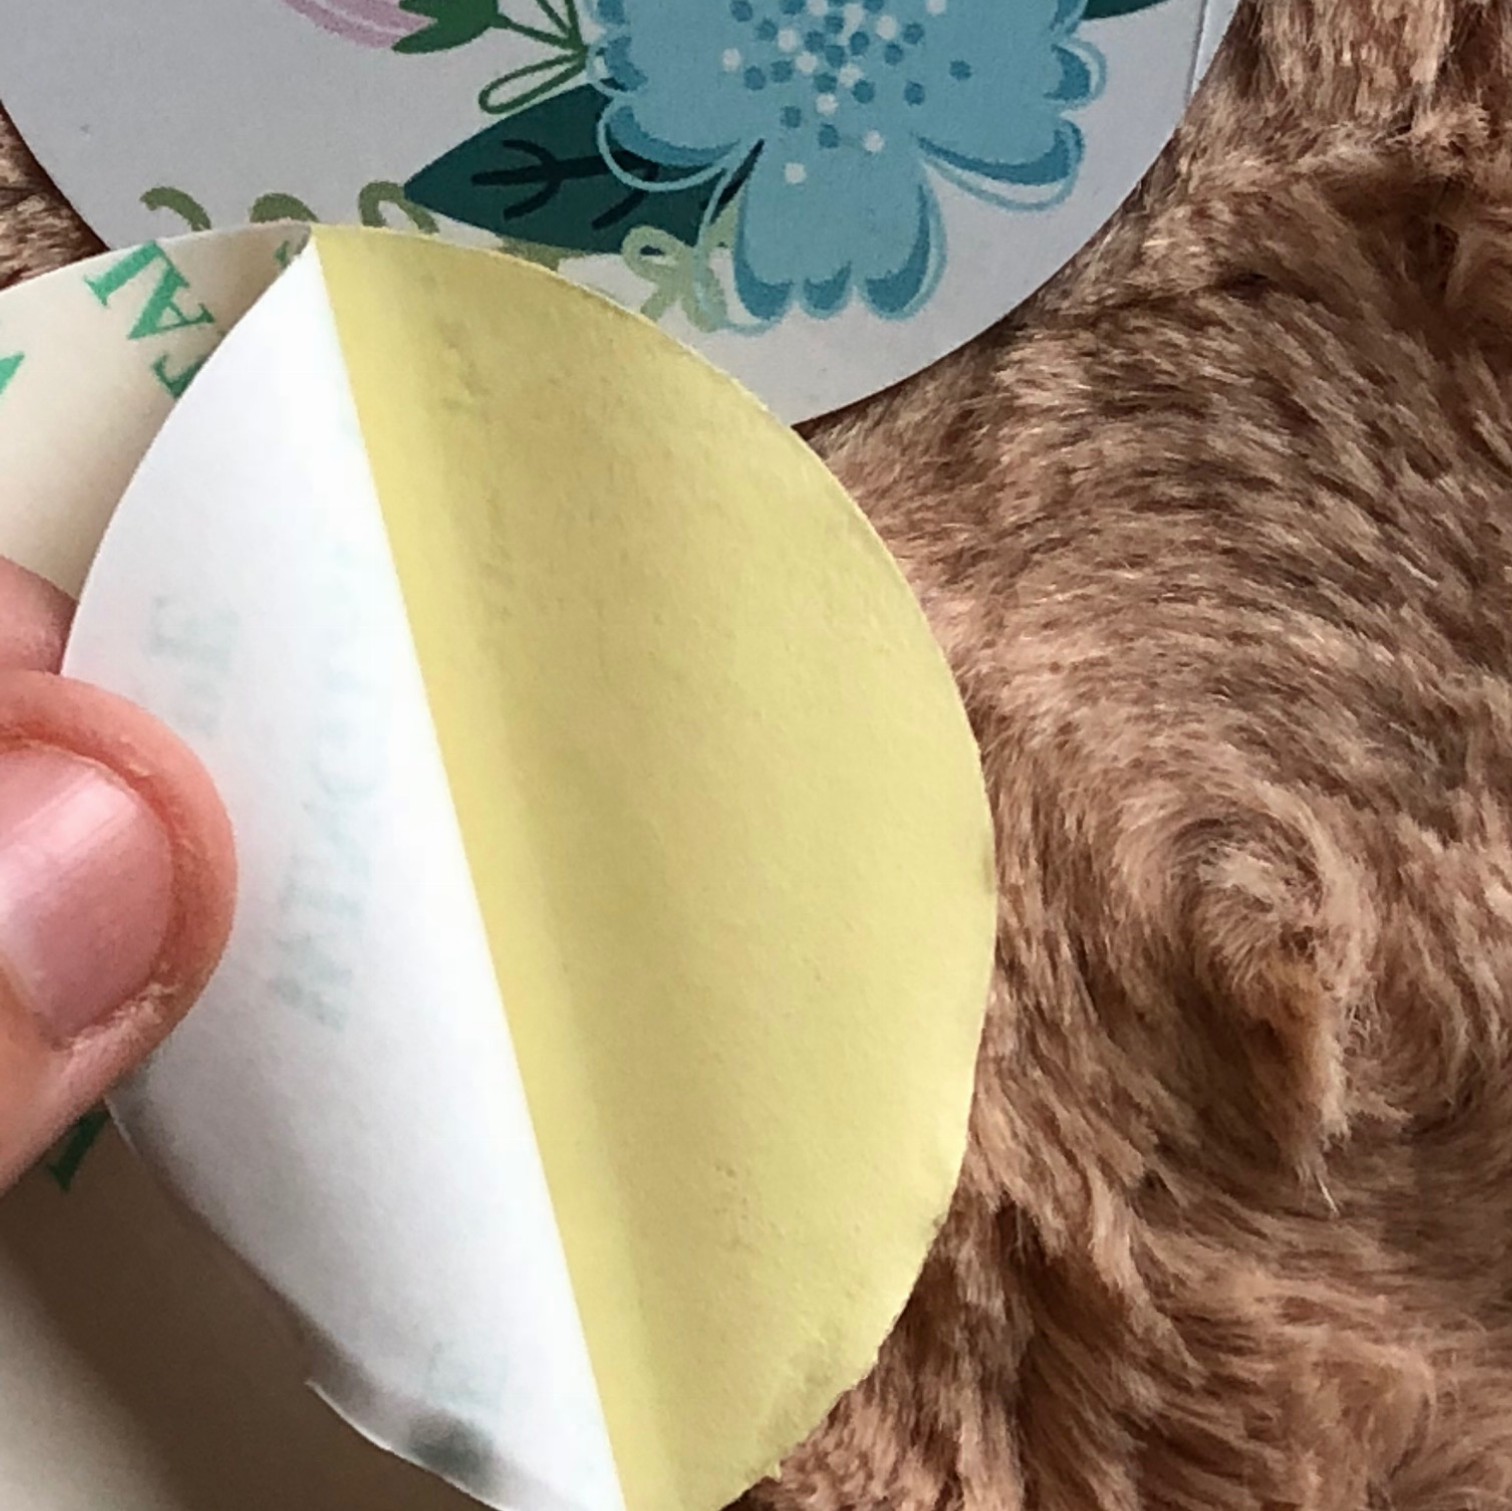
12 – Adhere the circle sticker to the mirror base.

IMG_9141

13 – Place your sublimated circle on top of the sticker.

IMG_9143

View & Add Comments

Oh My Vinyl!! 4 NEW PRODUCTS at Pro World

Do you love vinyl? Of course, you do! Well, today is your lucky day because we have 4 new products to show you!! We are talking new heat transfer vinyl colors, a way to remove HTV mishaps, two new vinyl cutters, AND  a vinyl wall storage system so that you can organize your workspace so that you see all of your vinyl colors!

Ready to see what’s new at Pro World? Scroll below!

New vinyl products at Pro World!!! Check them out

1 – Heat Transfer Vinyl

Siser Electric released a new Grape color this week. It’s a beautiful deep purple color which will pair great with siser electric lavender, siser electric teal or even siser electric cherry!

Siser Plum

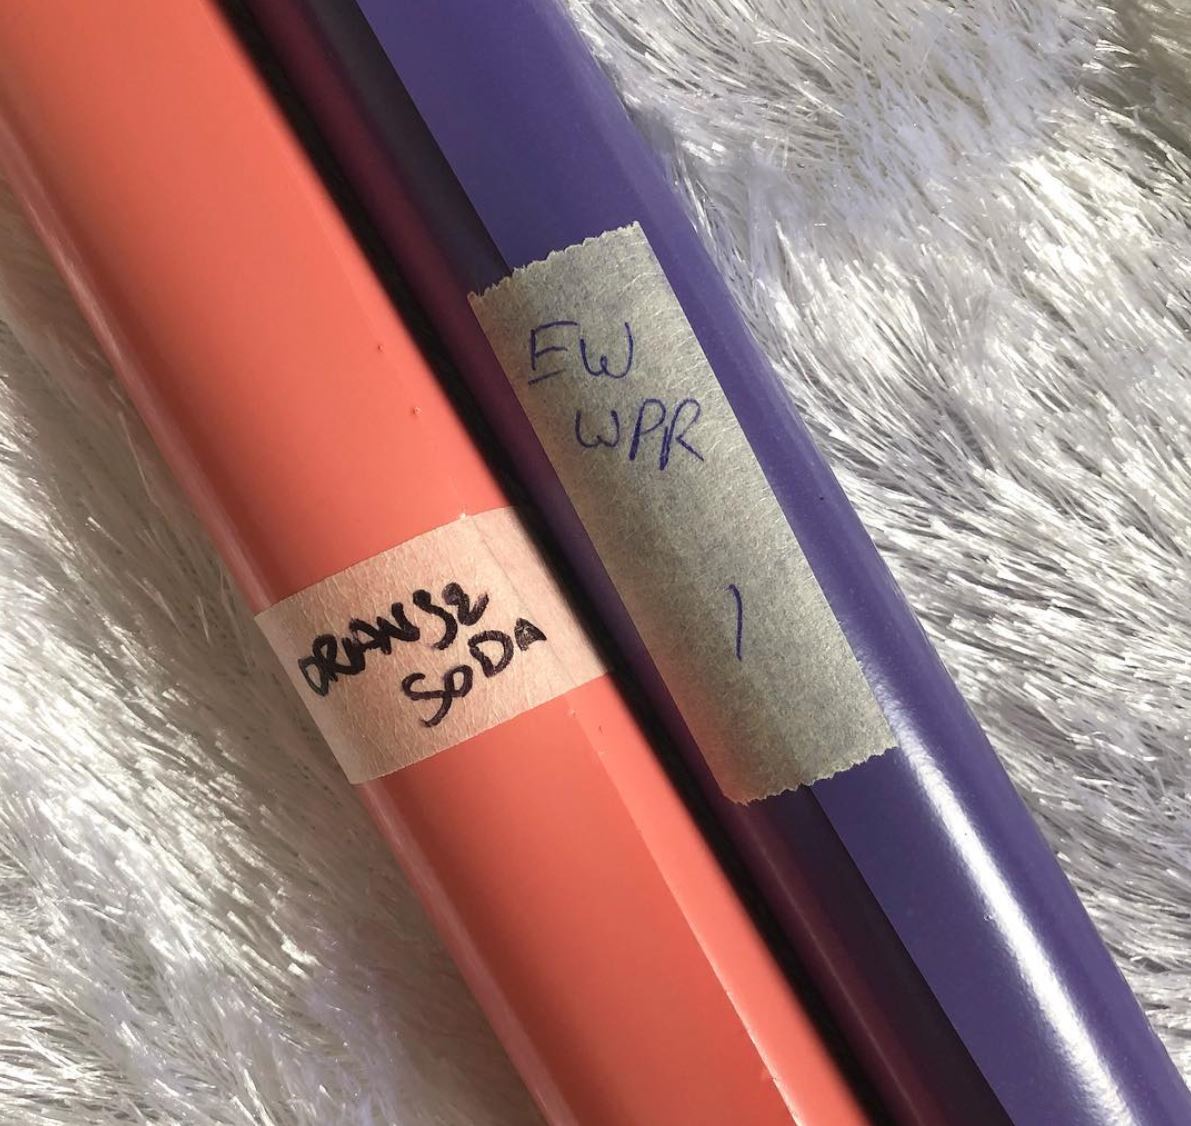
We also recently brought into stock Siser EasyWeed Wicked Purple & Orange Soda. Which is just in time for Halloween these not so scary colors are sure to bring your sweet yet spooky designs to life.

new ew

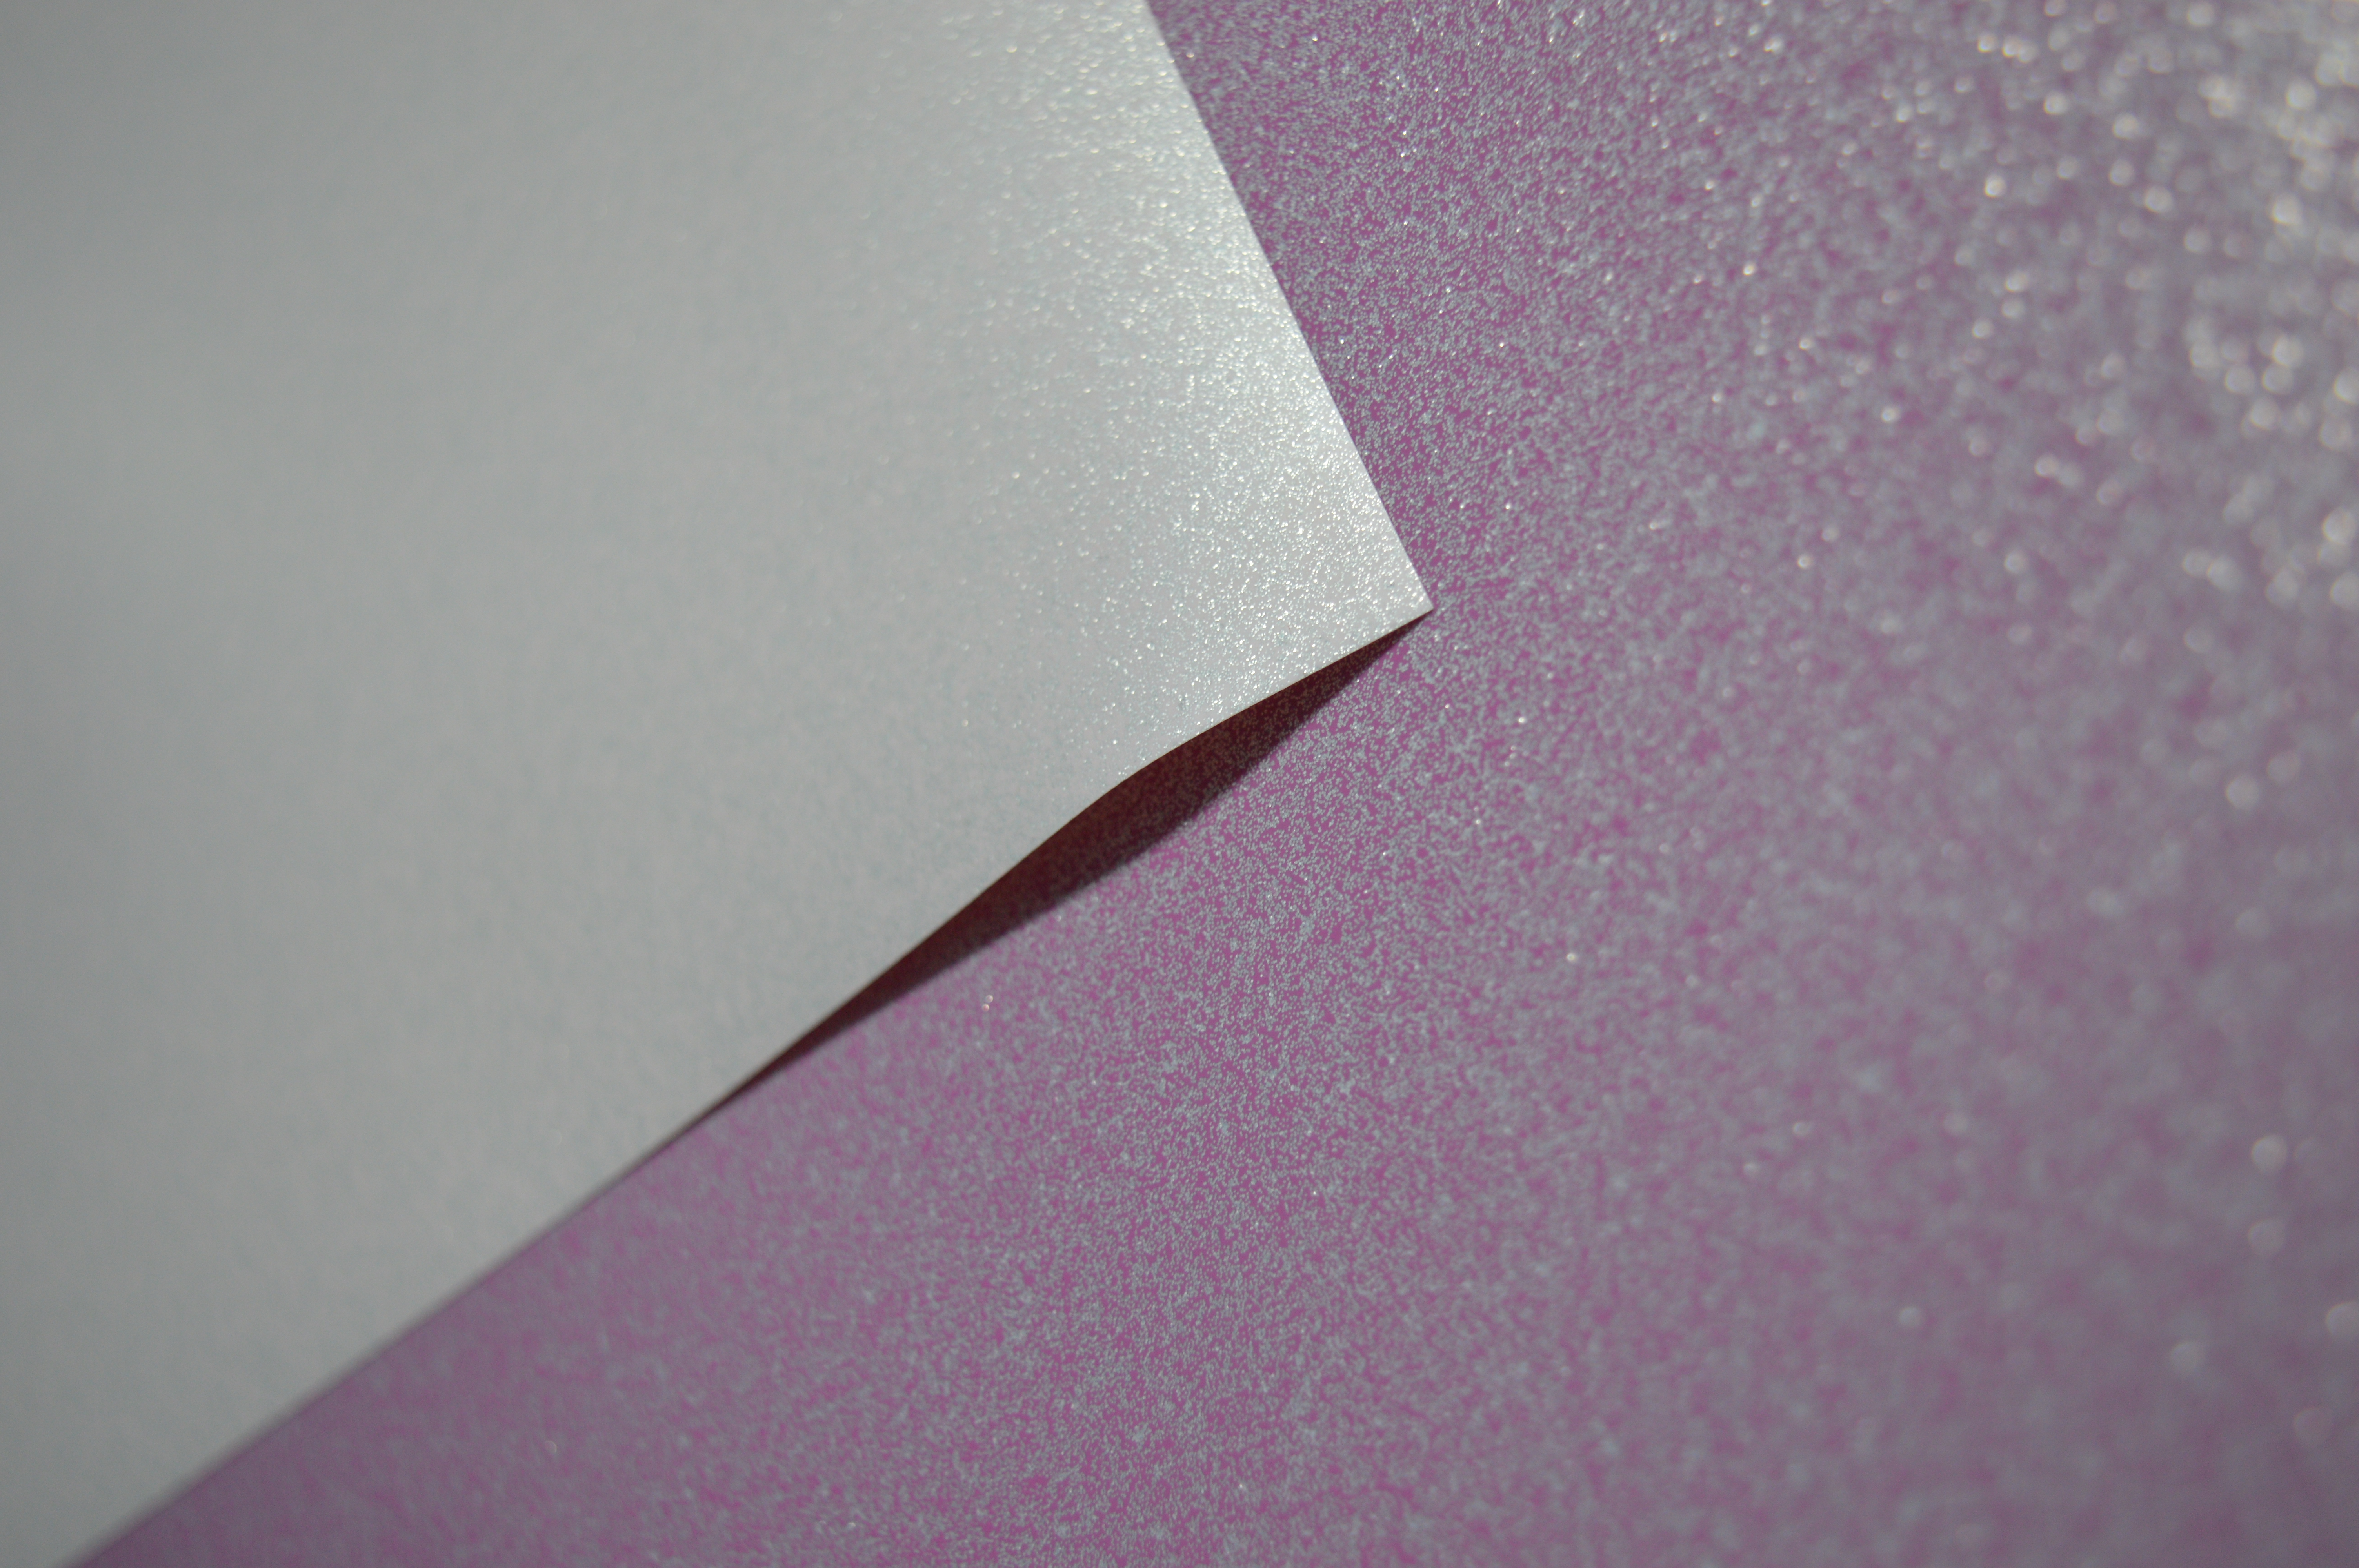
And the product that we’ve received the most excitement about is the Siser VideoFlex. Why do you ask? It is gorgeous! The glitter is embedded into the vinyl leaving it smooth to the touch. We carry it in gold, silver, pink & cotton candy. But warning, the cotton candy & pink are LIMITED EDITIONS. That means once it is gone…. it is gone!! So regardless if you have a need or not you should buy it now so that you have it for later.

DSC_0711

2 – Vinyl Storage 

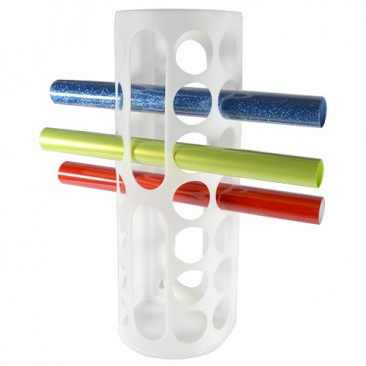
Now that you’ve heard about all of our new HTV you can display it with our new Vinyl Wall Storage! You’ve seen it before, you asked for us to carry it and now we do! You can purchase the plastic wall vinyl holders directly from Pro World! How great is that? Each unit will hold 14 ROLLS of vinyl!

vinyl wall

3 – Heat Transfer Vinyl Remover

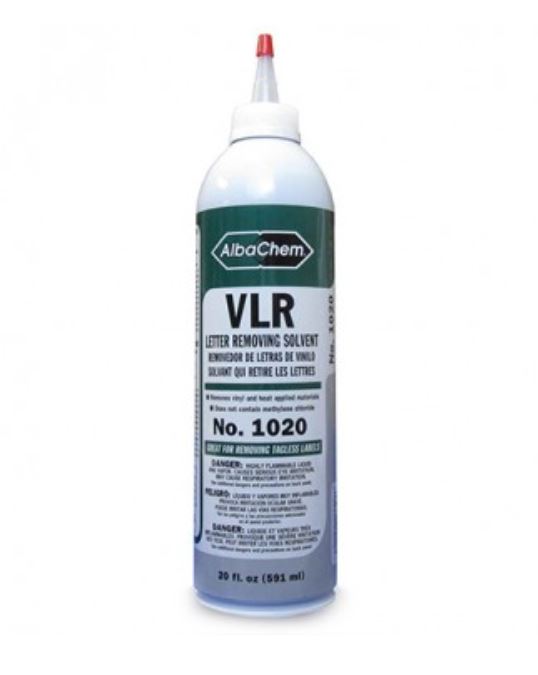
We are really excited to tell you about our new product VLR. Have you heard of it? VLR is short for Vinyl Letter Remover which you can use to REMOVE HEAT TRANSFER VINYL mishaps! This vinyl letter removing solvent completely removes vinyl letters and residues from most fabrics. Accidents no more!!

vlr

4 – Vinyl Cutters

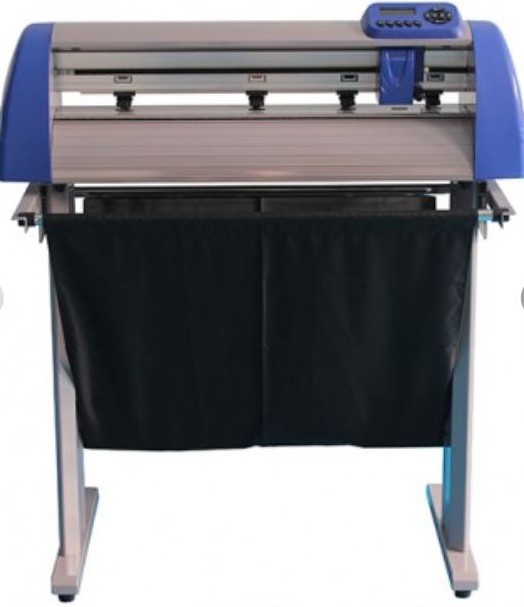
And while we are on the topic of talking about all things vinyl. Do you need a new vinyl cutter? Check out our new Galaxy Pro Vinyl Cutters. We sell the 24″ & the 48″ and both include the stand and basket. The Galaxy Pro is the best choice for classrooms and office environments as the servo motors are very quiet. This cutter is capable or cutting thicker materials, and includes a laser alignment system for registering your vinyl to the cutter for contour cutting. This cutter also comes ready to use with Dragon Cut software.

galaxy cutter

View & Add Comments

Custom Value Heat Transfer Benefits

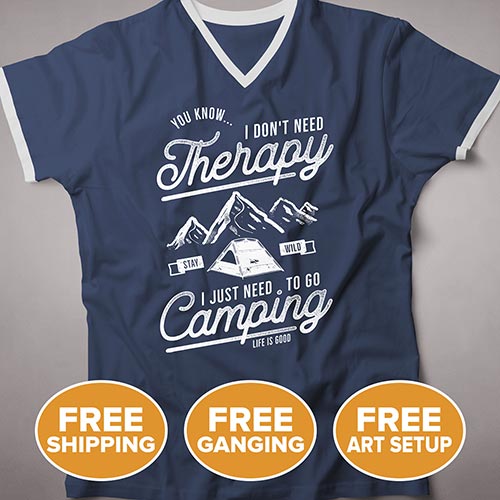
Did you know that we offer the LOWEST PRICE custom transfers to date? It’s true; we worked hard to figure out a solution so that you can purchase cost-effective heat transfers. So now, when you purchase a Value Transfer from PW Custom, you get:
– Free Shipping
– Free Ganging
– Free Art Setup*
– Low Minimums (10 sheet minimum per custom layout)
– 12″ x 12″ custom transfers

custom VALUE HEAT TRANSFERS (2)

You pay for the sheet quantity needed, and everything else is covered! That means there are NO HIDDEN FEES!

singlecolor1

Plus, our 1 Color Value transfer & Full-Color Value transfer offers a durable, soft feel that can print on multiple light and dark garment types.

fullcolor3

Besides a low price, free shipping, free art setup, and free ganging you also get:

  • PW Rewards, which is our customer rewards program that earns you points toward future purchases.
  • Fast Shipping.
  • All orders are shipped 1-2 business days after artwork is approved and the order is placed.
  • A discounted heat press. For $199, you can get a 15 x 15 heat press just by ordering $399 or more of our custom transfers. That’s a $100 OFF of our TransPro heat press.

THIS IS A NO BRAINER! The benefits are HUGE! Here, let me recap the Value Transfer Package one last time. You get:

– Free Shipping
– Free Ganging
– Free Art Setup*
– Low Minimums
– 12″ x 12″
– PW Rewards
– Fast Shipping
– $100 off of a 15 x 15 heat press**

social-valuetransfer (2)


So what are you waiting for…. did you place your Custom Value Heat Transfer Order yet?

Want to see our Value Heat Transfers in action? Watch our Facebook LIVE.

View & Add Comments

Grow Your Business with Sport Merchandise

School is back in session, pumpkin spice everything is on the shelves and Sunday football is in full swing, which only means one thing: Fall is here! With fall, comes the fall sports season.  Teams are always looking for new ways to fundraise, so now is the perfect time to expand your business into the sports market with a fall sports shop!

sport merch (1)

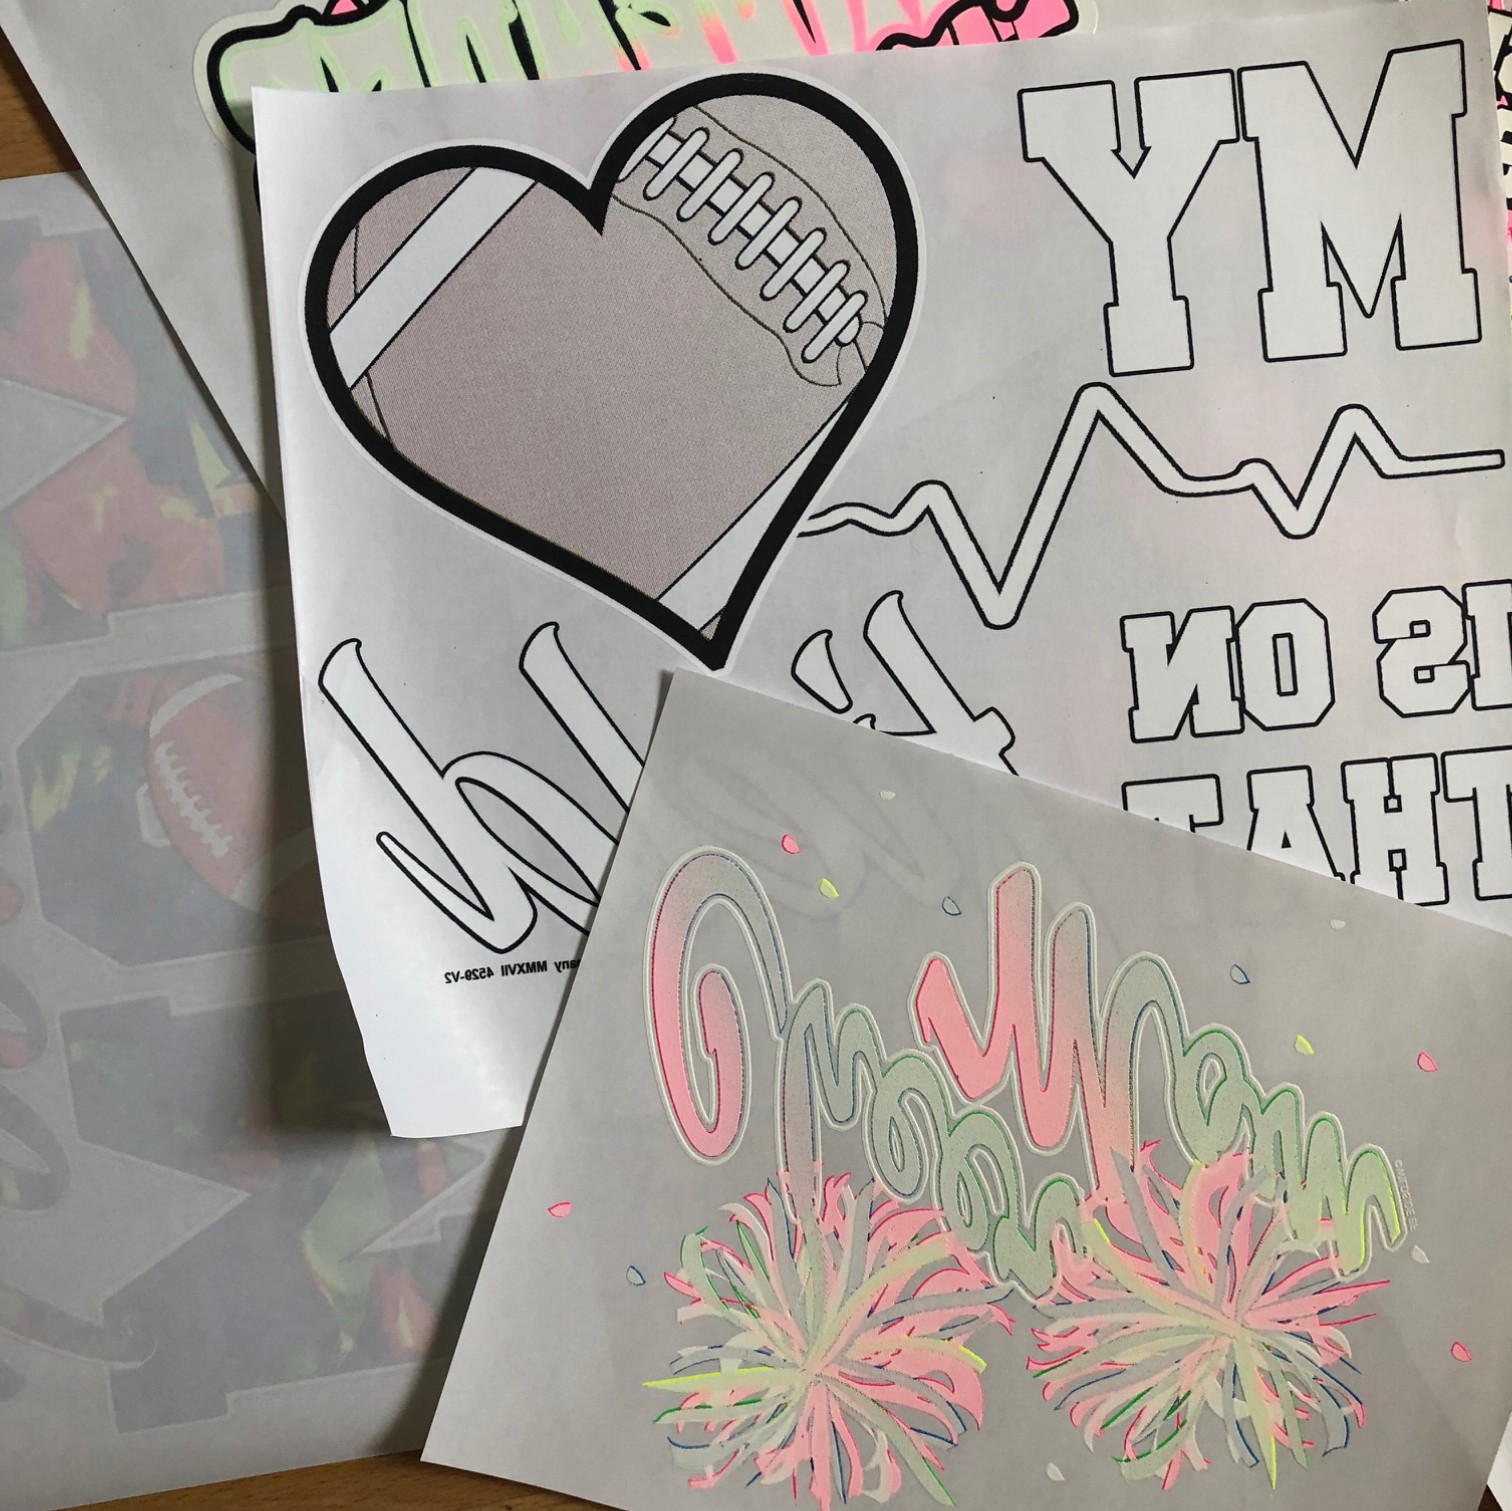
A quick and easy way to get your sports shop started is with our Heat Transfers.  They are simple to use: Choose your heat transfer design, lay it on your garment, press it with your heat press and peel according to the directions. It’s so easy and we have thousands of designs for you to choose from! Here are a few examples of our heat transfer sports designs:


Football and cheer


football heat transfer

Gymnastic

IMG_8547

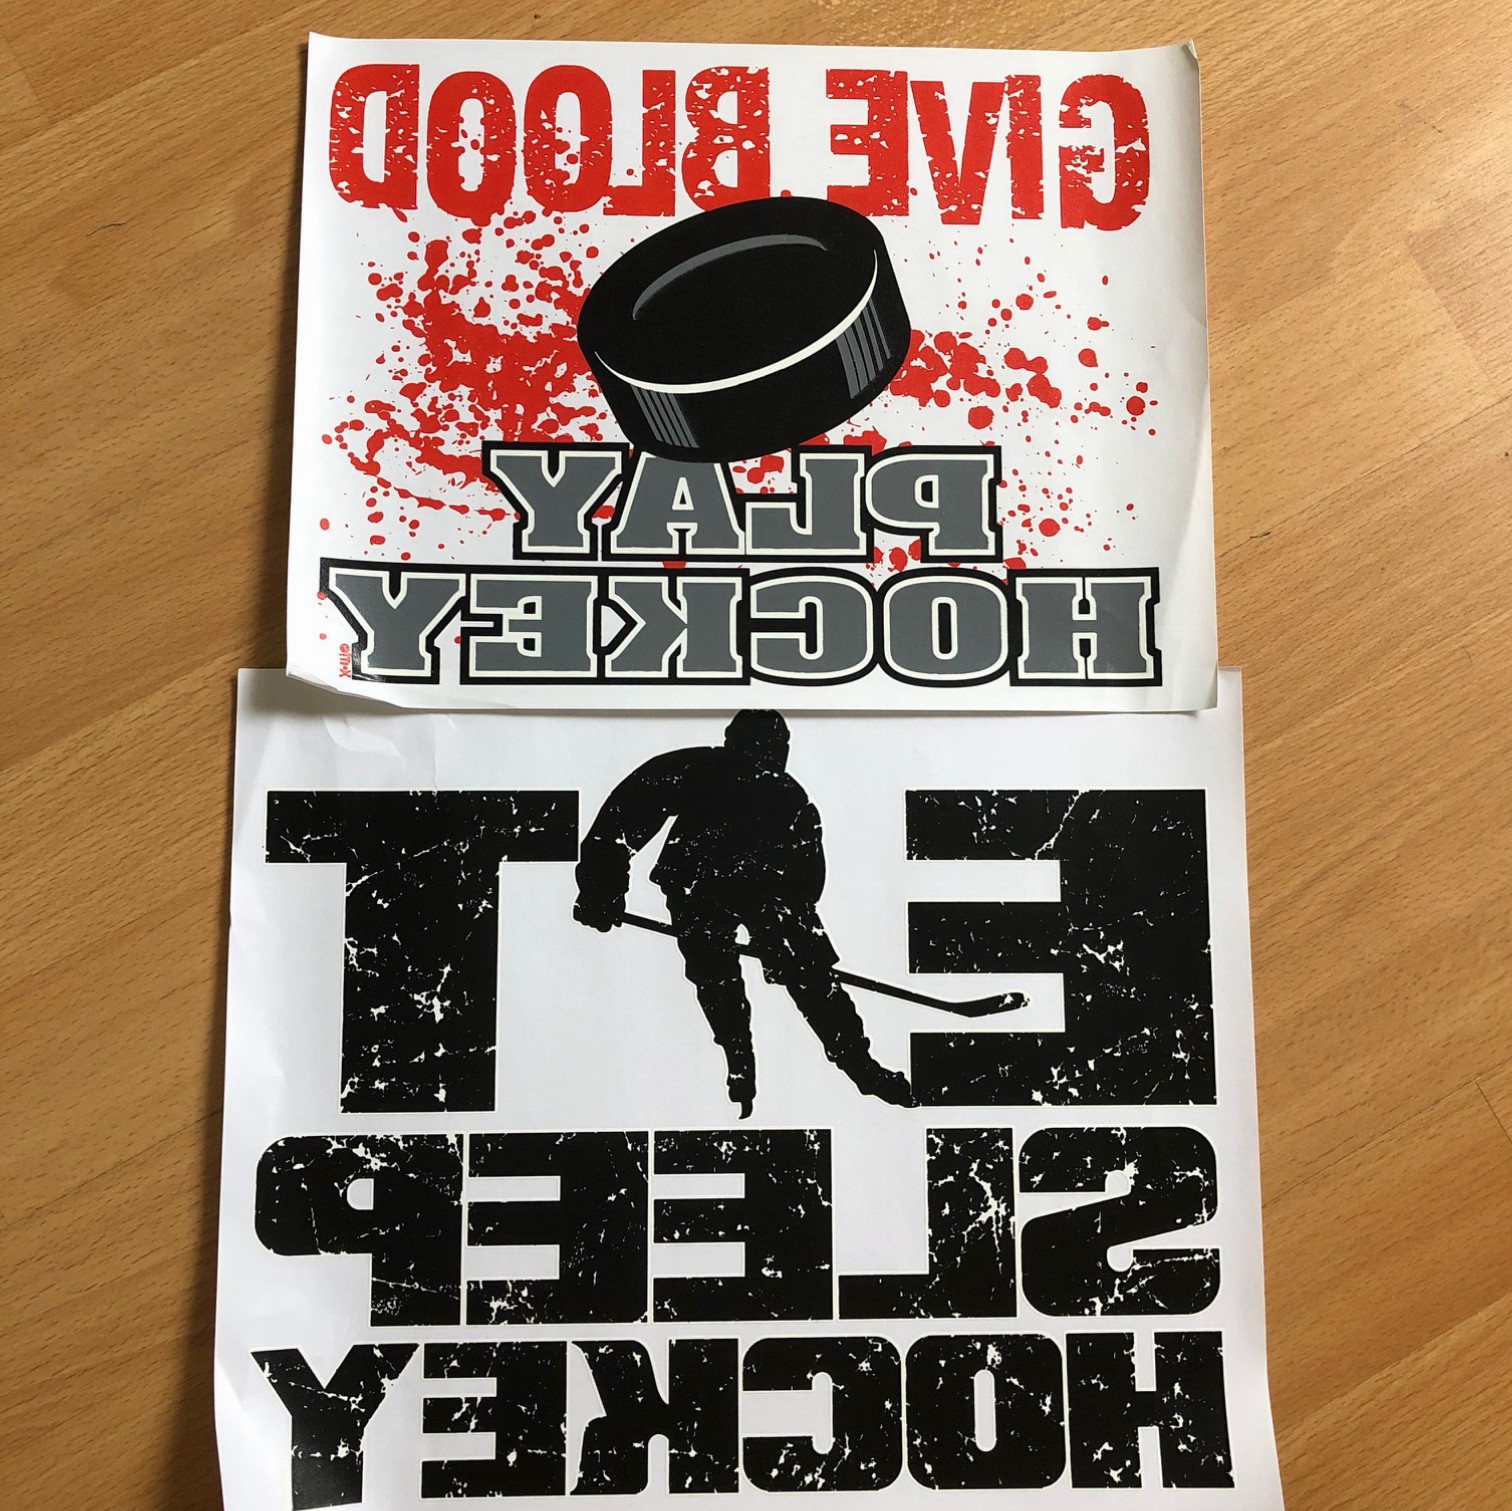
Hockey

IMG_8536

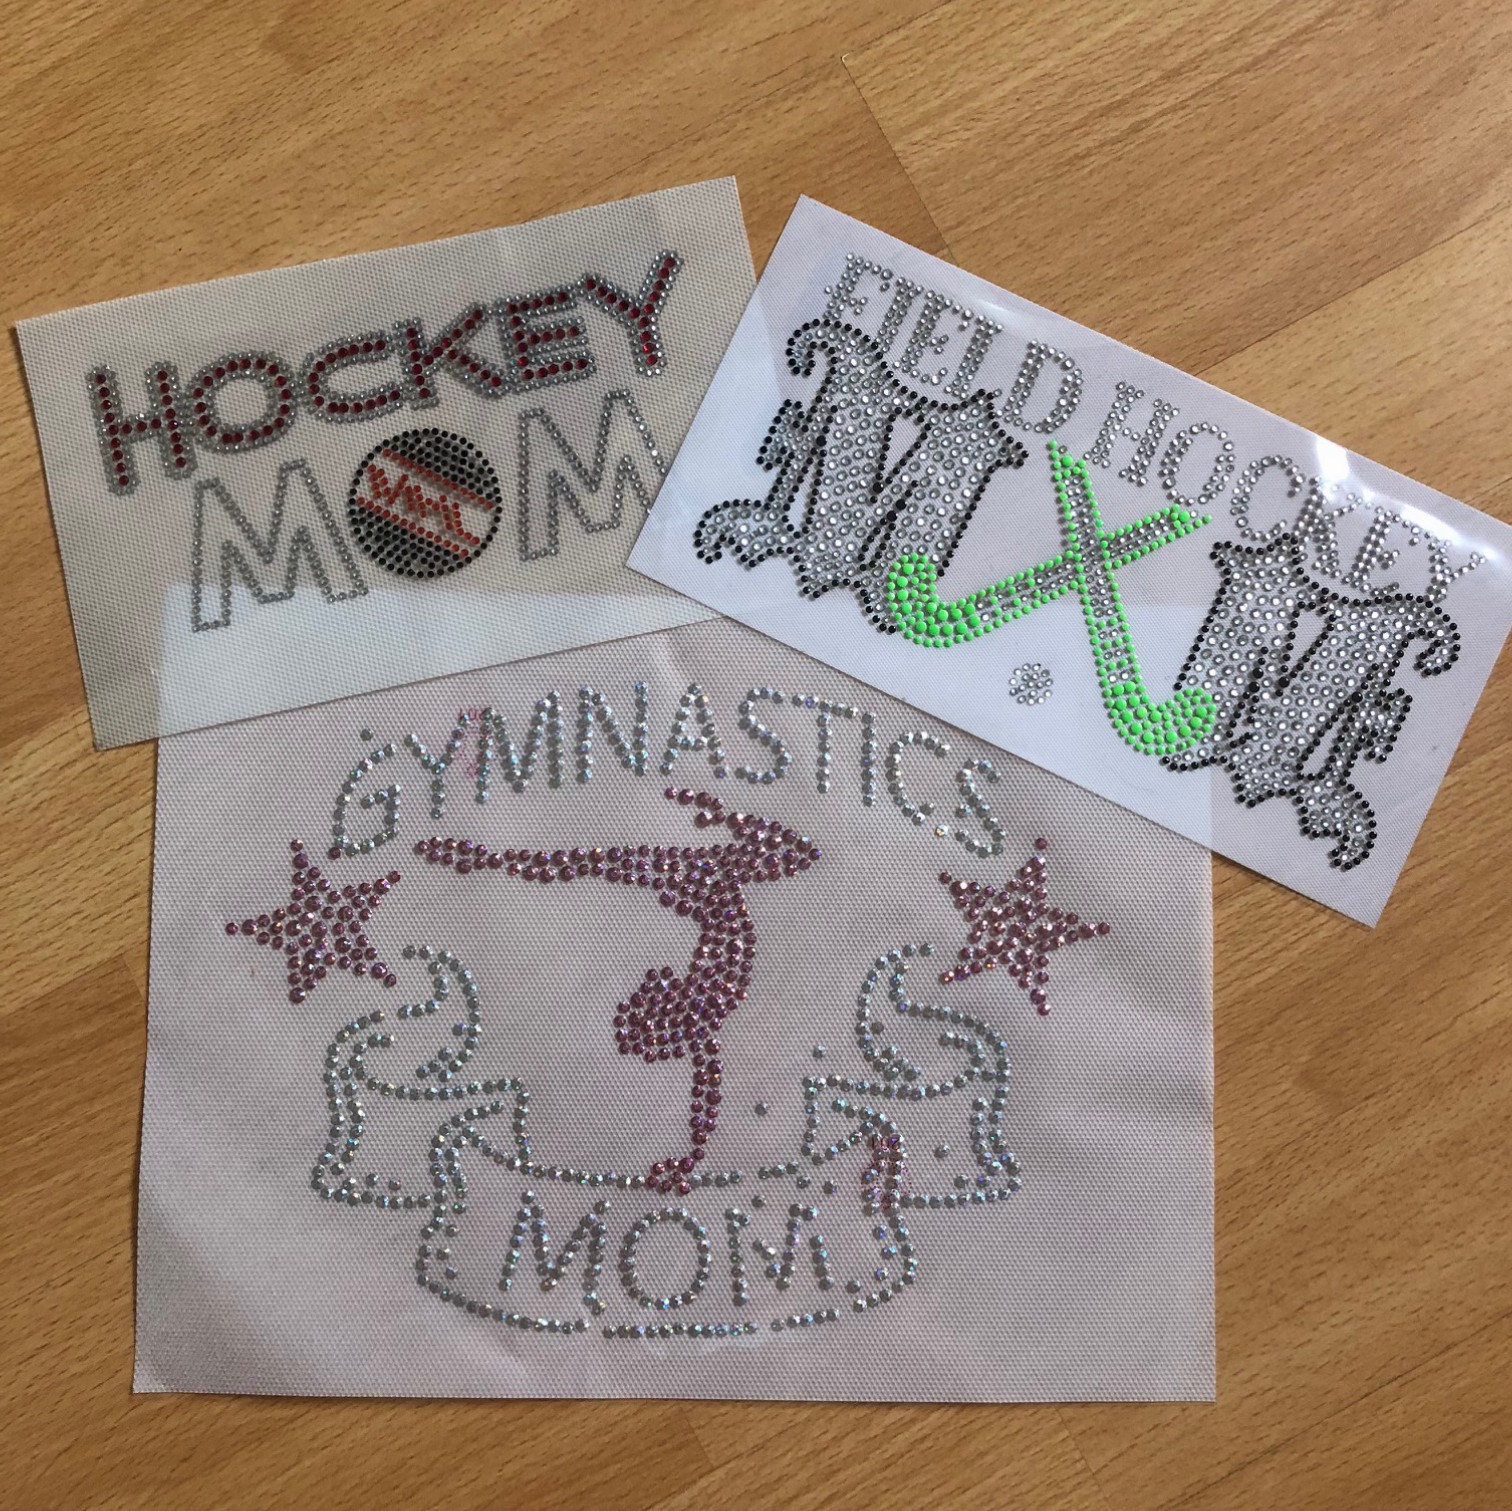
And don’t forget about Mom!

IMG_8544

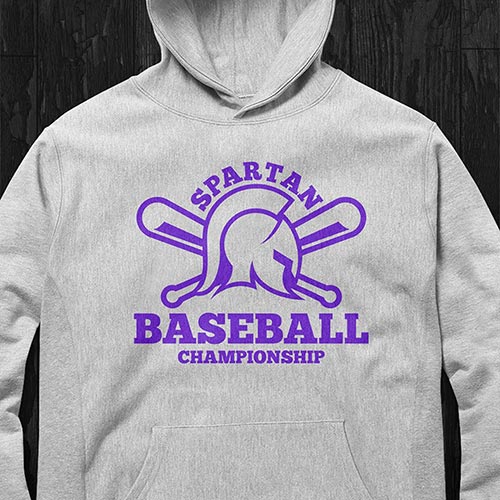
If you want to outfit a team you should consider using our Custom Value Transfers. They allow for you to create one color custom heat transfer that includes free shipping, free ganging, and a free art set up.  Just pay for the sheet quantity that is needed, everything else is covered! Our One Color Value transfer offers a durable, soft feel that can print on multiple light and dark garment types.

baseball value transfer

But when it comes to creating custom products you have more options than just heat transfers. You can use adhesive vinyl for window decals, signage, and even team wall art!


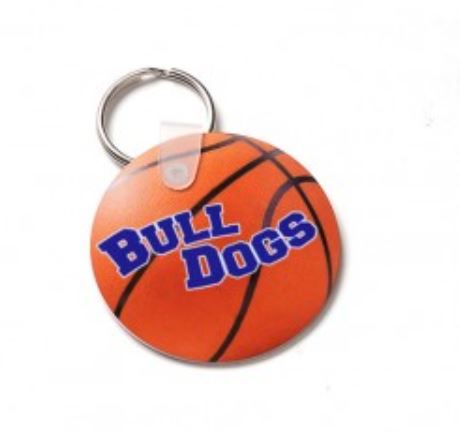
Sublimation for all things polyester and poly coated items like water bottles, keychain for bag tags, or even awards!

sublimated basketball keychain

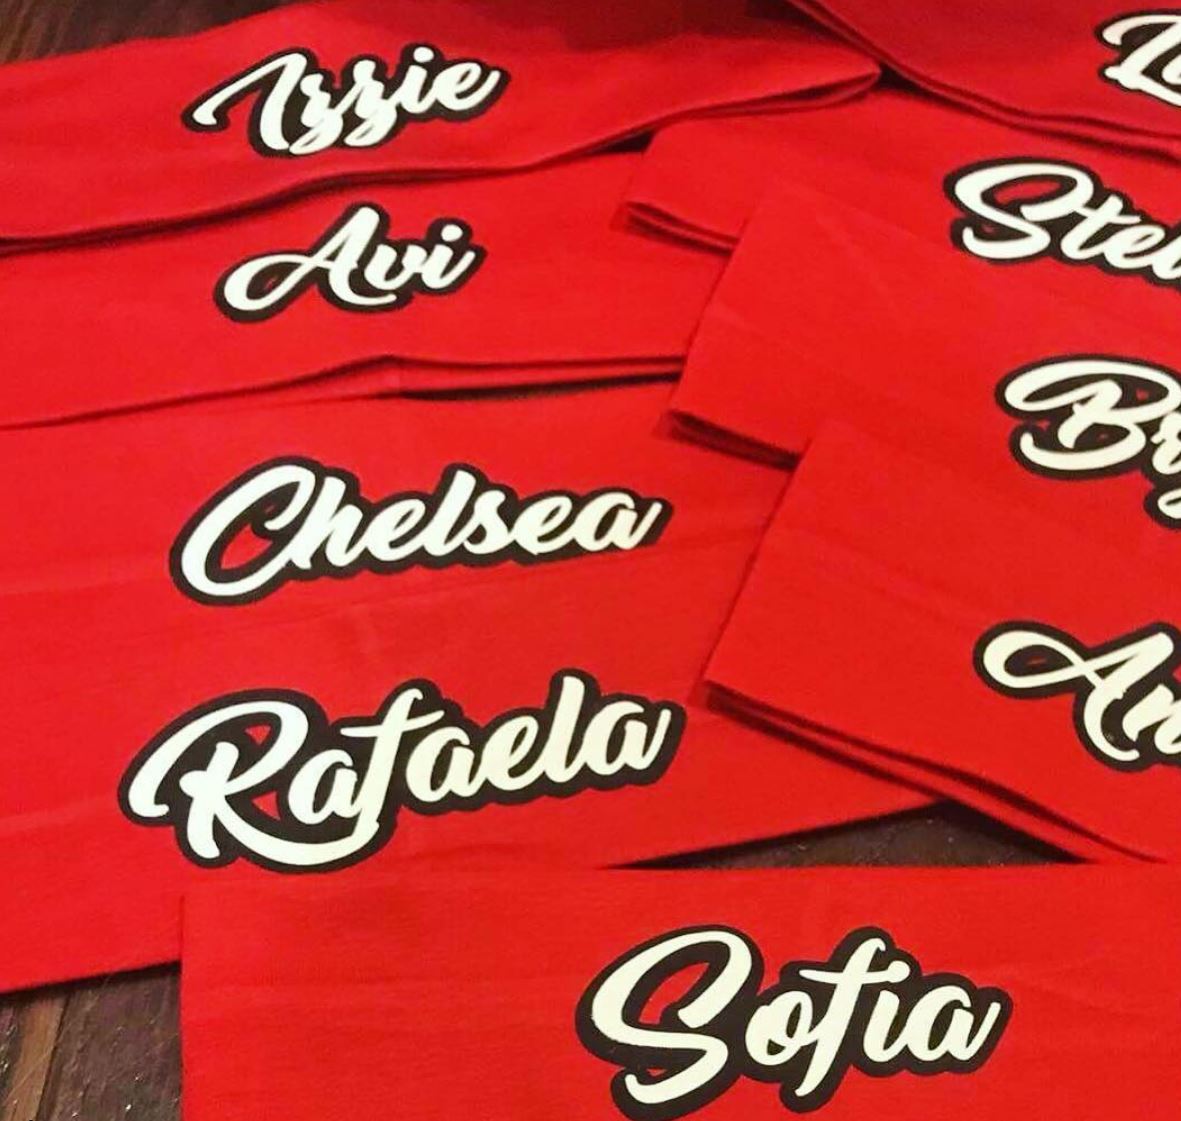
And HTV if you want to personalize your product yourself like these sport headbands that Finnegan and the Hughes made.

finnegan and the hughes headband

View & Add Comments

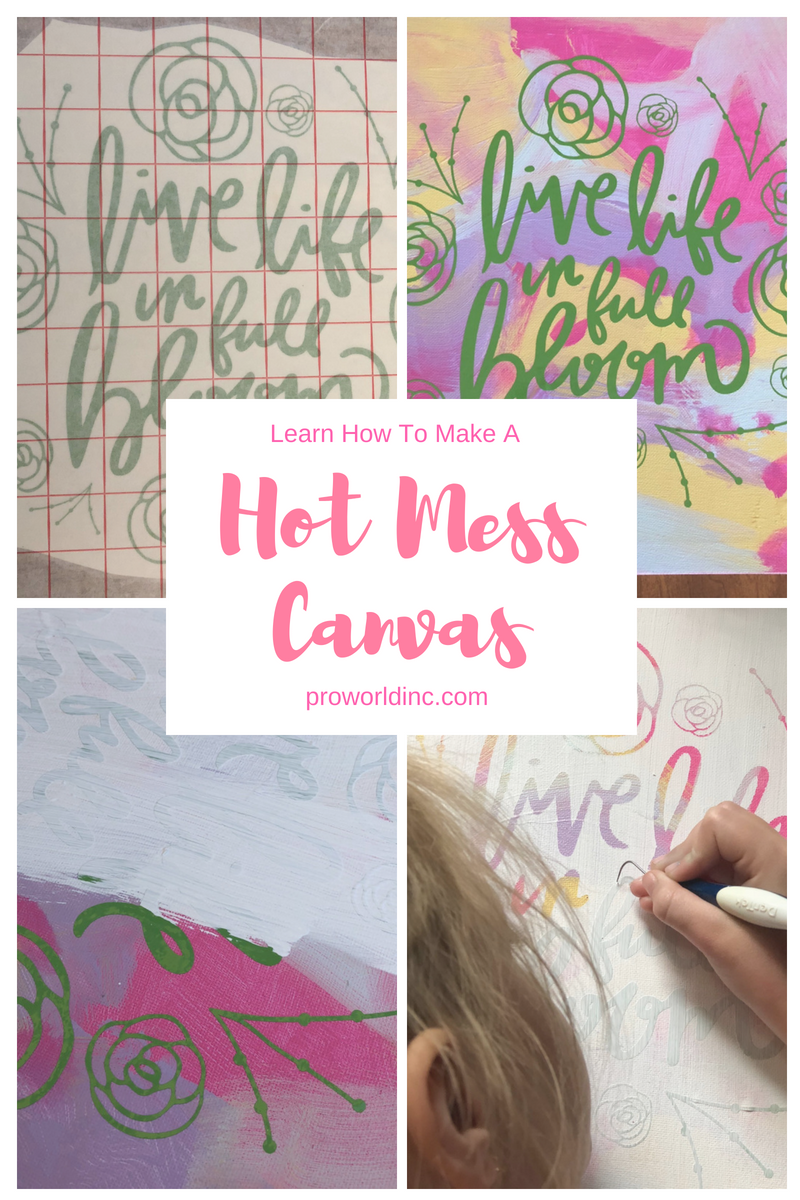
Hot Mess Canvas Tutorial

Did you know that if you paint a canvas, add vinyl, repaint it and peel the vinyl, it is called a Hot Mess Canvas? Neither did we! Until now that is.

The technique gets its name due to the loose painting restraints. When you apply the first layer of paint, you can use as many colors as you want, There is no rule to paint placement, allowing you to make it a Hot Mess and still get gorgeous results.

hot mess canvas

Want to make one for yourself? This is what you need:

Now that you have your supplies, let’s get started! Follow the steps below:

1- Use your cutting software to design an image.

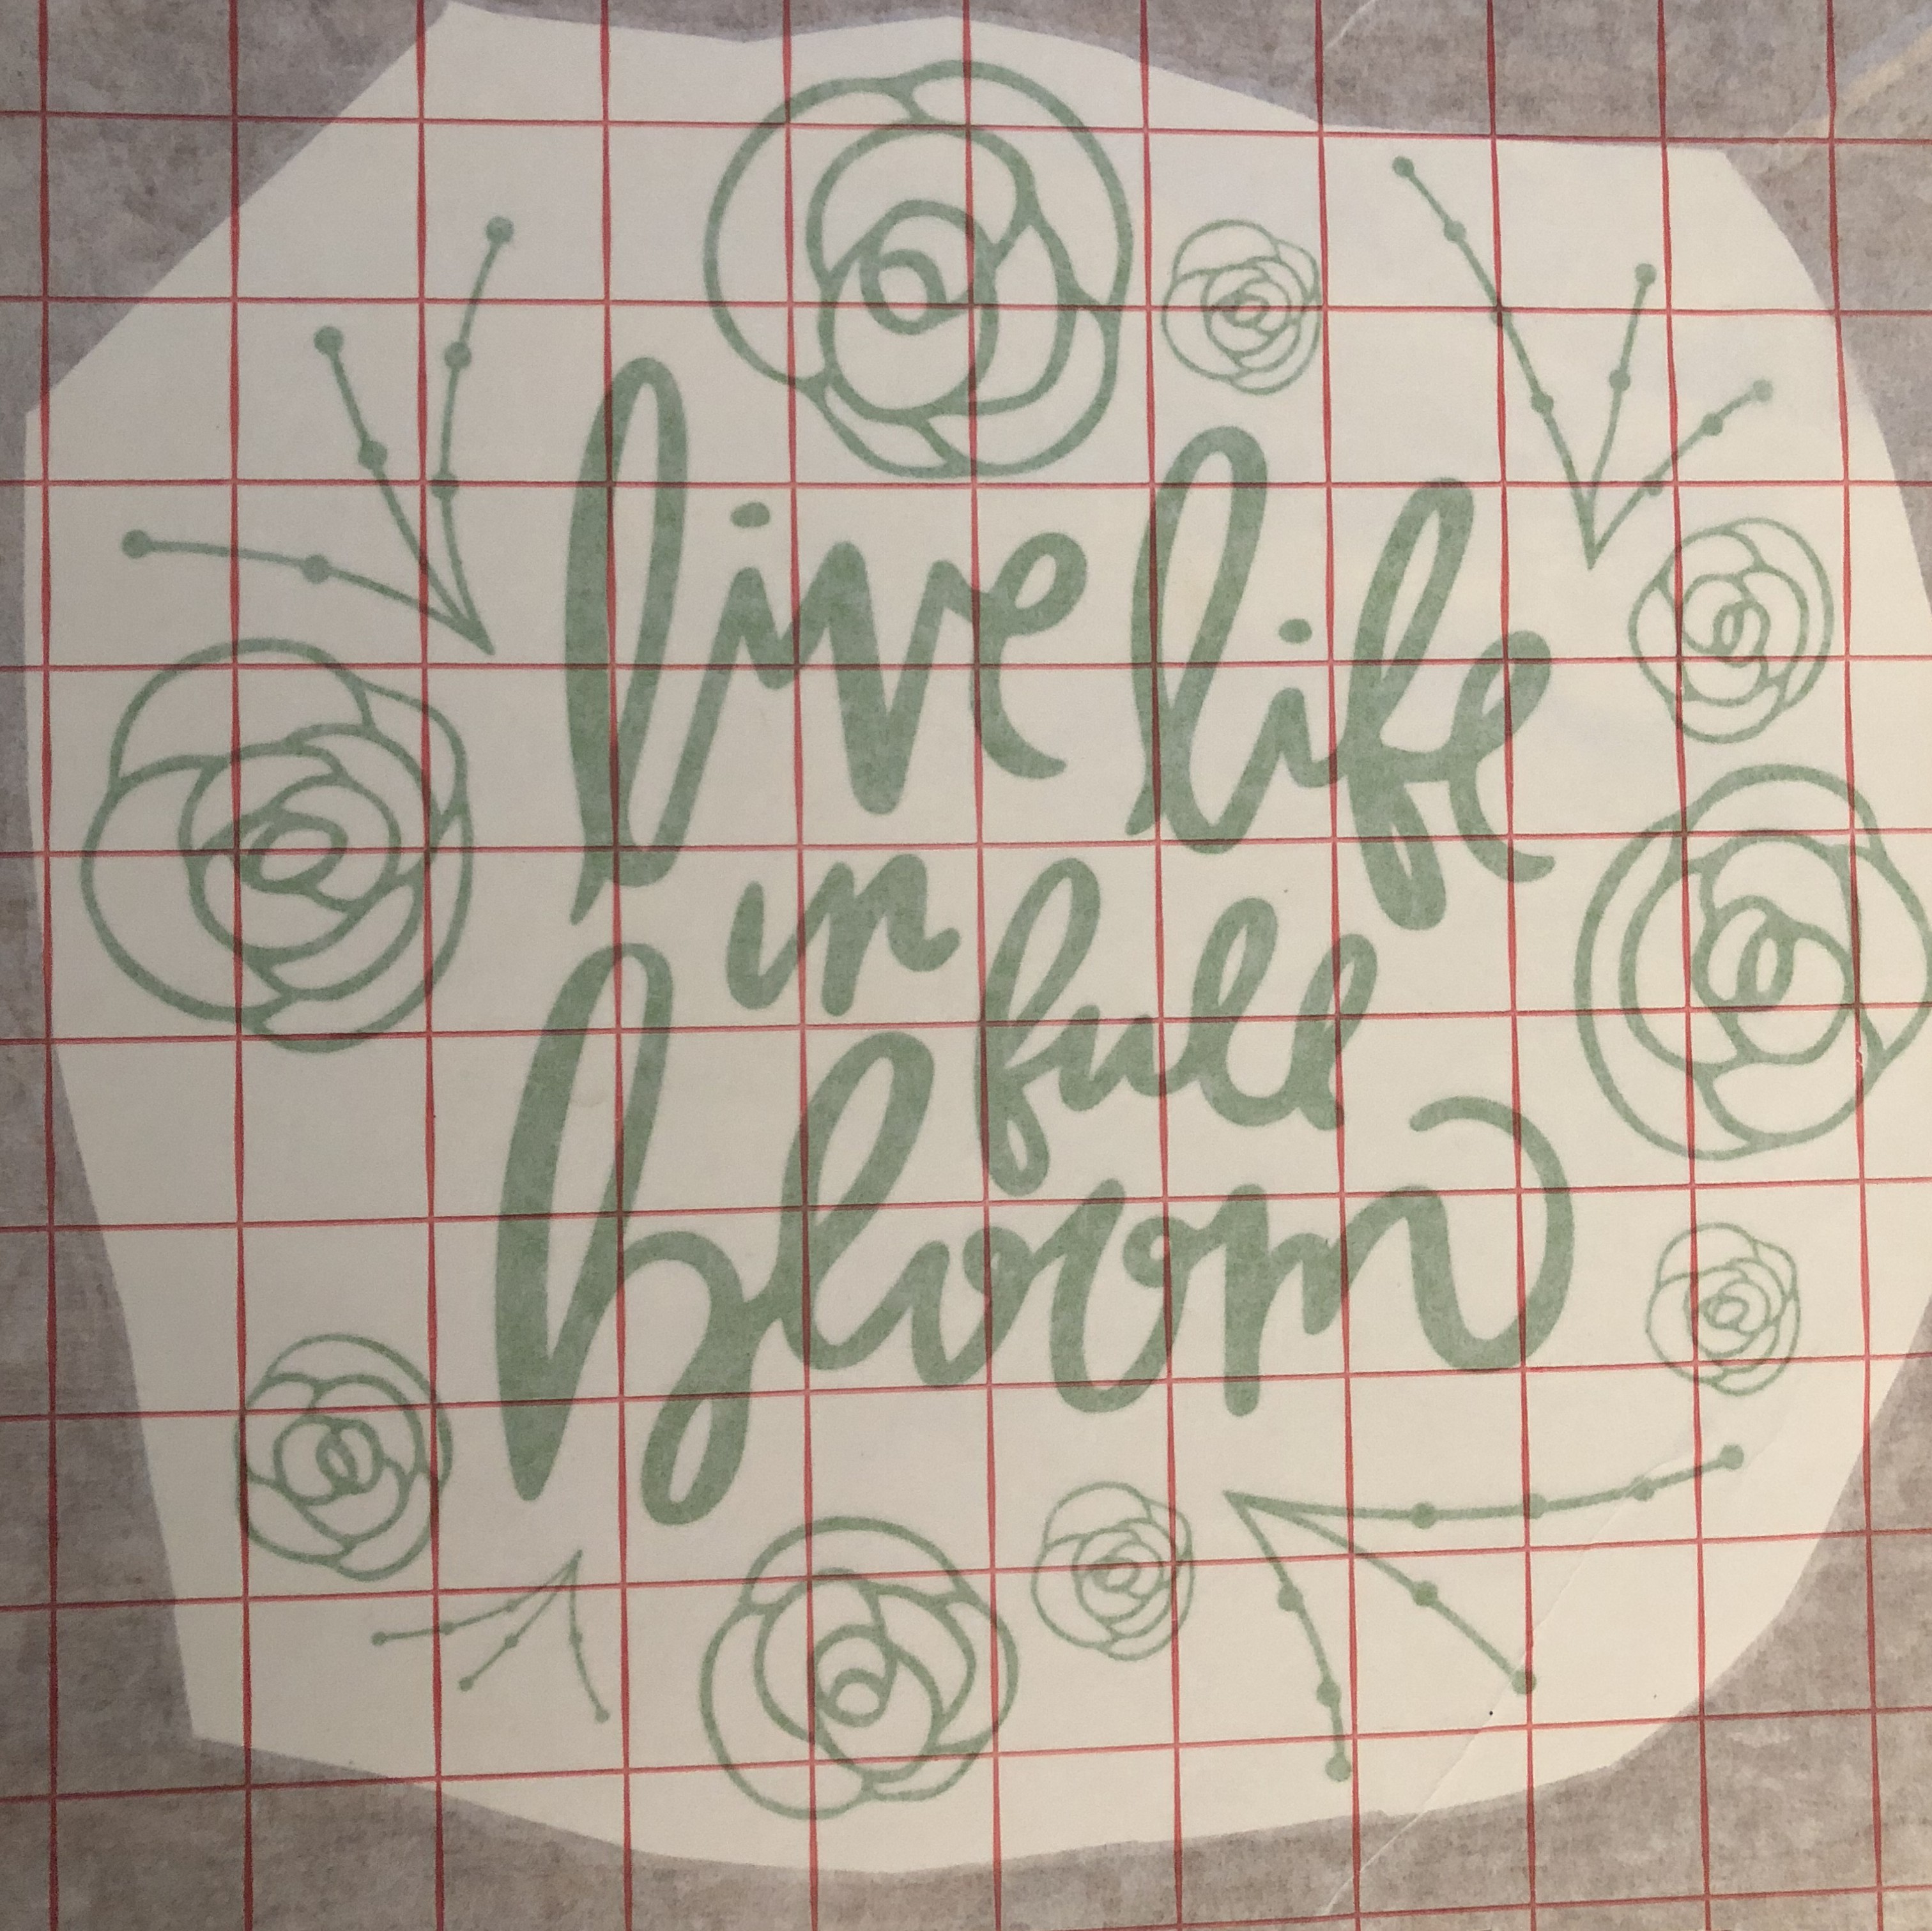
2 – Cut and weed your adhesive vinyl. We recommend using permanent 651 so that it adheres to the canvas.

IMG_8402

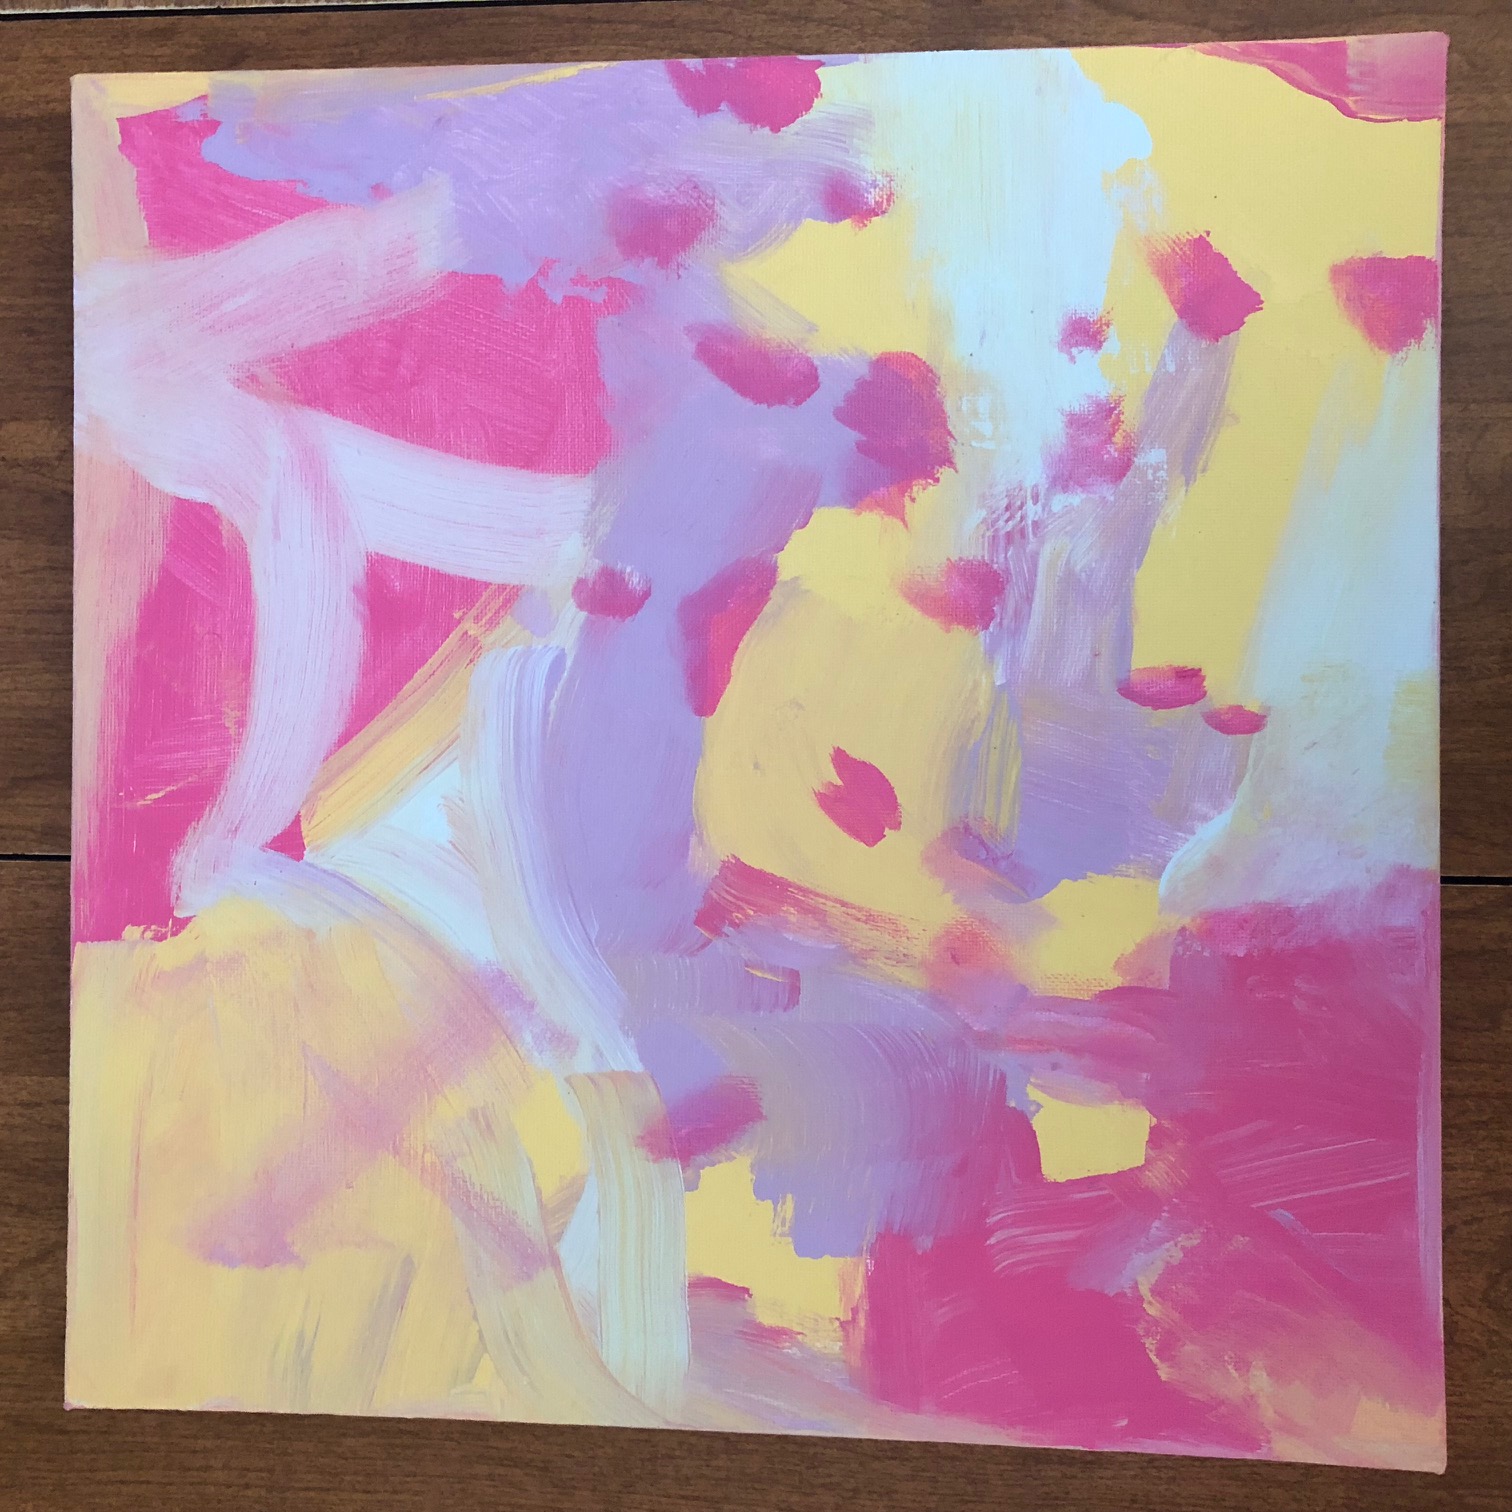
3 – Paint your canvas with a variety of colors and let it dry. There are NO RULES when painting the canvas. You can use as many colors as you would like in no particular order. Just make sure that you don’t have any white showing.

IMG_8408

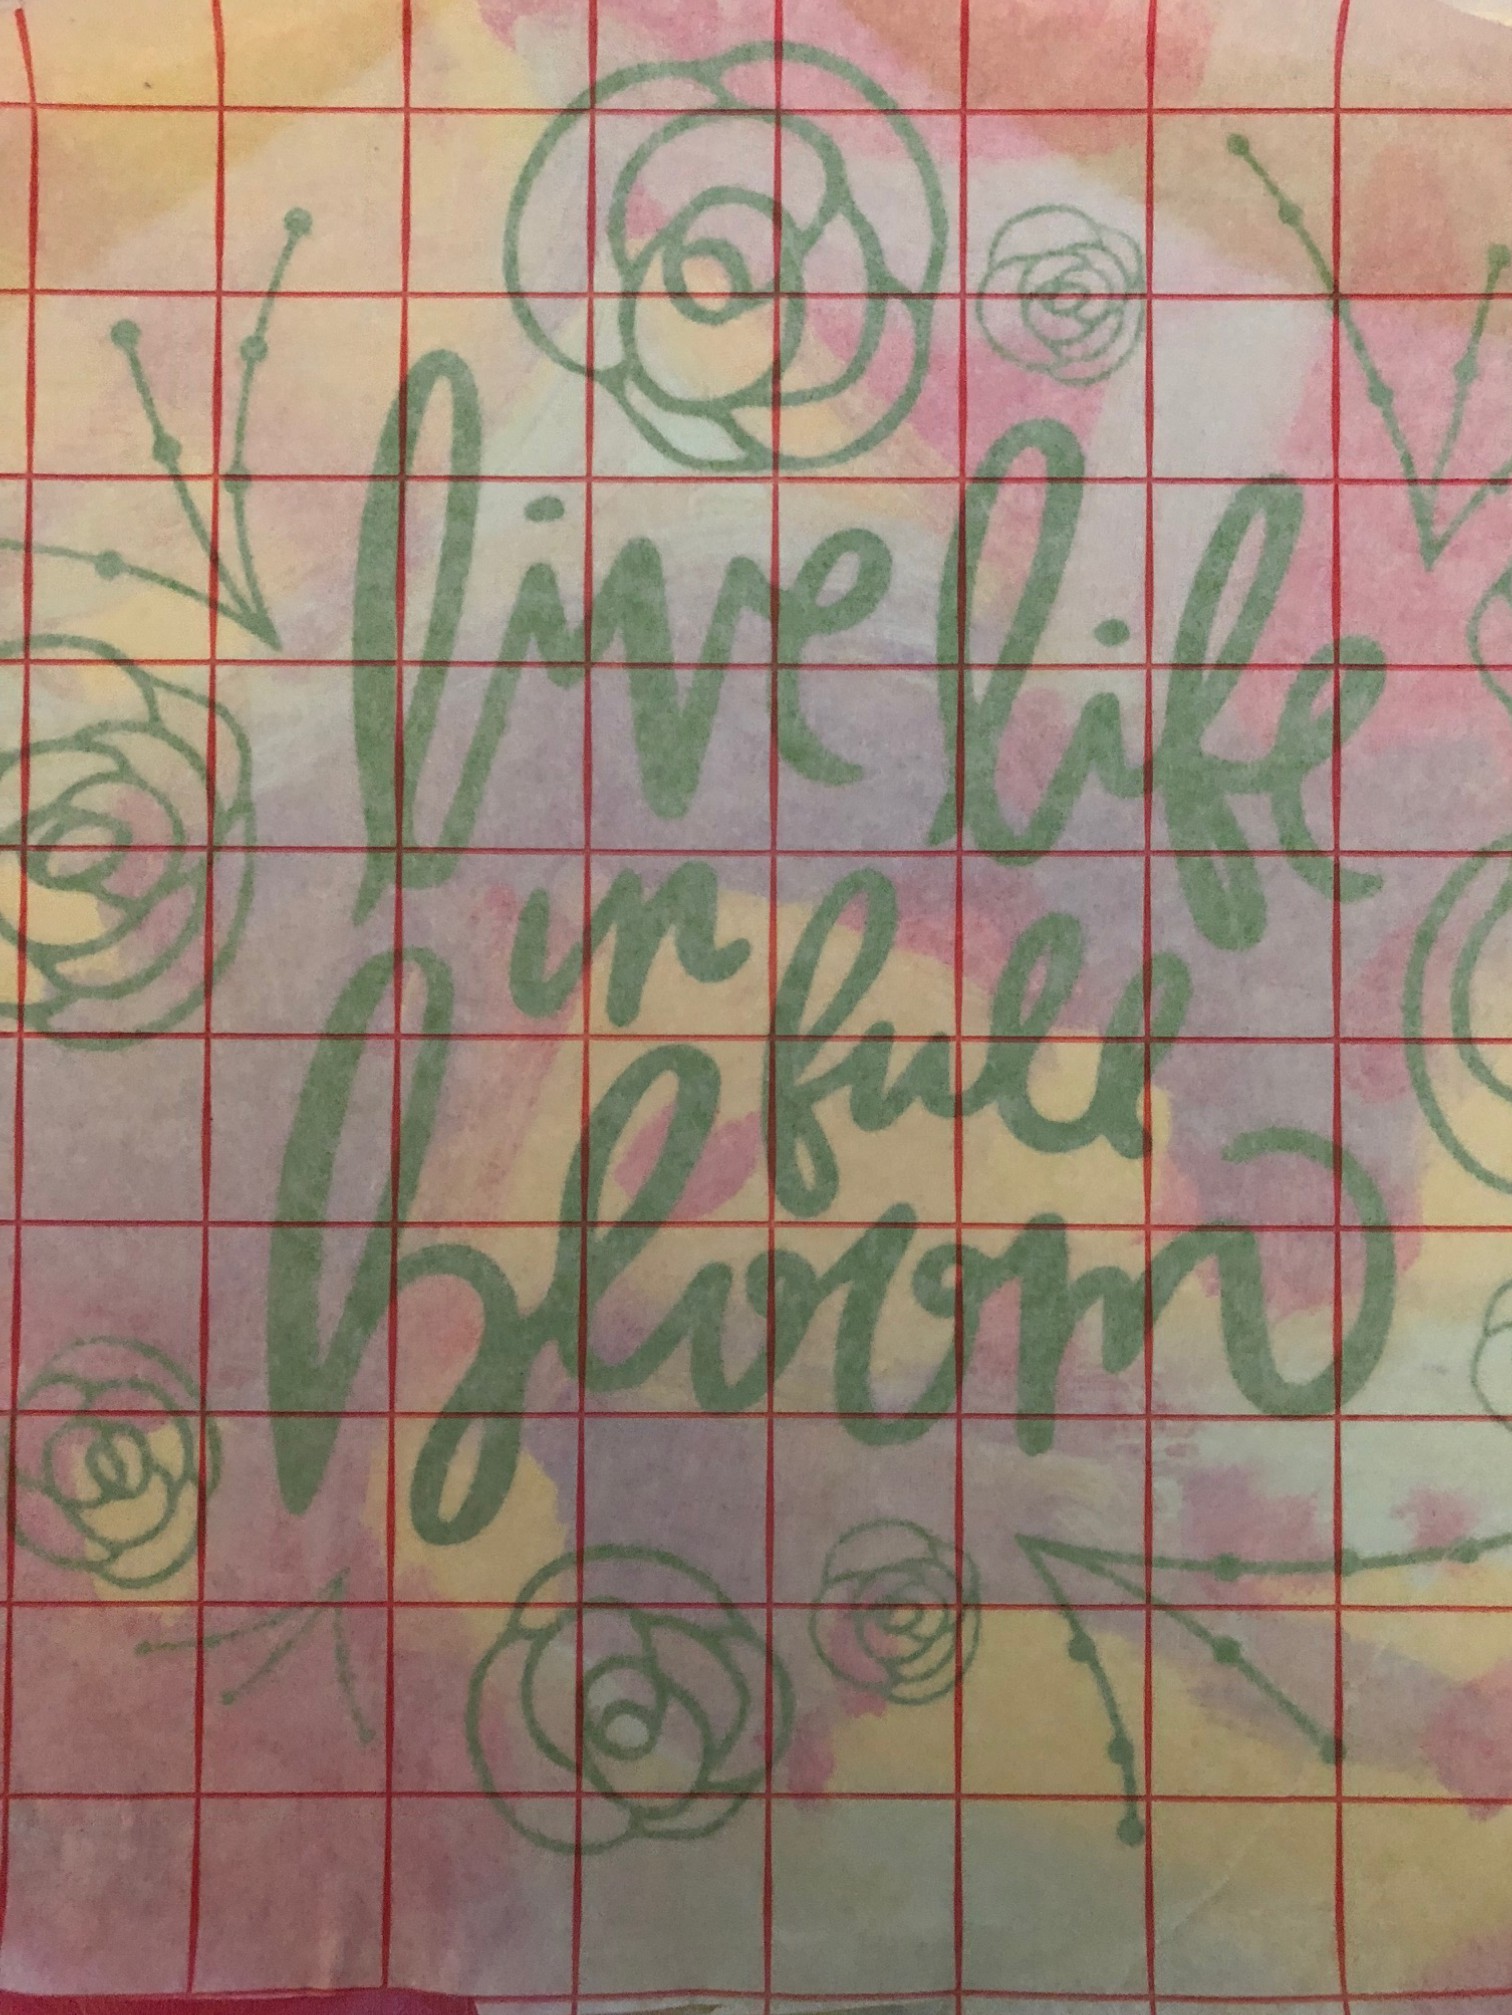
5 – Take your weeded design and apply your application tape.

PRO TIP: Adhere the top of your application tape to your work surface and then place it on your design. By having it anchored to the table, it will help you control your application tape so that it eliminates bubbles. IMG_8407

6-  Place your design on your canvas and carefully peel the application tape back from your design.

IMG_8410

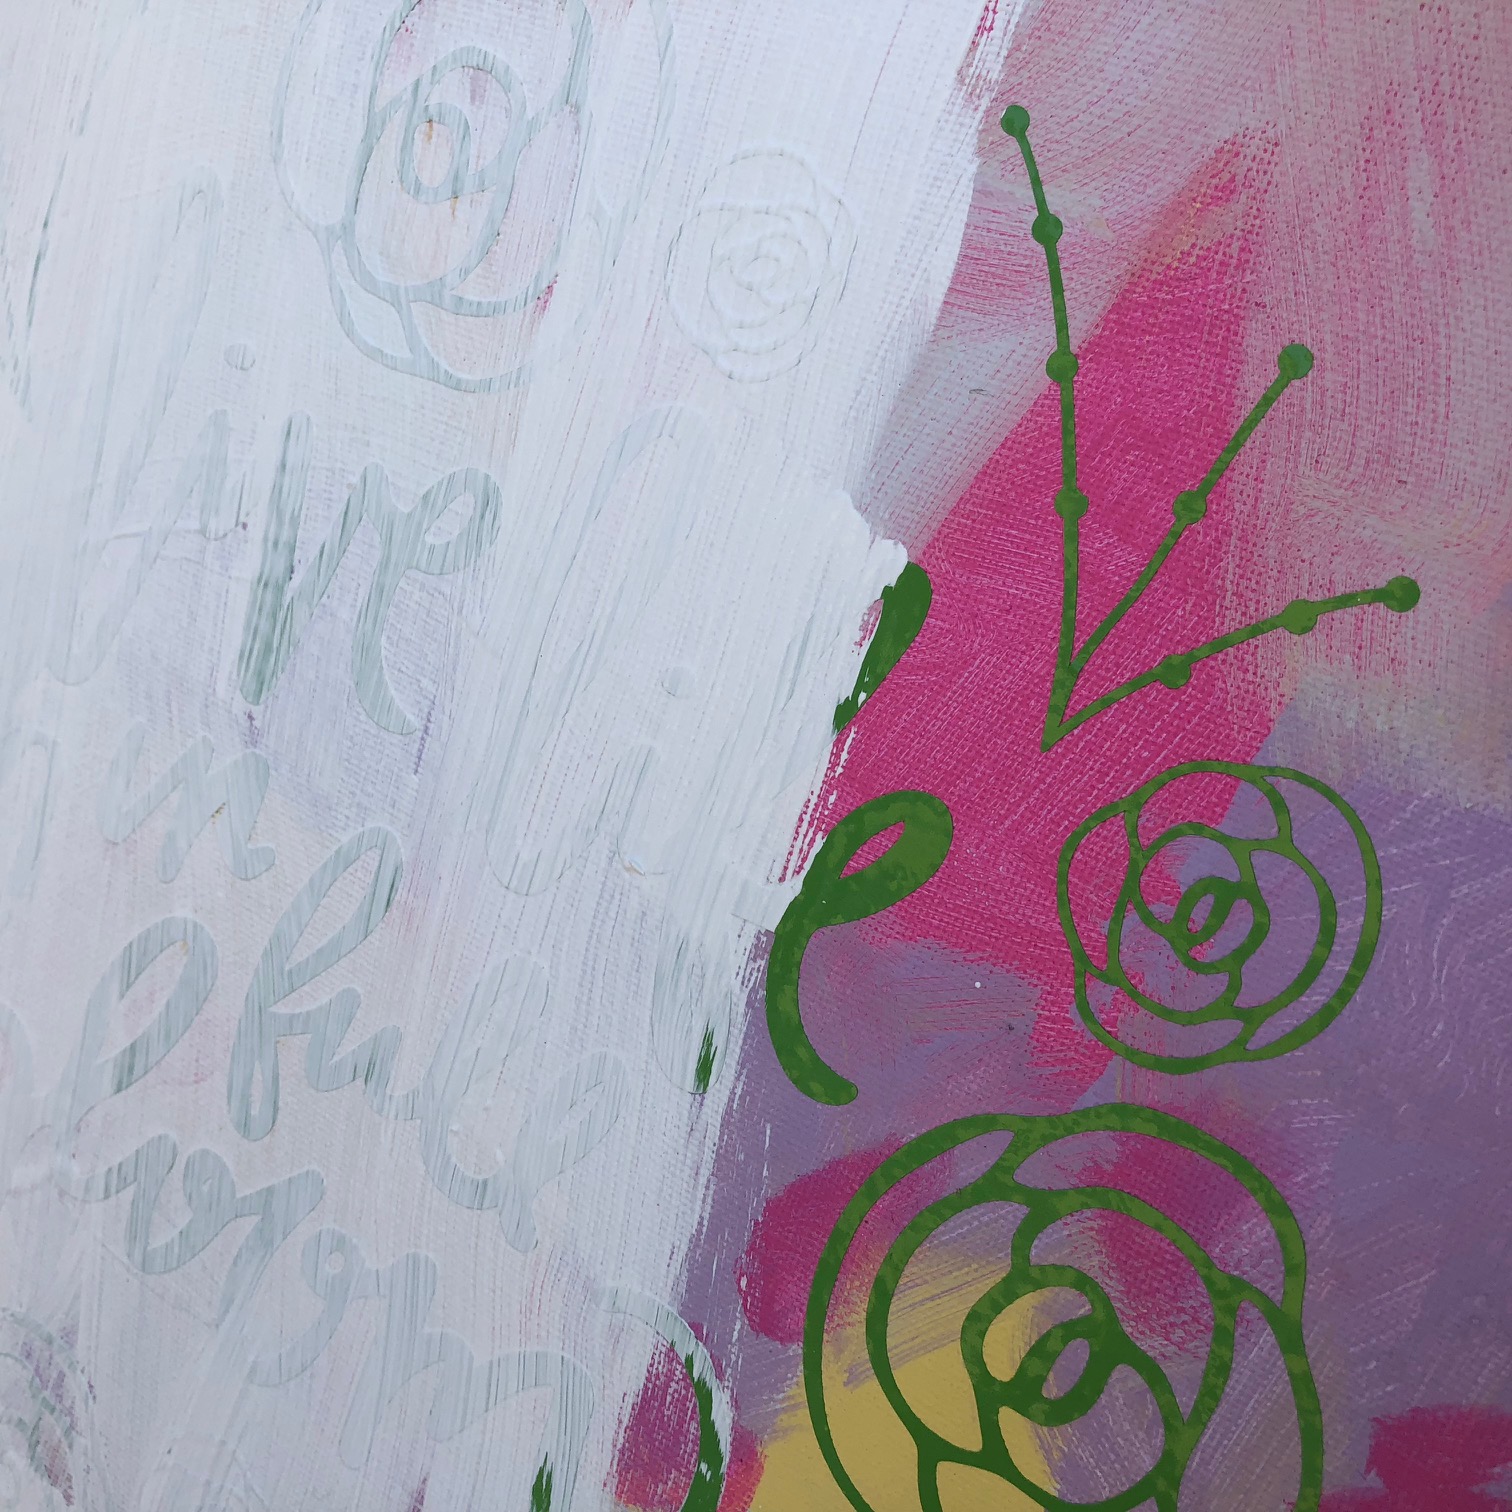
7 – Paint the entire canvas a solid color and let dry.

IMG_8416

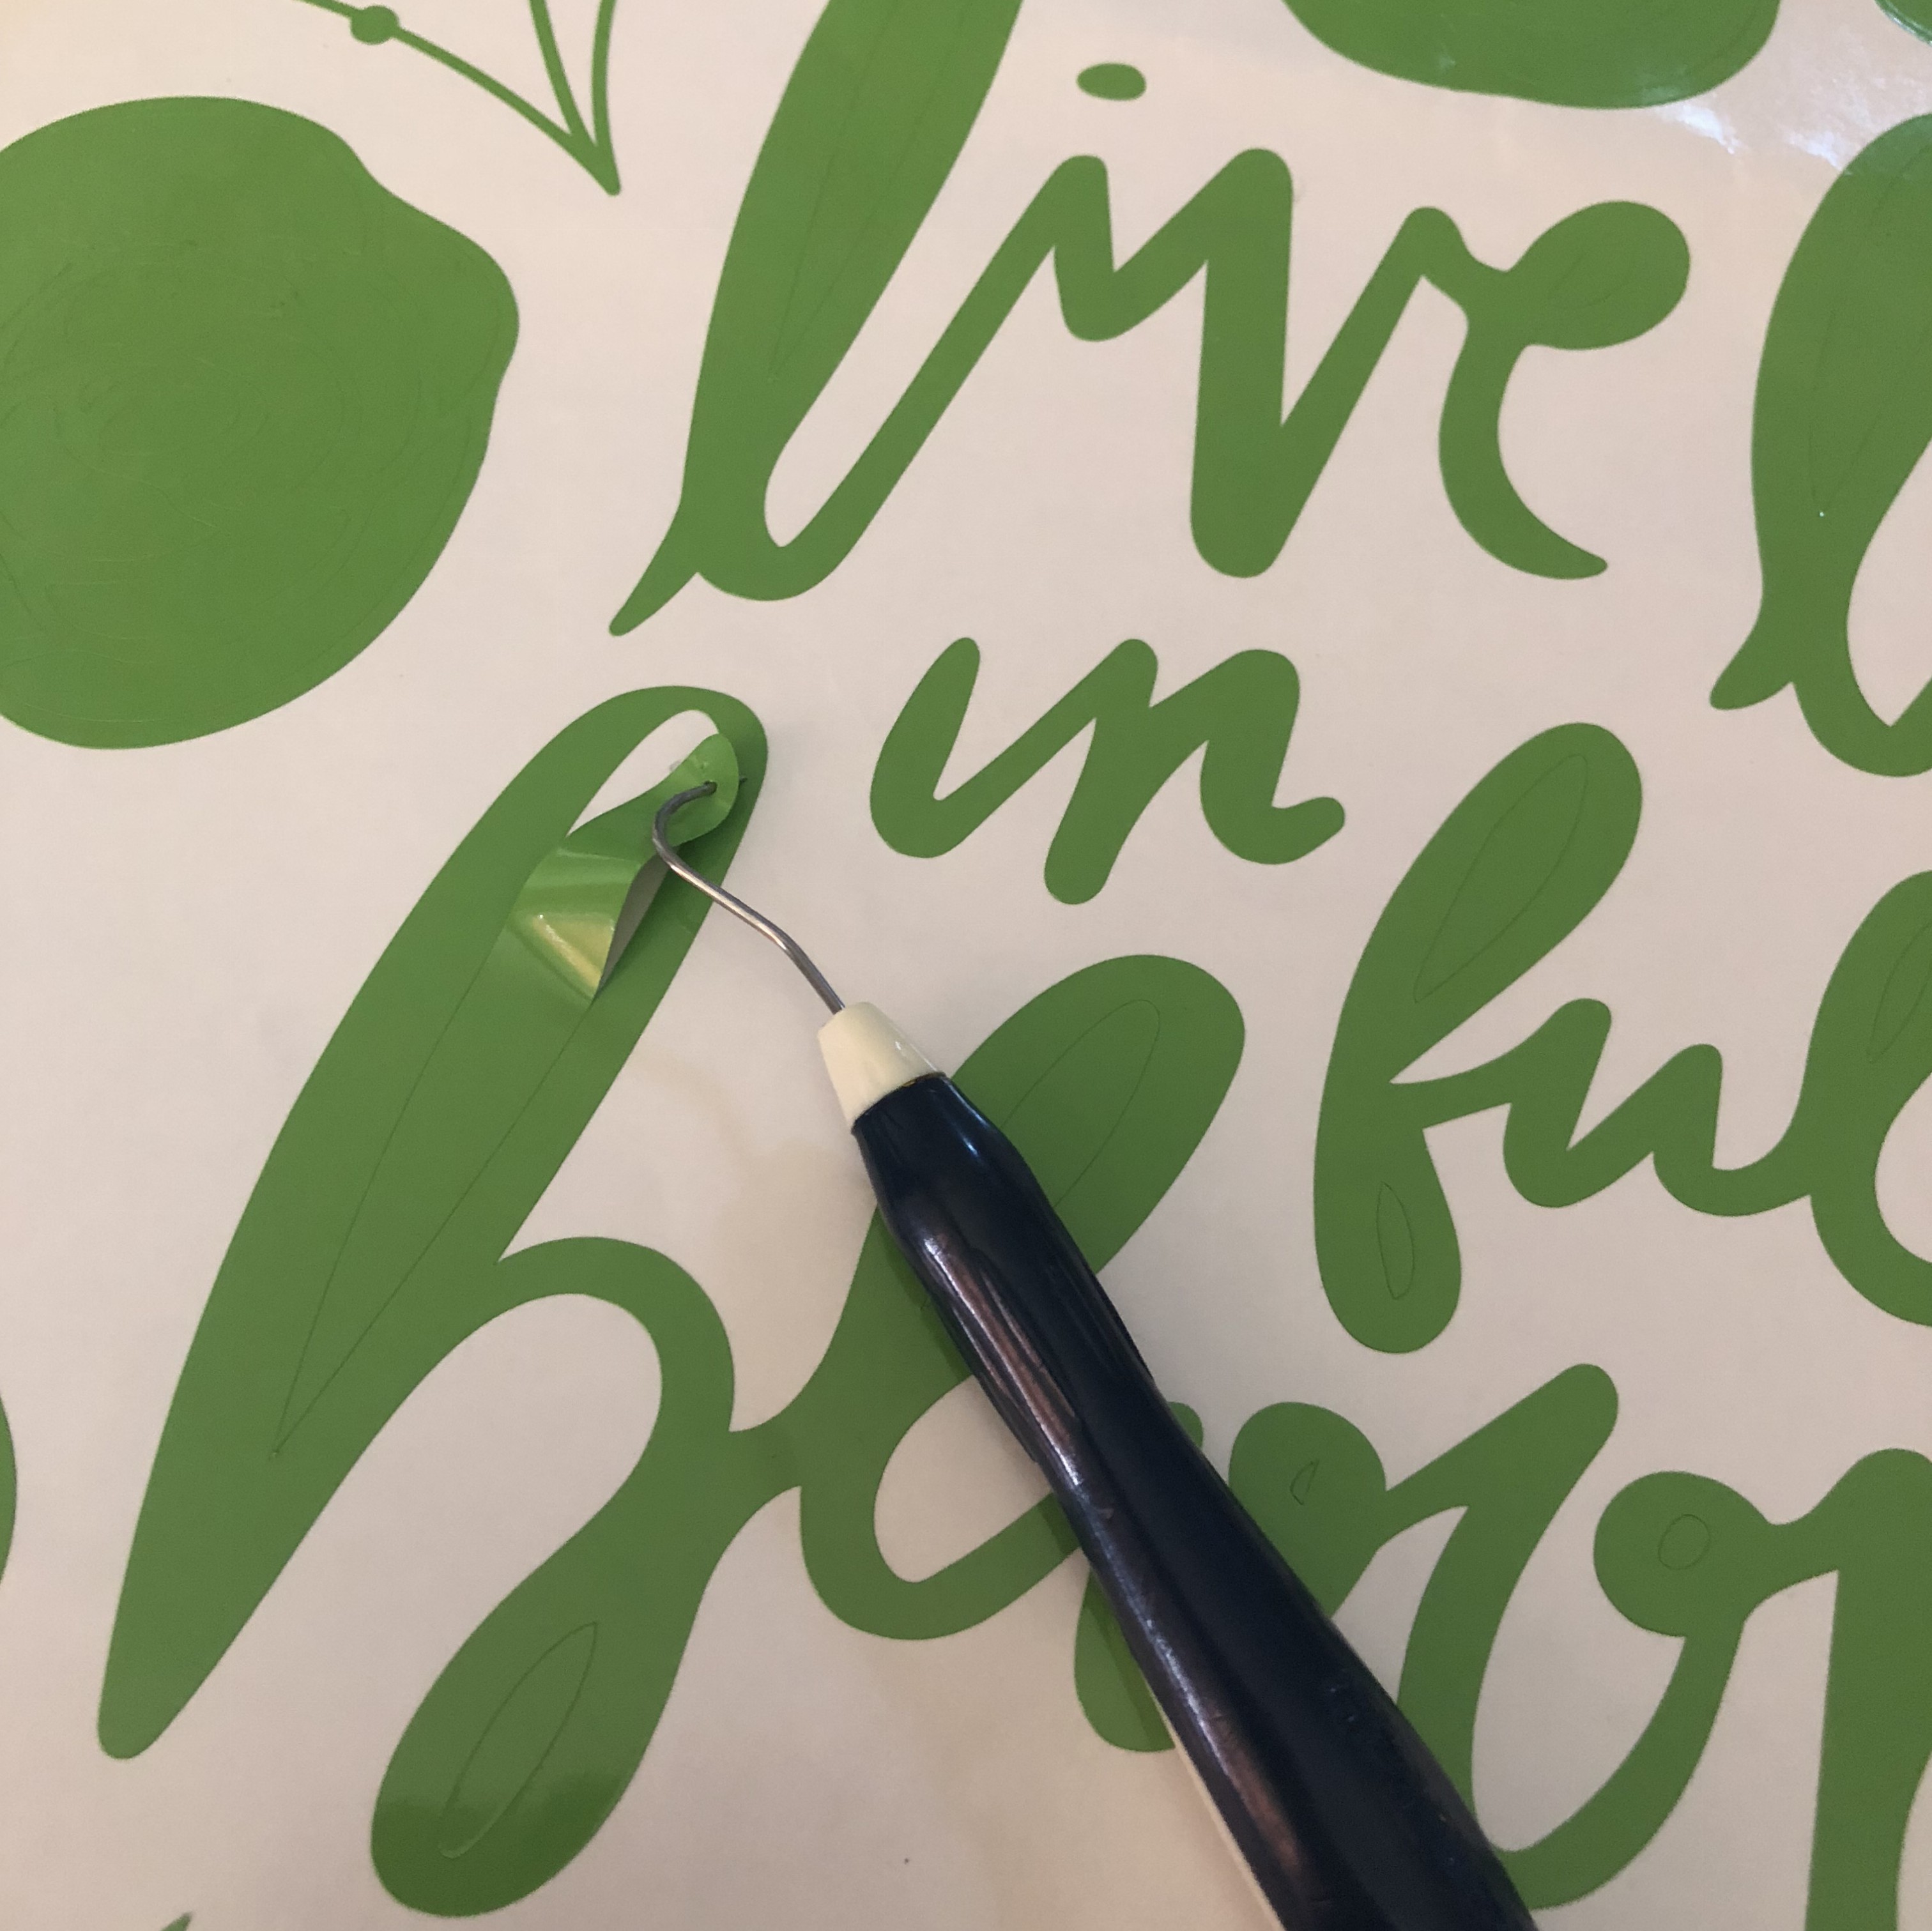
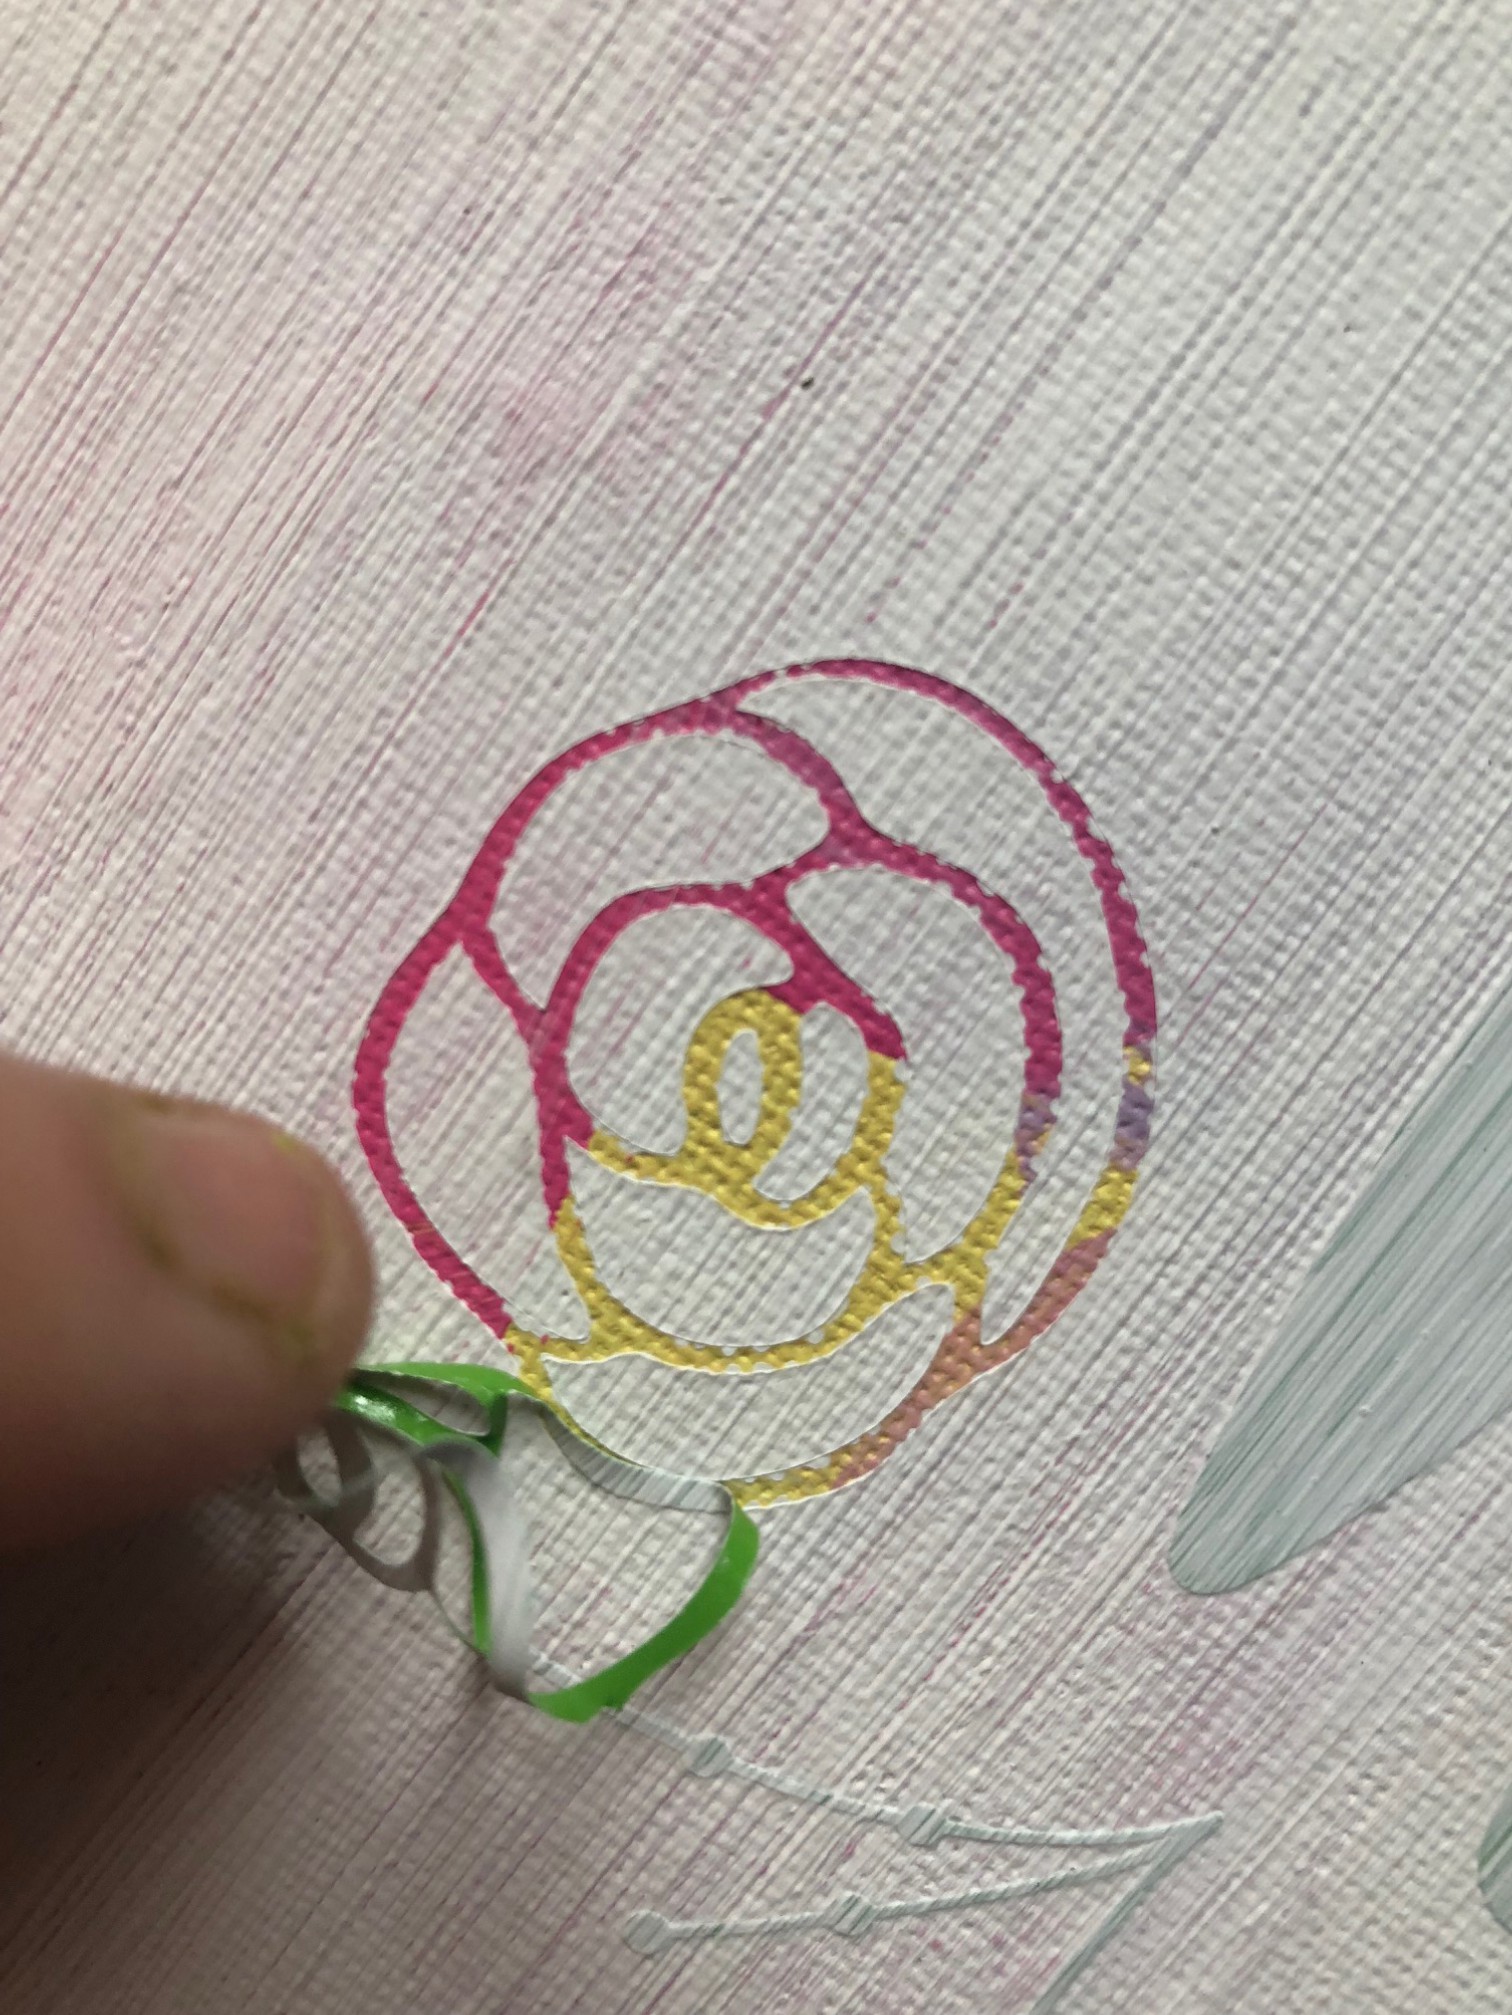
8- Once the paint is dry, carefully weed your design.

IMG_8418

9 – Admire your results.

IMG_8423

View & Add Comments

7 Sublimation Tips To Help You Get It Right The First Time

Do you want to get the most out of your sublimation projects? Here are seven tips for sublimation success:
7 sublimation tips that you have to save for reference!

1 – Take the correct measurements
To sublimate the image correctly on your item, you must measure precisely. When you purchase products from Pro World we have the dimensions and instructions on the product page. And if you use Sawgrass Creative Studio you will be able to use the design template which will help ensure a proper fit!
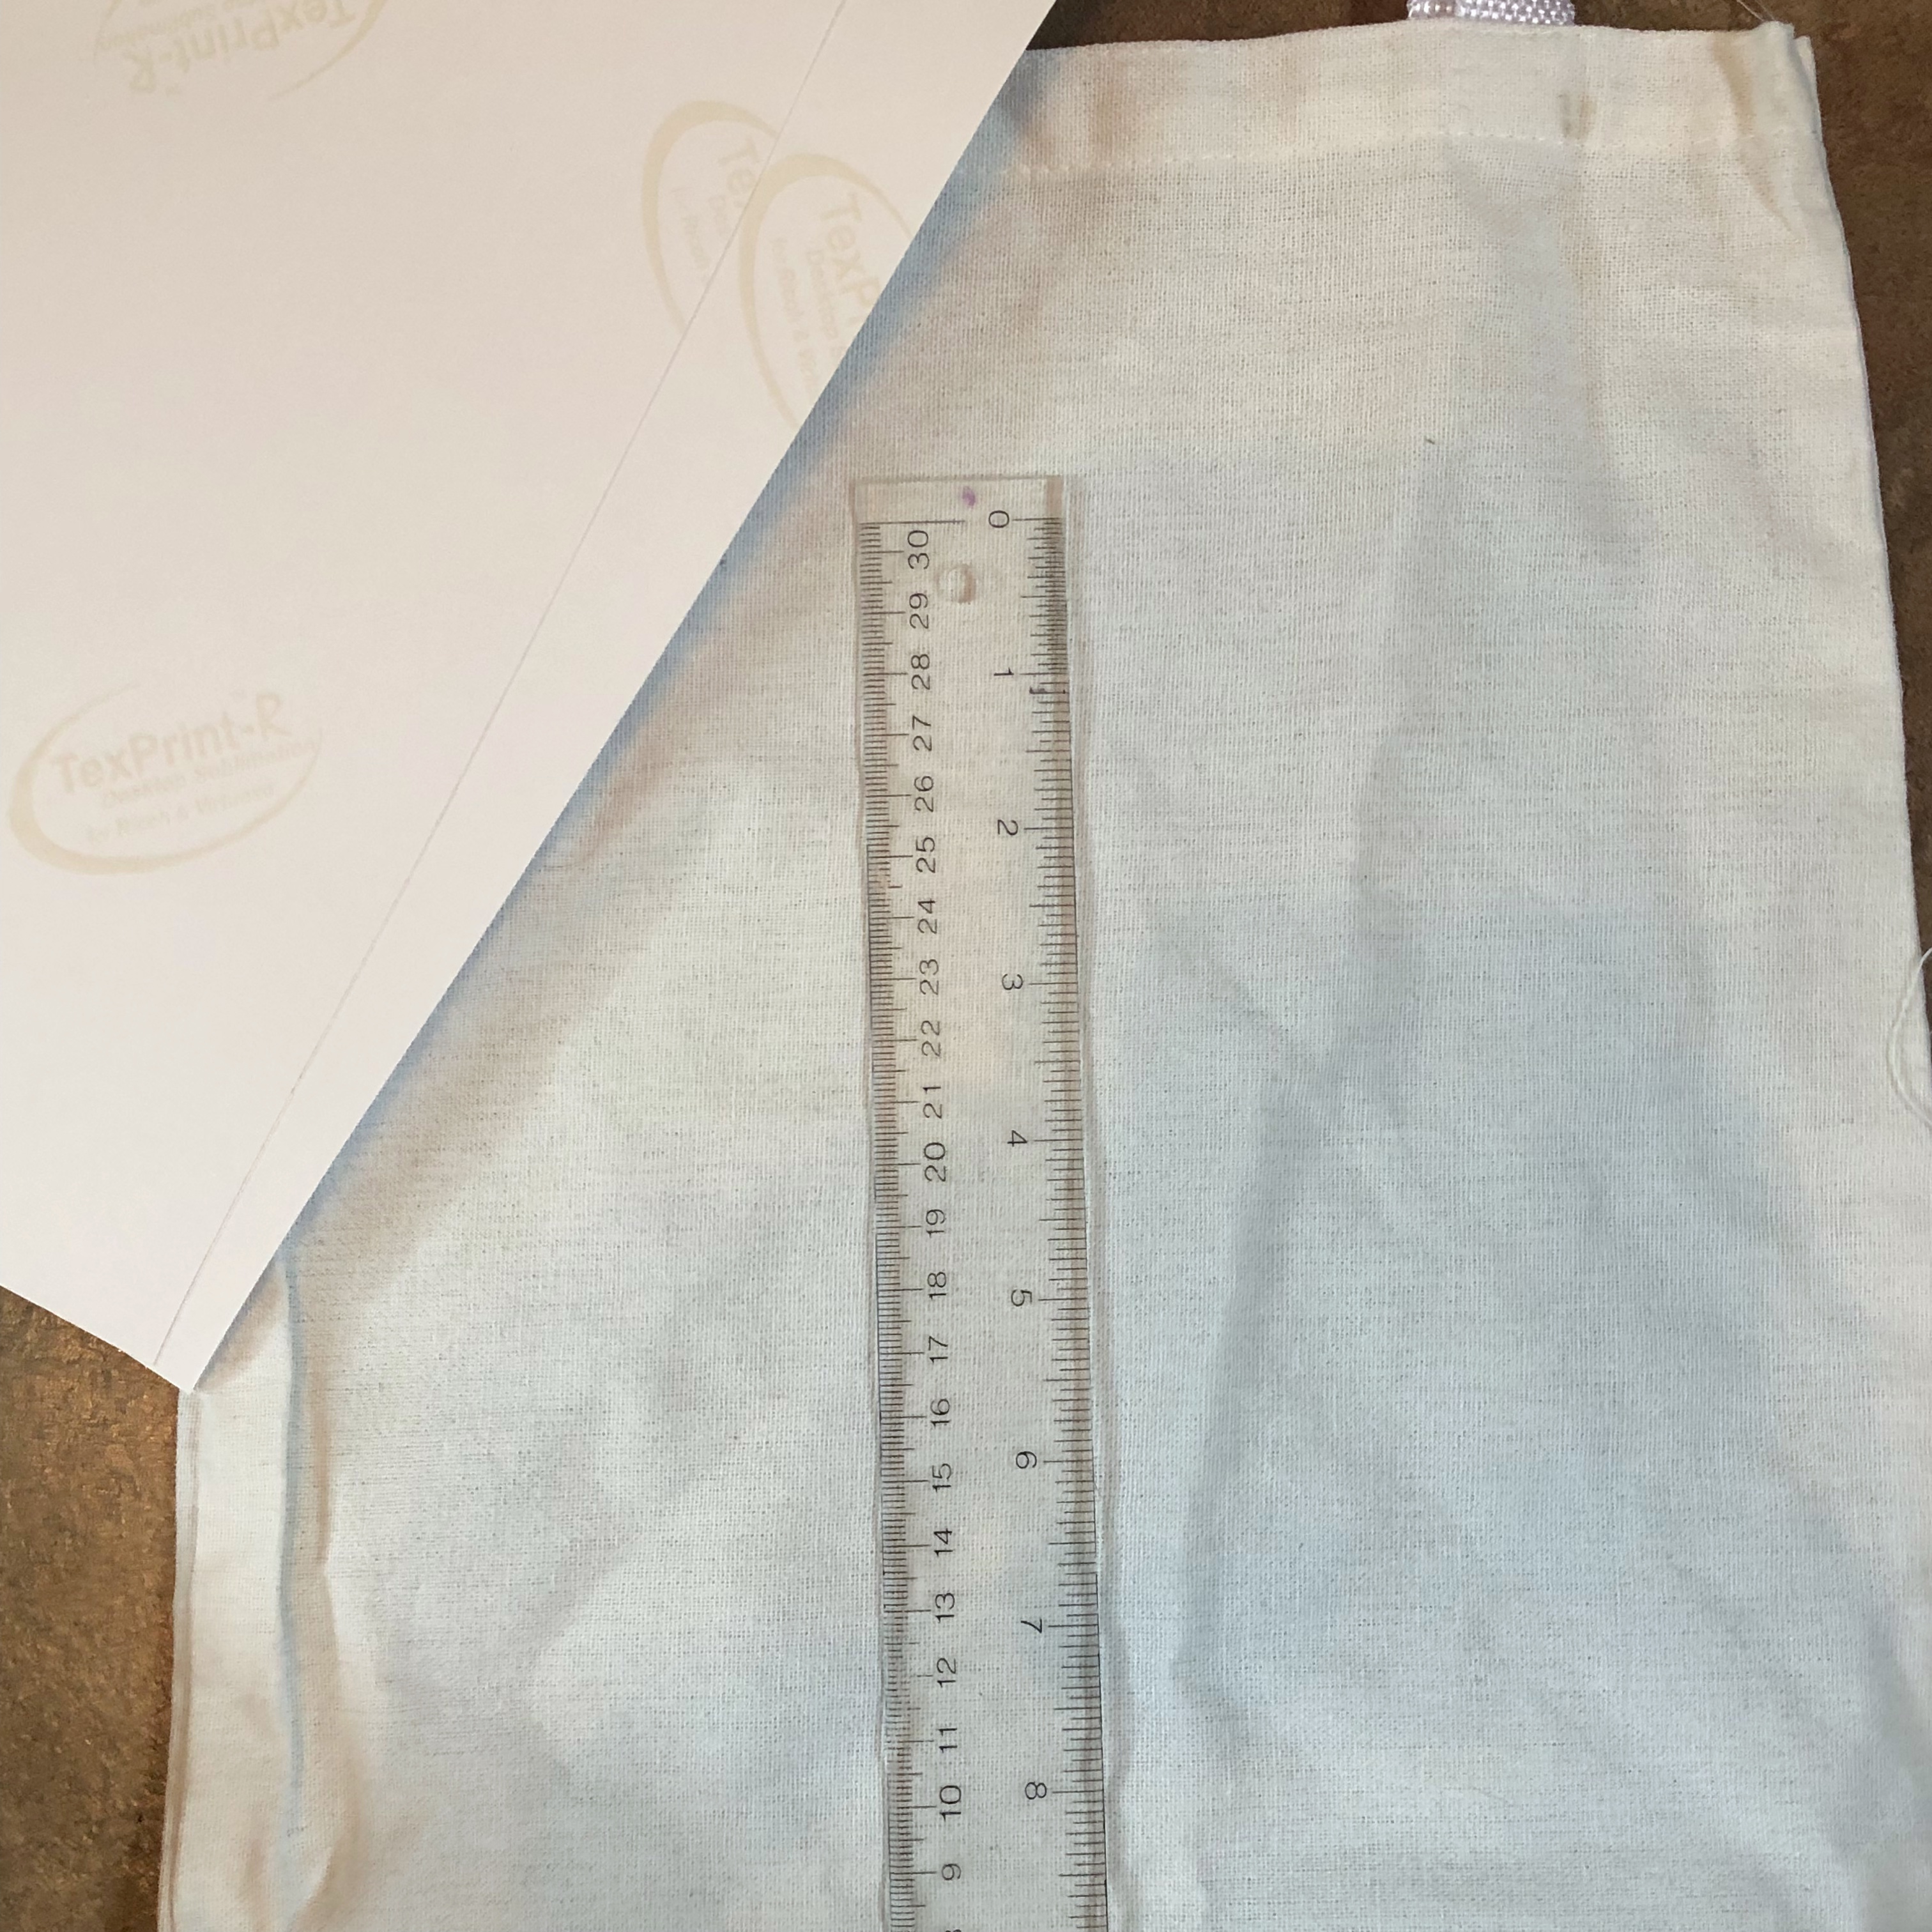
image1 (3)

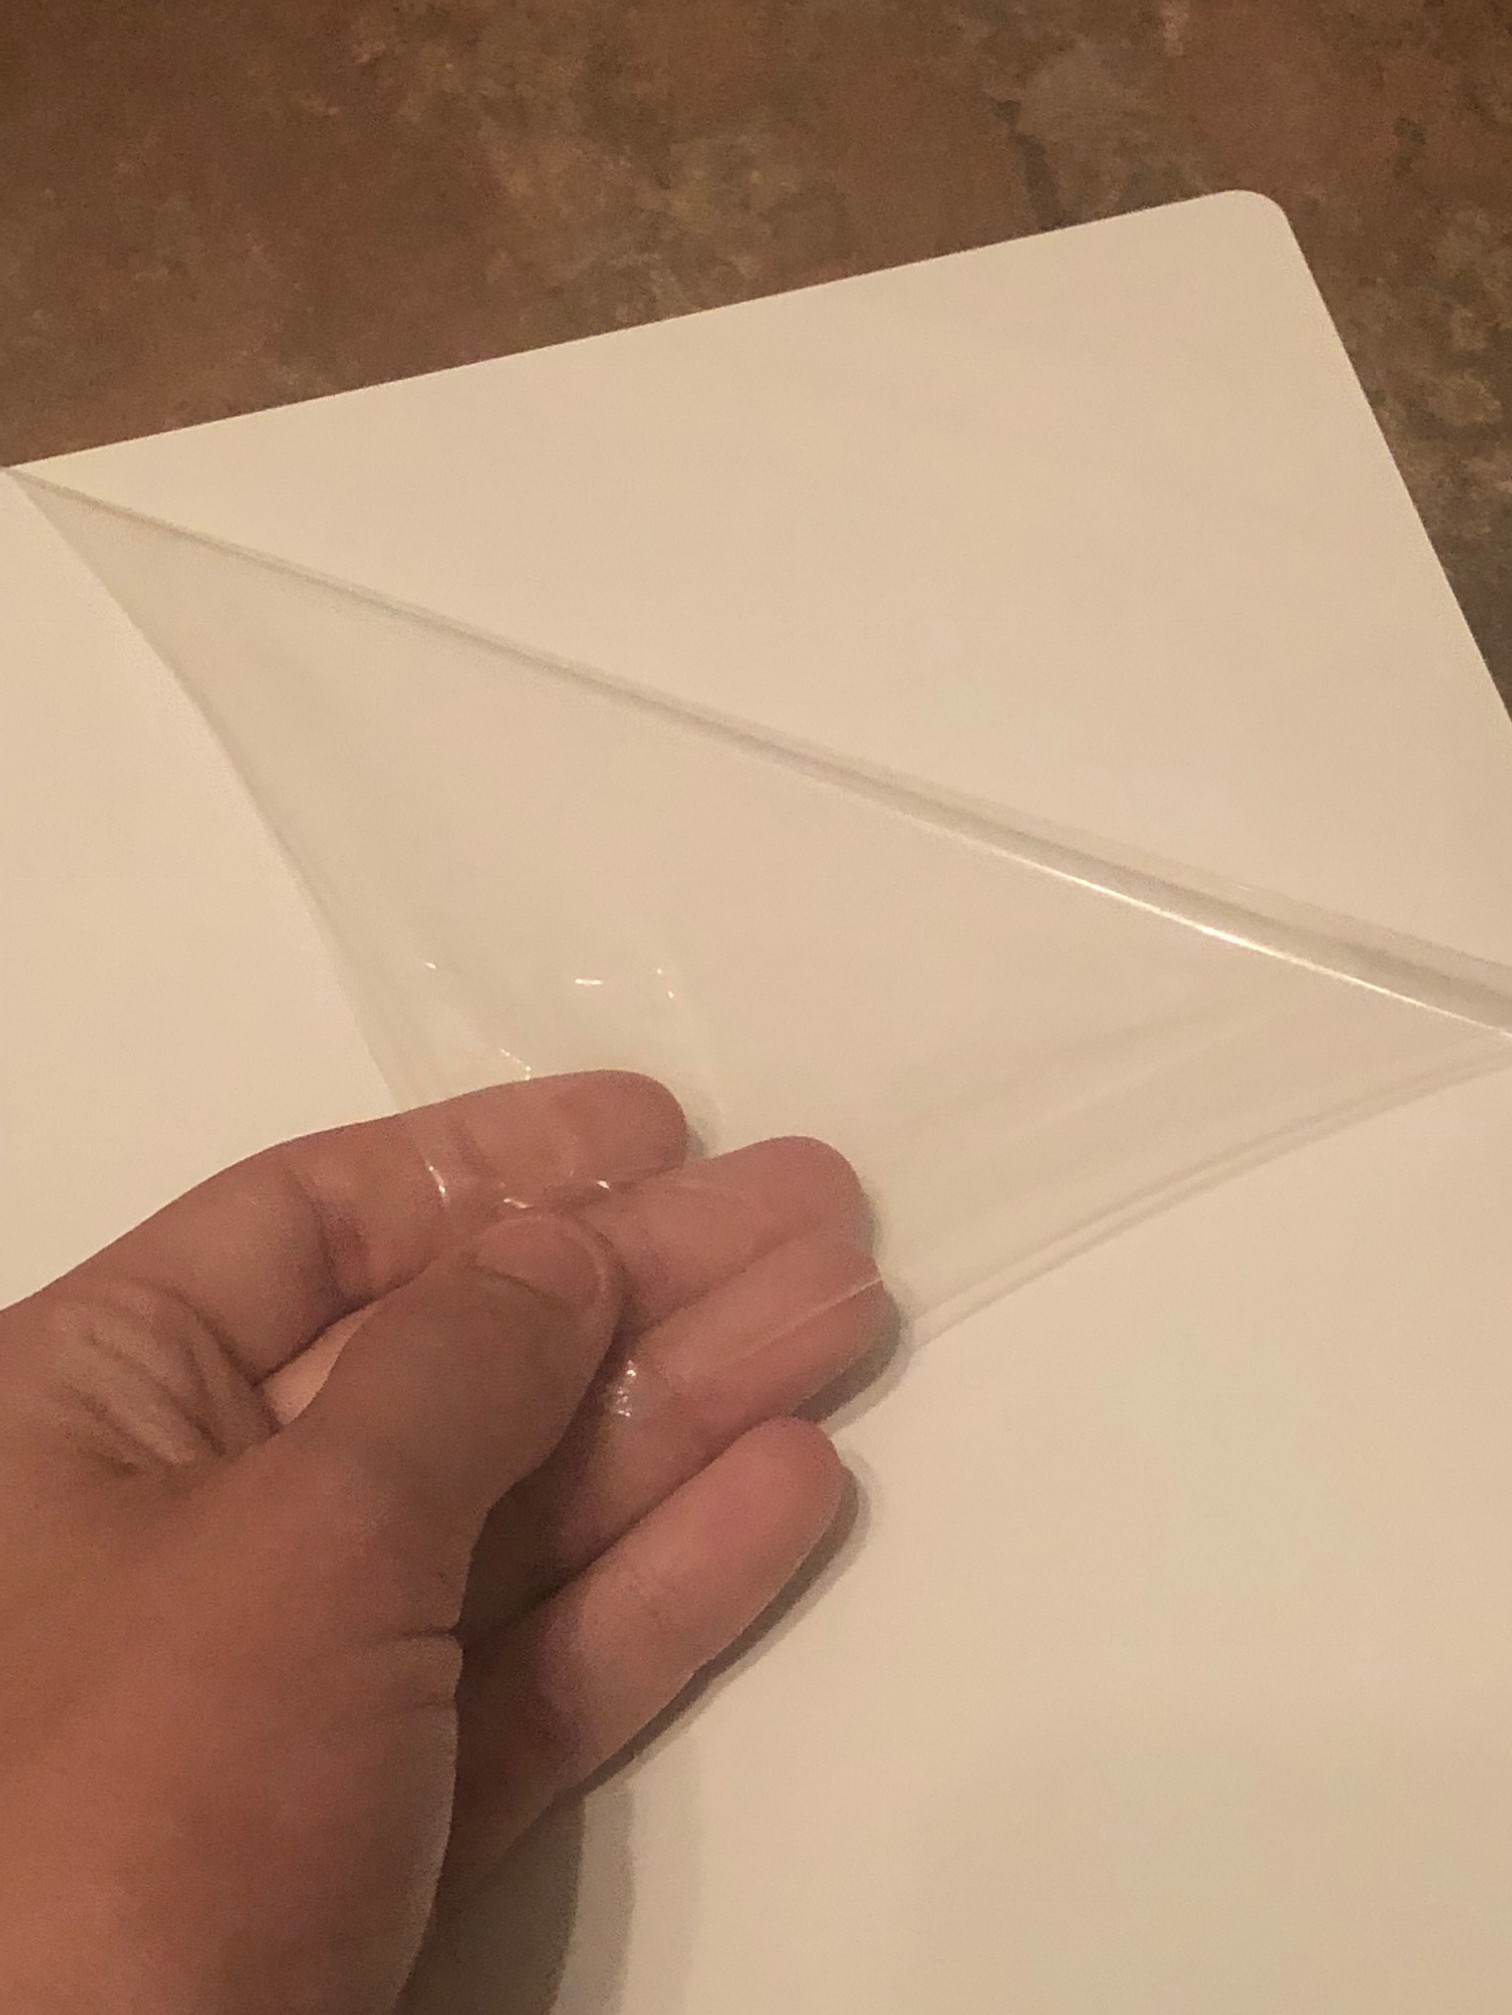
2 – Remove The Protective Covering
Some sublimation blanks have a protective covering, be sure to check your blank to remove it before printing.
IMG_7821

3 – Check heat press temperature
To cook your item correctly, it is essential that your heat press temperature is correct. Use the help of a digital thermometer to make sure that your heat press is the proper temperature. If the temperature is too low, your item will be undercooked, and if the temperature is too high, you are going to scorch your project.

4 – Be careful of moisture
If you work in a damp area be cautious of humidity. Moisture on your project can cause flashing which removes the ink from the predetermined area. We recommend that you store your paper in a dry place. You could store it in a container or a re-sealable bag. If you are working with a garment, you can also pre-press your item for 10 seconds which will help remove moisture and remove the wrinkles. You can also set up a dehumidifier within your workspace to help lift the moisture from the air.

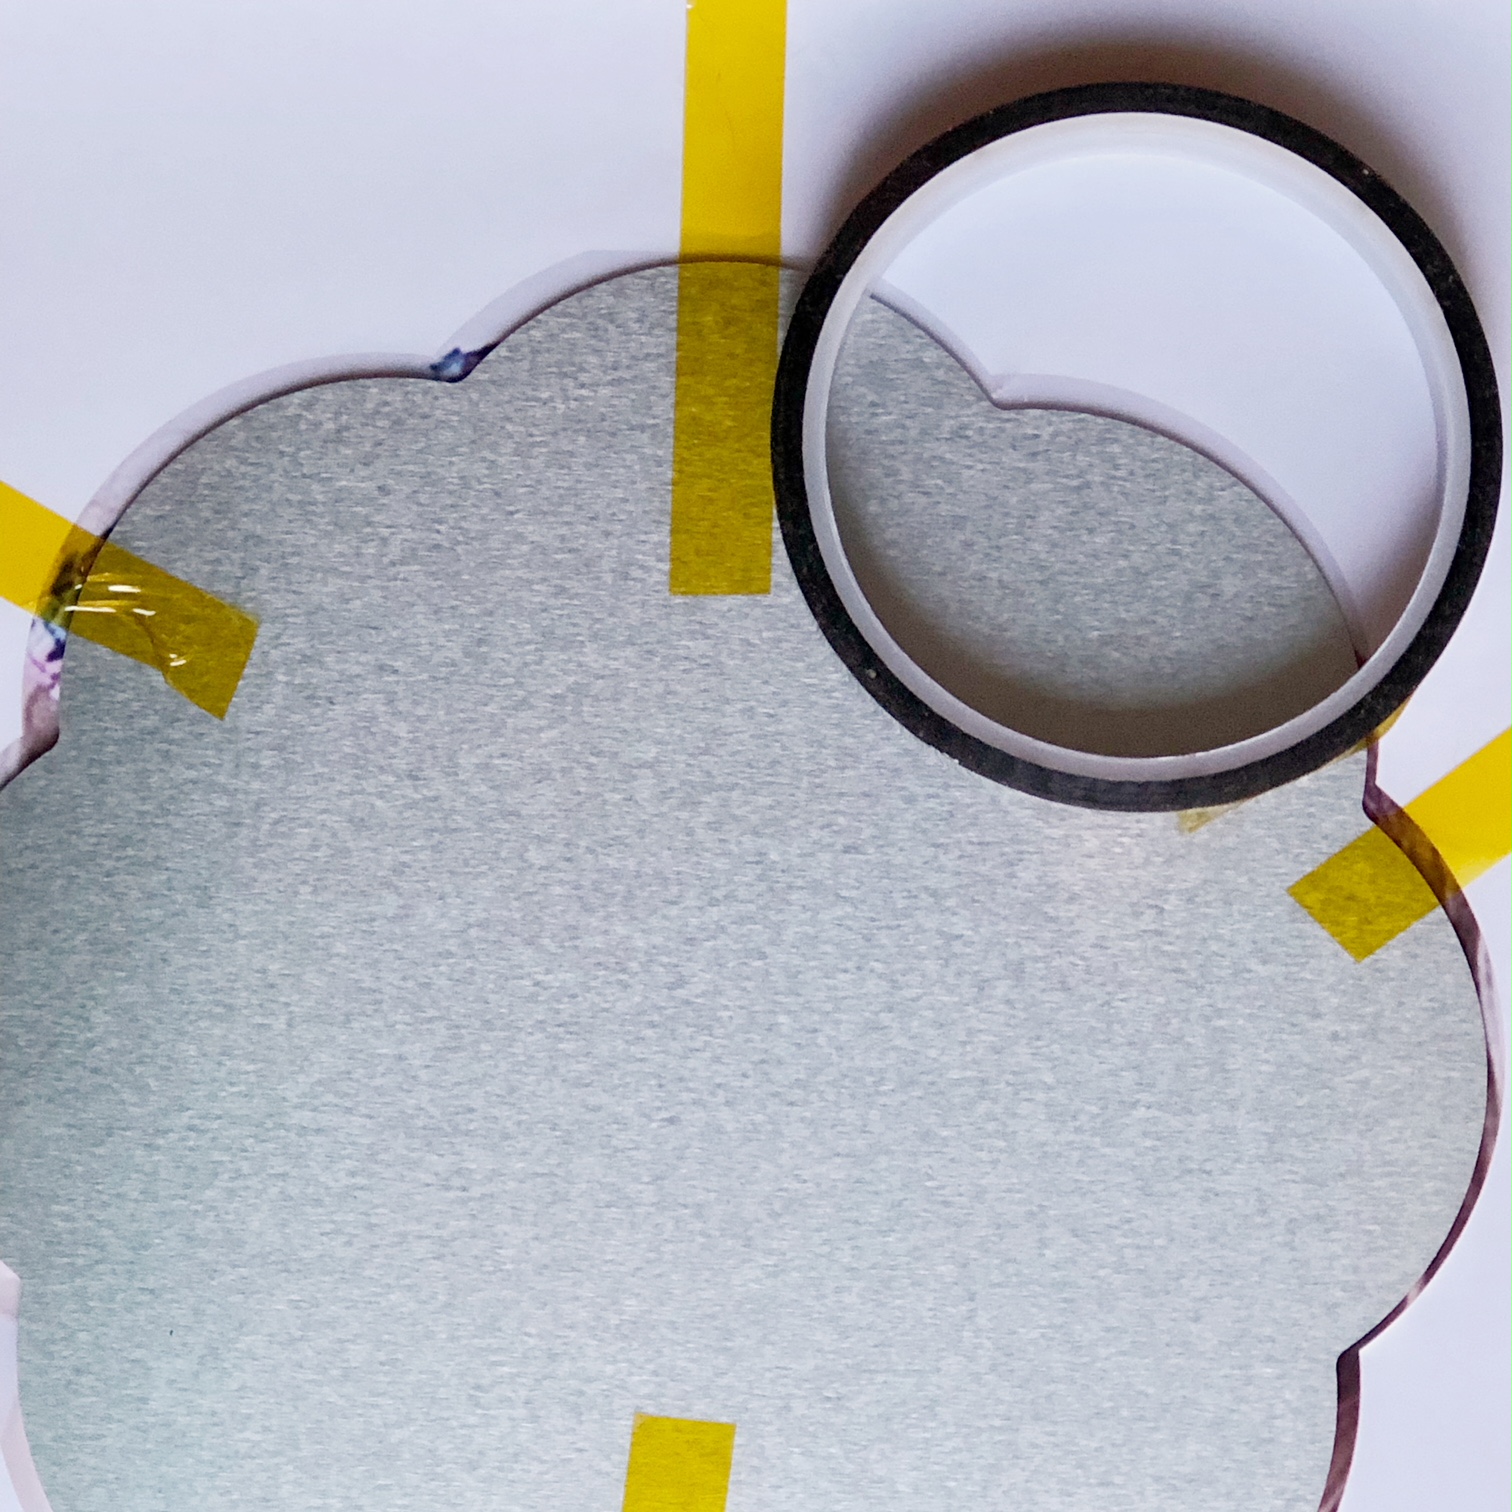
5 – Always secure your paper to your product
It is crucial for your sublimation paper to stay in place during the pressing process. The slightest movement could cause ghosting, which is a shadowy effect. We recommend that you secure your sublimation paper to your blank. You can do this with heat resistant tape or an adhesive spray.
heat resistant tape

6 – Cover your product
We suggest that you use a nonstick sheet or blank copy paper to protect your product and avoid the ink from dying any other surface.

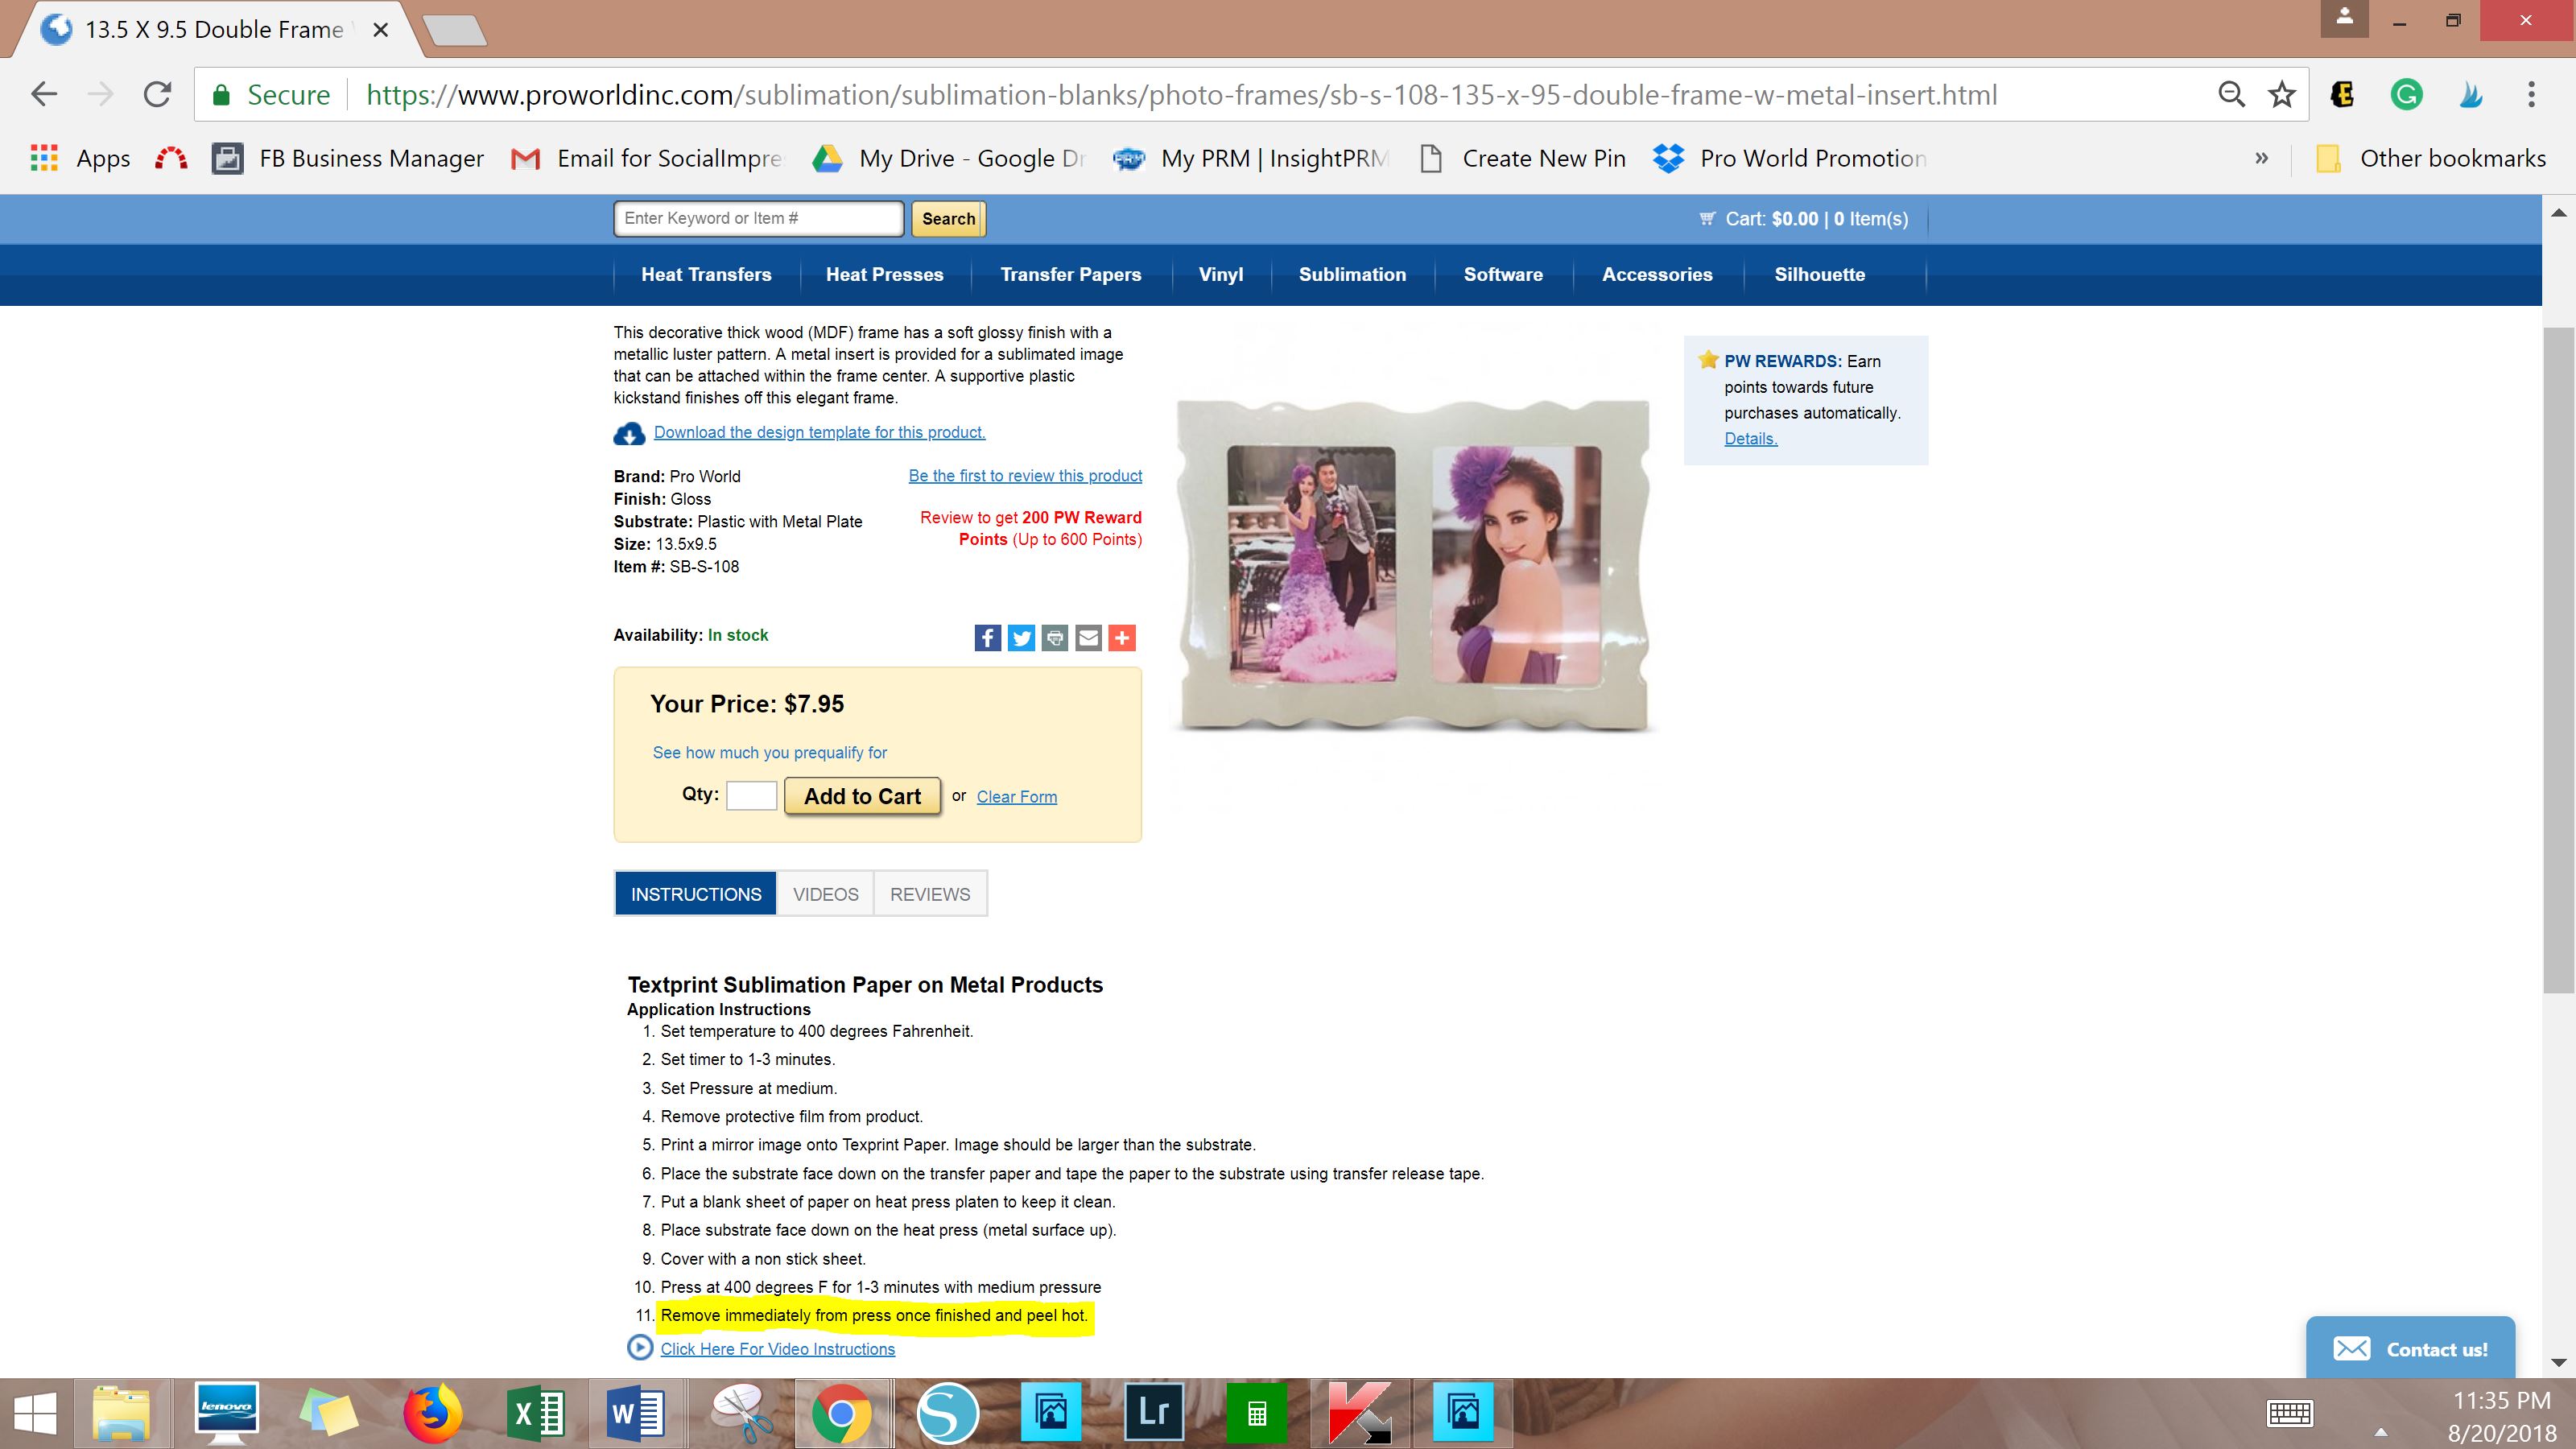
7 – Read the blank instructions before pressing your project
Review the instructions for your product to ensure that you have the correct settings before getting started. Once you have completed sublimating your image, it is essential to follow the transfer removal instructions. If the directions say Hot Peel, that means you need to remove the transfer quickly so that it can cool. Be prepared for a hot peel by having your heat resistant gloves on so that you do not burn yourself. The sublimation paper, product, and heat press surface will be HOT.
sublimation instruction


View & Add Comments

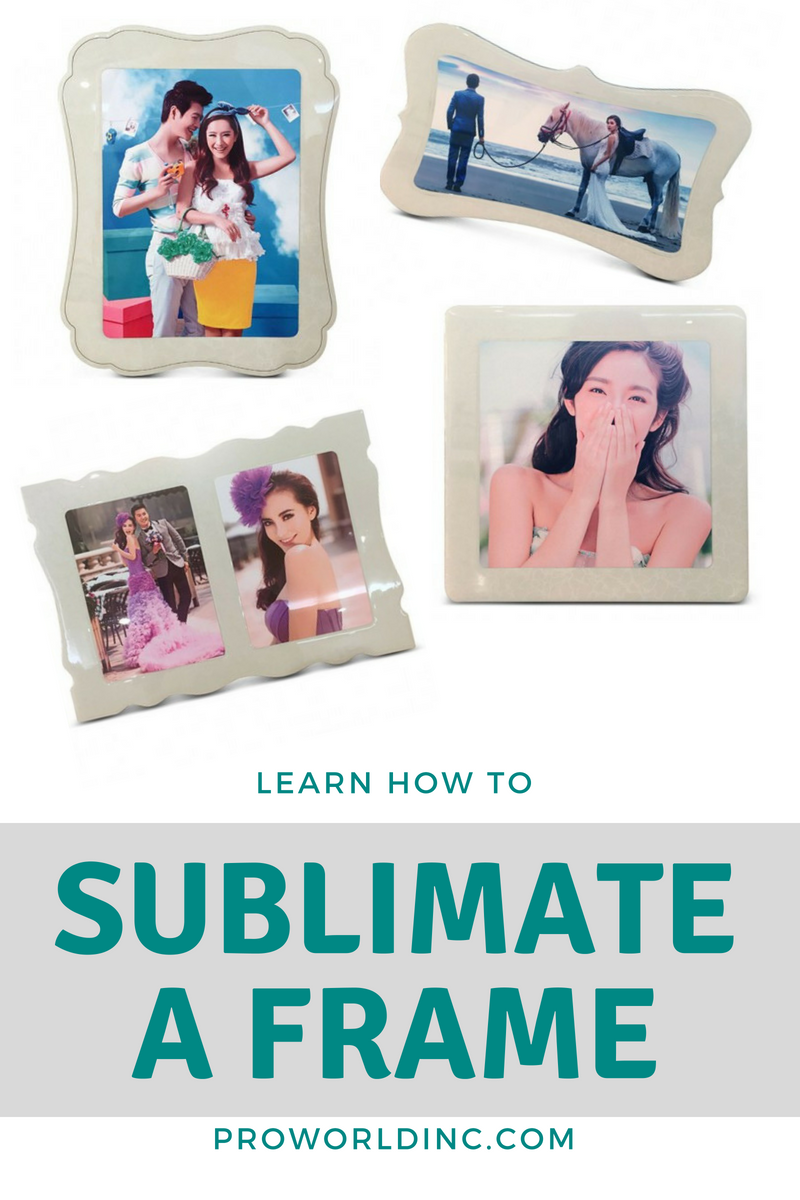
Learn How To Sublimate a Photo Frame

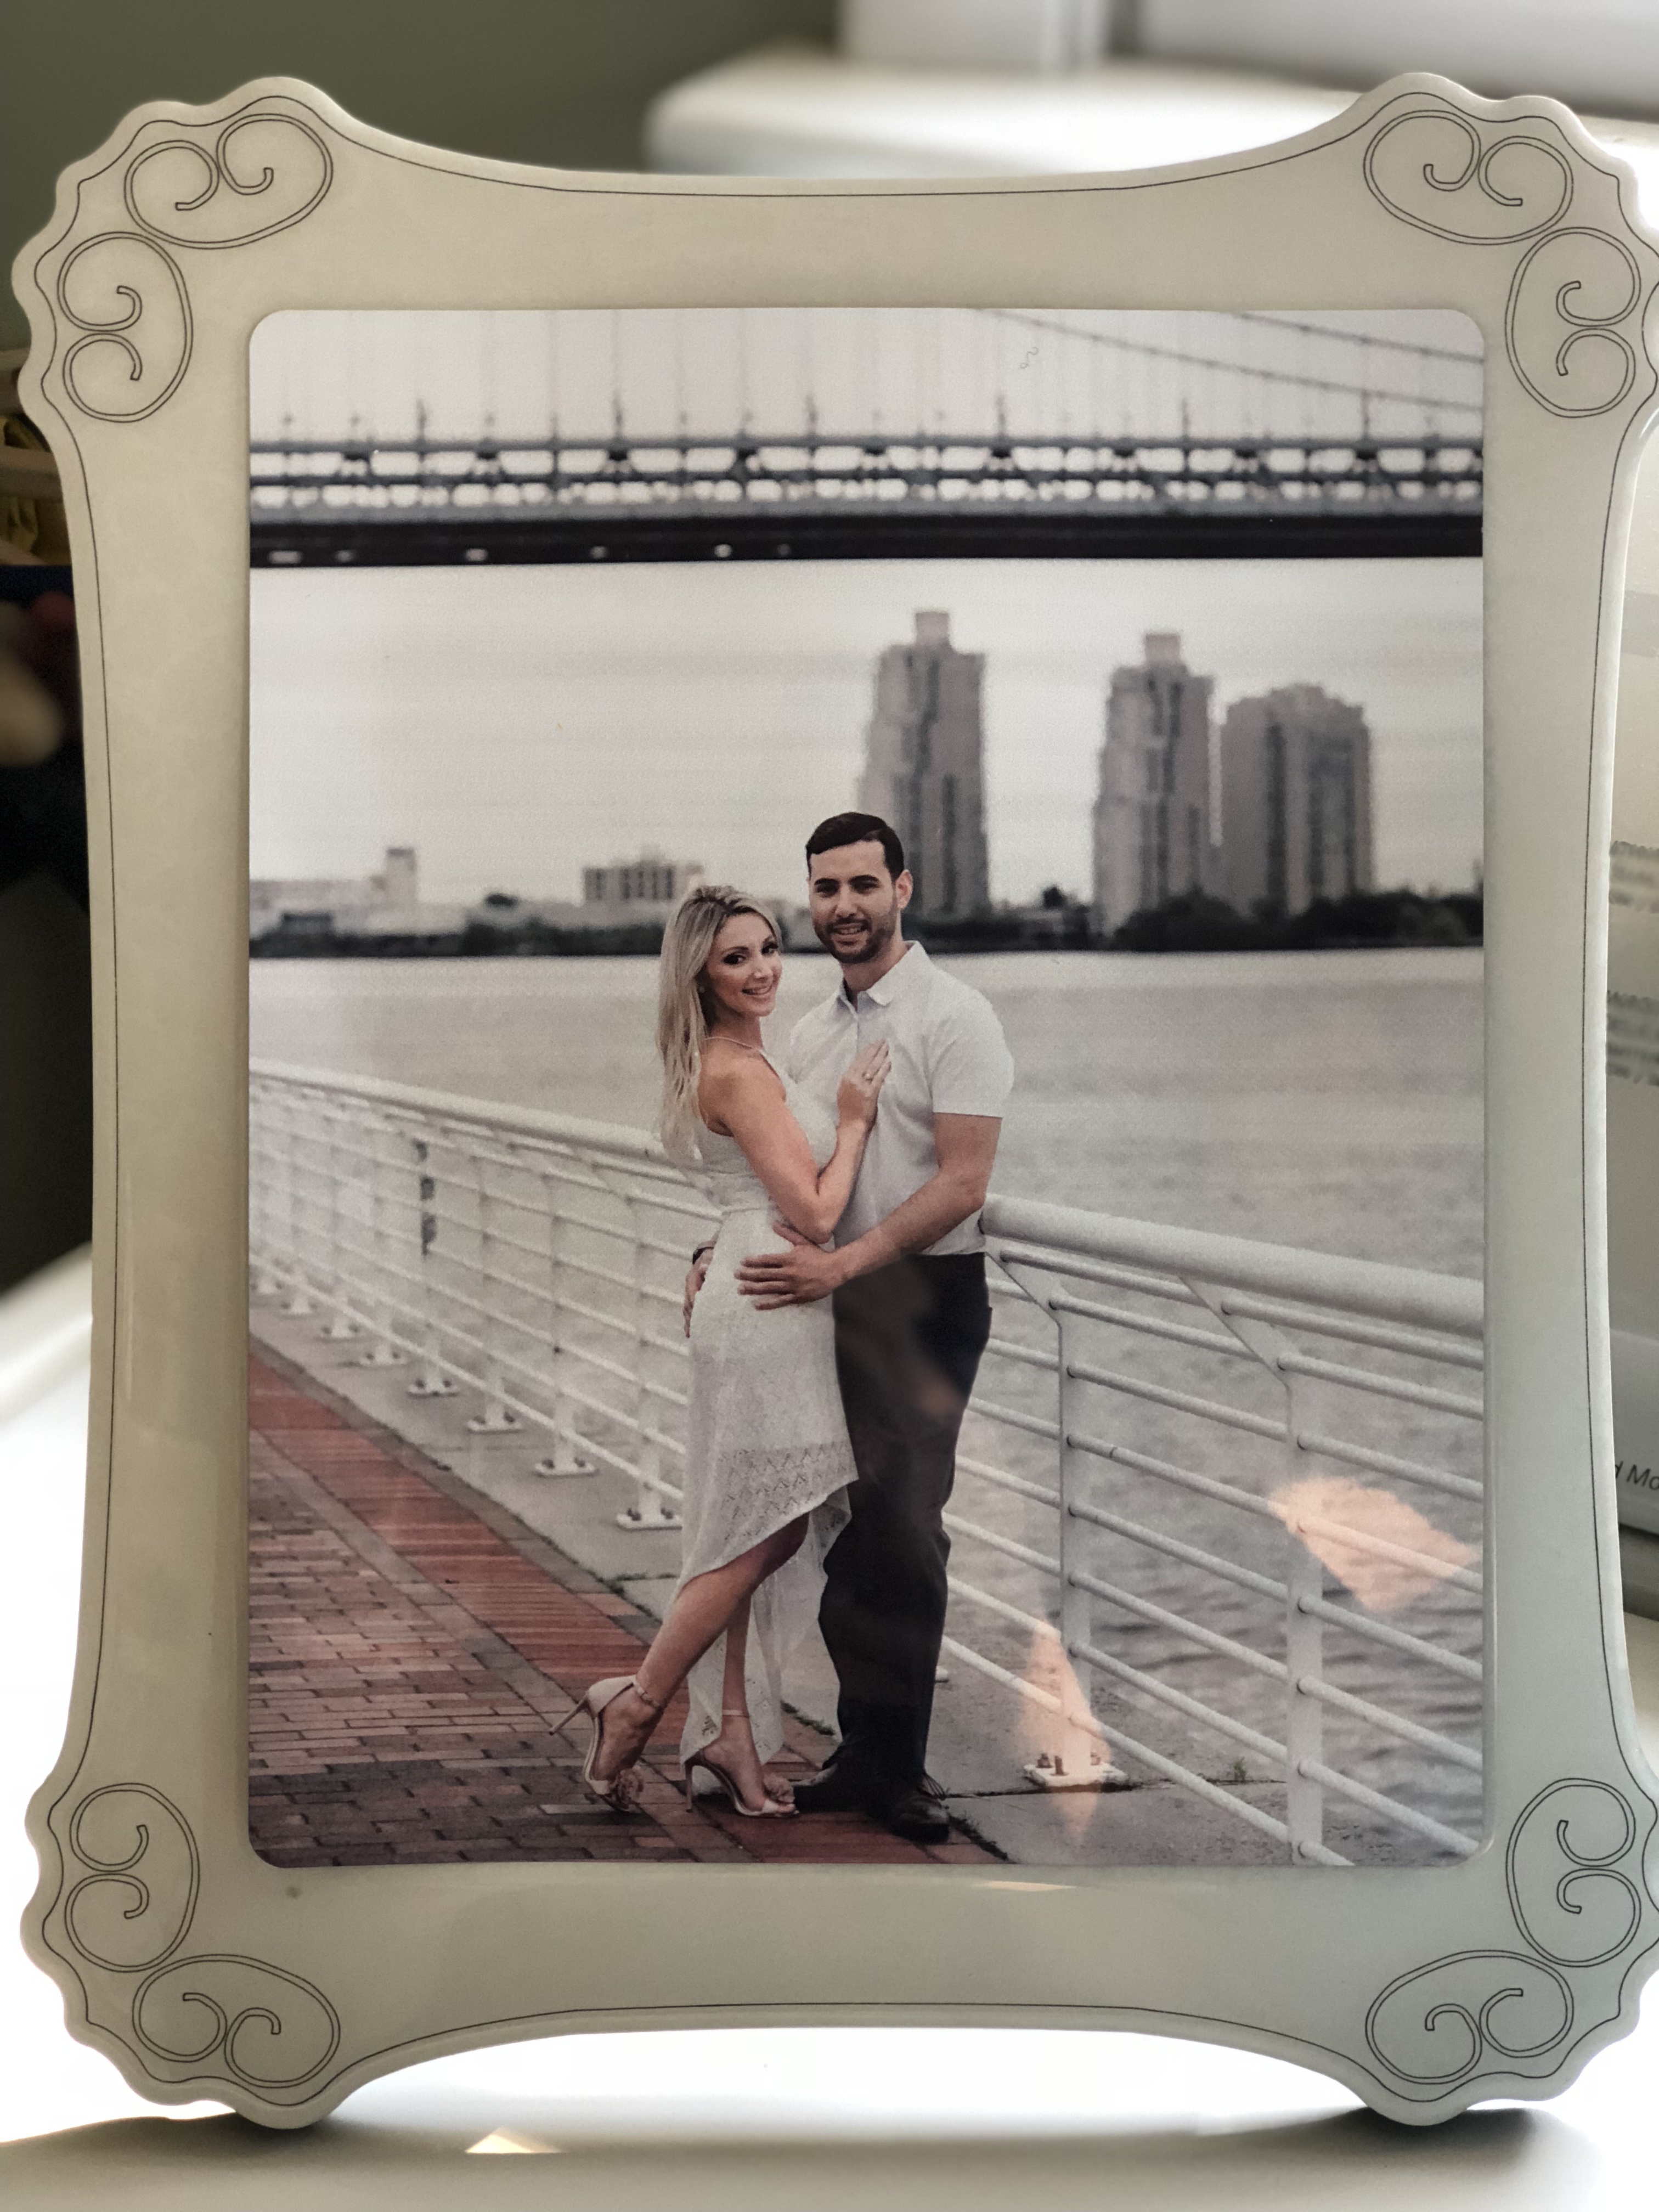
We live in a digital world and we are always taking photos but how often do they get printed and framed? Today we are going to change that by sublimating a one-of-a-kind photo frame!

SUBLIMATE A PHOTO FRAME

From house decor to personalized gifts you will find the perfect photo frame to fit your need. Head to our website to see our large selection!

Want to make one for yourself? Here’s how:

1- Download the template from our website product page (if needed).
2- Print your photo using your sublimation printer.
3 – Turn on your heat press and set it to 400 degrees Fahrenheit.
4 – Set Pressure to medium.
5 – Remove the protective film from the metal frame.

IMG_7821
6 – Print a mirror image onto the Texprint Paper. The image should be larger than the substrate.
7 – Place the substrate face down on the transfer paper and tape the paper to the substrate using heat tape.

IMG_7822
8 – Put a blank sheet of paper on heat press platen to keep it clean.
9 – Place substrate face down on the heat press (metal surface up).
10 – Cover with a non stick sheet.
11 – Press at 400 degrees F for 1-3 minutes with medium pressure.
12 – Remove immediately from press once finished and peel hot.

IMG_7830

IMG_7834

View & Add Comments

Personalized Party Product Ideas For You To Make: For Fun or Profit!

Are you looking to use your equipment to get into the party market? Great idea! Whether it is decorations, apparel or birthday gifts, there are plenty of opportunities for you to use your favorite products and make a bit of money or just use your machine for your own personal, festive fun.

Ready to get this party started? Here are a few ideas using Pro World products

party products that you can make (7)

Use Adhesive Vinyl to create:

Use HTV to create:

  • Party Apparel
  • Favors 
  • Gifts 

Use Custom Transfers for:

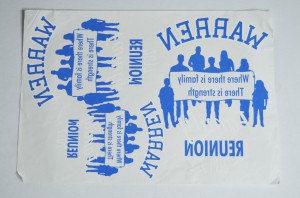
  • Family reunions
  • Team Parties
  • Bridal Parties

custom transfers great for large groups

Use Sublimation for:

Use Heat Transfers:

  • Use a heat transfer to make a shirt 
  • Combine heat transfers with HTV to create personalized creations


Do you want to take your party creations and offer them to the masses? We’ve had customers having great success on Facebook, Etsy, local specialty shops and direct selling on their own website. What is your favorite party product to personalize?

View & Add Comments

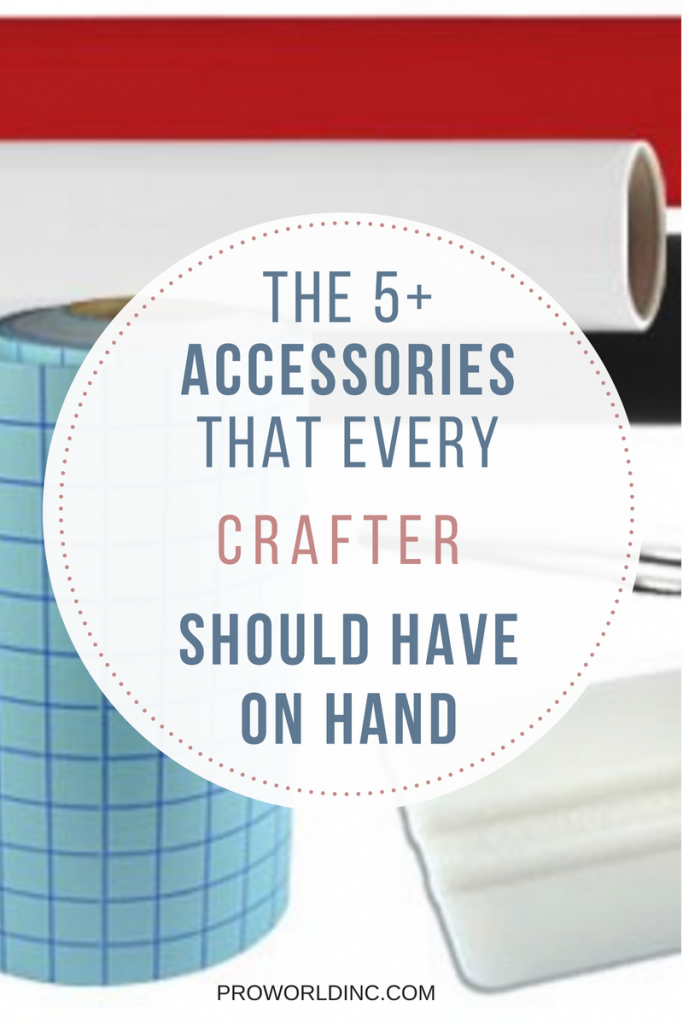
The 5+ Accessories That Every Crafter Should Have on Hand

Regardless if you create items for fun or for profit, we all have our go-to tools and accessories that are essential to completing our beautiful projects. So we were curious… what is your “go to” tool? After a lot of research, we have found that the following items are the tools that our customer always have on hand:

Partyplanning

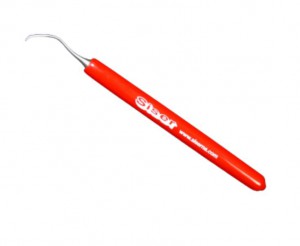
1 – Weeder/Hook/Tweezers: Removing vinyl can be tedious which is why you need a sharp point to grab your hard to get pieces.  We personally like the Siser Weeder tool. It’s durable and will not bend or break and will allow you to weed with speed and accuracy.
weeders

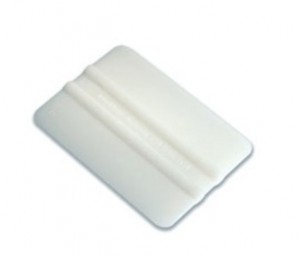
2 – Squeegee: The best way to eliminate air bubbles and smooth adhesive vinyl is with a squeegee. The advantage to using a tool over a credit card is 1) the weight, it applies the appropriate amount of pressure onto your project and 2) your sanity. Nothing is worse than using your credit card to scrape your project, forgetting to put it away and then being out at the store only to realize you forgot your card! Make life simple… buy a squeegee.

squeegee

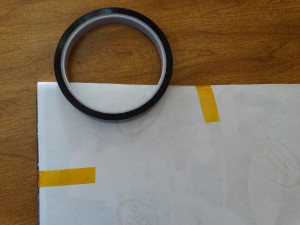
3 – Thermal Tape: Thermal tape safely secures images onto the product you are sublimating (mugs, tiles, etc.) and keeps it from moving during the pressing process. The tape is heat-resistant up to 425 degrees Fahrenheit and does not leave any sticky residue.

thermal tape

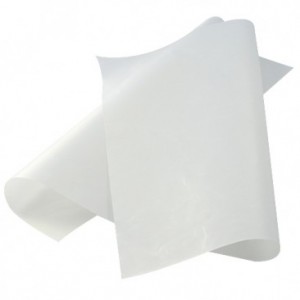
4 – Teflon Sheet: These non-stick sheets come in handy for just about any project that is going in your heat press. You can use it to cover already pressed vinyl, put it underneath your product to keep the platen clean, you can even place it inside your garment to avoid bleed through to the other side.

teflon sheet

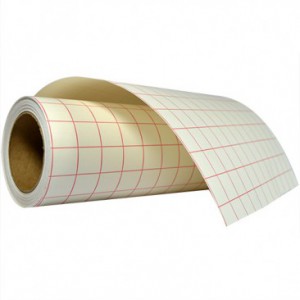
5 – Gridded Application TapeTransferring adhesive vinyl is a whole lot easier with gridded application tape. Our selection of application tapes can be used with any of our adhesive vinyl.

gridded application tape

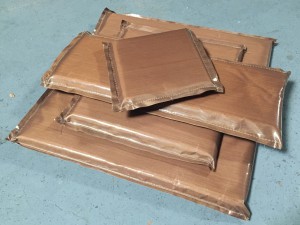
6 – Pressing PillowsThese pillows will even out pressure and protect your garments from the heating process.  They come in a variety of sizes depending on your needs.

Sof-fusion pressing pillows

Do you have a favorite tool that we didn’t mention? Tell us! Go to our Facebook page or Instagram page.


View & Add Comments