Fall Heat Transfers

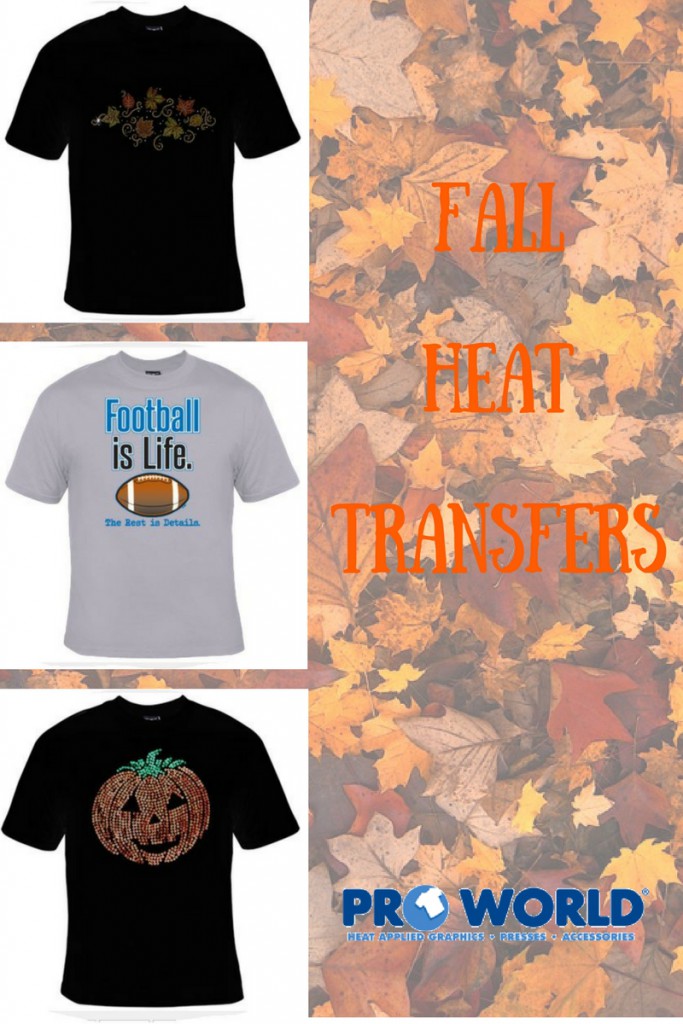
There’s so much to be excited about in the Fall: Cooler weather, football, Halloween, pumpkin everything, and Thanksgiving, to name a few.  With a heat transfer, you can easily create a t-shirt, sweatshirt, baseball cap or bag to celebrate your favorite parts of the season in a matter of seconds.
FALLHEATTRANSFERS (1)

Heat Transfers are so easy to apply. All you need is the Heat Transfer, a heat press, and your garment! Lay the heat transfer on your garment, press it with your heat press according to the instructions listed online, and peel the backing paper off of your design.  Your finished product will be ready to go in only 15 seconds.

We have thousands of heat transfer designs to choose from for both adults and children, in a variety of media types (screen print, foil, rhinestones/studs, 3D, solar, and glitter). Here are some designs that get us excited for fall:

Autumn Heat Transfers:

Why is it as soon as we feel that hint of crisp, cooler weather, we crave pumpkin everything (candles, pie, coffee, etc.)?  Pumpkins, plus the leaves changing color, are the highlight of Fall to many.  

pumpkin

Football:

We take this sport seriously, which is why you can find 60 football-themed heat transfers on our site.   Take a cozy sweatshirt, apply your graphic, and keep warm while watching the game!
football

Soccer:

Cheering anyone on this season? We have a variety of heat transfer designs so you can show your support!  Your favorite players will be so excited to see you displaying your enthusiasm in the crowd.

soccer (1)

Halloween:

Not a fan of the head-to-toe Halloween costume? No problem! We have plenty of heat transfer designs so that you can still show your Halloween spirit.

halloween

Glow-in-the-Dark Transfers:

Be the light on a dark Halloween night…even it if is a little scary!  These glow-in-the-dark heat transfers are a lot of fun!

skull

Thanksgiving

Proudly display your turkey this Thanksgiving!

pumpkin


View & Add Comments

3 Fall Trends That You Can Make

Summer is winding down and Fall will be here before you know it. Why not DIY some Fall trends for your wardrobe and your home? You can keep up with the current styles with one of a kind pieces while keeping your costs down.

Trends

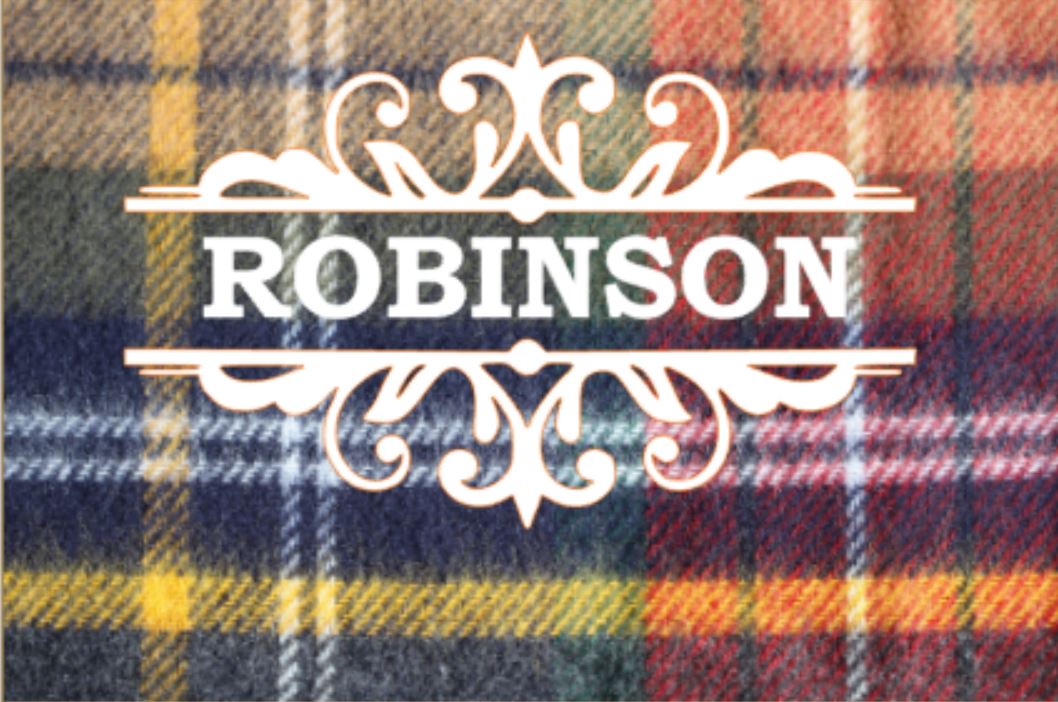
1 – Pops of color and bold, graphic patterns are big for Fall. Personalize a bright colored tray for some contrast to your daily decor, or use sublimation or HTV to create patterned pieces to liven up your space. A bit of plaid will also add some coziness to your home for Fall.

PLAID BLANKET


2 – Gallery walls are a great way to create a focal wall in your home while showing off your loved ones and personal style. Frame a favorite saying, your last name, or important dates among the images. Using your cutting machine and assorted vinyl, you can compliment your home’s color scheme, or choose to mix in bright colors, which is another home trend for the Fall season.

canvas

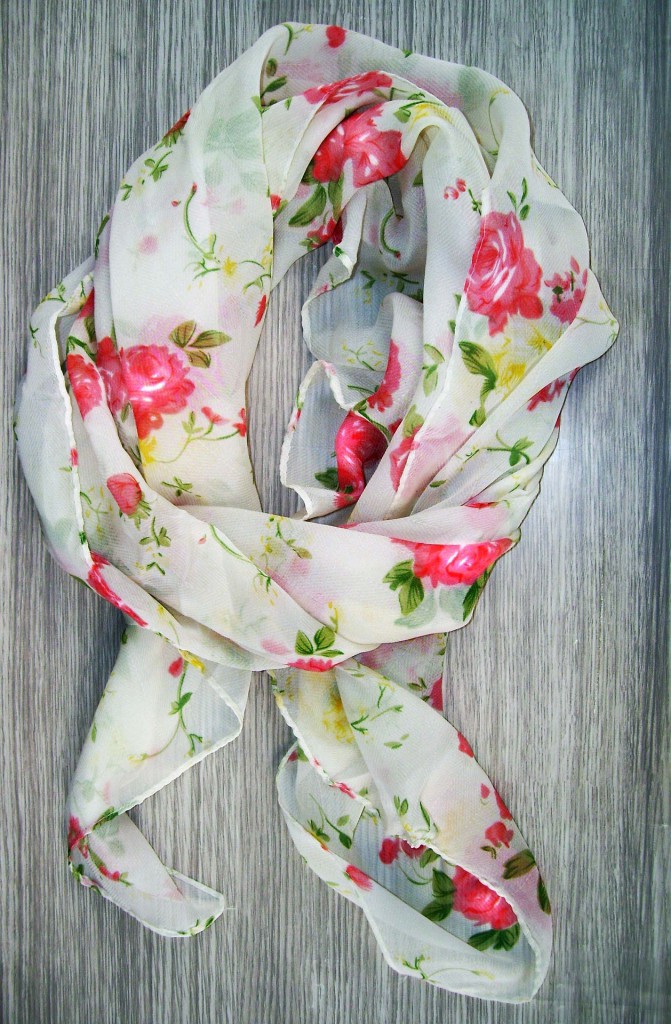
3 – Floral patterns are a continuing trend for the Fall, but in deeper hues. Instead of the typical burnt oranges and burgundies, deep blues, purples, and pinks will be big for clothing. Thanks to custom heat transfers, sublimation, and heat transfer vinyl in a number of finishes, you can create a number of clothing items to stay on trend this fall.

a-neckerchief-1317830_1920

Which Fall trend is your favorite? How are you going to recreate these trends in your wardrobe or throughout your home? Share pictures of your creations in the comments.

View & Add Comments

WIN 10,000 PW Reward Points


Did you know that you can get rewarded for buying the products that you love at www.proworldinc.com?

pw reward points (1)

It’s easy to earn points with the PW Rewards program.  For every order you place through our website, you will automatically earn 1 point for every dollar spent. For every 100 points that you earn, you’ll receive $1.00 to use on a future order.

You don’t even have to do anything to join! Just log into your existing account on www.proworldinc.com, and you will start earning points automatically.  If you are a new user, you will need to create an account.   You will earn points by placing purchases online, liking certain products on Facebook, reviewing products, and more. Please note that only orders placed online will earn reward points – phone orders do not qualify.

Now the best part – spending your points. Once the items you plan to purchase are in your cart, access your shopping cart.  Underneath the checkout button, you will find a slider tool. Use this to choose how many points you would like to be applied to your order.

image

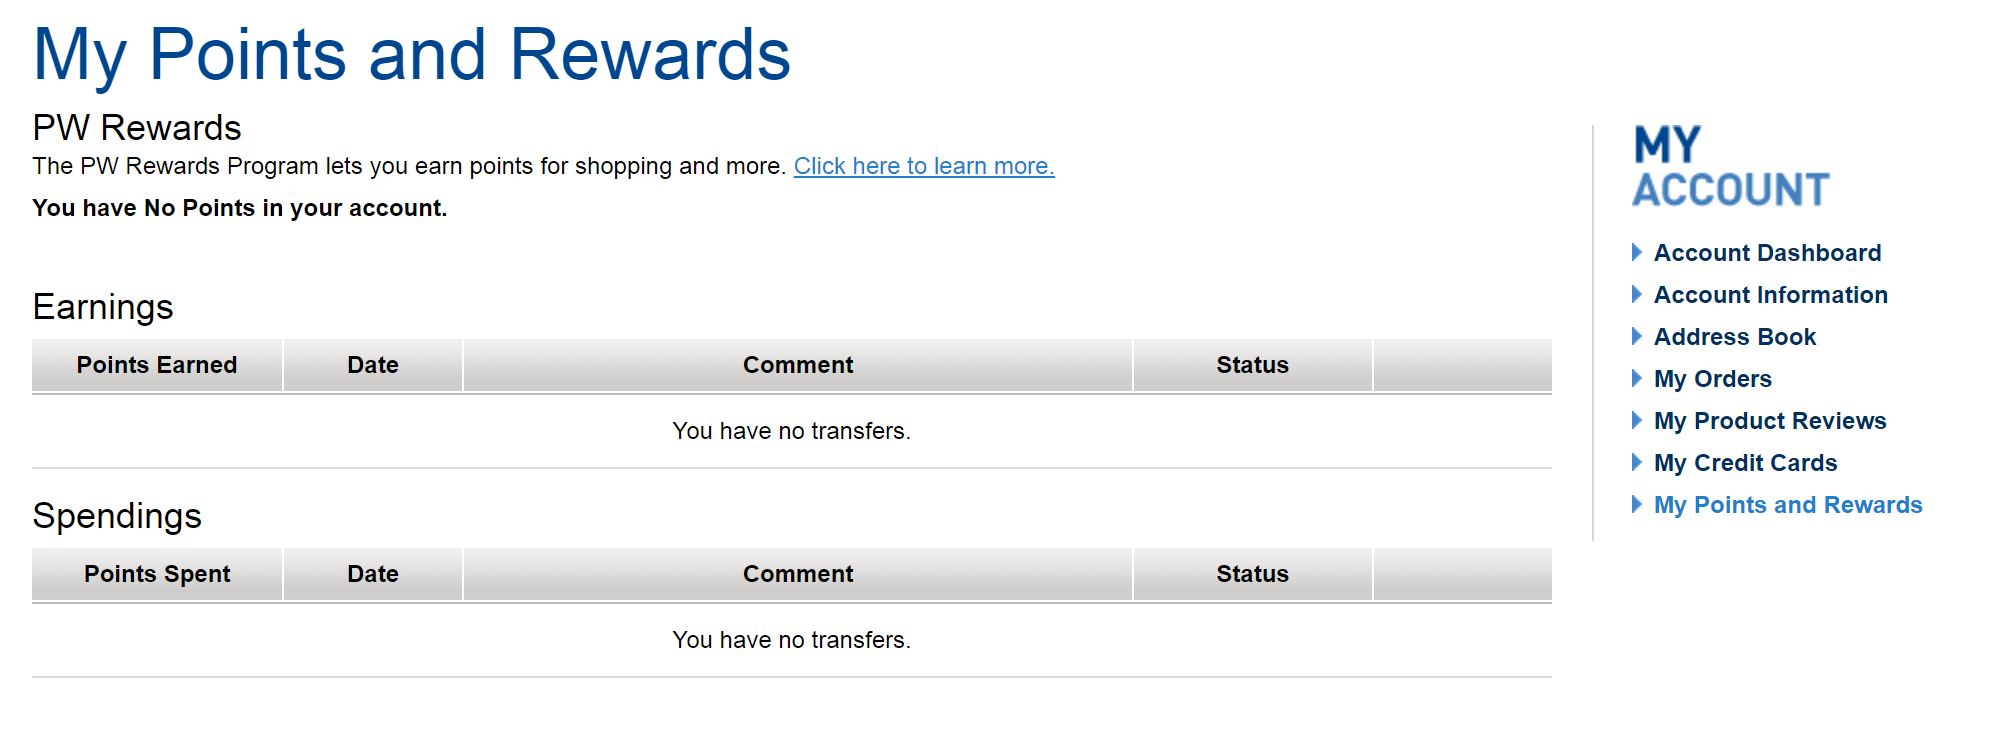
To manage your points and check your balance, go to the My Account section and click on My Points and Rewards in the right side navigation.  Points are good for one year.

pw rewards a

pw reward points

DO YOU WANT TO WIN 10,000 REWARD POINTS?

Head over to our Instagram page between now and Monday so that you have the chance to win 10,000 reward points…. that is a $100 Pro World Credit

View & Add Comments

DIY Cinch Sacks

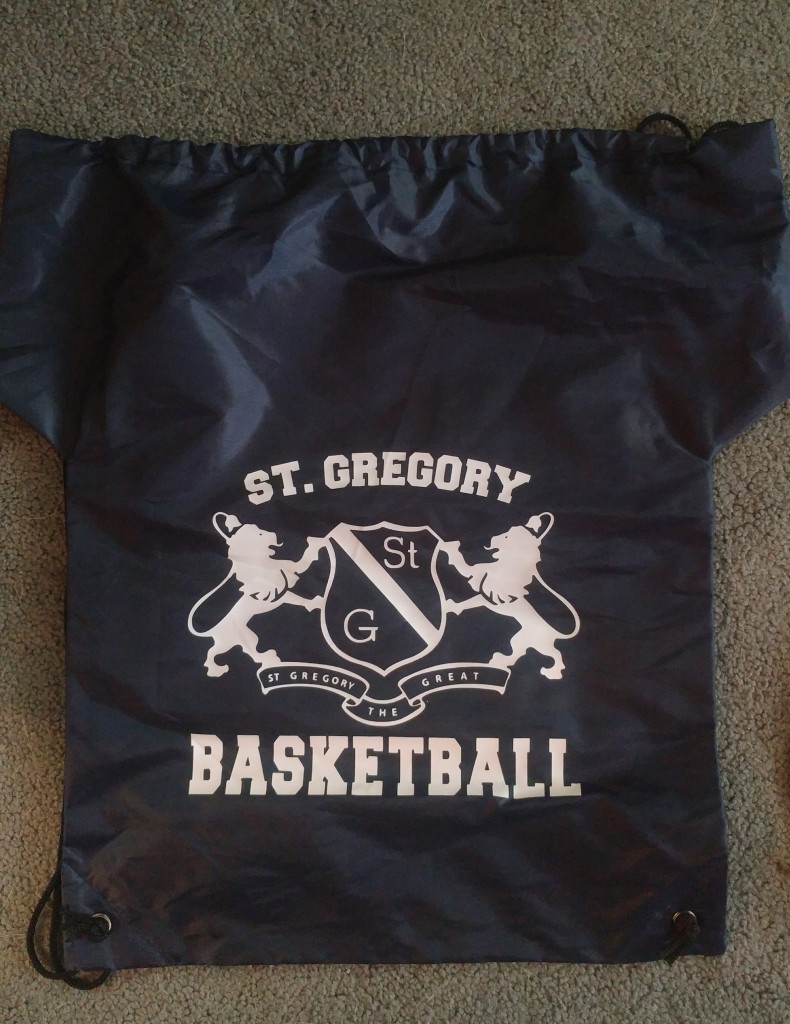
CINCH BAG

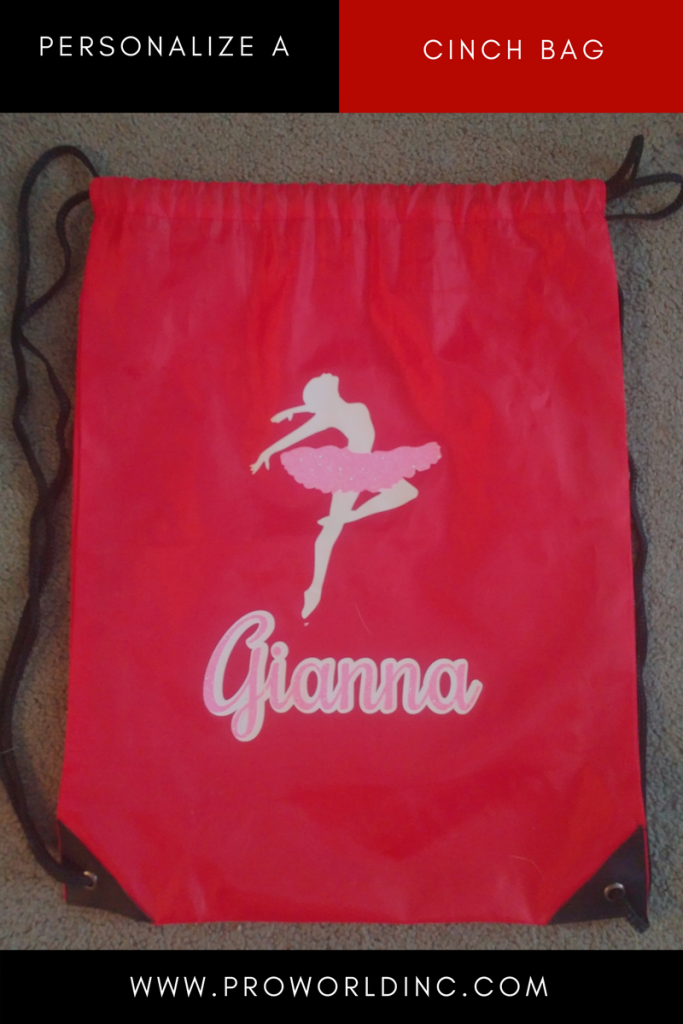
Cinch sacks are a great way to show off your favorite team, school, or athlete, while keeping your belongings safe and together. They also make great fundraisers for club teams, troupes, and schools. Today we’re going to walk you through creating these cute and easy to make, practical bags. For more information on making these bags, check out our Facebook Live post,

To make your own cinch bags you’ll need:
-Design software
-Cutting machine
Siser Easyweed Extra vinyl (designed for nylons)
-Weeding tool
Heat press
-Pressing Pillow
-Non-stick sheet
-Cinch sack

  1. Before you begin creating your design, be sure your heat press is set to 302 degrees for 10 seconds for Siser Easyweed Extra.
  2. Using your software, create or upload the design you want to use and be sure to mirror it before cutting.
  3. Once it is cut, weed your design.
  4. Place your pressing pillow inside the cinch bag to allow the press to reach the area you want your design on without extra material getting in the way.
  5. Place your design where you want it on the bag, making sure the pressing pillow is in the correct spot, and then lay it on your heat press.
  6. Place your non-stick sheet on top of the design.
  7. Press your design.
  8. Lift the top of your press and remove your non-stick sheet.
  9. Peel your design hot.
  10. Remove the pillow.
  11. Admire your new bag!

You can also layer the vinyl for a multi-color, dimensional look. To Do That:

  1. Use Siser Easyweed Extra as the main design and press it onto your bag.
  2. To layer, use a different type of vinyl (standard Siser Easyweed, glitter, etc.).
  3. Design.
  4. Mirror.
  5. Cut.
  6. Weed your design.
  7. Place it on top of the already pressed Easayweed Extra.
  8. Make sure the pressing pillow is still in place.
  9. Lay the non-stick sheet on top.
  10. Press for the appropriate amount of time (305 degrees for 10-15 seconds for standard, 320 degrees for 10-15 seconds for glitter).
  11. Once it’s done, remove the non-stick sheet.
  12. Peel hot.
  13. Enjoy your bag.

For more information on heat settings and times, visit our website, https://www.proworldinc.com/. Share the bags you’ve made with us in the comments!

20170814_123840


View & Add Comments

All About Transfer Paper

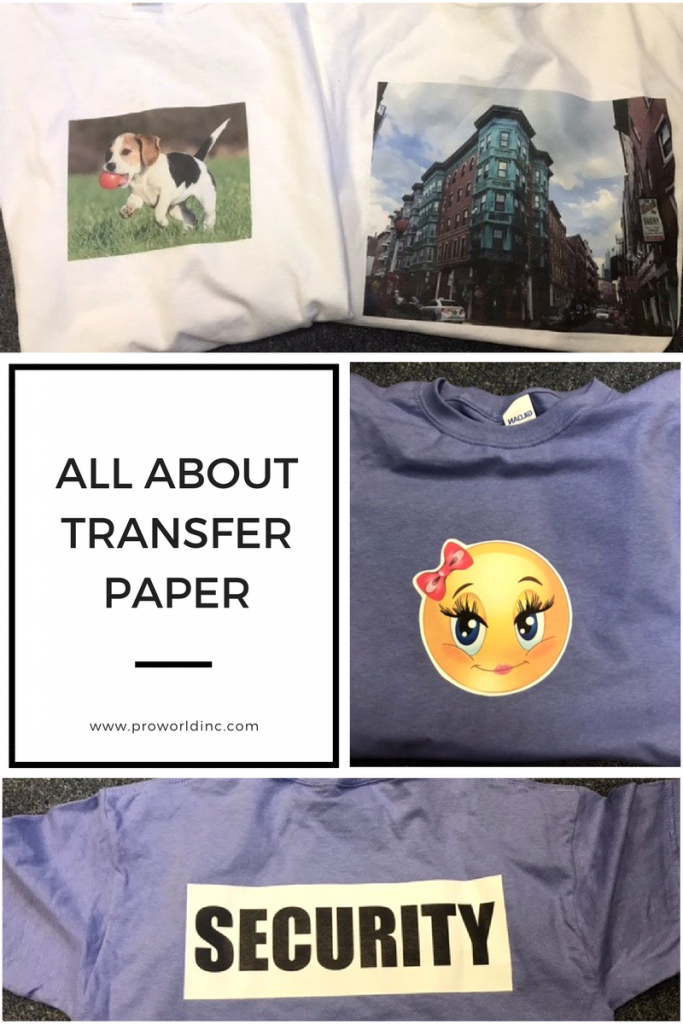
Transfer paper allows you to create your own custom heat transfers that you can iron on or adhere with your heat press. It comes in a variety of sizes and is durable and completely washable.

transfer paper (1)

With no purchase minimums, you have the freedom to create custom t-shirt designs for a single customer, or a group, which is important for new businesses as well as those that are already established. Whether you need inkjet transfer paper for a standard inkjet printer, or you’d rather create your iron-on transfer designs with an inkjet printer, we have you covered.

The Jetpro Soft Stretch Inkjet Paper comes in 8.5×11 and 11×17. It produces soft, supple, vibrant, and washable ink jet printed transfers for white and light colored fabrics. It can be used to apply designs and photographs and can be trimmed to reduce the transfer of the background.

3G Opaque Paper comes in 8.5×11 and 11×17. This also produces vibrant and washable transfers but are suitable for dark fabrics. Like the Jetpro, you can use it for basic designs as well as photographs and the design can be trimmed to reduce the transfer of the polymer background. (This transfer paper is not recommended for Hewlett Packard and Dell Printers).

Lasersoft EZ Peel transfer paper comes in 8.5×11 and 11×17. It is the only laser transfer available that allows the inks to absorb into the surface of the coating of the paper. The coating then acts like a shield and later bonds the inks to the fabric fibers without using a plastic film offering a high quality, soft solution for laser transfers.

Clc Paper comes in 8.5×11 and 11×17 and works with both oil and non-oil laser printers. This paper is great for transferring high-resolution photographs and images onto dark materials. Garments with a tight weave work best.

CI Trimfree comes in 8.5×11 and works only on solid, light colors. This is the first single step transfer paper and has been developed to release the polymer coating only in areas that have toner coverage where the image is pressed to the fabric. This makes it so you don’t have to trim your design before pressing it to your garment. Images will stay bright and vibrant, even after continued washing and the paper will print on both oil and non-oil laser printers.

Image Clip Laser Paper comes in 8×10.5 and 10.75×16.75. It works best on light garments and handles full-color designs very well. This paper is self-weeding, so there is no need to trim the excess paper as there will be no background to your printed design, although this paper is a two-step process.

Image Clip Laser Paper for dark, solid garments comes in 8×10.5 and 10.75×16.75. Just like the Image Clip for lights, there is no need to trim the excess paper as this paper is self-weeding. But this paper is not designed for transferring photography.

Just keep in mind, since there are so many different makes and models of printers we cannot guarantee the results on any one printer. We suggest that you check with the manufacturer in regards to using transfer paper.

Are you a regular user of transfer papers? Which type is your favorite? Do you have any additional tips? Please share with us in the comments!

View & Add Comments
Prepare For Fall Sports!

Can you believe that Summer is almost over and students are getting ready to head back to school in some states? That makes now a great time to start prepping for the start of the school year and Fall Sports. And while you’re getting things going for your little athletes and their teammates, or your customers, don’t forget about gear for their support systems!

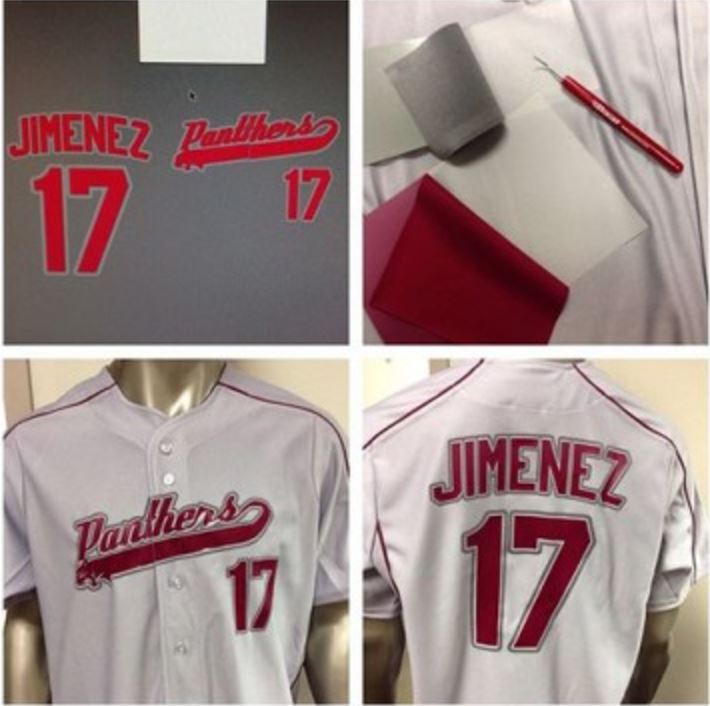
With so many different types of vinyl available, it can be hard to know which is best for a specific project/product. Football jersey’s take a beating wear after wear and get washed often. For these, we recommend Cadflex. This vinyl is a bit thicker and works well on mesh jerseys. It also comes on a non-stick carrier sheet so you can cut the names/numbers for the jerseys, weed them at your convenience, and stack them until you’re ready to use them.

cadflex

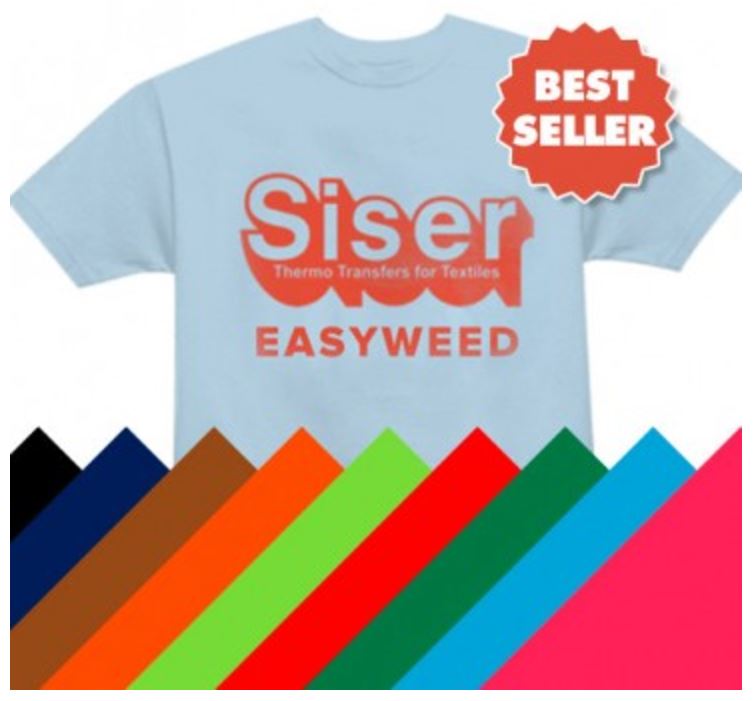
For intramural sports or club teams using cotton or polyester shirts, we recommend Siser EasyWeed . It comes in a number of colors and sizes and wears and washes well.

siser

Cinch bags are great for carrying all of the necessities to and from practice and games. They’re also a great fundraiser idea for sports teams or schools! Use Siser EasyWeed Extra or Thermoflex xtra vinyl to add the school’s name or mascot.

thermoflex

Are you looking for a bulk supply of custom transfers  to support your school’s football team? Do you need a custom logo for your cheerleaders to sport at competition? We can create a custom transfer with your school logo and a particular sport. The options are endless.

20170720_094242_HDR

Do you want to show your support for your favorite teams and athletes as you drive around town with car decals? FDC Ultra High Gloss  or Metallic give a nice glitter look and work well on car windows. FDC Premium is a great option for the side of the car.  Oracal Vinyl can be substituted for the FDC.

FDC Vinyl on car

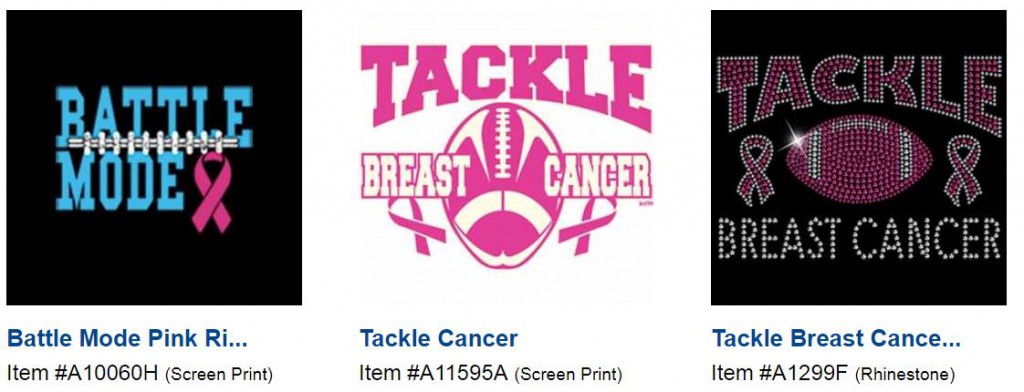
We also carry an extensive selection of stock transfers. We find that our selection of transfers in support of breast cancer awareness are very popular during September and October as teams and schools prepare for breast cancer awareness month and fundraisers. These transfers can be placed on shirts and then the schools name or a specific athlete’s name can then be added as well.

breast cancer

Which projects are you planning for your teams? Have you made other items for local sports teams? Share your ideas and images of your projects in the comments.

View & Add Comments
White Glitter HTV And How To Sublimate On It

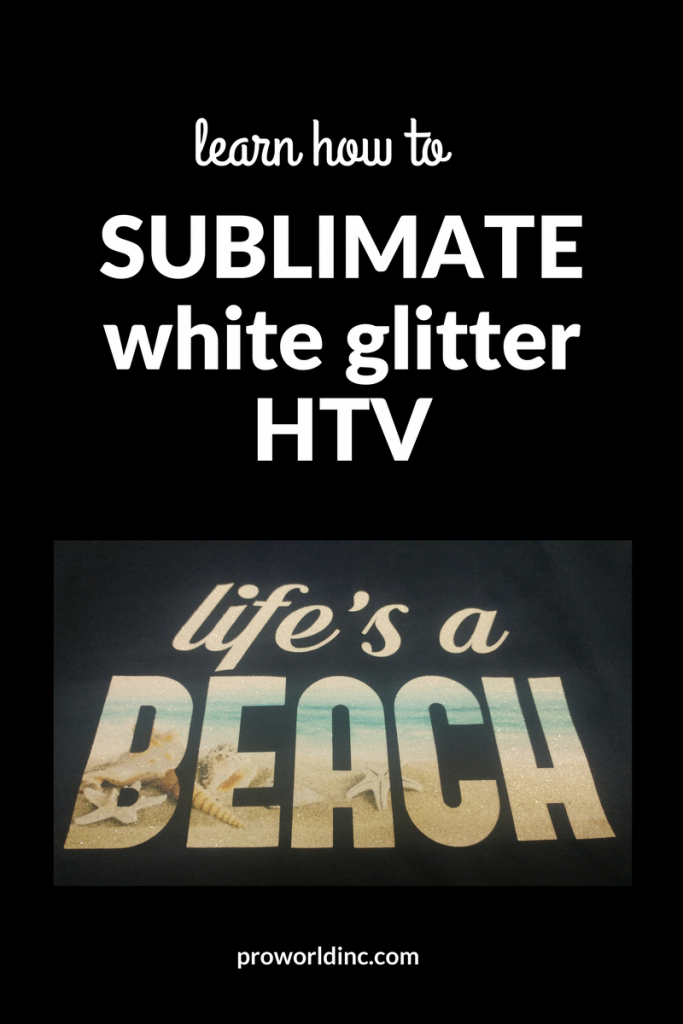
Sublimation is a great technique that allows you to create customized and personalized full color products on demand. When sublimation inks are heated to 400*F, they turn into a gas and form a permanent bond to white/light colored fabrics or items that have a polymer coating. The transferred images are full-color, photographic-quality that will not crack, peel, or wash away. Typically, you cannot sublimate directly onto a dark colored garment.

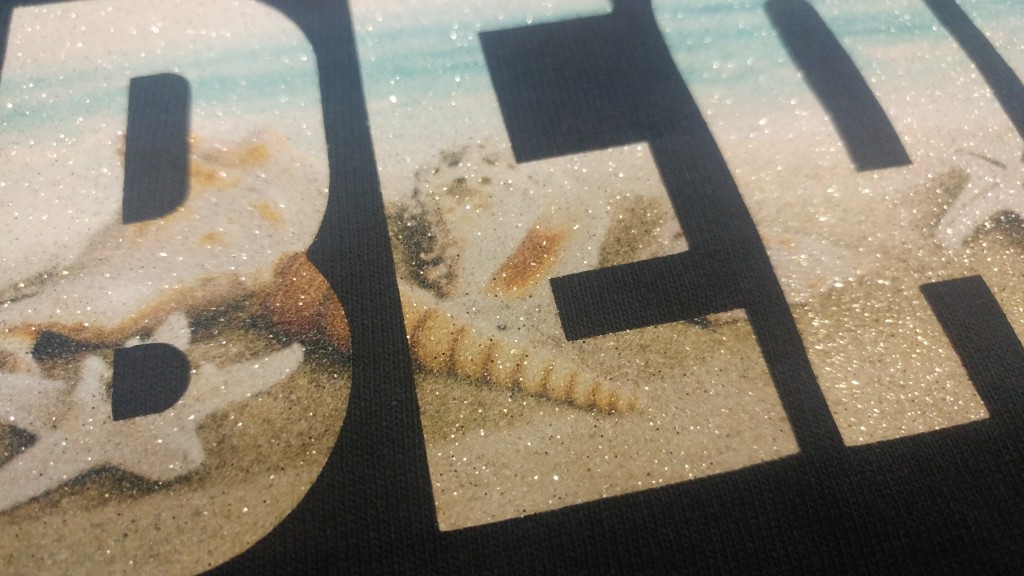
But if you use a white glitter heat transfer vinyl as a base for the sublimated image it gives you the ability to create your designs on more than just light colored surfaces. It also opens the door for using more detailed images and designs without having to weed the vinyl.

SUBLIMATEwhite glitter HTV

Would you like to try sublimating on white glitter vinyl? Here’s how:
1. Gather your materials and your tools.
2. Print your top image with your sublimation printer.
3. Preheat your heat press to 320*.
4. Design the image or quote for your vinyl. Once you have it set, be sure to mirror the image before you print.
5. Print and weed your vinyl.
6. Once your heat press reaches the desired temperature, place your garment on the heat press, and then place your design, vinyl side down, where you want it. Place your non stick sheet on top of the vinyl and press for 15 seconds, making sure the pressure is adjusted properly.
7. Once it’s done, open up your heat press, remove the non stick sheet and peel off the vinyl backing. Then adjust the heat setting to 400* for sublimation.
8. Once your heat press reaches 400* place your printed image face down over the vinyl, cover it with the non stick sheet, and then press for 60 seconds.
9. Once it beeps, lift the press, remove the non stick sheet, peel the paper off, and admire your work!

20170726_090727

For more details and to see step by step how we sublimated on the white glitter vinyl, check out our Facebook live post. 

Be sure to join us every Friday at 12:15pm ET on our Facebook page for a live tutorial. We have some ideas for the coming weeks, but we would love to know what you want to see. Do you have a project in mind, but you’re not sure how to complete it? Let us know and maybe you’ll see it on a future Facebook live.

View & Add Comments
Grow Your Business with Custom Heat Transfers

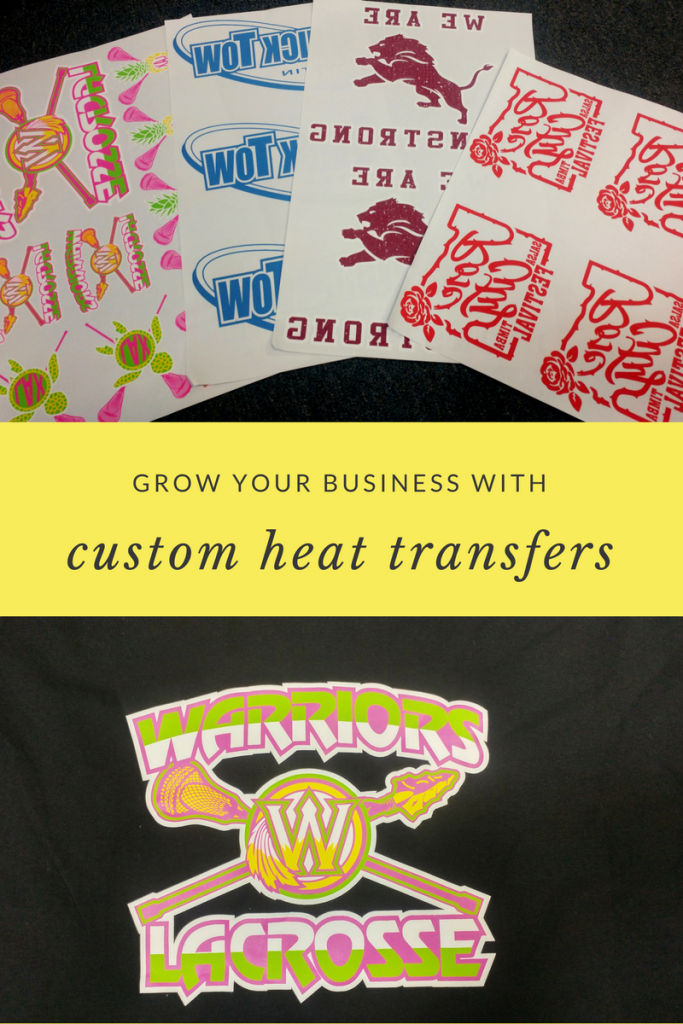
Along with our extensive line of pre-designed heat transfers, vinyl, and equipment, we also offer custom heat transfers through PW Custom. Custom heat transfers are a great way to expand your business and increase your profit margin.

Grow your business

One of the most popular things to use custom heat transfers on are t-shirts. They come in many different styles and colors and they appeal to everyone. Think outside the box here on who may need custom shirts. Think about local small businesses, fundraisers, school groups, family reunions, wedding parties, etc.

On top of creating a variety of t-shirts that suit your customer’s needs, you can also branch off and start a t-shirt line with a few of your own unique graphics. The best part about custom transfers is that instead of hoping a large quantity of pre-made shirts sell, you can quickly make exactly what your customer wants by having a variety of different color garments, in different styles and sizes – on hand.

The possibilities really are endless and are not limited to just t-shirts. You can create custom koozies for a wedding or bachelor/bachelorette parties. What about custom hats and tote bags for a family reunion or school fundraiser? Our custom heat transfers can be applied to many different things including towels, sweatshirts, denim, and more!

Have a custom design in mind? Get a free quote here.

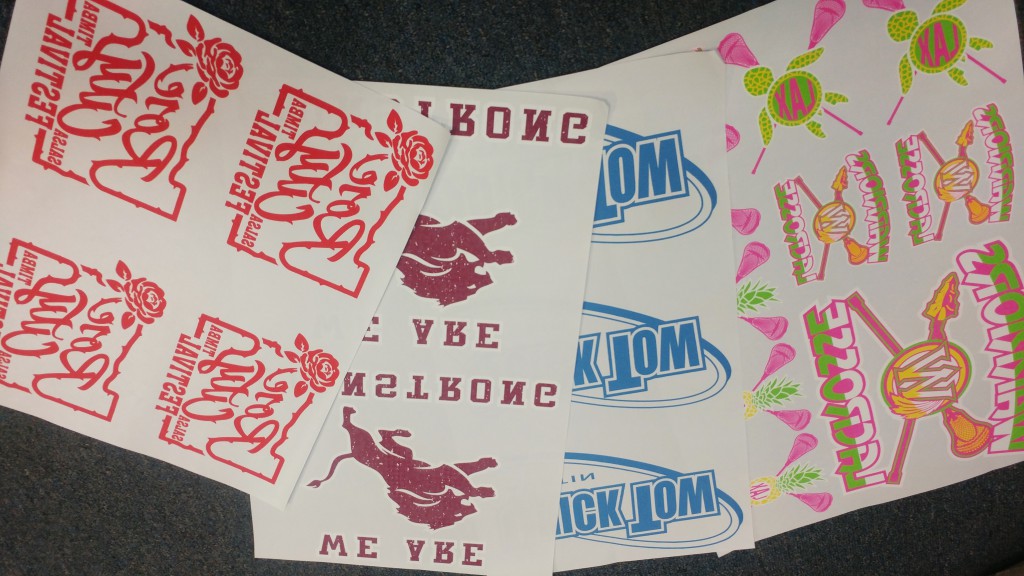
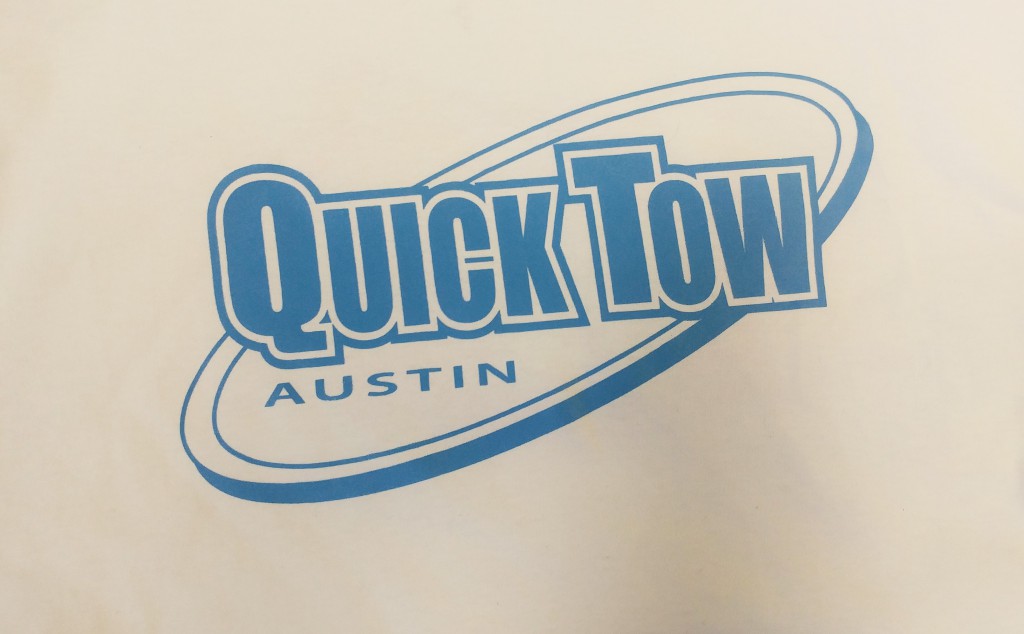
Here are some of our customer’s recent custom transfers!

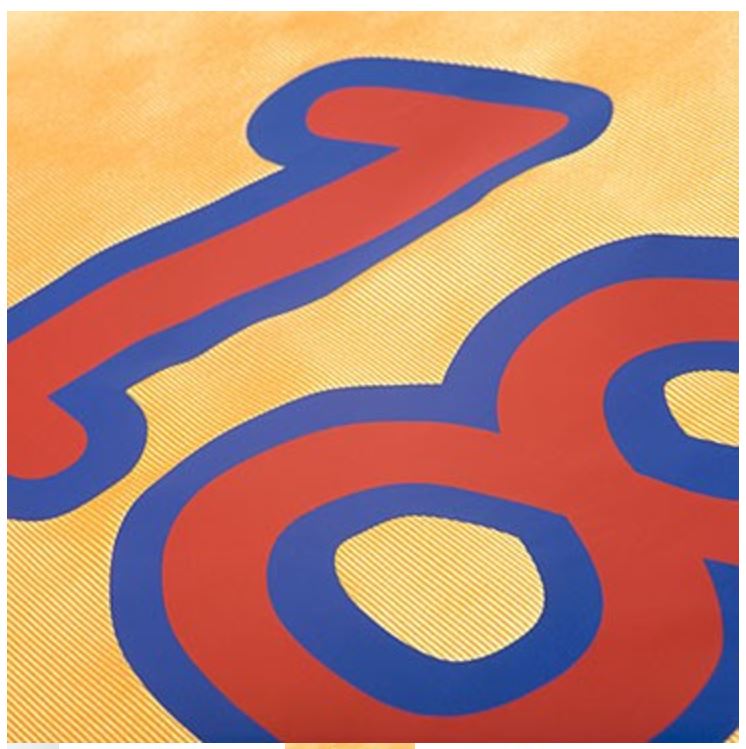
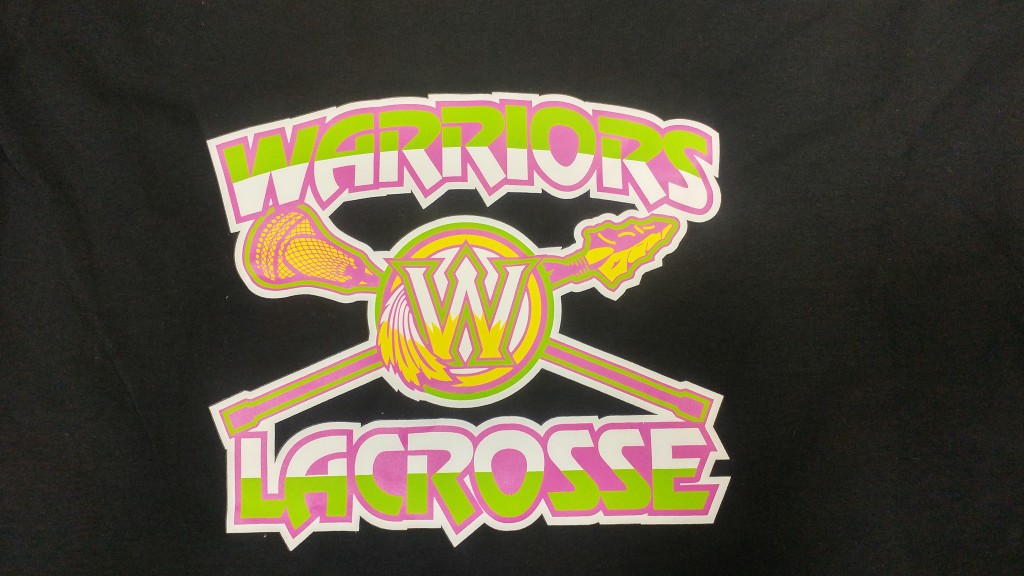
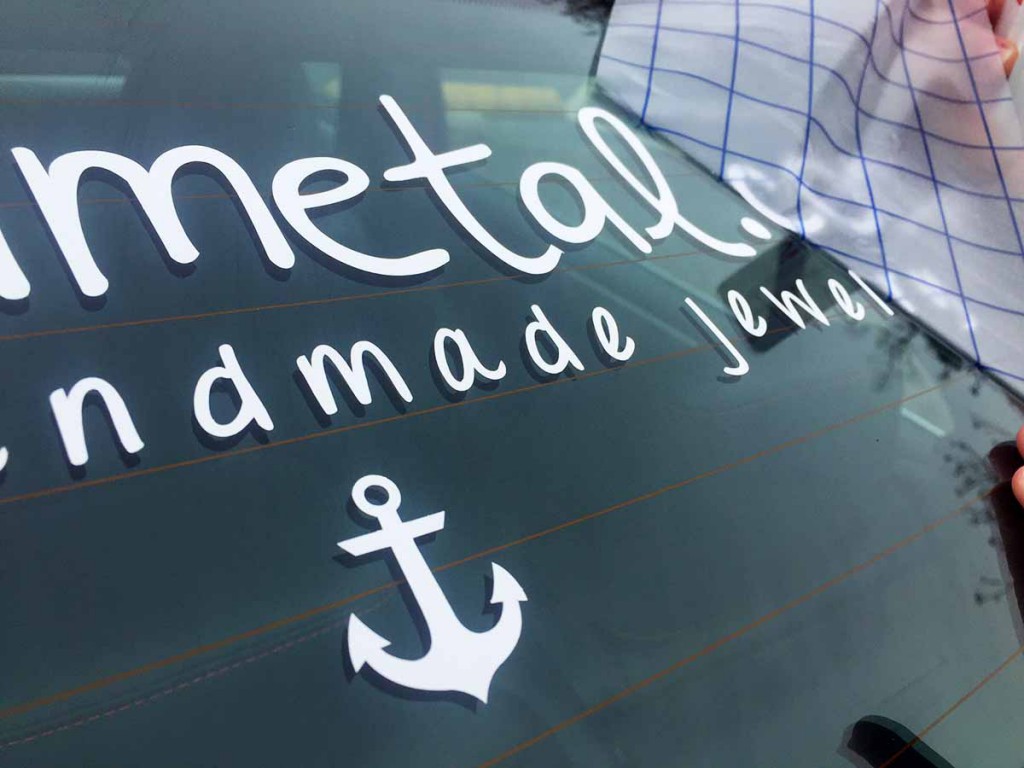
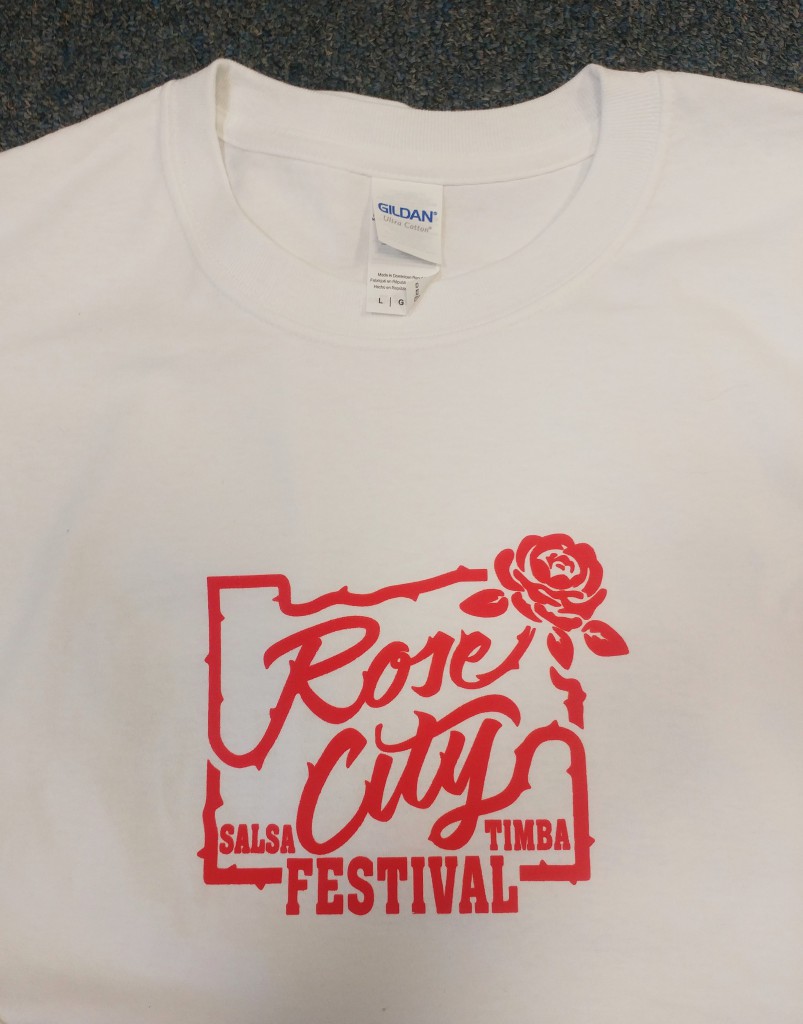
20170720_094157 20170720_094209 20170720_091055 20170720_094242_HDR

View & Add Comments
3 Ways to Decorate a Mug!

One way to take your crafting business to another level is to add mugs to your offerings. They’re a fun way to express your personality, they make wonderful gifts, and you can never have too many! There are three ways to decorate mugs- adhesive vinyl, heat transfer vinyl and sublimation. Today we are going to explain the process for each as well as show you how we did it via video! 

decorate a mug (1)

1) To make a mug with HTV we recommend setting your heat press at 360* at 30 seconds. You will want to set the pressure to heavy when applying HTV. Now that your heat press is warming up, use your software to create your design. Then make sure to mirror it before printing. After you print, weed your design. Then place your design, sticky side down, on your mug. Place the mug in the mug press and let it work its magic. When it’s done, it will be hot, so use caution and let it sit for a few minutes. Once it cools a bit, peel the backing off and you’re done!

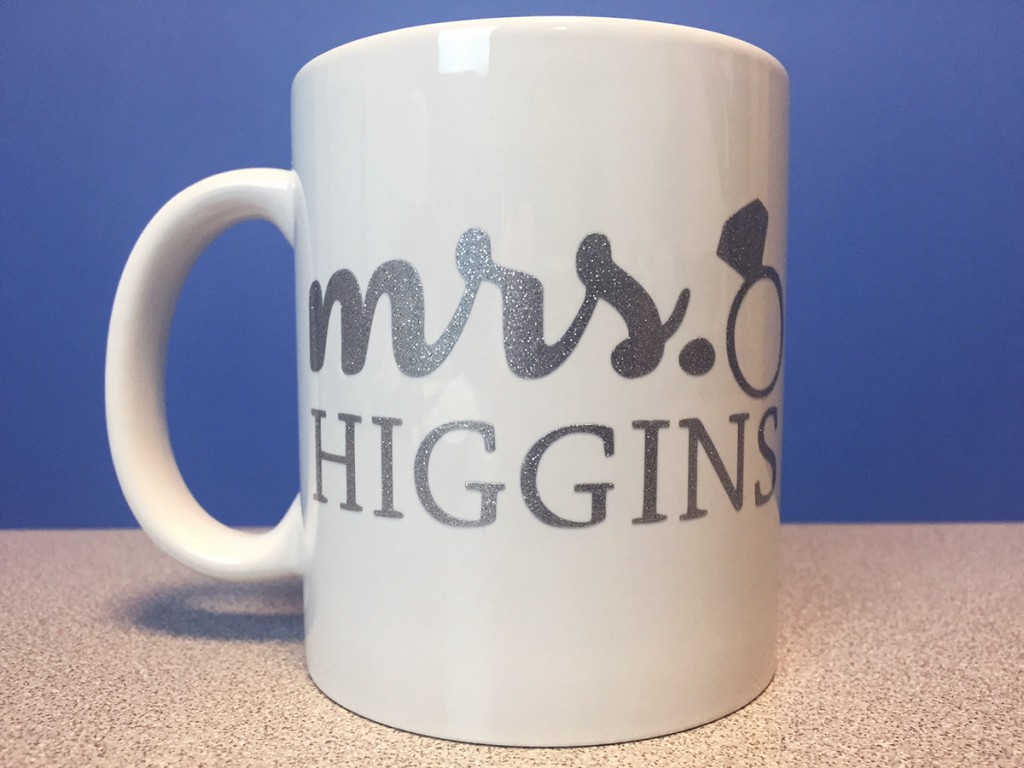
2) When using adhesive vinyl for mugs, design your image and cut it exactly as you want it to look on the mug. This means that you DO NOT need to mirror your design. Just design, cut and weed it. Then, cut your transfer paper to the size of your image, place it sticky side up on your work surface and place your image face down on top of it. Then, peel the back of the design off and you’re ready to adhere the design to the mug. Place the design where you want it and use your squeegee to adhere it. Once adhered, peel the transfer paper off and you’re done!

personalized mug for bride using FDC sign vinyl

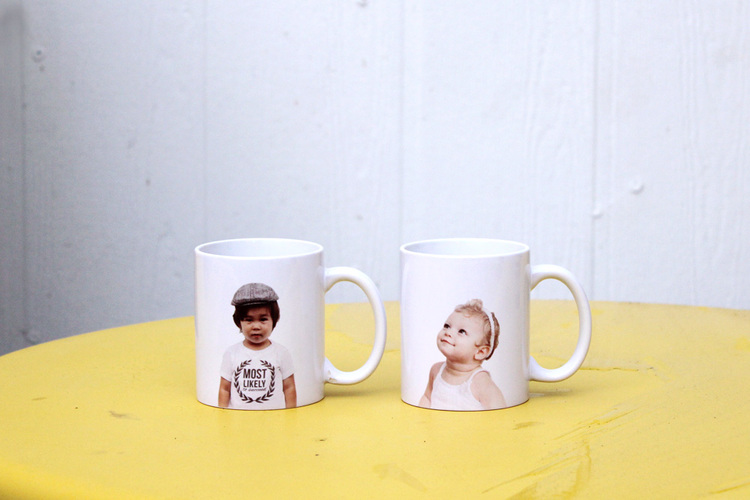
3) To make a mug using sublimation you’ll want to adjust your heat, time and pressure settings. We recommend 400 and 4 minutes. Print your design using your sublimation printer and cut it a bit larger than your mug. Place the paper on the mug and tape it in place. Once your image is secure, place the mug in the mug press, making sure it’s lined up properly, and secure it. Once it’s done, using gloves, remove the mug and dip it into warm water to stop the sublimation process. Do not use cold water as it will cause the mug to crack. After you’ve dipped the mug, allow it to cool a bit longer, and you’re done!

diy-photomugs-amy-tangerine-13

While we love using vinyl on our mugs, be sure to let your customers know not to put them in the microwave or dishwasher. For long term use and selling purposes, sublimation may be a better method. For more details on mug making, check out our Facebook Live, 

Have you made mugs using any of these methods? Share your experiences and designs in the comments!

View & Add Comments
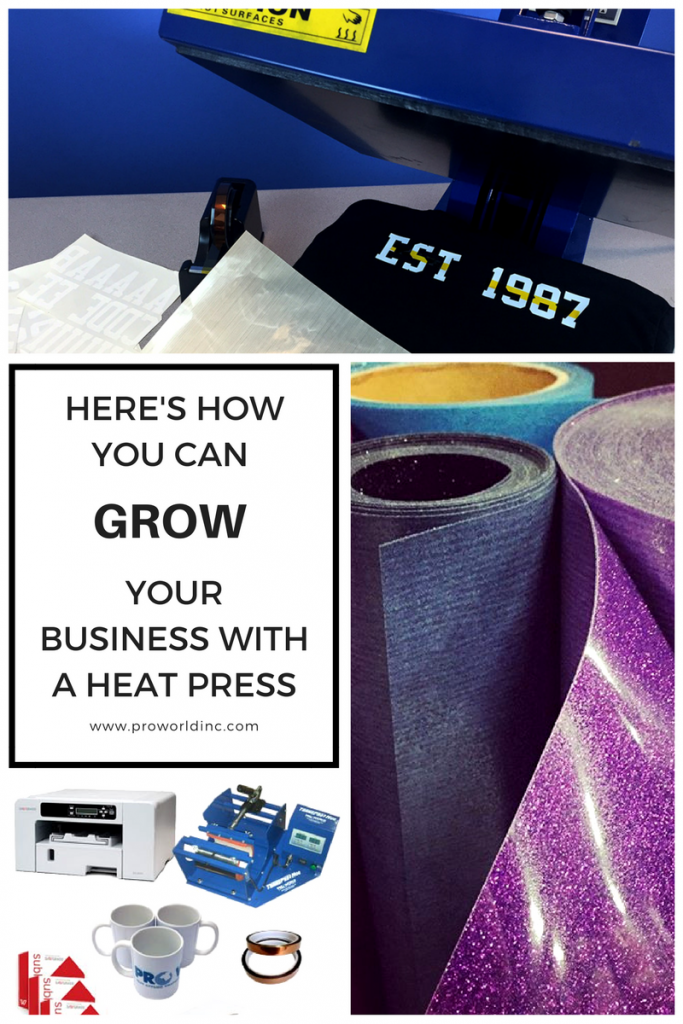
Here’s How You Can Grow Your Business With A Heat Press

As you grow your business, you want to make sure you are getting the most out of your equipment. Having a heat press helps you to offer more options in greater quantities. But we want to make sure you’re aware of all of the things you can do with it. Your heat press can help you produce a number of professional products in a timely manner. Below we’ve listed 4 different ways that you can expand your business with a heat press. 

heat press

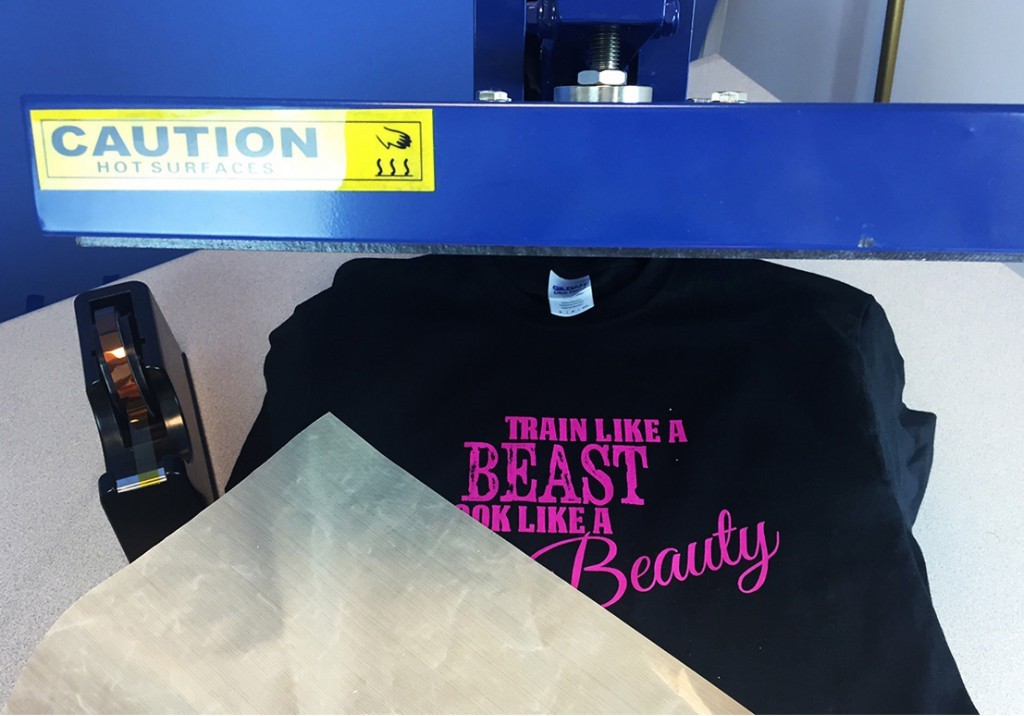
1 – Heat Transfers: When it comes to heat transfers you have 1000’s of options. We carry screen printed, numbers, mixed media, rhinestones, solar, glitter, sequins, embroidery and more! Offering sequin and rhinestone transfers helps you to appeal to a more diverse audience. You can use them to create custom birthday shirts, matching shirts for a dance team or troupe, or family vacation shirts for the women. The possibilities are endless!

heat press and transfer

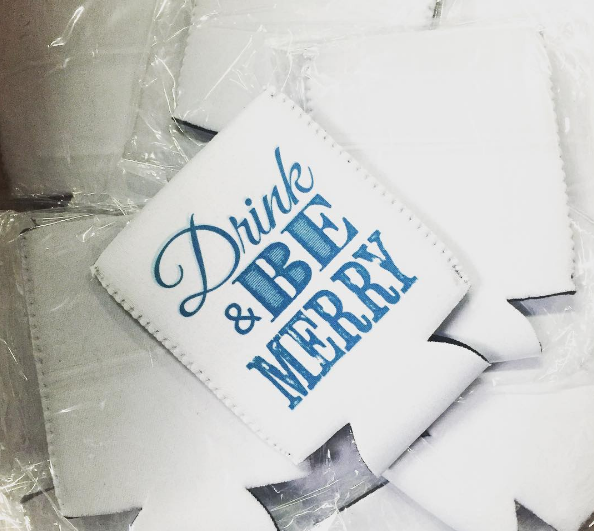
2 – Custom Transfers: You can also create or have us create custom transfers which are great when you need a one of a kind design in bulk, like for teams, family reunions, graduations, etc.

koozie with custom transfers

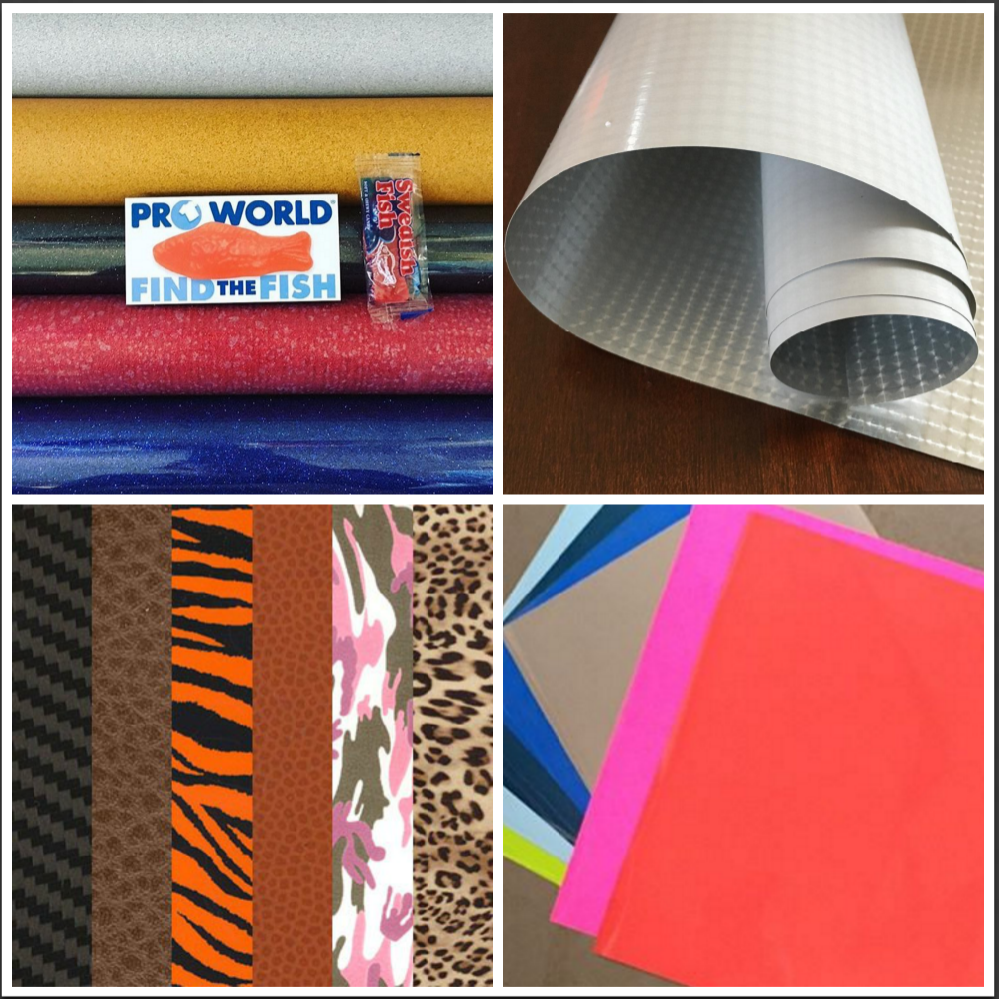
3 – Heat Transfer Vinyl: With our extensive collection of heat transfer vinyl in various sizes and colors your heat press will be working overtime. Use it to press your designs or sayings onto t-shirts, onesies, bibs, aprons, bags, etc. Heat transfer vinyl can be used on any material you can safely iron. We also have a variety of textures and patterns to give your apparel a one of a kind look. We carry Strip Flock, EasyWeed, Glitter, Holographic, Mirror, Fluorescent, and more.

vinyl collage

4 – Sublimation Printing: Sublimation printing allows you to create customized and personalized full color products on demand. When sublimation inks are heated to 400°F, they turn into a gas and form a permanent bond to 100% white or light color polyester fabric or items that have a polymer coating. The result is a premium full-color, photographic-quality image that will not crack, peel or wash away from the substrate. It allows you to print on mugs, phone cases, frames, license plates, tags, and more.

diy-photomugs-amy-tangerine-13

Still looking for the perfect heat press for your business? Pro World has the largest selection of heat transfer equipment, so whether you’re just starting a t-shirt business of your own or you’re already established, we can help you choose the press that’s right for you.

View & Add Comments