Personalize a Candle

Today’s tutorial not only shows you how to make a beautiful piece of home decor, but it also show you how to make an amazing, personal gift. With adhesive vinyl, a couple of tools, and a glass candle, you’ll have a work of art in no time.

photo boothprop ideas

For this project, you’ll need:

Once you have your materials gathered, follow these steps:

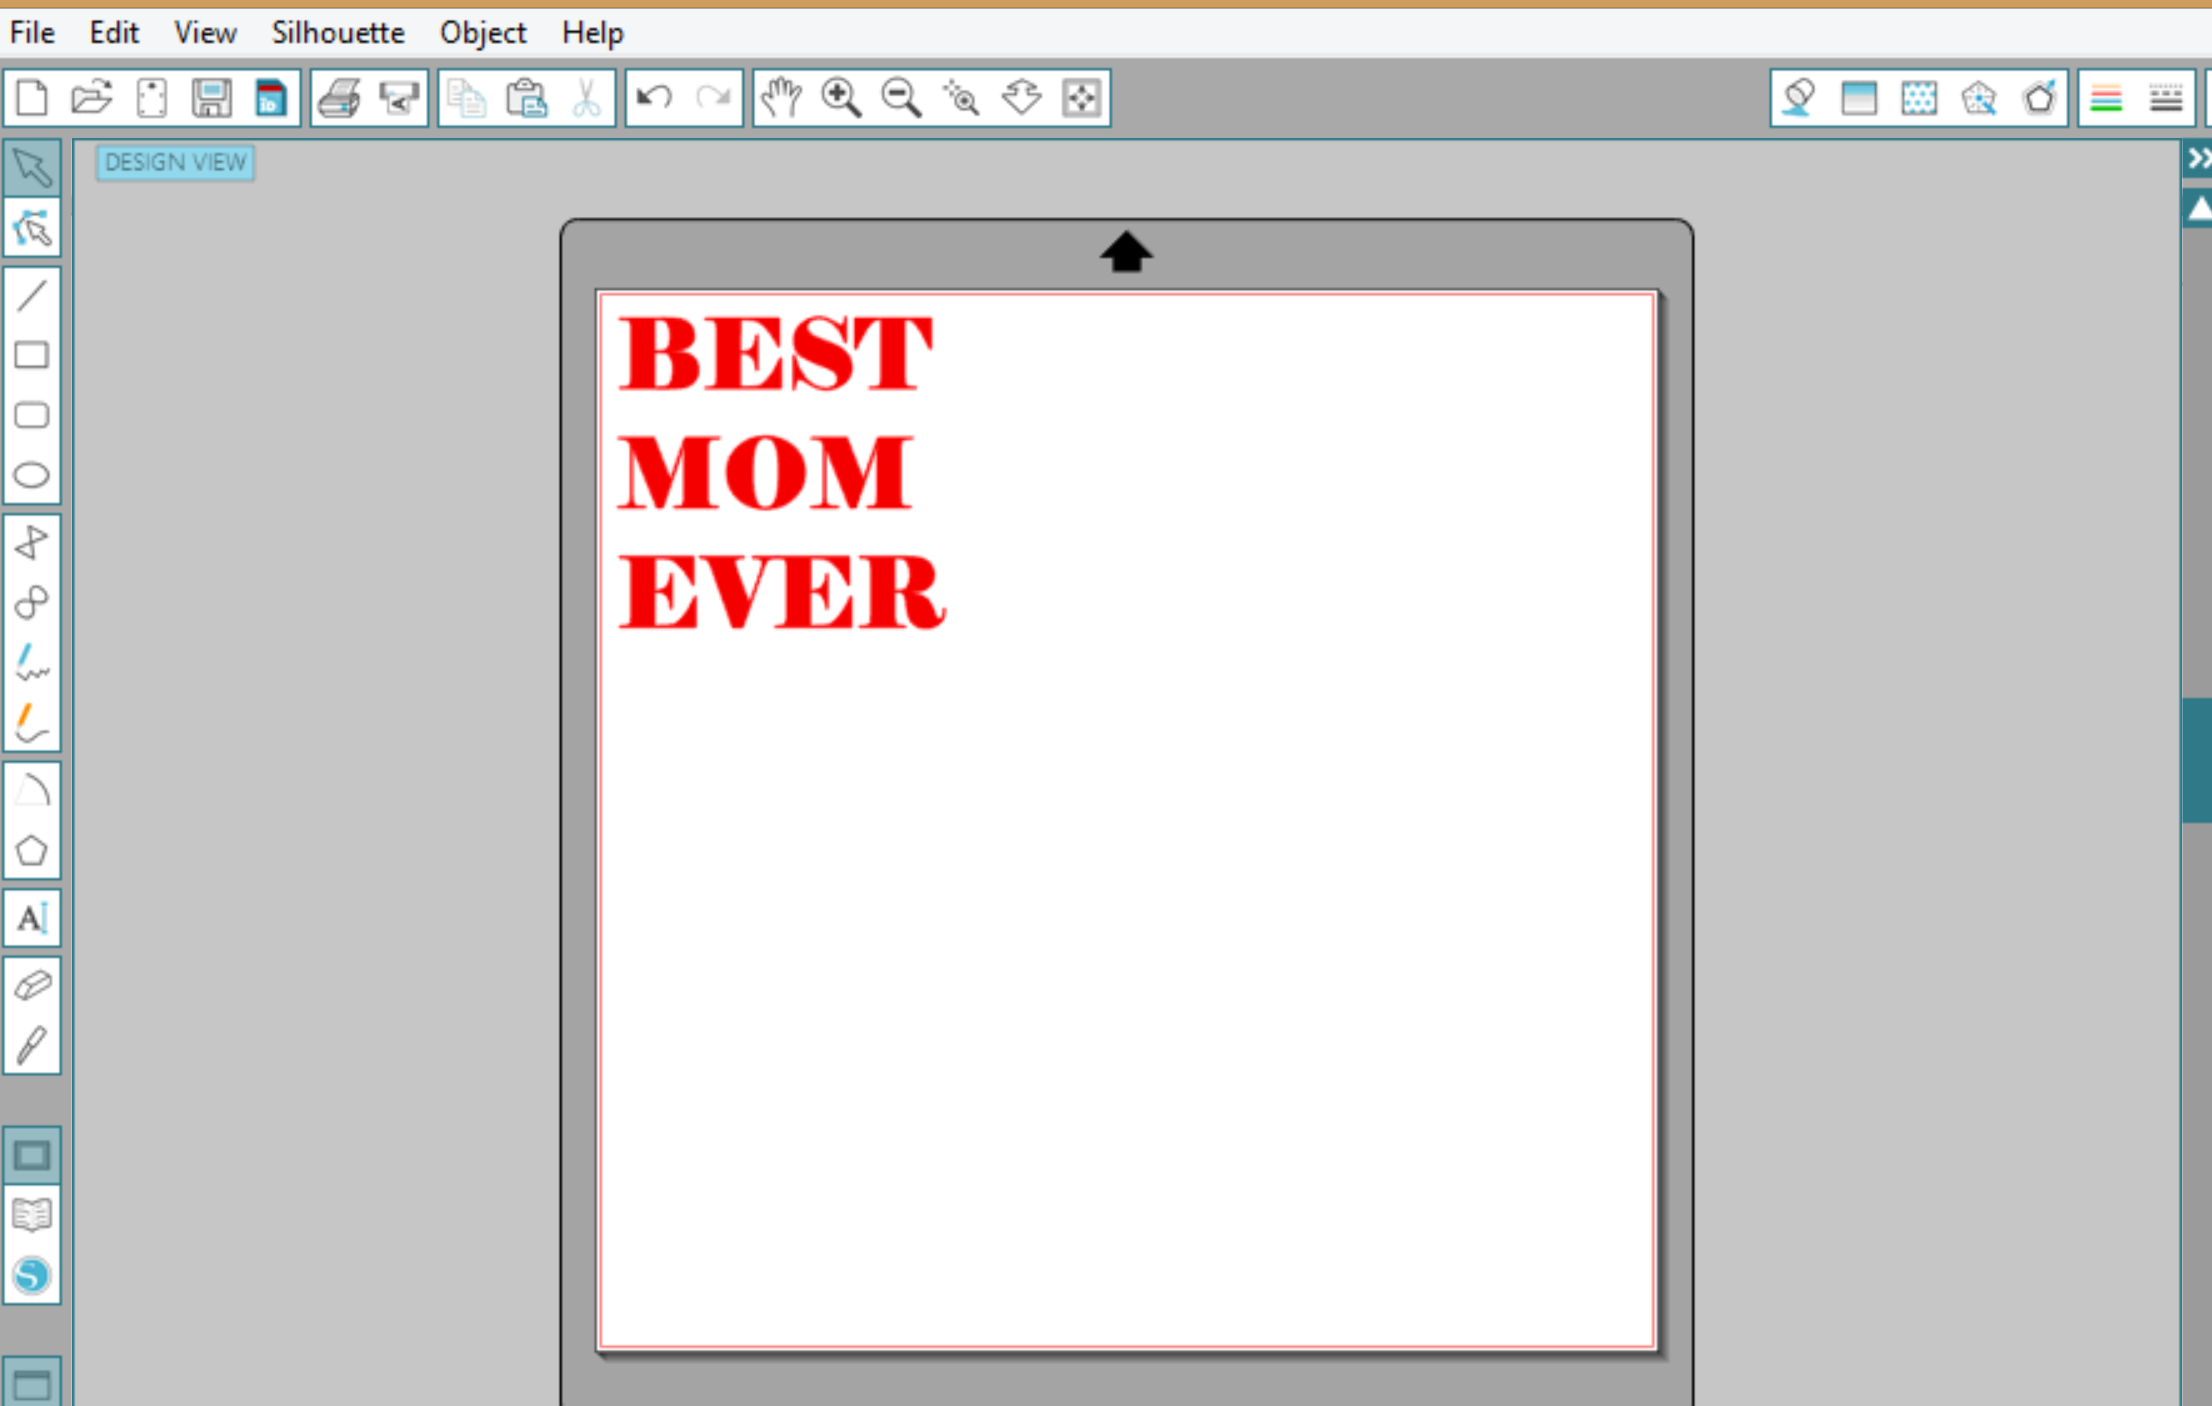
1. Design your image.

candle 1

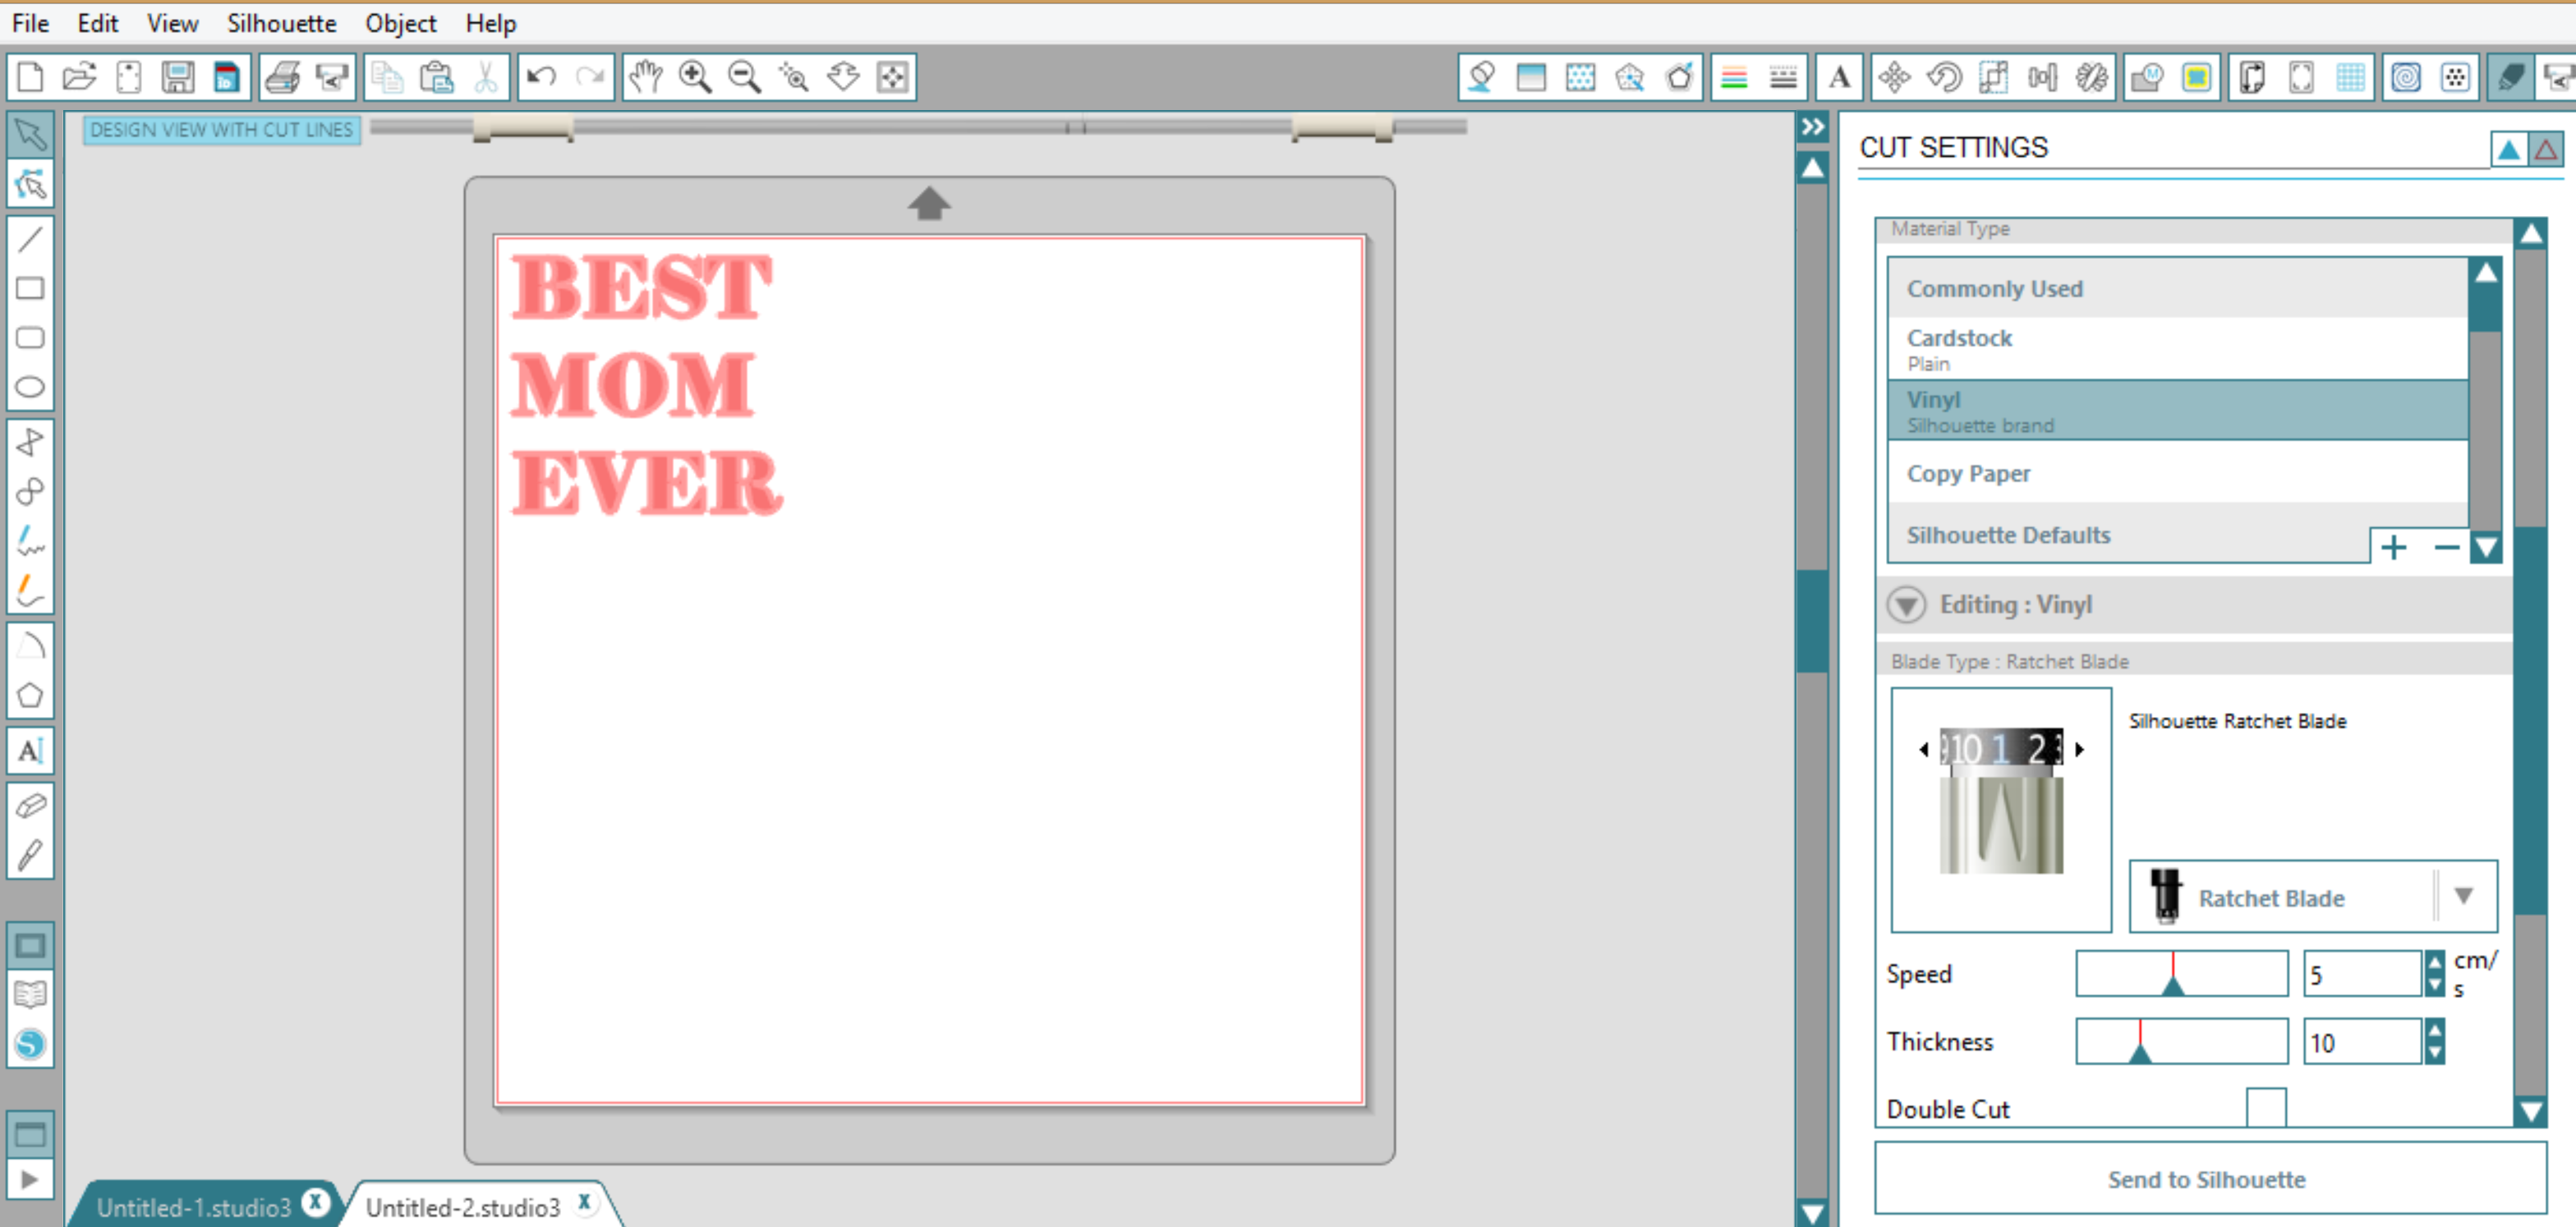
2. Adjust your cut settings.

candle 2

3. Insert your vinyl.

4. Double check your settings, and click cut.

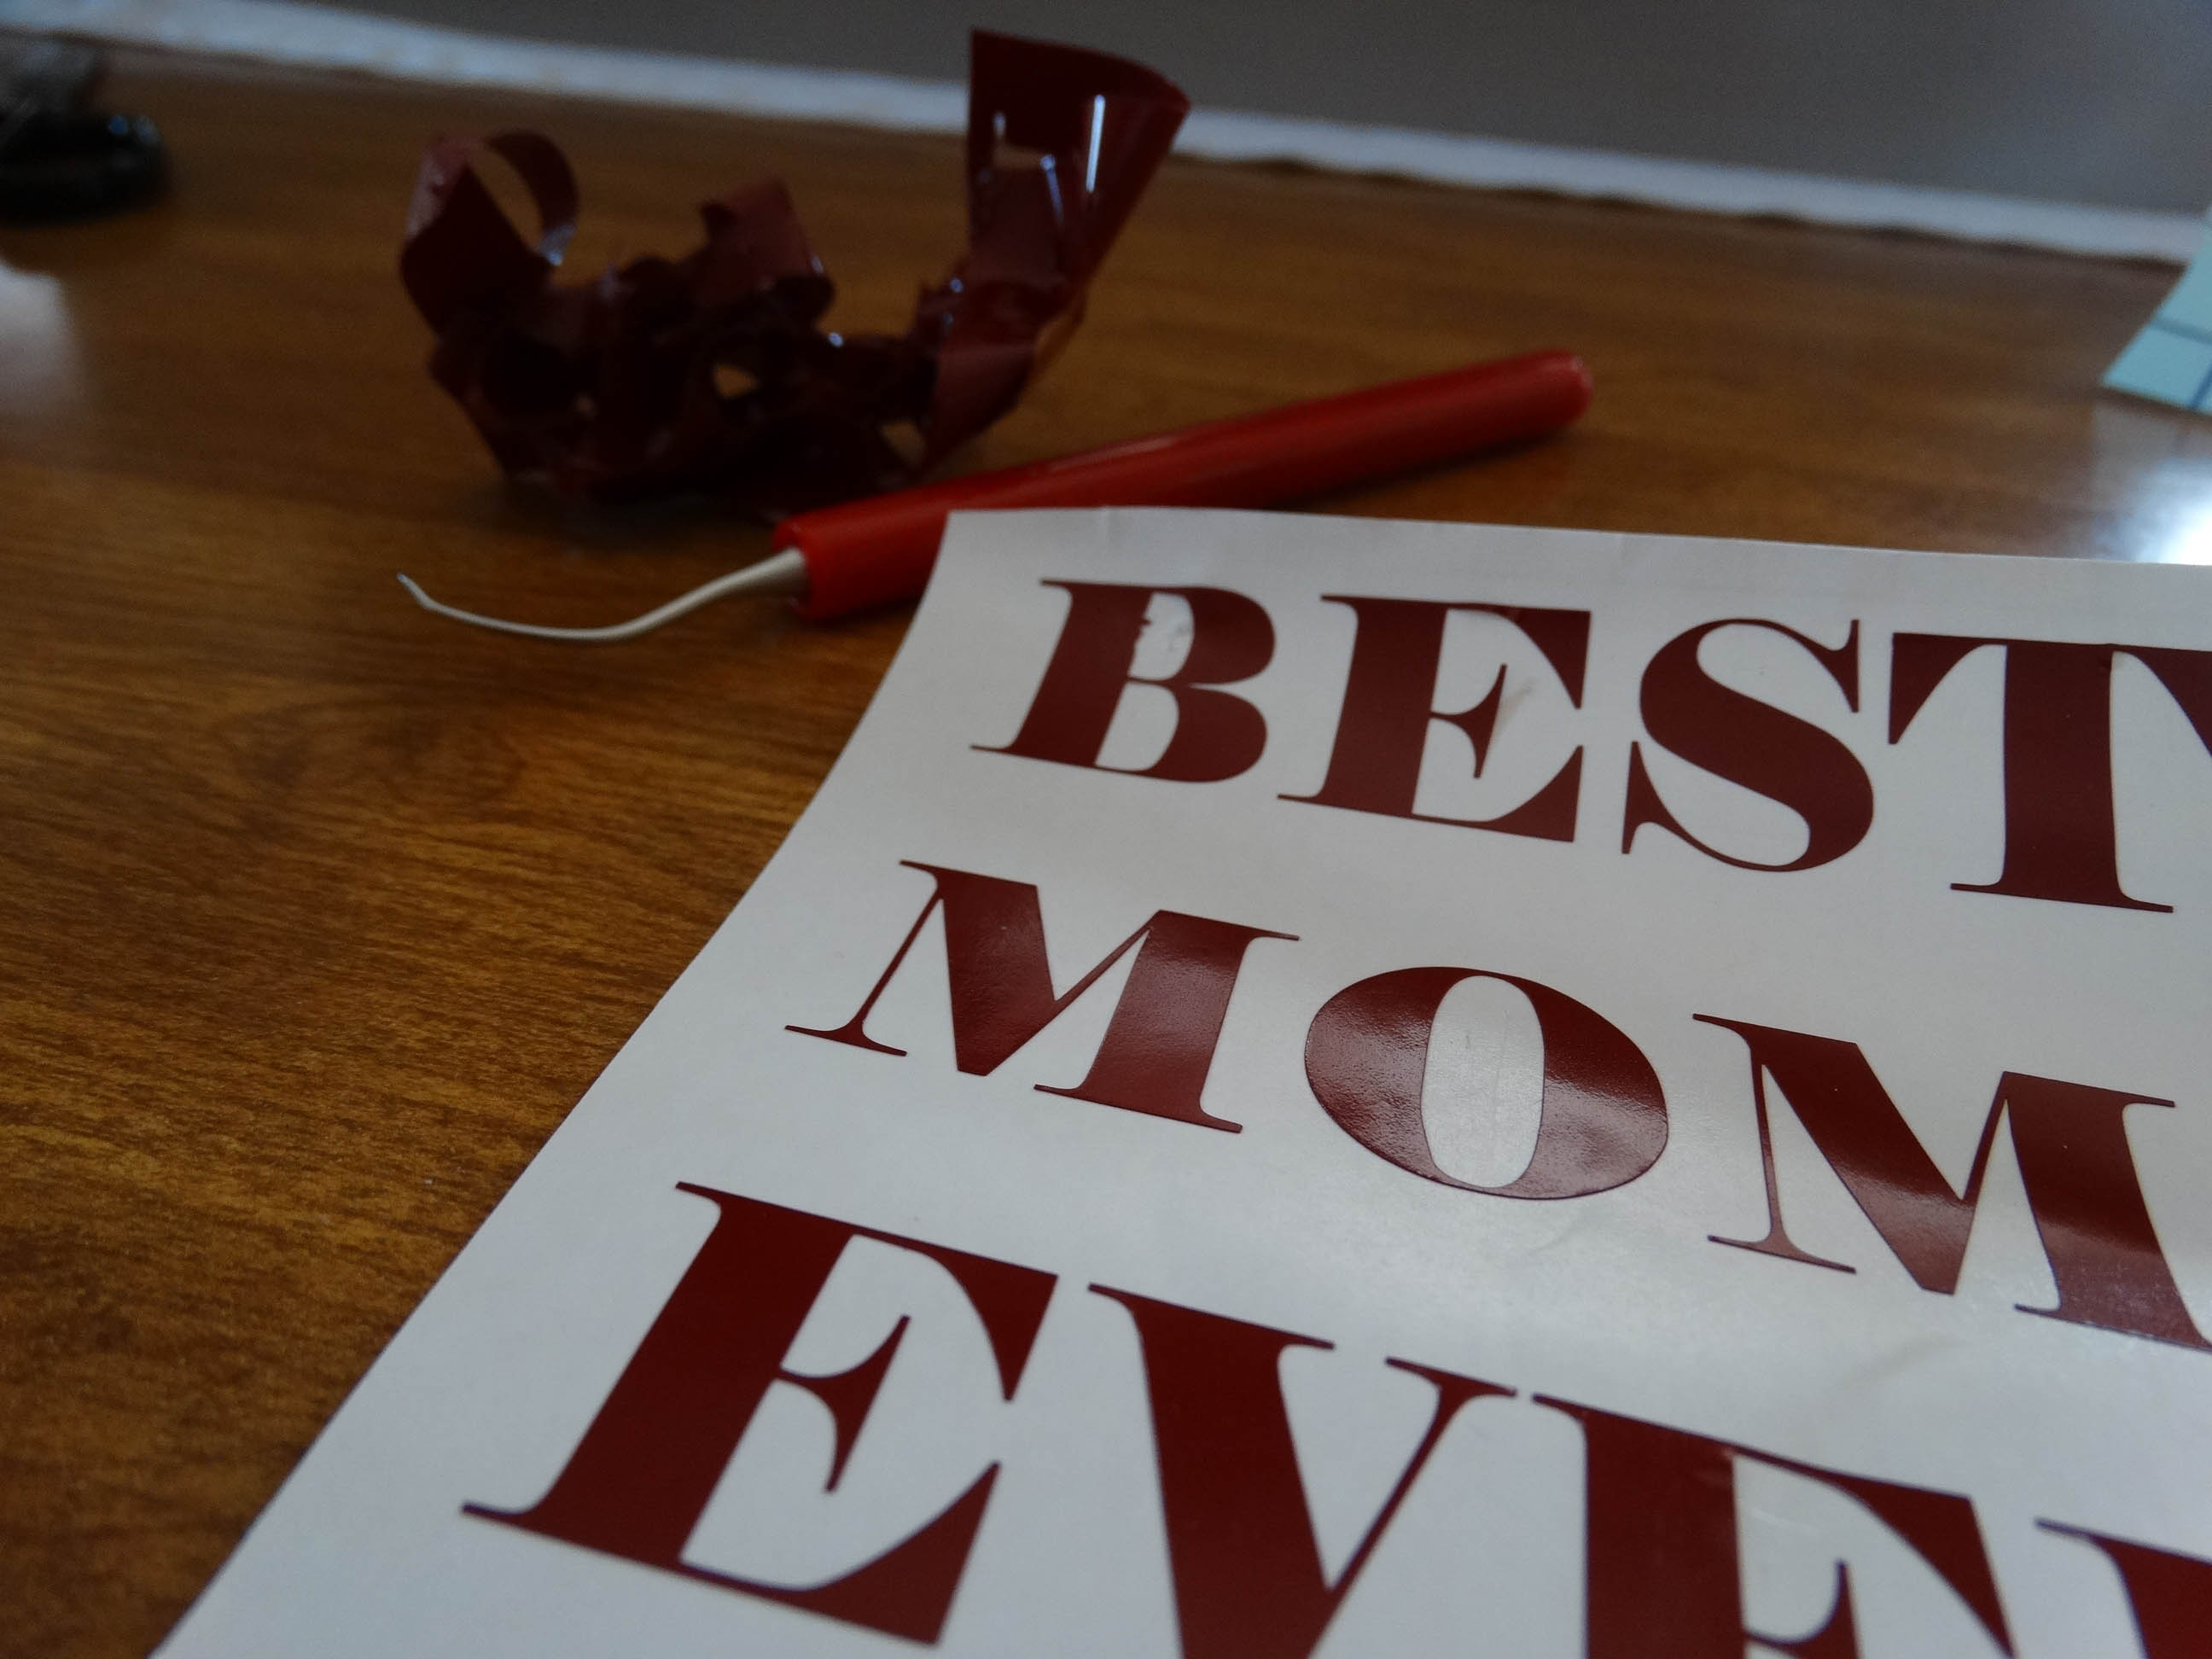
5. Weed your design.

DSC07948

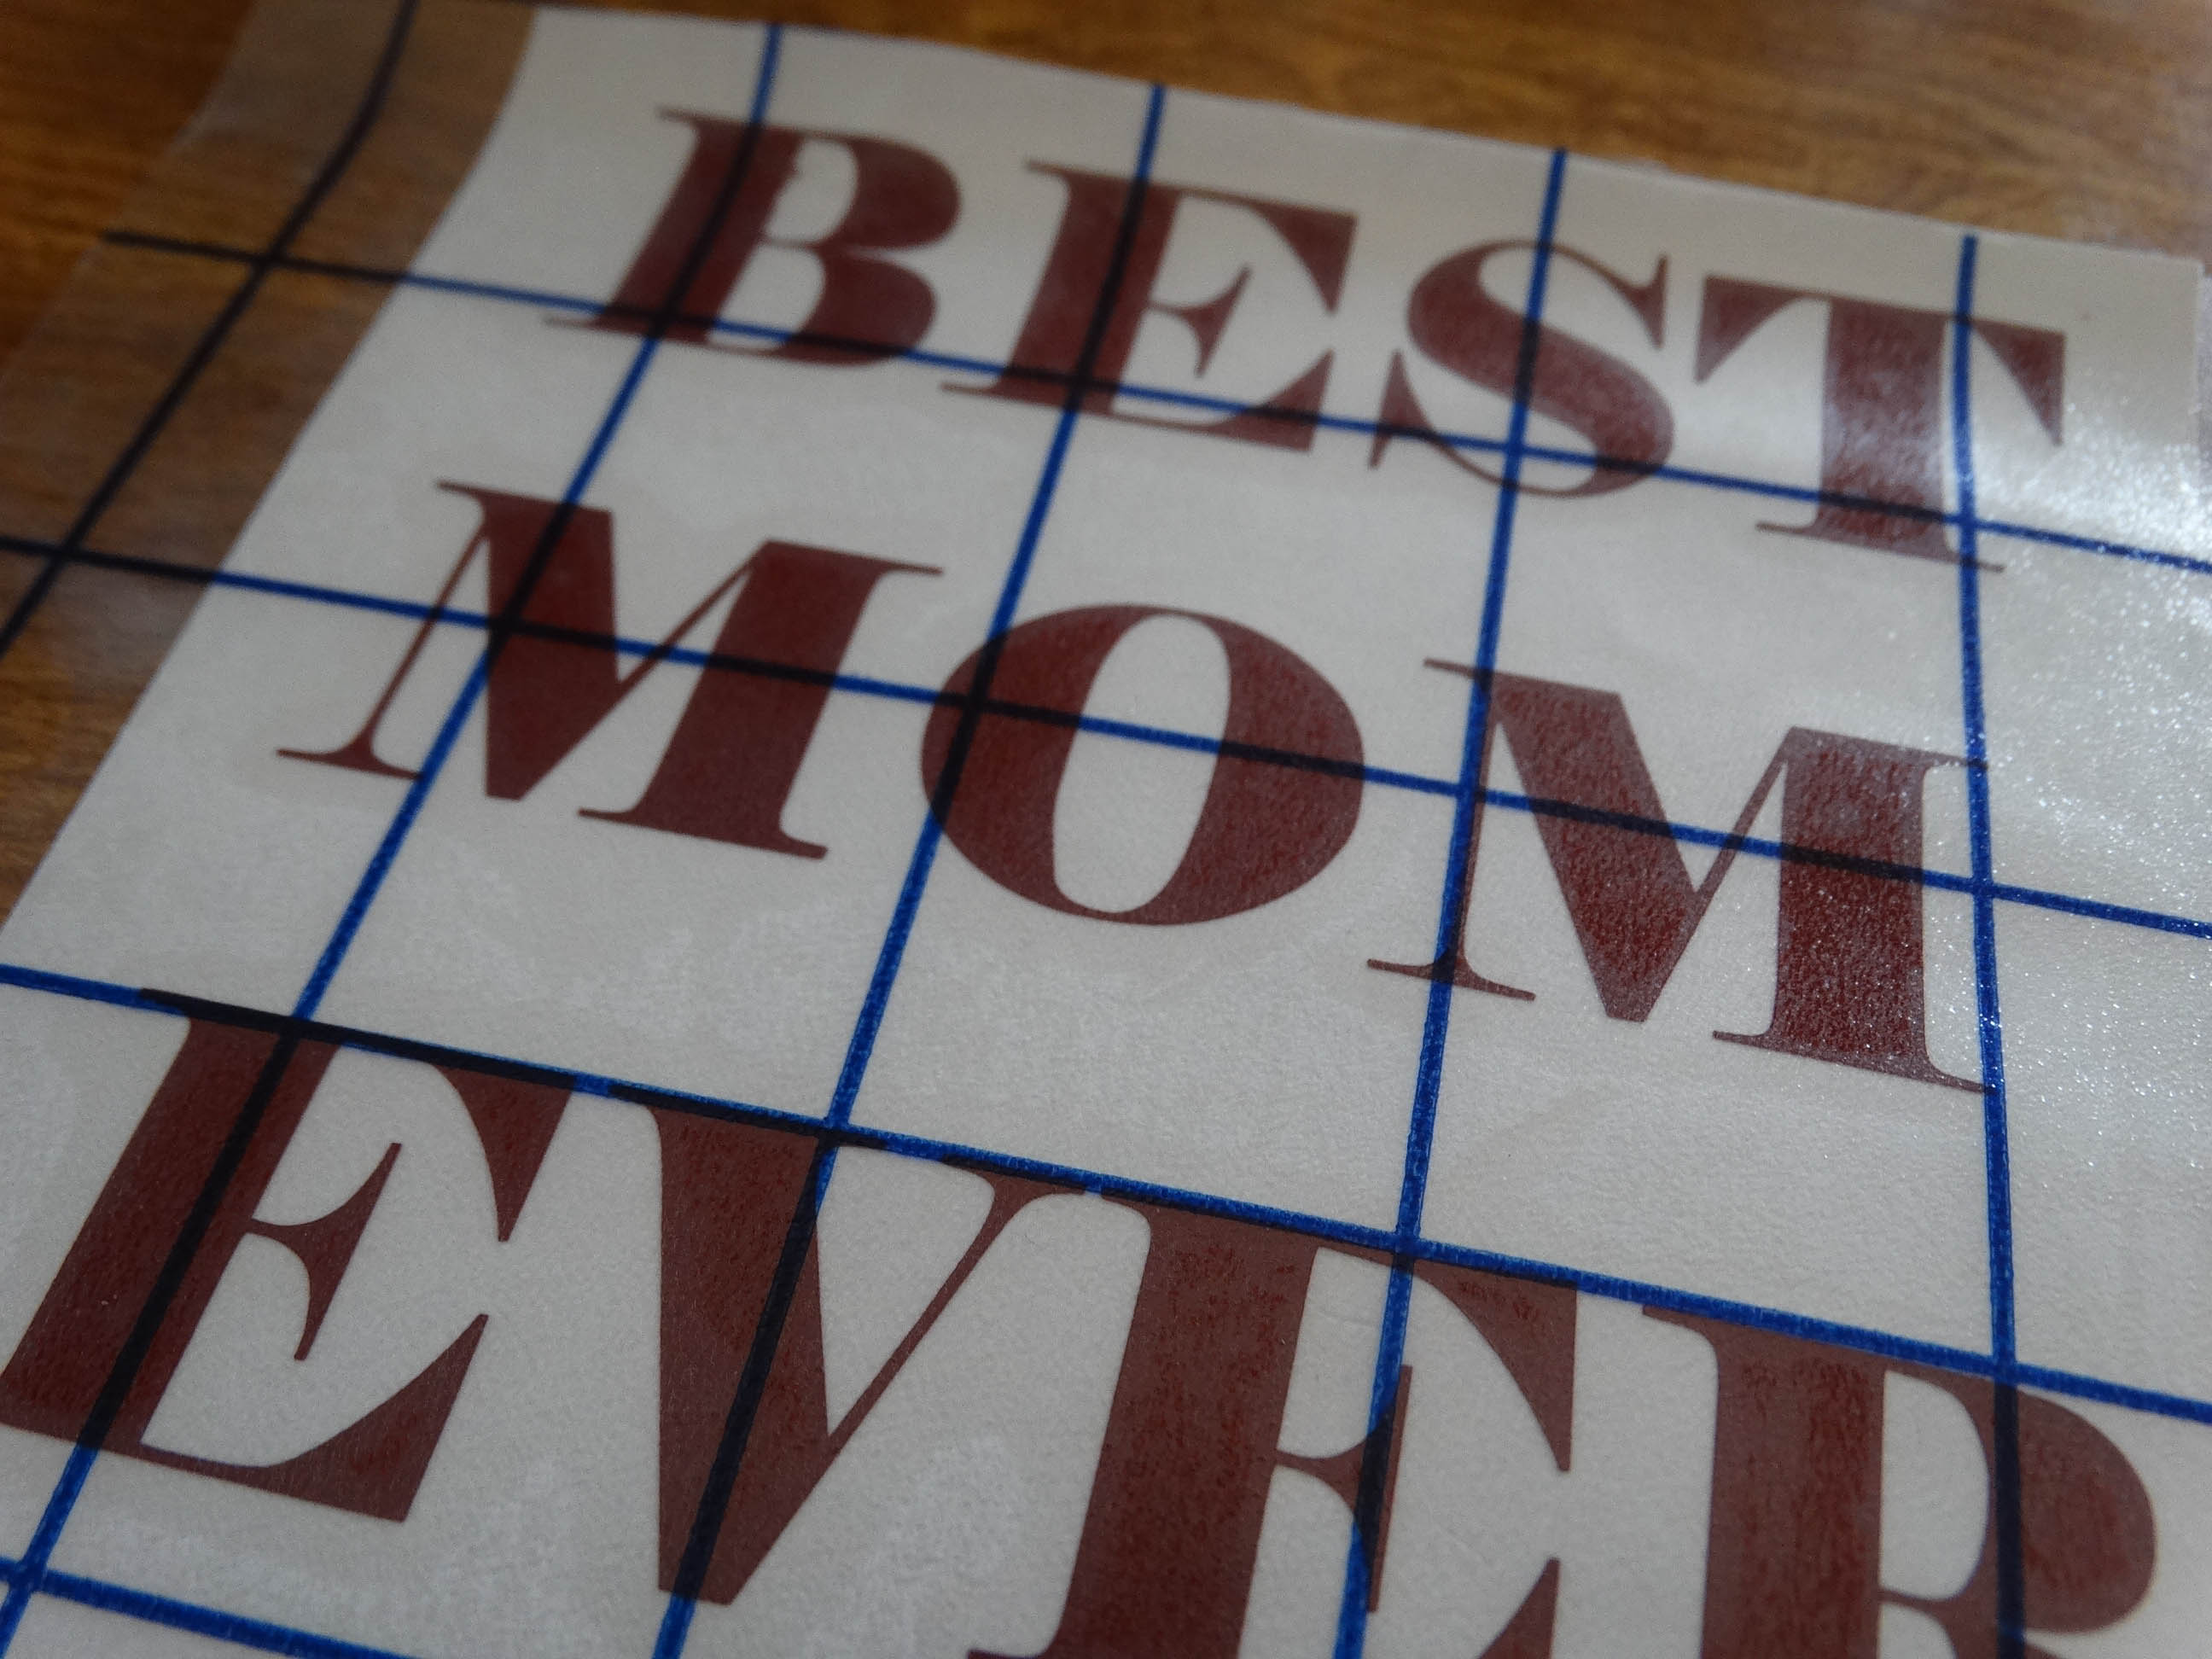
6. Apply the transfer tape.

DSC07949

7. Carefully peel it off.

8. Admire your work!

DSC07961

View & Add Comments

Learn How To Decorate A Rock Slate

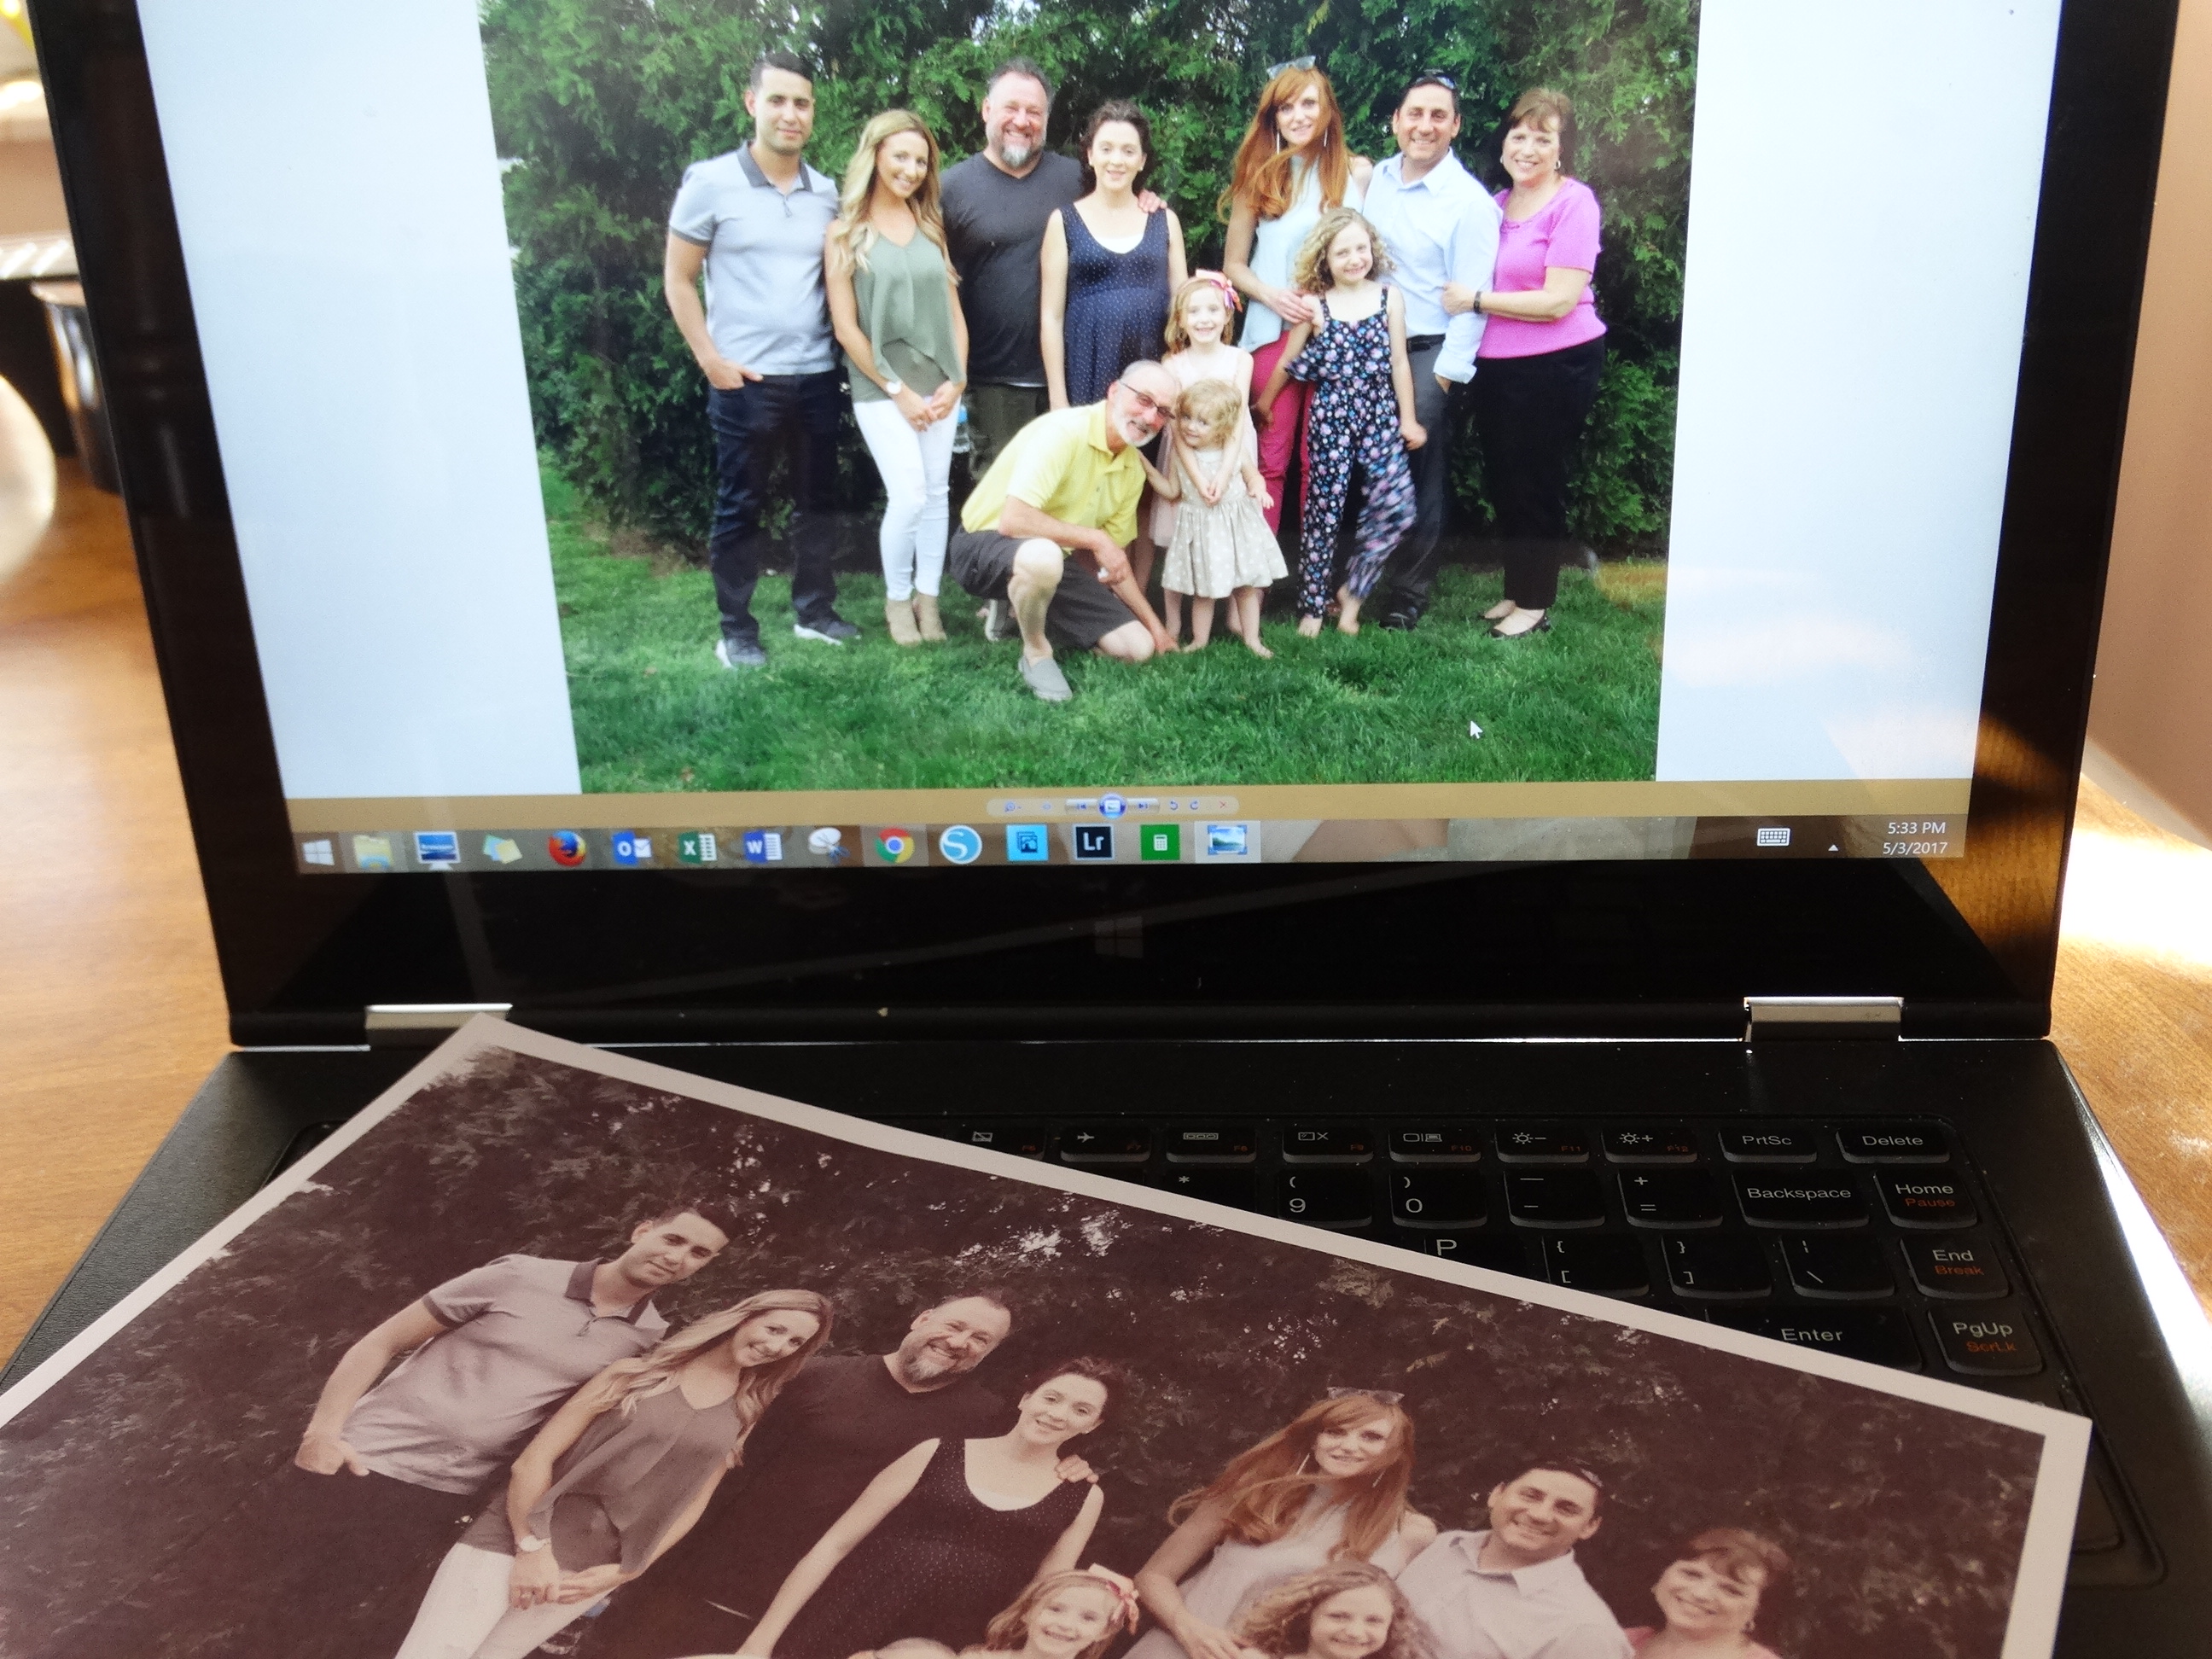
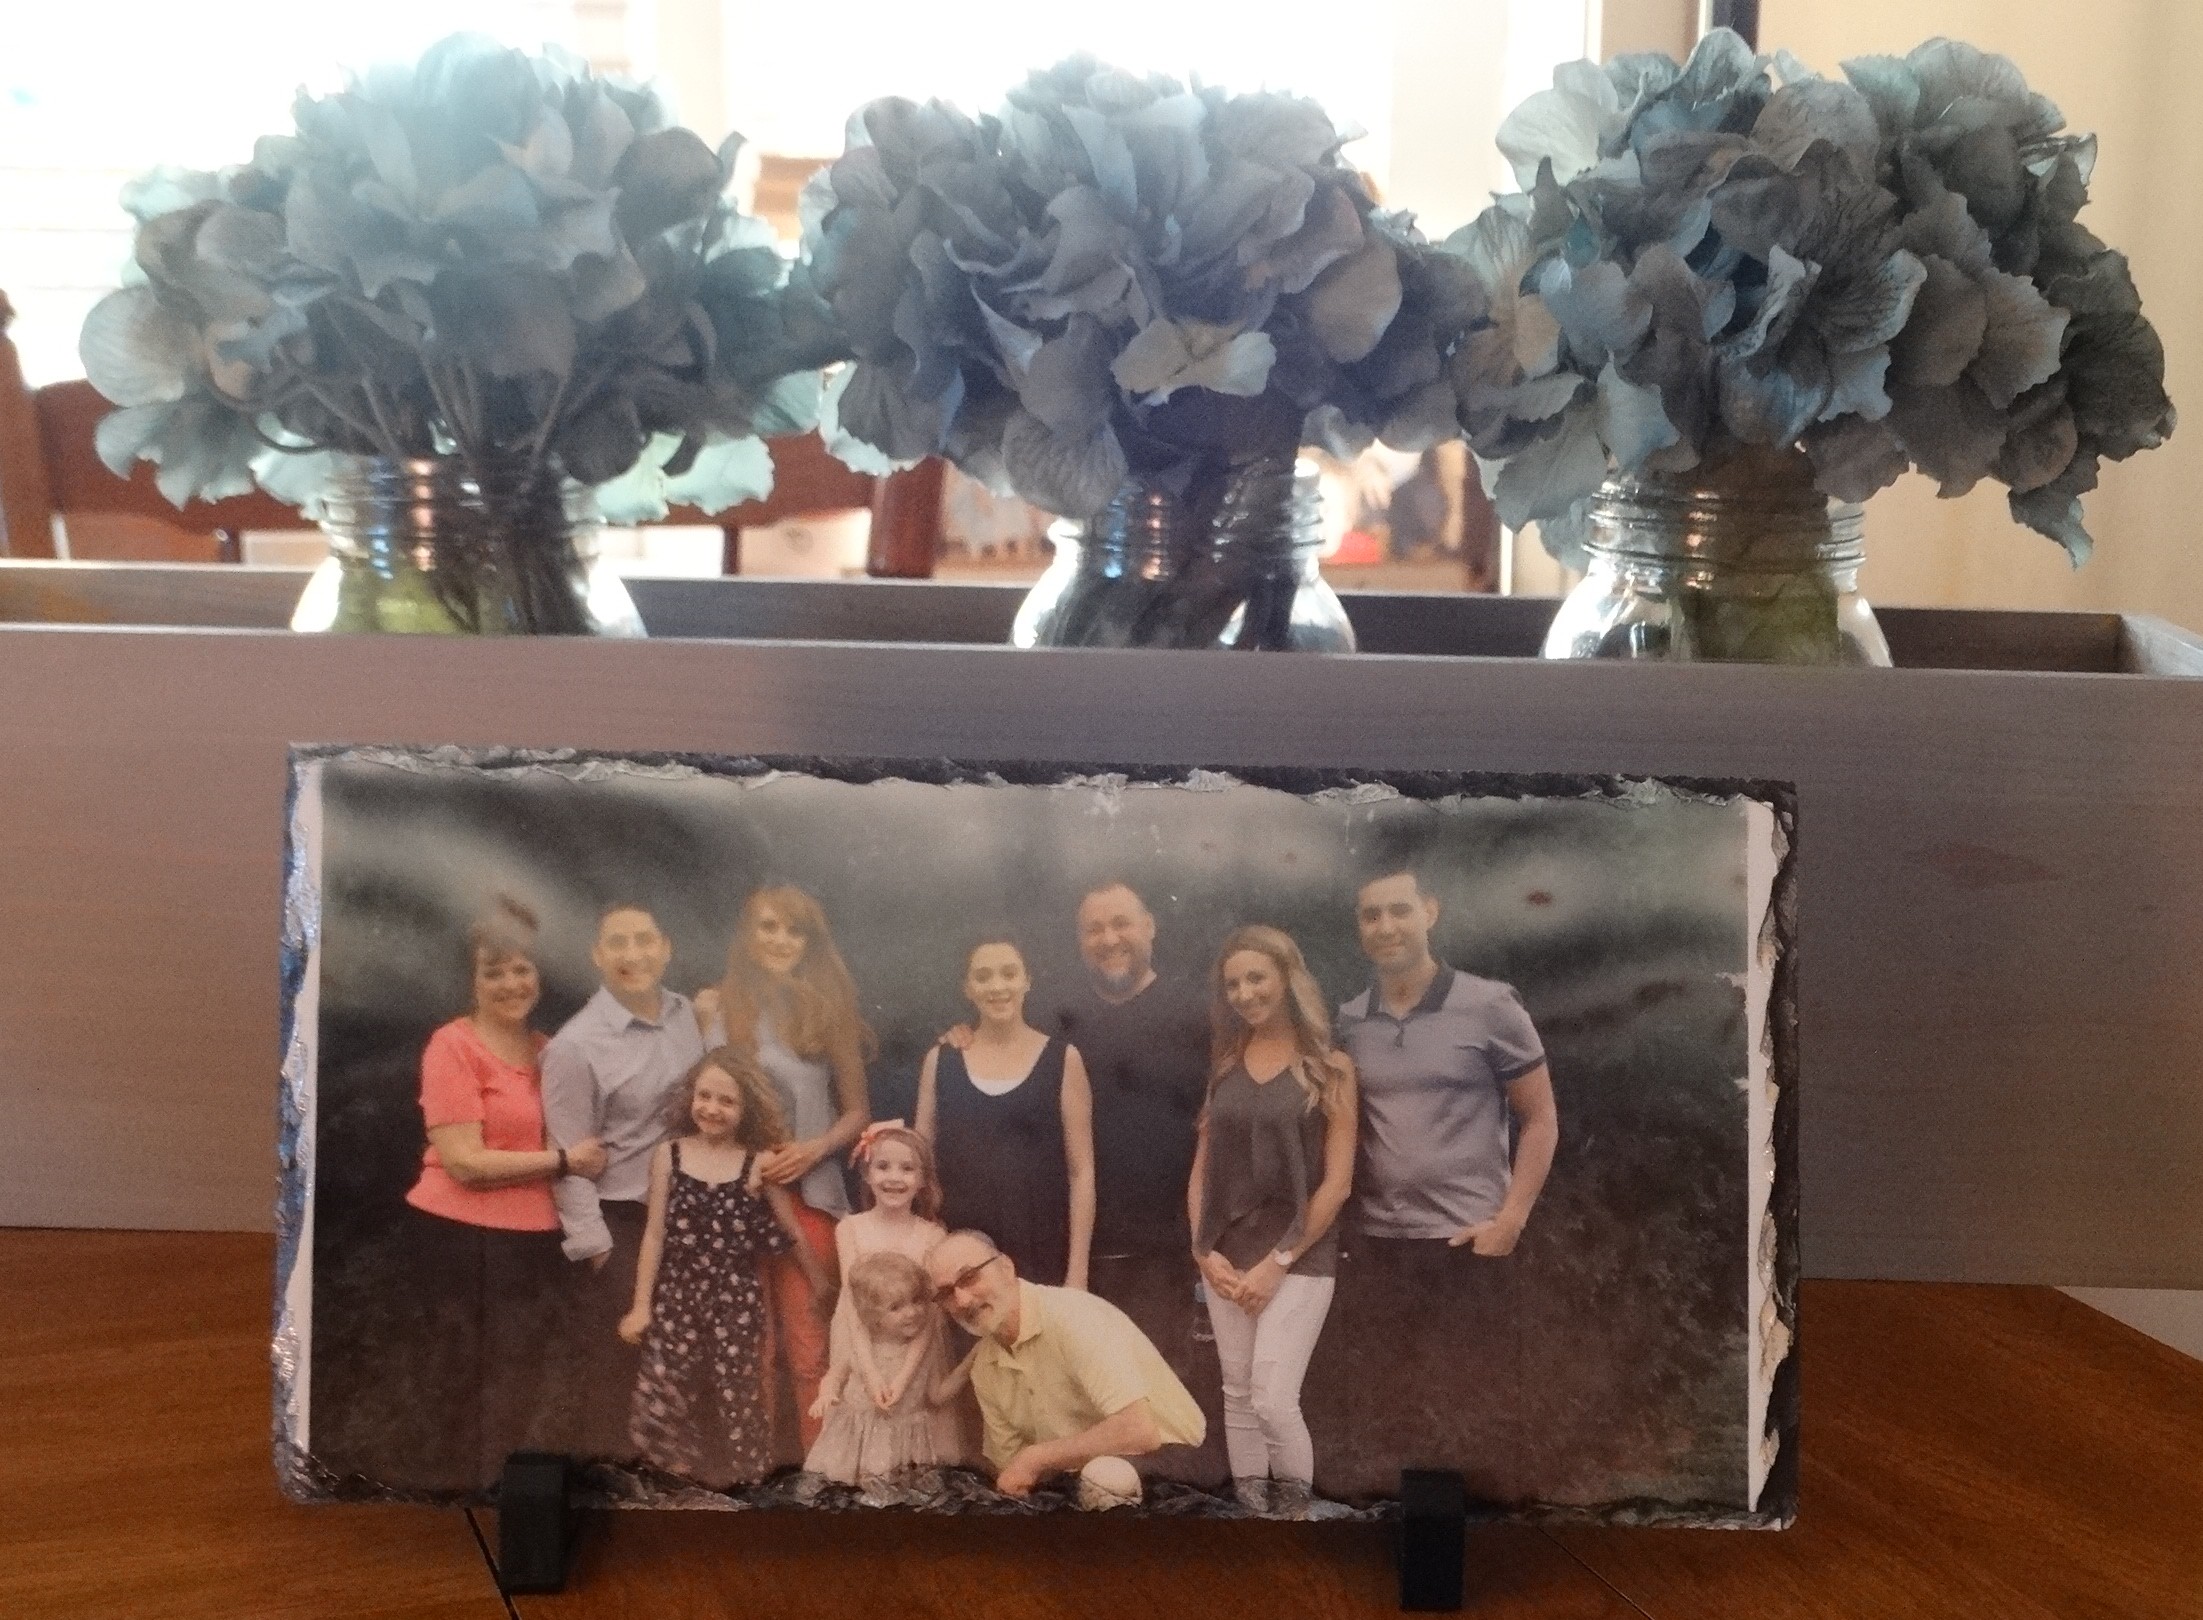
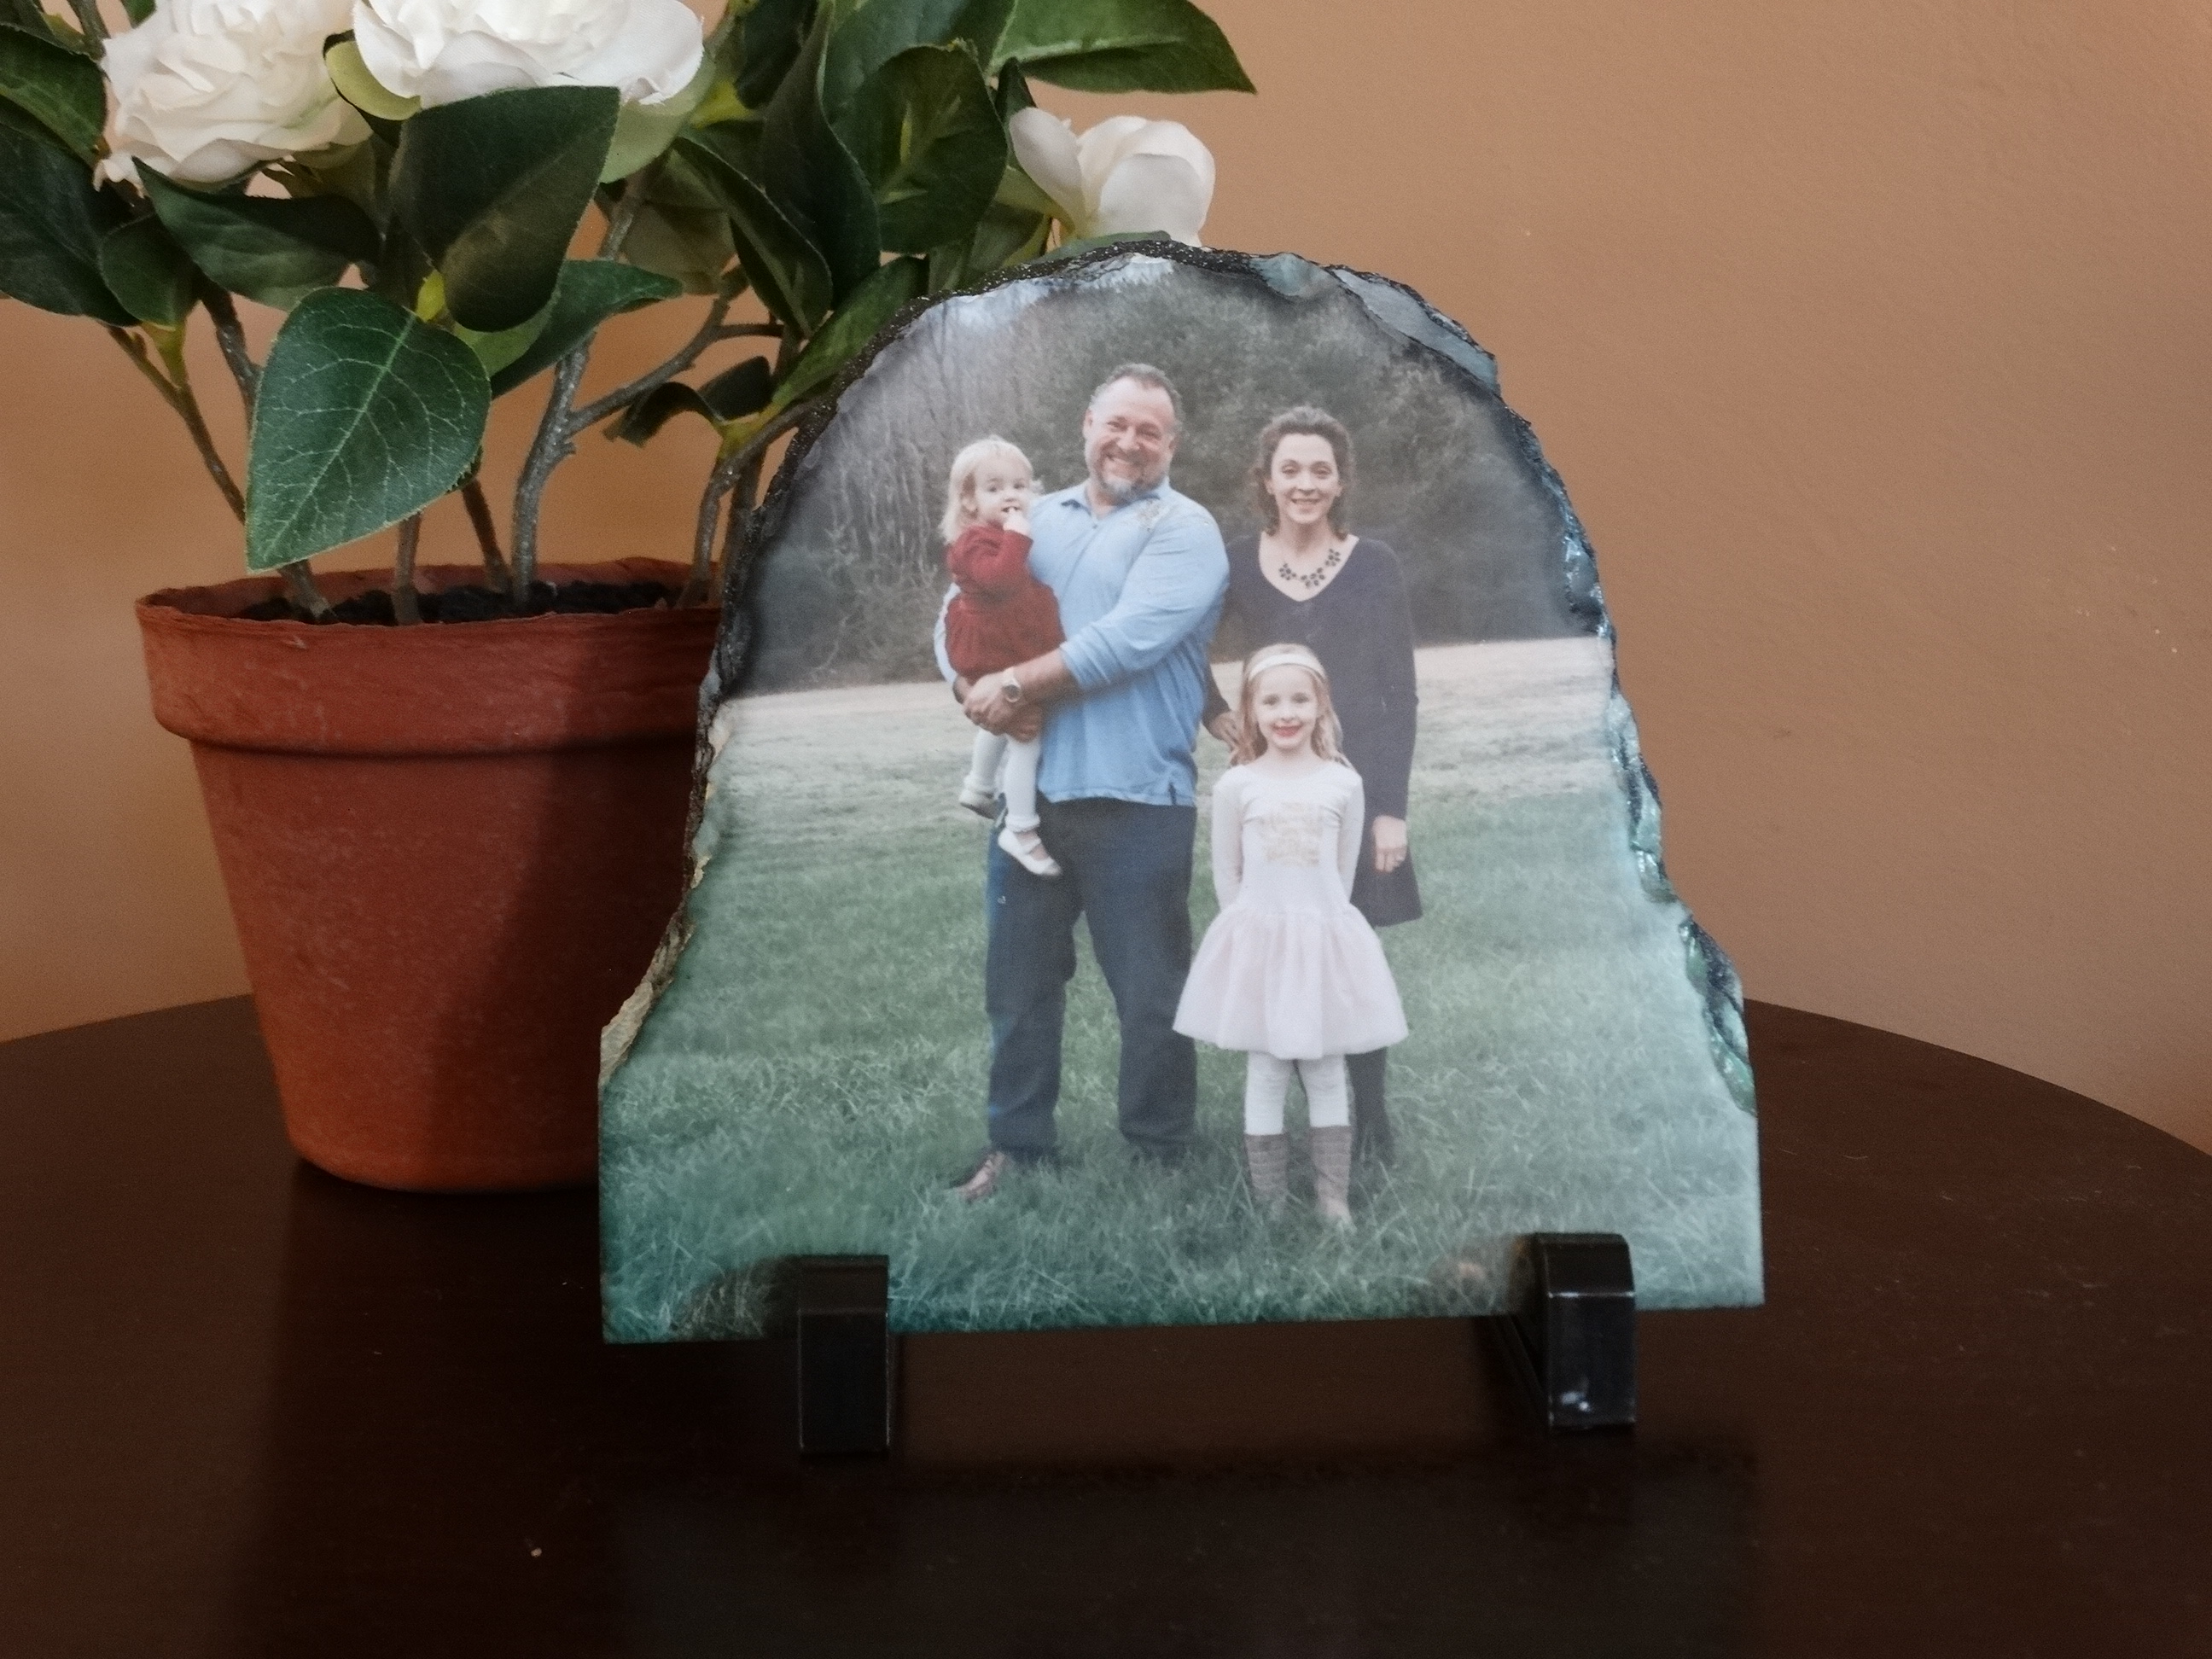
If you’re looking for a unique gift that can be enjoyed and displayed all year long, we have the perfect idea for you. By sublimating a photo onto rock slate you are giving a one of a kind, custom gift. I’m sure there are a number of people in your life that would love one, including you!

Best Friends (1)

You Need:

1.  Start by opening Creative Studio, which is located on the Sawgrass website
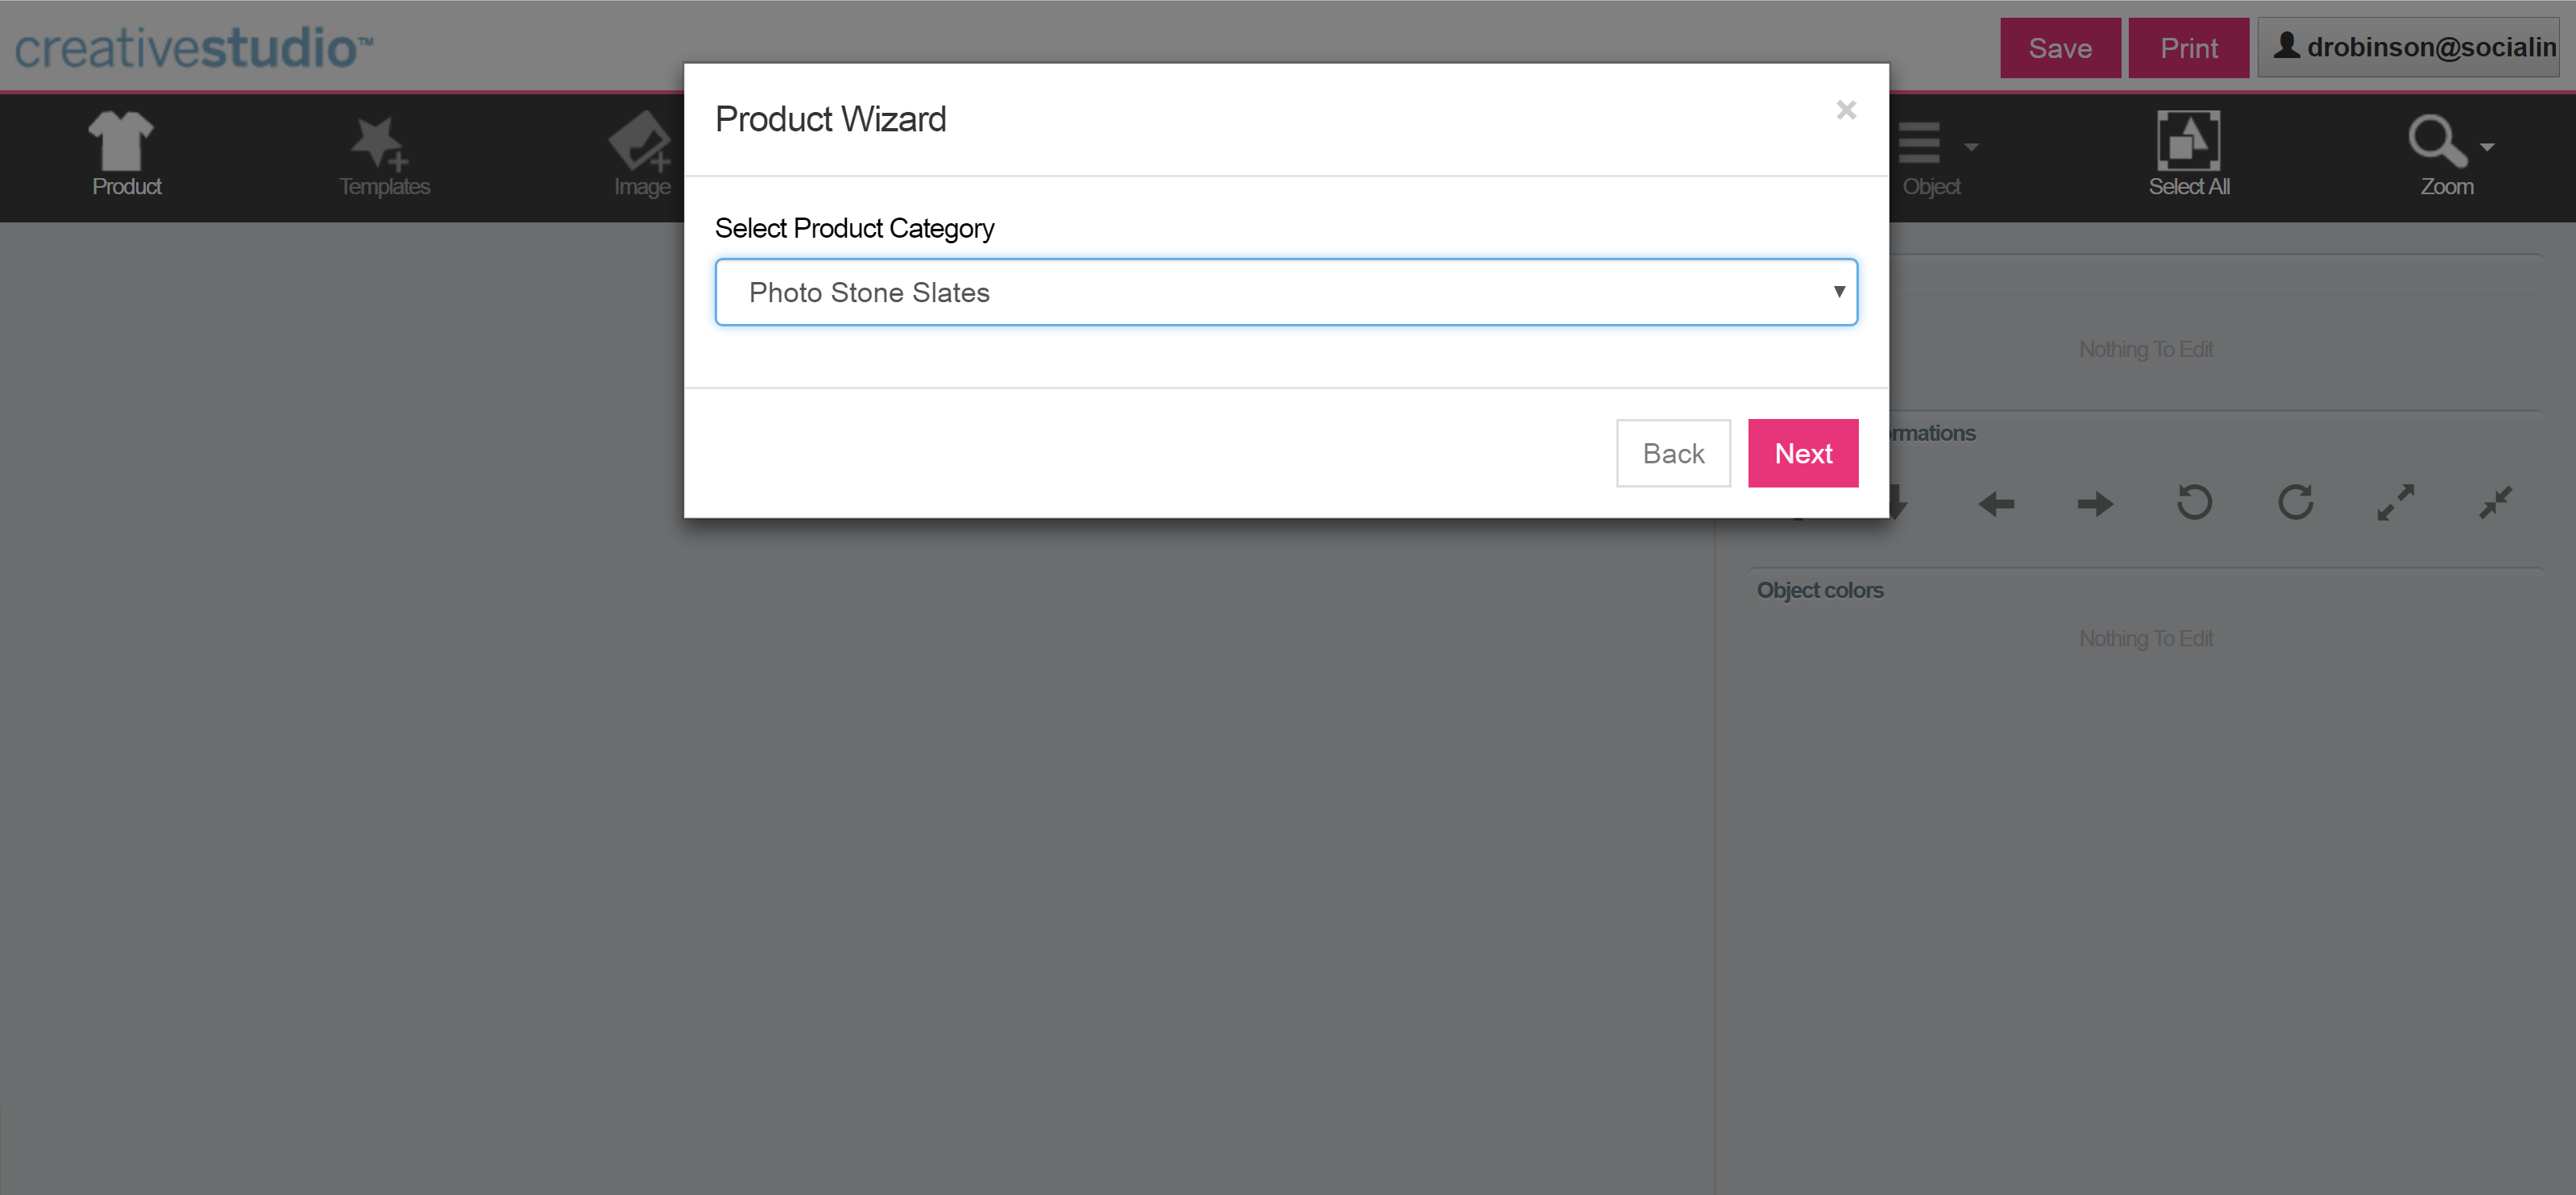
2. Select your product category – Photo Stone Slates.
rock slate 1
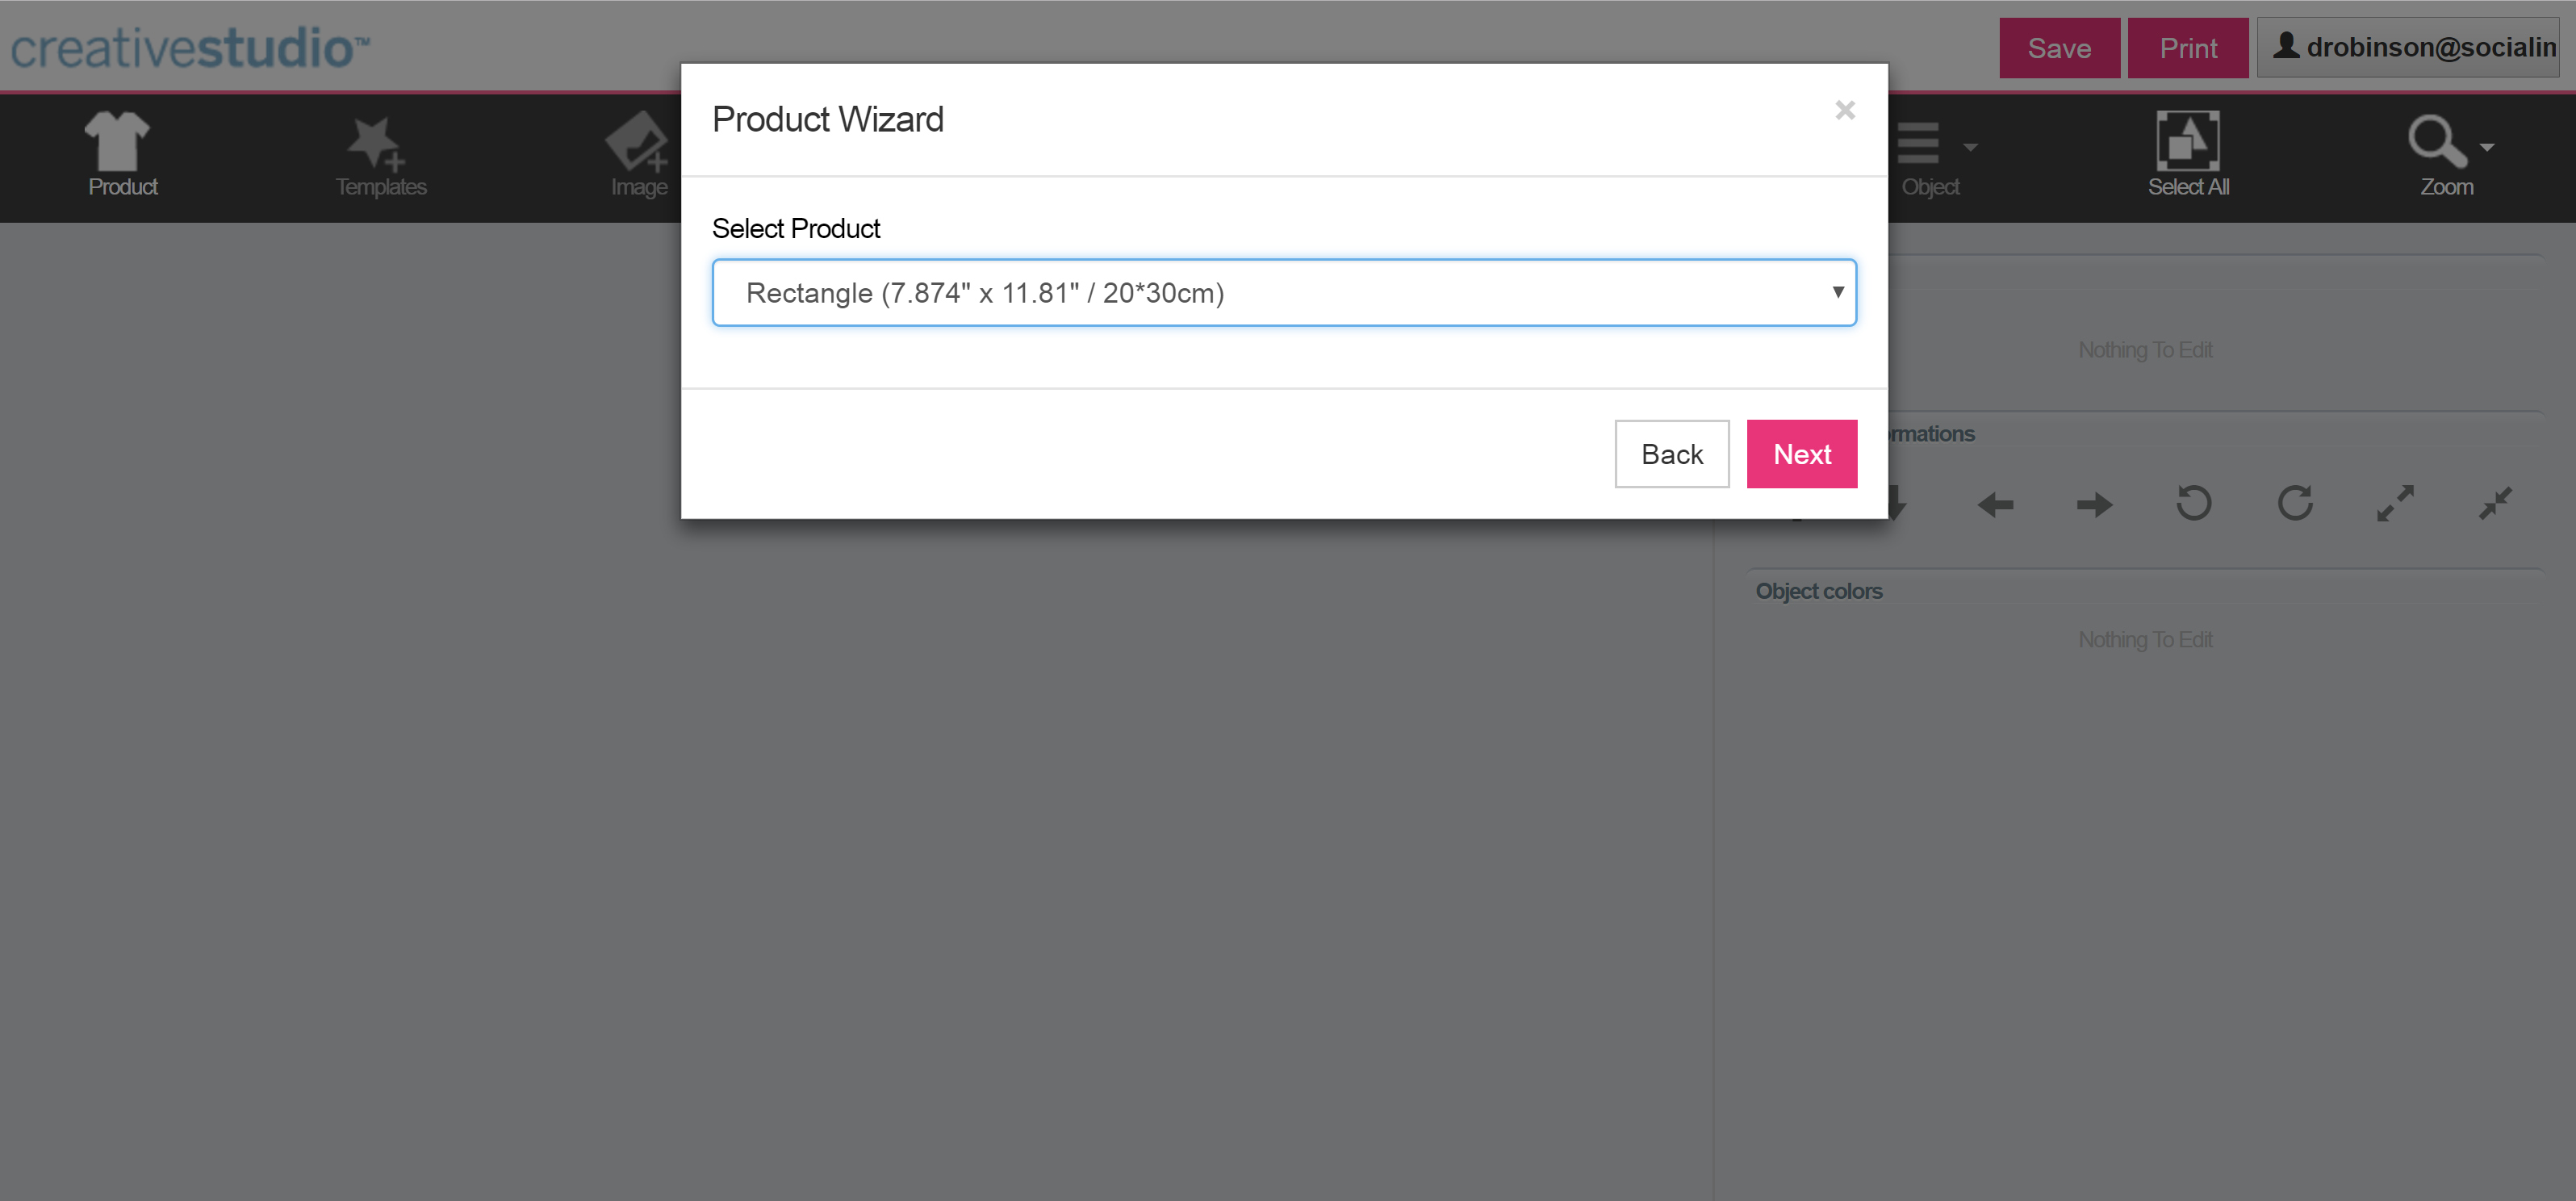
3. Select your product.
rock sate 2
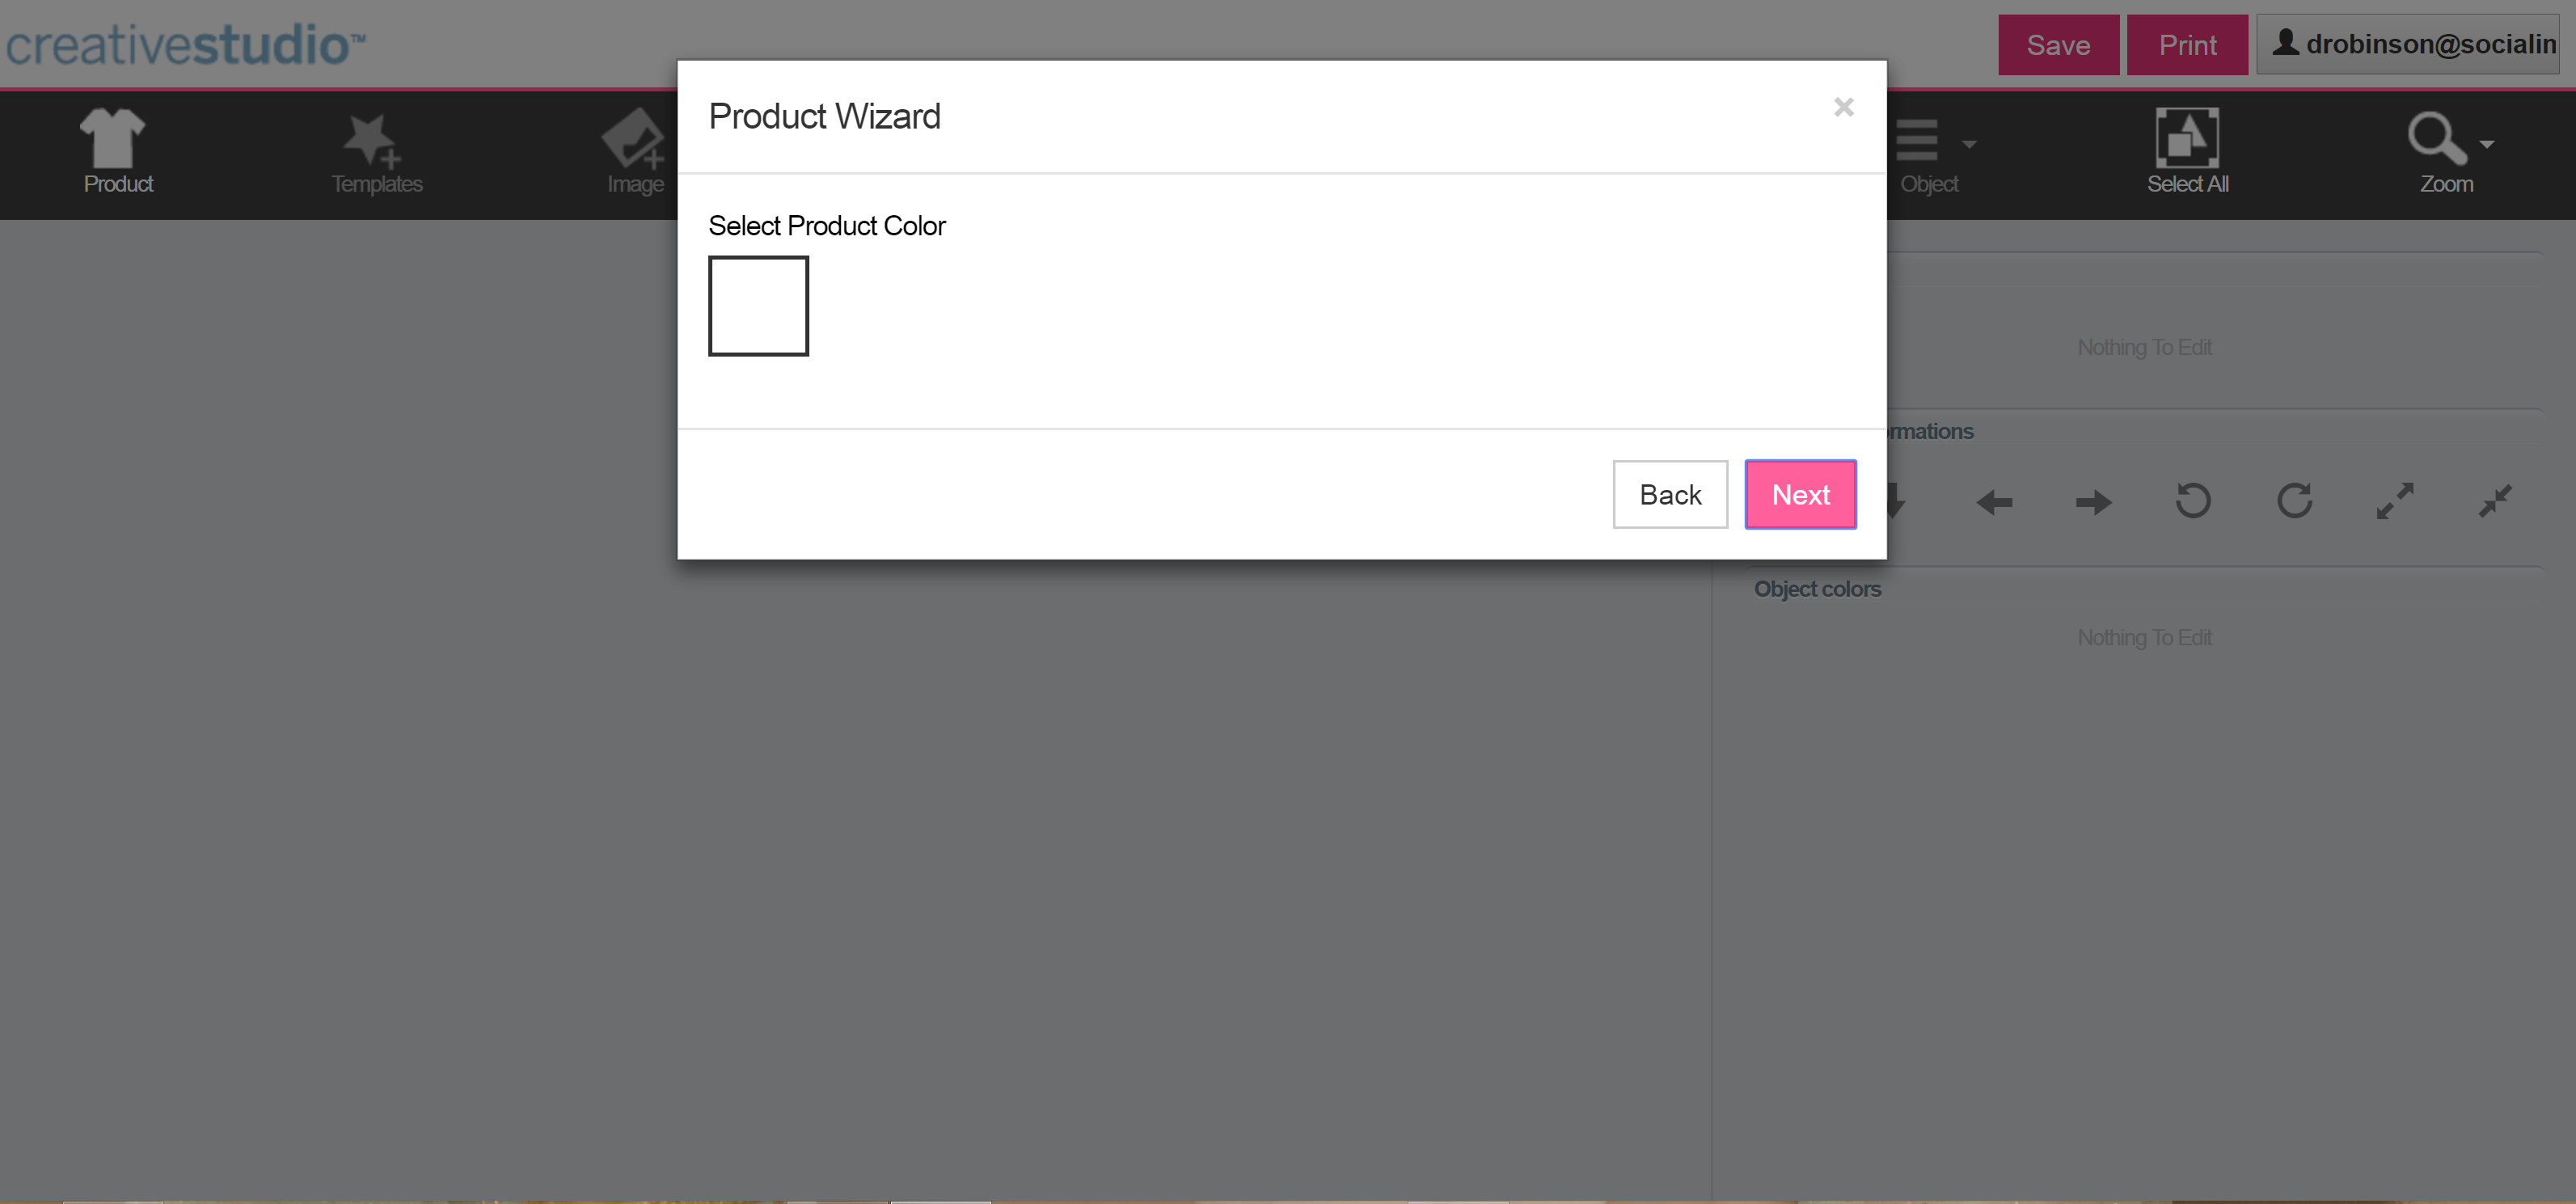
4. Select product color and size, then click start!
rock slate 3
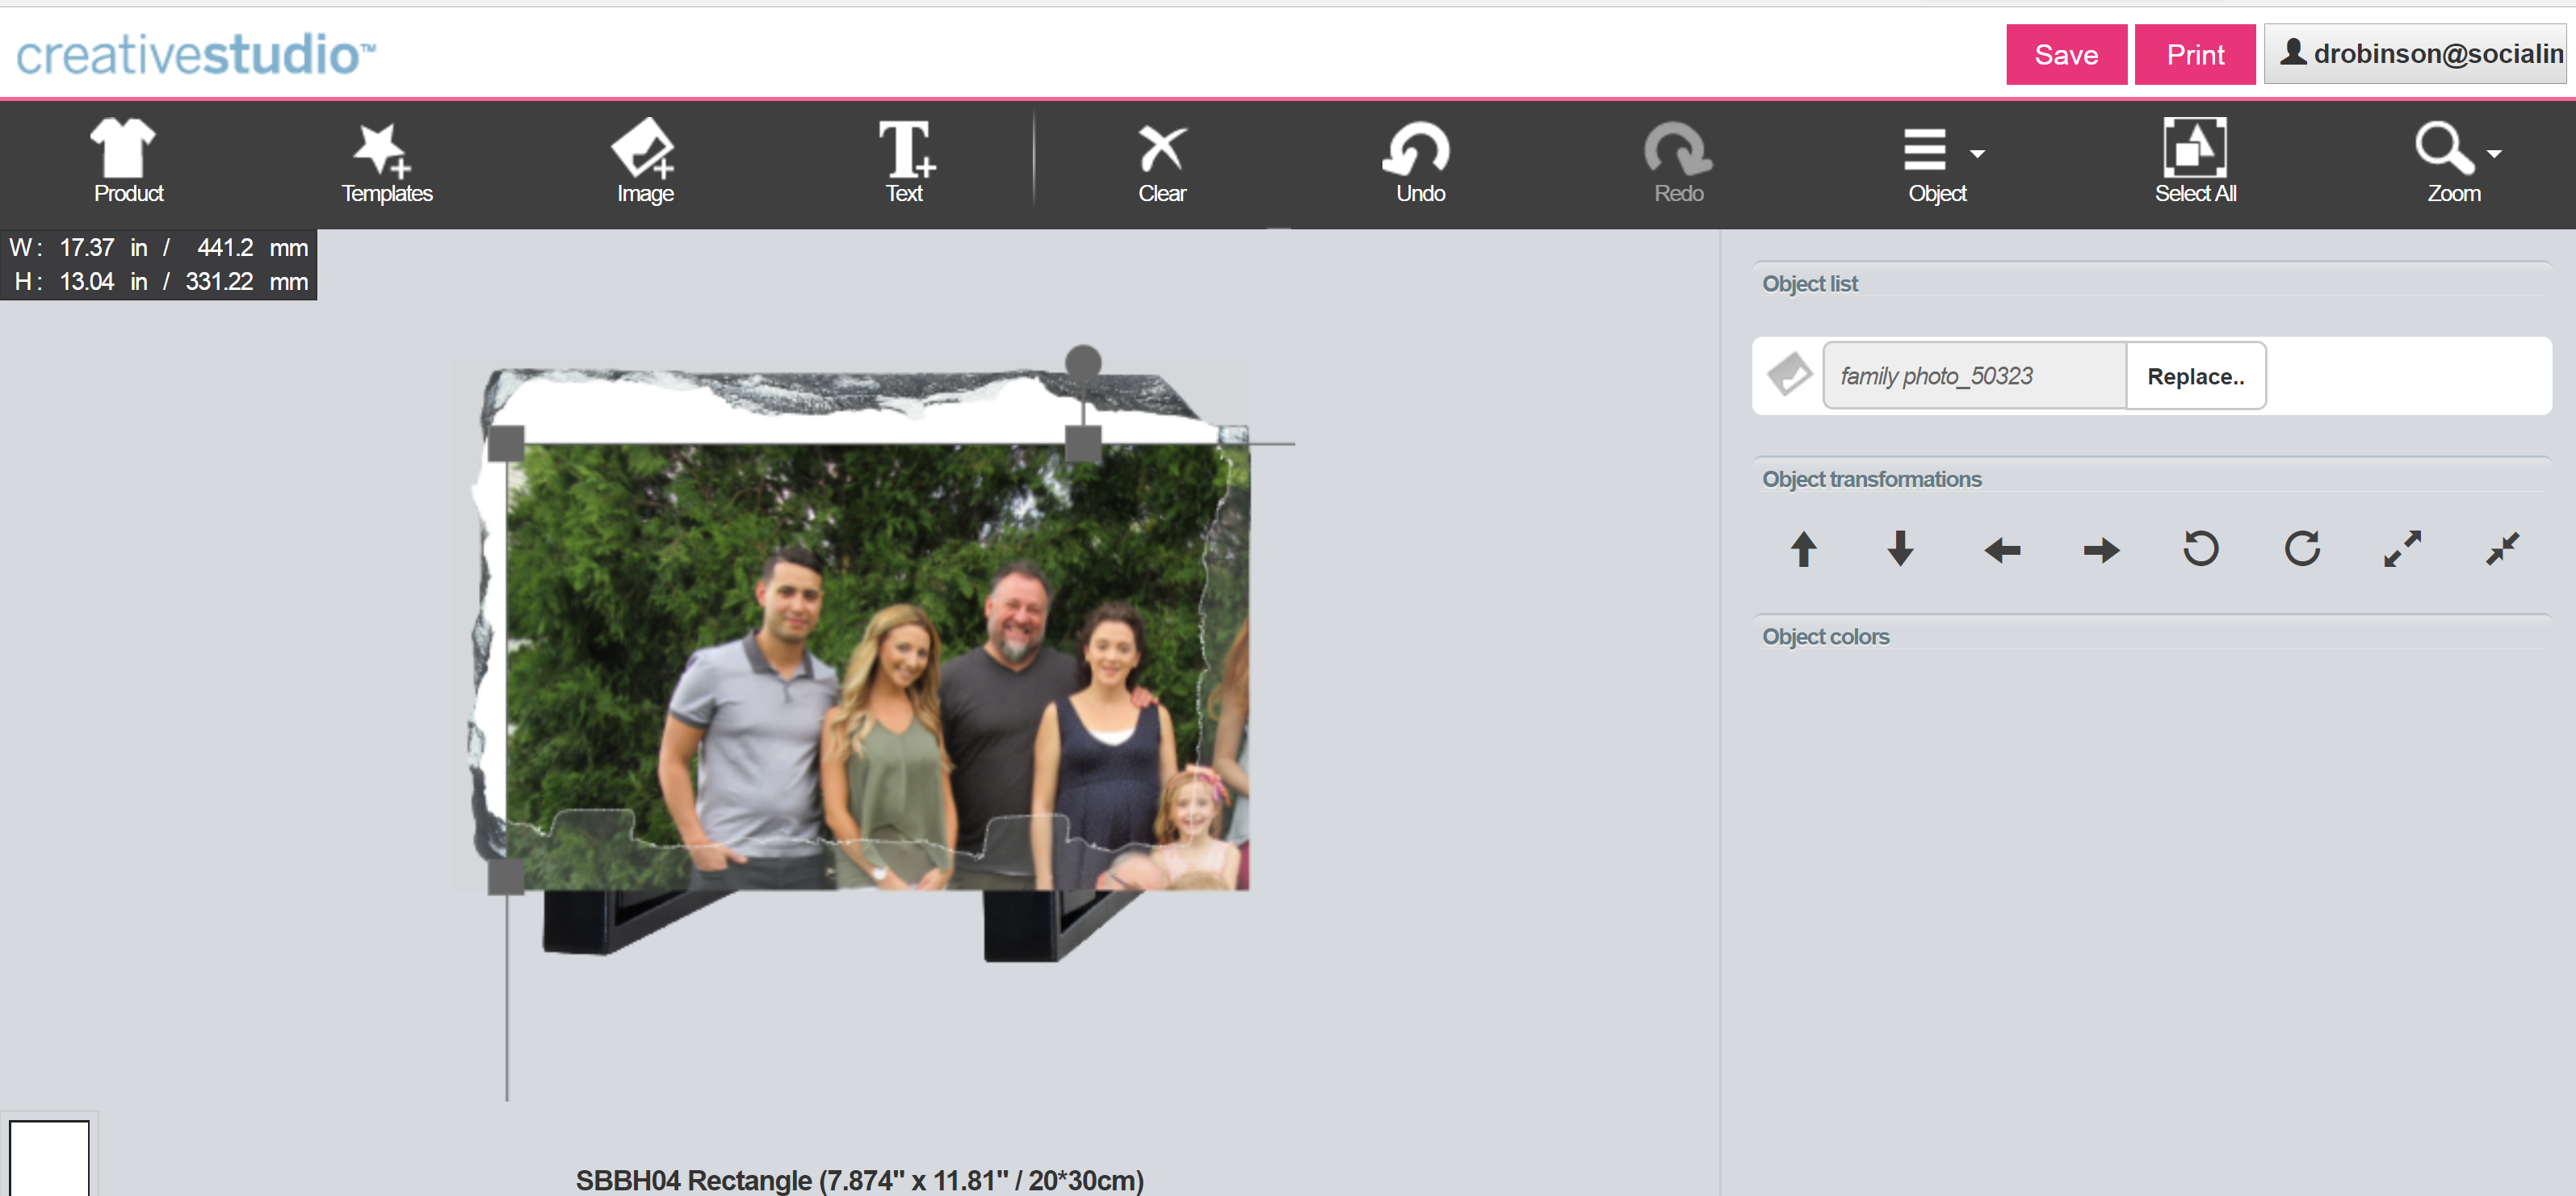
5. To add a photo, click the image button, upload your photo, and resize it to fit the rock slate.
rock slate 7
6. Click “print.
DSC07934
7. Now that you’ve printed your image it is time to assemble!
8. Cut your image so that it fits your rock slate shape and tape it into place.
DSC07936
9. Set temperature of your heat press to 415 degrees Fahrenheit.
10. Set the heat press timer to 300-400 seconds depending on the rock slate size. The larger the rock slate, the more time you’ll need for the image to set.
11. Set the heat presses pressure at medium-heavy, but use caution as the rock slate can crack with too much pressure.
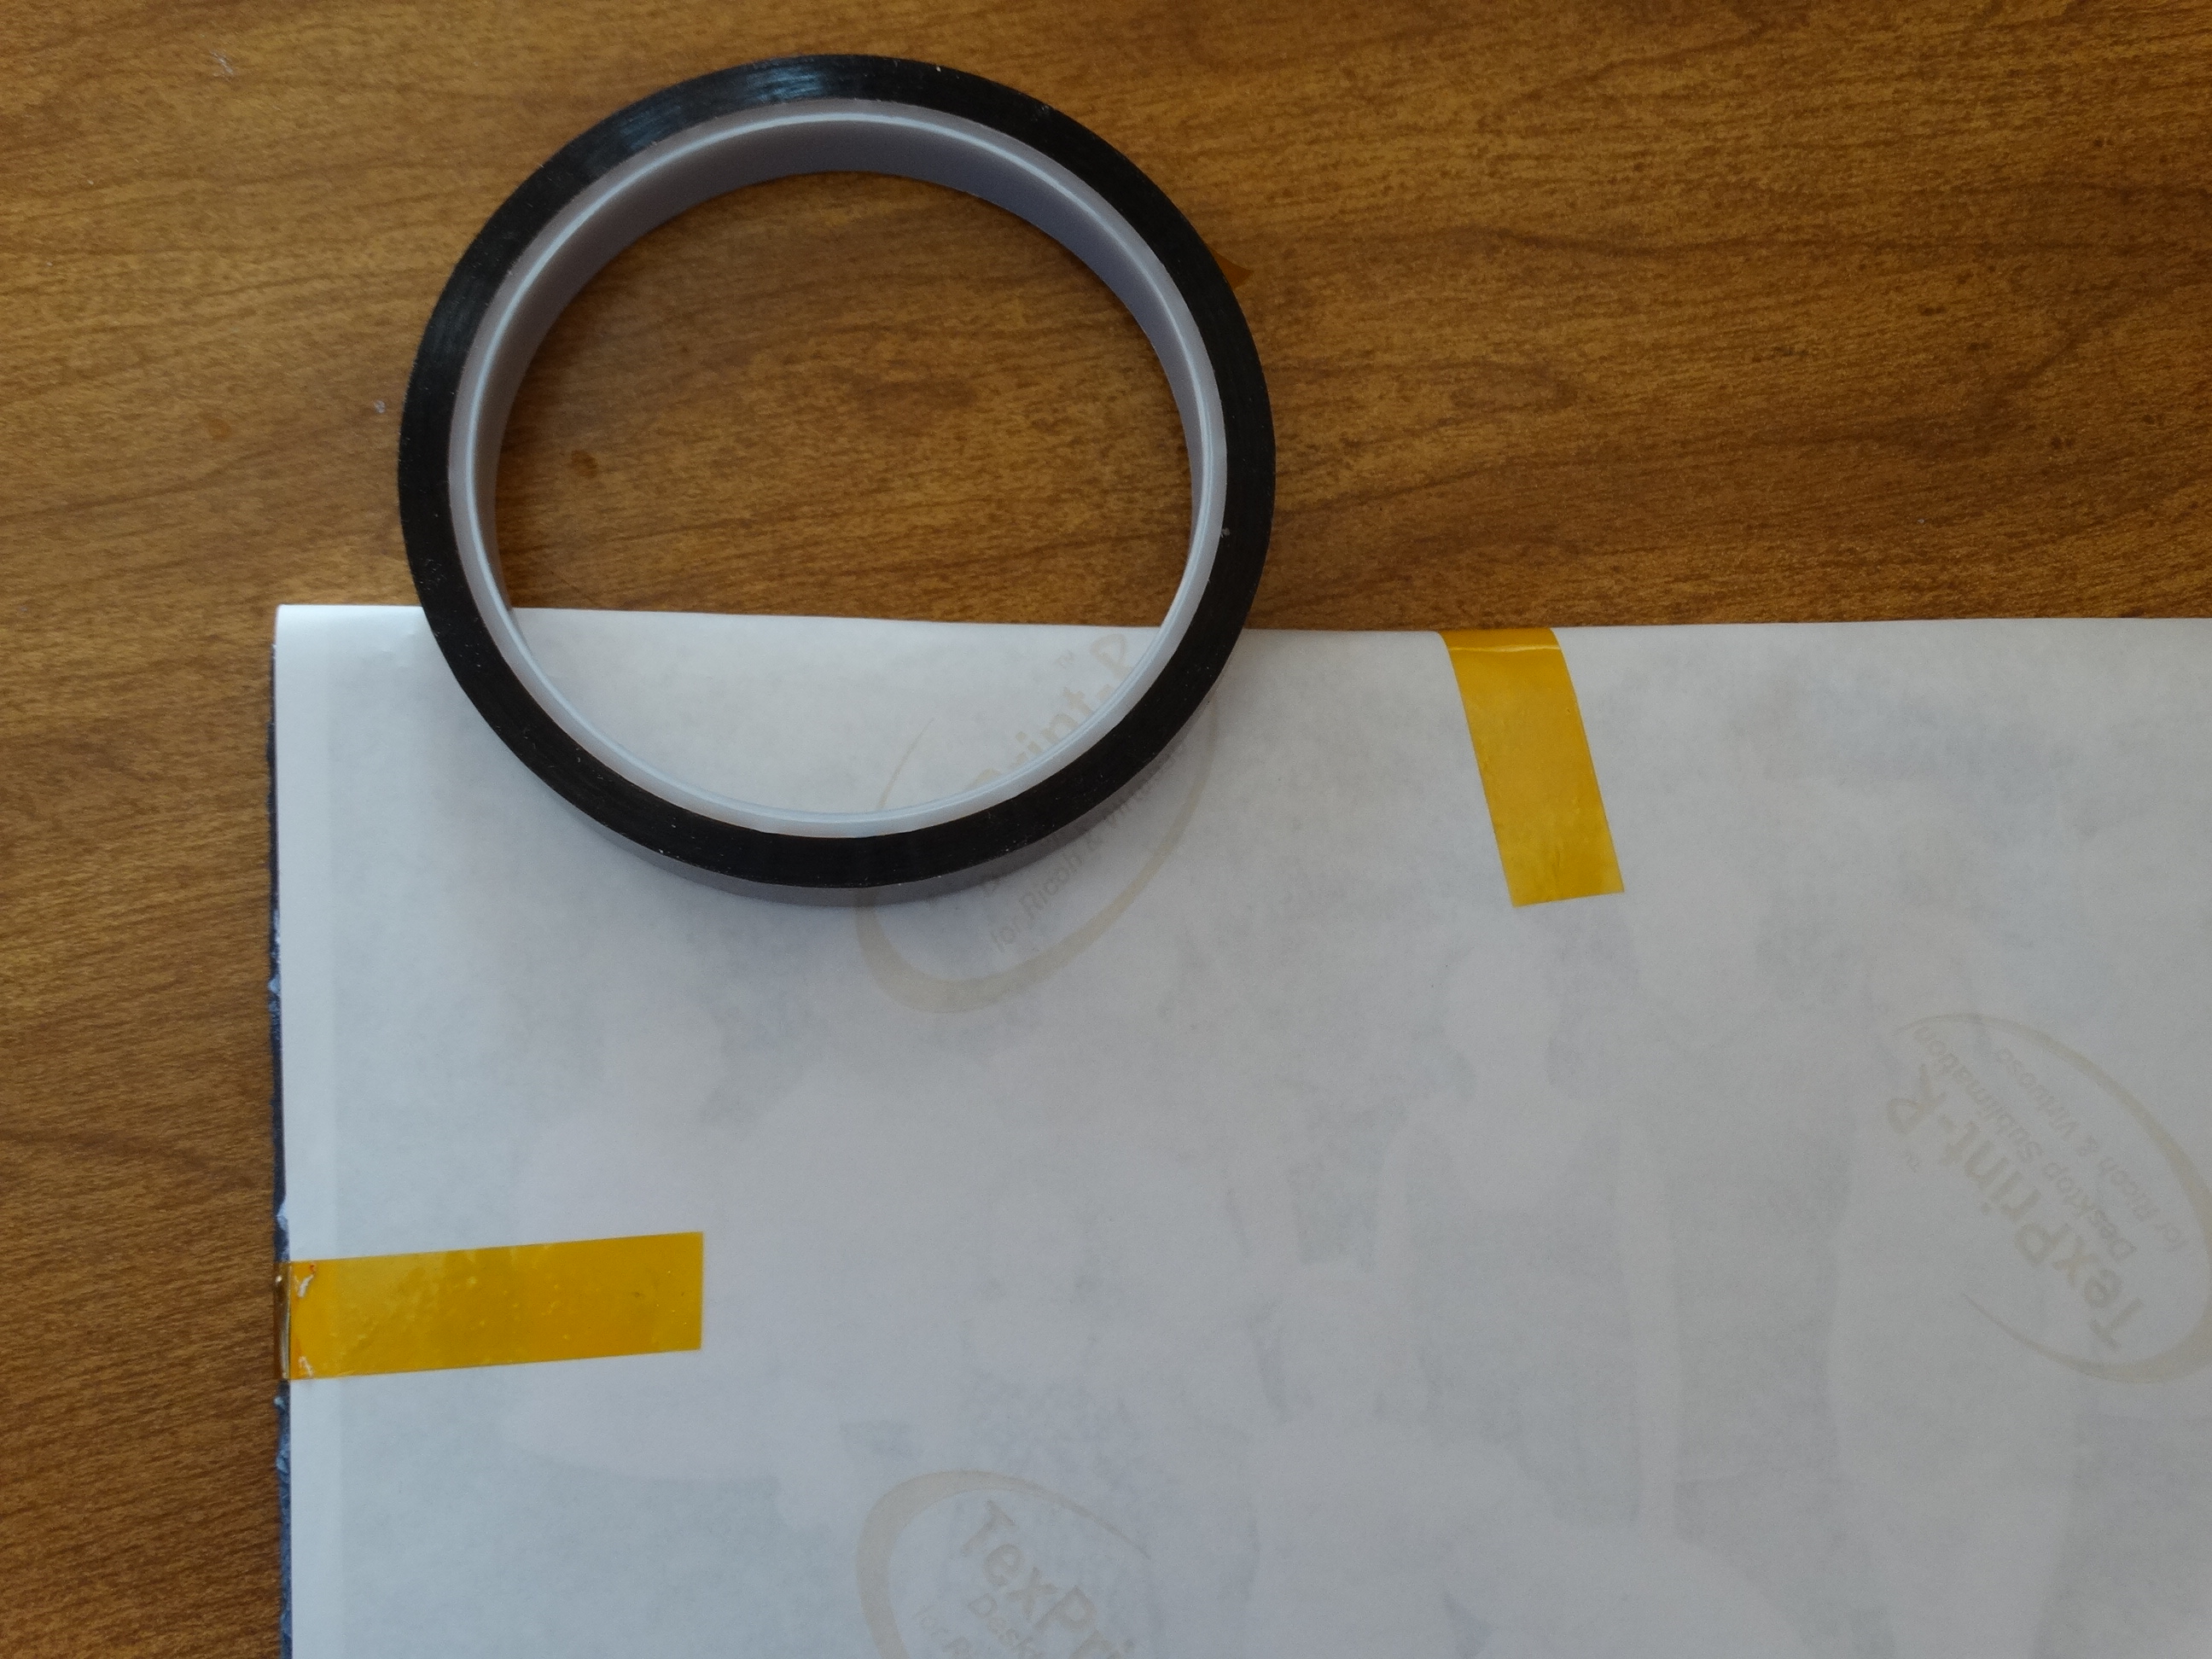
12. Place the substrate face down on the transfer paper and tape the paper to the substrate using transfer release tape.
13. Then place the substrate face up on the heat press.
14. Cover the substrate with a piece of fabric (cut t-shirt) to protect the coating of the rock slate.
15. Then cover the fabric with a silicon pad.
16. Press at 415 degrees F for 300-400 seconds with medium-heavy pressure.
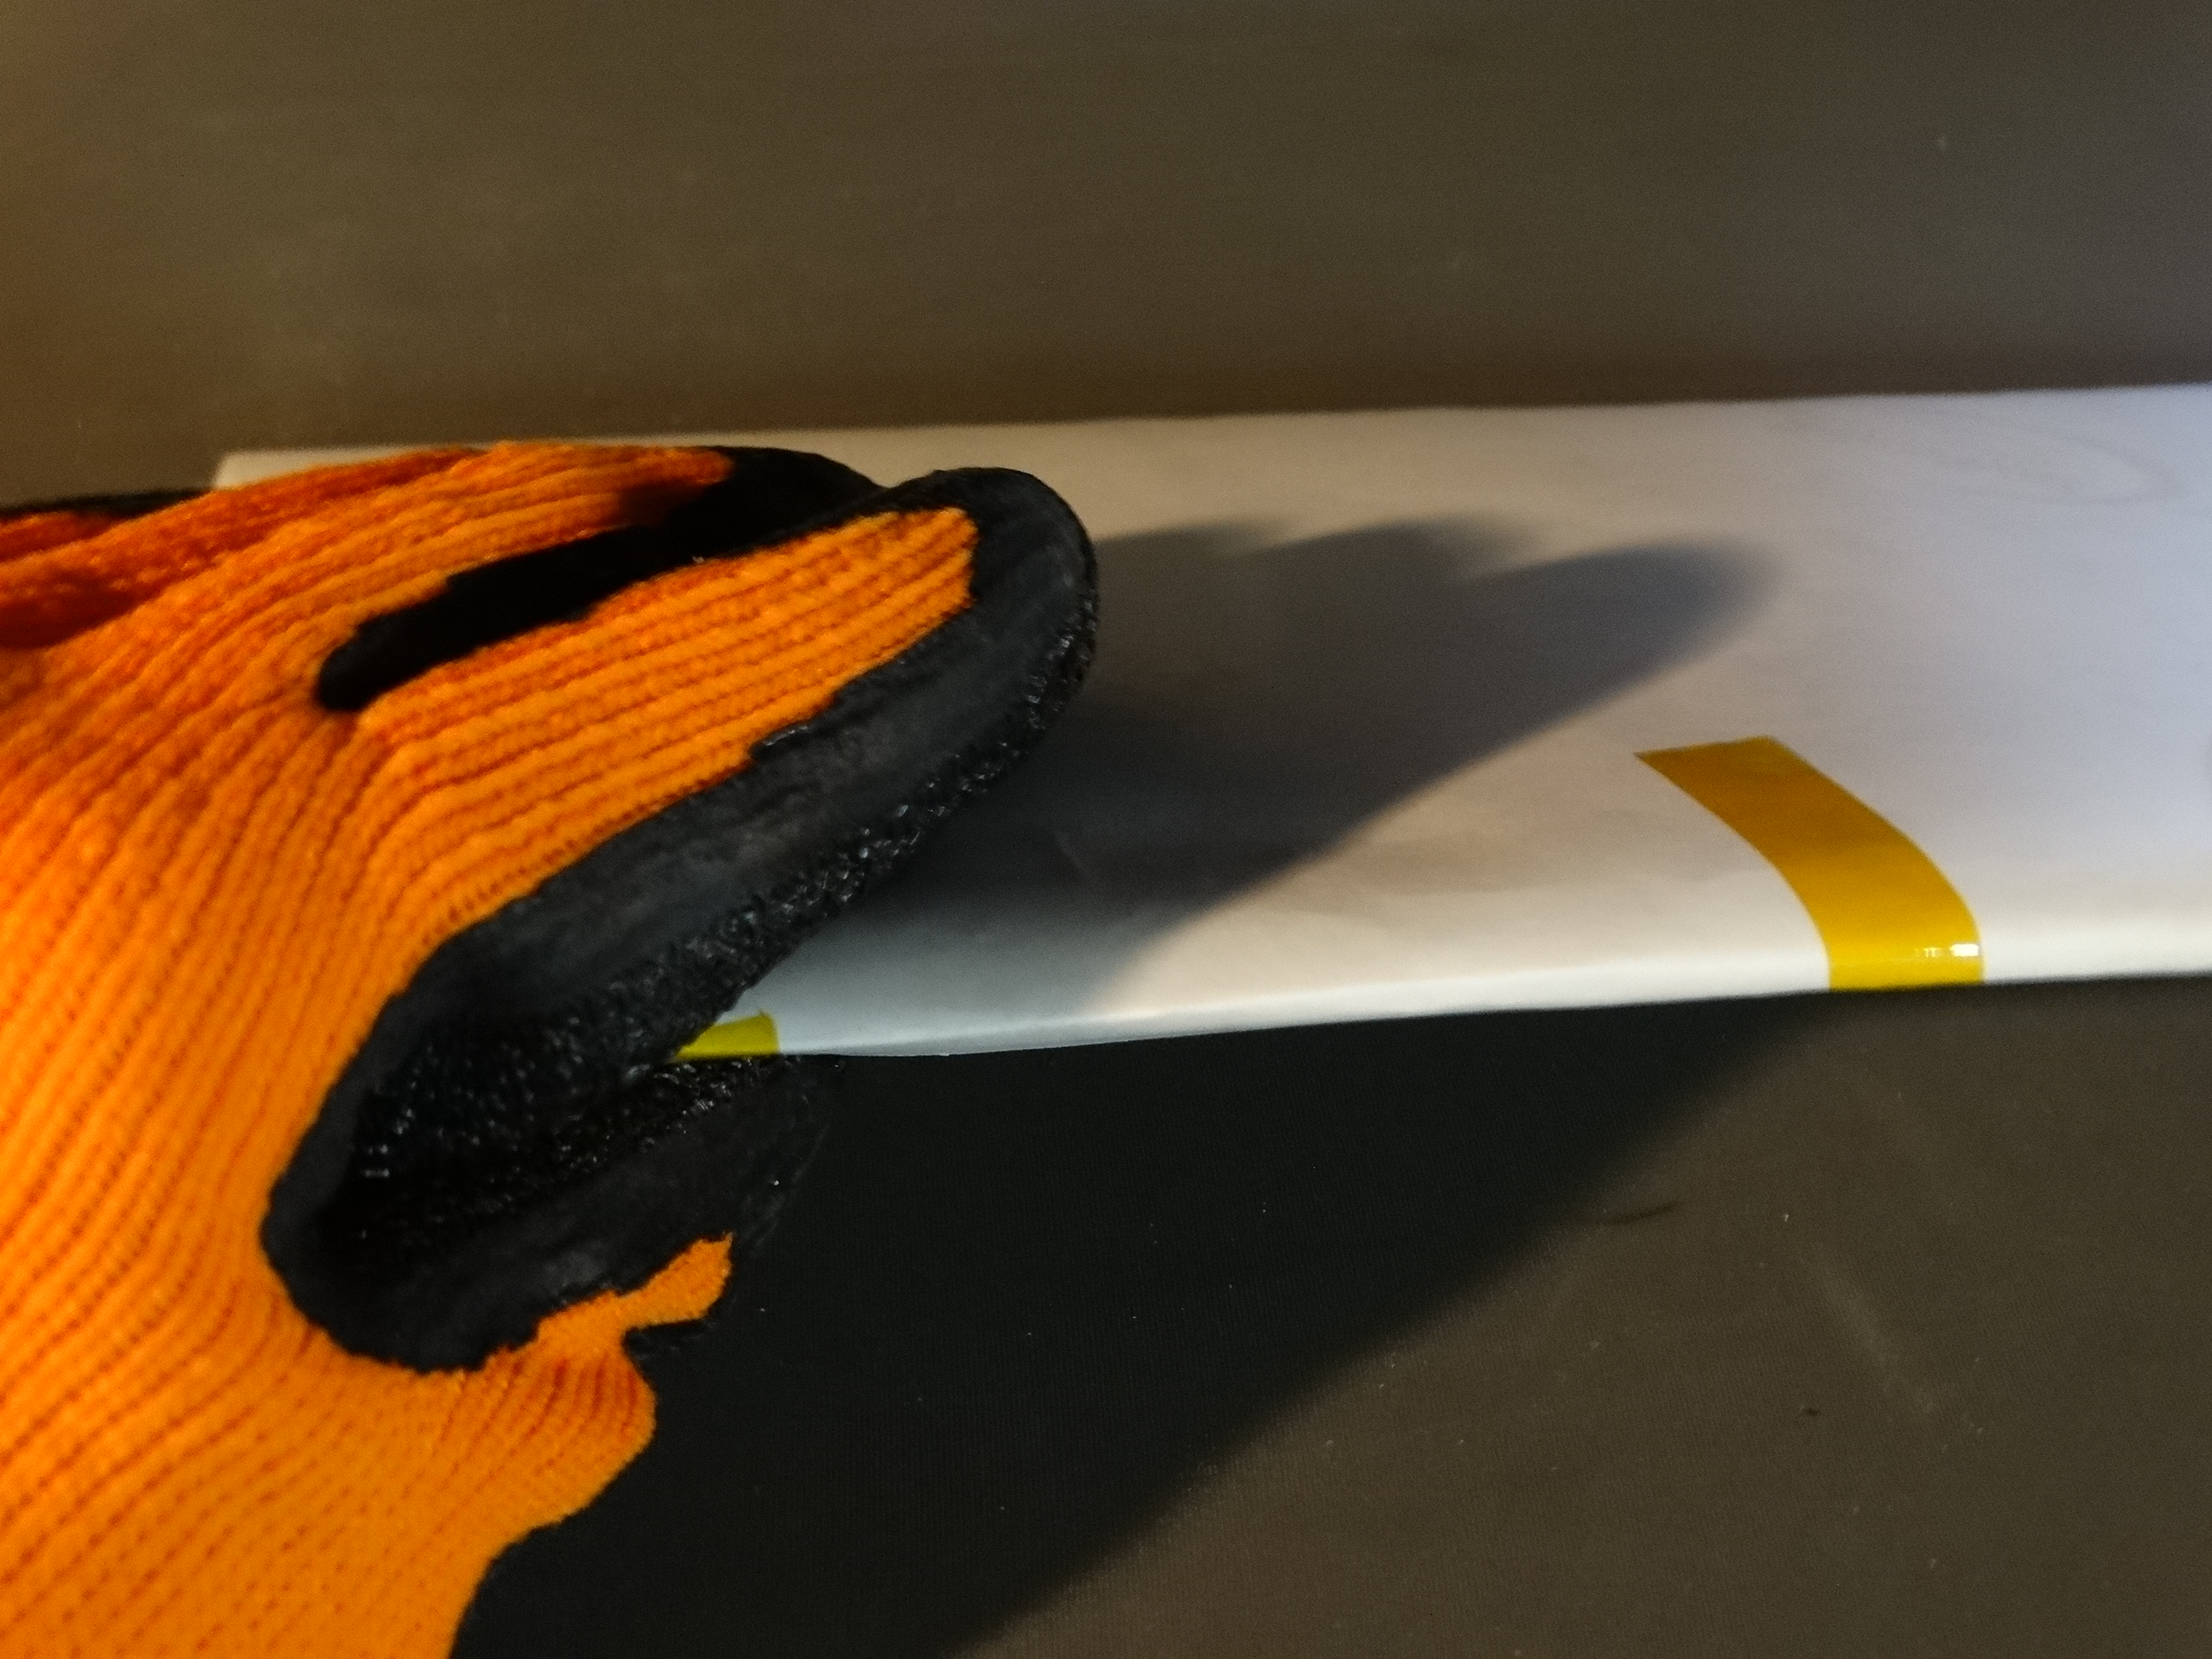
17. Remove the rock slate immediately from press once finished and peel hot. Use caution as rock slate will be very hot.
DSC07937
18. Admire your work!
DSC07938


DSC07943

View & Add Comments

Learn How You Can Simplify Your Design Process!

Have you been wanting to create your own graphics, but don’t have a background in graphic design, and aren’t sure where to start? We can help! The Digital Art Solution software is an add-on service for CorelDraw designed with one primary purpose: to simplify and automate both the design and the production process. Helping you save time so that you can create more, faster! Even better. . . we offer free webinars on how to use the software and related art libraries. Just keep reading for schedule information on those webinars.

graphics

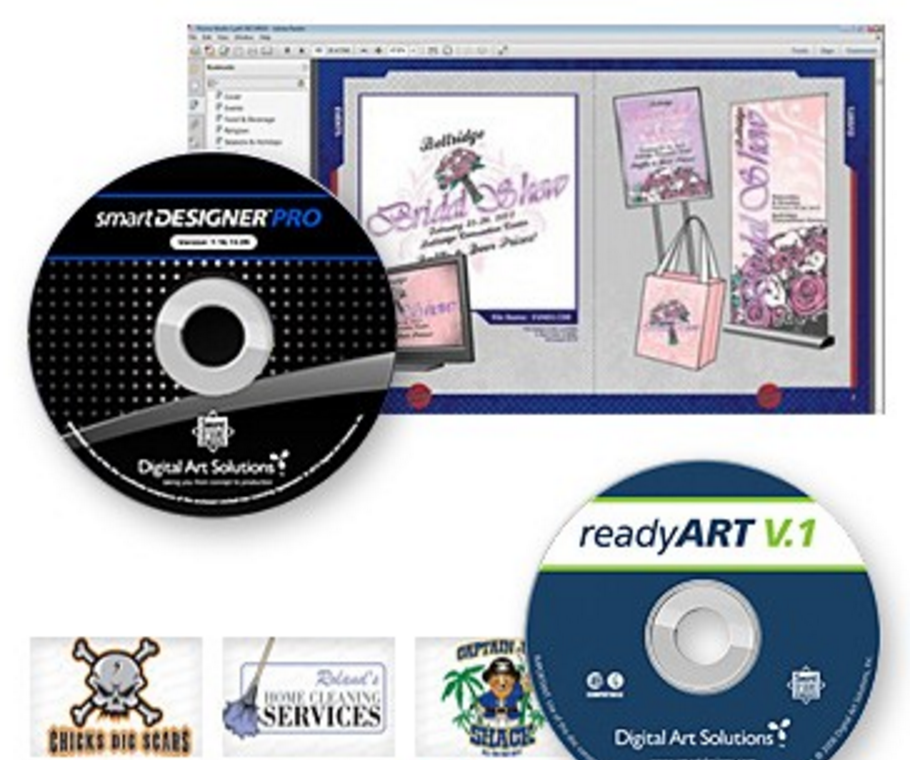
How? Let Smart Designer Pro do most of the work! This add-on software makes it possible for anyone, regardless of skill level, to produce high-quality custom graphics quickly and easily within CorelDRAW . Anyone who produces graphics relies on two basic technologies: graphic design software and digital artwork (clip art, templates, fonts, etc). This software combines both into a graphics system that works seamlessly with CorelDRAW.

starter pack

Do you create garments with rhinestone designs? Then you will love Rhinestone Designer! This add-on software blends in seamlessly with CorelDRAW X7 or X8. Rhinestone Designer adds over 65 design and production features to CorelDRAW that automate and simply art production for rhinestone apparel and heat applied graphics. Making it even easier for you to design Rhinestone garments!

rhinestone

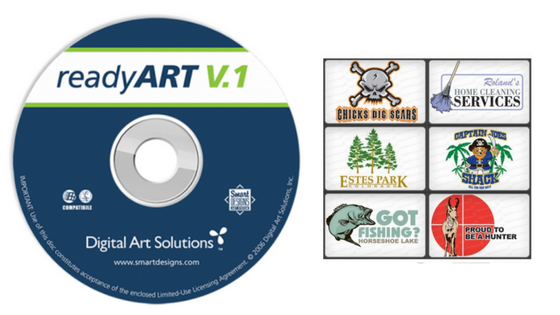
The Ready Art series was designed as a tool for anyone who needs to quickly produce high-quality custom artwork for the imprinting industry without any cleanup. Each clipart image and template is specially prepared to be “production-ready” without any modification.

ready art

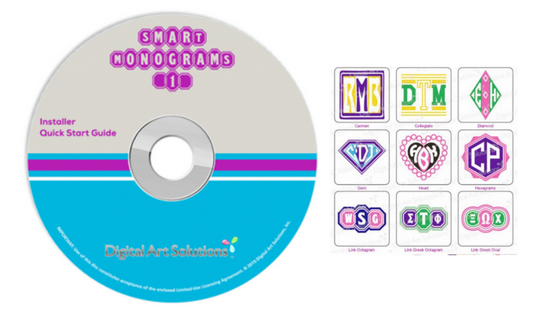
Are you in the personalization business? Smart Monograms is a monogram template that works with the Smart Designer Pro Add-On software within CorelDRAW! This innovative product line was designed to create highly profitable customized products without the hassle of working with traditional monogram fonts.

mono
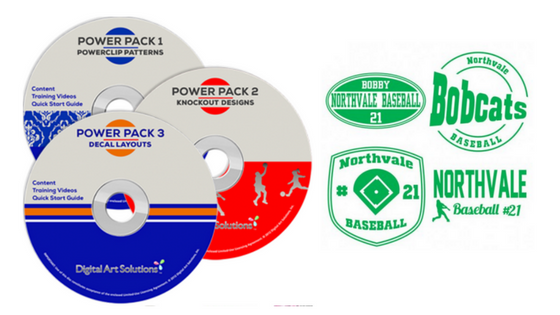
Are your customers requesting vinyl decals? If you want to increase your decal business, then Power Pack Decals is sure to help! The Power Pack 3 is a complete kit of tools to design, market and sell vinyl decals. The kits include editable templates, sales sheets, an order form and critical training documents for selling vinyl decals as part of a fund-raising program. Power Pack 3 is compatible with CorelDRAW X4 or higher, Rhinestone Designer and Smart Designer Pro.

mono (1)
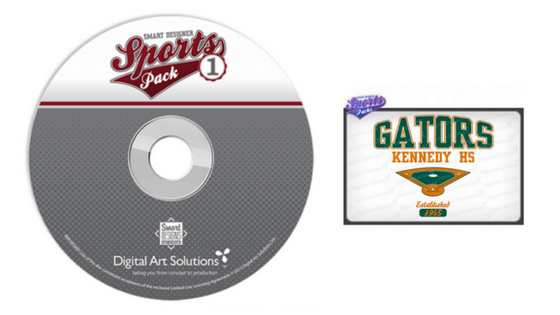
Designing for sports teams and fans? Sports Packs 1-3 are 2 collections of vector clip art for our Smart Designer Pro add-on software for CorelDRAW. These three collections of sports oriented vector clipart and templates provide maximum production flexibility and style. Each file has been meticulously crafted to ensure production readiness for popular production processes.

mono (2)
Interested in seeing a demonstration? Sign up for a free webinar! There are two coming up in May: Profitable Opportunities in Rhinestone Multi-Decoration, Monday, May 1 from 4 – 5:00 PM EDT, and Monogramming Madness, Monday, May 15, 4 – 5:00 PM EDT. Please click here for the schedule and to register. If you can’t make our live webinars, please view any of our previously recorded

View & Add Comments

Solar Heat Transfers

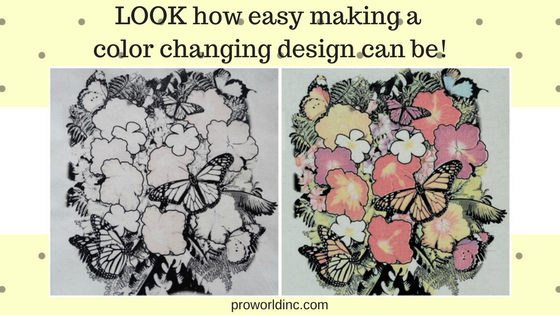
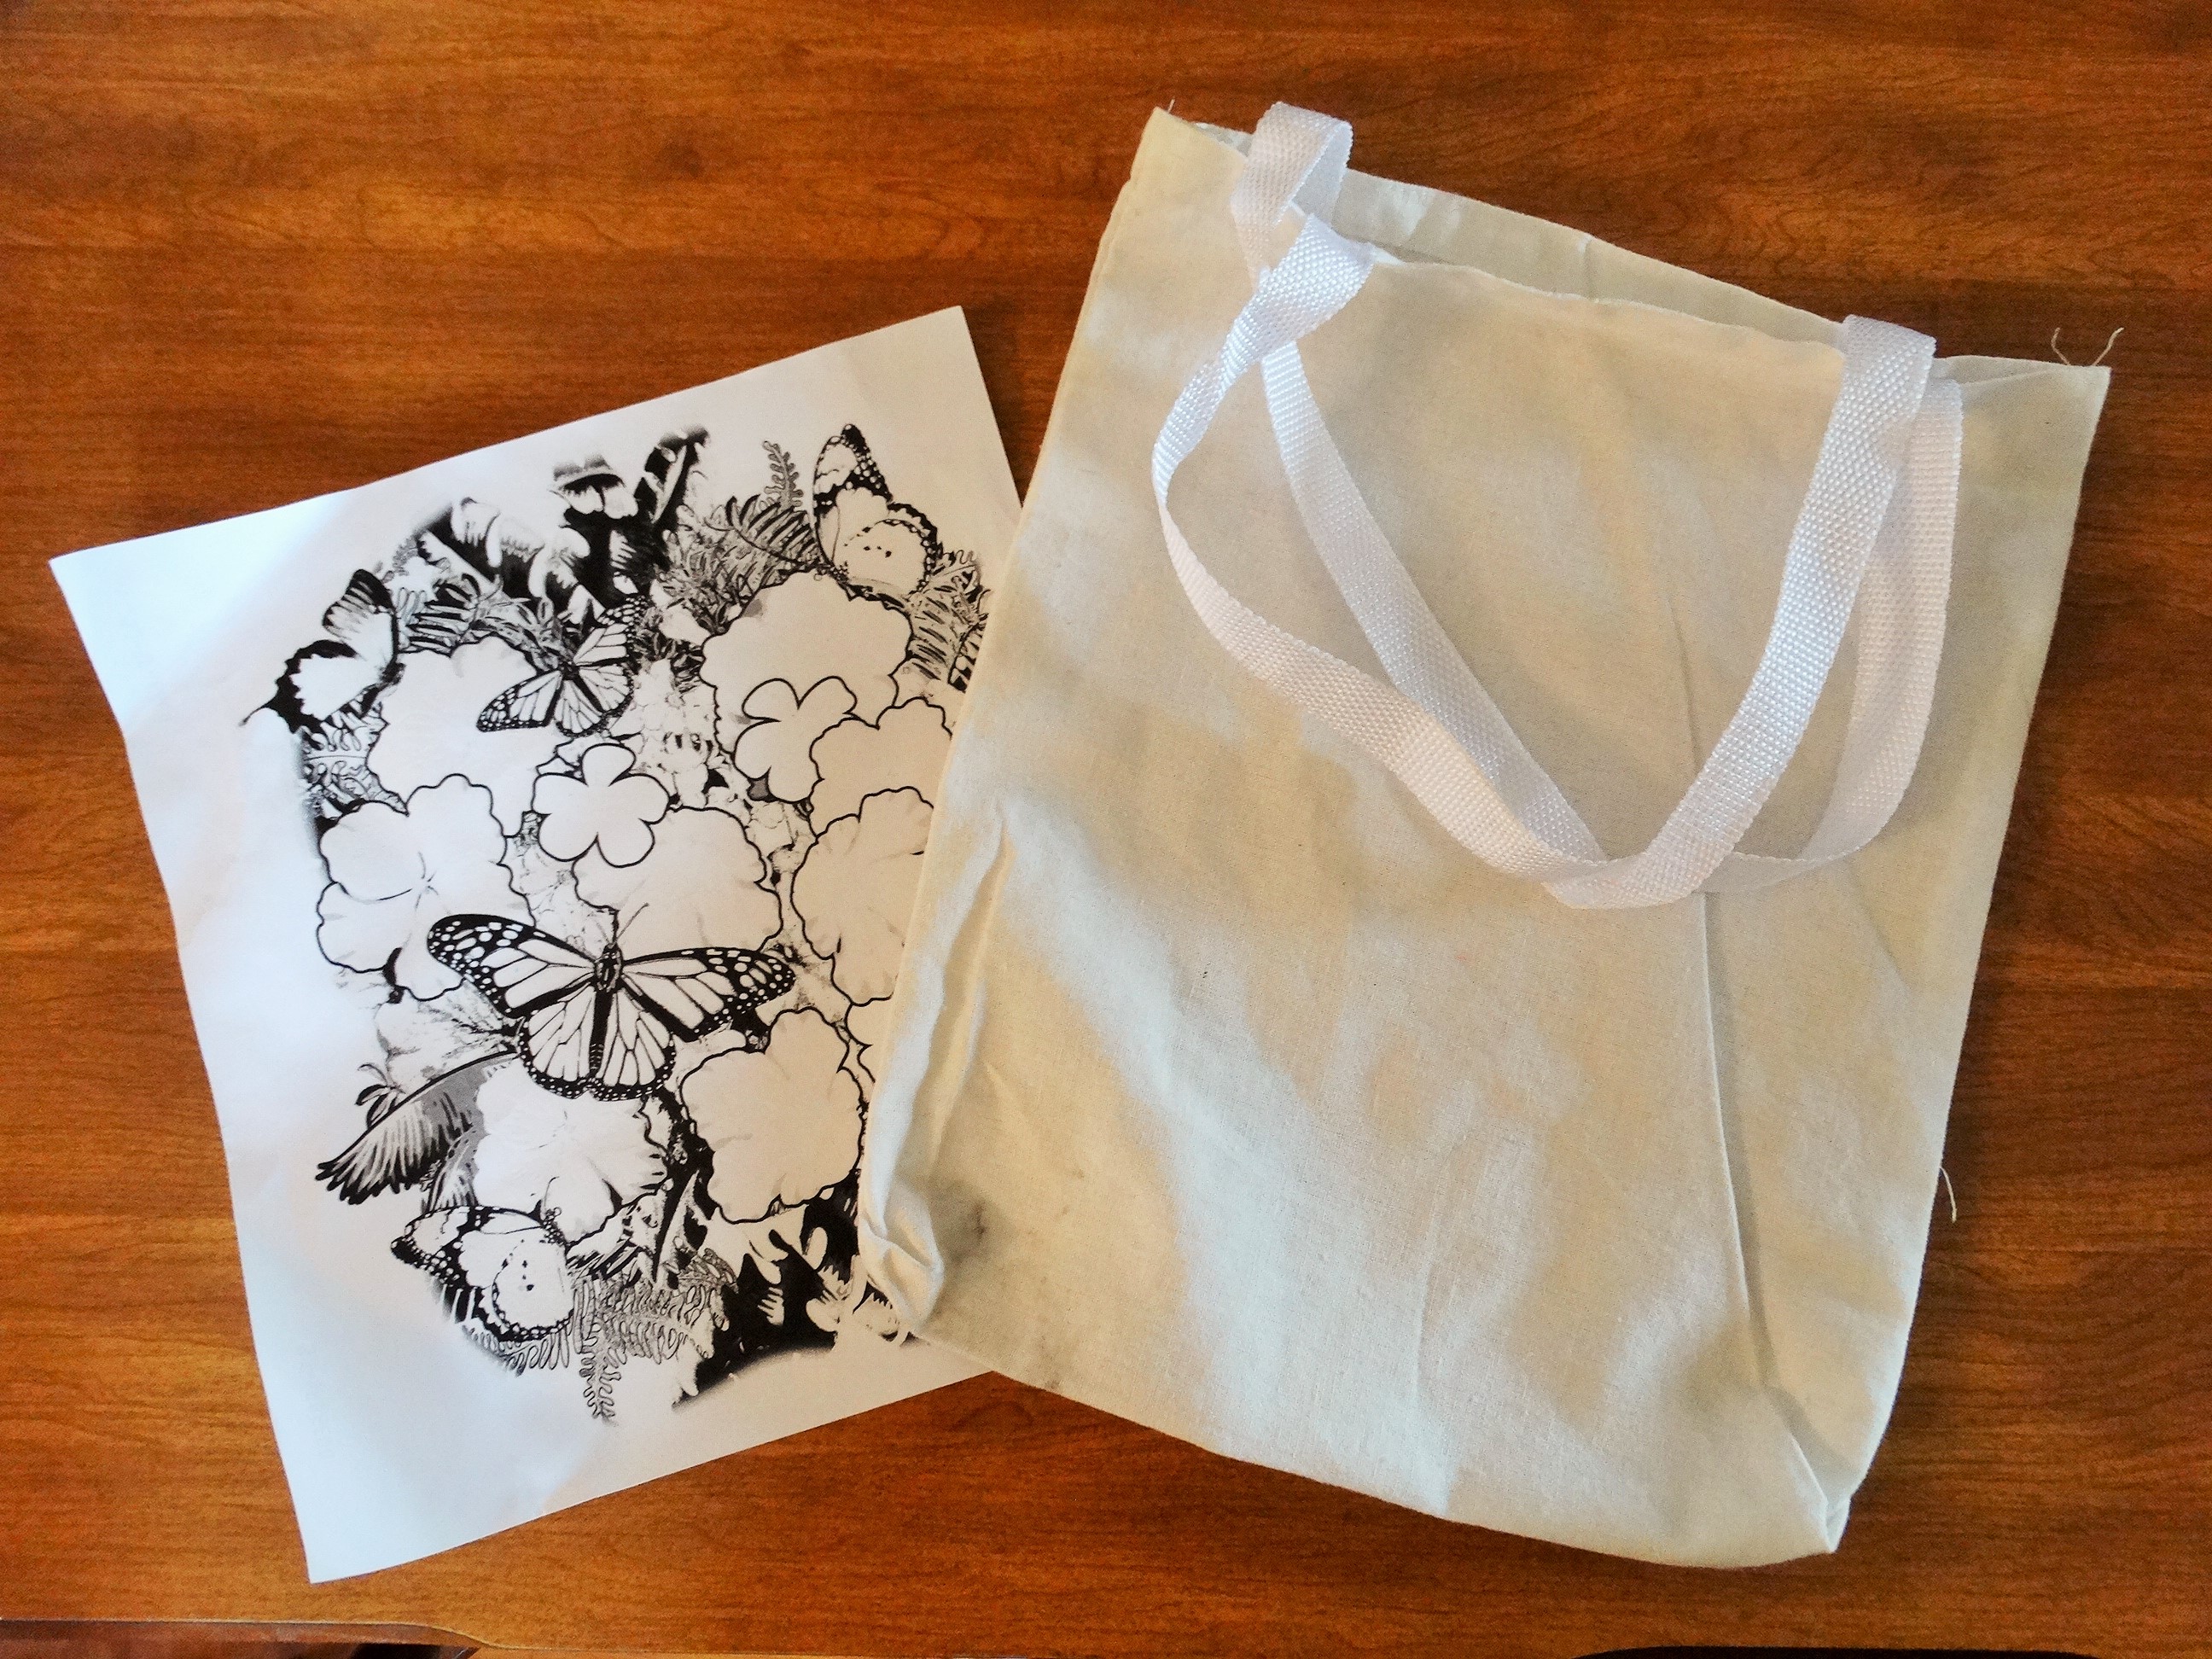
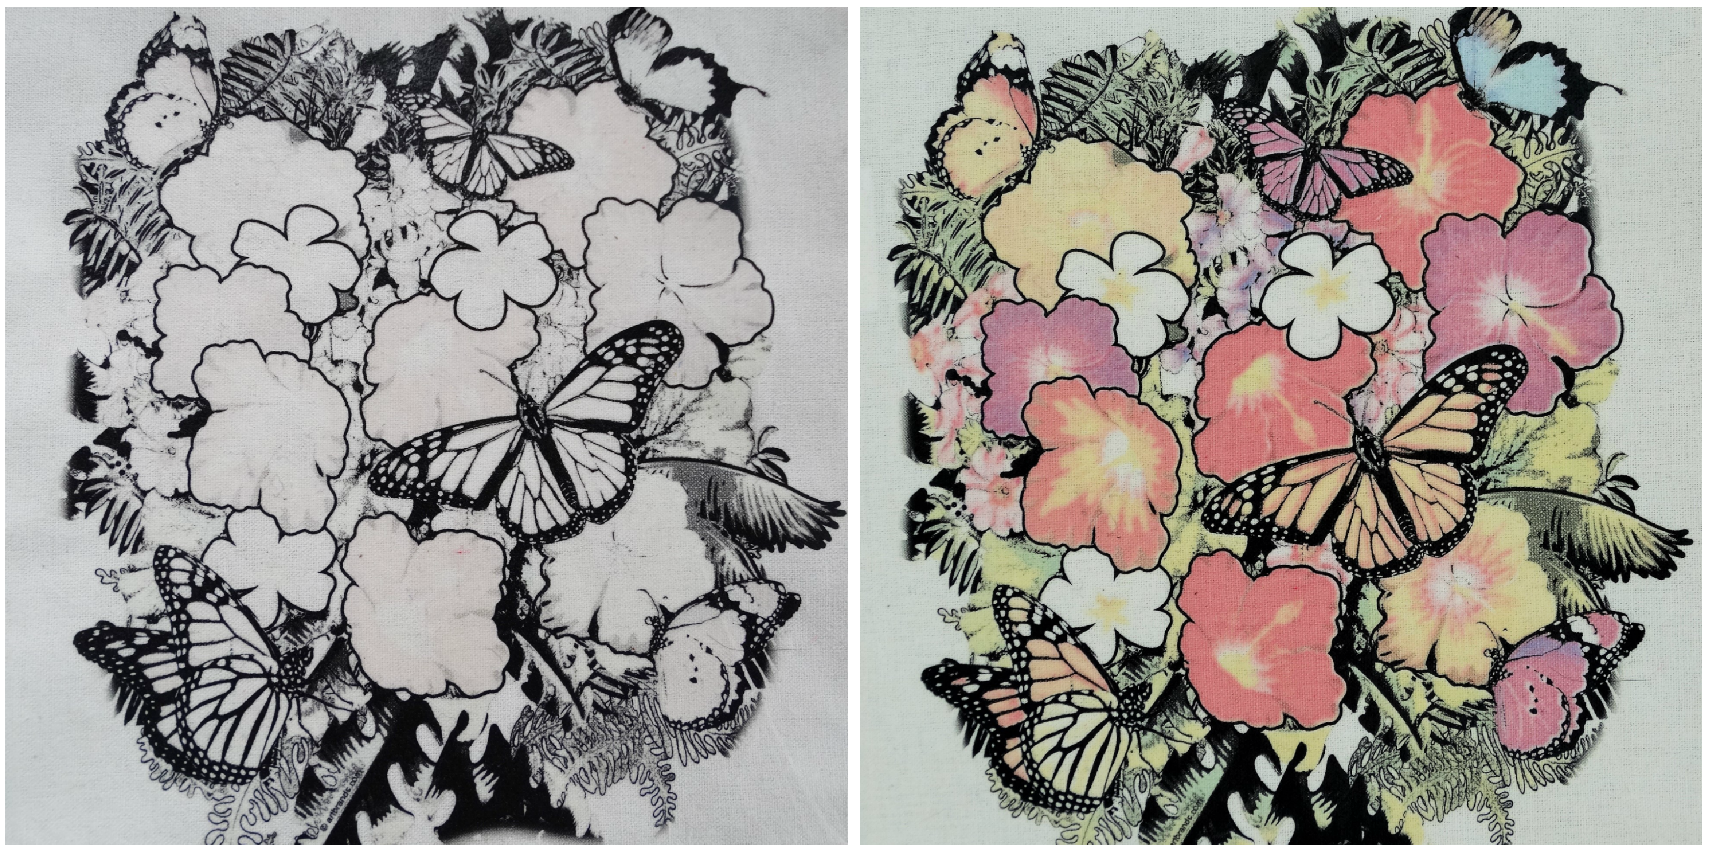
Add a little magic to your designs and stand out from the rest with a SOLAR heat transfer! You can watch your design change before your eyes with this color changing technology. These are the perfect transfers for items that will be exposed to the sun, such as beach totes, t-shirts, and baseball caps. Plus application is simple!

solar title (1)

Here’s what you need:

solar heat transfer

– heat press

-light garment (we are using a white tote bag)

DSC07911


Ready to get started? It takes less than a minute!

1 – Set the temperature on your heat press to 390-400 degrees Fahrenheit.

2 – Set pressure at medium.

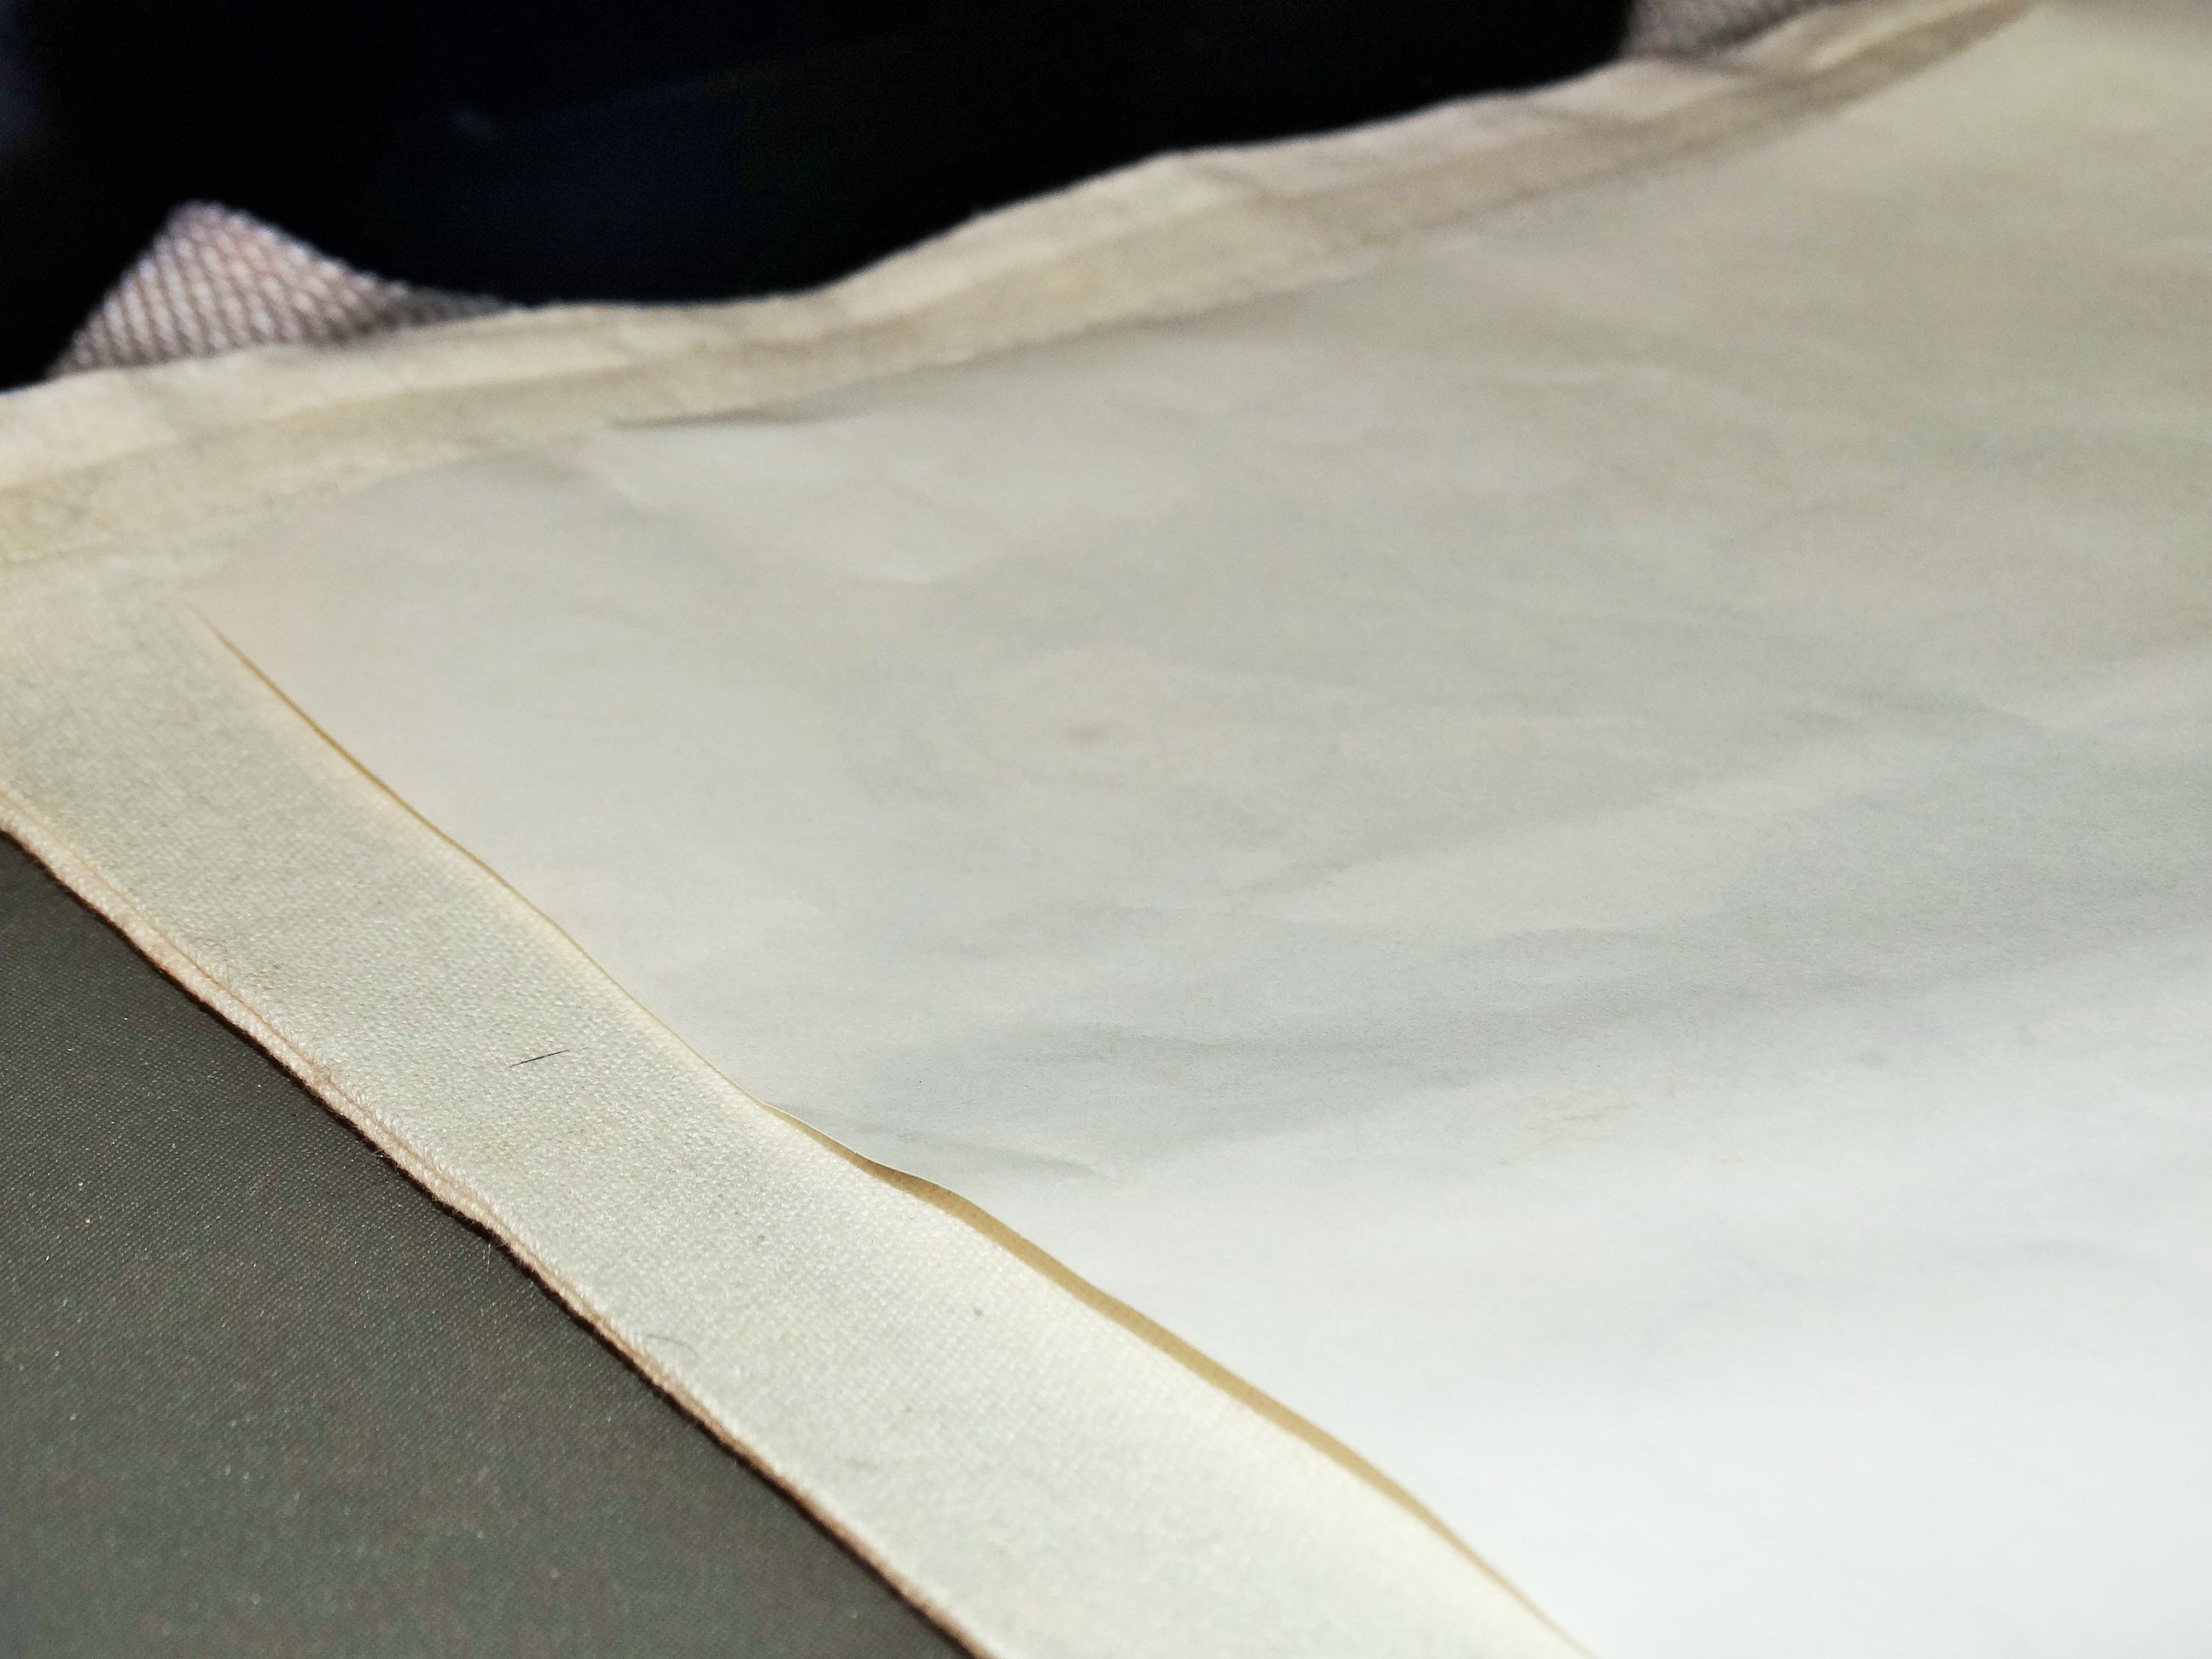
3 – Place your heat transfer face down onto your garment.

DSC07918

4 – Press for 10-12 seconds.

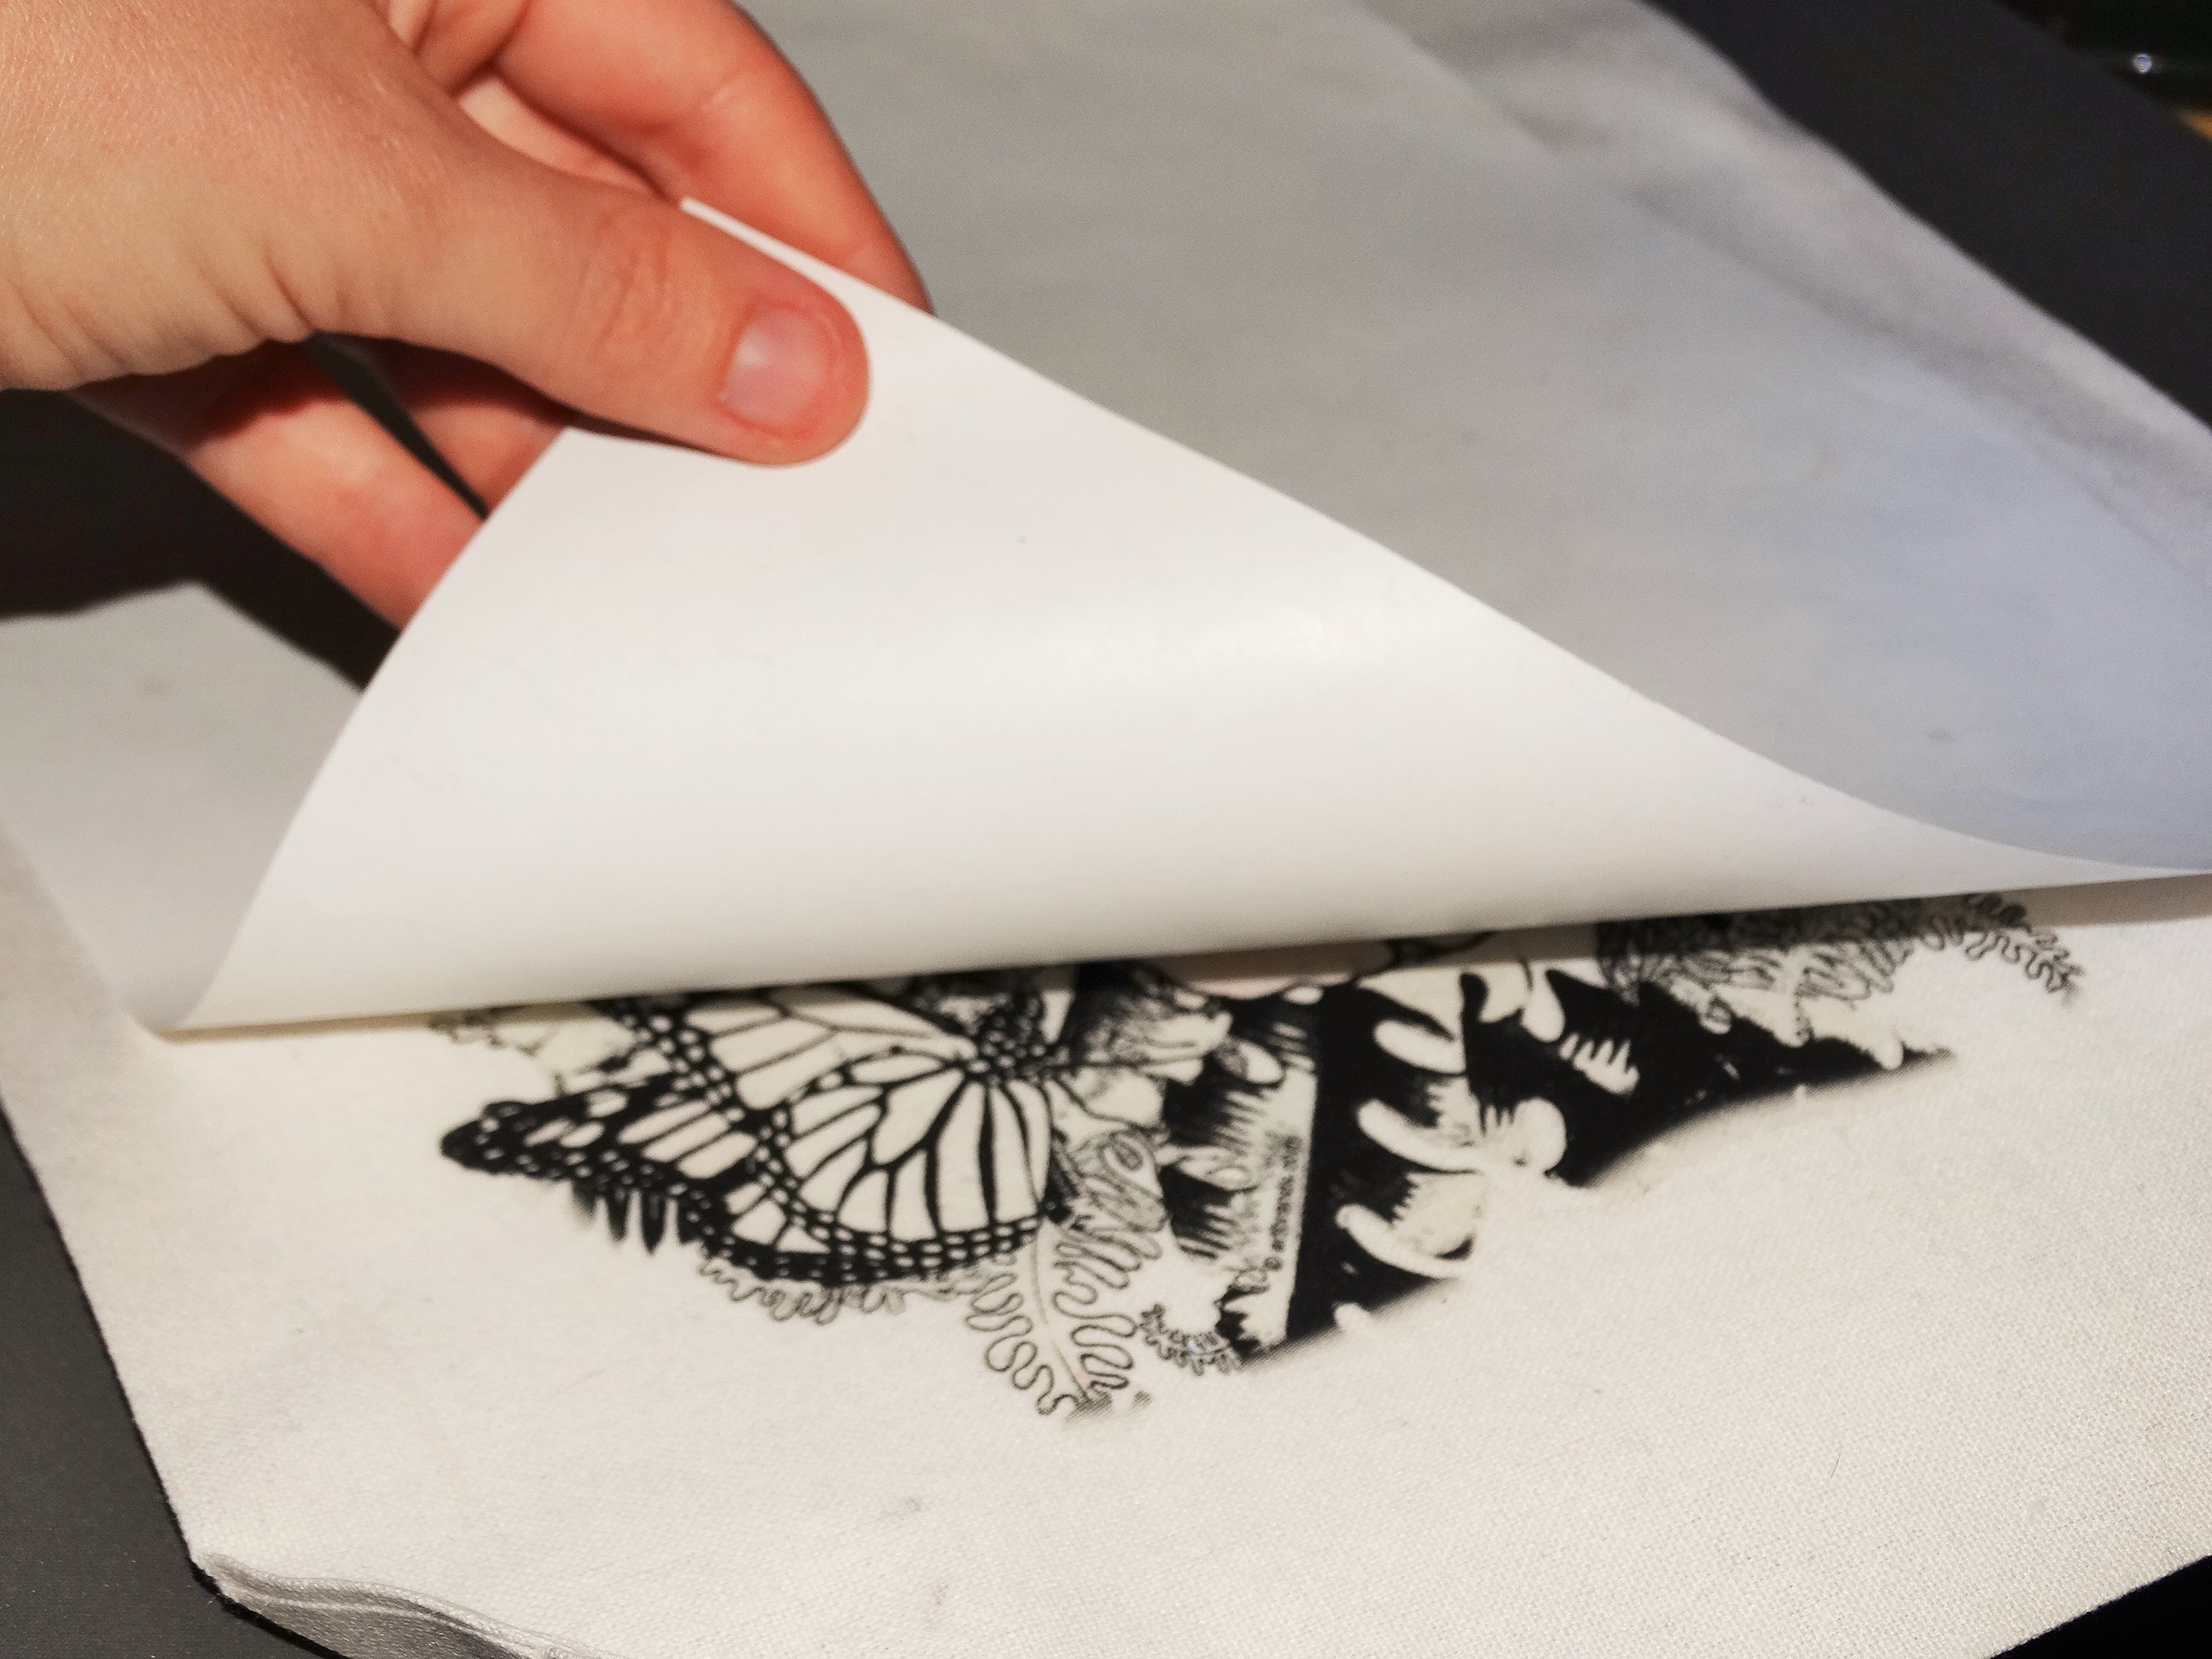
5 – Peel immediately while hot, in one continuous, smooth, rapid motion.

DSC07923

6 – Take your garment outside in the sunlight and watch the colors change before your eyes!

collage solar

With over 30 solar designs to select from, choosing your favorite will be the hardest step.  You can find all of our solar designs here.


View & Add Comments

Mother’s Day Gift Guide

PROWORLDINC.COM (1)

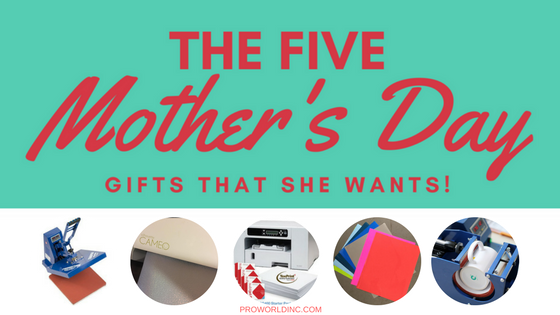
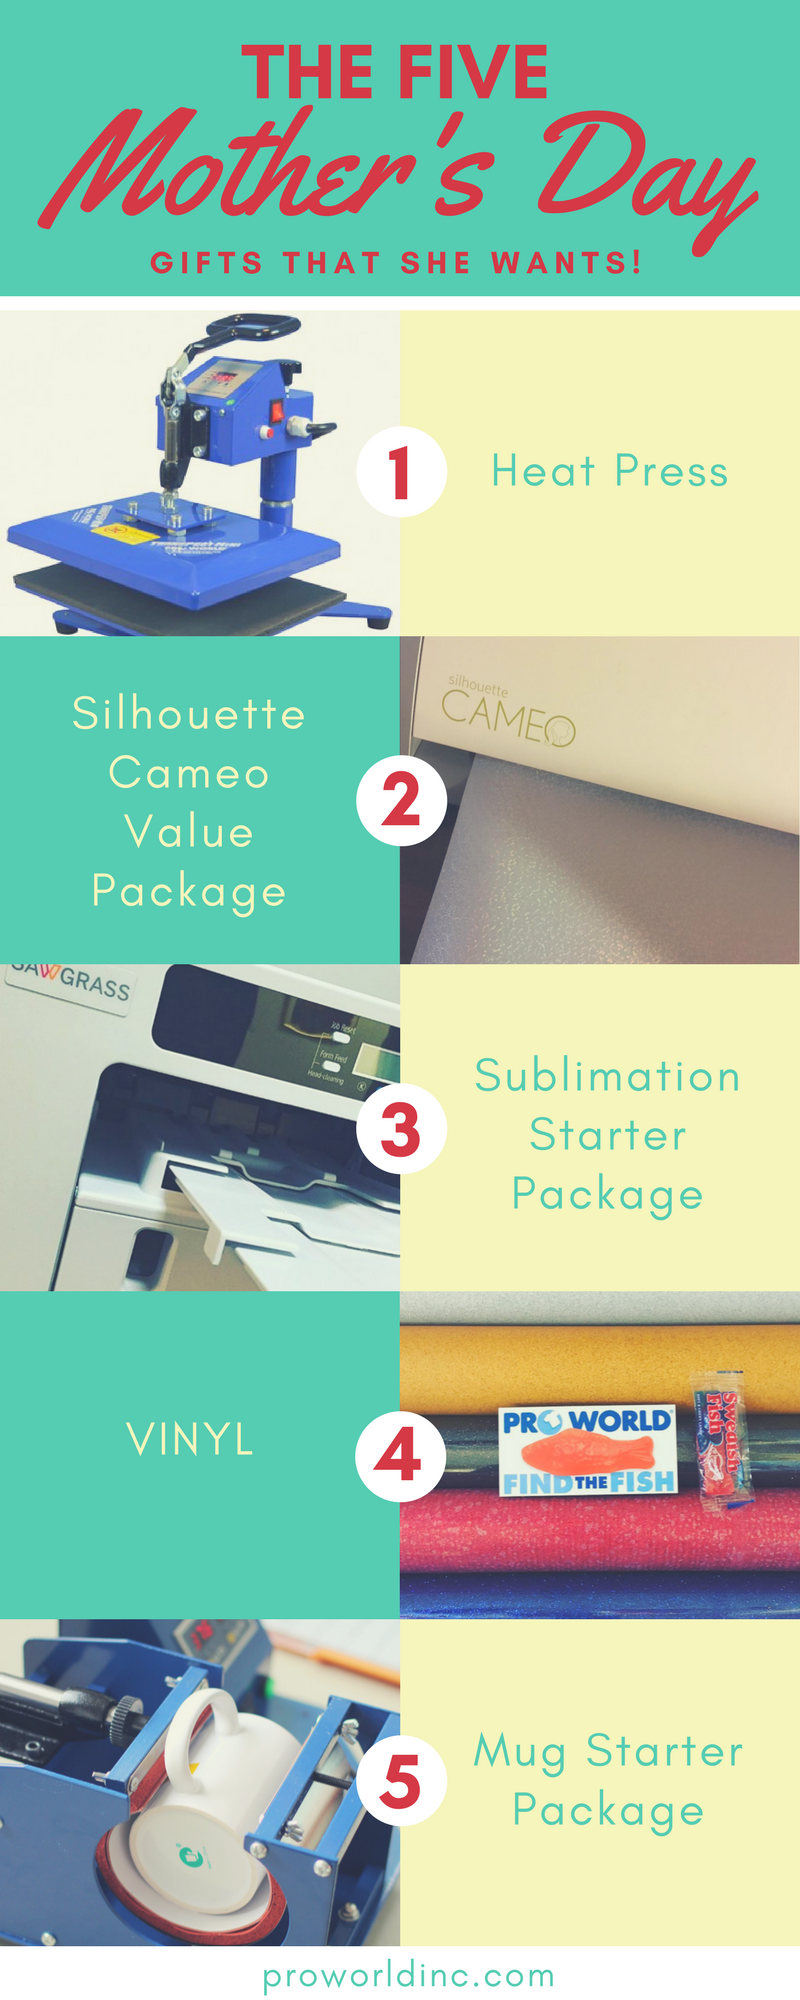
With Mother’s Day around the corner, we thought now was a good time to share our top 5 gifts for the women in your life, including you! This way, when you inevitably get asked what you would like for this special day, you can easily share your wishlist. For business owners, these are also great items to add to your offerings so you can take your custom business to the next level.

heat press

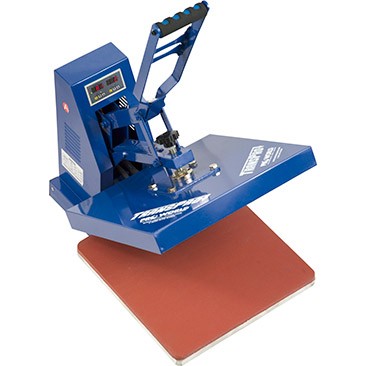
Wouldn’t it be nice to put the iron away for good?  With a heat press, you can do just that! Pictured above is our most popular heat press, the Trans Pro 15 x 15. This easy to use, manual heat press is ideal for applying heat transfers to t-shirts, jackets, mouse pads, tiles, and more! The even pressure and temperature makes creating custom items a breeze!
package-optional-mini-v4
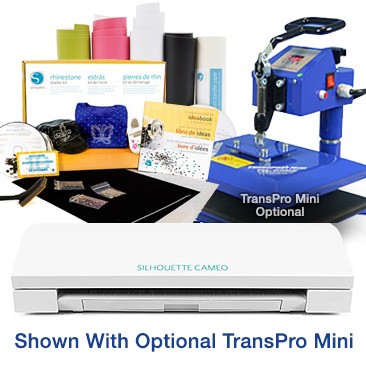
Have you been dreaming about owning a Silhouette Machine? Then this is perfect for you! With the Silhouette Cameo Value Package, you will receive a Silhouette Cameo 3, a Vinyl Starter Kit, a Rhinestone Starter Kit, and a Heat Transfer Starer Kit. Plus, you can add a discounted 15 x 15 Heat Press to the package so that you are all ready to get crafting!
sublimation pacl
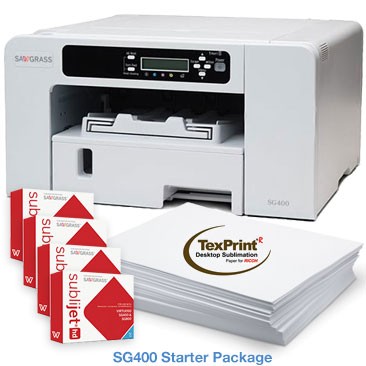
Are you ready to take your custom business to the next level? Great! With the Sublimation Starter Package, you will be able to create one-of-a-kind, custom pieces like mugs, phone cases, frames, license plates, tags, and more. This bundle includes a high-performance sublimation printer, ink, paper, and easy to use creative software. You can add a heat press to this bundle as well!
vinyl collage
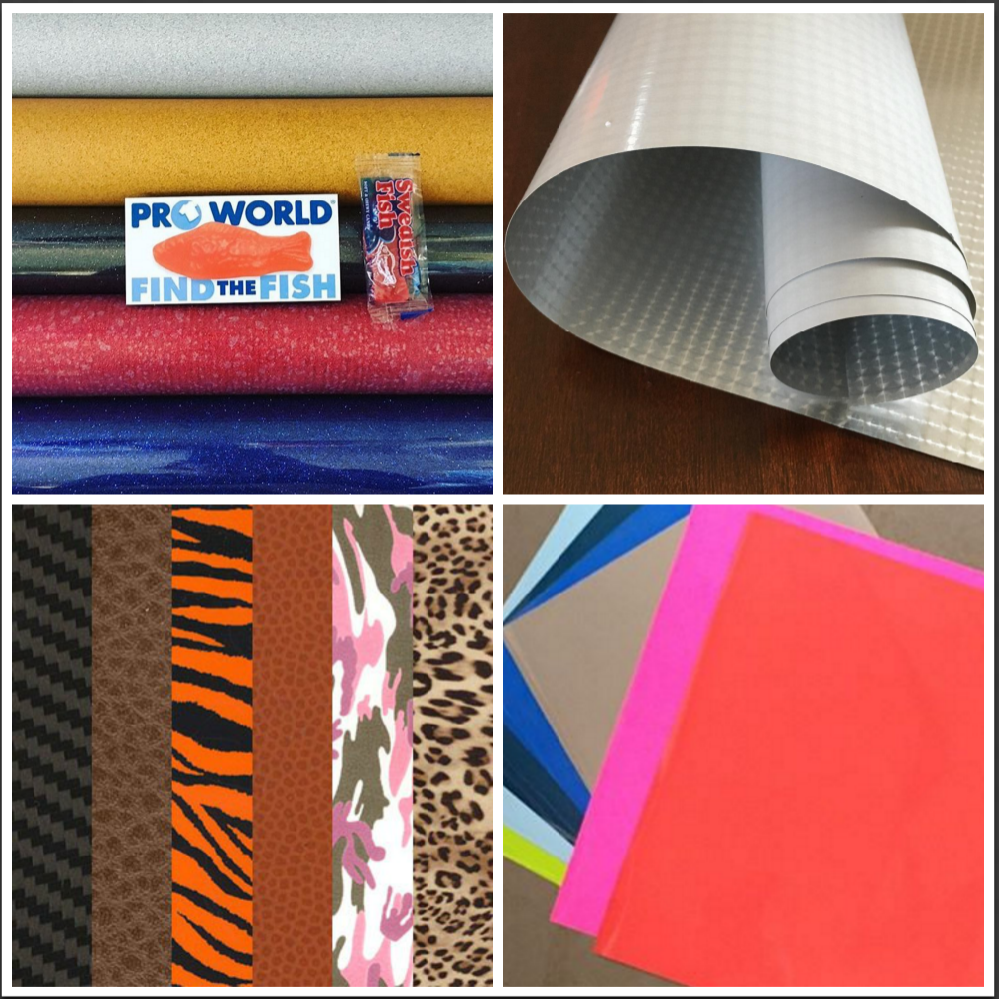
Wouldn’t it be nice to open your Mother’s Day gift and find a box full of vinyl? We offer an extensive selection of heat transfer vinyl from all major vinyl manufacturers including Siser, Chemica, FDC, and Specialty Materials. With a wide array of colors and prints your new vinyl stash will surely bring a smile to your face! Plus, your family can can add a mini heat press to their order for ONLY $89 when they spend $199, or add a 15 x15 Heat Press for $99 when they order $399 of merchandise!
bun03-mug-starter3
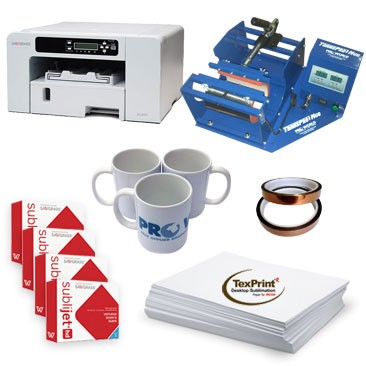
Motherhood is hard work! And nothing says love like the combination of coffee and crafting! With the Pro World Mug Starter Package you will receive a Virtuoso Sublimation Printer, Trans Pro Mug Heat Press, Ink, Paper, Mugs, and more. The perfect way to start your day will always be within reach!
MOTHERS DAY GIFTS
View & Add Comments

Pro World Video Tutorials

Along with being the world’s largest supplier of heat applied graphics and materials, Pro World also has an extensive collection of helpful videos on our YouTube Channel. We pride ourselves on being the premier source for creative entrepreneurs and we’re going to take it a step further.

Between our YouTube videos and blog tutorials, we hope you’ve been able to expand your product offerings and skill set. But now, starting next month we’re also going to offer weekly Facebook Live Posts. If there is anything specific you’d like to see us talk about please leave us a comment below and let us know!

Here is a sampling of our top viewed videos on YouTube. If there’s something you want to see or learn more about, and you don’t see it there, please let us know!

TOP

Selling custom shirts can be a big undertaking, let PW Custom, by Pro World help make it easier for you. Just upload your artwork, tell PW how many transfers you need, what size you want them, and what colors you need them in, and we will print and ship them to you. Just have your heat press and supply of shirts ready to be pressed and you’re all set!

In the market for a new heat press? Check out this video for an overview of the Transpro 15×15, our most popular heat press. This is a great step-by-step tutorial.

This is a great step-by-step tutorial for our TransPro Transfer Machine. If you’re new to this or still deciding if it’s something you want to do, watch this three minute video.

Sublimation printing on latte mugs with our 3 in 1 mug press is super easy. We’ll show you exactly how in this brief, step-by-step video.

In this video we give you an overview of our Transpro Mini Heat Press. Don’t be fooled by its size, it can do anything our larger heat presses can do, but it is portable and is great for taking to craft shows and vendor events at just 35 pounds.

For more videos, please visit our YouTube Channel, and for more information on ProWorld and our offerings, visit our main website. Don’t forget to leave us a comment below letting us know what you’d like to see in our Facebook Live Posts.

View & Add Comments

Custom Bunny Pajamas

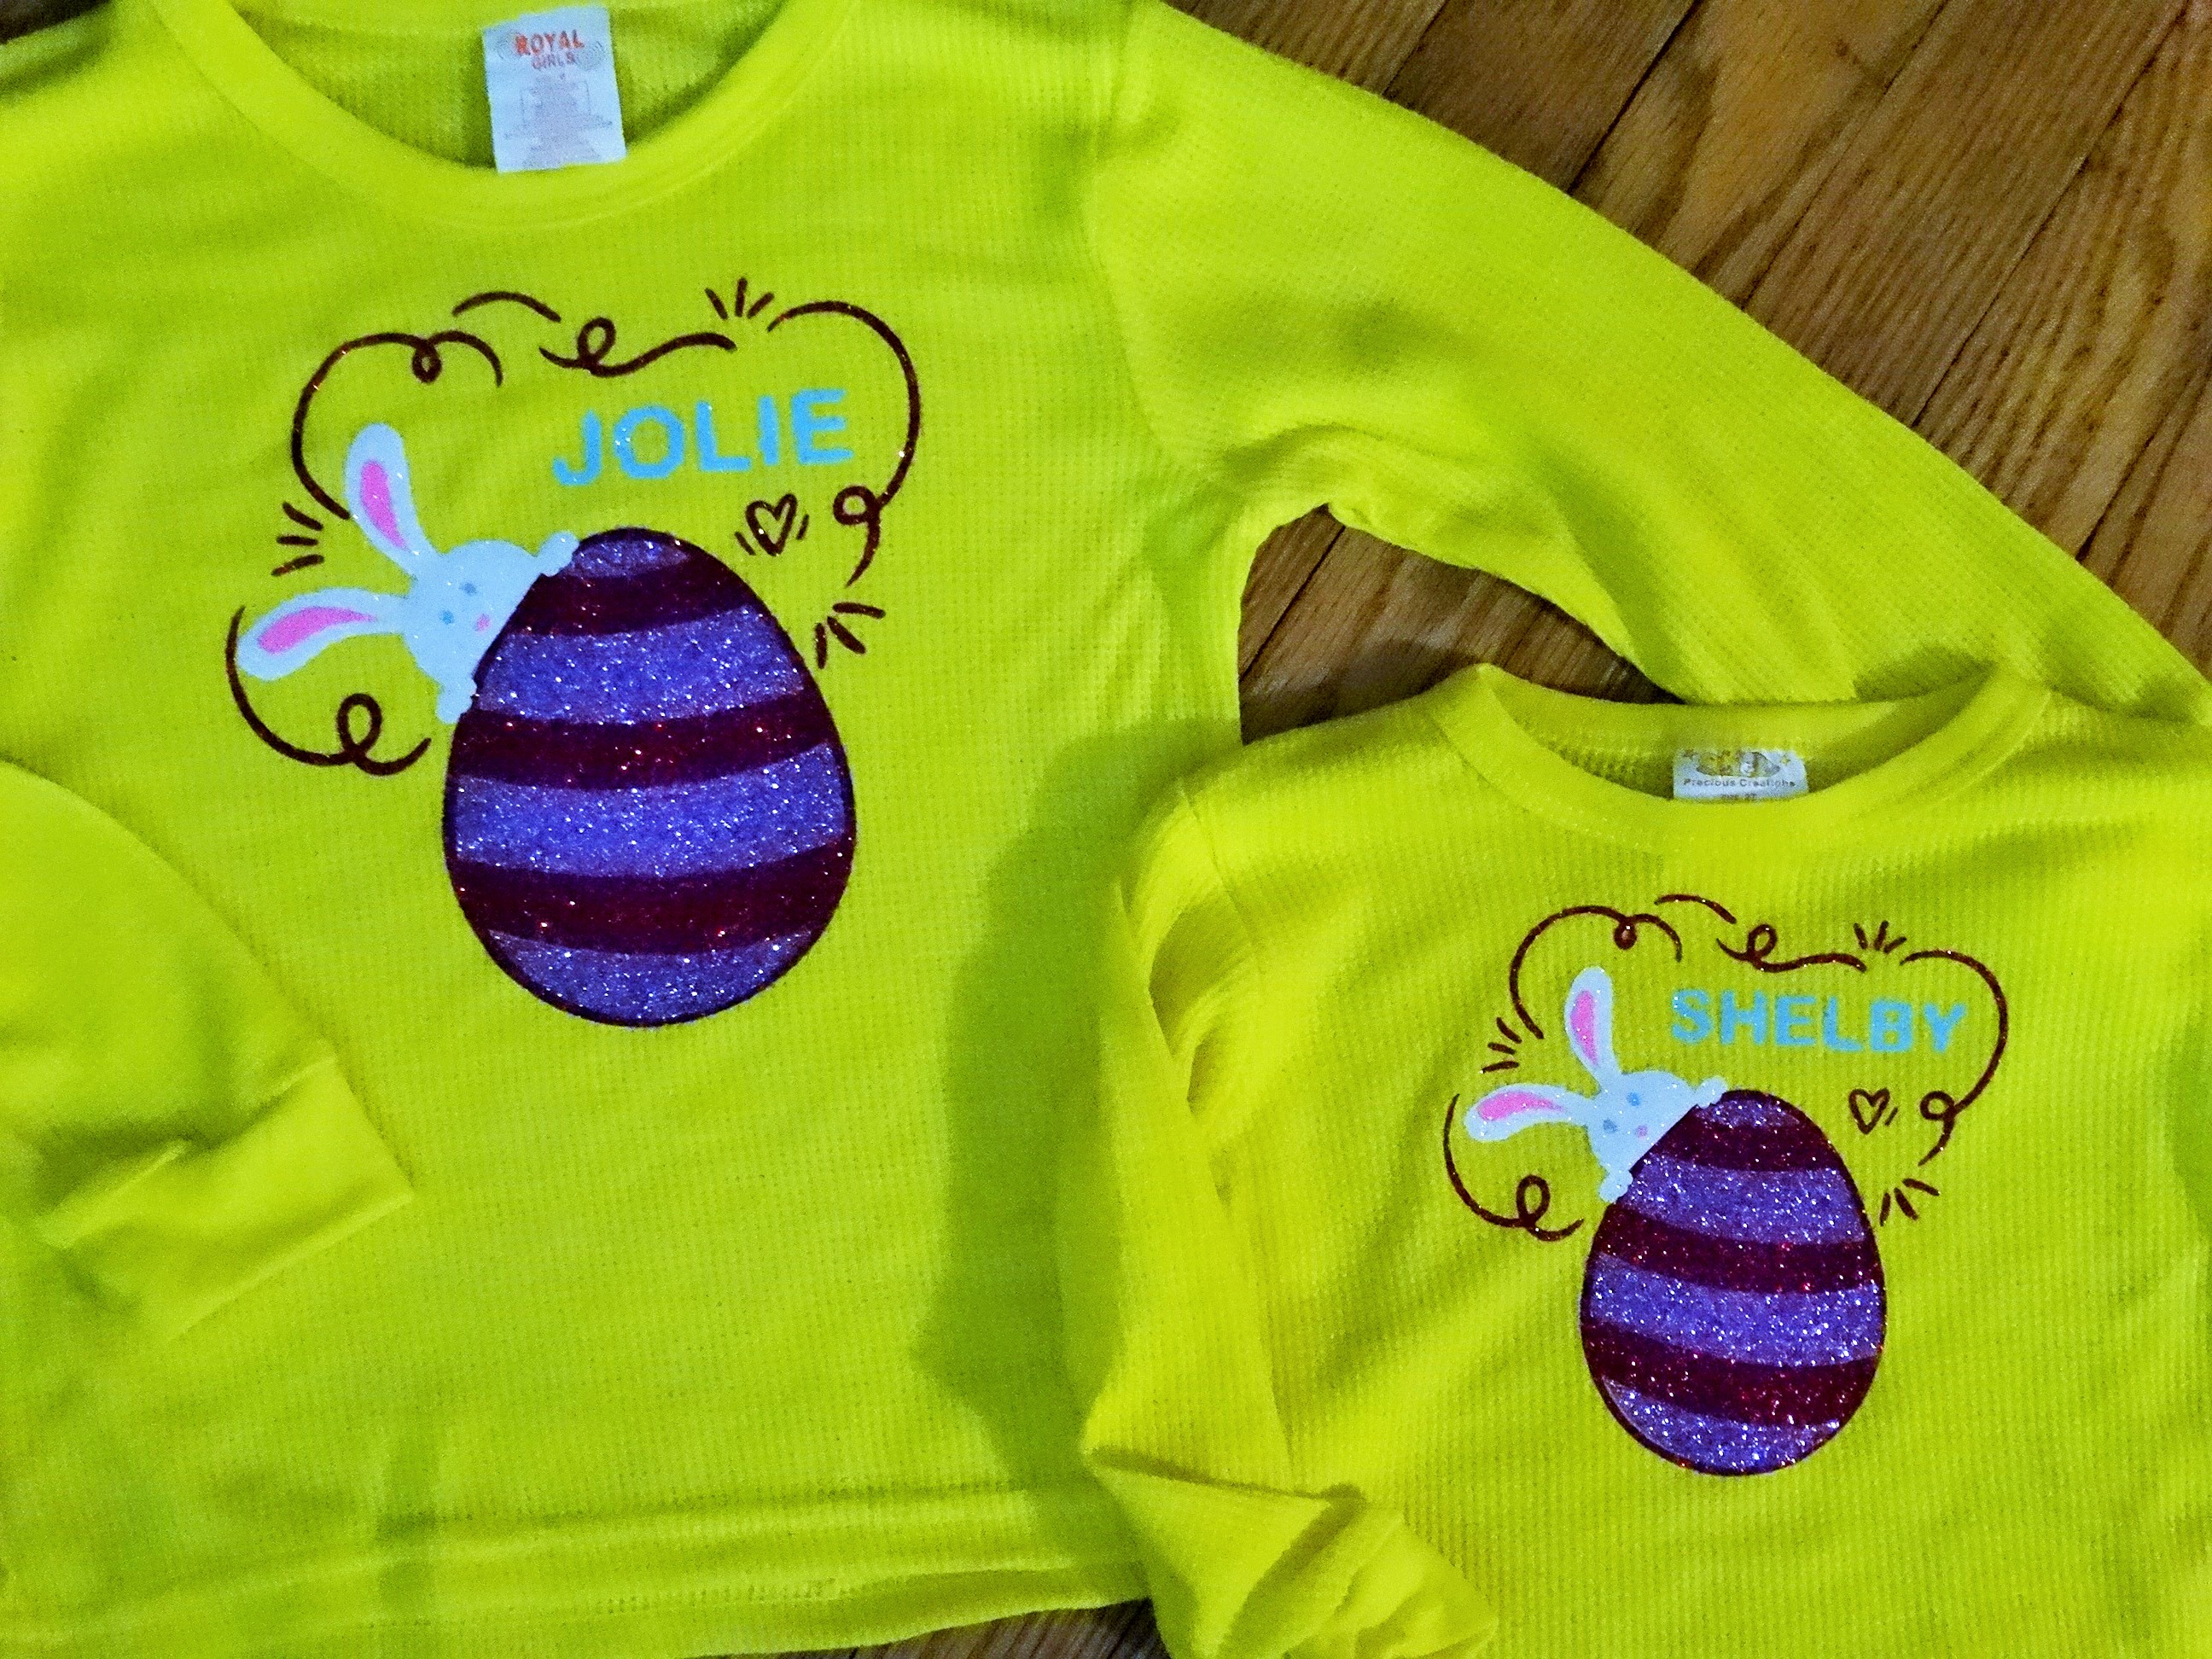
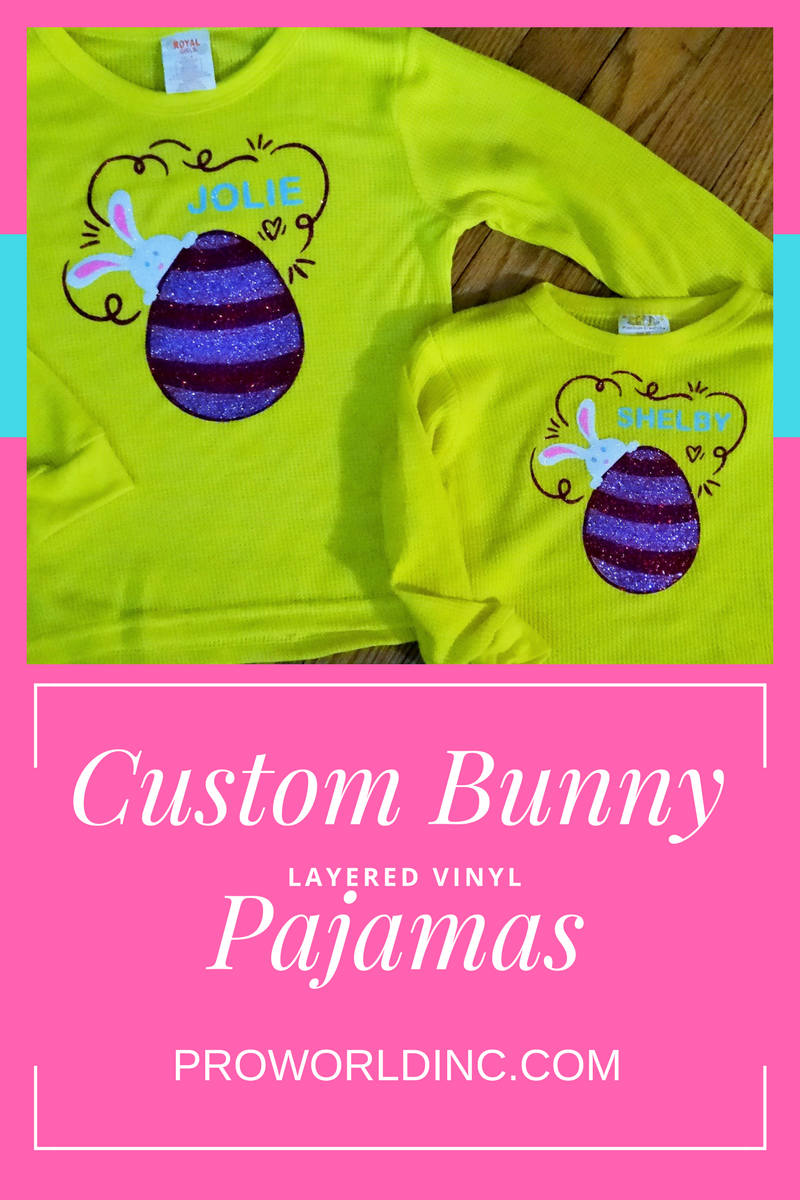
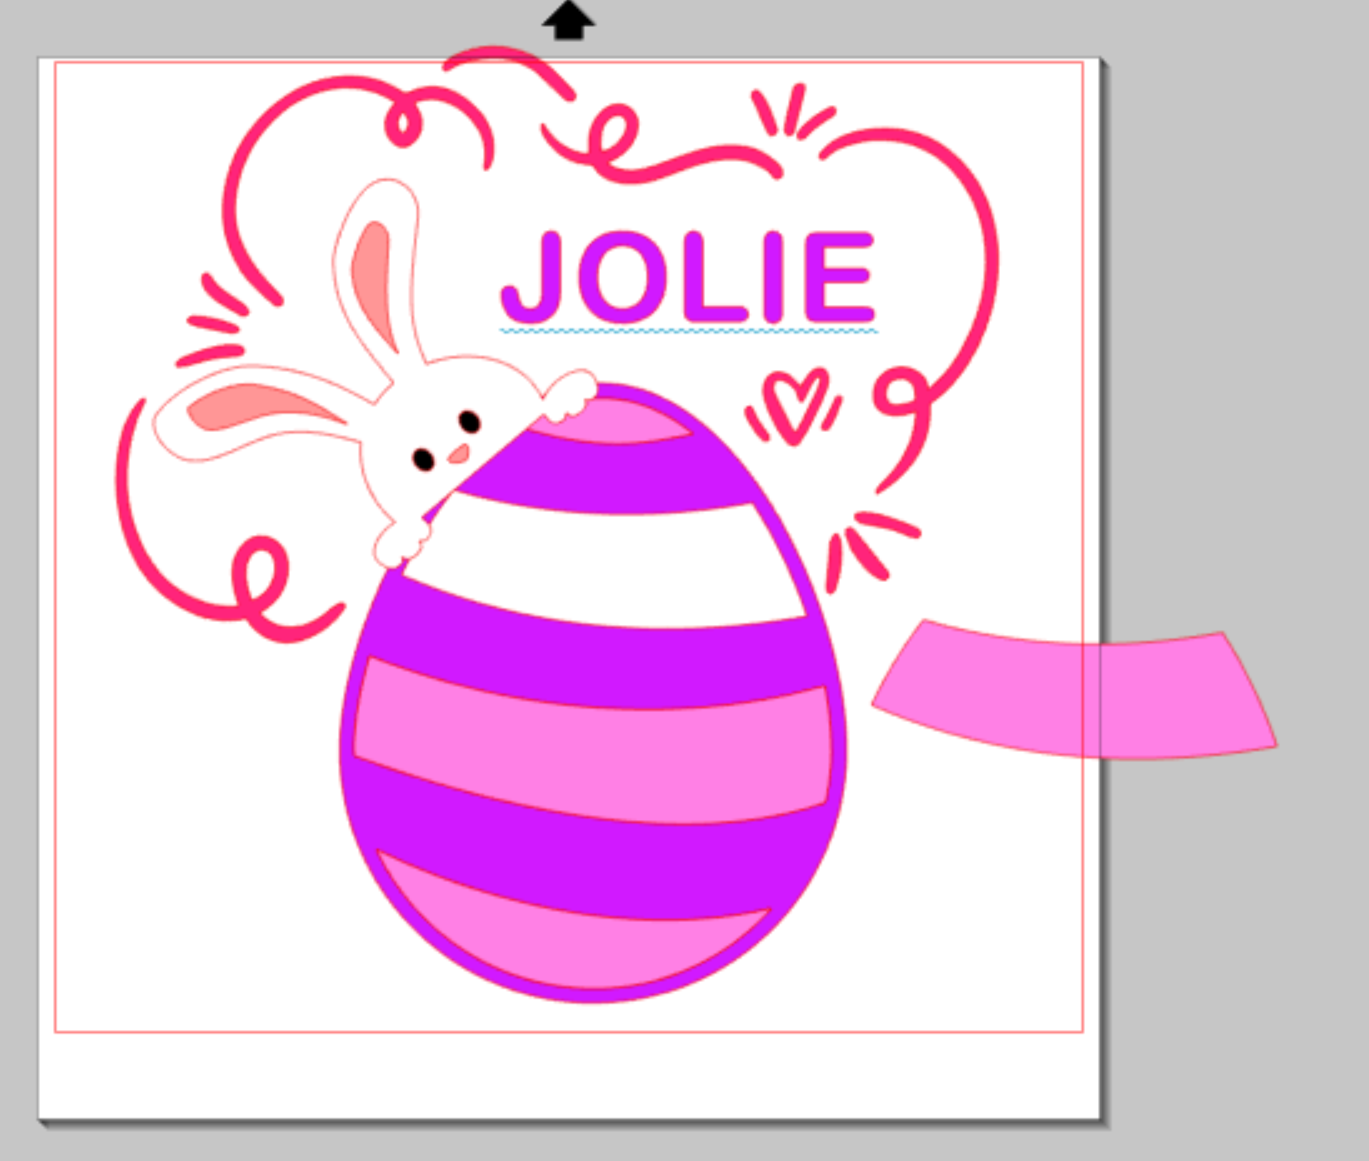
For today’s post, we decided to create a pair of customized Easter pajamas.

See how we layered multiple pieces of Siser Glitter Heat Transfer Vinyl to create a one-of-a-kind design on a wafflecomb fabric!

EASTER BUNNY PAJAMAS

You Need:
Cutting Machine
Heat Press
Heat Transfer Vinyl (we used Siser Glitter)
Non-Stick Sheet
Siser Weeders

1 – Take your shirt and measure the available space.

2 – Find a design(s) and upload it into your design software. We mixed multiple images, to create our one-of-a-kind image.

Since we applied our Heat Transfer Vinyl to a wafflecomb fabric it was important to choose a thicker HTV so that the texture of the fabric did not show through the vinyl. We decided to go with Siser Glitter Heat Transfer Vinyl.

3 – Seeing that you cannot layer Siser Glitter HTV you will need to subtract your design so that it can be pieced together like a puzzle. You will notice that we subtracted the pink line from the egg shape to create an open space.

pw bunny 2 subtract

4 – Next, you will want to mirror your image.

5 – Insert your first color heat transfer vinyl into your machine.

DSC07771

6 – Double check your settings and click cut.

7 – Repeat steps 4 & 5 for your other heat transfer vinyl colors.

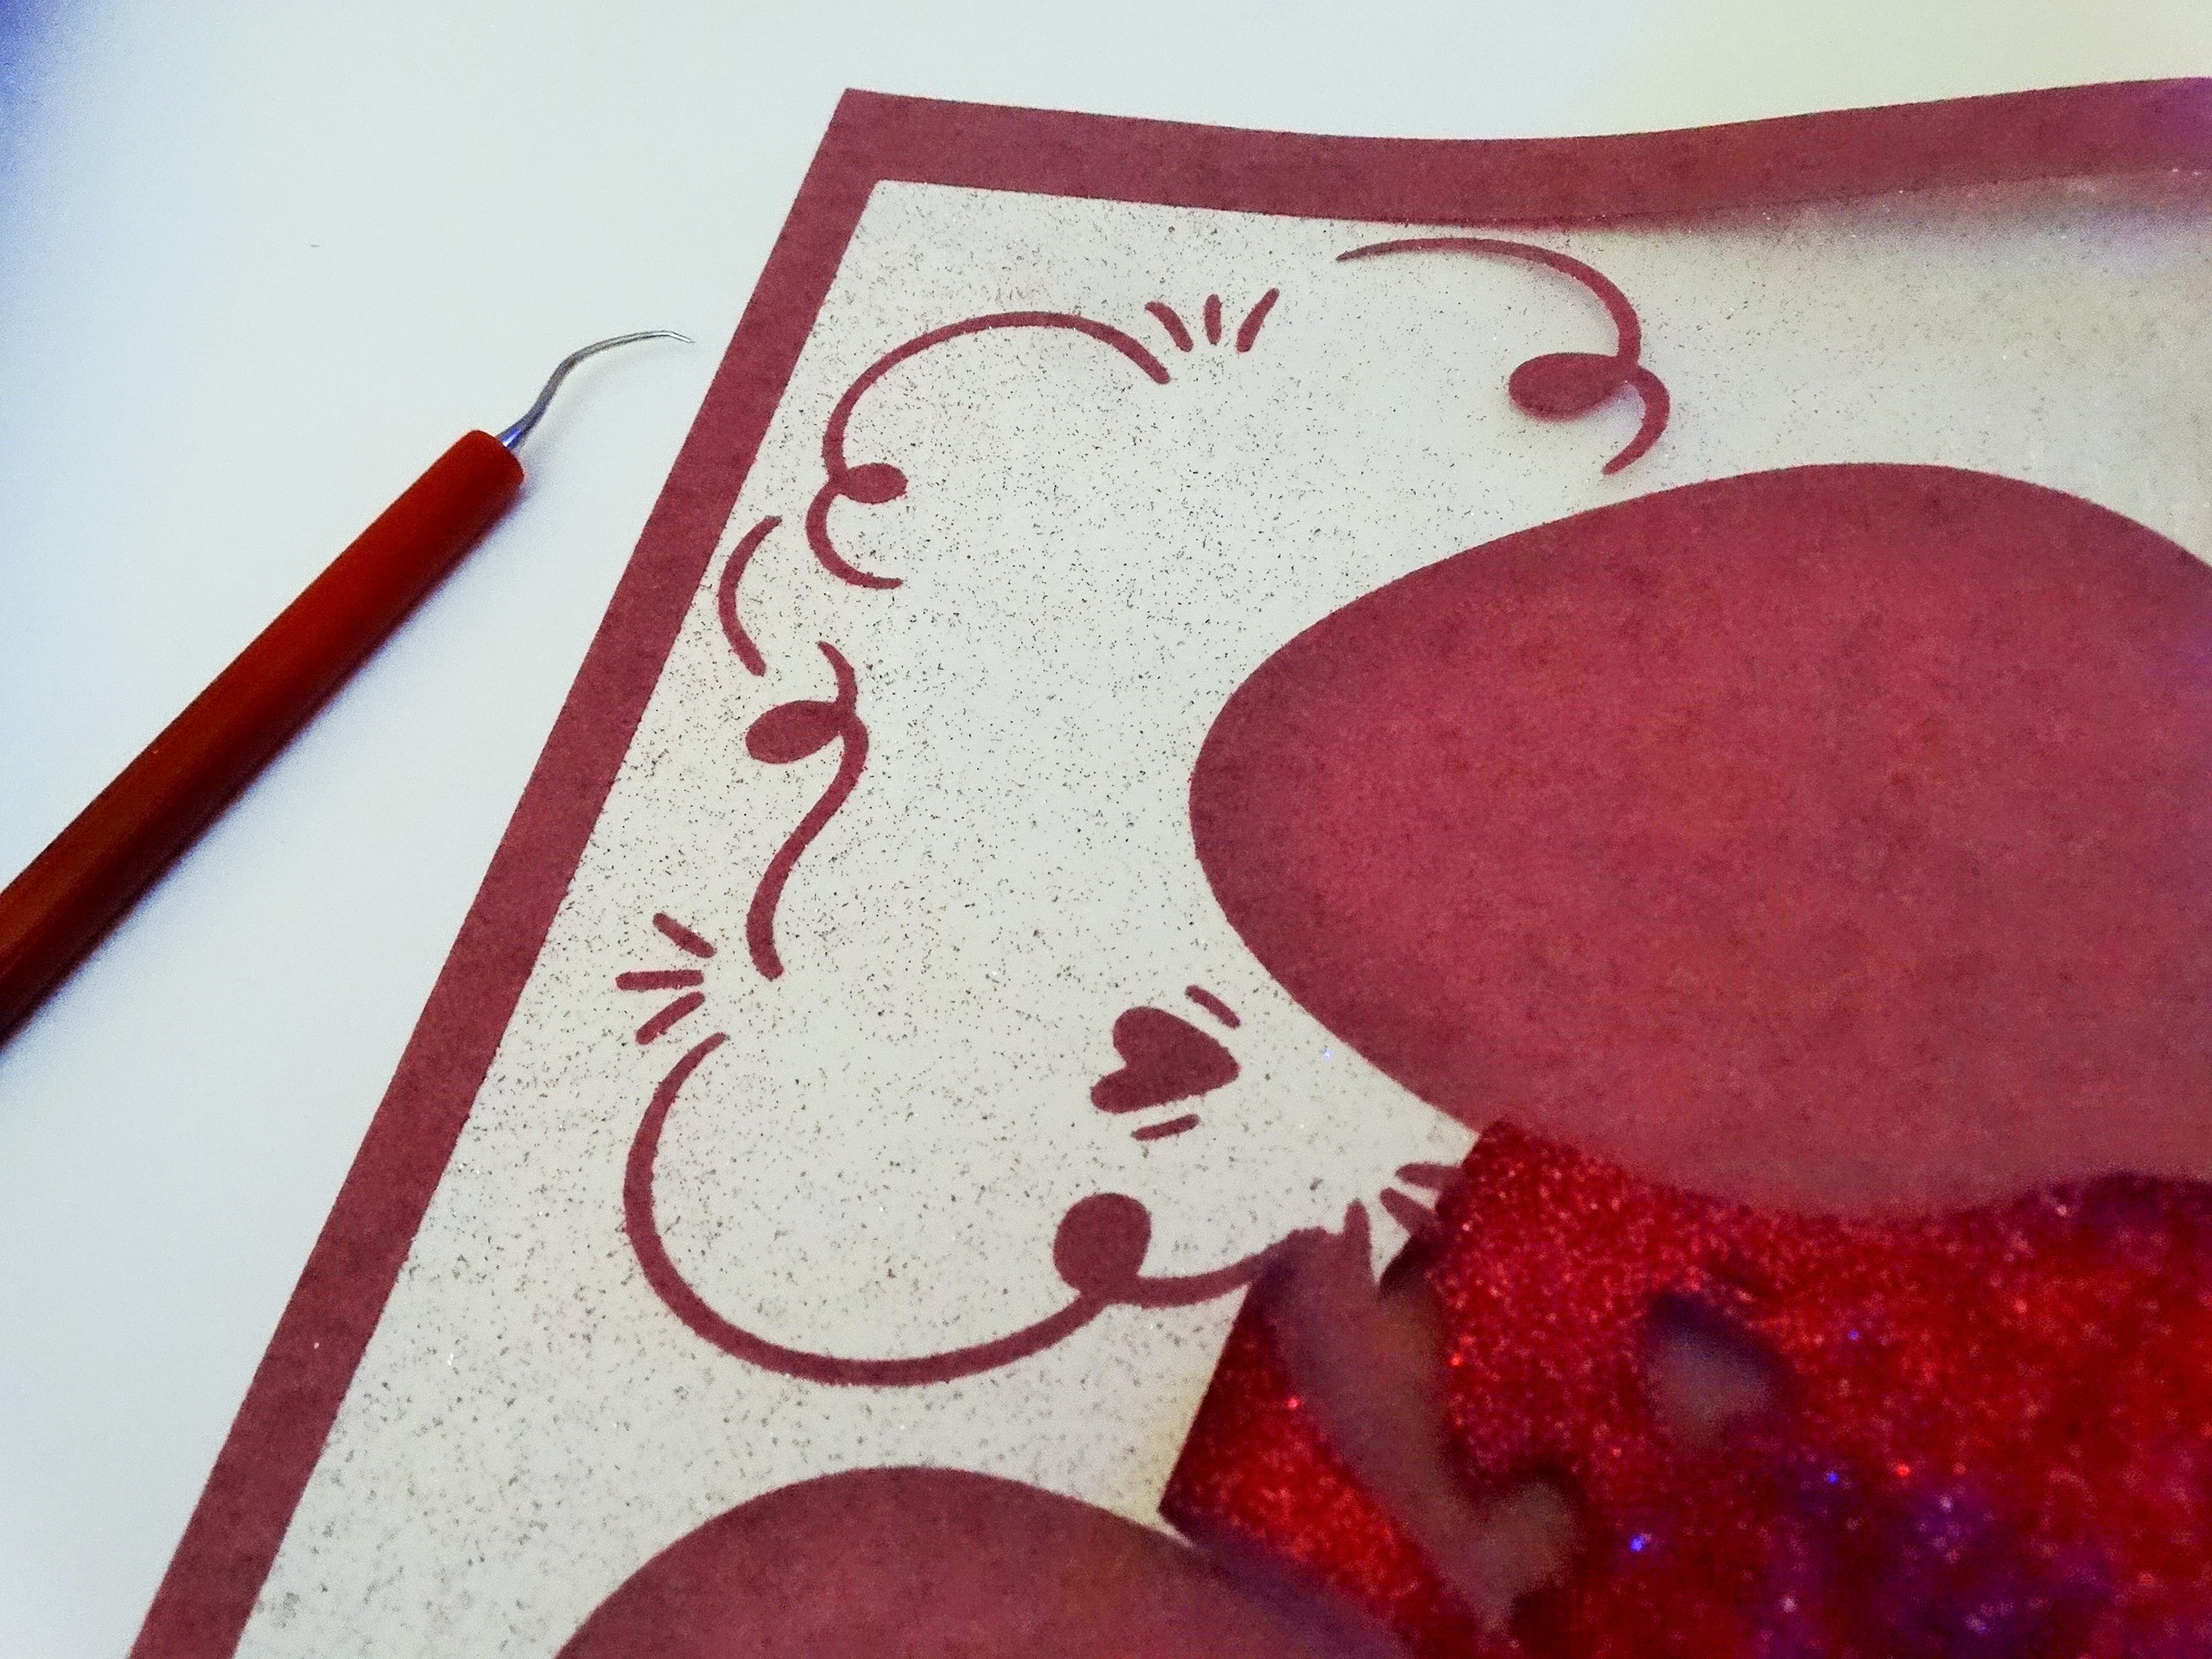
9 – Weed your design.

DSC07772

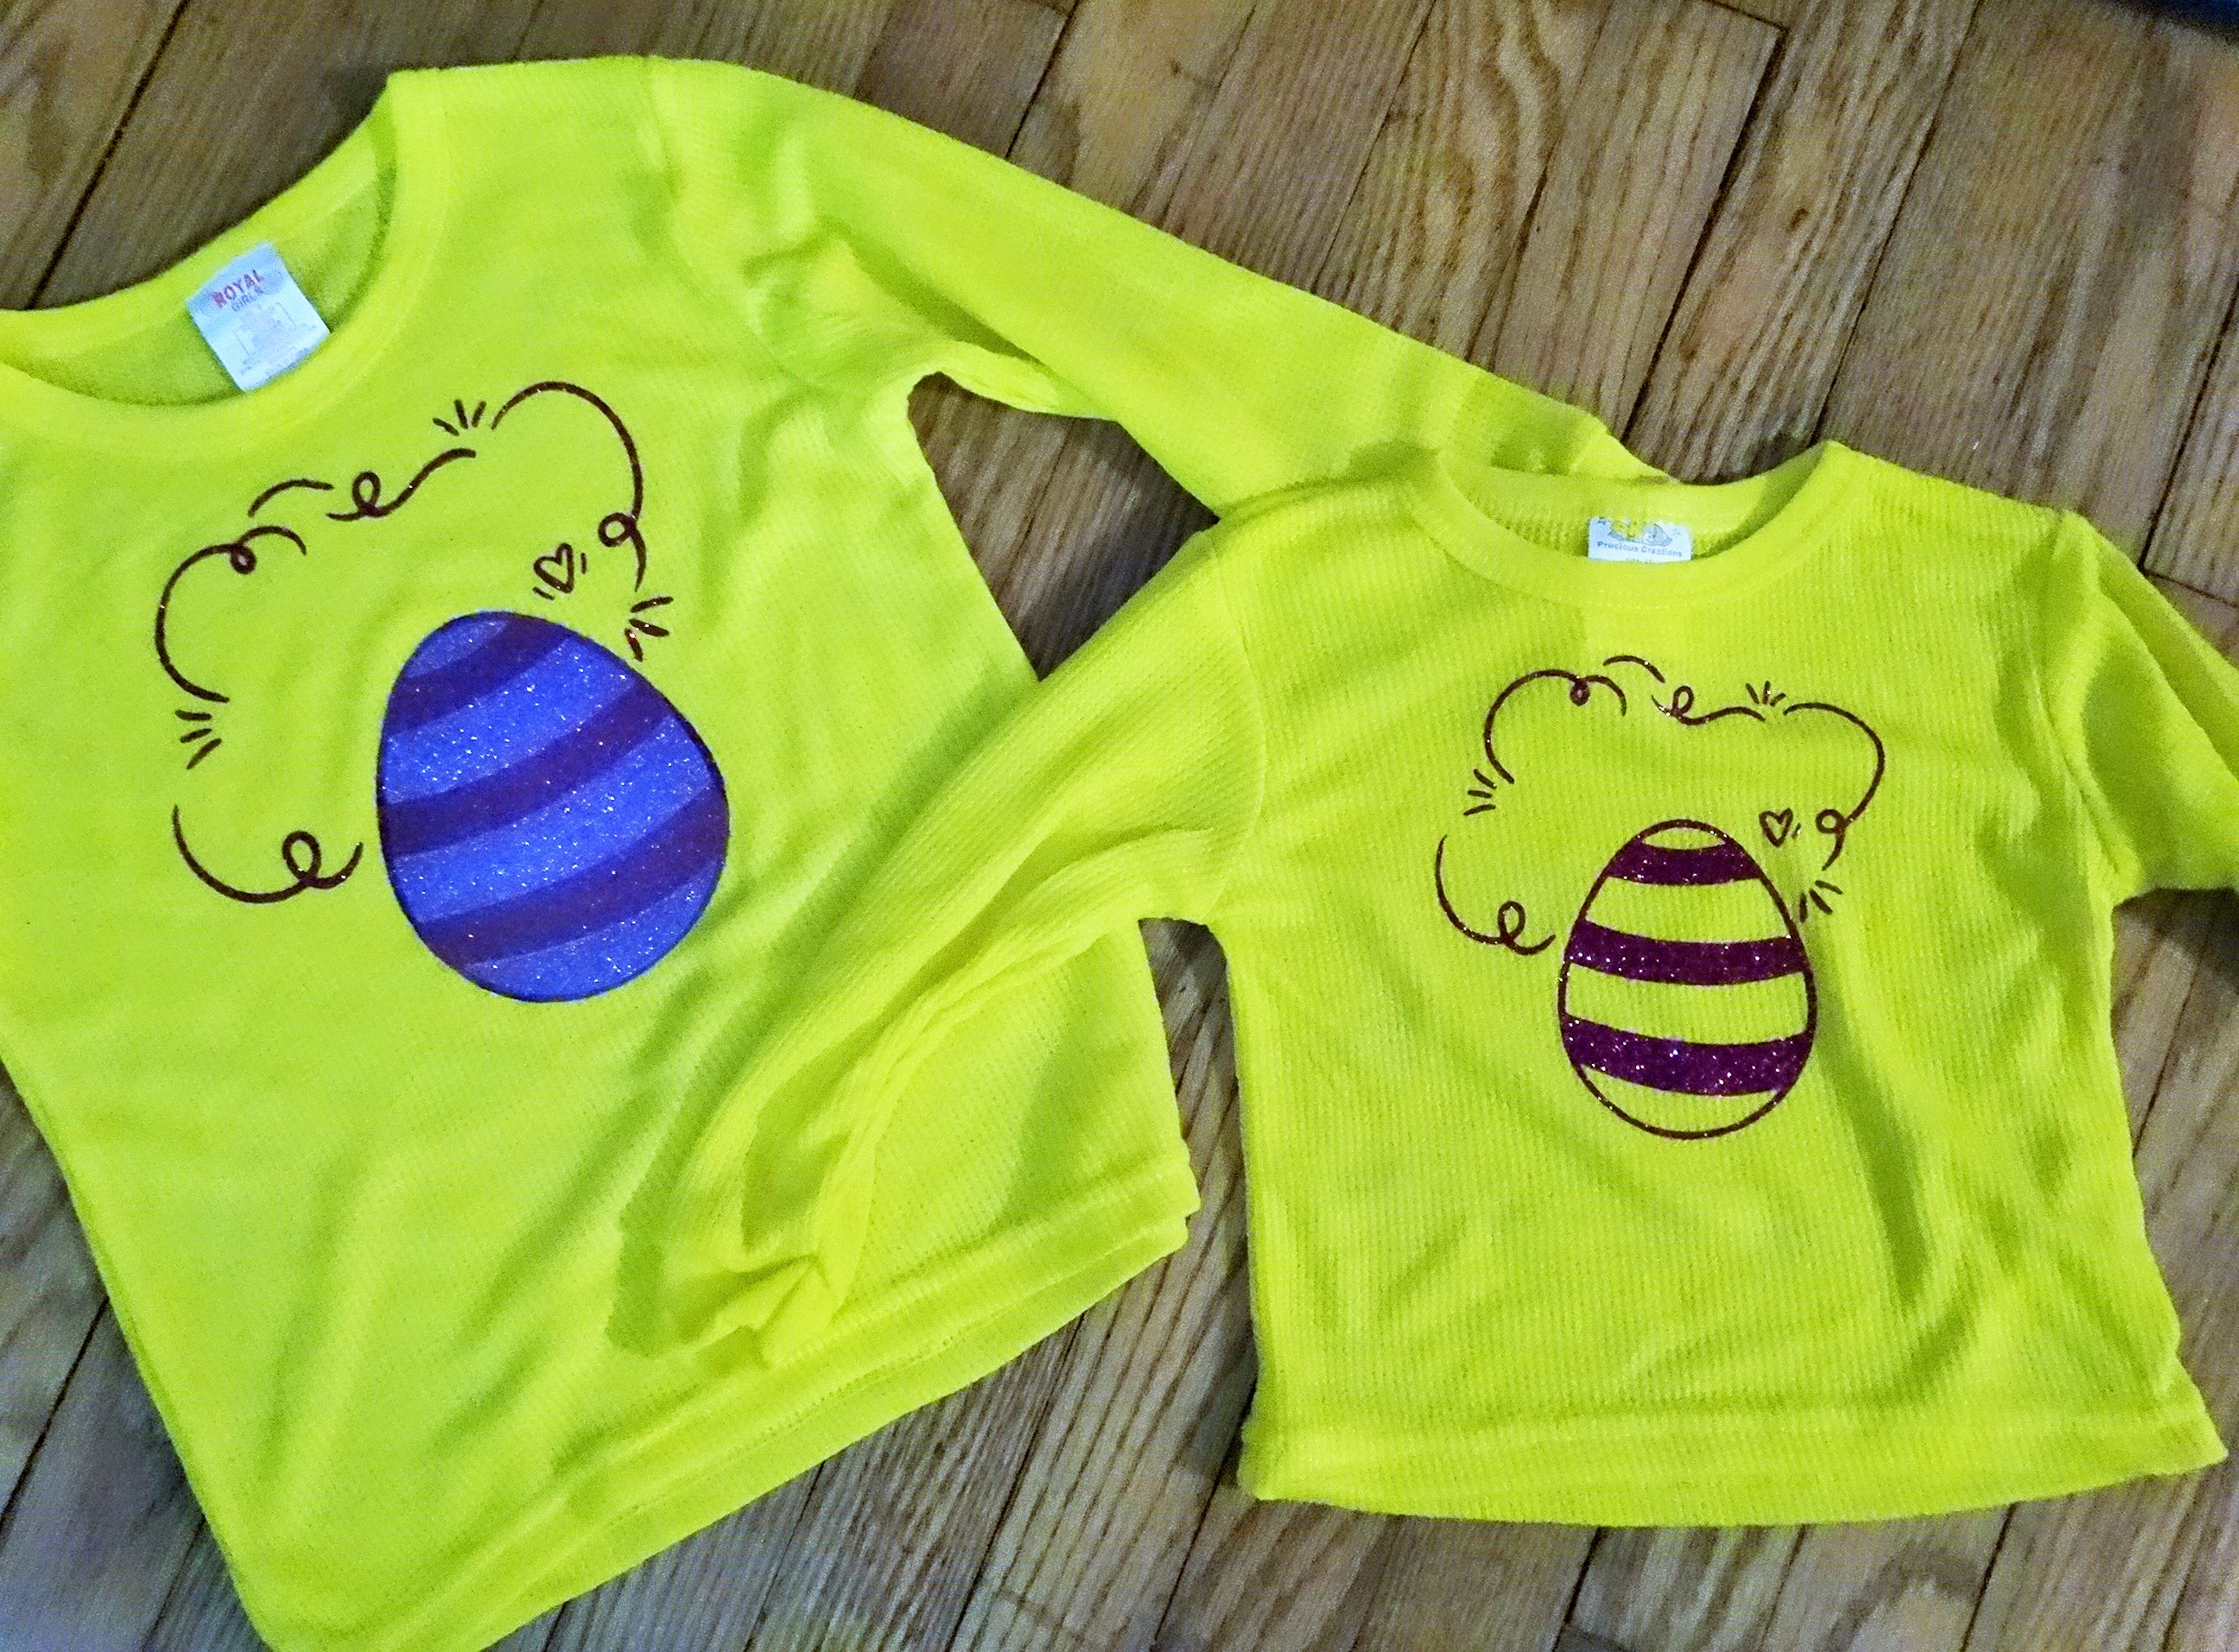
10 – Place it on your item and press it with your Heat Press.

DSC07773

11 – Repeat step 10 until you’ve pressed all of your layers. Remember to keep your HTV covered from the pressing plates if you’ve removed the clear protective barrier. You can do this by laying your non-stick sheet over top of the vinyl.

DSC07776

12 – Admire your work!

View & Add Comments

How To Make Sublimated Magnets

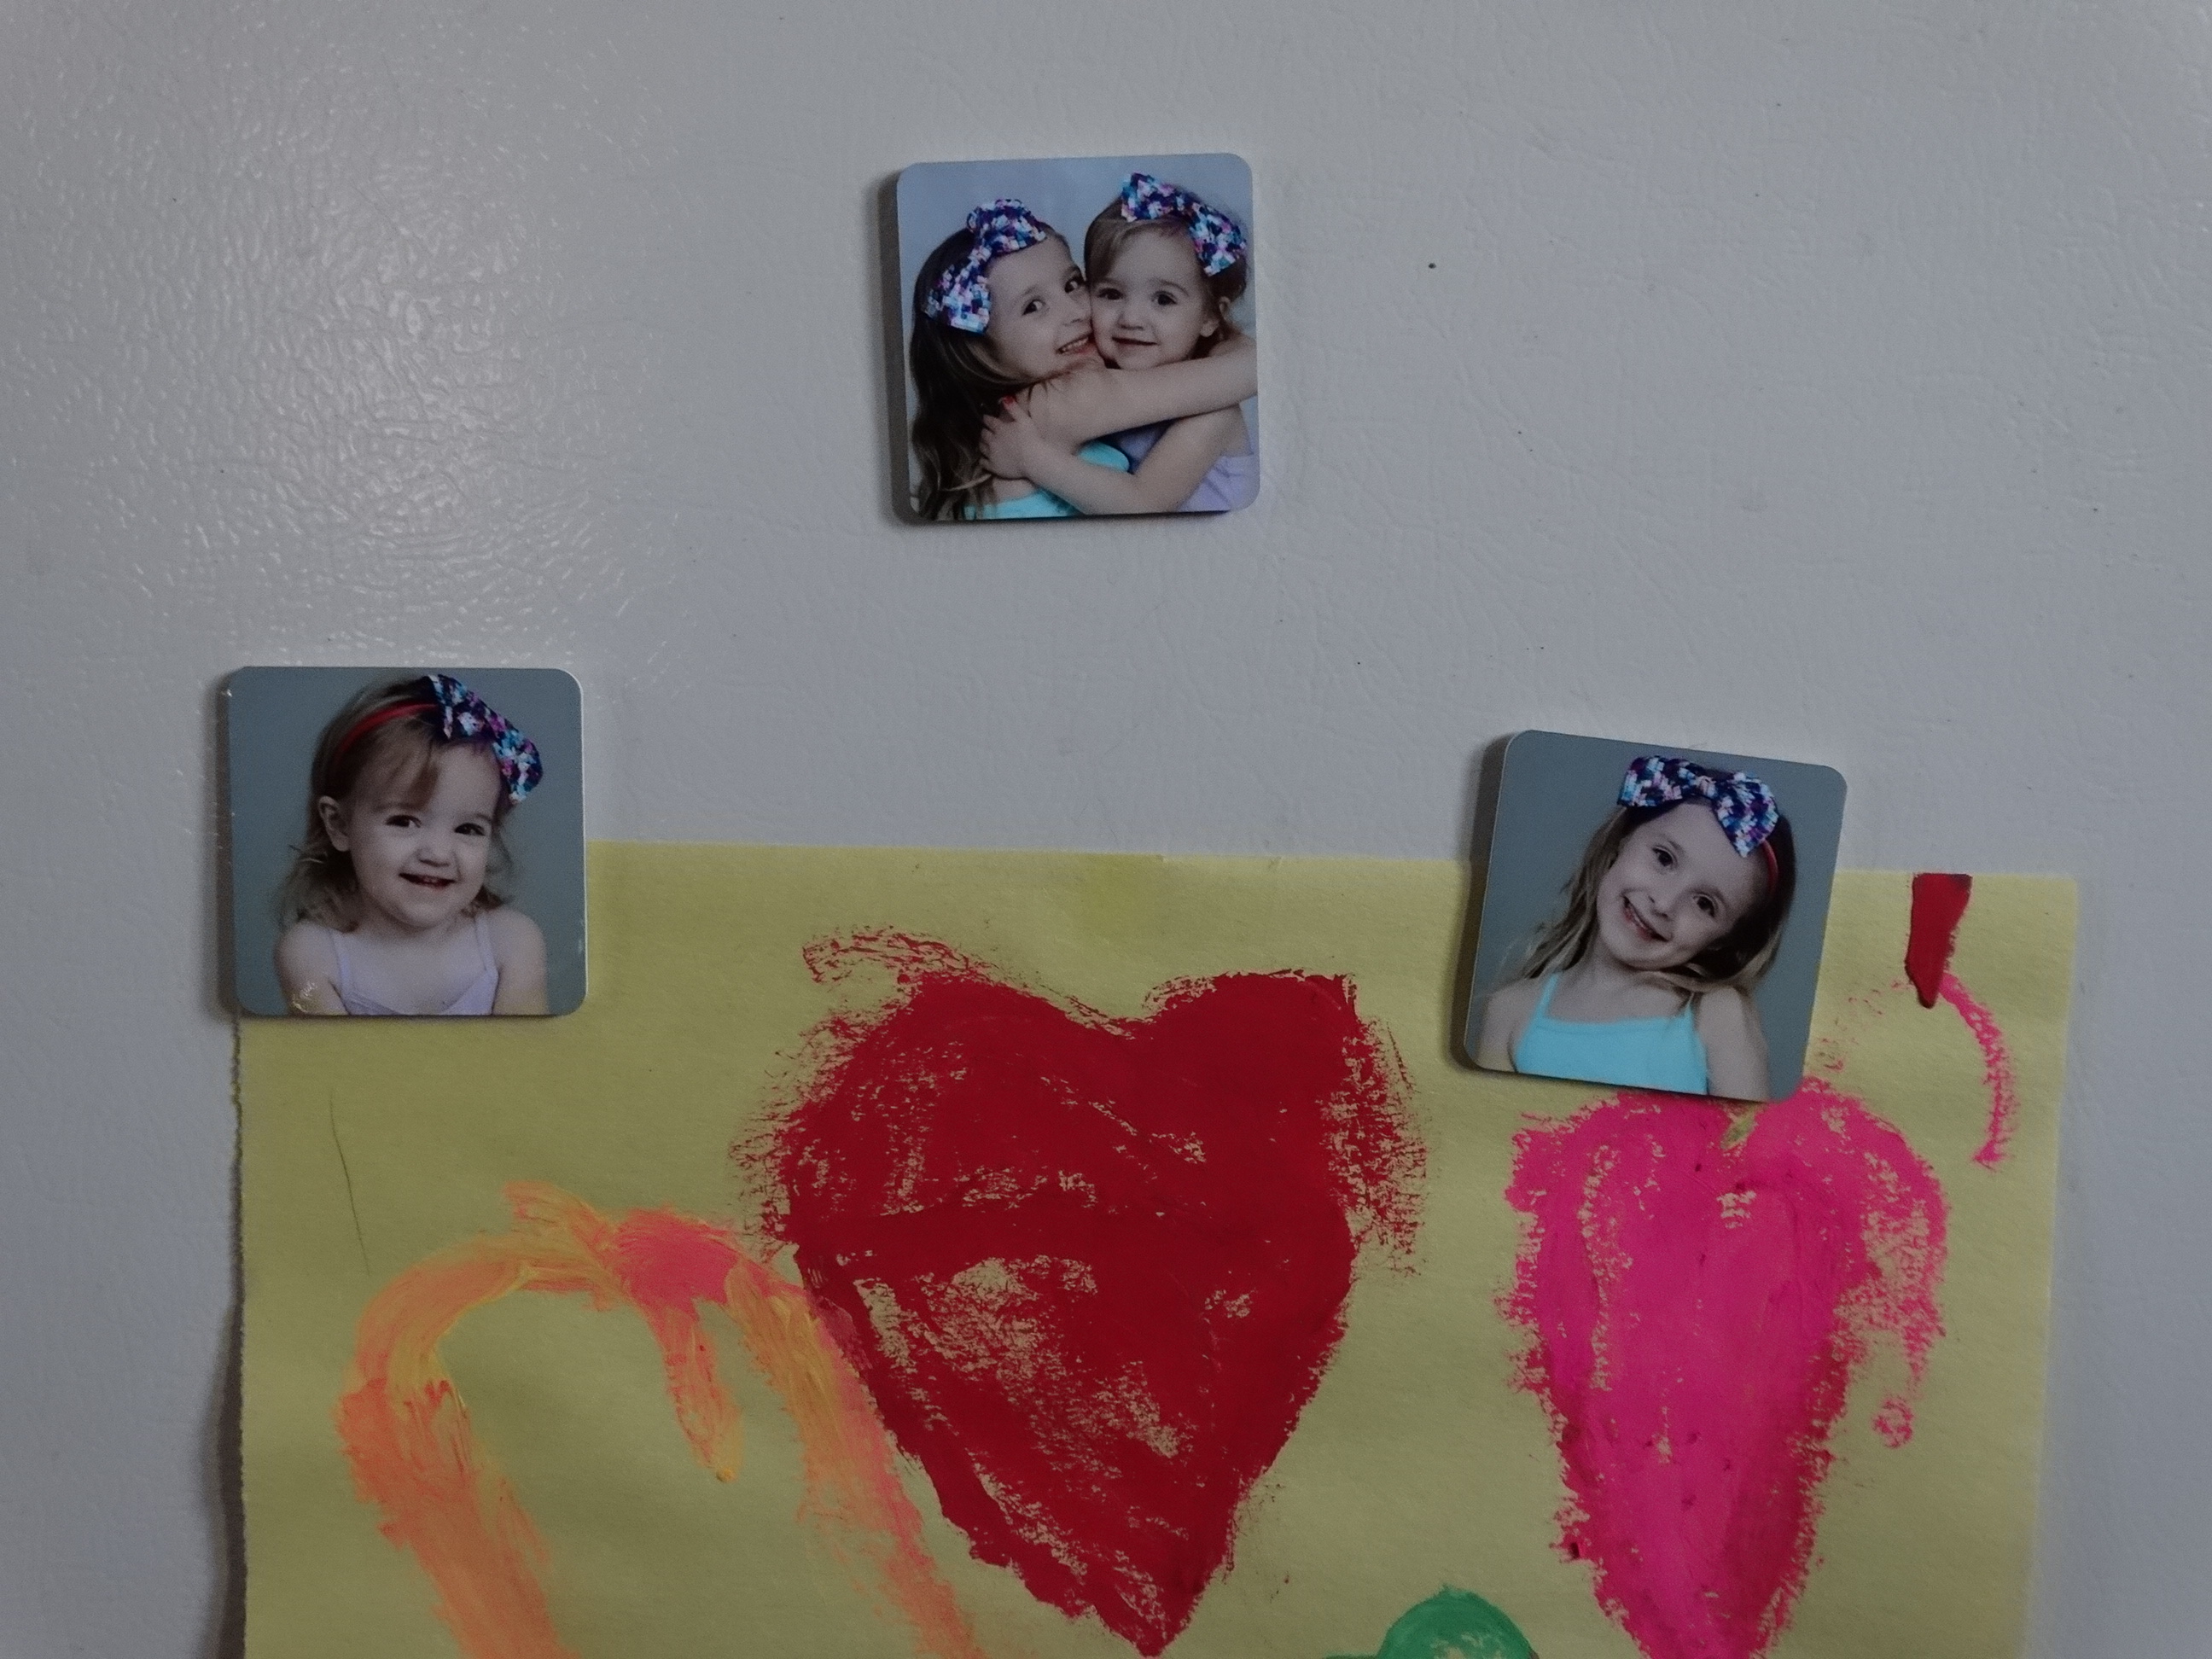
Today we are going to show you how to sublimate multiple magnet designs using the Creative Studio software while printing the images on one sheet of paper!

make

1.  Start by opening Creative Studio, which is located on the Sawgrass website.

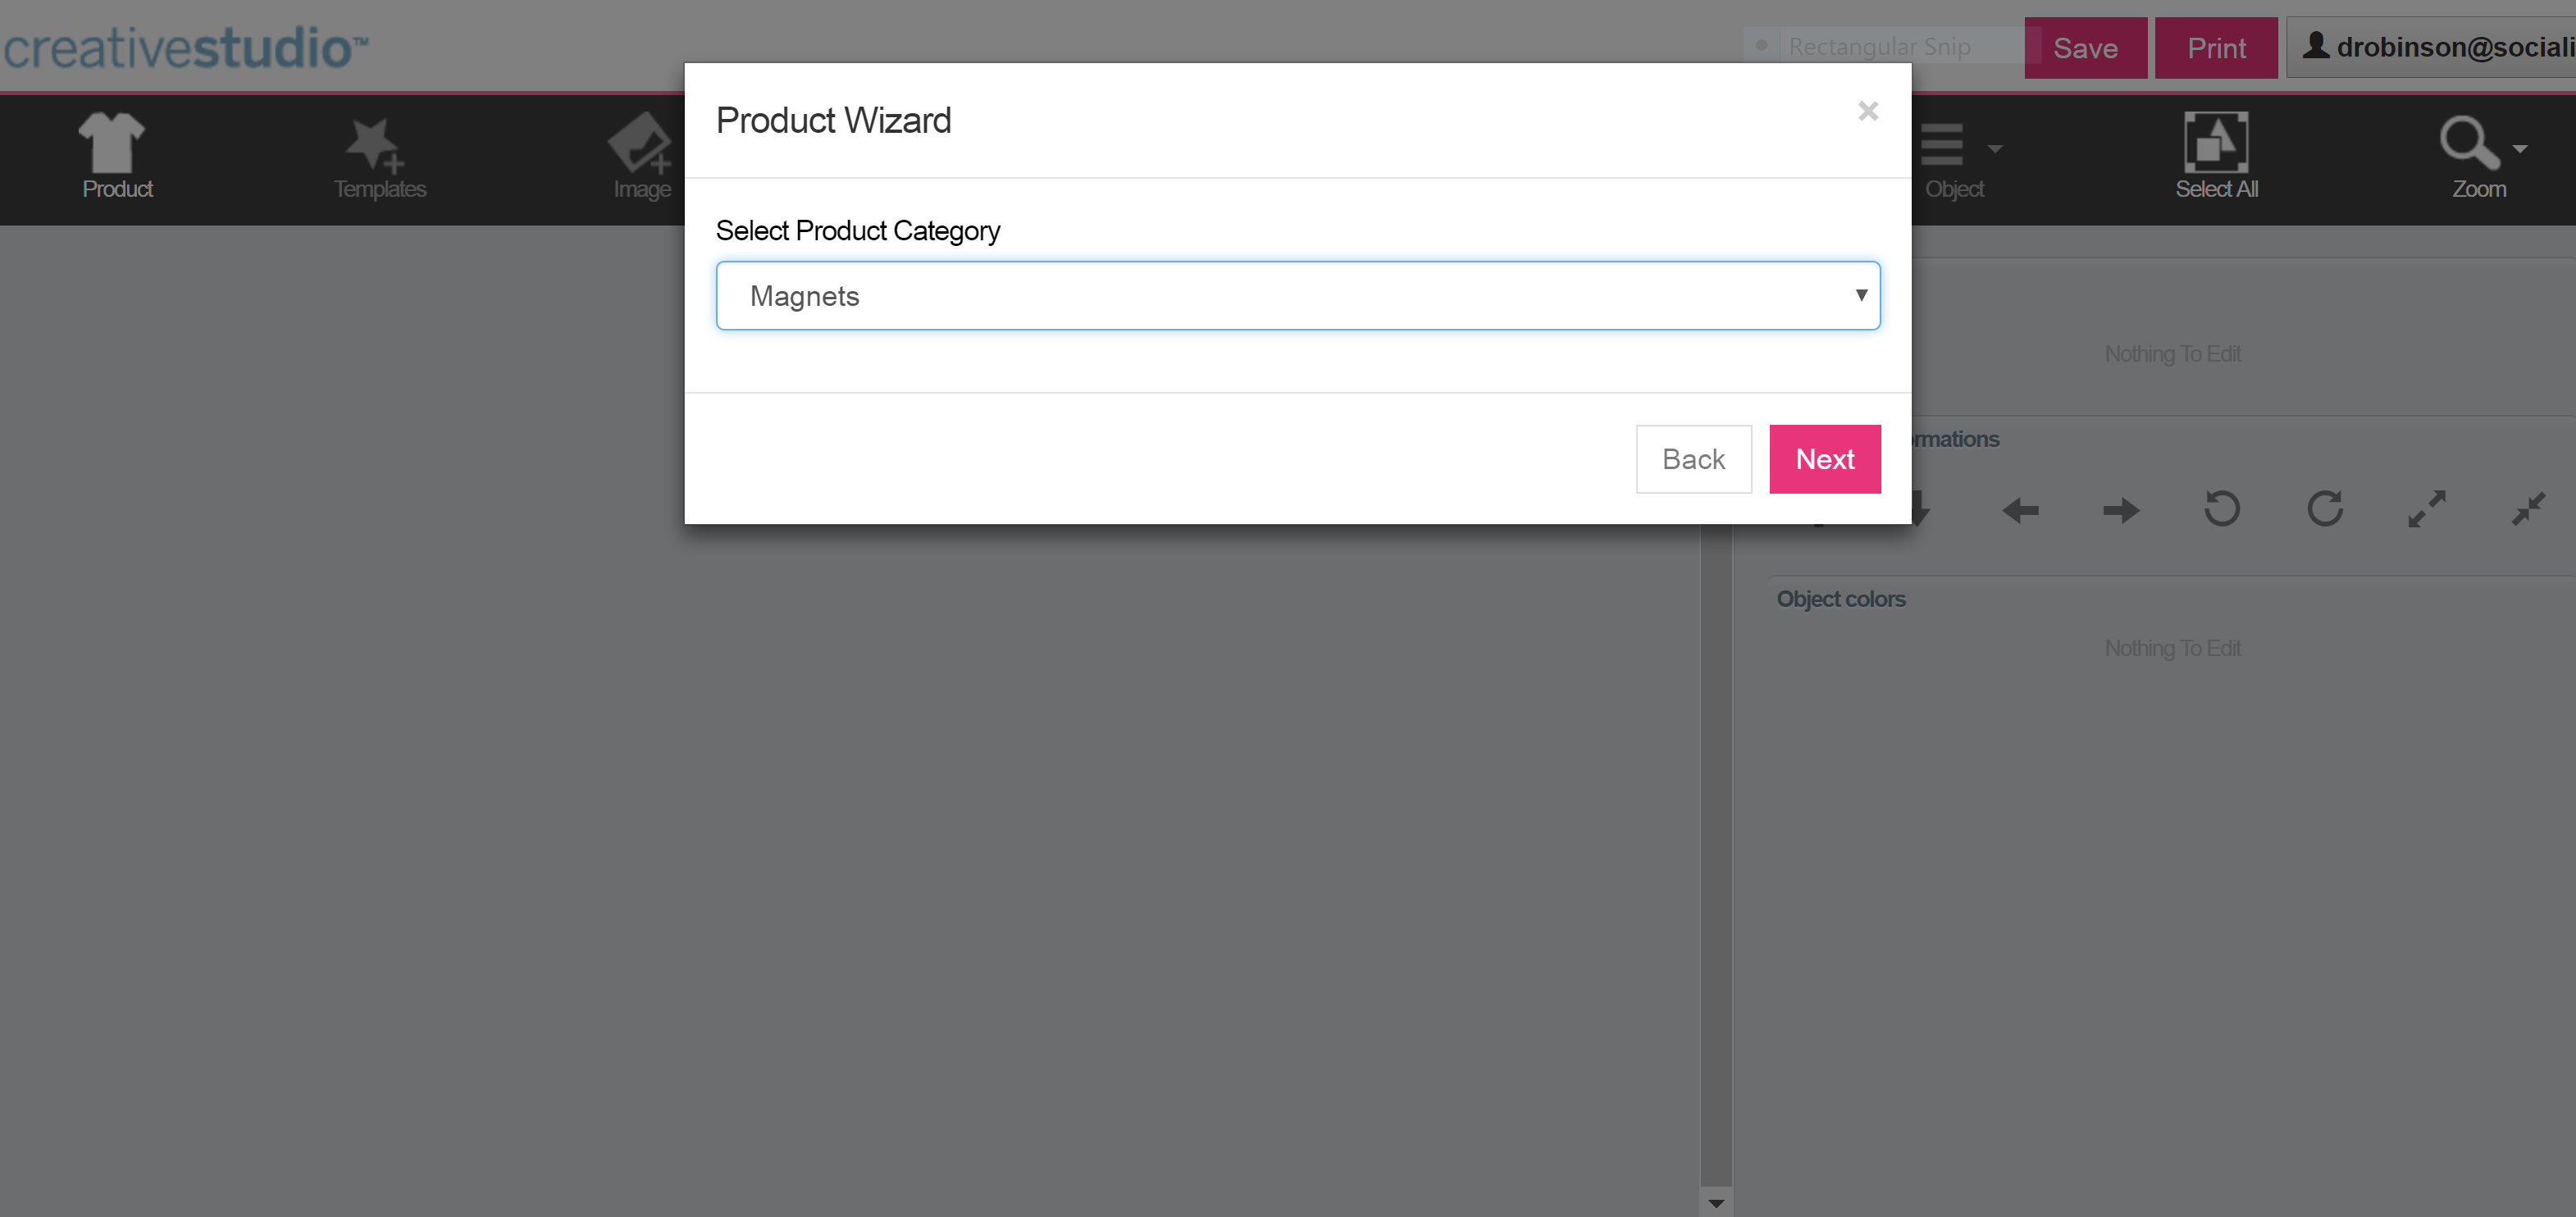
2. Select your product category.

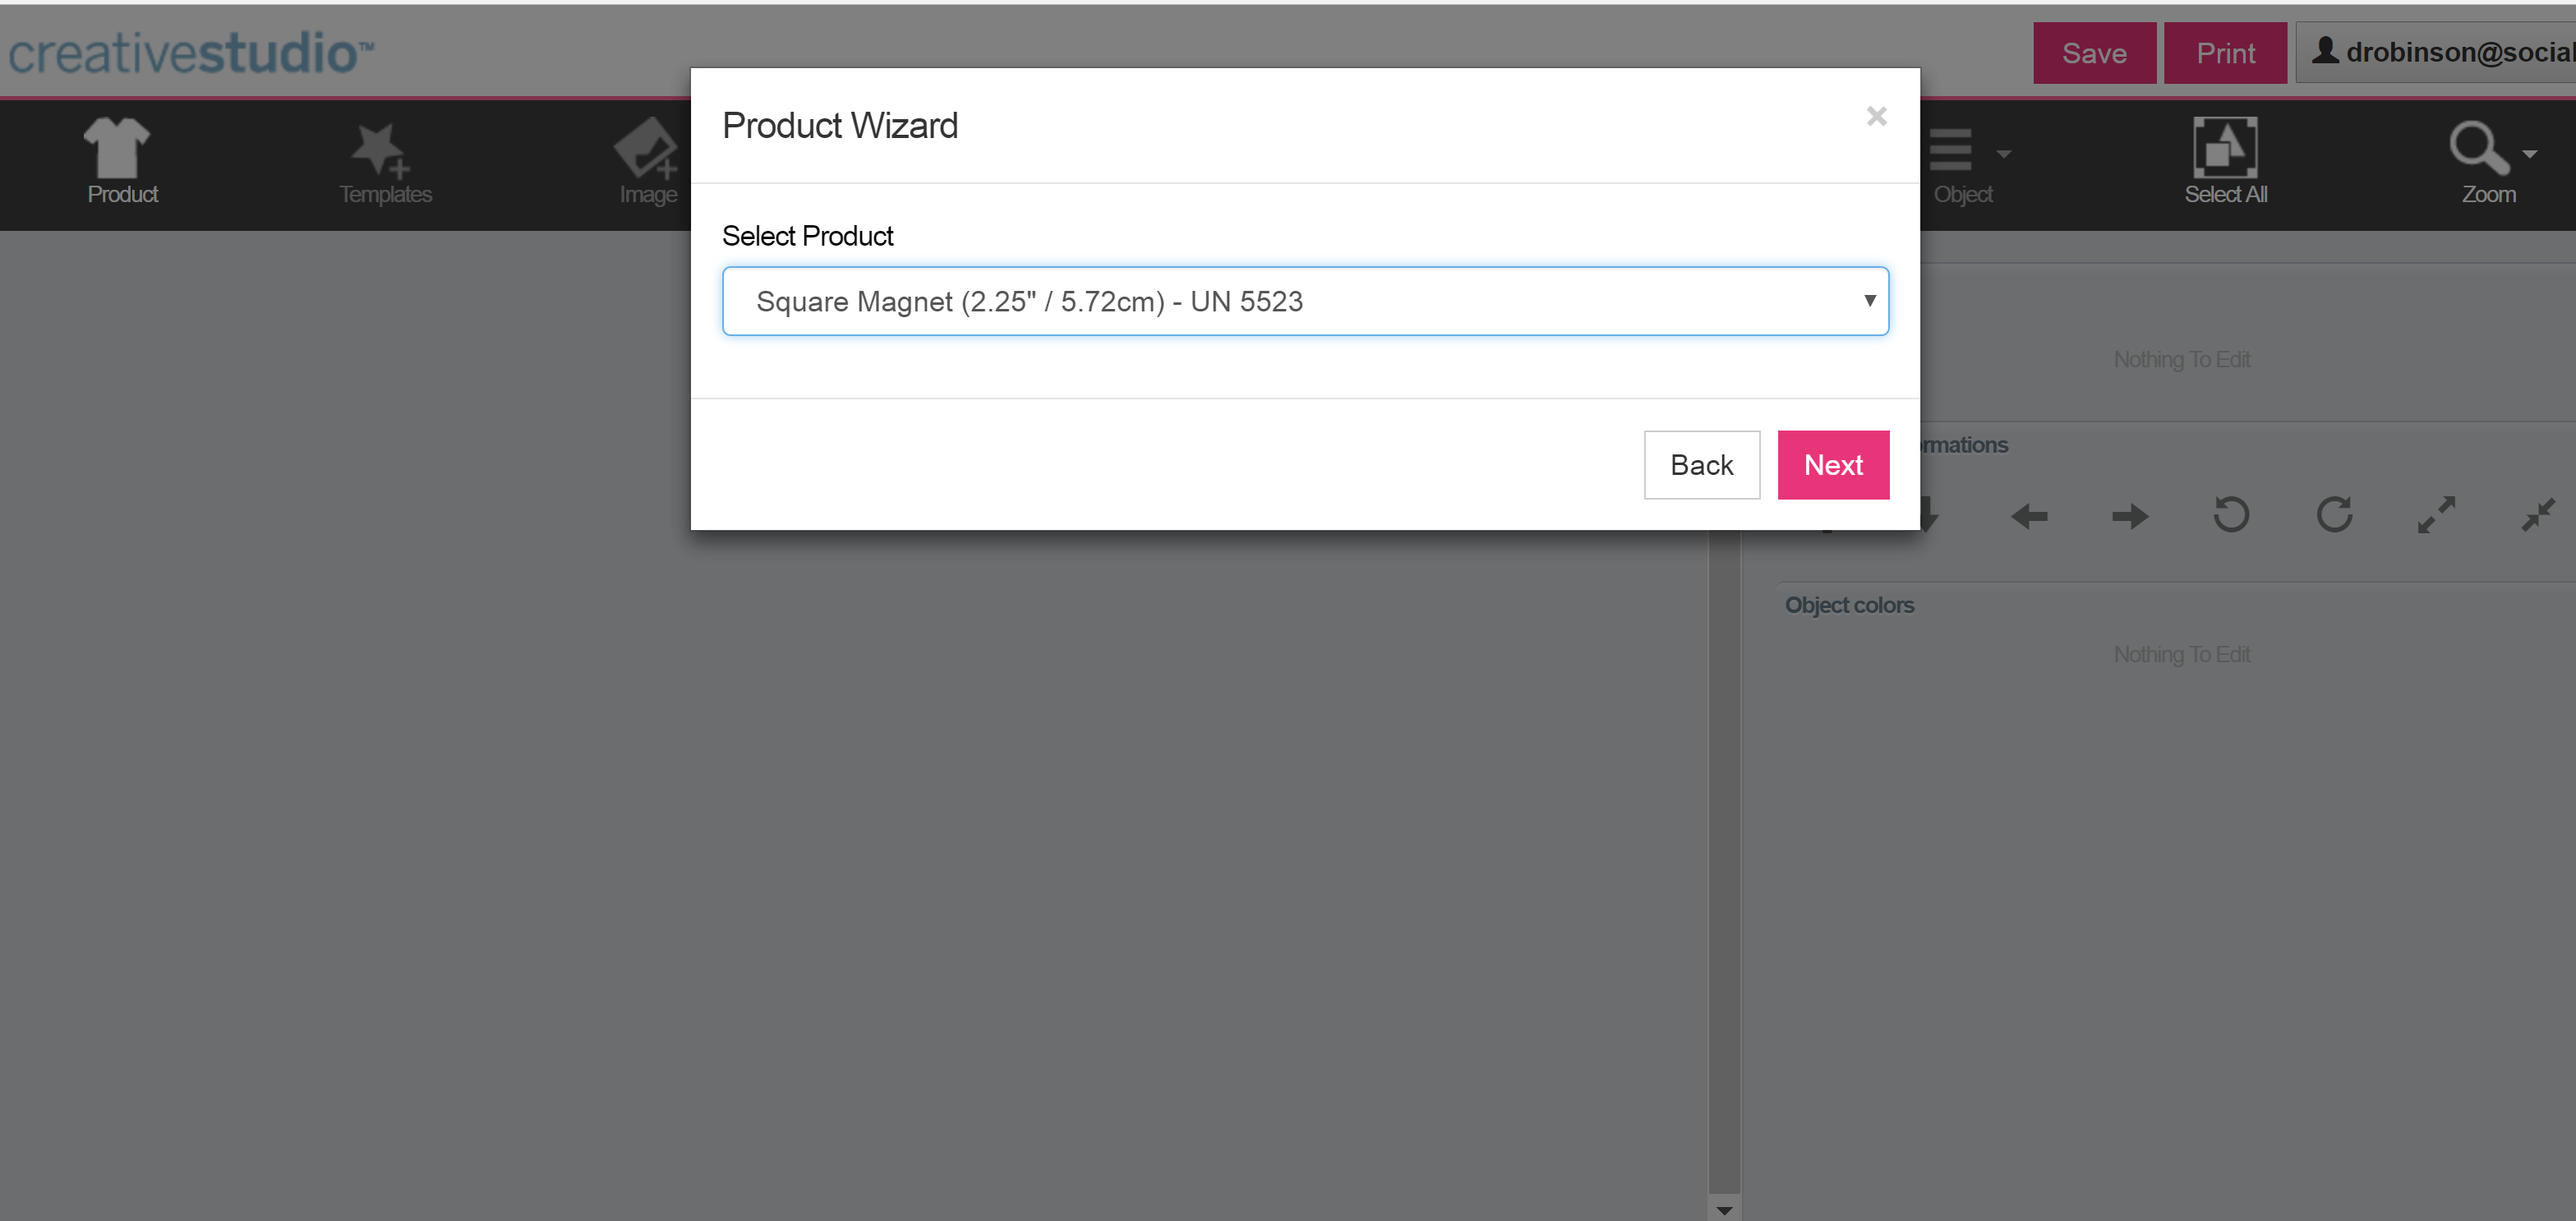
magnet sublimation 1
3. Select your product.

magnet sublimation 2

4. Select product color, product size and click start!

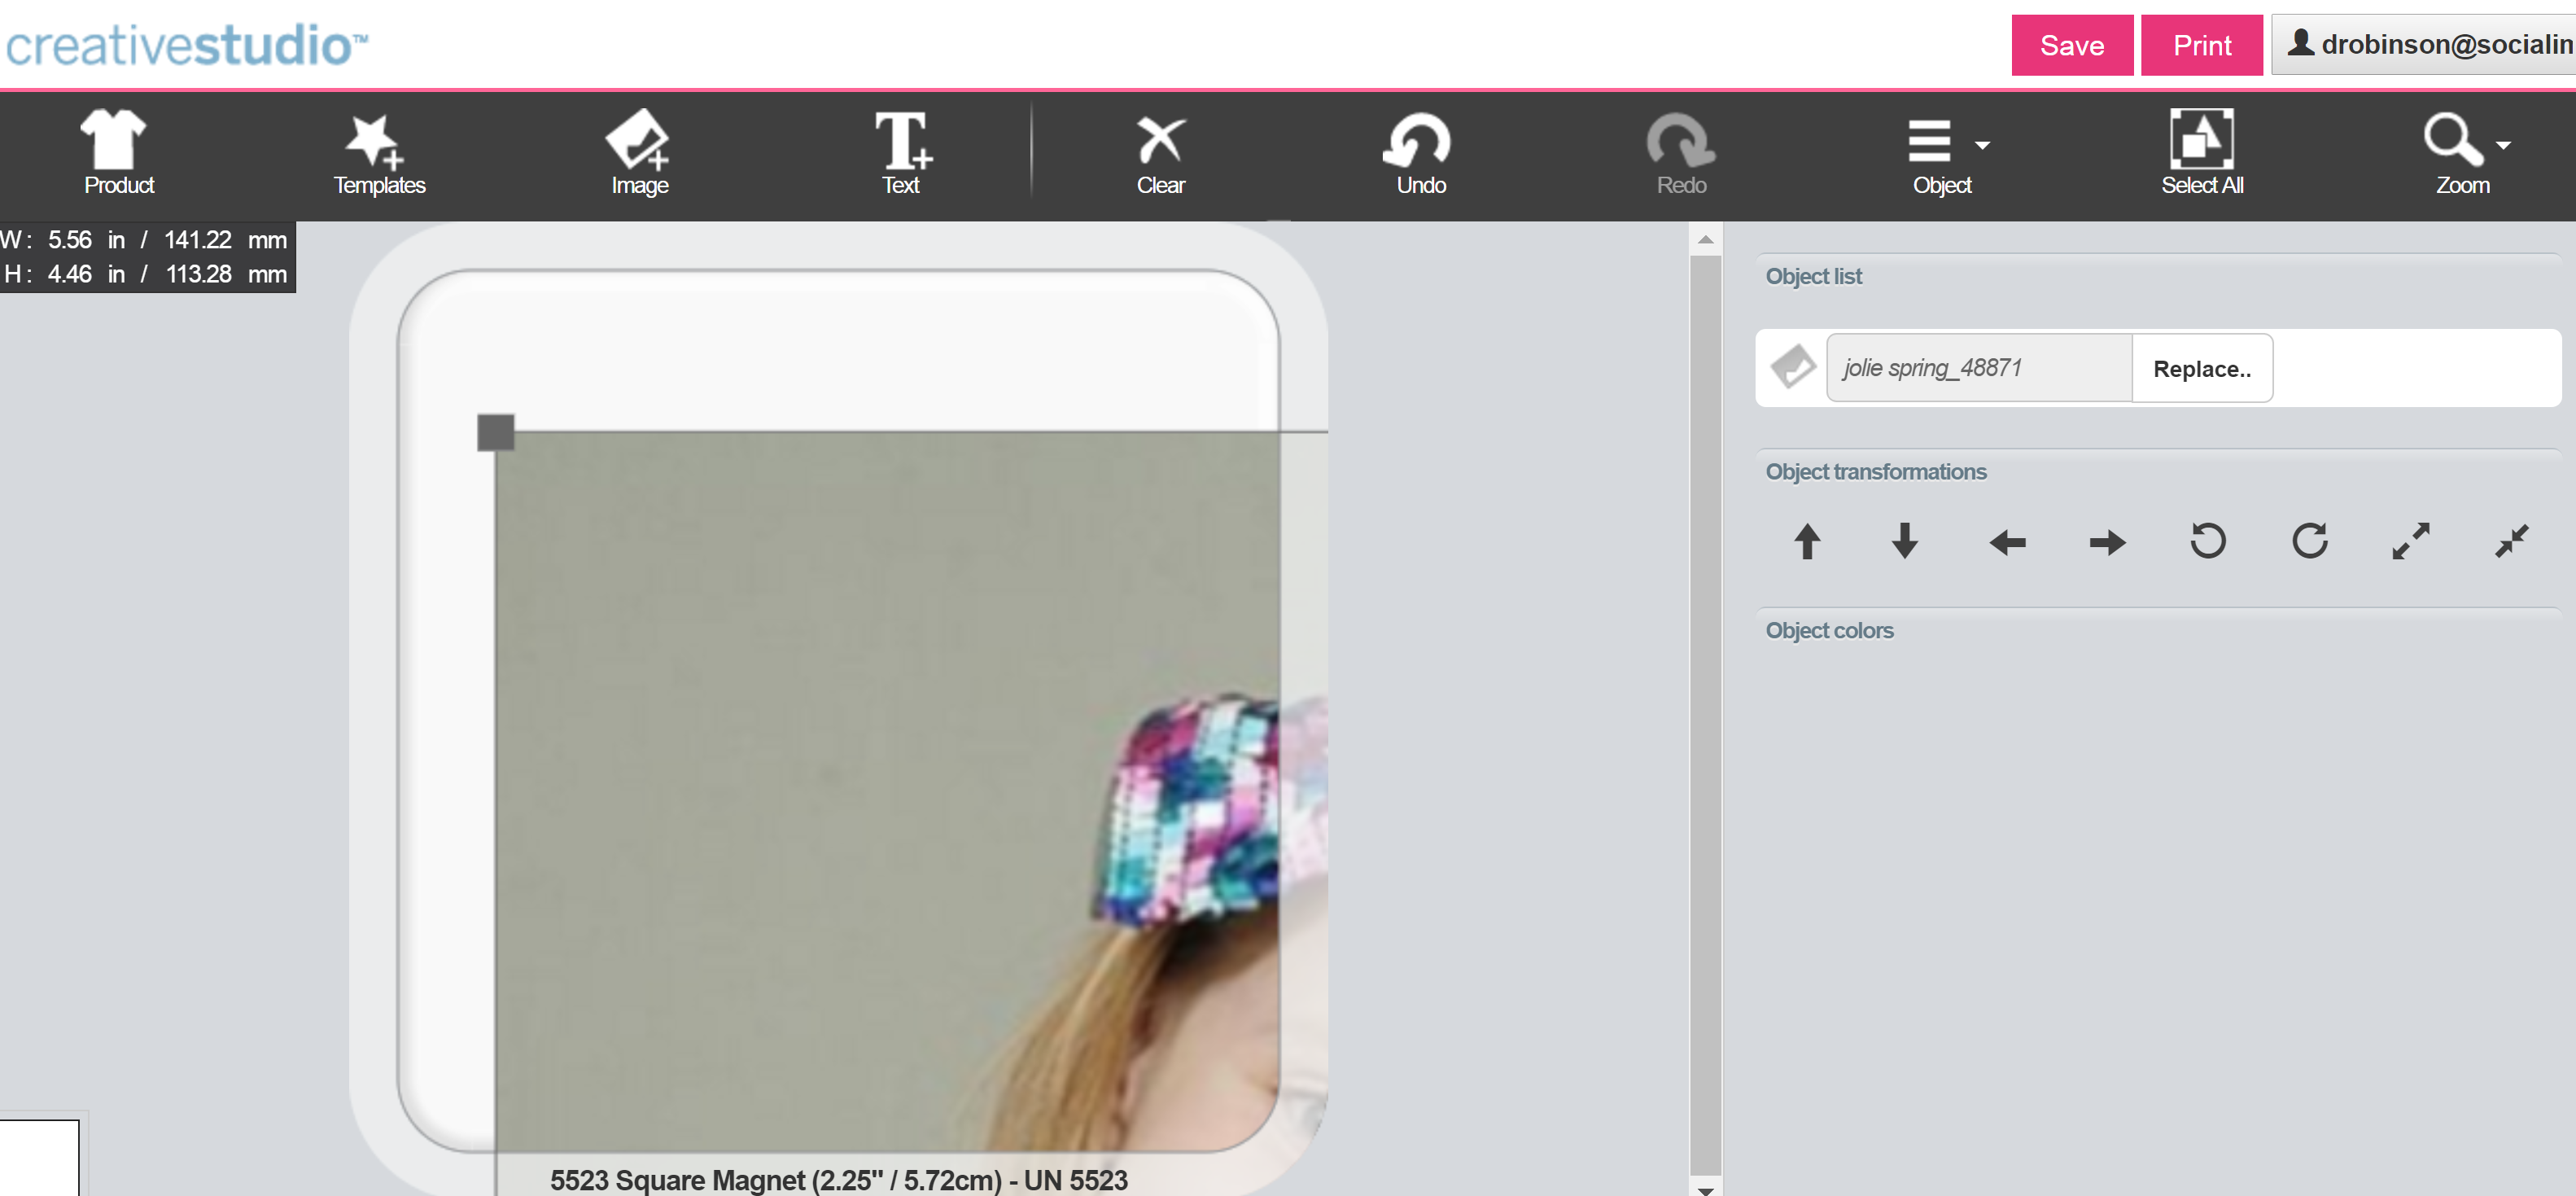
5.a. If you want to make a photo magnet click on the add image button, upload your image and resize it to fit the magnet.

magnet sublimation 4
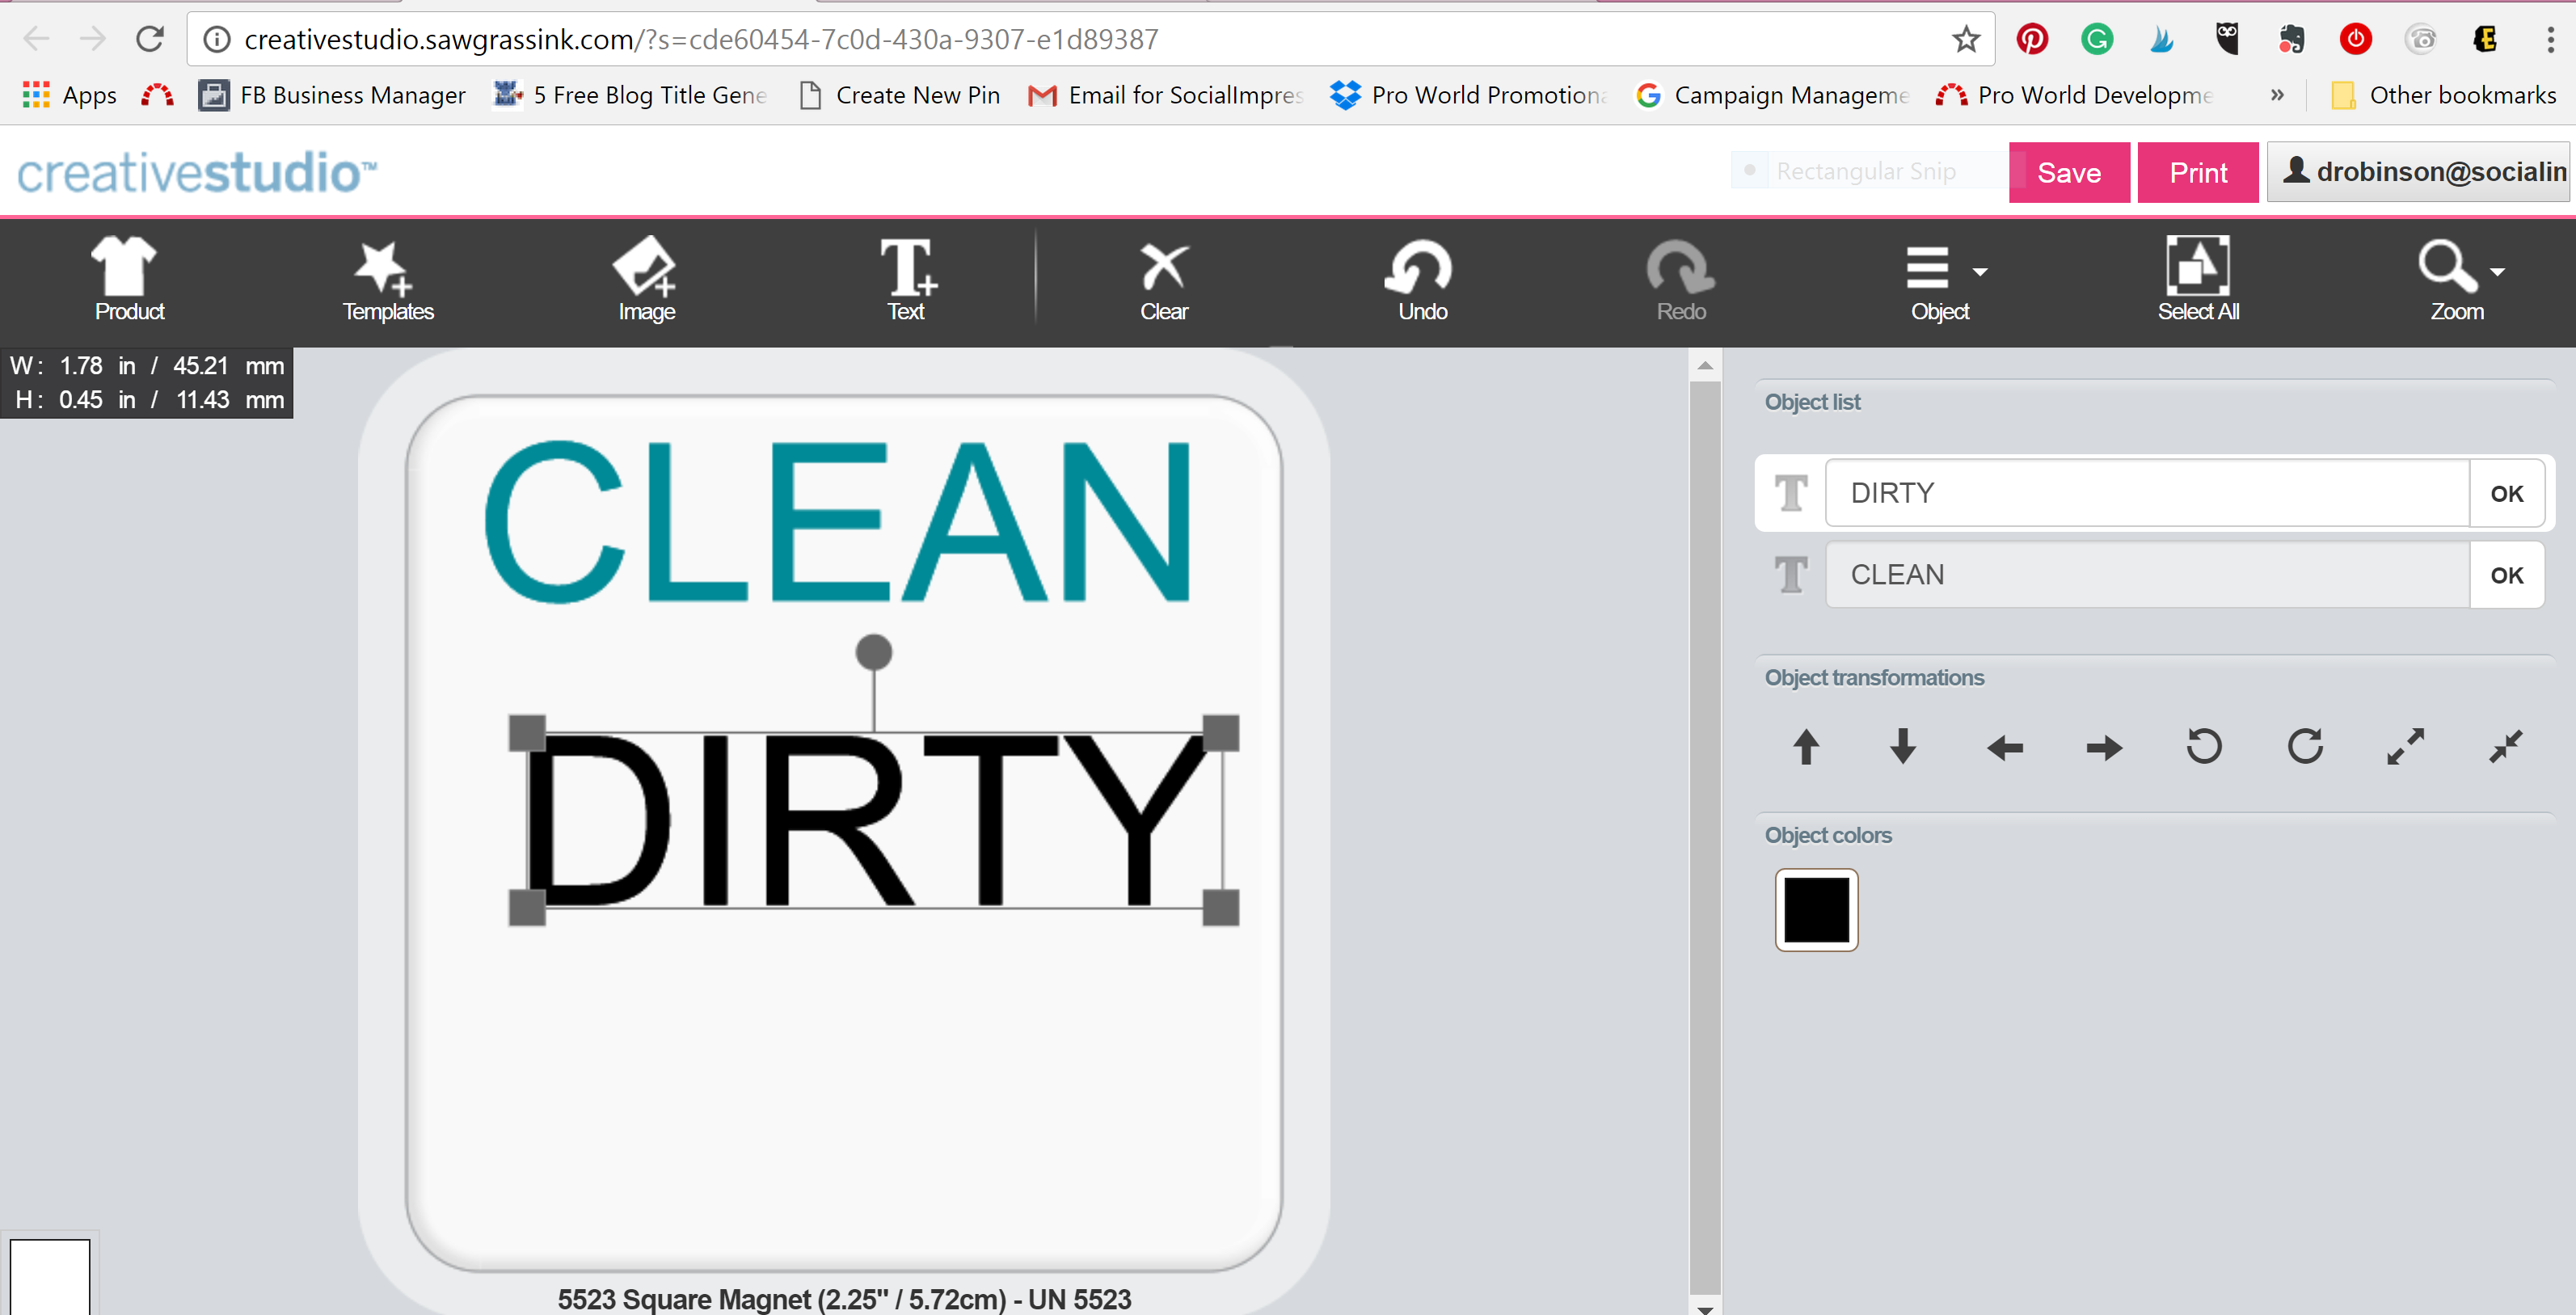
5.b. If you want to create a magnet with text, click on the Add, Text button.

MAGNET TYPE
6. Once your image reflects your vision. Click the Print button.

7. If you want to create multiple magnets, click the Print Button after each magnet is created. BUT do not open any downloads. Wait untill all of your designs are finished and then go to the top right corner, click on your email address, and the administration button.

8. Select each image that you would like to print.

sublimation new 3

9. Click Print.

10. This will generate a download, open it.

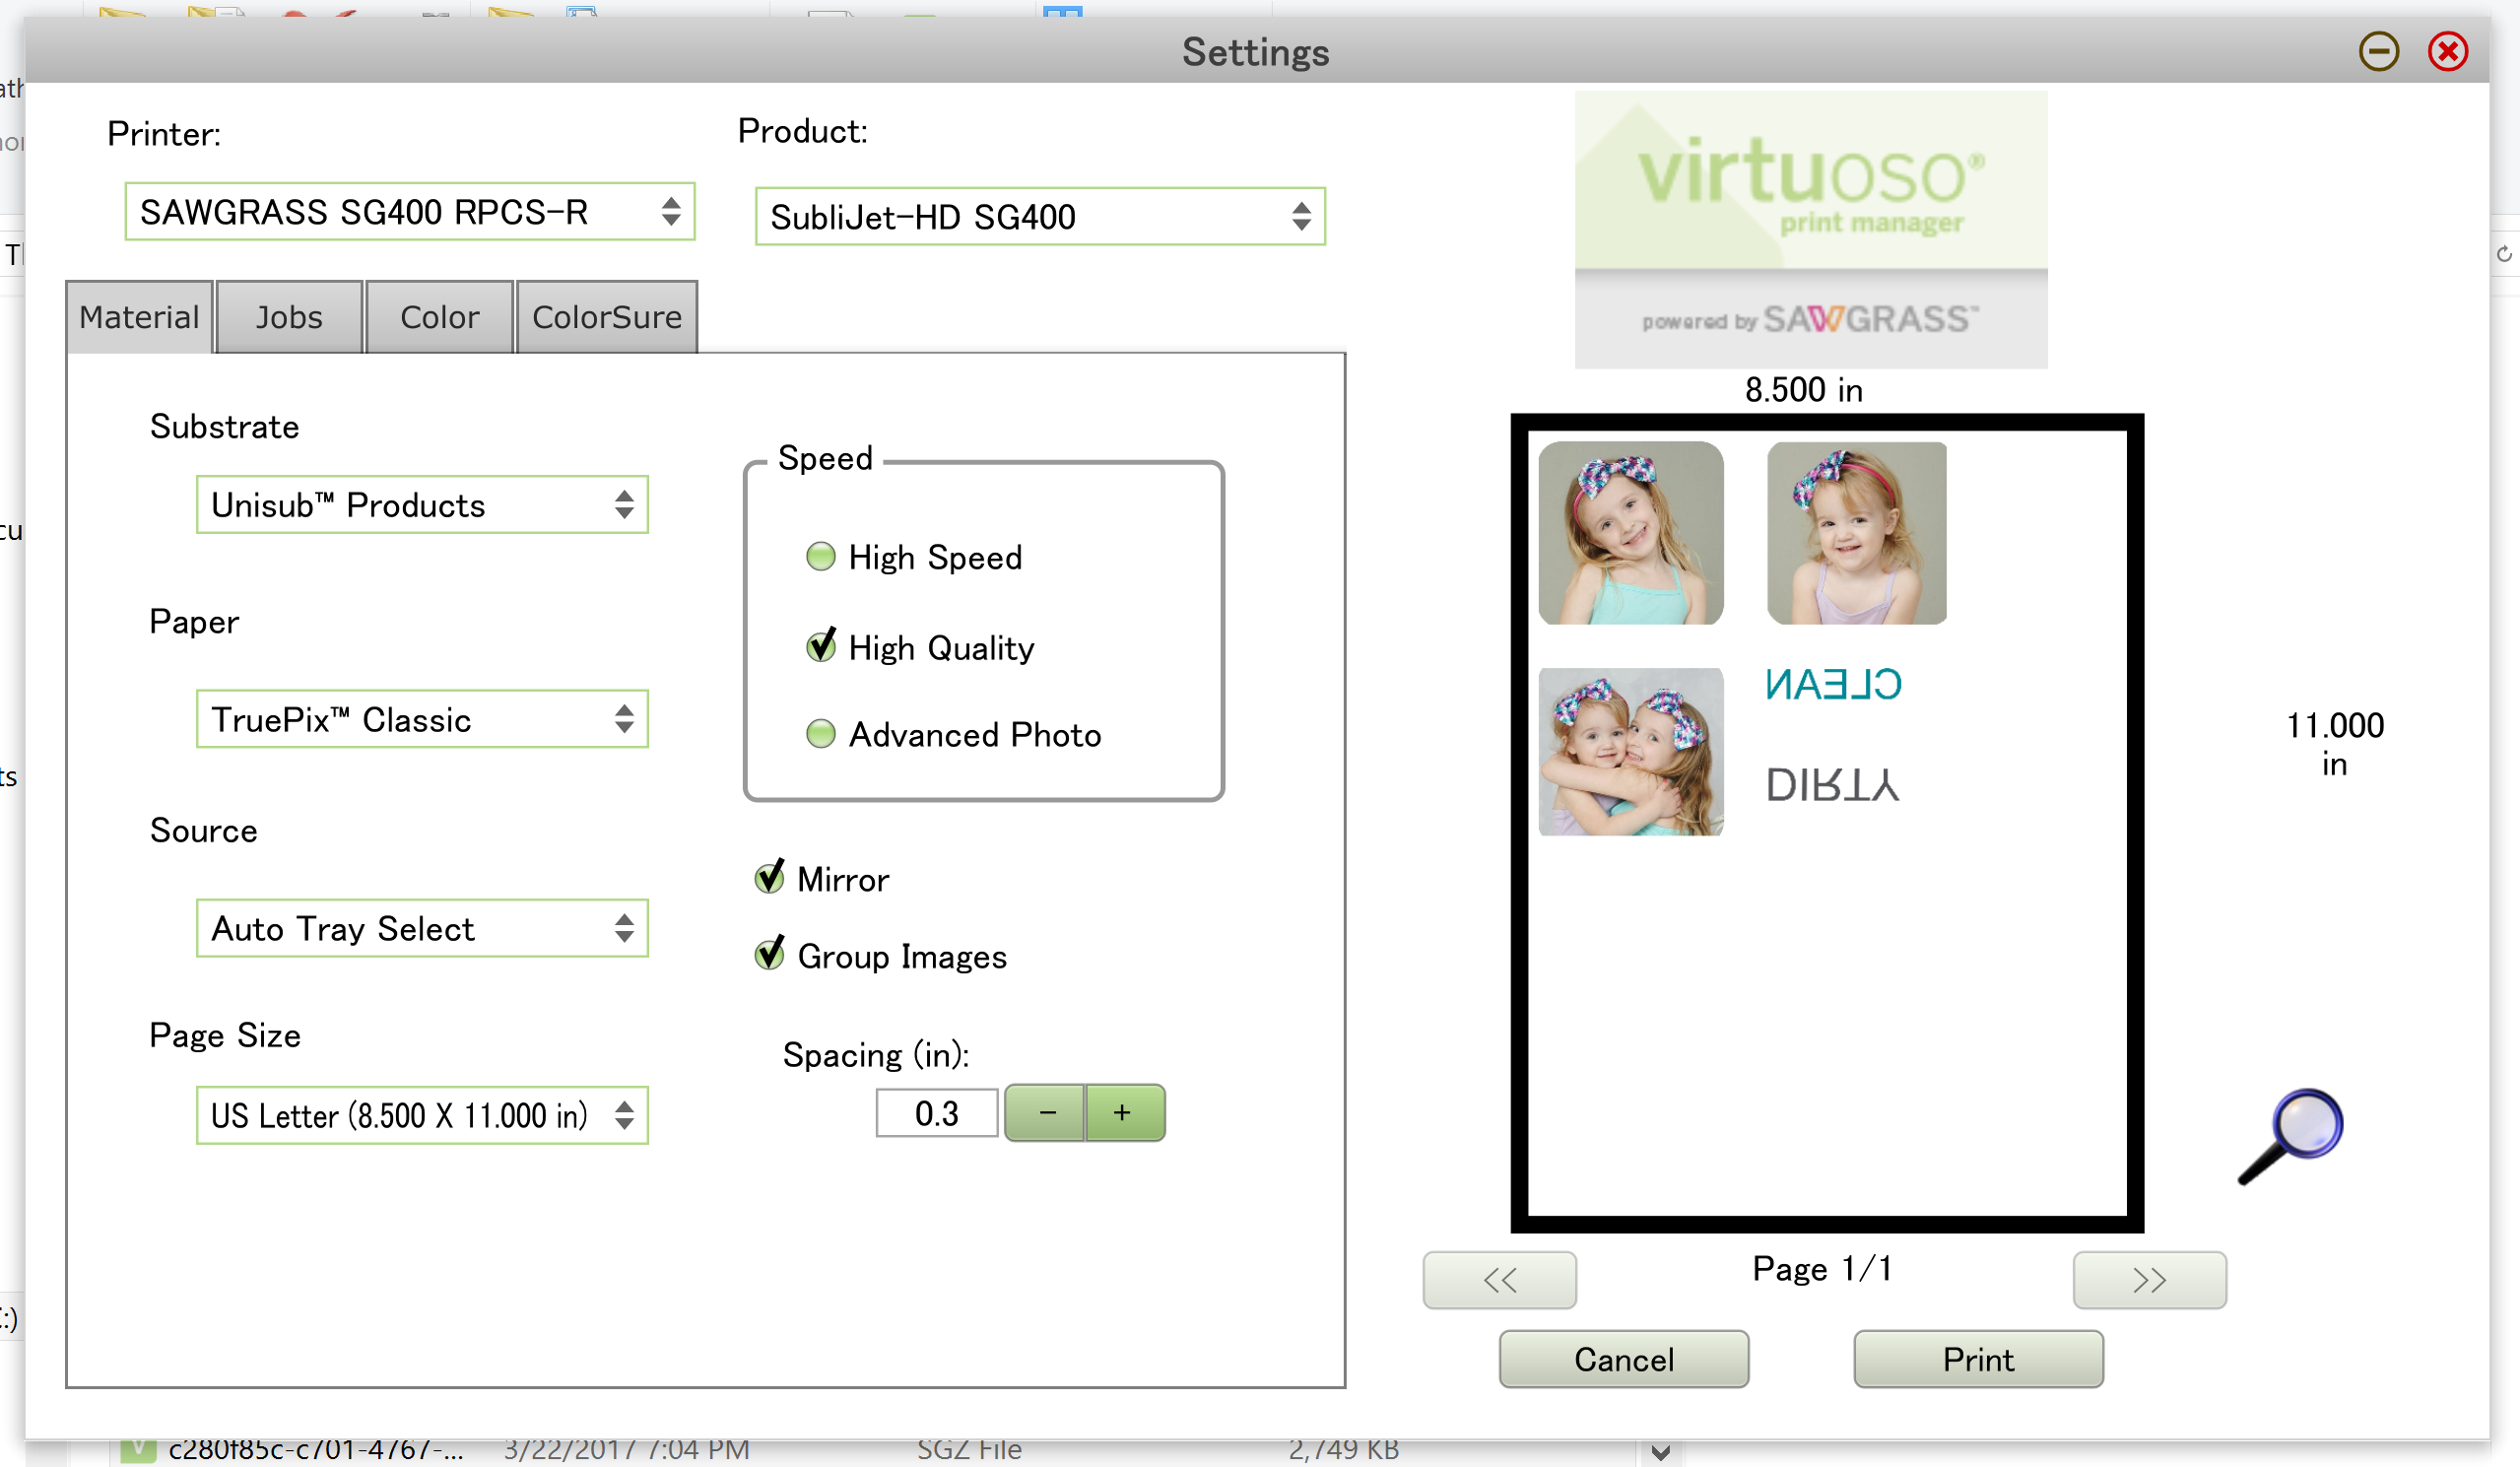
11. Select the Group Images Button.

sublimation new 4

12. If you need to increase the distance between the images, change the spacing with the + or – button.

13. Click Print.

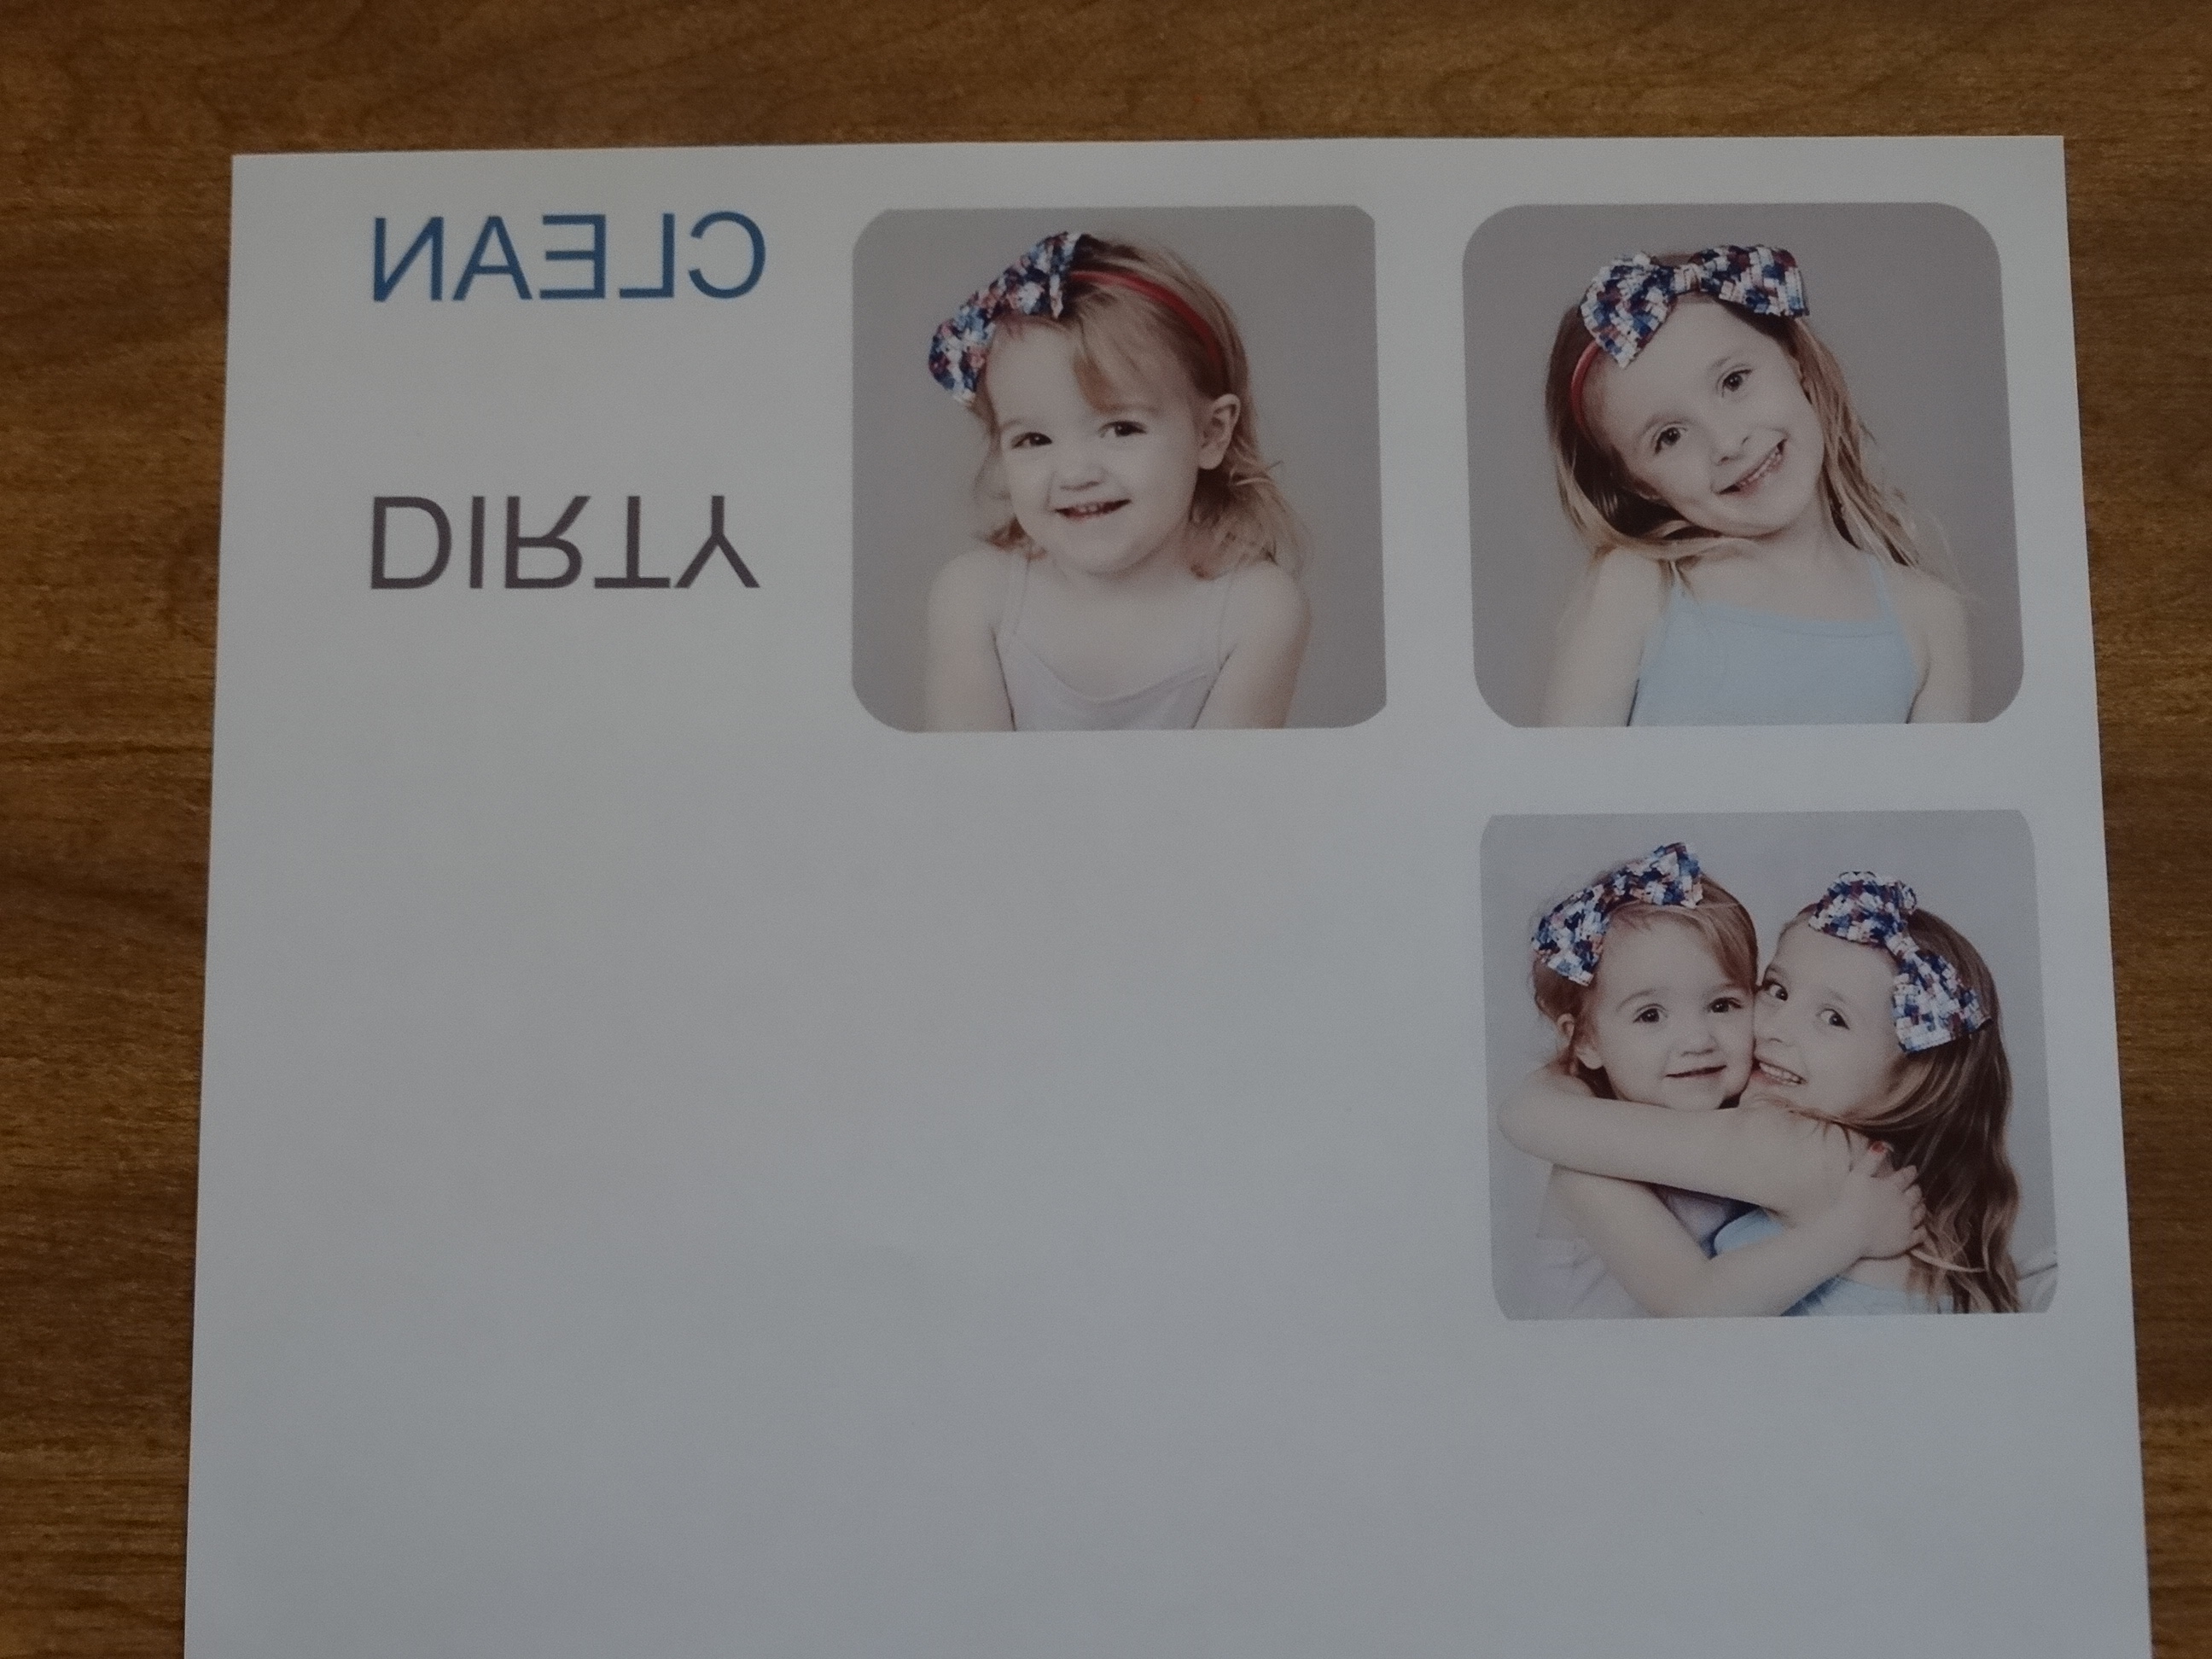
DSC07759

14. Now that you’ve printed your images it is time to assemble!

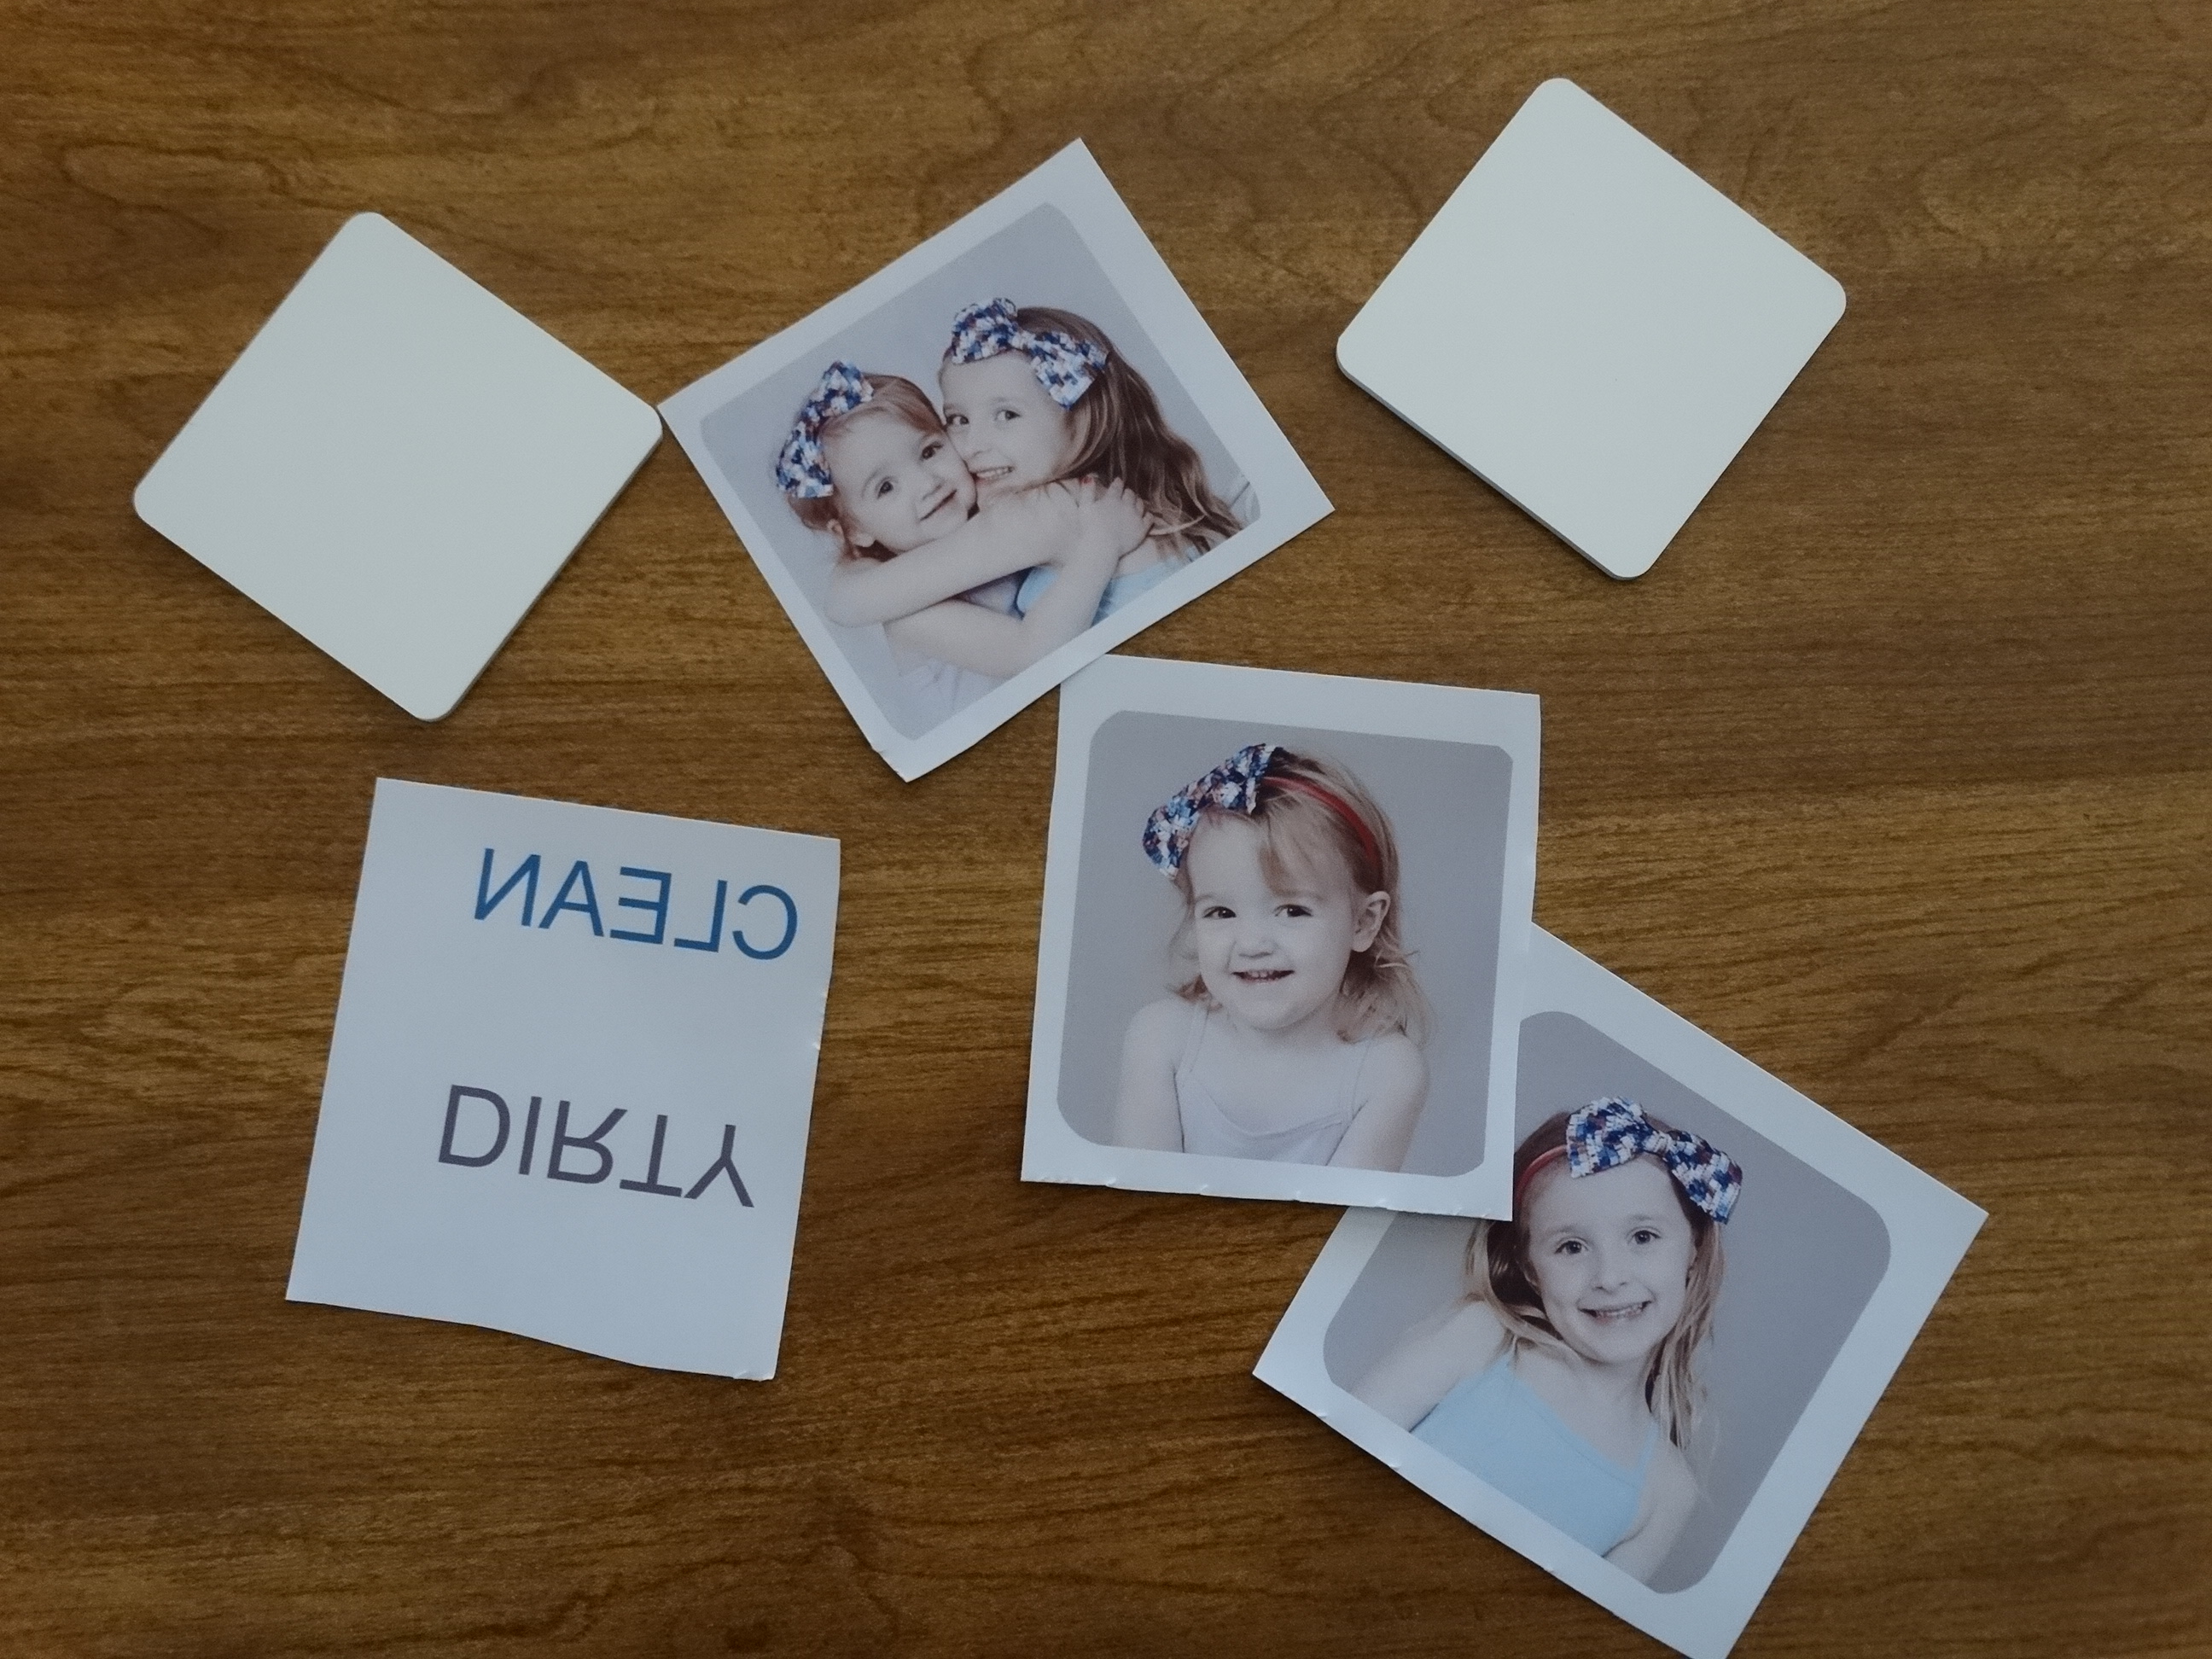
15. Cut your images so that they fit your magnet.

DSC07760
16. Preheat your heat press to 400 degrees F.
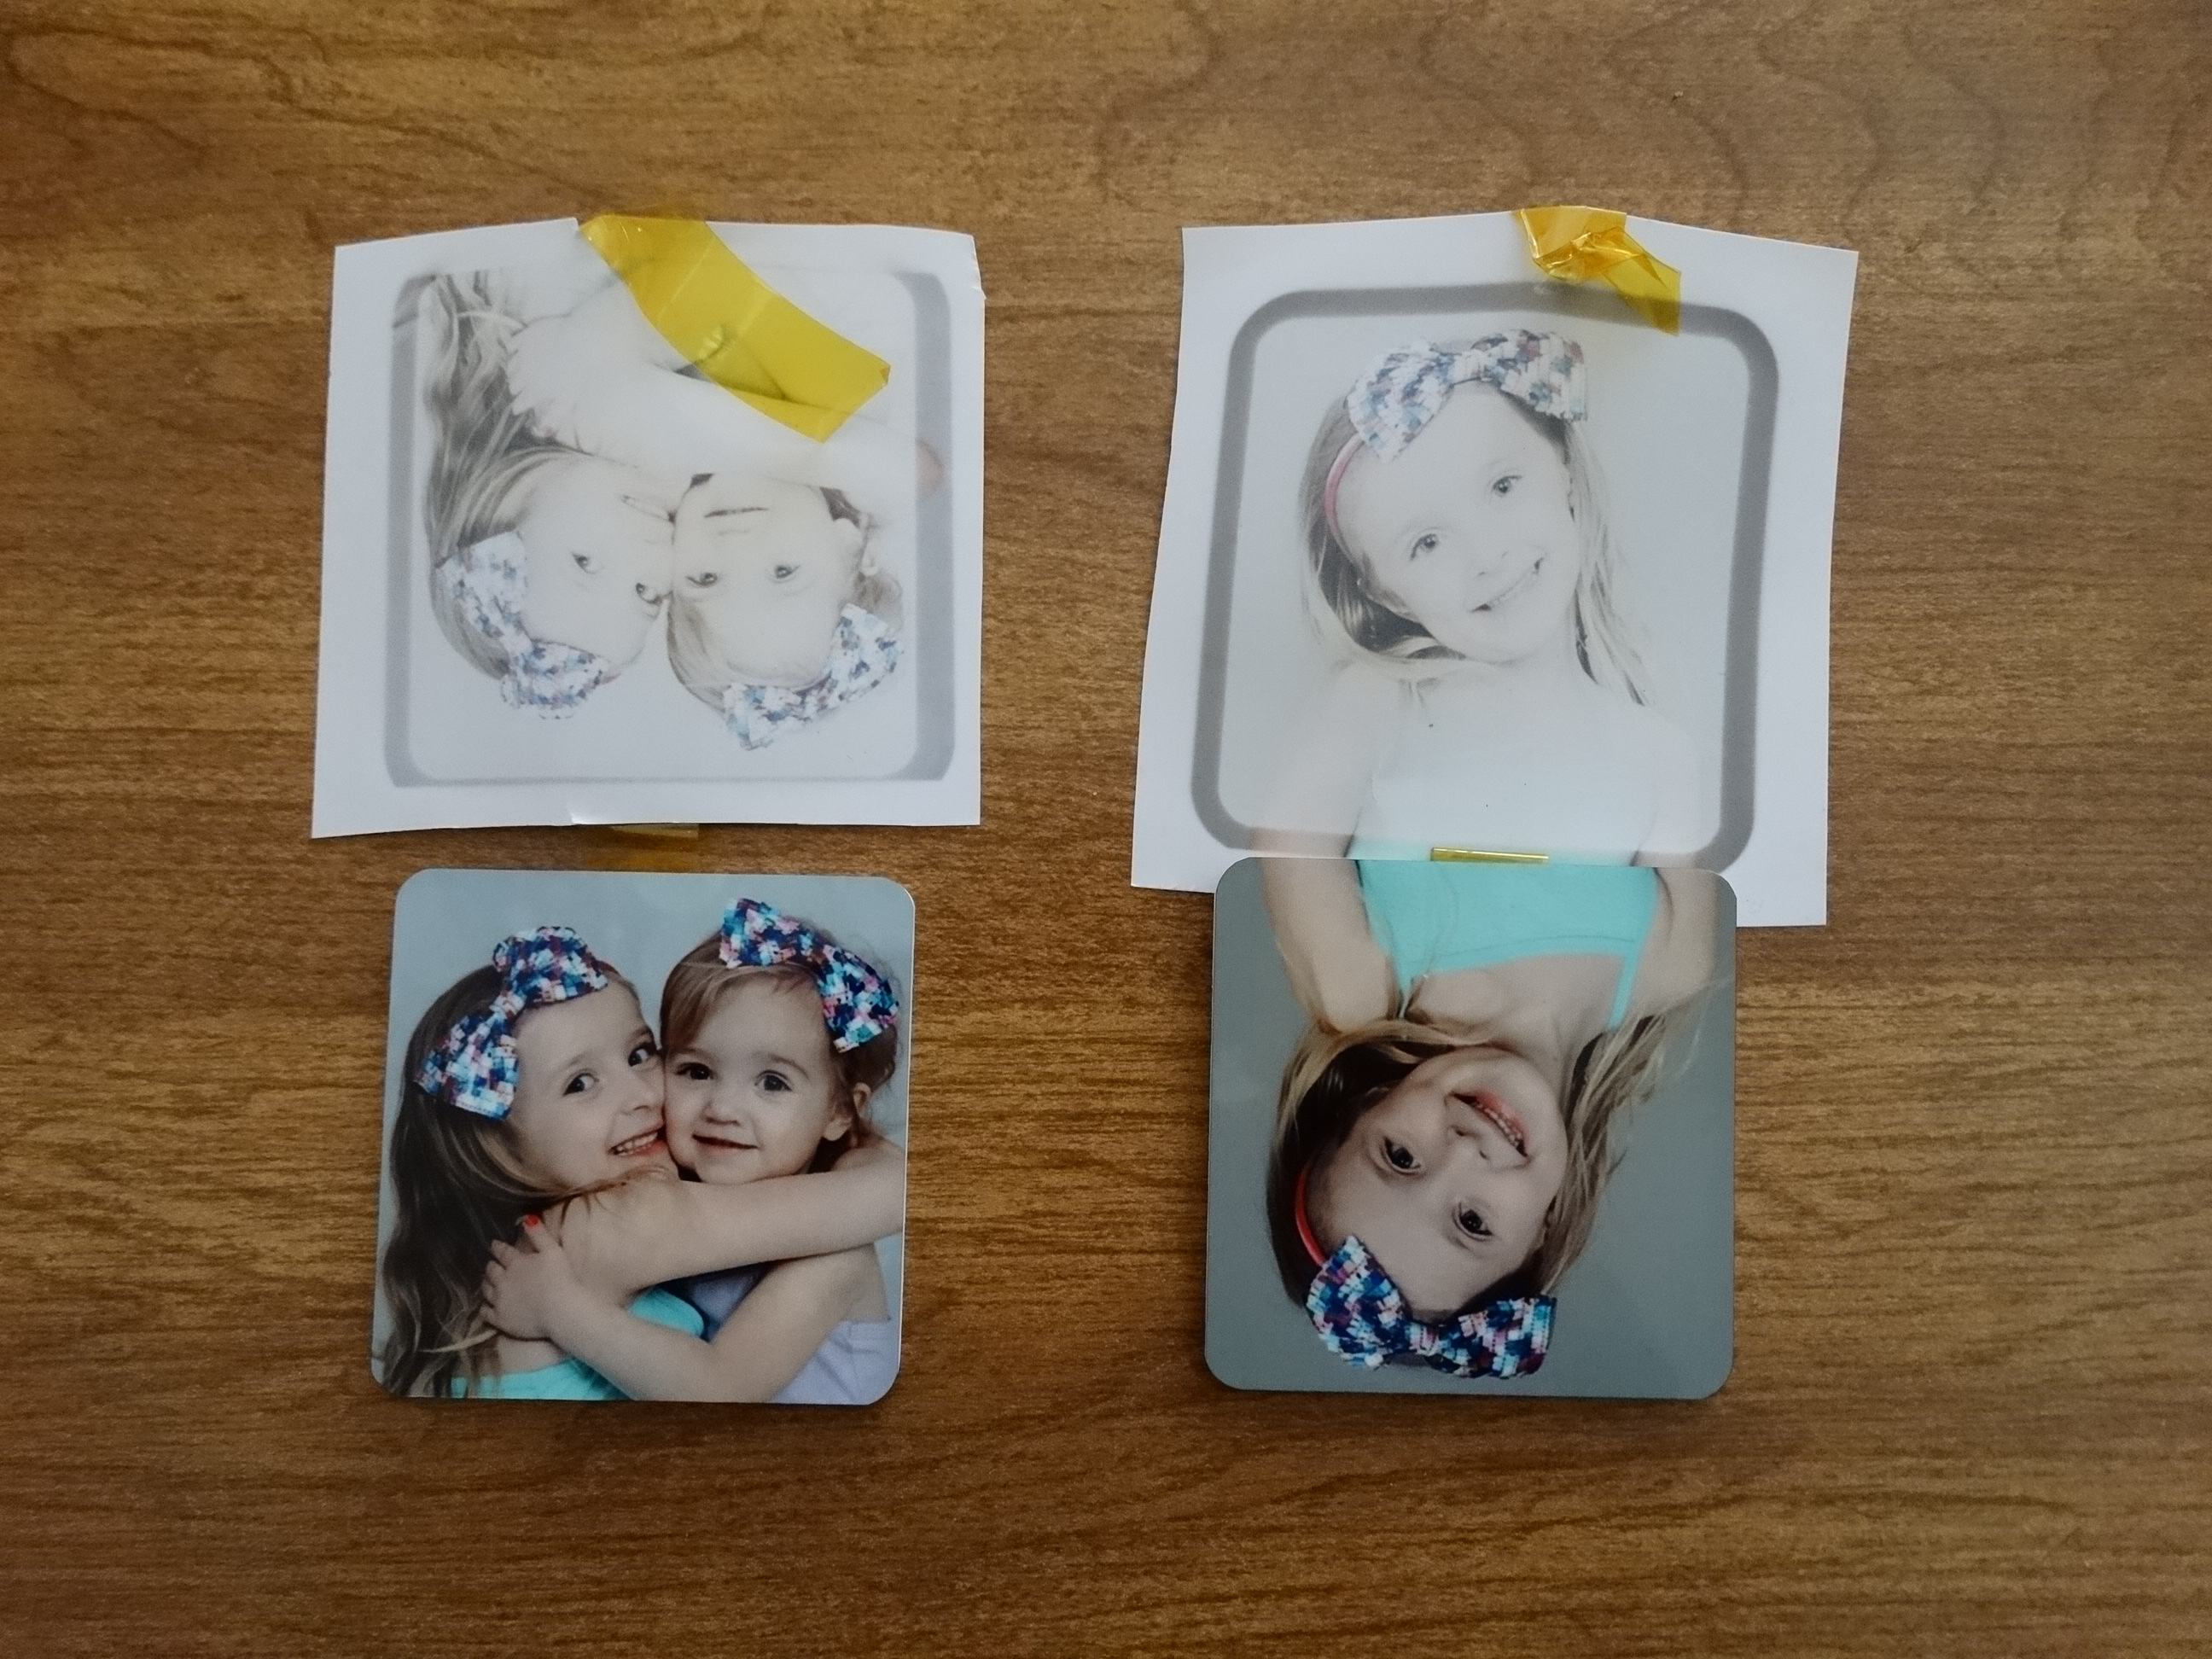
17. Using heat resistant tape, tape the paper to the magnet so that the image does not move.

18. Lay your magnet with the paper side up on your heat press. Set the timer to 45-60 second, and set your pressure to medium. Cover the magnets with a non stick sheet and press.
19.Remove immediately from press once finished and peel hot.

DSC07761

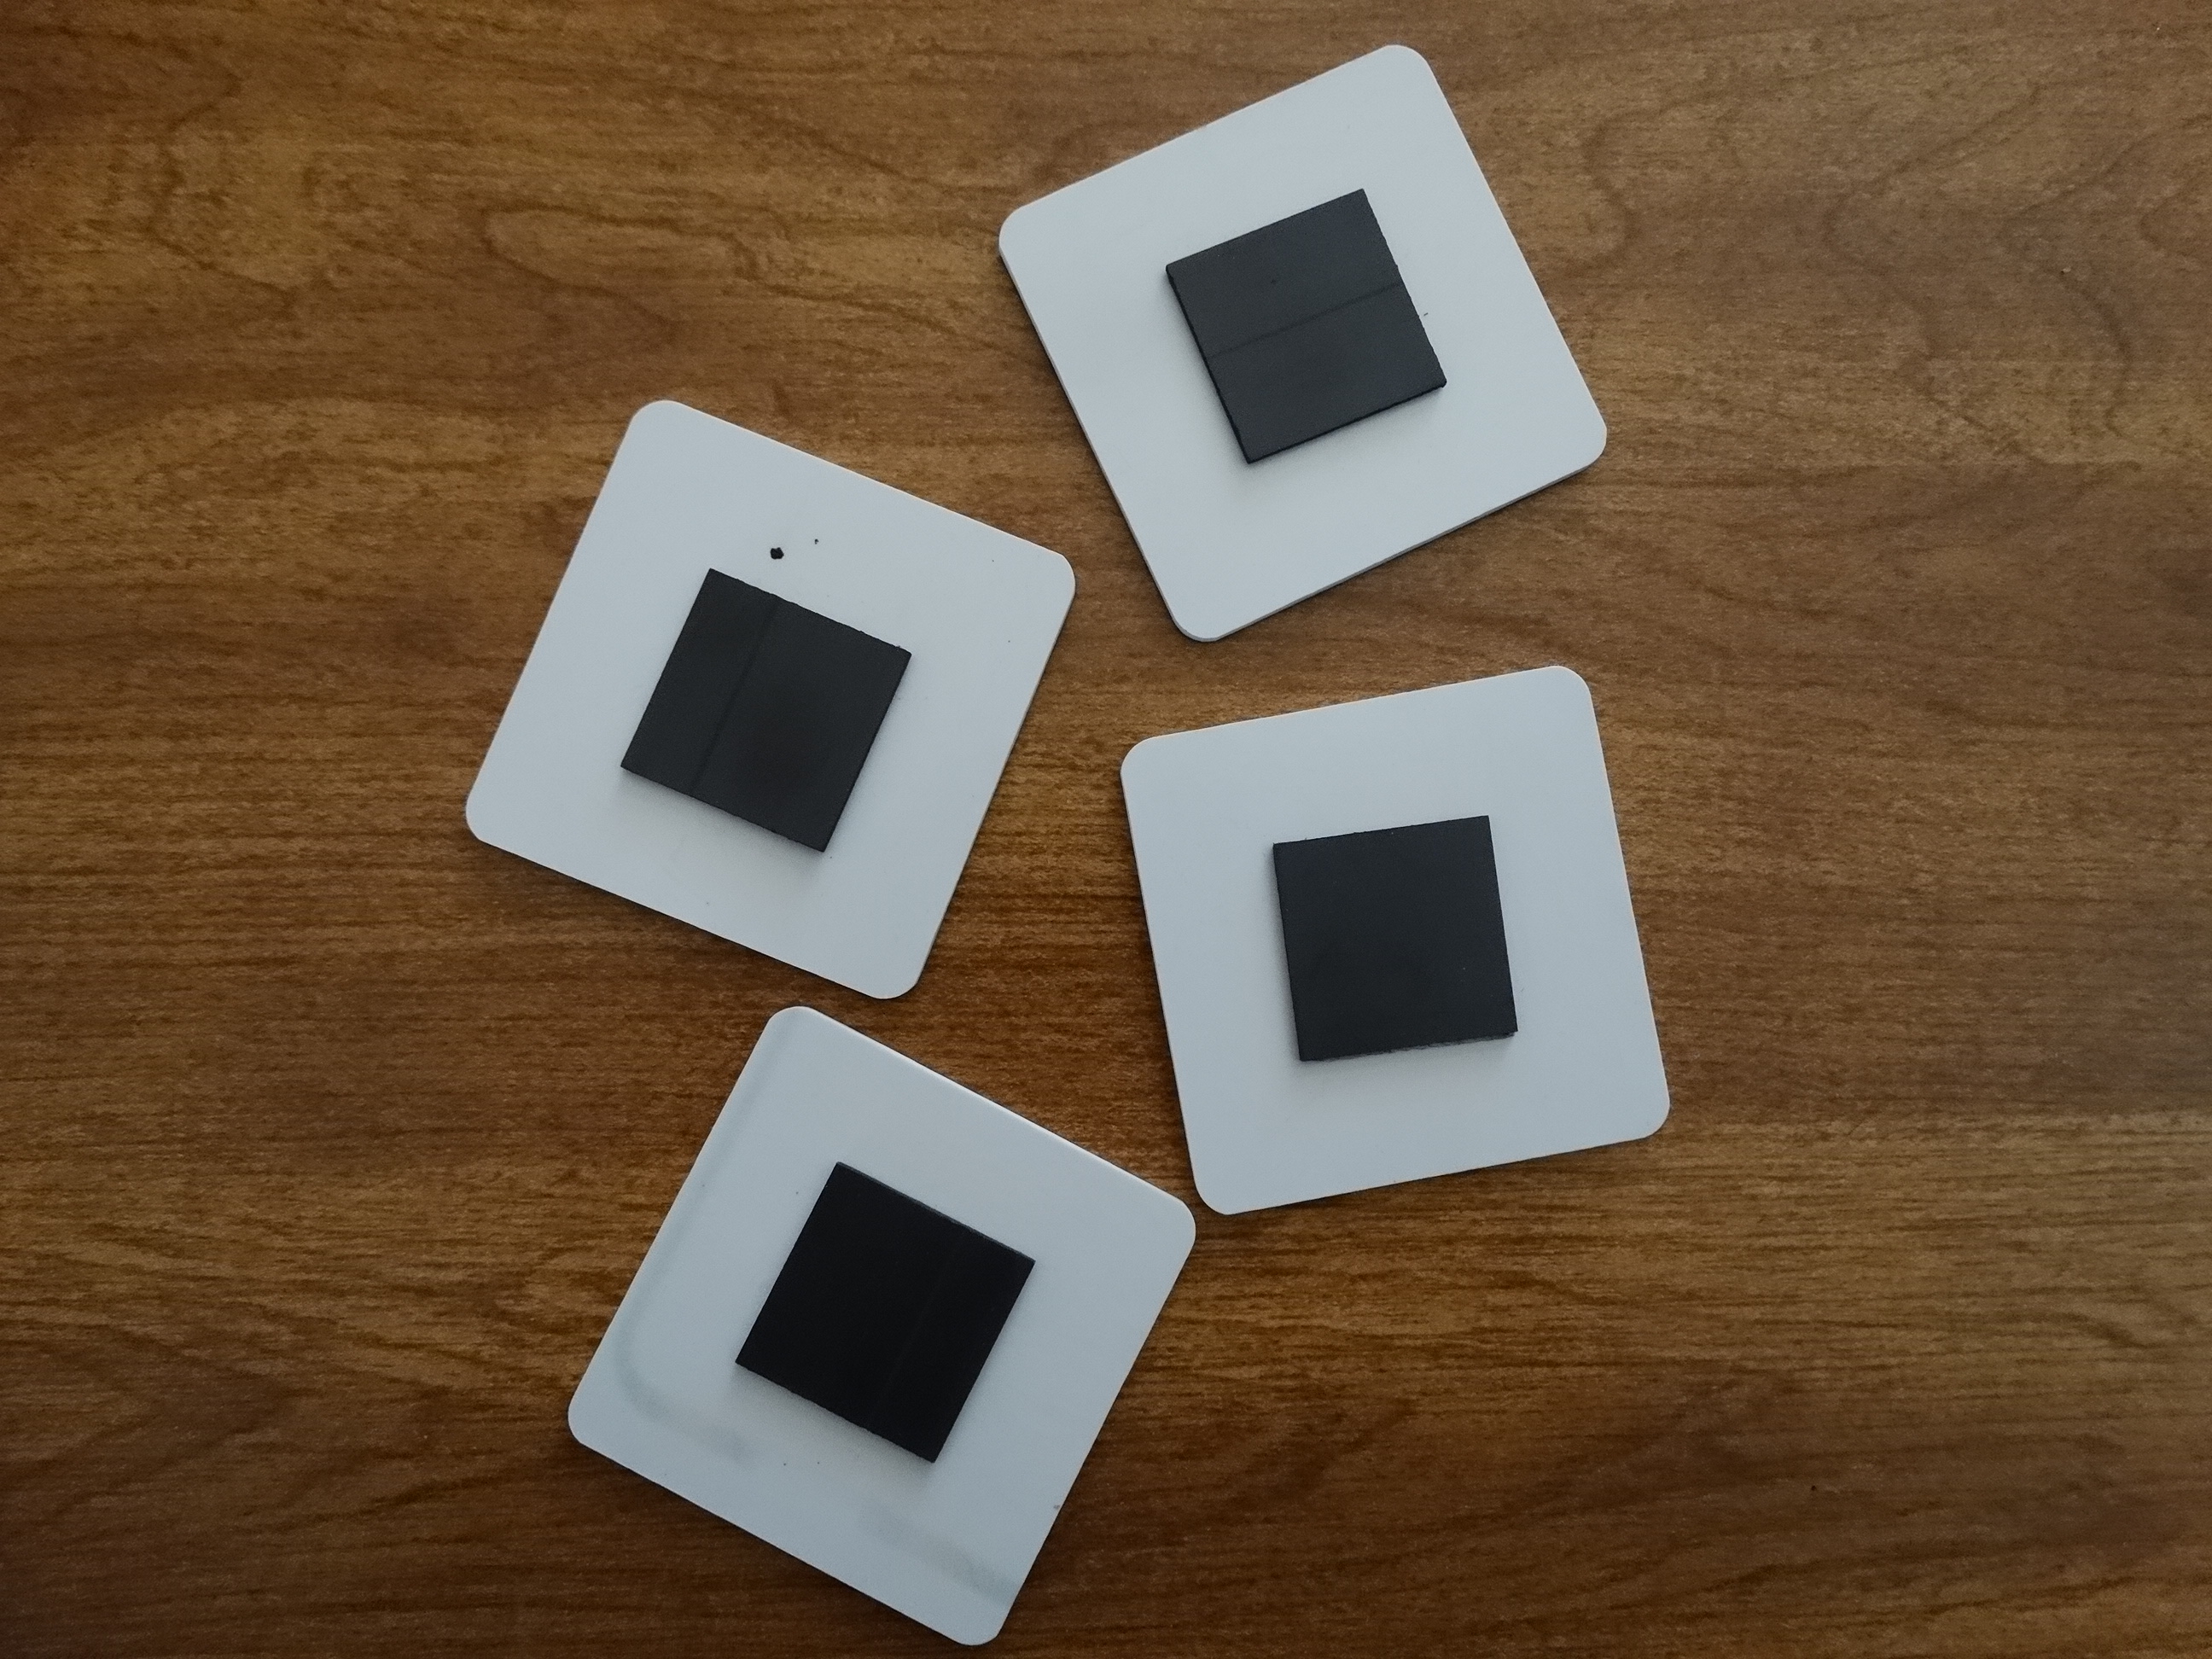
20. Apply the magnet strip to the back and you are done!

DSC07763


DSC07764

DSC07767

View & Add Comments

Spring Wall Art with Adhesive Vinyl

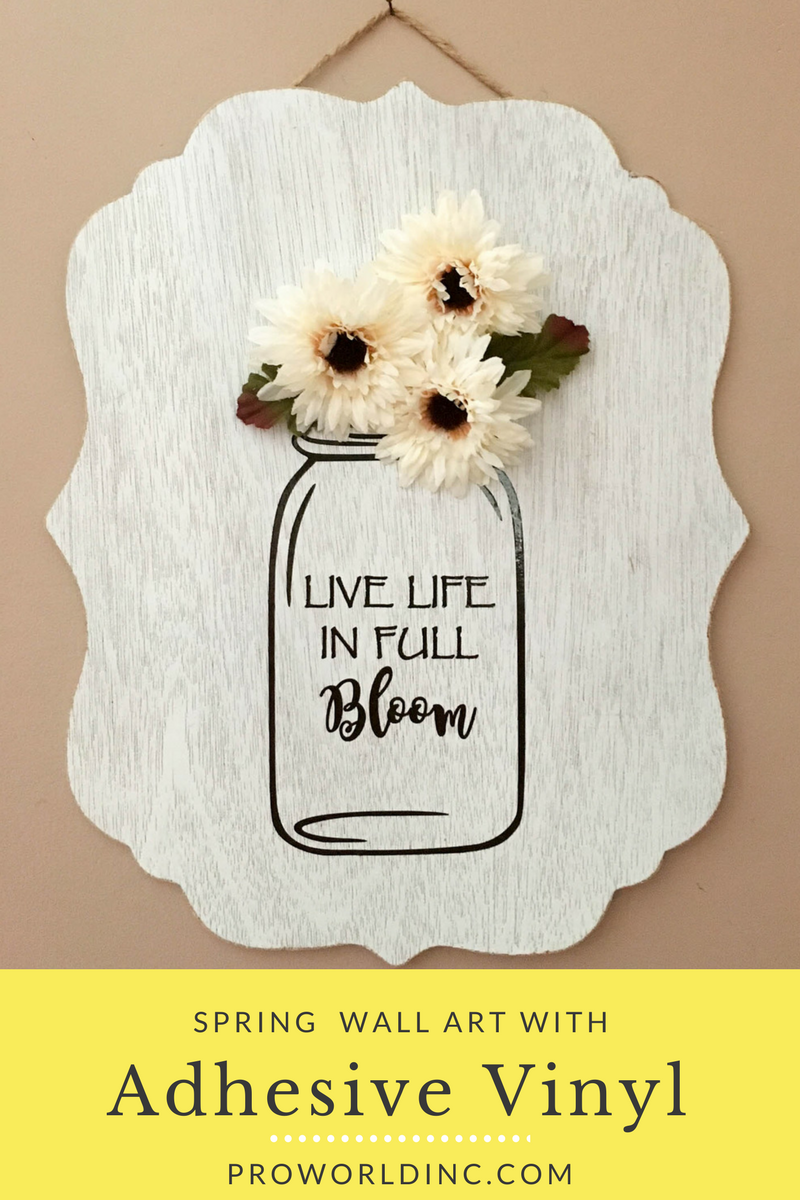
Since Spring is just around the corner, we wanted to combine some of our favorite things- adhesive vinyl, mason jars, flowers, and wood for our latest project. By adding adhesive vinyl to wood, we’ve given this sign a unique look. Freshen up your space, add new offerings to your shop, or give this piece as a sweet gift.
spring wall art
You’ll Need:
Wood
Fake Flowers
Hot Glue

Making this sign is super simple!

1 – Open your design software and create your mason jar and quote.
2 – Insert your adhesive vinyl into your machine, check your cut lines and settings and click cut.
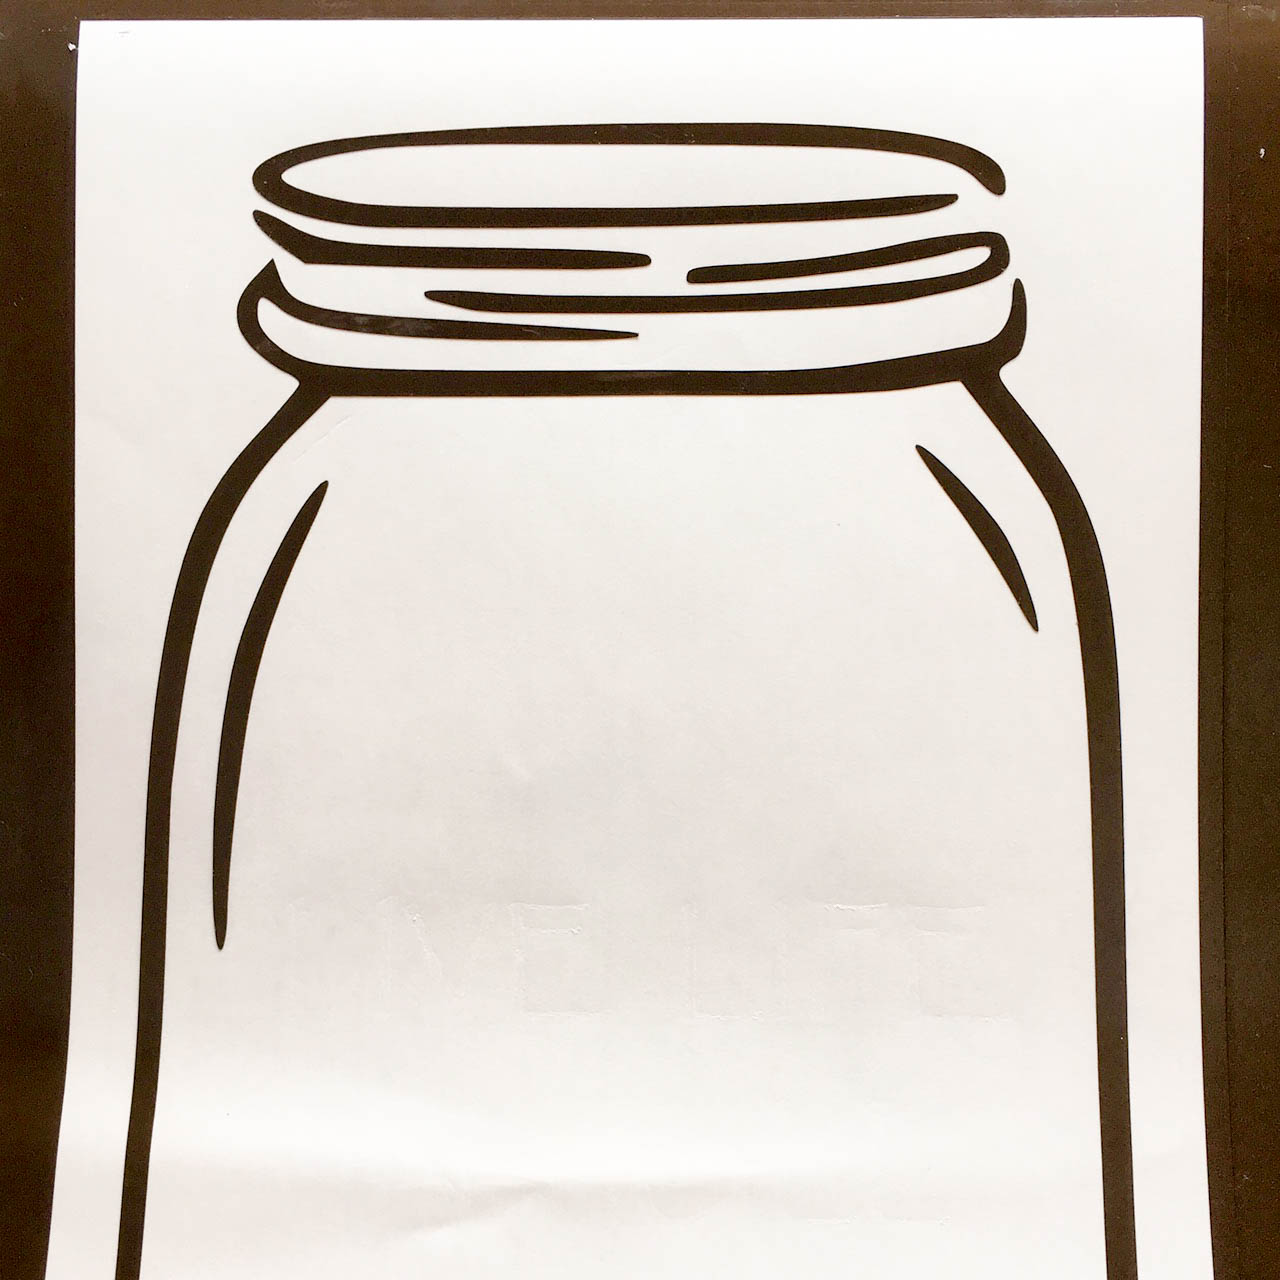
3 – Weed your design and apply the transfer tape over it.
adhesive vinyl
 4 – Place it onto the wood, burnish, and remove the tape.
IMG_4011
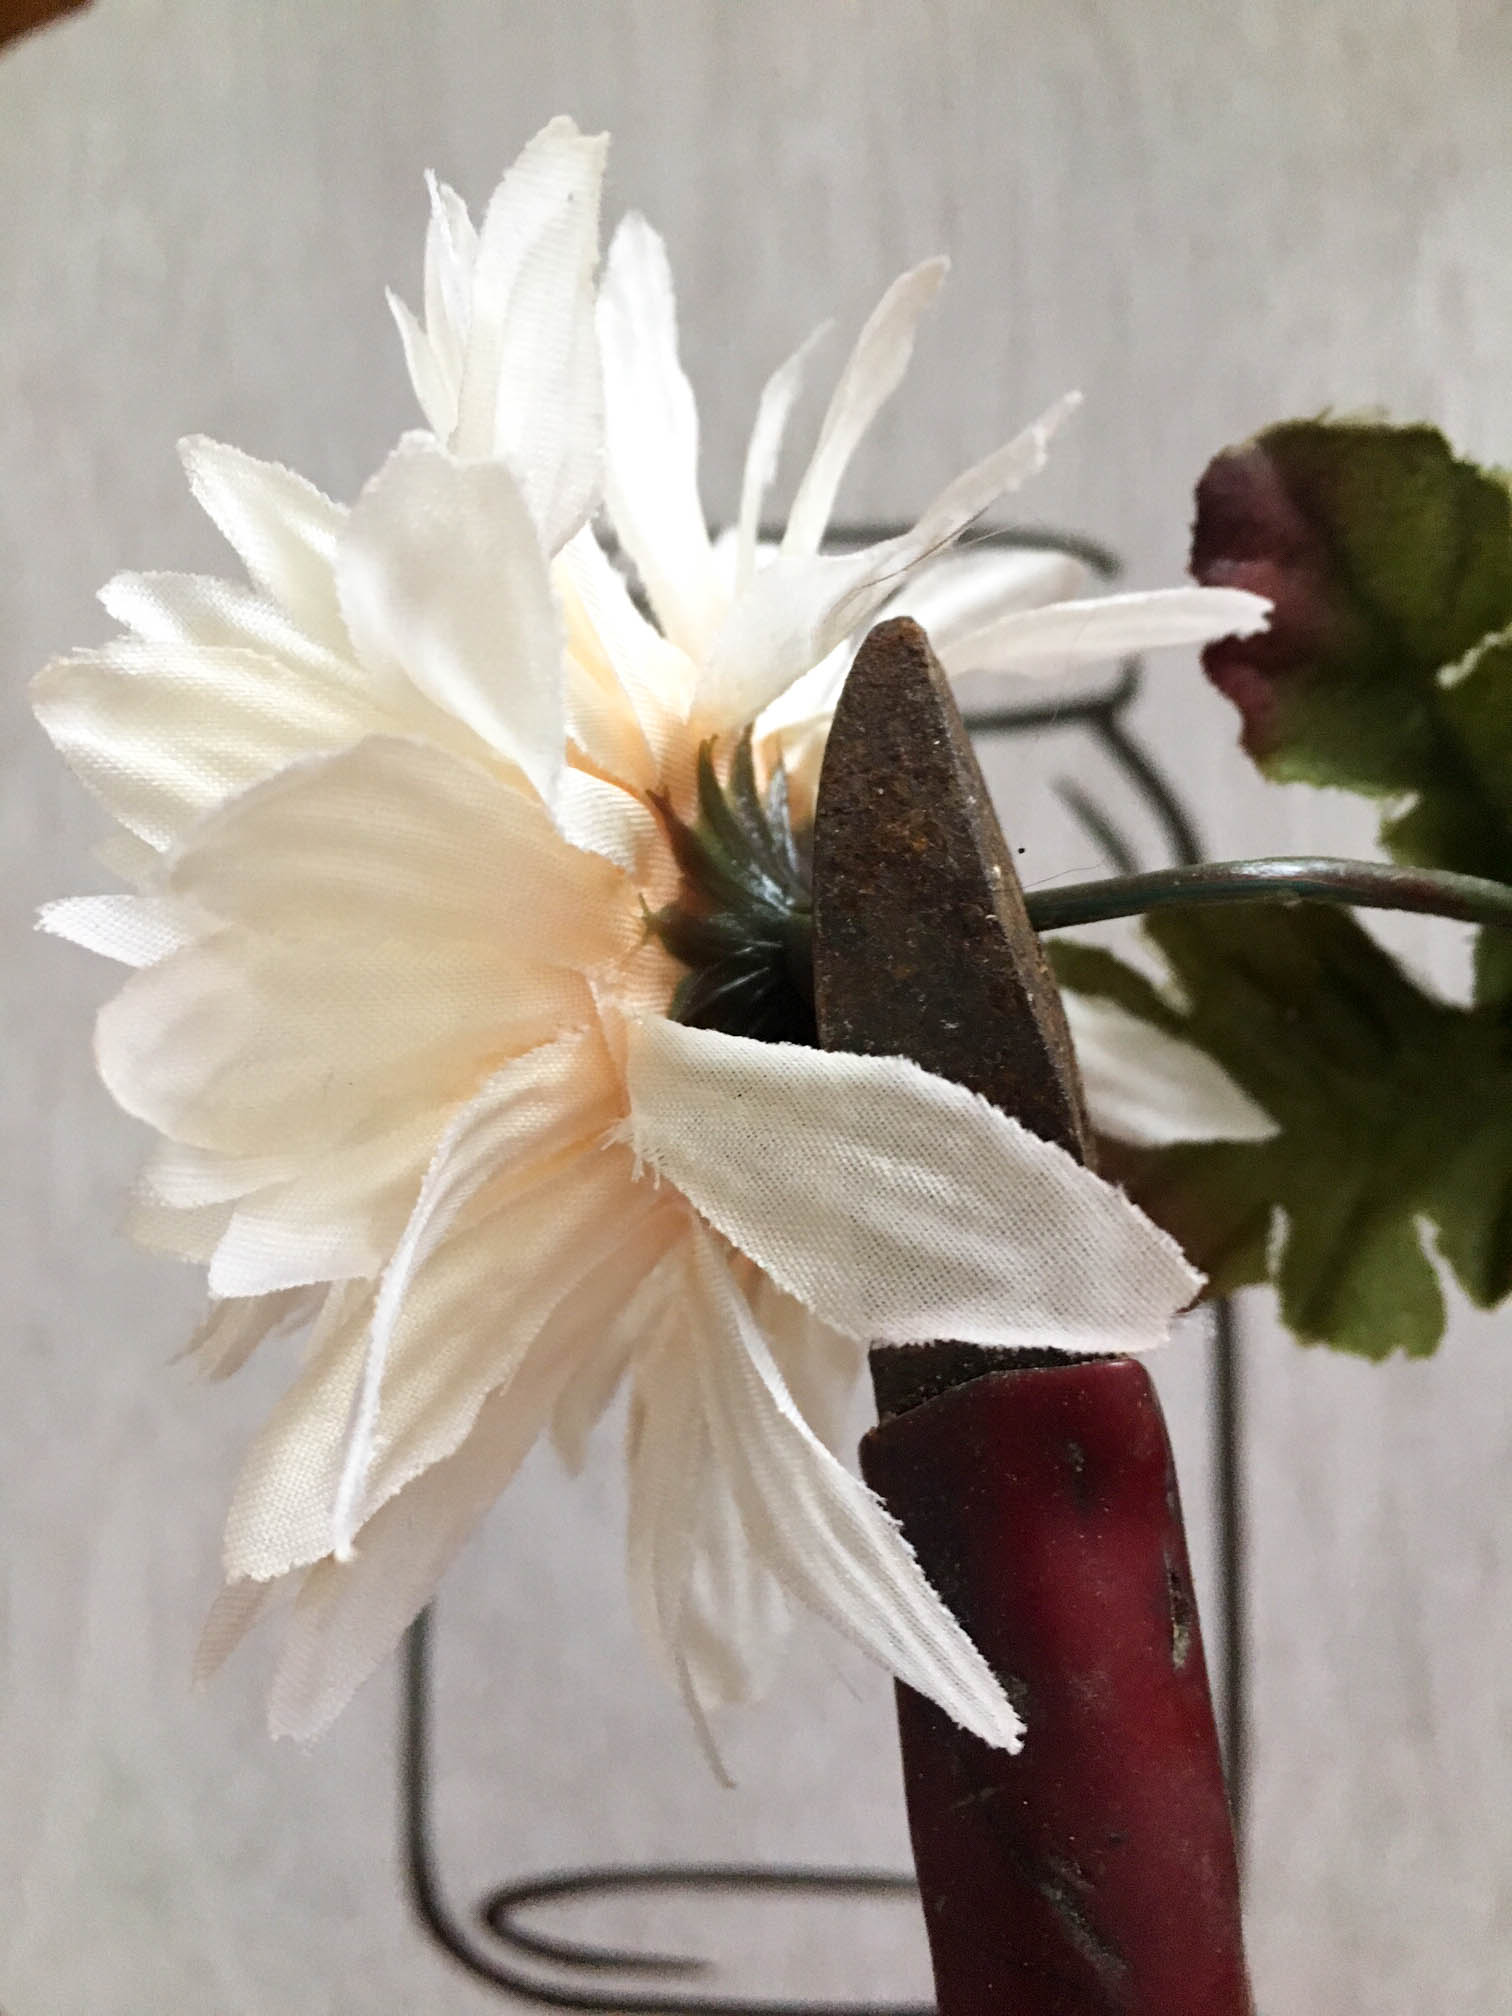
 5 – Take your fake flowers and cut the stems close to the head of the flower and hot glue the blooms into place.
IMG_4012
 6 – Your jar of flowers is ready to be hung!
IMG_4017
View & Add Comments

3 Troubleshooting Tips for Sublimation

Do you have a sublimation printer? Congratulations! Sublimation printing is a great way to for a businesses to create customized and personalized full-color products on demand. And as you are probably already aware, the production technique is relatively simple. When sublimation inks are heated to 400°F, they turn into a gas and form a permanent bond to 100% white or light color polyester fabric or items that have a polymer coating. The result is a premium full-color, photographic-quality image that will not crack, peel or wash away from the substrate.

As with all good things, there are three common problems that you may encounter at some point. So we’ve compiled a list to help you troubleshoot them quickly.
3 tips for troubleshooting sublimation

1. Banding

banding-v3

If you encounter lines of missing ink in your printouts, then you are most likely having banding issues. There are two reasons for banding. The quickest reason to troubleshoot is running out of ink, so be sure to check your ink levels. The second, most common cause is from clogged print head nozzles. Like it or not, ink dries out over time. . .  all ink, not just sublimation ink. If this happens inside the print heads, then obviously the flow of ink will be inhibited, which results in streaks of missing ink on the printout.

As long as you are printing on a regular basis – at least several times per week – the ink will not have an opportunity to dry out. However, for long stretches of time with no printer activity, you could have issues.

The simplest way to deal with this is to run a small quantity of ink through the print heads on a routine basis, by using the head cleaning function of your printer. In the case of Virtuoso and Ricoh printers, this is done for you automatically, as long as you leave the printer powered up. However, for Epson printers, you will need to perform a manual head cleaning every few days, which means pushing a button. There are some software programs available that will prompt your printer to perform a head cleaning at specified intervals so that you can set it and forget it as long as you leave everything powered up!

2. Moisture Issues
moisture-v3
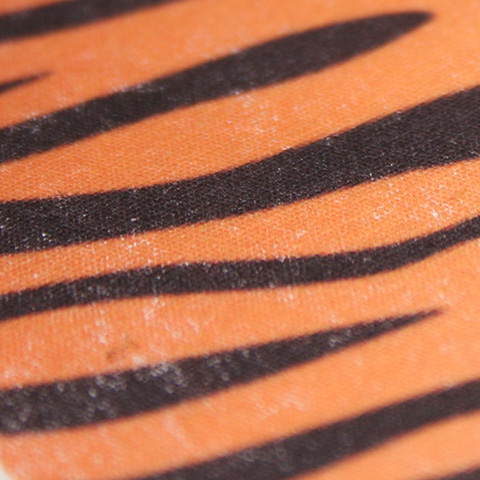
The introduction of moisture into the sublimation process can cause unwanted results. During production with a heat press operating at 400 degrees, that moisture can flash to steam and blow away the ink from its intended target. Some of the problems that are attributed to moisture include: color shifting (colors lose accuracy), bleeding of the image, and uneven transfer of solid filled areas.

Under normal circumstances, a small amount of moisture can accumulate in your transfer paper, and it’s usually absorbed directly into the substrate during pressing. However, hard substrates like metal and ceramic are unable to absorb excess moisture. Thus, it’s important that you take steps to minimize the introduction of moisture into the process.

The first step is to protect the paper from moisture absorption. As a preventative measure, you should store your paper in dry place. Avoid using Zip-Top plastic bags as they can trap moisture within.

If you suspect moisture, set the paper on your press for a few seconds. Do not press it. Just expose it to the warmth. The heat radiating from the press should help evaporate most of the moisture.

Another trick is to use newsprint or butcher paper instead of a Teflon sheet. The paper will help absorb moisture from the transfer sheet during pressing (Teflon will not). Be sure to use a fresh sheet of paper on each pressing.

If you are working with garments or fabric, it’s also possible that the substrate may contain a bit of moisture. Pre-pressing the garment for about 3 seconds should remove the moisture and any wrinkles as well. Do not overheat the substrate! Applying a sublimated transfer to a hot surface will start the gassing process prematurely, which may lead to ghosting.

Also, you should focus on your work environment. If there is a high level of humidity present, it may be contributing to the moisture issues. A dehumidifier may be necessary to help control moisture issues. However, reducing it too much can have adverse effects on the inks and your equipment. Thus, you should invest in a hygrometer and take some readings. The ideal operating conditions for sublimation are 70o – 80o F with 35% – 65% relative humidity (no condensation).
3. Ghosting & Gassing Out

ghosting-v3
Sublimation requires a tight marriage between the transfer paper and the blank product during pressing. If the paper shifts or is not firmly planted against the substrate, then the result will be ghosting and/or gassing out.
Ghosting is when you end up with a blurry image, typically characterized by a shadow effect along or outside of the edges. Gassing Out is when you end up with a “burst” of ink outside of the image area.

The key to avoiding ghosting is by making sure you have a tight fit between the transfer paper and the substrate. We recommend using a heat resistant tape to secure the transfer to the product. But be careful not to tape across the image area as this can often damage the image quality. Just use a minimal amount of tape along the edges, as you will need to be able to easily and quickly remove the transfer after pressing.

Another option when sublimating apparel is to use “repositionable” adhesive spray instead of tape. Apply a very light mist on the image side of the transfer paper from about 12-18″ away. Do not spray the shirt. If you position it incorrectly, you can lift it off and reposition it. Then press the transfer paper to the product.

Regardless of how you adhere the transfer paper to the product, it’s important that when you remove it, it doesn’t slide along the surface of the substrate, as this may spread sublimation dye into unwanted areas, and cause ghosting. Ideally, with hard substrates, the transfer will be lifted off the surface, quickly and cleanly. With apparel, it may work better to grab one end of the paper and pull it away slowly, while firmly holding the garment down.

These are three of the most common issues encountered when printing with sublimation. Each of them is relatively easy to resolve. If you are still having trouble, make sure you contact your equipment supplier to discuss.

View & Add Comments