Vinyl on a Hair Bow

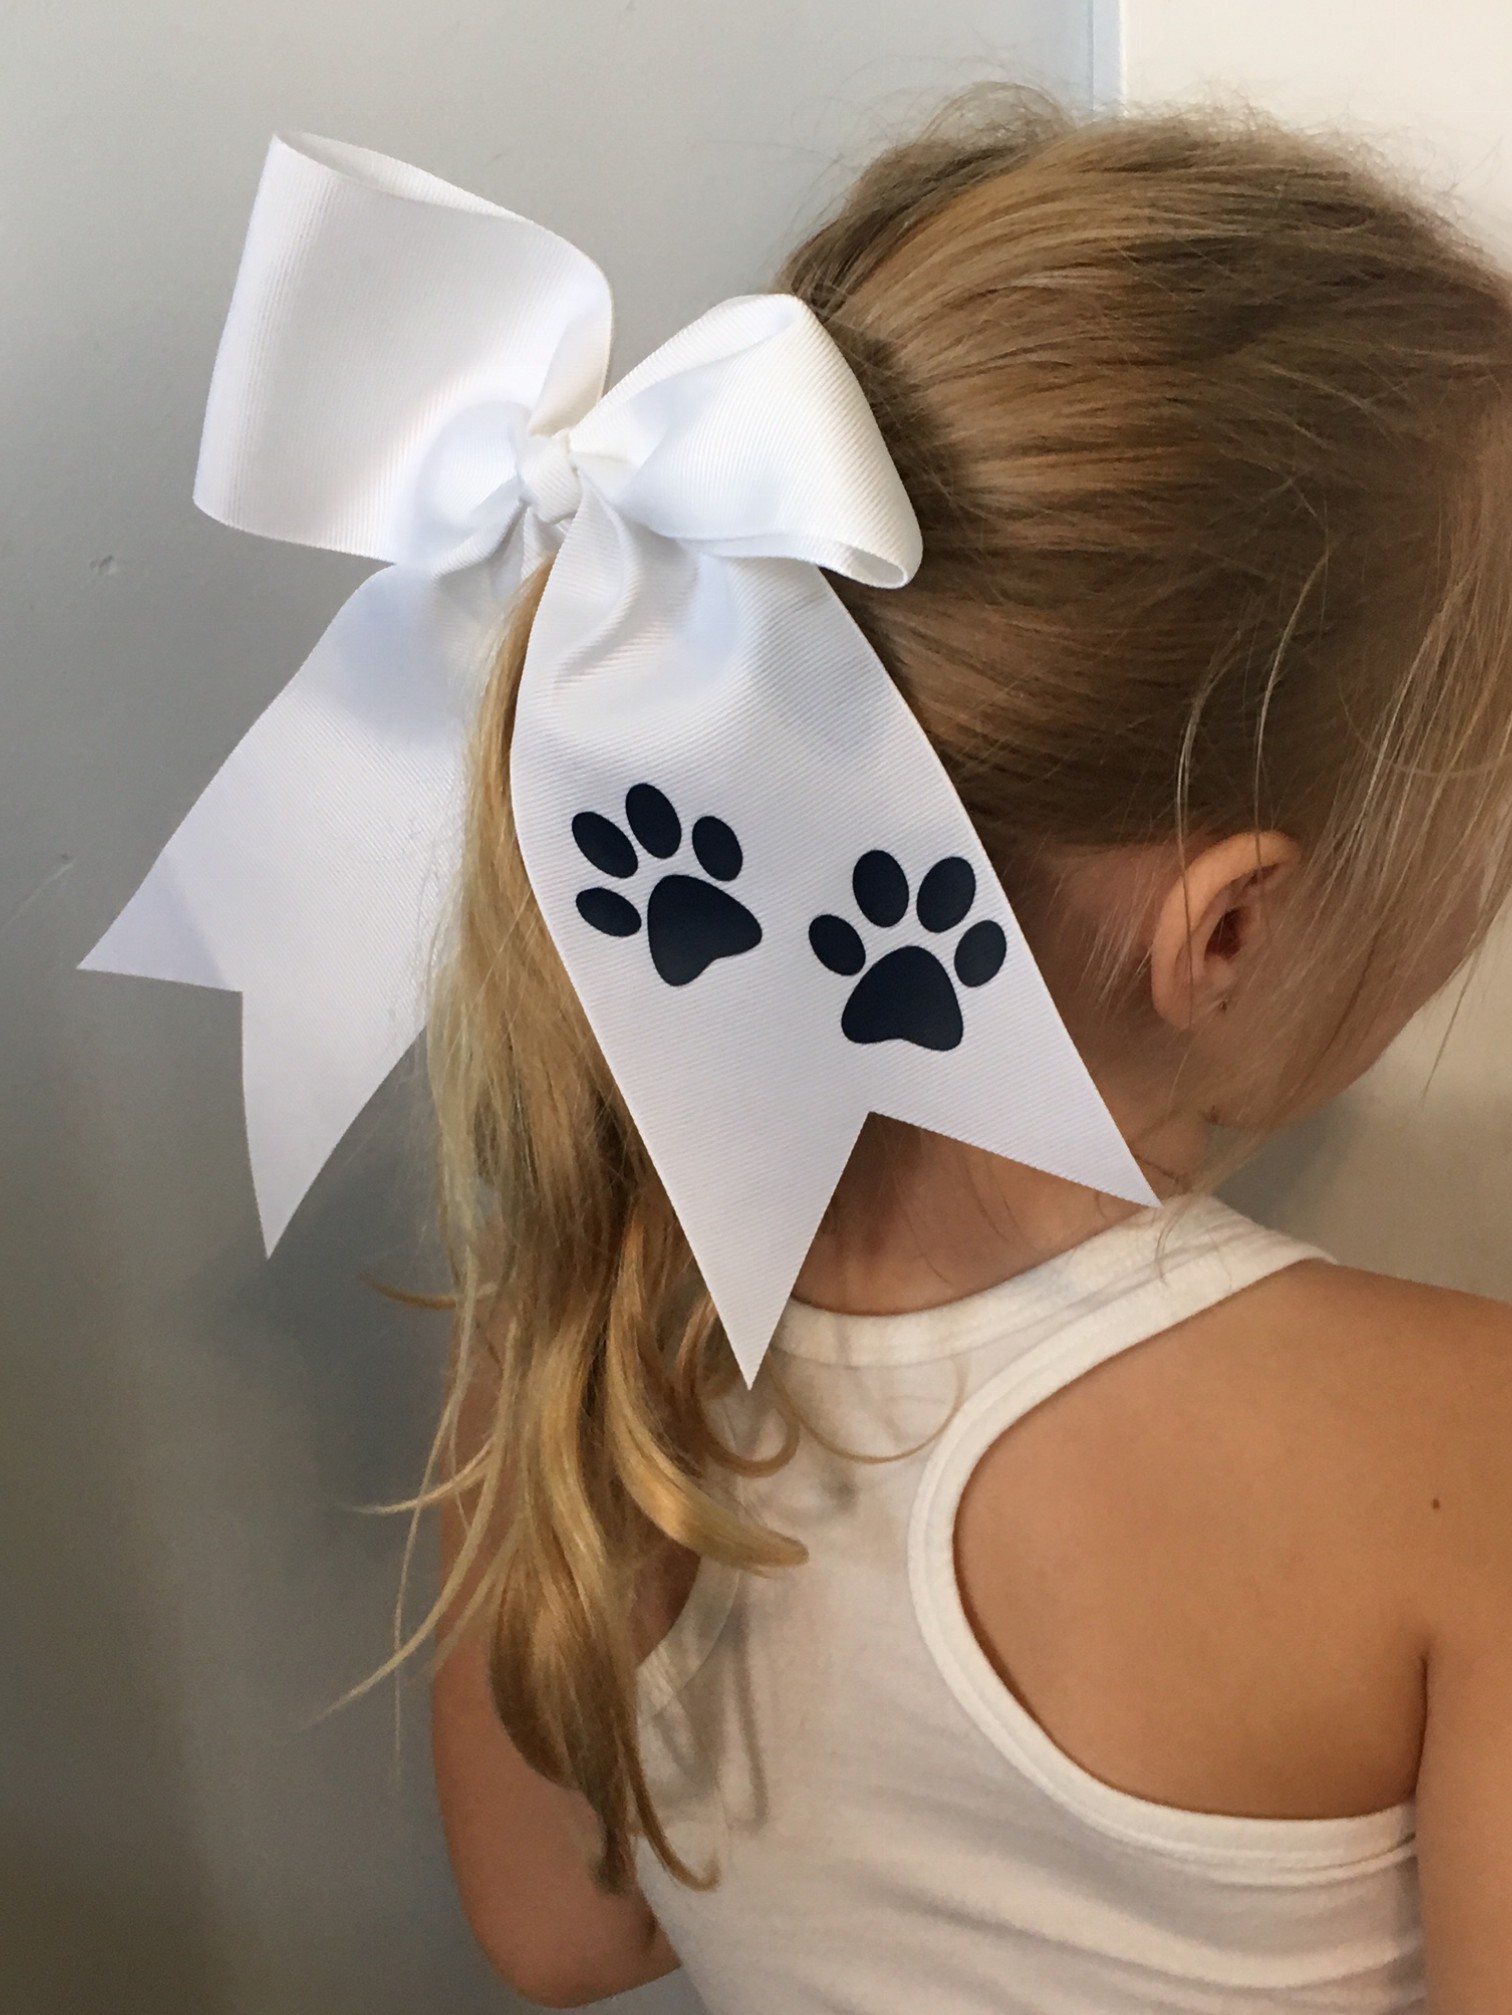
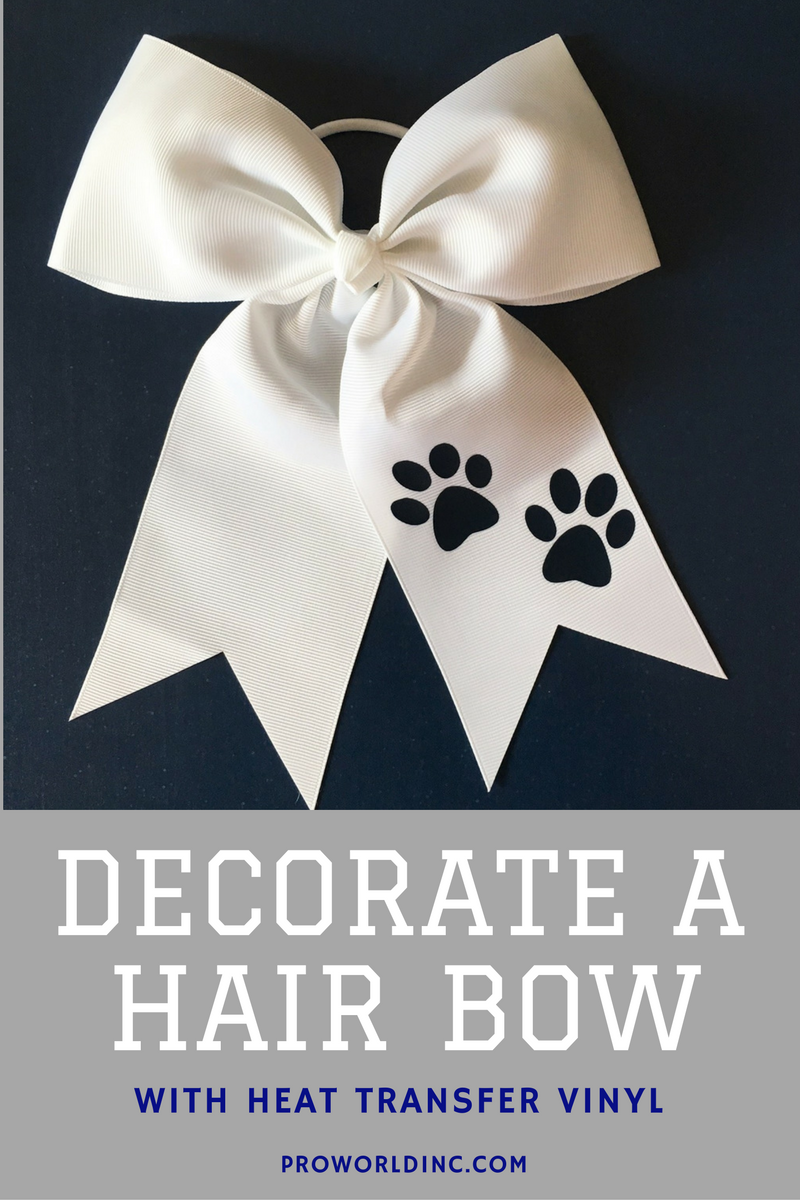
Today we have a quick and easy DIY project that is sure to make you cheer! Did you know that you can add vinyl to a hair bow? You sure can! By following these simple steps, the possibilities are endless.

You Need:

To create your own spirit day bow you should first measure the tail of your bow, and size your design to fit it. Reverse your design, and send it to your cutting machine.
img_1554
 Weed the excess vinyl from your design, and then simply use your heat press to apply.
img_1557
 Peel the transfer tape and you are done!
img_1621
 Voila! 
Are you going to design your own hair bow? We want to see!  Tag us by using the #proworldinc or by tagging us at @proworldinc
View & Add Comments

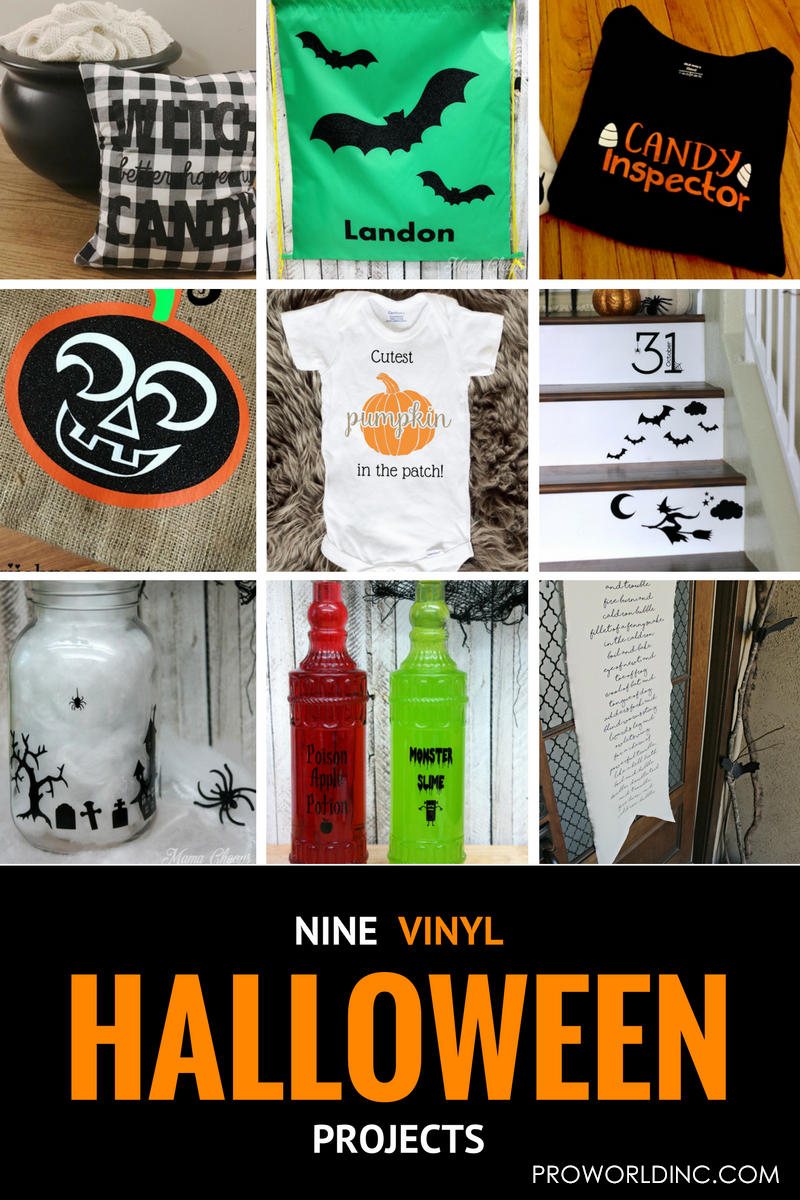
9 Vinyl Halloween Projects

Are you looking for Halloween inspiration?

Well then, you are in luck… because today we are sharing 9 different Halloween projects from some of our favorite bloggers! Get your cutting machine ready… because you are going to want to start crafting as soon as you see what our blogging buddies made.

halloween2


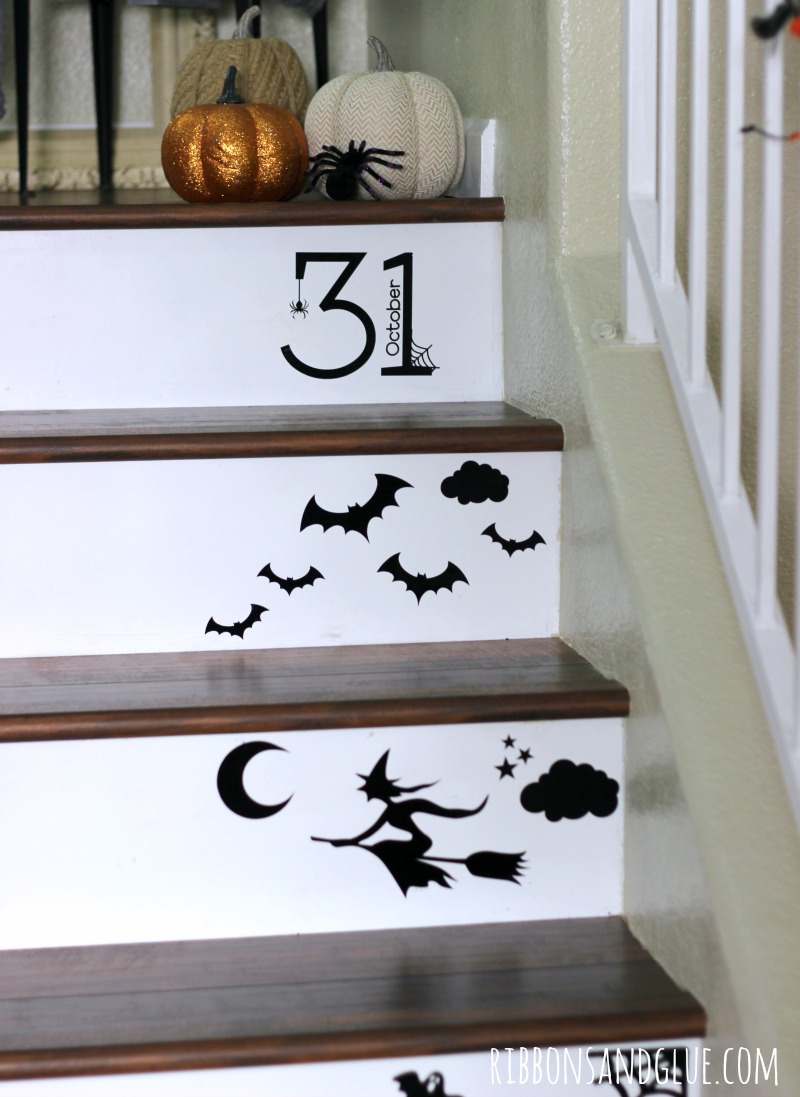
Ribbons & Glue used vinyl to add spooky decorations to her stairs.

halloween-1

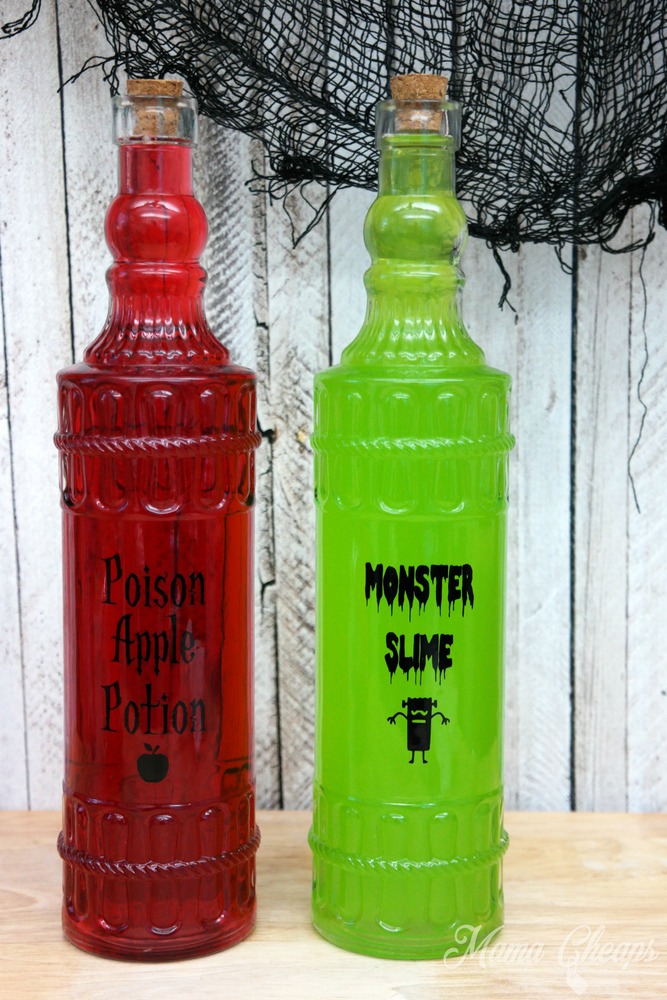
Mama Cheaps turned Dollar Store Bottles into Spooky Party Decorations!

SAMSUNG CSC

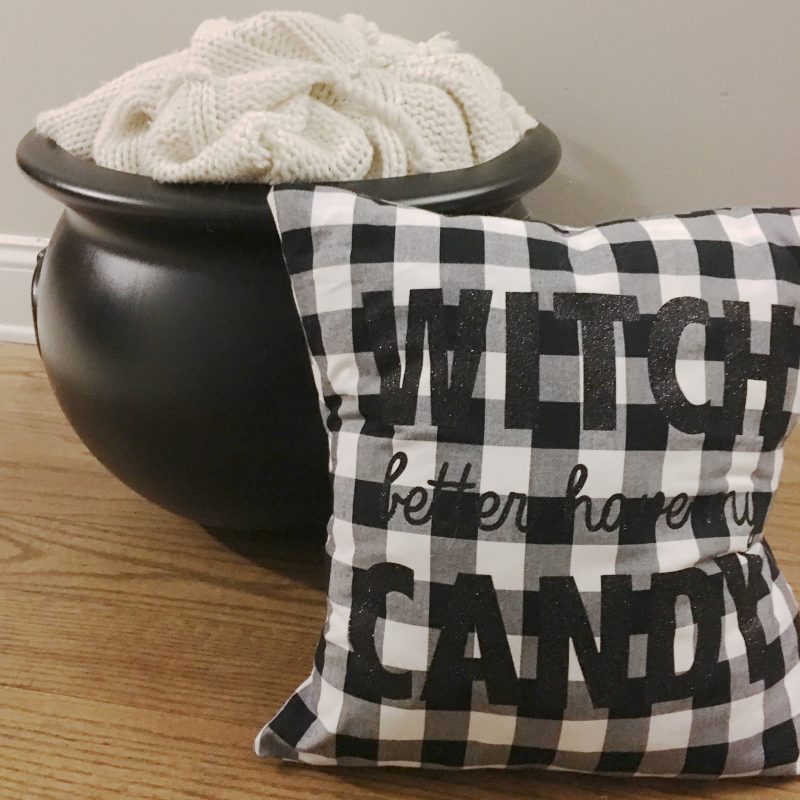
We love Daze Knights Rhianna/Halloween inspired pillow!
hal-1

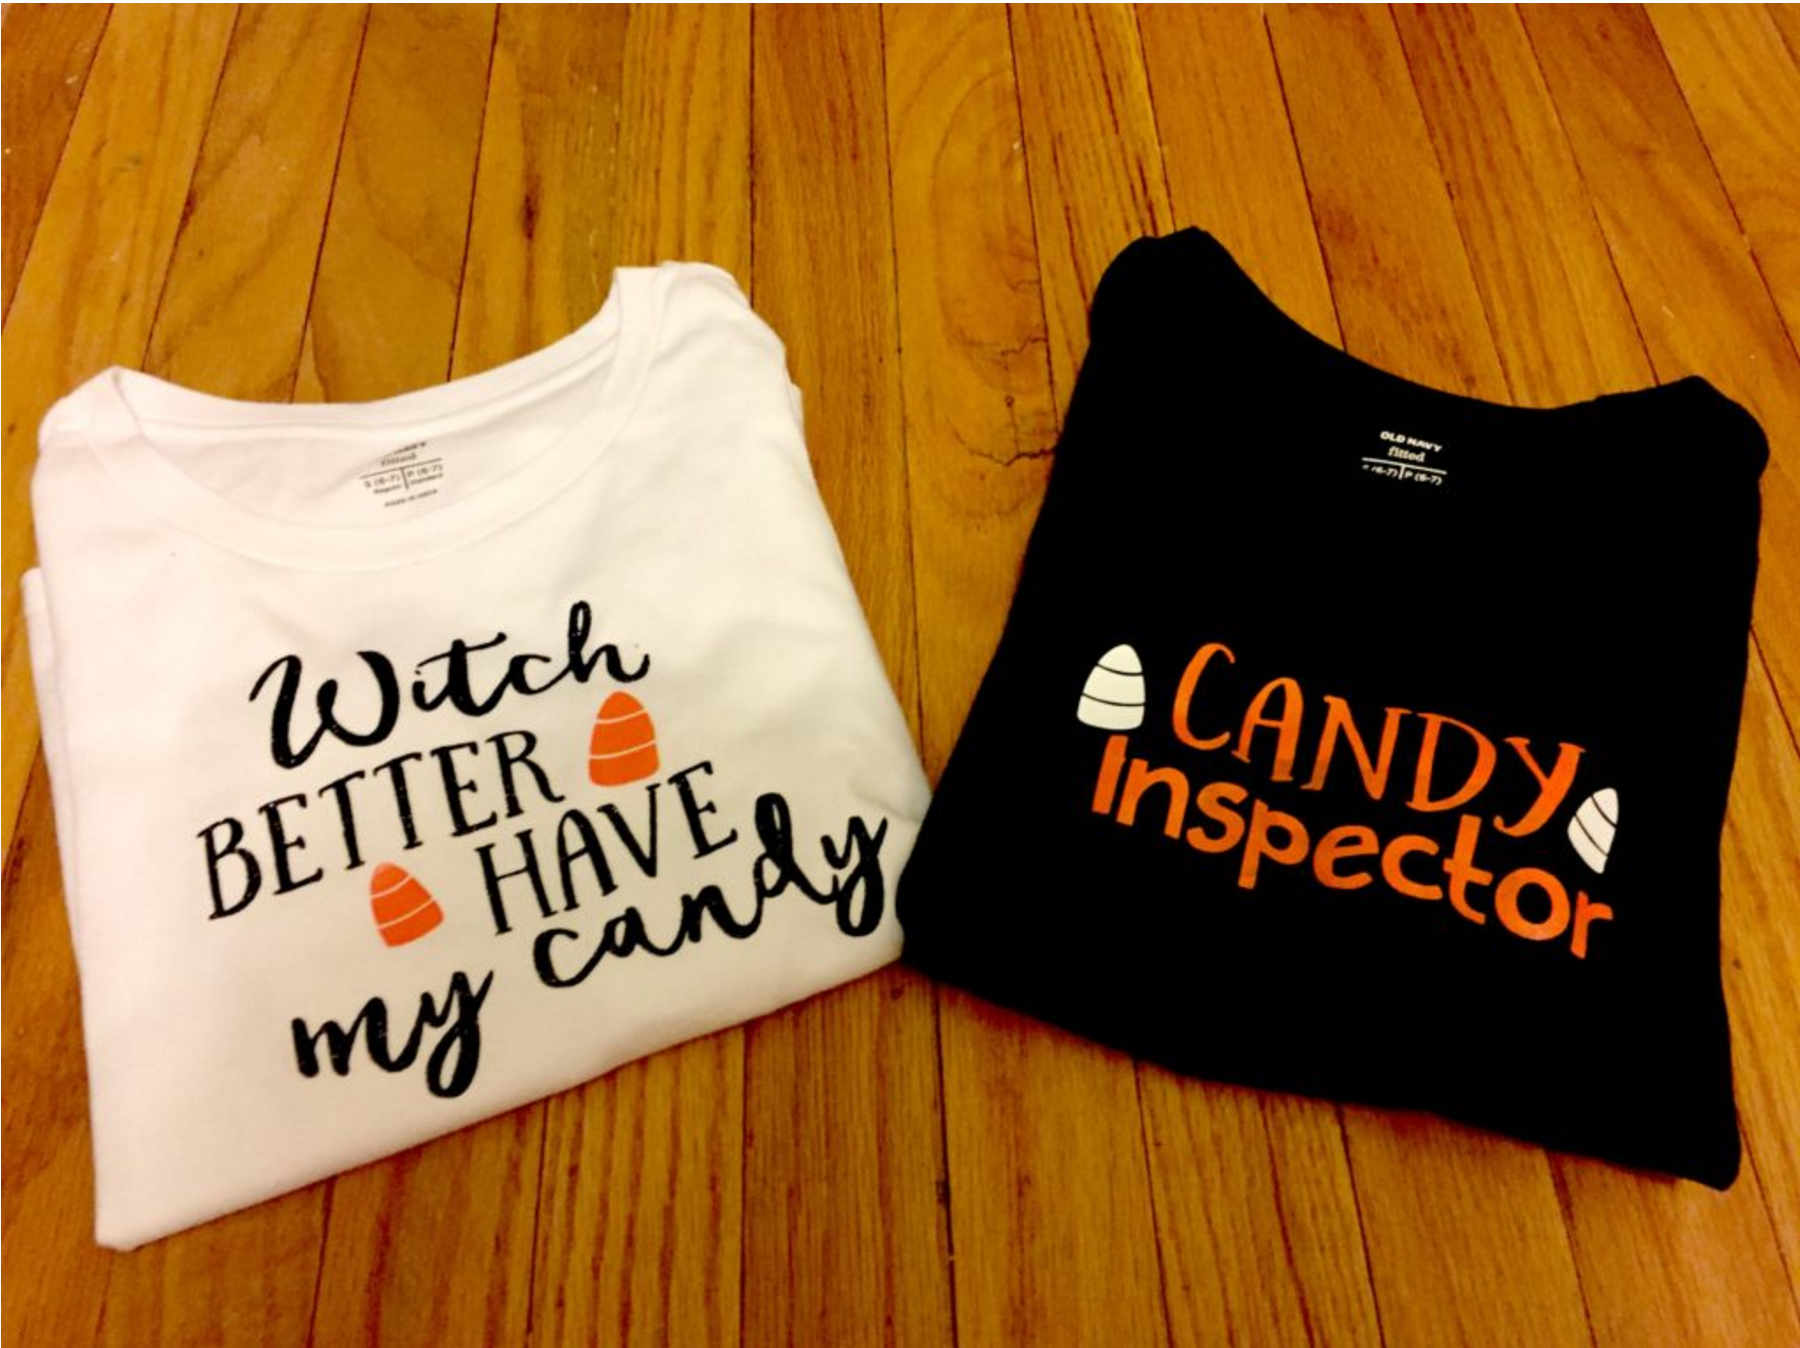
Finnegan and the Hughes made some sweet Halloween shirts.. one even glows!
finnegan

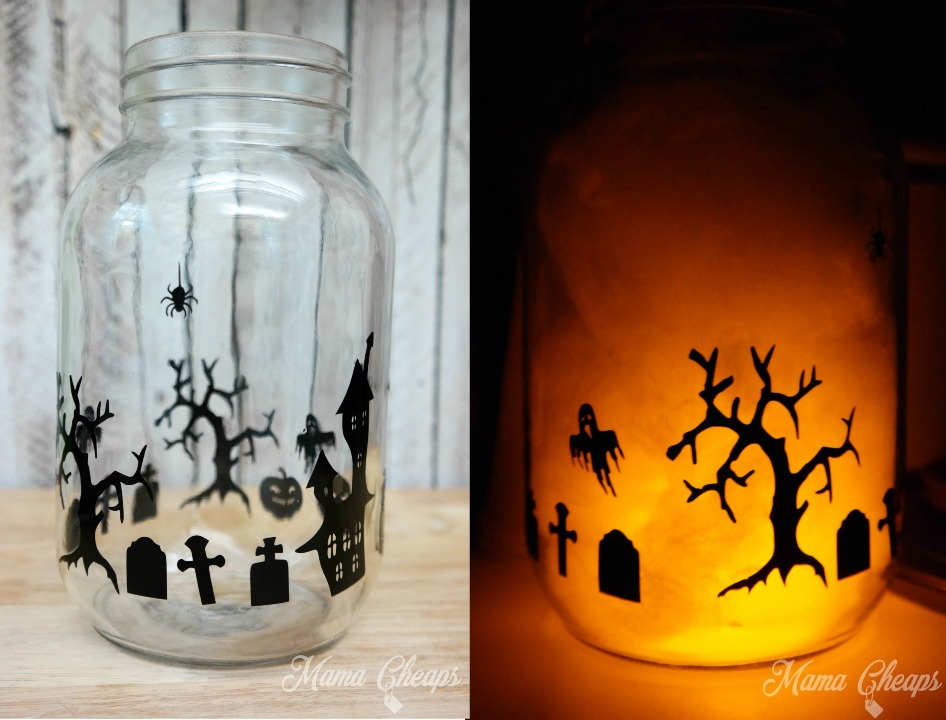
We love this Mason Jar Halloween Luminary that Mama Cheaps made using adhesive vinyl!
mason-jar-halloween-luminary

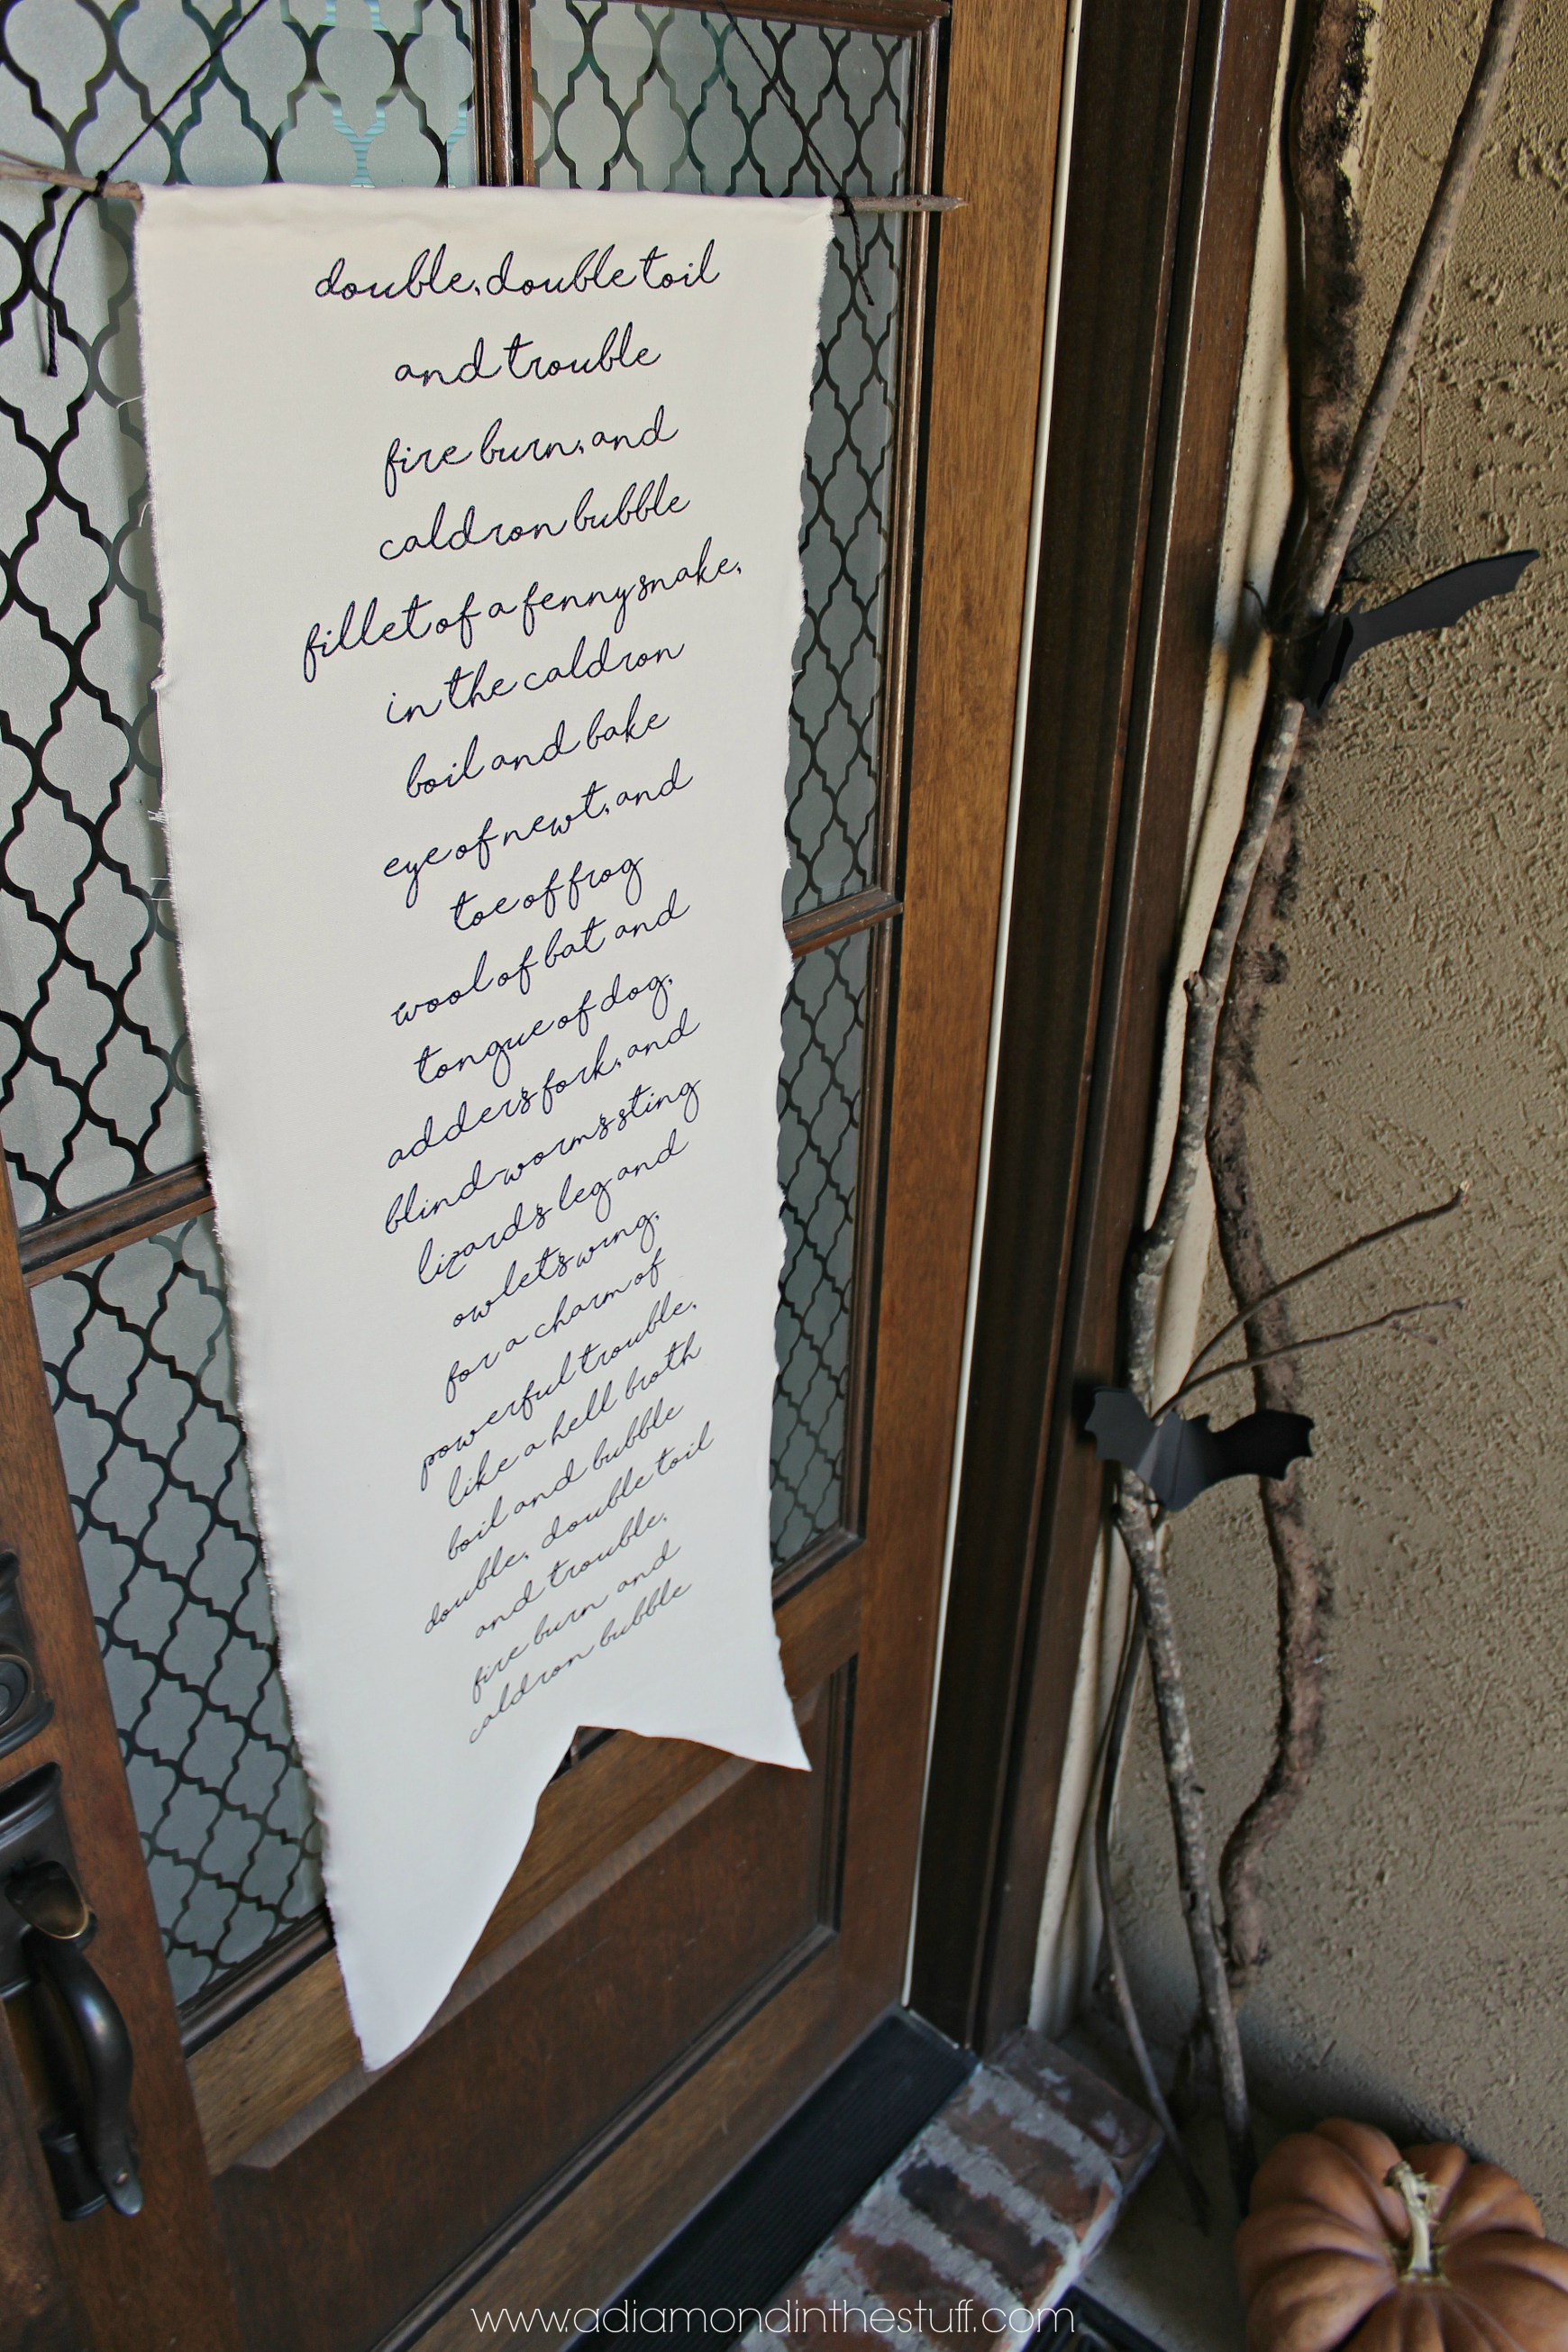
A Diamond In The Stuff made a spooky witch’s scroll for her door!
adiamond

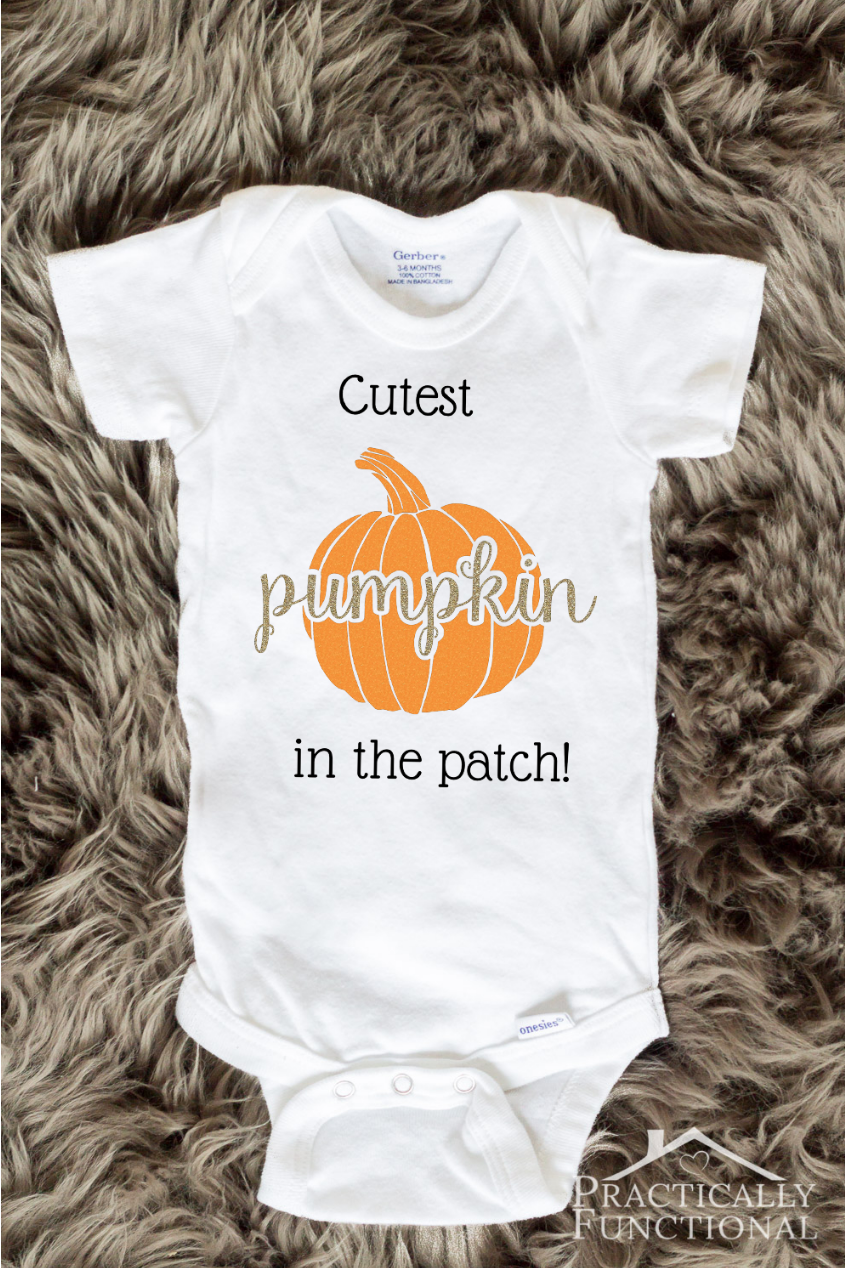
Your little pumpkin will be the cutest in the bunch with this DIY onesie from Practically Functional!
pumpkin

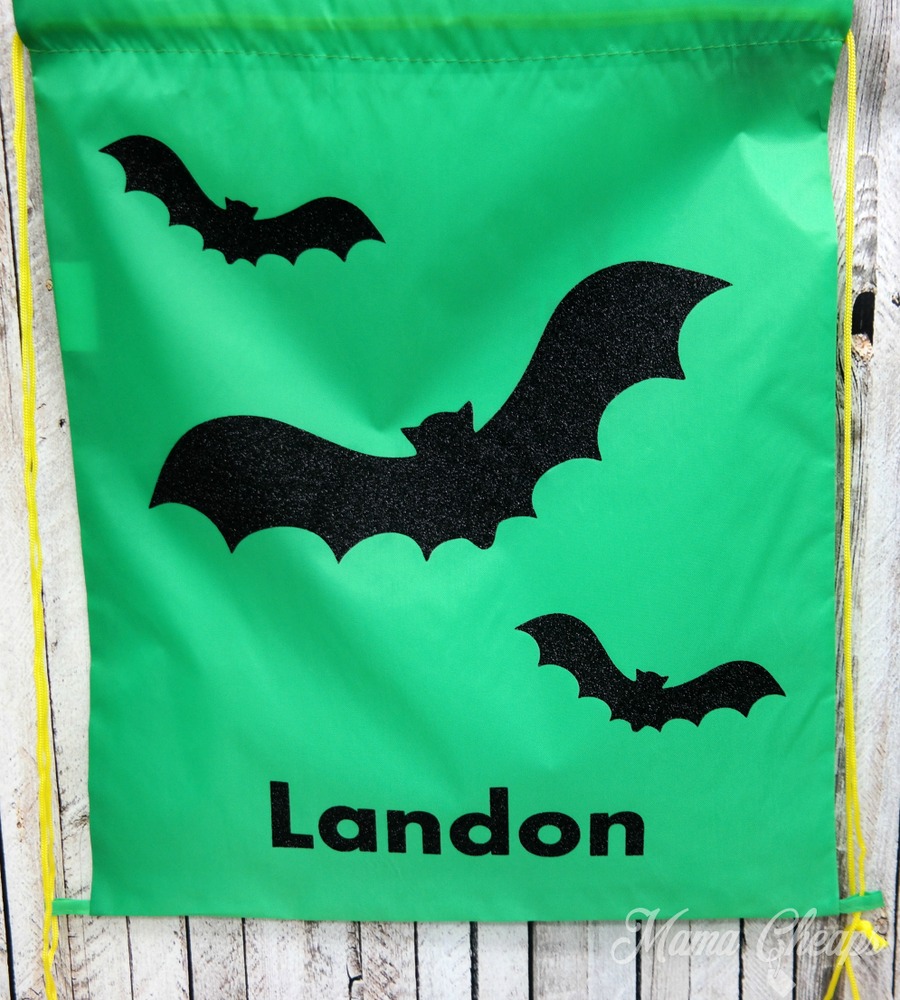
You need to see how Mama Cheaps personalized dollar store bags for Trick or Treating!

SAMSUNG CSC

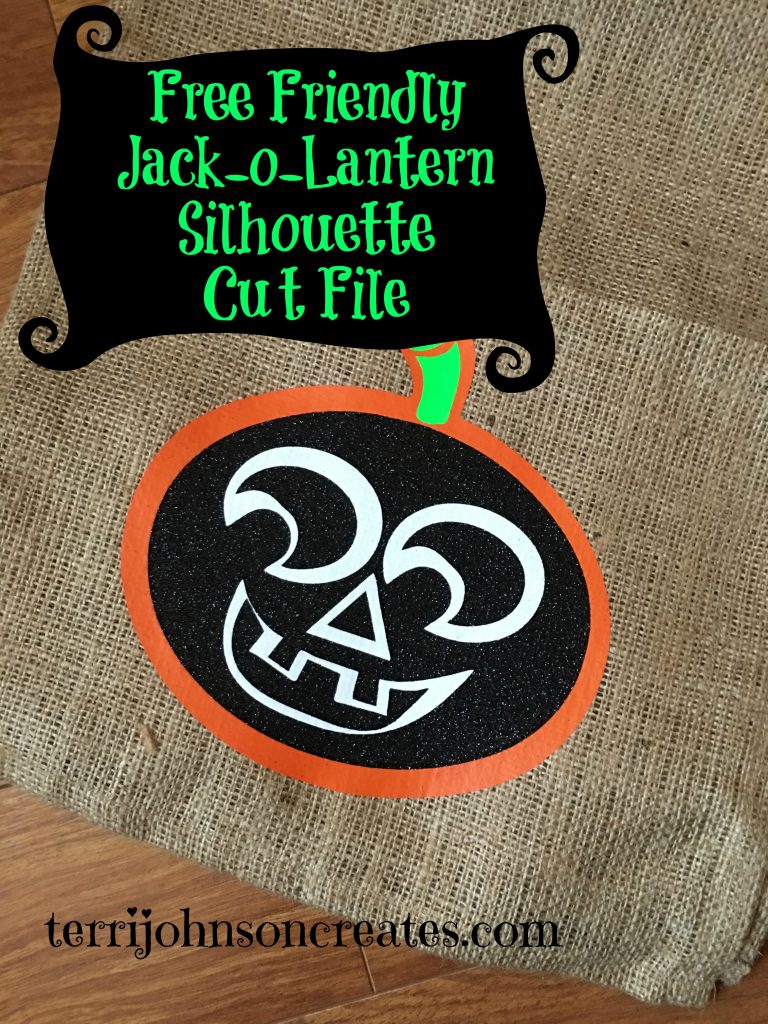
Head to Terri Johnson Creates to download a free jack-o-lantern cut file!

terri

We want to see your Halloween creations! Tag us on Instagram with the hashtag #proworldinc to share your creepy and cute projects.

View & Add Comments

Glow In The Dark Halloween Towels

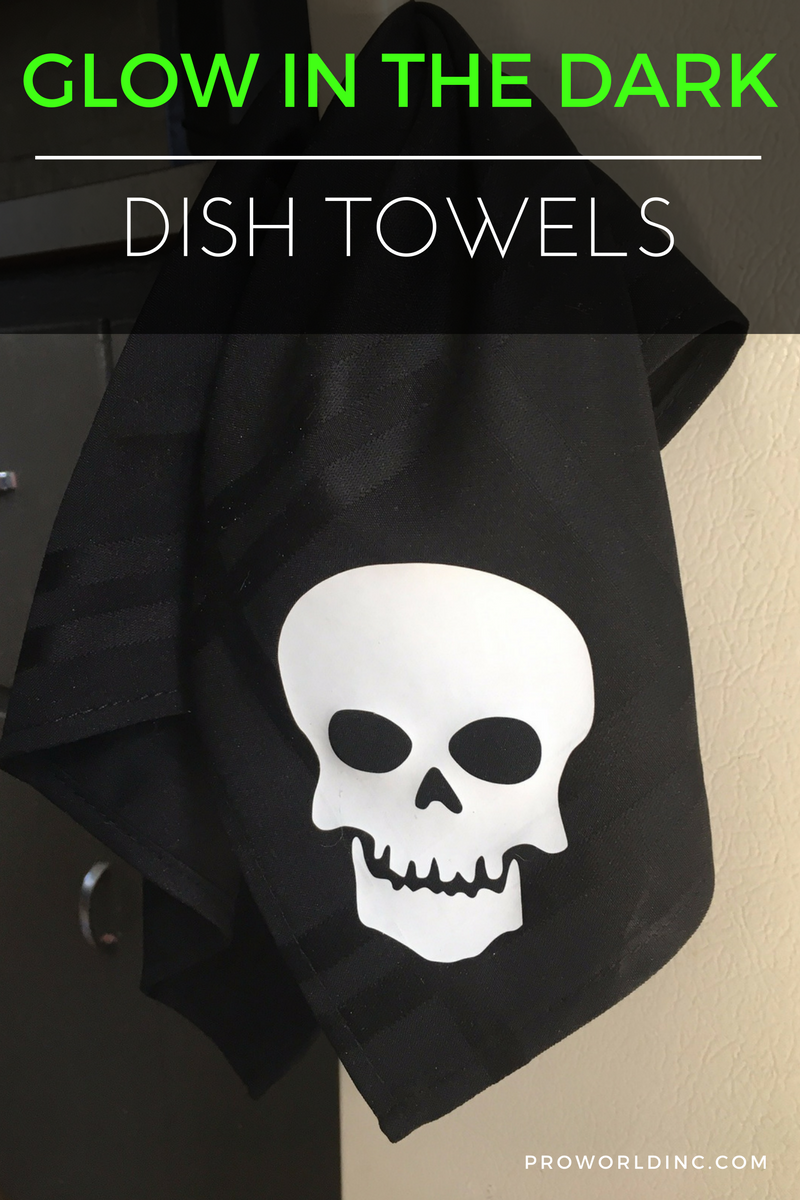
With October sneaking up on us, it is the perfect time to try our Siser Glow in the Dark heat transfer vinyl! Today we are going to show you how we cut two spooky designs and applied them to kitchen towels to add some fright to the kitchen!

glow-in-the-dark

Want to create a Glow in the Dark towel for yourself?  You would need:

glow in the dark vinyl

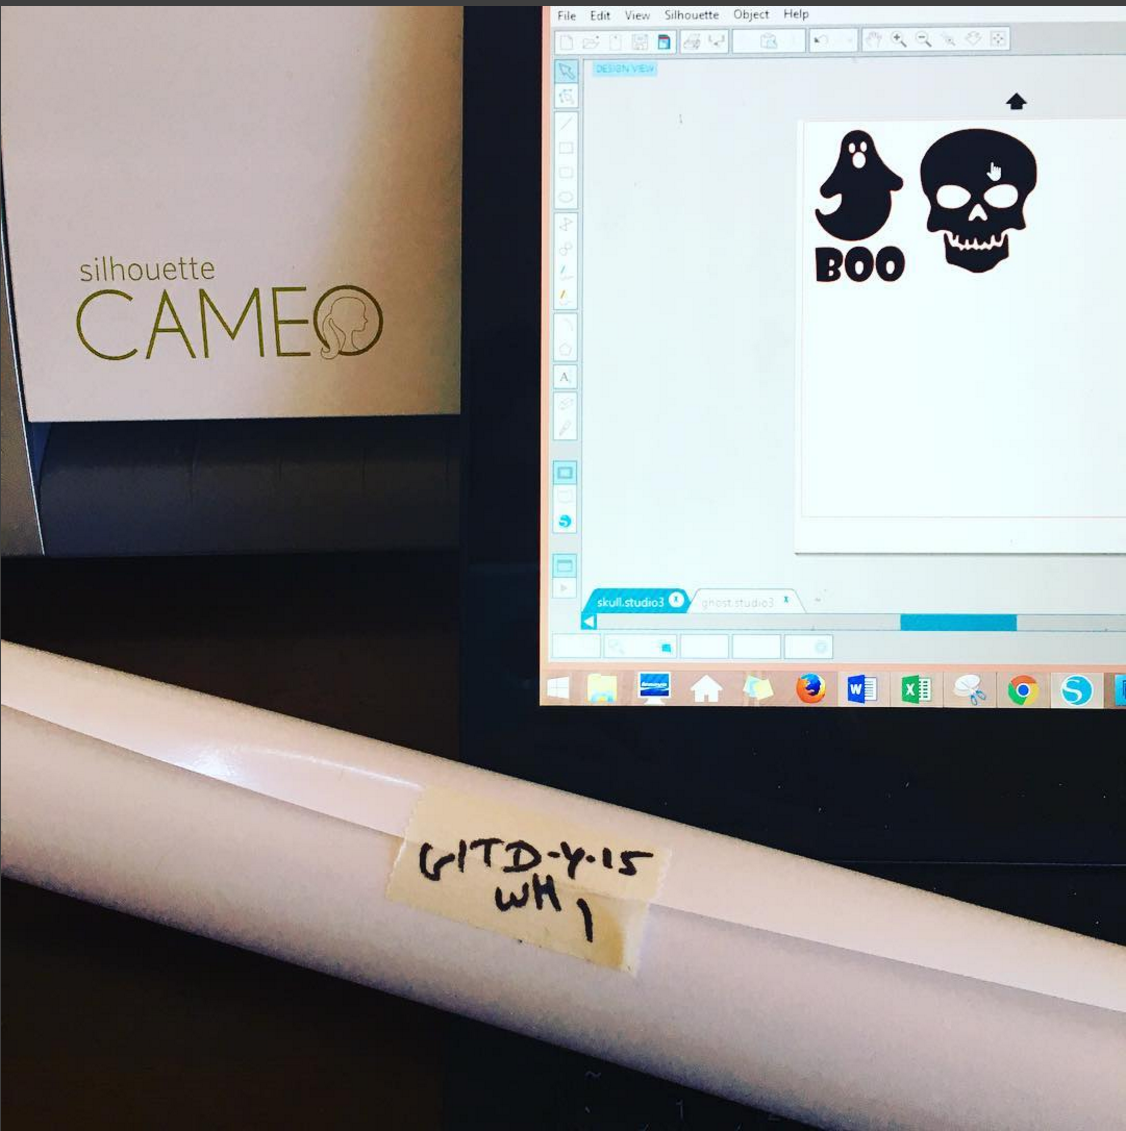
First, you need to design your image, then load your heat transfer vinyl, flip your image, and cut! Since the glow in the dark HTV is part of the Siser EasyWeed product line, it cuts and applies like a dream!

img_1643

Once your design is finished cutting… it is time to weed your design and pre-heat your heat press.

img_1647

Now you can press your design onto your towel at 305F for 10 seconds.

img_1649

Peel the carrier sheet from your design because you are done!

And if you are short on time, but need some Halloween images that have already been created… we have you covered! Go to the “Heat Transfer” tab on our website to find over 40+ Halloween heat transfer designs ranging from screen printed to rhinestones, and even some glow in the dark!

View & Add Comments

Get Rewarded with PW Points

pwrewards

PW Rewards is a program that allows you to earn points toward future purchases when you place an order through our website. With each order, you will automatically earn 1 point for every dollar spent. For every 100 points that you earn, you’ll get $1.00 to use on a future order.

To get started, you will either need to register (if you are a new customer), or you would log in to your existing account on www.proworldinc.com and you will start earning points automatically.

You can earn bonus points by liking certain products on Facebook, reviewing products, and more. However, note that only orders placed online will earn reward points – phone orders do not qualify.

To manage your points and check your balance, just go to the My Account section and click on My Points and Rewards in the right side navigation.

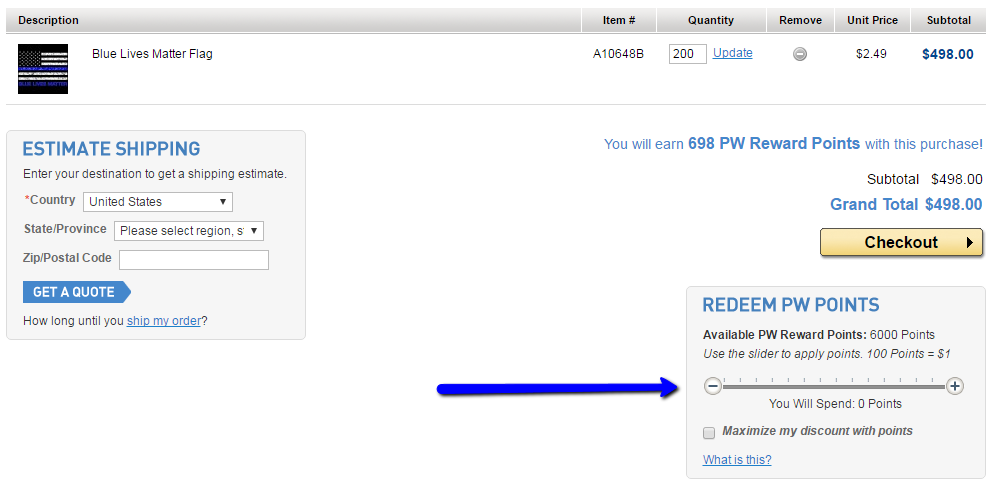
To spend your points, first add the items that you’d like to purchase to your cart. Access your shopping cart using the link in the top right corner of your website. Underneath the checkout button, you will find a slider tool. Use this to choose how many points will be applied to your order.

2016-09-21_1359


You have up to one year to use your points, otherwise they will expire… so what are you waiting for? Start earning reward points today!

View & Add Comments

Coloring Tees with HTV

Do you have a little one who loves to color? I hope so! Because we have a unique gift idea that will provide endless fun.

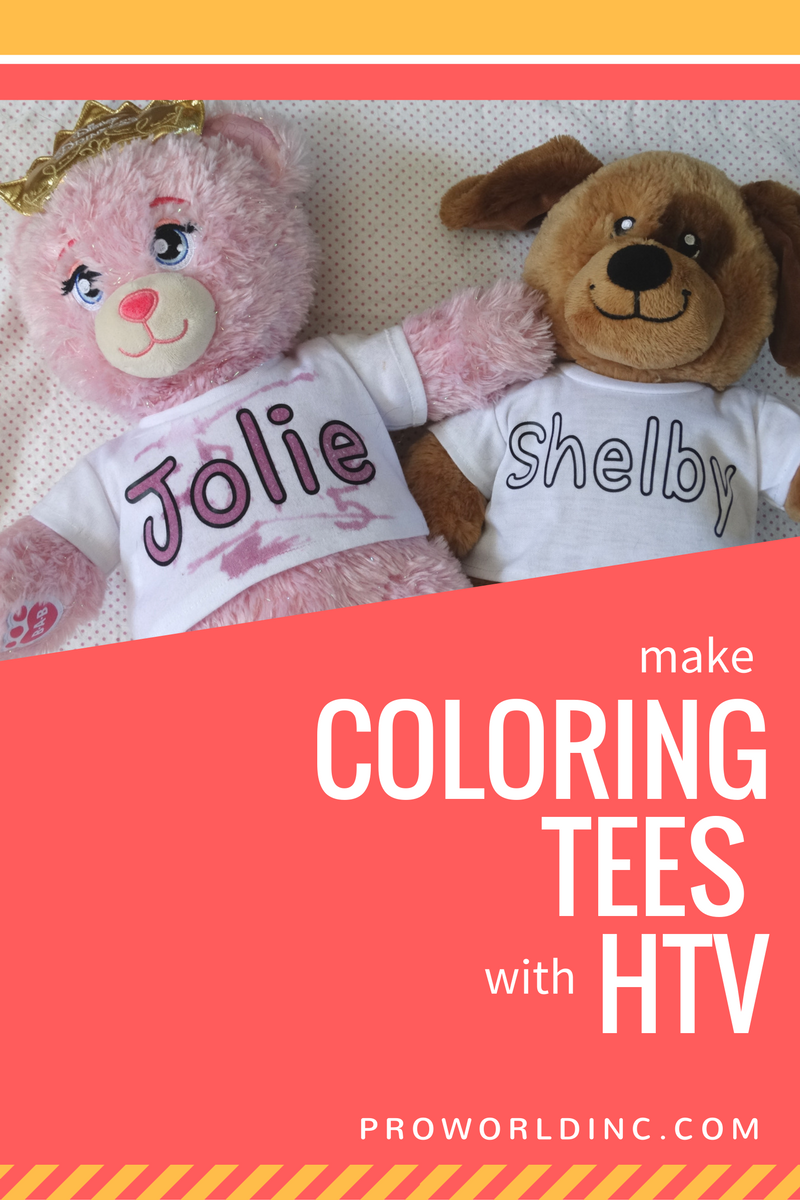
Today we are going to show you how to make a coloring book shirt for your little one or even a shirt for their cuddly stuffed animal! Now your child can color without making a mess. Once they are tired of their design, or if they go outside of the lines… you can throw it in the washing machine and start again.

coloring-tees

Here’s what you will need:

Cutting Machine
Black Heat Transfer Vinyl
-Garment (we used a blank doll shirt)
Weeding Tool
Heat Press
-Crayola Washable Markers

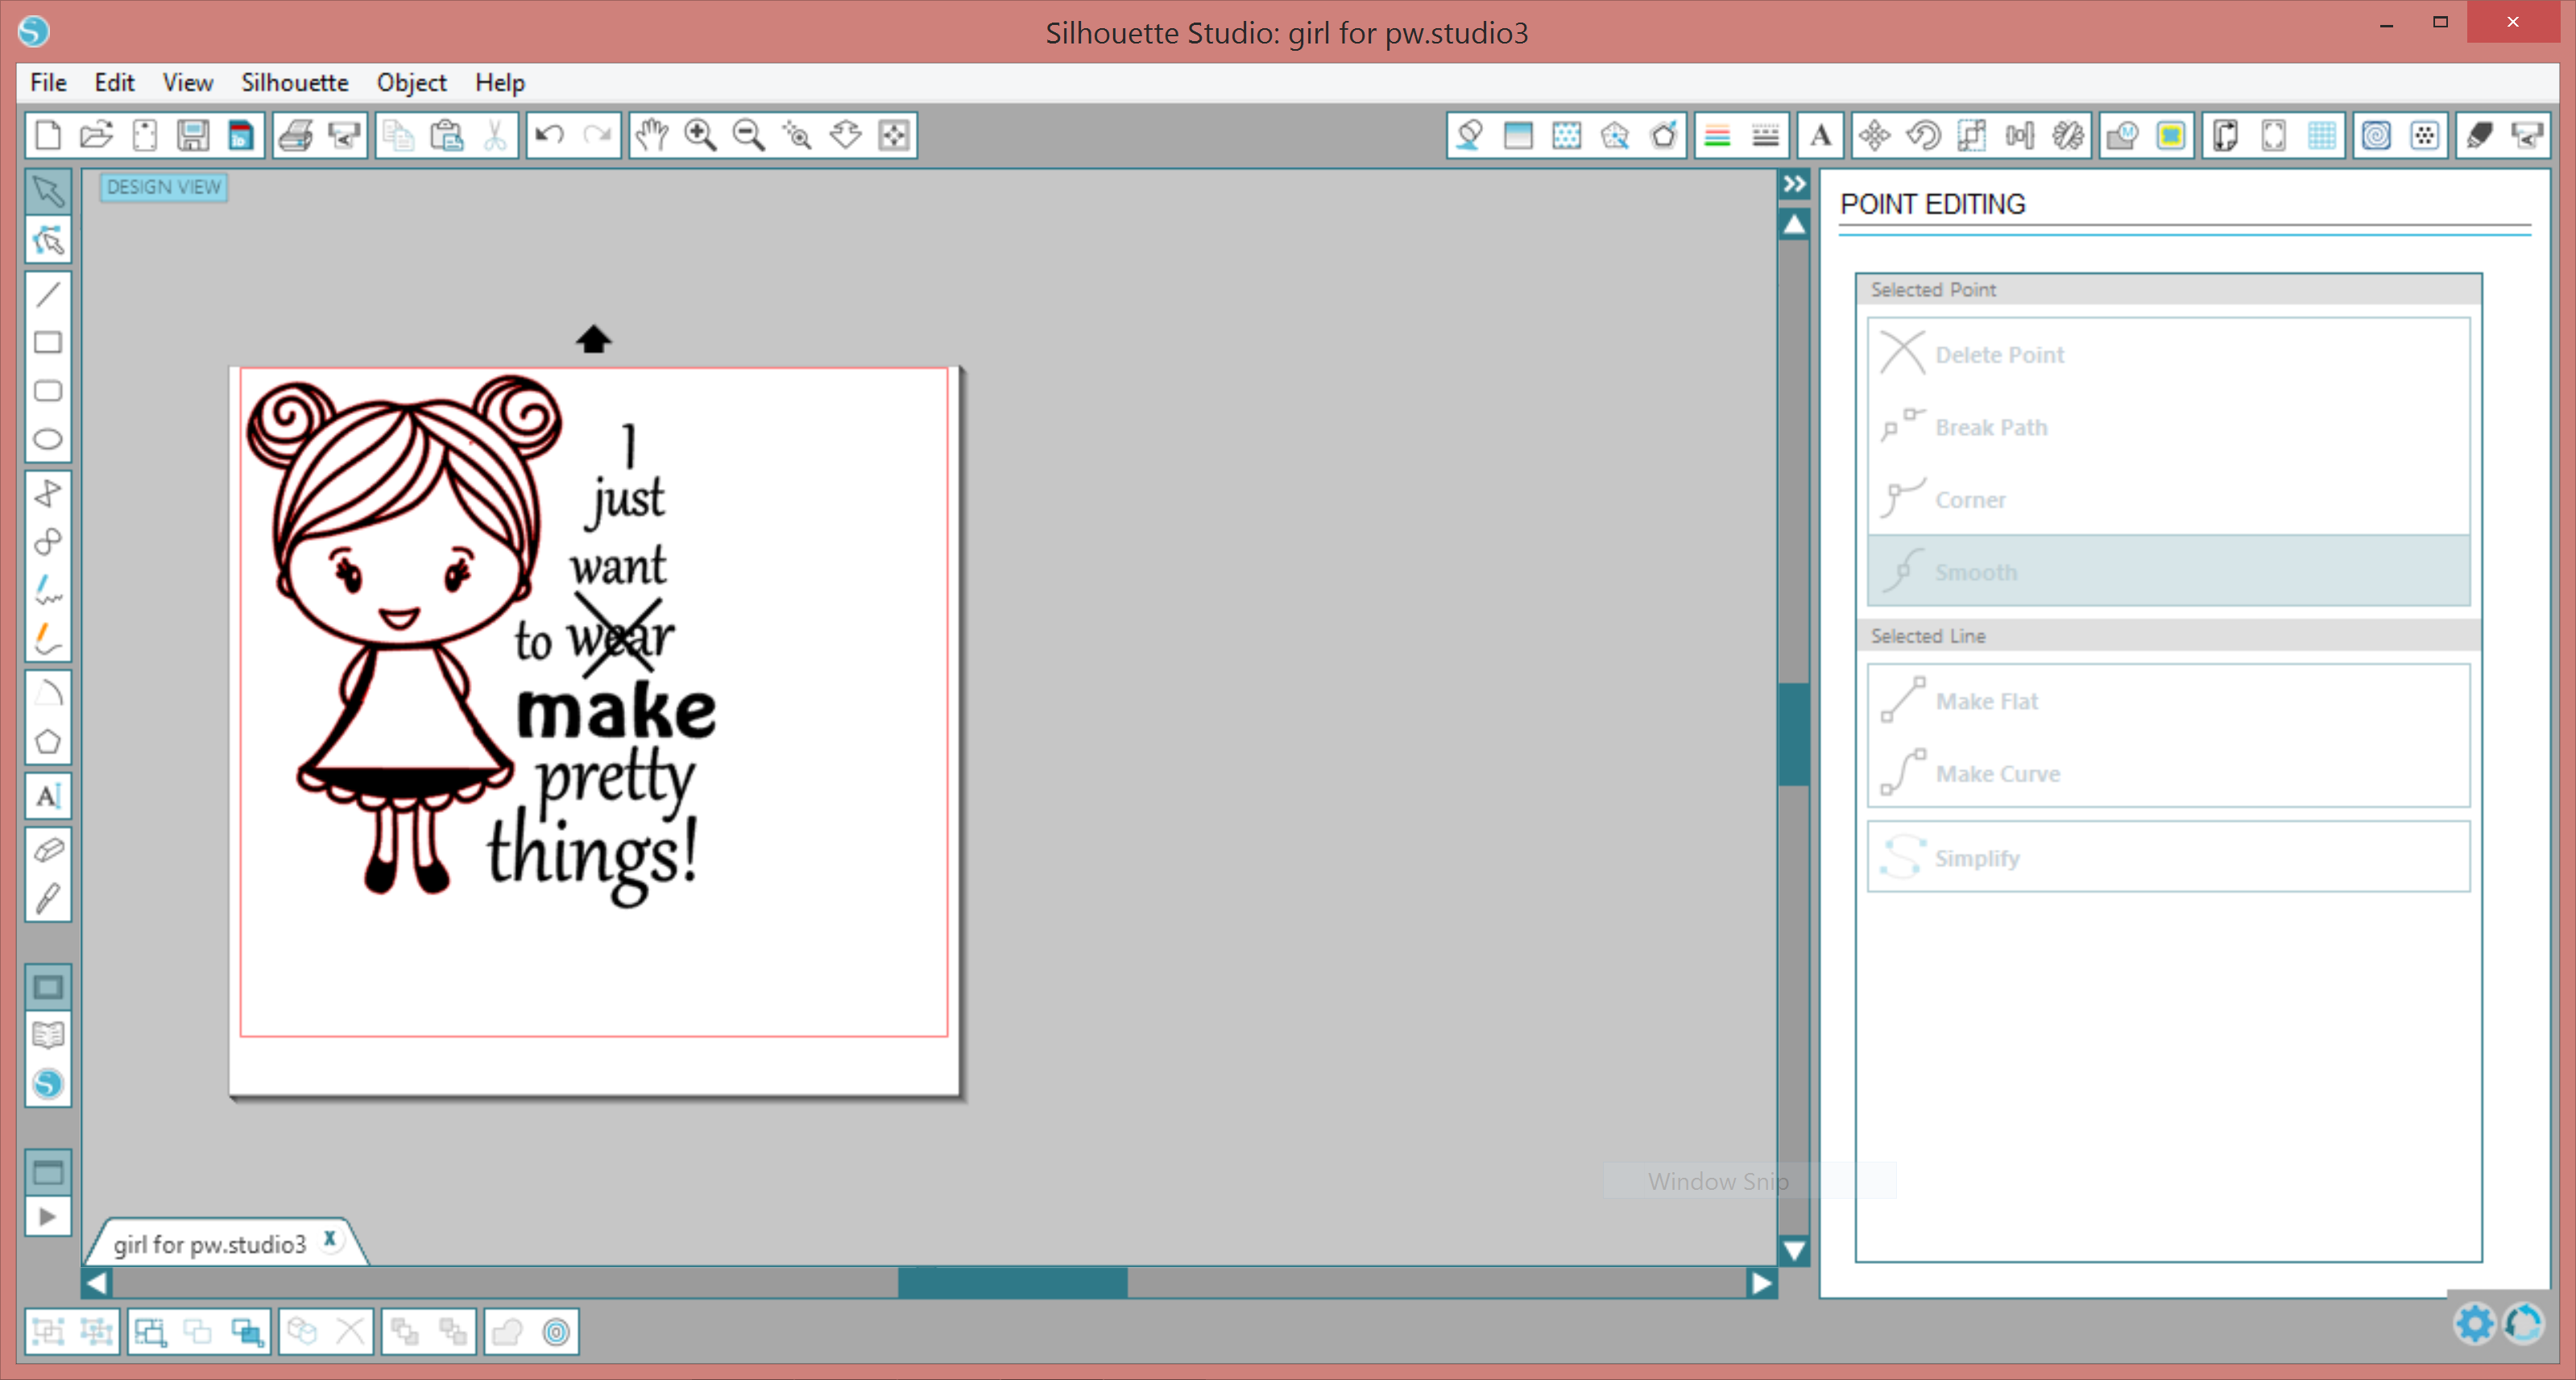
First, you will want to find a coloring book image that you would like to apply to your shirt. You can do this by:

  • Tracing a free coloring book page from Google
  • Snapping a photo of an actual coloring book page that you own and tracing the design
  • Find a coloring book image that has already been created online.

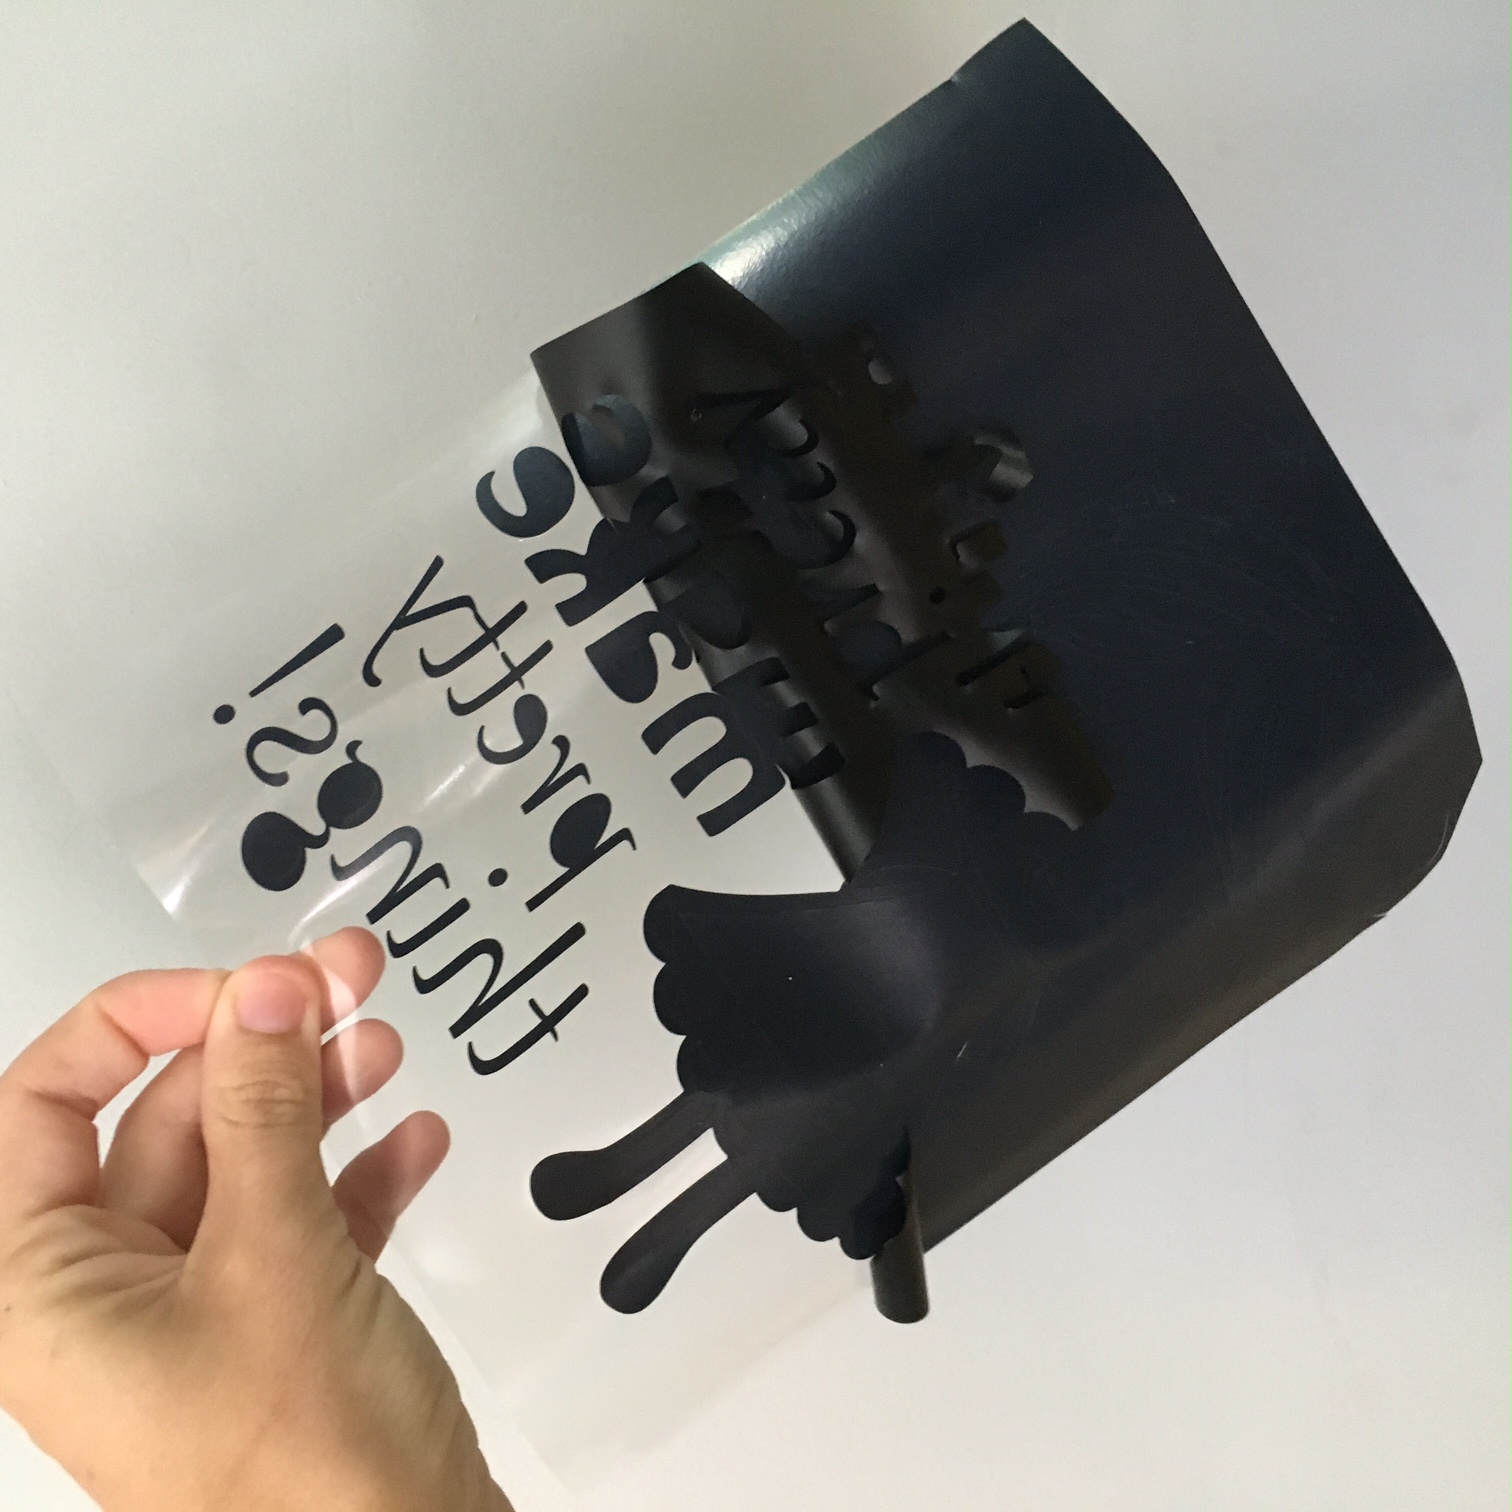
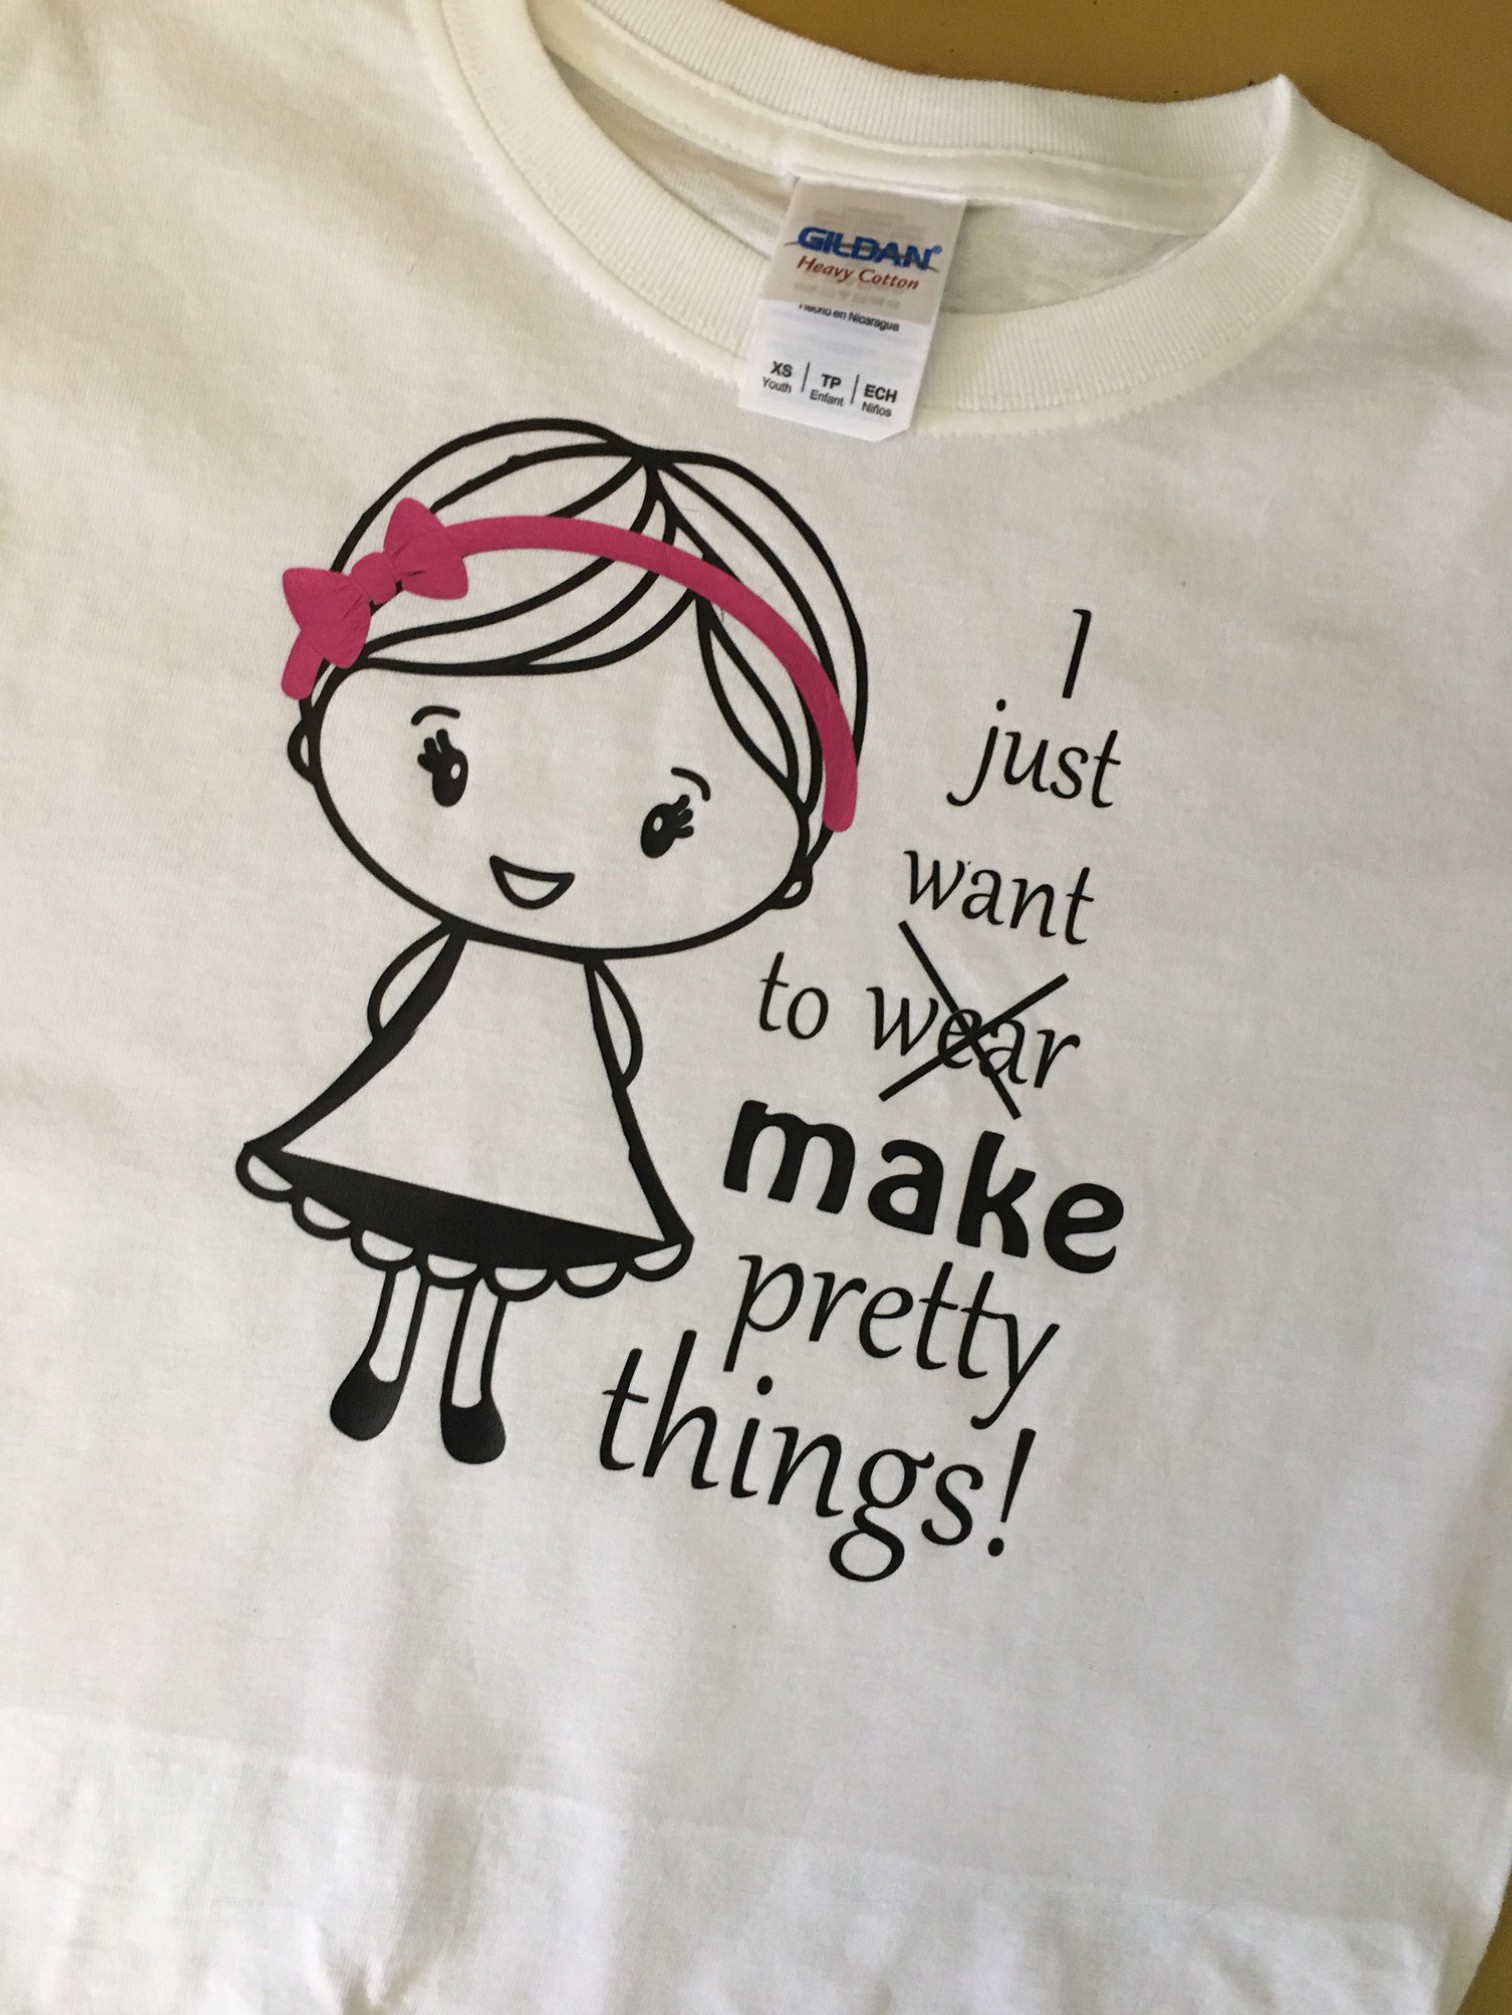
make-pretty-things

Or if you are just using a font you can do this by:

  • Download a coloring book font so that it has the open center
  • Write the child’s name in your favorite font and then offset the letters within your design program.

Once you have your design all set, it’s time to cut! First, check your cut lines. Then mirror your design. Load your heat transfer vinyl into your cutter, and select your cut settings.

Now, carefully weed your design.

image1-7

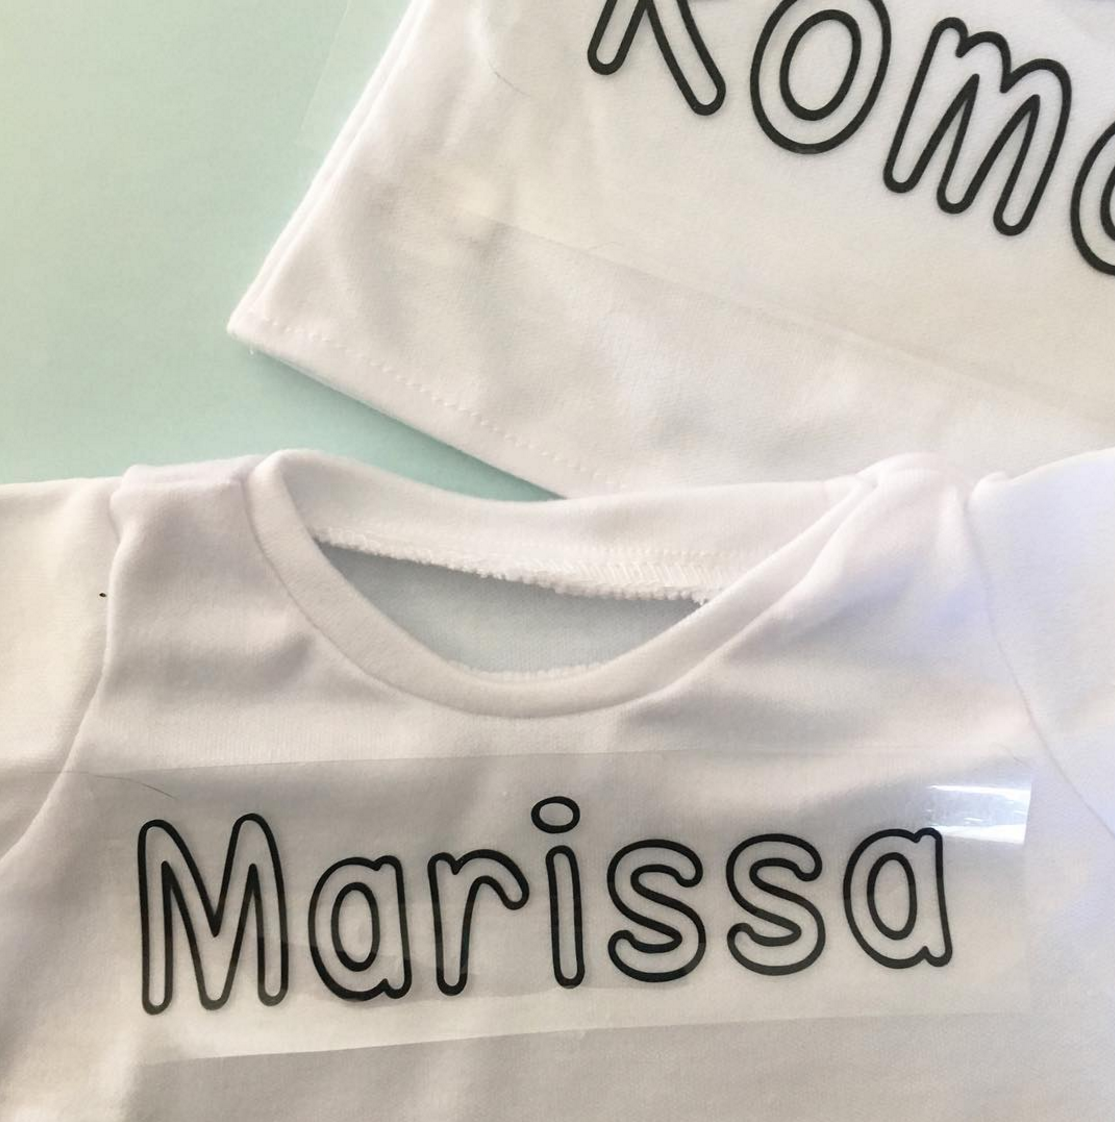
Fire up your heat press, and adhere your design at the correct time/temperature settings.

coloring-t

Carefully peel off the plastic carrier sheet, and admire your work! It is now ready for your child to color.

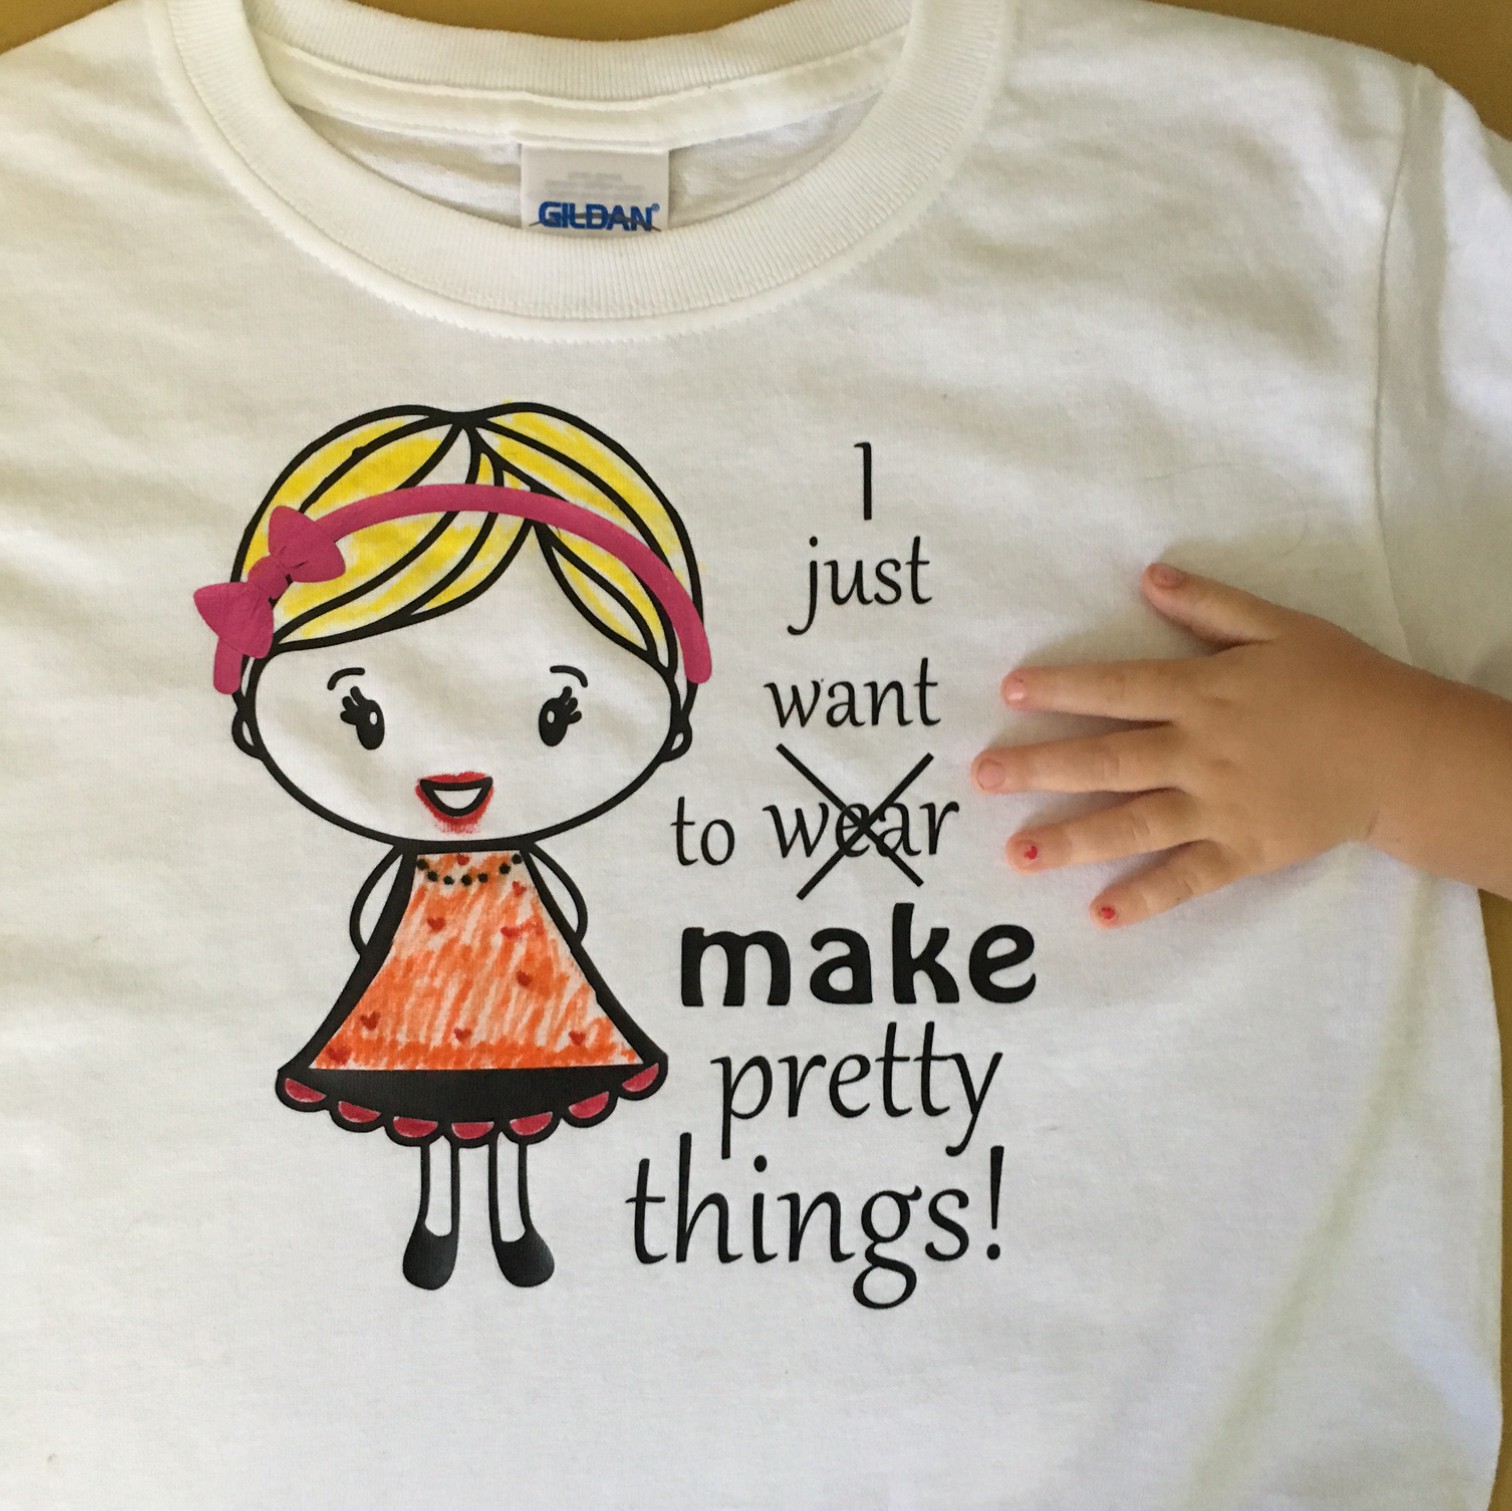
image1-5

Just be sure to give them washable markers if you want the shirt to rinse free. If you are looking for a more permanent solution, you can use fabric markers.

image1-6

And of course, we love seeing our customers projects… so don’t forget to tag us online by using @proworldinc or our hashtag #proworldinc

View & Add Comments

How to Create a Gang Sheet

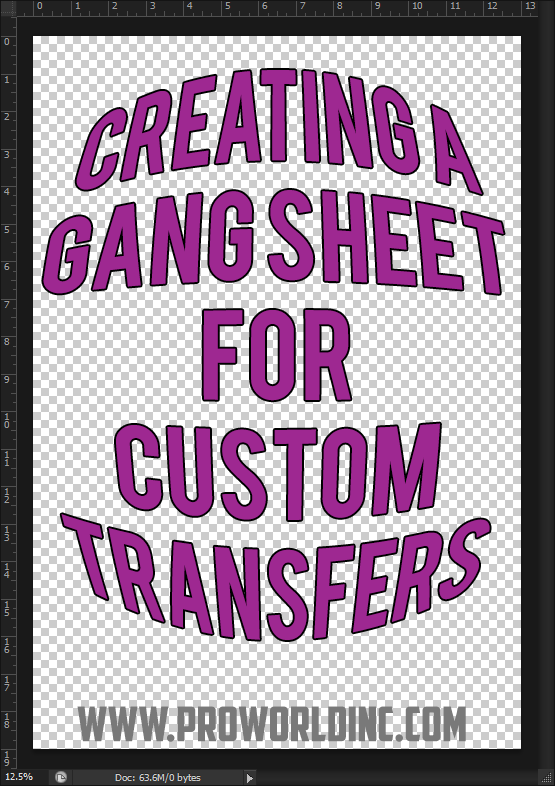
creating a gang sheet for custom transfers

A gang sheet refers to printing multiple designs on the same transfer sheet. We print on 13 x 19″ sheets and we can often print several of the same design, or different designs, on the same sheet for one price. Layouts are priced per sheet and per color, so keep in mind that all designs on the sheet must share the same color scheme.

Creating a gang sheet is the best way to utilize the 13 x 19″ area that we provide for printing custom transfers. Gang sheets are ideal when you have multiple designs (e.g., front and back) or when you have a design that you may need in more than one size.
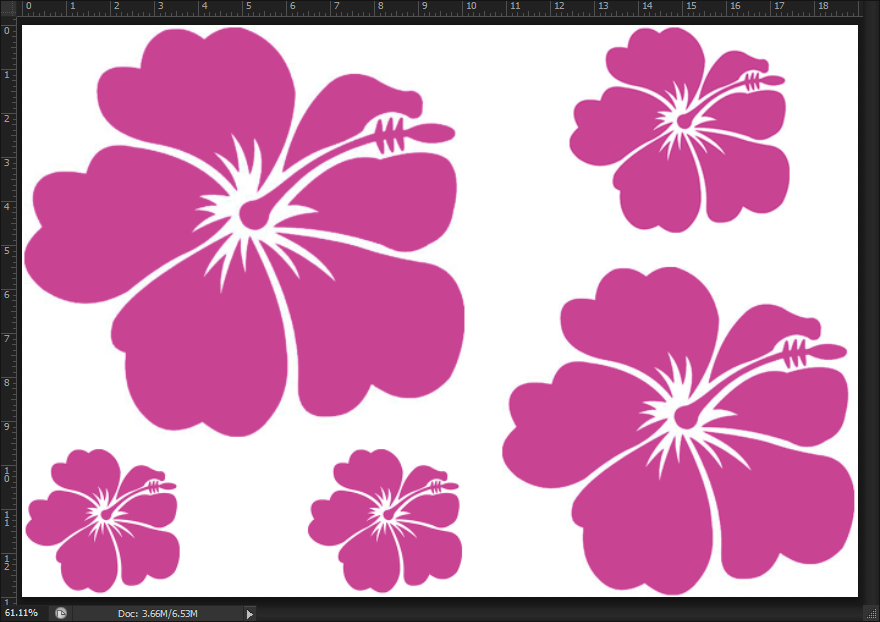
2016-09-07_1509

For example, let’s say this hibiscus flower is your design. Above is a layout that shows the same design in multiple sizes- which may be useful when you are pressing on adult and youth garments, and maybe you have a front and back for each shirt. Or, let’s say you have two different designs – one for the front and one for the back. Below is an idea of what it may look like if we are fitting 2 prints of each design per sheet.
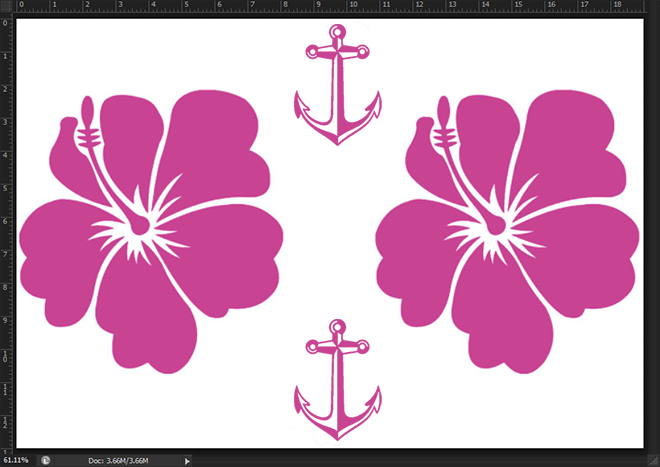
2016-09-07_1504

We offer free gang sheets- meaning that when you send us your design, we will create a gang sheet similar to the above examples, with as many prints per sheet that can fit. If you have one design that you need in multiple sizes, be sure to mention that in the notes/comment section when filling out the quote form, and let us know how many prints of each size will be needed. If you have two different designs that you’d like ganged, be sure to submit separate quotes, and mention that you’d like them combined.

However, if you are able to create your own gang sheet in a program like Adobe Illustrator or Photoshop, you can get the most bang for your buck by being able to determine what is on each sheet. When creating a gang sheet, there is no limit on how close the images can be to each other. However, keep in mind that you will have to cut them apart- so you will want to leave yourself enough room to get in there with scissors. You can rotate your designs any way you’d like to make them fit best, they don’t have to be in any particular direction.

If you will be sending us a file of a layout/gang sheet that you created, be sure to input your design size as “13×19” when filling out the quote form, and your transfer quantity as the number of sheets you need printed.

For further help on creating a gang sheet, check out help videos here!

View & Add Comments
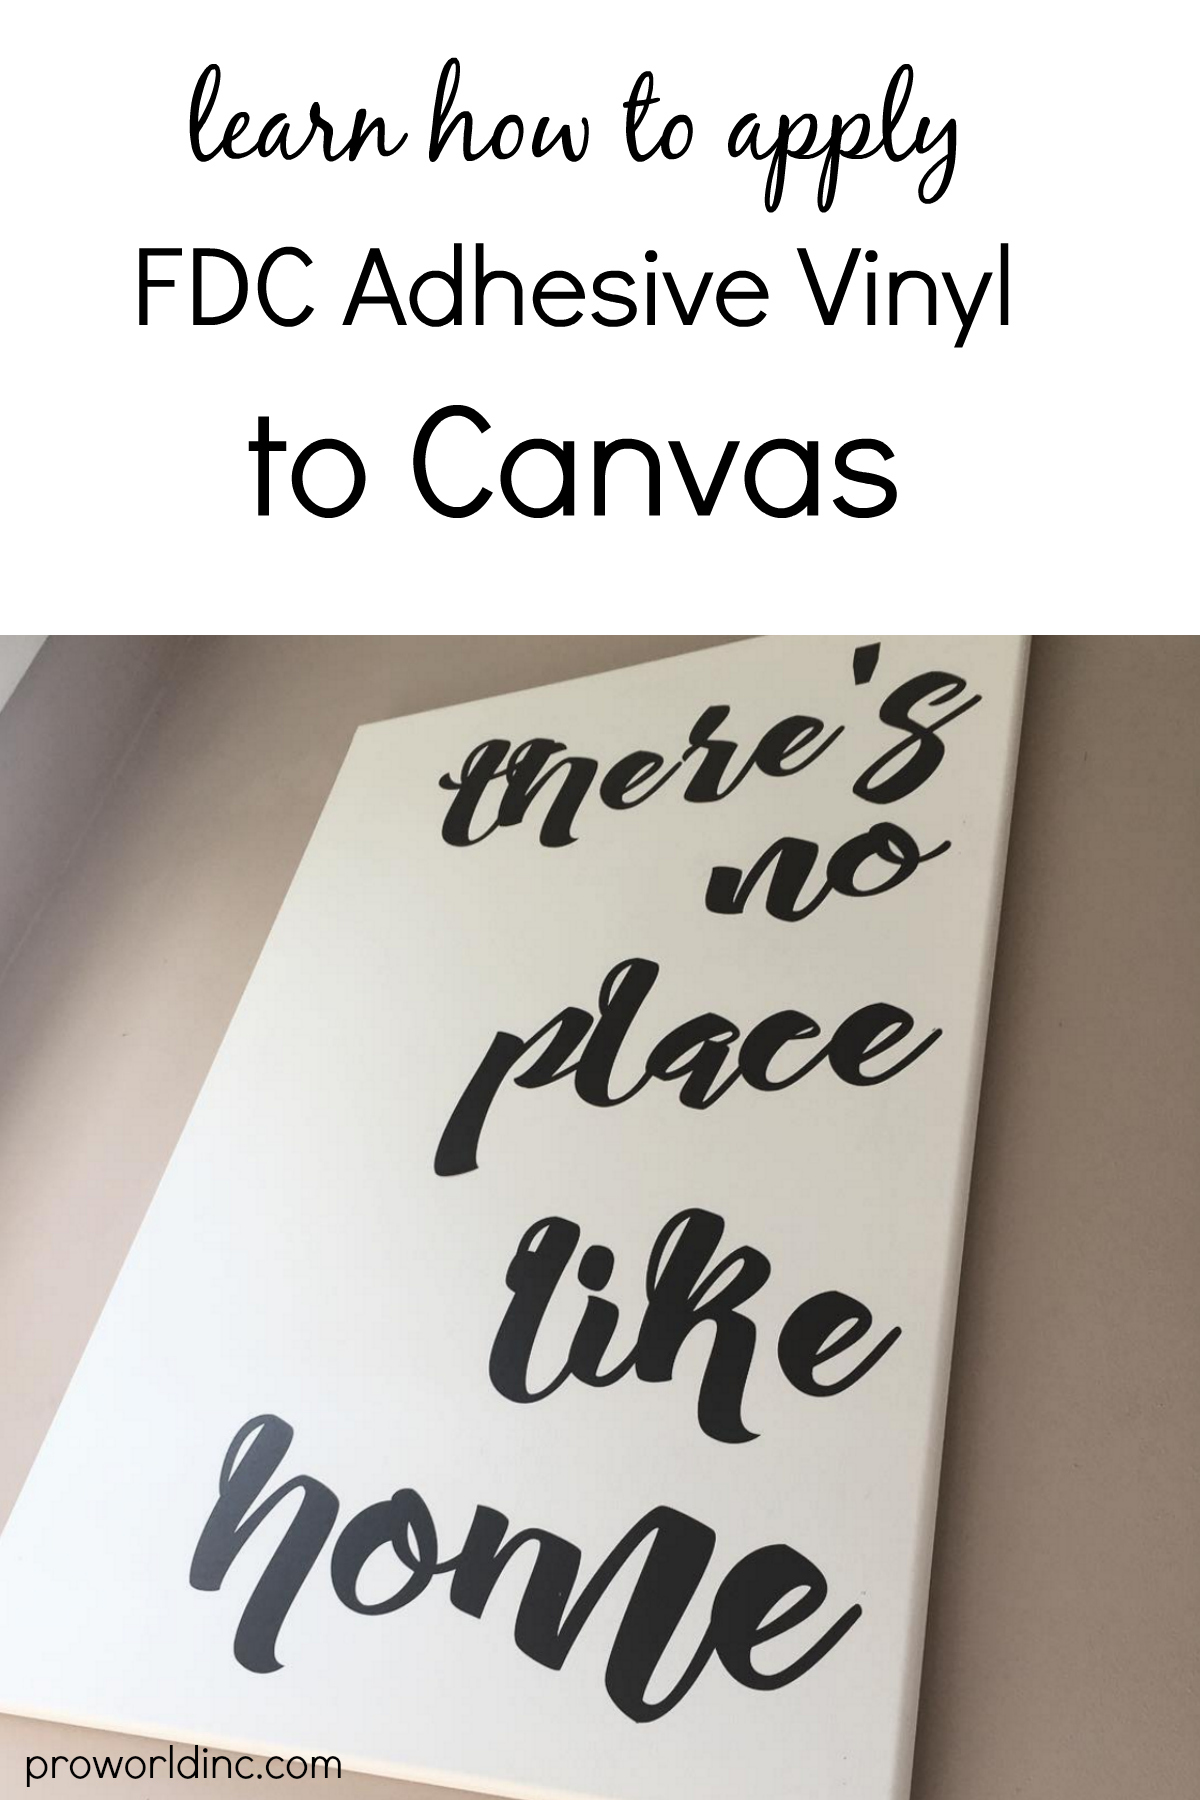
FDC Adhesive Vinyl On Canvas

Do you want to apply vinyl to canvas but are too scared to try? Well fear no more!

When one of our employees scored an oversized white canvas, she knew it needed one thing- VINYL! So we went to work testing different applications to see which would be the best vinyl/canvas method, and I’m happy to say we found one! 

apply fdc to canvas

You Need:

To start you will want to choose your design, measure your canvas, and size your design accordingly.

Send your design to your cutting machine, weed it, and apply the transfer tape.

Once you are ready to apply your vinyl you will want to spray the canvas with adhesive glue. We recommend doing this outside, or at least covering your work surface, as the glue overspray can be messy. After you spray the glue, quickly apply your vinyl, smooth it out, and peel your transfer tape.

Repeat until you are finished! Then share a photo with us on Twitter, Instagram or Facebook by tagging @proworldinc or using the #proworldinc hashtag.

But that’s not all, here are a few more tips/tricks:

– Technically, the FDC Ultra Glossy vinyl will stick to the canvas without the adhesive spray, however… the adhesive spray will make your life a lot easier when applying.

– Don’t wait too long to peel the transfer tape from your canvas… if the glue starts to set, it will leave teeny, tiny marks. No one but you will notice, but we know how much of a perfectionist you are!

View & Add Comments
Different Ways to Print a Garment

Printed t-shirts

There are many different ways to create a custom t-shirt – from different types of heat transfers to printing directly onto the garment. Today’s blog will help pinpoint what process may work best for you, depending on the type of job you will be doing.

Custom Transfers
Screen printing on special release paper using plastisol inks.

  • Best for medium to large orders (quantities: 12+)
  • Up to 10 spot colors or unlimited colors using process colors (CMYK)
  • Cotton, 50/50 blends, polyester, canvas bags, jerseys, and more
  • Can be pressed onto all colors (dark garments require a backing)
  • Up to 13″ x 19″ (This is the size of the gang sheets we print on)
  • Equipment needed:  Professional heat press

Transfer Paper
Paper that allows you to create custom designs using your inkjet or laser printer.

  • Best for small orders (quantities: 1-12)
  • Unlimited colors, except for white
  • Cotton, 50/50 blends
  • Can be pressed onto all colors. Paper options available for light or dark garments.
  • Paper available in 8.5″ x 11″  or  11″ x 17″
  • Equipment needed:  Computer, printer and professional heat press

Transfer Vinyl
Rolls of colored material that can be used with a vinyl cutter or a Silhouette.

  • Best for small to medium orders (quantities: 1-36)
  • Unlimited colors, but the suggested amount of colors that can be layered is 3 colors within 1 design
  • Various garment types depending on the vinyl being used
  • Can be pressed onto both light and dark colored garments
  • Rolls are available in 15″ widths and up. Siser Easyweed now available by the sheet.
  • Equipment needed: Computer, vinyl cutter, professional heat press

Sublimation Transfers
A process in which sublimation ink turns into a gas when heated, and embeds itself into the fibers of polyster material

  • Any size order, cost effective for small or large quantities
  • Unlimited colors
  • Limited to 100% white polyester garments
  • Can be done on 3D products with a sublimation-ready coating; such as mugs, phone cases, photo panels, coasters, puzzles, and much more
  • Various paper sizes available, up to 13″ x 19″
  • Equipment needed:  Sublimation printer, sublimation inks, sublimation paper

Direct to Garment
Direct to garment printing using water based inks and a DTG printer.

  • Best for small orders (quantities: 1-12)
  • Unlimited colors
  • Limited to cotton and cotton blends
  • Can be done on both light and dark garments
  • Various design sizes, depending on the printer
  • Equipment needed:  a DTG printer

Screen Printed
Screen printing directly on the garment using plastisol inks.

  • Best for large orders (quantities: 24+)
  • Up to 10 spot colors or unlimited colors using process colors (CMYK)
  • Various garment types, not as limited as transfers (due to heat)
  • All garment colors (dark garments require a base color)
  • Various design sizes, depending on the printer
  • Equipment needed:  Screen printing equipment

*Please note that we do not offer DTG printing or screen printing equipment.

View & Add Comments

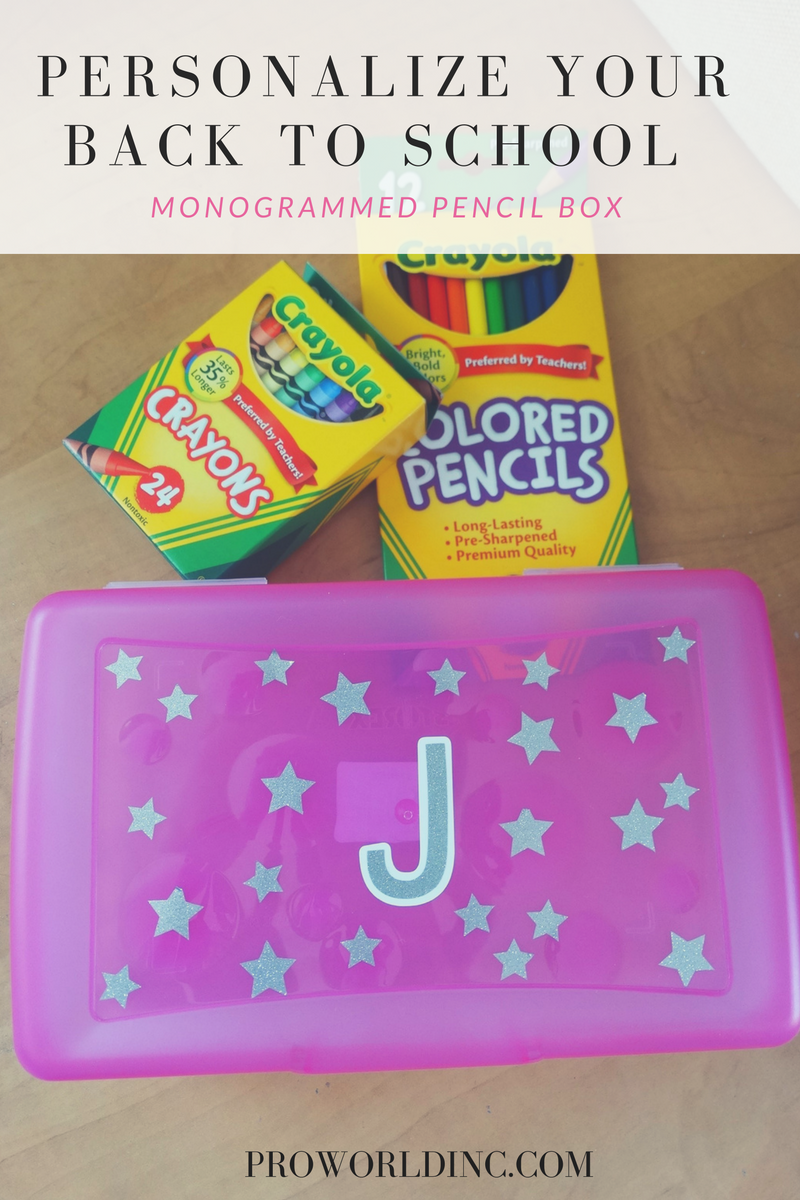
Back To School: Monogrammed Pencil Box

My favorite part of the Back To School season is seeing all of the blank back to school supplies that are in need of some personalization! From notebooks and book bags, lunch accessories, and even “first day of school” signs… there are so many options. How does one choose where to start?

BACK TO SCHOOL

For today’s post, we decided to add some adhesive vinyl to a pencil box! You will need:

You Will Want To:

  • Measure your pencil box
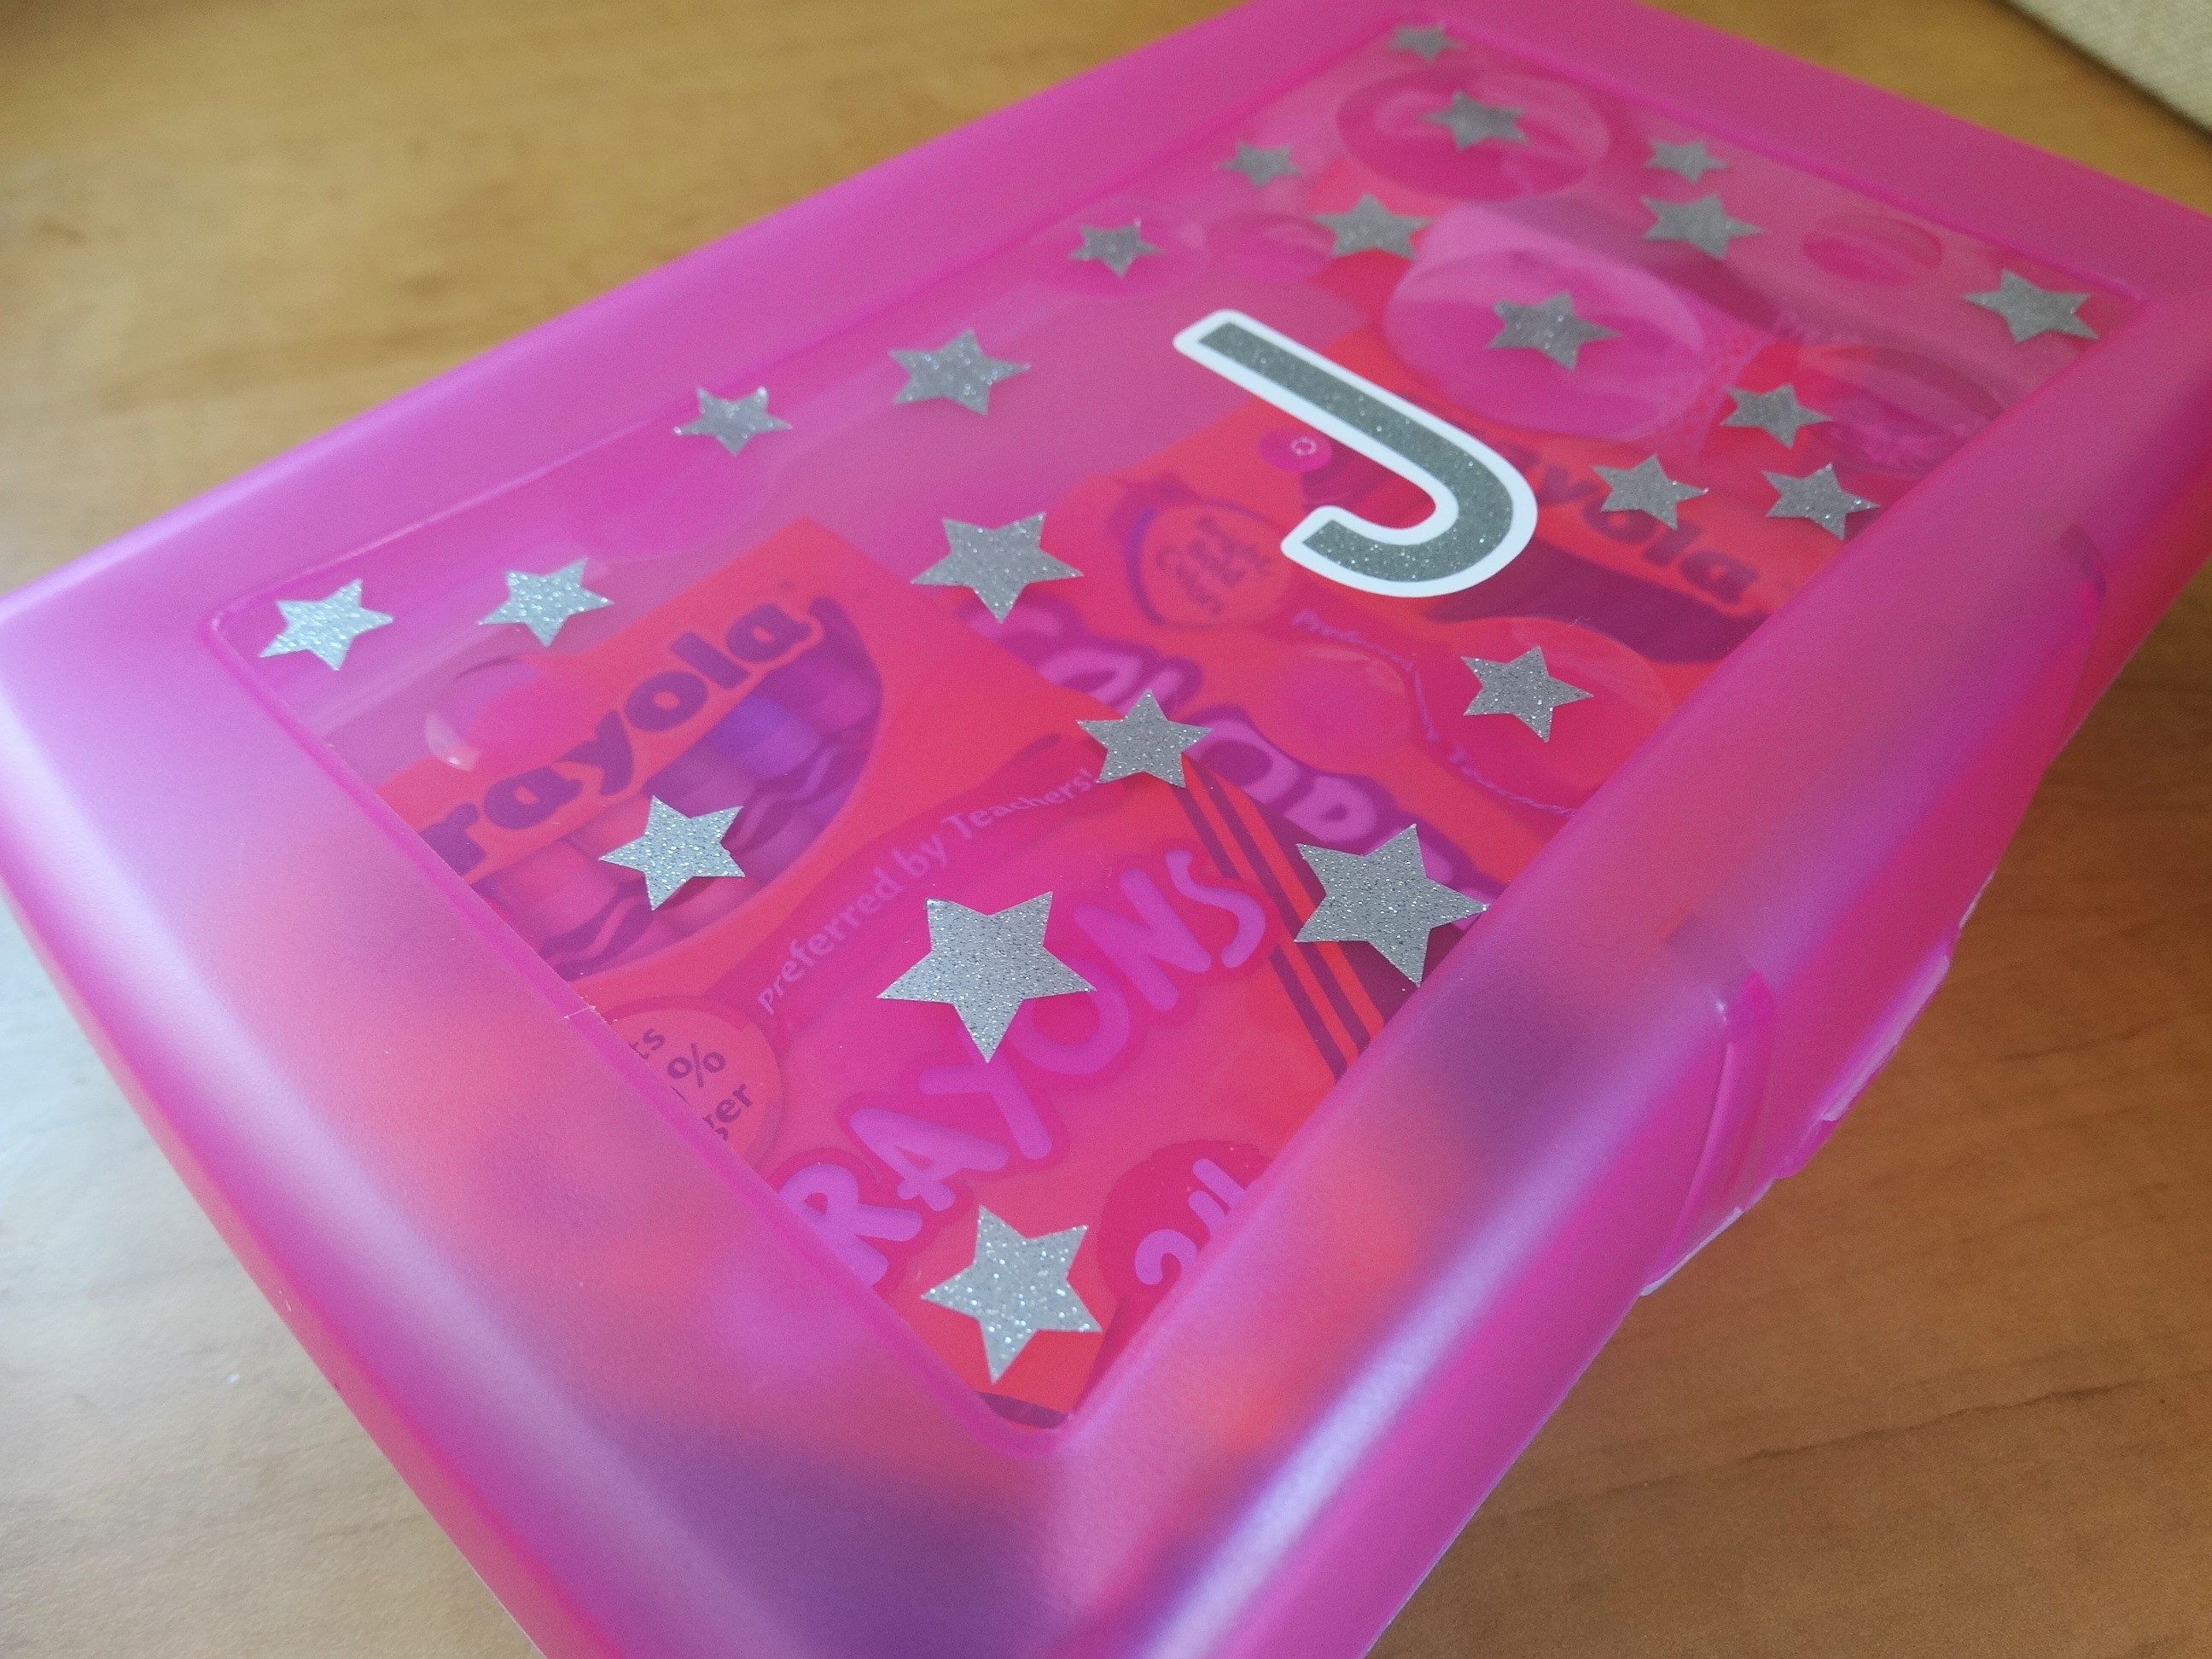
  • Create your design. We went with a simple, single letter monogram and some ultra metallic stars. If you are layering your design, remember to double check your cut lines before you cut.
  • Cut and weed your design
  • Apply the transfer tape to your weeded design
  • Place it onto your pencil box, burnish, and carefully peel it off of the box
  • Admire your craftiness, you are done!

personalize your back to school supplies

Have you made any Back To School Projects yet? We would love to see them! Post them on our Facebook page or tag us on Instagram by using @proworldinc or #proworldinc


View & Add Comments

Choosing the Right Size for your Custom Transfers

Choosing the best size for custom transfers

When ordering custom transfers, you will want to make sure that you are choosing the right size for your design when filling out our quote form. We get questions from our customers all the time asking for help on sizing, so we hope that today’s post is helpful.

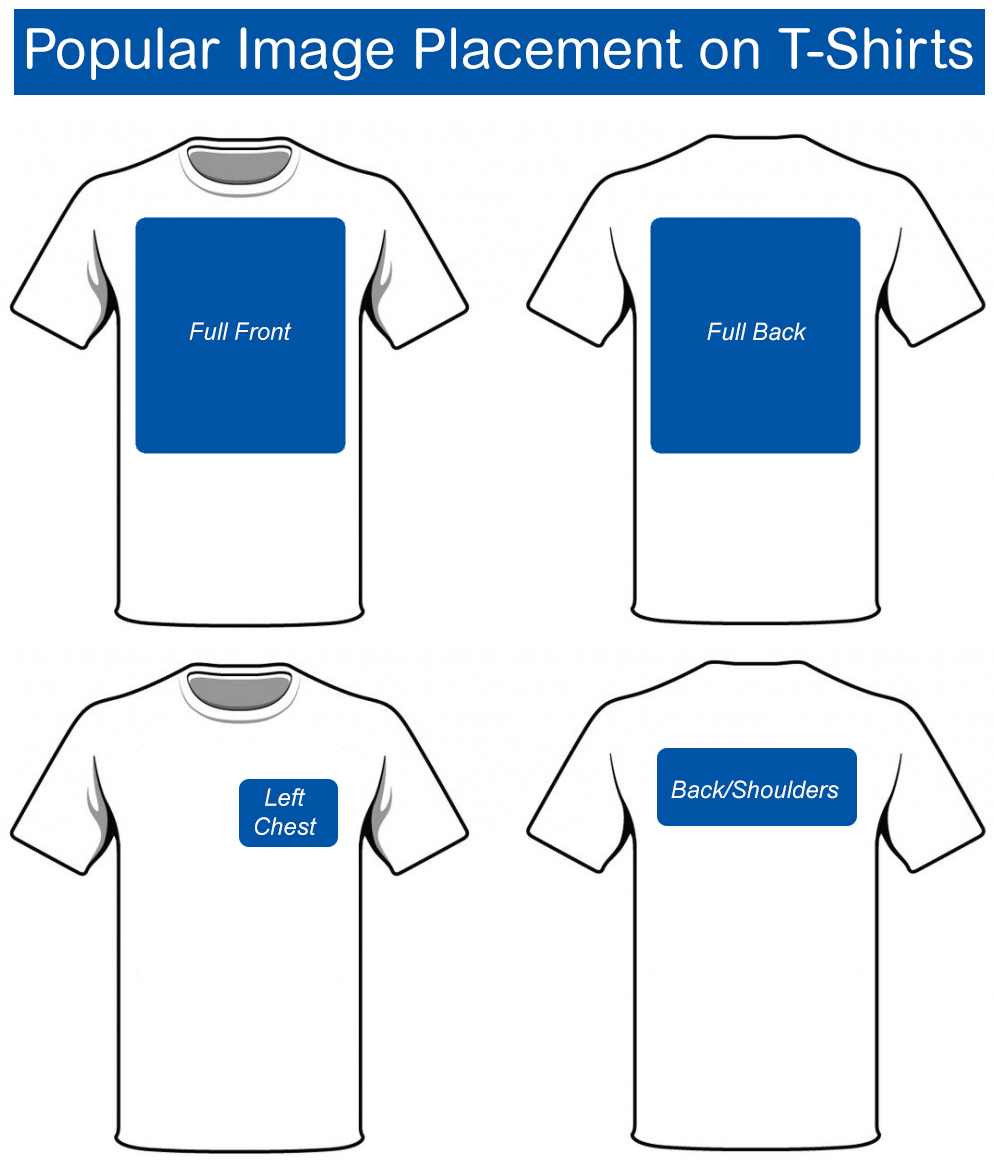
Popular Image Placement on T-shirts

The best way to know what size will work, is to measure the printable area of the garment(s) you will be pressing on. If you will be printing on a variety of sizes (lets say from toddler to adult XL), then you obviously may need two different size transfers printed. However, it is always best to try and print just one size for all of your transfers, to be able to gain the most value out of our gang sheets and to save money.

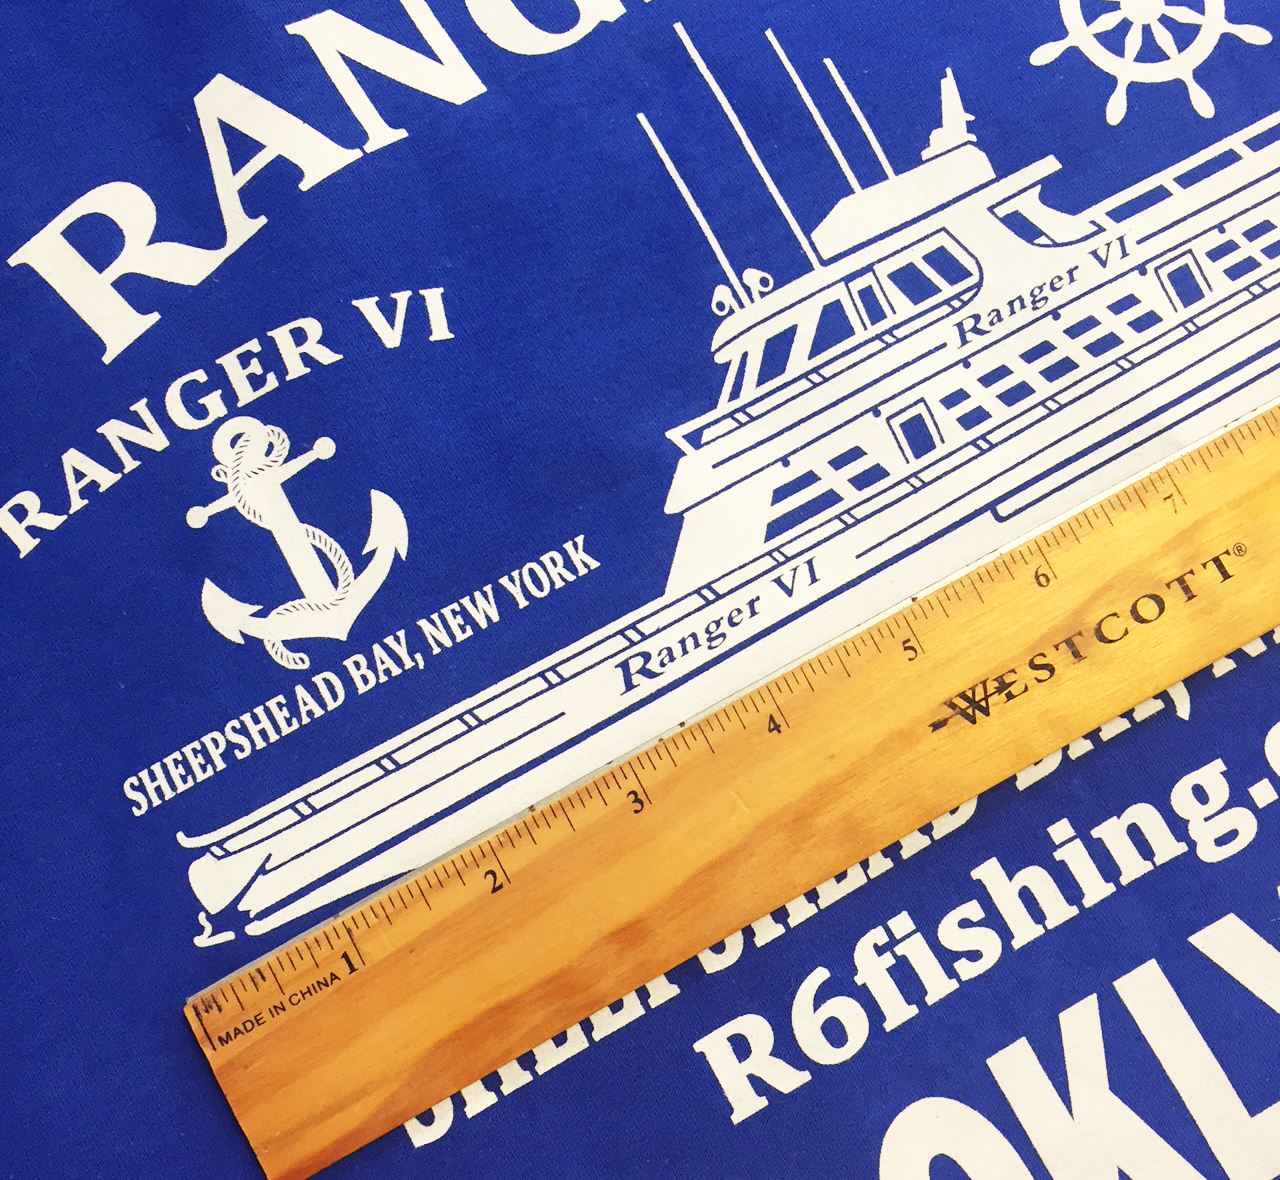
Measuring a transfer on a garment

We always recommend taking a ruler to measure the printable area on the smallest garment first. Find out how much room you have to work with, and plan on making that entire area your transfer size. Let’s say your printable area is 9×9″ for a full back design you want to create. Now you will want to measure out a 9×9″ area on your biggest garment to make sure that this size will take up enough room. If it works on the smallest and largest garment, it will work on all sizes in between.

rapidresponsesizeOur sizes are proportional based on width. For example, if you upload the above design and request a size of 11×11″, we will enter the width at 11″ and let the design scale out proportionately. As you can see, the above design would be only 4″ tall instead of 11″ – due to the shape of the artwork. It is much wider than it is tall.

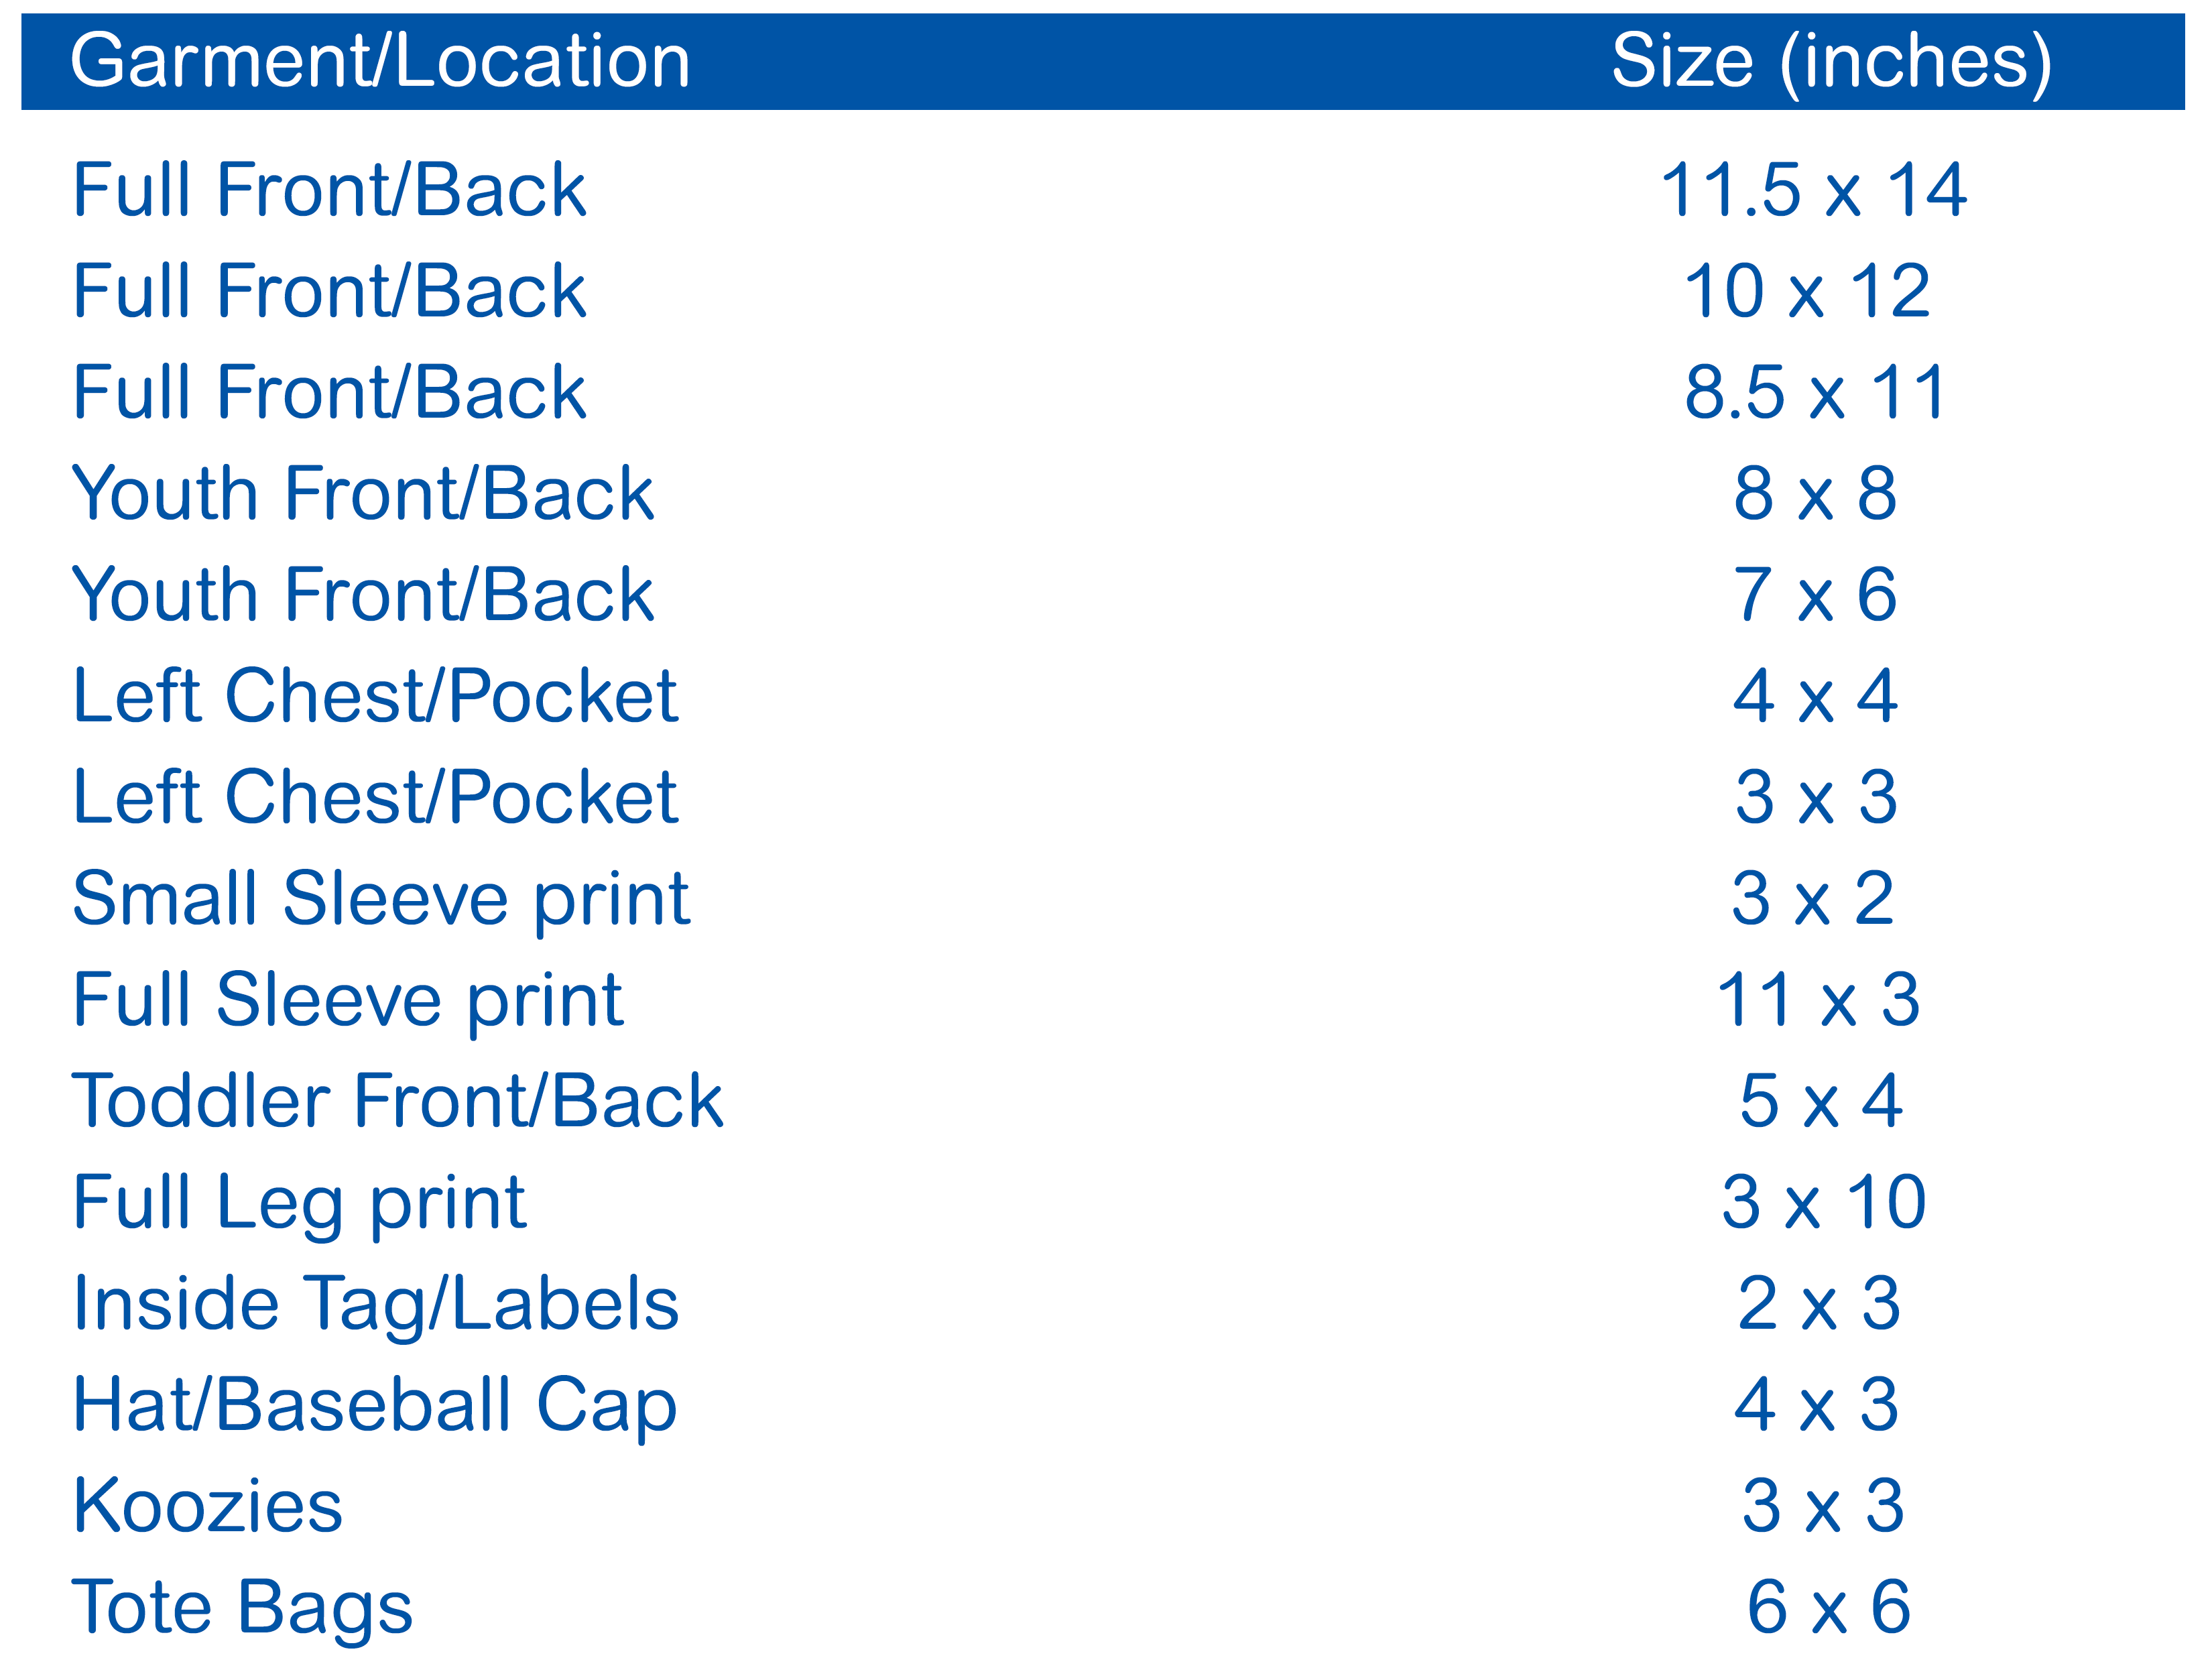
The following table will provide some guidance on suggested transfer sizes for different types of garments, and different printing areas.

Suggested transfer sizes

*Keep in mind that your design may not be proportionate at any of these exact sizes. This is only to be used as a starting point. You will always want to measure your garments to ensure the size(s) that you choose will fit properly.
 

View & Add Comments