DIY: Personalized Dog Treat Jar

Do you need to make a quick gift? Make a personalized dog treat jar!

DIY- A PERSONALIZEDDOG TREAT JAR

For today’s project you need:

First, design your cut file.

Second, WELD your letters together. It’s important to weld your letters so that the oultine of your name is cut. If you forget to weld your letters, your machine will cut overlapping lines, like the bottom image shows in the photo below.

DSC05587

Load your vinyl, and adjust your cut settings.

Send your design to your cutting machine, and carefully weed your design.

DSC05585

Apply the transfer tape.

DSC05589

Smooth the transfer tape onto your vinyl and gently peel the transfer tape from the backing.

DSC05592

Finally, apply the FDC vinyl to your glass jar, and smooth out any air bubbles.

DSC05594

Carefully peel the transfer tape off of the glass jar and you are done!

personaized dog trat jar


IMG_5410

View & Add Comments

Tips for cutting large vinyl decals

Want to change your space? Add some adhesive vinyl!

Recently one of our employees made a photo clock wall but as you can see it was missing that extra something…

DSC05563But by adding 3 yards of FDC Adhesive Vinyl; the wall was complete!

photo clock wall

Large vinyl decals may look hard, but they are simple to create!

Do you want to make your own? You will need FDC adhesive vinyl, gridded transfer tape, a weeding tool, a squeegee, Silhouette Machine, and a roll feeder.

What’s a roll feeder? A roll feeder is an attachment for your Silhouette Machine. You snap it onto the bottom of your machine, slide the roll of vinyl into the feeder, and send it through your machine.

Silhouette Roll Feeder

Why use a roll feeder? When making cuts on large pieces of vinyl, you run the risk of your vinyl sliding due to the weight of the length, which could affect your design. So by using the roll feeder, the Silhouette machine can pull the vinyl as needed without fighting the weight of the vinyl length, allowing for a consistent, smooth feed. This will help lessen your chance of making a mistake, saving you time and money!

Want to create a large vinyl quote? Here are a few things to keep in mind:

  • Un-select the mat option within your Silhouette Software
  • Change your image size to reflect your design size
  • Weld your font if there is any overlapping
  • Turn the saying sideways (verticle), but be sure to make sure the width is less than 12″. If it’s larger than 12″ no problem, just ungroup your saying or cut your design.
  • If you are cutting on HTV make sure you mirror your designtips for cutting large vinyl decals with your silhouette machine
View & Add Comments

Father’s Day Beer Mug

Can you believe that it’s already June? I’m pretty excited that May has passed us by… it was extra rainy this year in NJ.  I’m hoping that June will bring clear skies and sunshine, because my favorite way to end the week is in the backyard BBQing with a cold drink! So with Father’s Day around the corner, I thought we’d share a simple gift idea that Dad can enjoy on those warm summer nights!

Father's Day, Gift, Custom

You Need:

Since the Dad that is receiving this mug is pretty awesome, it only made sense to use “This guy is one awesome Dad” as our design, but you could write anything! For the Star Wars loving Dad you could use “Yoda best father” or if Dad is a bit smelly maybe World’s Best Farter Father”, you could even trace a handwritten note from one of the kids like we did on the Mother’s Day planter. The sky is the limit!

Once you figure out what you want as your design, you need to cut it!  So load your FDC vinyl, check your settings, image size and click cut!

As your vinyl cuts, grab your rubbing alcohol and a cotton ball and clean the area that the vinyl will be placed. This will remove any residue or debris to help the vinyl get a good seal.

Now that your mug is all clean remove the vinyl, weed it, lay the transfer tape and apply.

Put it in a gift bag because you are done!

DIY father's day gift


We’d love to see what you are making Dad for Father’s Day! Tag us on twitter, facebook or instagram at @proworldinc or by using the #proworldinc

View & Add Comments

End of the Year Teacher Gift

With the school year coming to a close, it’s the perfect time to show your child’s teacher how much you appreciate them with a little gift.

We decided to personalize a coffee mug since we liked this teacher a “latte” 😉 Not only did it turn out cute, but it only took a few minutes to make!

teacher giftFor this week’s post we used:

First, you will want to design your quote and apple within your cutting software. If you are using a Silhouette Machine you can download a free ‘apple’ file over at Silhouette School’s Blog. She has 11 options to choose from!

Once your design is finalized, you should measure your coffee mug and resize your file to fit the area as needed. Now, adjust your cut setting, load your vinyl, and select cut! Once you cut both designs, you will want to weed the excess vinyl, and then apply the transfer application tape to your design. IMG_4479

TIP: To help lay your vinyl on a curved surface, you can cut small slivers around your design. Just make sure you don’t cut your vinyl!

IMG_4487

Once you apply your design you are done!end of the year personalized teacher gift.

Wasn’t that easy? You can give the mug as it is, add a gift card or even bag of coffee grounds!

Have you started working on your end of the year gifts? If so tag us on Instagram with the hashtag #proworldinc – we love to see what you are working on!


View & Add Comments

Make a Mother’s Day Planter from a Kid’s Doodle

Hi friends! It’s Dee from From Wine to Whine. Today I am showing you how to trace a hand drawing or note so that you can cut it from vinyl! Scroll down to see how I took my 4-year-old’s doodles to permanently decorate a planter for Mother’s Day! make a Mother's Day Planter from your kids artwork! | Pro World Inc

Wouldn’t that make a cute Mother’s Day Gift? Even if that means you helped your little one make it for yourself.

You Will Need:

Here’s what you want to do: 

Take a photo of your child’s artwork and open it in the Silhouette Design Software.

Go to the Trace function, select your area, and move the filters until the majority of your design is filled. Click Trace. preserve your kids artwork in VINYL! | See how Pro World made a Mother's Day Planter

If the design needs to be cleaned up, release the compound path by right-clicking on the image, and selecting Release Compound Path. Screenshot (265)

When it comes to thin fonts I like to Offset the image so that it doesn’t rip when cutting. I find that .015-.025 is a good offset distance to add a little line weight without changing the shape.Screenshot (266)

You are almost ready to cut! Just check and make sure that your Cutting Mat function is ON or OFF, depending on how you are cutting.Screenshot (267)

Load your FDC Vinyl into your Silhouette Machine, choose the Vinyl Setting and Send it off.
Make something for Mother's Day with vinyl and your Silhouette Machine

Weed your design, and apply your transfer tape.Does weeding vinyl relax anyone else? Check out Pro World for great deals

Now carefully apply your design to your planter! And remember when working with curved surfaces your design will go on easier if you put little slits in between the spaces of your design. (do not cut the vinyl, just the tape!)Trace your kids art or handwriting and cut it from vinyl! That way you can preserve it forever. See how at Pro World Inc

View & Add Comments

Vinyl Your Batting Helmet

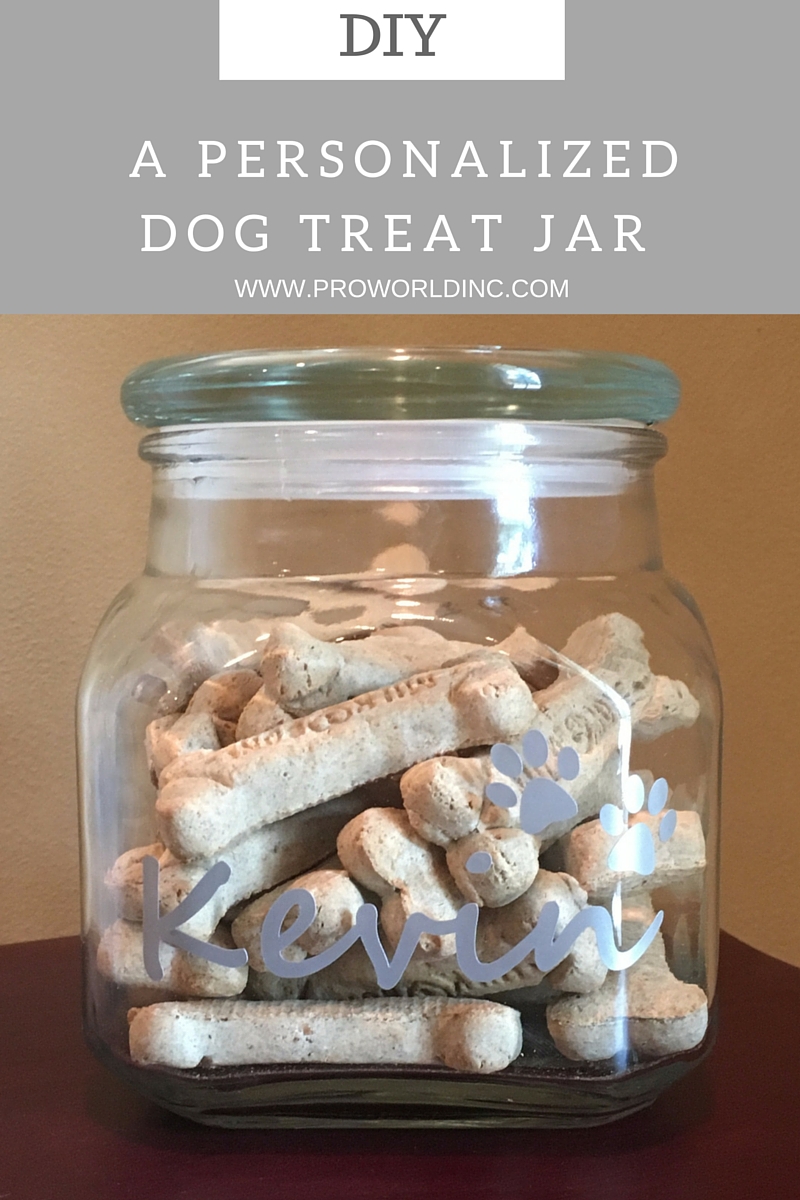
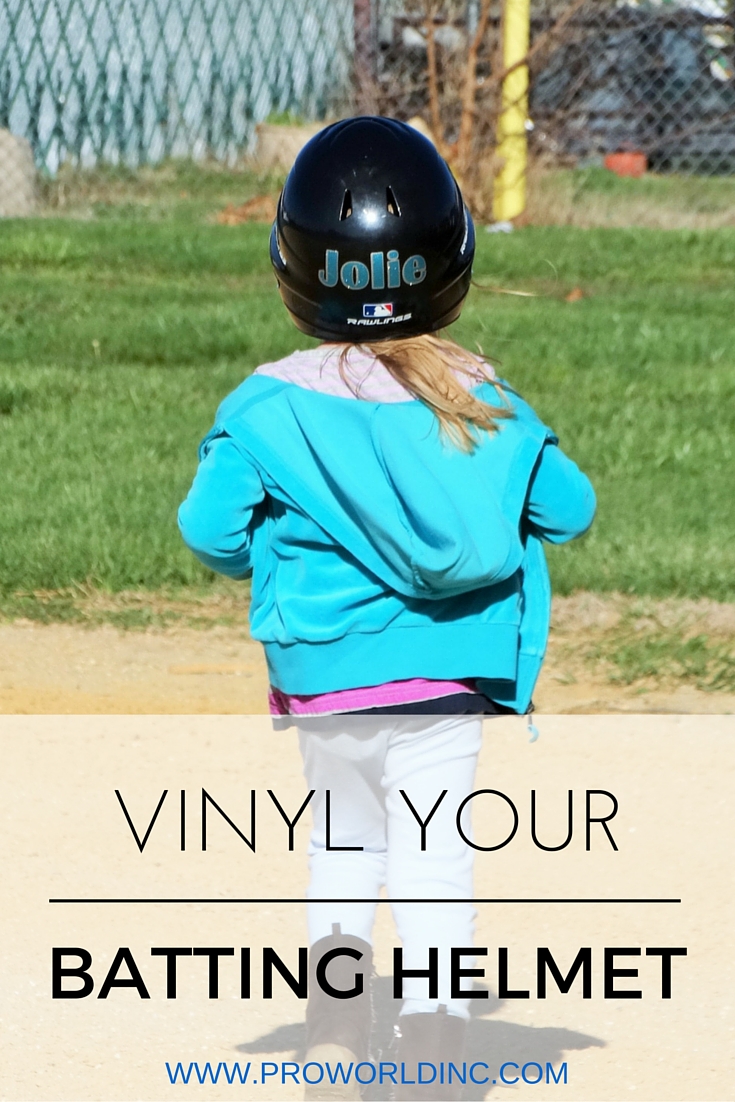
Hi, everyone! It’s Dee from, From Wine to Whine and today I am going to show you how I personalized my daughter’s batting helmet with a little FDC Adhesive Vinyl!

vinyl your batting helmet

You can add a name, number, team logo, small decal or customize the whole helmet…the sky is the limit! I only applied a glittery name, but I have a feeling that some more decals will be added before the season is over. That is what happens when your 4-year-old knows all about vinyl. It is only a matter of time before she starts dreaming up the next design!

Want to personalize one of your own? It is easy! You need:

Directions: 

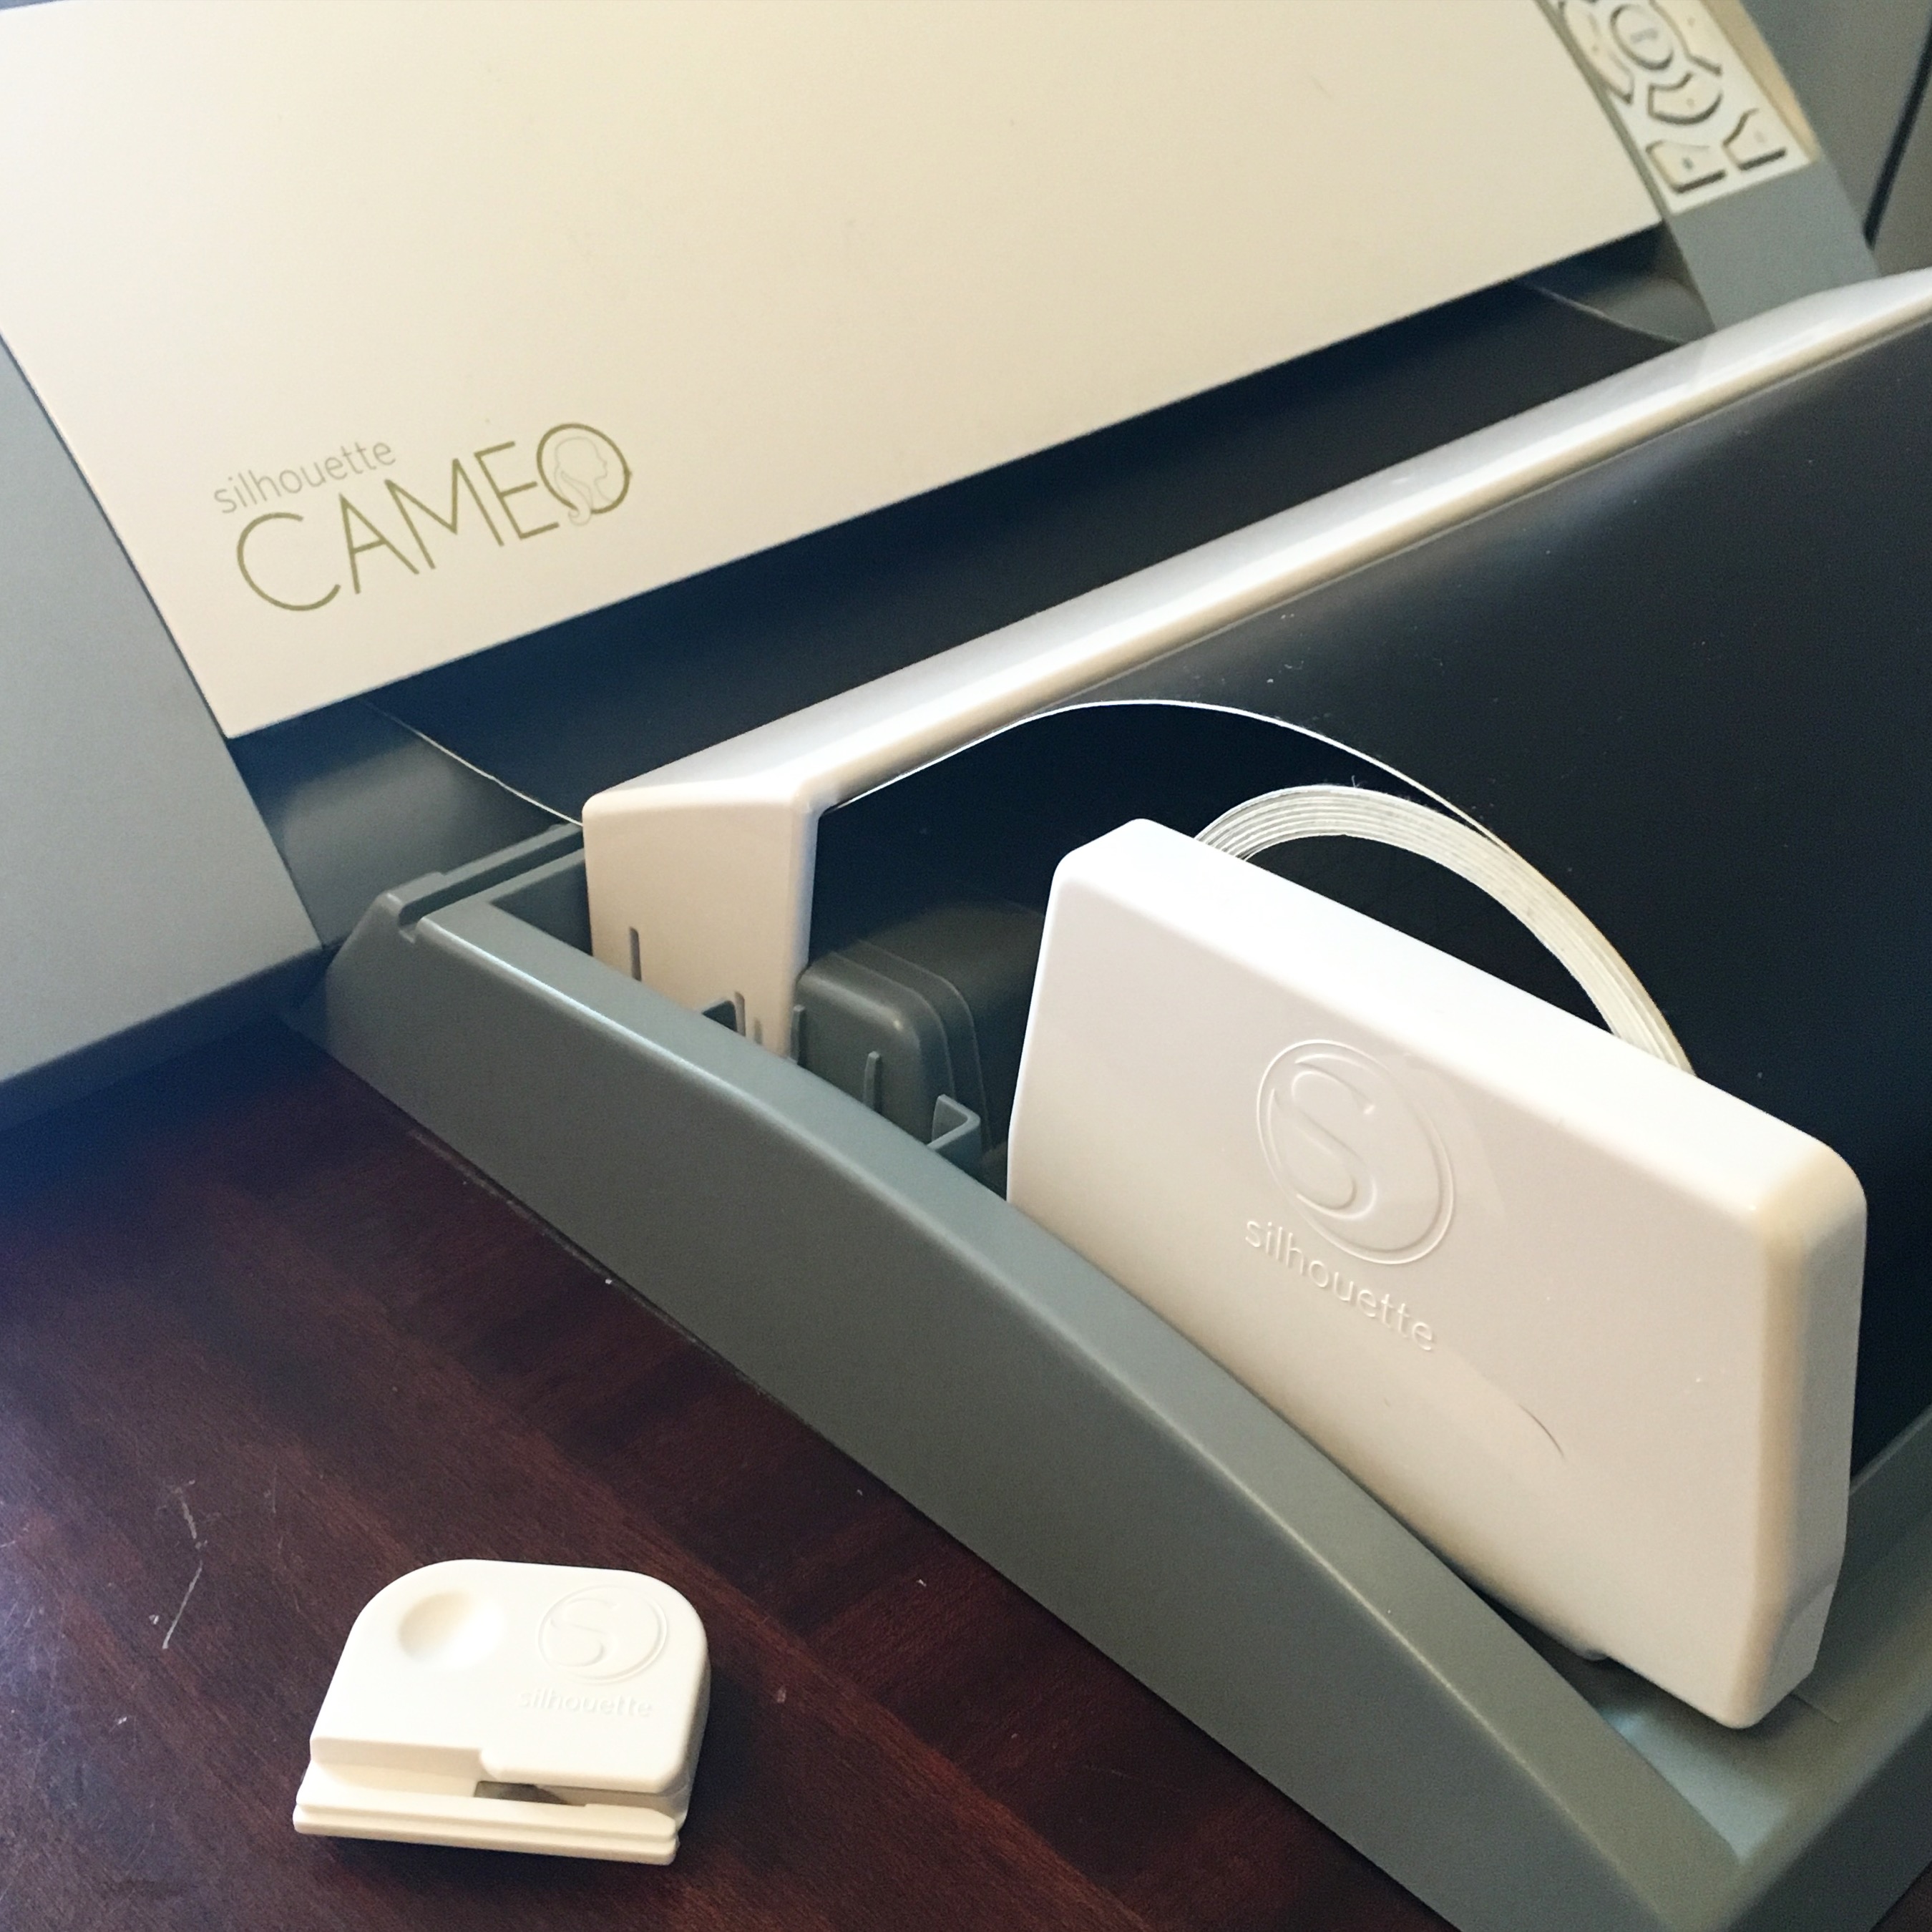
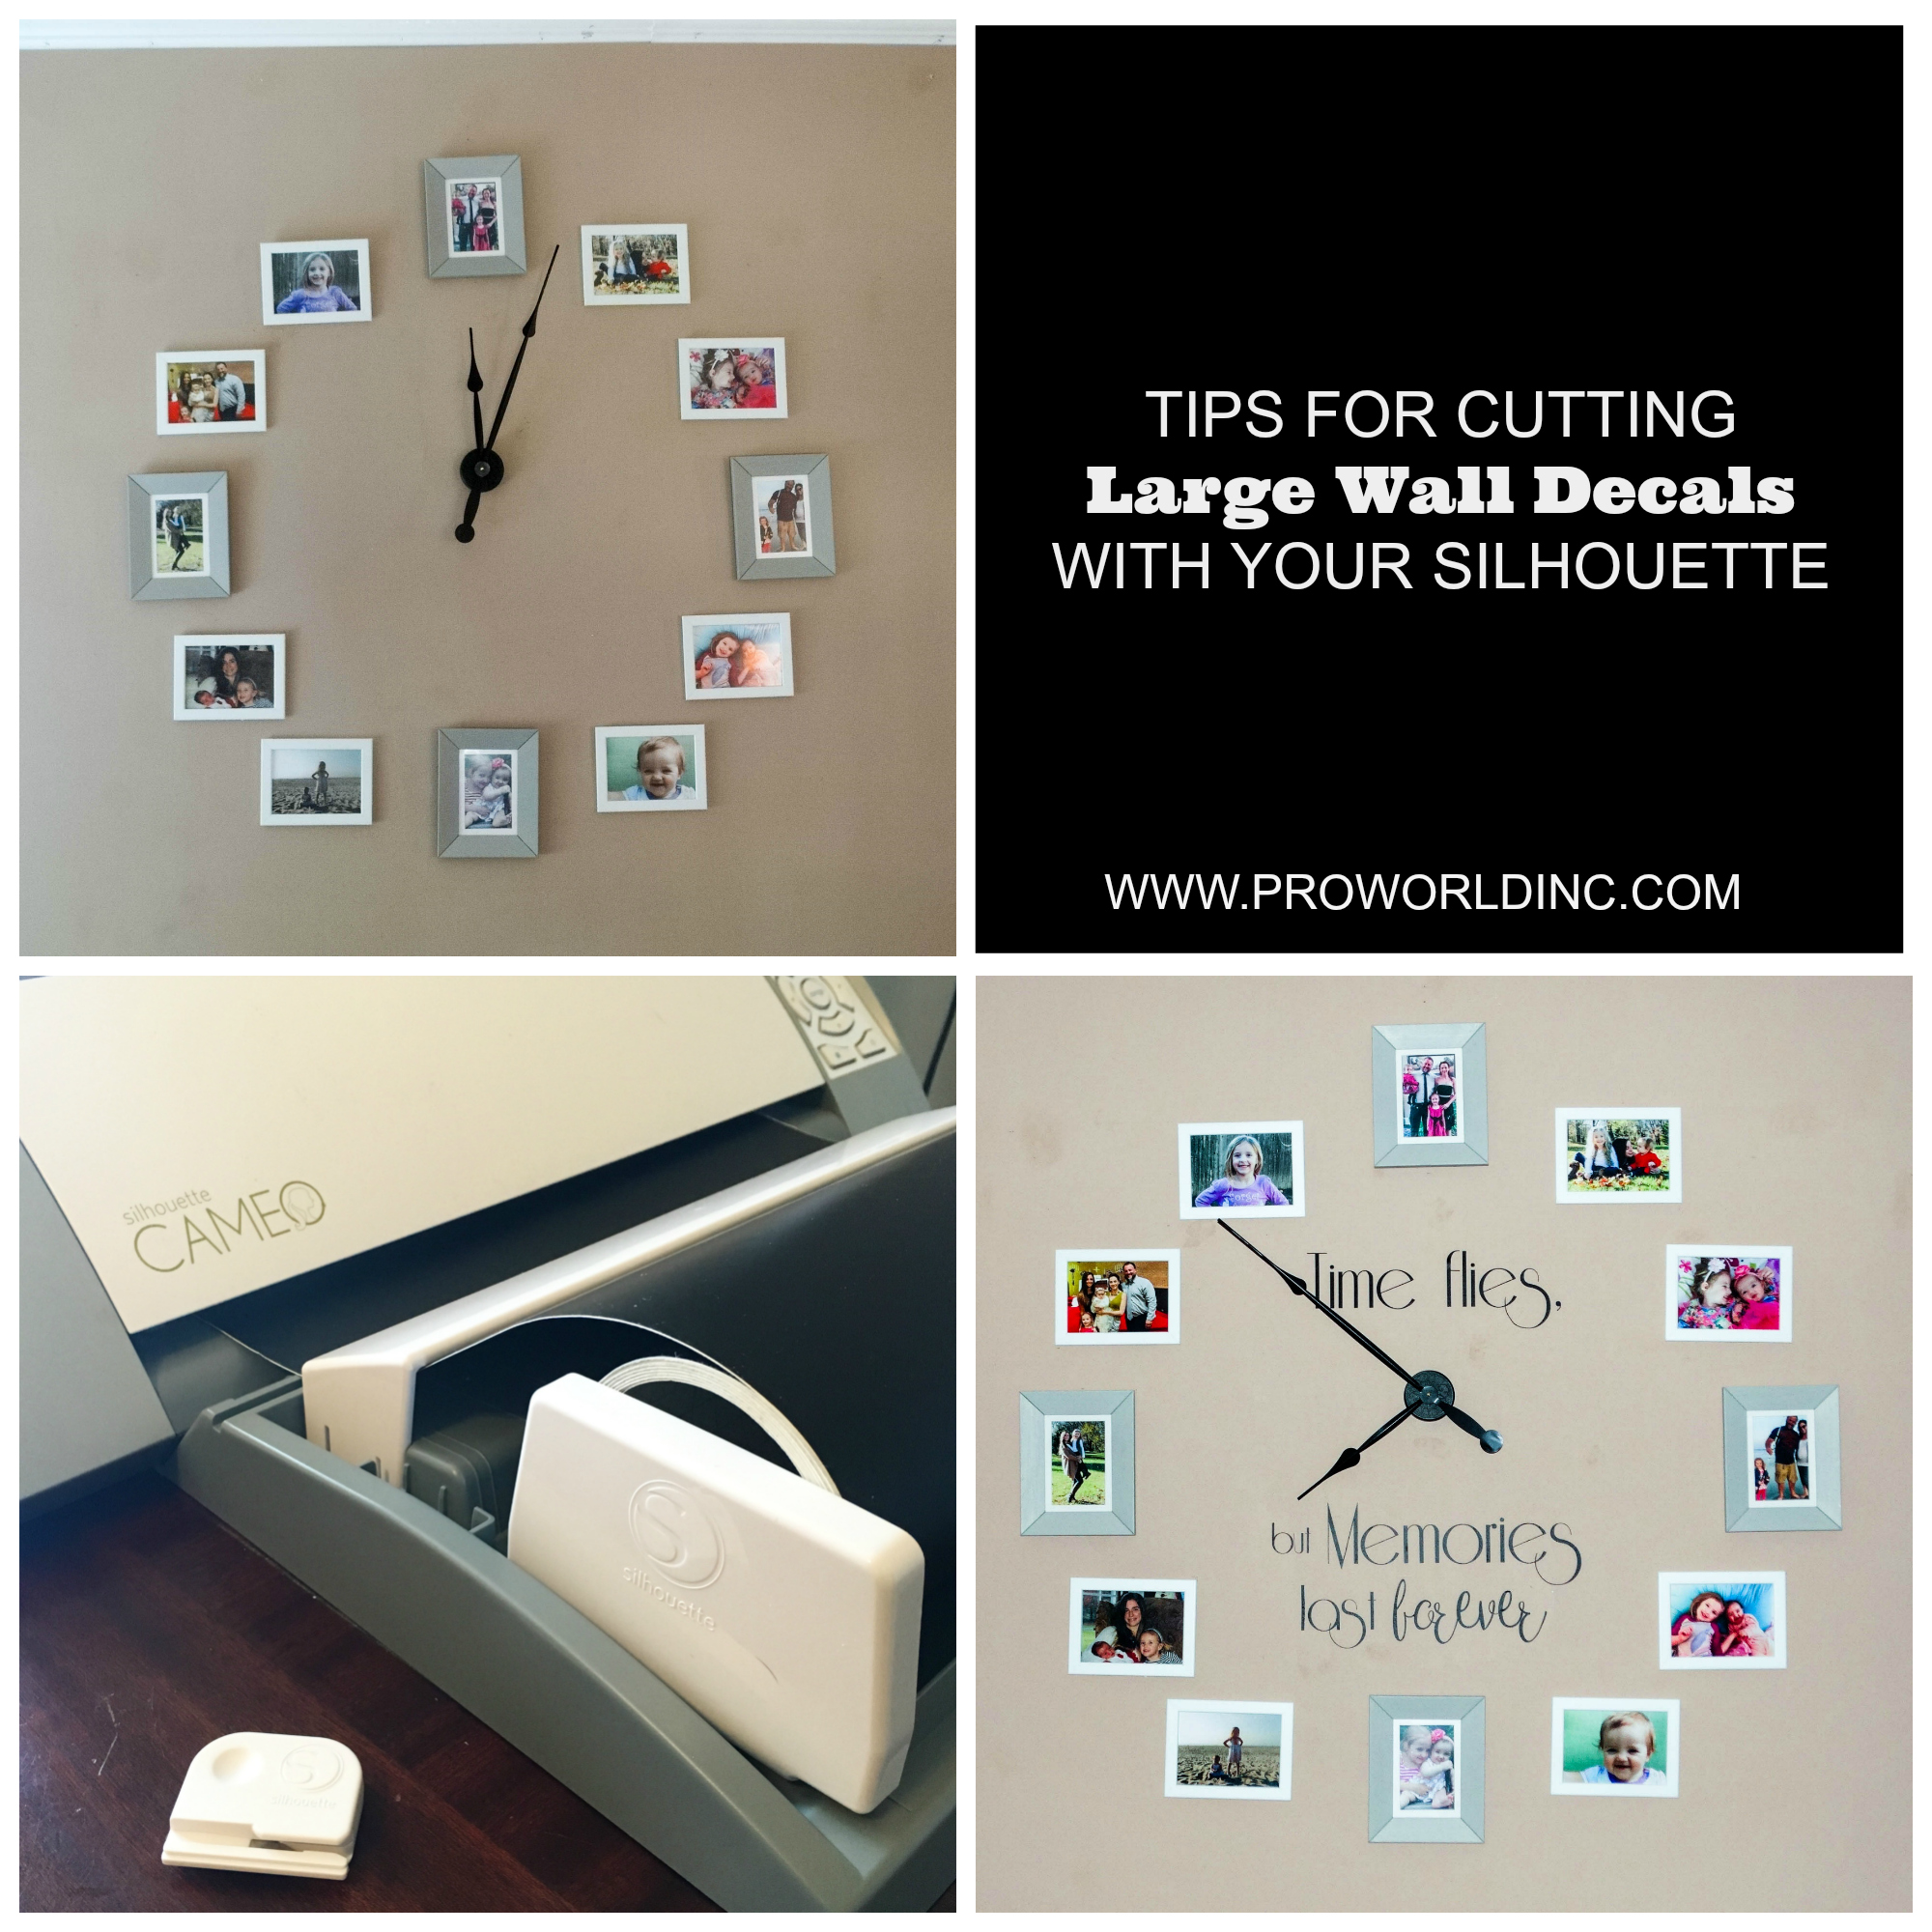
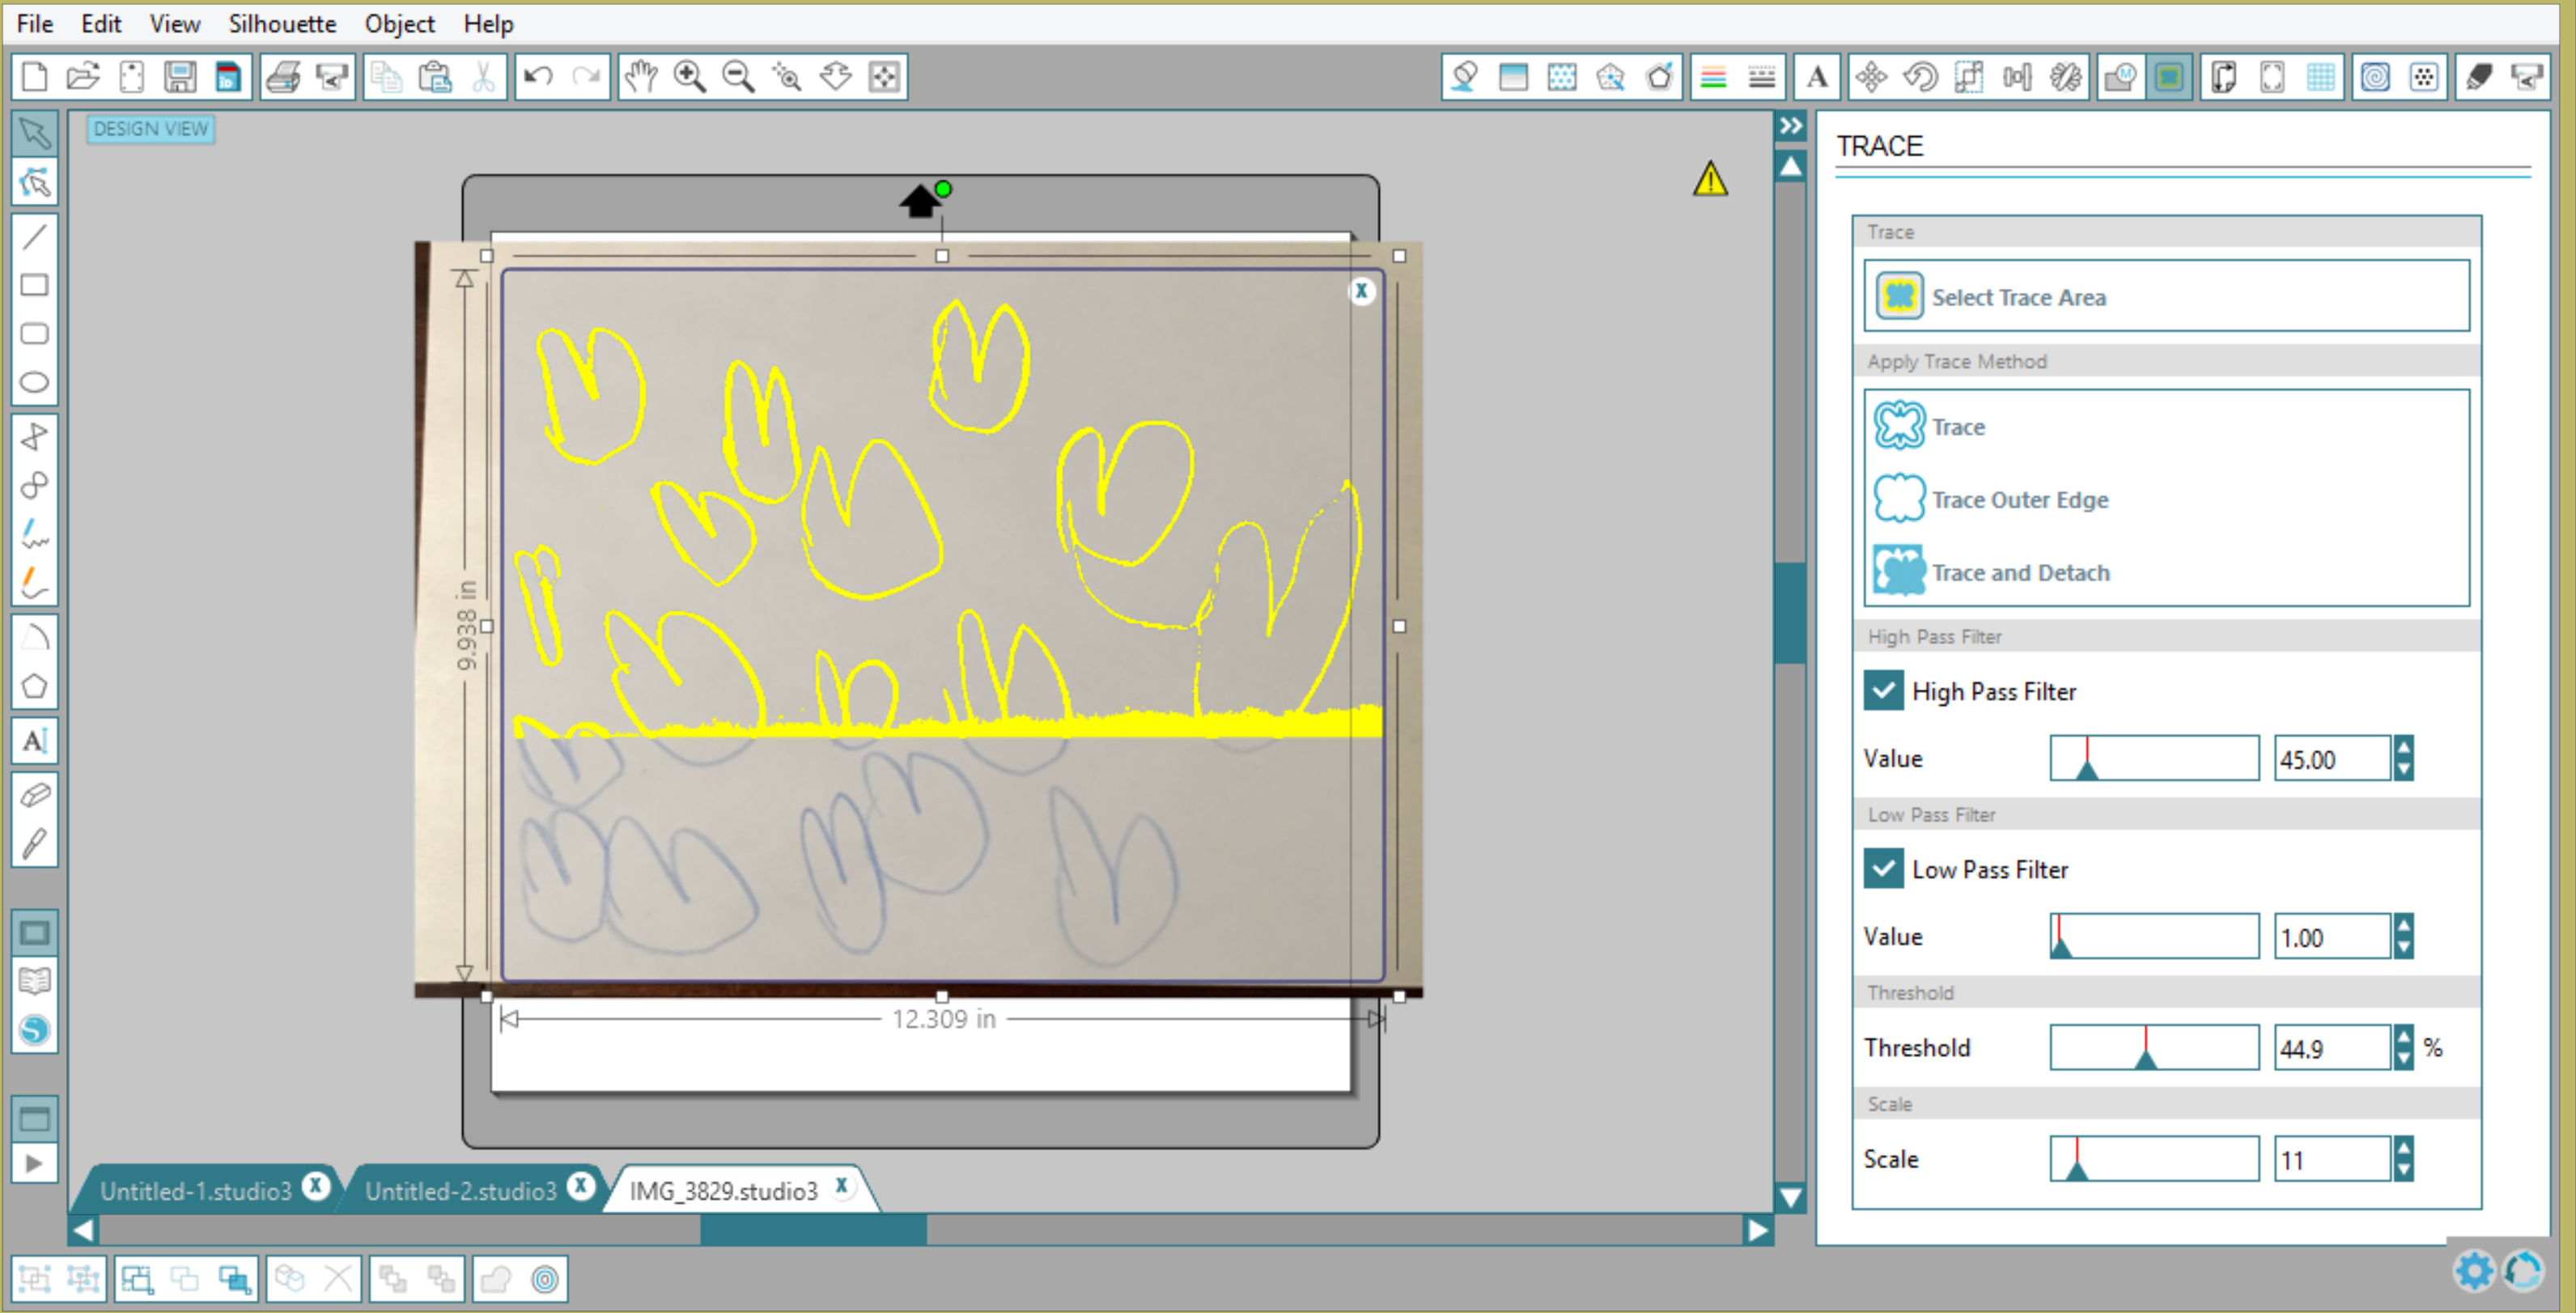
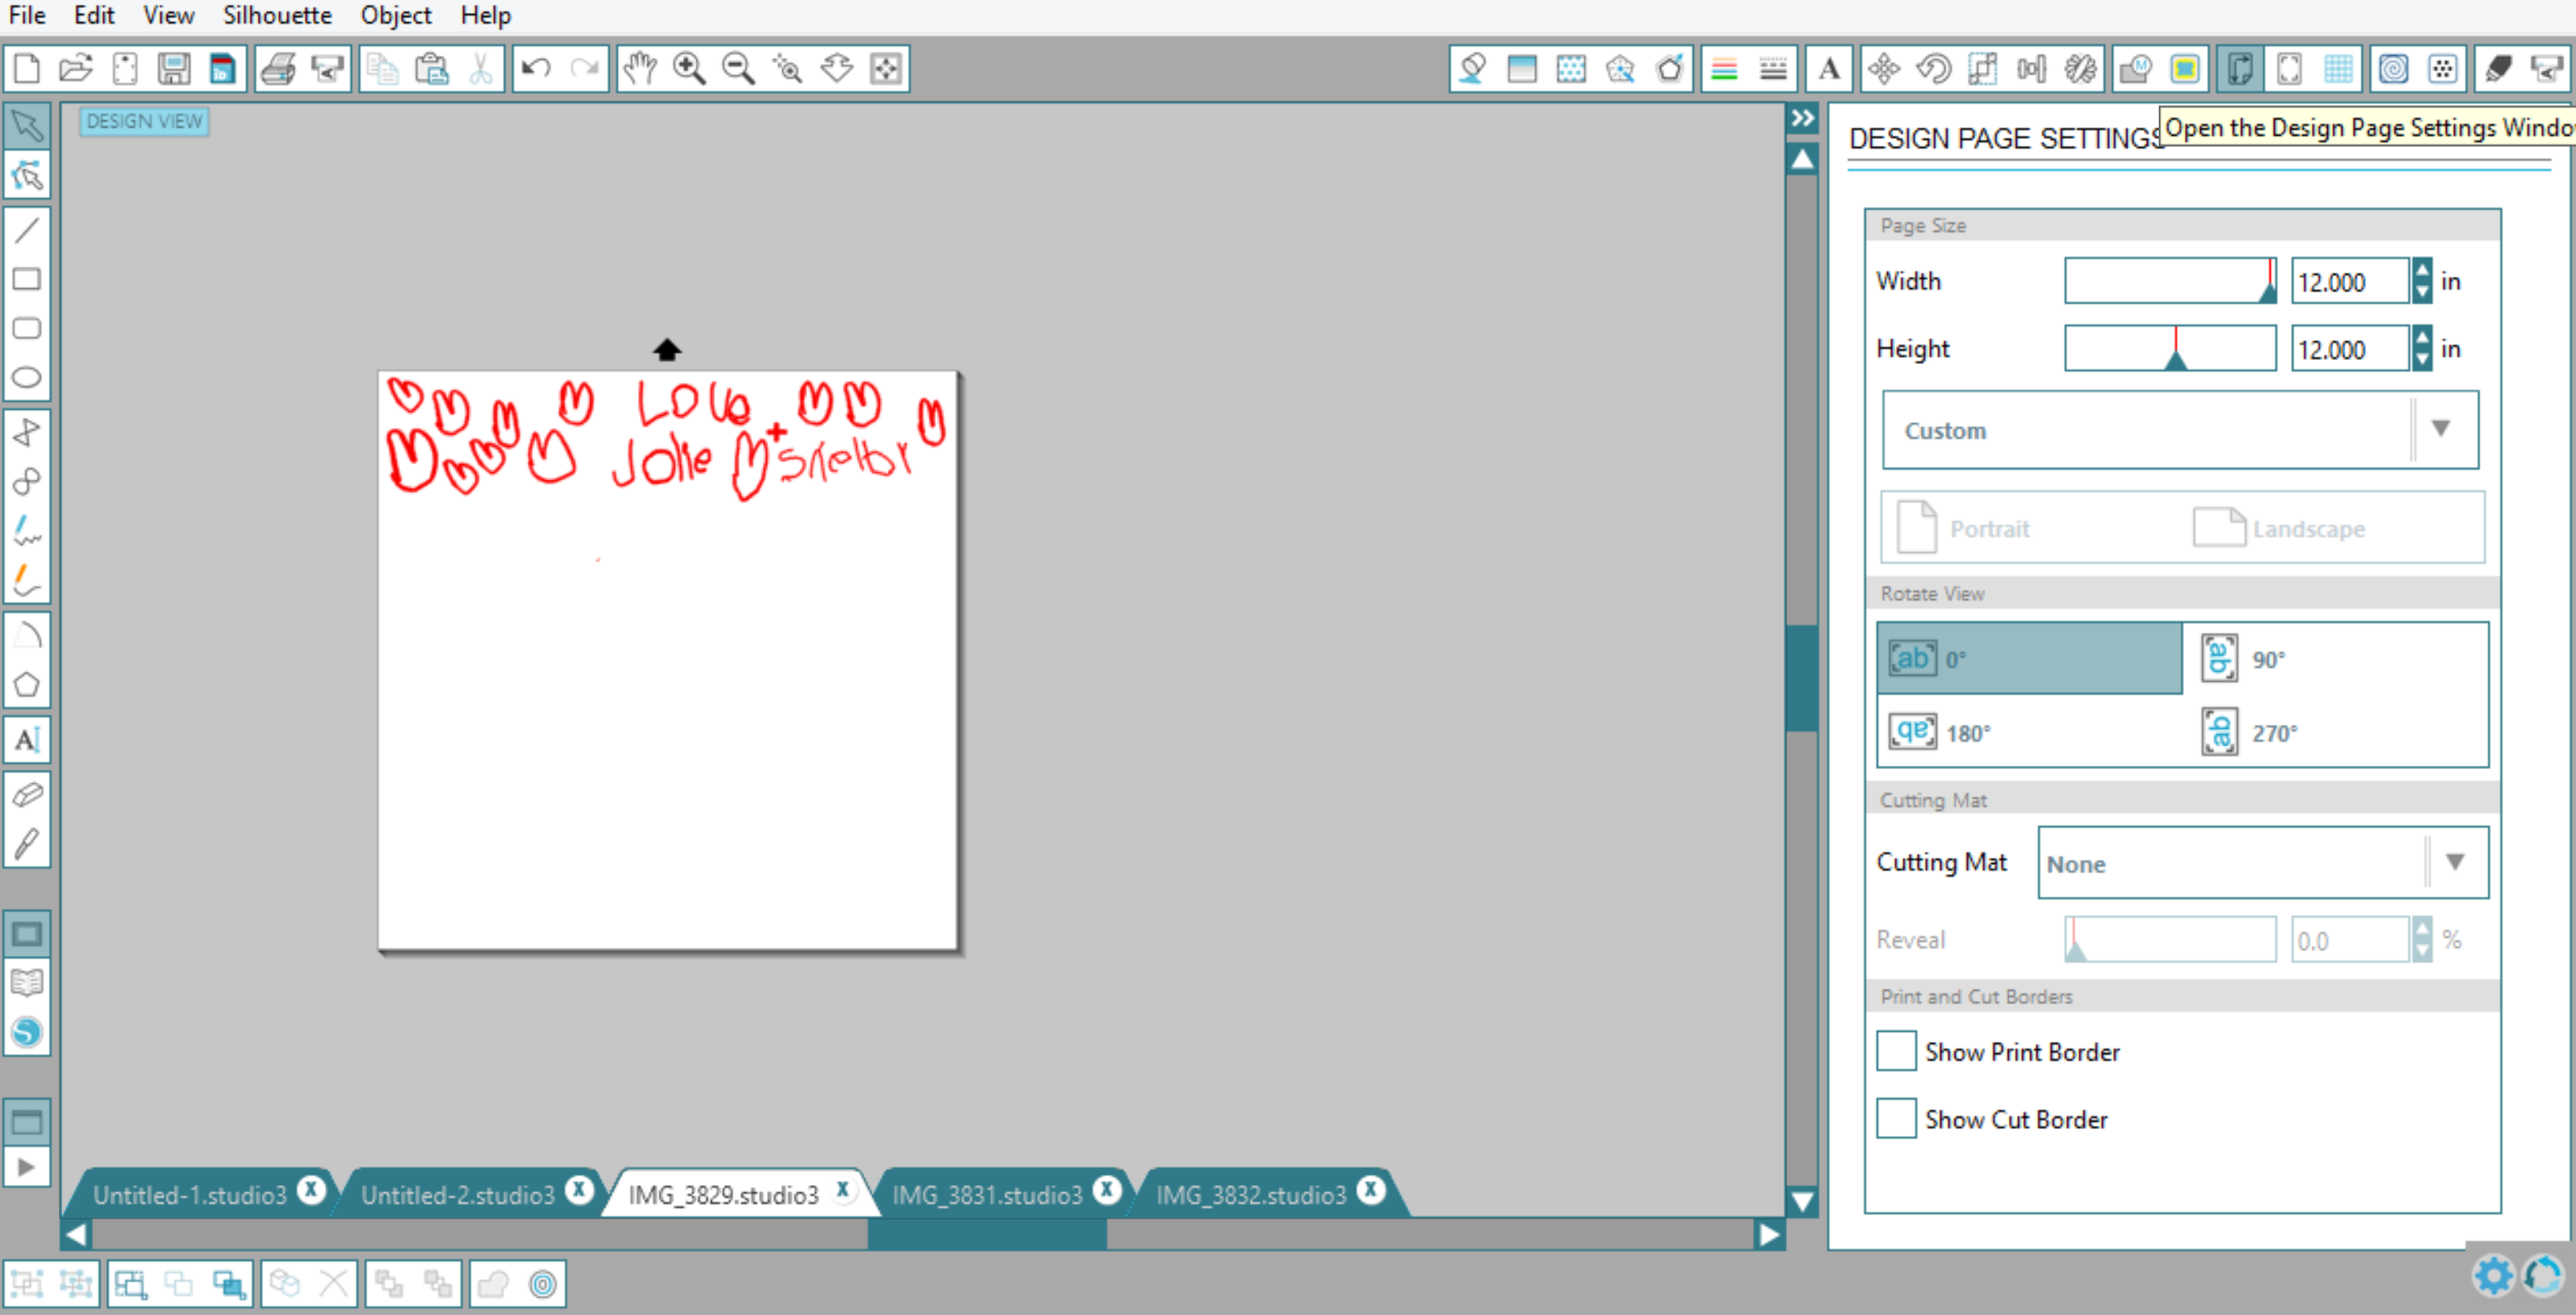
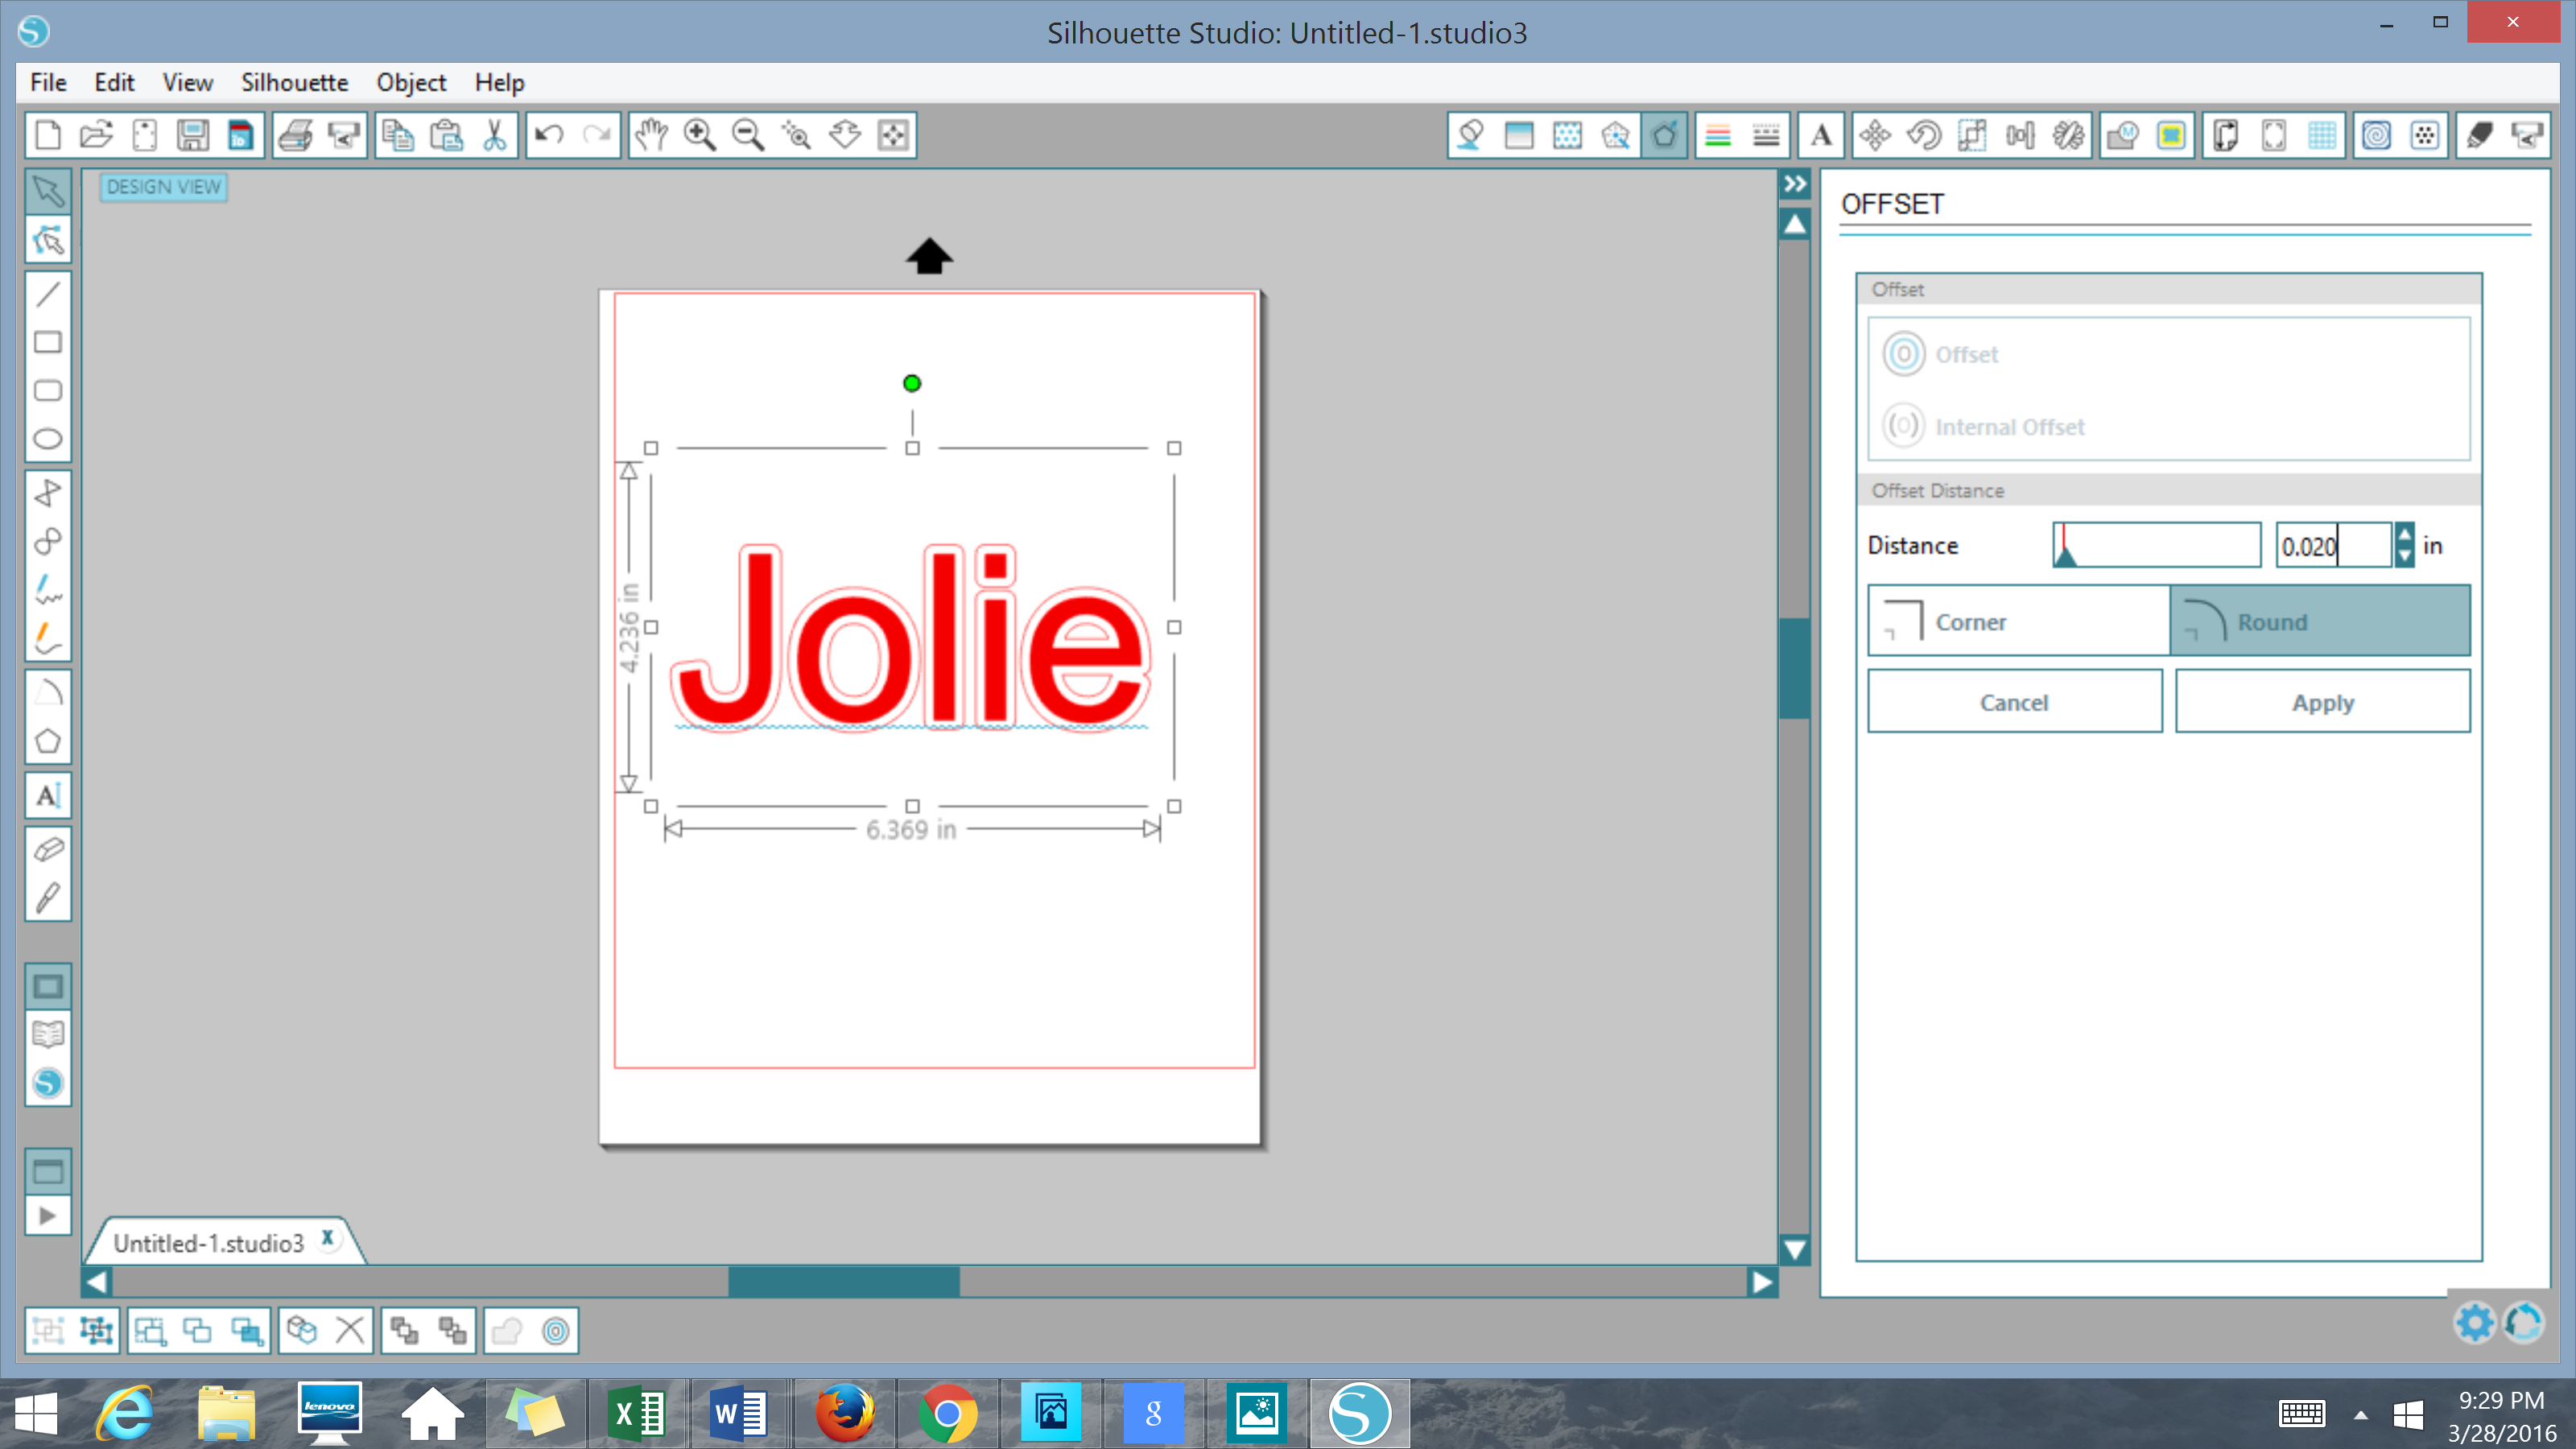
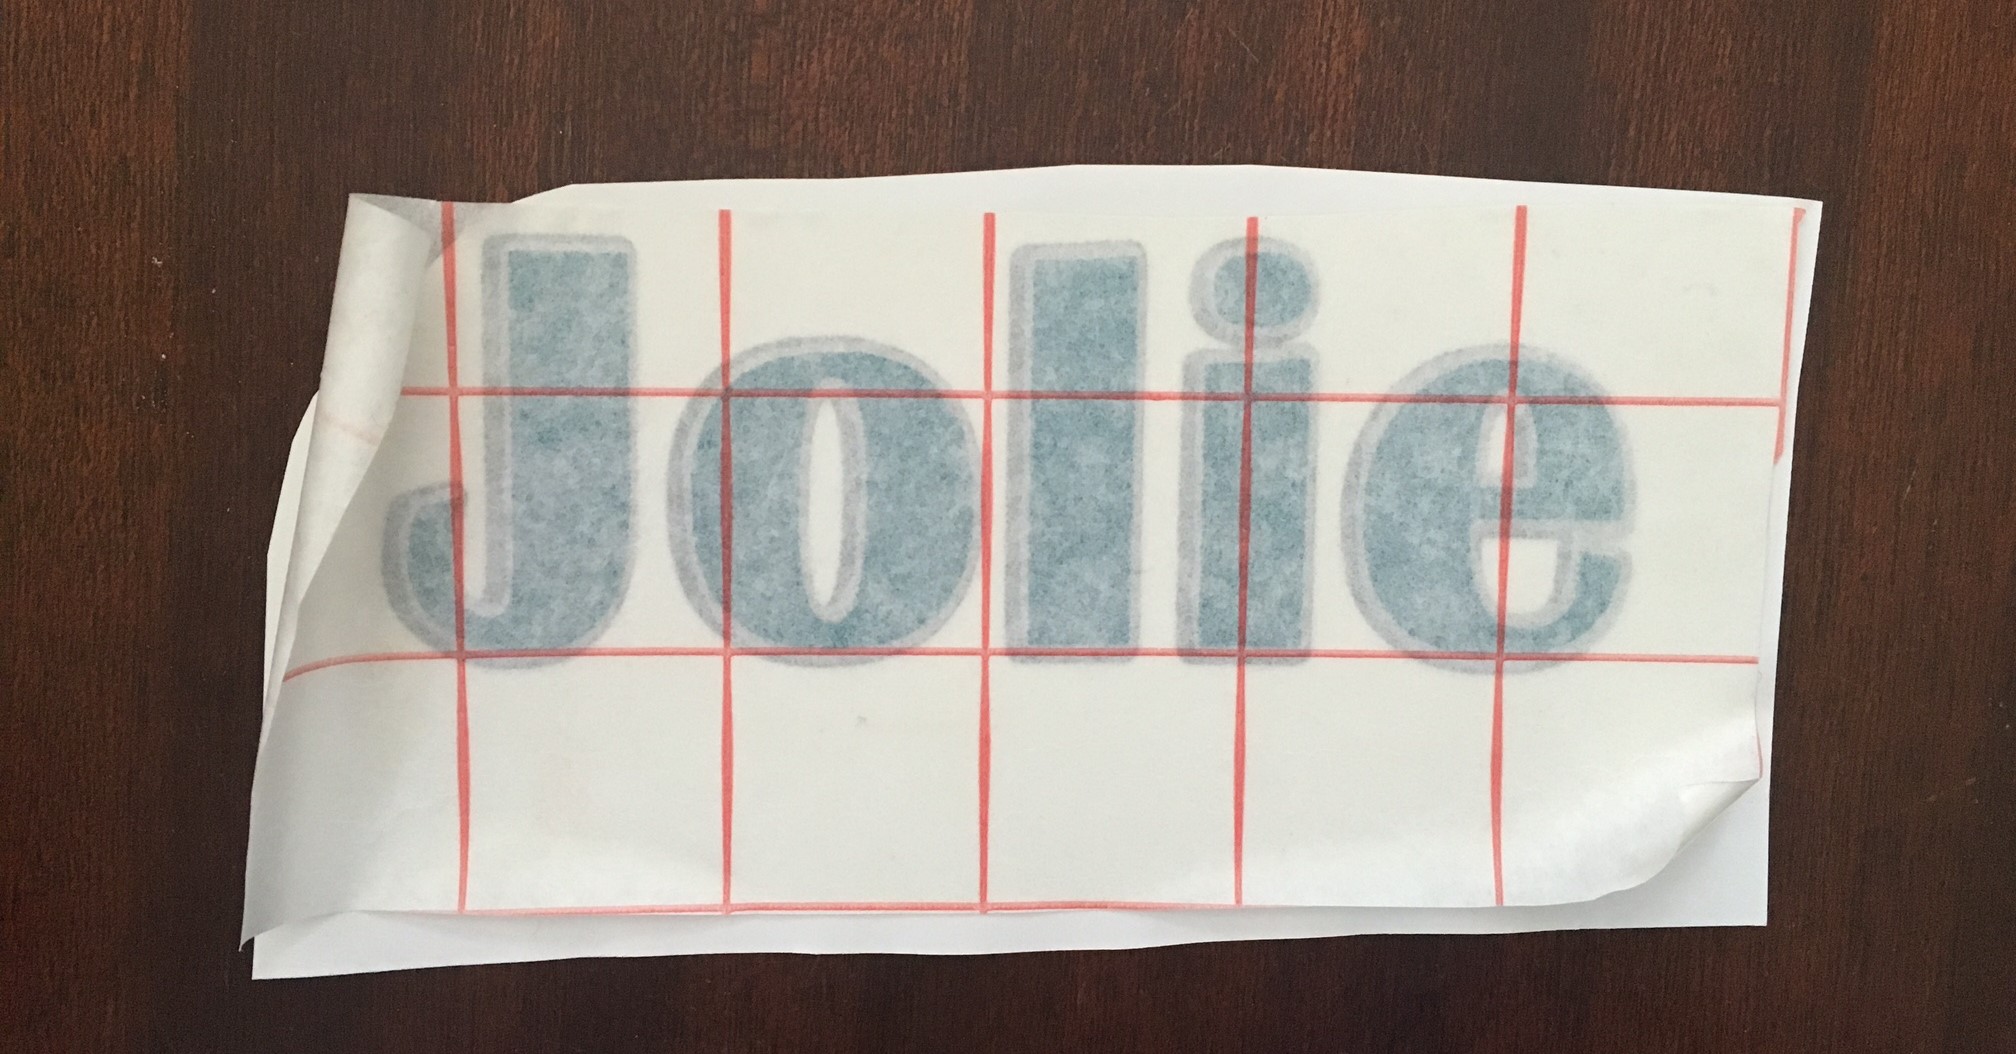
Design your image within your cutting program software. I used my Silhouette Cameo.

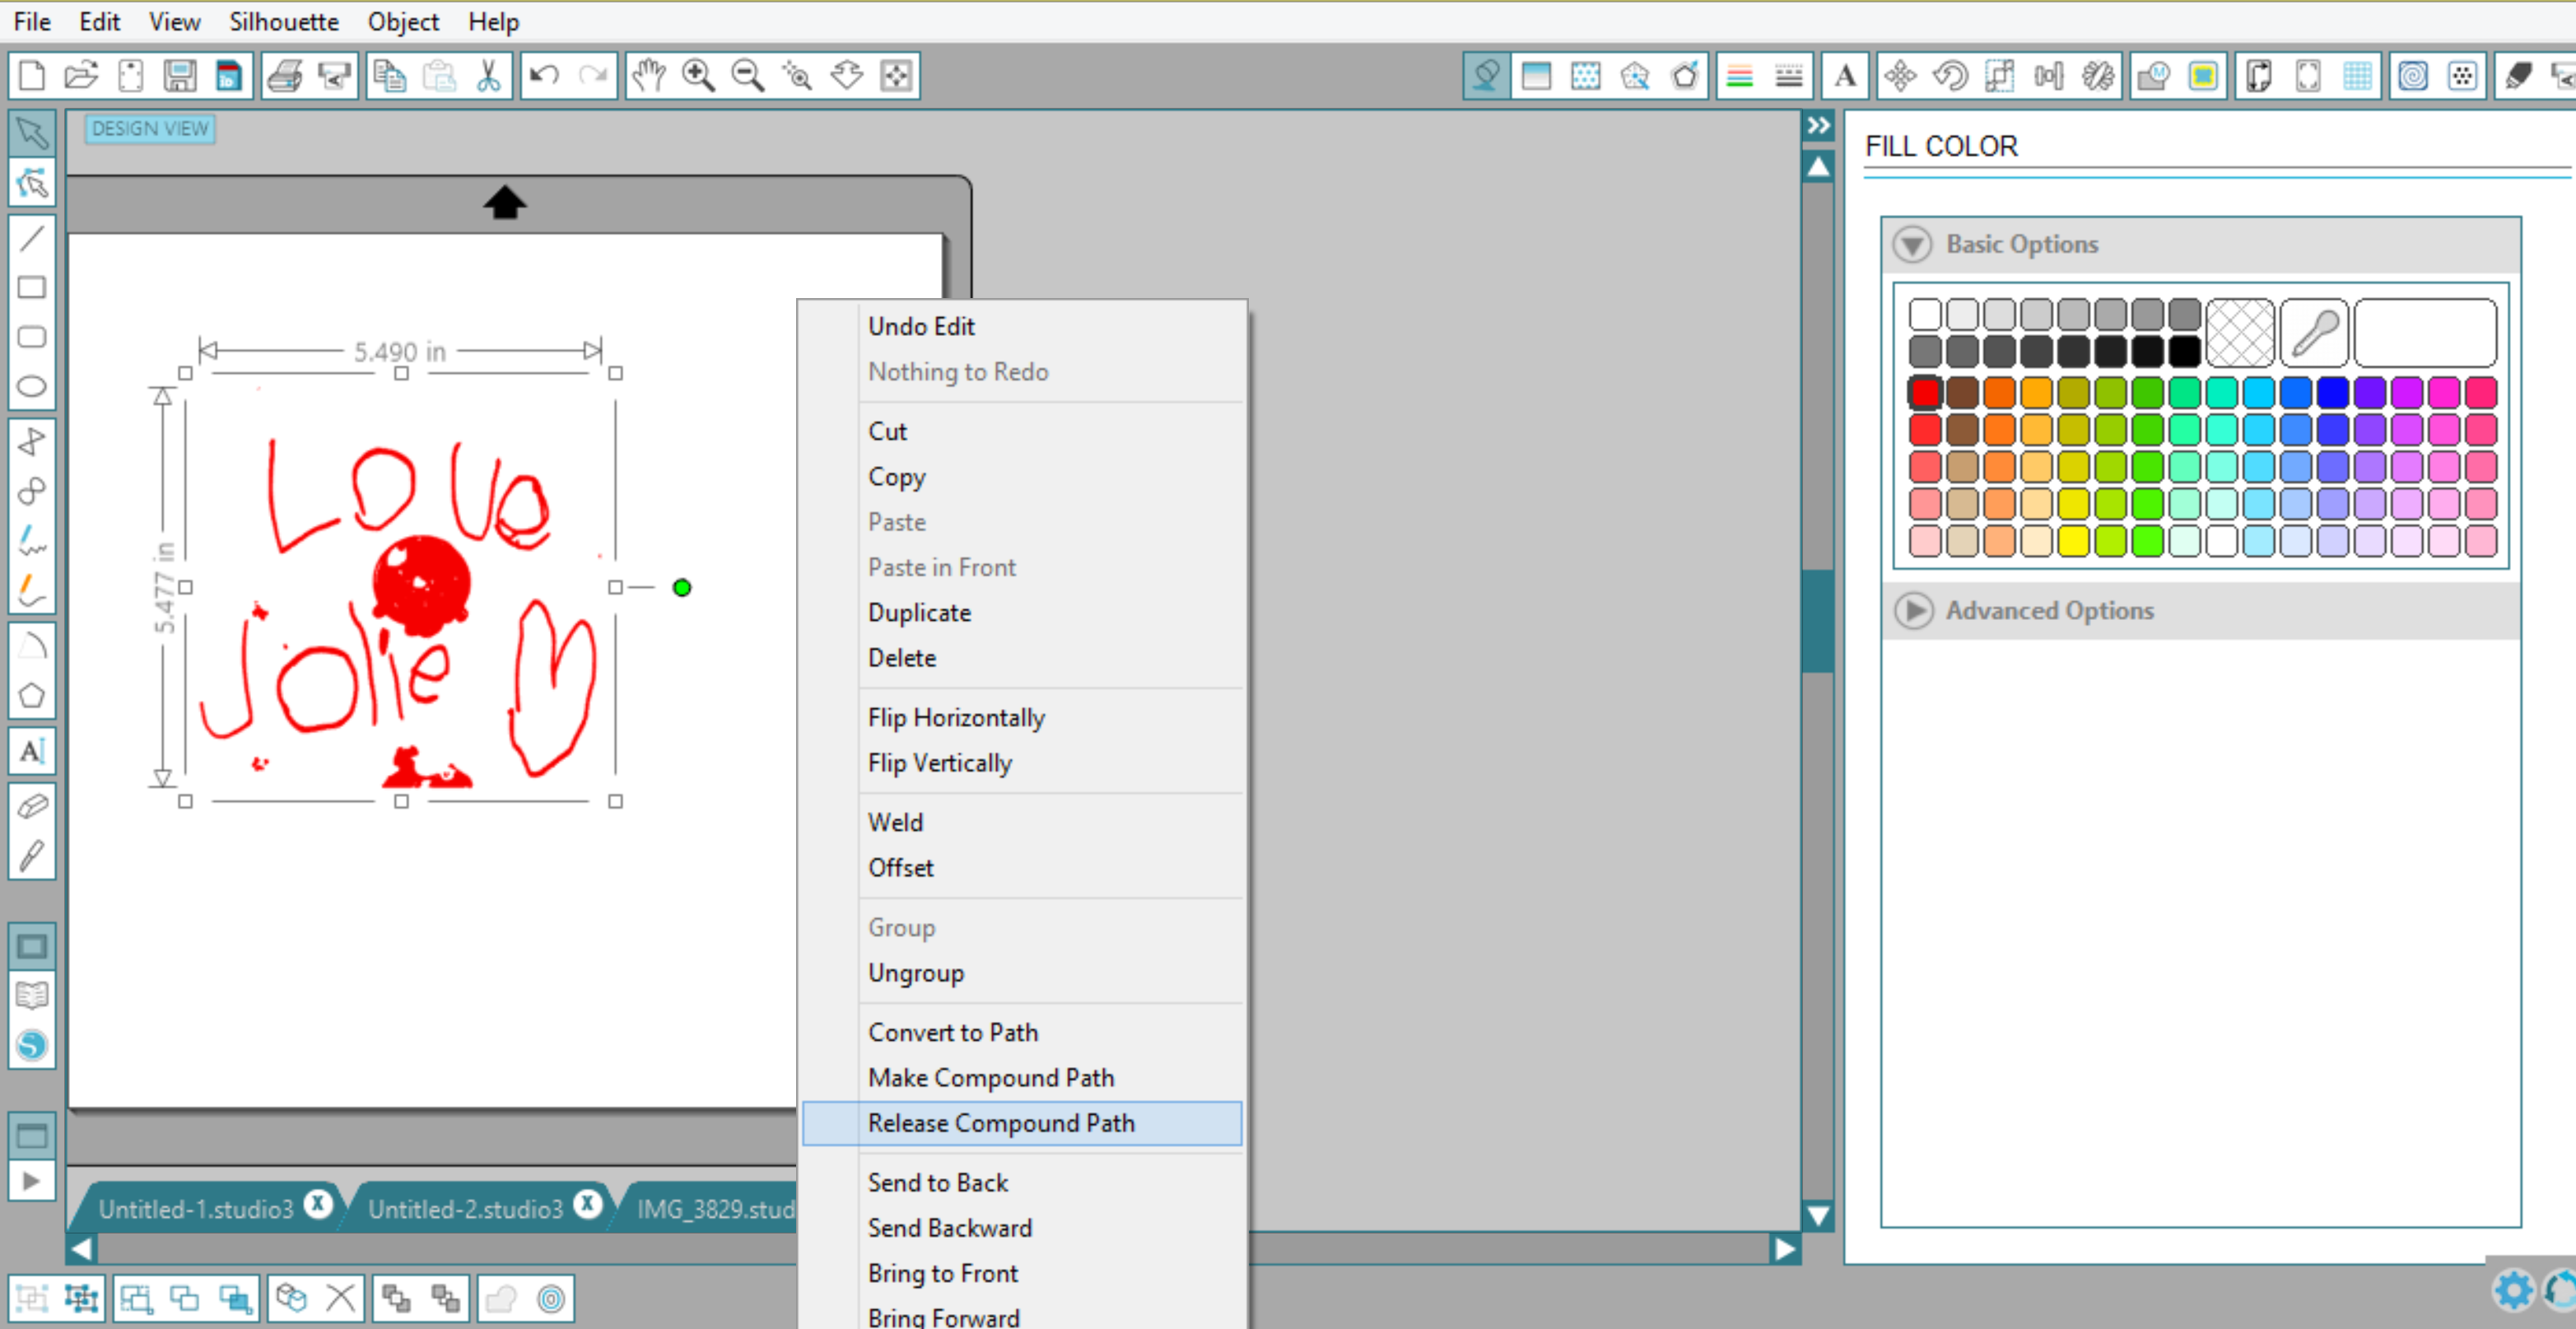
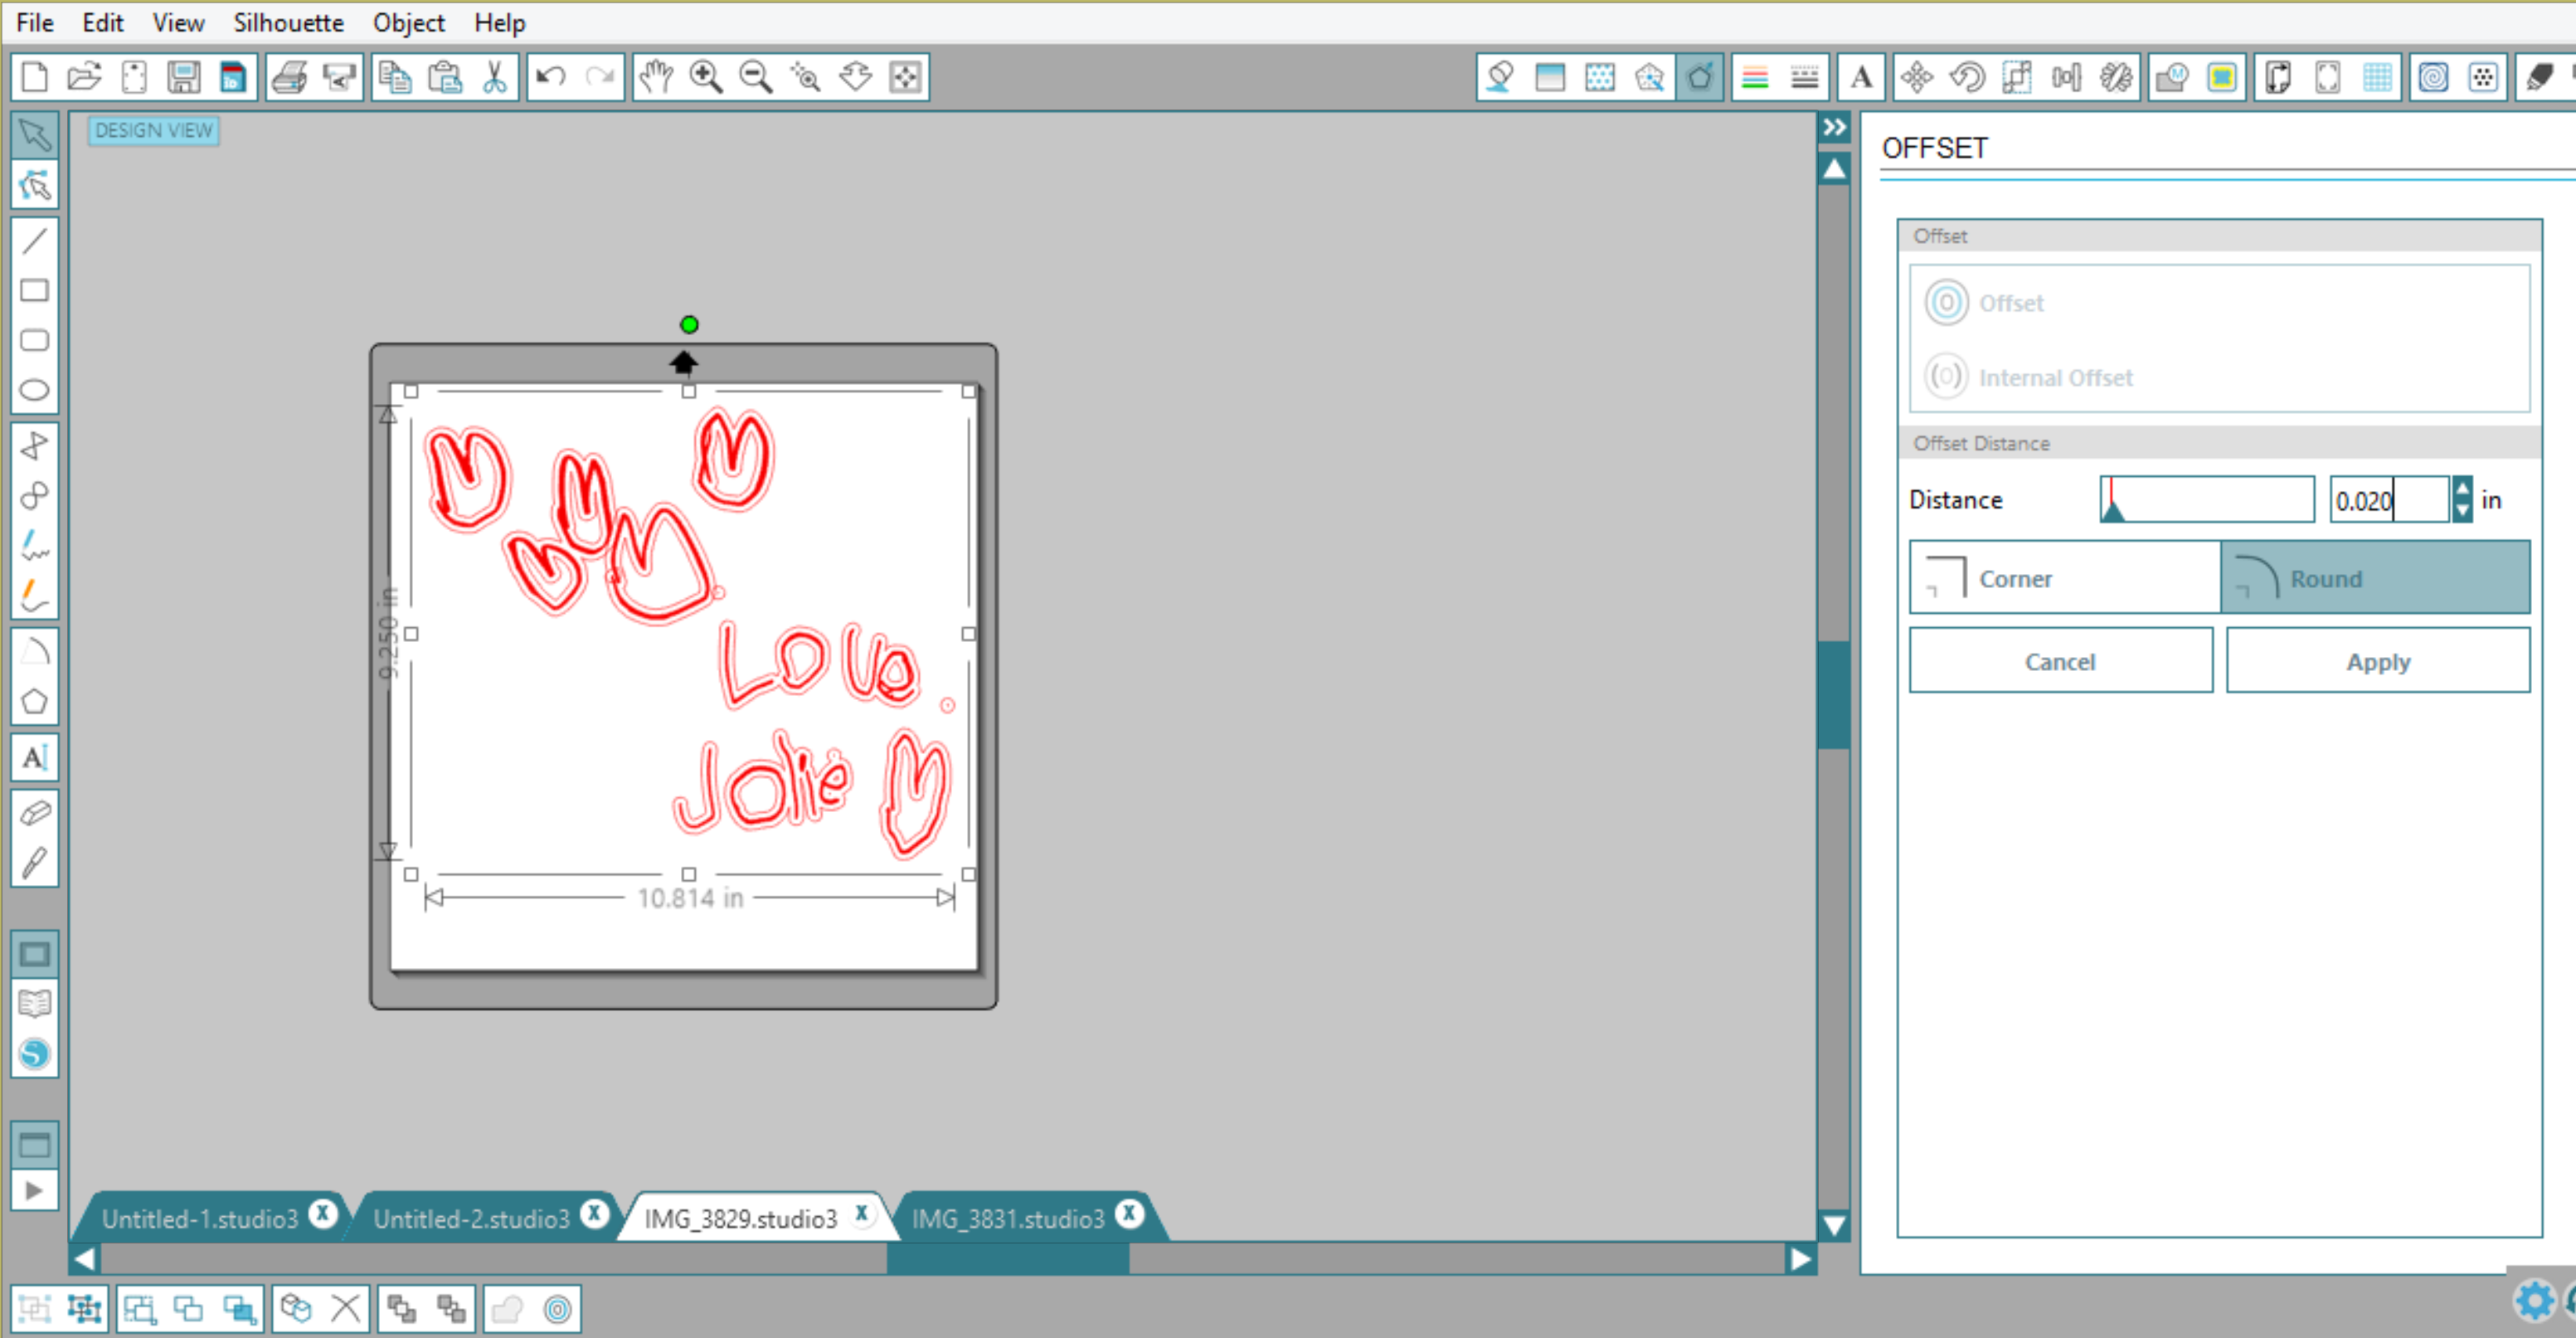
I wanted to layer the FDC adhesive vinyl so that the teal popped. So to do that within the Silhouette Design program you right click and select Offset. I tend to use .015 or .020

offset your silhouette design

Once your design is done, you are almost ready to cut! If you decided to offset your image, you would have two different vinyl layers so you will want to turn off the cut lines for one of the colors. Now just check your settings to make sure you are set to the adhesive vinyl option.

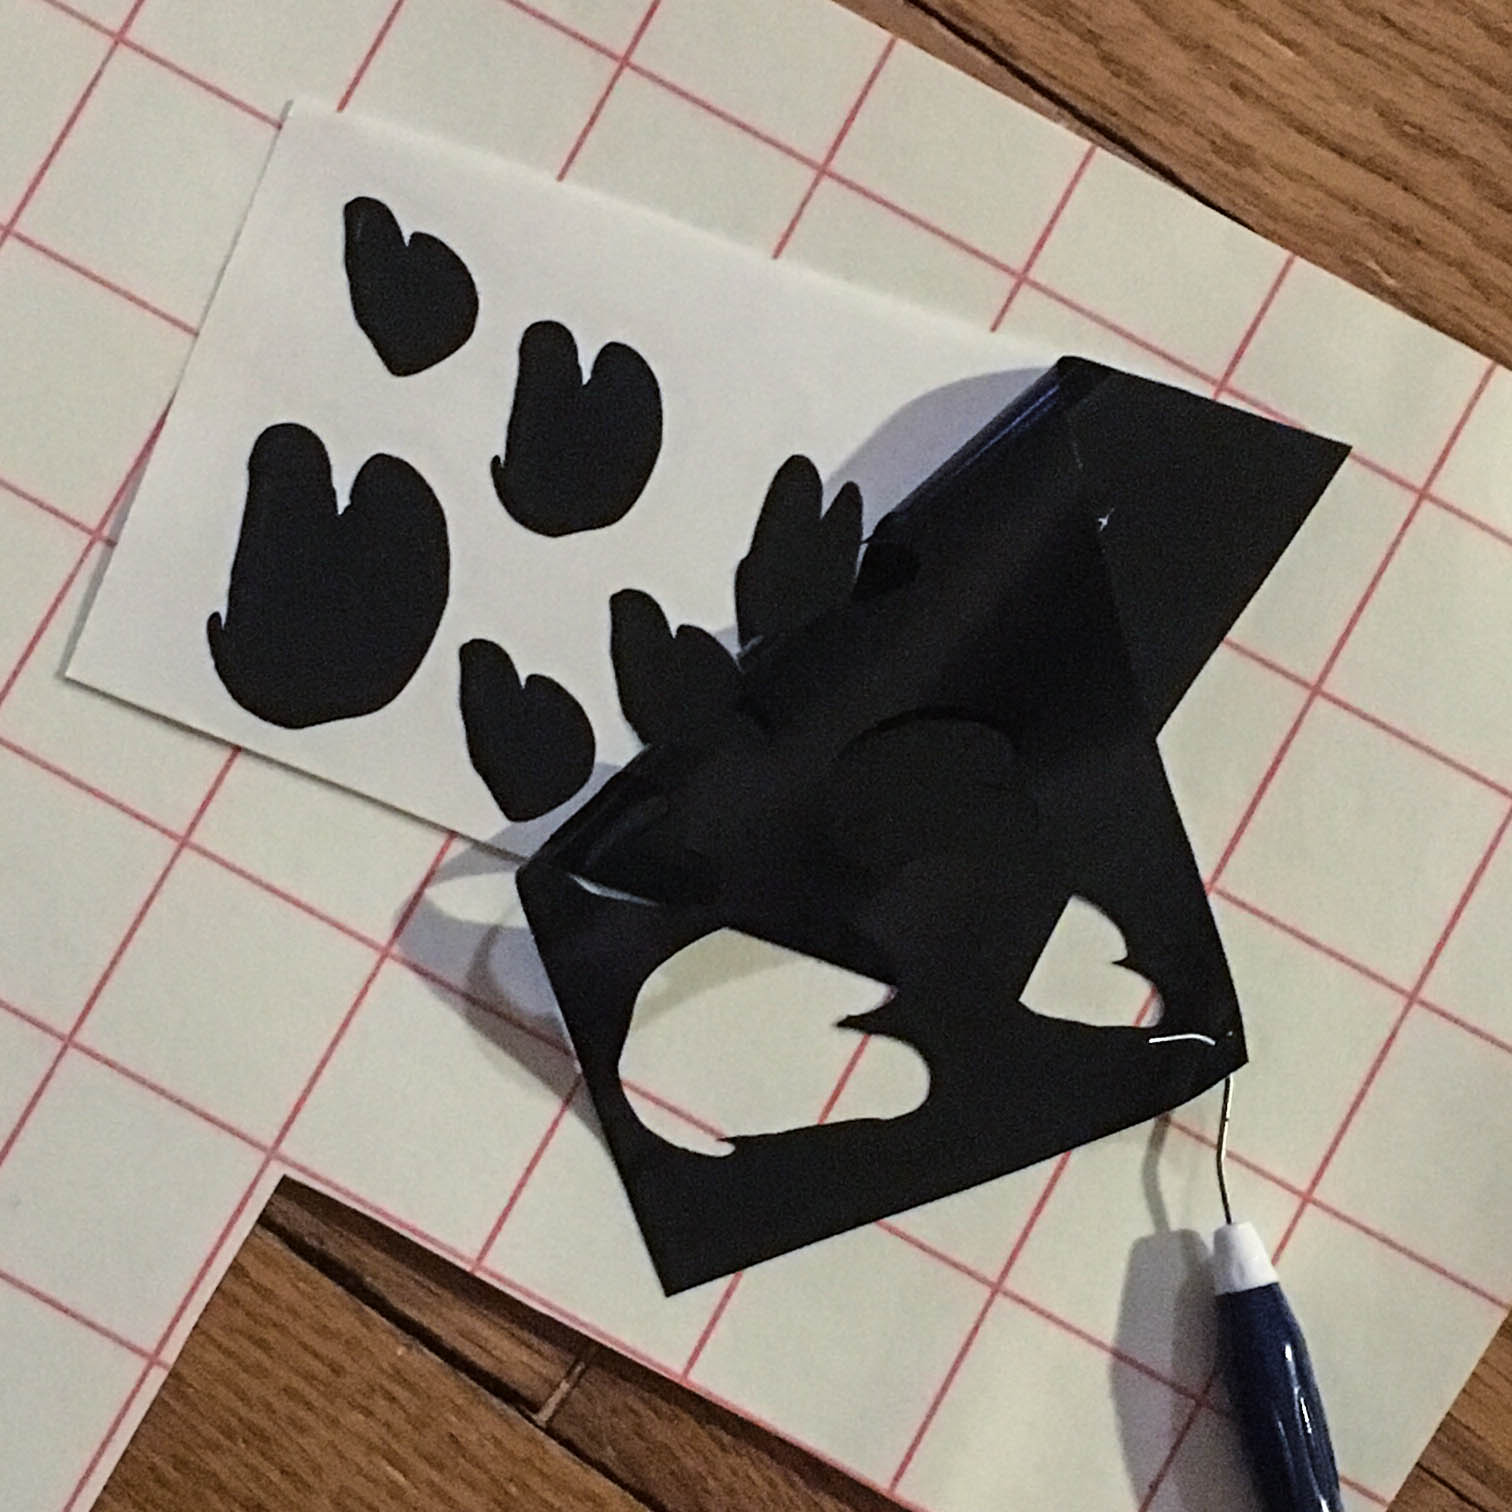
Load your vinyl into your machine and click Send to Silhouette!
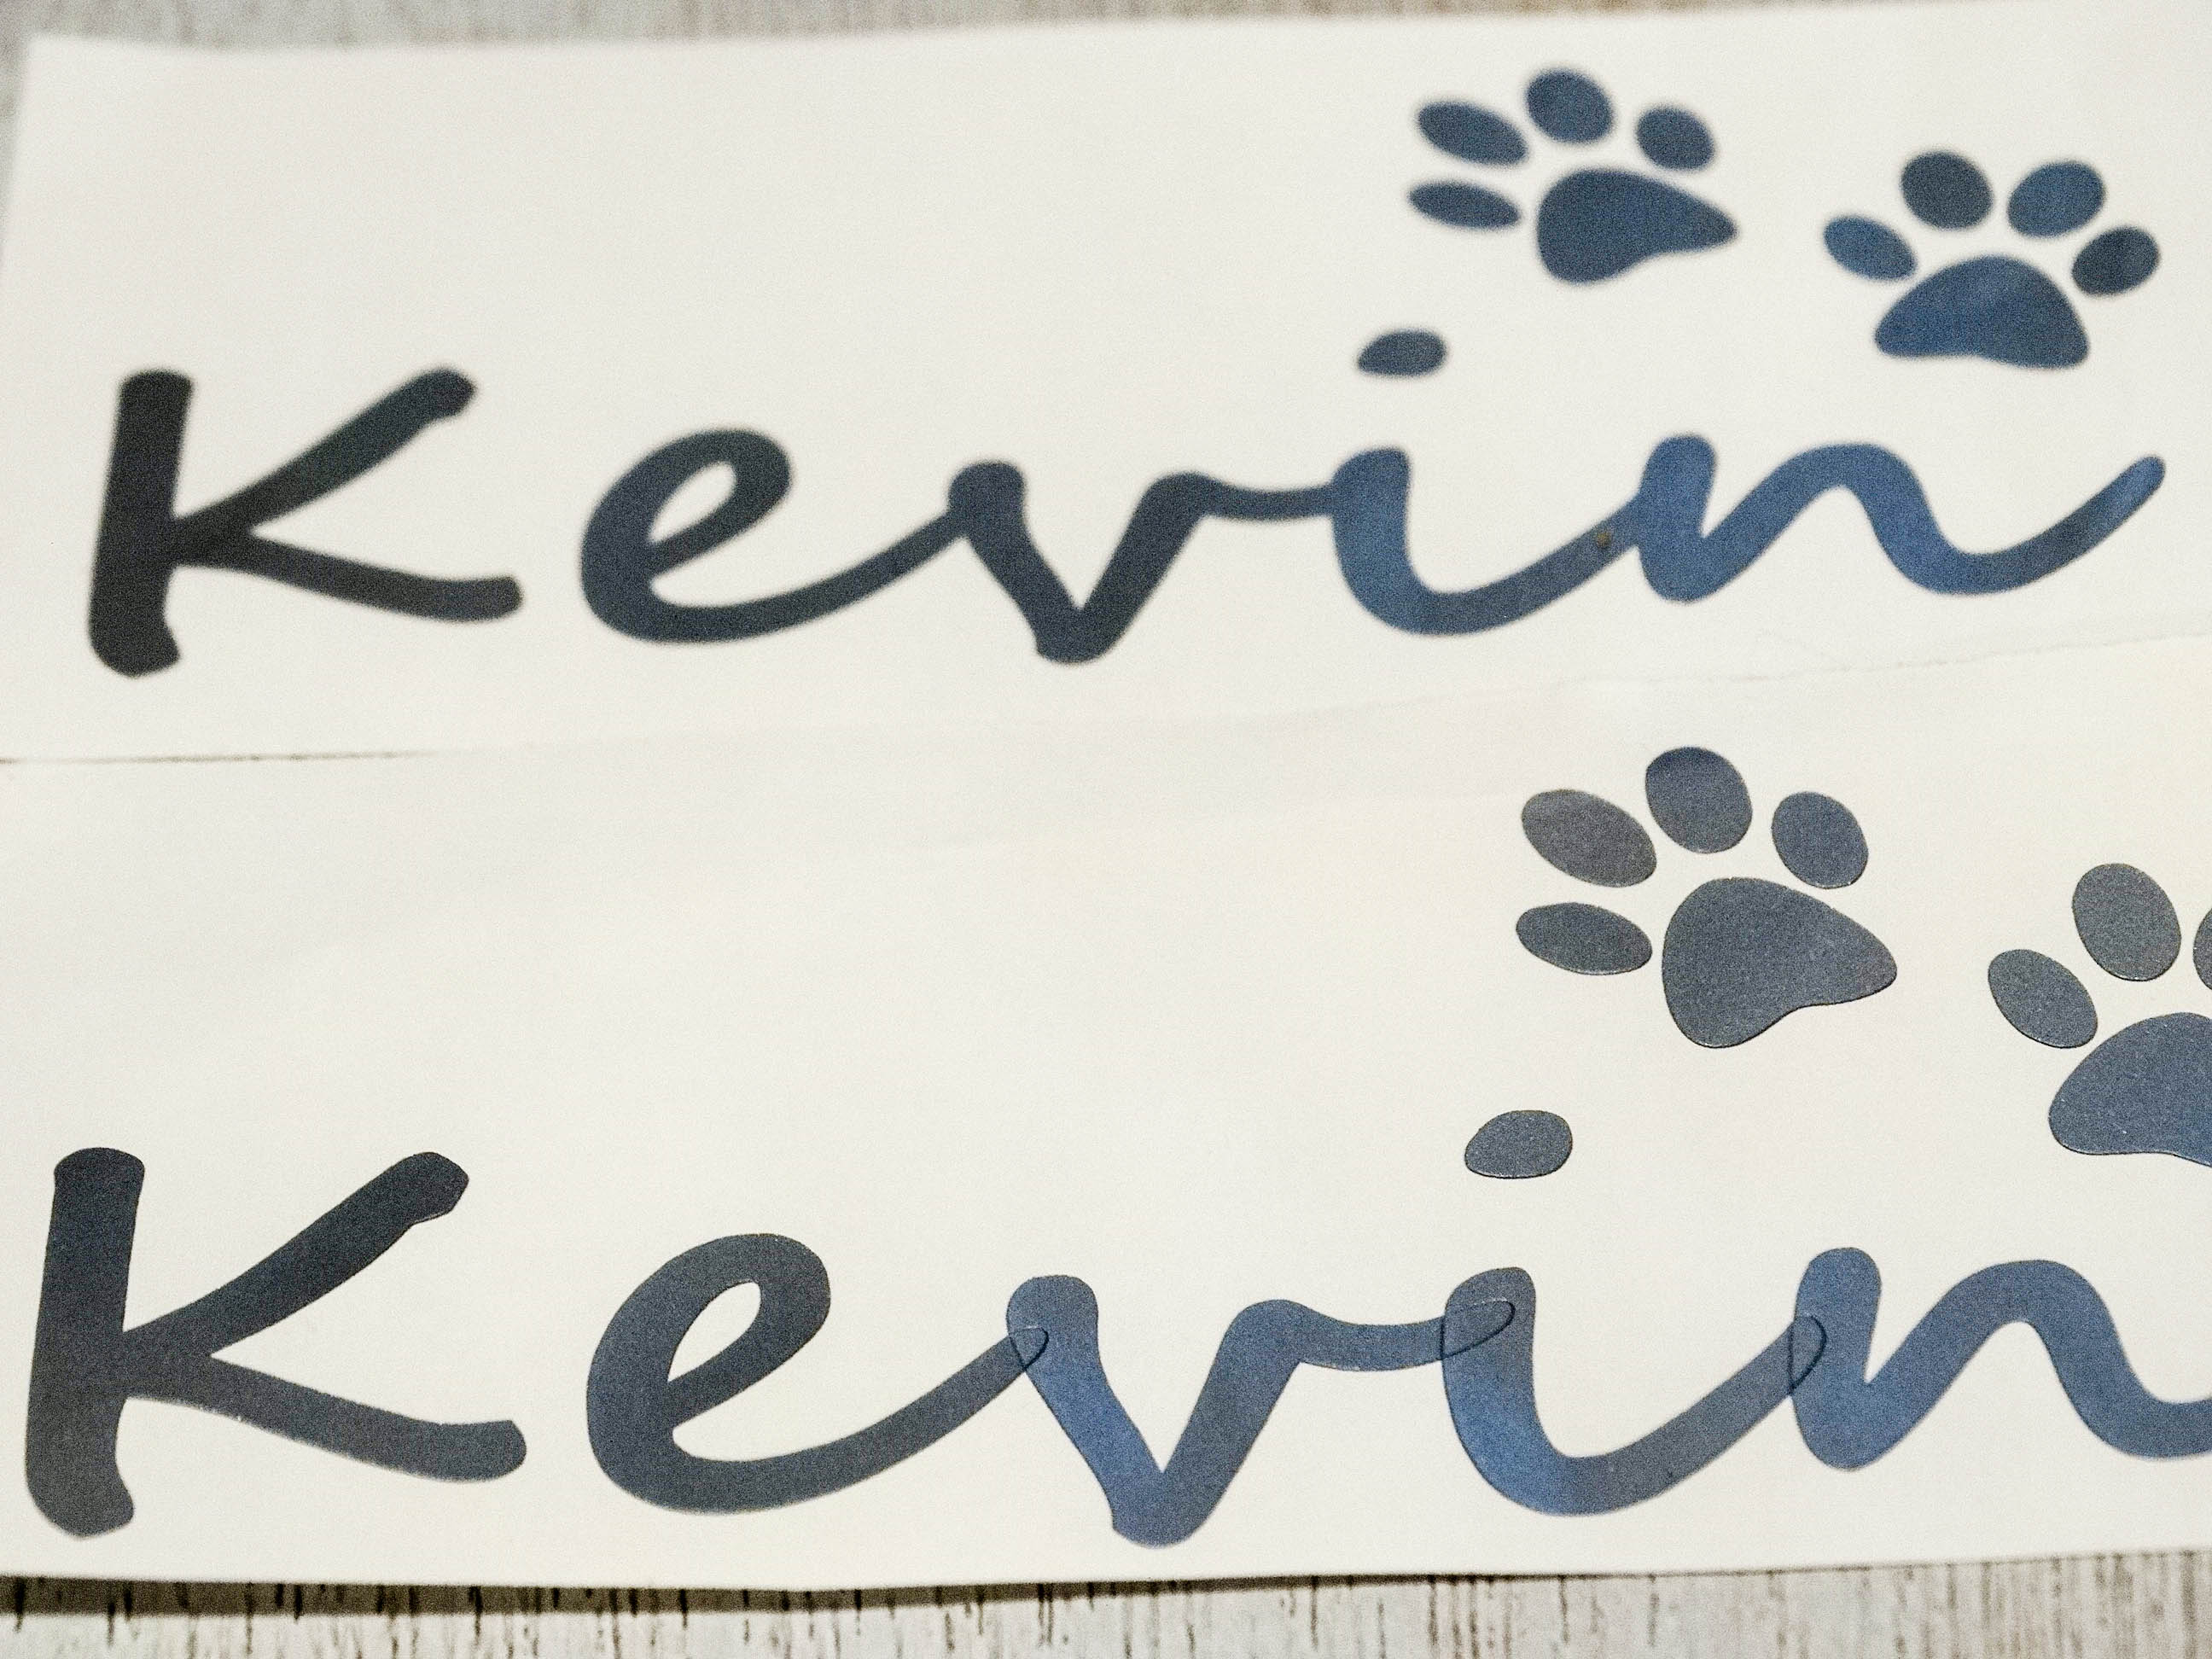
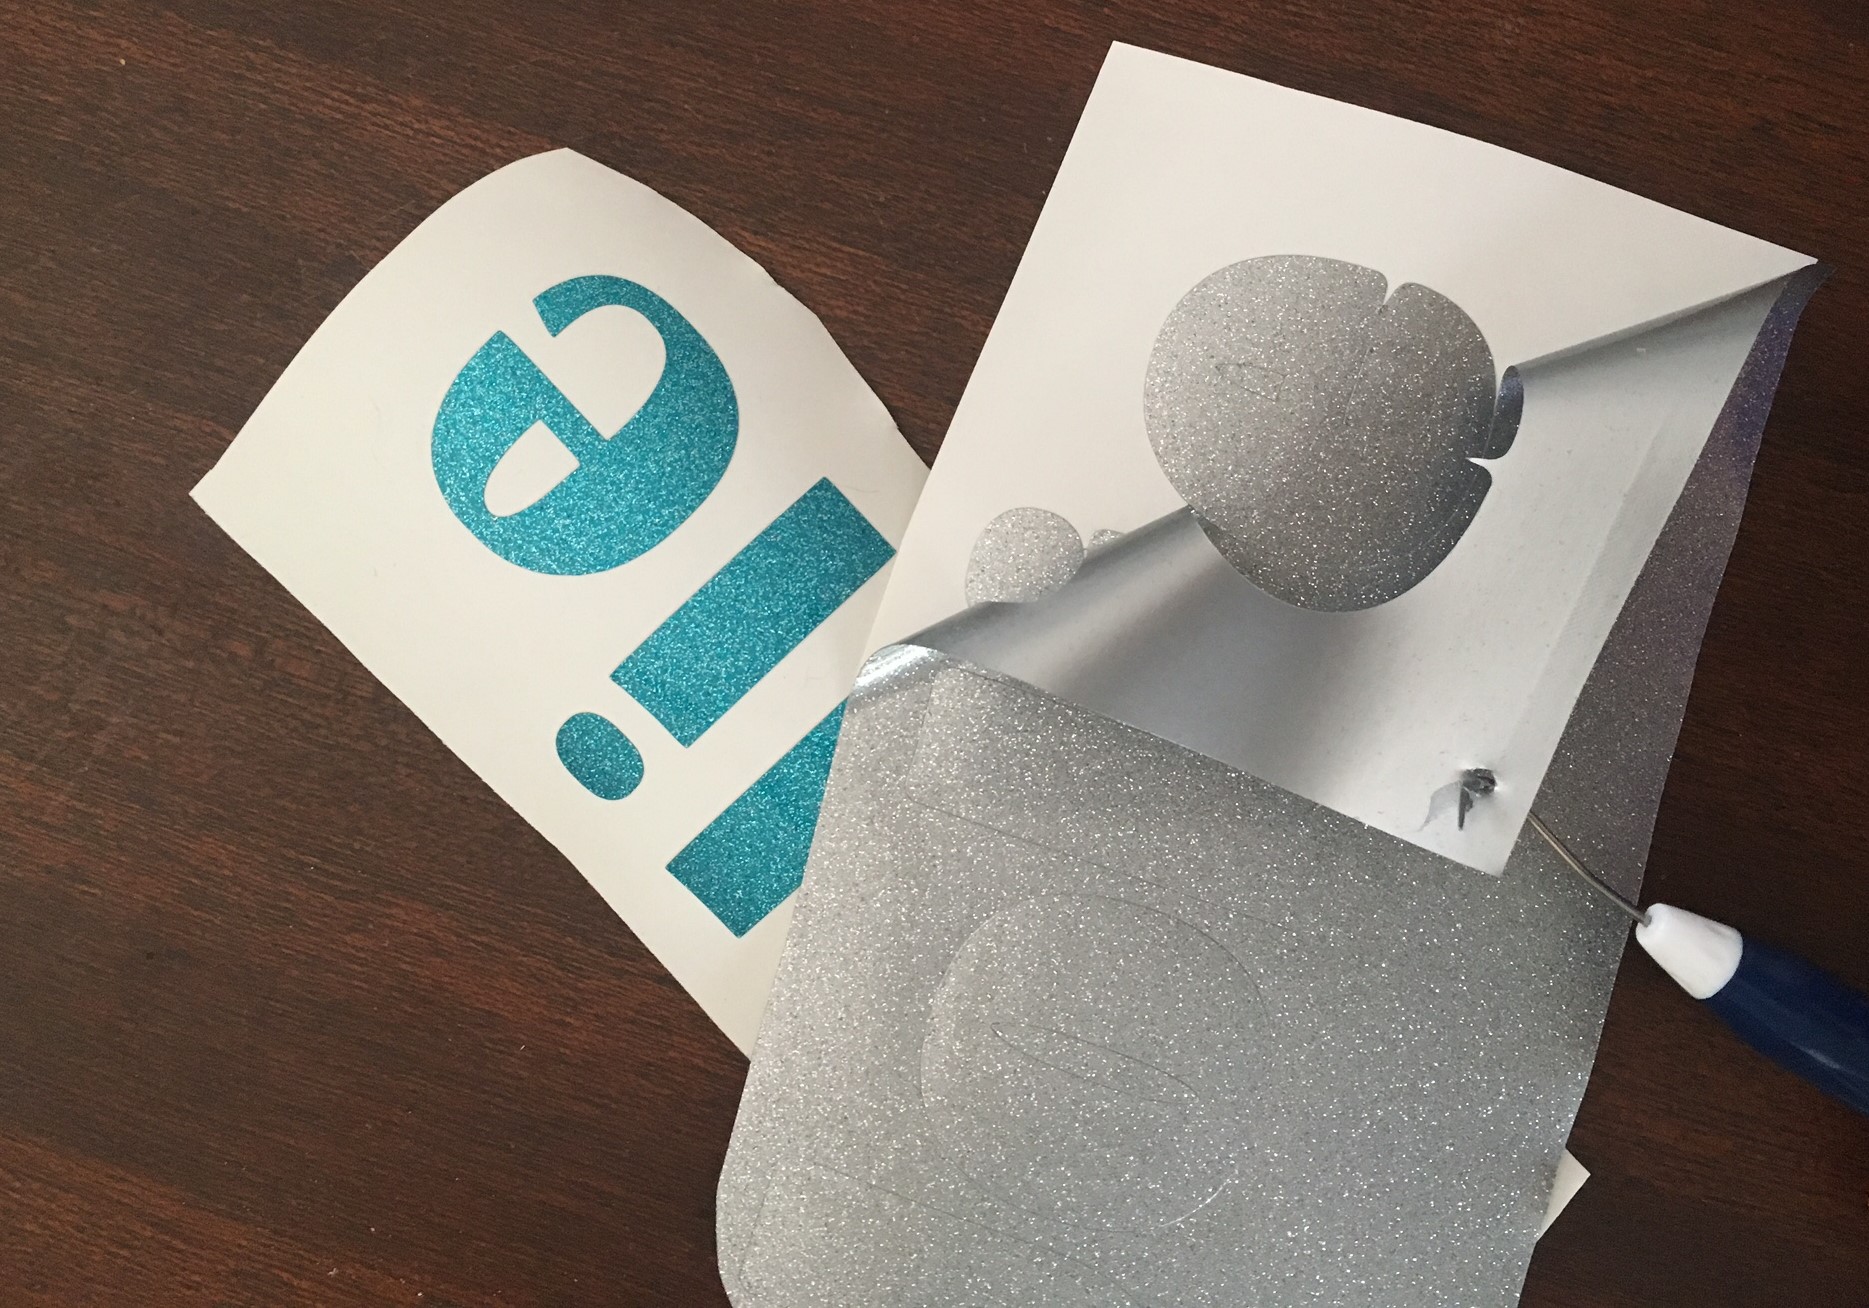
Weed your design.

Now repeat the last two steps with the other color.

vinyl your batting helmet! Making a layered decal is so easy!

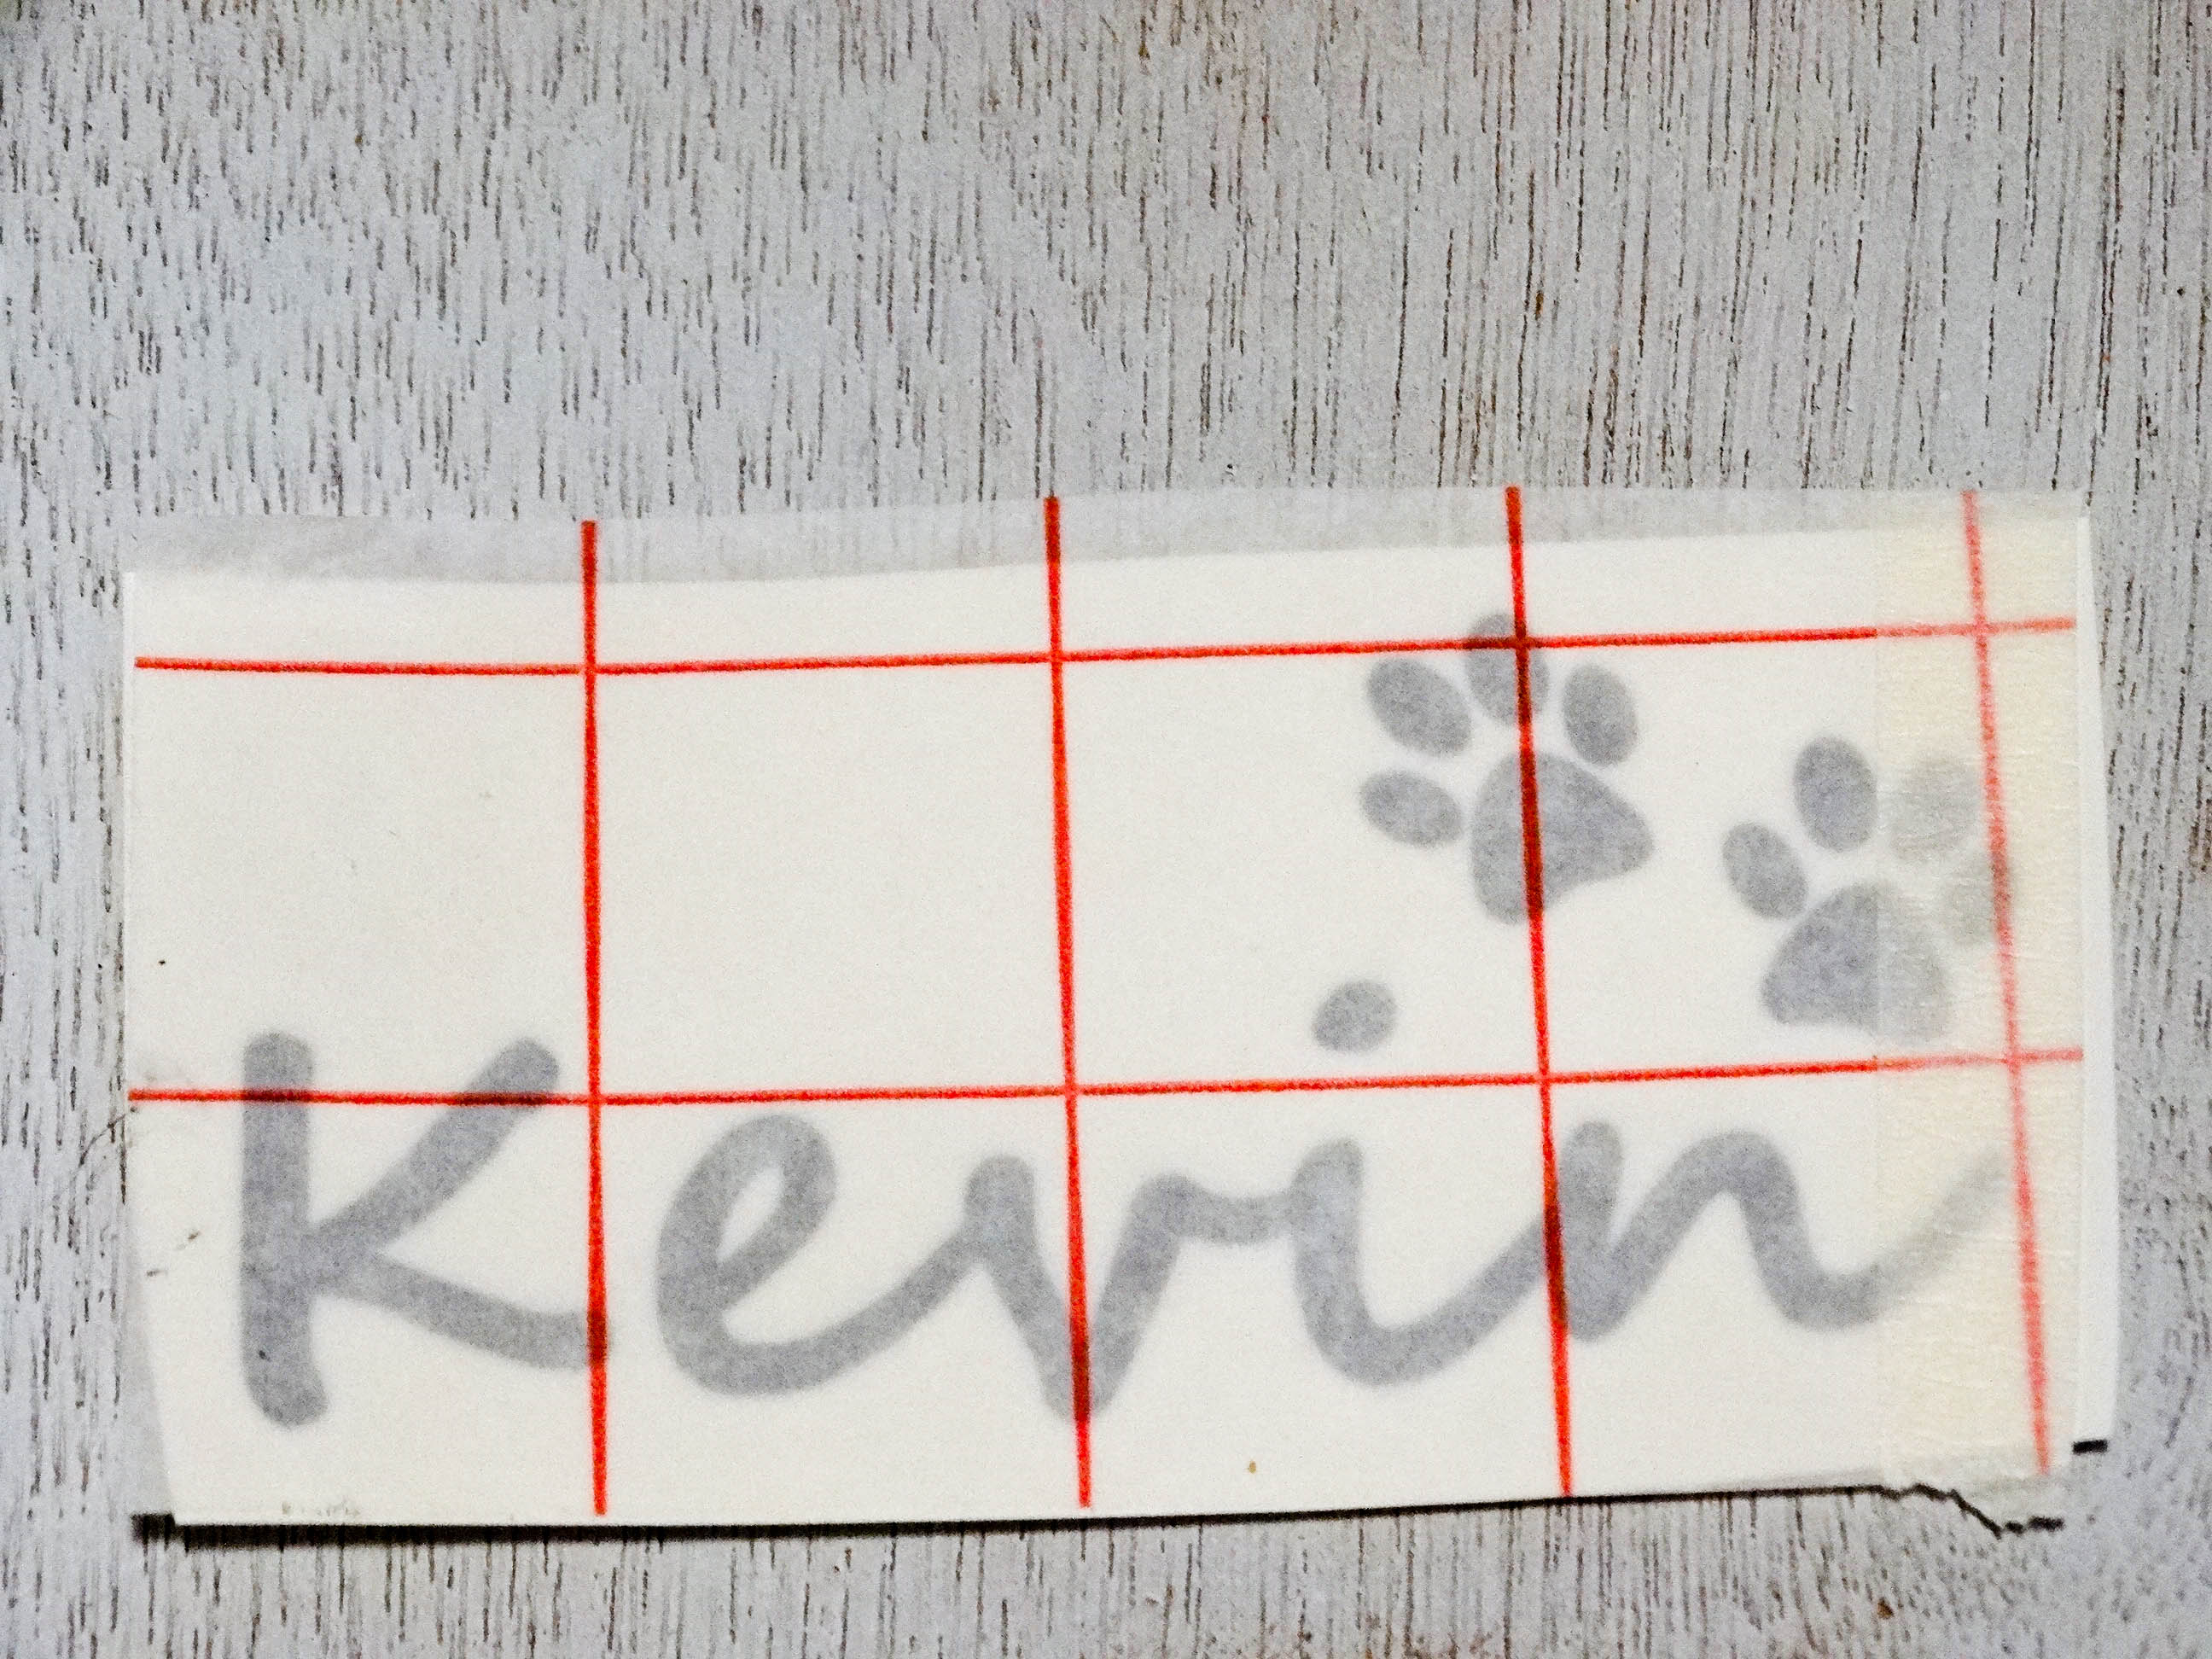
Time to layer! The first thing you want to do is transfer the TOP layer vinyl onto the transfer tape. To do this, you want to peel the backing off of the transfer tape. Slowly lay it on top of your TOP design. Use your squeegee to remove any air bubbles and give it a good strong seal, and then slowly peel your vinyl backing off.

IMG_3482

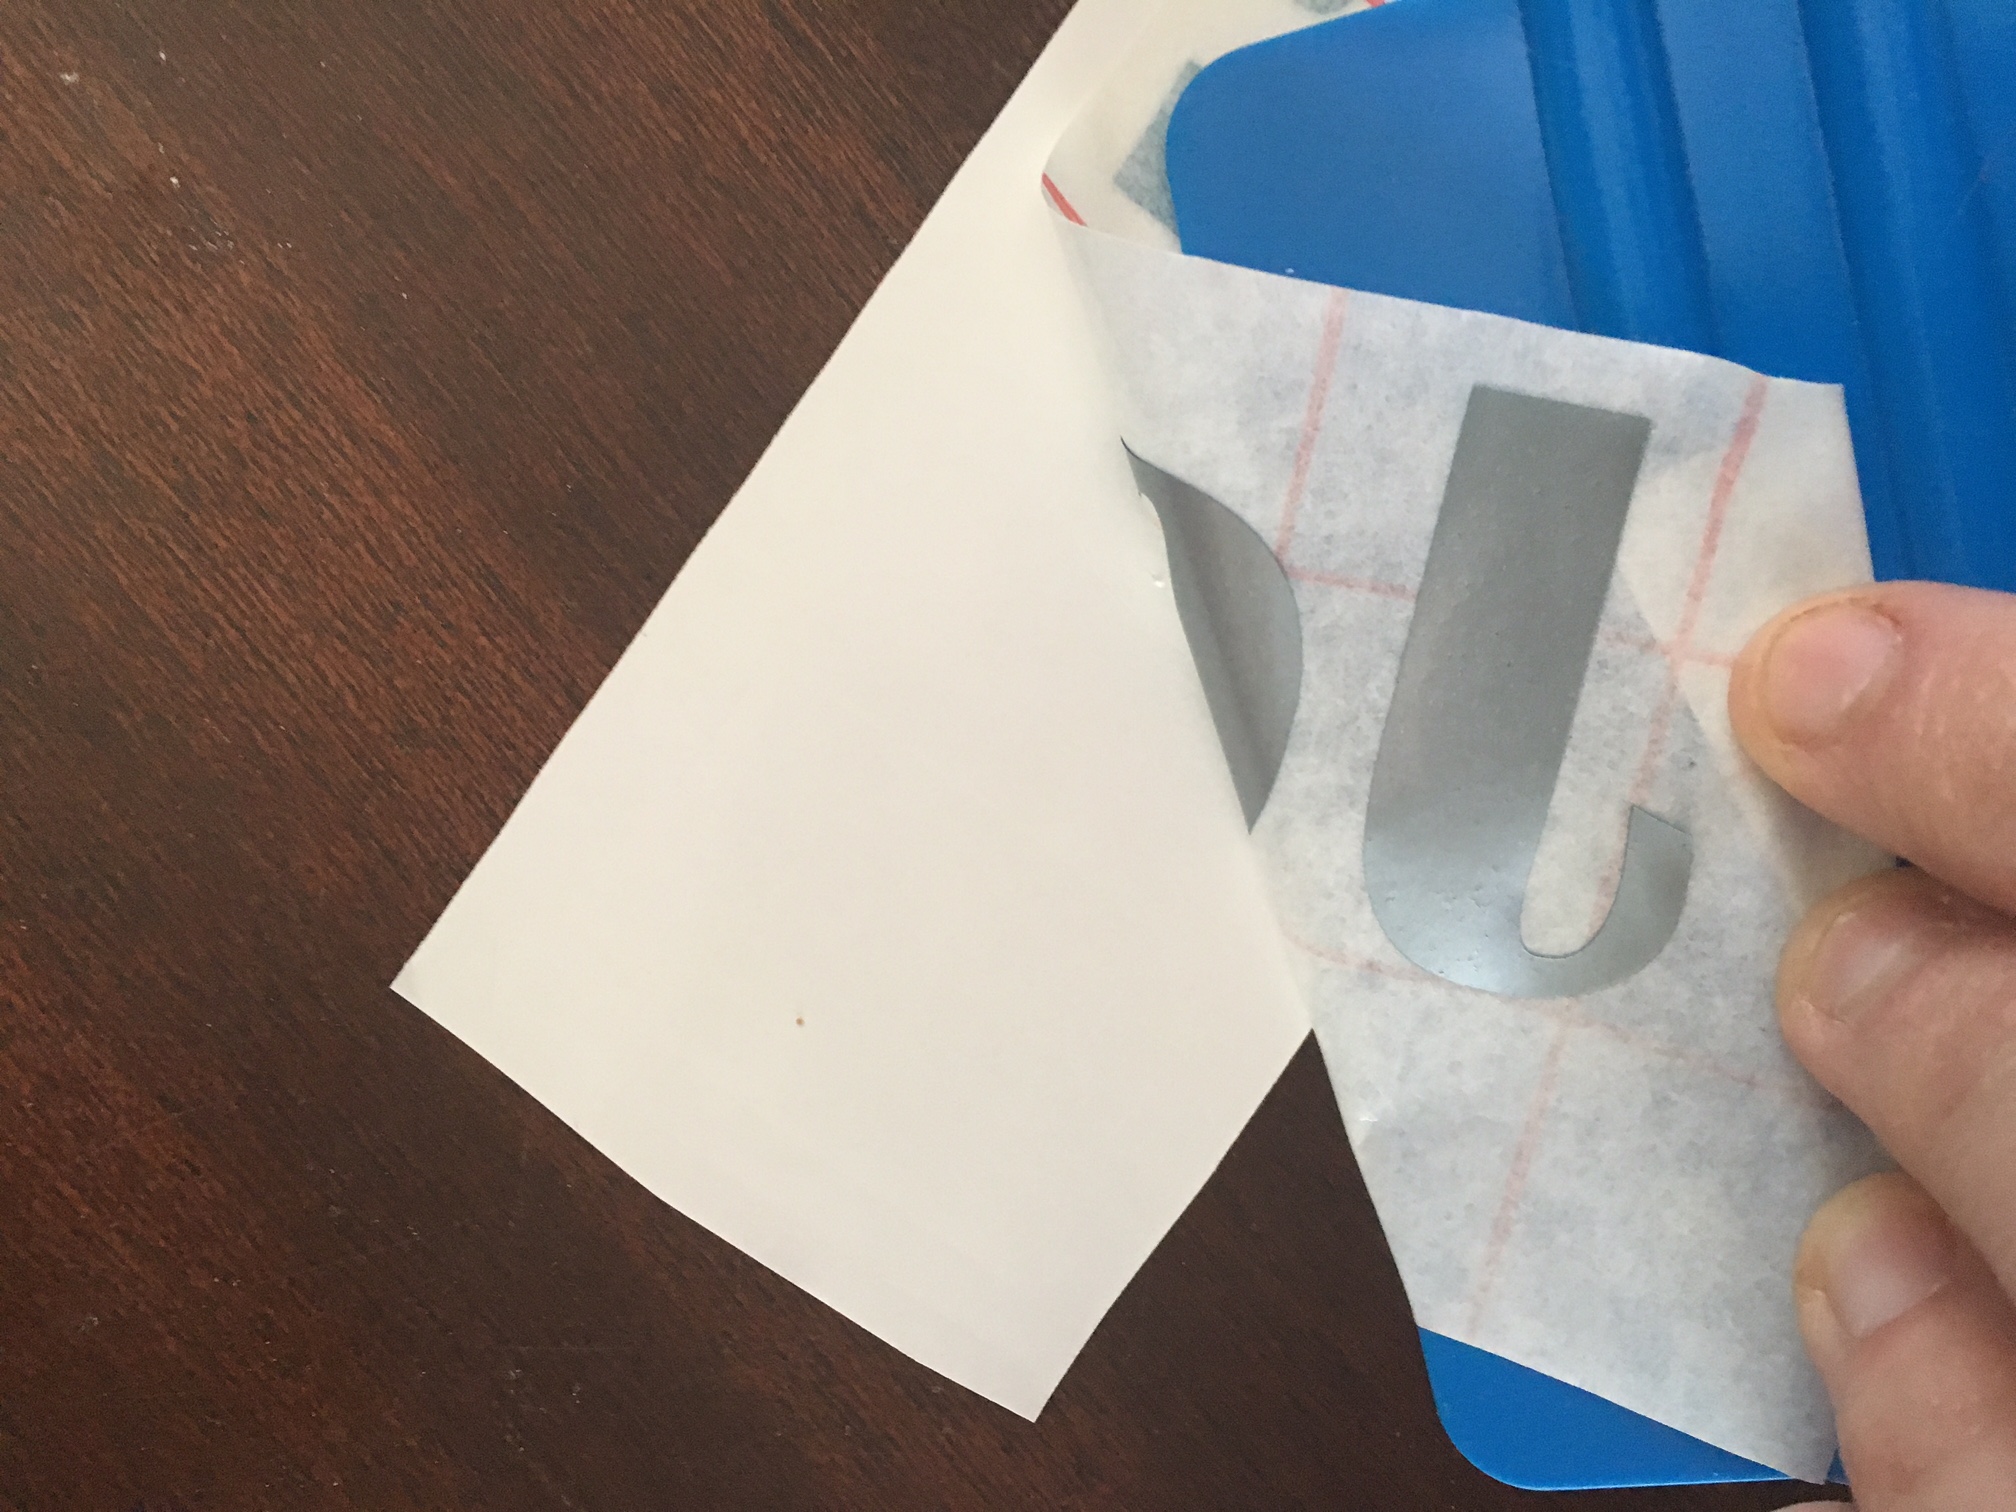
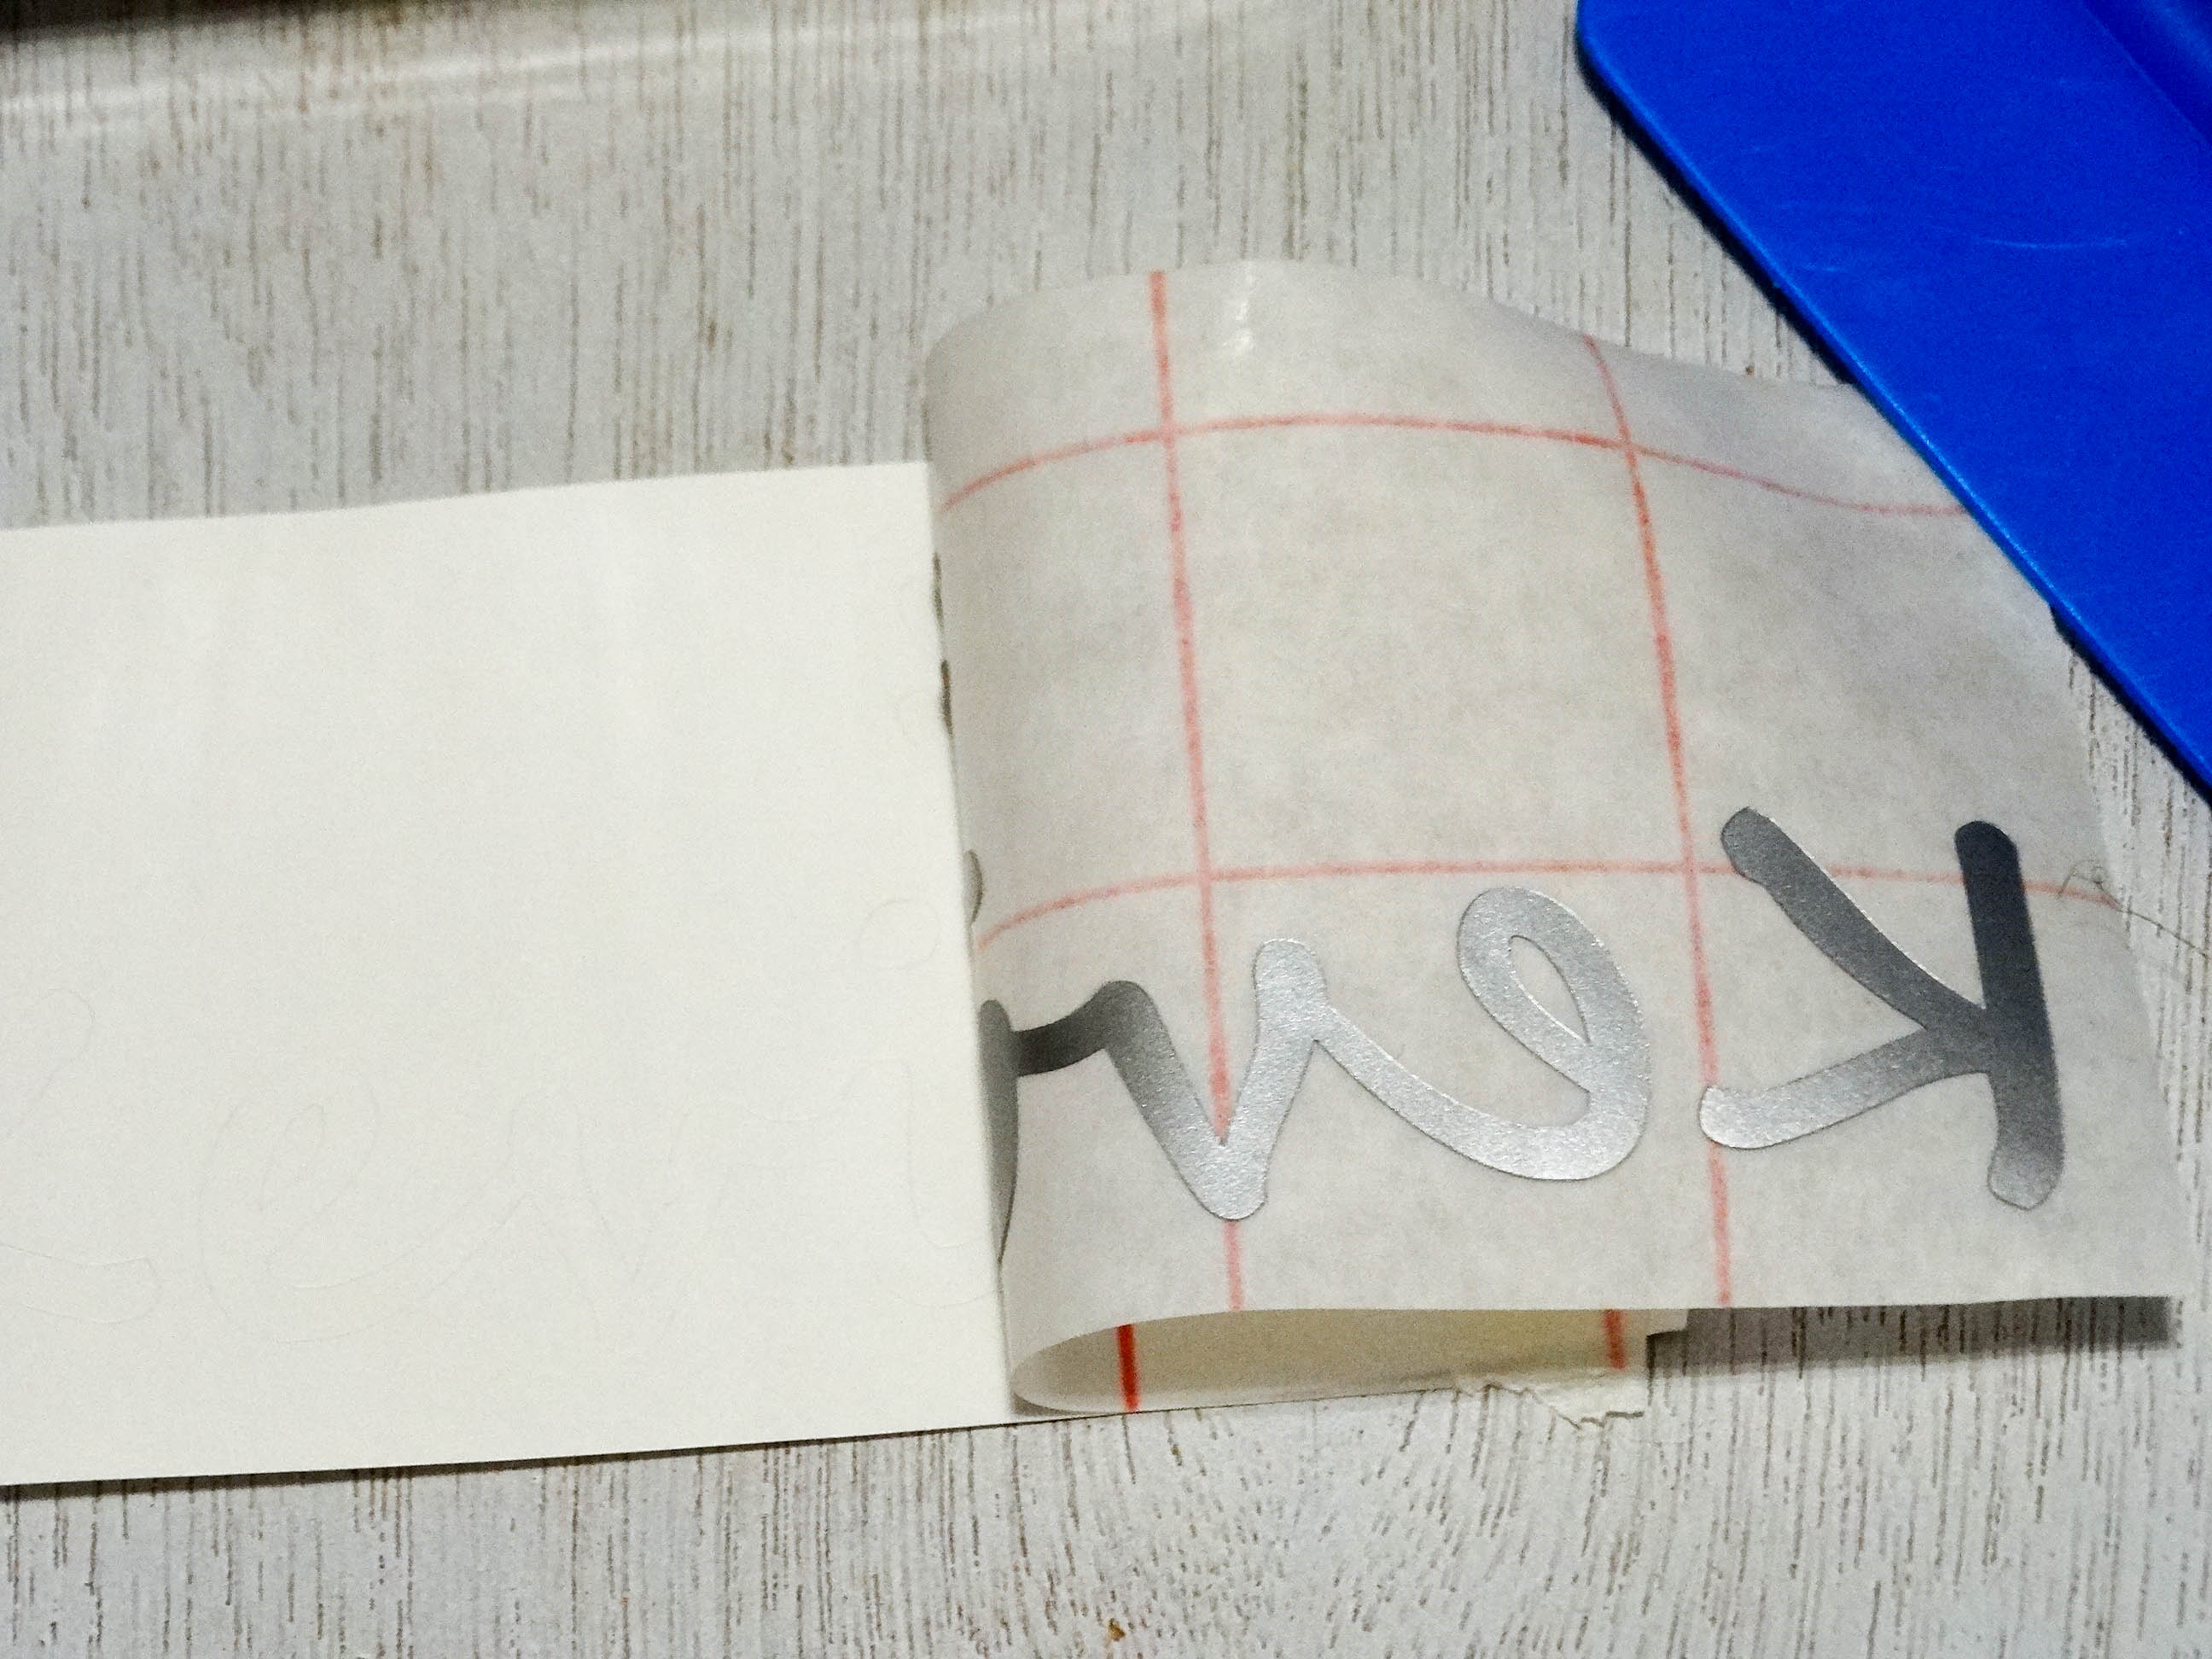
Now you want to carefully line up your second layer, squeegee and peel the bottom layers’ vinyl backing off.

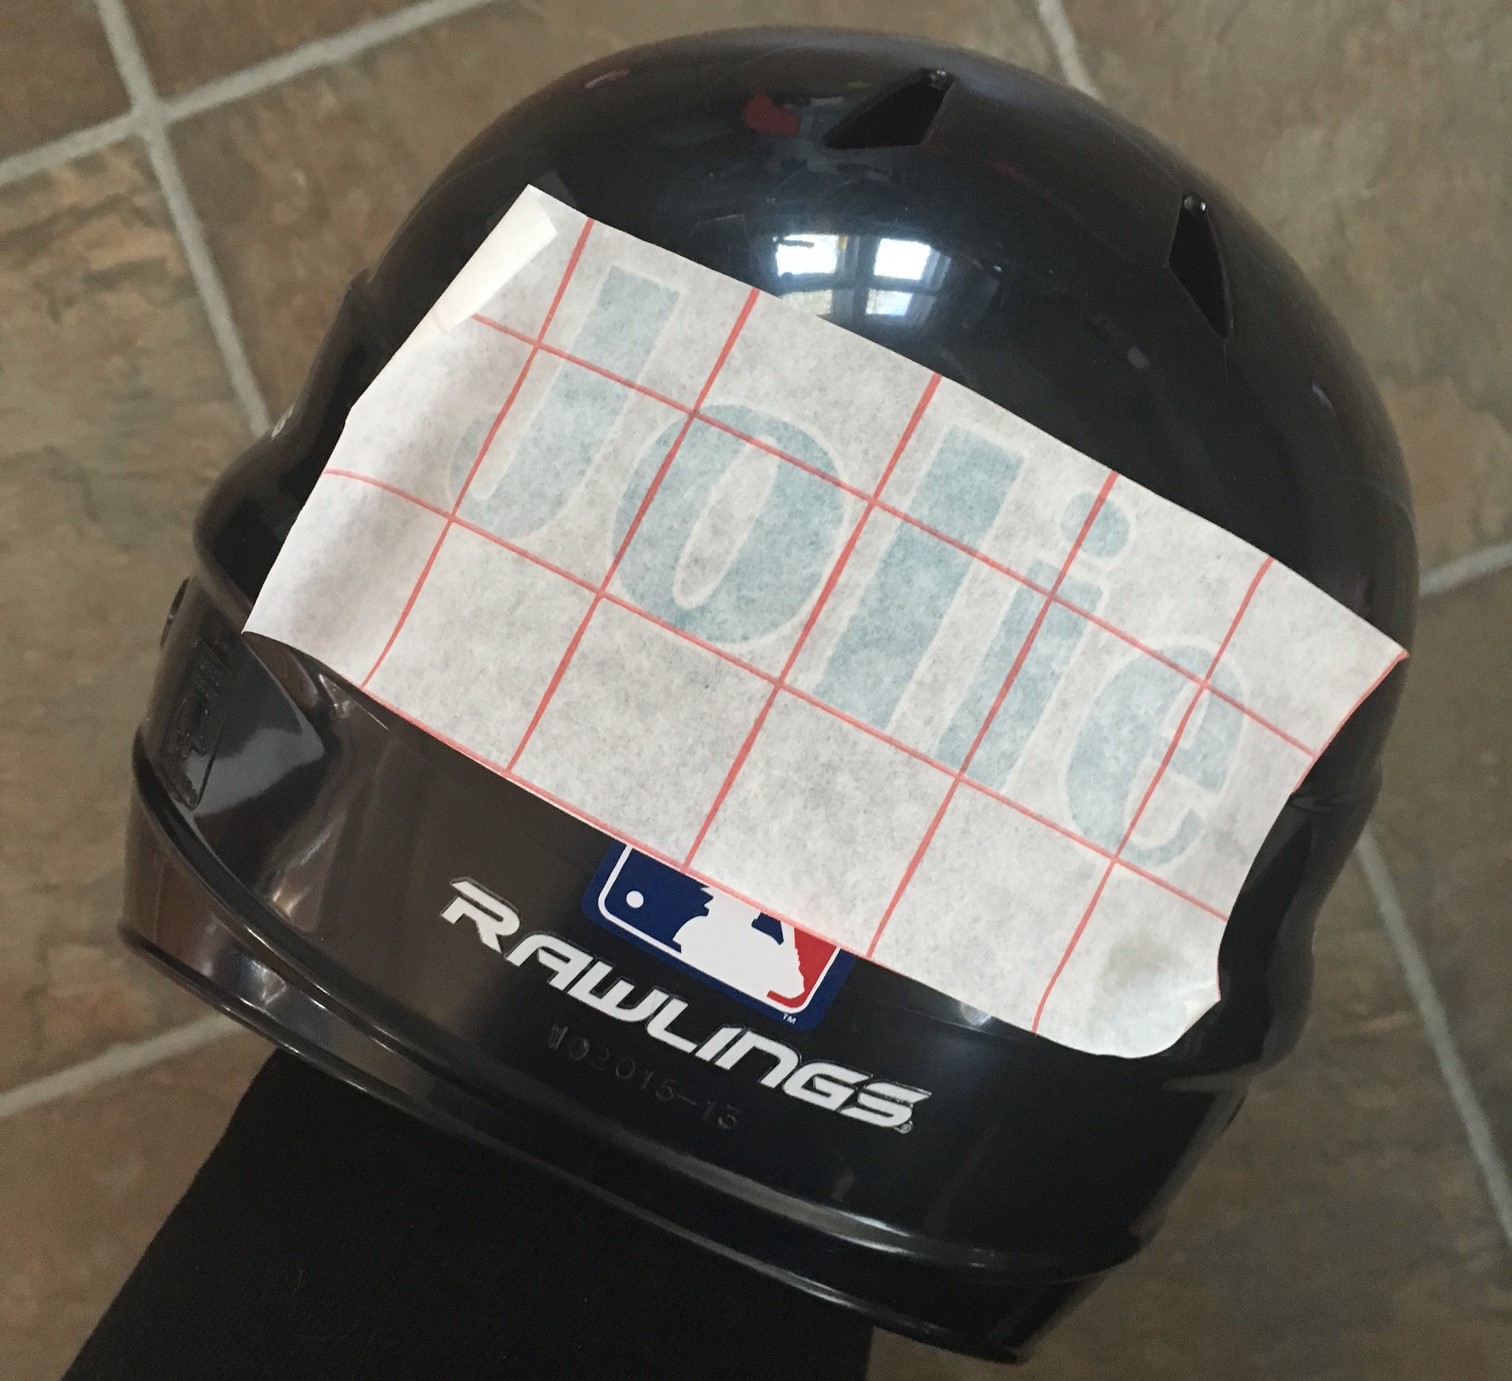
Now you should have ONE piece of the transfer tape with both of your designs. Grab your batting helmet, and carefully add the vinyl. I like to start on one side and while pulling slightly on the adhesive, carefully lay it onto the surface.

vinyl your baseball helmet - making a decal with your Silhouette machine is so easy! See the tutorial here.

Take that squeegee again and make sure you burnish it well. Since you are working on a slightly curved surface, you have a strong chance of getting air bubbles.

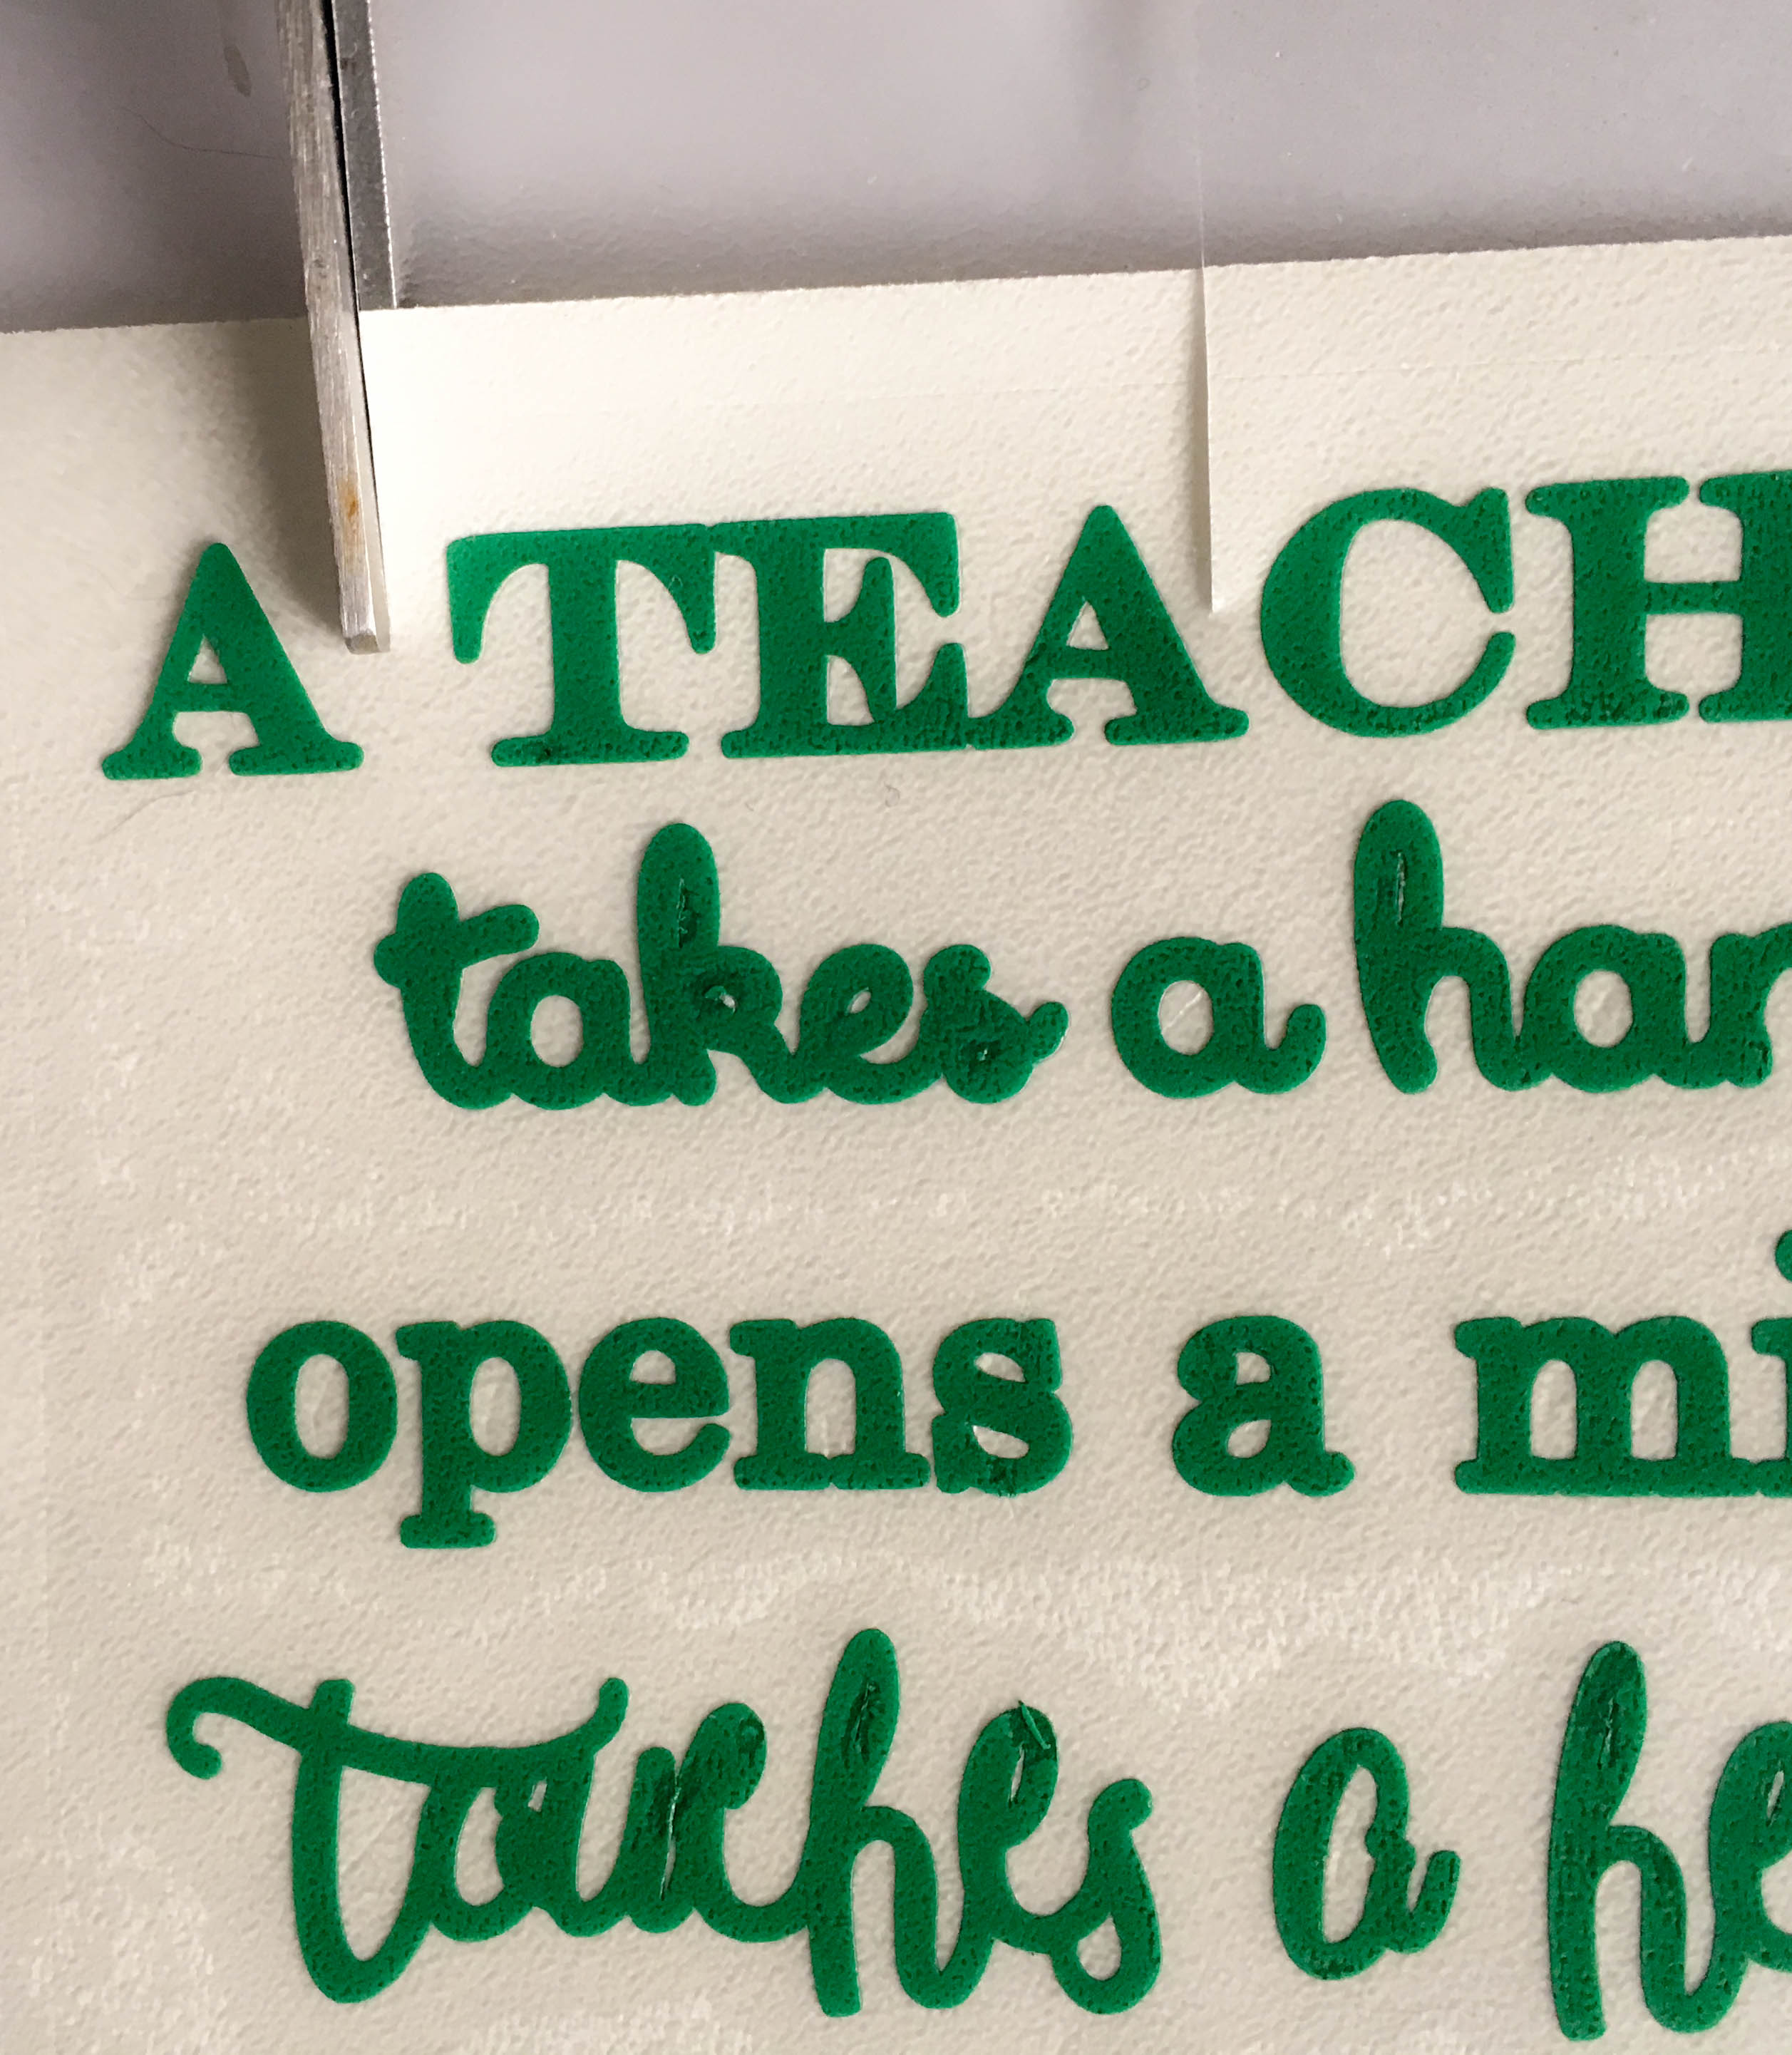
Here’s a tip: When working with curved surfaces make cut marks on the transfer tape. You can put as many cuts as you’d like just make sure you do not cut the vinyl or the transfer tape in half! By adding the slices, your transfer tape will be pliable, and accumulate less bubbles.

 IMG_3485

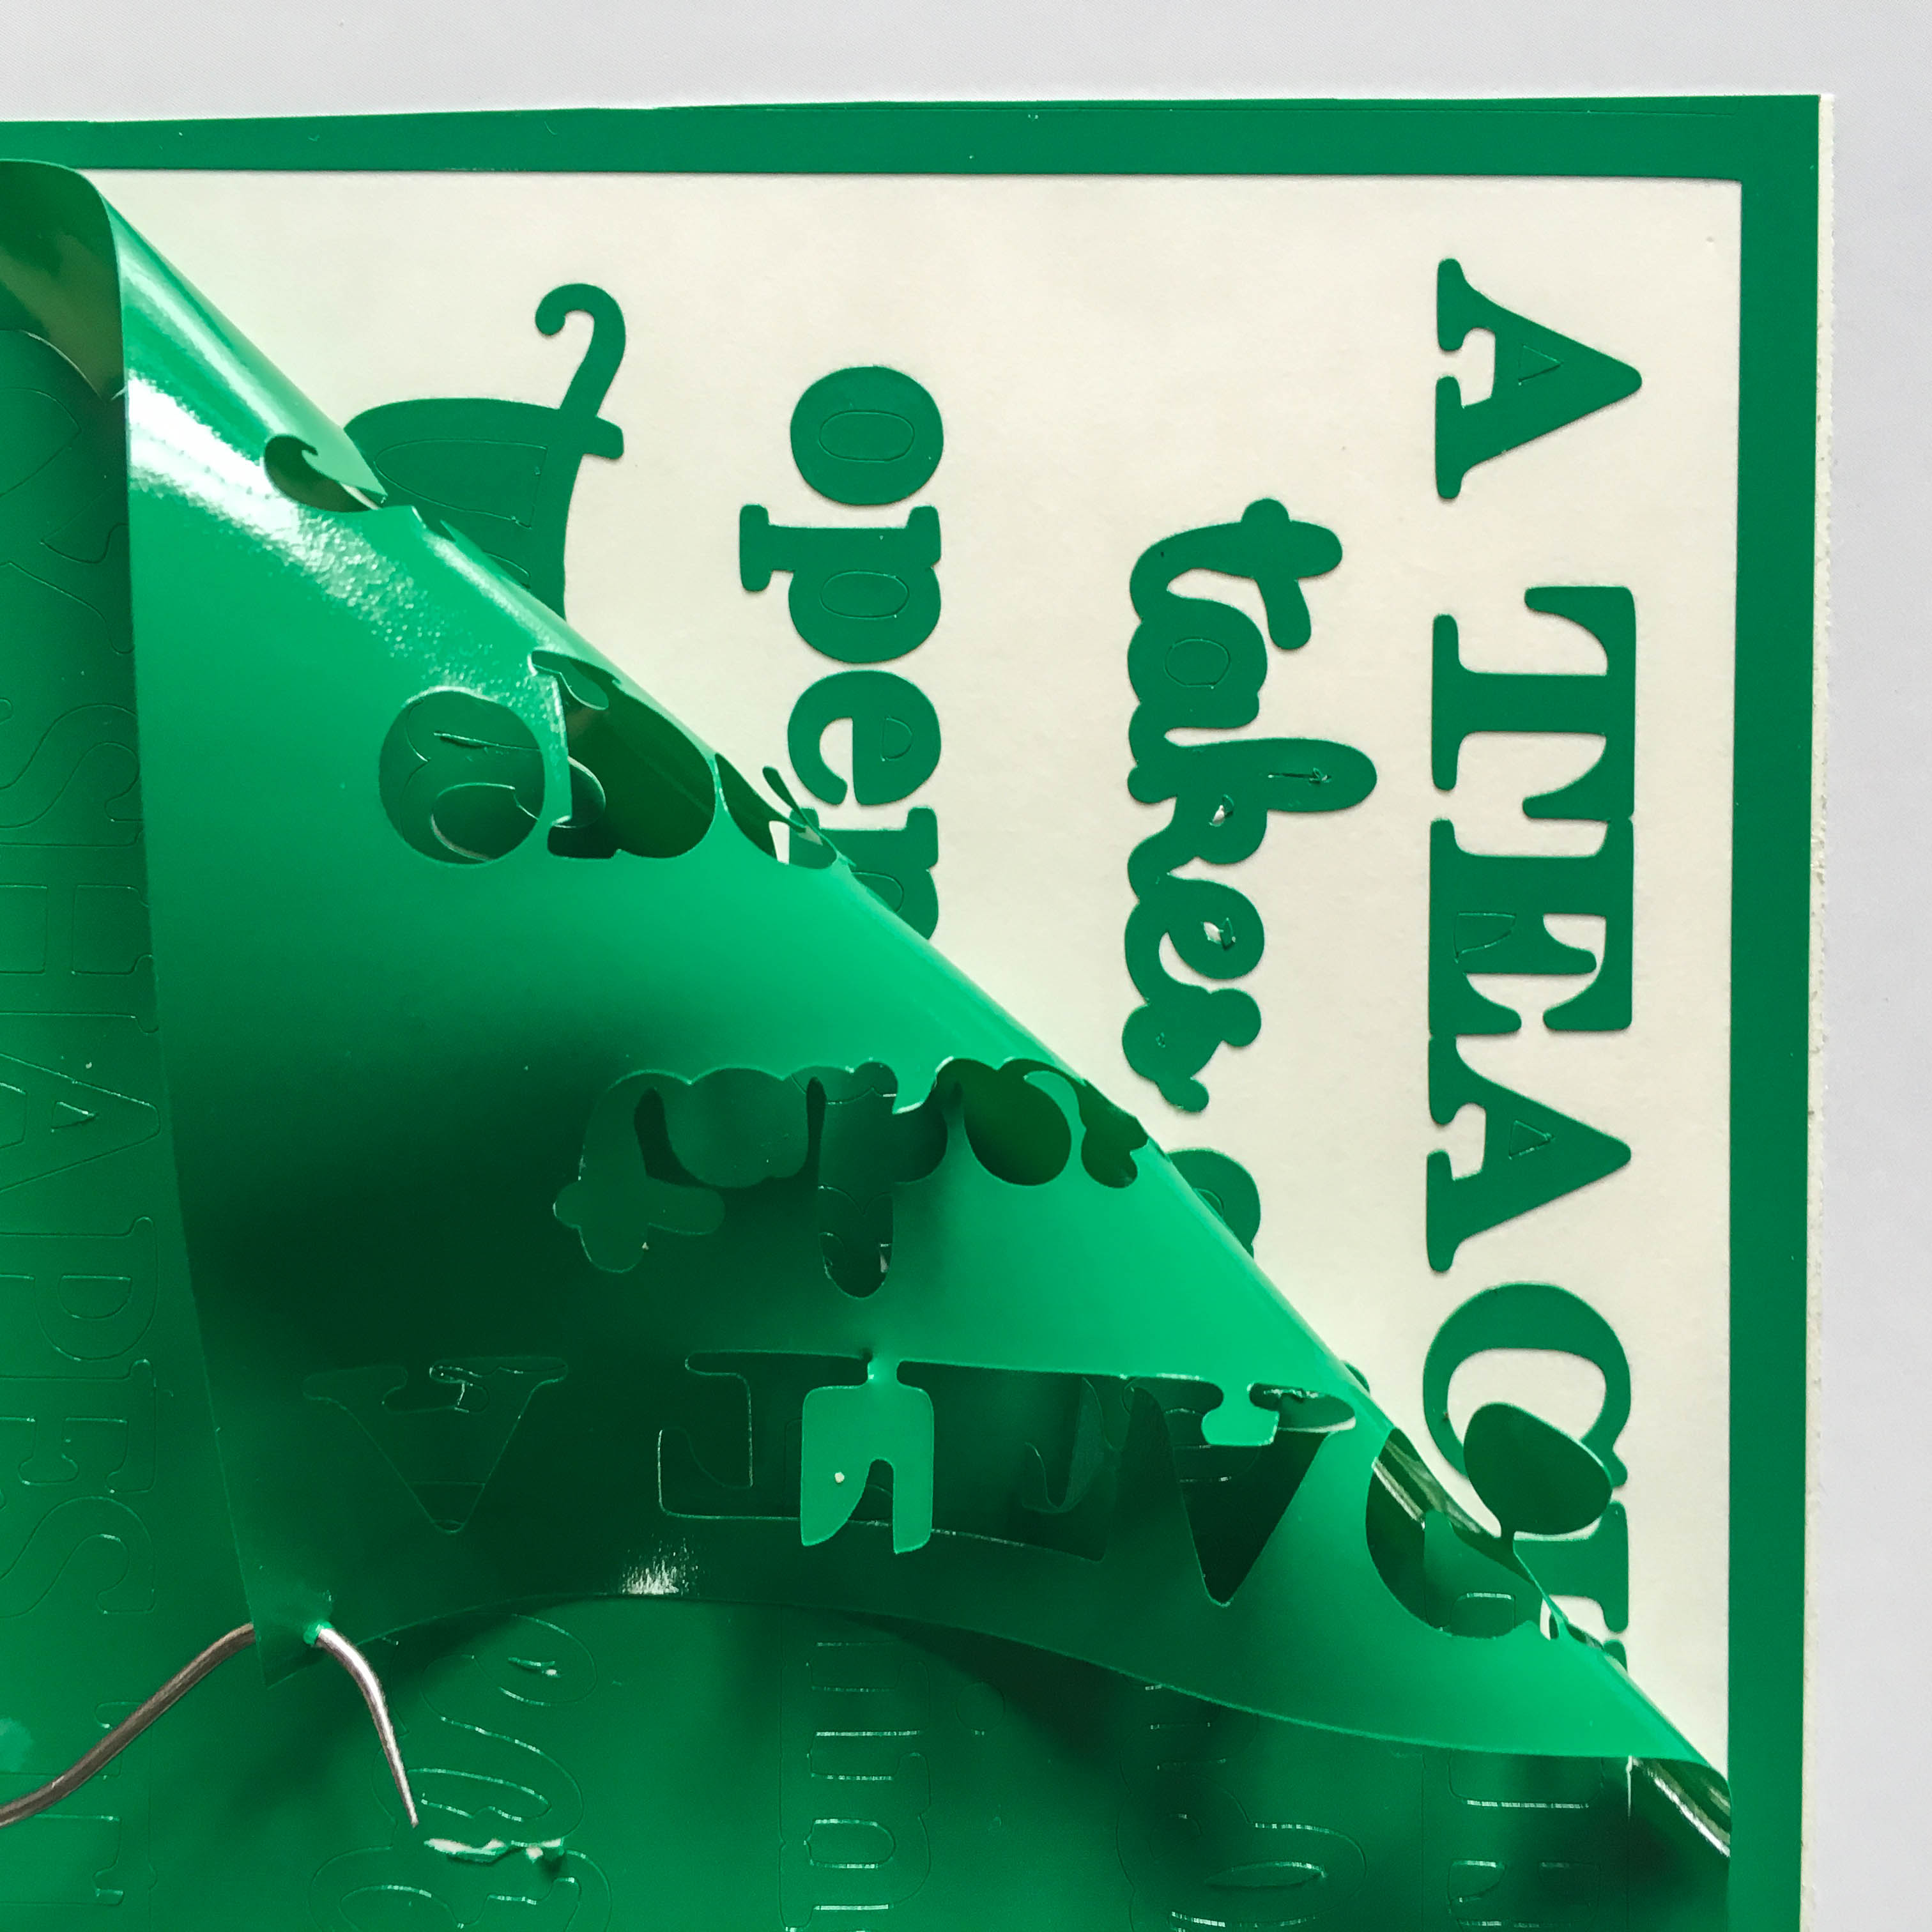
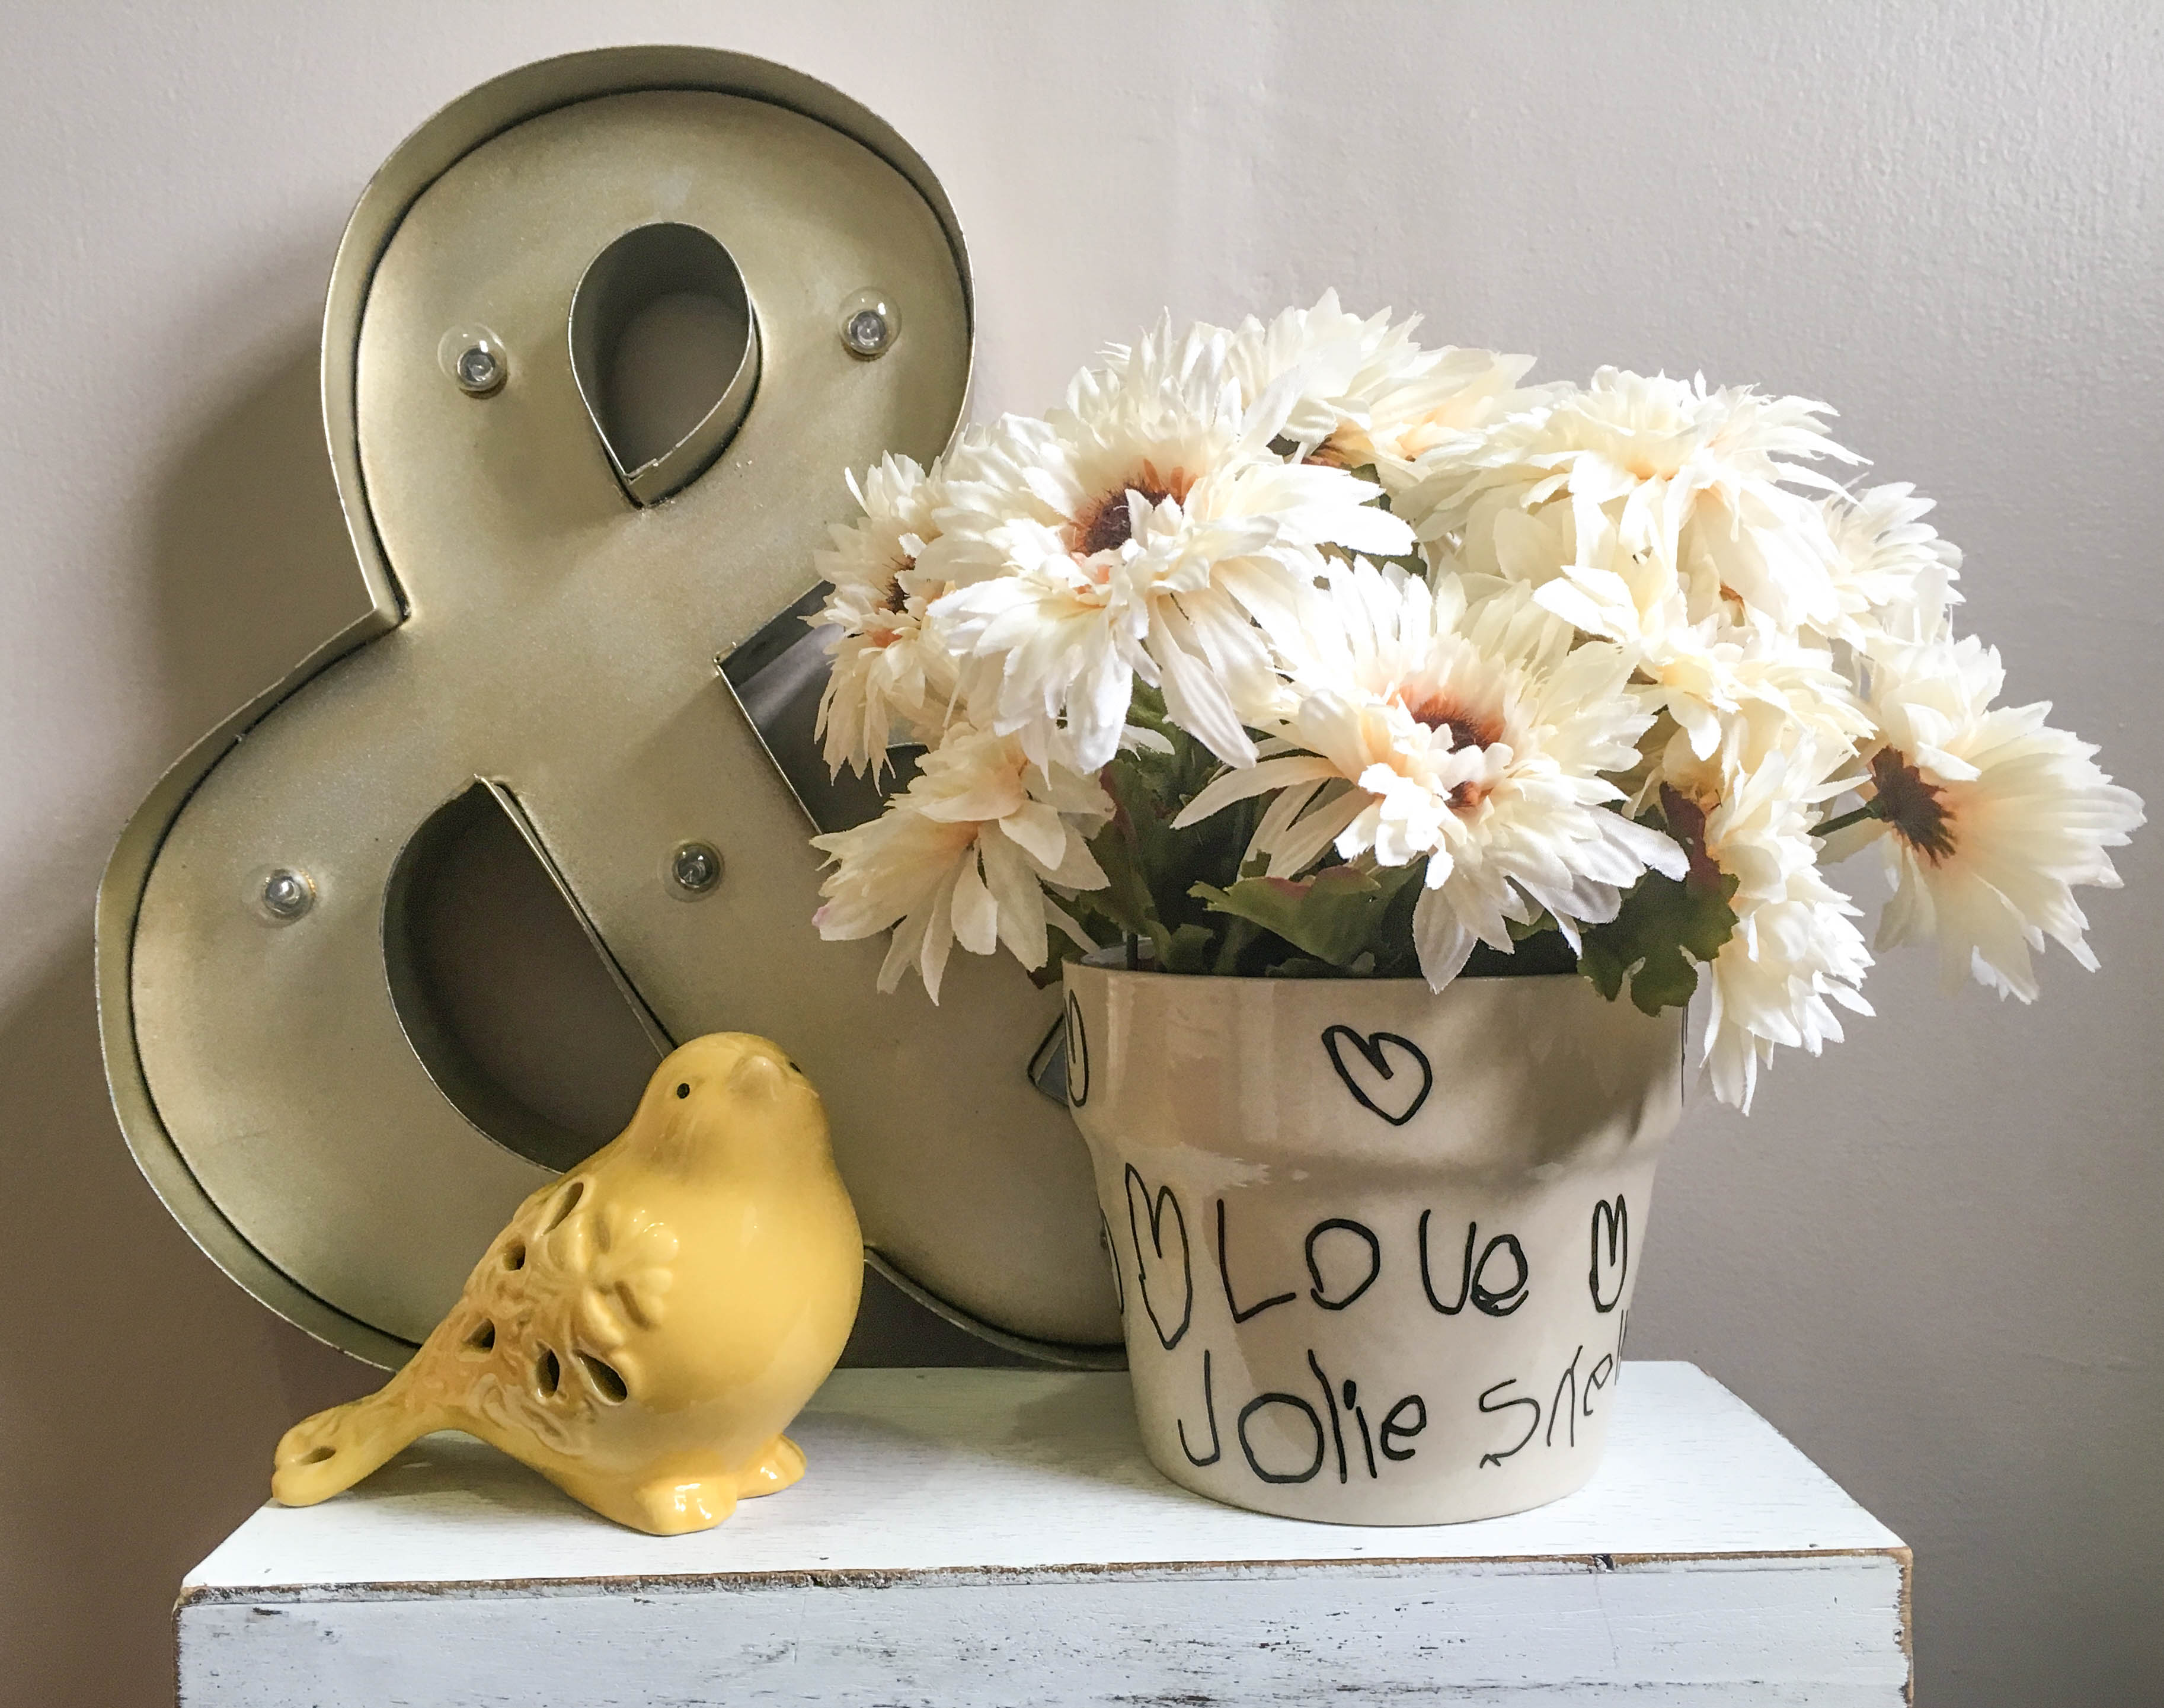
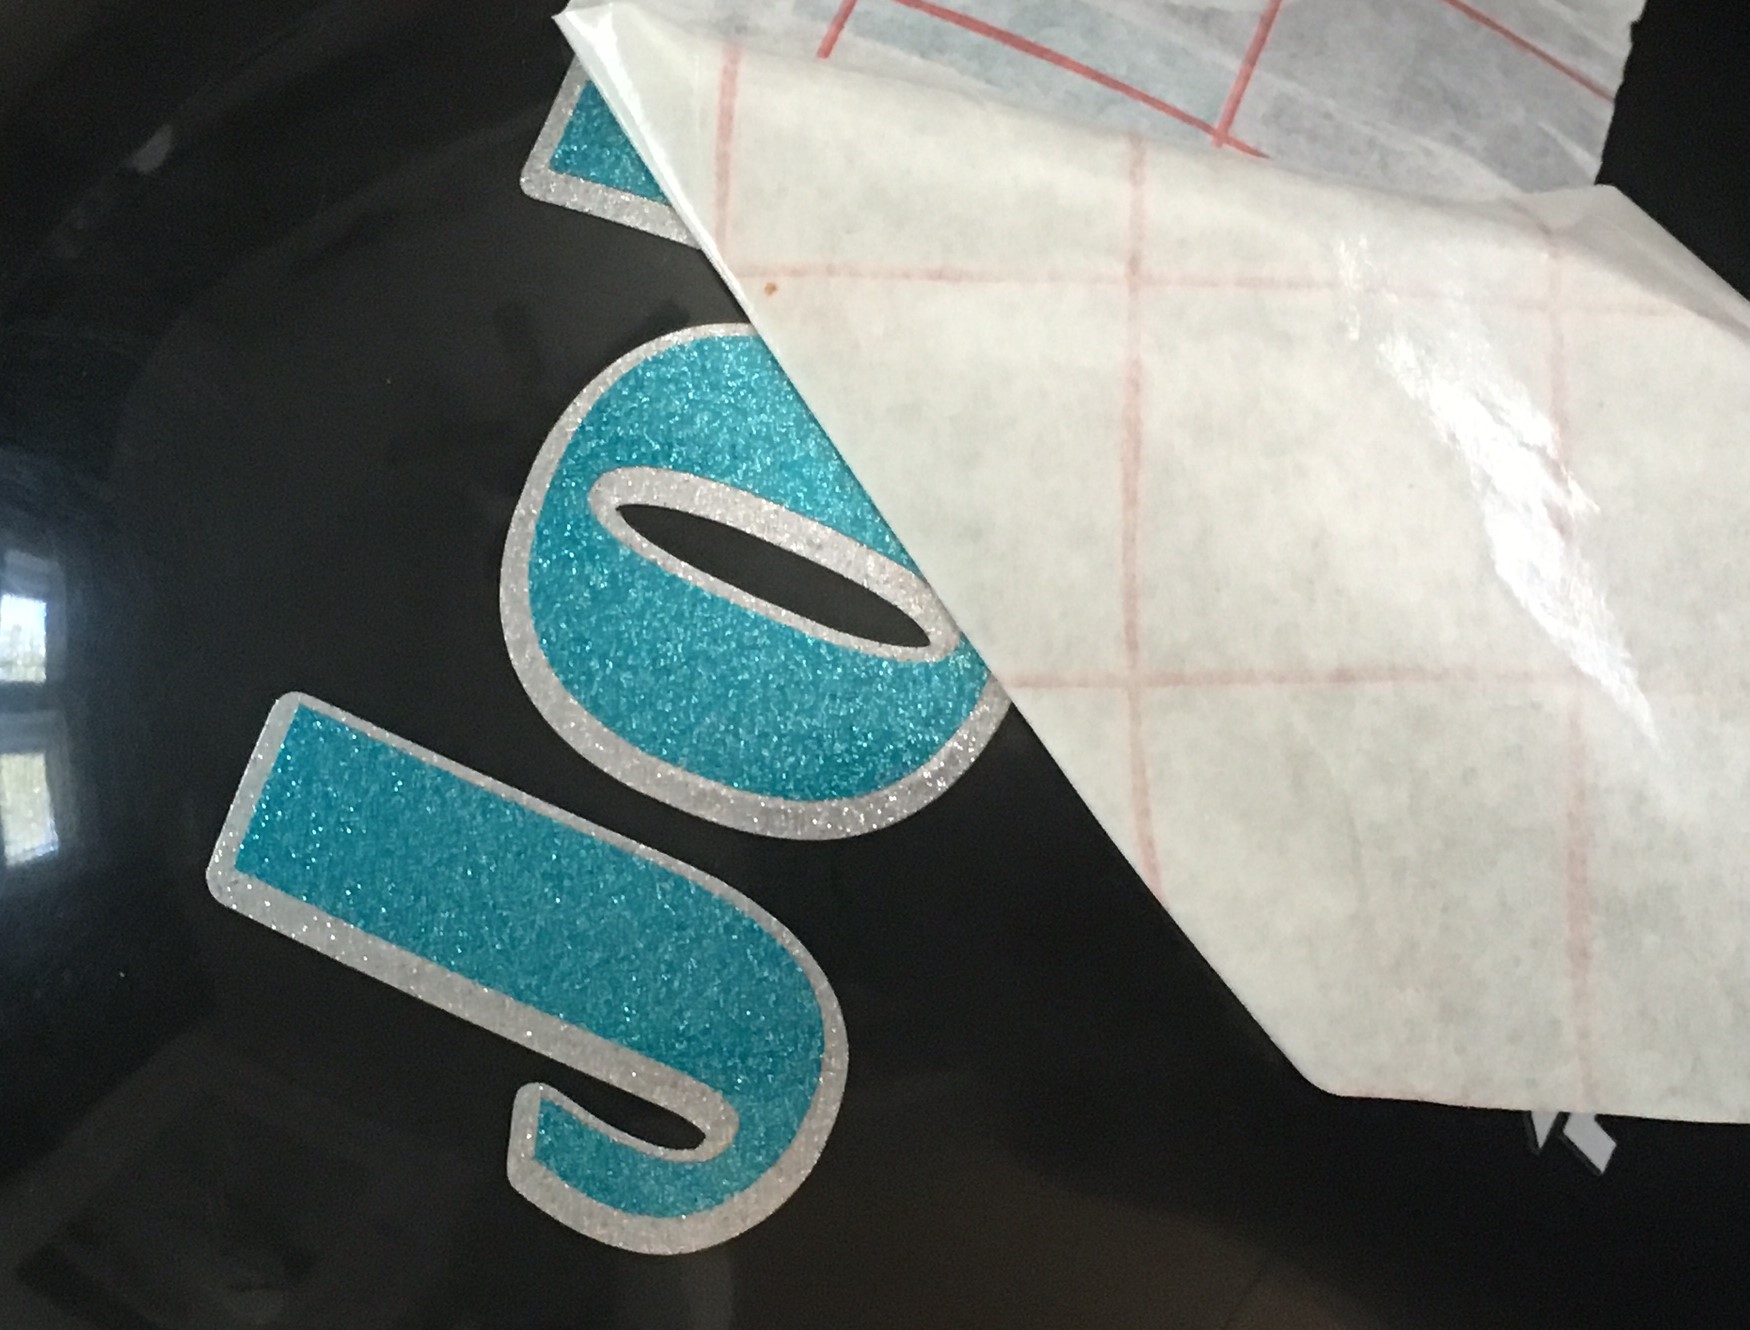
Once your design is smooth and adhered to the surface of the helmet, you can peel off the transfer tape!

IMG_3486

Now all you have left to do is throw it in your kid’s batting bag and head down to the ball field! But don’t forget to bring a pad of paper and a pen with you, because I bet you are going to get a few orders!

Make sure you show us your baseball projects by uploading them to the Pro World Facebook Page or by using @proworldinc or #proworldinc on Instagram

vinyl your batting helmet

View & Add Comments