We loved having Melissa Viscount from Silhouette School take over our Facebook Live on October 6, demonstrating how she works with Foil and EasyWeed Adhesive.
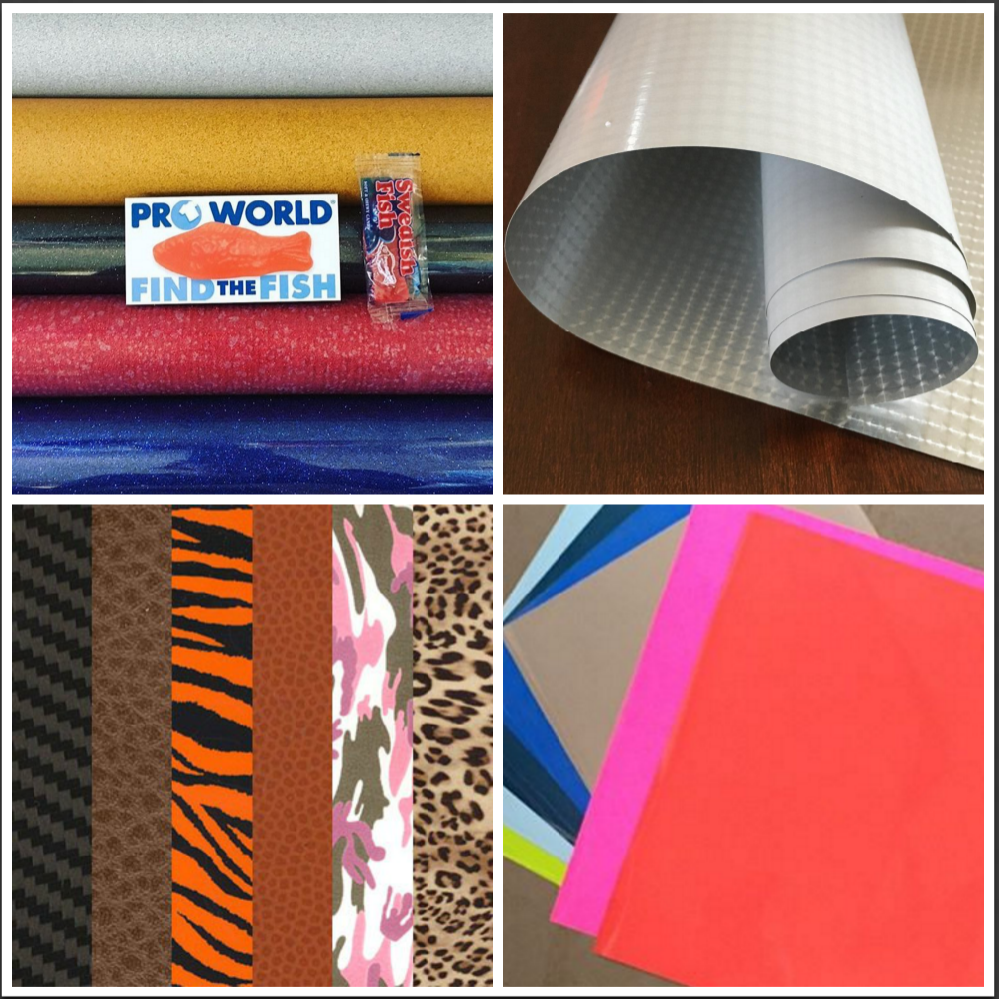
Melissa enjoys using Foil with EasyWeed Adhesive because it is so versatile – it can be used on any surface that will take heat. She has used it on wood, paper, and all kinds of clothing. At Pro World, we carry foil in 14 solid colors and 10 different holographic and patterned rolls.
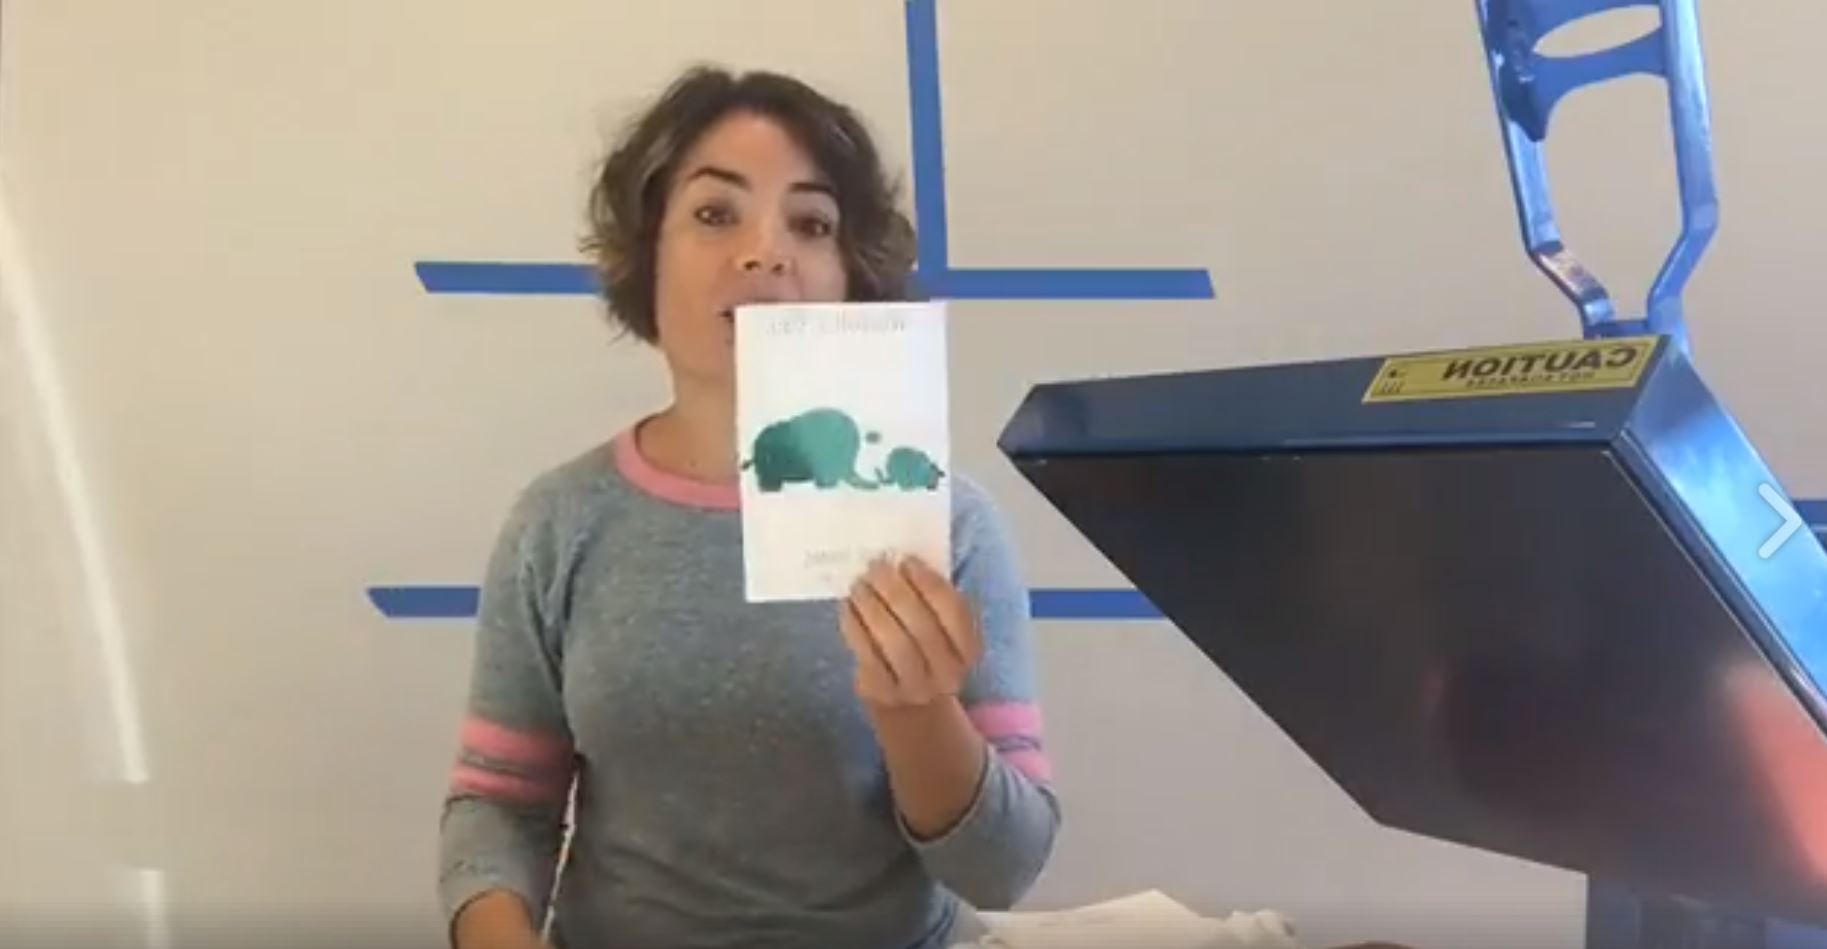
In case you missed Melissa on Facebook Live, you can view the video below or on our Facebook Page. She shows us how to layer foil on a baby bodysuit, and also how to crinkle foil for a different effect and adhere it to paper.
Cool right?
Here are the step by step instructions for using EasyWeed Adhesive and Foil on a Baby Bodysuit: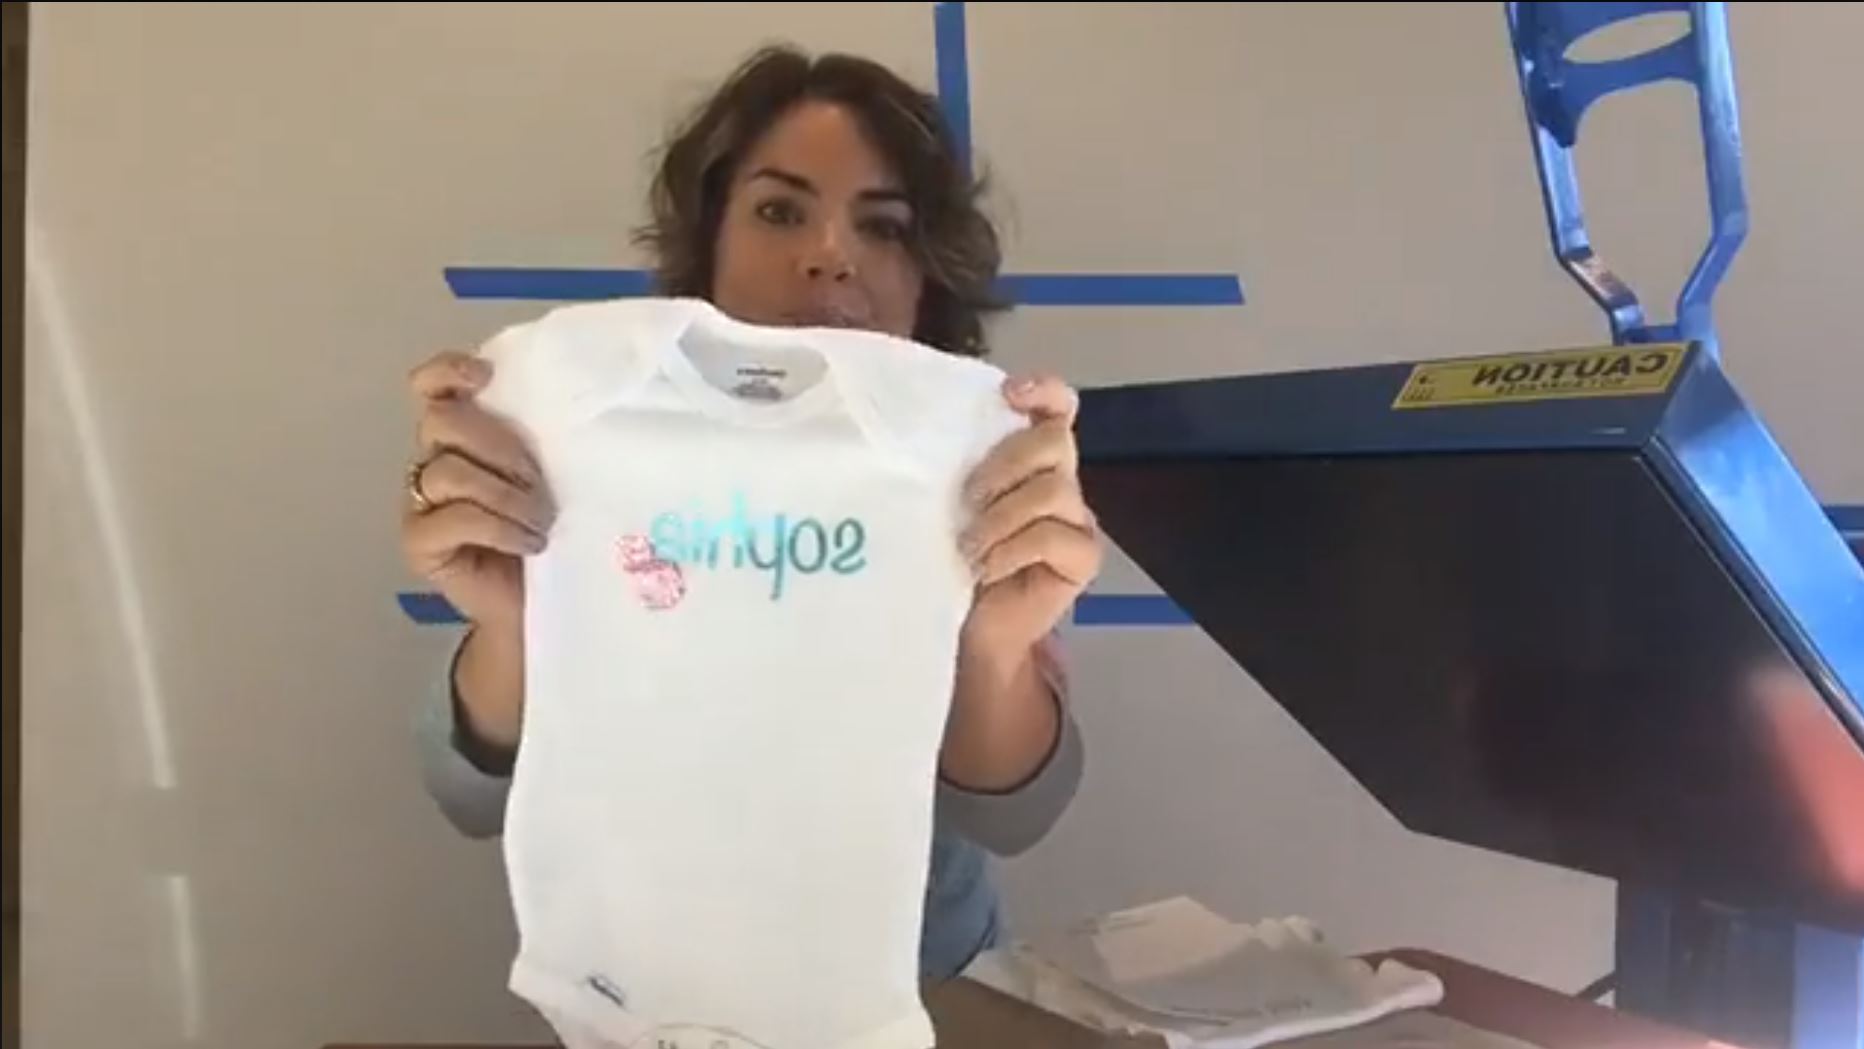
1- Begin by uploading or creating your design using your software. Make sure to mirror your image, and place your Easyweed Adhesive shiny side down before you cut. If using a Silhouette, blade should be 2, speed 3, and thickness 14.
2 – Weed your design.
3 – Pre-press your bodysuit. Do this by placing your garment on your TransPro® Heat Press for 20 seconds on 305 degrees.
4 – Find the center of the bodysuit by folding it in half and pressing it again. The line is where your adhesive design will go.
5 – Fold your Easyweed Adhesive design to find the center.
6 – Place the Easyweed Adhesive center on the center line of the bodysuit.
7 – Place your bodysuit on the prepping pad and cover with a non-stick sheet. Press for 20 seconds at 305 degrees.
8 – Peel carrier sheet off of adhesive.
9 – Cut a piece of foil from your roll, and then cut it down to size. Note that the foil will only apply to where the Easyweed Adhesive is.
10 – Place your onesie on the prepping pad, cover the Easyweed Adhesive area with foil, and place your non-stick sheet on top. Press for 20 seconds at 305 degrees.
Wait for the foil to cool (about 20 seconds), and then peel the foil back.
11 – Repeat all of these steps for layering your second design. Remember, foil will only stick to Easyweed Adhesive – it will not stick to the other foil, and it will not stick to any other part of the garment.
Melissa’s Tip #1: Don’t throw out little foil pieces – you’ll be able to use them in other designs.
Melissa’s Tip #2: When washing garments with foil, wash them inside out. It is also highly recommended to lay the garment flat to dry so that the design lasts longer.
Here are the step by step instructions for adding EasyWeed Adhesive and Foil to Paper:
1 – Begin by uploading or creating your design using your software. Make sure to mirror your image, and place your Easyweed Adhesive shiny side down before you cut. If using a Silhouette, blade should be 2, speed 3, and thickness 14.
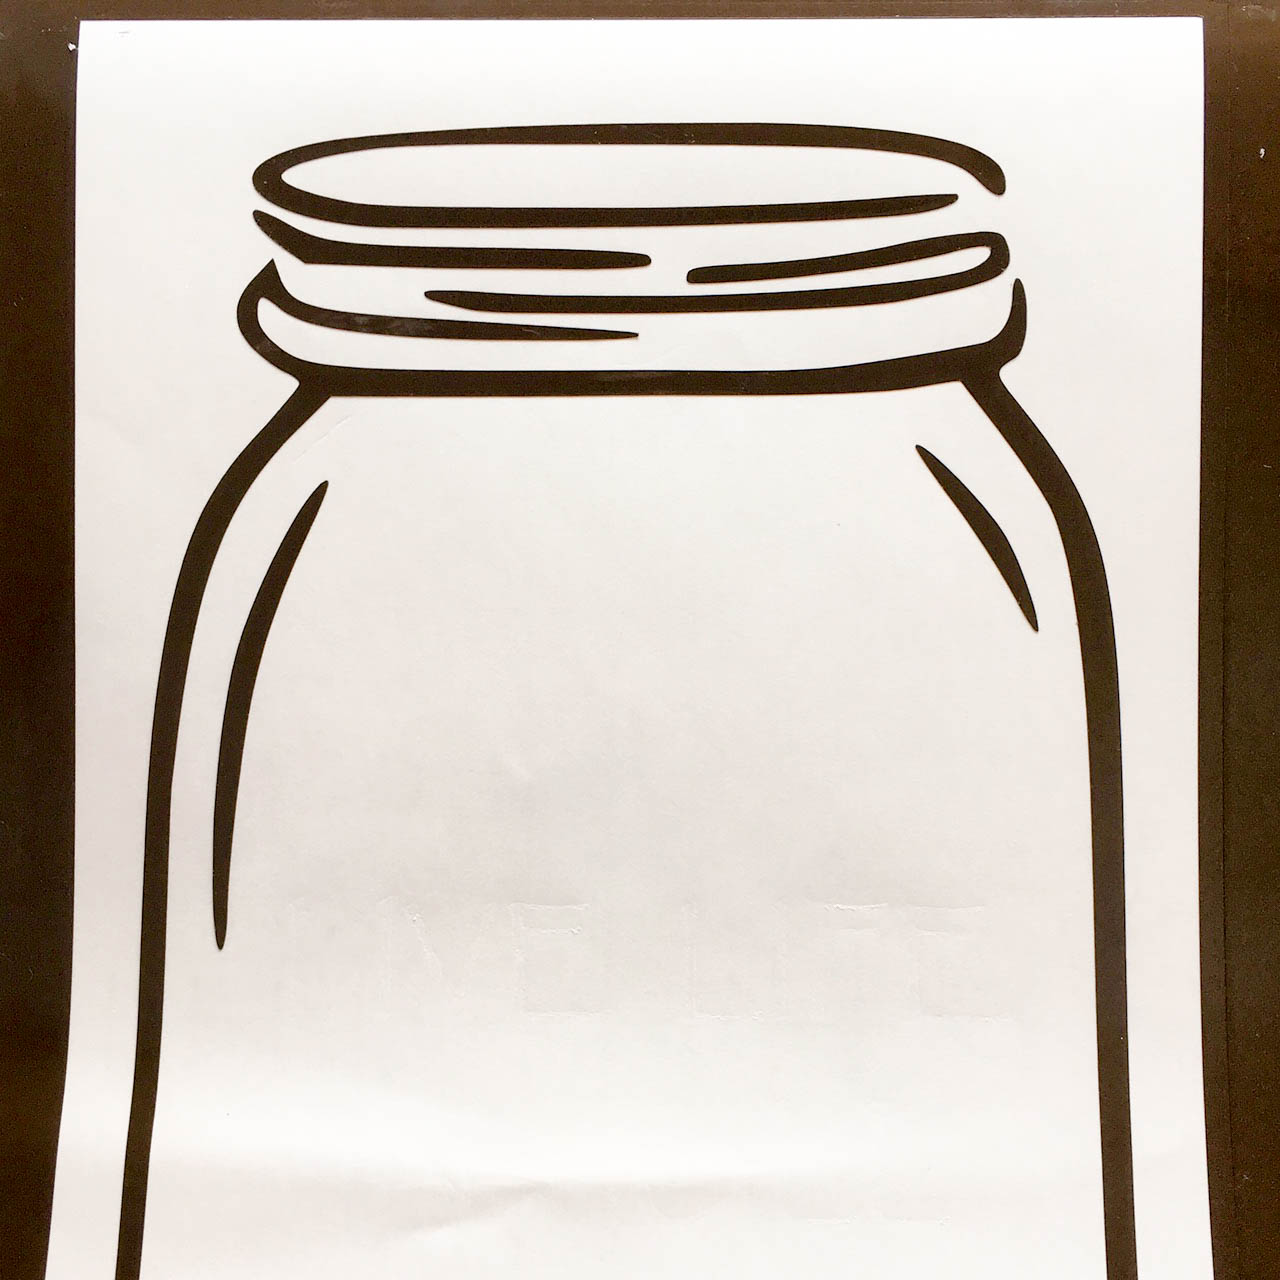
2 – Weed your design.
3 – Place your design on the paper.
4 – Place your paper on the prepping pad, cover with your non-stick sheet and place on the heat press.
5 – Leave on the heat press for 20 seconds at 305 degrees.
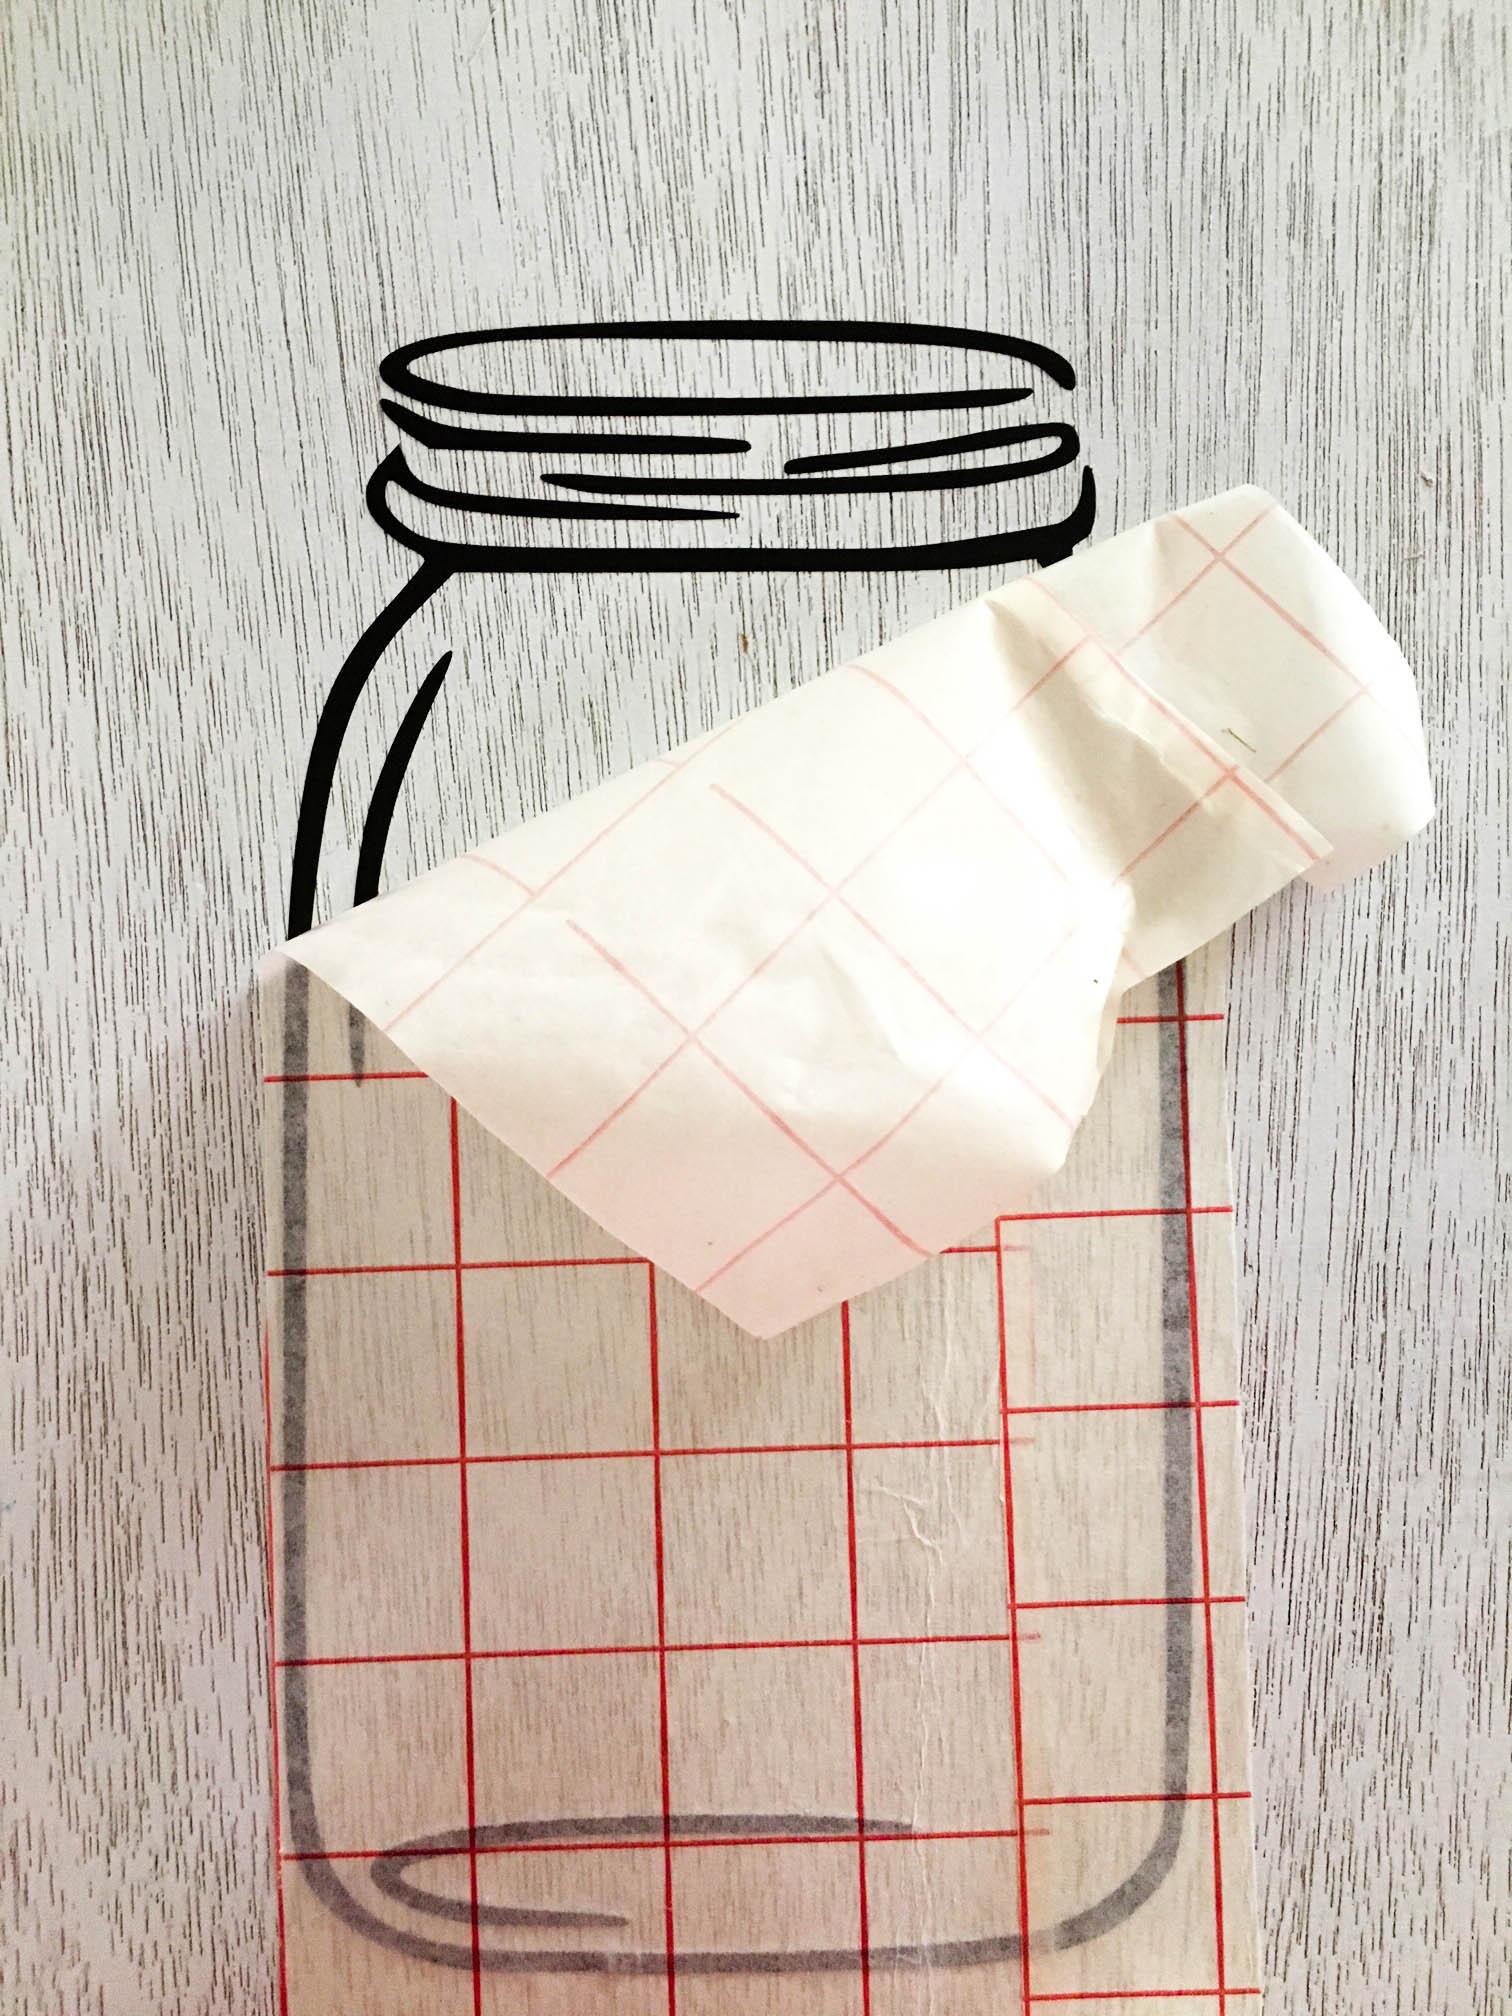
6 – Peel off carrier sheet.
7 – Apply your foil over the Easyweed Adhesive, place back on the prepping pad, cover with the non-stick sheet, and press for 20 seconds at 305 degrees.
8 – Wait for the foil to cool (about 20 seconds), and peel back.
Melissa’s Tip #1: To give the foil a distressed look, crinkle the foil before applying it to the Easyweed Adhesive.
Melissa’s Tip #2: Melissa always creates a weeding box with her design. In Silhouette Studio she uses the Draw Square tool and draws it around her design, which makes it super easy to weed. Just make sure to take off any area you do not want foil on.
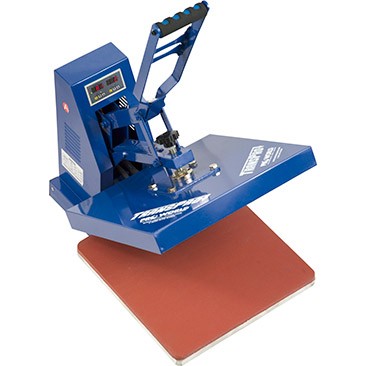
Interested in the TransPro® 15×15? You can snag one for $99 when you purchase at least $399 in stock transfers, transfer paper, heat applied vinyl, sublimation paper, sublimation blank printables, and Silhouette products (excluding cutters). The discount on your heat press will be applied automatically when you’ve ordered at least $399 of merchandise on a single order (not including the heat press).
Join us every Friday at 12:15 pm EST on Facebook Live to learn something new! We look forward to seeing you there!