Changes at Pro World…

There have been some changes here at Pro World… we have a NEW WEBSITE!

website

That means our website:

  • Is even more mobile-friendly
  • Has enhanced order tracking features
  • You can now search even faster
  • Advance product filtering
  • Bolder product images
  • Side by side comparisons so that you can make decisions even easier
  • Has wishlists & reorders.. making shopping easier
  • Searchable help!

And we can’t wait for you to try it out! If you want to see the new website in action go here!

m2-launch-social


View & Add Comments

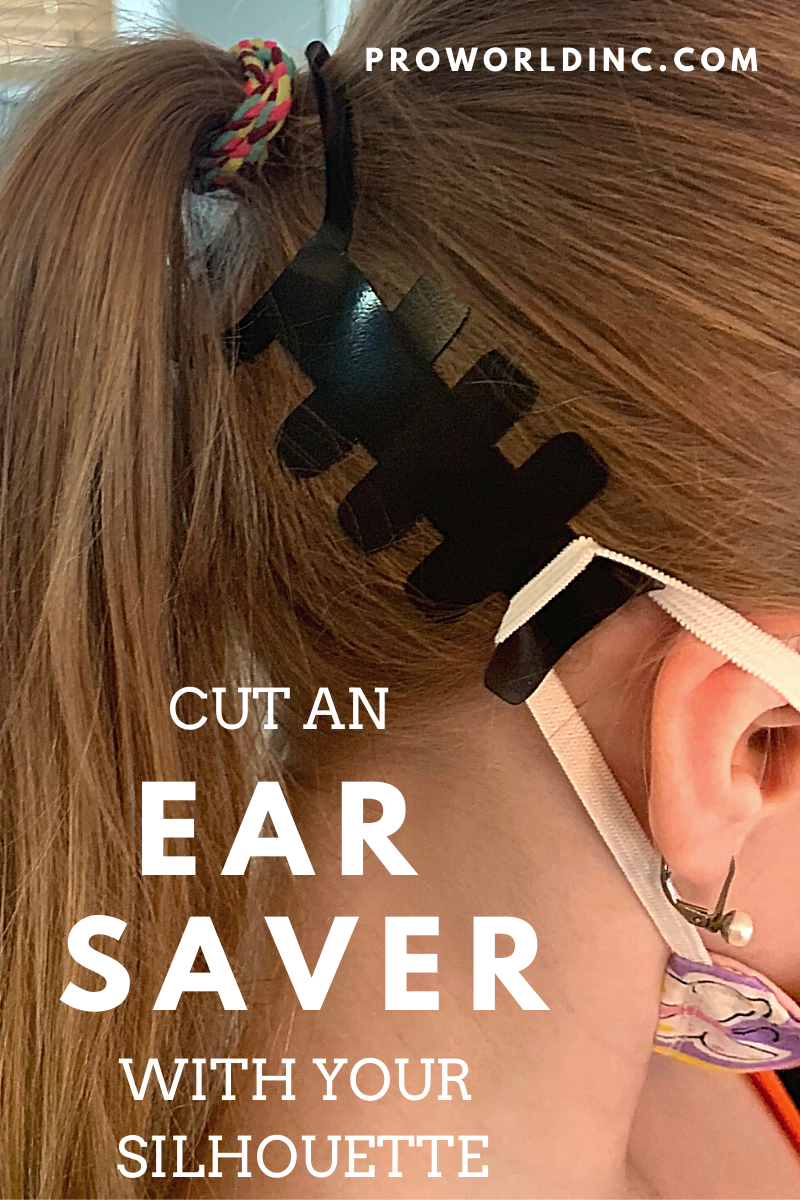
Cut an ear saver with your Silhouette

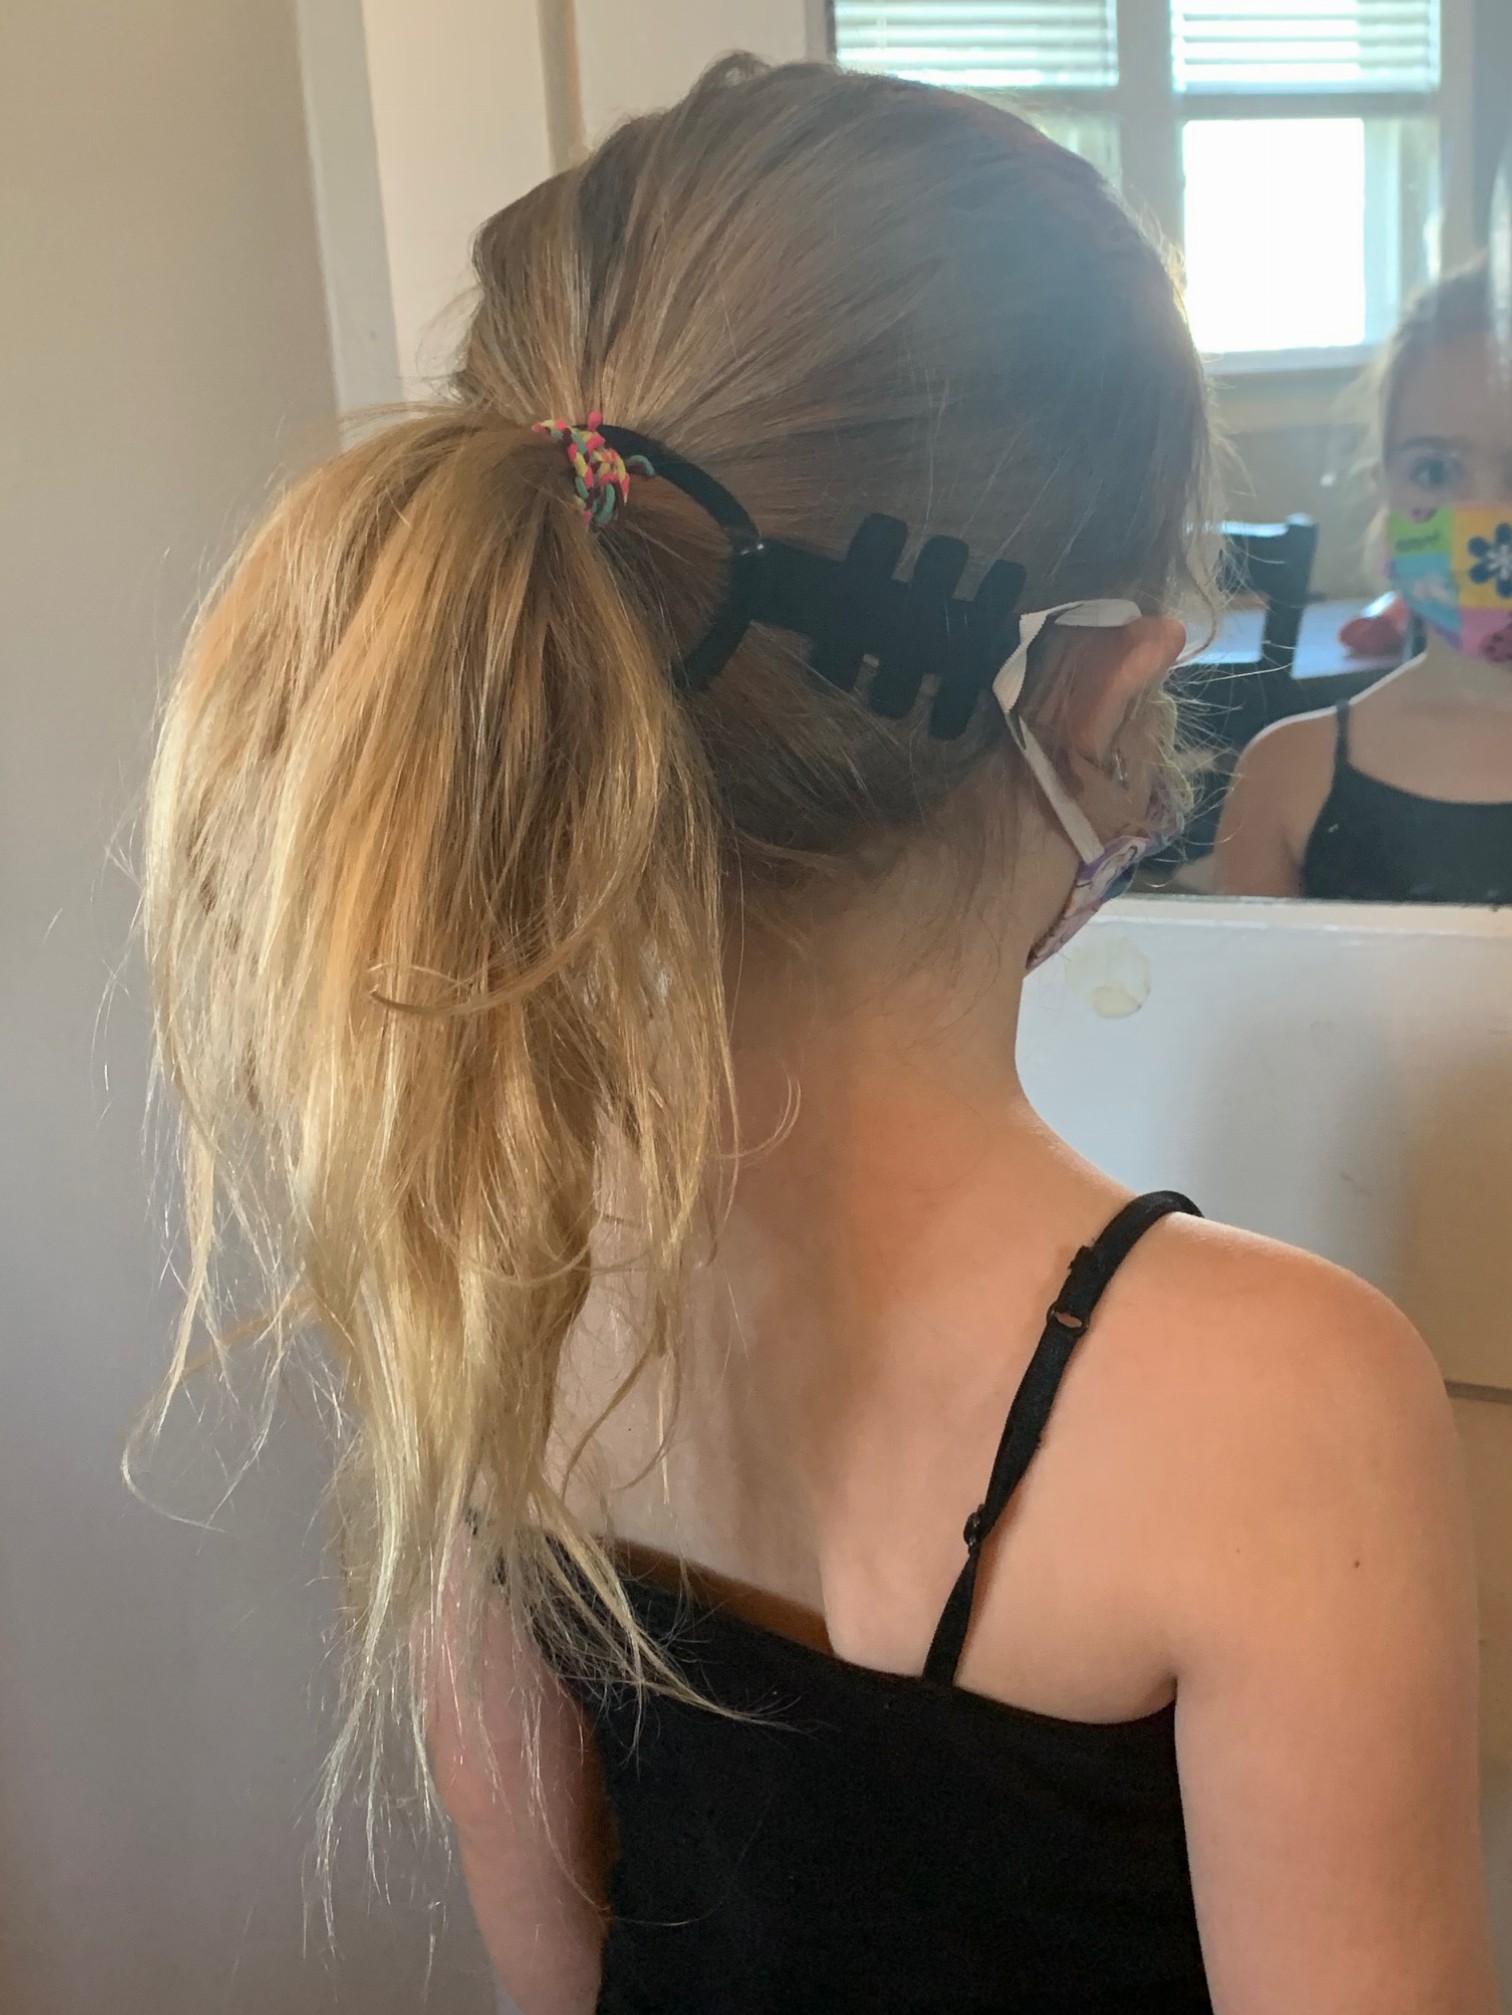
As I am sure you are already aware, the CDC recommends that all people wear a mask or cloth face covering while in a public setting when it is hard to practice social distancing. Which means a lot of us are starting to suffer from sore ears. While this is a small price to pay to keep ourselves and others safe, we figured it wouldn’t hurt to find a way to craft a solution. And guess what? It worked! 

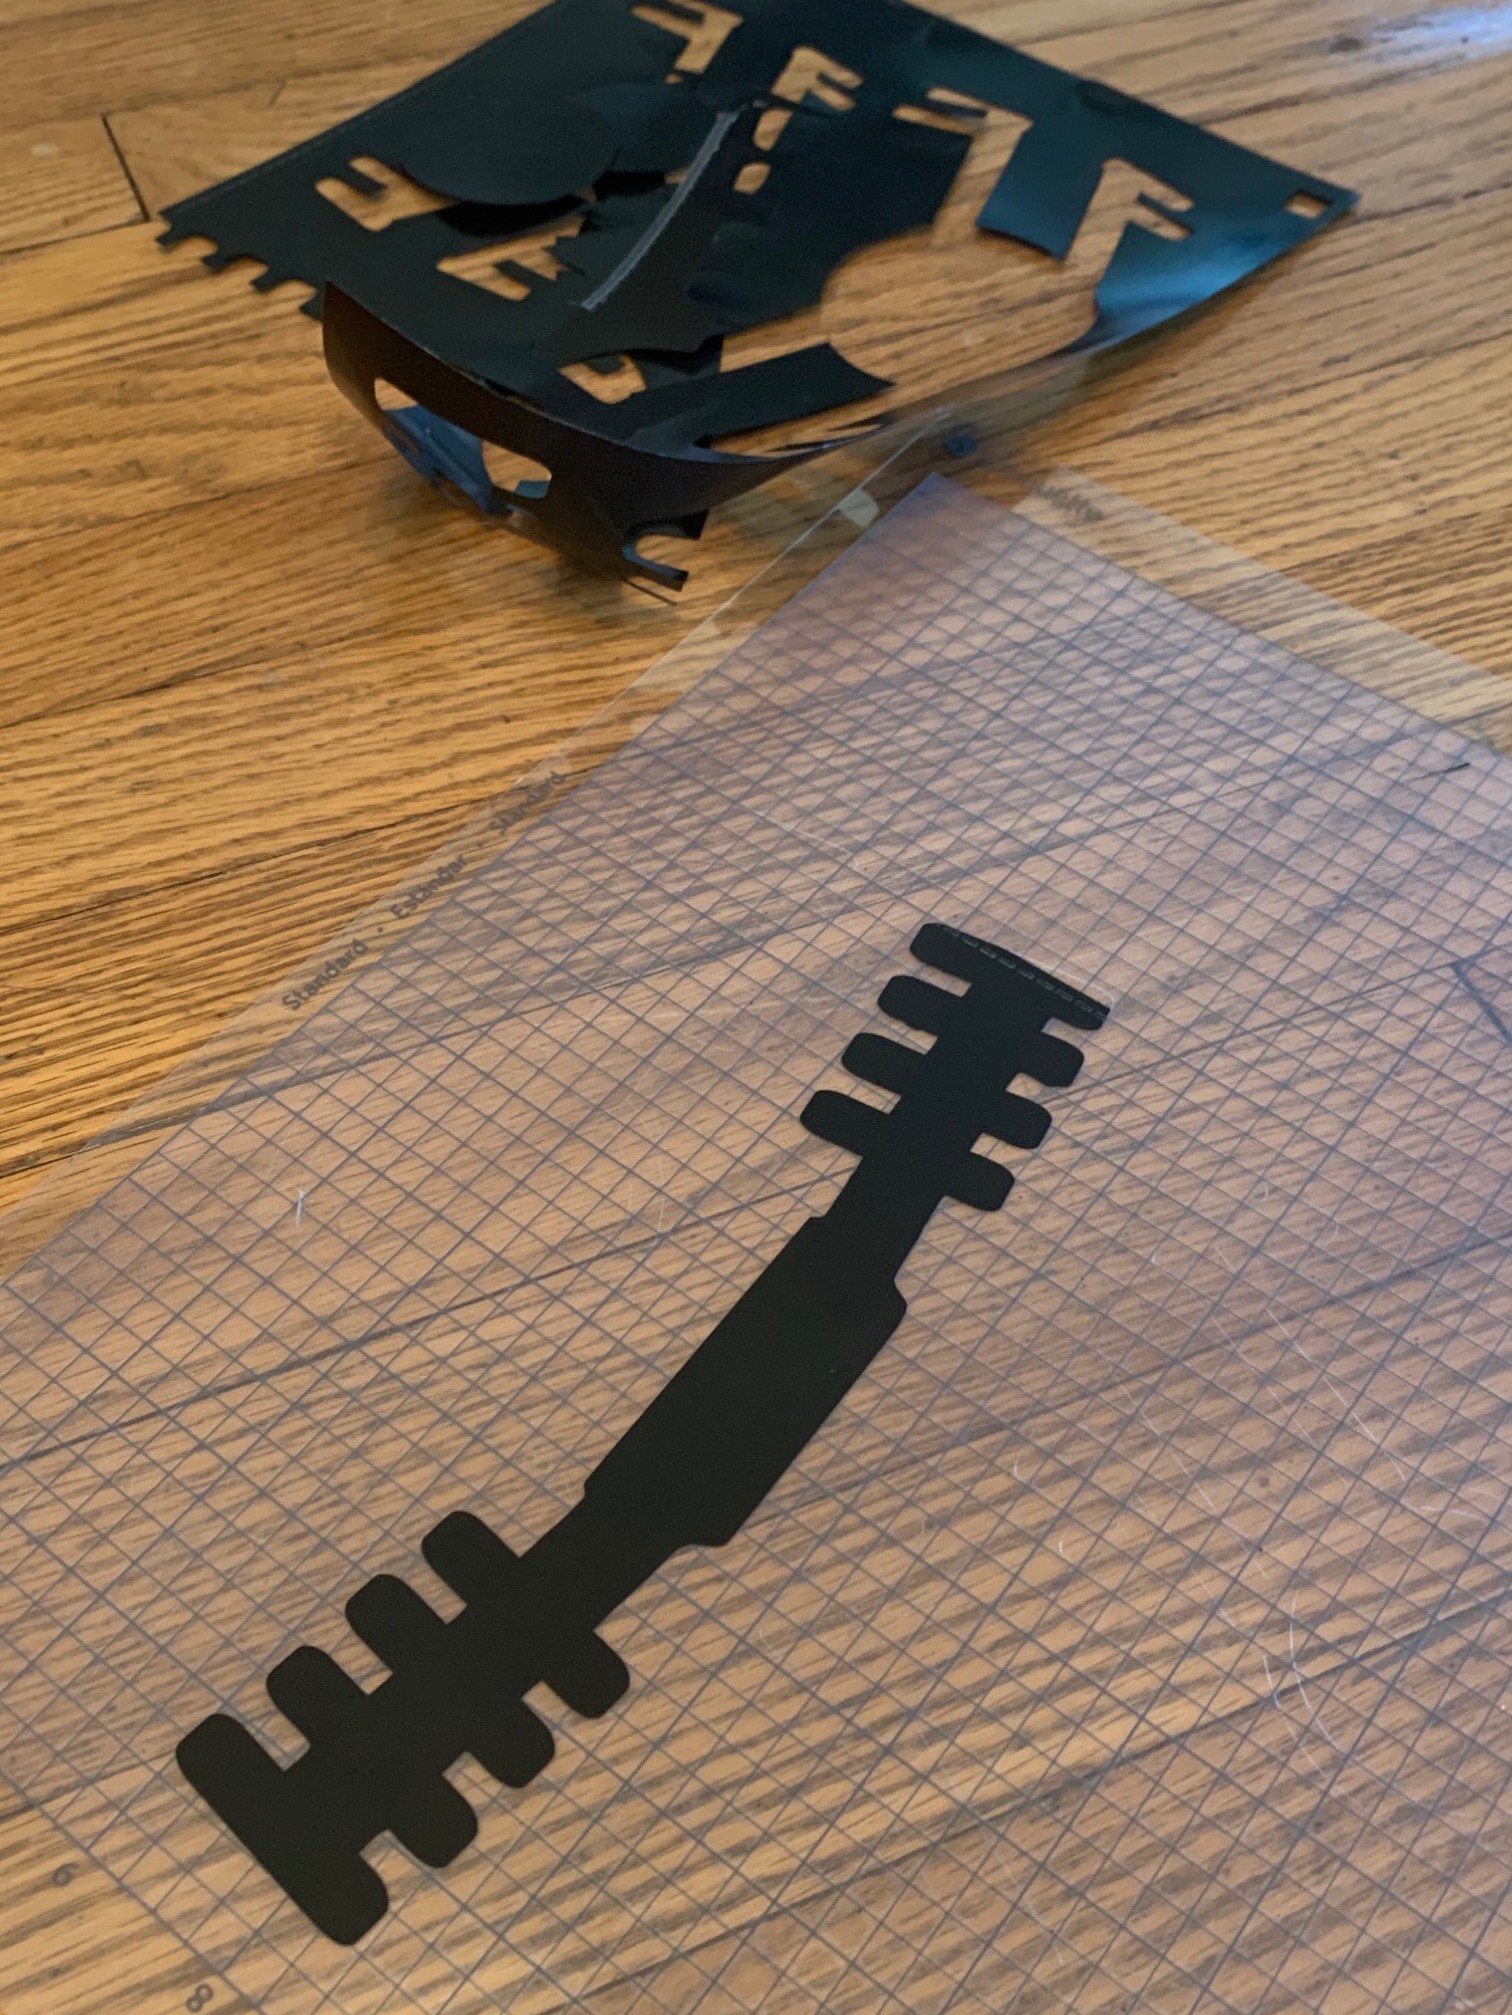
In today’s blog post, we are showing you how we cut through a thin plastic book cover backing to make yourself an ear saver.

ear saver (1)

You will need:

  • a Thin but durable plastic material. We used the backing of a plastic book cover. 
  • Cutting Machine, we used the Silhouette Cameo 4.
  • Cutting Mat
  • Computer

Directions to make an ear saver:

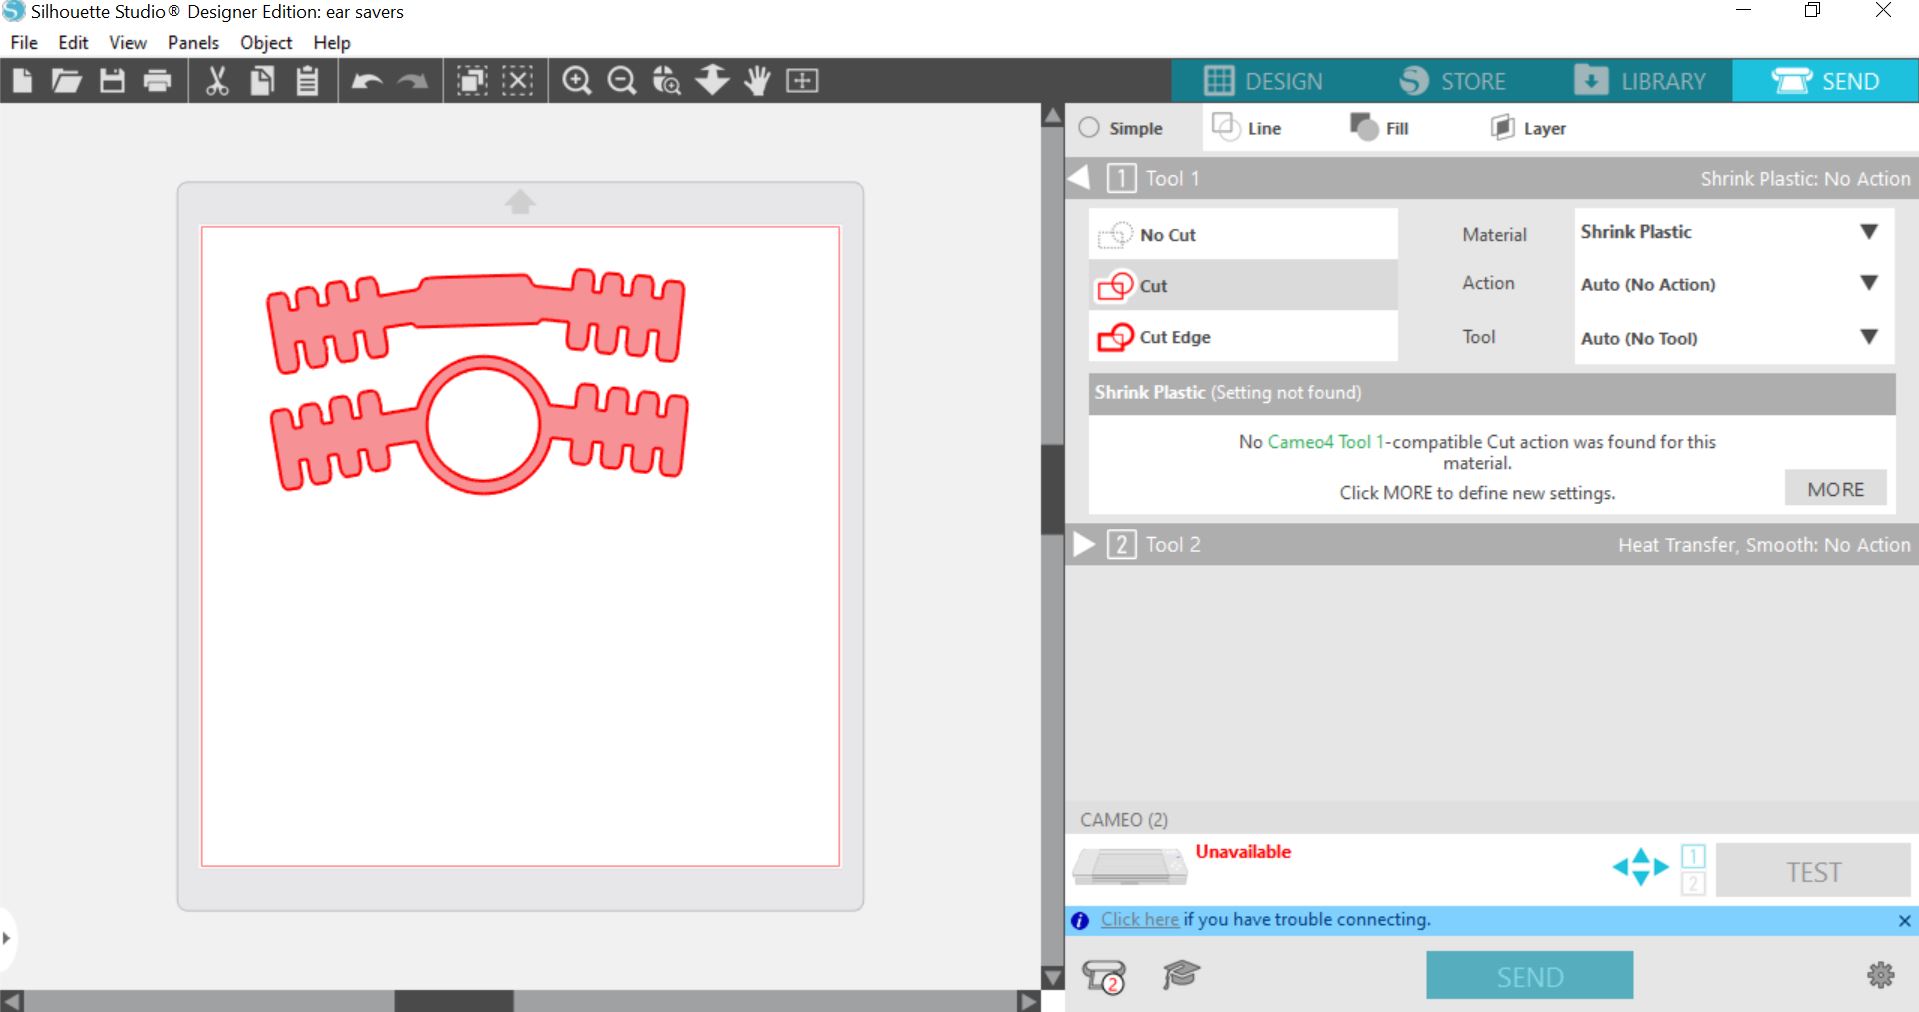
Design your ear saver. 

mask 2

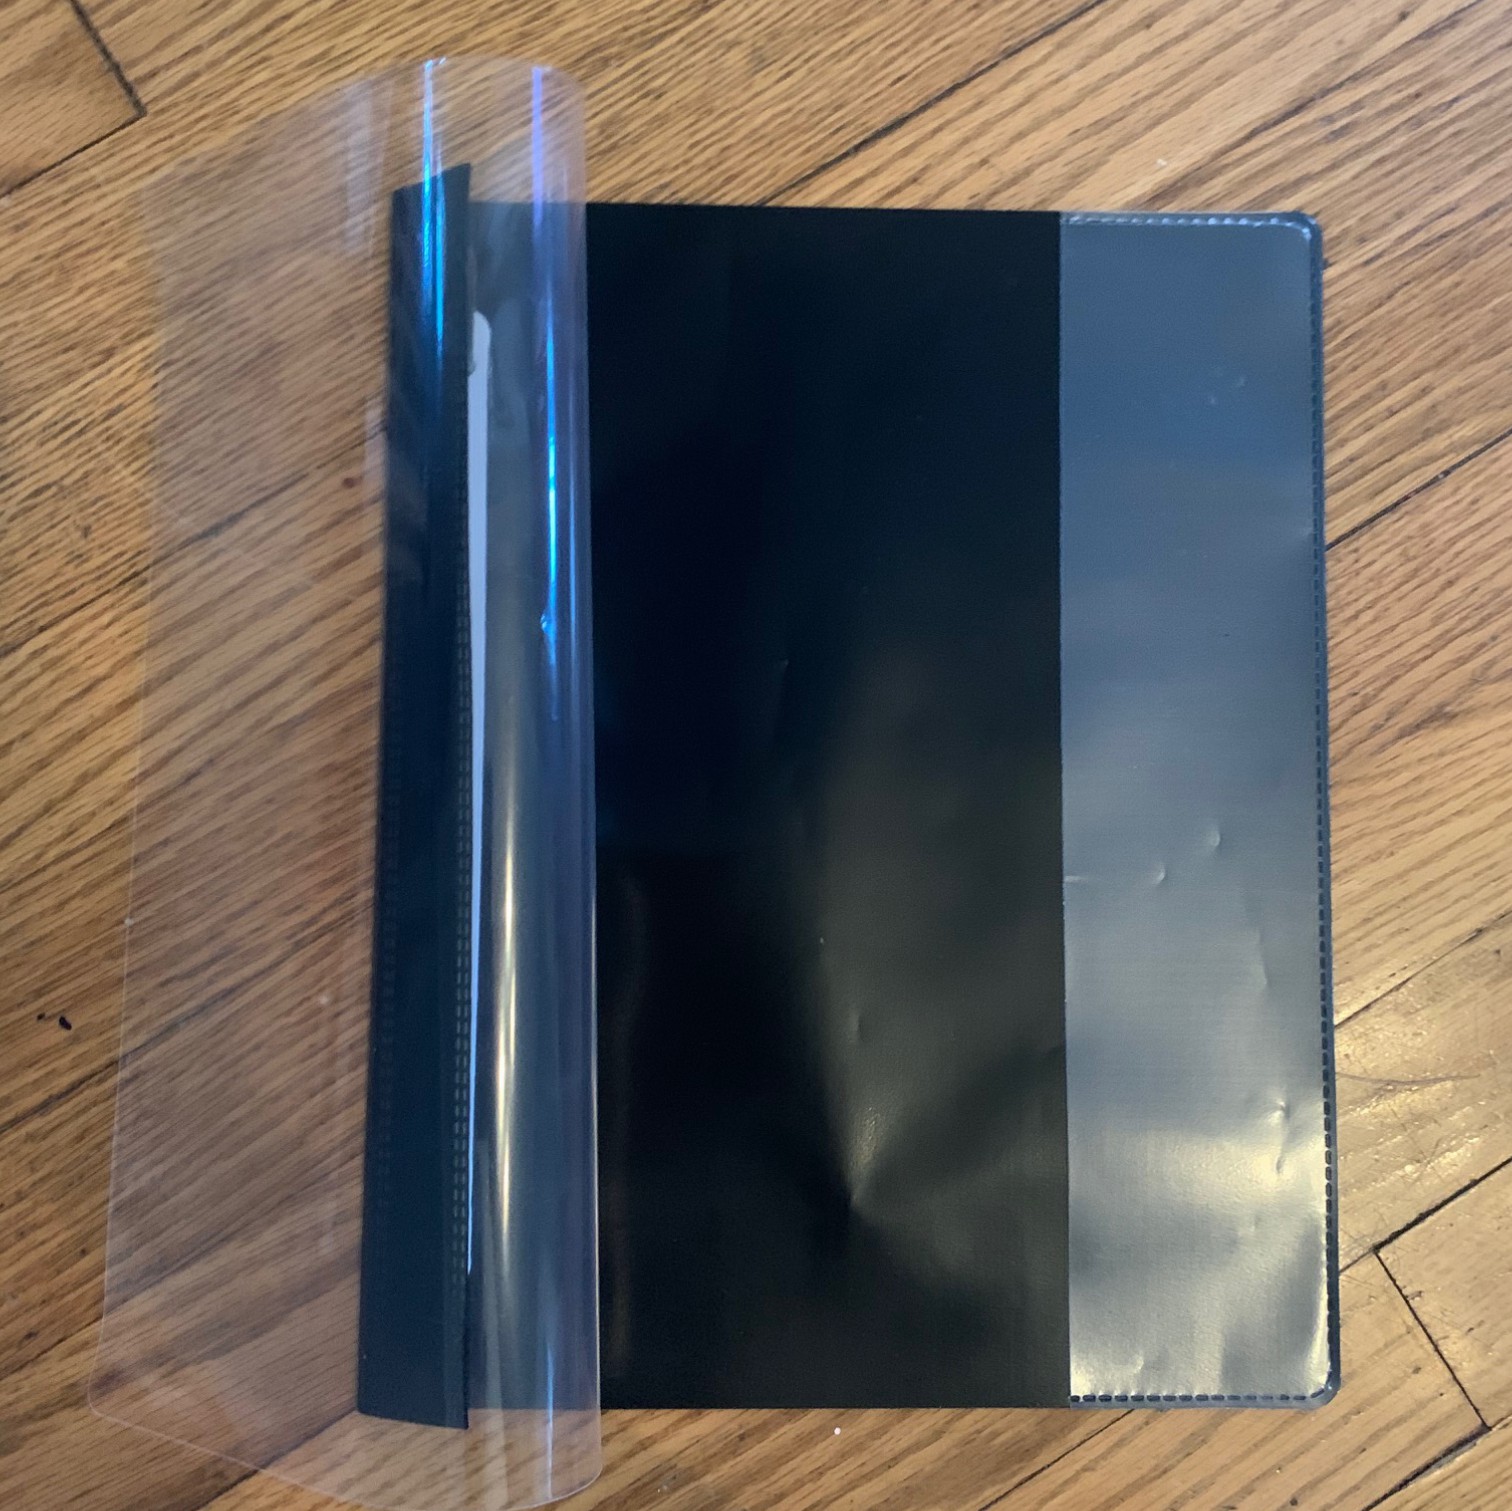
Cut the back page off of your book cover.

IMG_5474

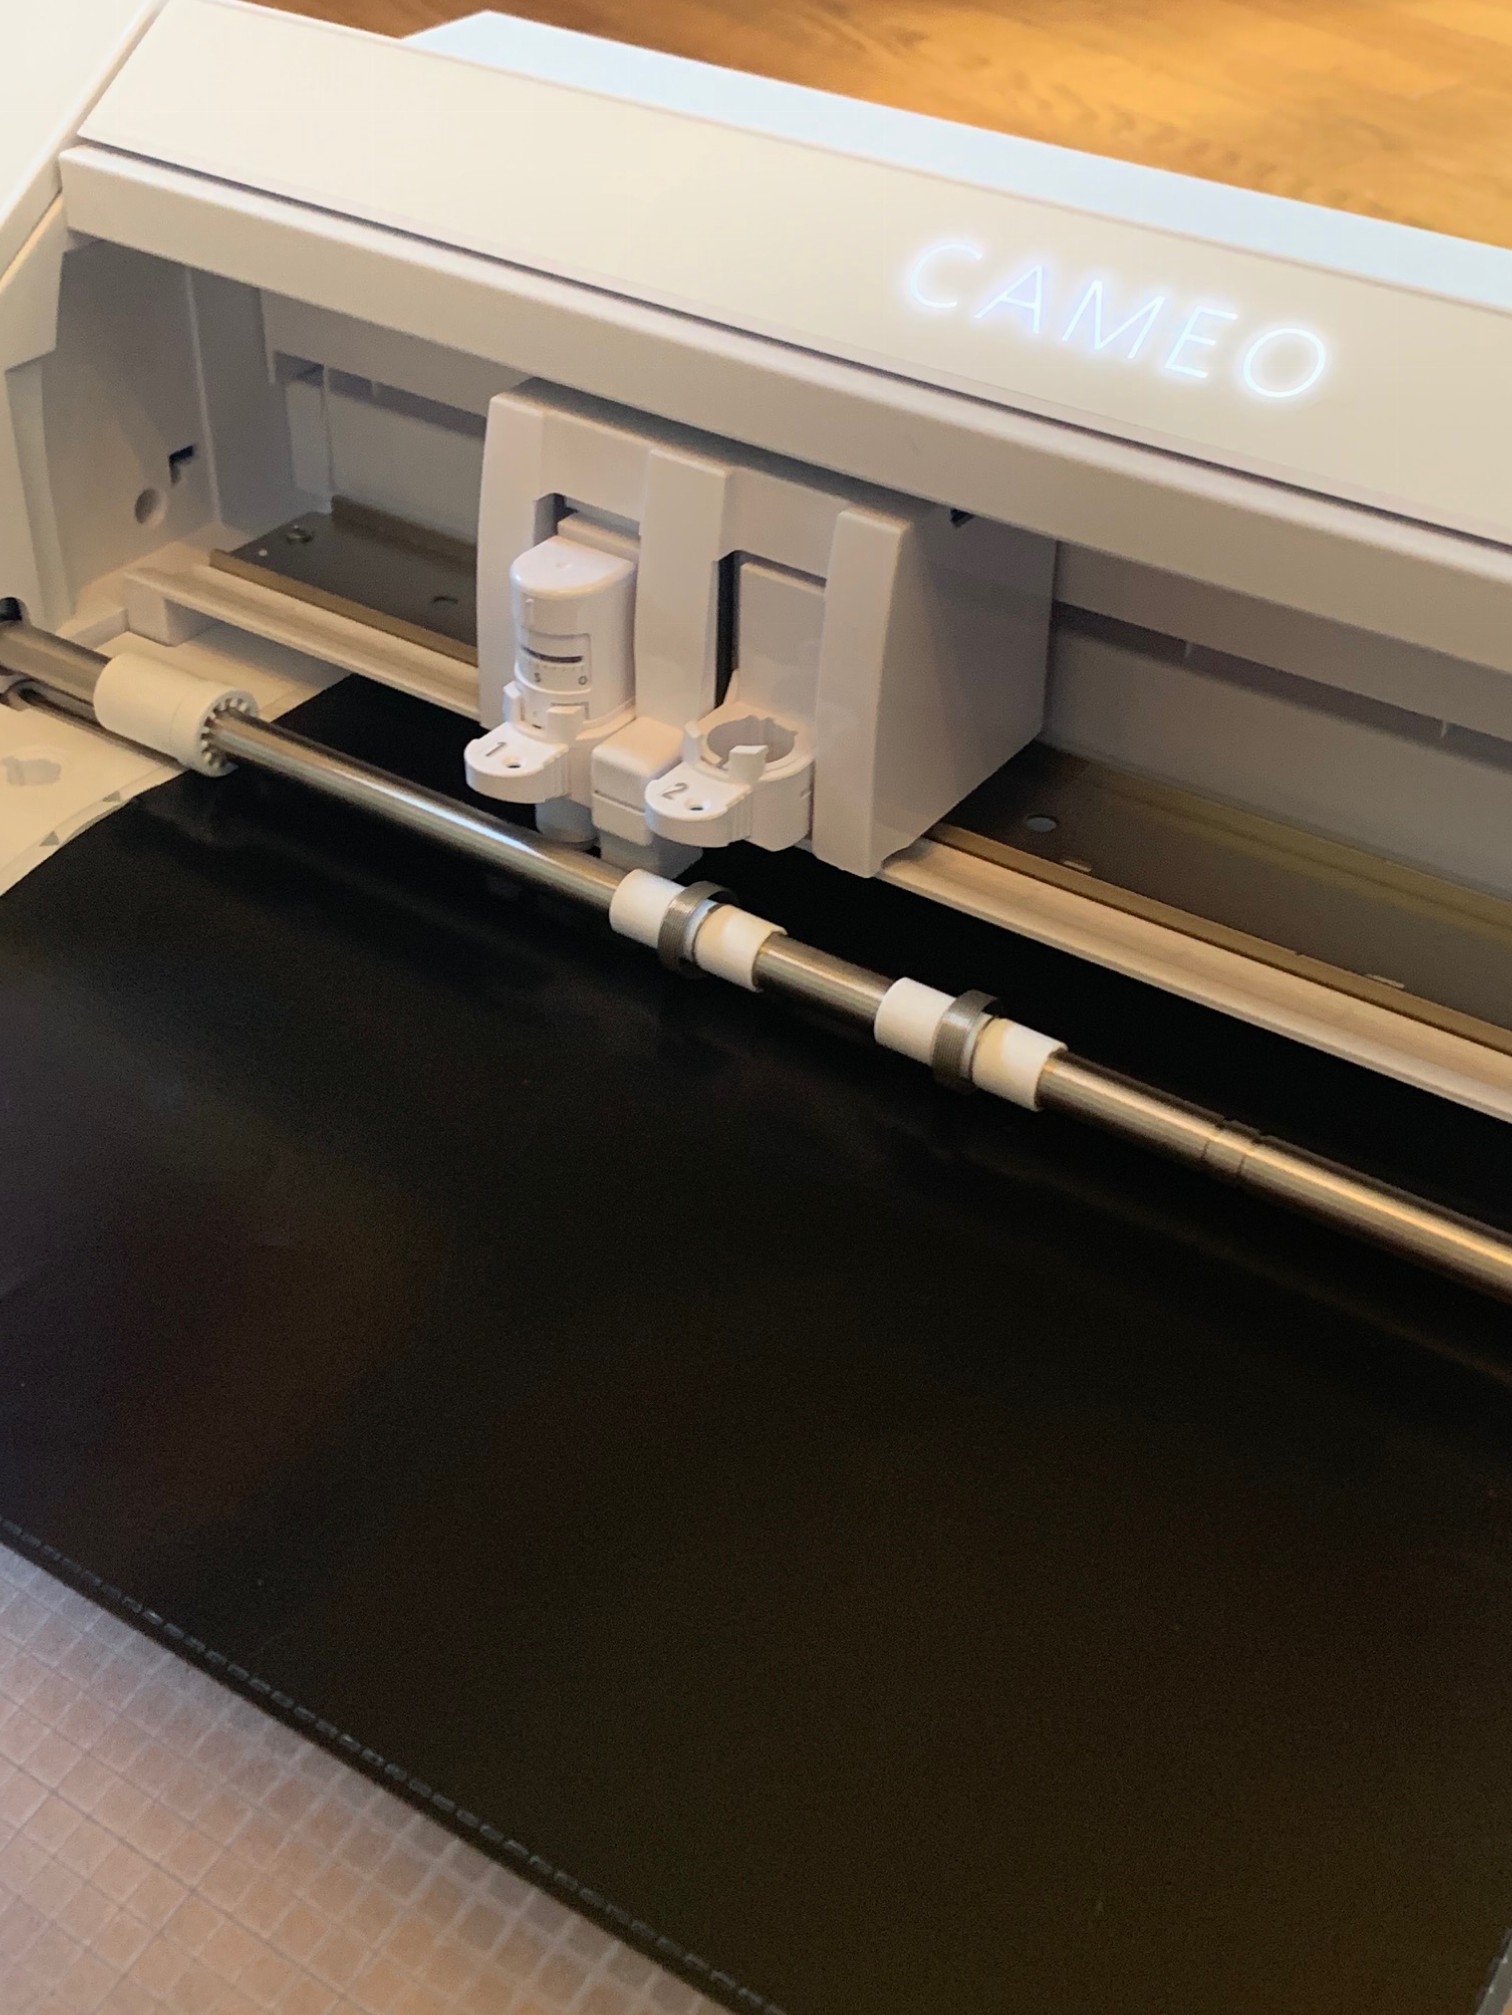
Place it on the mat and insert it into your Silhouette Machine. 

IMG_5477

Go to the cut setting of your silhouette cameo 4 and look at the settings. If you use the plastic book cover backing, we used the shrinky dink cut setting.

Do a test cut. DO NOT SKIP THIS STEP. If it cuts entirely through and you can lift it off just fine, you can move on to the next step. If it doesn’t cut, adjust your cut settings.

Click cut! 

Carefully lift off your ear saver and the remaining cut-up book cover. 

IMG_5479

Try it on.

IMG_5483

A few important notes:

  • Our employee that made the ear saver has only used it about 5-10 so far. So far, so good. But we have no way to know how long the plastic ear saver will hold for. If you are concerned about that, you could try cutting slightly thicker material. 
  • When trying to figure out the size, we measured the back of the ear to the other ear to get a feel for how big it needed to be.
  • We also cut a few different designs to see what angle would work best; we’d recommend you do the same or see if you can find a proven ear saver pattern to purchase.
View & Add Comments

Personalize a baby bib with sublimation

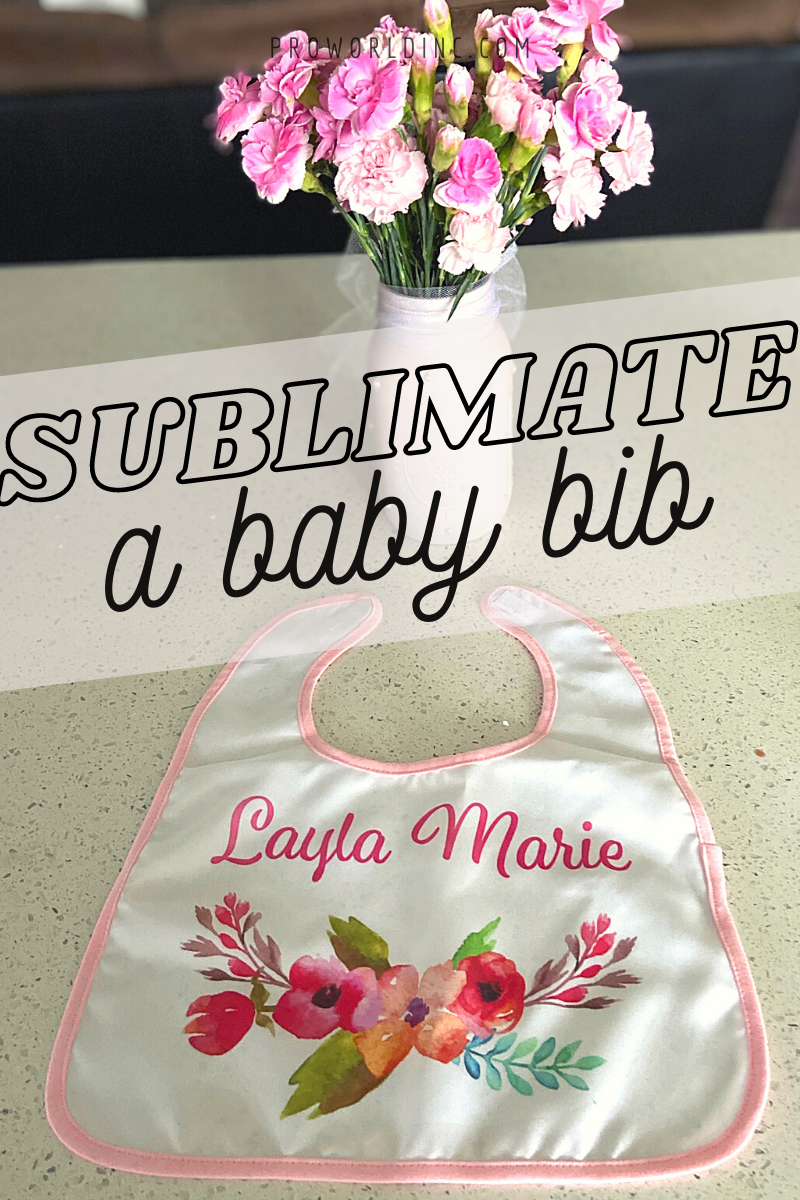
Heading to a baby shower? Make a personalized baby bib with sublimation! Scroll down to see what you need and how to do it!

Sublimate (1)

You Need:

Here’s What You Need To Do:

Create your design.

Print your design on sublimation paper with your sublimation printer.

IMG_5138

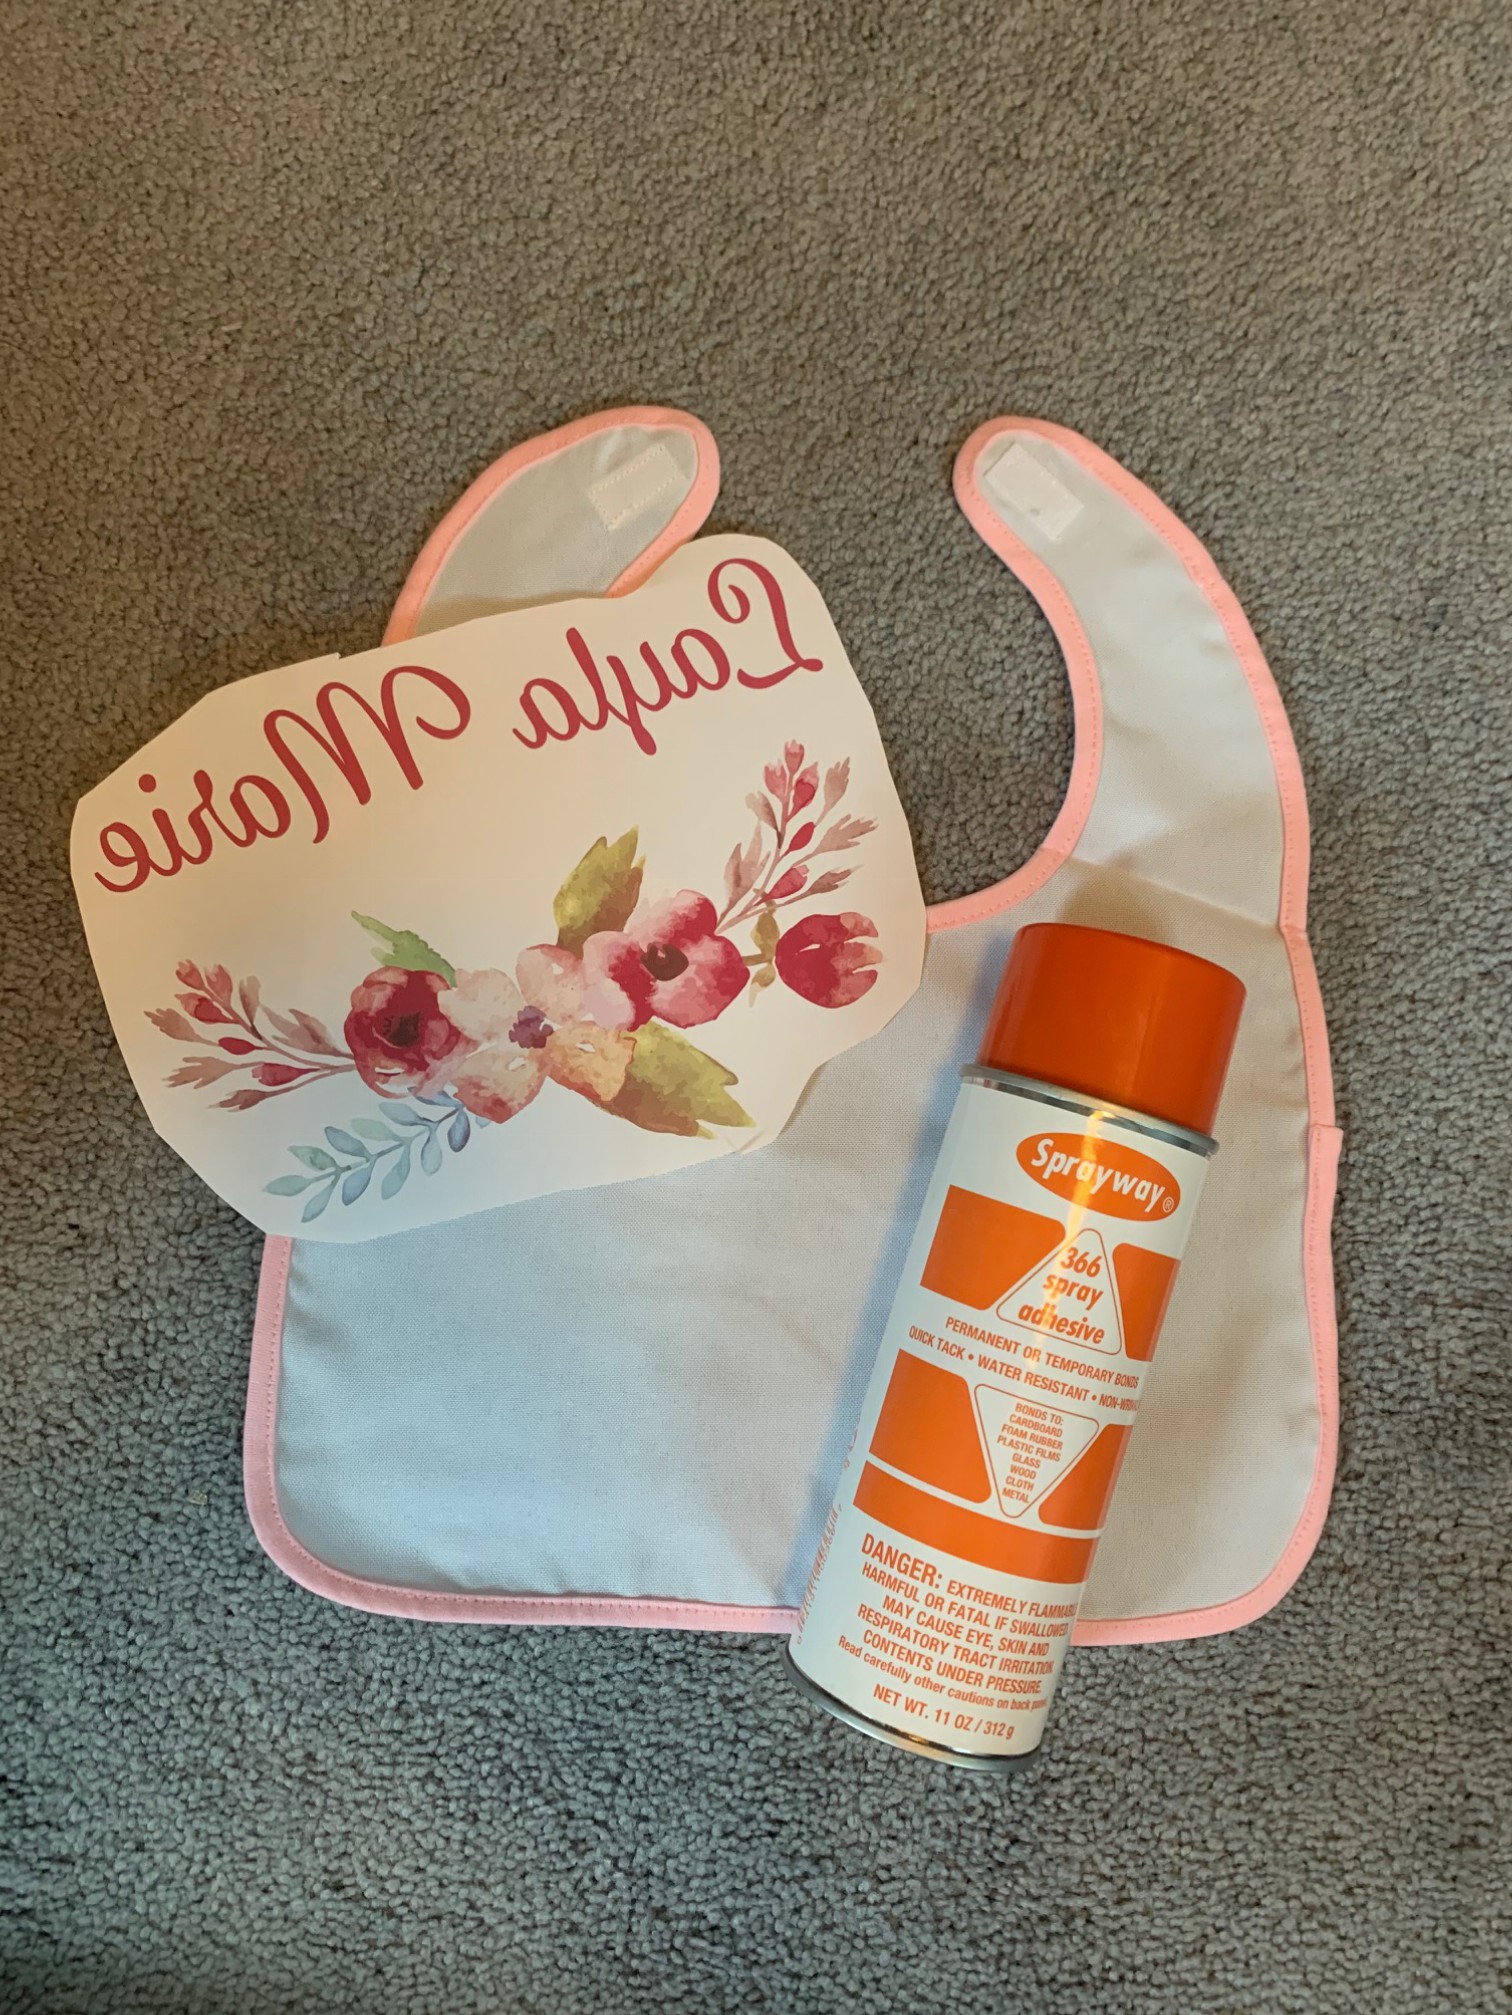
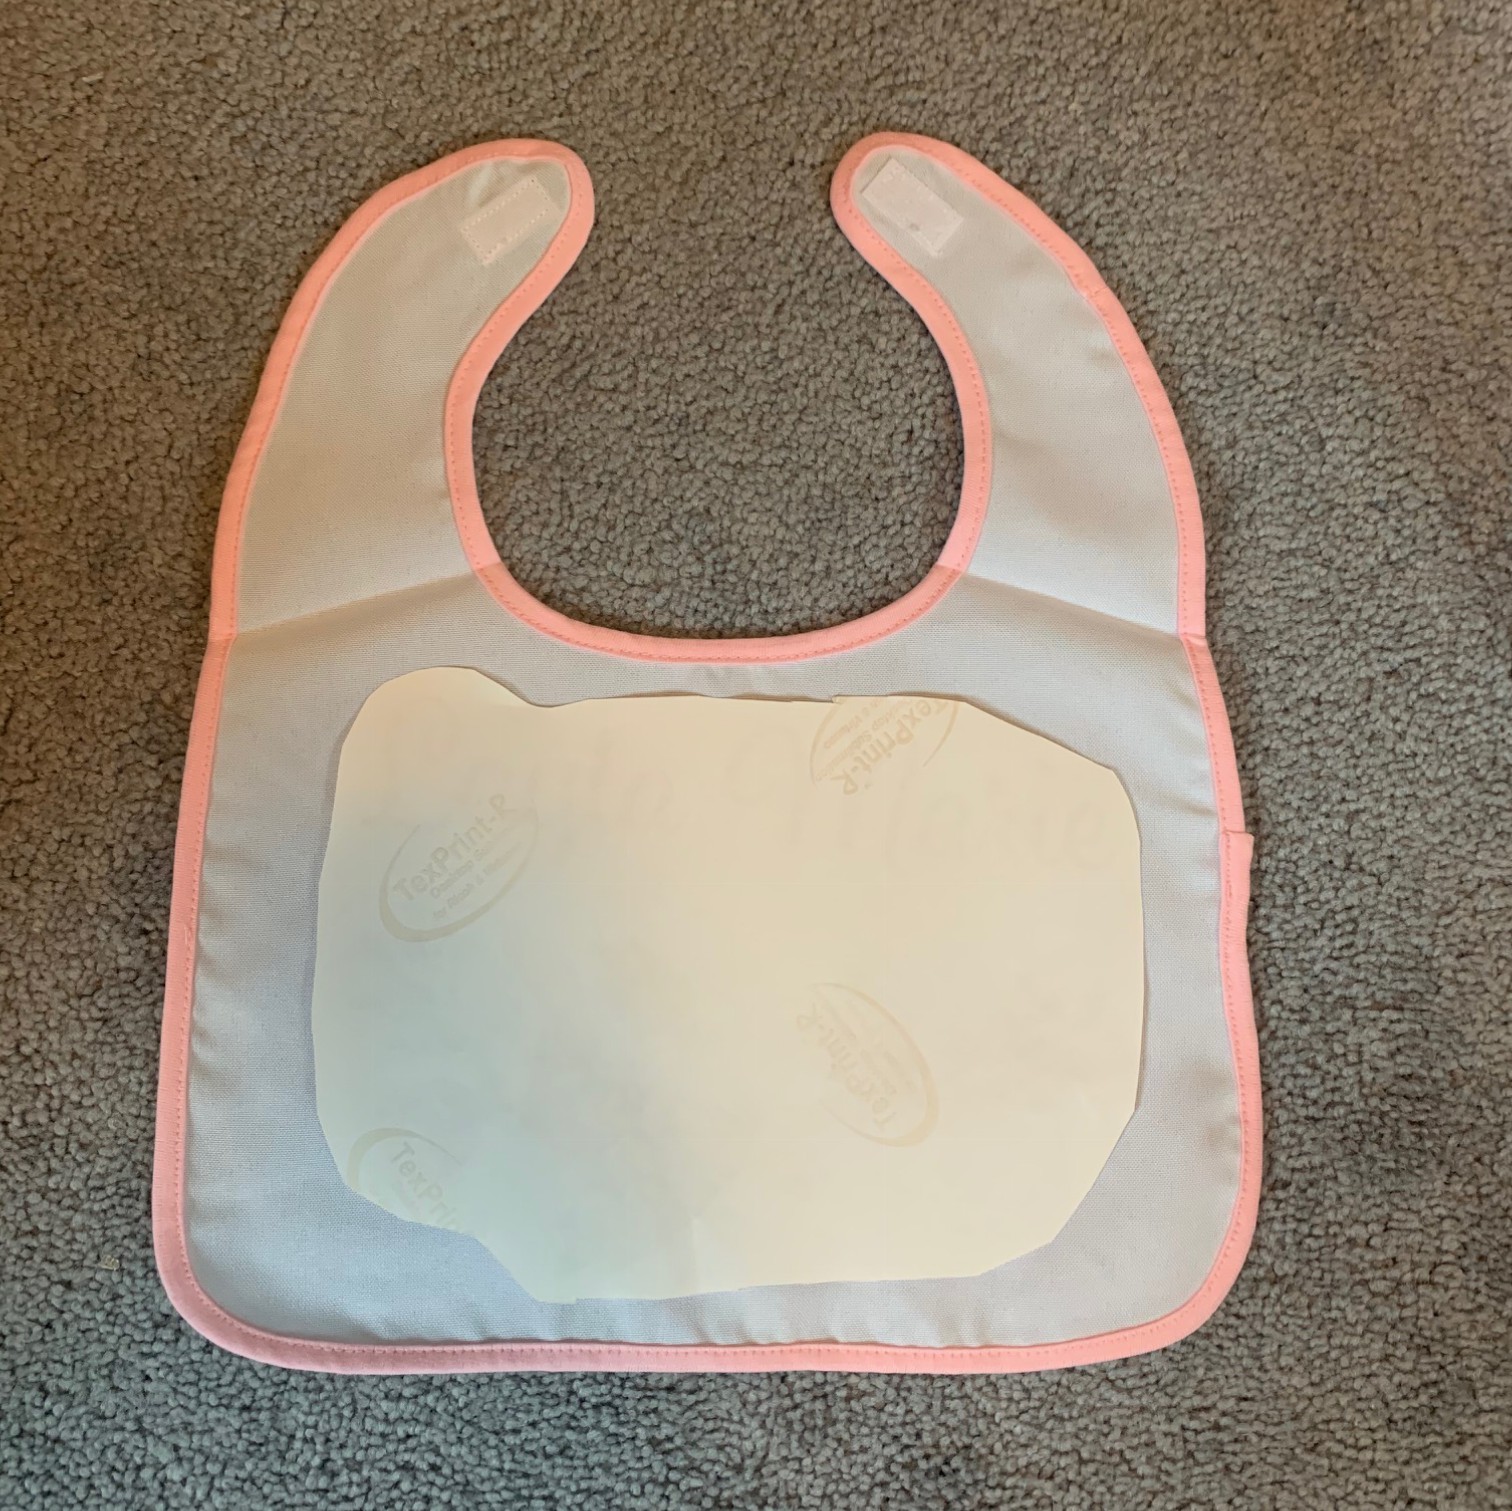
Adhere your design to the baby bib face down. You can use the heat tape or spray adhesive.

IMG_5140

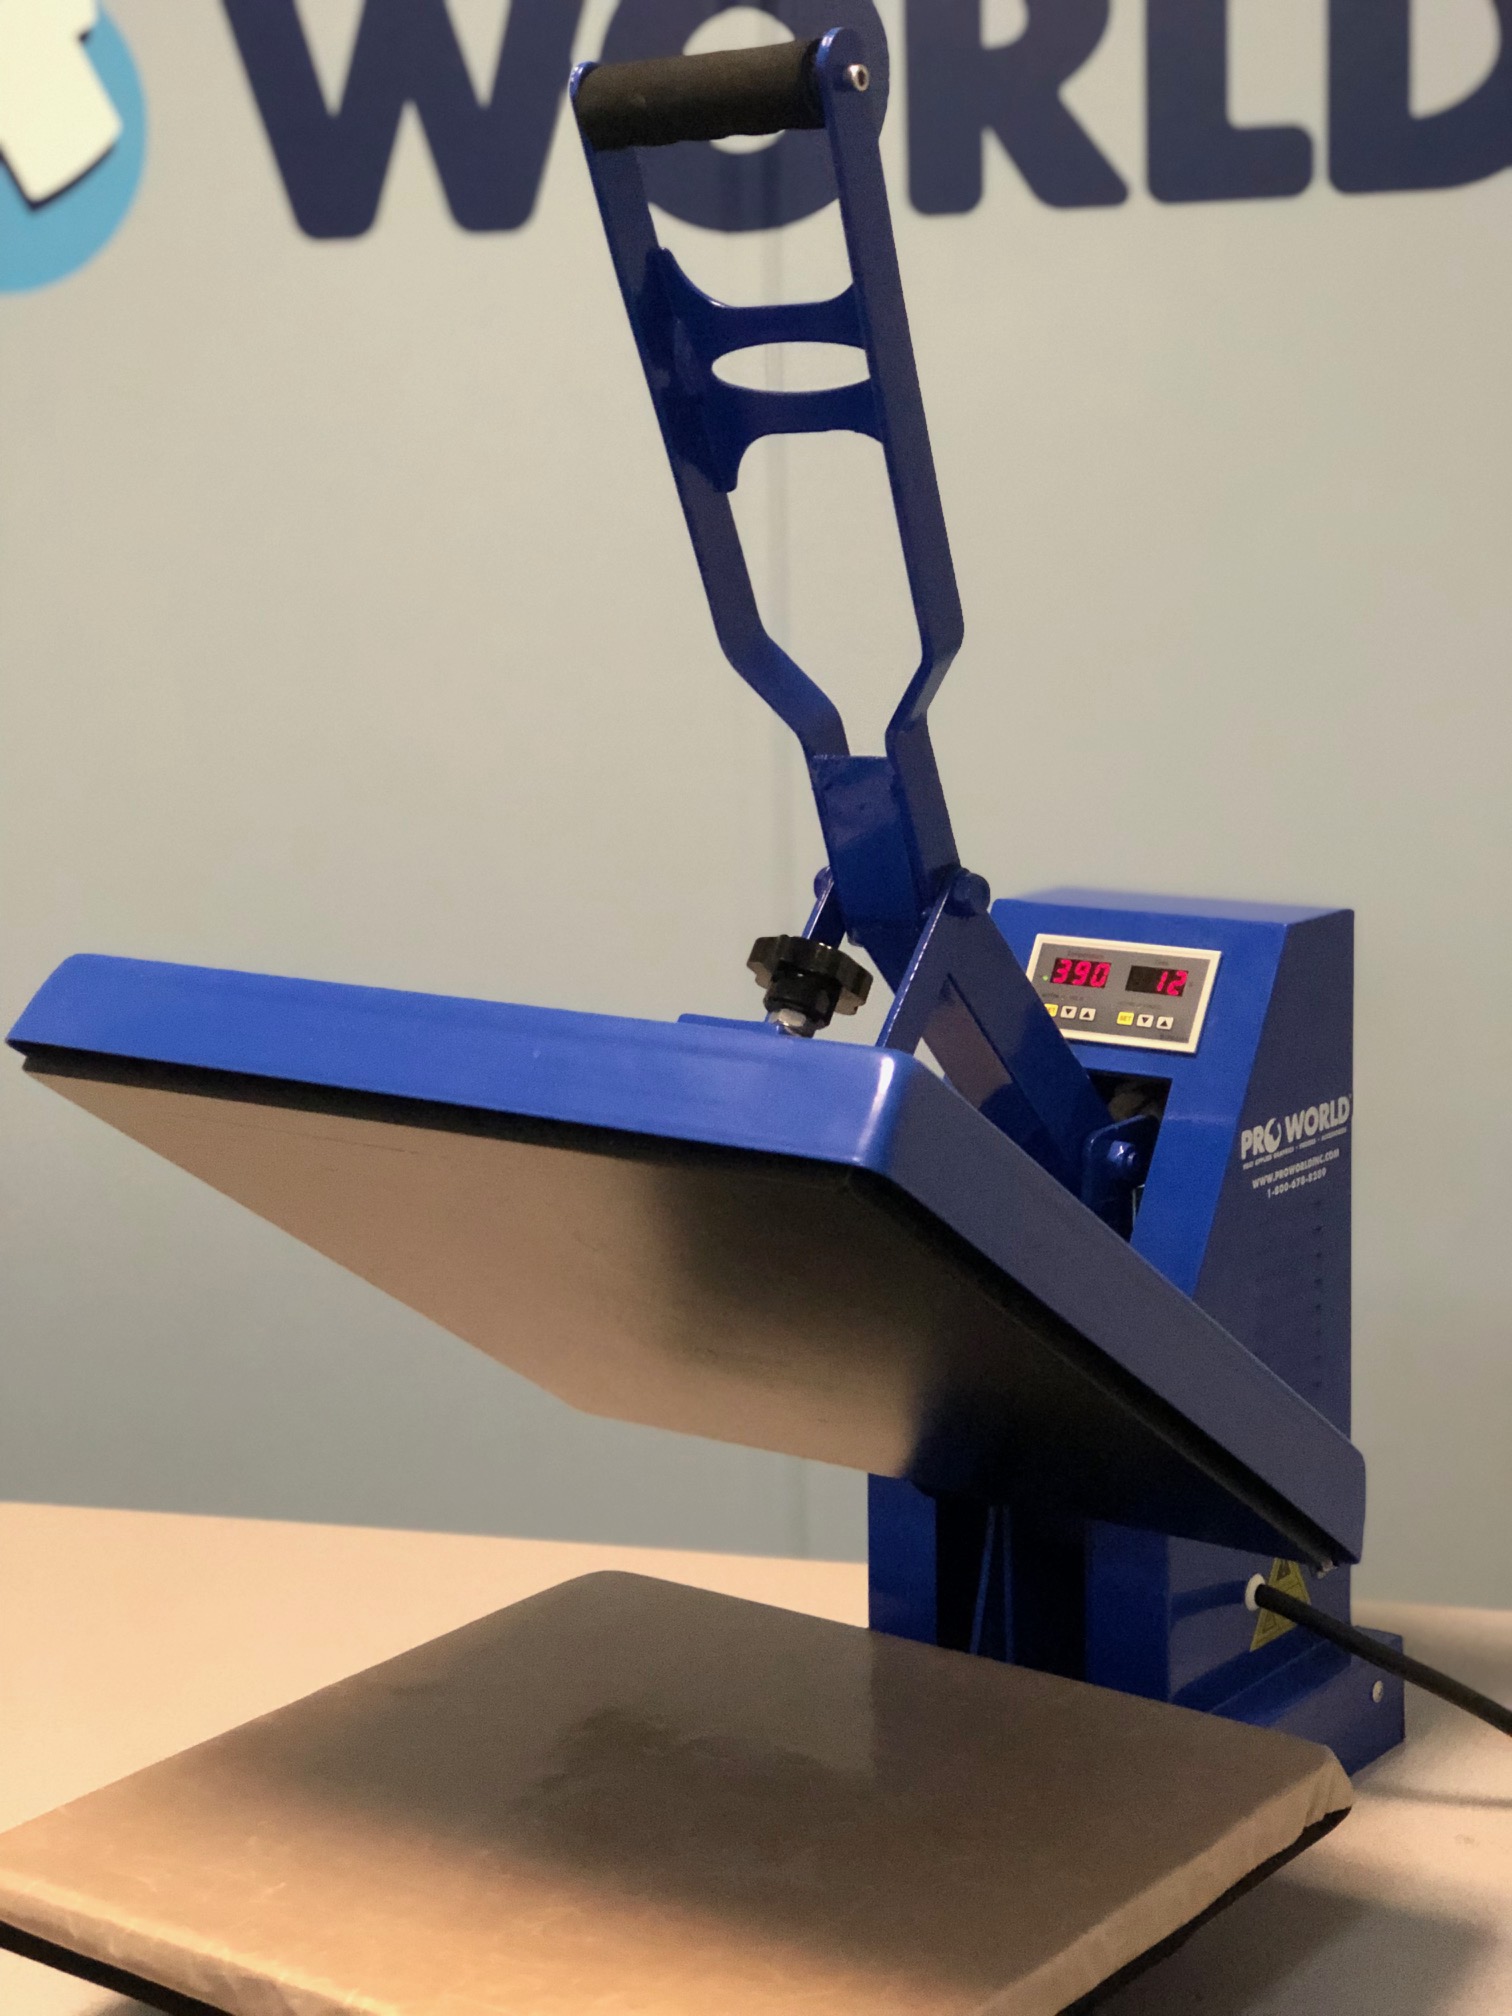
Press the baby bib with your heat press. We pressed it at 400 degrees, for 45 seconds on medium pressure with our Trans Pro Heat Press.

transpro heat press

Peel HOT.

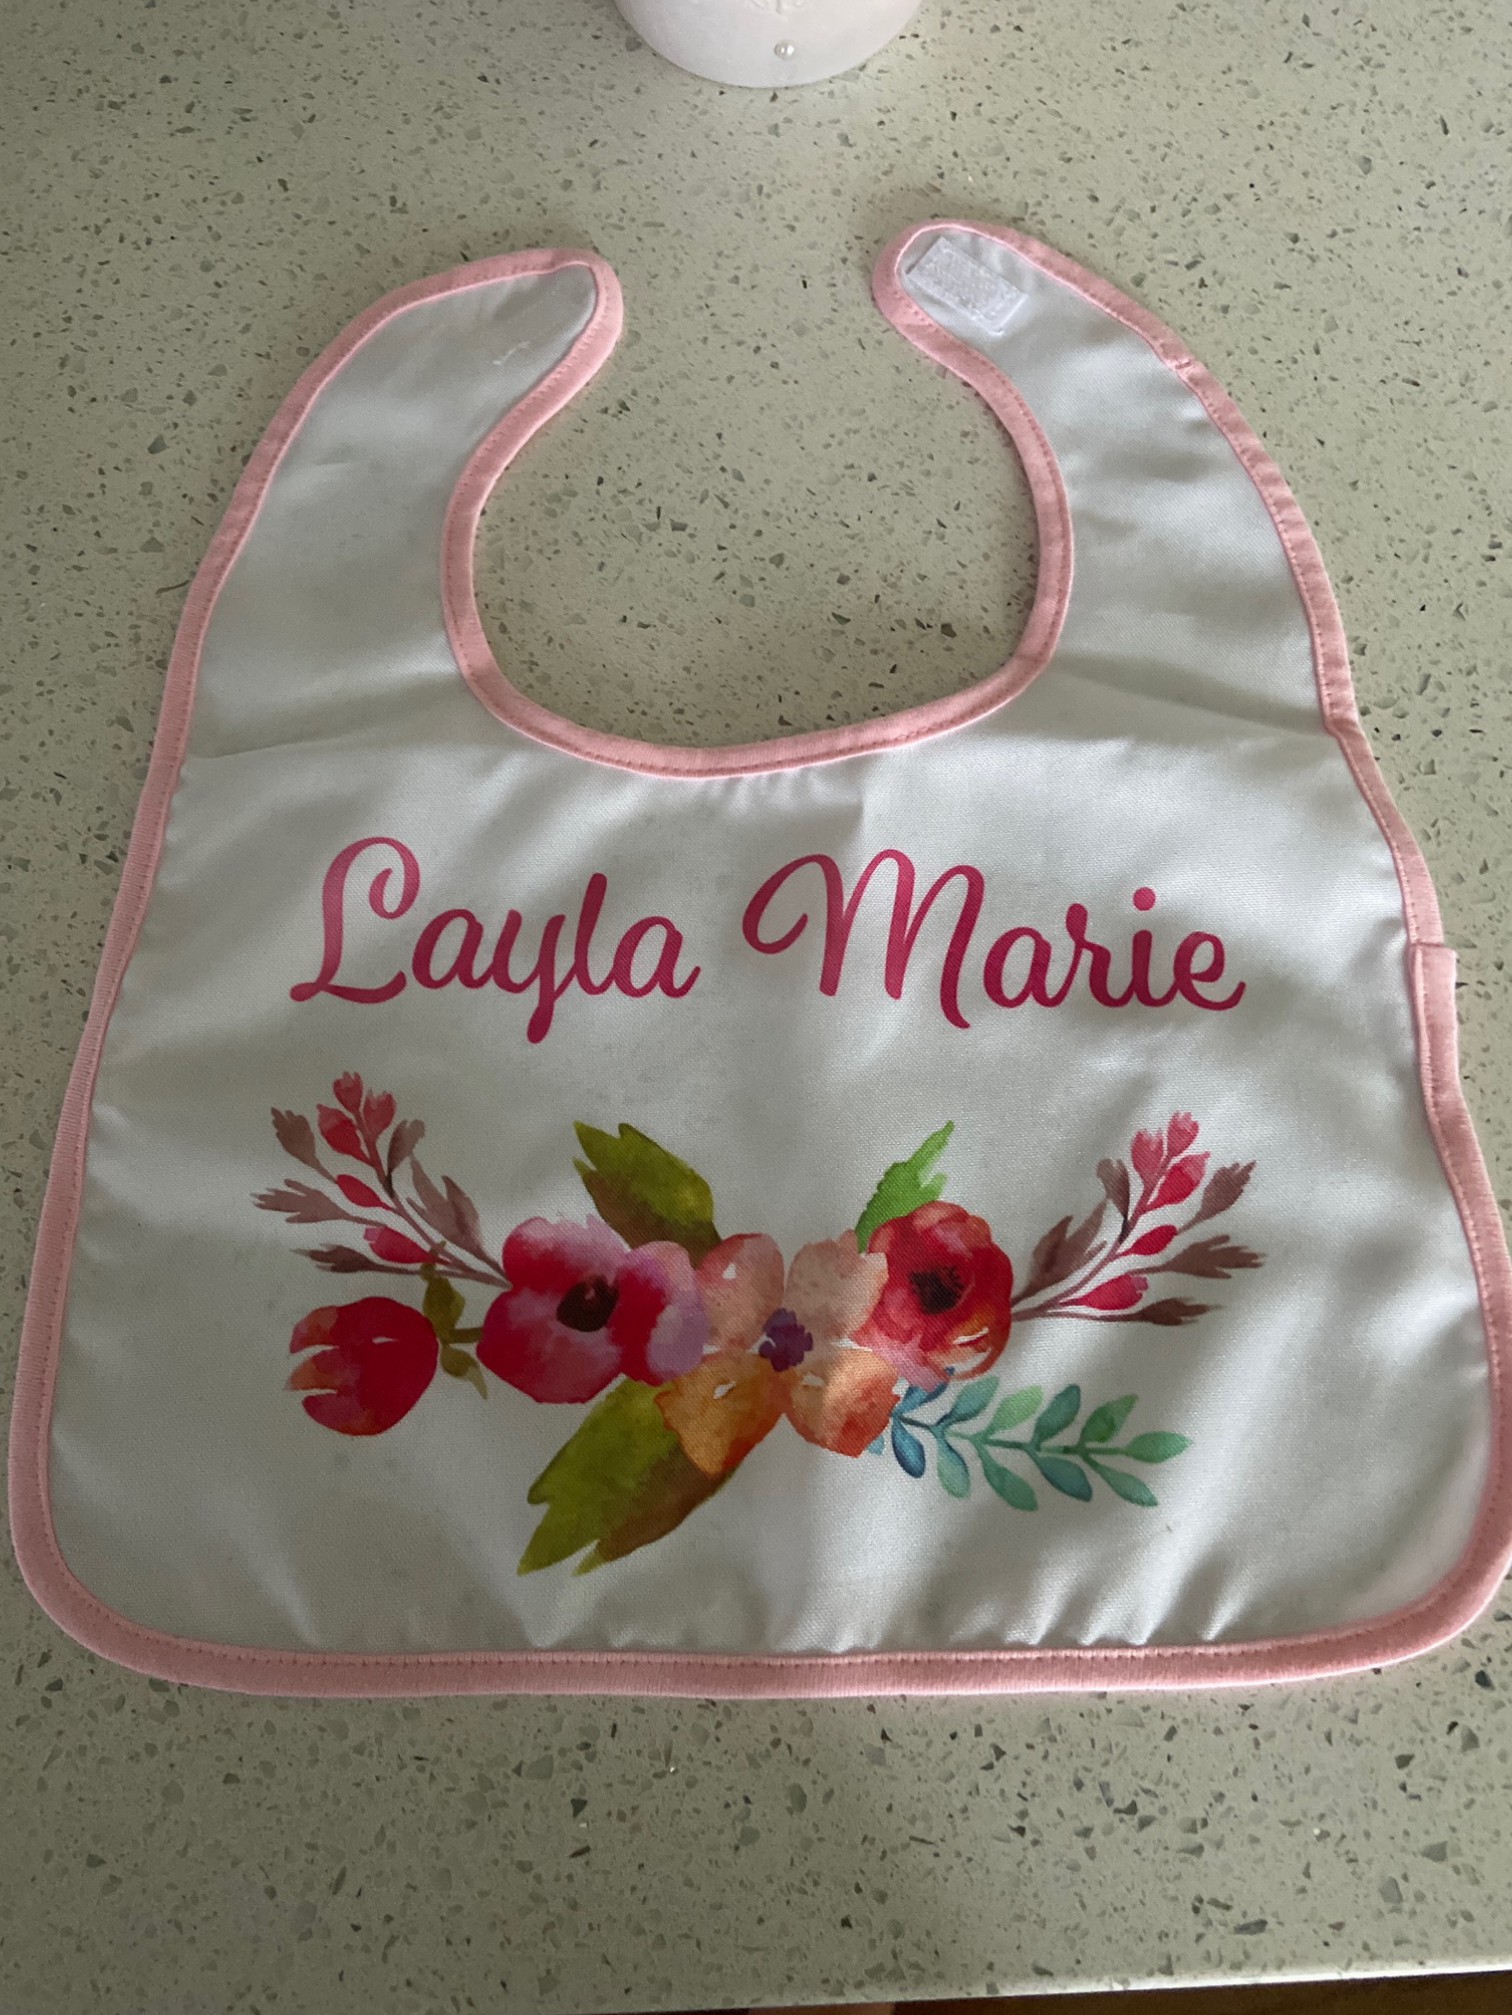
Admire your results!

IMG_5415

View & Add Comments

Customize Auto Accessories

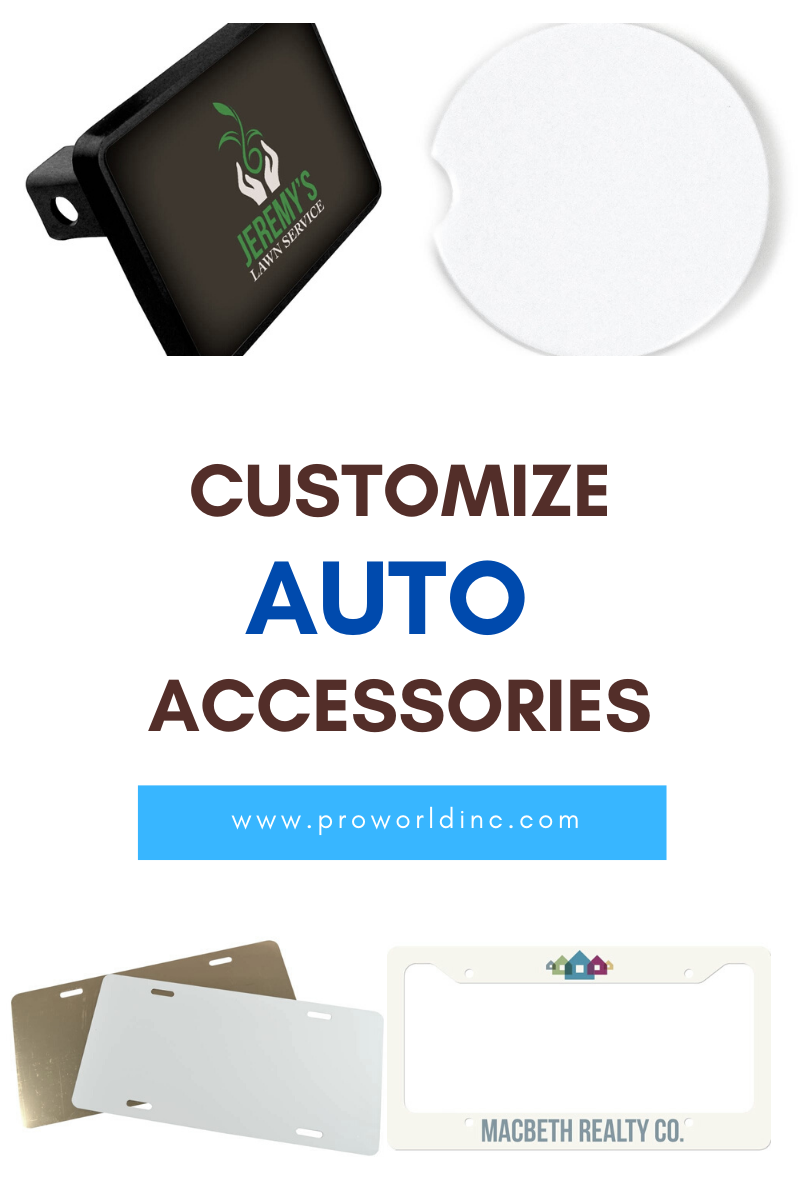
Are you ready to hit the gas on your business? Expand your product offerings by test driving some new custom categories like Auto Accessories!

customize auto accessories

Here at Pro World, we have car accessories that can be decorated to use in your car, on your car, and even about your car! Perfect for any car enthusiast. Want to see them? Scroll down!


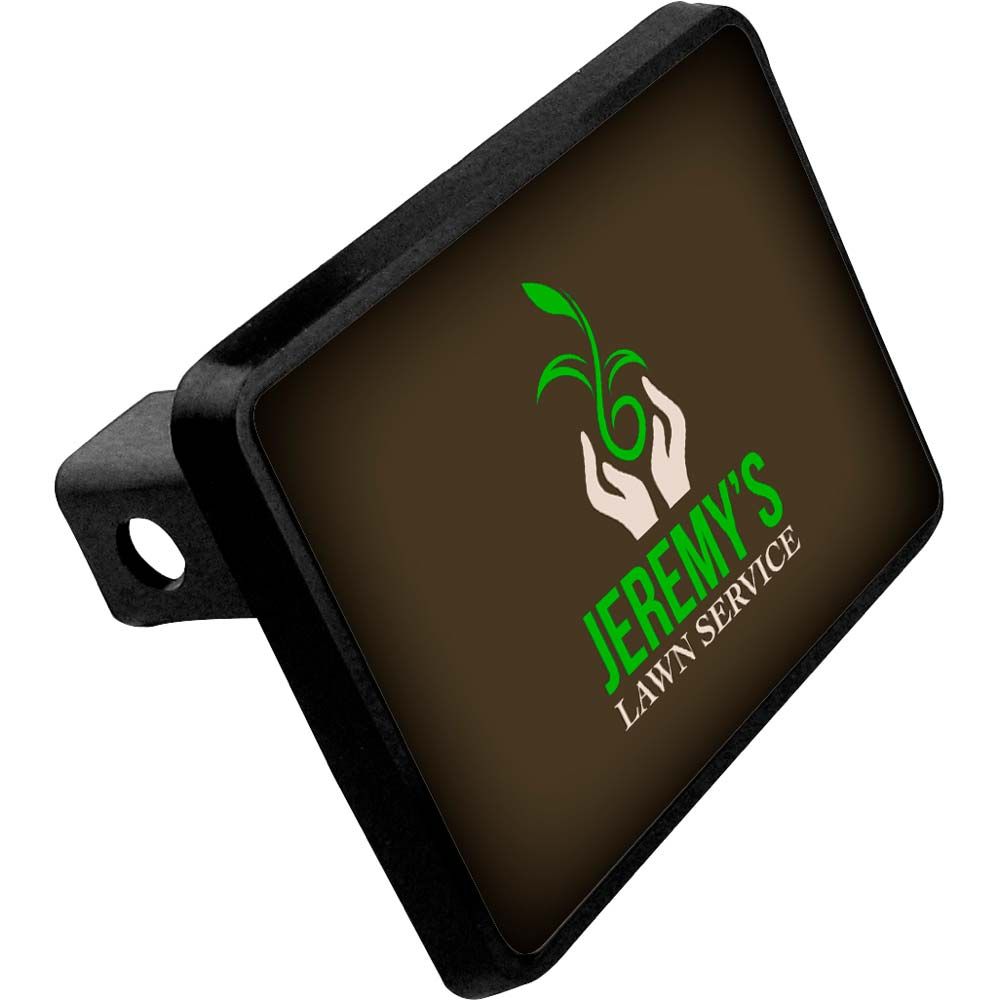
Trailer Hitch

SB-U-4573_1

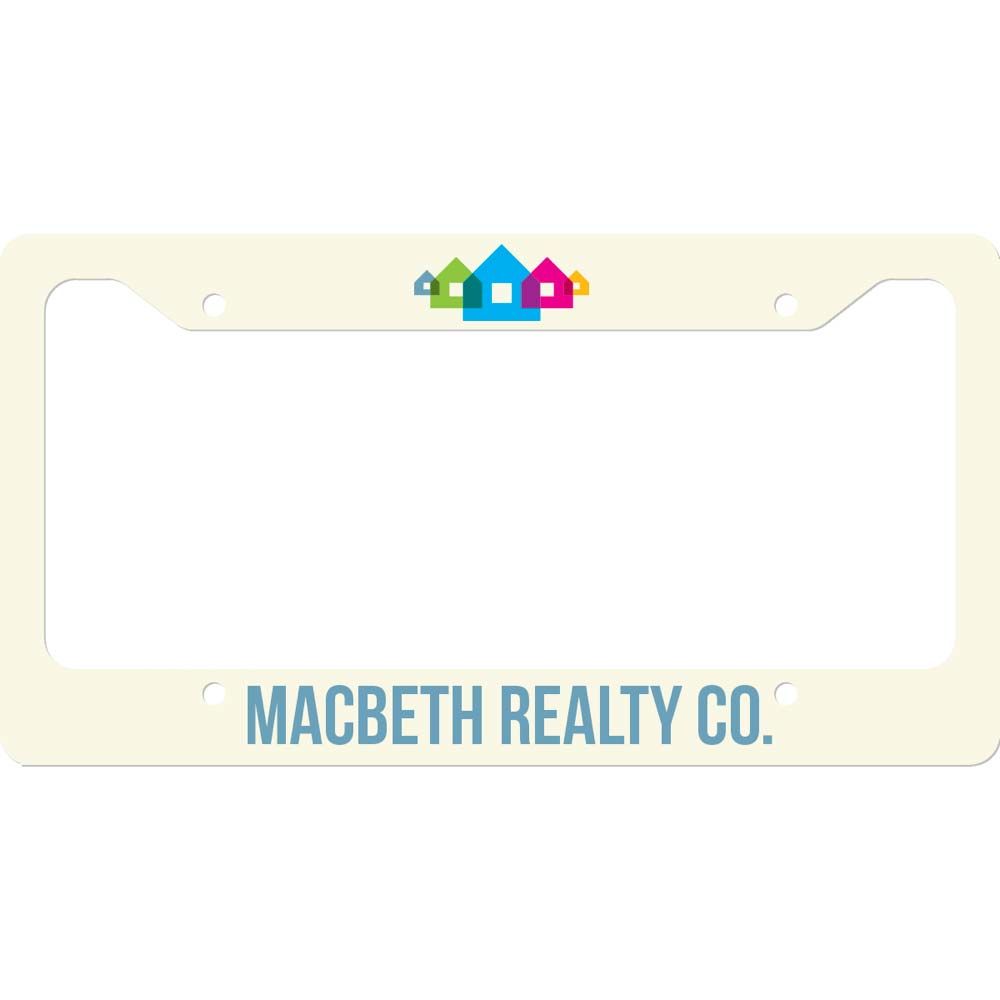
License Plate FrameSB-U-4567_1

Customizable License Plate

plate

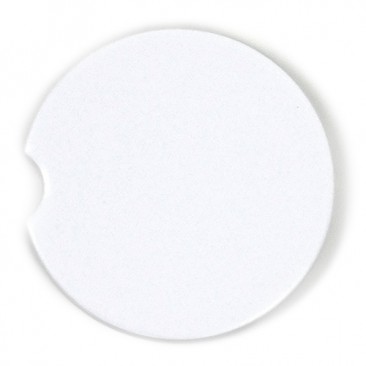
Car Coasters

coaster

Then, if you start sublimating auto accessories you can also add window decals into your product offering. All you need is a little vinyl and a cutter!

Window Decals

FDC Vinyl on car

Have you used any of our auto accessory products before? Tag us on Instagram we want to see what you have made!

View & Add Comments

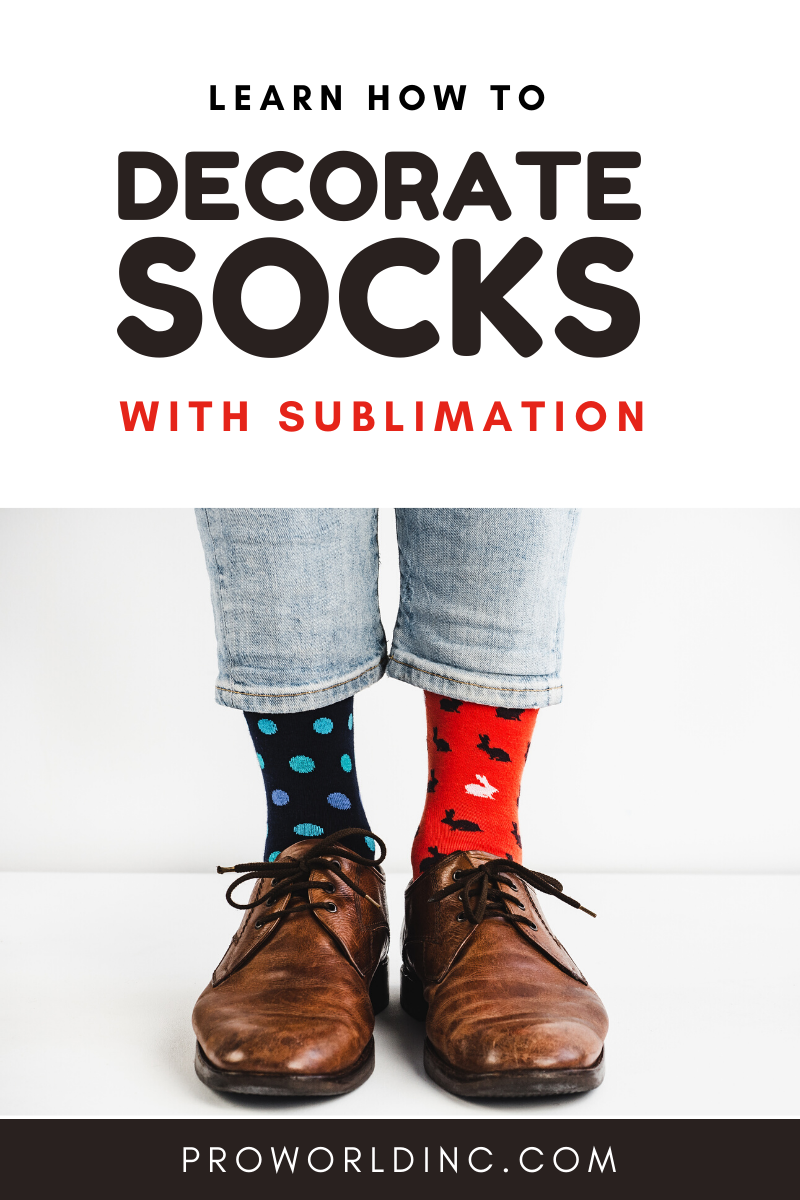
Sublimating Socks: What You Need & How To Make Them

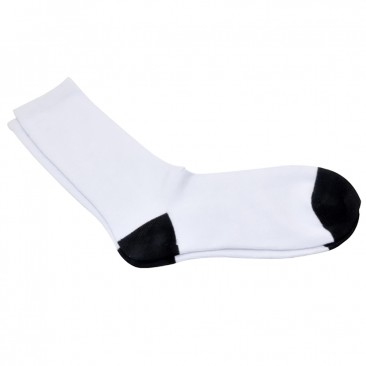
You can finally update your sock drawer because we now carry sublimation sock blanks at Pro World!

Currently, our sublimation sock blanks come in a few different styles and sizes. We offer kids, women, and even men! Would you like to order a few pairs of sock blanks? Head to our website! You can get the crew socks here and the ankle socks here!

sublimating socks

The sublimation sock blanks are 100% white polyester with black detailing around the toe and the heel. Each pair is individually wrapped with a cardboard insert.

sb-s-210_1

Want to decorate the sock blanks? Here’s how:

  1. Set temperature to 400 degrees Fahrenheit.
  2. Set timer to 36 seconds.
  3. Set Pressure at heavy.
  4. Print a mirror image onto Texprint Paper.
  5. Place sock(s) on platen with cardboard insert.
  6. Place printed sheet face down on sock(s).
  7. Press at 400 degrees F for 36 seconds with heavy pressure.
  8. Remove paper immediately.
  9. Adjust sock on cardboard insert. Roll the sides of the sock so a small sliver of printed area is on the other side.
  10. Position unprinted side of sock face up on platen.
  11. Place printed sheet face down on sock(s).
  12. Press at 400 degrees F for 36 seconds with heavy pressure.
  13. Remove paper immediately.

Want a few more tips? Watch this video! Danielle will show you how how to sublimate socks.

View & Add Comments

Decorate Face Masks with a Heat Transfer

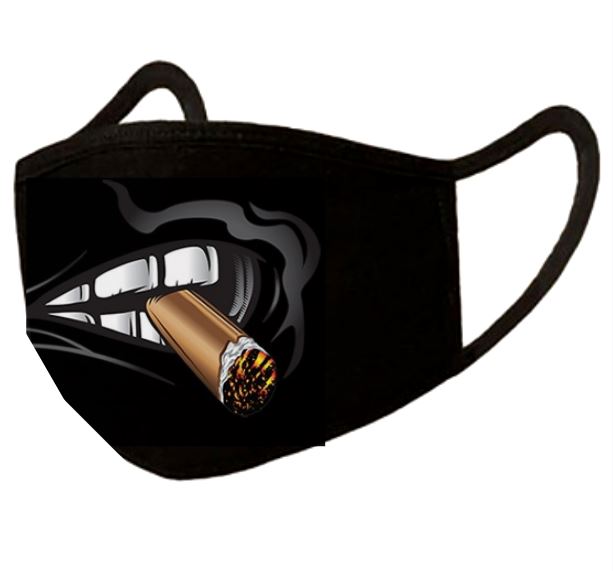
Are you looking for a new an alternative way to decorate your face mask blanks? Use a Face Mask Heat Transfer!

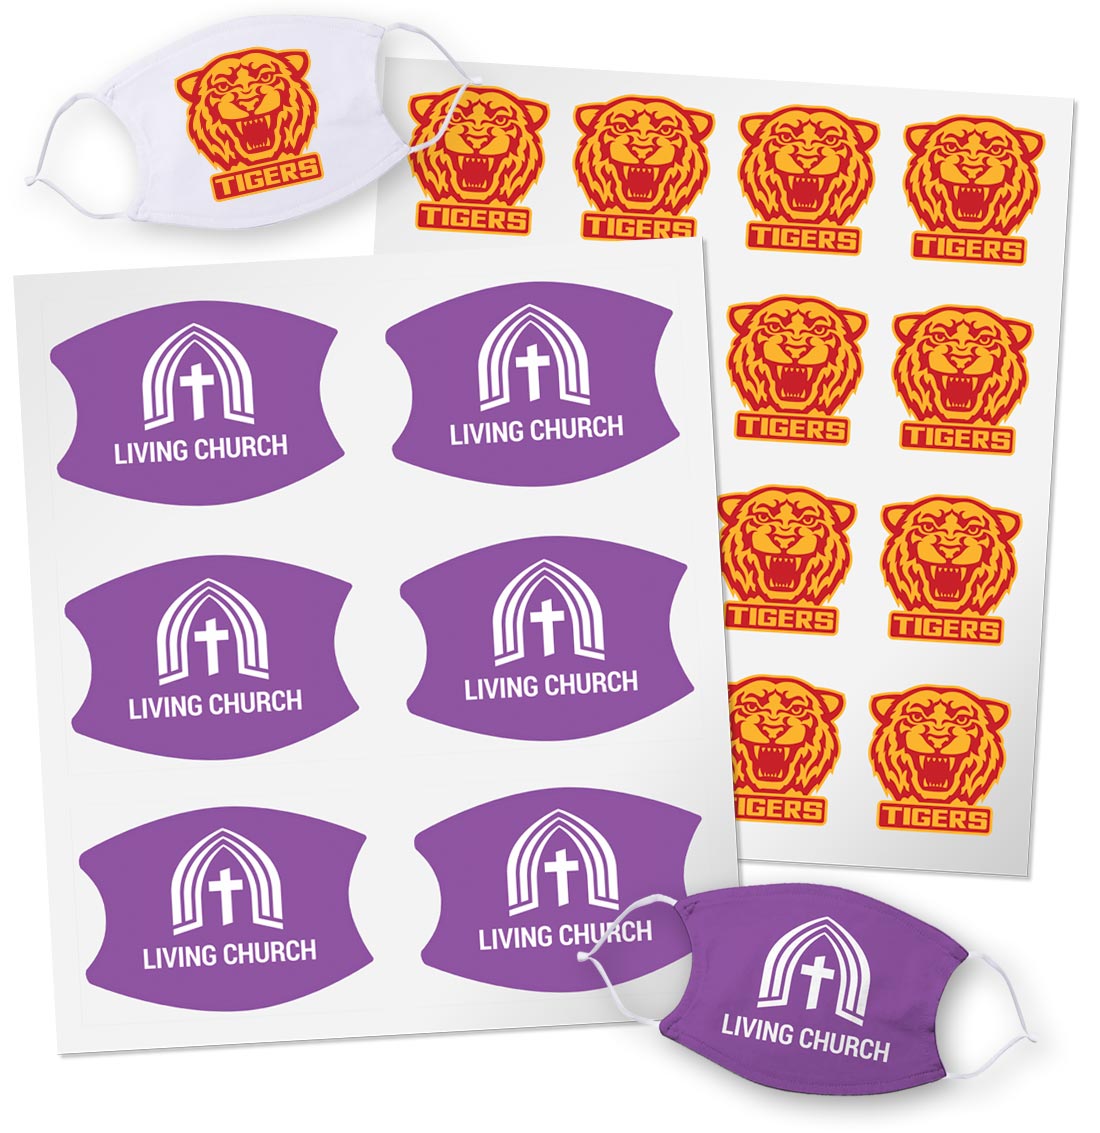
When using a Face Mask Heat Transfer the process is quick and easy. All you have to do is warm up your heat-press, peel the plastic carrier from the heat transfer, place the transfer onto your blank, and then press it!

mask heat transfers

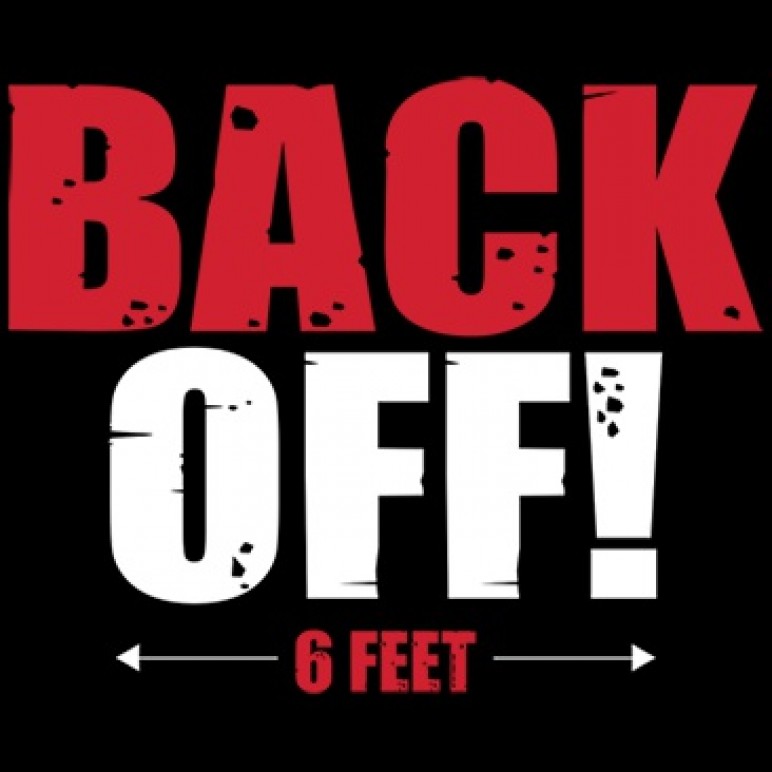
With over 60 heat transfers for face masks, so we have something for everyone. Want to see some of the customer favorites?a1034e  a1074d a10462c (1)

a1135g (1)

Do you need to fill a bulk face mask order? Create your own mask heat transfer! Just go to PW Customs.

masks-mainimg


View & Add Comments

Adhesive Vinyl Craft Tutorials

Want to do more with your adhesive vinyl but need some inspiration? Today we are rounding up a few of our favorite video tutorials! See below!

Adhesive Vinyl Craft Tutorials

Decorate wine glasses with adhesive vinyl!


Decorate a switch plate with adhesive vinyl!

Decorate your airpod case with Adhesive Vinyl!

Do you know how to layer your adhesive vinyl? If no, watch this video!

Make Some Wall Art with Adhesive Vinyl!

Decorate & Organize Your Kitchen with Adhesive Vinyl!

Decorate Your Pots & Planters with Adhesive Vinyl!

Want more adhesive vinyl tutorials? Follow us on Pinterest!

Need to purchase some new adhesive vinyl colors? Head to our website!

View & Add Comments

New Siser Products at Pro World

Did you see the announcement Siser has rolled out more vinyl assortments!! See what we now have in stock on our website!

new siser products

Do you love Sister Glitter HTV? So do we! Which is why we now carry 49 shades of it!! The 2 new shades that we just added to our collection is lilac & ember orange! Which both will come in available in 12″ and 20″. To see the variety of Siser Glitter HTV shades, go to our website

We also received in 4 new Siser EasyPatterns, brining our current count to 24! We have so many we are having a hard time selecting a favorite! Which one do you LOVE? See them all here!

Lastly, the BIGGEST announcement that we have is EasyWeed matte HTV is now in stock! We have 7 colors available in 12″ and 15″ heat transfer vinyl colors. Have you tried it yet? Let us know what you think! Order it here!

View & Add Comments

Everything you need to know about buying & using a heat press

Are you thinking about getting a heat press? If so, we put together some important things for you to keep in mind. 
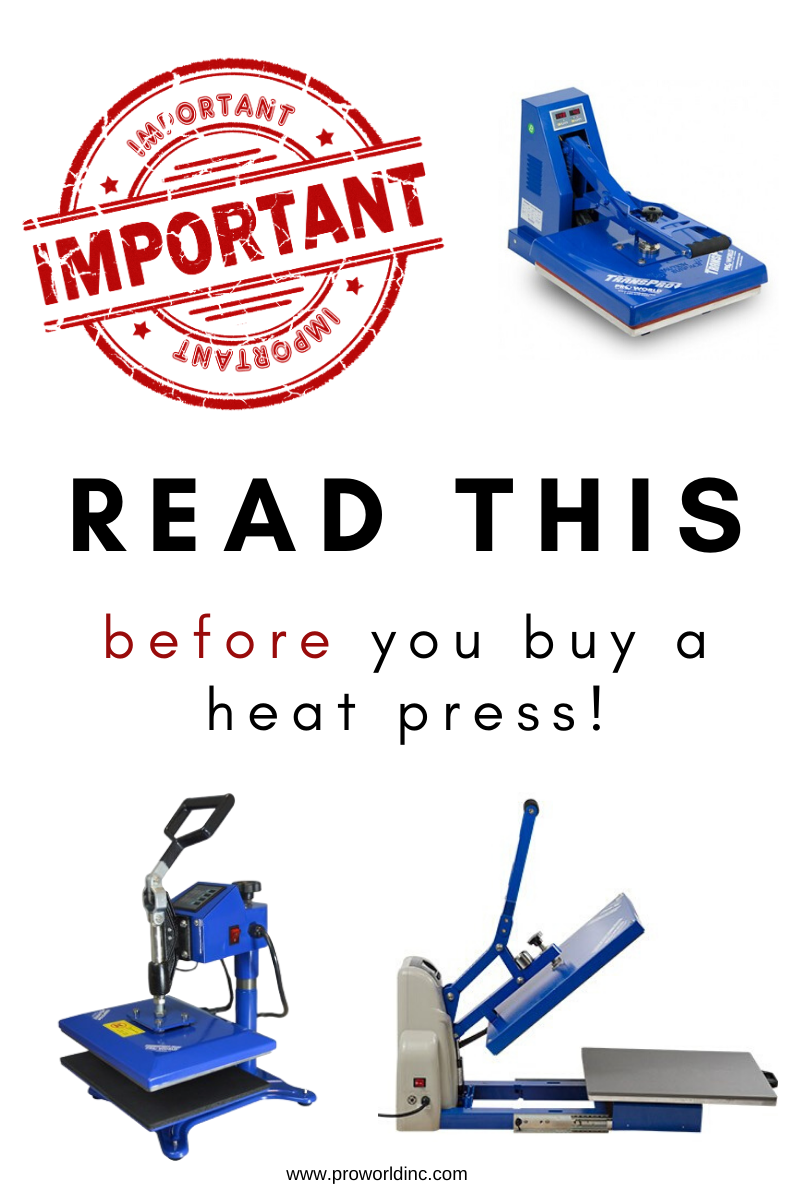
read this before you buy a heat press

When buying/using a heat press it is important to….

Read the details! The heat presses that Pro World sells are all equipped to handle plastisol ink transfers with a heavy pressure requirement, but not all heat presses on the market are created to allow for heavy pressure. For example, a heat press advertised as a sublimation heat press is designed for light pressure application and may not offer the heavy pressure setting needed.

Consider what size you will need in the future! A 15×15  heat press is considered a standard commercial size heat press, and allows for you to press designs that are about 14×14. Now, a 16×20 heat press will allow you to press designs that are 15×19. 

Know that they do NOT connect to a computer to print designs!  The heat press is designed to transfer already printed images. This is done through the high heat and pressure. 

Plan ahead! Heat presses take about 15-20 minutes on average to heat up to the desired temperature. This is similar to an oven. So turn your press on as you are designing so that it is warmed up and ready to go once you are ready to press!

Adjust your pressure! Making sure to have adequate pressure before applying your design is very important. An easy way to test your pressure is by the handle; you should be able to close it comfortably with two hands and have some resistance when you lock the press.

Even out the application surface!  Zippers, seams, v-necks or pockets affect the transfers by not allowing for a smooth pressing area. We recommend that you use pressing pillows or perfect pads to keep the area flat. 

Make changes when needed! If you have a project that fails, don’t press another transfer using the same settings. You may need to recheck the application instructions or modify the temperature or pressure on your heat press to ensure a better end product.

Know how to layer vinyl! If you are planning on layering two different colors of vinyl, set your heat press for half of the time, it calls for. You’ll press the first color for a few seconds; then, you’ll add your second color and press it for the full length of time listed on our website. Make sure that all HTV is protected by the clear backing and your nonstick sheet.

Place the designs carefully! Be careful when deciding on placement for your design- if possible, let the seams from the neckline, sides, sleeves, and bottom hang over the side of the heat press as seams can get in the way resulting in uneven pressure. This could cause the vinyl not to apply correctly.

View & Add Comments

Custom Father’s Day Gifts
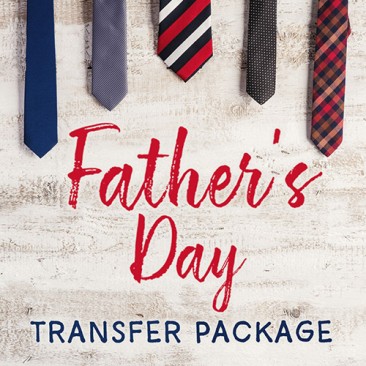
Did you order Dad a Father’s Day gift yet? If the answer is no, you are in luck this year you should make him a gift! After all, nothing says love like a thoughtful homemade gift!

Scroll down to see some Father’s Day Gift Ideas!

5+ Gift Ideas for Dad

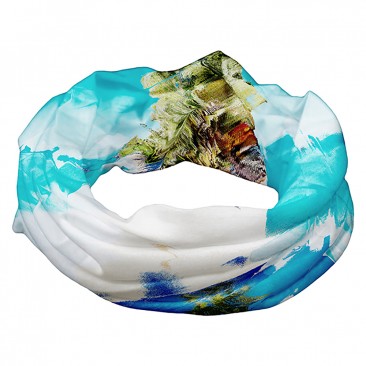
From fishing, to going out in public this Neck Gaiter is sure to come in handy. You can sublimate a custom design or purchase one of your heat transfers to apply to it!

neck gaiter

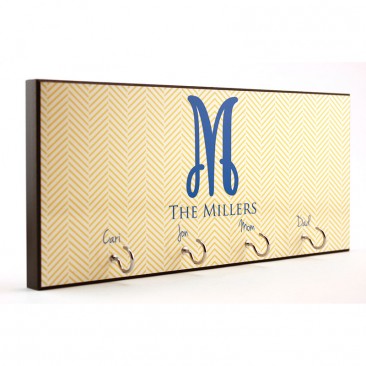
Is Dad frequently forgetting his keys? Help him out by making him a Key Hanger so that he always has a spot to put his stuff.

4392-key-hanger-angled_hr_1

If Dad is a Baseball fan, make him a #1 Dad award on Home Plate!

5680_homeplateplaque_mvp_hr

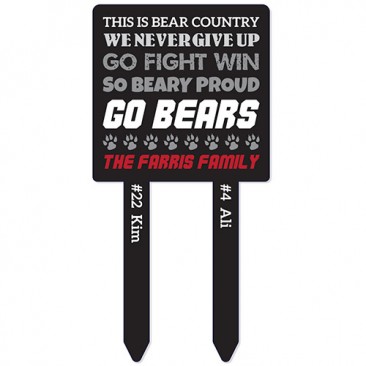
Help Dad show his #1 fan status with a custom Yard Sign! Sublimation or Adhesive Vinyl the sky is the limit!

sb-u-4776

If Dad loves his car help him keep it clean with a custom Car Coaster!

car coaster

If you still need some ideas. You can decorate just about anything with vinyl! From tackle boxes, drinking glasses, watch cases, window decals, apparel, coolers… the list goes on and on!

If you are looking to make Father’s Day gifts to sell, then check out our Father’s Day Heat Transfer Pack.

fathers day transfer pack

View & Add Comments