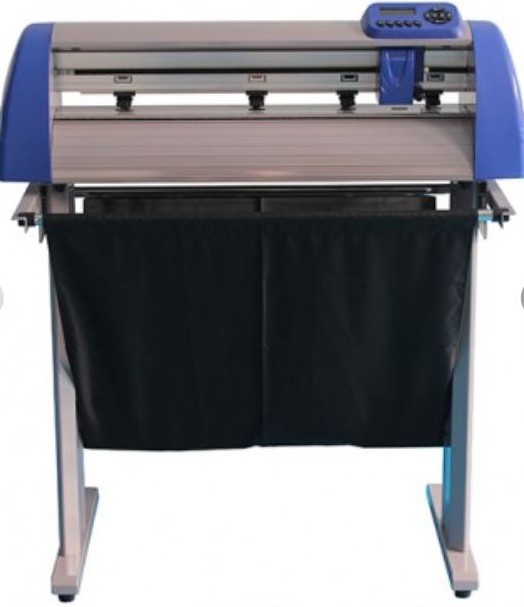
Today we wanted to spotlight a product that we haven’t talked about too much, our 3D Sublimation Vacuum Heat Press.
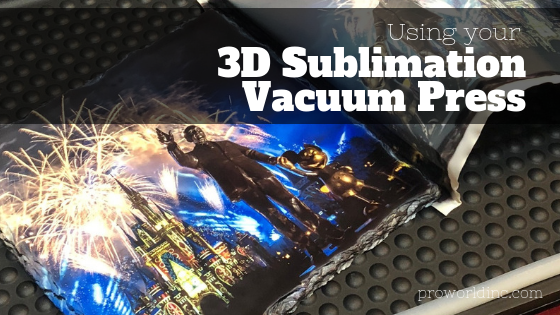
The 3D sublimation vacuum press is an all-in-one machine, which can be used to customize many types of substrates like sublimation blanks, mugs, latte mugs, cell phone cases, rock slates, and more. By combining vacuum pressure and heat to wrap sublimation transfer paper around curved shapes to permanently fuse the decoration onto any curved surface.
Want to see how it works? Watch us make a rock slate below!
To decorate your own rock slate you need:
Directions:
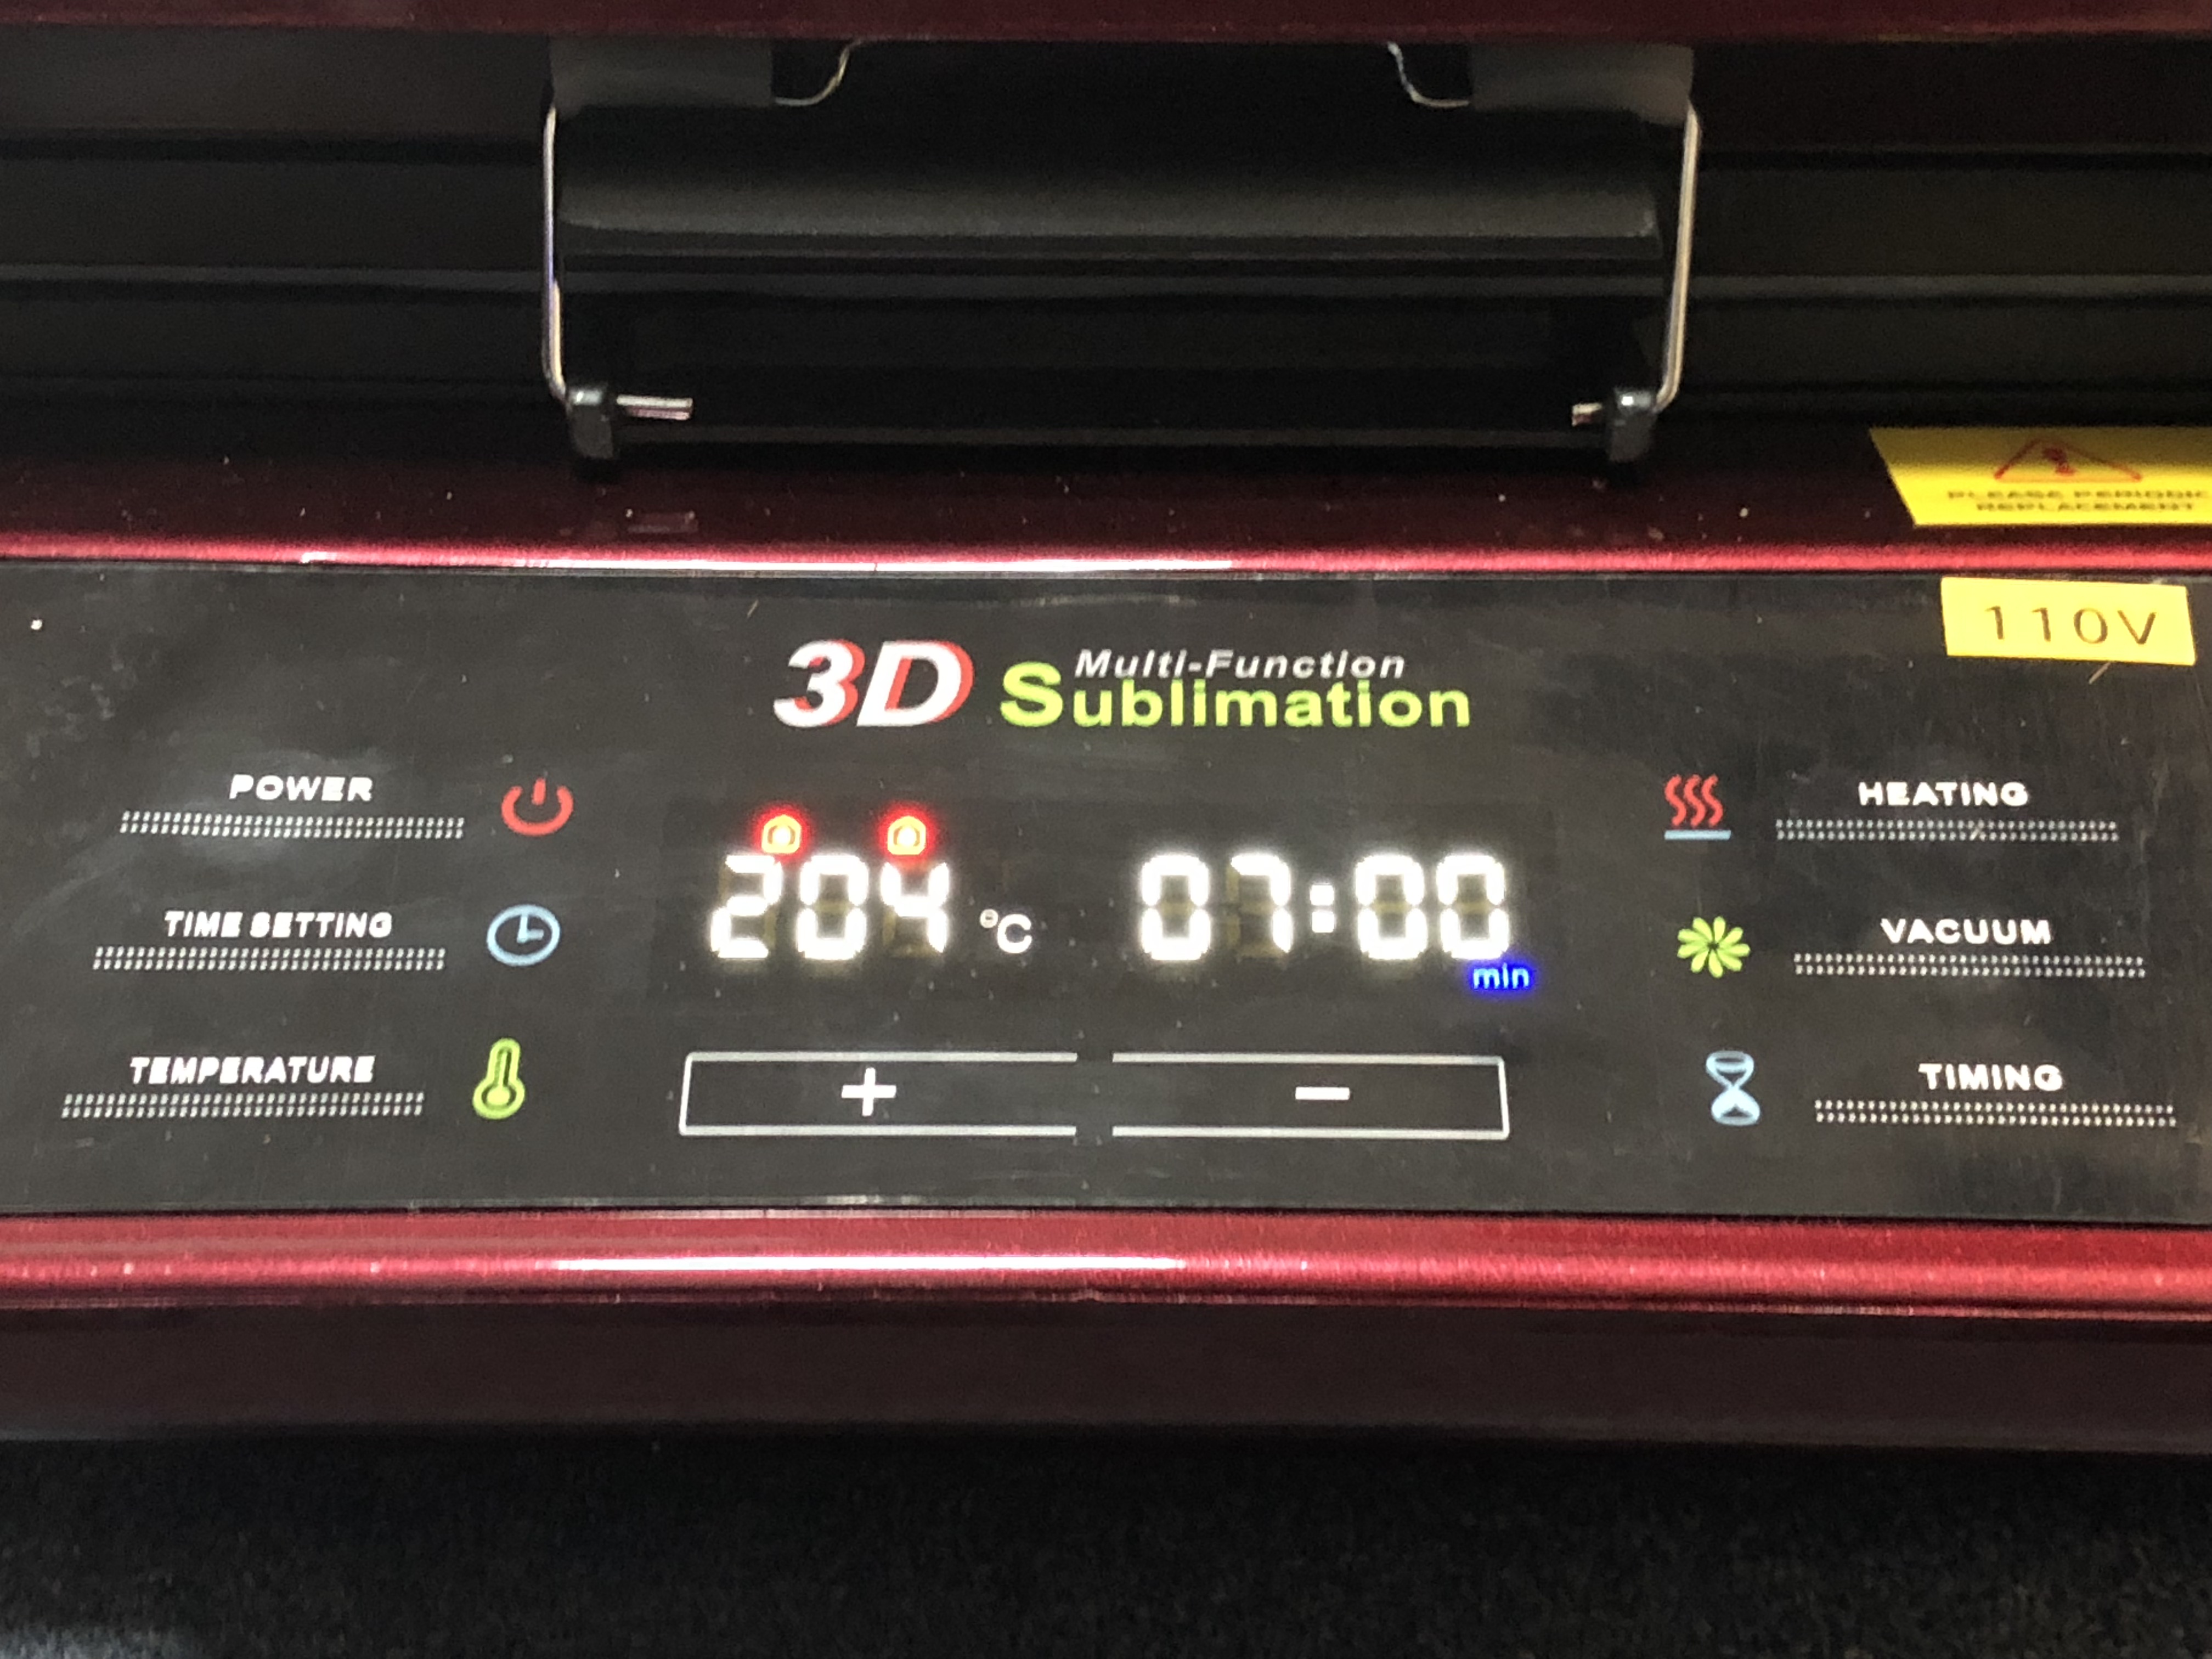
1 – Set temperature to 400 degrees Fahrenheit (200 C)
2 – Set timer to 5:30-7 minutes depending on the rock slate size. The larger the rock slate, the longer the time should be.
3 – Keep top tray in the 3D Vacuum press, and connect tubing to the bottom of the tray.
4 – Press Heating Button twice so both lights are on.
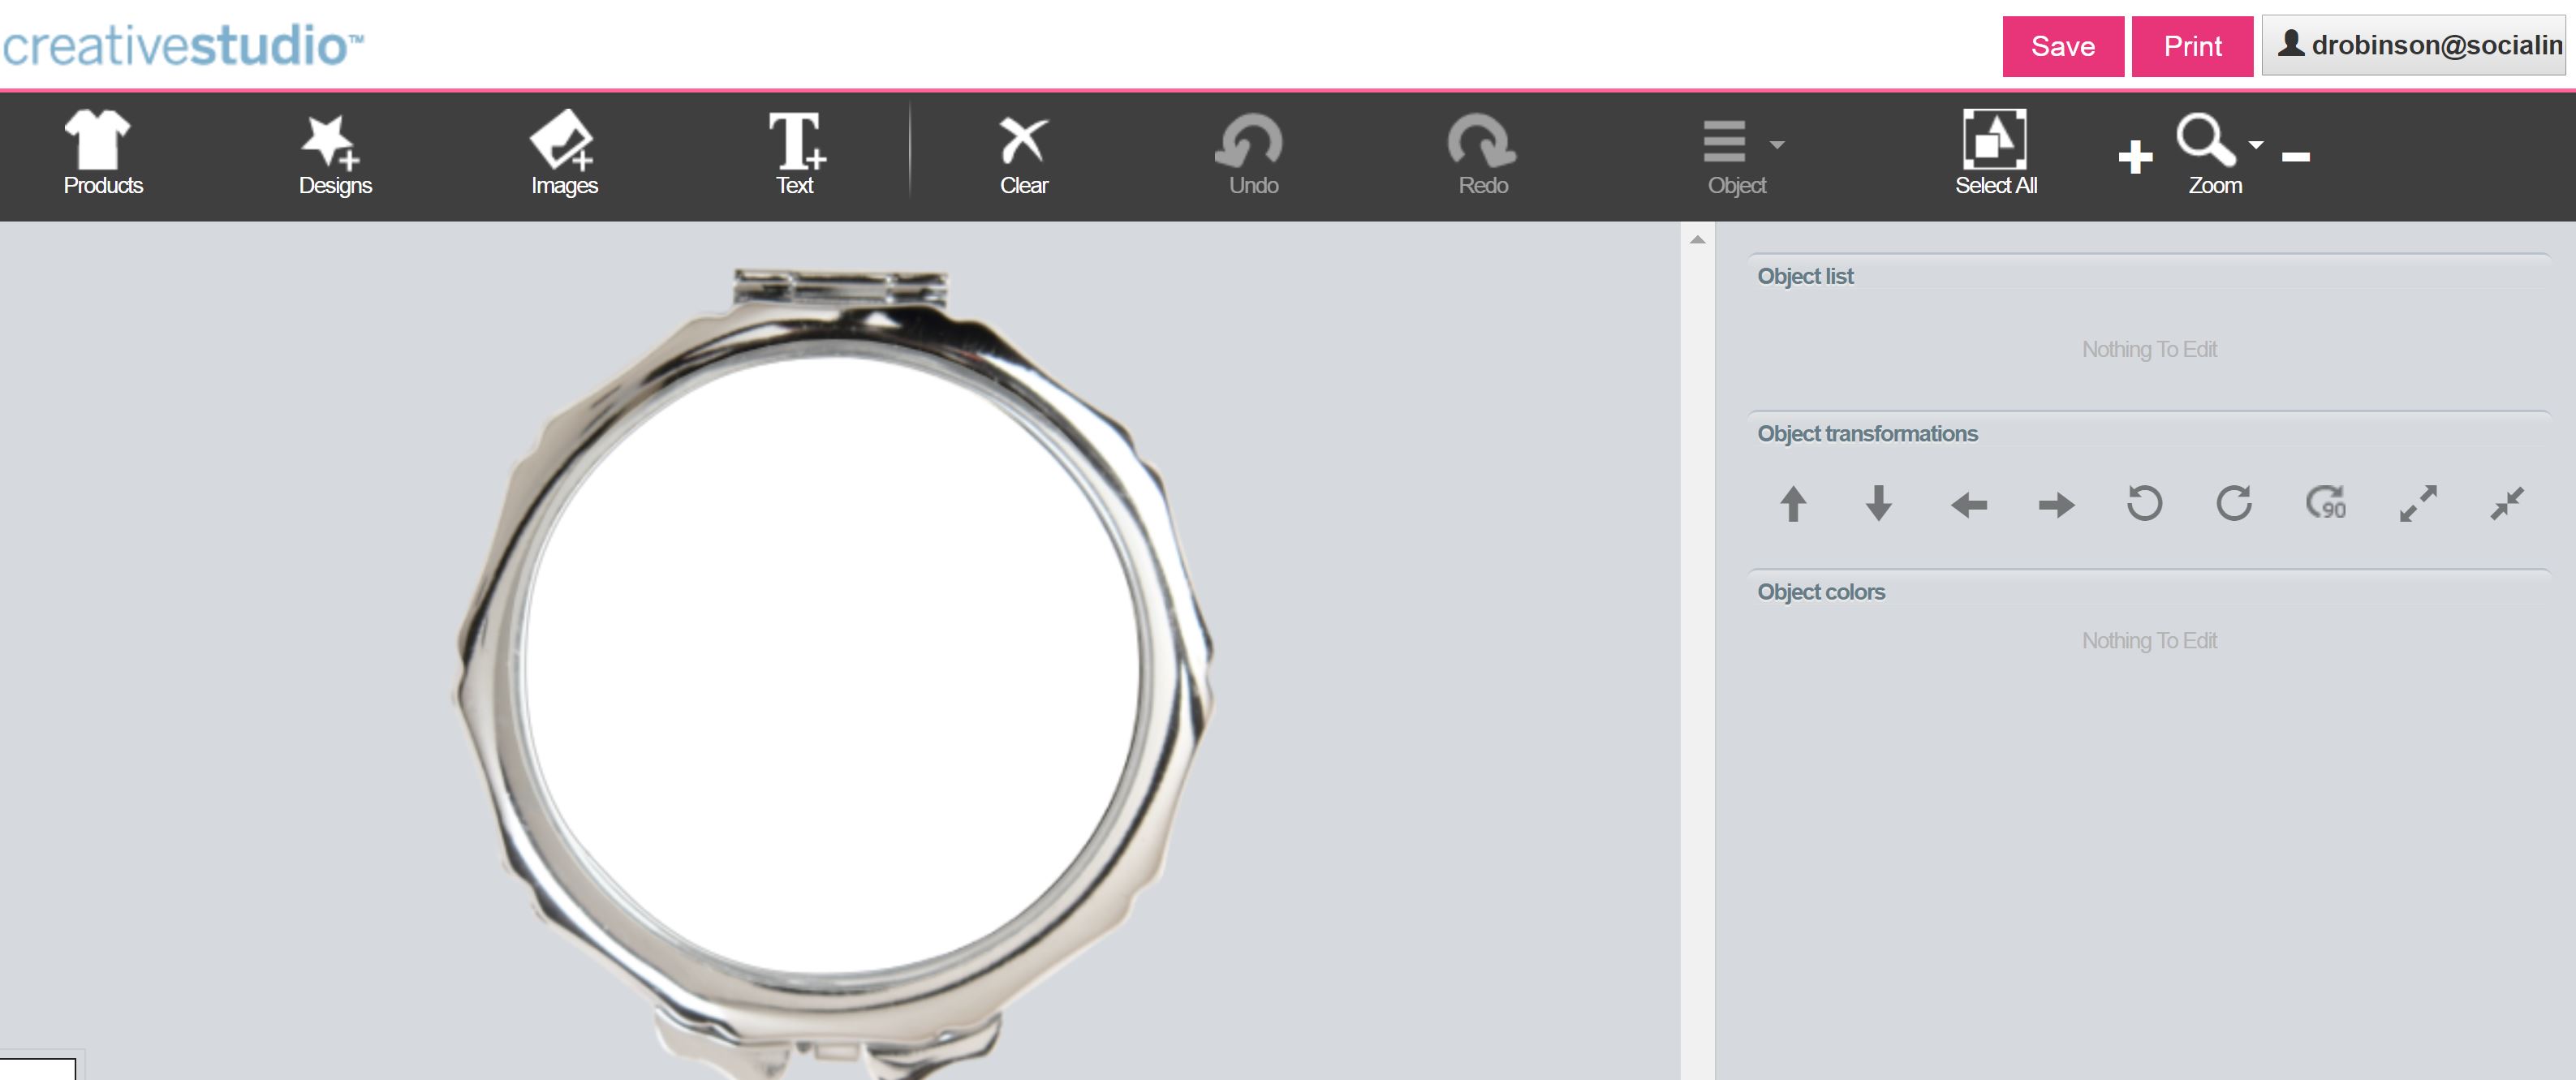
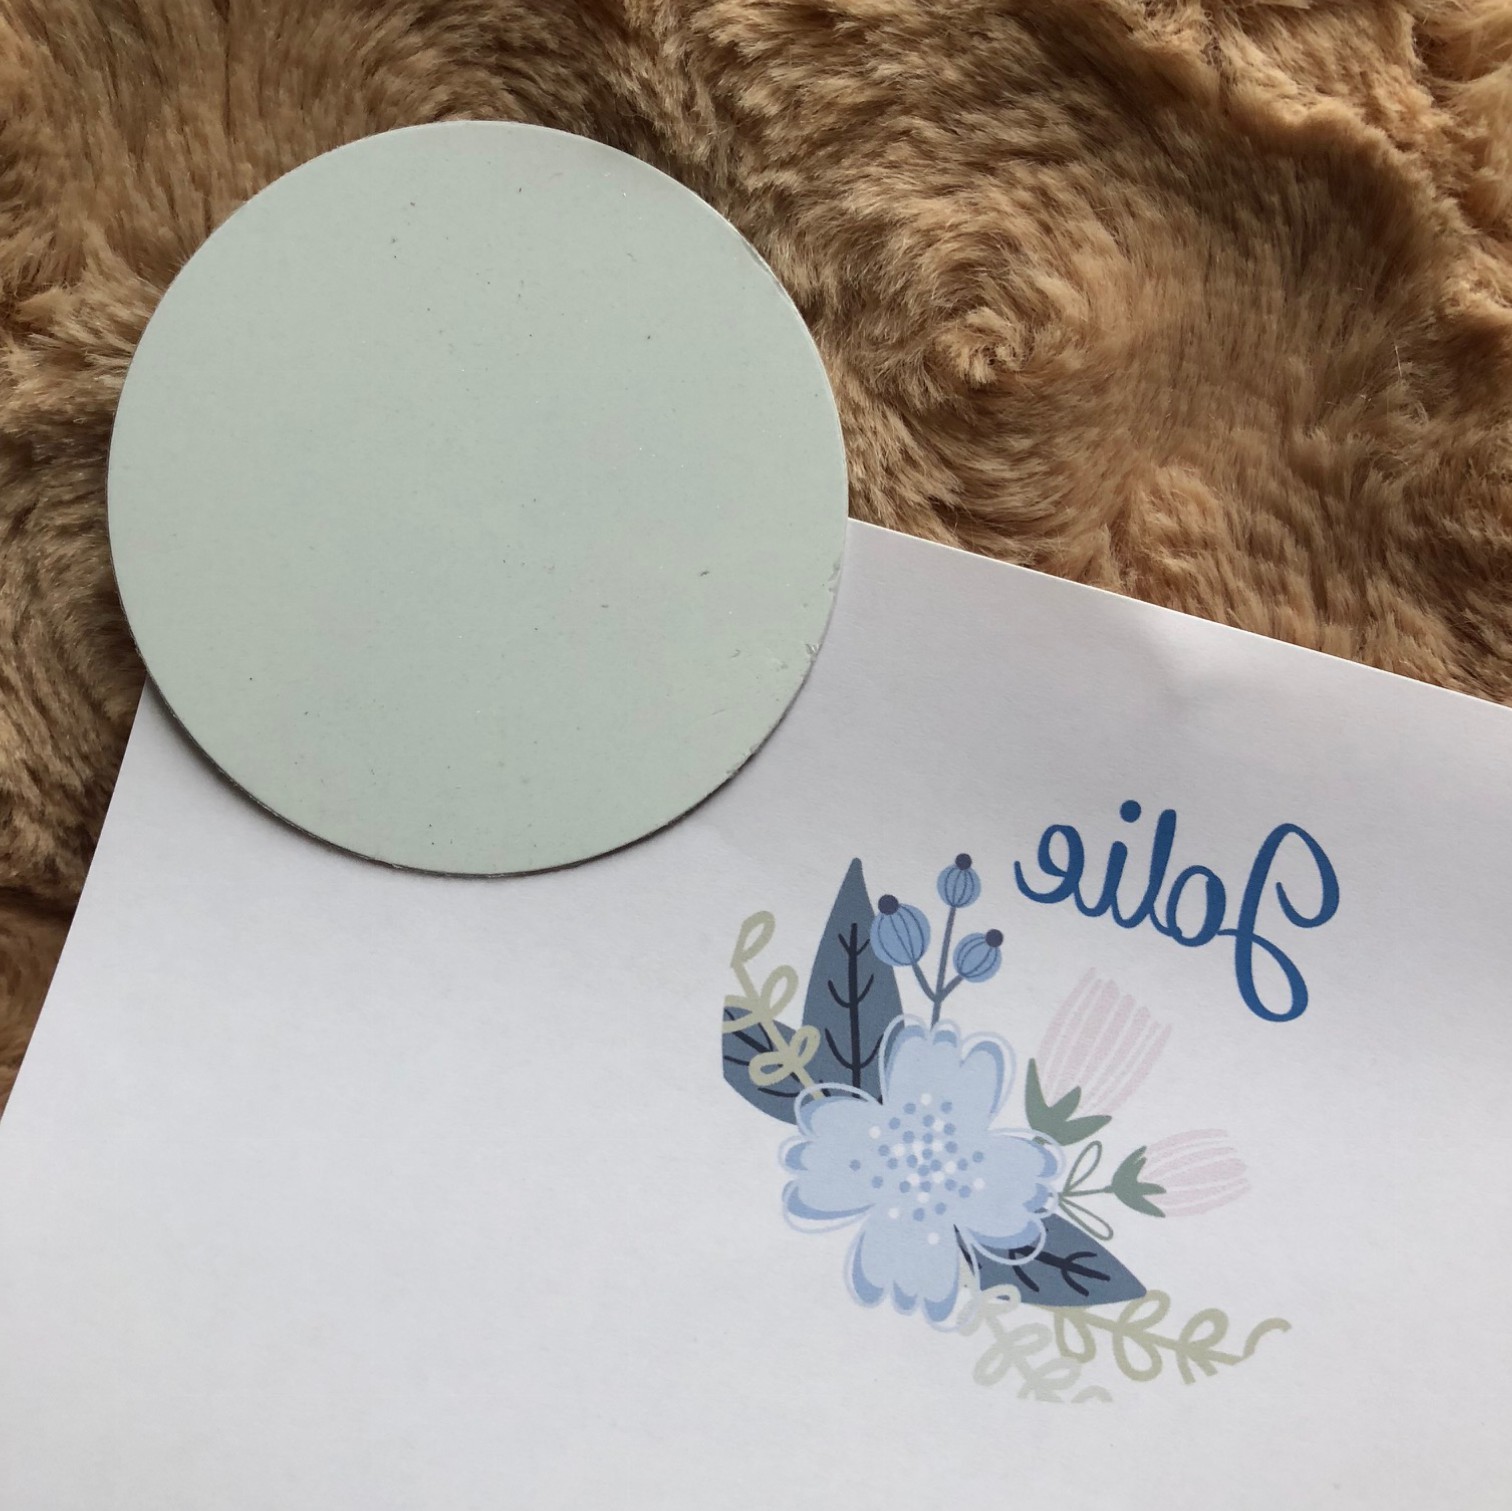
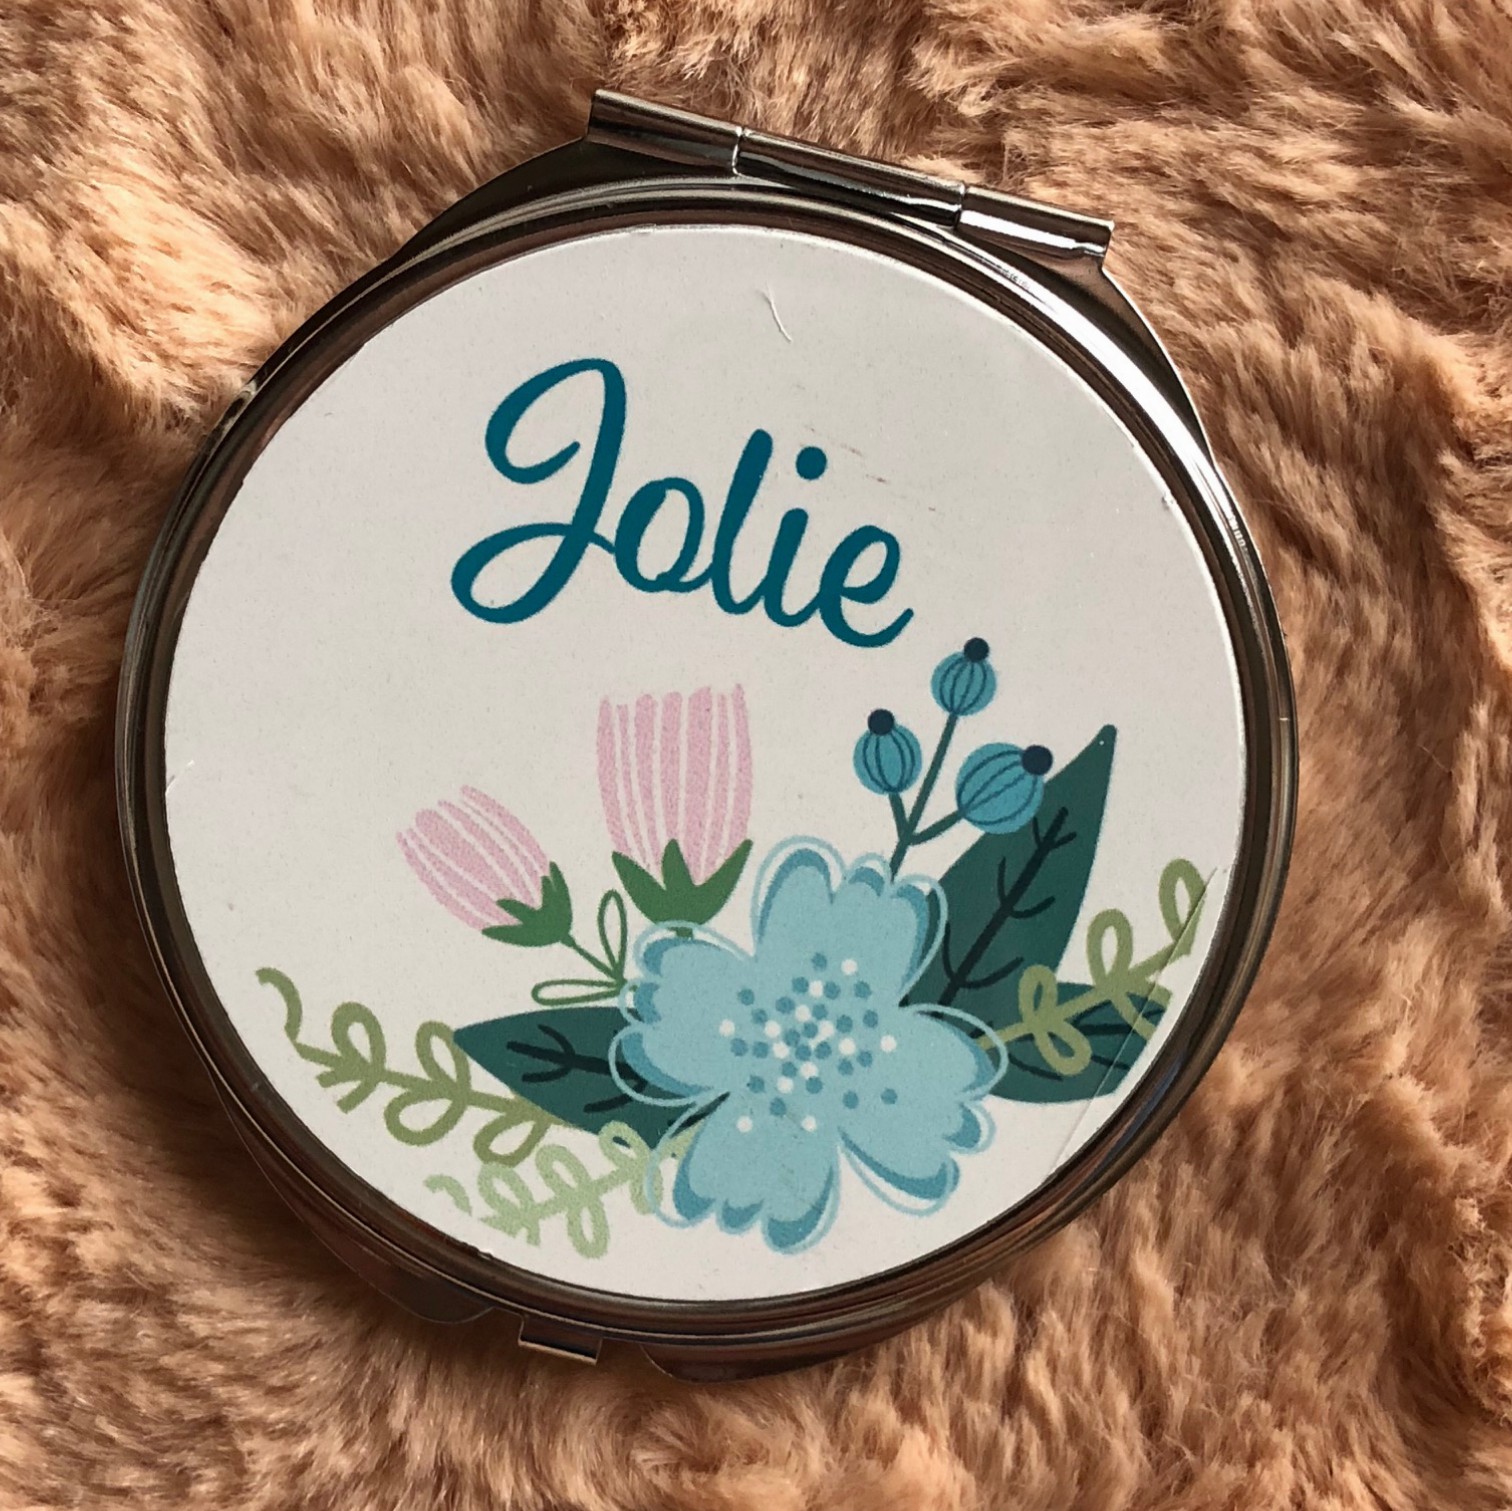
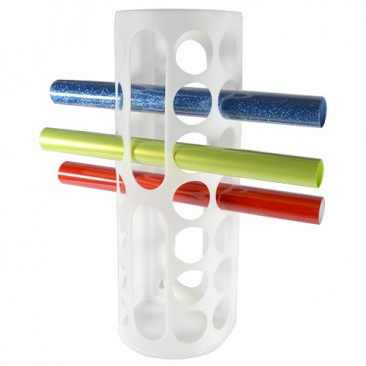
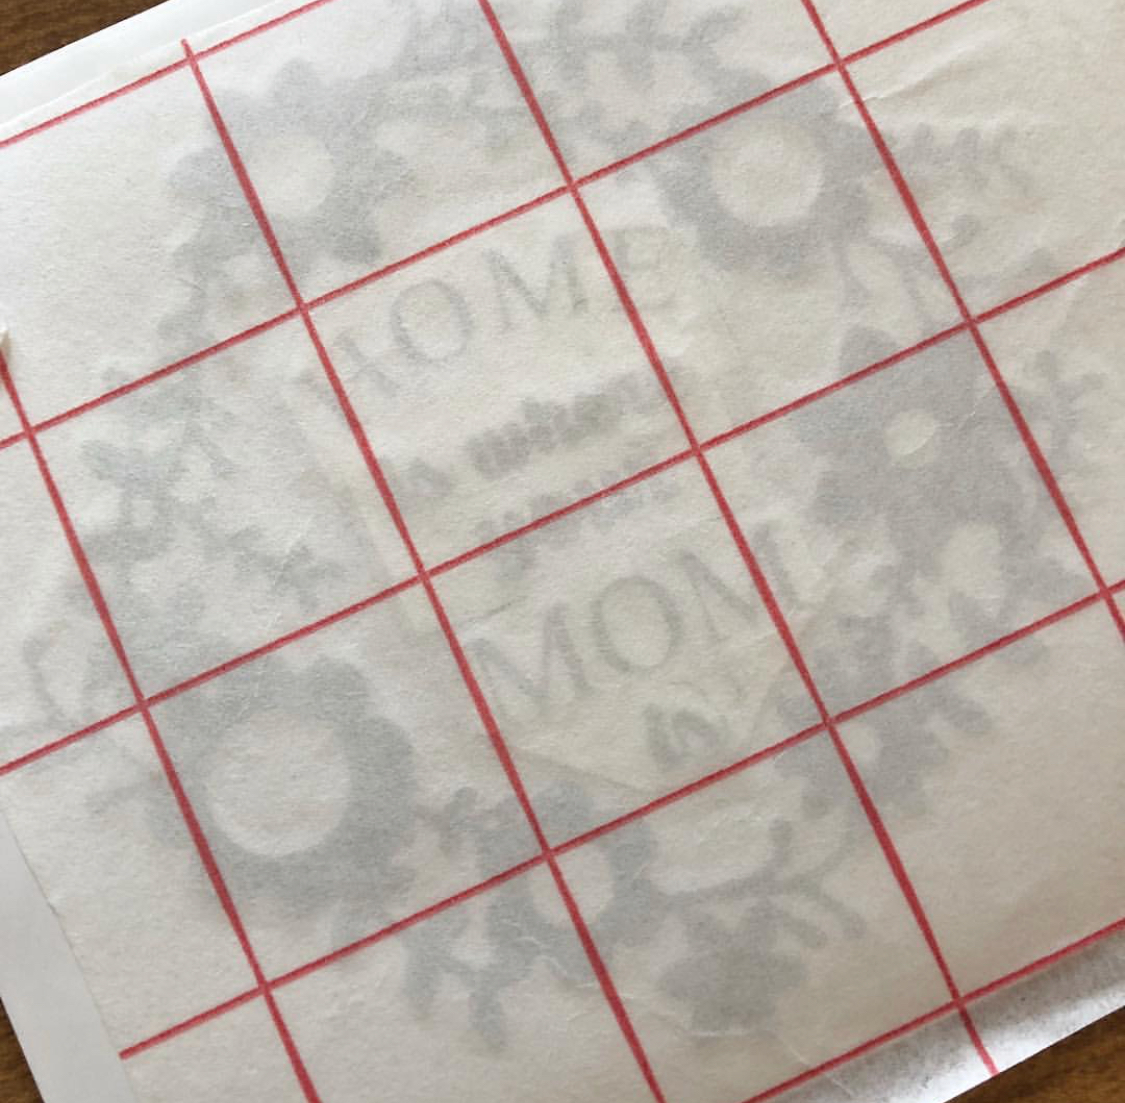
5 – Print a mirror image onto Texprint Paper. Image should be larger than the substrate.
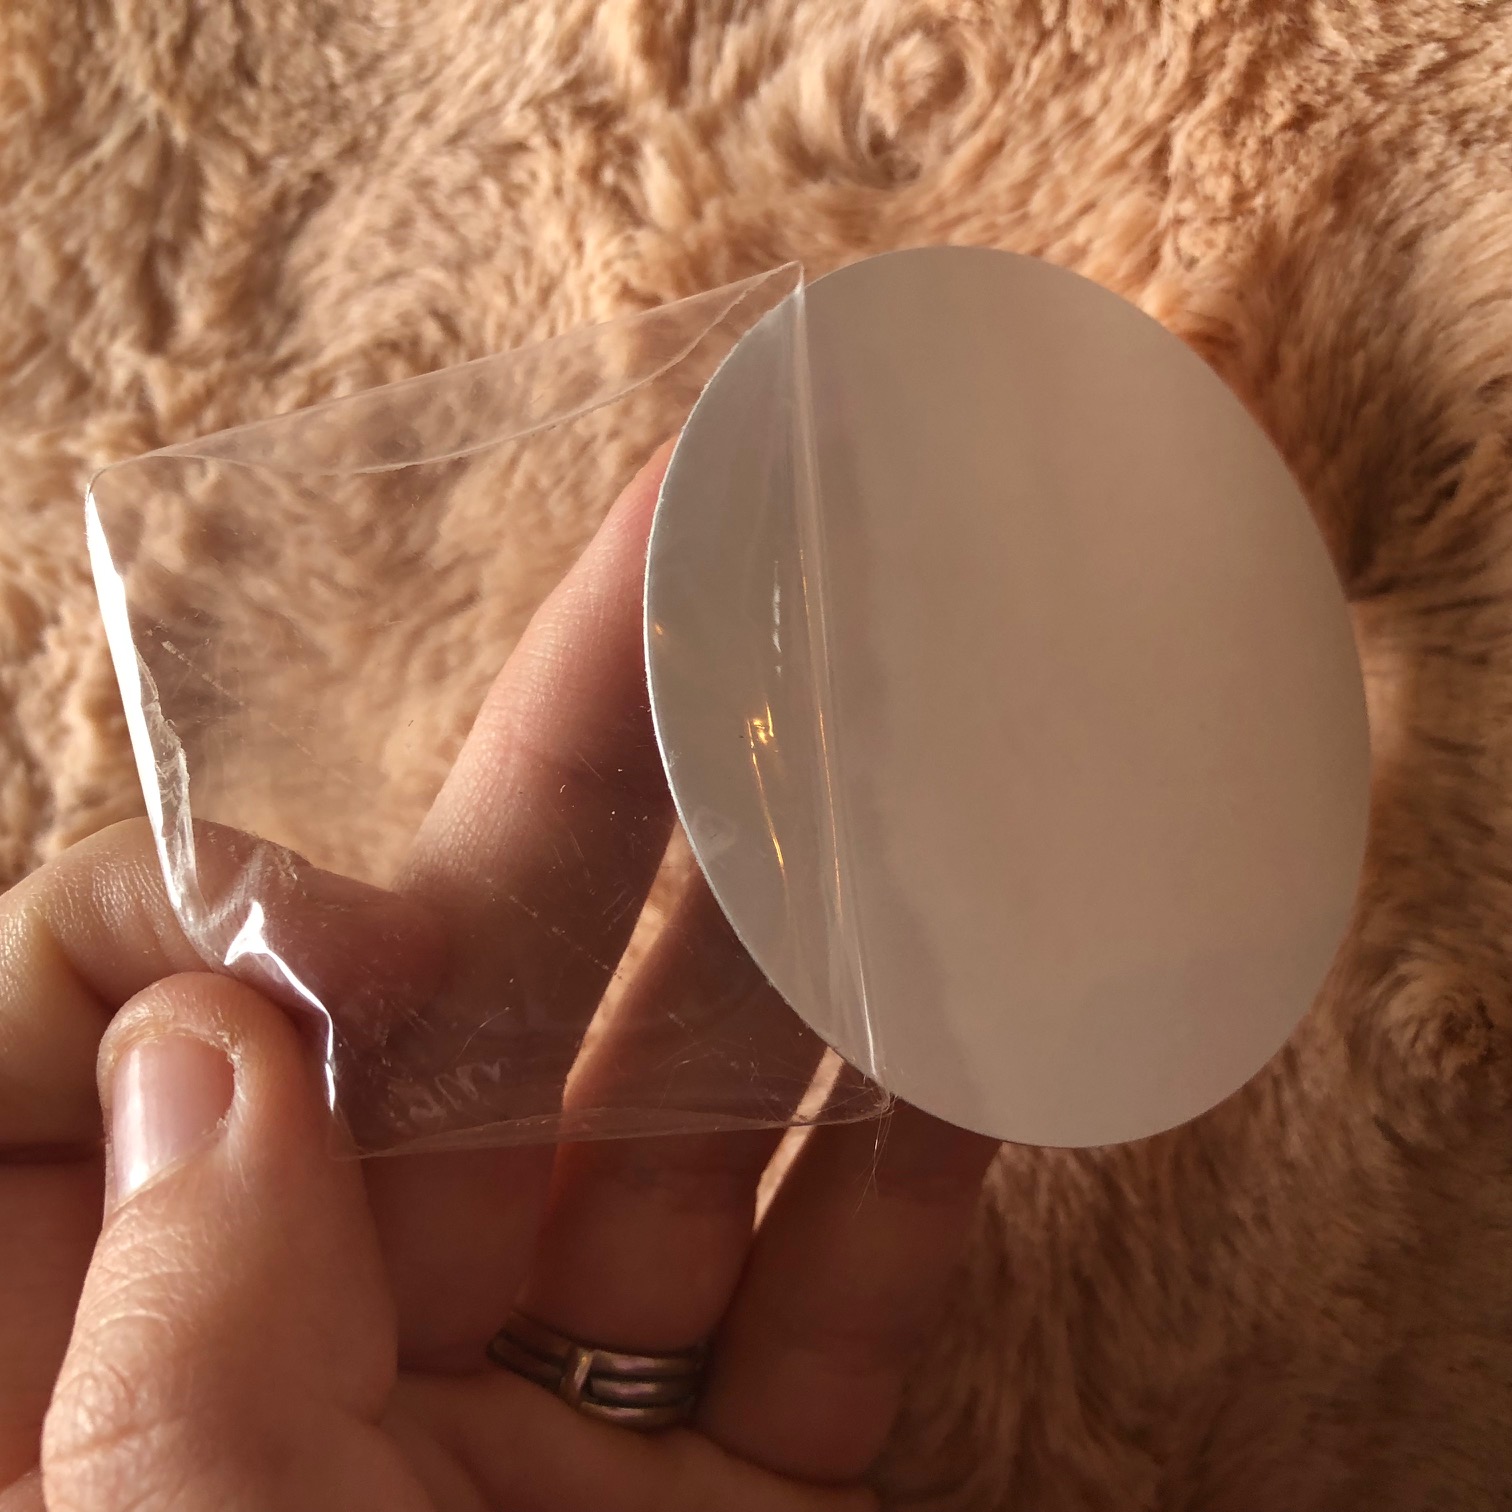
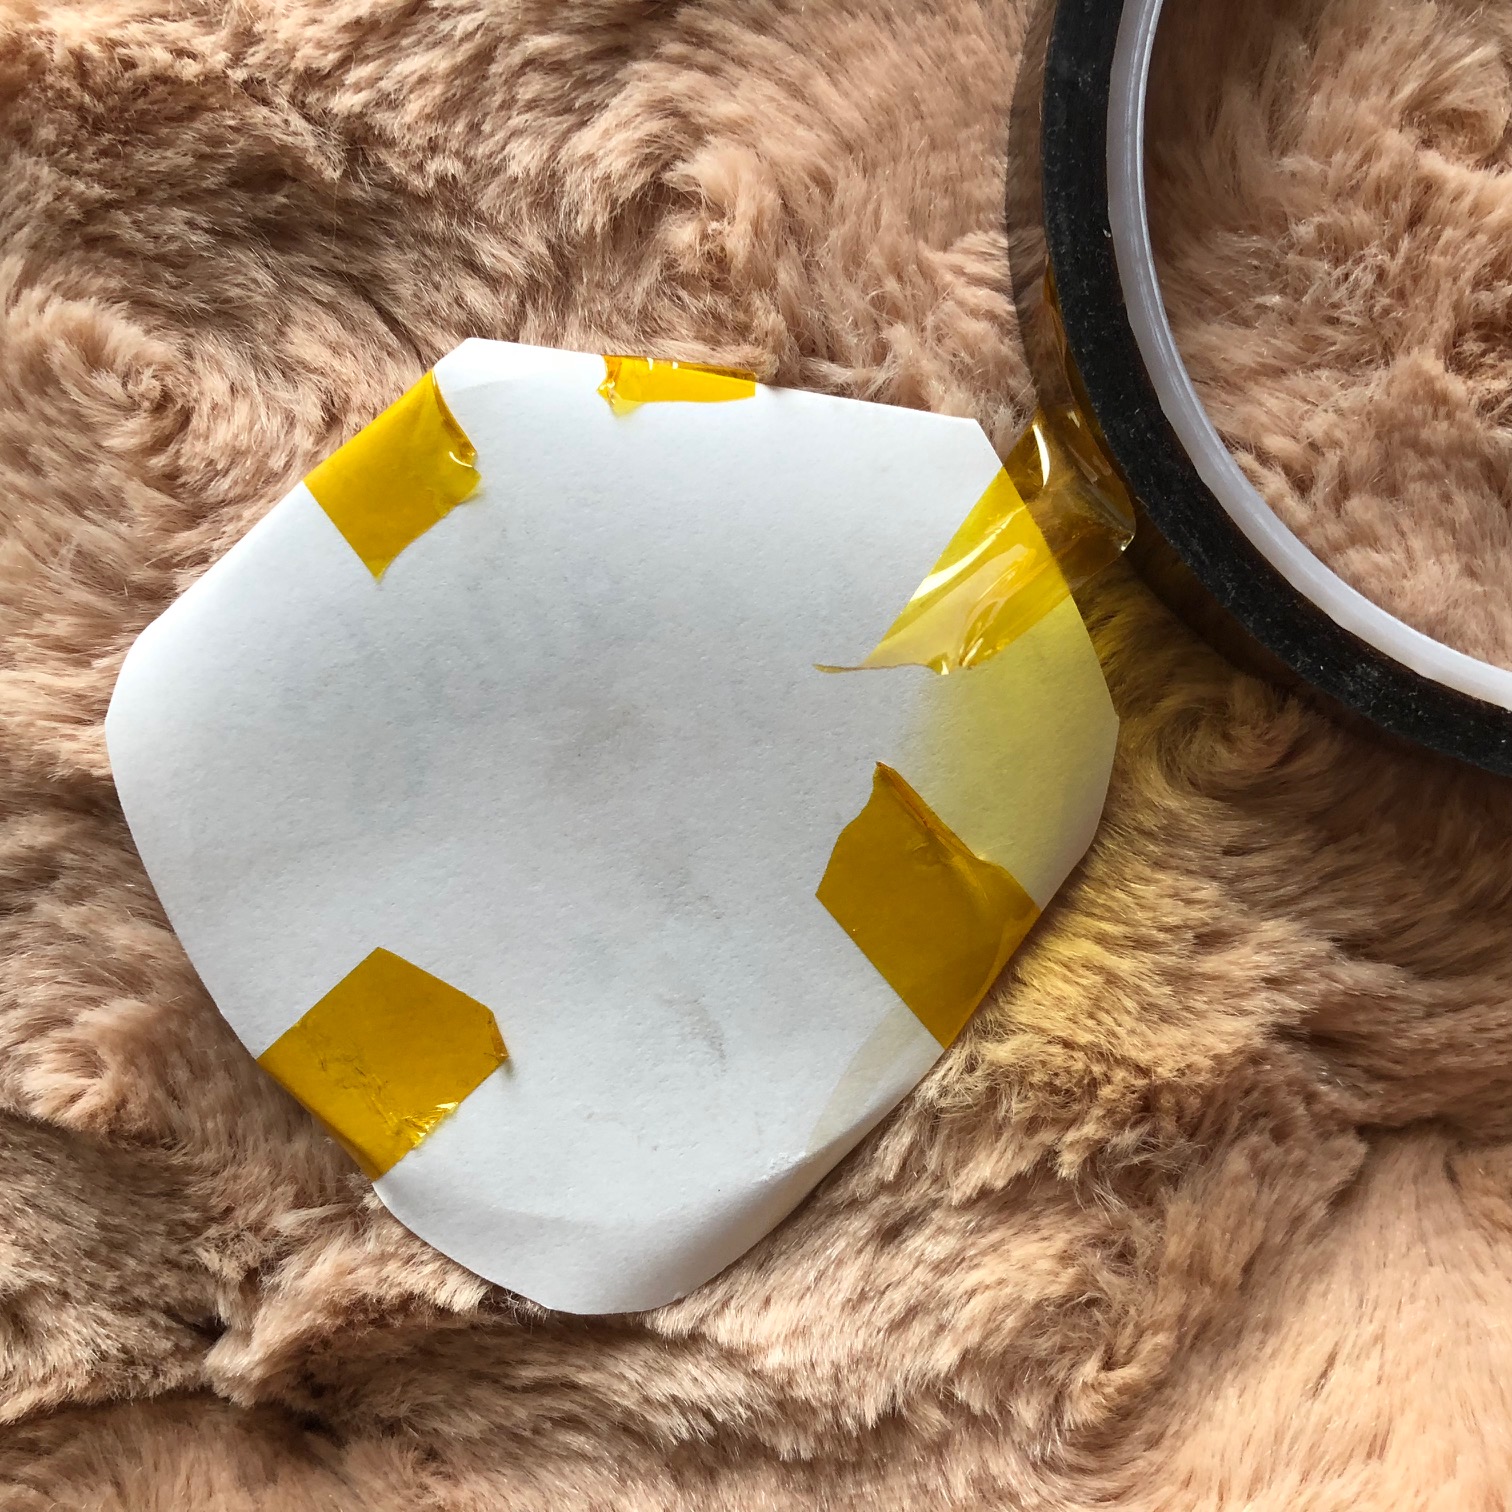
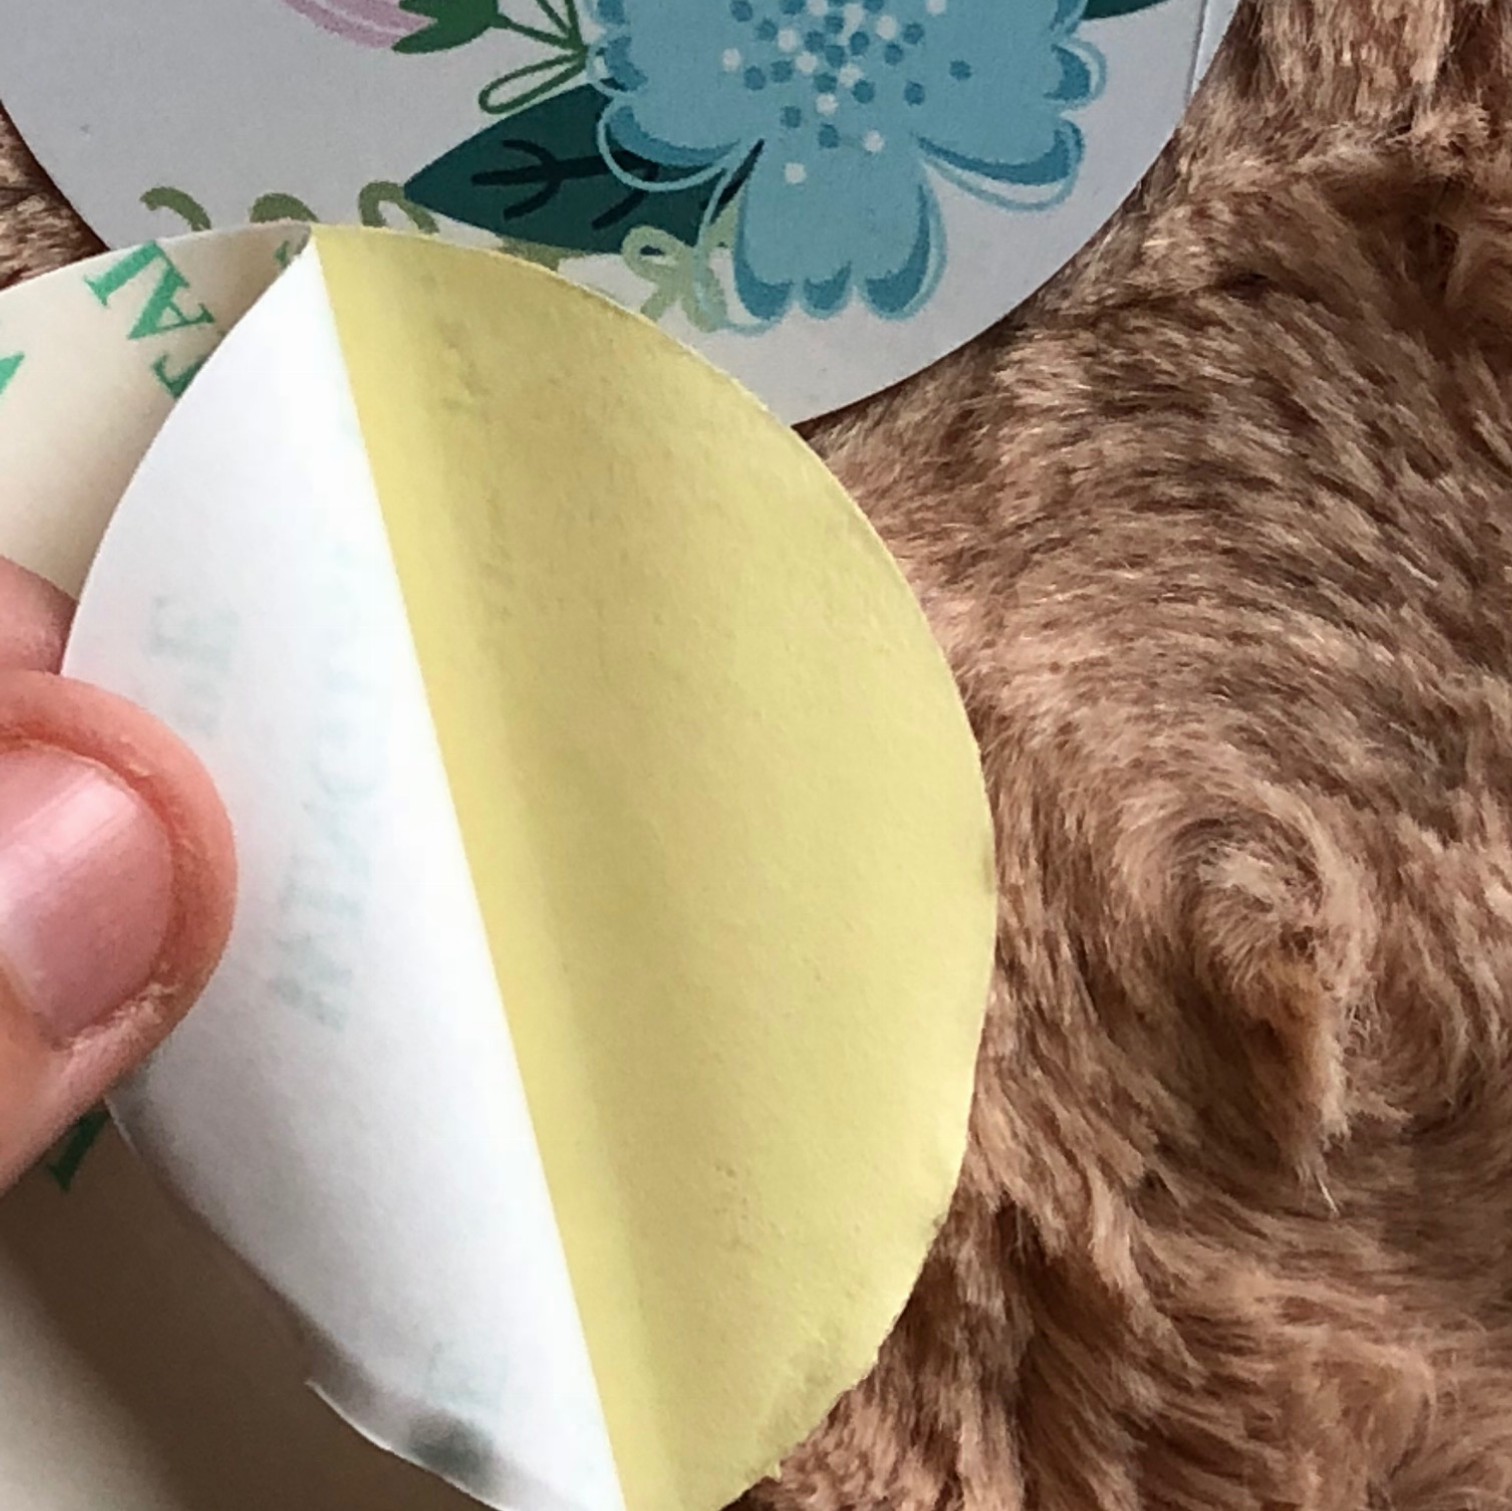
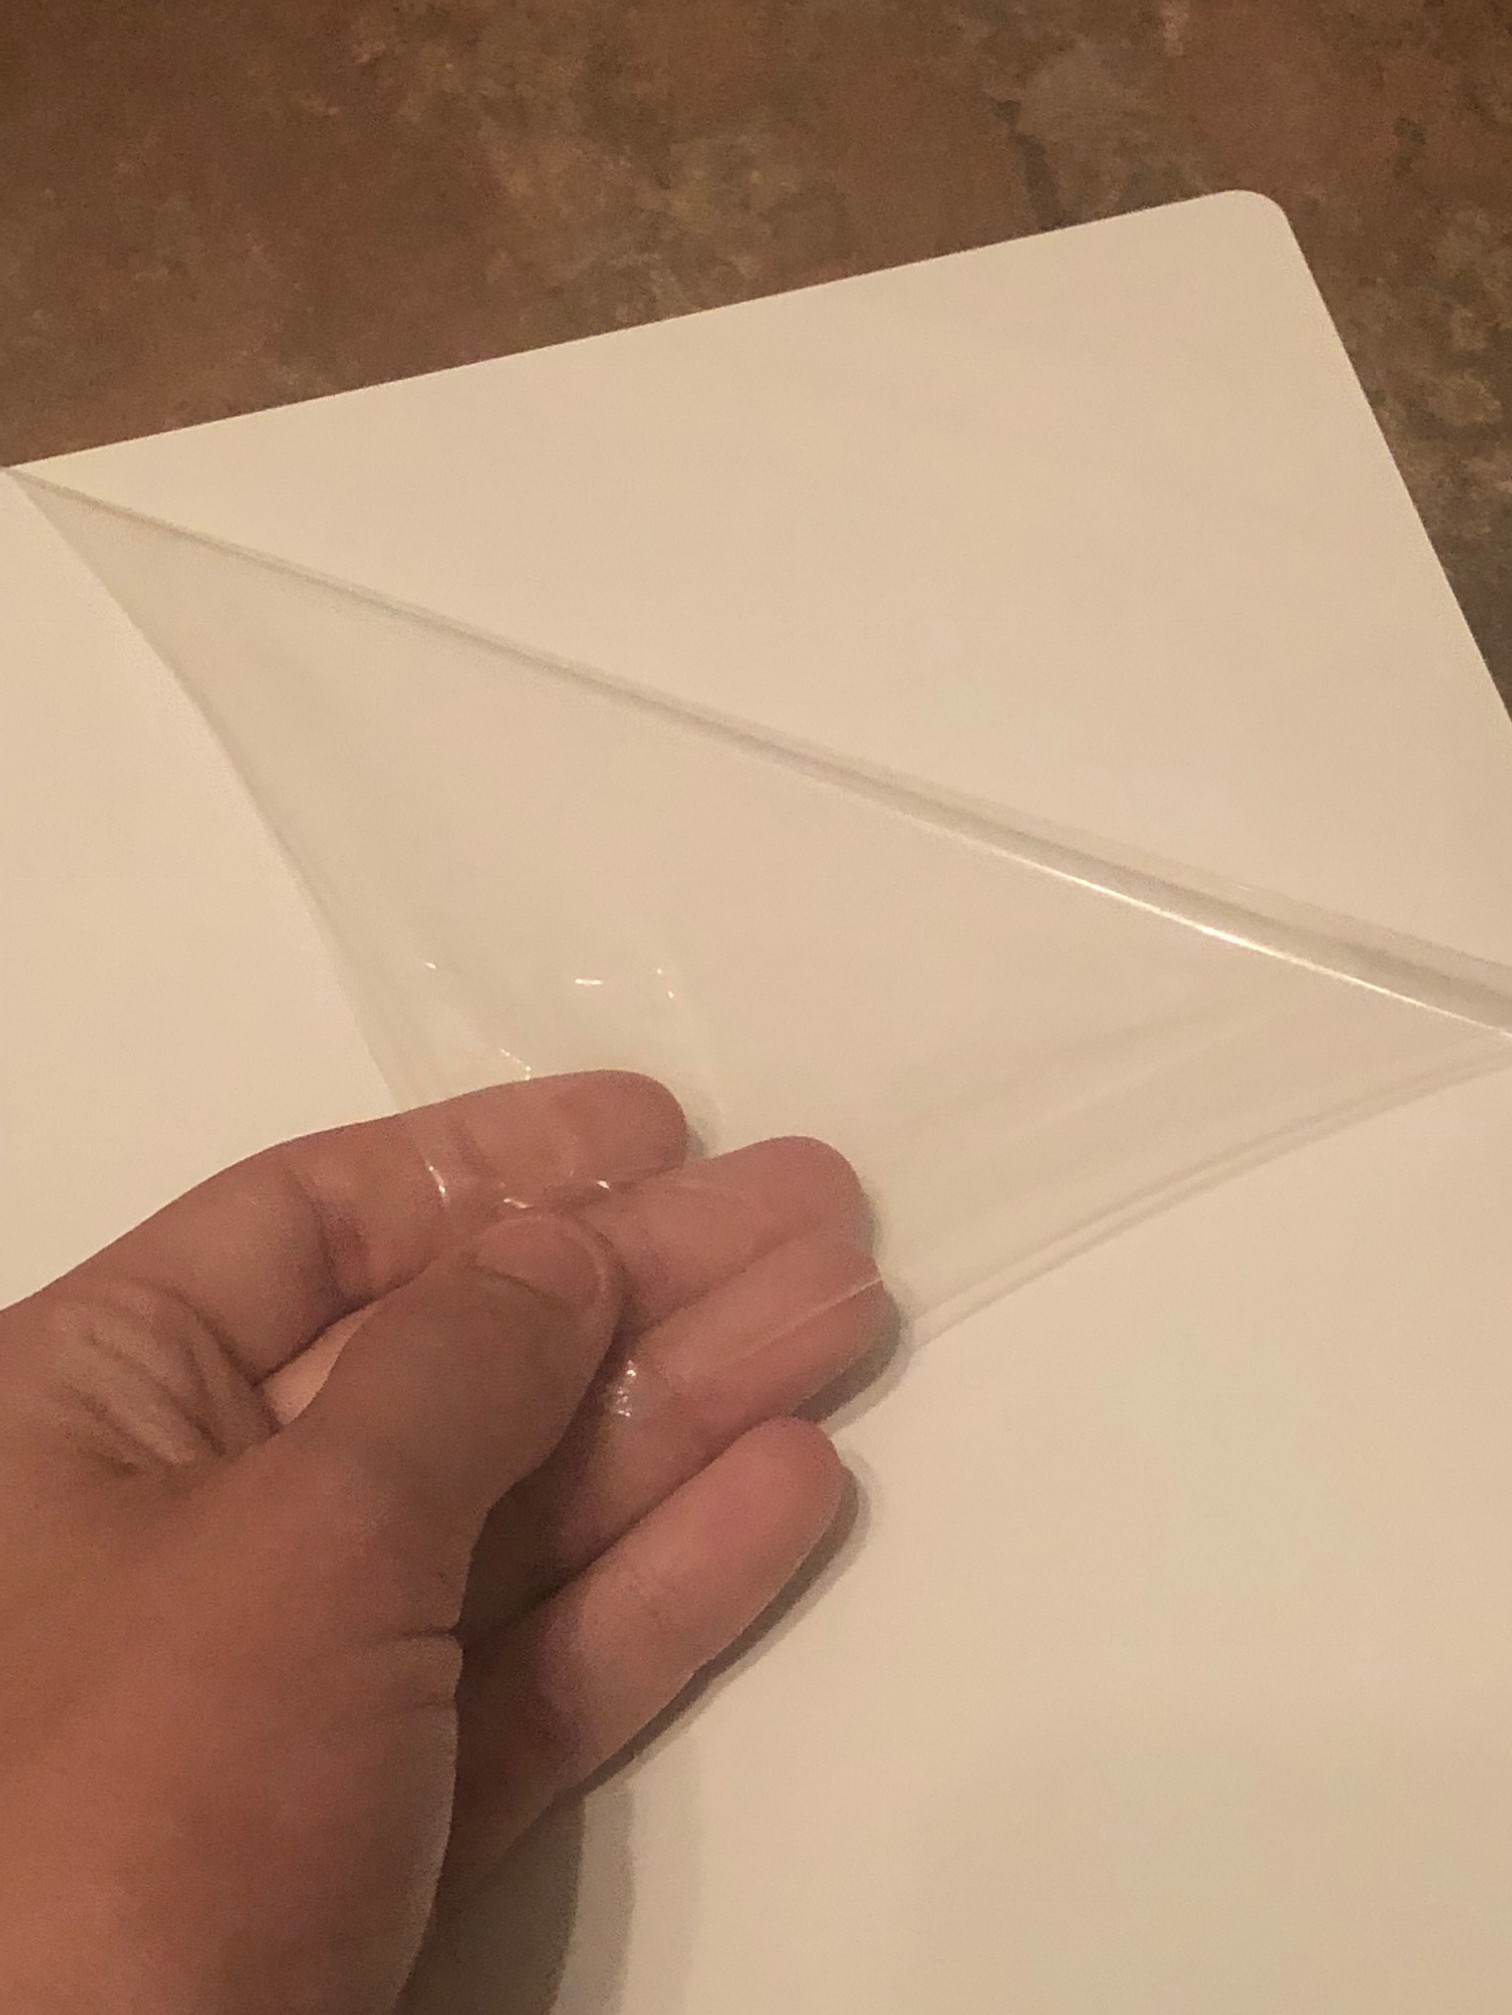
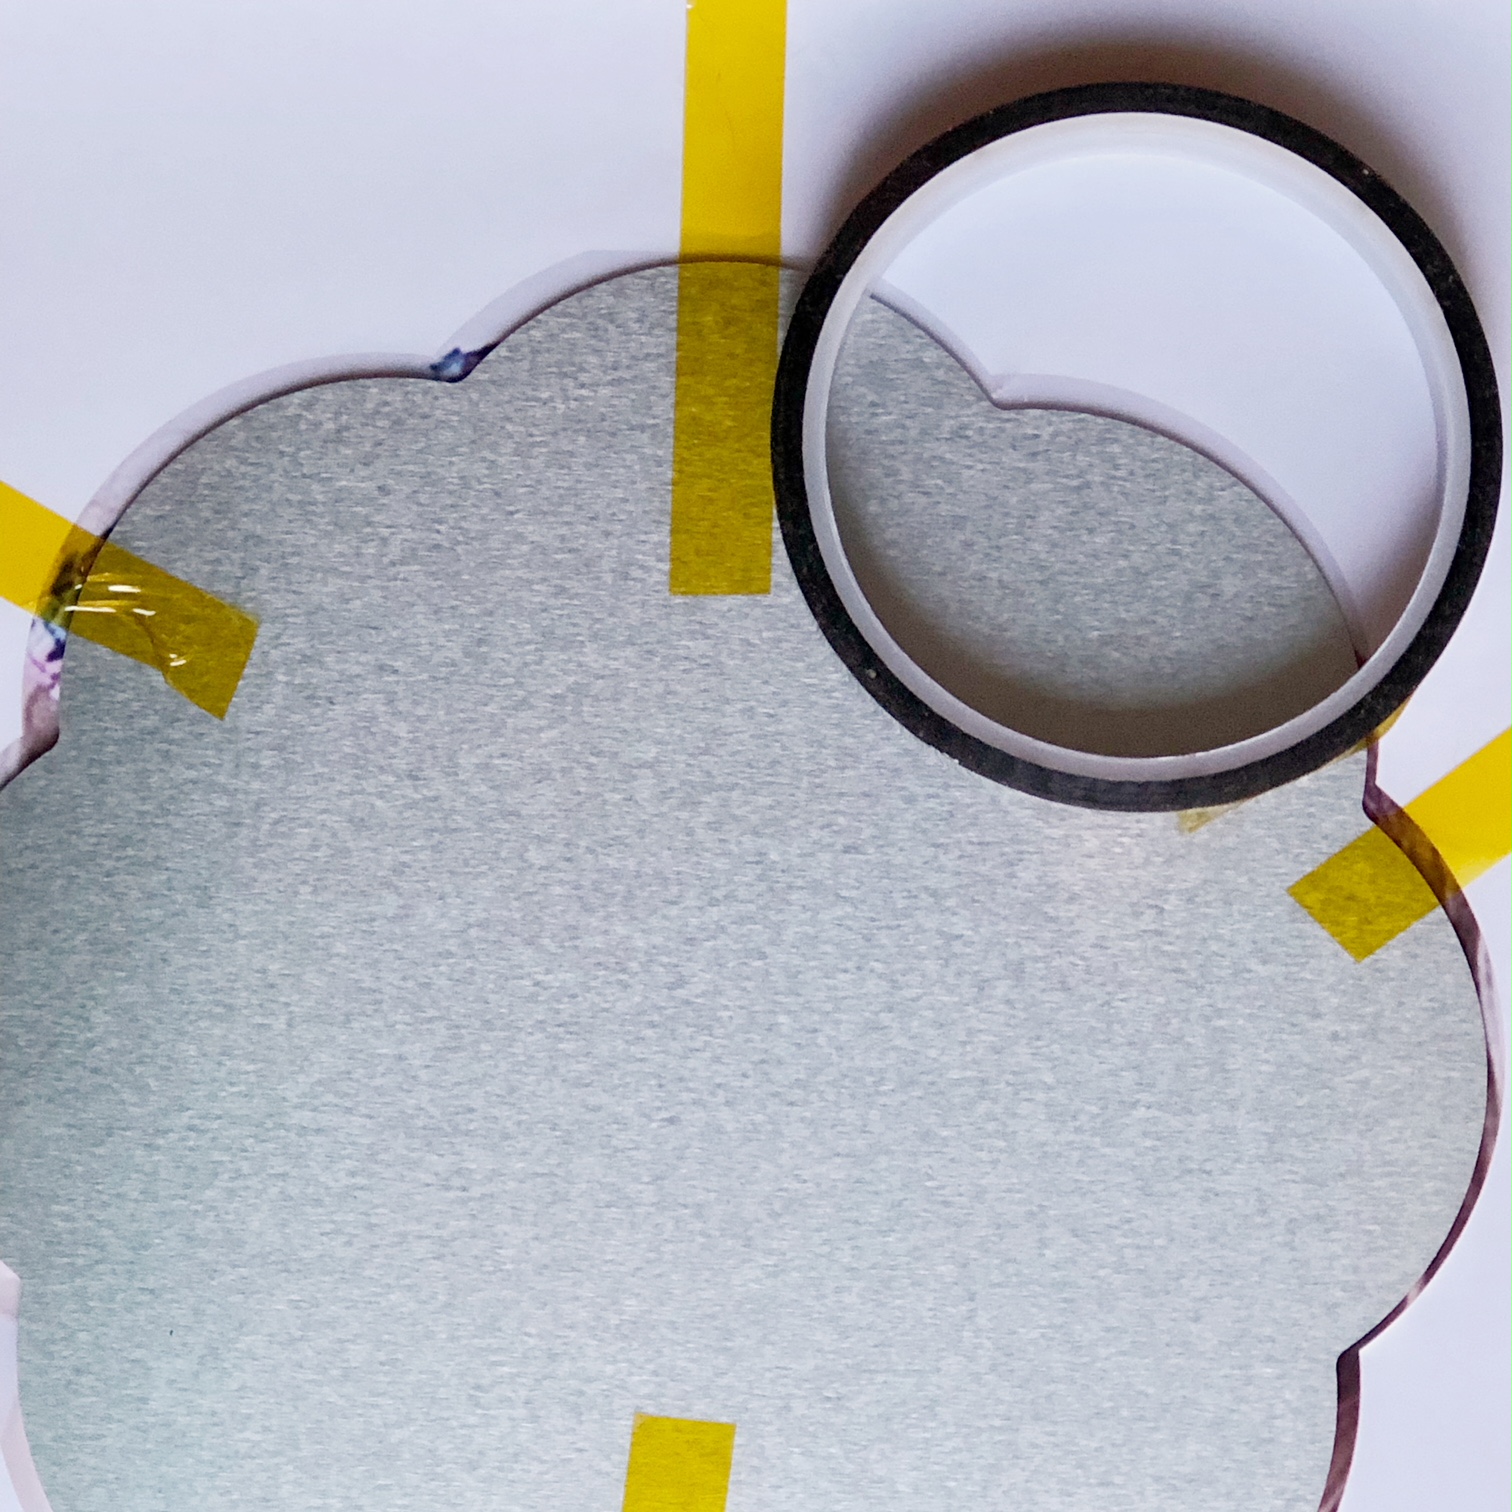
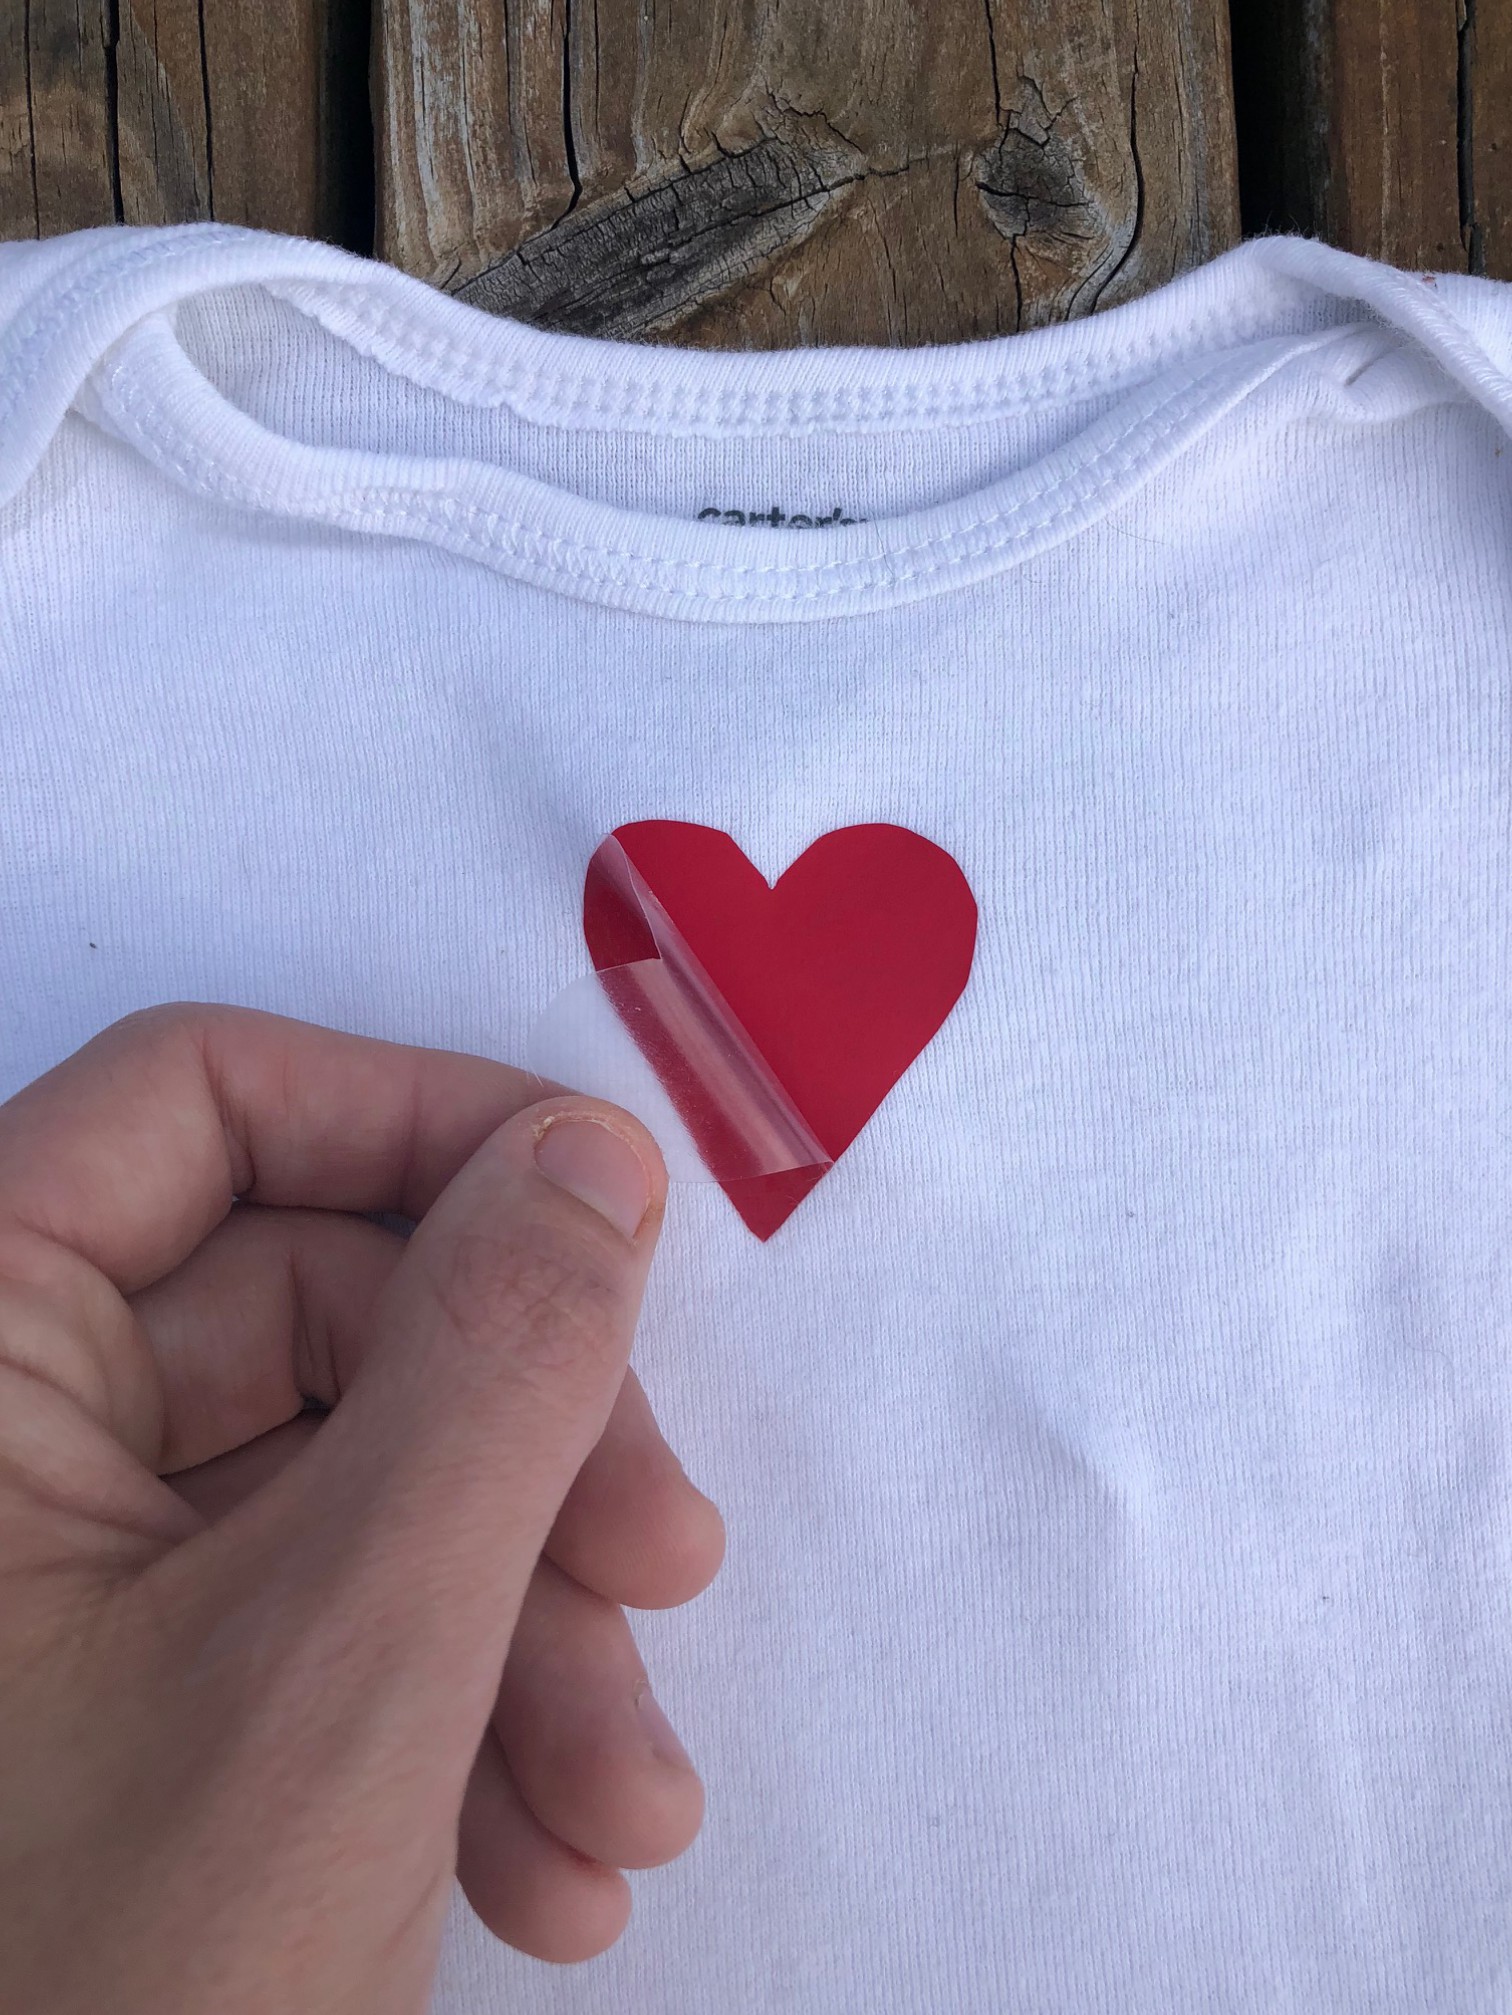
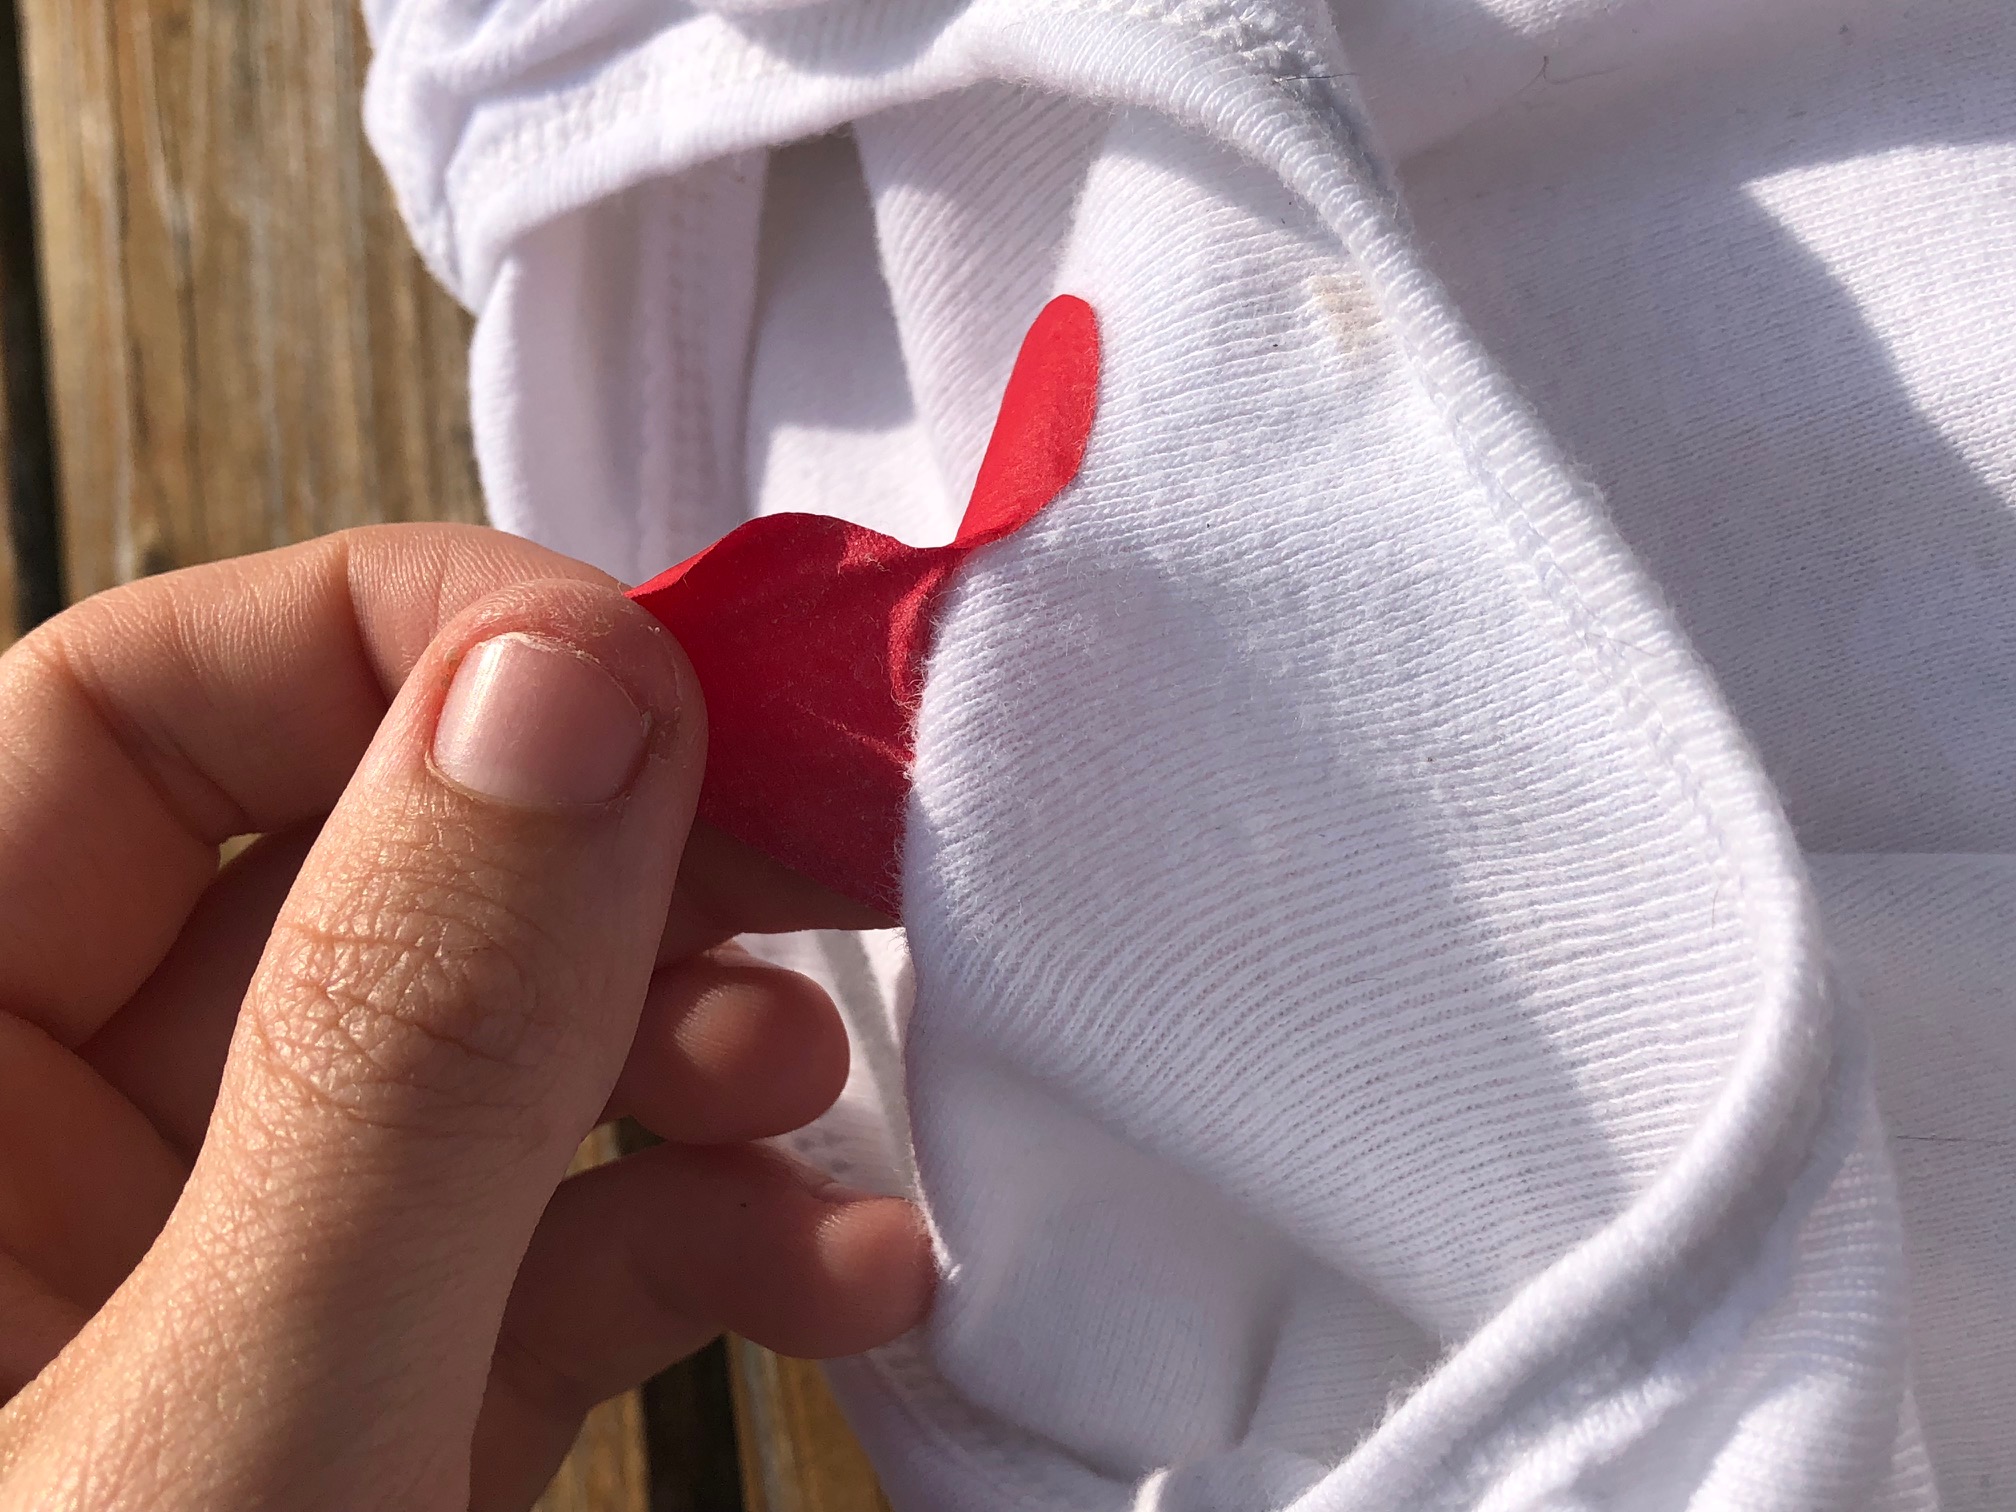
6 – Place the substrate face down on the transfer paper and tape the paper to the substrate using transfer release tape.
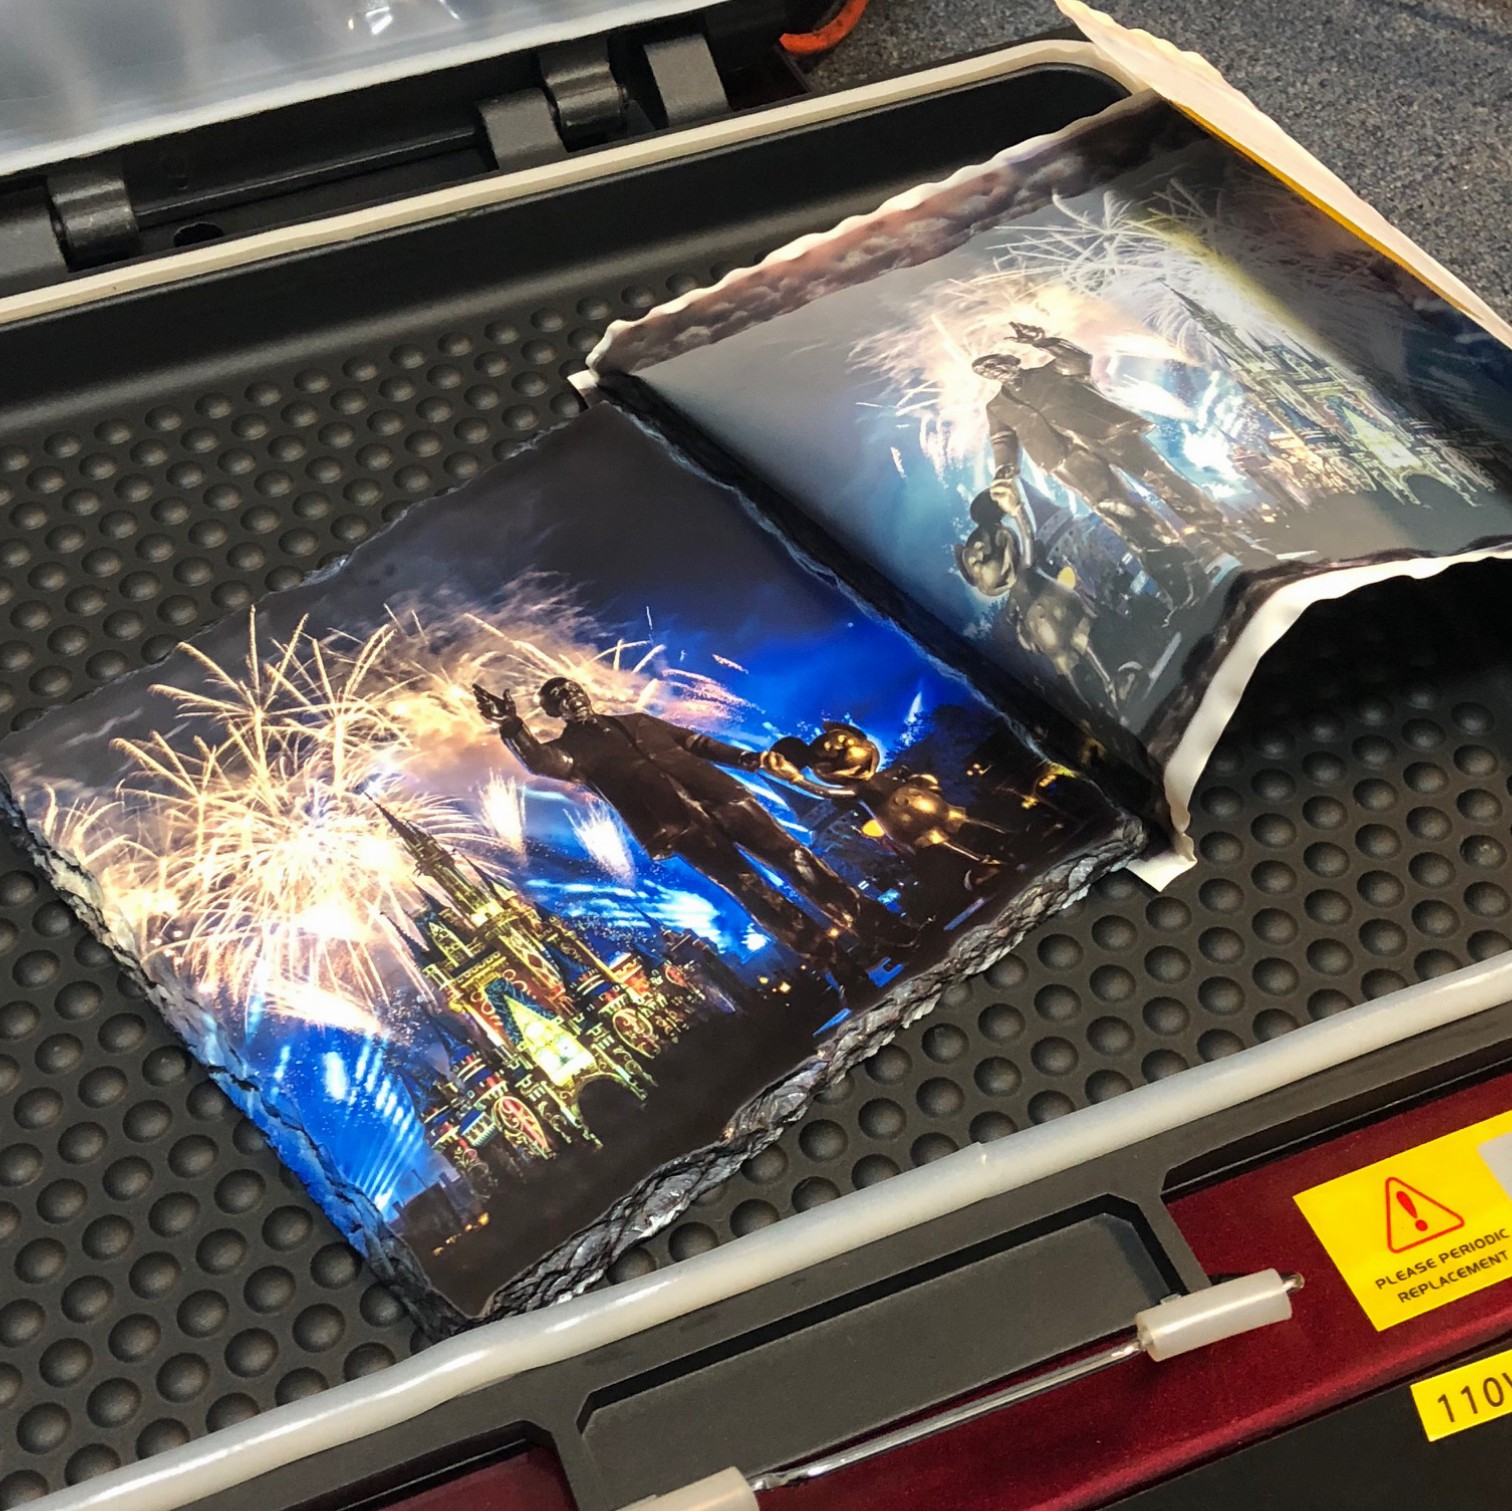
7 – Place substrate face up in the top tray of the 3D Vacuum Press.

8 – Press the vacuum button. Then the timing button to begin the timer.
9 – Press at 400 degrees F for 5:30-7 minutes.
10 – Remove immediately from press once finished and peel hot. Use caution as rock slate will be very hot.


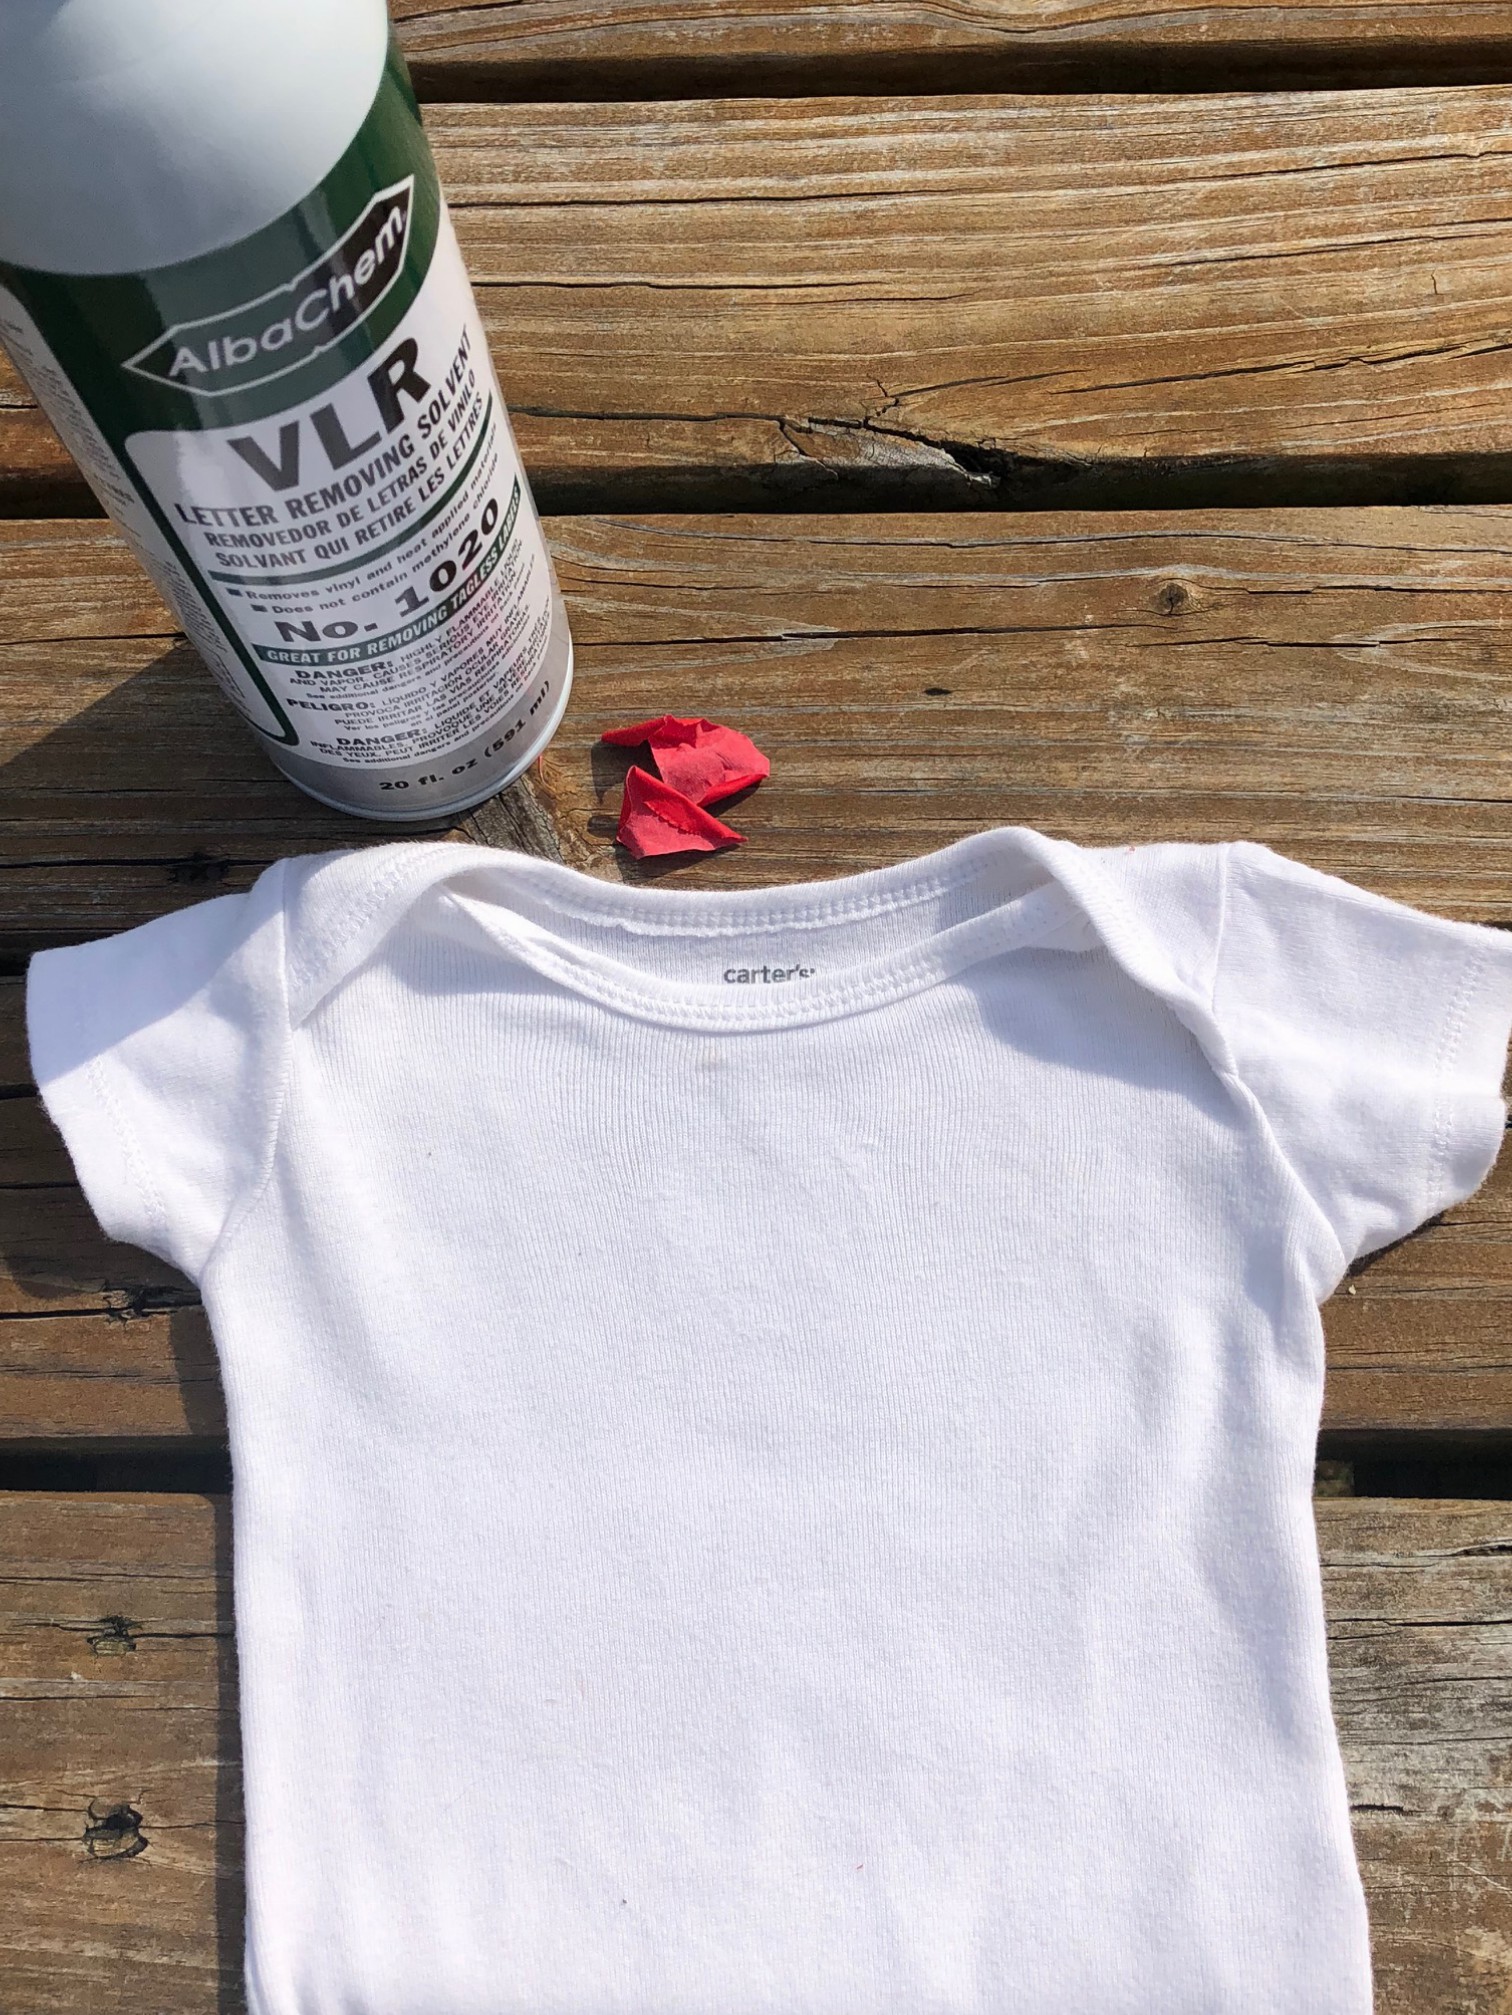
 You need:
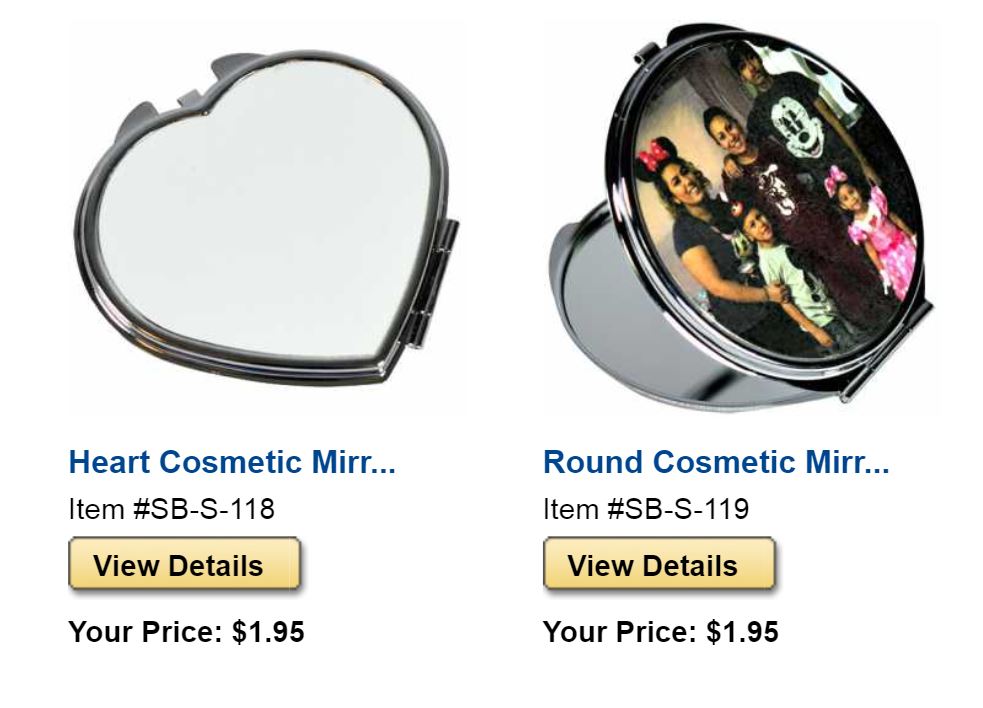