DIY Summer Trends for Crafters

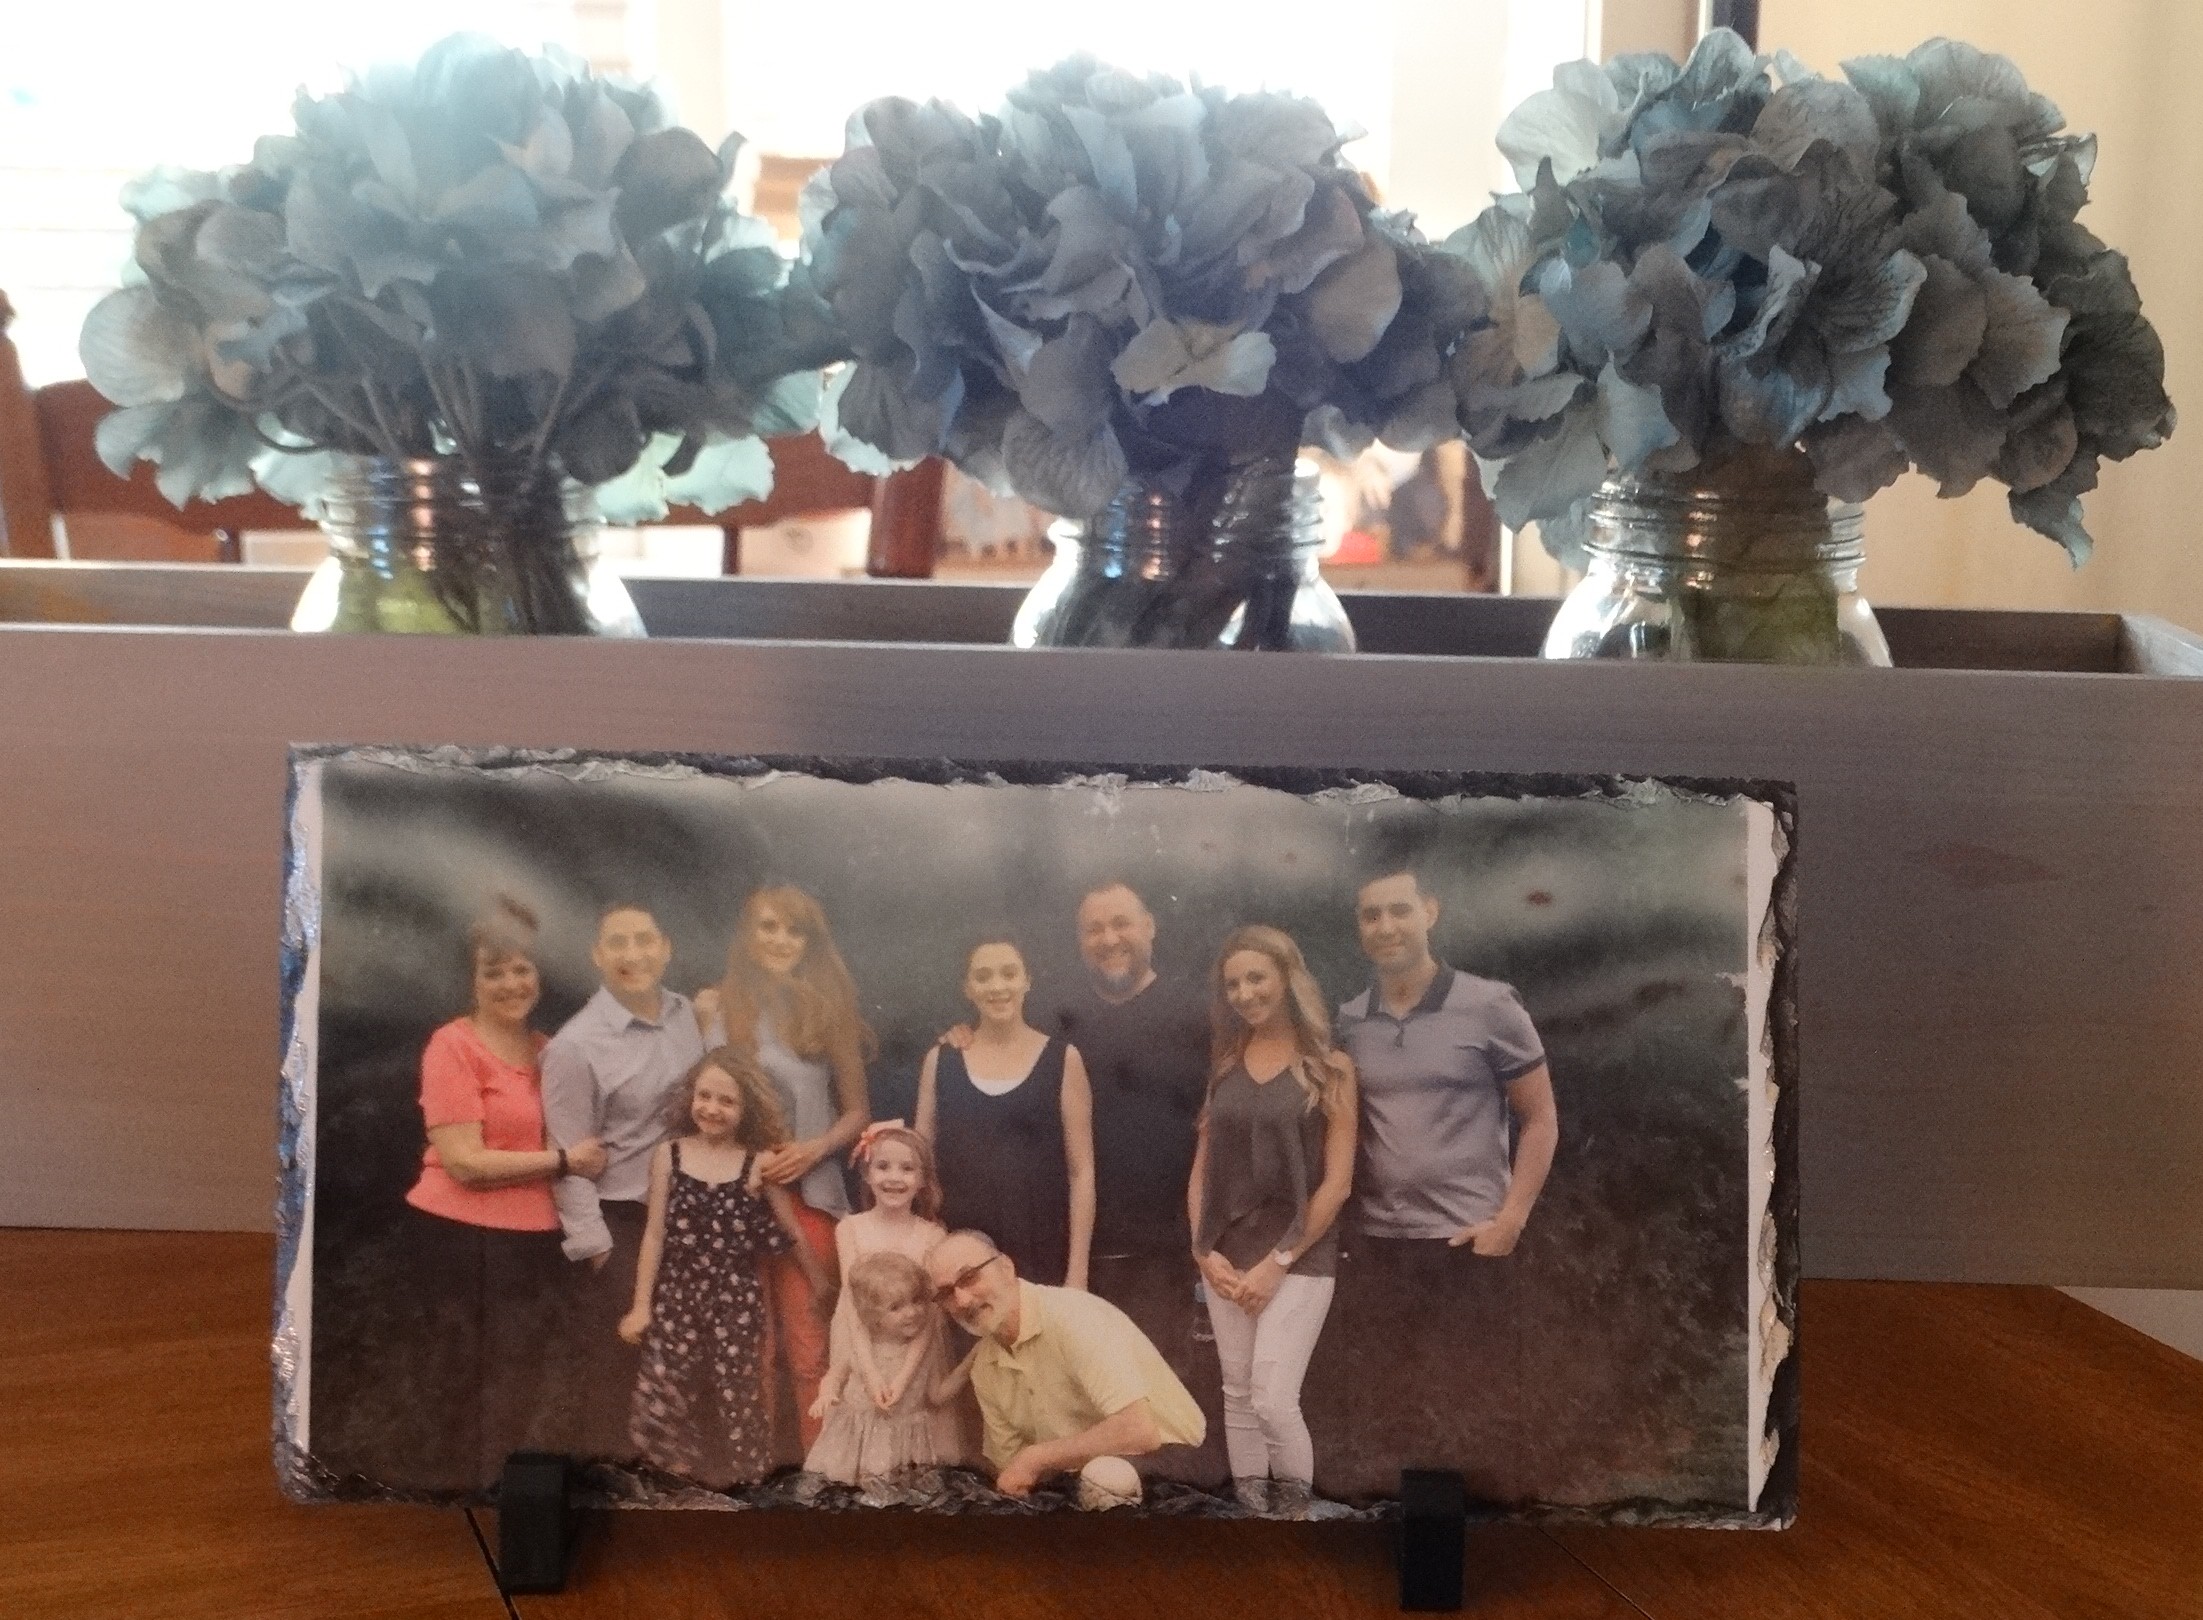
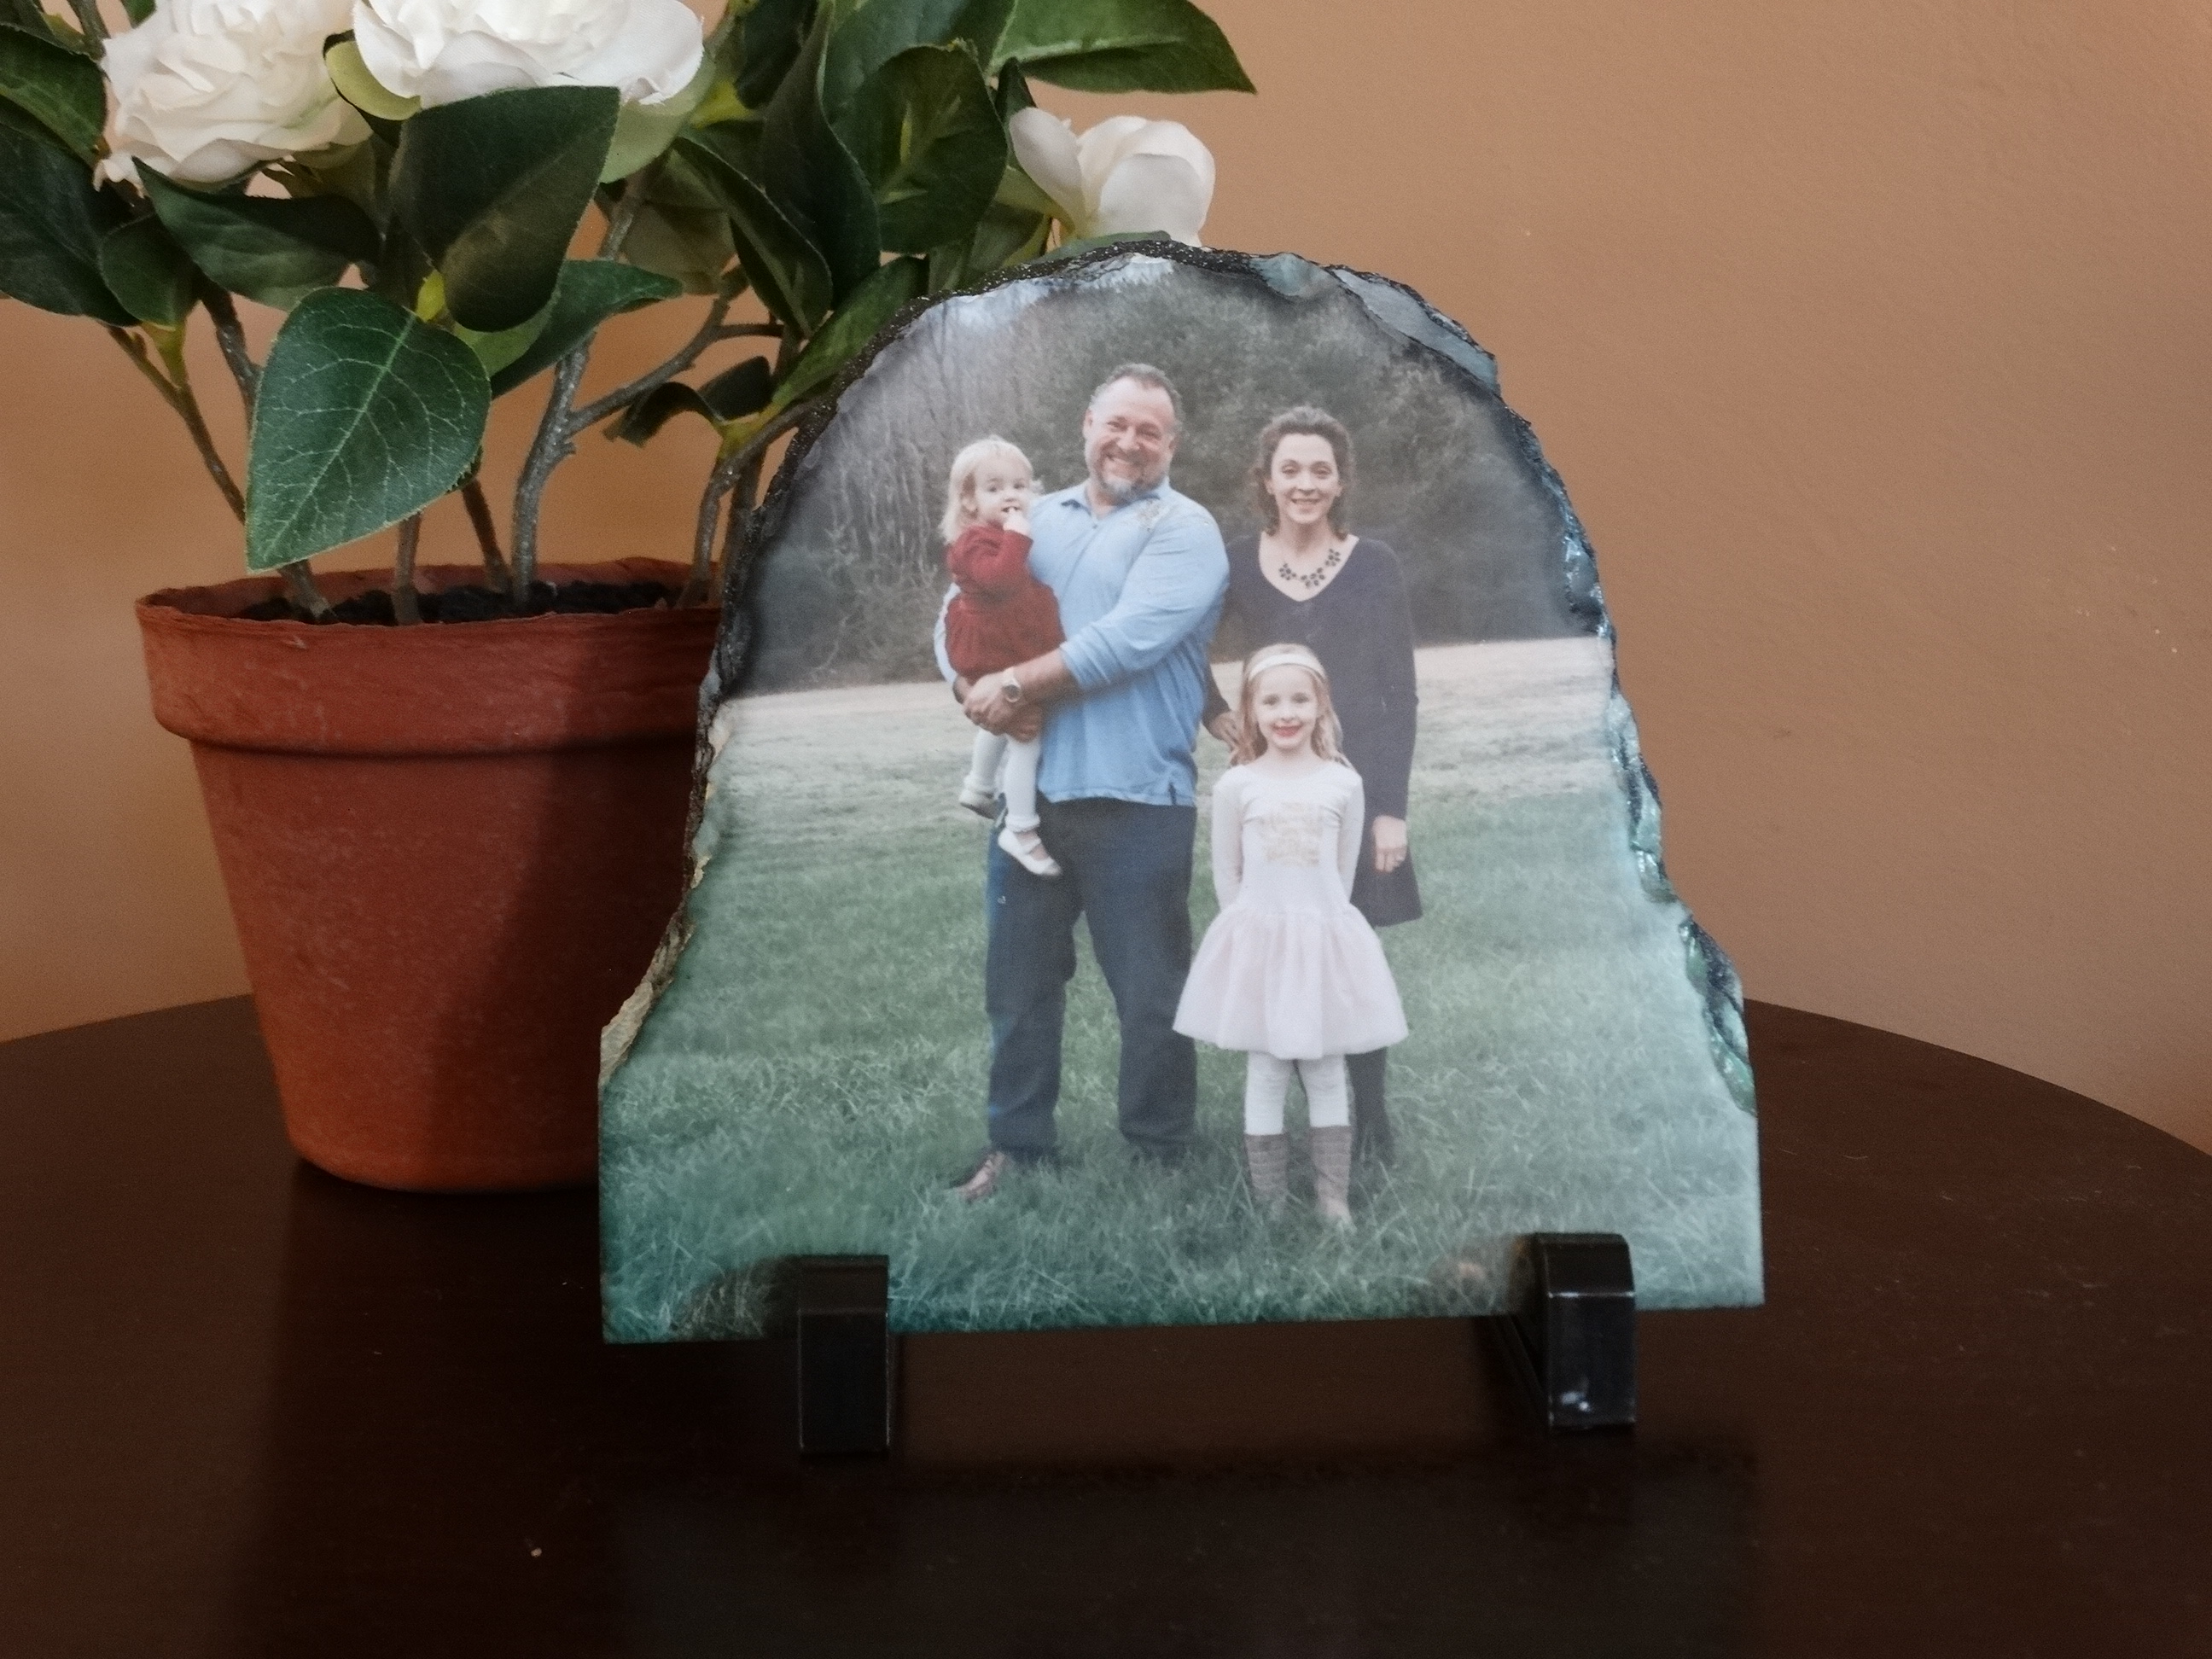
Trends are constantly changing and sometimes it can be hard, and expensive, to keep up. With a little creativity, a few crafting supplies, and some know-how, you can be trendy for less, with one of a kind pieces. You can also use these as an opportunity to sell personalized, trendy pieces to your friends!

Here are the four summer trends that you can make yourself!

4

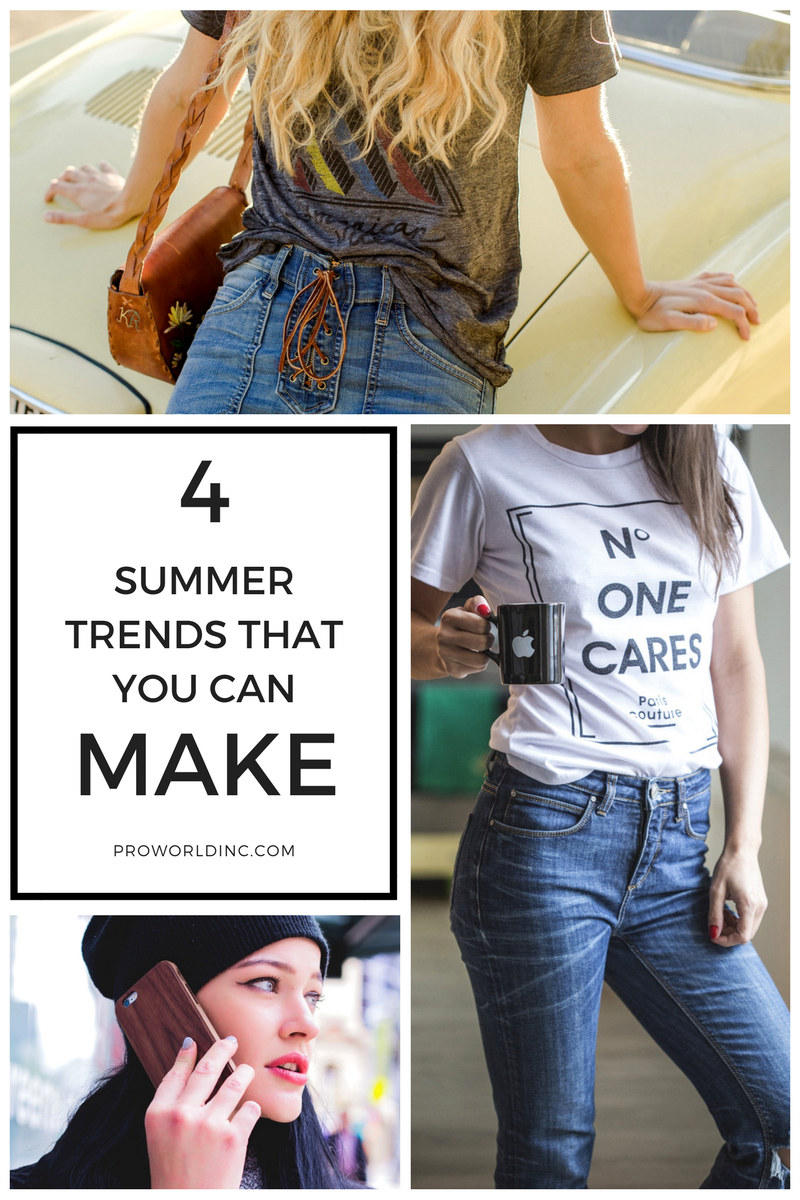
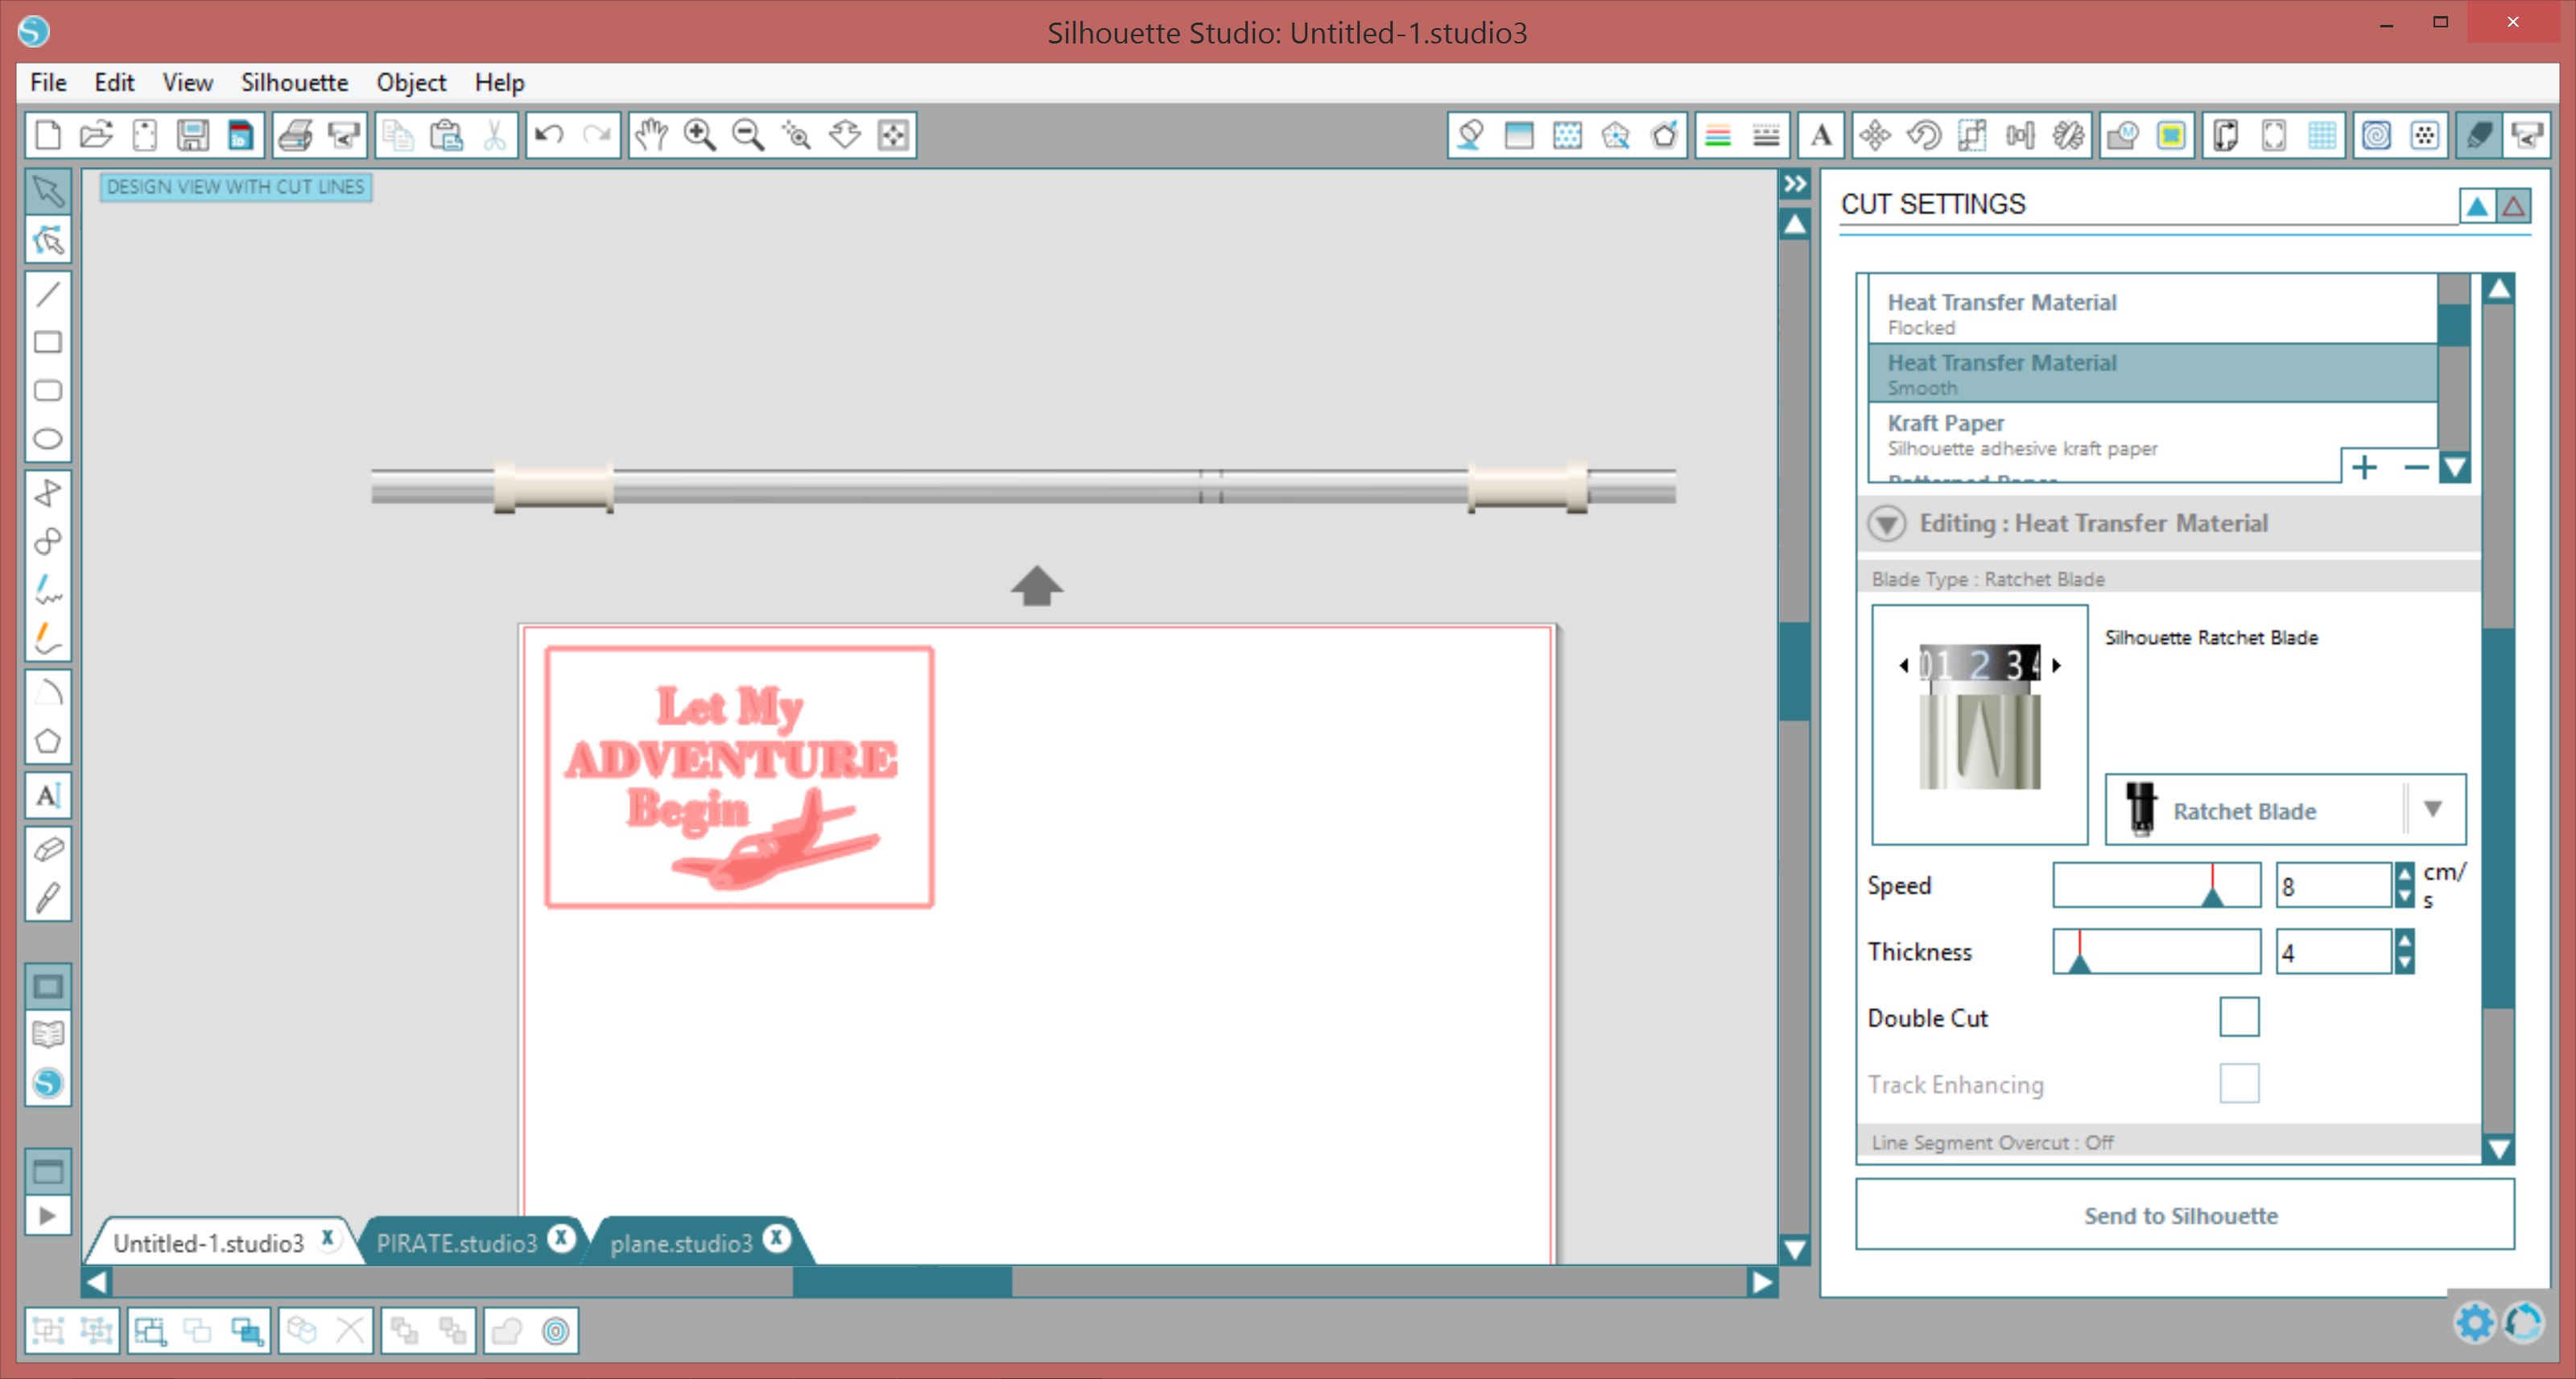
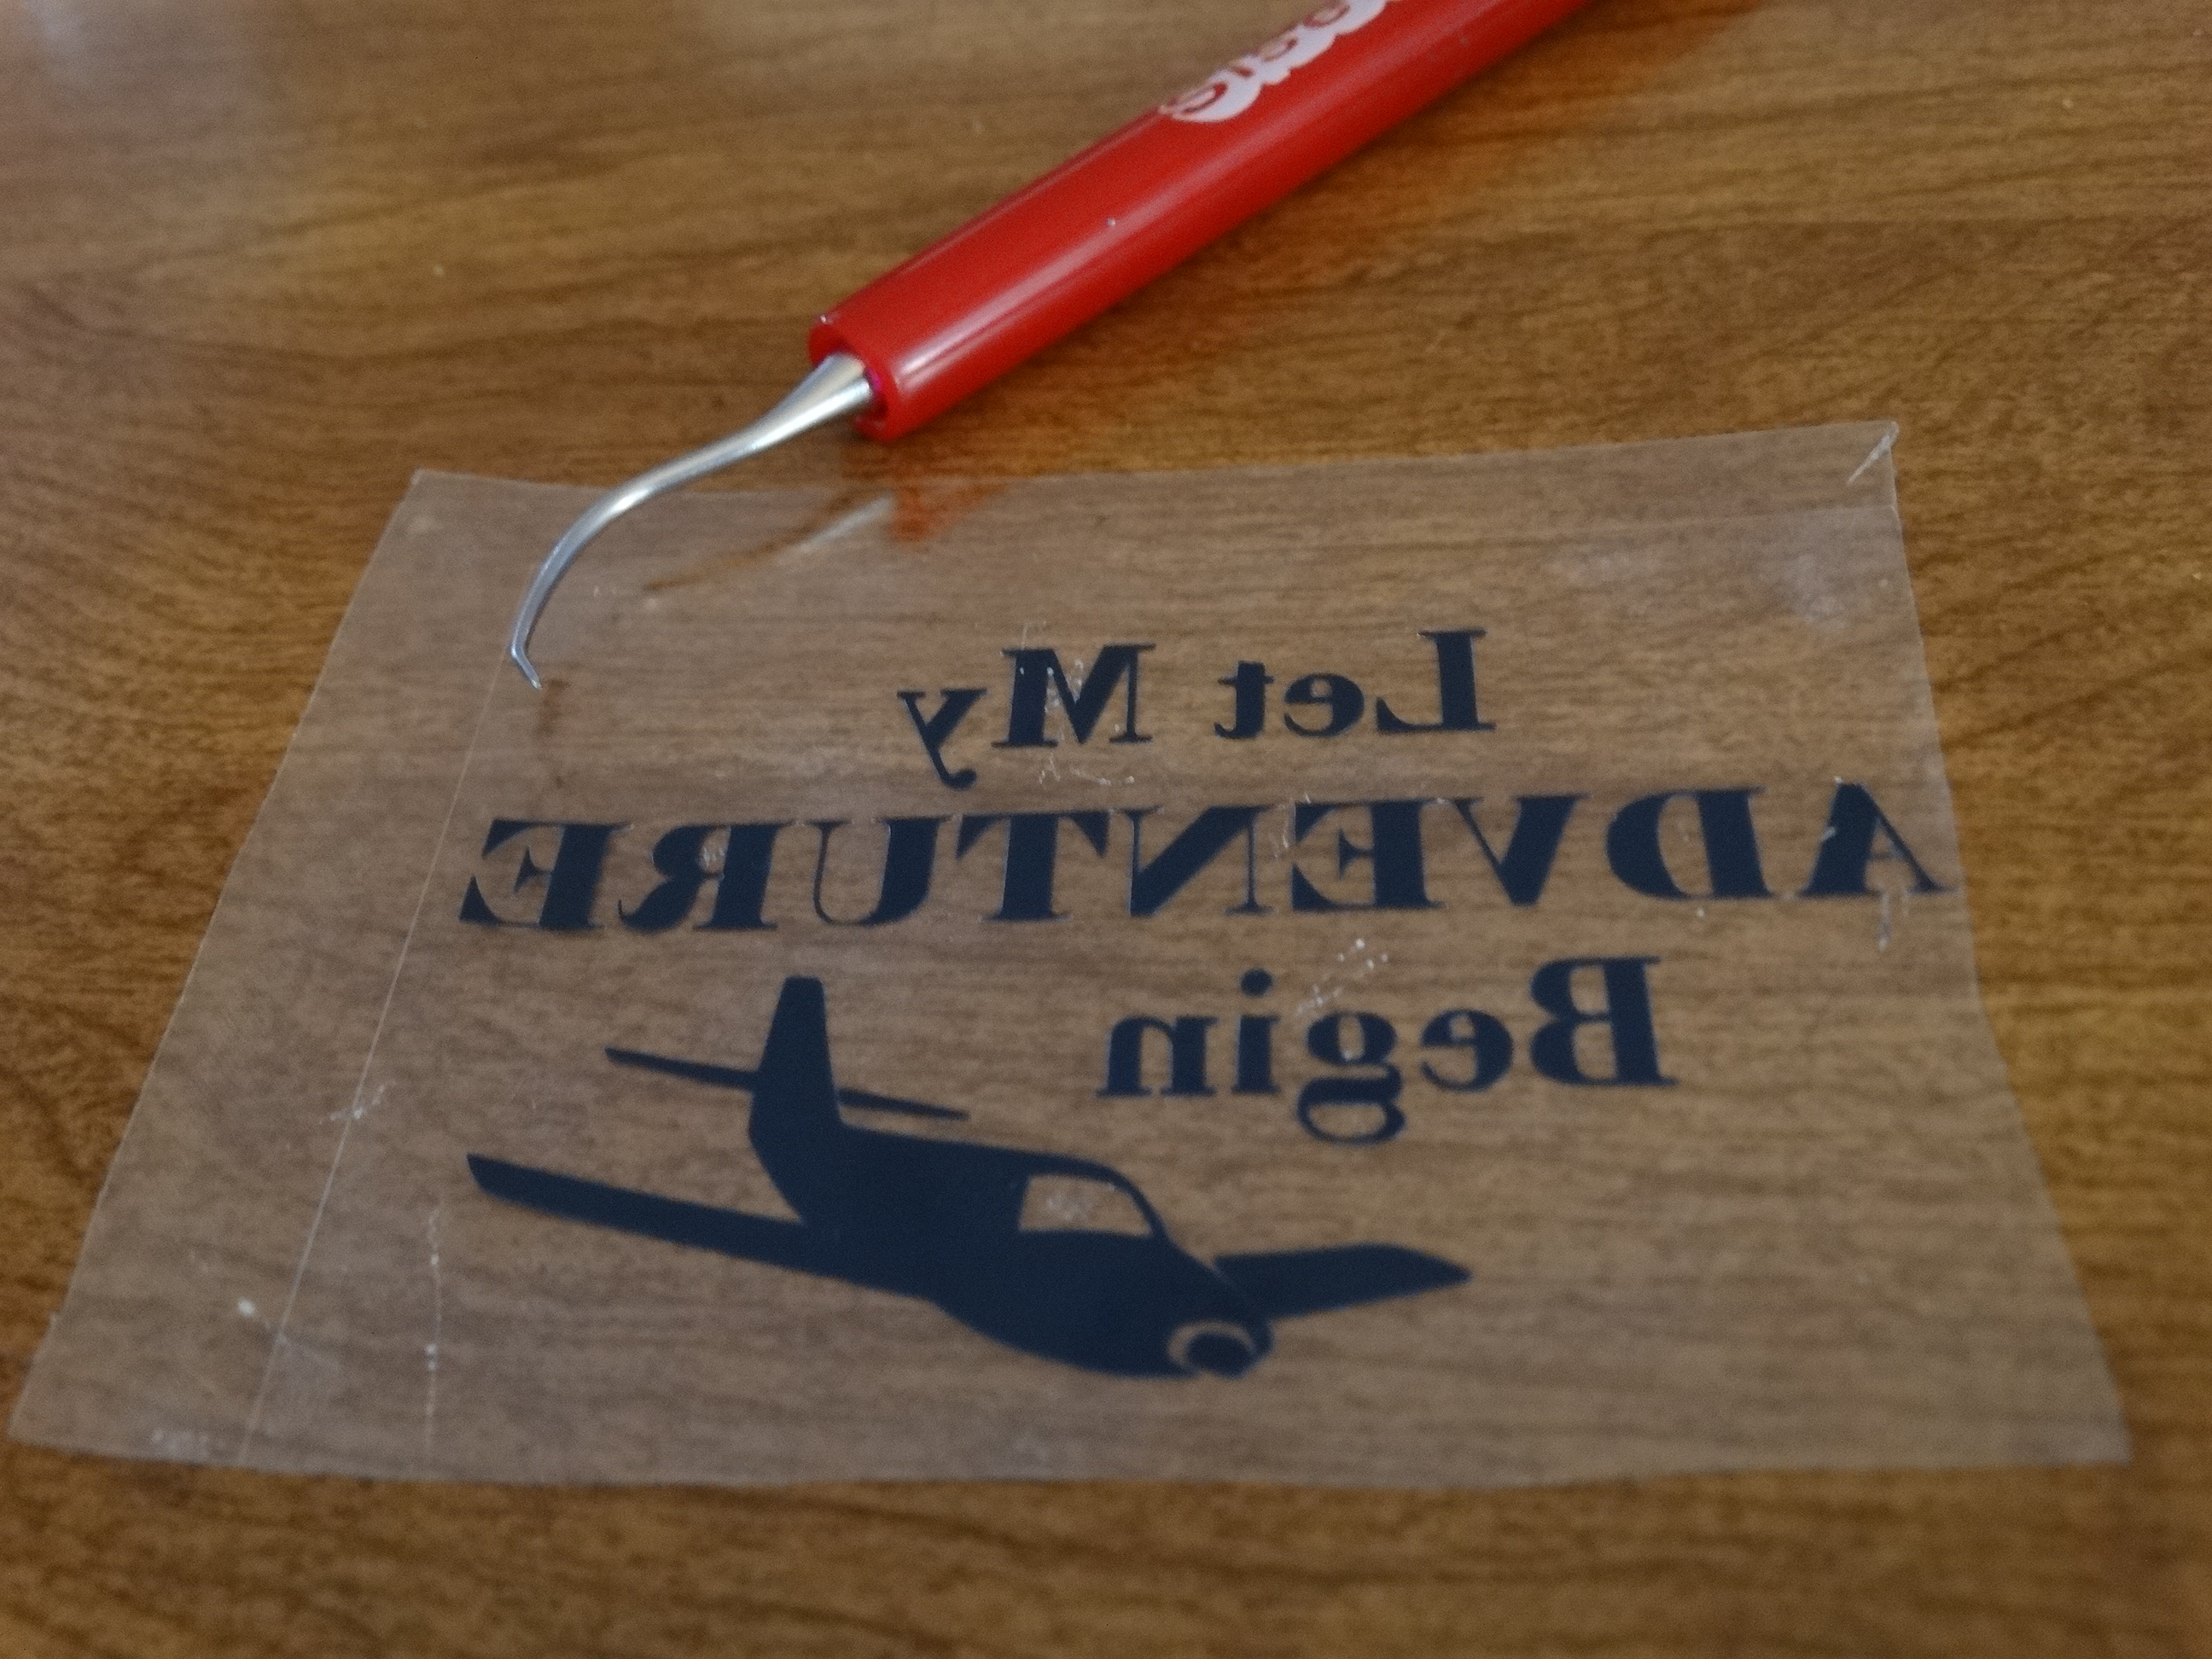
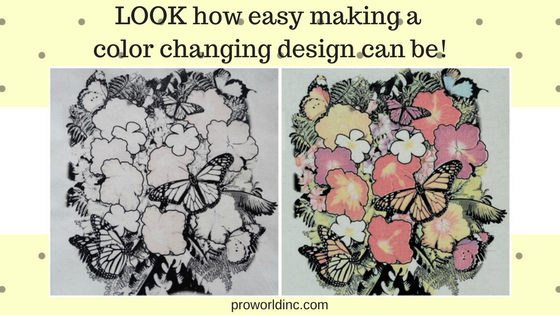
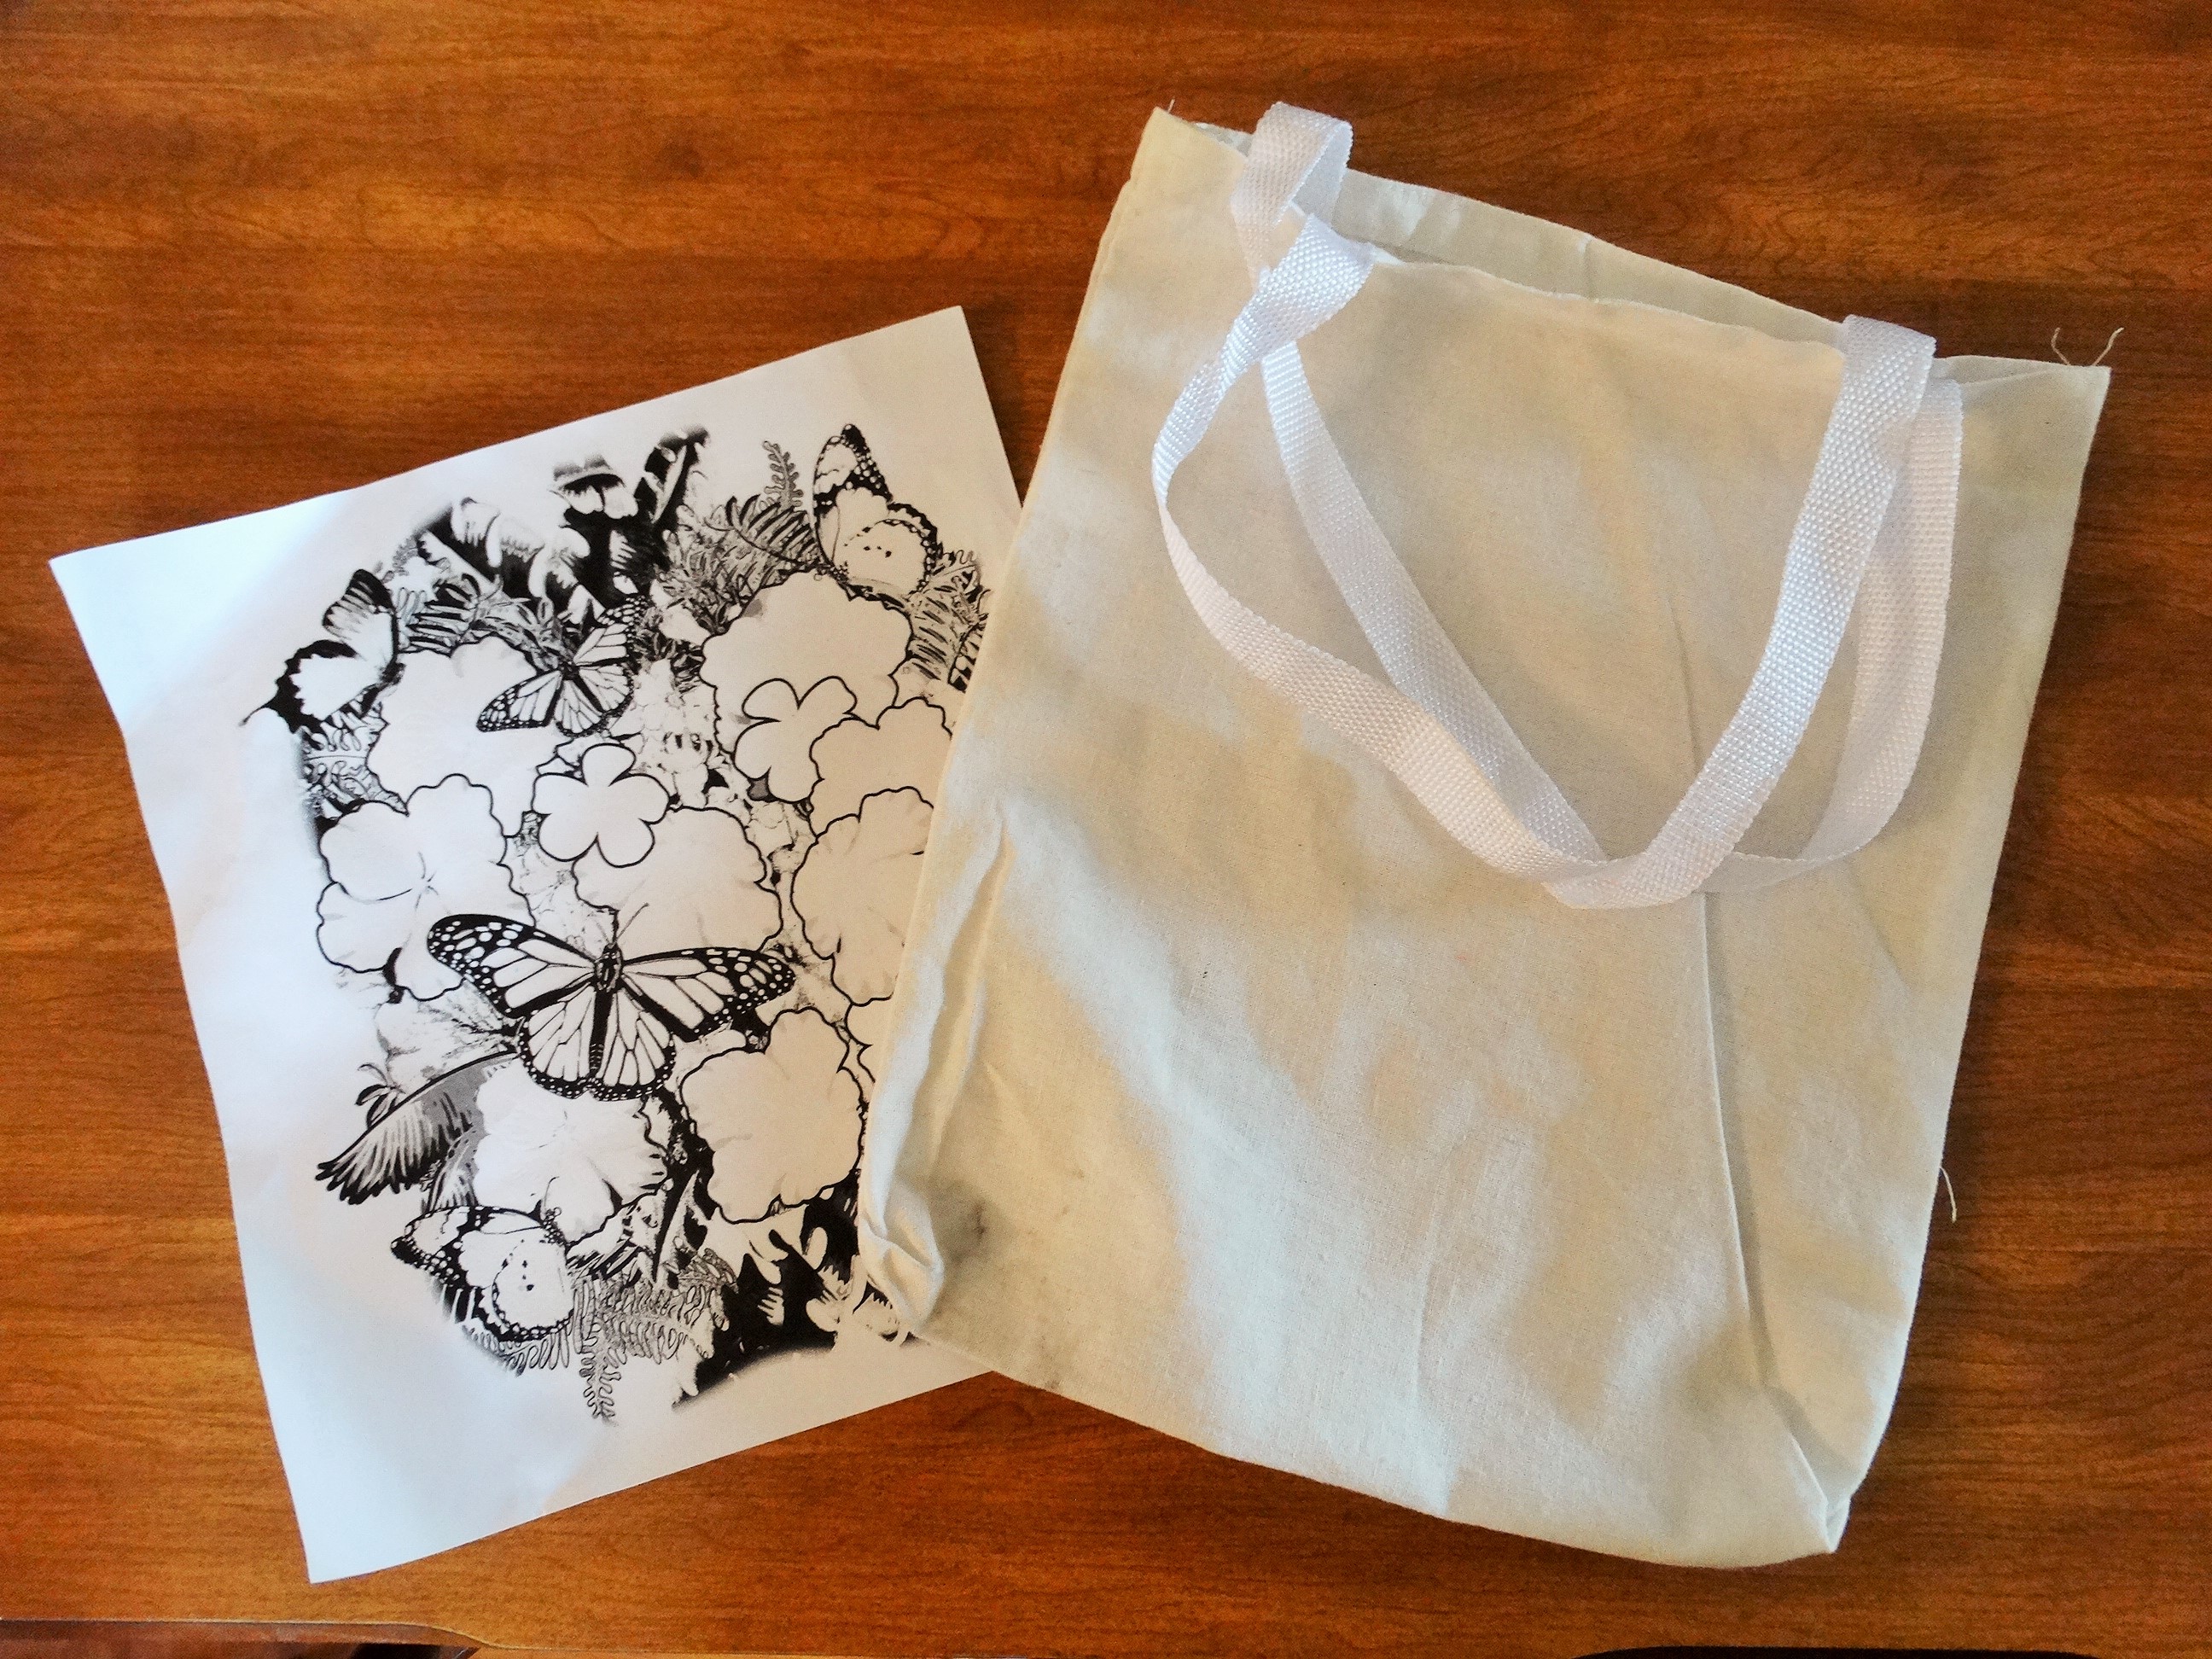
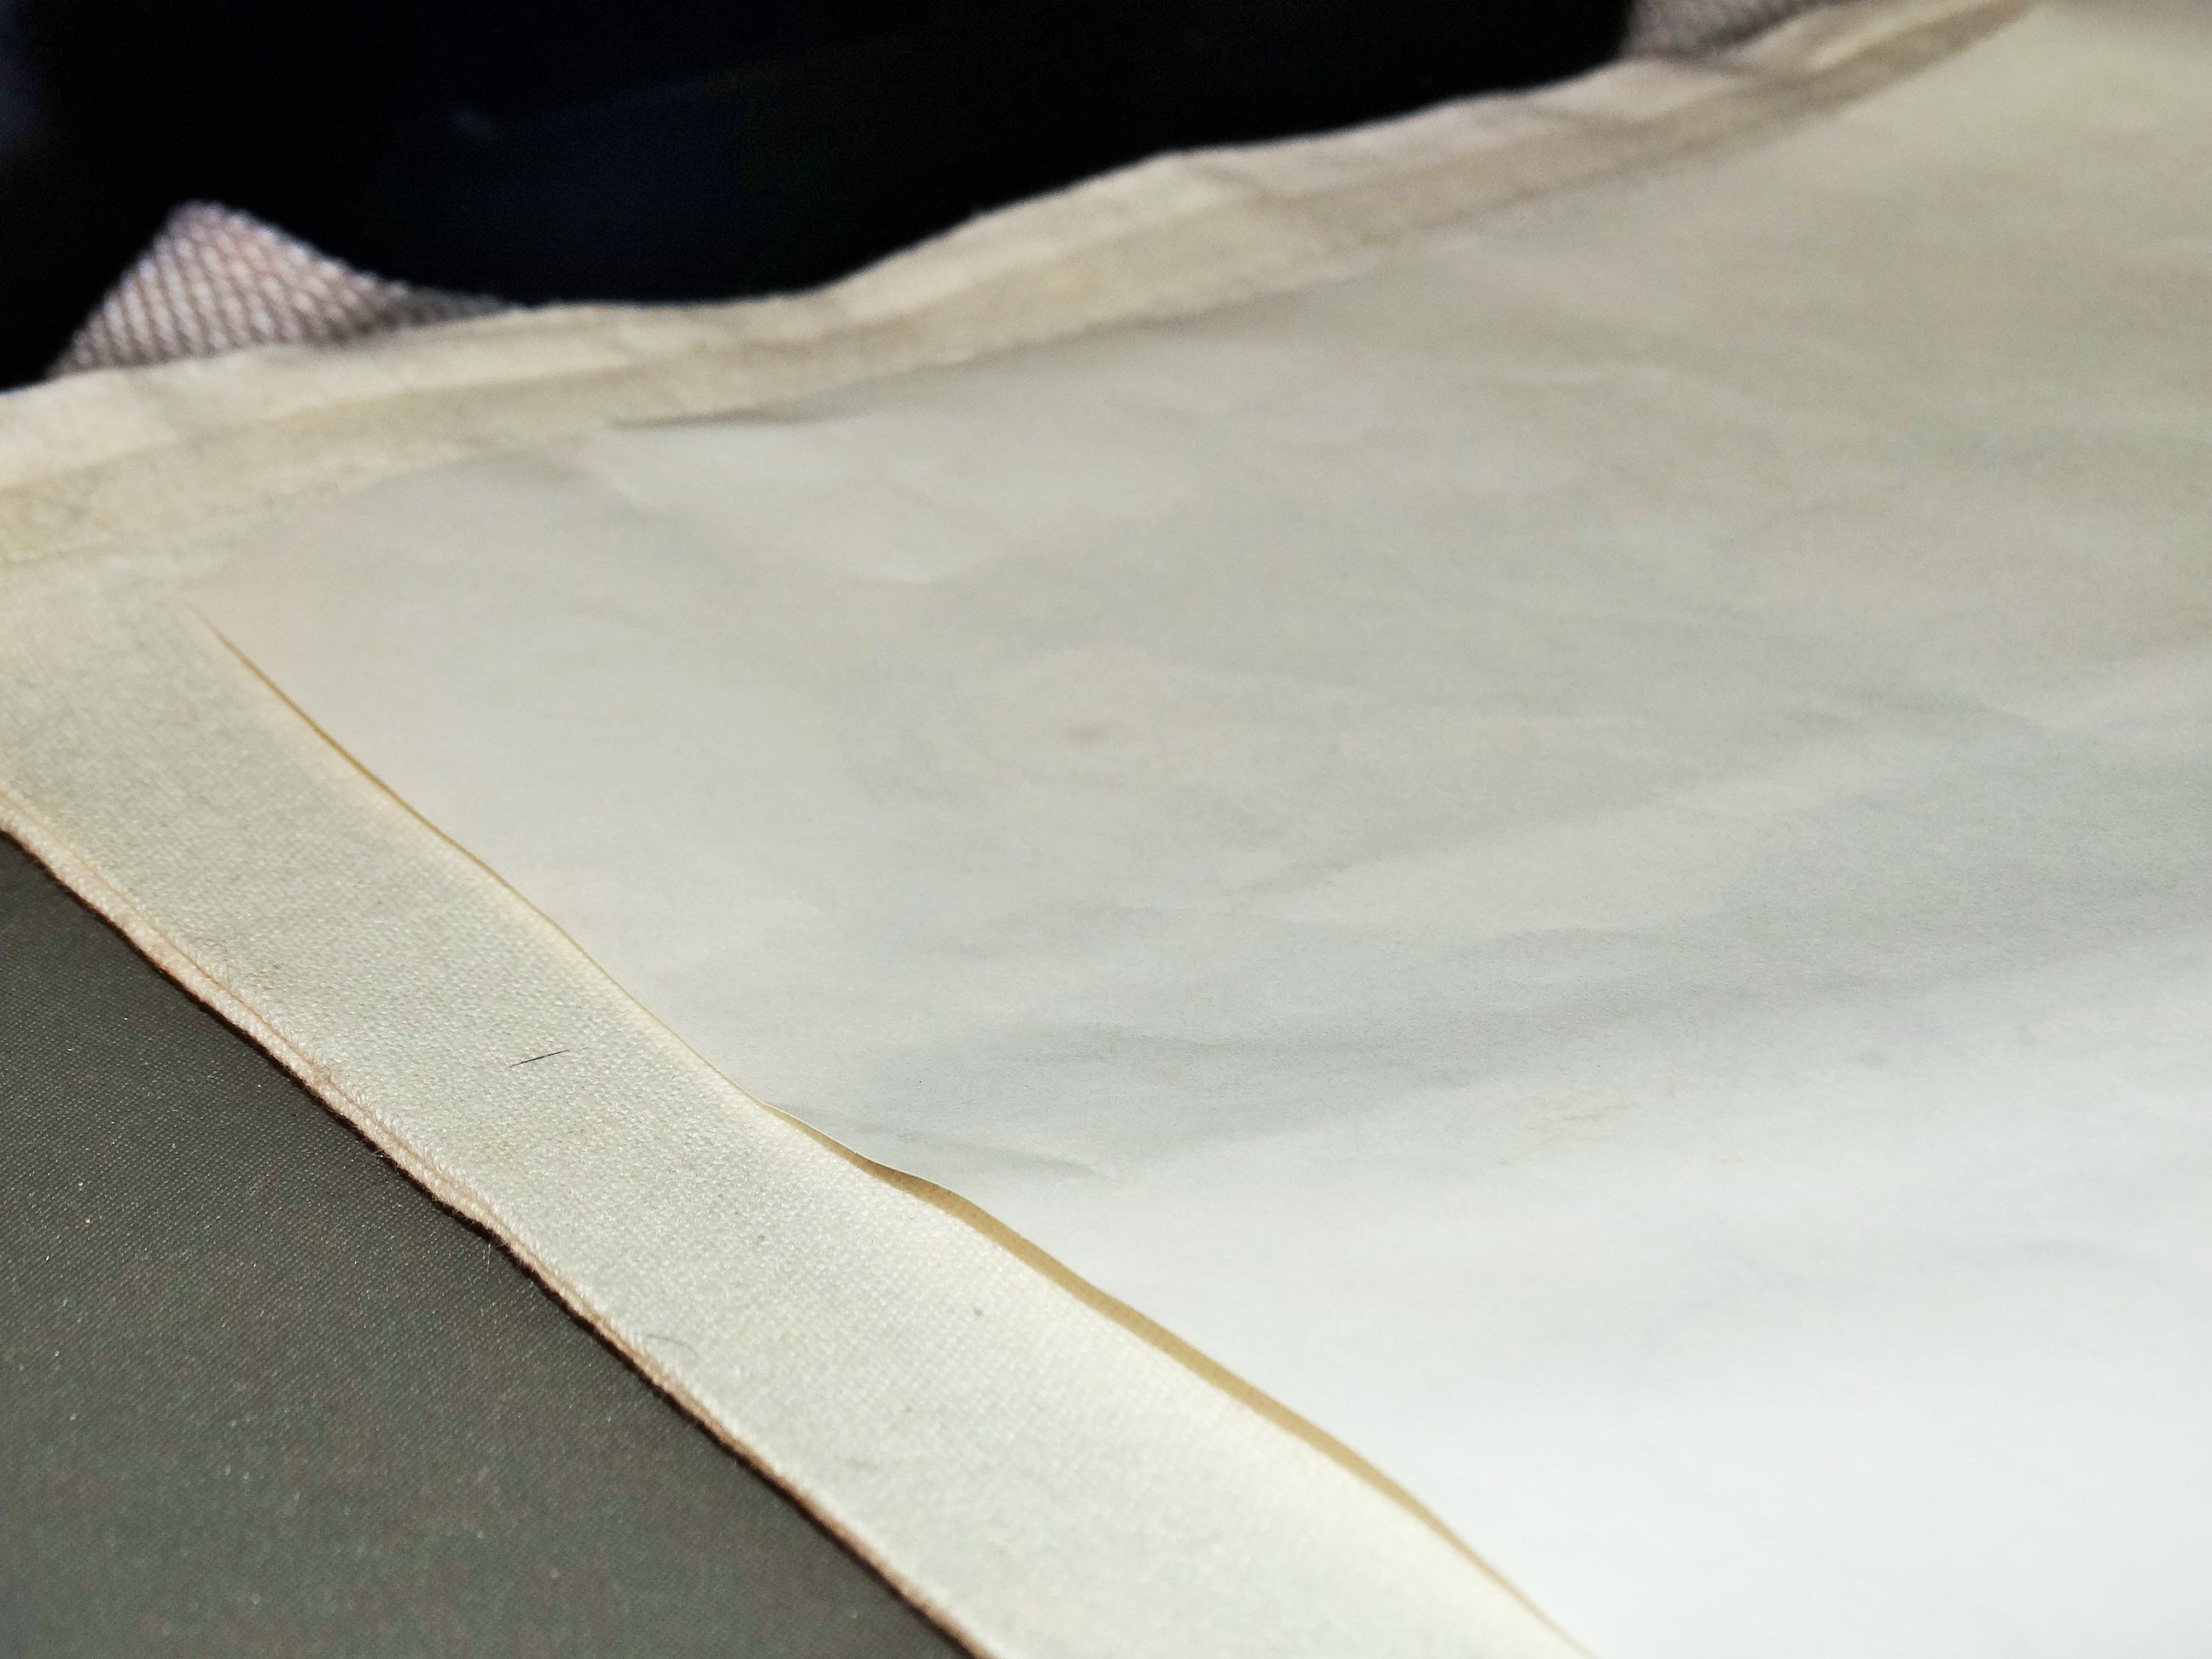
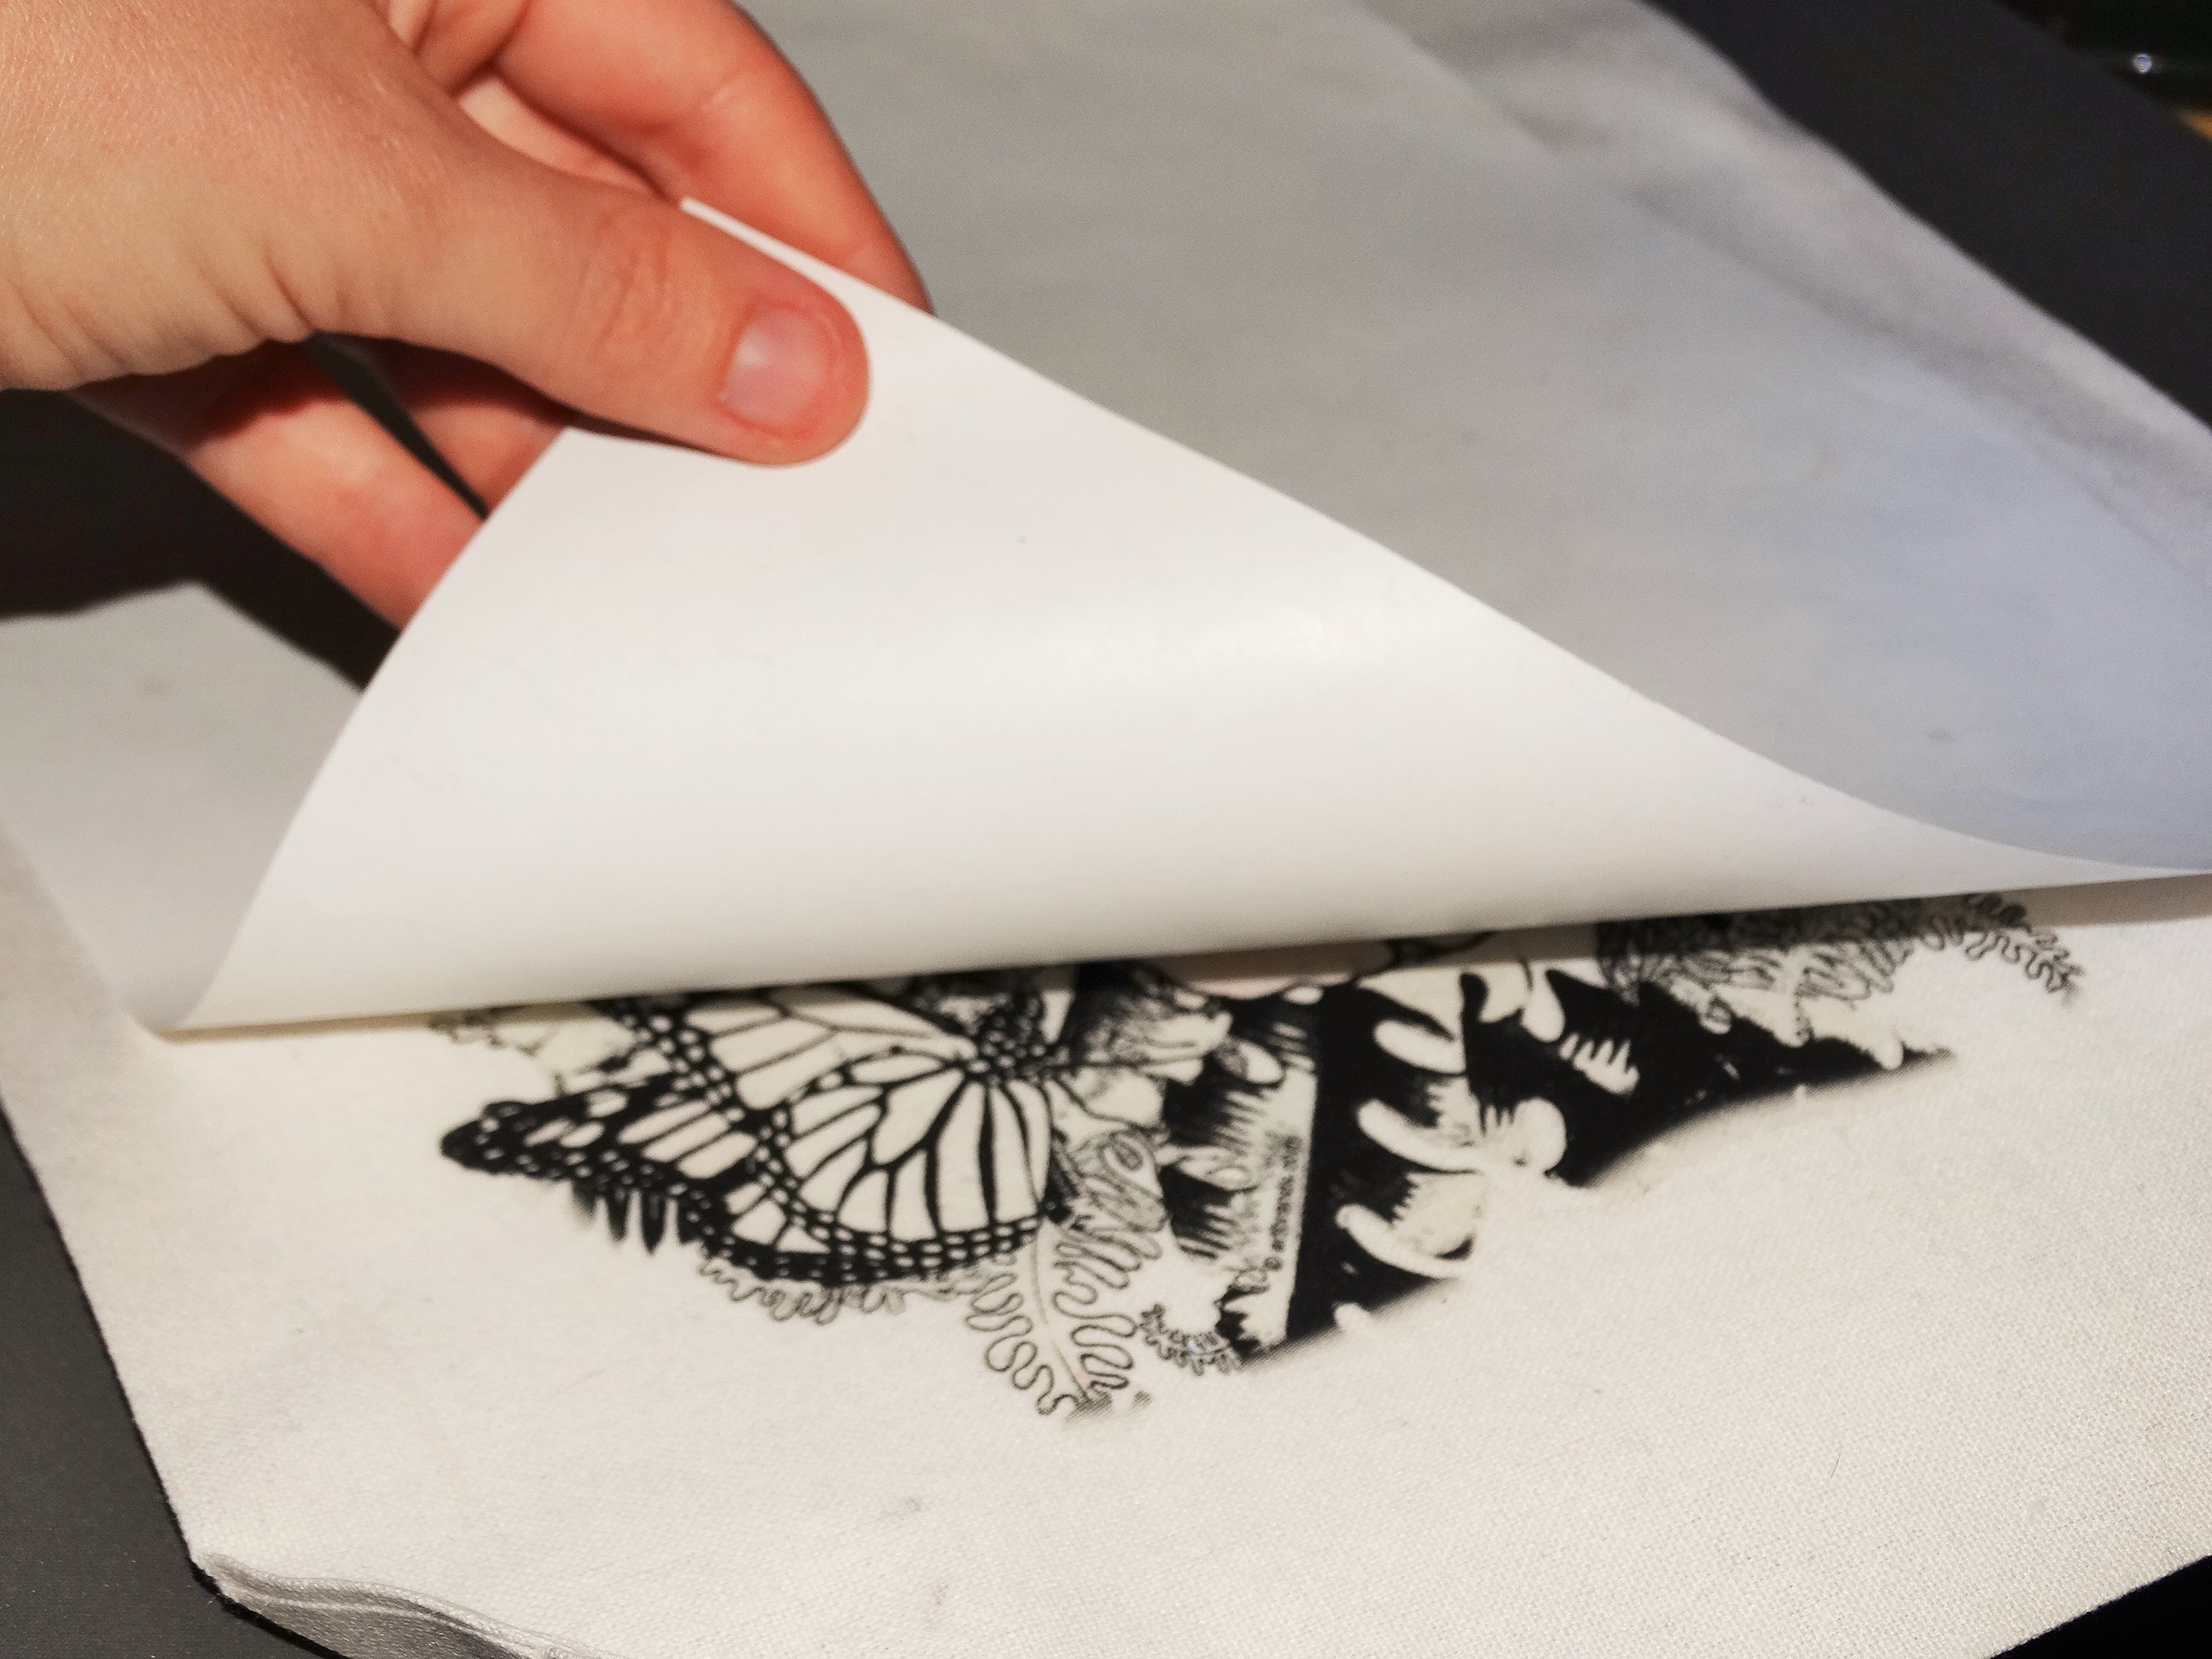
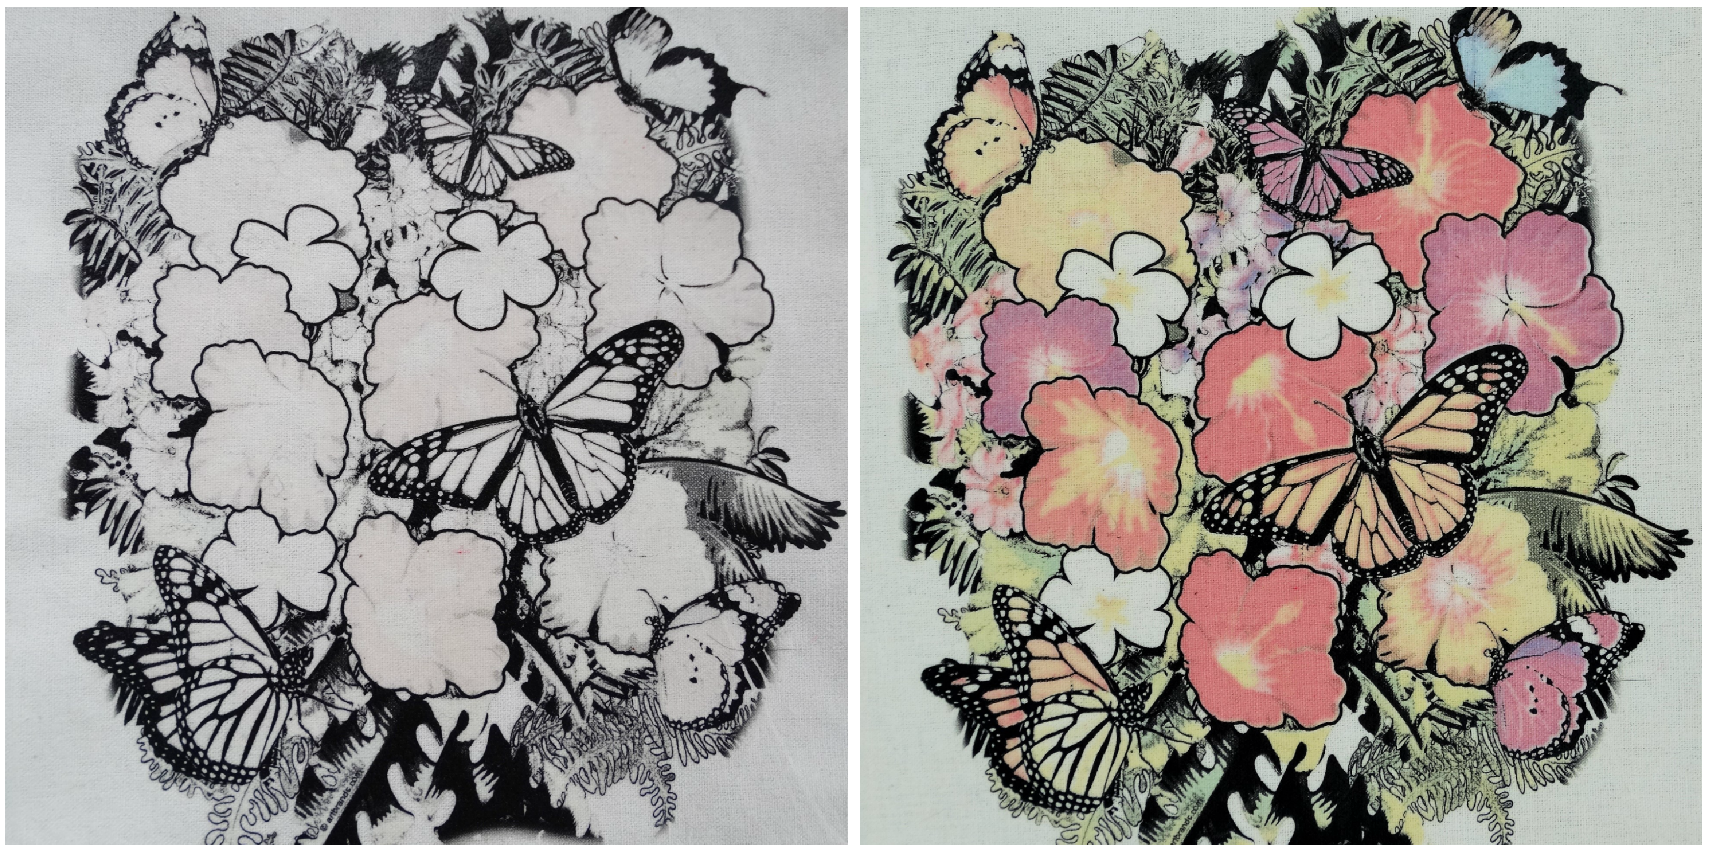
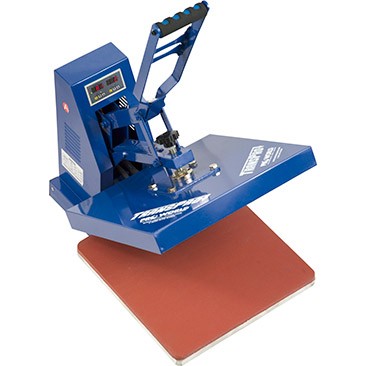
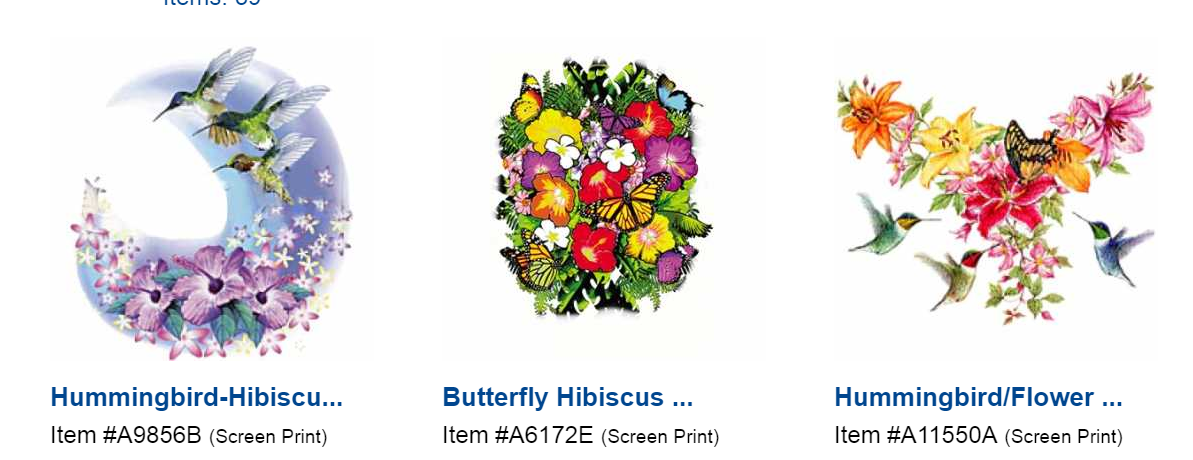
1 – Floral prints are everywhere this year. Browse our selection of floral heat transfers or create your own. Once you finalize your image, use your heat press to create your wearable art. We carry the largest selection of heat presses so you will definitely find one that meets your needs.

floral

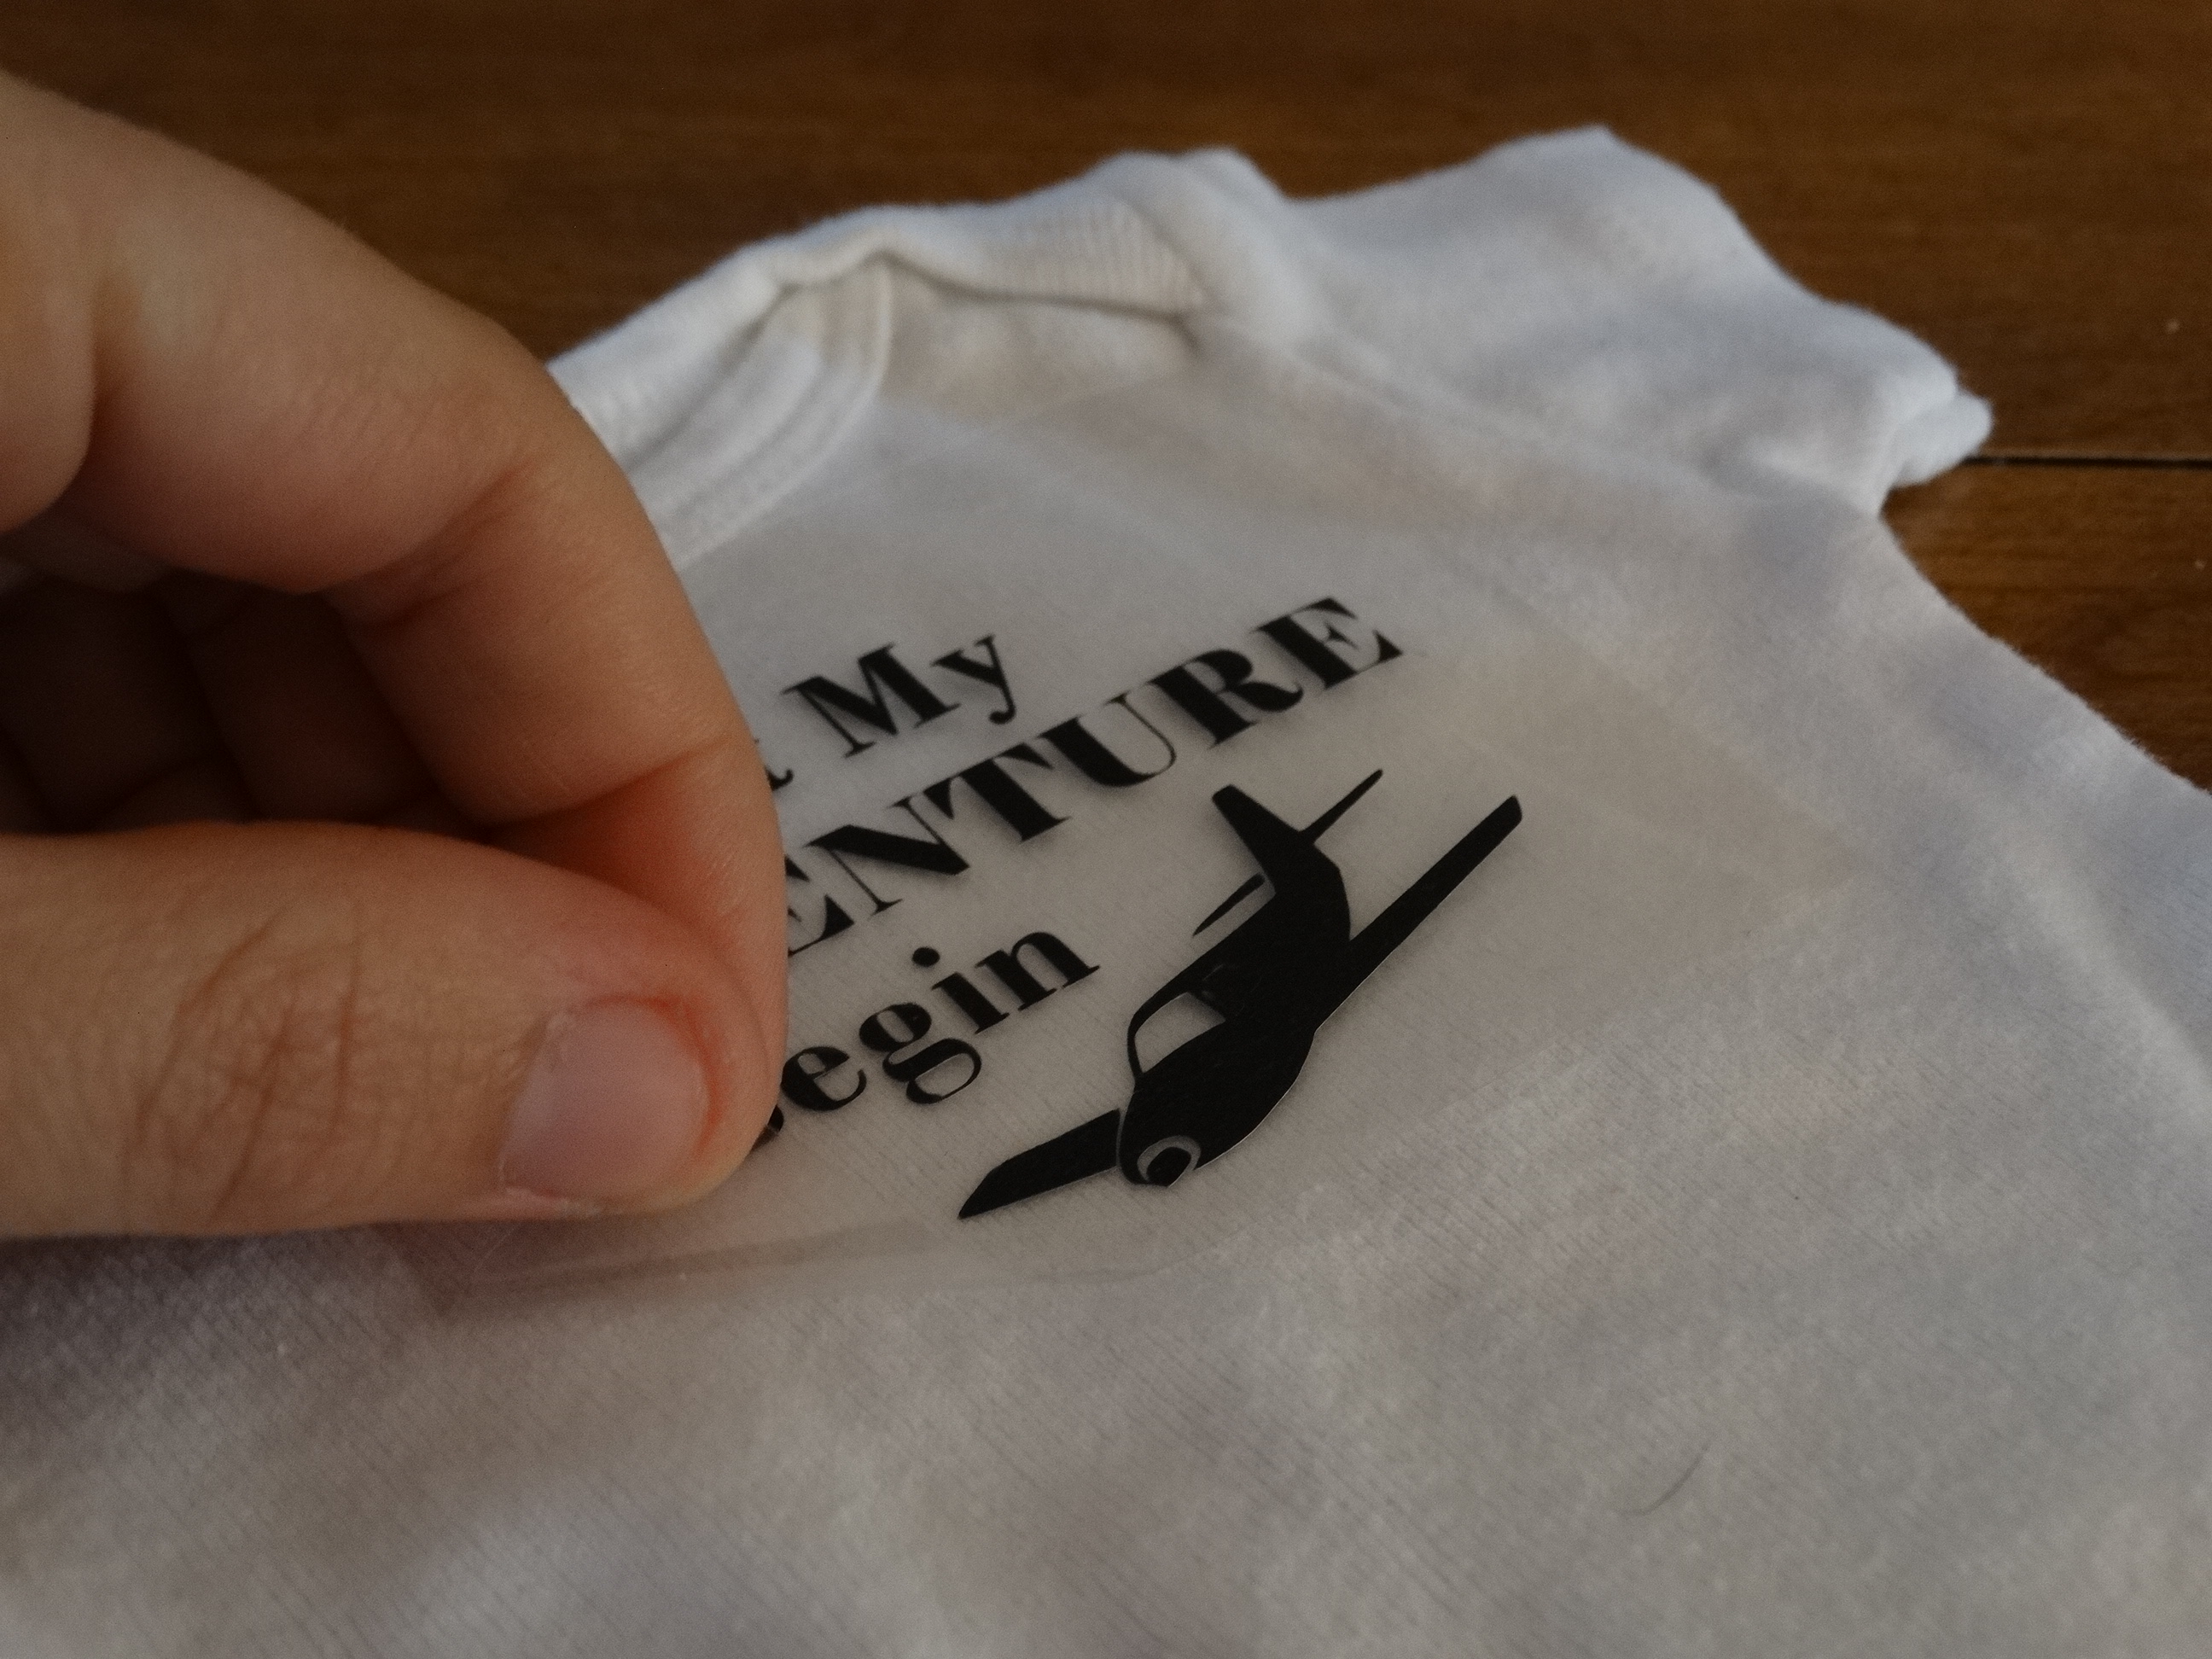
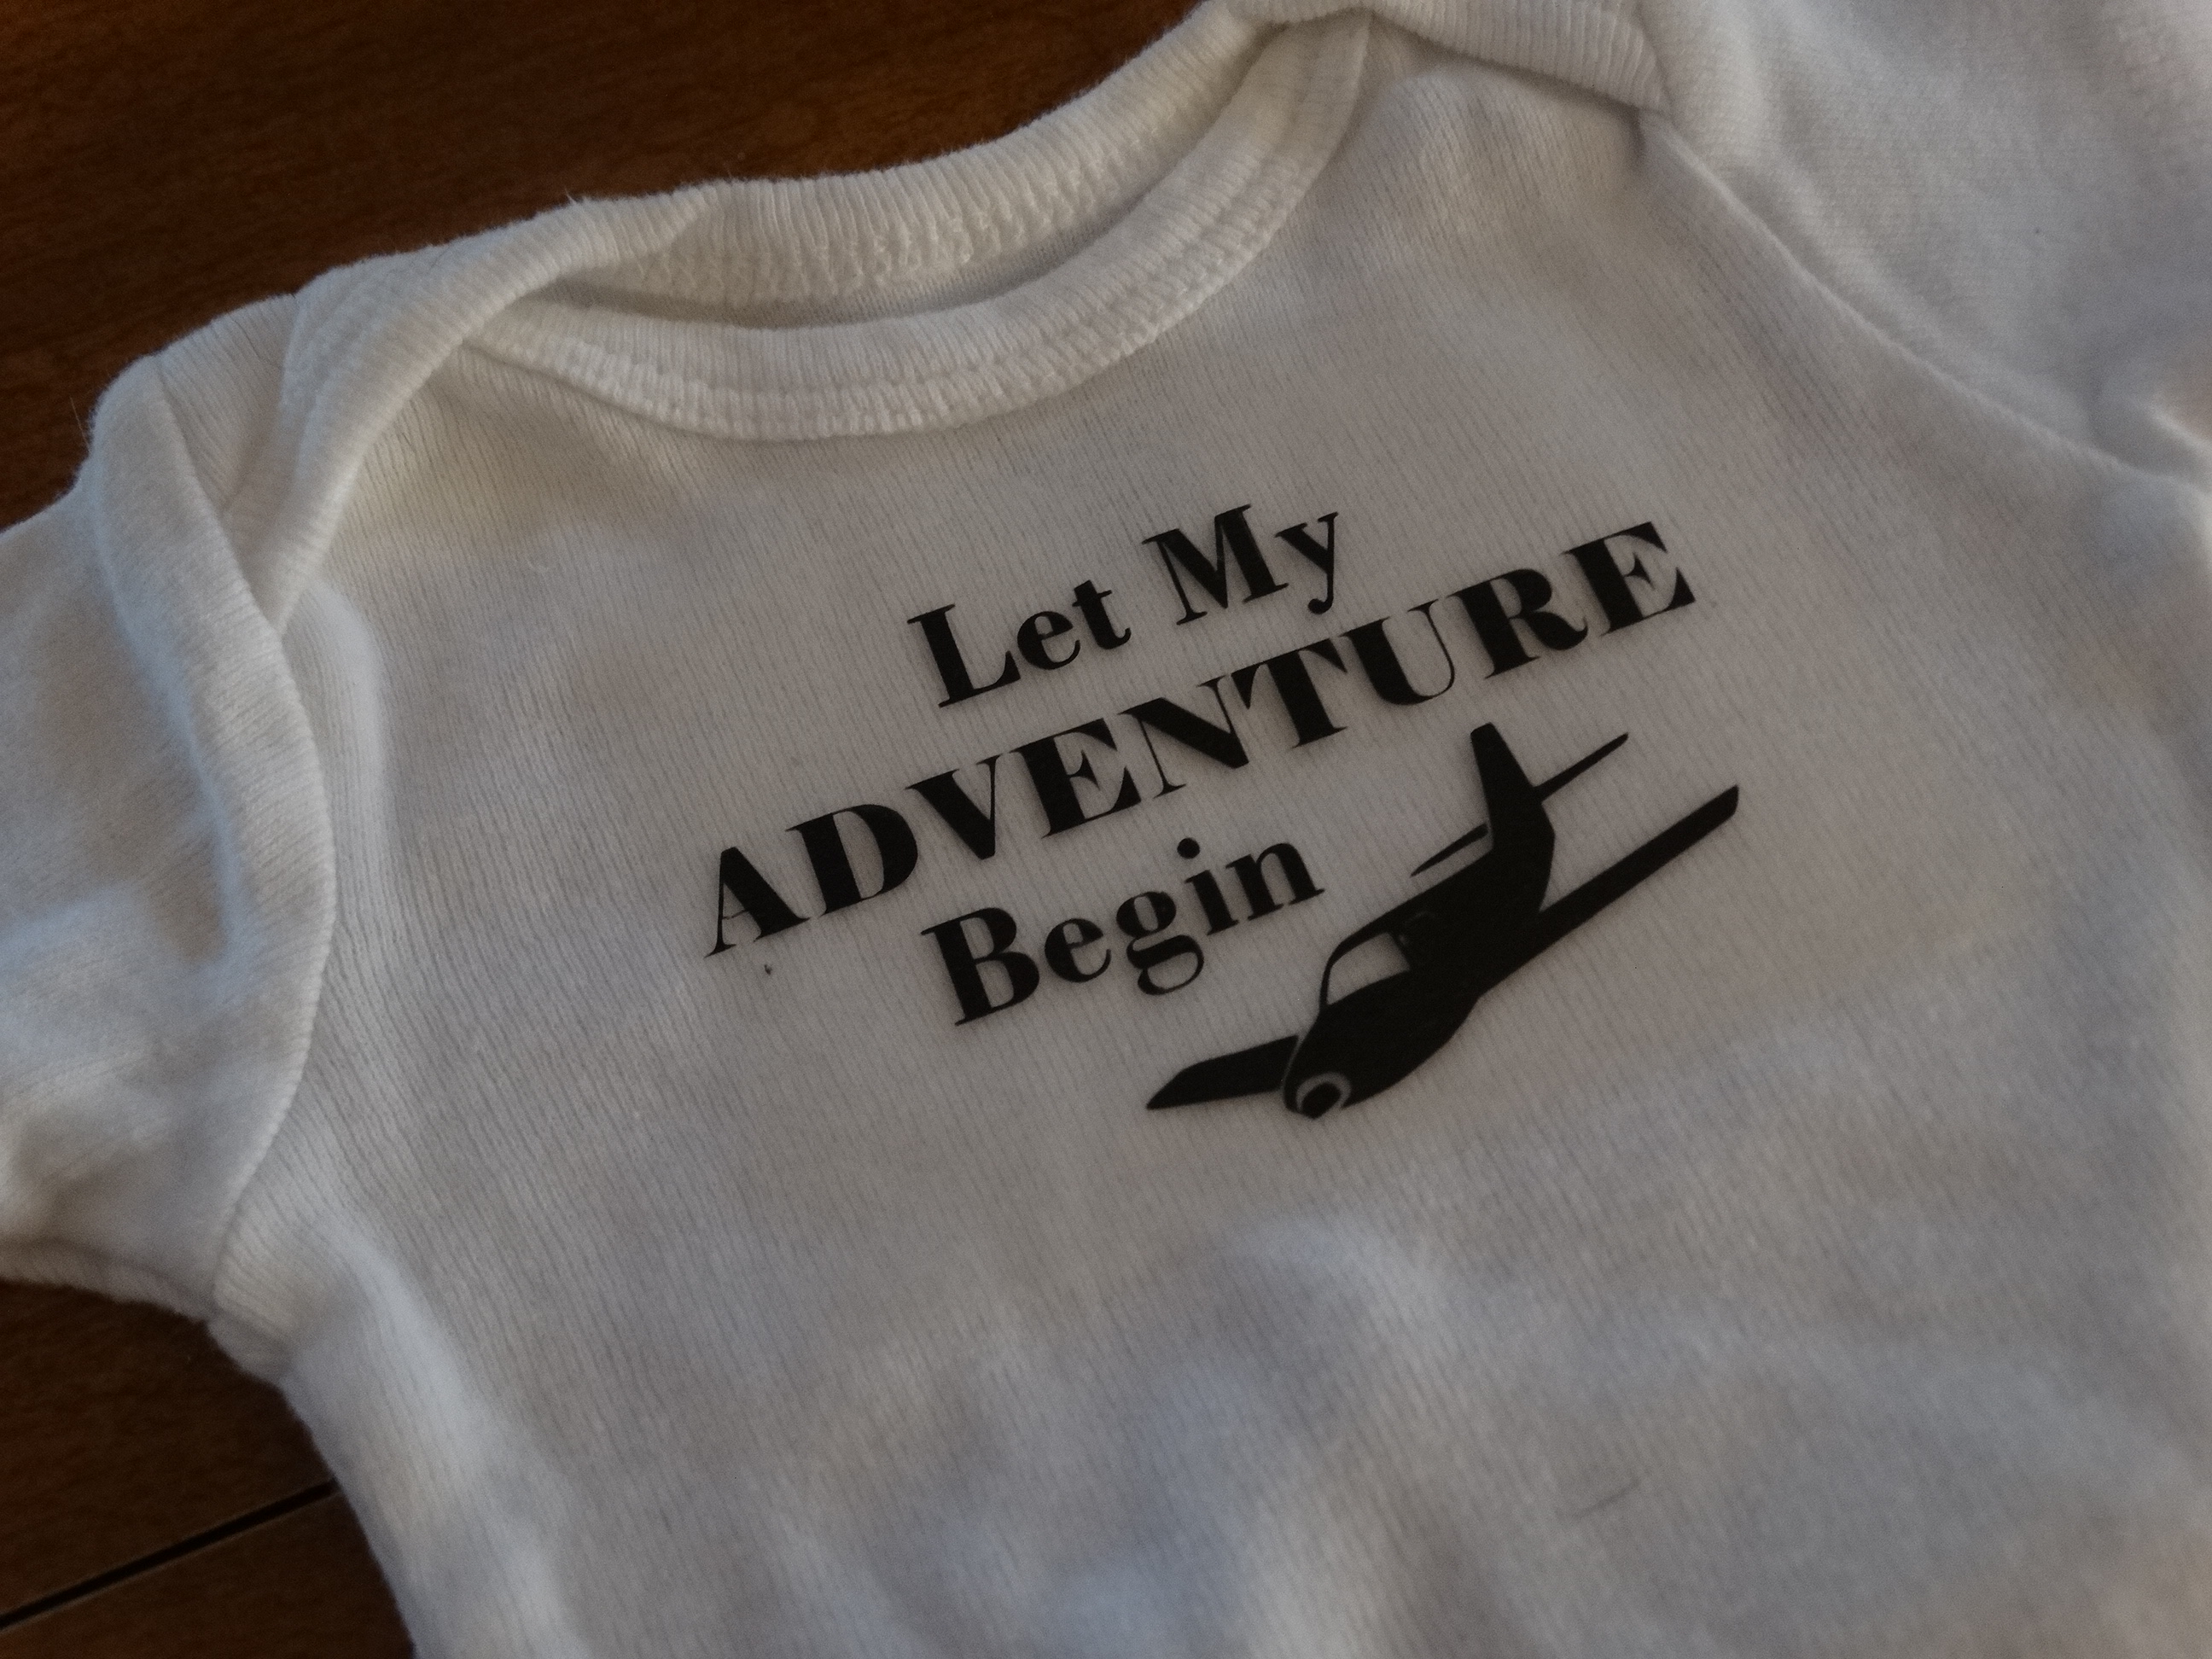
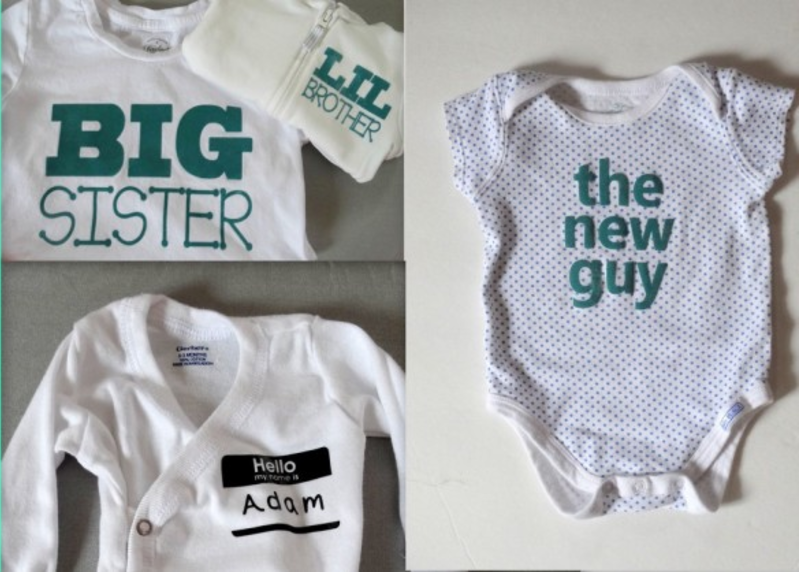
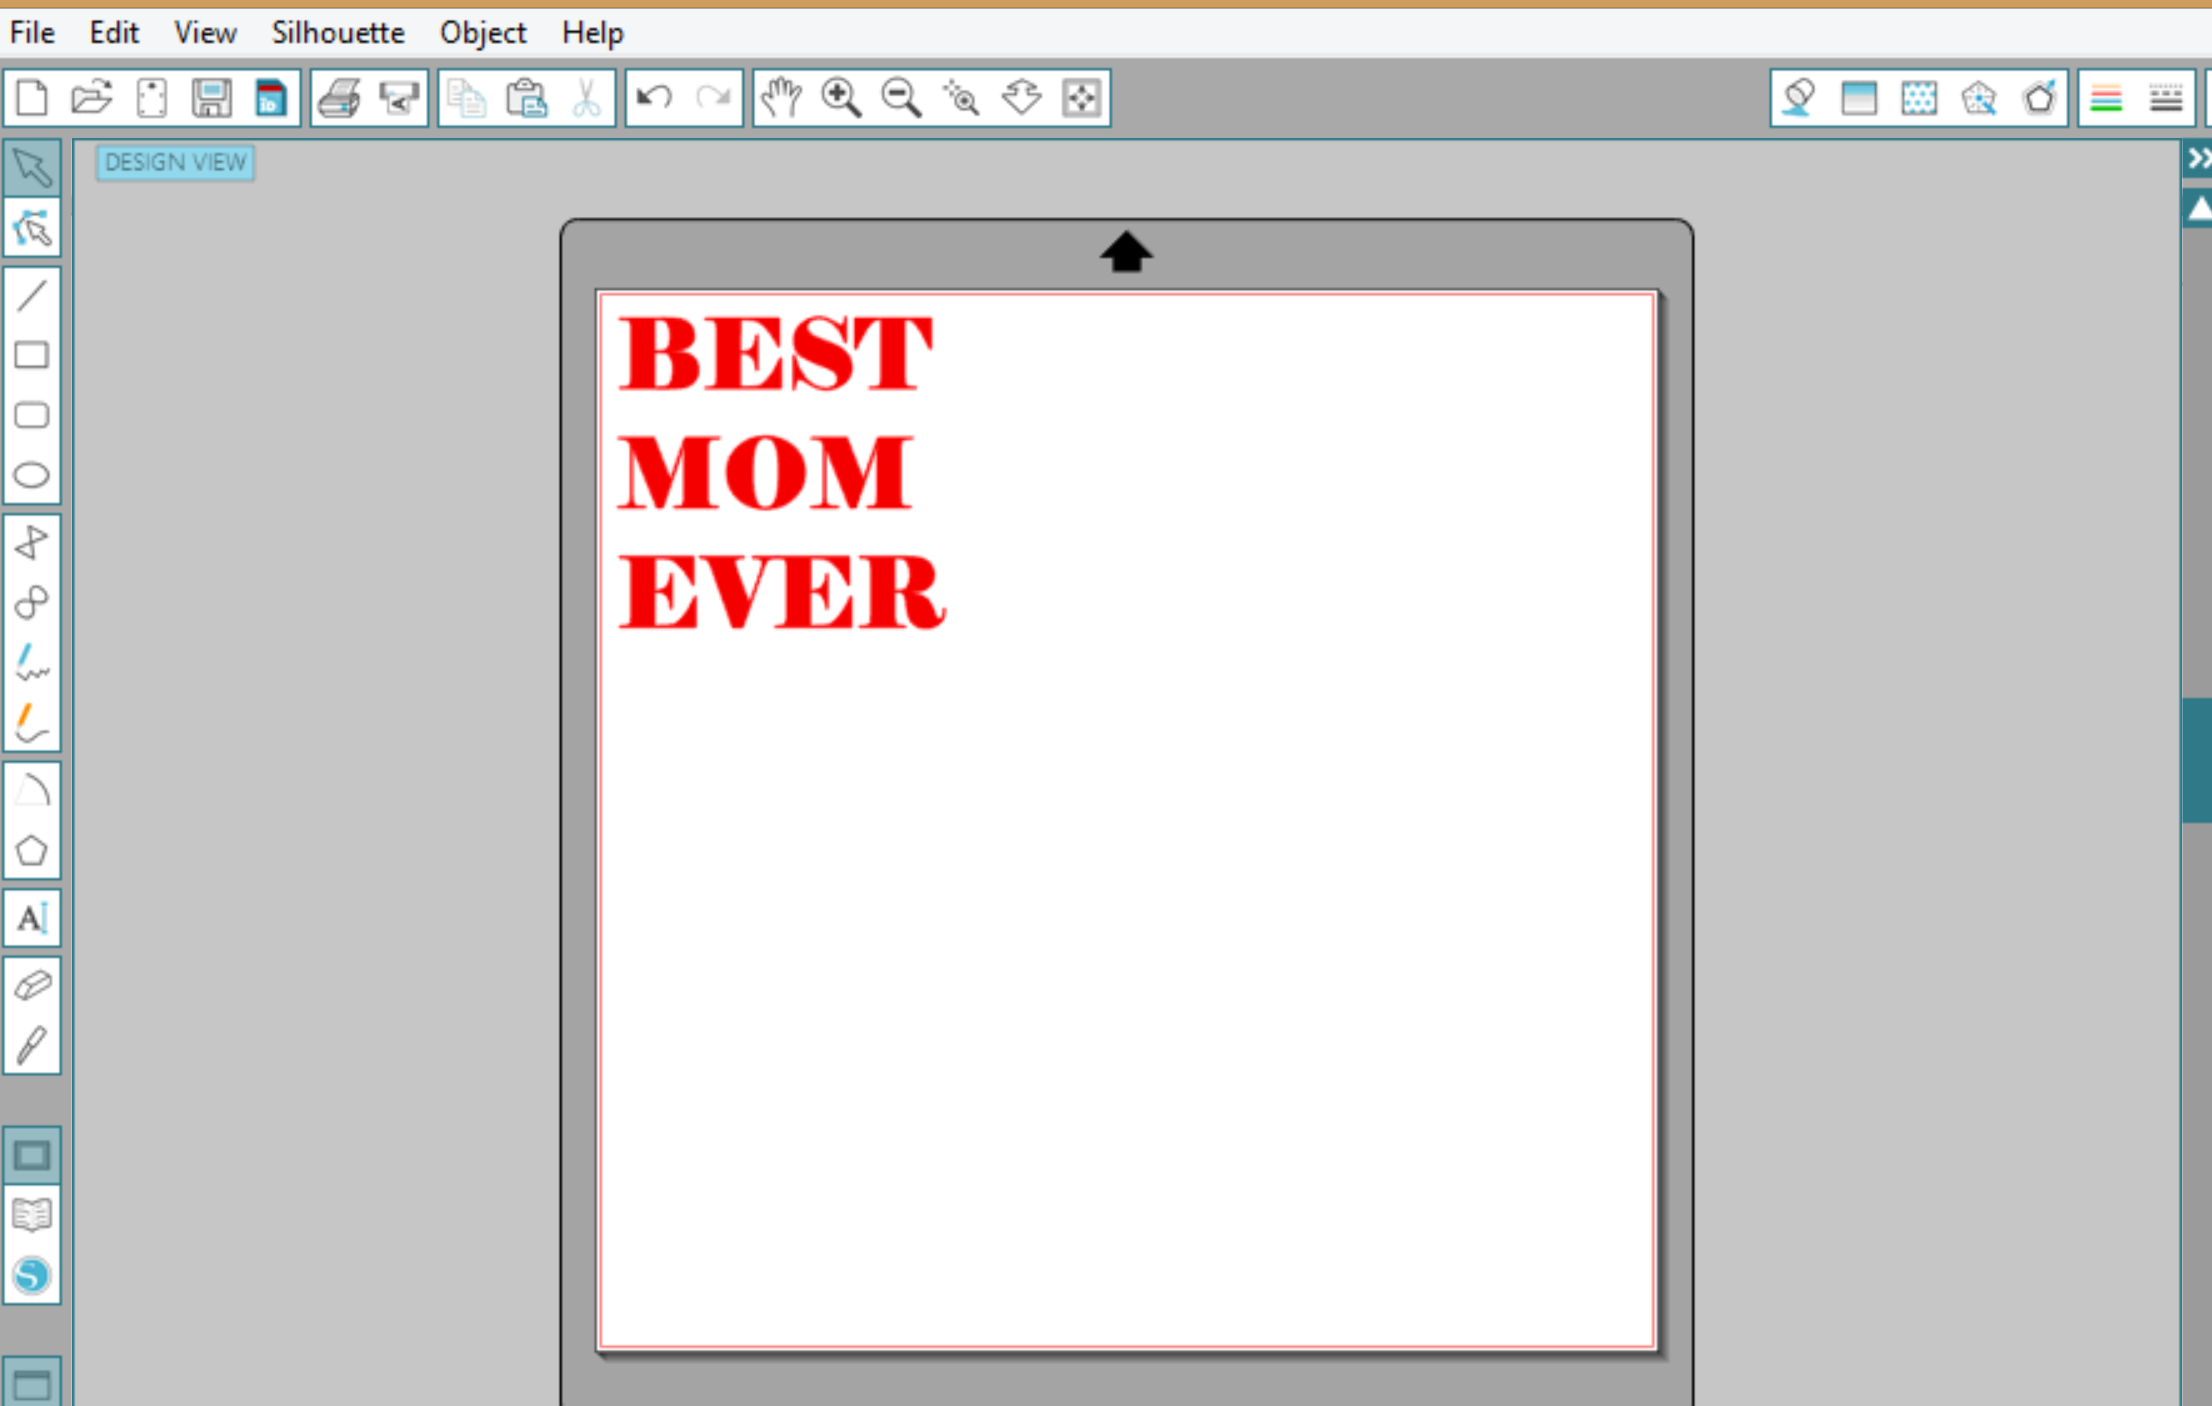
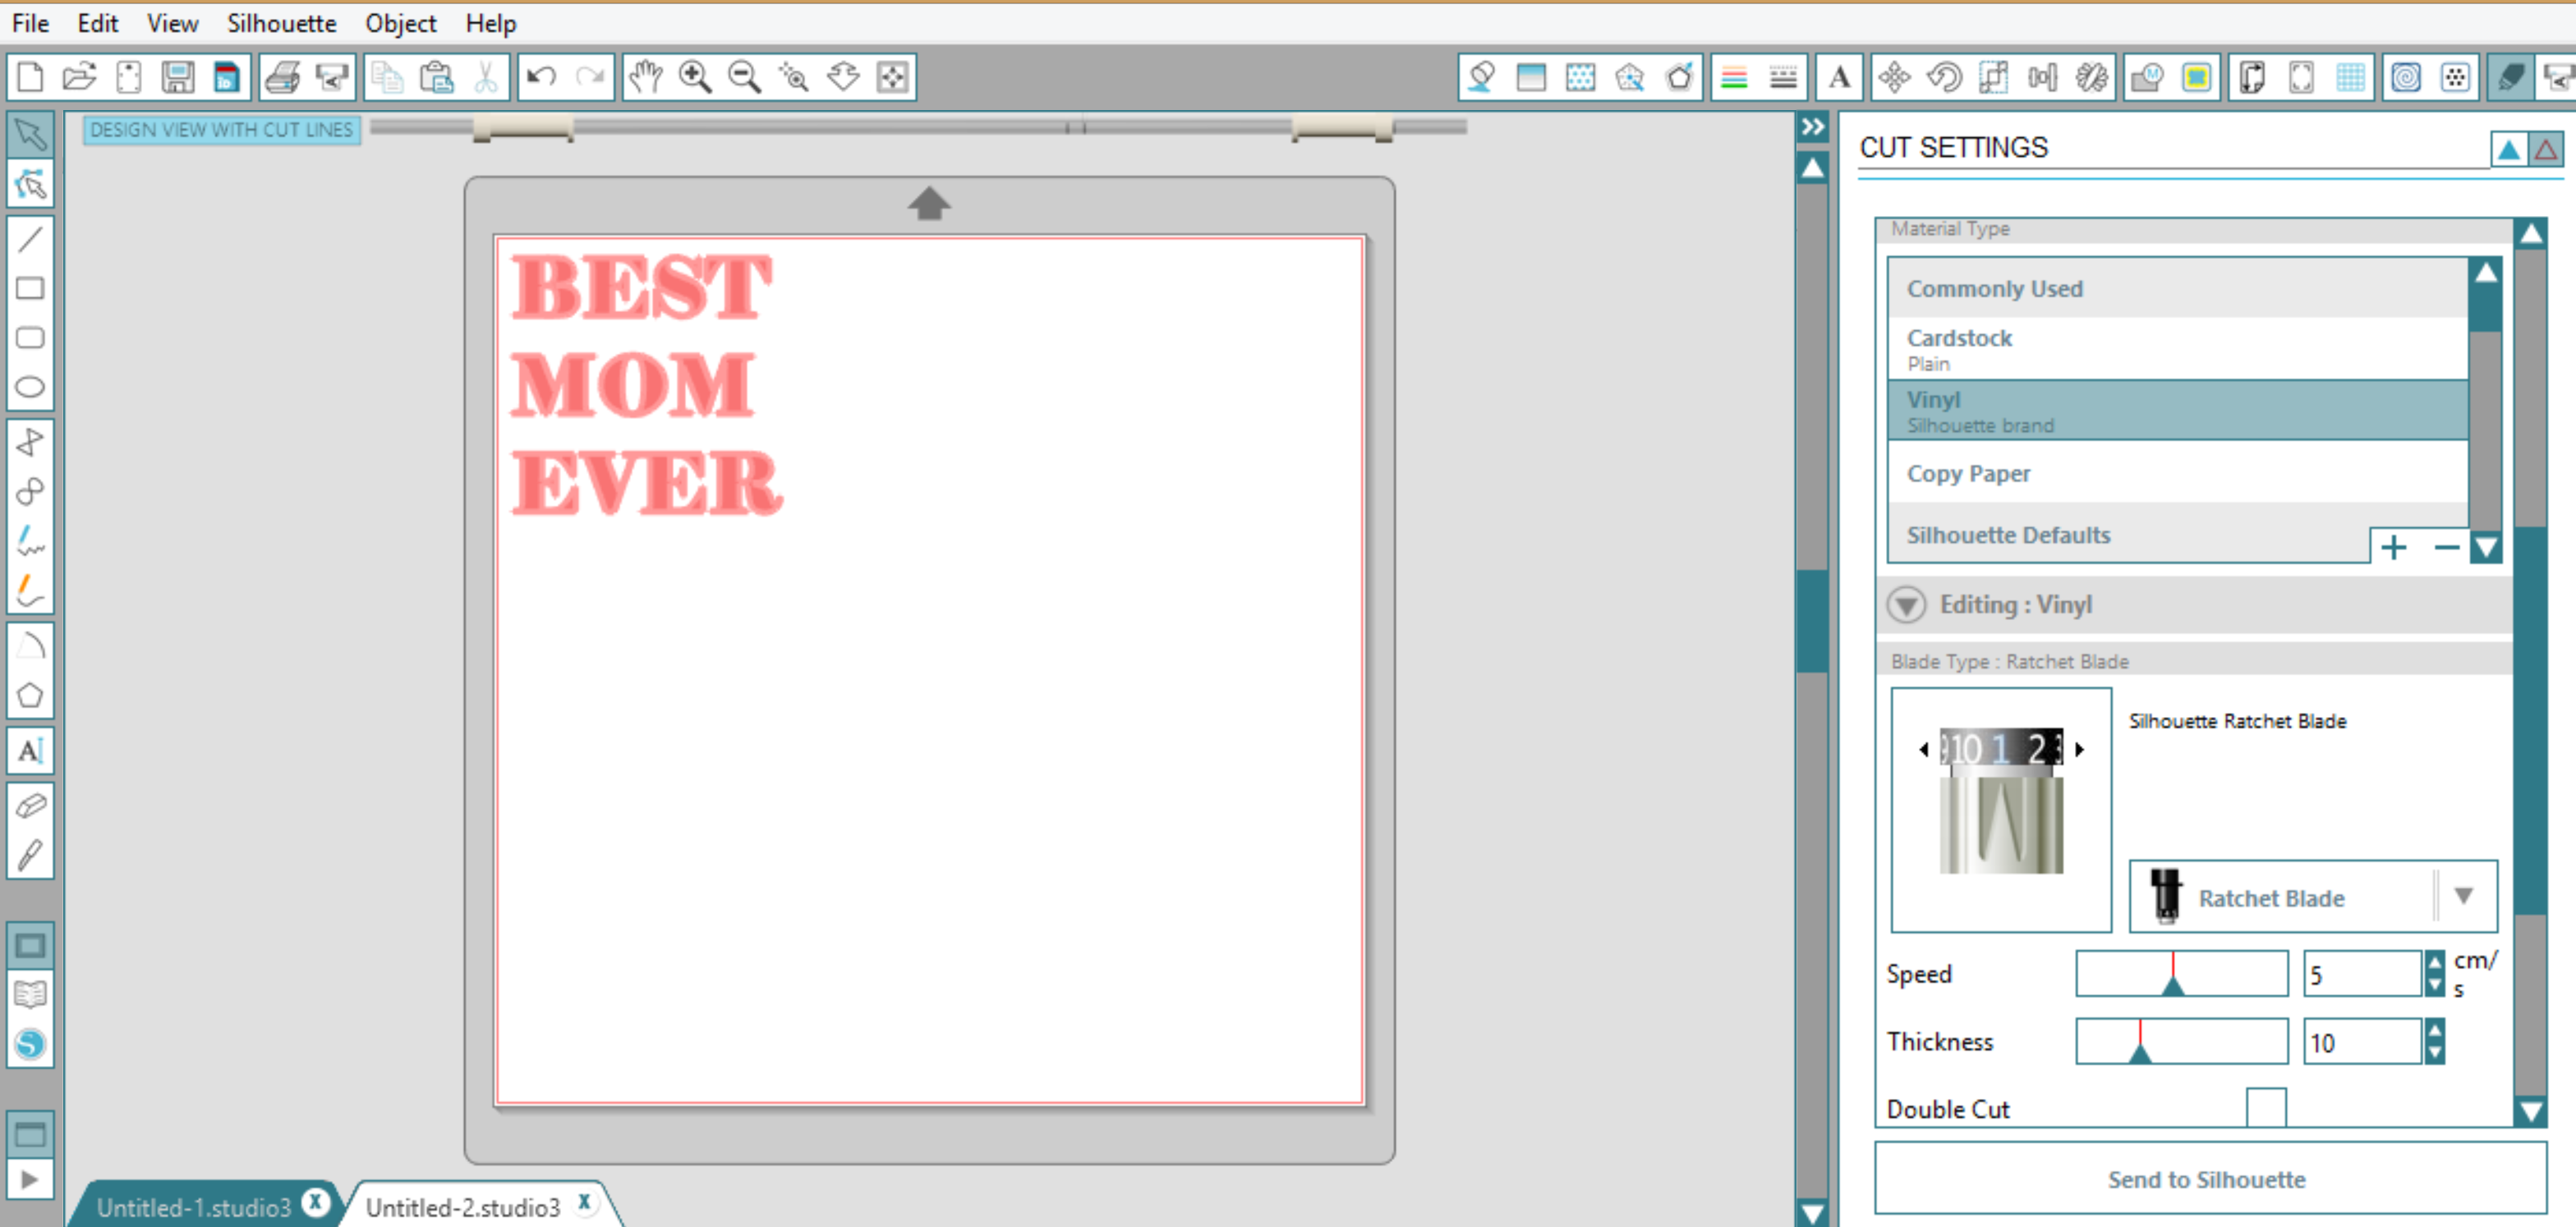
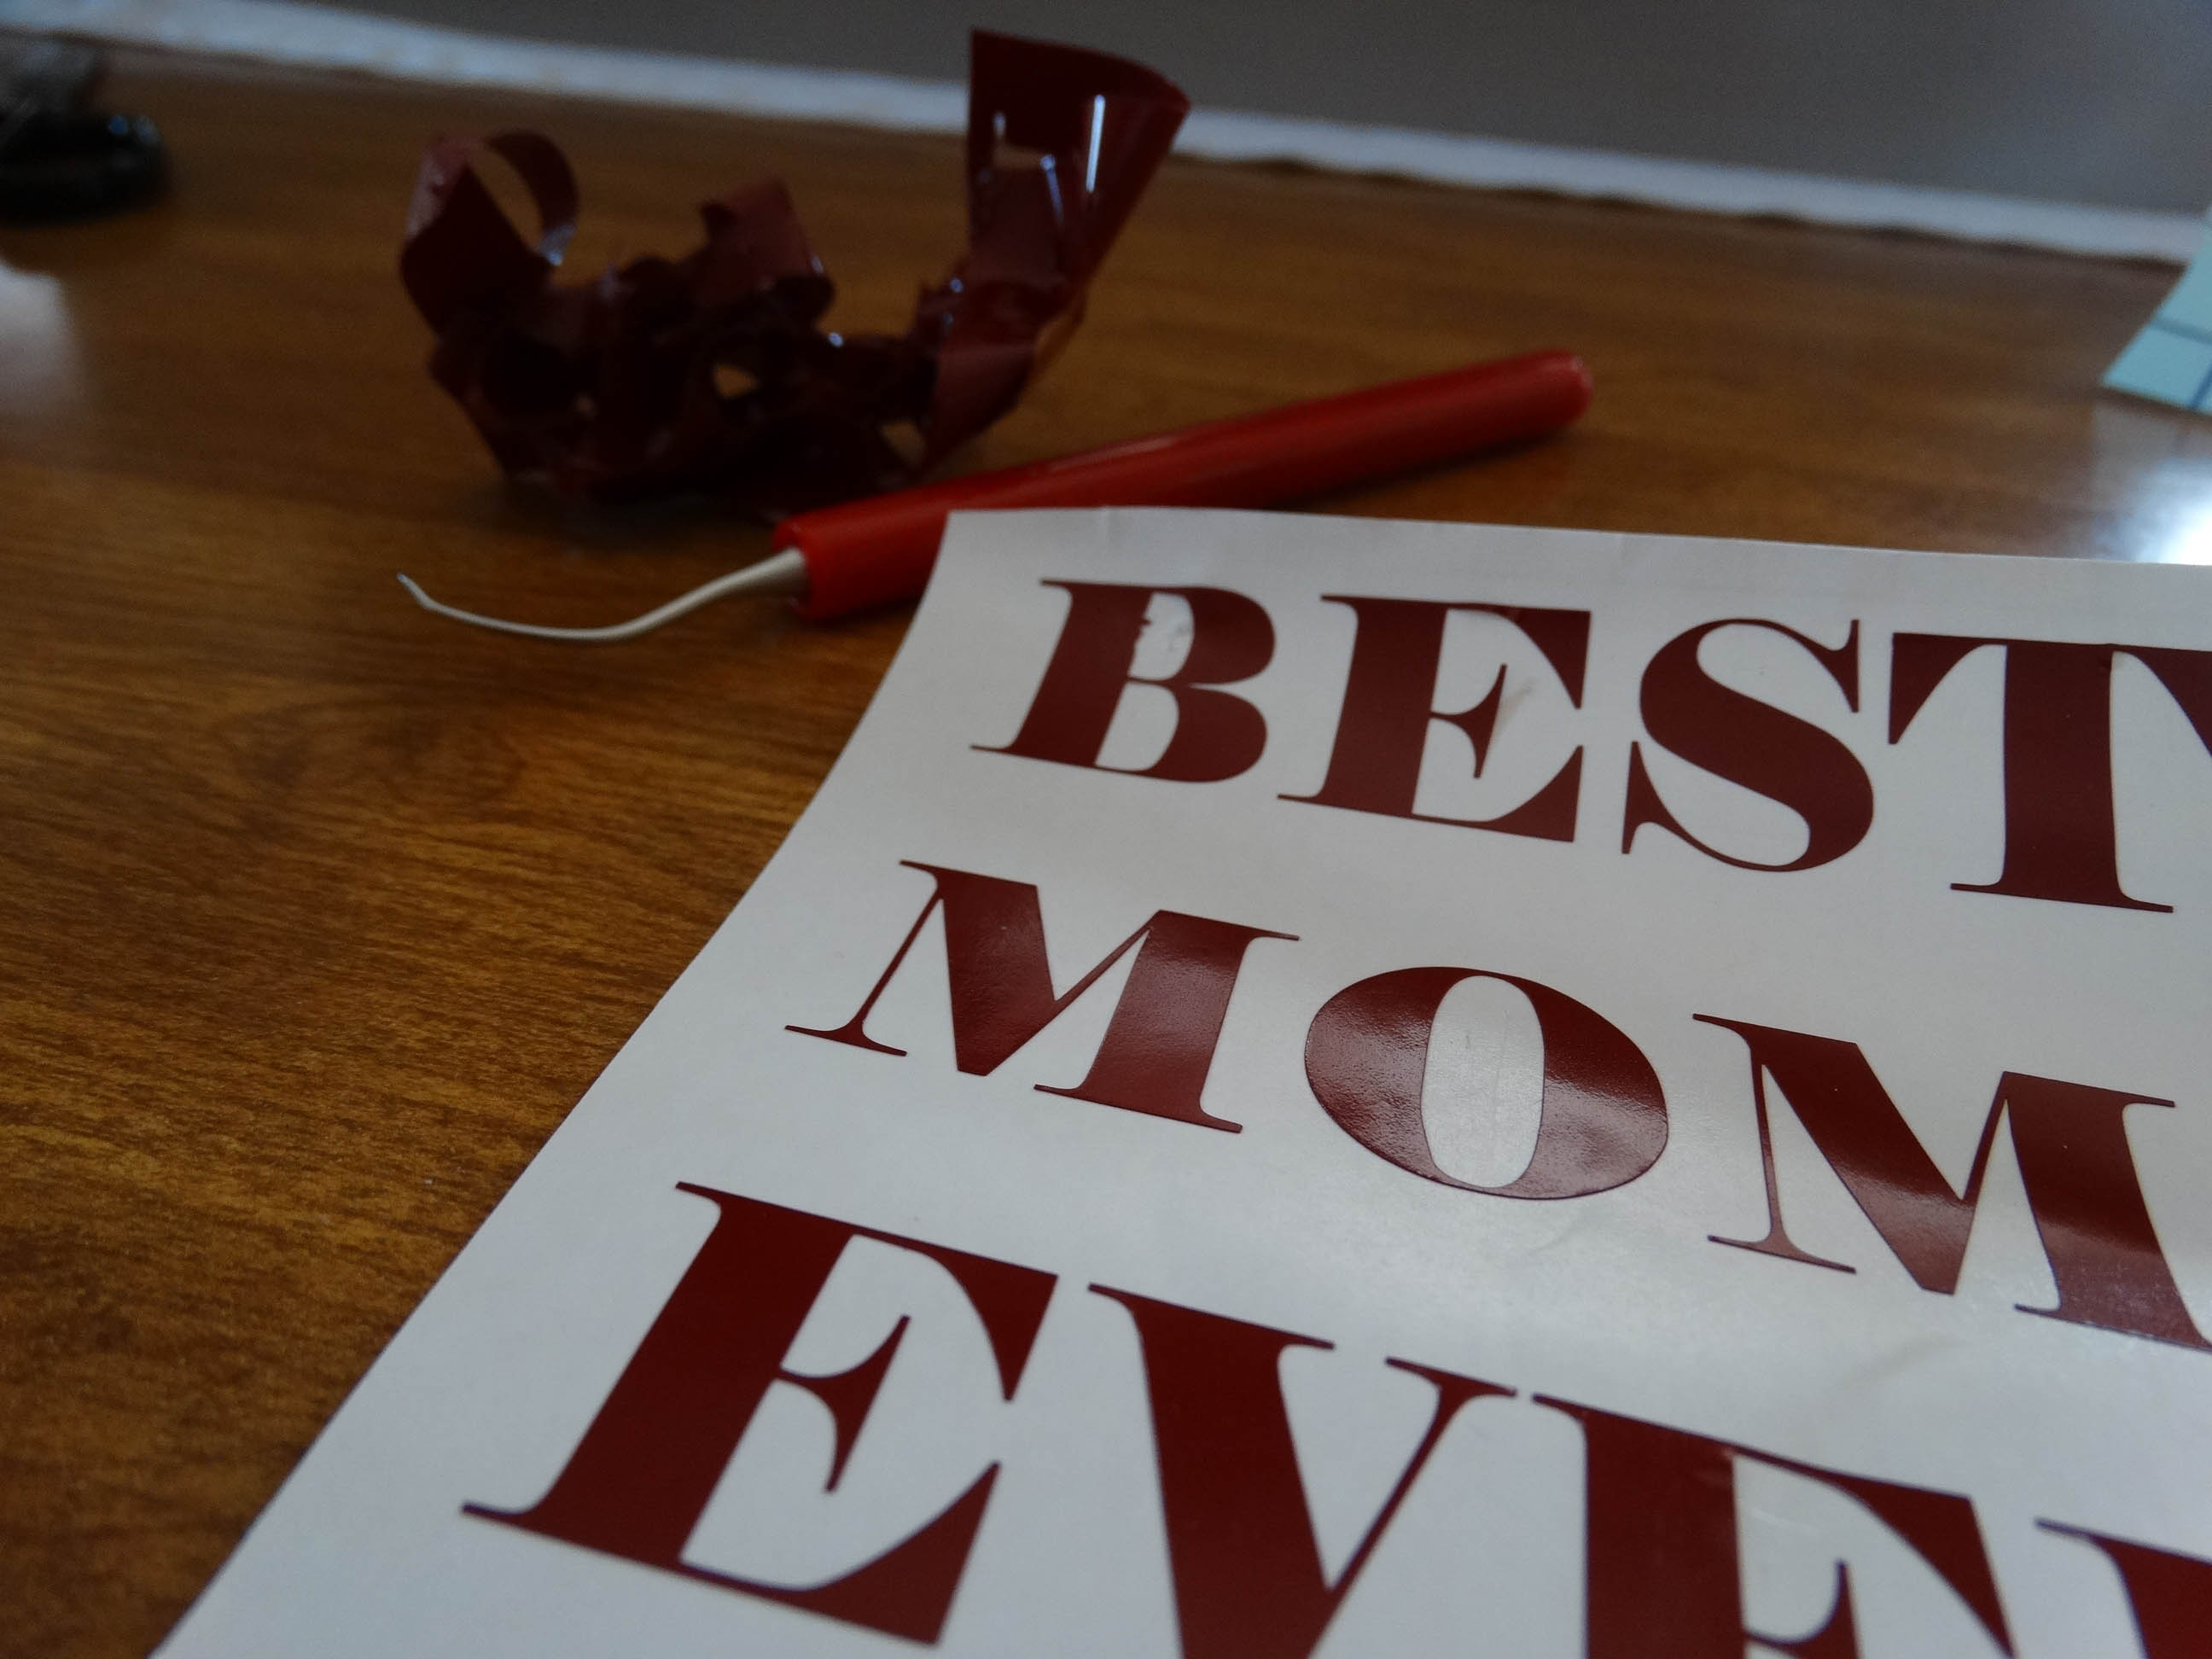
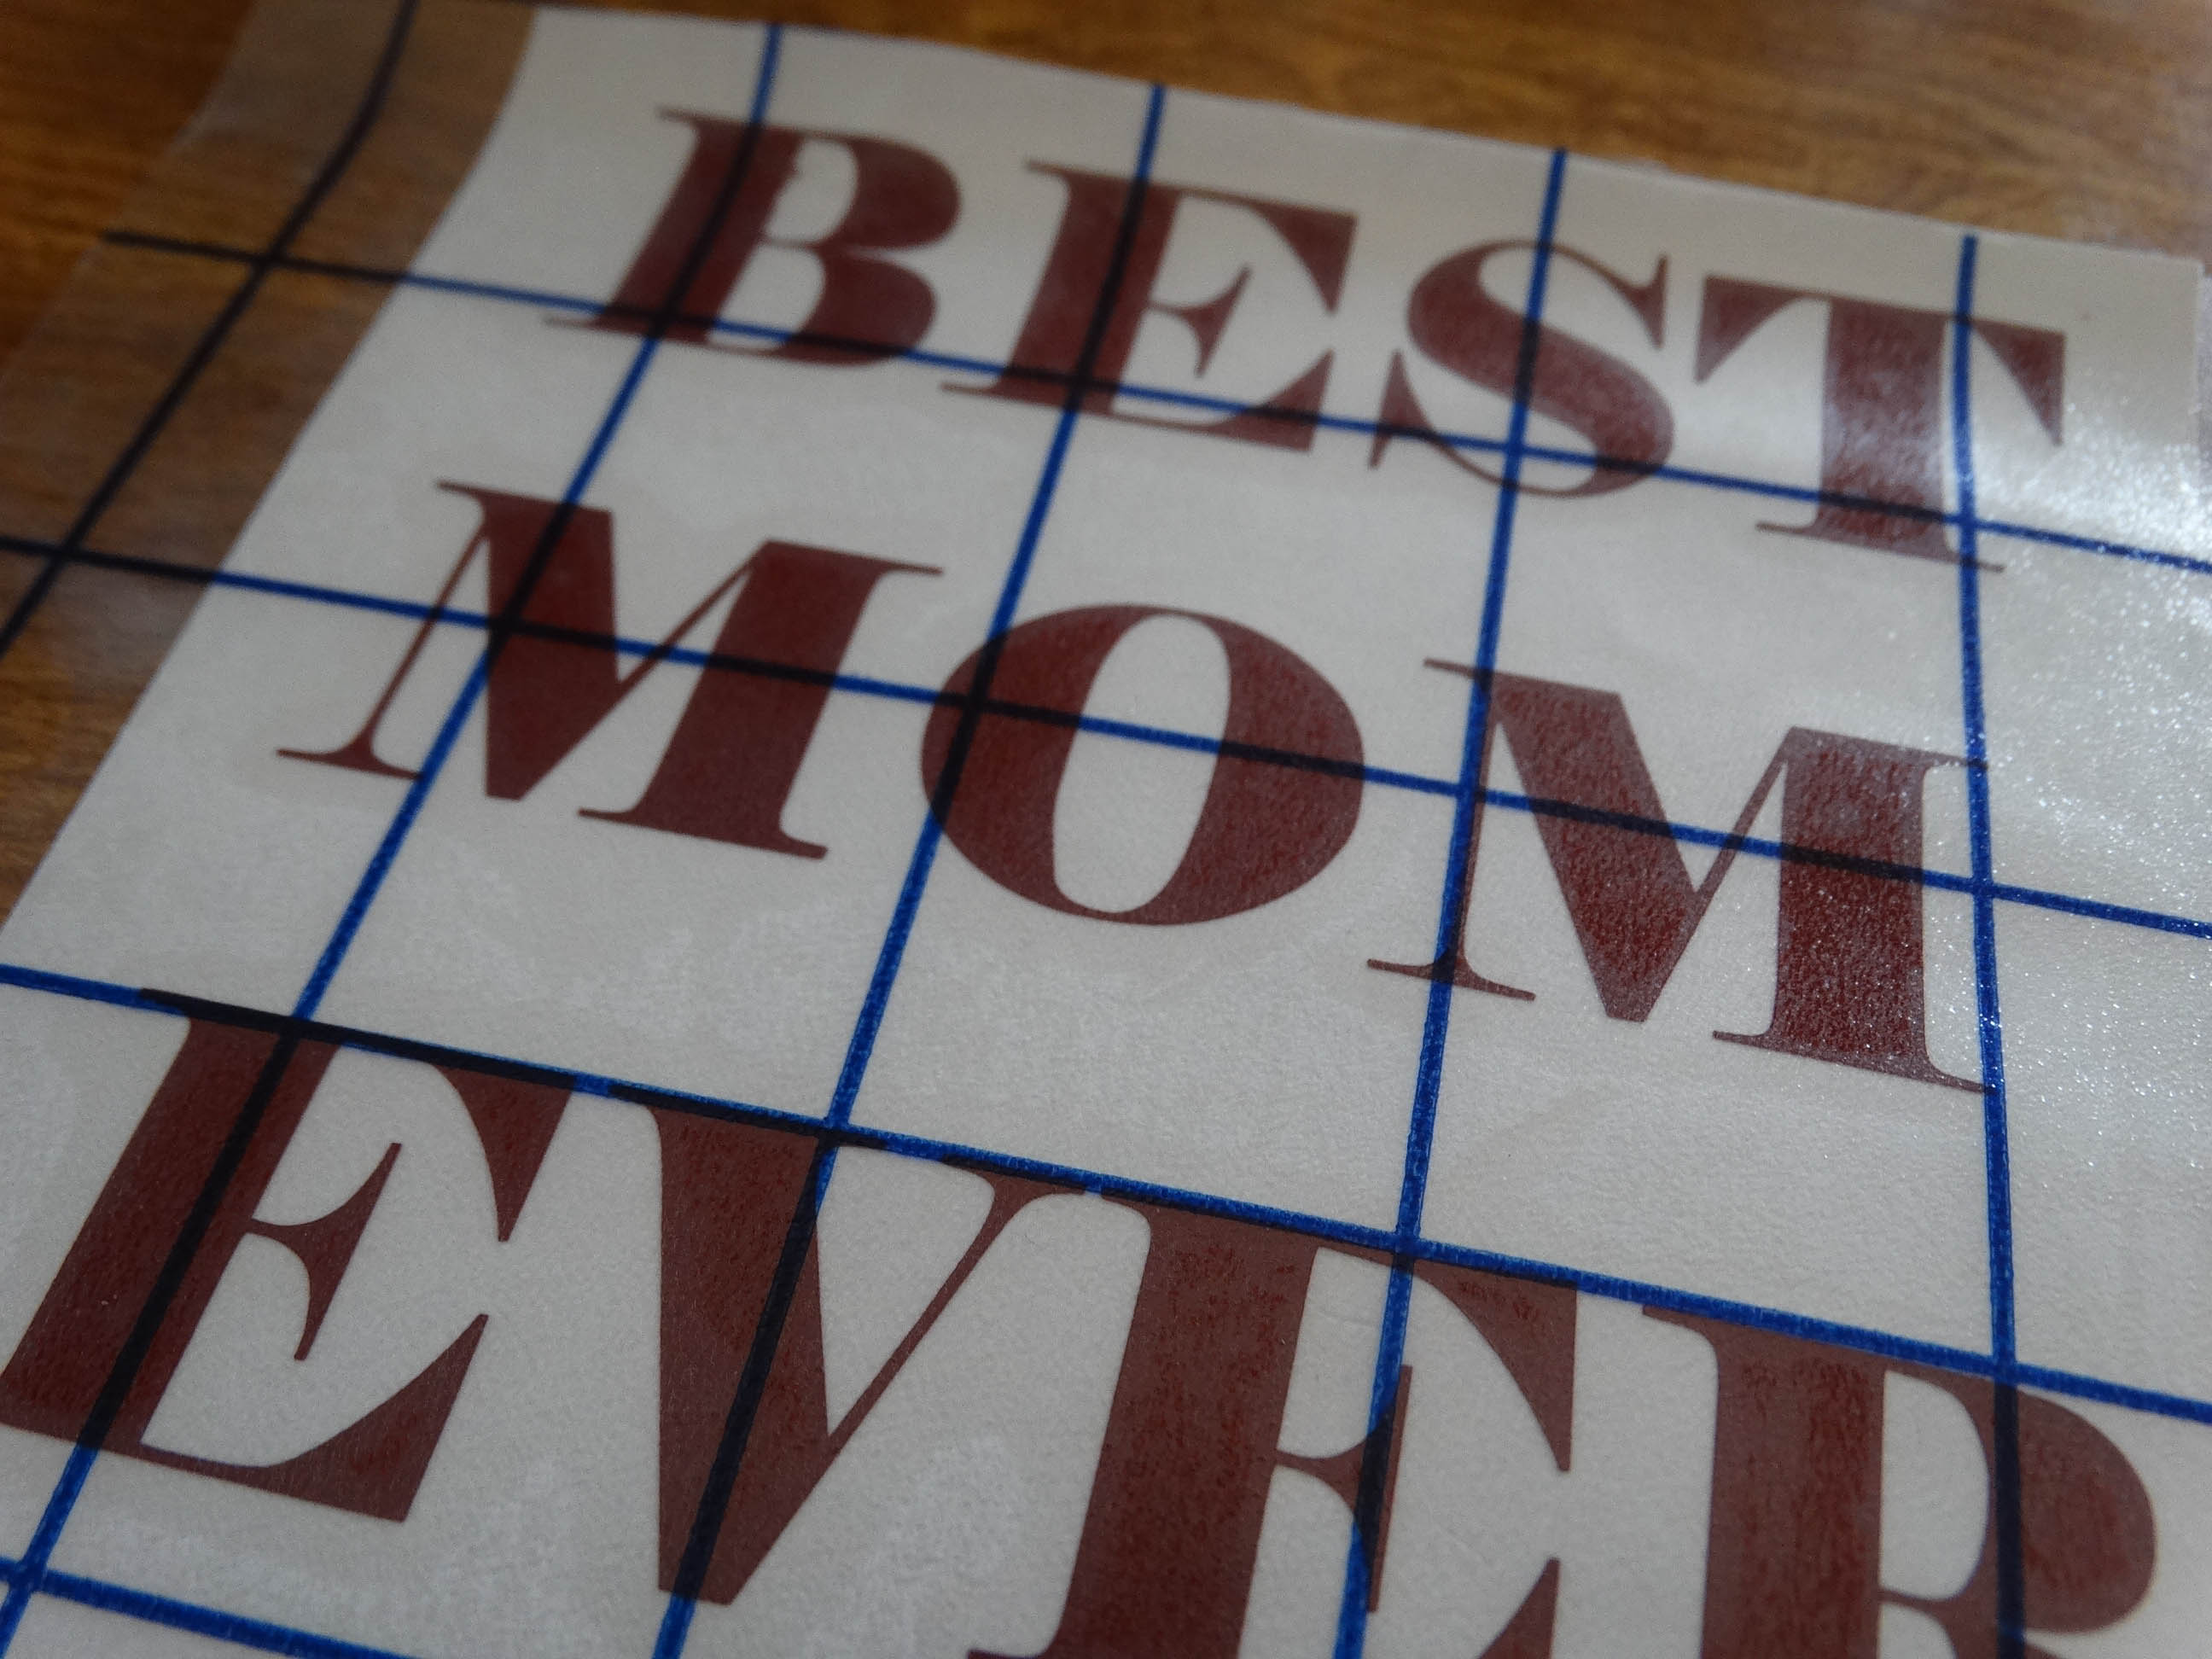
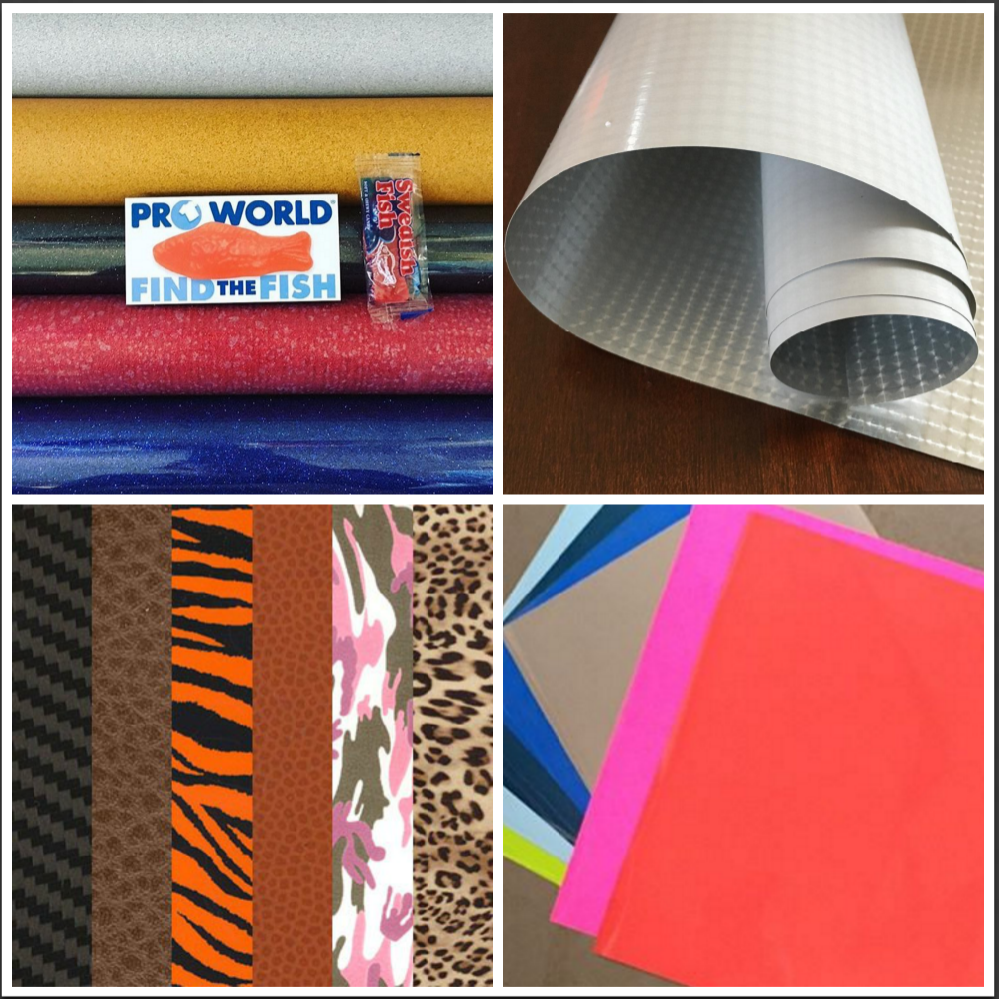
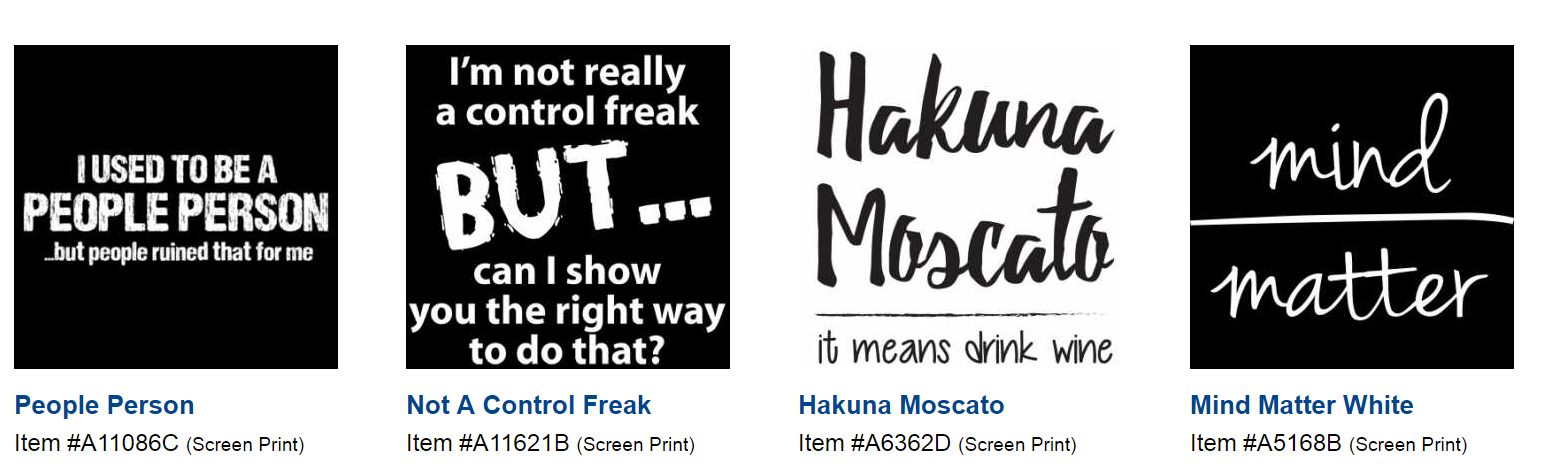
2 – Another trend we’re seeing a lot of is graphic t-shirts. They’re good for the gym, errands, or even a night out- they also make great gifts! And with our extensive selection of heat transfer vinyl and heat transfers, the possibilities are endless. What will your shirt say?

ts

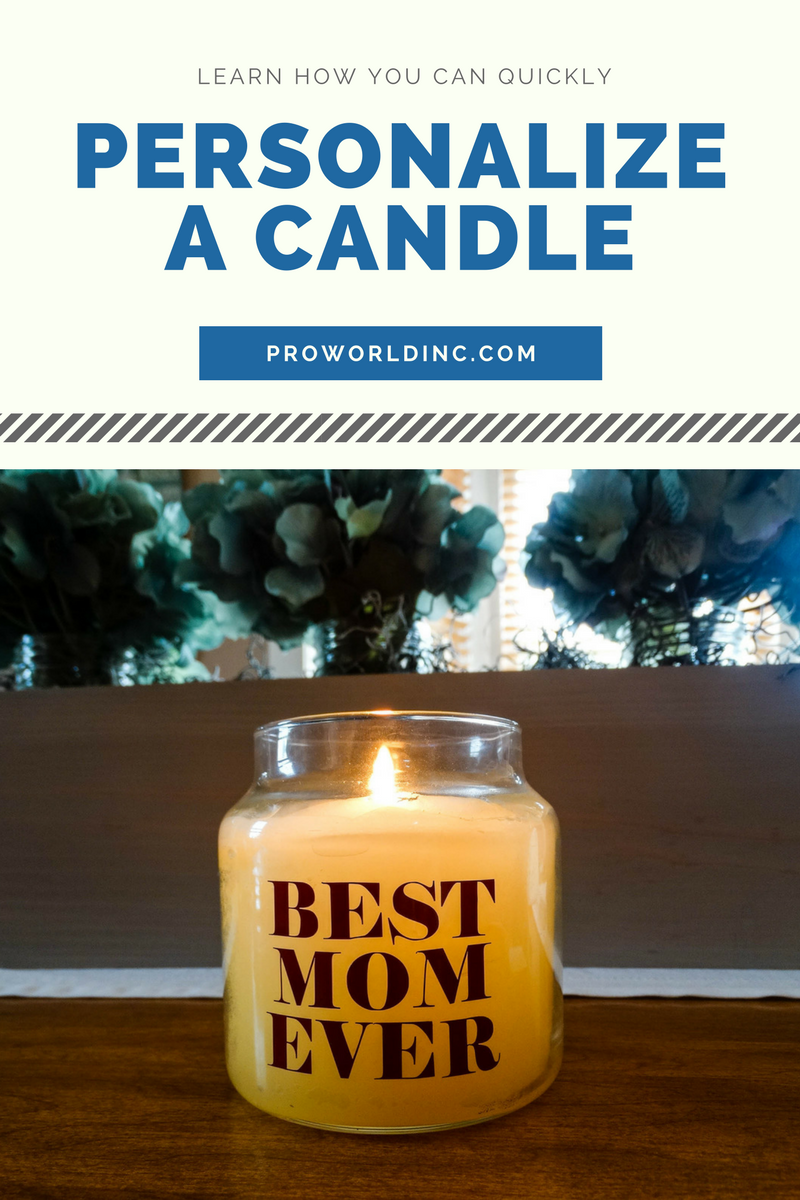
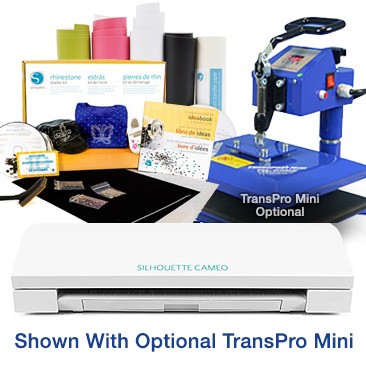
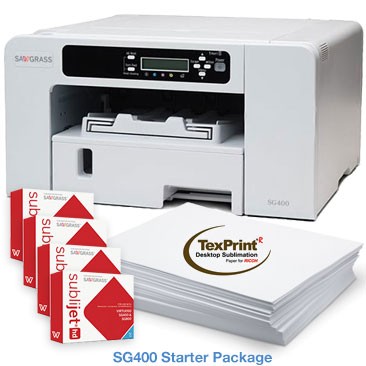
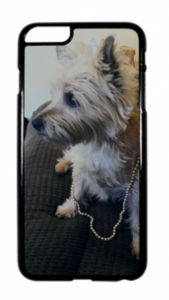
3 – Personalized phone cases are great for distinguishing phones and showing off your personality. With sublimation you can create a custom image and print it on a basic phone cover. You can also print on charms, thick bangles, etc. Friendship bracelets for all ages are back in style, customize them for yourself or your customers.

phone

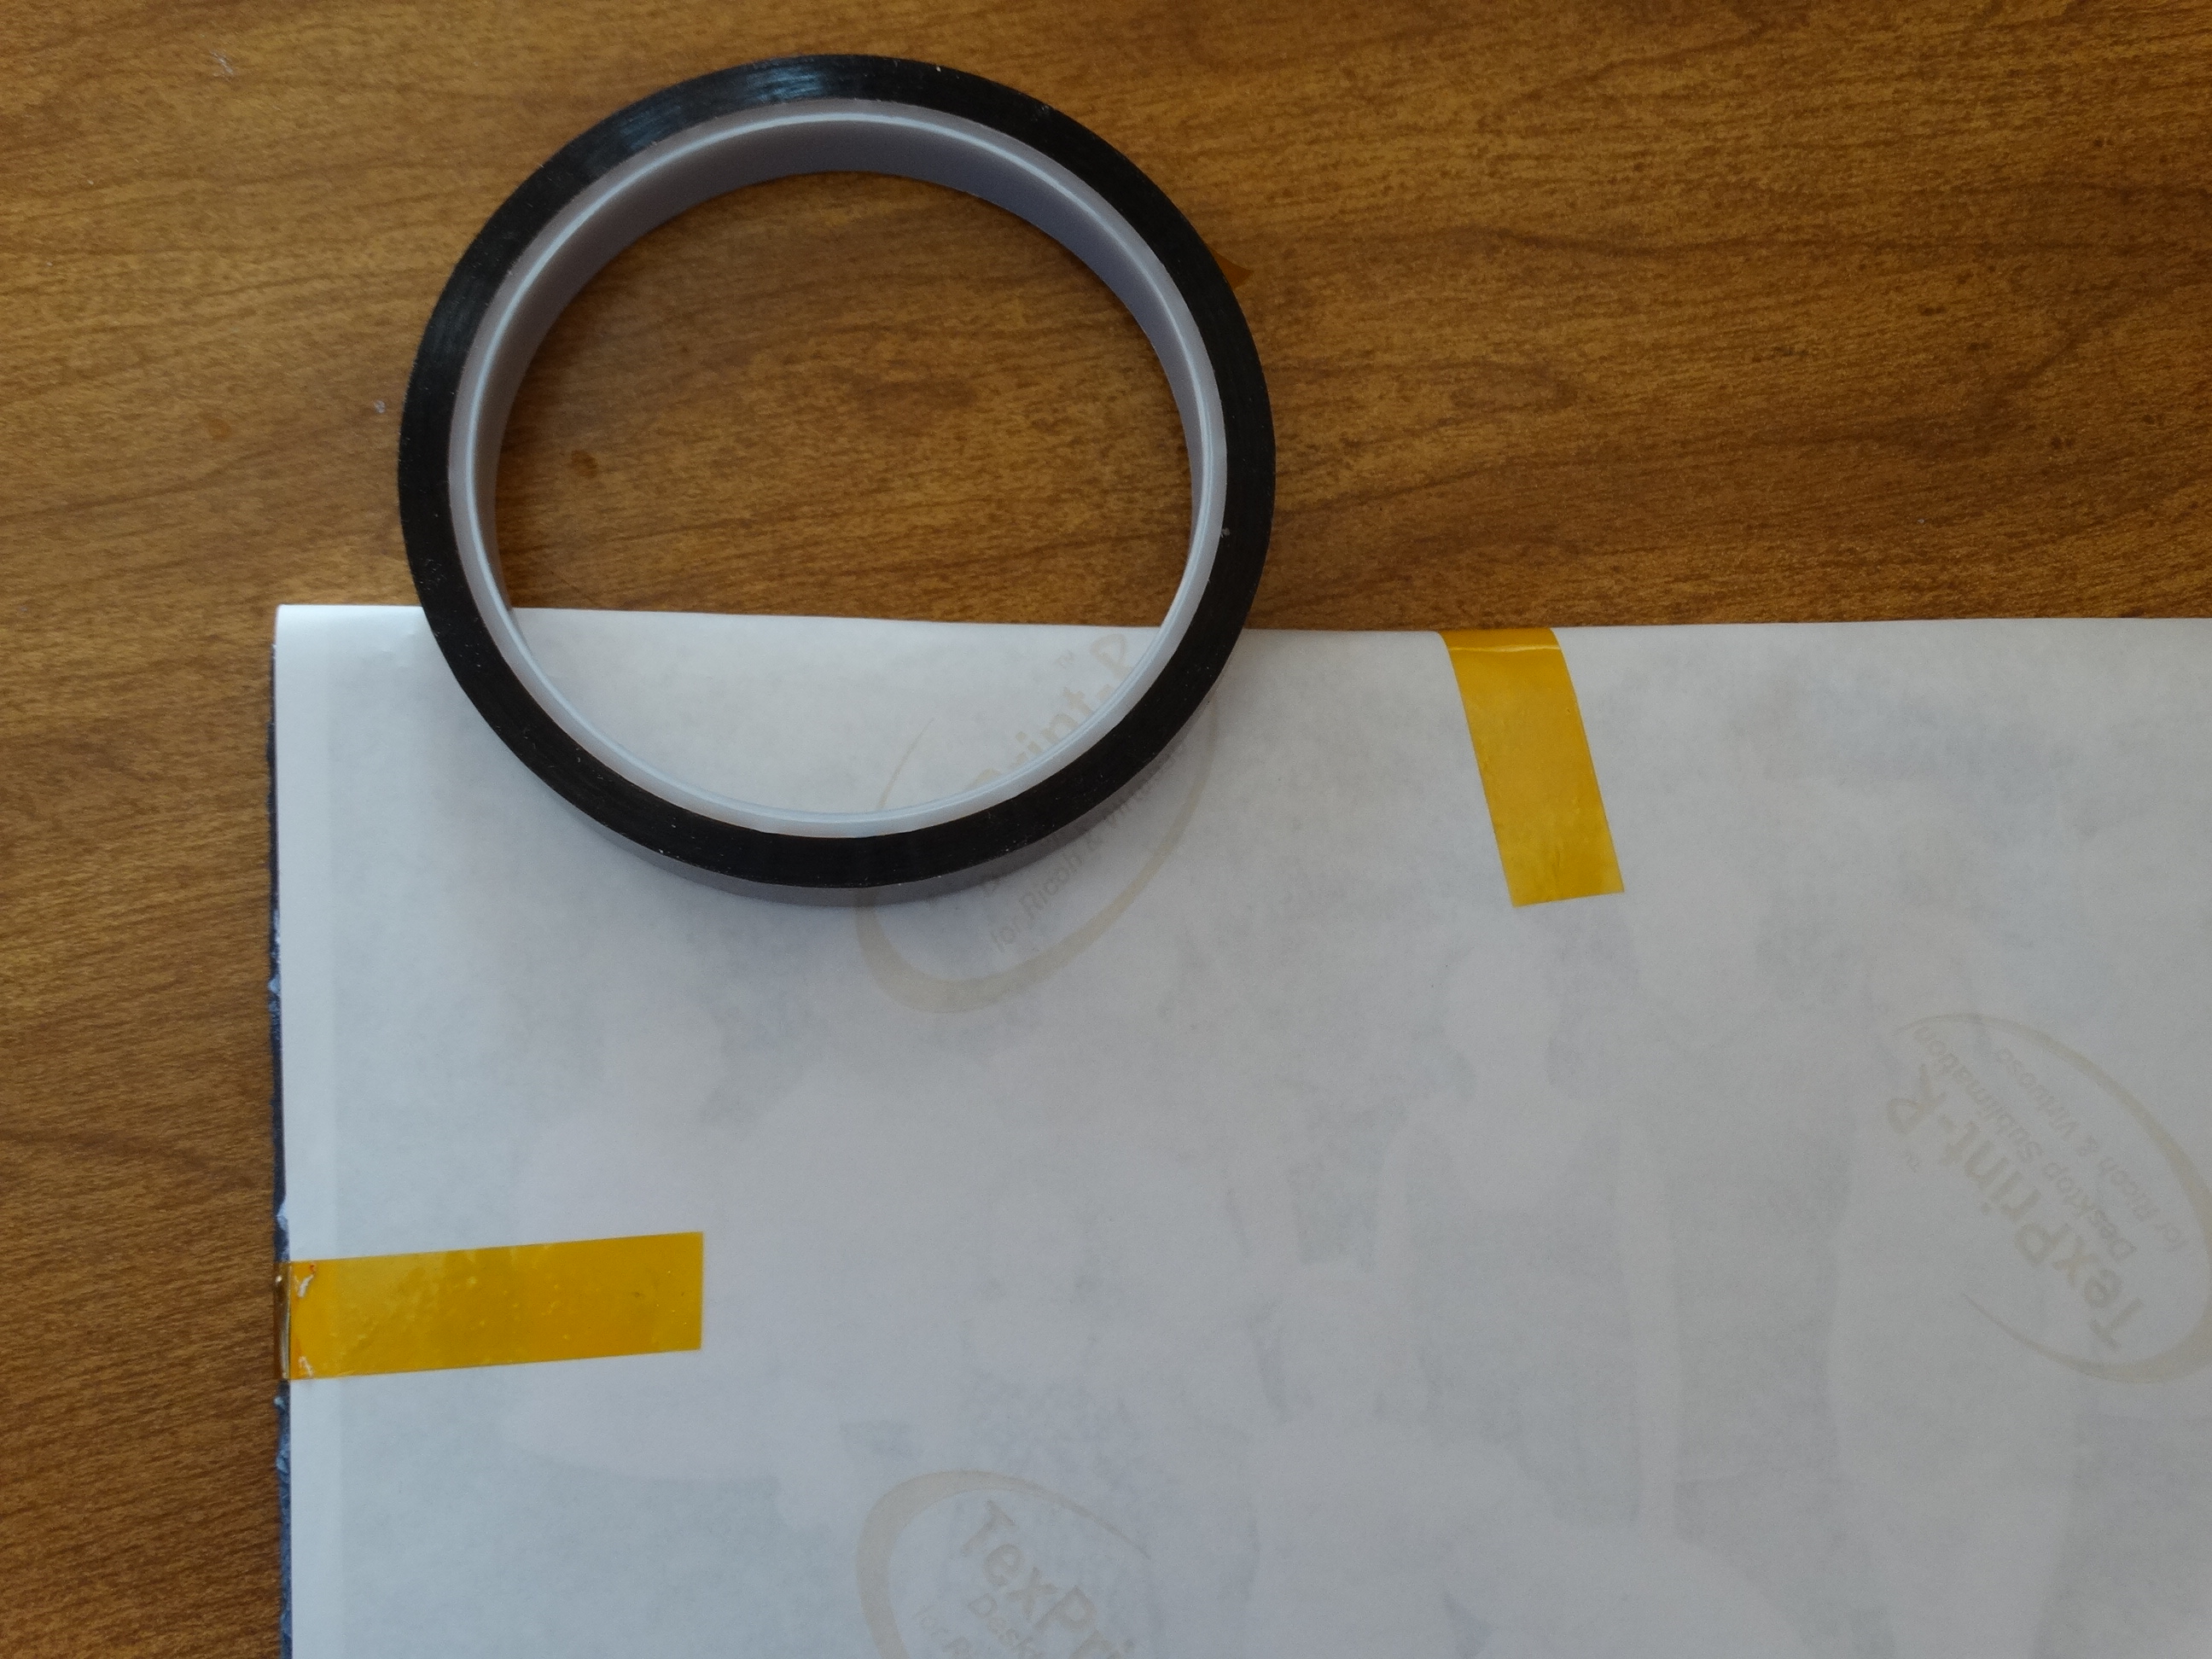
4 – Subway art signs are still trending for the home and they make great DIY projects. Thanks to adhesive vinyl like our Oracal 651 or FDC you can create the perfect size sign for your home in colors that match your decor.

Are there any other trends you’ve noticed for Summer? Do you need help figuring out how to recreate them? Comment with the project you want to make, and we’ll help you figure out how to create it.

View & Add Comments

Oracal 631 & Oracal 651 is at Pro World

At Pro World, we’re always looking for new ways to grow our business in order to better serve our customers. Because of that, we now carry Oracal 631 & 651!
If you are unfamiliar with Oracal 631 & 651, both feature an adhesive back so you simply cut the vinyl with your cutter and weed your design. Then using transfer tape you move your vinyl to your finished project surface.
oracal
Now that you know how simple they are to use, you may be wondering what the difference between the two vinyls is.
Oracal 631 is referred to as a removable vinyl which has a matte finish. It is perfect for interior decorating, like on walls, indoor signage, and exhibition graphics. Since it is made from a high-quality film that creates a matte finish there is no glare. The removable adhesive allows you to remove graphics from walls with minimal effort, leaving no residue behind. It is great for short to medium term applications indoors, specifically on painted drywall surfaces. We currently carry 22 colors
631
Oracal 651 is a glossy permanent vinyl that is 2.5 mil. thick. This creates a thinner more comfortable liner with better dimensional stability which means the vinyl design will last longer when cracking, shrinking, or peeling is an issue. It is great for 3 plus years, and long-term applications, it also has outdoor durability. We currently  carry 33 different colors
651
Need some adhesive vinyl ideas to help get you started? Check out our Pinterest board! Then go to our website to shop!
View & Add Comments

Craft While Making Money: Host a Personalization Party

The best thing about crafting is that it brings people together.  One of the most popular ways to bring people together to create a cool craft and make a little bit of money in the process is to host a paint and sip or a personalization party.  If you already own a cutting machine, you are all set to host your own party (and did I mention make some money?)

Paint & Sip (1)

Depending on what project you choose to make, your supplies may vary. For the popular painting projects, you will need:

To help you get your party off the ground, we’ve compiled a list of tips that will help you throughout your party planning process!

Before the party

    • Find a host: You will need to find a customer who wants to host a party in their home or you can host the party in your own home.
    • Selecting a project: Decide what project will be created.  It could be a wood pallet sign, a wood picture frame, a terracotta pot, outdoor mat or just about anything that can be personalized. Make sure the project is easy, so it will appeal to all levels of crafters.  If your group is more experienced, you can customize the project to suit their crafting abilities.  
      • Also, you should make sure that the project is something that can be completed in a one to two hour time frame.
  • Advertise Your Event
    • Your party host will want to invite their friends. Make it easy for them by creating a Facebook event page. By creating a Facebook event page, you can occasionally post leading up to the event date to generate interest or inform attendees of any changes. It will also make it easy for people to personally invite friends.
    • If you are hosting a public event, you will need to advertise your event to the general public. You can do so by posting flyers around town, promoting it on social media or sending an email to your current customer base.
  • Payment: It is best to collect payments from each guest before the party.  You can accept payment in any form that works for you.  The most popular options would be cash, credit cards, Venmo or Paypal.
  • Supplies: Once payment is collected, you need to purchase your supplies needed. 
  • Prep Your Materials: Have your guests select their design before the event so that you can prep your stencils in advance! Do this will save time (and frustration).

During the party

  • Hostess:
    • If your customer is hosting the party, they are usually responsible for supplying the beverages and food. Make sure you discuss this leading up to the event.
    • If you are holding an event that is open to the public, make sure you have adequate amounts of refreshments for your guests.  It doesn’t need to be elaborate, just some easy things to drink and snack on.
  • Setup: It is important to arrive early to setup and organize all of the supplies needed for each guest. Beside your die cut machine and other necessary supplies for the project, the host may need you to provide aprons, extra seating, tables, etc. for your guests to be comfortable and have sufficient space to work on their project.  
  • Get crafting: You are running the party because you are the teacher. You may have all experience levels sitting within your group, ask the group about their experience level–so that you know how detailed you should be. Make sure you demonstrate the steps of the project so that the guests can see what you are doing and mimic it.

Ending the party

  • When guests have finished completing their project, they will be able to leave that evening with the project in-hand. Take advantage of this time to market yourself and future parties. Supply them with business cards, product promotions, and maybe even an event incentive for them to book that night.
  • If you hosted the party at a customer’s house, make sure you clean up after yourself. Remove all trash and leftover materials.
  • Be sure to thank the host and guest on the original event page with your contact information so that the attendees know how to reach you if they decide to host their own event.
  • If you took photos during the night of your guests having fun and with their completed projects, be sure to use them as a way to advertise and get hosts for future parties.

Making Money

In order to make some money, you will have to do a little bit of simple math.  You want to make sure that you account for the following things:

  • The cost per person to make the project – Buying in larger quantities will help you save money.
  • Take into consideration any offers or discounts that you offered. For example, allowing your host (if you are not hosting the party yourself) to complete their project for free
  • A small charge for wear and tear on your die cut machine. Die cut machines are used to hard work, but by always factoring in a small percentage for wear and tear, you are preparing for the future so that you can purchase new equipment when needed.
  • Consideration of gas mileage
  • Any other costs for the party:  food, drinks and advertising costs

The wonderful thing about crafting is that there are tons of opportunities to make money from your hobby. Not everyone has your gift for creating beautiful items, nor do they have the supplies. So if you enjoy doing demonstrations and already have the equipment, this is a really fun way to make some extra money and promote your customs business throughout your community. 

Are you interested in taking your craft business to the next level? Check out Sublimation.

View & Add Comments

Personalize Baby Clothes With HTV

Heat transfer vinyl opens the door to so many crafting possibilities. The options are endless- especially when it comes to newborn clothes. Why not make one for each milestone and special occasion? Need a gift for a new mom? Personalize a shirt just for her. It’s easy and special. Just follow today’s tutorial!

Introducing (1)

For this project you will need-

Once you have your supplies follow these steps:

1. Choose or create your design using your software.

adventure cut

2. Next, mirror your image.

adventure flip

3. Insert the heat transfer vinyl into your cutting machine, adjust your blade and cut!

DSC07981


4. Weed your design.

DSC079825. Place your weeded design on your outfit and press it with your heat press.

DSC079856. Voila! Your adorable gift is ready to give!

DSC07983

Here are some more newborn outfits made from HTV from around the web!

baby gift

View & Add Comments

Let’s Have Lunch. Join us for a Facebook Live!

Mark your calendar, because tomorrow (May 19) we want to have lunch with you!

Join us at 12:15 PM ET this Friday, for our first ever Facebook Live. You will get to meet our in-house experts, learn a few things and ask some questions. This will be part of an ongoing series. Every Friday we will be back offering you tips, tricks, and tutorials plus we will occasionally be giving away coupons, shopping sprees and more!

Help us make our new program a success and join us tomorrow at 12:15 PM ET

facebooklive-instagram
View & Add Comments

Personalize a Candle

Today’s tutorial not only shows you how to make a beautiful piece of home decor, but it also show you how to make an amazing, personal gift. With adhesive vinyl, a couple of tools, and a glass candle, you’ll have a work of art in no time.

photo boothprop ideas

For this project, you’ll need:

Once you have your materials gathered, follow these steps:

1. Design your image.

candle 1

2. Adjust your cut settings.

candle 2

3. Insert your vinyl.

4. Double check your settings, and click cut.

5. Weed your design.

DSC07948

6. Apply the transfer tape.

DSC07949

7. Carefully peel it off.

8. Admire your work!

DSC07961

View & Add Comments

Learn How To Decorate A Rock Slate

If you’re looking for a unique gift that can be enjoyed and displayed all year long, we have the perfect idea for you. By sublimating a photo onto rock slate you are giving a one of a kind, custom gift. I’m sure there are a number of people in your life that would love one, including you!

Best Friends (1)

You Need:

1.  Start by opening Creative Studio, which is located on the Sawgrass website
2. Select your product category – Photo Stone Slates.
rock slate 1
3. Select your product.
rock sate 2
4. Select product color and size, then click start!
rock slate 3
5. To add a photo, click the image button, upload your photo, and resize it to fit the rock slate.
rock slate 7
6. Click “print.
DSC07934
7. Now that you’ve printed your image it is time to assemble!
8. Cut your image so that it fits your rock slate shape and tape it into place.
DSC07936
9. Set temperature of your heat press to 415 degrees Fahrenheit.
10. Set the heat press timer to 300-400 seconds depending on the rock slate size. The larger the rock slate, the more time you’ll need for the image to set.
11. Set the heat presses pressure at medium-heavy, but use caution as the rock slate can crack with too much pressure.
12. Place the substrate face down on the transfer paper and tape the paper to the substrate using transfer release tape.
13. Then place the substrate face up on the heat press.
14. Cover the substrate with a piece of fabric (cut t-shirt) to protect the coating of the rock slate.
15. Then cover the fabric with a silicon pad.
16. Press at 415 degrees F for 300-400 seconds with medium-heavy pressure.
17. Remove the rock slate immediately from press once finished and peel hot. Use caution as rock slate will be very hot.
DSC07937
18. Admire your work!
DSC07938


DSC07943

View & Add Comments

Learn How You Can Simplify Your Design Process!

Have you been wanting to create your own graphics, but don’t have a background in graphic design, and aren’t sure where to start? We can help! The Digital Art Solution software is an add-on service for CorelDraw designed with one primary purpose: to simplify and automate both the design and the production process. Helping you save time so that you can create more, faster! Even better. . . we offer free webinars on how to use the software and related art libraries. Just keep reading for schedule information on those webinars.

graphics

How? Let Smart Designer Pro do most of the work! This add-on software makes it possible for anyone, regardless of skill level, to produce high-quality custom graphics quickly and easily within CorelDRAW . Anyone who produces graphics relies on two basic technologies: graphic design software and digital artwork (clip art, templates, fonts, etc). This software combines both into a graphics system that works seamlessly with CorelDRAW.

starter pack

Do you create garments with rhinestone designs? Then you will love Rhinestone Designer! This add-on software blends in seamlessly with CorelDRAW X7 or X8. Rhinestone Designer adds over 65 design and production features to CorelDRAW that automate and simply art production for rhinestone apparel and heat applied graphics. Making it even easier for you to design Rhinestone garments!

rhinestone

The Ready Art series was designed as a tool for anyone who needs to quickly produce high-quality custom artwork for the imprinting industry without any cleanup. Each clipart image and template is specially prepared to be “production-ready” without any modification.

ready art

Are you in the personalization business? Smart Monograms is a monogram template that works with the Smart Designer Pro Add-On software within CorelDRAW! This innovative product line was designed to create highly profitable customized products without the hassle of working with traditional monogram fonts.

mono
Are your customers requesting vinyl decals? If you want to increase your decal business, then Power Pack Decals is sure to help! The Power Pack 3 is a complete kit of tools to design, market and sell vinyl decals. The kits include editable templates, sales sheets, an order form and critical training documents for selling vinyl decals as part of a fund-raising program. Power Pack 3 is compatible with CorelDRAW X4 or higher, Rhinestone Designer and Smart Designer Pro.

mono (1)
Designing for sports teams and fans? Sports Packs 1-3 are 2 collections of vector clip art for our Smart Designer Pro add-on software for CorelDRAW. These three collections of sports oriented vector clipart and templates provide maximum production flexibility and style. Each file has been meticulously crafted to ensure production readiness for popular production processes.

mono (2)
Interested in seeing a demonstration? Sign up for a free webinar! There are two coming up in May: Profitable Opportunities in Rhinestone Multi-Decoration, Monday, May 1 from 4 – 5:00 PM EDT, and Monogramming Madness, Monday, May 15, 4 – 5:00 PM EDT. Please click here for the schedule and to register. If you can’t make our live webinars, please view any of our previously recorded

View & Add Comments

Solar Heat Transfers

Add a little magic to your designs and stand out from the rest with a SOLAR heat transfer! You can watch your design change before your eyes with this color changing technology. These are the perfect transfers for items that will be exposed to the sun, such as beach totes, t-shirts, and baseball caps. Plus application is simple!

solar title (1)

Here’s what you need:

solar heat transfer

– heat press

-light garment (we are using a white tote bag)

DSC07911


Ready to get started? It takes less than a minute!

1 – Set the temperature on your heat press to 390-400 degrees Fahrenheit.

2 – Set pressure at medium.

3 – Place your heat transfer face down onto your garment.

DSC07918

4 – Press for 10-12 seconds.

5 – Peel immediately while hot, in one continuous, smooth, rapid motion.

DSC07923

6 – Take your garment outside in the sunlight and watch the colors change before your eyes!

collage solar

With over 30 solar designs to select from, choosing your favorite will be the hardest step.  You can find all of our solar designs here.


View & Add Comments

Mother’s Day Gift Guide

PROWORLDINC.COM (1)

With Mother’s Day around the corner, we thought now was a good time to share our top 5 gifts for the women in your life, including you! This way, when you inevitably get asked what you would like for this special day, you can easily share your wishlist. For business owners, these are also great items to add to your offerings so you can take your custom business to the next level.

heat press

Wouldn’t it be nice to put the iron away for good?  With a heat press, you can do just that! Pictured above is our most popular heat press, the Trans Pro 15 x 15. This easy to use, manual heat press is ideal for applying heat transfers to t-shirts, jackets, mouse pads, tiles, and more! The even pressure and temperature makes creating custom items a breeze!
package-optional-mini-v4
Have you been dreaming about owning a Silhouette Machine? Then this is perfect for you! With the Silhouette Cameo Value Package, you will receive a Silhouette Cameo 3, a Vinyl Starter Kit, a Rhinestone Starter Kit, and a Heat Transfer Starer Kit. Plus, you can add a discounted 15 x 15 Heat Press to the package so that you are all ready to get crafting!
sublimation pacl
Are you ready to take your custom business to the next level? Great! With the Sublimation Starter Package, you will be able to create one-of-a-kind, custom pieces like mugs, phone cases, frames, license plates, tags, and more. This bundle includes a high-performance sublimation printer, ink, paper, and easy to use creative software. You can add a heat press to this bundle as well!
vinyl collage
Wouldn’t it be nice to open your Mother’s Day gift and find a box full of vinyl? We offer an extensive selection of heat transfer vinyl from all major vinyl manufacturers including Siser, Chemica, FDC, and Specialty Materials. With a wide array of colors and prints your new vinyl stash will surely bring a smile to your face! Plus, your family can can add a mini heat press to their order for ONLY $89 when they spend $199, or add a 15 x15 Heat Press for $99 when they order $399 of merchandise!
bun03-mug-starter3
Motherhood is hard work! And nothing says love like the combination of coffee and crafting! With the Pro World Mug Starter Package you will receive a Virtuoso Sublimation Printer, Trans Pro Mug Heat Press, Ink, Paper, Mugs, and more. The perfect way to start your day will always be within reach!
MOTHERS DAY GIFTS
View & Add Comments