Siser EasyWeed by the Sheet

We have some exciting news!! Siser EasyWeed can now be purchased in sheets!!

sheetsmobileapps

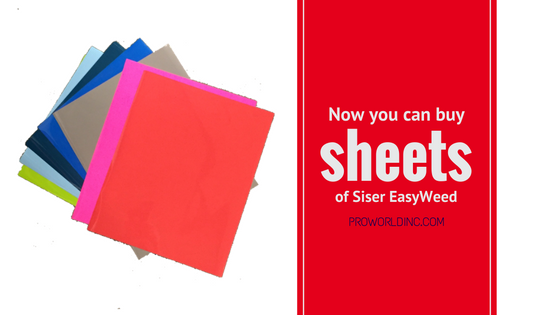
We’ve heard your requests, so we made it happen! We are happy to announce that you can now purchase 22 colors of our most popular heat transfer vinyl in sheets! The actual size is a 12″ x 14.75″ sheet  with an acceptable variance range +/- 1/4″ on either dimension.

What is Siser EasyWeed Heat Transfer Vinyl?

Siser EasyWeed is a polyurethane, ready-to-cut heat transfer vinyl designed for custom garment decoration. Siser EasyWeed is in a league of its own because of it’s sticky pressure sensitive carrier which allows you to cut and weed small letters and fine designs very easily. Much thinner than other film materials, Siser EasyWeed is perfect for single color or multi-layered applications. Siser EasyWeed also offers excellent durability, even after repeated washings.

How can it be purchased?

You can purchase Siser EasyWeed in yards or sheets through our website – www.proworldinc.com

What’s the difference between sheets and yards?

If you are planning on creating a lot of products in one specific color, purchasing vinyl in yards will help save you money and reduce waste.

If you are increasing your vinyl assortment, making a variety of items, or making a one-off item, sheets are the way to go since you can buy a mixture of colors inexpensively.

What can you use to cut sheets of Siser EasyWeed?

All cutting machines are able to cut Siser EasyWeed. However, sheet sizes are popular for projects when using the Silhouette Portrait, Cricut and Silhouette Cameo since their cut area is 12” wide.

What colors do the Siser EasyWeed sheets come in? We currently carry 22 colors!

siser easyweed sheets


So now that you’ve heard our exciting news. We want to hear what color sheet you are most excited to try?!


View & Add Comments

Save Time on Rhinestone Stencils with Wonder Flock

Would you like to save time while creating custom REPOSITIONABLE rhinestone stencils? Now you can, with Wonder Flock!

Wonder Flock Rhinestone Template System is the most inexpensive and best-performing rhinestone template system out there.  What makes Wonder Flock such as great product is that you can reposition and customize stencils. It is static resistant so that rhinestones don’t jump, and you can create letter kits or customized layouts by repositioning stencils. The best part about Wonder Flock is that you can pull it up and reuse it again and again, and it can be stored on inexpensive wax paper.

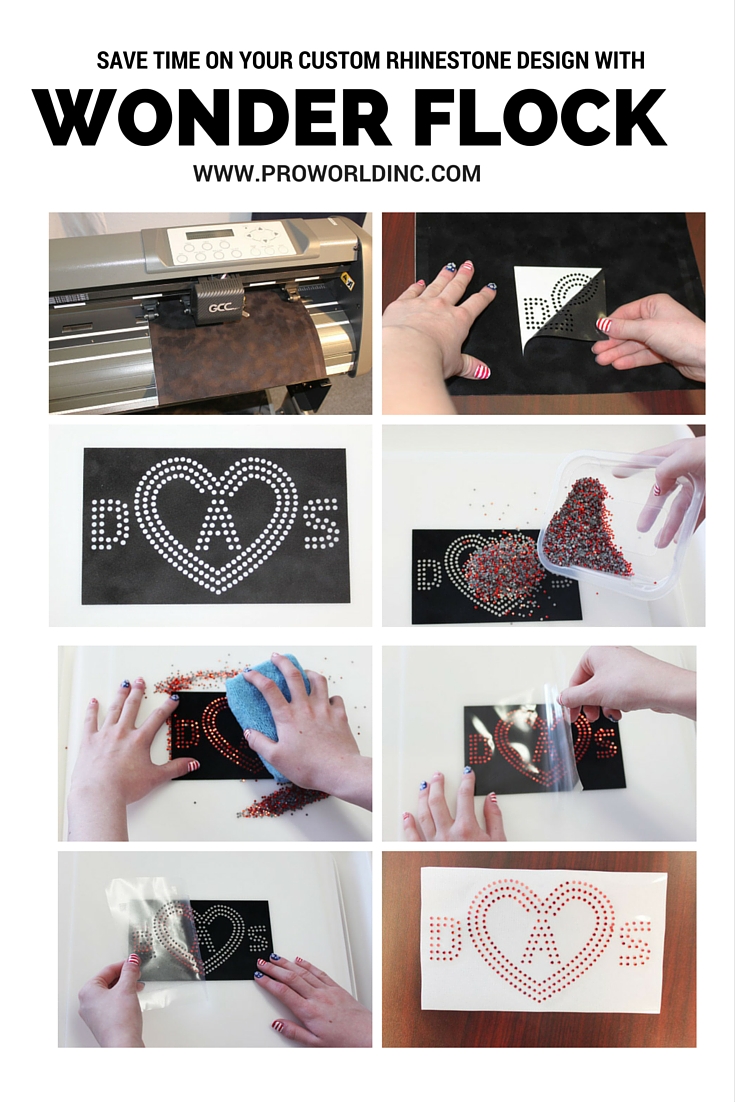
Save Time with a re positionable rhineston template

We are using a lettering kit for today’s project.  The letters are easily repositionable. Allowing you to cut the letters and put them exactly where you want.  Making it a great way to do names because you don’t have to cut a unique stencil to achieve great results.

After you have your design exactly the way you want them, load the area with rhinestones.  Next, you need to take a microfiber sponge and just fill in all the areas.  It’s best to use a sanding motion (not a brushing motion) when filling in the rhinestones.  

After your letters and design elements are covered, steer all the rhinestones that are in the holes away from your design.  Once you get them all steered away from your design, you can use transfer film to make the transfer.  Next, just roll the transfer film over the design and use your sponge to spread the rhinestones out.  It’s so easy and it looks great!

Want to see how  Wonder Flock works? Watch the short video below!

·

Other benefits of Wonder Flock:

  •  Align closely spaced multi-color patterns with Patent Pending Smart Frame System.
  • Reduce labor with superior”weeding” of material after cutting.
  • High visibility black material creates contrast between stones and template material.
  • Static resistant fibers eliminate shifting or jumping of rhinestones.
  • Effortlessly steer ss6 rhinestones or 2mm rhinestuds into stencils with a Micro Fiber sponge.
  • Works with stone diameters from 2mm up to 6mm.
  • Costs up to 30% less than other rhinestone flock materials.
  • Does not require a “flock workstation”, the material is positioned on inexpensive plastic sheets.
  • Stones flow effortlessly into stencils, including ss6 rhinestones and 2mm rhinestuds.
  • Smart Frames Alignment System eliminates need to stack and align multicolor patterns

Would you like to learn more about Wonder Flock? Contact us for more information!

View & Add Comments

Getting Creative with Sign Vinyl

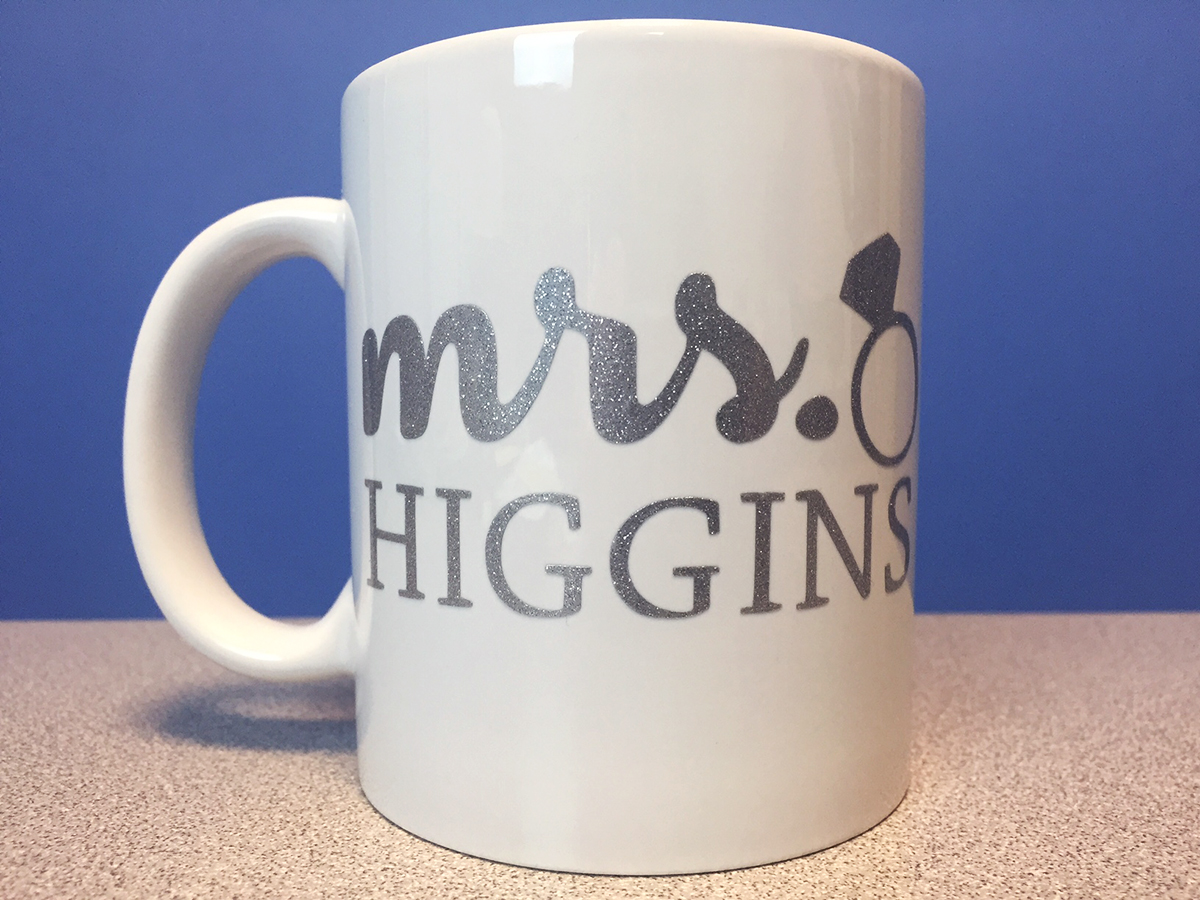
Can we just say how much we are loving the FDC sign vinyl?! This stuff is so versatile and can be used on so many different surfaces. If you think it, it can probably be vinyl-ed! You can really get creative with personalized products to offer to your clientele, which makes it a great expansion to your business. Like this mug for example, which can easily be customized for a bride, or for any other special occasion.

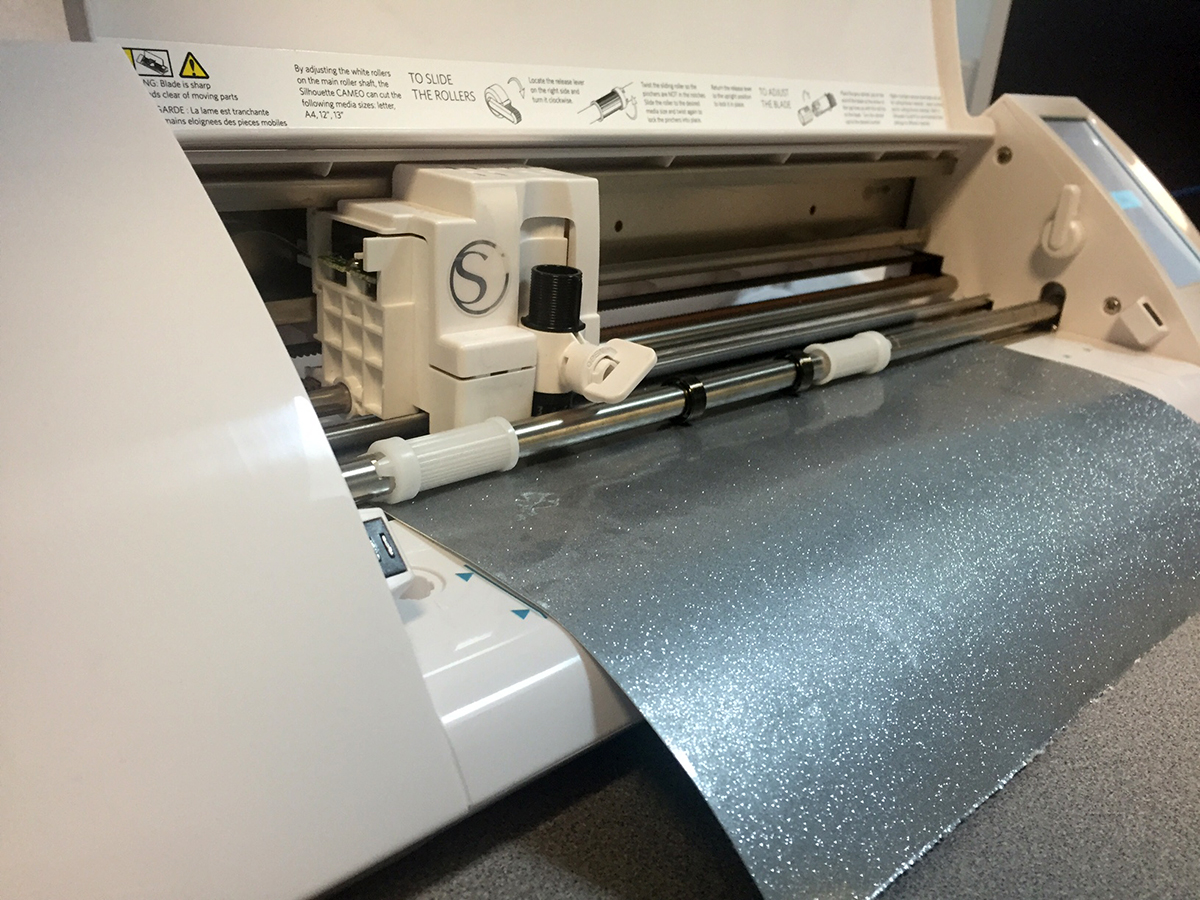
To work with this vinyl, all you will need is a cutter along with a few accessories. For the cutter, we used a Silhouette Cameo, but it will work with any other commercial vinyl cutter.

silhouette cutter and fdc vinyl

Along with the cutter, you’ll need a weeding tool and a squeeqee… as well as some application tape, which comes in two options:  gridded/white or gridded/clear. The clear tape is a little more expensive, but is extremely useful when trying to line up your design on the product you are applying it to, whereas the white tape has an opaque backing.

vinyl tape, weeder, squeegee

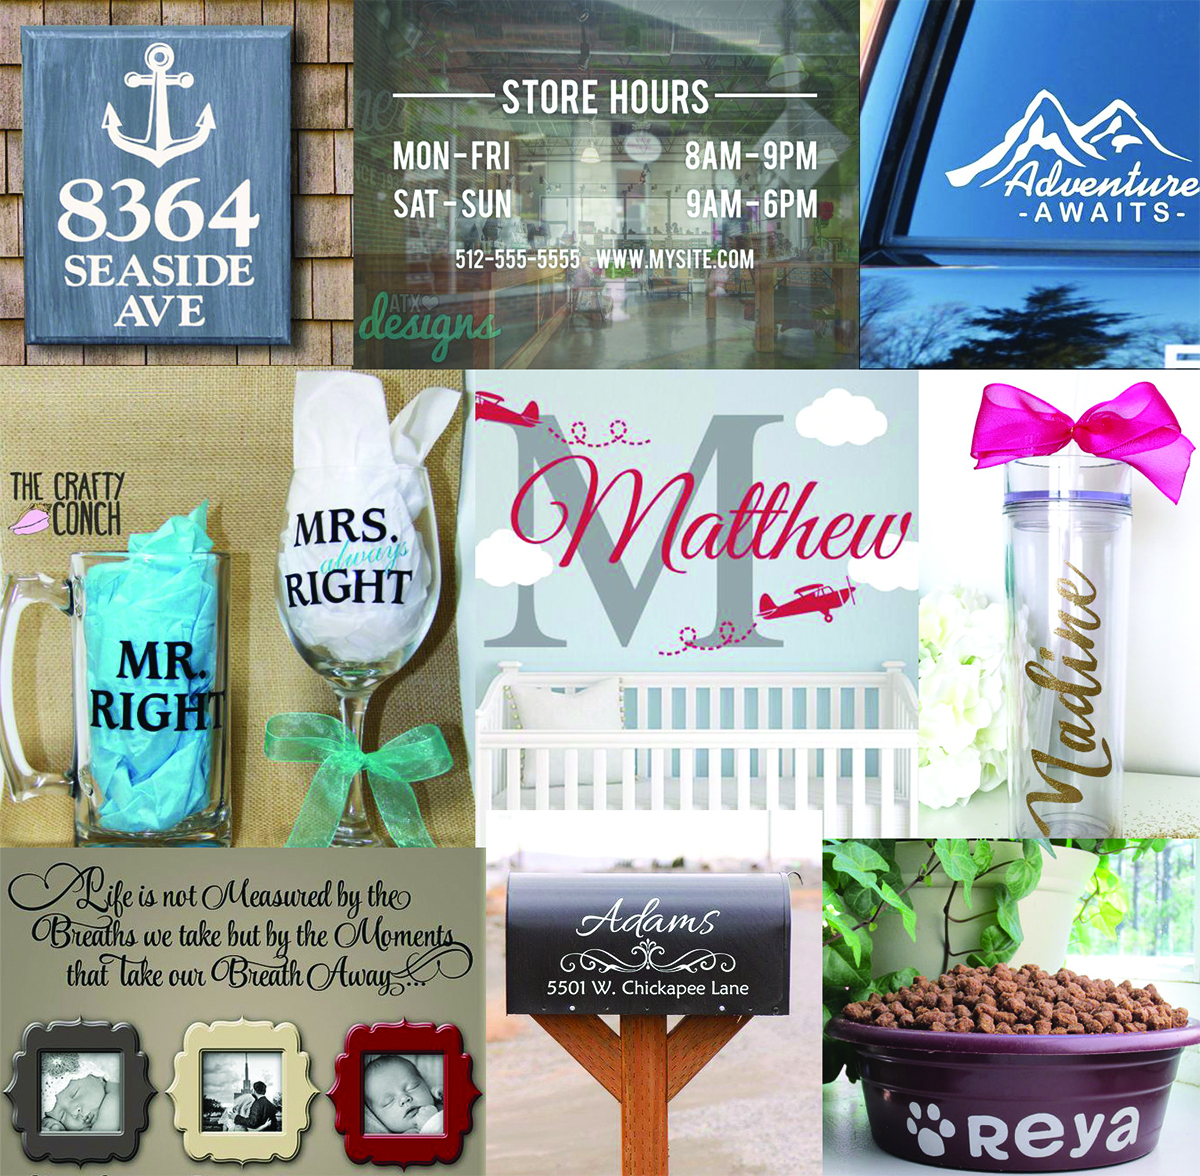
We browsed Pinterest for some inspiration and would like to share a few of our favorite ideas with you guys. (Disclaimer:  The following photos do not belong to Pro World, and have been linked back to their origin)

collage of different vinyl products

Wall decal – monogram for a baby nursery
Vinyl on wood – ‘Beach House’ sign
Vinyl on mailbox – customized with address
‘His’ and ‘Hers’ – beer mug & wine glass
Photo frame and quote wall in vinyl
‘Adventure Awaits’ – vinyl car decal
Store Hours for a business – vinyl on door
Personalized water bottle/tumbler
Customized food bowl with pet’s name

Be sure to share what you are making with us on Instagram @proworldinc!

View & Add Comments

SIMPLIFY and AUTOMATE your design process

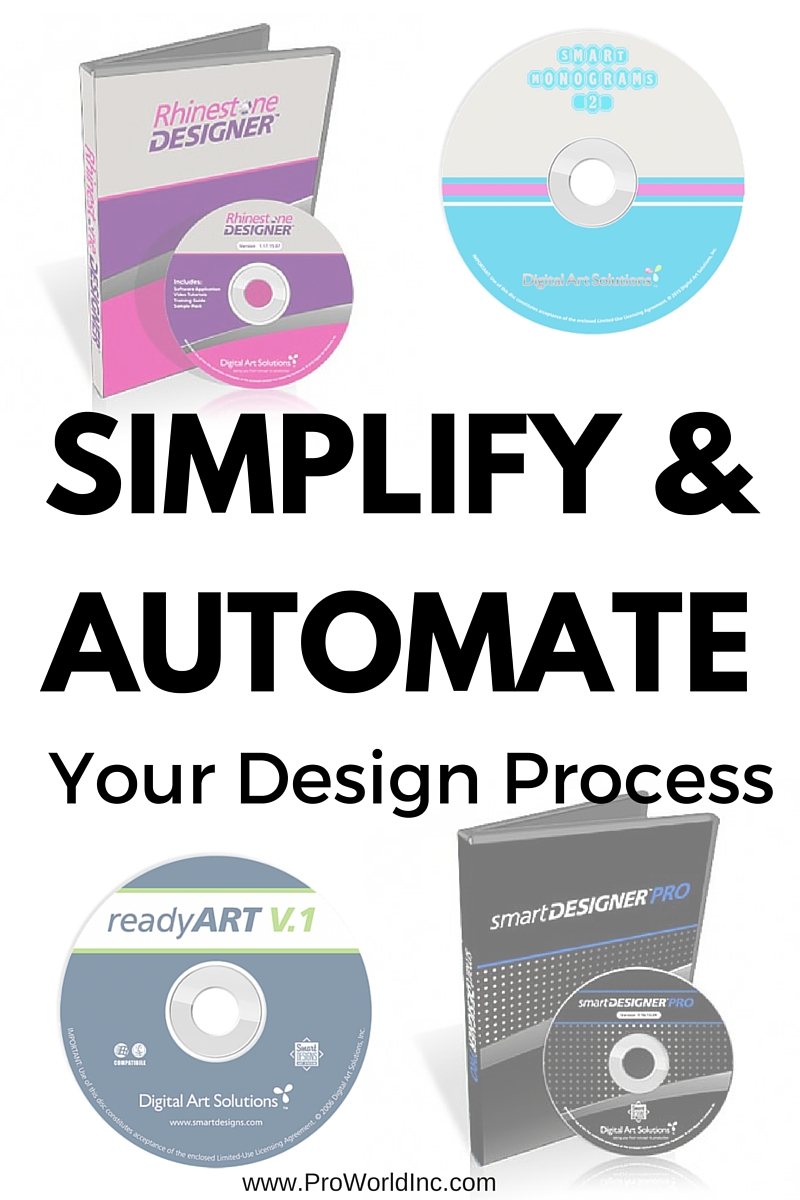
simplify your design process

At Pro World, we strive to provide our customers with exceptional products and customer service, along with the resources to help make you successful with your custom business. Today we are proud to announce our partnership with Digital Art Solutions to make designing even easier!

Are you familiar with Digital Art Solutions?

Digital Art Solutions creates computer software and digital artwork to help anyone interested in learning how to design their own graphics within CorelDraw! Want to see how? Sign up for a webinar! At least once a month Pro World and Digital Art Solutions will host a webinar tutorial so that you can see  first hand how the different software’s can affect your business. Want to sign up for our next class? It will be held on Monday, August 1 – 4pm EDT / 3pm CDT / 2pm MDT / 1pm PDT, and we are discussing Producing Graphics for Custom Heat Transfers! Sign up by following his link.

Each software title in their product line is designed with one primary purpose: to simplify and automate both the design and the production processes. Smart Designer is a designing software that allows for crafters and business owners to take graphic design into their own hands, by providing Add-On Tools that work seamlessly with CorelDraw.

See what you can do!

Smart Designer Pro

The Smart Designer Pro software makes it possible for anyone, regardless of skill level, to produce high-quality custom graphics quickly and easily. Anyone that produces graphics relies on two basic technologies: graphic design software and digital artwork (clip art, templates, fonts, etc). However, this software combines both into a graphics system that works seamlessly with CorelDRAW.

Ready Art

The Ready Art series was designed as a tool for anyone that needs to quickly produce high-quality custom artwork for the imprinting industry without any cleanup. Each clipart image and template is specially prepared to be “production-ready” without any modification. 

Rhinestone Designer

Rhinestone Designer is an add-on software that blends in seamlessly with CorelDRAW X7 or X8. Rhinestone Designer adds over 65 design and production features to CorelDRAW that automate and simply art production for rhinestone apparel and heat applied graphics. Making it even easier for you to design Rhinestone garments!

Smart Monograms

Smart Monograms is a monogram template that works with the Smart Designer Pro Add-On software within CorelDRAW! This innovative new product line was designed to create highly profitable customized products without the hassle of working with traditional monogram fonts.

Power Pack Decals

Vinyl decals and stickers are incredibly profitable. If you want to increase your decal business, the Power Pack Kit is sure to help! The Power Pack 3 is a complete kit of tools to design, market and sell vinyl decals. The kits include editable templates, sales sheets, an order form and critical training documents for selling vinyl decals as part of a fund-raising program. Power Pack 3 is compatible with CorelDRAW X4 or higher, Rhinestone Designer and Smart Designer Pro.

View & Add Comments

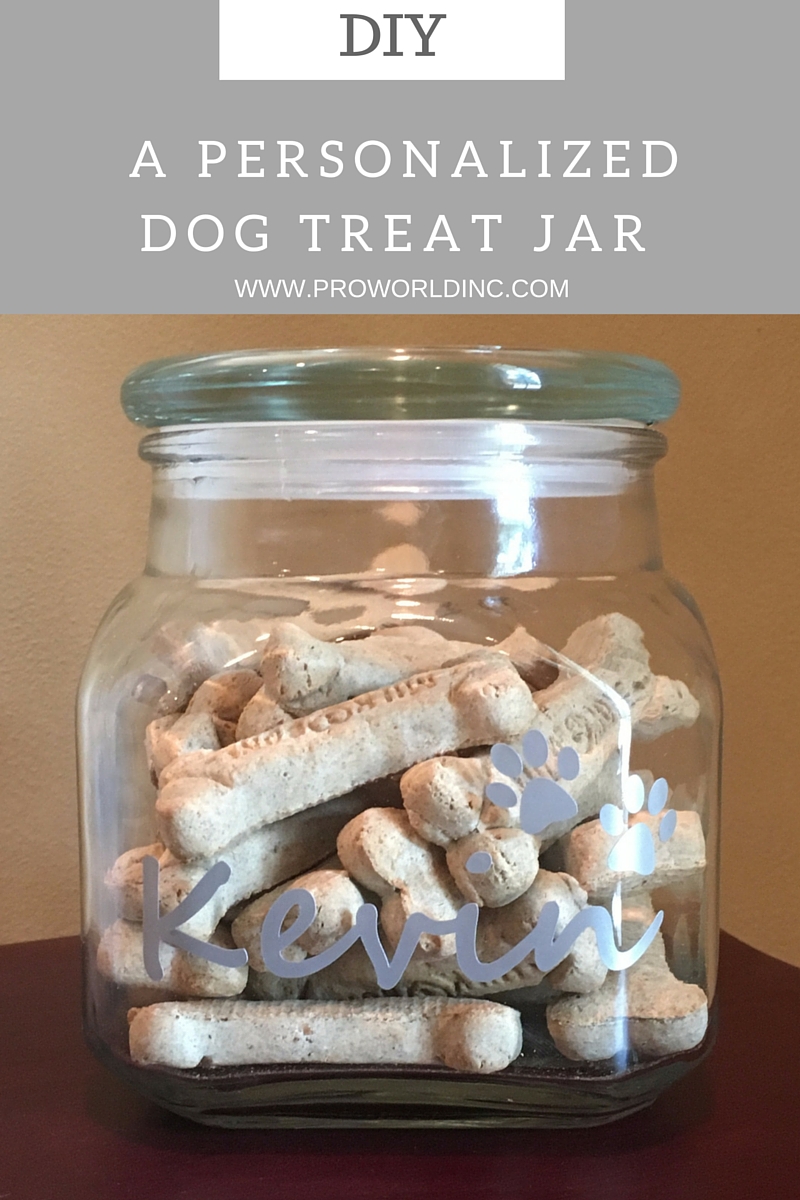
DIY: Personalized Dog Treat Jar

Do you need to make a quick gift? Make a personalized dog treat jar!

DIY- A PERSONALIZEDDOG TREAT JAR

For today’s project you need:

First, design your cut file.

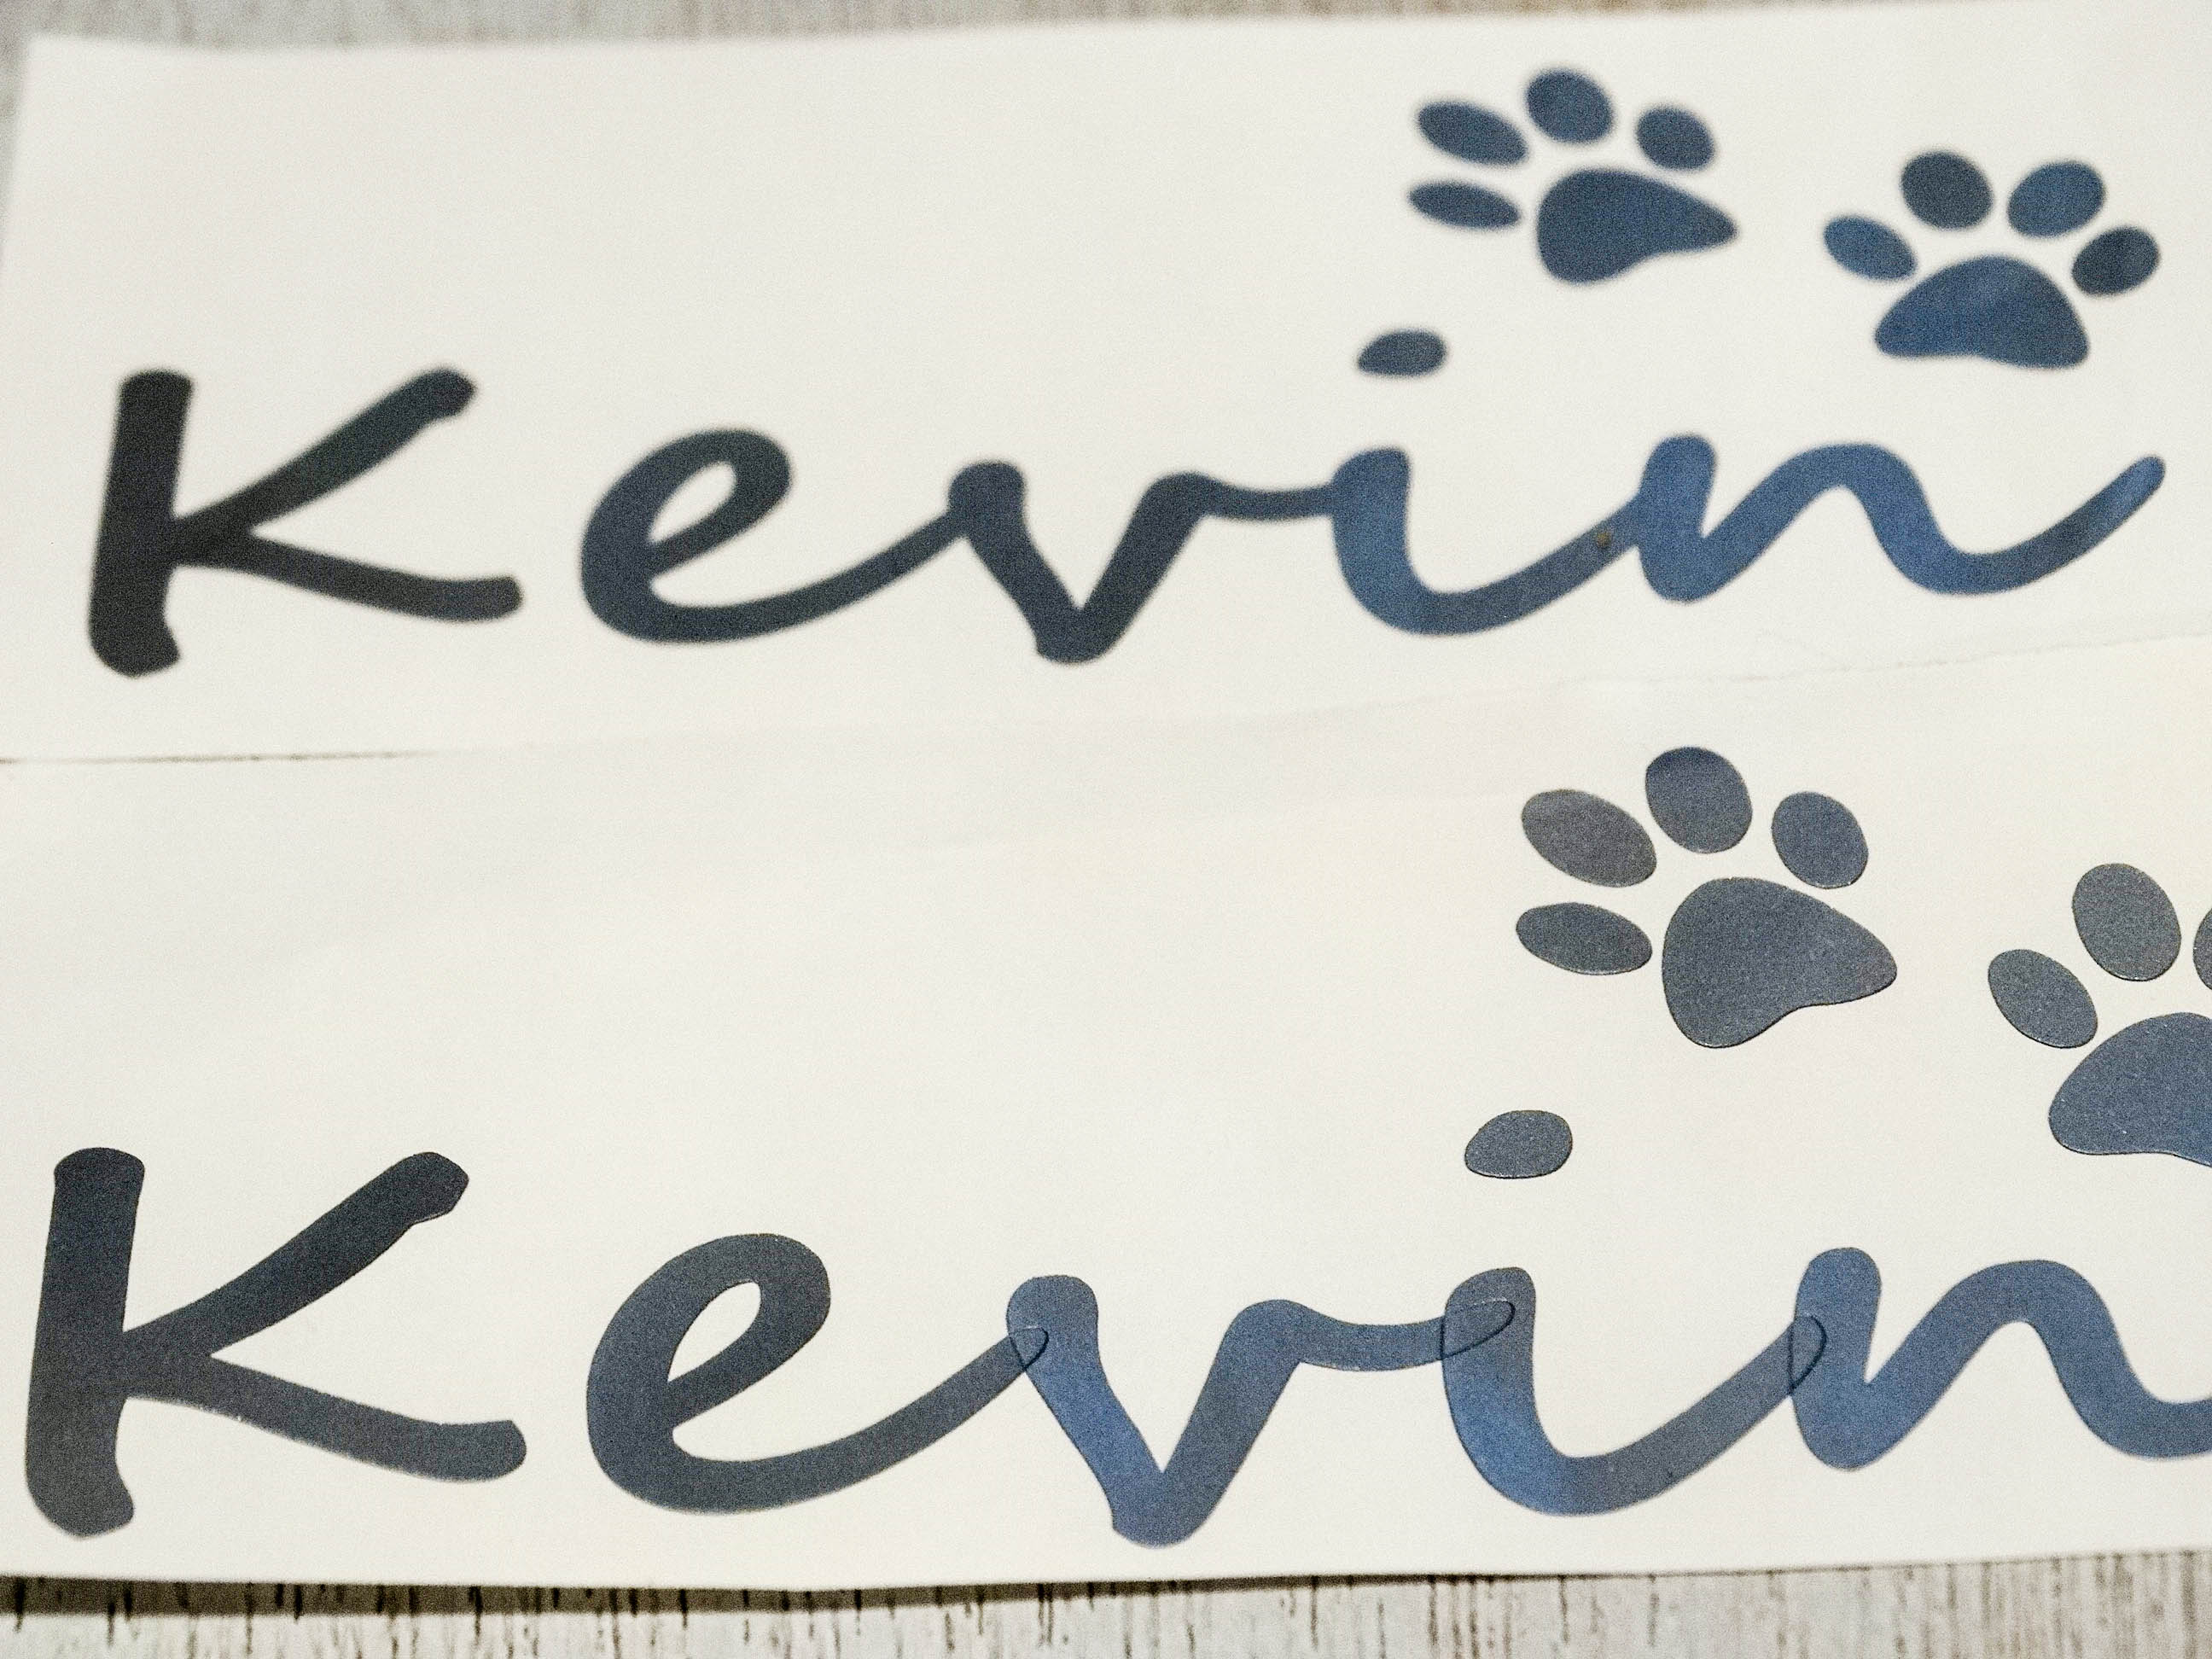
Second, WELD your letters together. It’s important to weld your letters so that the oultine of your name is cut. If you forget to weld your letters, your machine will cut overlapping lines, like the bottom image shows in the photo below.

DSC05587

Load your vinyl, and adjust your cut settings.

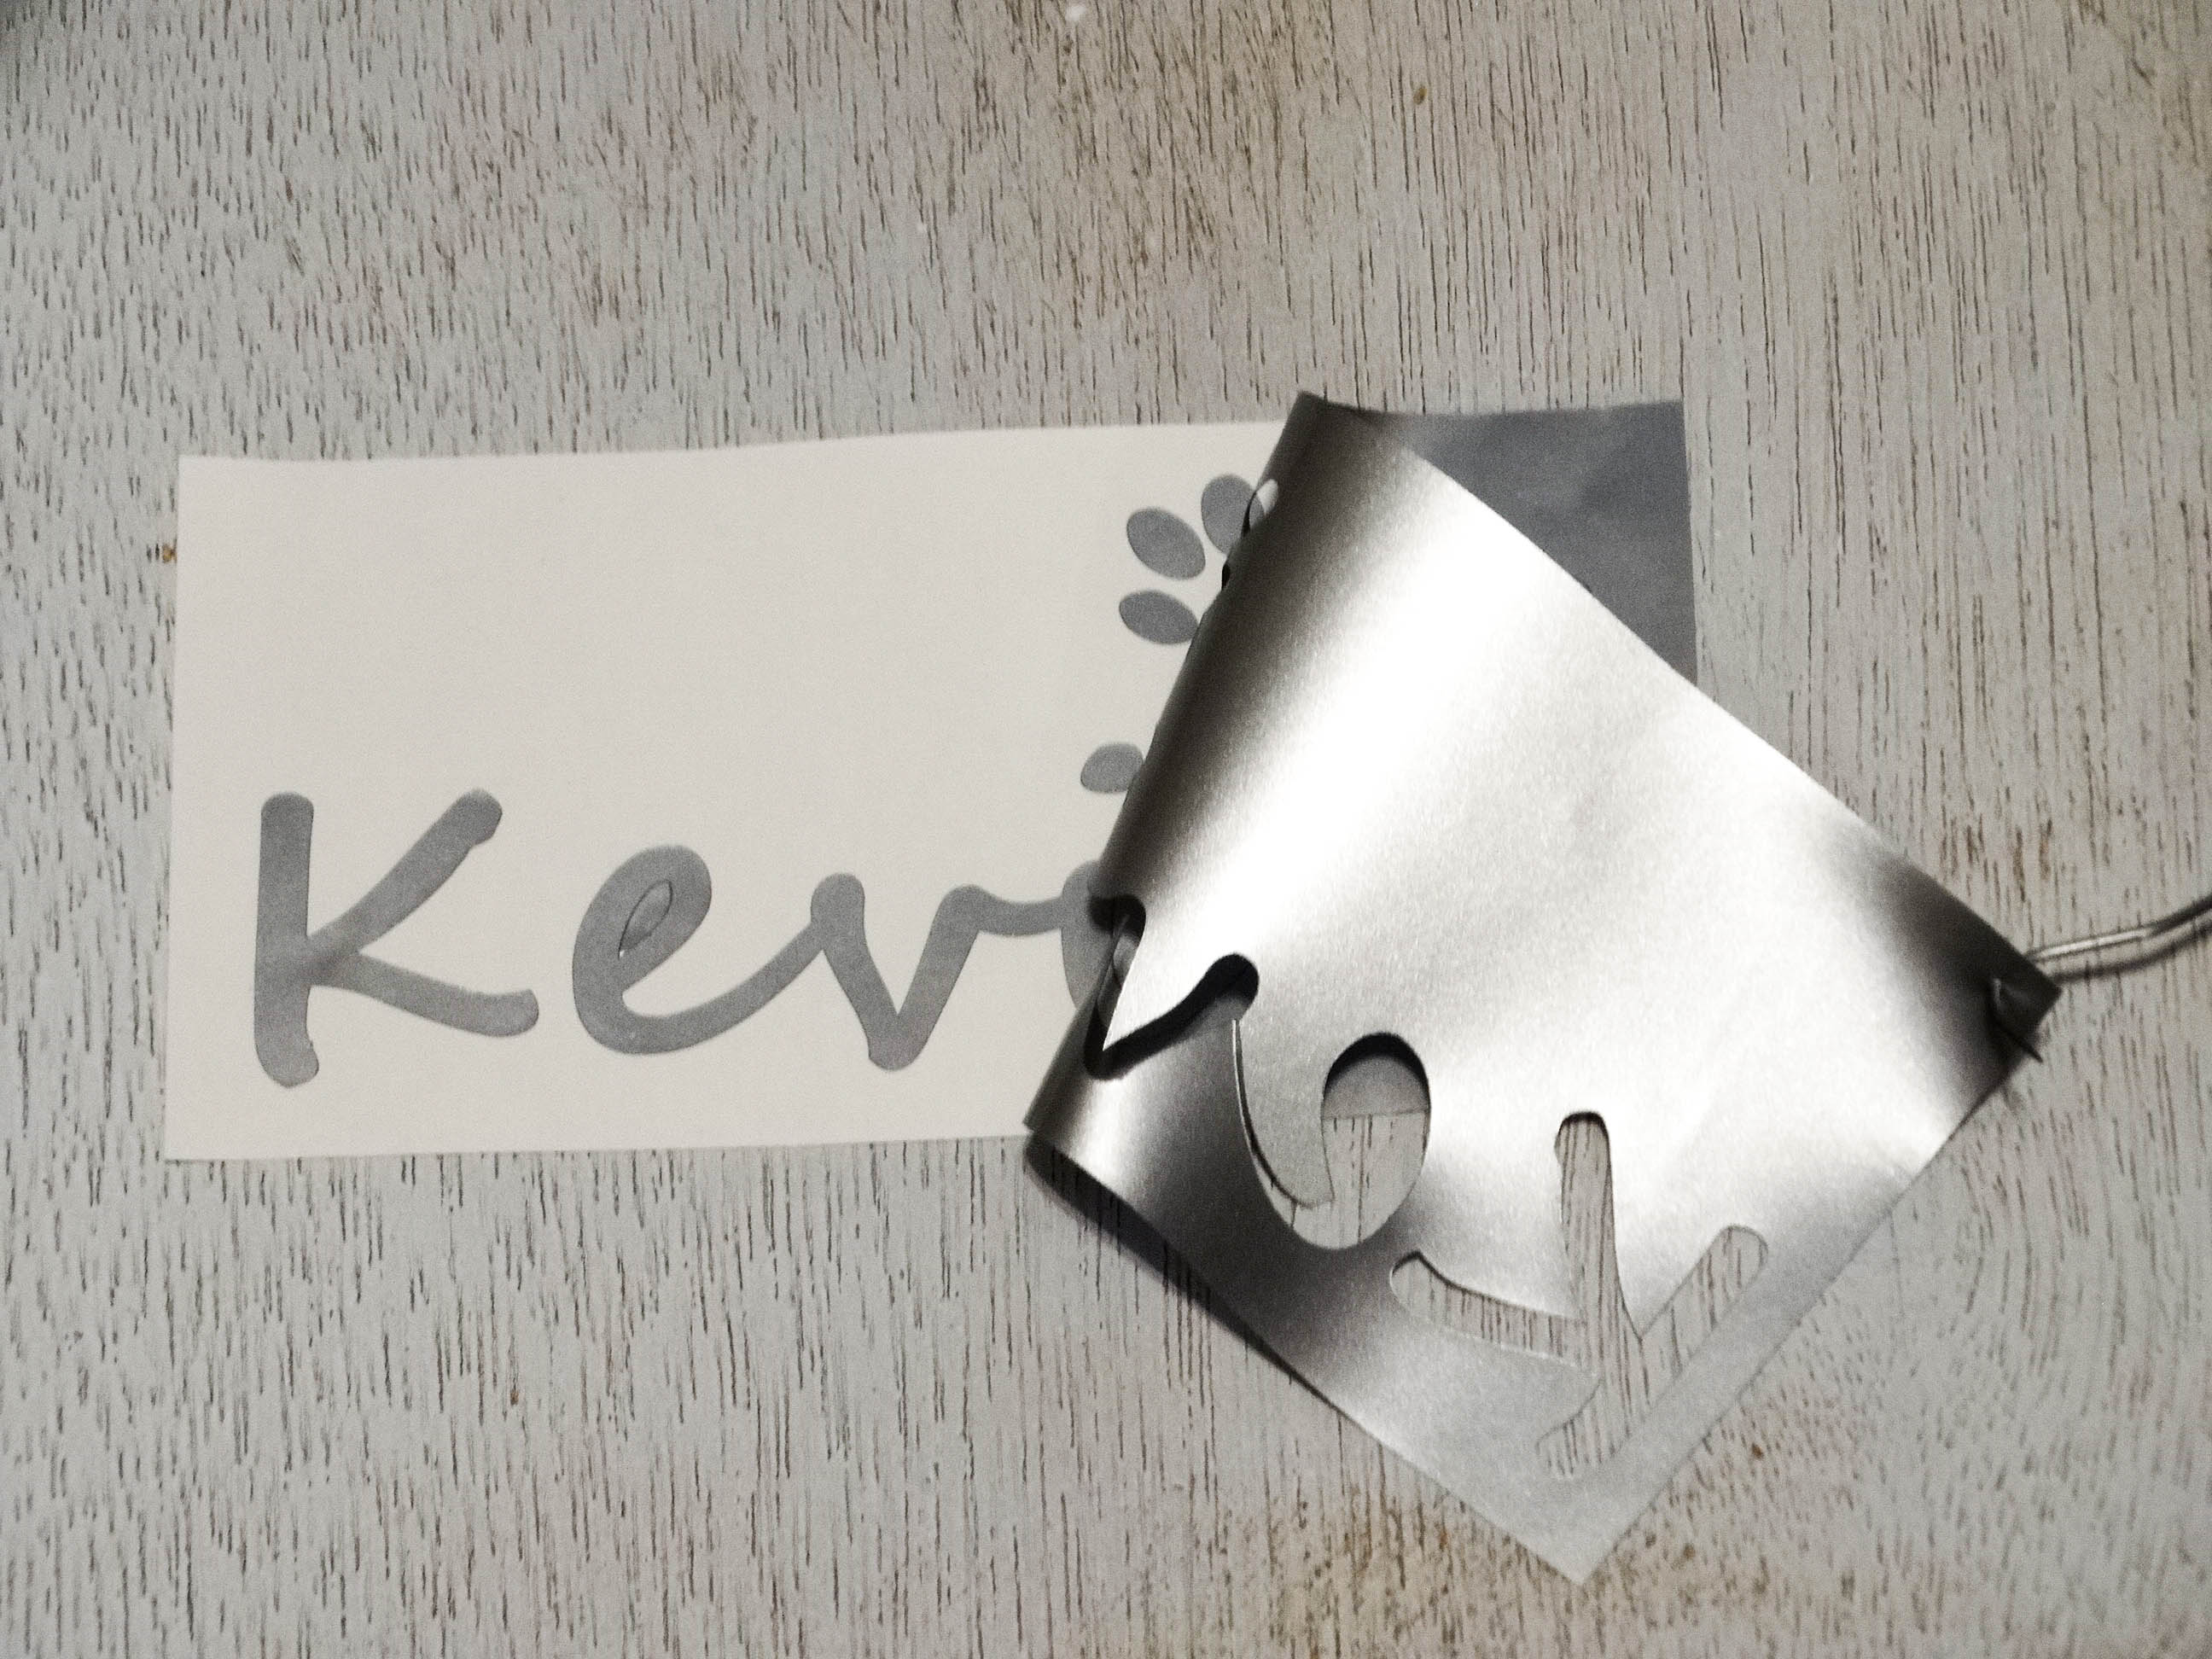
Send your design to your cutting machine, and carefully weed your design.

DSC05585

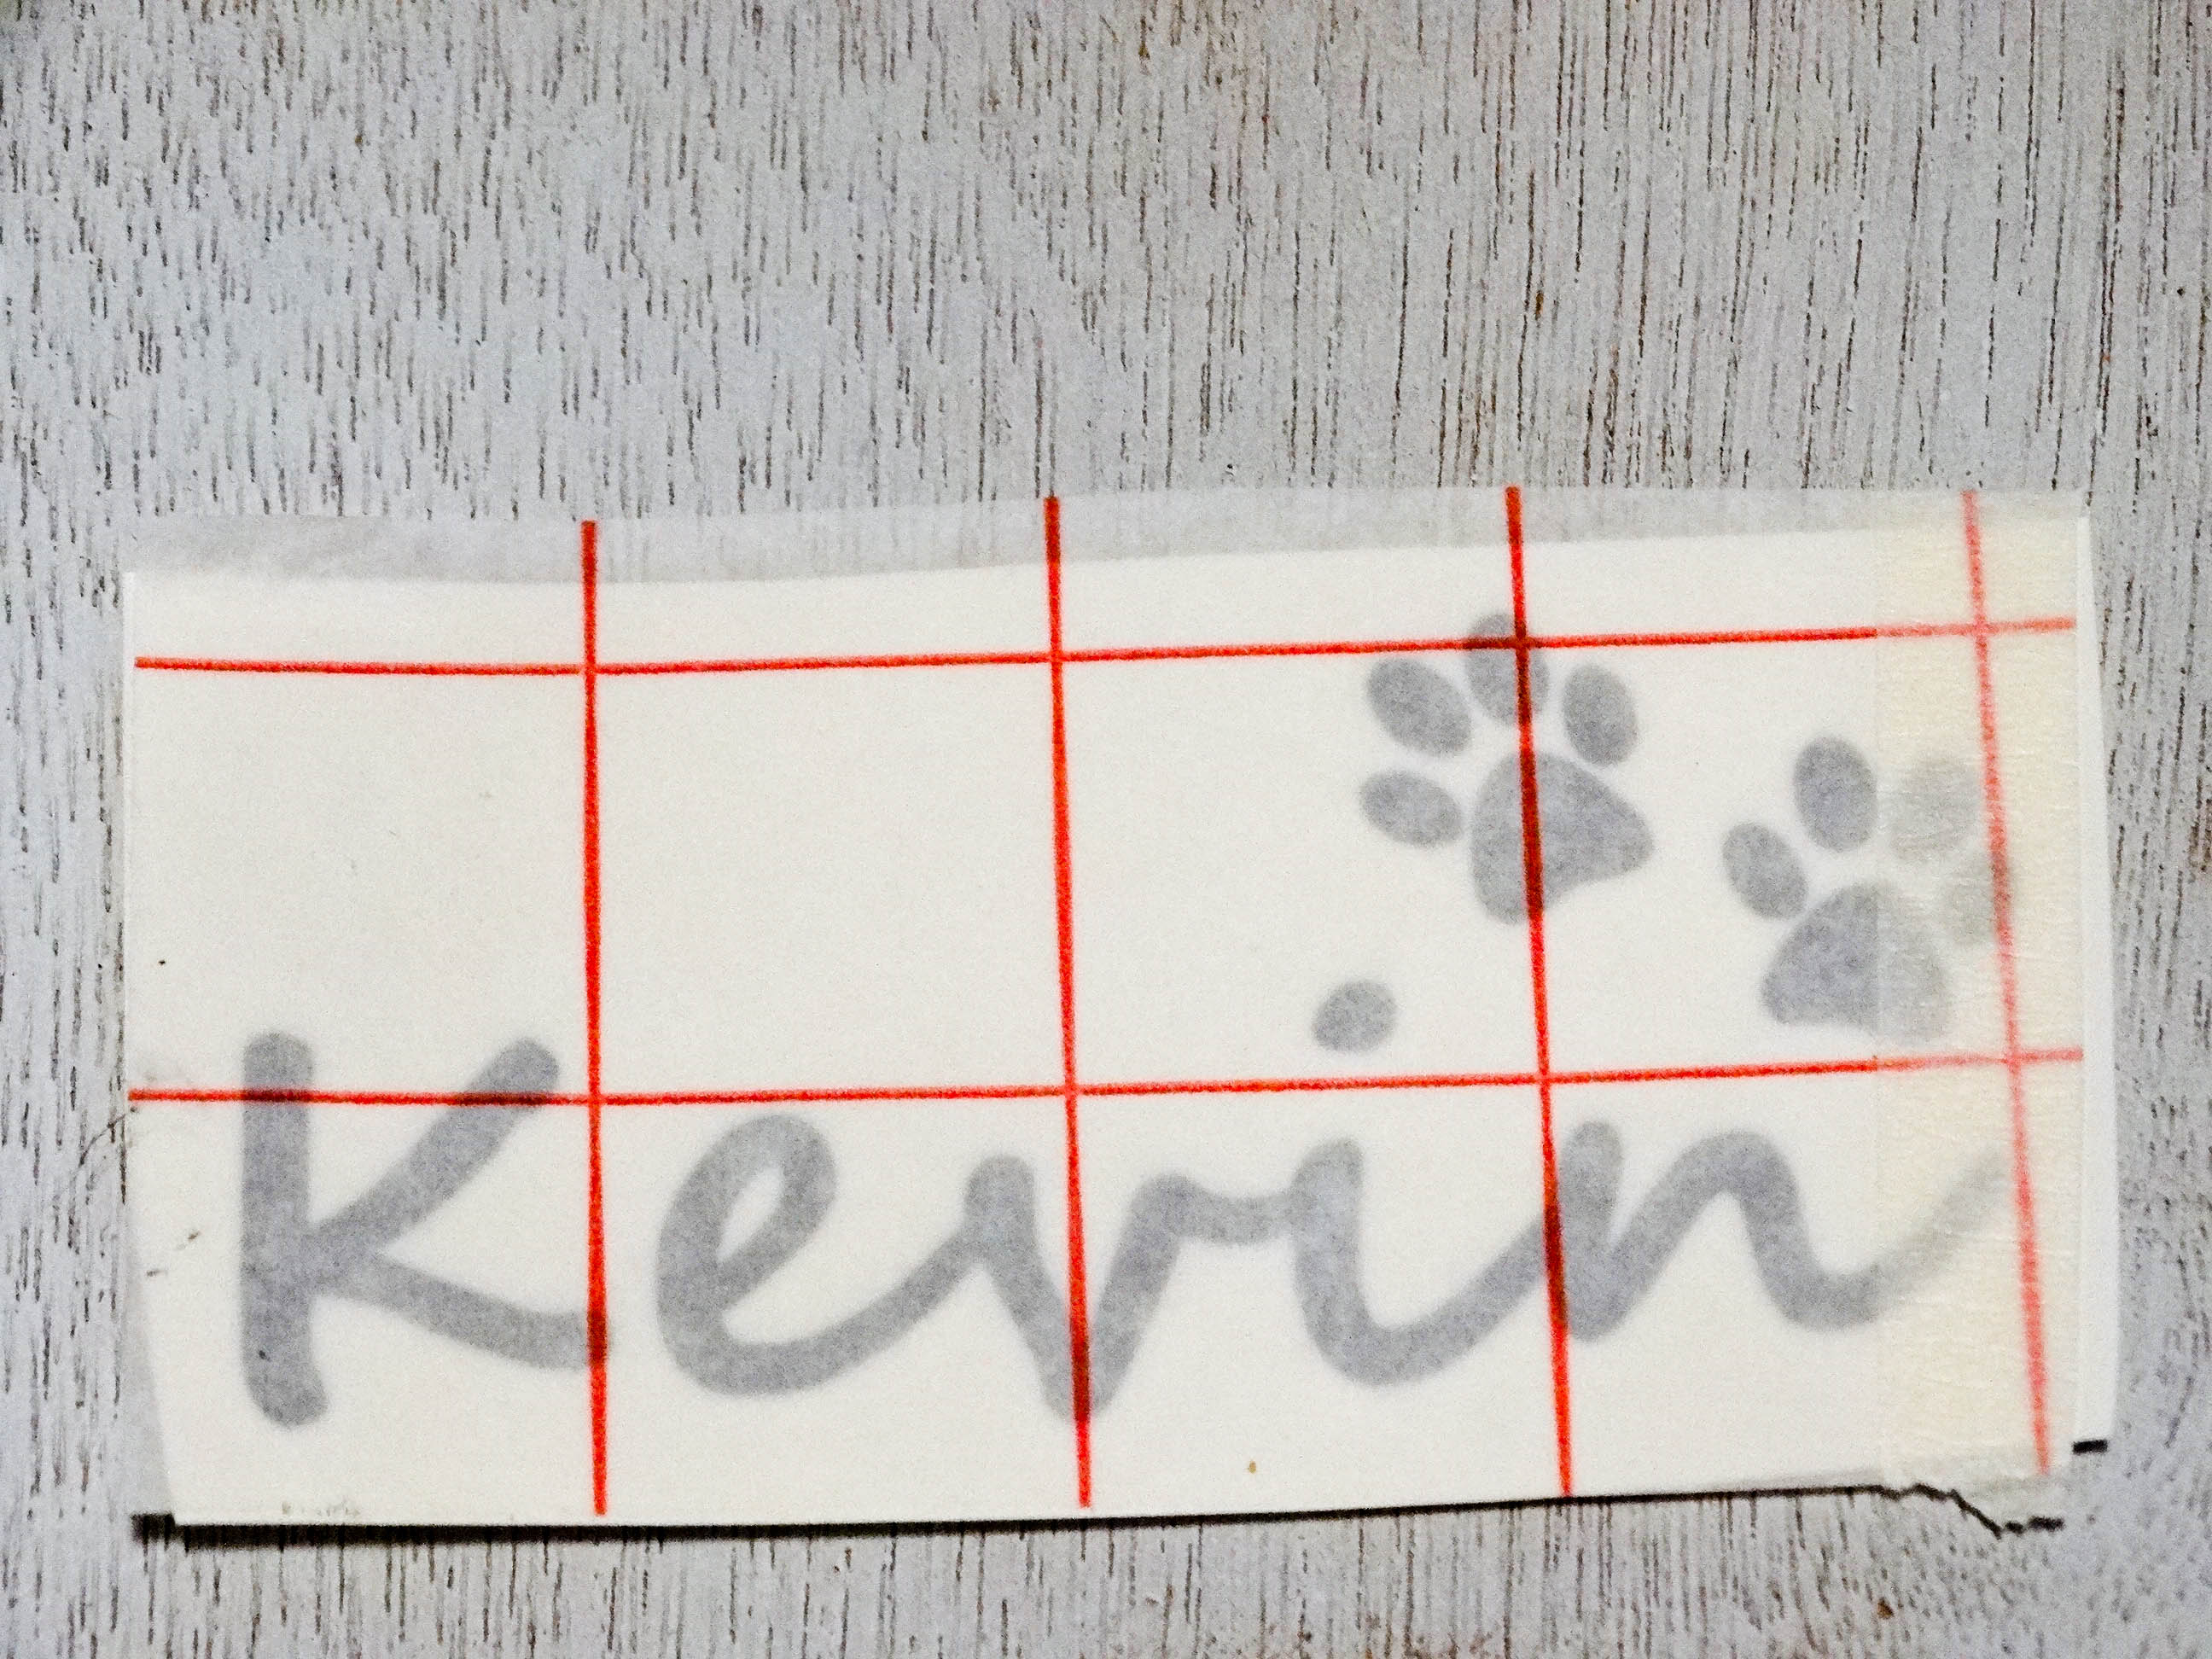
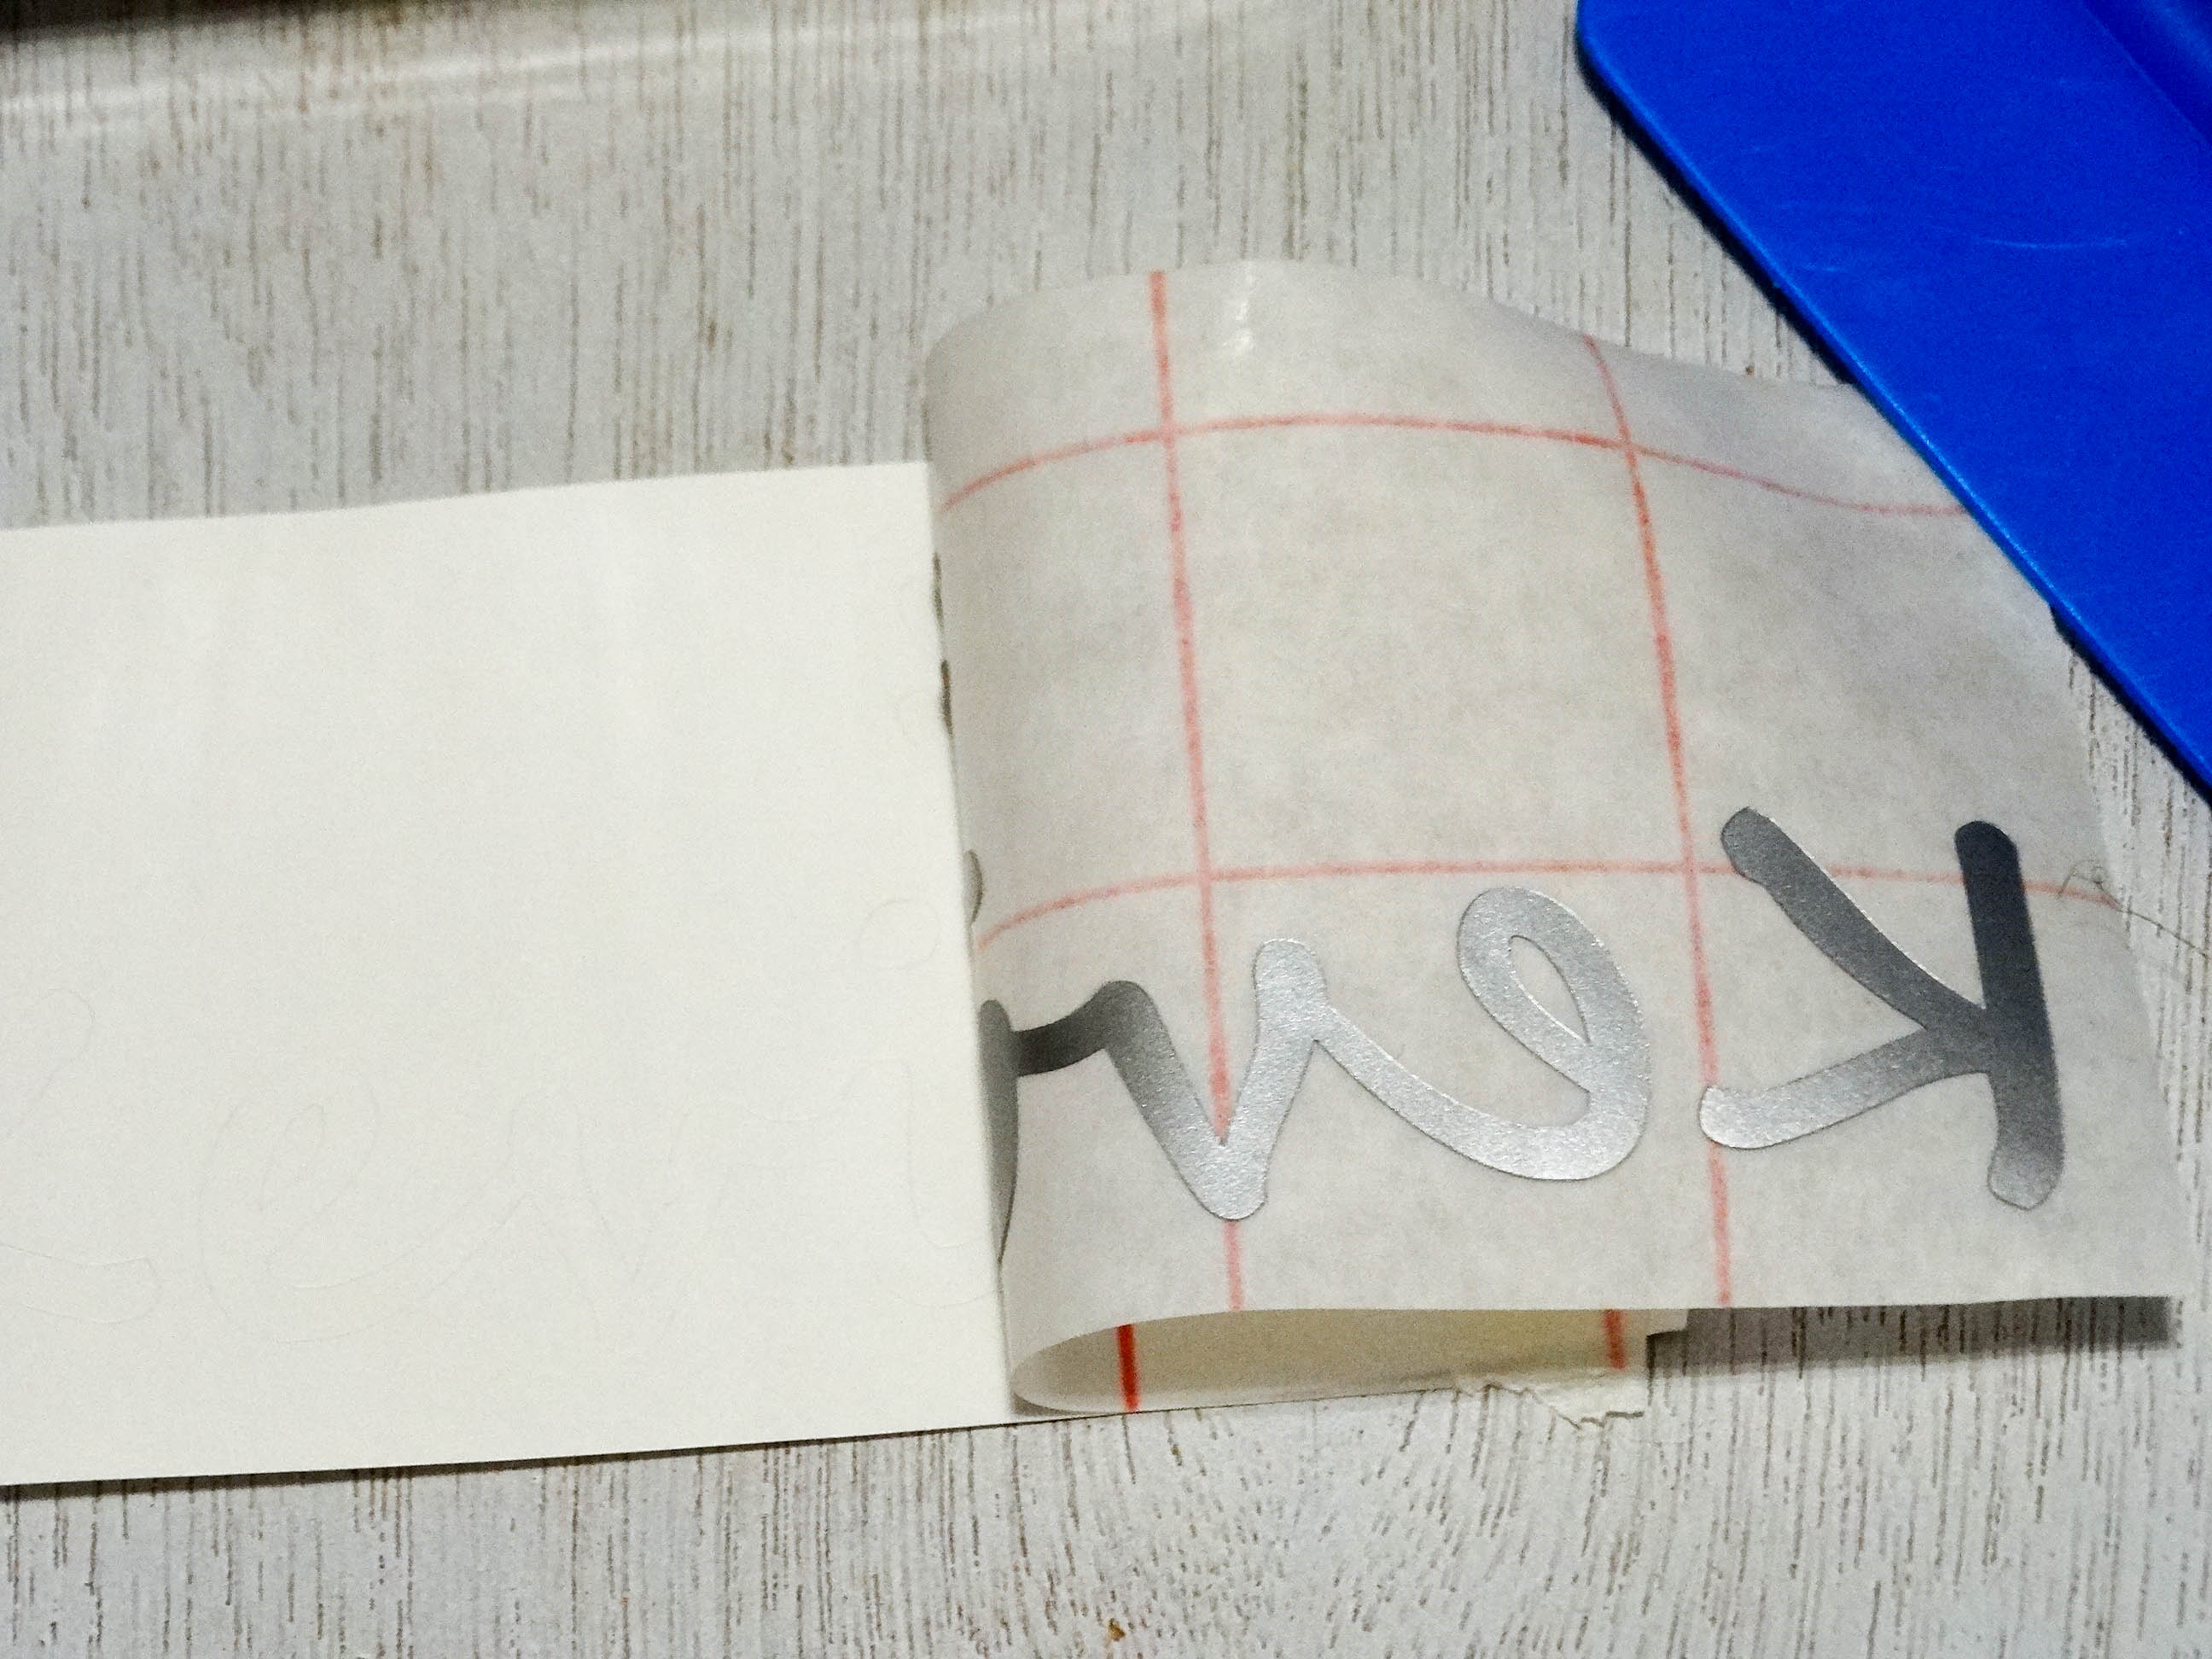
Apply the transfer tape.

DSC05589

Smooth the transfer tape onto your vinyl and gently peel the transfer tape from the backing.

DSC05592

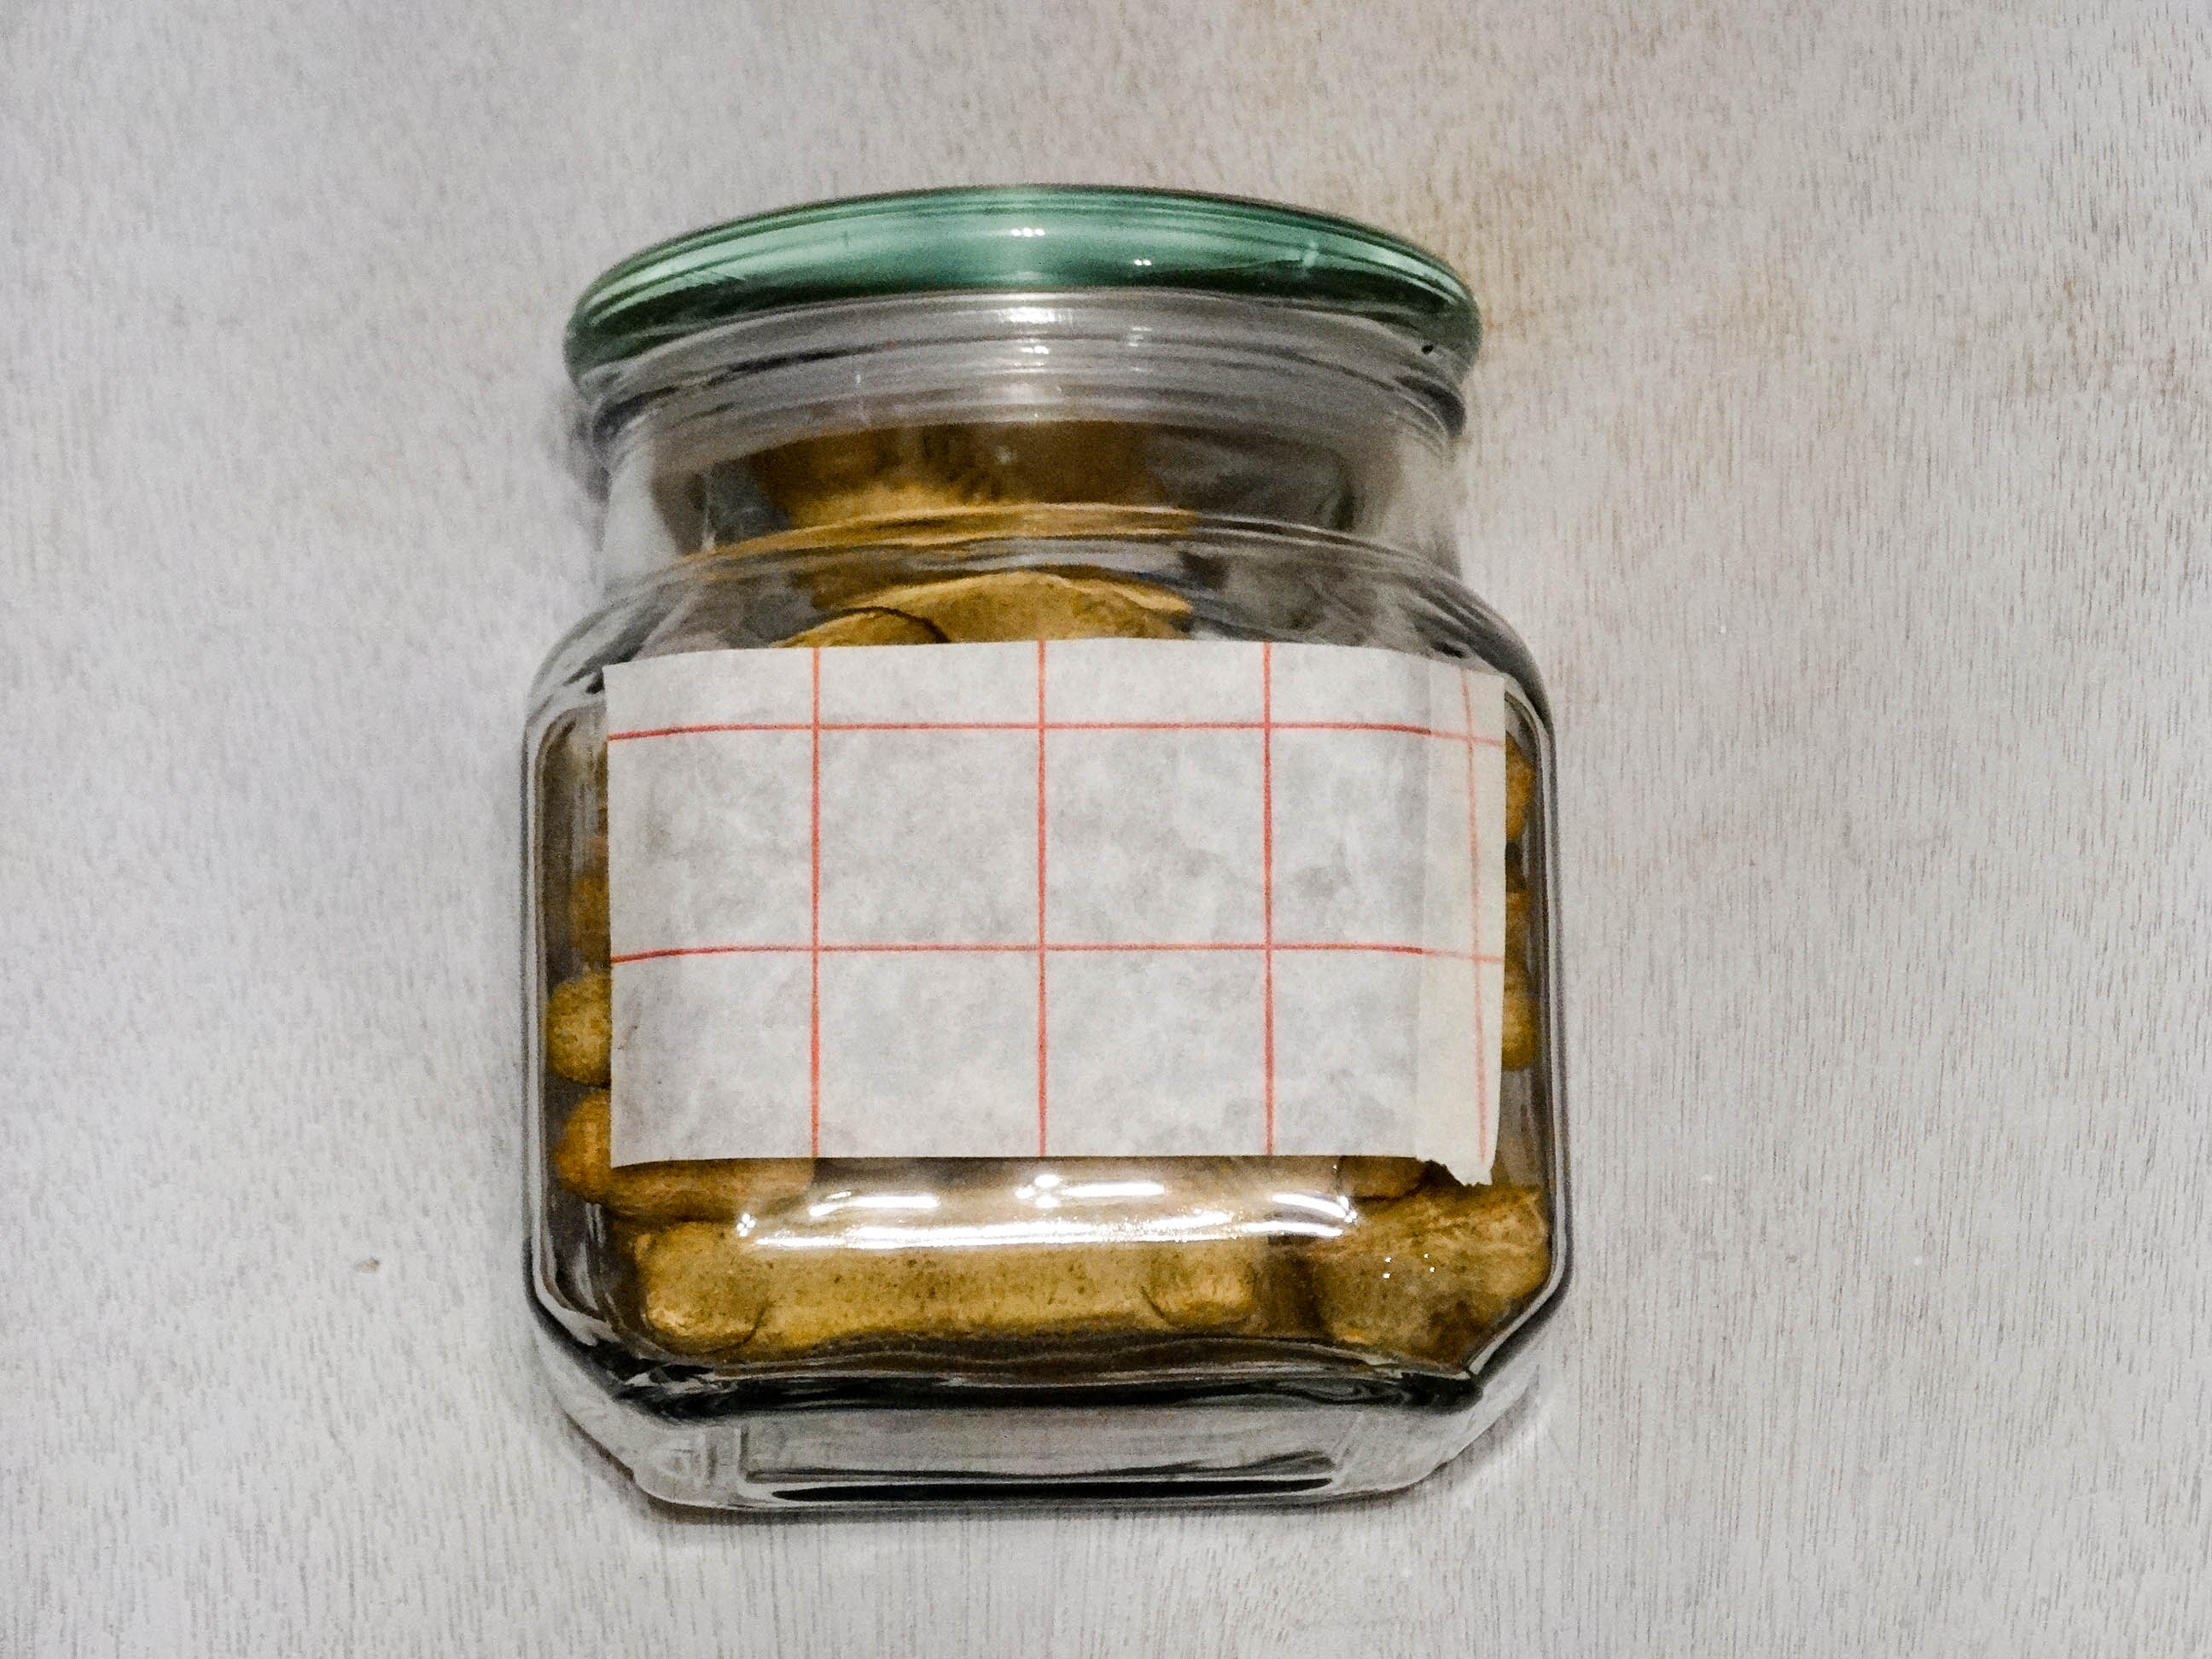
Finally, apply the FDC vinyl to your glass jar, and smooth out any air bubbles.

DSC05594

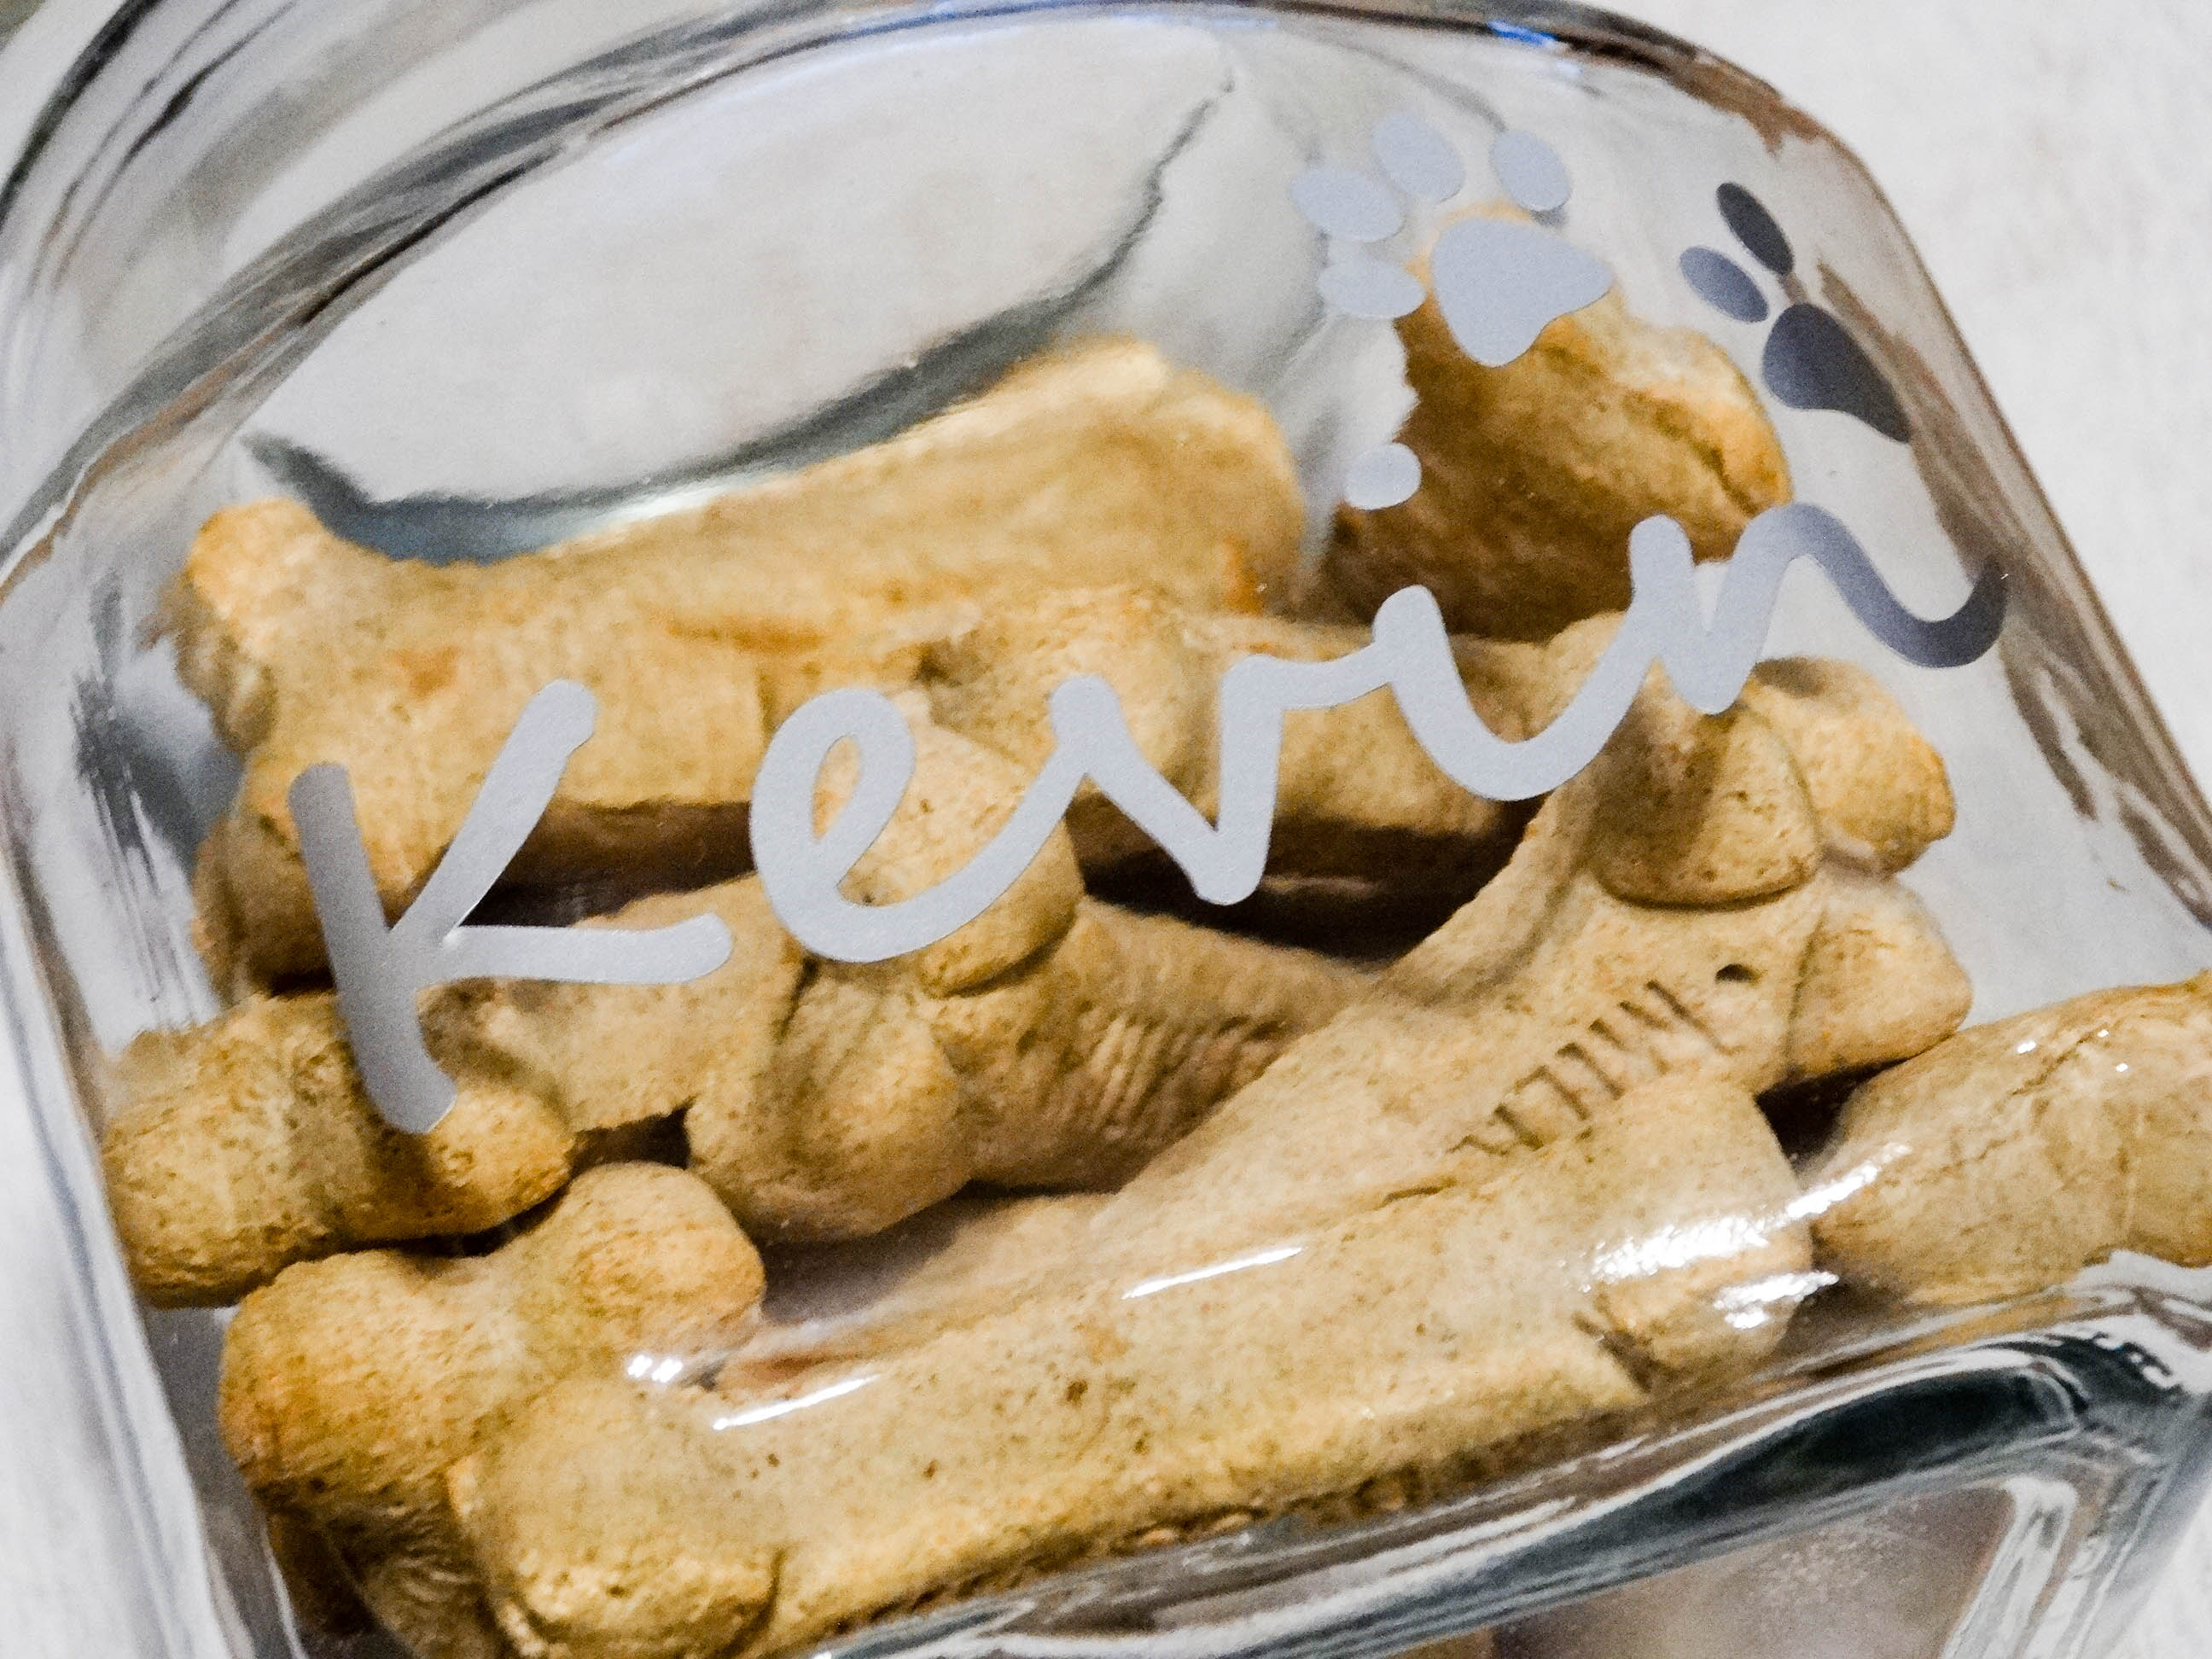
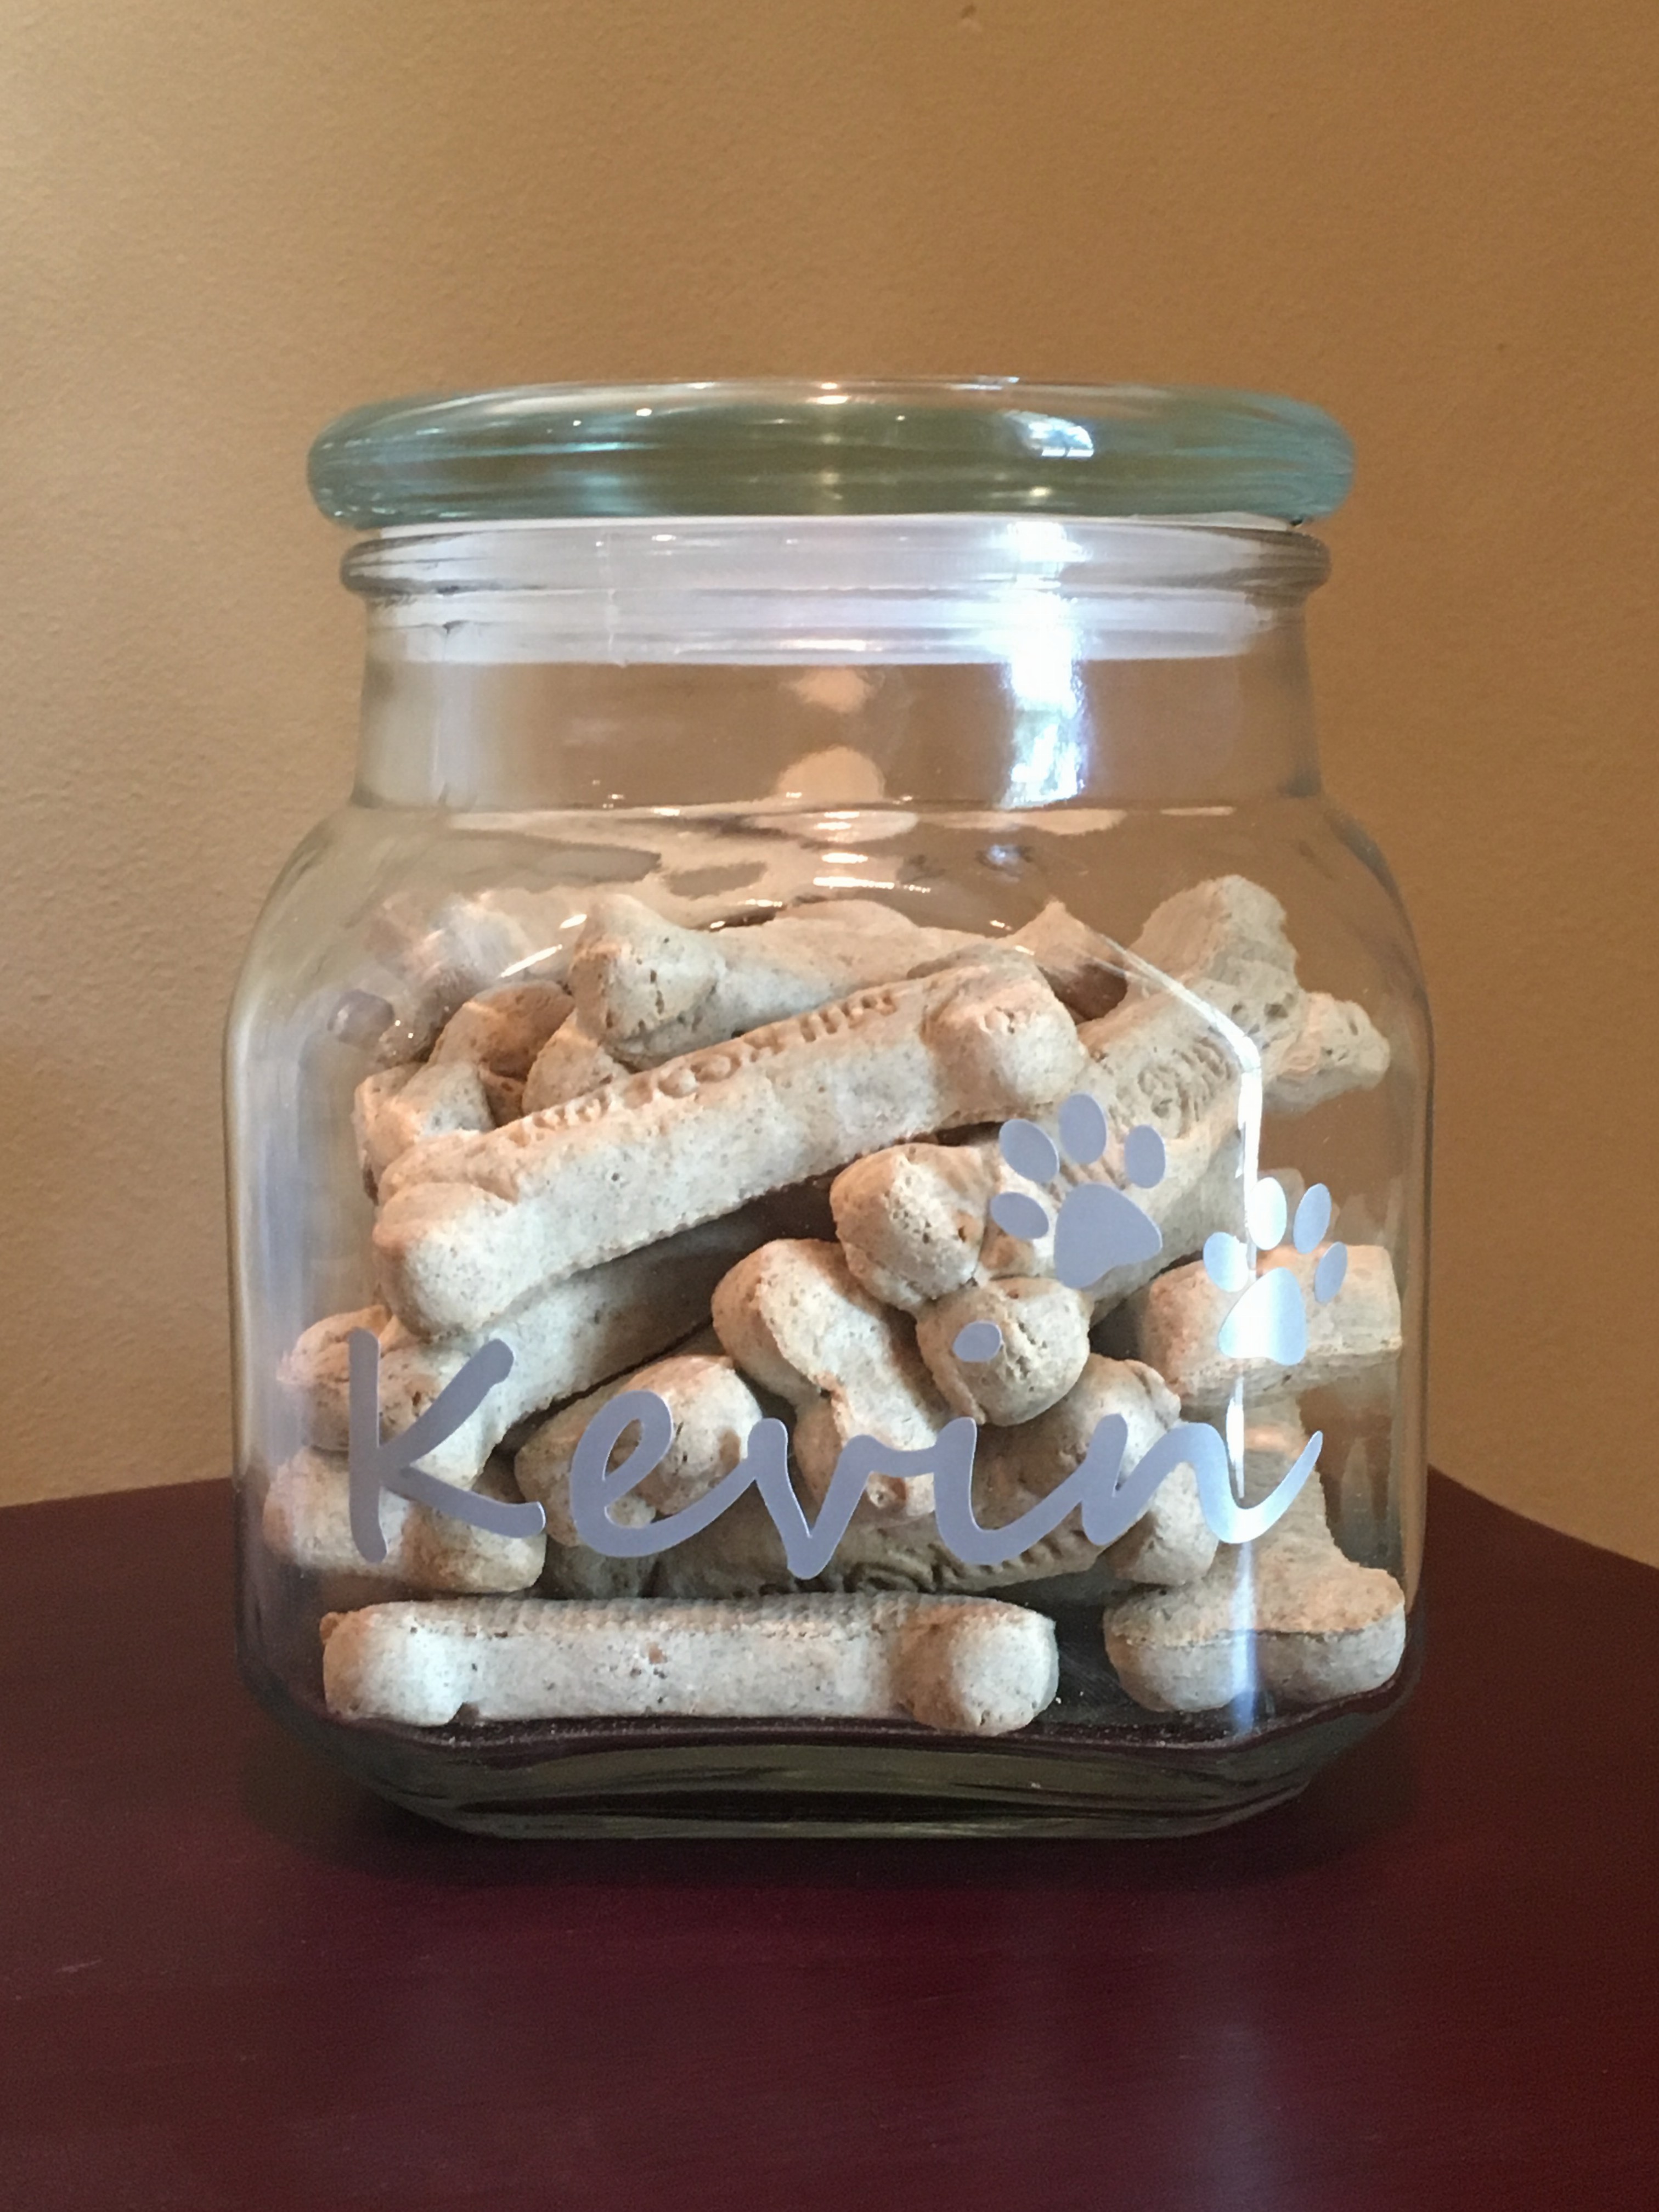
Carefully peel the transfer tape off of the glass jar and you are done!

personaized dog trat jar


IMG_5410

View & Add Comments

Tips for cutting large vinyl decals

Want to change your space? Add some adhesive vinyl!

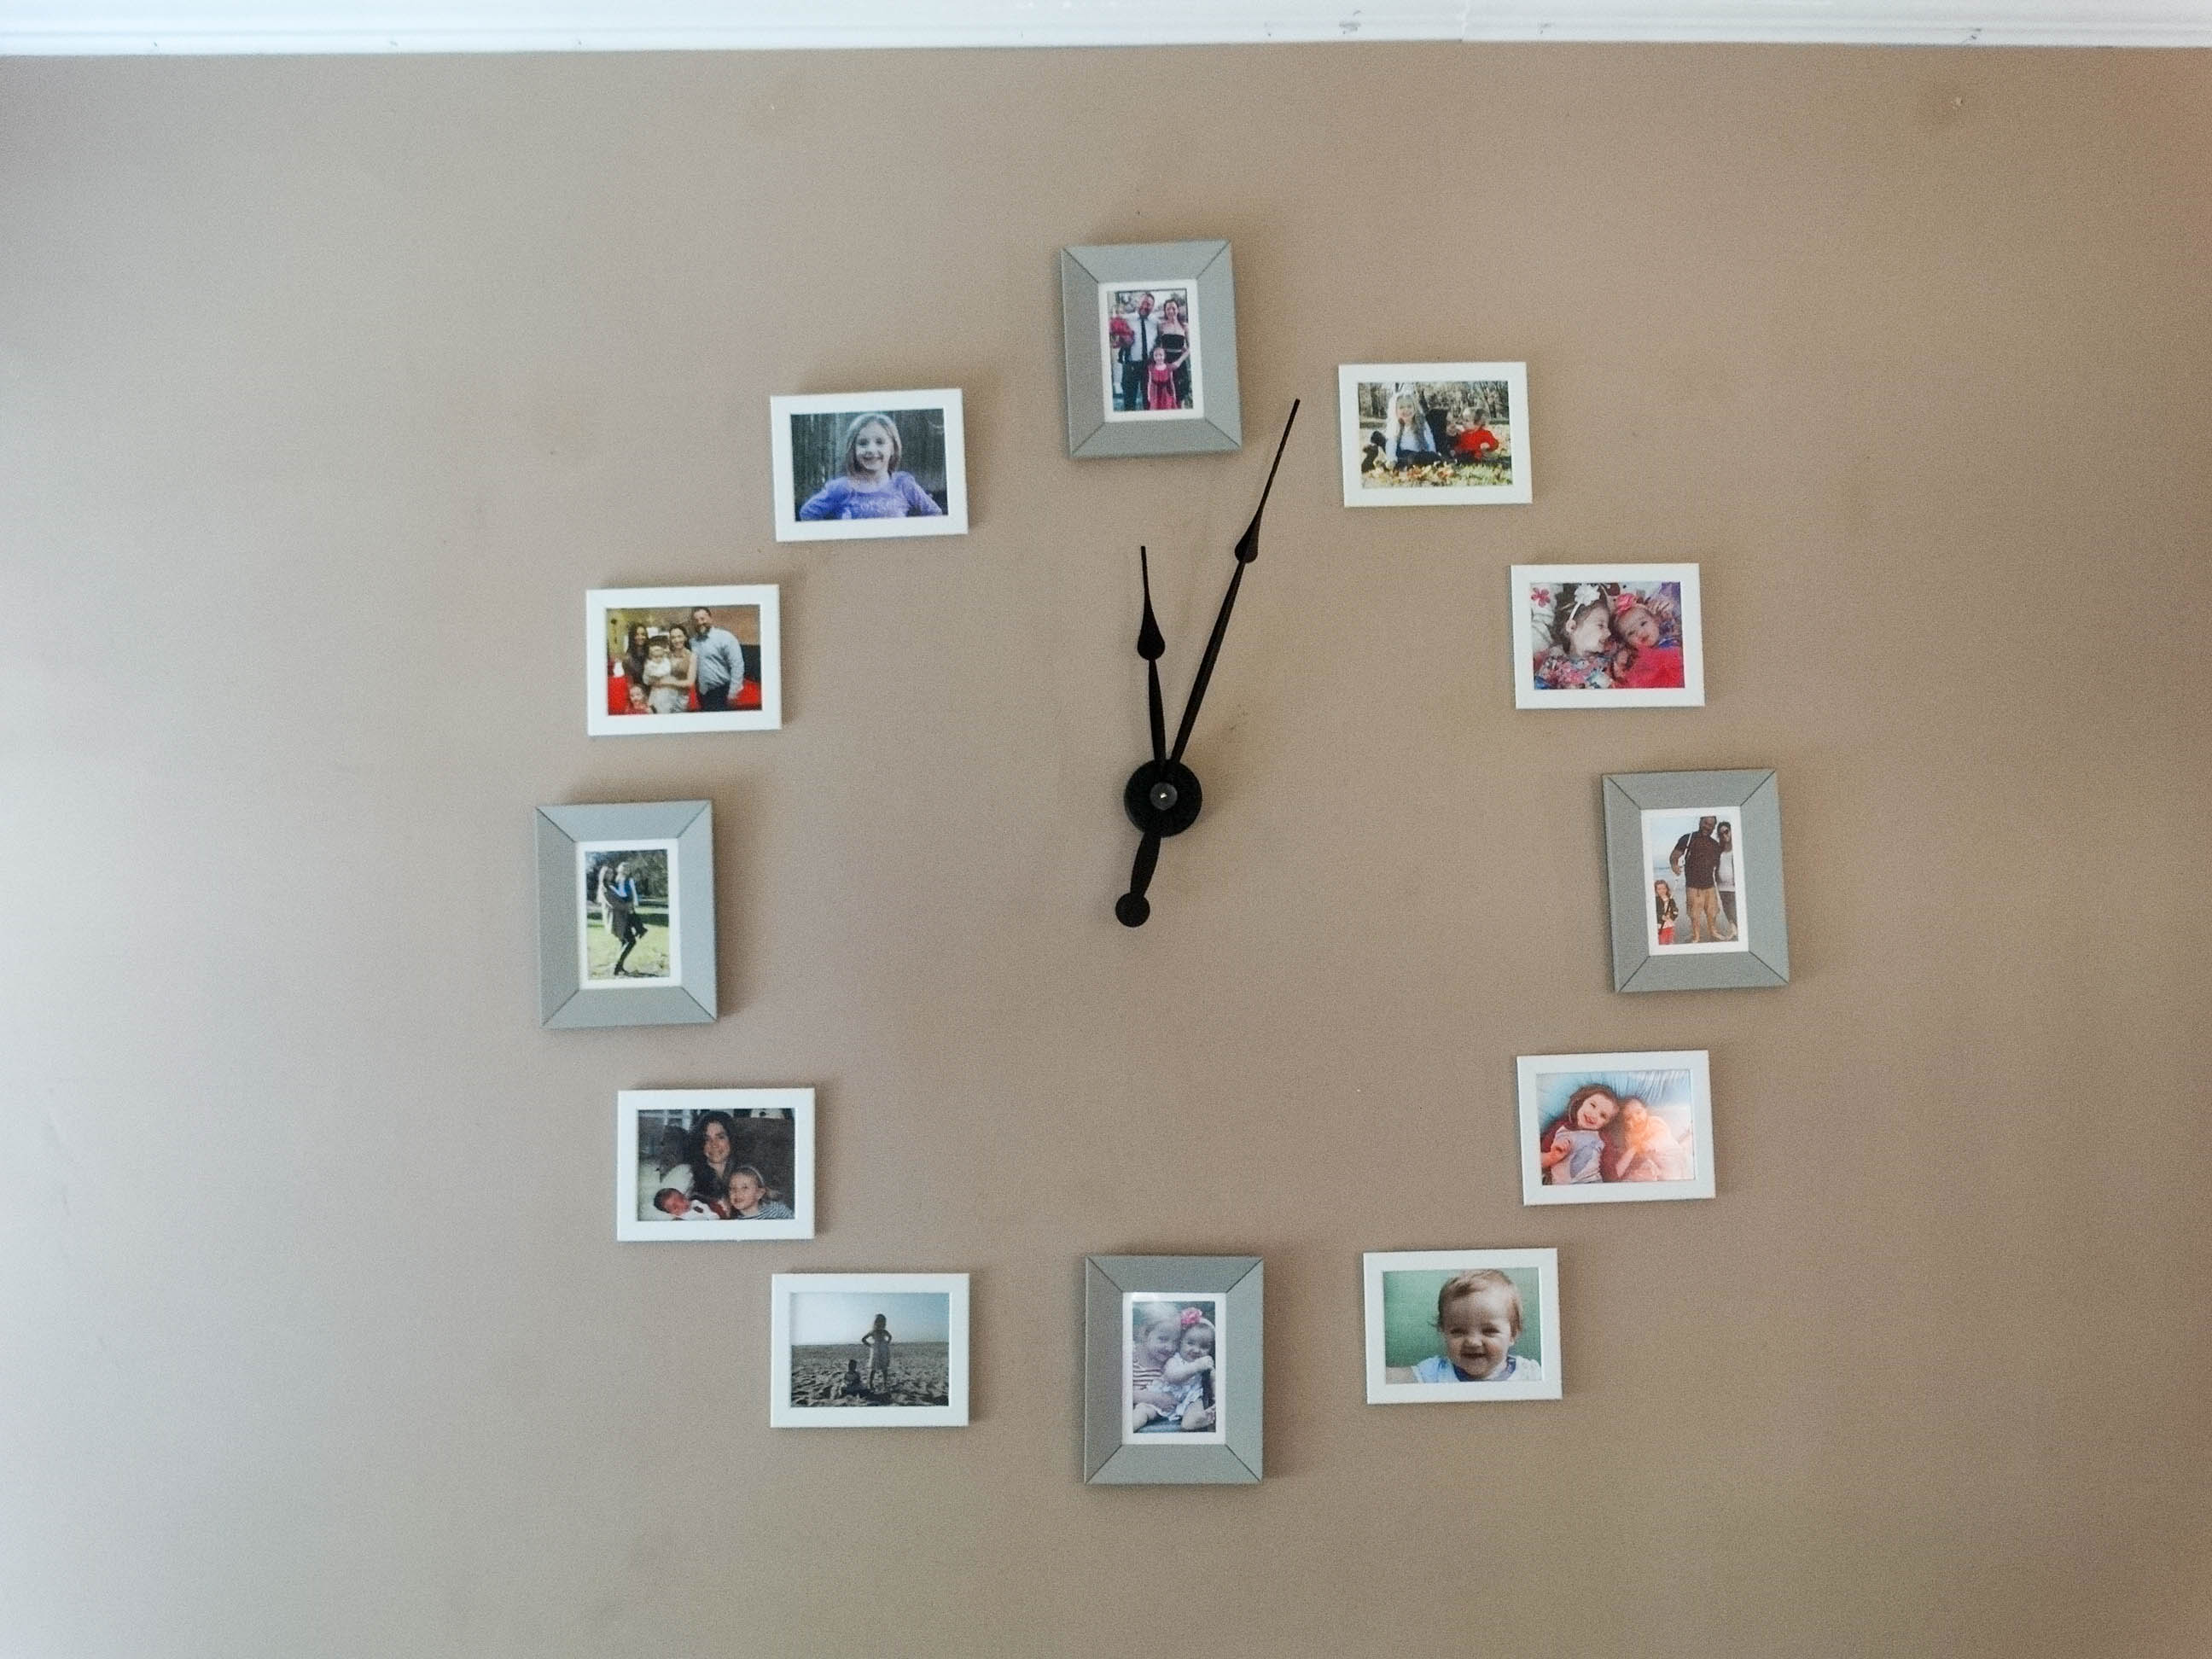
Recently one of our employees made a photo clock wall but as you can see it was missing that extra something…

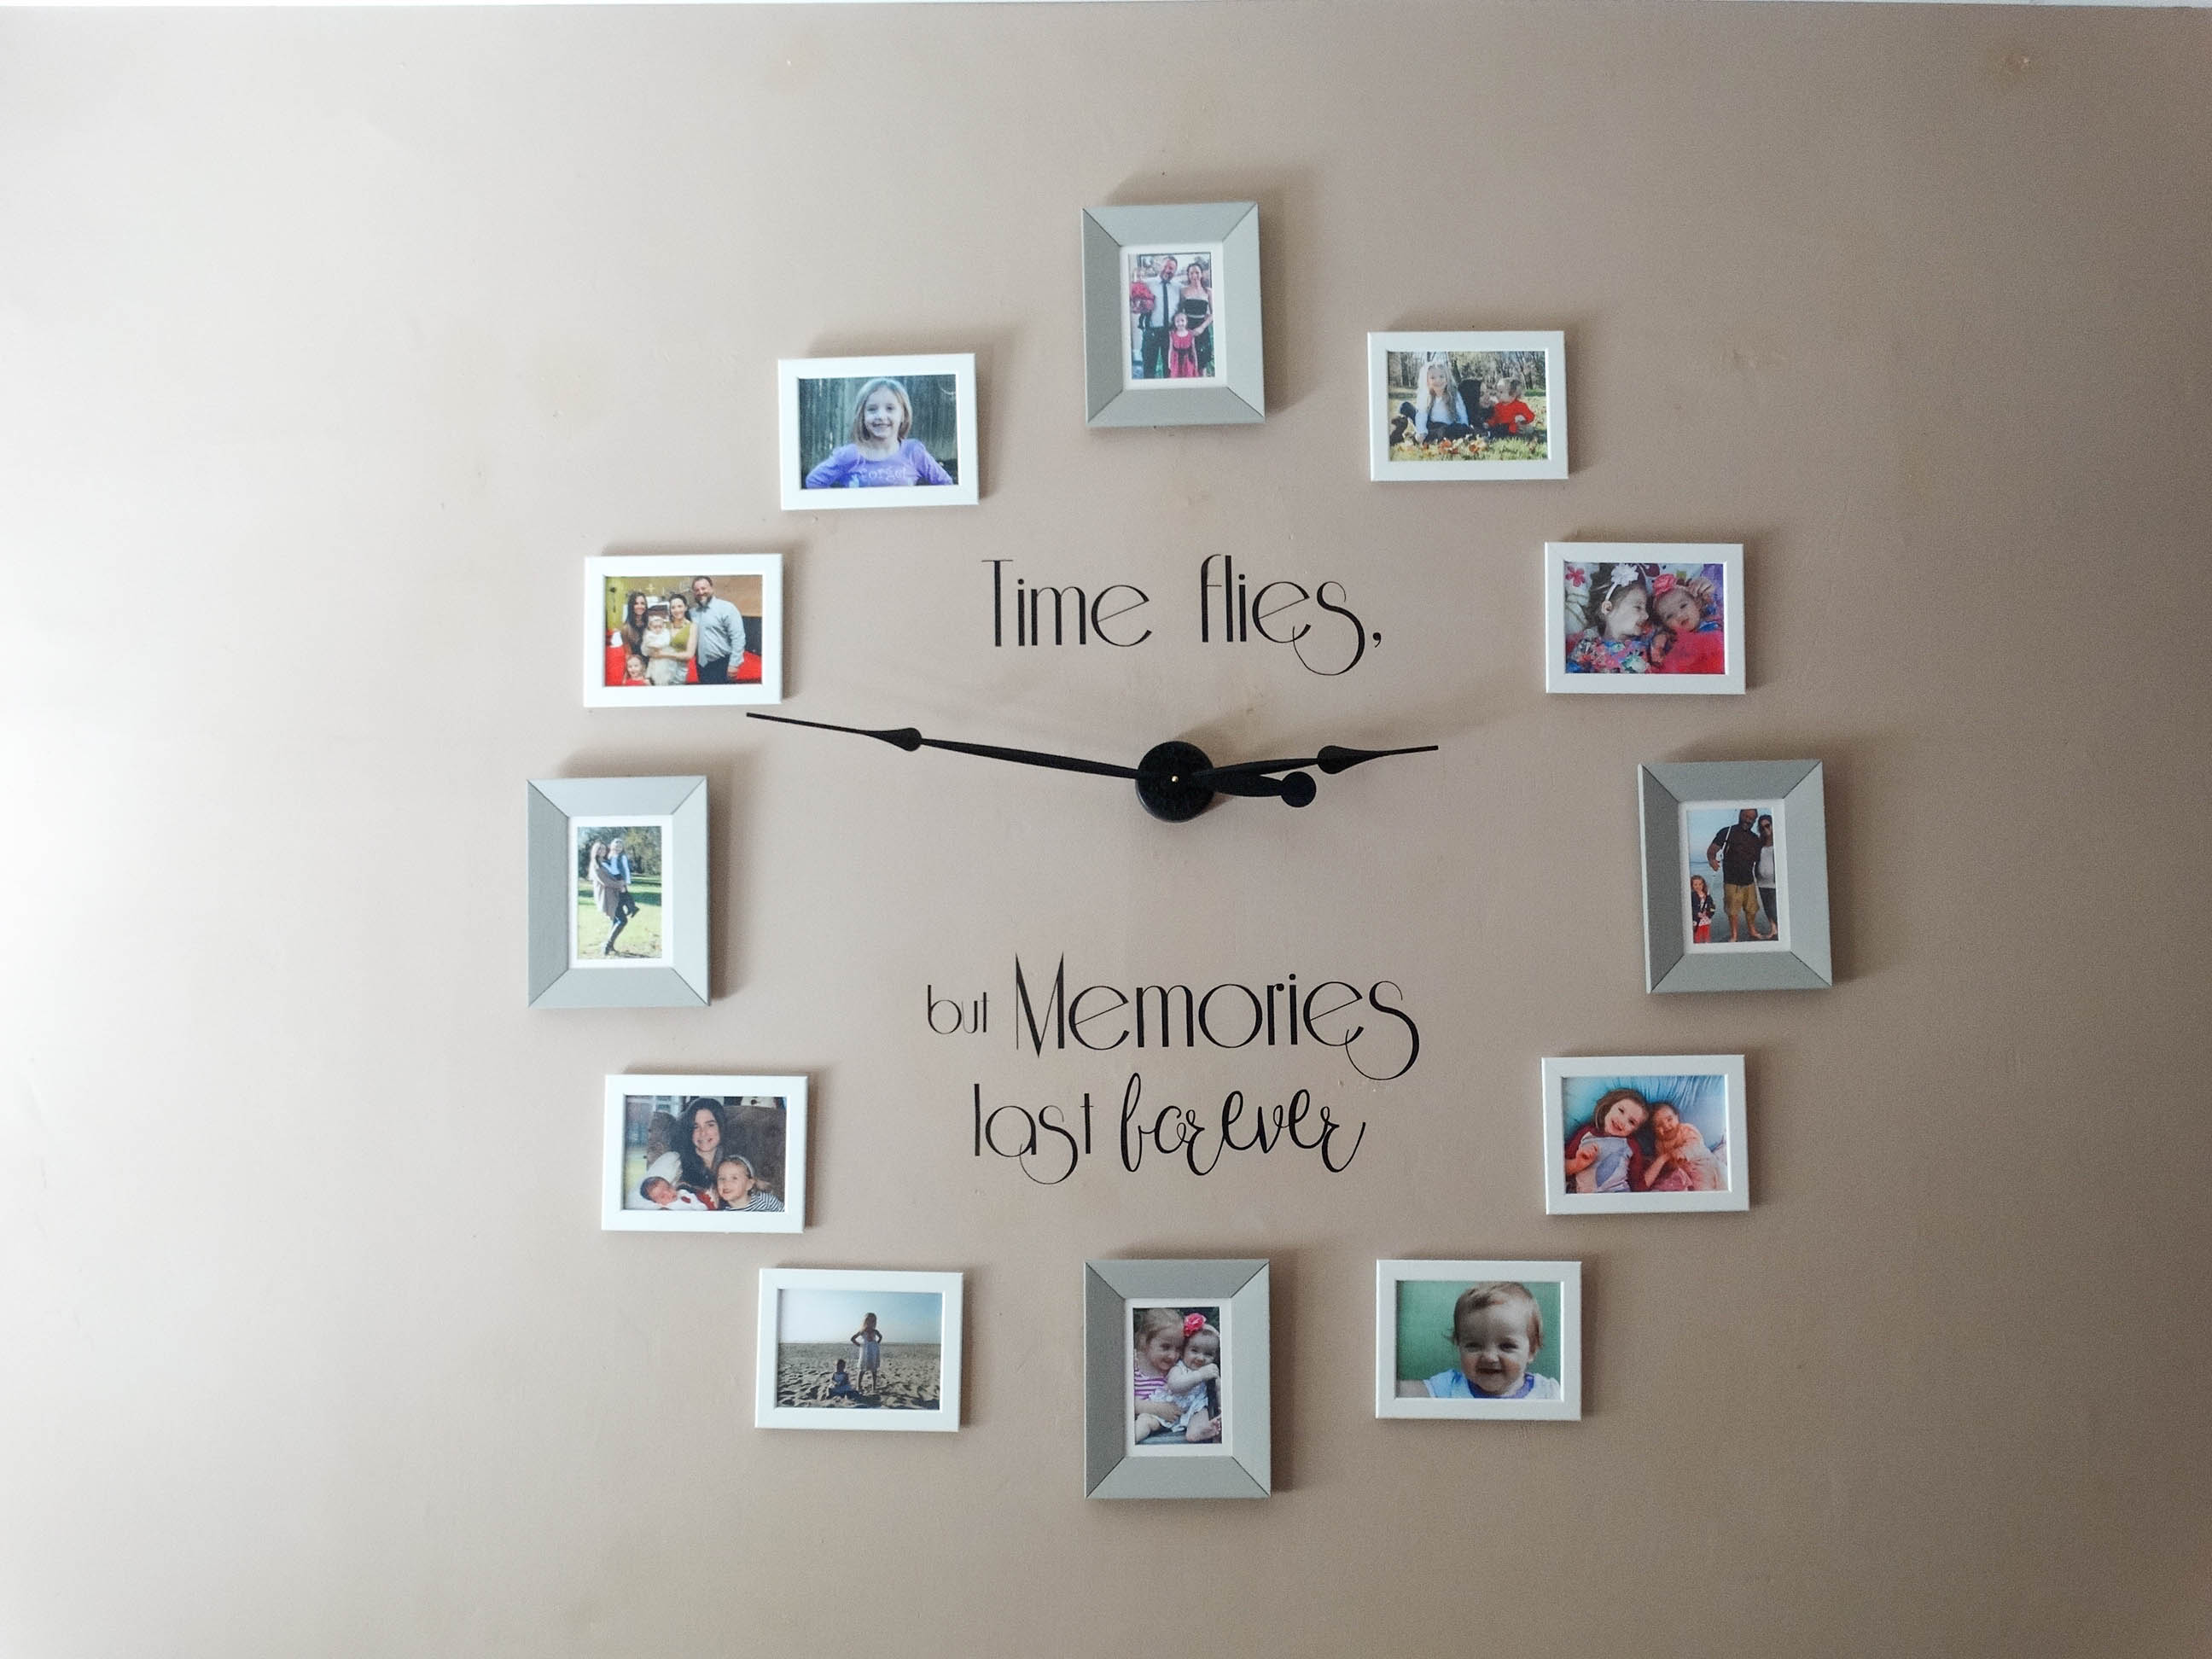
DSC05563But by adding 3 yards of FDC Adhesive Vinyl; the wall was complete!

photo clock wall

Large vinyl decals may look hard, but they are simple to create!

Do you want to make your own? You will need FDC adhesive vinyl, gridded transfer tape, a weeding tool, a squeegee, Silhouette Machine, and a roll feeder.

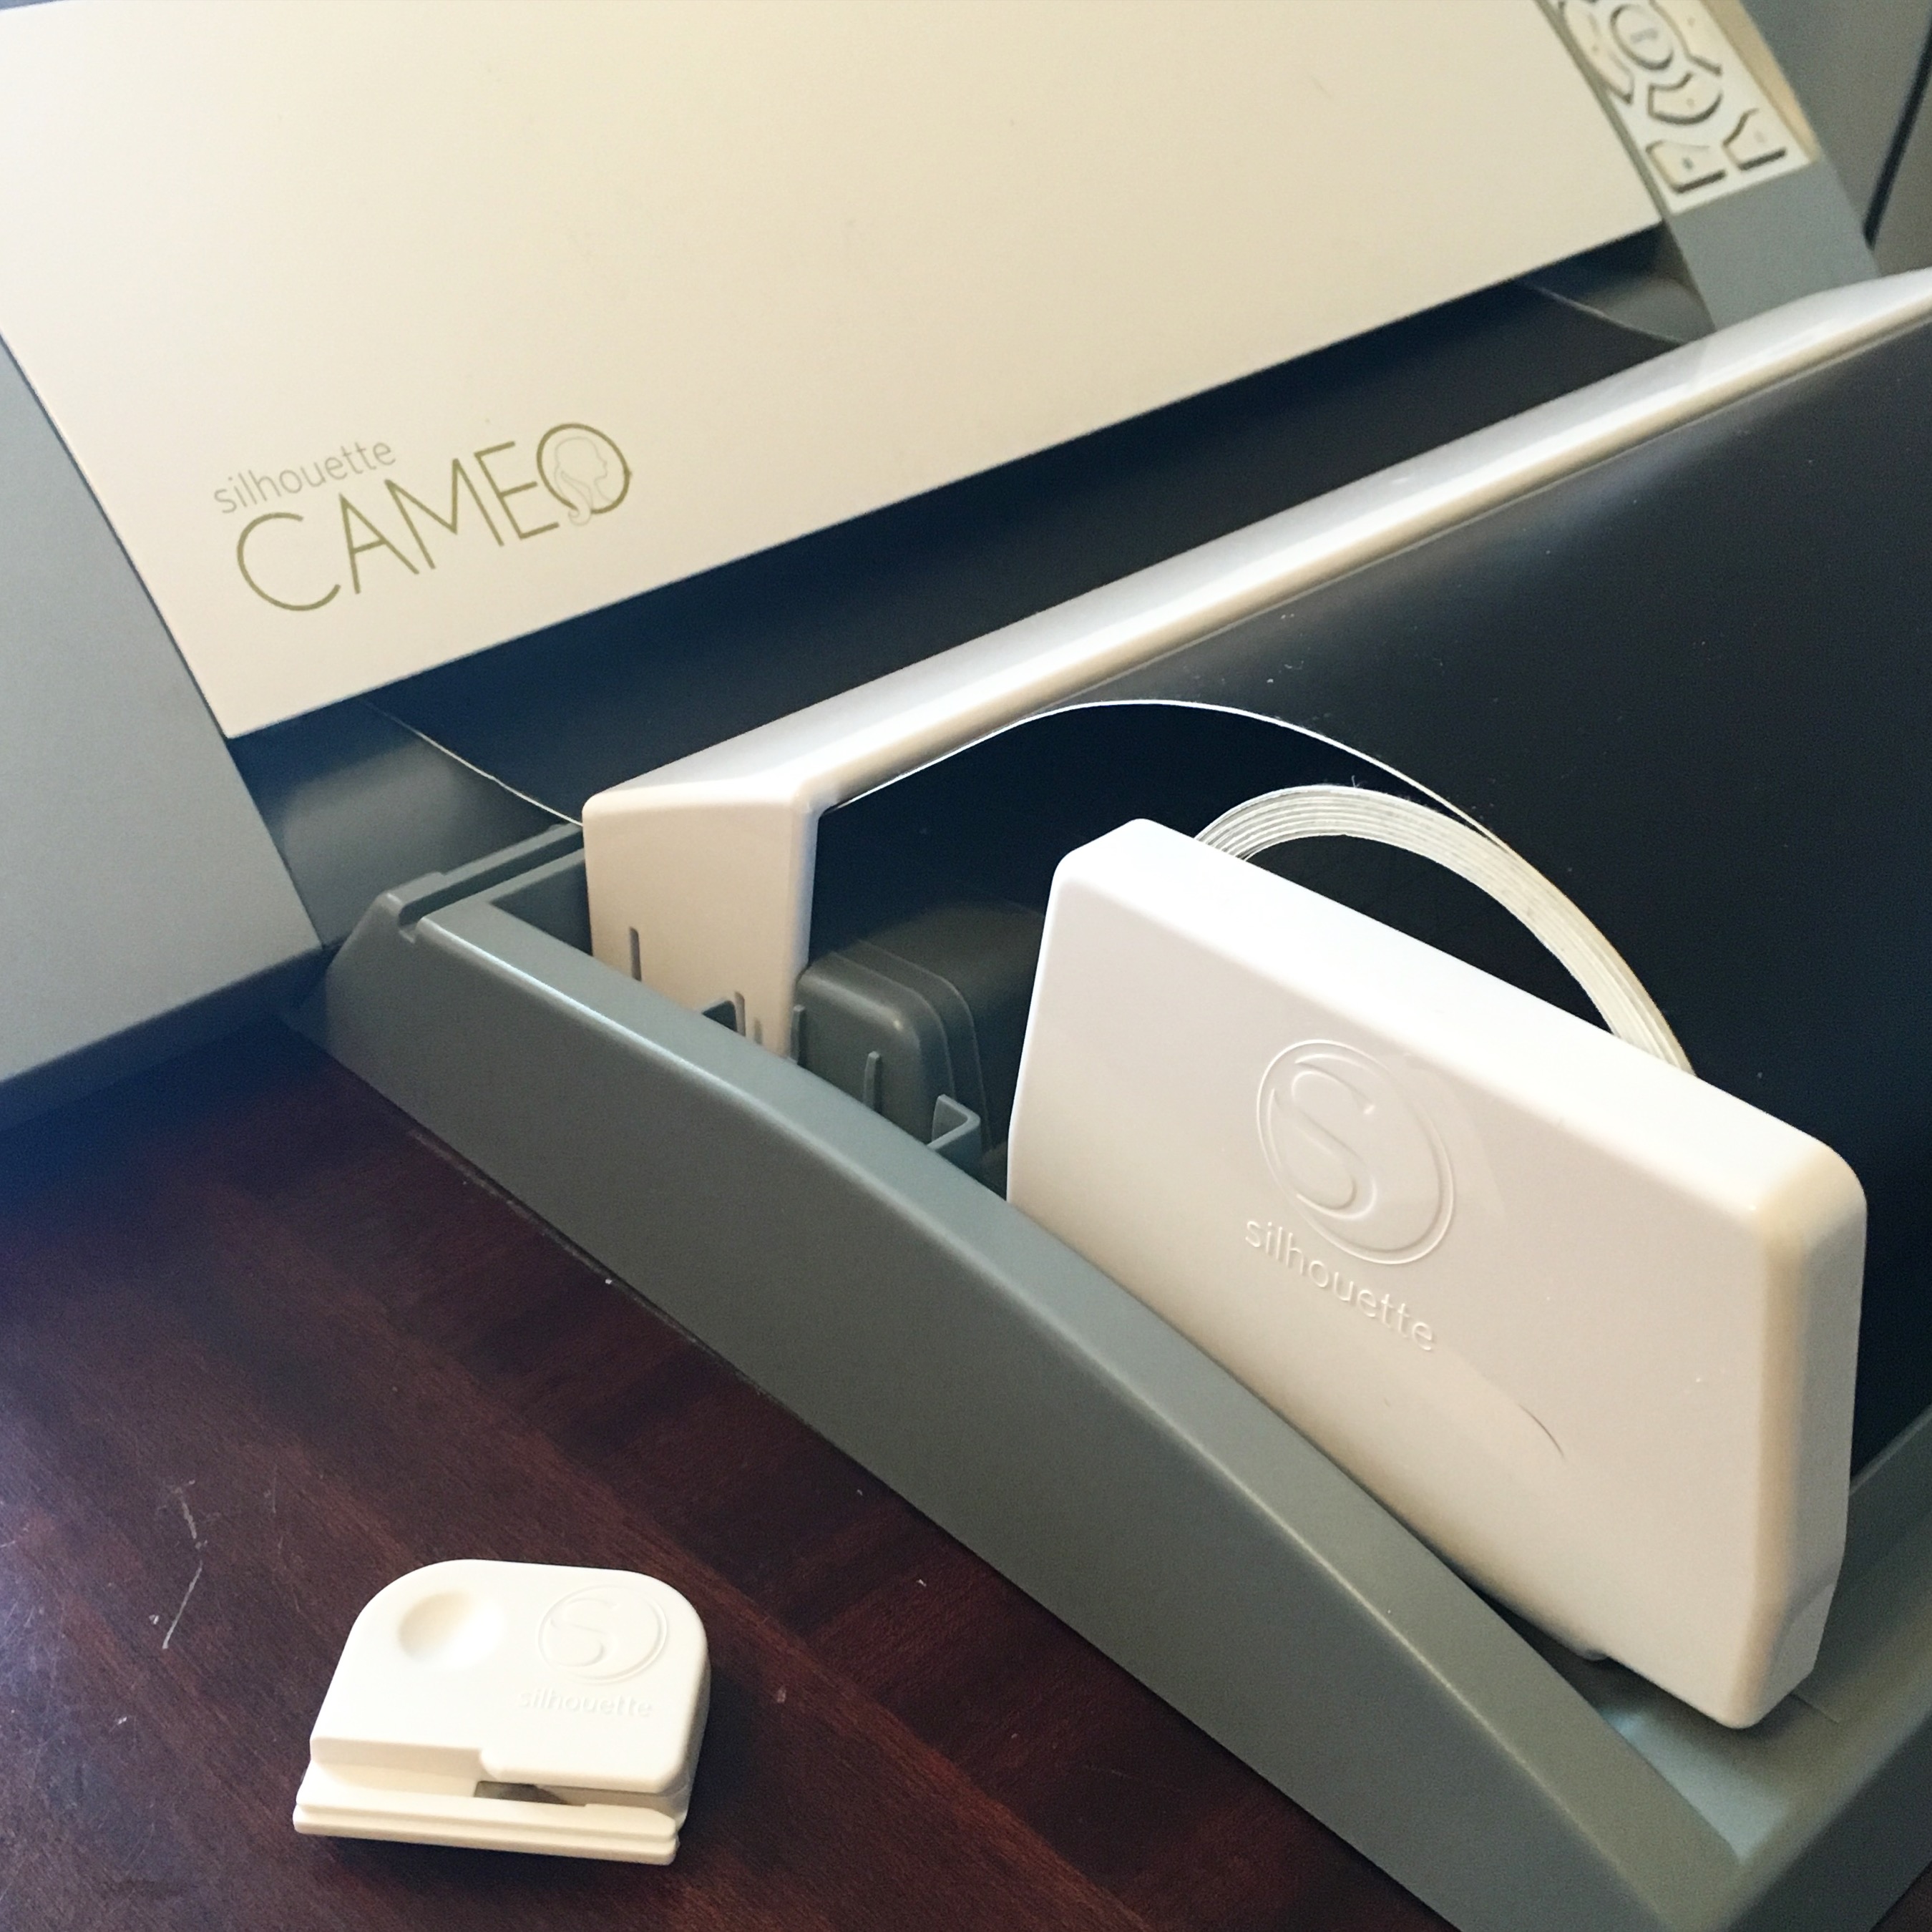
What’s a roll feeder? A roll feeder is an attachment for your Silhouette Machine. You snap it onto the bottom of your machine, slide the roll of vinyl into the feeder, and send it through your machine.

Silhouette Roll Feeder

Why use a roll feeder? When making cuts on large pieces of vinyl, you run the risk of your vinyl sliding due to the weight of the length, which could affect your design. So by using the roll feeder, the Silhouette machine can pull the vinyl as needed without fighting the weight of the vinyl length, allowing for a consistent, smooth feed. This will help lessen your chance of making a mistake, saving you time and money!

Want to create a large vinyl quote? Here are a few things to keep in mind:

  • Un-select the mat option within your Silhouette Software
  • Change your image size to reflect your design size
  • Weld your font if there is any overlapping
  • Turn the saying sideways (verticle), but be sure to make sure the width is less than 12″. If it’s larger than 12″ no problem, just ungroup your saying or cut your design.
  • If you are cutting on HTV make sure you mirror your designtips for cutting large vinyl decals with your silhouette machine
View & Add Comments

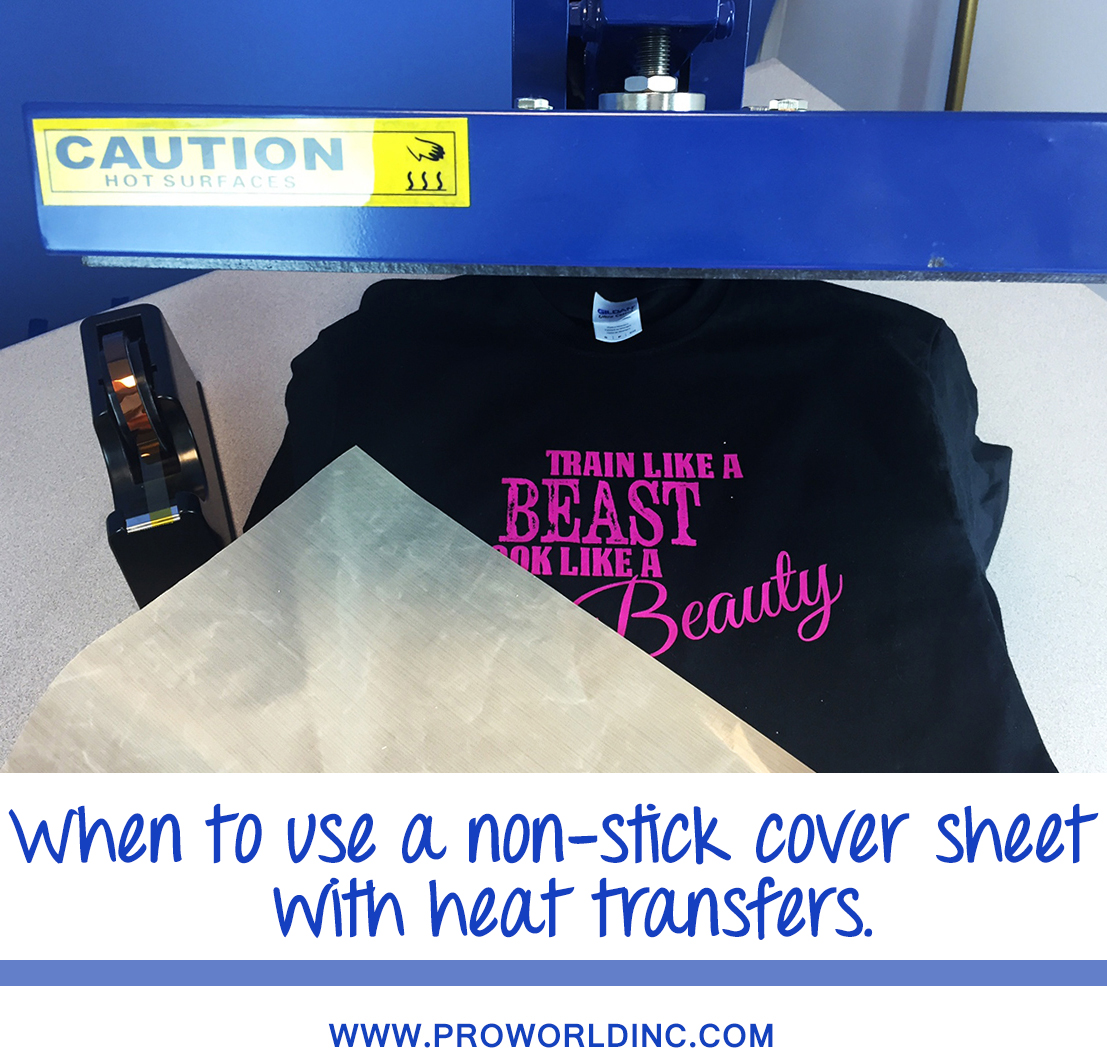
When to use a Cover Sheet with Heat Transfers


When to use a non-stick cover sheet with heat transfers

A non-stick cover sheet (also known as a Teflon sheet) is a protective sheet that can be re-used over and over again. But when do you need to use one? There is a common misconception that cover  sheets should be used every time that you are pressing a heat transfer. However, the truth is that you don’t actually NEED a cover sheet for most types of transfers. A non-stick sheet works as a barrier, and can absorb some of the necessary heat, which may cause a transfer not to peel correctly. This could leave you frustrated and trying to figure out why you are not getting the results you want.

Don’t get me wrong… a non-stick sheet can be really useful and it is always great to have one laying around your shop. These cover sheets serve a couple of important purposes when heat pressing, and today we are going to explain some of these different situations.

Gif - Teflon Sheet

Let’s say you’ve just pressed a screen printed transfer onto a garment, and now you want to add a few random rhinestones for a little extra ‘bling’. Or maybe you are creating a design with multiple layers of vinyl. Any time that you are doing multiple presses, you will need to cover any existing transfer with a non-stick sheet to protect that exposed design from the top heat platen. Otherwise you will end up with a messy platen and a ruined t-shirt.

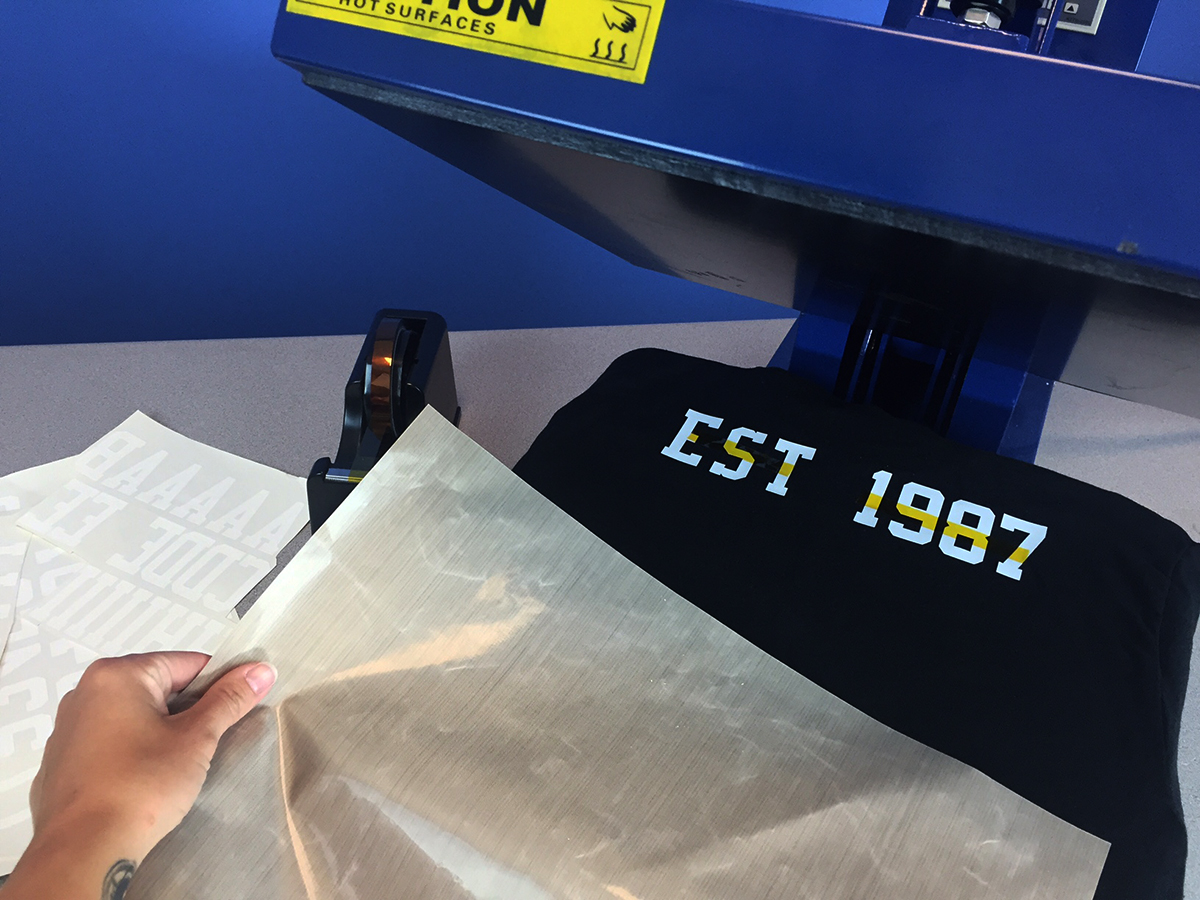
When printing both the front and back on a garment, a cover sheet can be placed inside of the shirt to block heat from getting through the fabric, so that you don’t end up with a shirt that is stuck together. You would also want to use a cover sheet when working with our stock lettering- which requires you to peel and place each letter on the shirt individually. Once the lettering is secured with thermal tape, cover with the non-stick sheet and press according to the instructions listed on our website.

Teflon sheet covering a garment

A cover sheet can also be used to add a glossy finish to your printed heat transfers. After printing the transfer as directed, just put the non-stick sheet over the transfer and close the press for a few seconds. This will create a smoother finish to the initial pressing and add a bit of luster. The non-stick sheet can also be helpful if you are experiencing any scorching on your garments, working with particularly high temperatures, or if you have long dwell times.
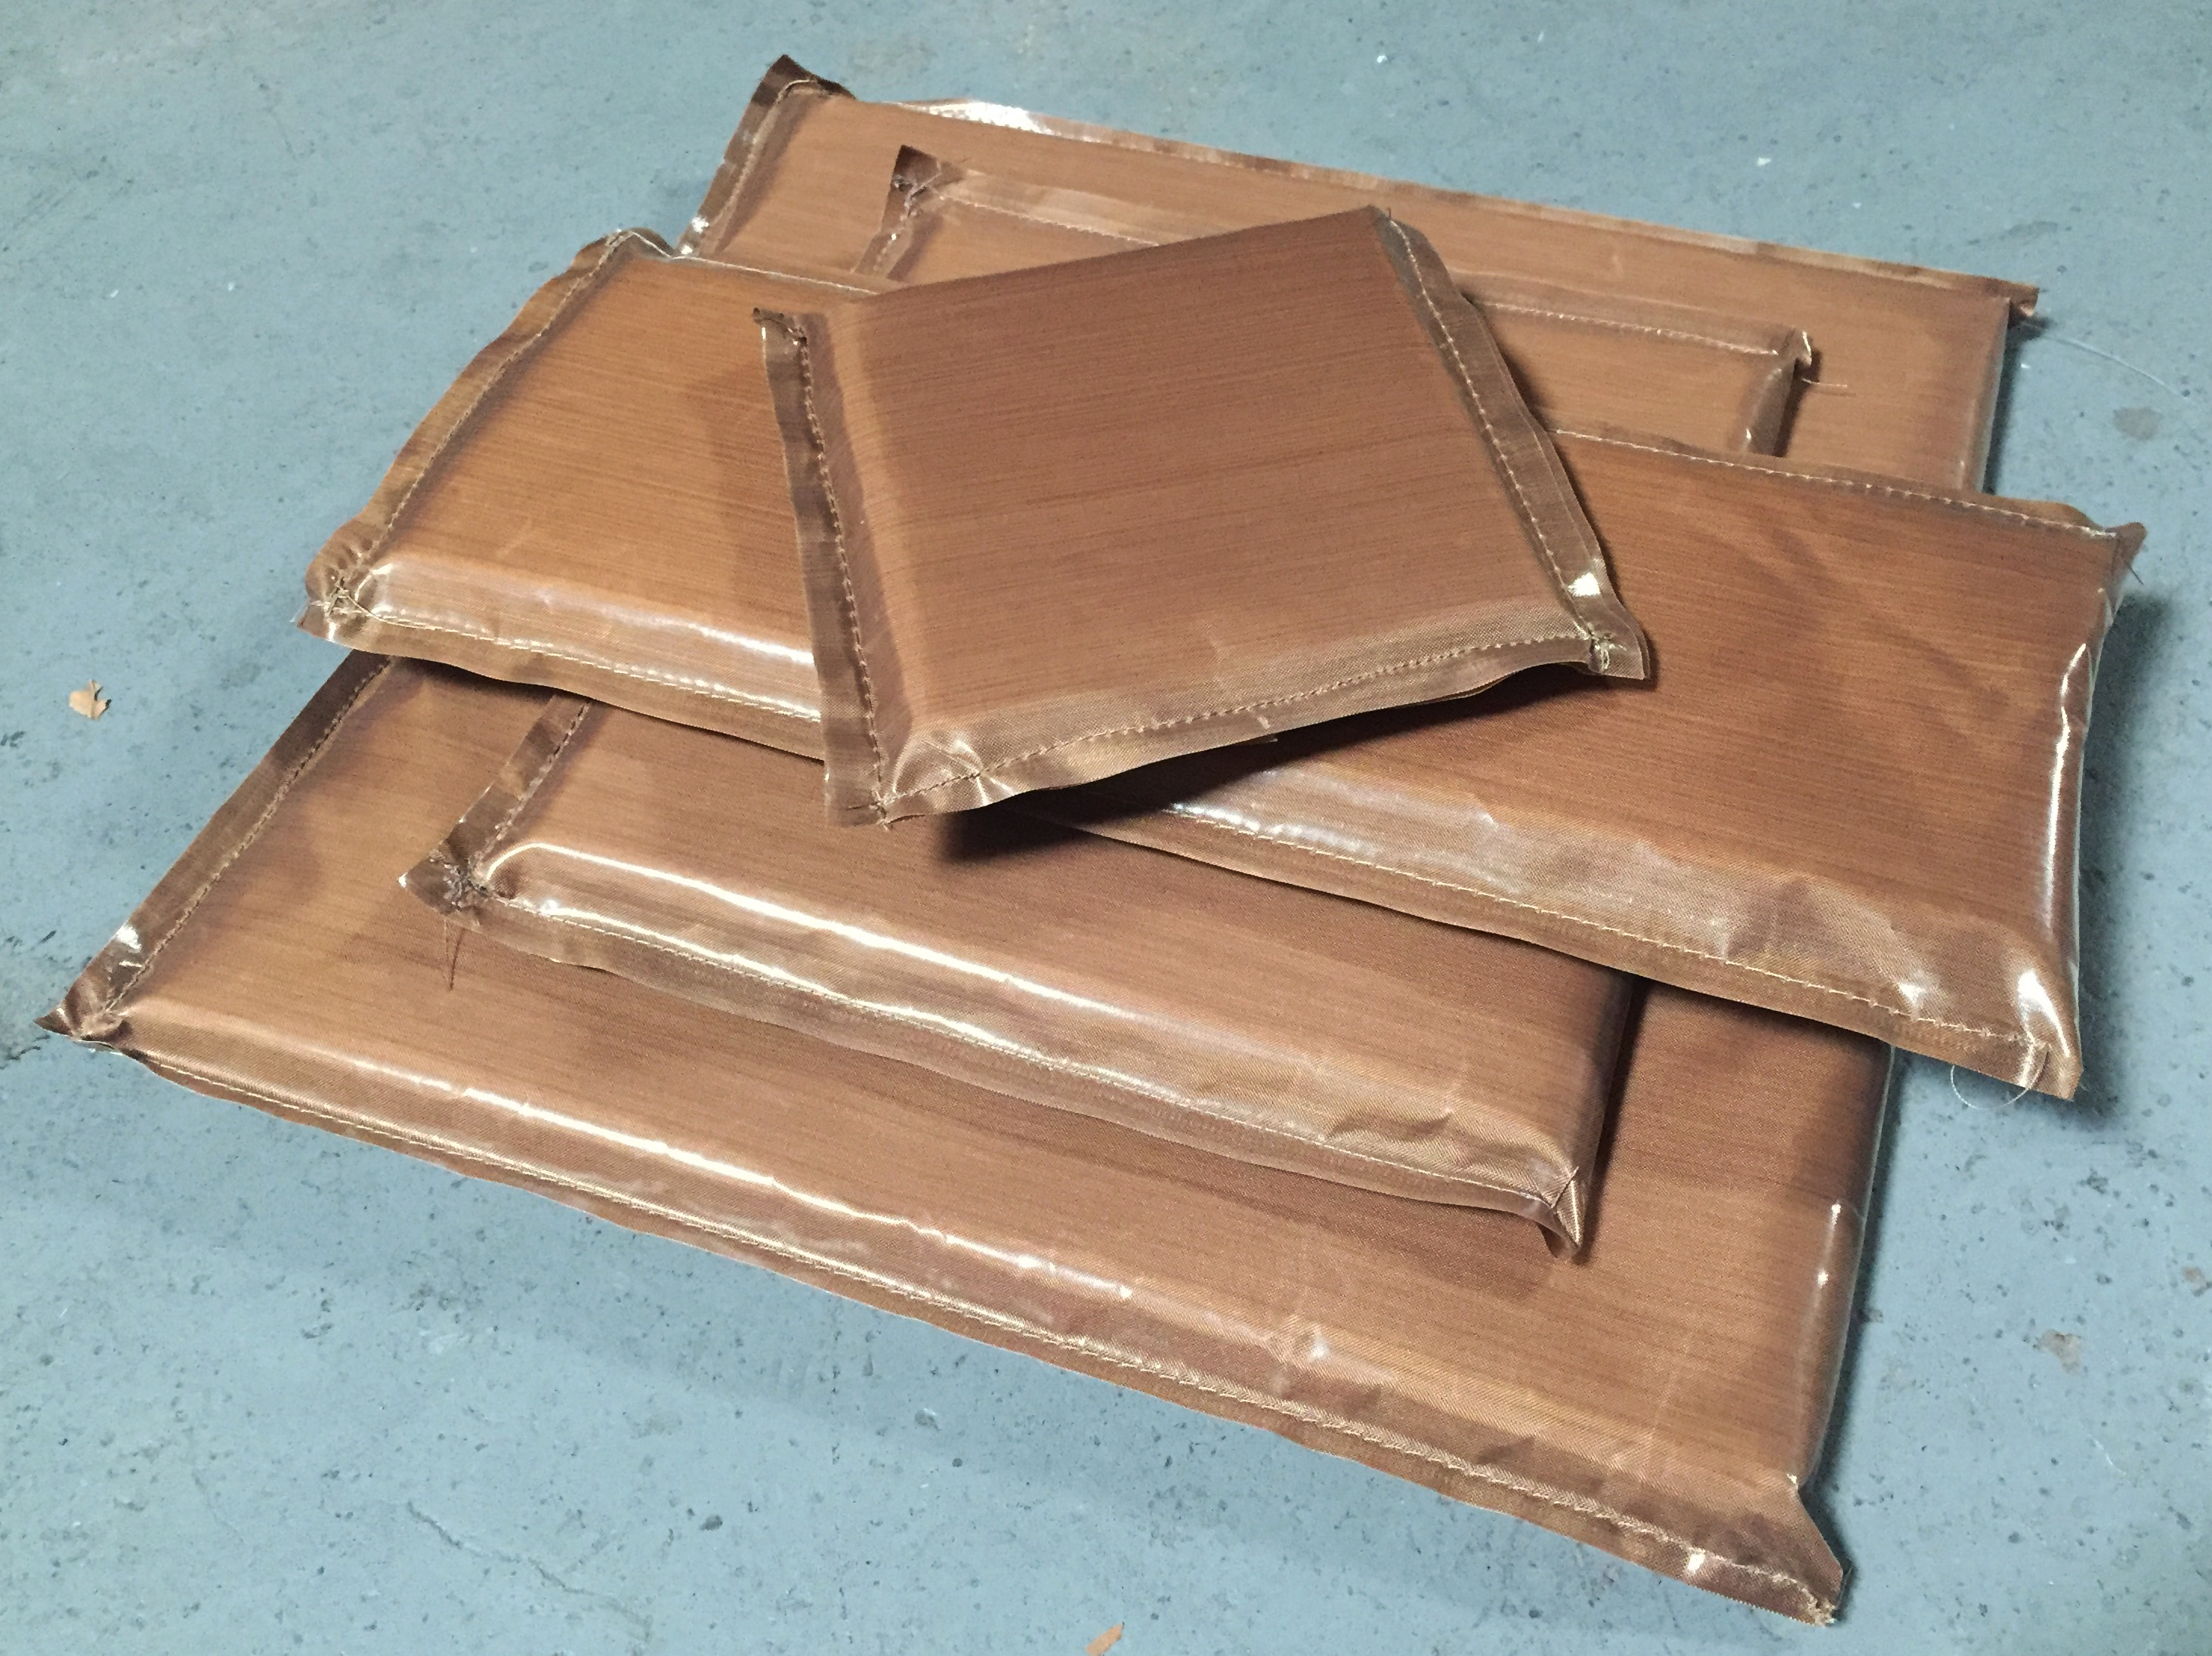
Sof-fusion pressing pillows

Another accessory that’s good to have around is our Sof-Fusion pressing pillows. These non-stick, foam core pillows protect your garments and have several benefits. They can be used to provide even pressure. We recommend using them when you print near an obstruction such as a zipper, button, or even seams in the garment. Insert the pillow into the garment- as this allows buttons, zippers, and seams to sink down into the padding, eliminating pressure points and providing more even pressure.

Non-stick sheets are also used when working with certain sublimation products, such as mugs. Always double check the application instructions on our website to find out if a cover sheet will be needed with the product you will be using.

View & Add Comments

Applying a Heat Transfer to a Pair of Shoes

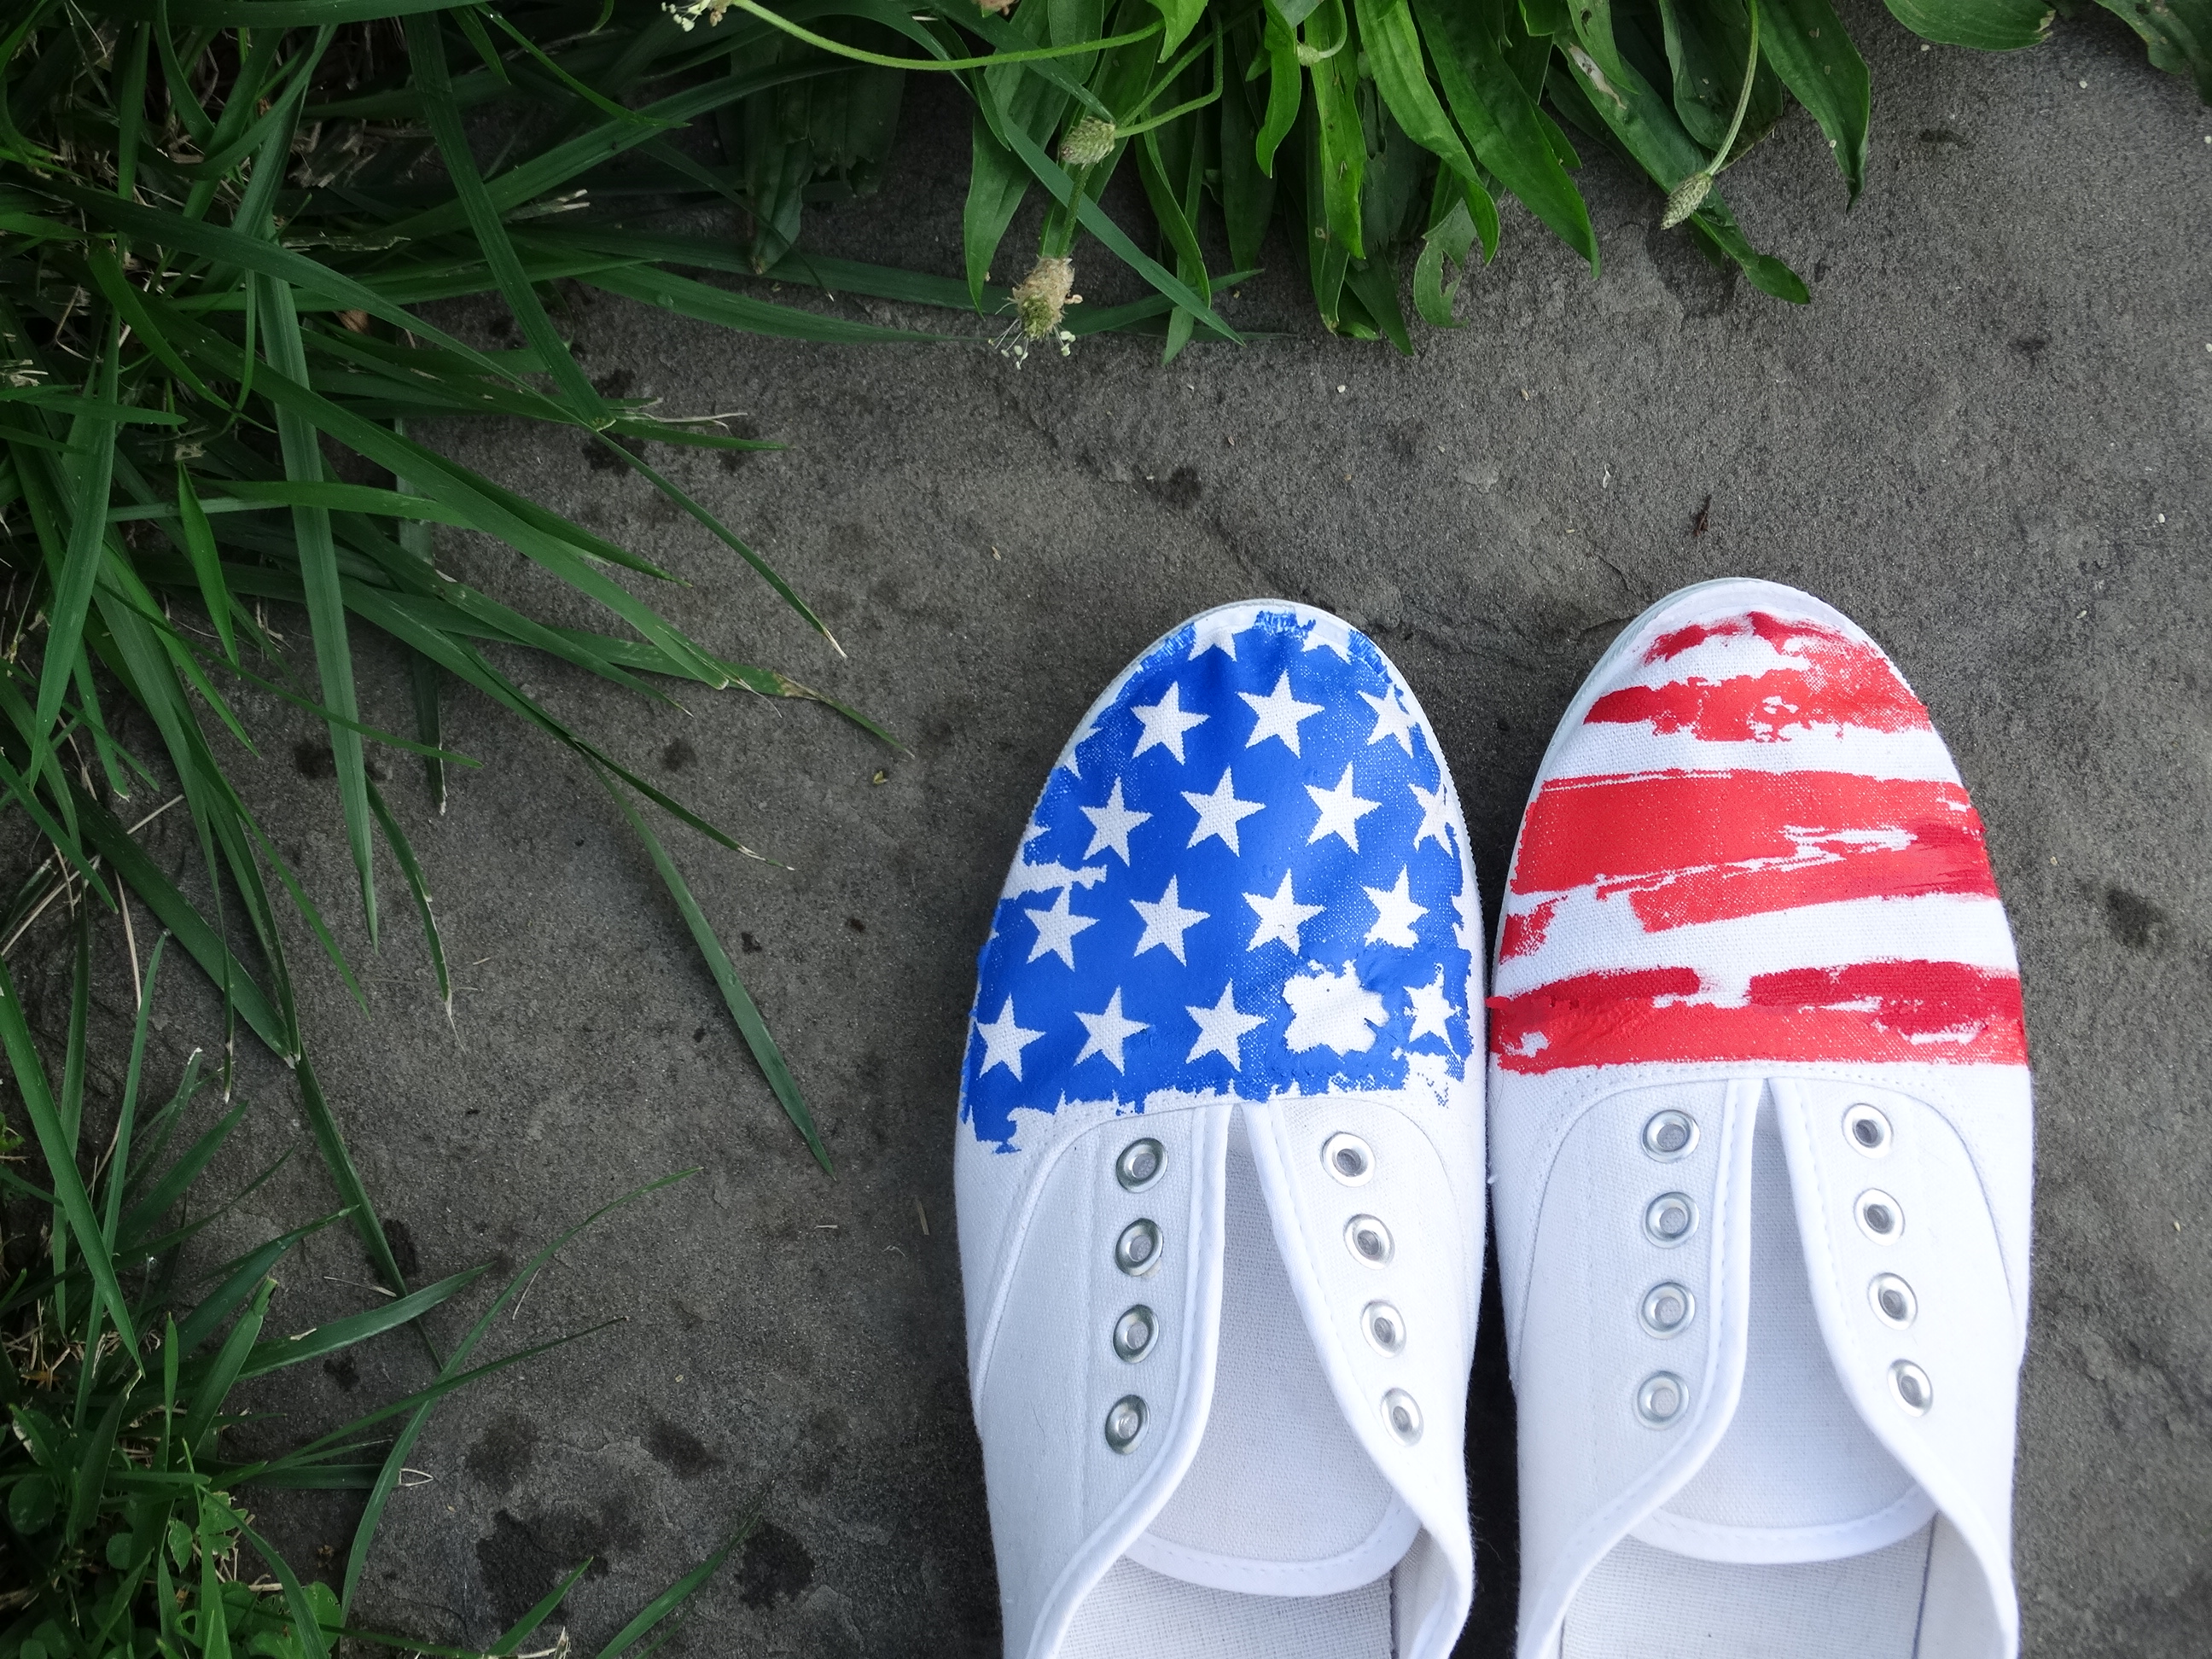
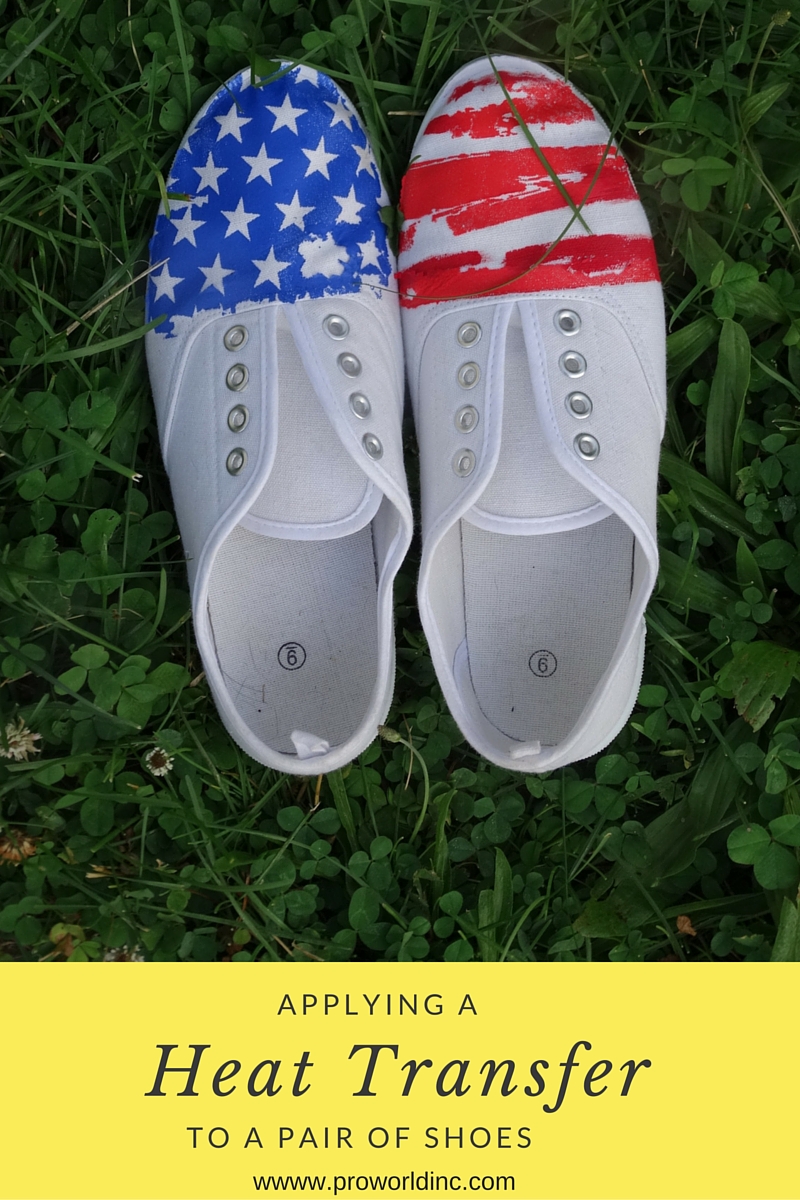
Are you in the mood for some Thursday inspiration? I hope so, because today’s project is outside the normal craft box. We are showing you how our American Flag Heart Heat Transfer was applied to a pair of SHOES!! Yes, you read that right! Since our friend Dee was the daring crafter to attempt the unthinkable, we will let her explain how she heat pressed this design onto her shoes, and what you should do/shouldn’t do if you decide to make a pair for yourself. Take it away Dee!

DSC05443

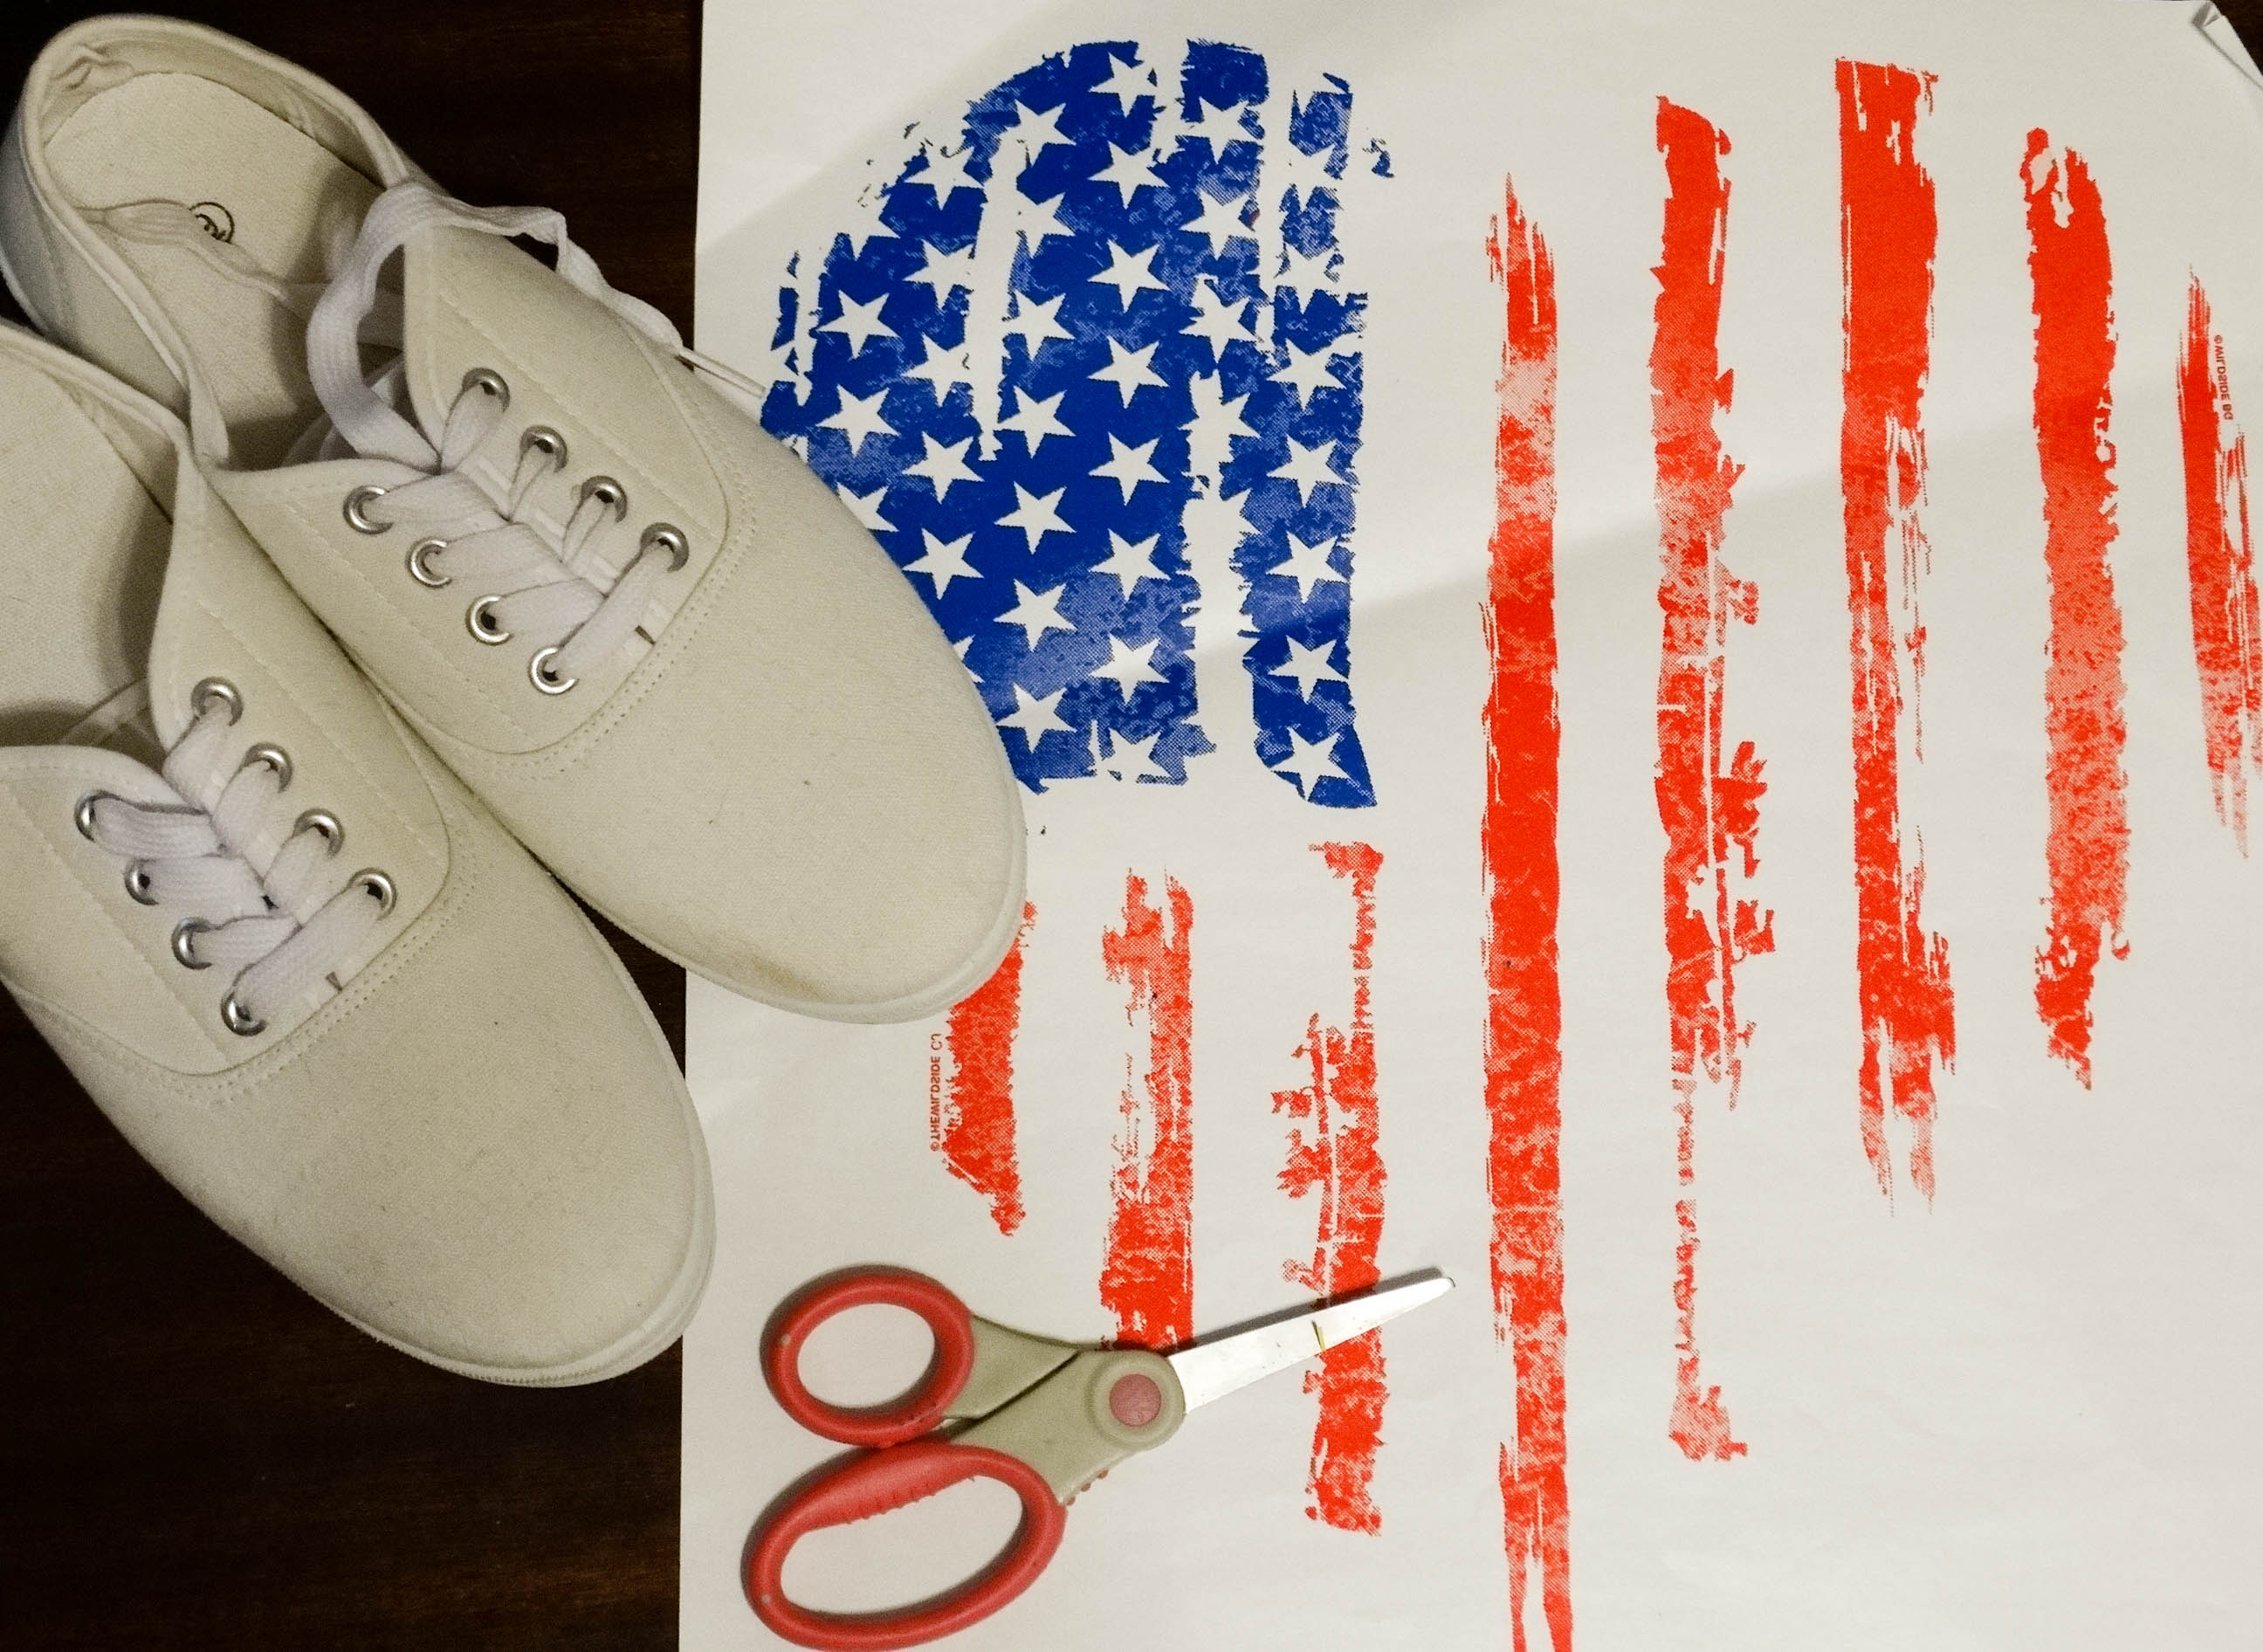
Hey, everyone! I am so glad to be back at Pro World showing you how I applied a Heat Transfer to my plain shoes. You see it all started because I forgot to read the size of the heat transfer before I bought it. When my transfer came in bigger than the shirt I was planning on using it for I didn’t want to waste such a gorgeous design so I decided to find another use for it. Fortunately, I keep lots of blanks laying around the house, so I grabbed a pair of plain white shoes that I had lying around and went to work!

DSC05423

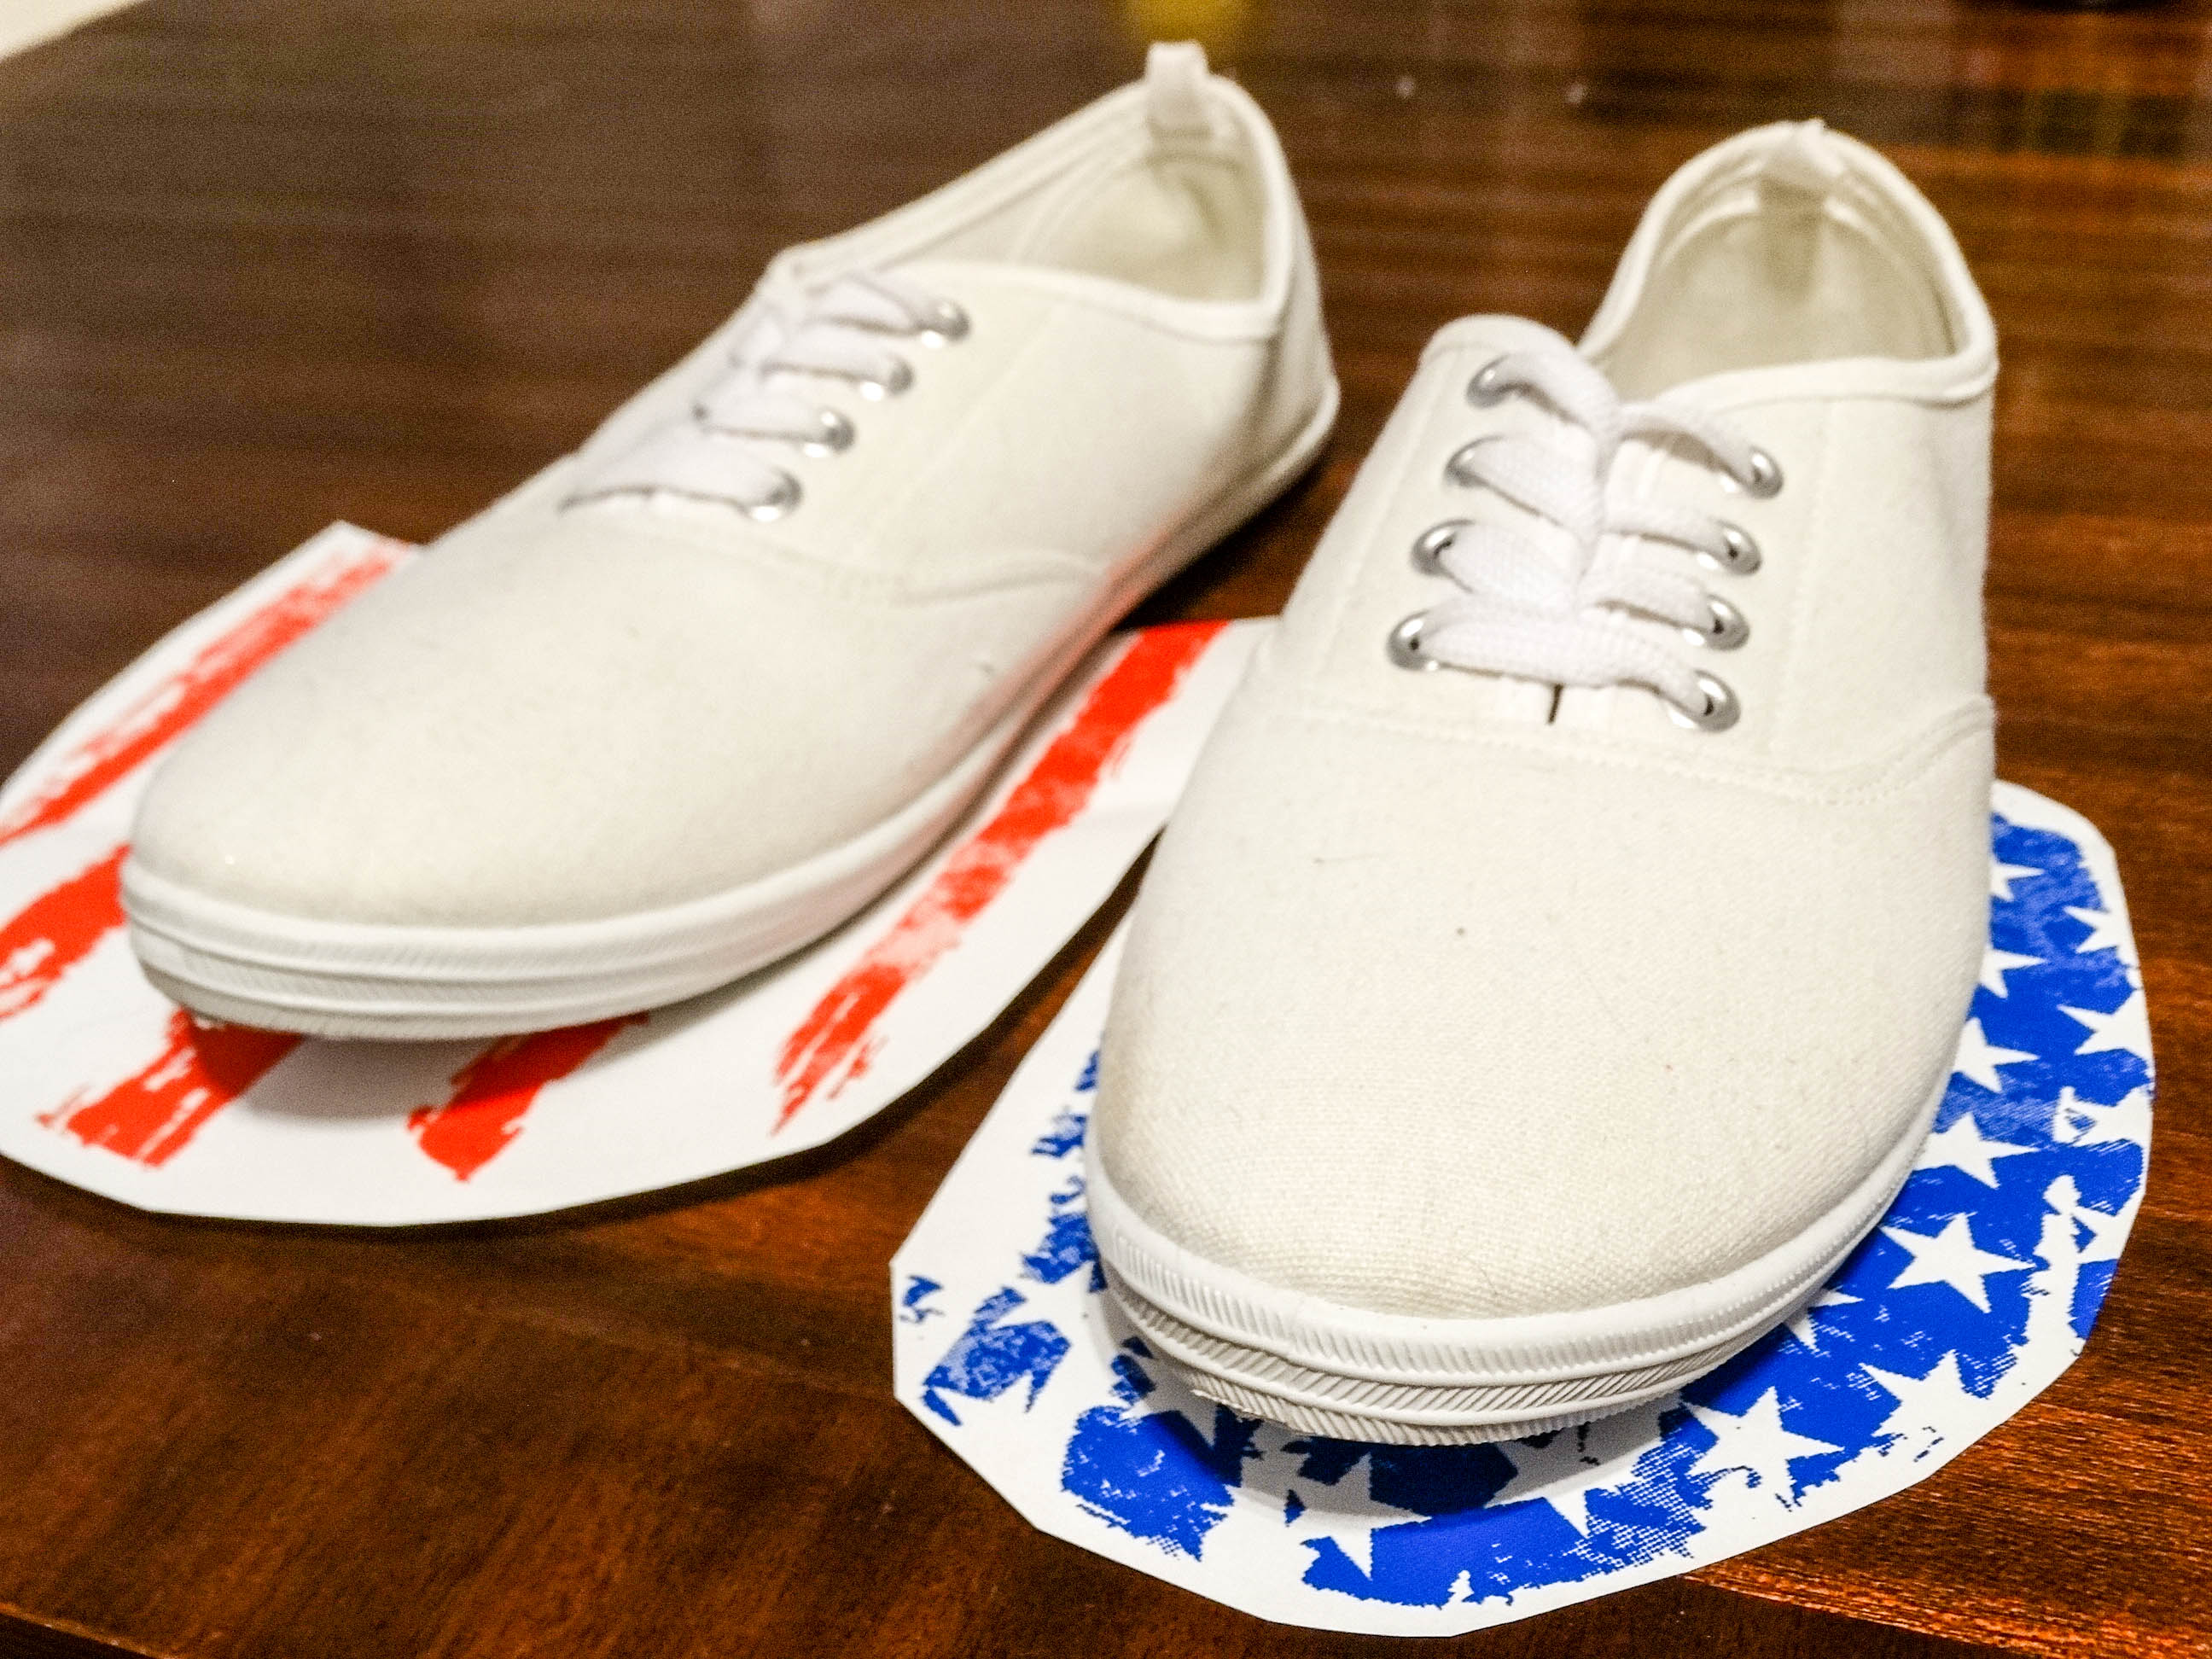
First, I cut my design to fit the shoe shape. Keeping in mind that my 15×15 heat press wouldn’t be able to wrap my design around the shoe, it would strictly smoosh the design flat.

DSC05425

Then I set my heat press at 390 degrees Fahrenheit since that is the temperature that this particular heat transfer calls for. Pro World lists all of their application instructions online under each product, so be sure to double check if you are unsure of the time/temperature to use!

While I was waiting for that to warm up I took the laces out of my shoes and positioned and repositioned the transfer a few more times. When the buzzer for the heat press finally chimed, I carefully laid the shoe tip in between the two press pads and pushed down so that all of the heat transfer was covered, while the heel was sticking out the front.

DSC05428

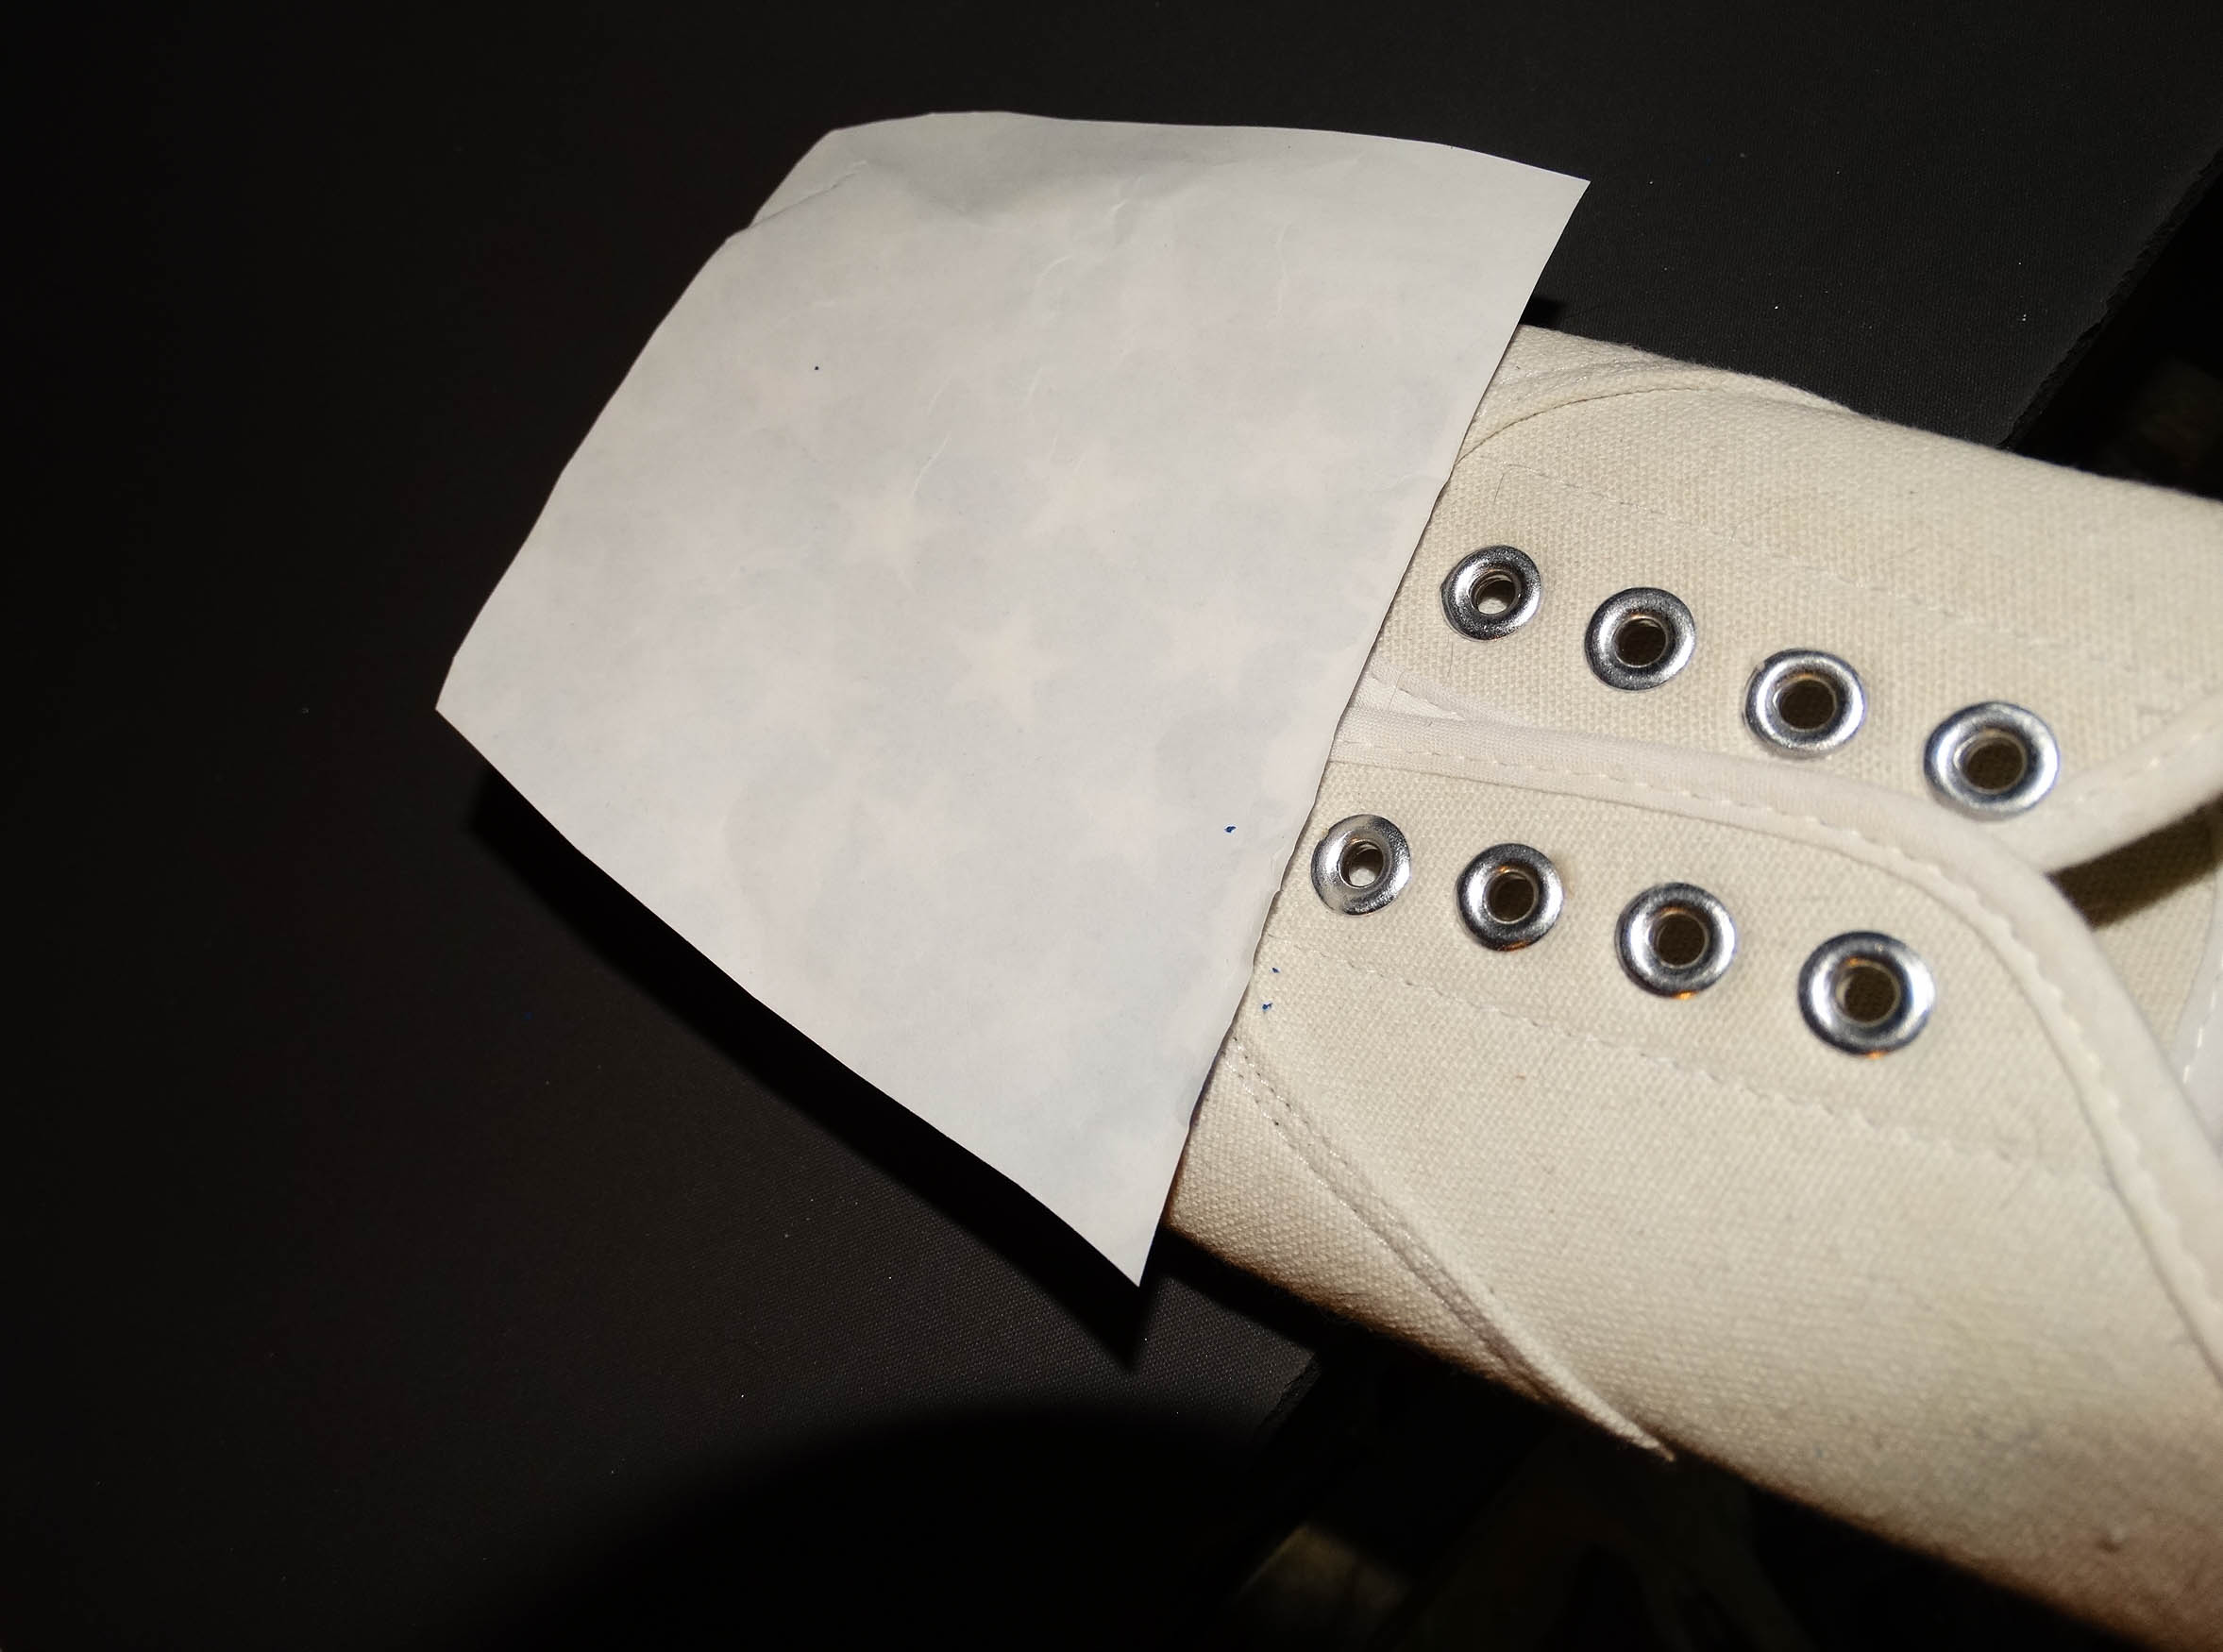
After being pressed for 10 seconds, I immediately lifted and pulled the transfer right off while it was hot. Then I repeated with the second shoe.

flag heat transfer onto shoes

Want to make a pair for yourself? Here are some things you should know:

  • Using a Shoe Platen would help achieve better results. You can add one to your order here!
  • To protect the shoe from melting, we suggest placing a teflon sheet over your transfer and the shoe.
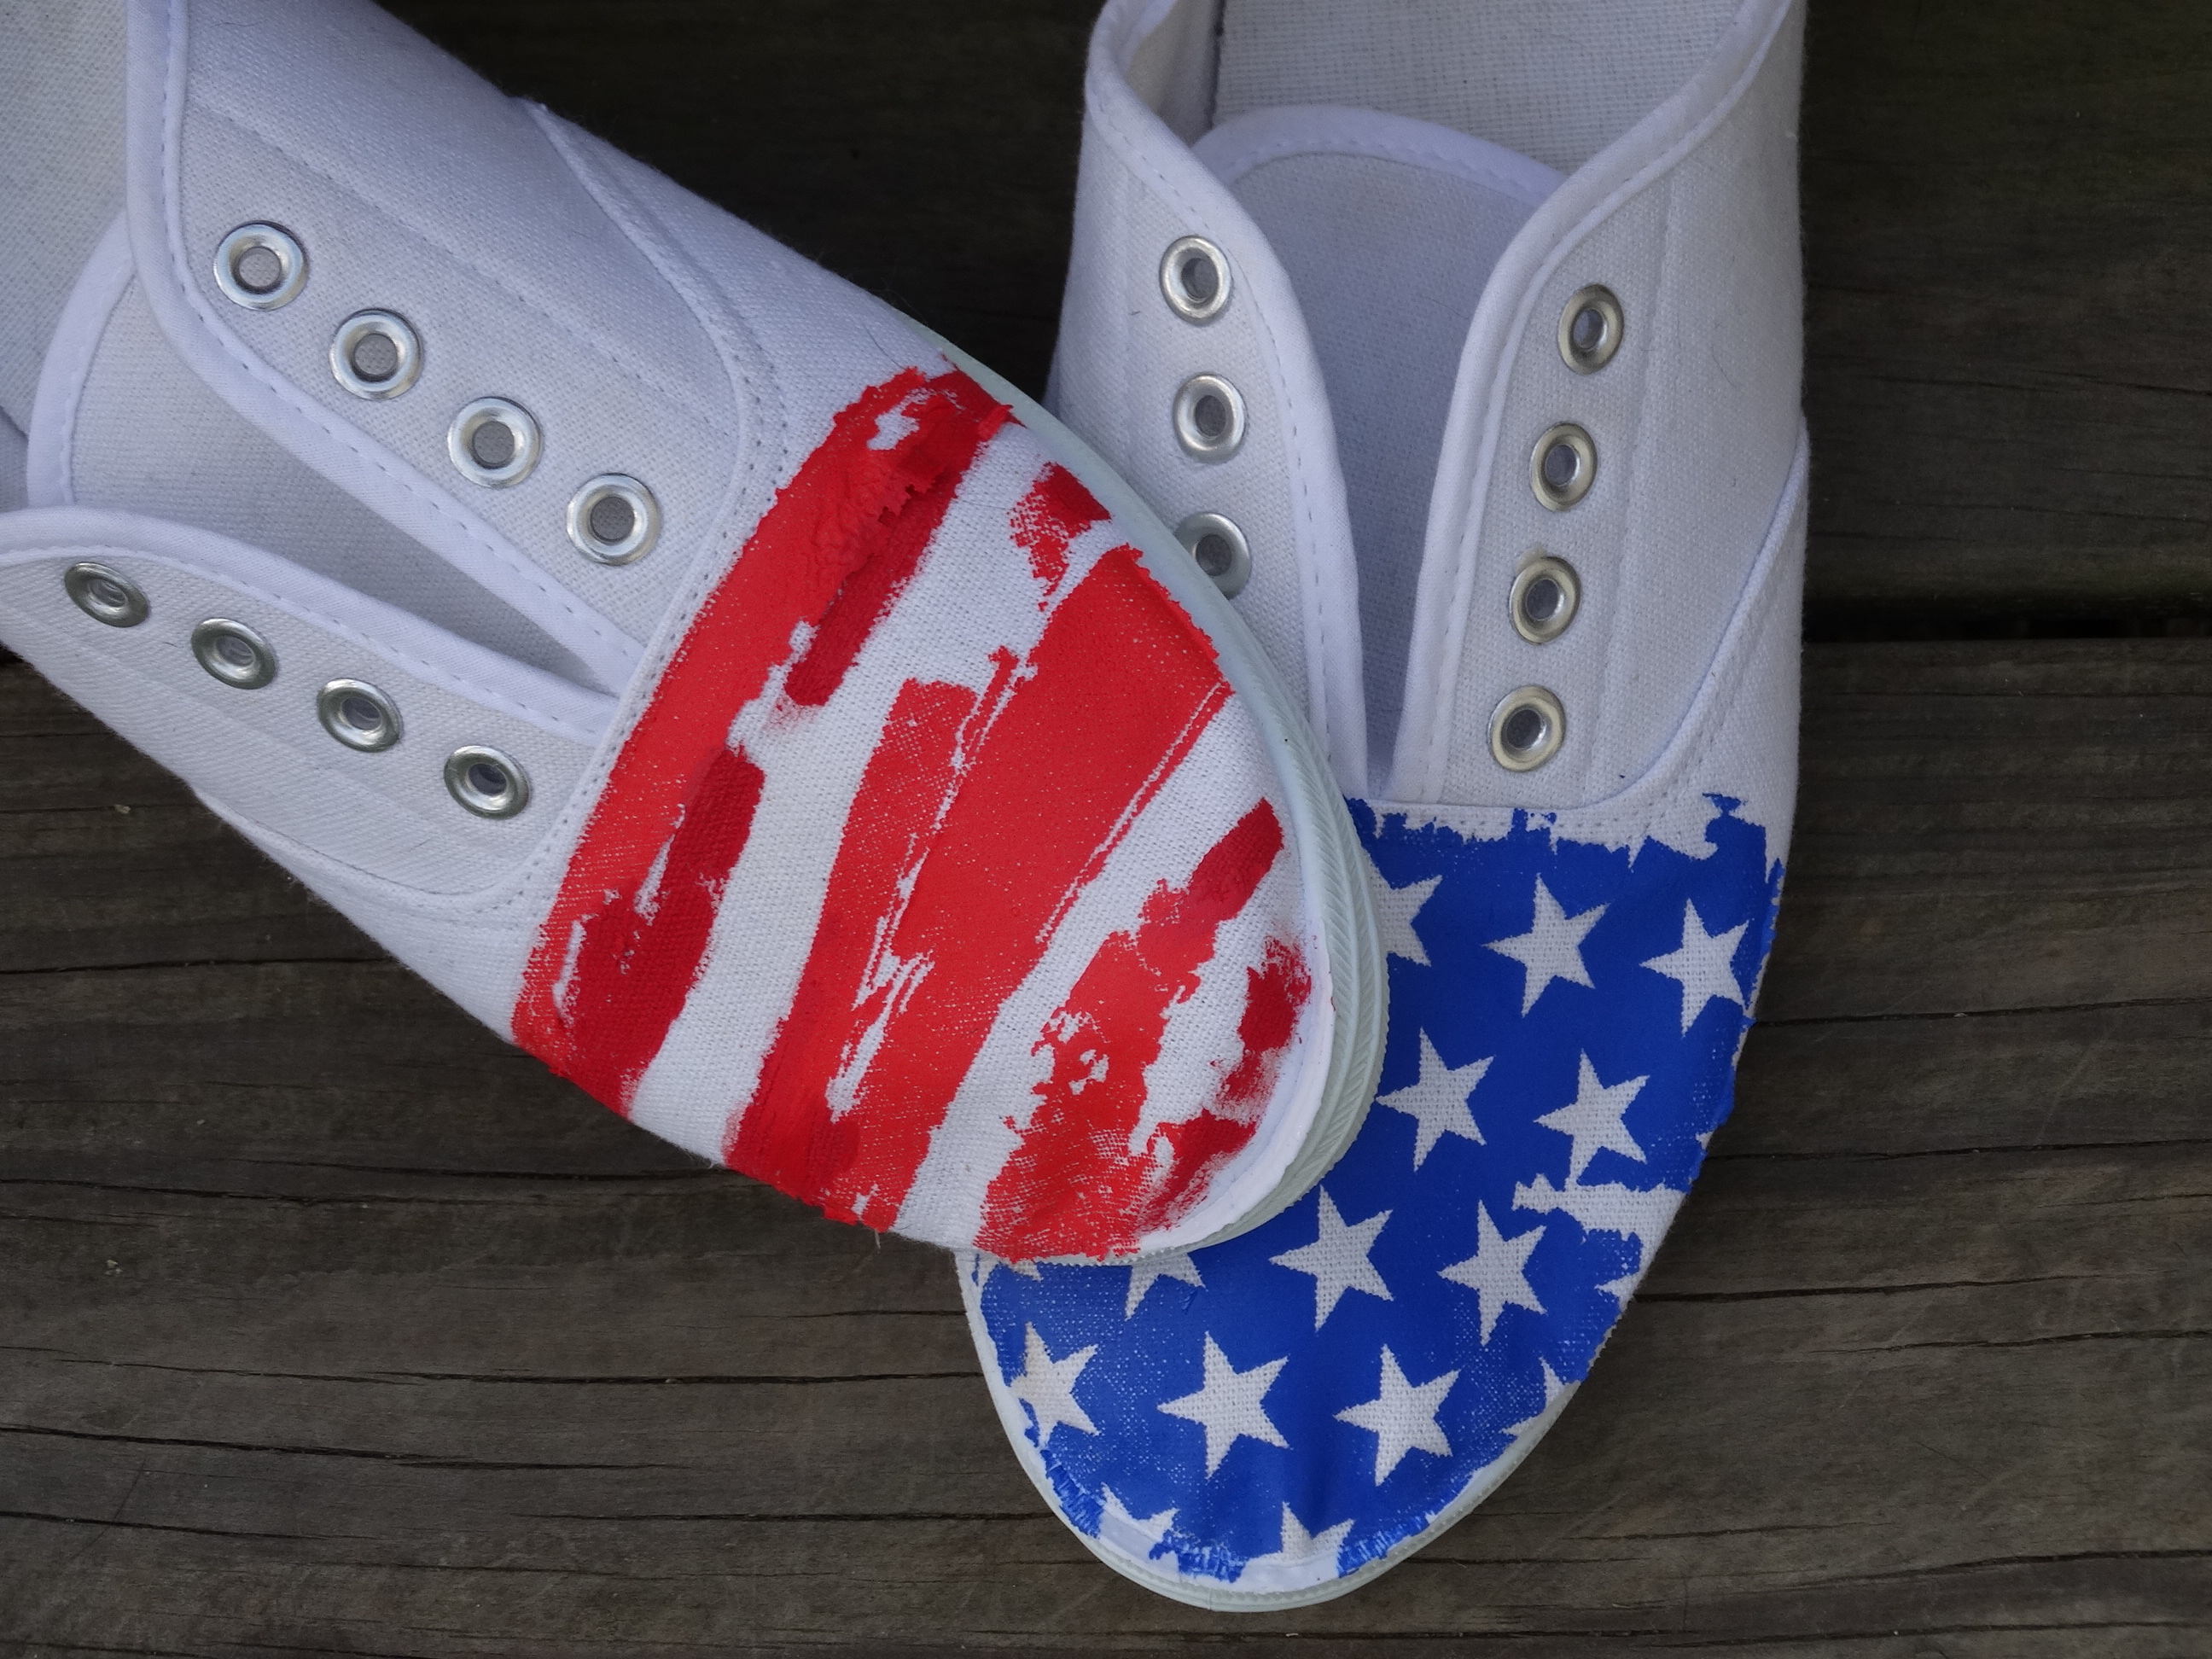
  • Make sure your image is positioned right BEFORE you heat press it. As you can see from my flag, I clearly was looking down when applying the transfer.
  • Stick with a distressed design; your transfer will not be completely smooth so the distress will be more forgiving.
  • You don’t have a lot of control with this project, so make sure not to attempt this on your favorite pair of shoes just in case it doesn’t turn out and two, have a plan B.

applying a heat transfer to a pair of shoes


View & Add Comments

Heat Transfer Paper – Inkjet vs. Laser

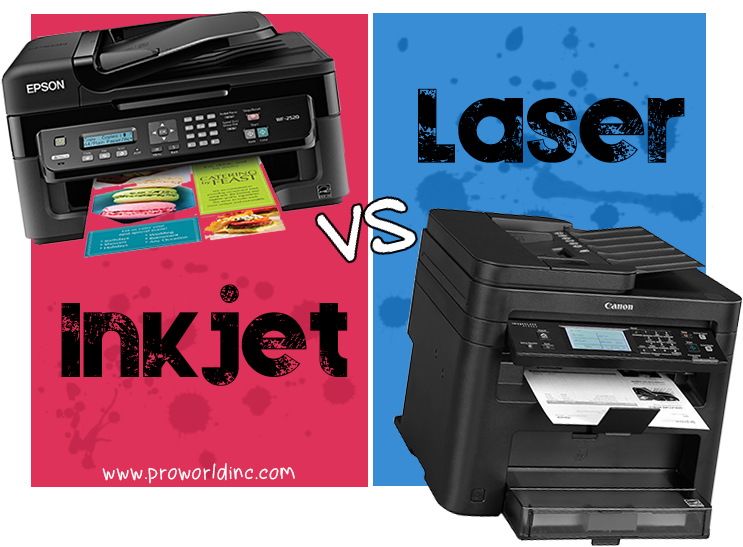
When choosing a transfer paper to print your own designs from home, the very first thing you want to consider is what type of printer you will be using- inkjet or laser. It is important to use paper meant for the type of printer you have. With that being said, be sure to stay away from “laserjet” which is actually a combination of an inkjet and a laser, and we do not have any paper that will work with these types of models. We also suggest staying away from certain brands such as HP, Dell, and Brother- as we have found that these printers have internal fusers that run too hot. This can cause the paper to get stuck in the rollers, which ruins the paper and possibly the printer itself.

When choosing which type of printer to buy, there a few things to keep in mind. You will need to decide what is more important to you — color and soft hand (inkjet) or cost and time efficiency (laser). Laser paper tends to cost less than inkjet paper, and they can can print at high speeds when printing hundreds or thousands of pieces. With laser, there are trim-free paper options that are not available with inkjet. However, inkjet tends to have a softer ‘hand’ and more vibrant color. Below we will break down all of the different paper options that we offer for both types of printers.

INKJET PAPER

  • Clearsoft Inkjet Paper for Lights
    Item# 401 (8.5×11) and 402 (11×17)

Clearsoft is our most popular inkjet paper for light garments. This paper has a polymer coating that bonds the inks to the fabric fibers all without using a plastic film. It can be applied to a variety of materials such as cotton, cotton-poly, canvas, felt, silk or even rib knit. Because the coating is clear, it is not necessary to trim this paper, but it is recommended, to avoid seeing the transparent film on your garment. This paper is great for printing any type of design, whether it is just text or a solid clipart design, a design with gradients, or even a photograph.

  • Jetpro Soft Stretch Inkjet Paper for Lights
    Item# 601 (8.5×11) and 602 (11×17)

Jetpro Soft Stretch is also a paper for light garments that is comparable to our Clearsoft paper. Just like Clearsoft, this paper also has a clear polymer coating. You can transfer your photos and images to t-shirts, sweatshirts, aprons or just about any cotton, cotton blend, or polyester fabric. For best results, use light colored material with a smooth surface. This paper provides a vibrant, durable, stretchable transfer. You may want to trim any excess paper for best results, which will eliminate the coating around your design.

  • 3G Opaque Paper for Darks
    Item# 795 (8.5×11) and 895 (11×17)

This single-step opaque paper is easy to use and is a great way to apply your design to a dark garment. It contains a white coating that allows for photograph quality images to be transferred. You will want to trim around the edges of your design to avoid seeing this white coating when applying the design to your garment. This product may also be cut with a cutter/plotter that has an optical eye, such as our GCC Vinyl Cutter Expert II LX. It can be applied to t-shirts, sweatshirts, mouse pads, and more. This is the only option for inkjet when printing on darks – no trim free options are currently available on the market.

LASER PAPER

  • Lasersoft EZ Peel Paper for Lights
    Item# 301 (8.5×11) and 302 (11×17)

Just like our Clearsoft and JetPro inkjet papers, this laser paper has a clear polymer coating that allows for printing any type of design, including photographs. Designed for both fuser oil and oil-less laser printers and copiers, this product can be used on cotton, cotton-poly, canvas, felt, or even rib knit. Just like the comparable inkjet papers, it is recommended to trim any excess paper from around your design to avoid the polymer coating showing on your garment.

  • CLC Paper For Darks
    Item# 585 (8.5×11) and 900 (11×17)

This paper is great for the heat transfer of high-resolution photographs and images to dark colored t-shirts, sweatshirts, mouse pads, coasters, puzzles and more. It is best to choose garments that have a tight weave. Similar to the 3G Opaque paper for inkjet, this paper also has a white coating that would need to be trimmed before pressing. Anything that is not trimmed will show as white on the garment.

  • CL Trimfree for Lights
    Item# 1010 (8.5×11)

This is a one step trim-free paper for light garments, which has been developed to only release the polymer coating in areas that have toner coverage where the image is pressed to fabric. This eliminates the need to trim your design prior to imaging your garment. Trim Free Laser Paper produces vibrant full color images that will stand repeated washing. The CL Trimfree paper is not recommended for photograph images or gradient colors.This product is meant for both oil and non-oil color laser copies and printers. Be sure to choose garments that have a tight weave.

  • Image Clip Laser Paper for Lights
    Item# 875 (8.5×11) and 876 (11×17)

This paper is a two-step process that is great for solid color designs only. Please note – it is not designed to work with gradients or photograph images. It works well with cotton materials along with 50/50 blends and polyester, as long as the fabric has a tight weave. When using this product, there is no need to trim the excess paper since this product is self-weeding. There will be no background to your printed design.

  • Image Clip Laser Paper for Darks
    Item# 871 (8×10.5) and 872 (10.75×16.75)

Just like the Image Clip for lights, this paper is a two-step process that is meant for printing on dark garments, solid color designs only  – it is not designed to work with gradients or photograph images. This product works well with cotton materials along with 50/50 blends and polyester, as long as the fabric has a tight weave. There will be no background to your printed design, as this paper is also self-weeding.
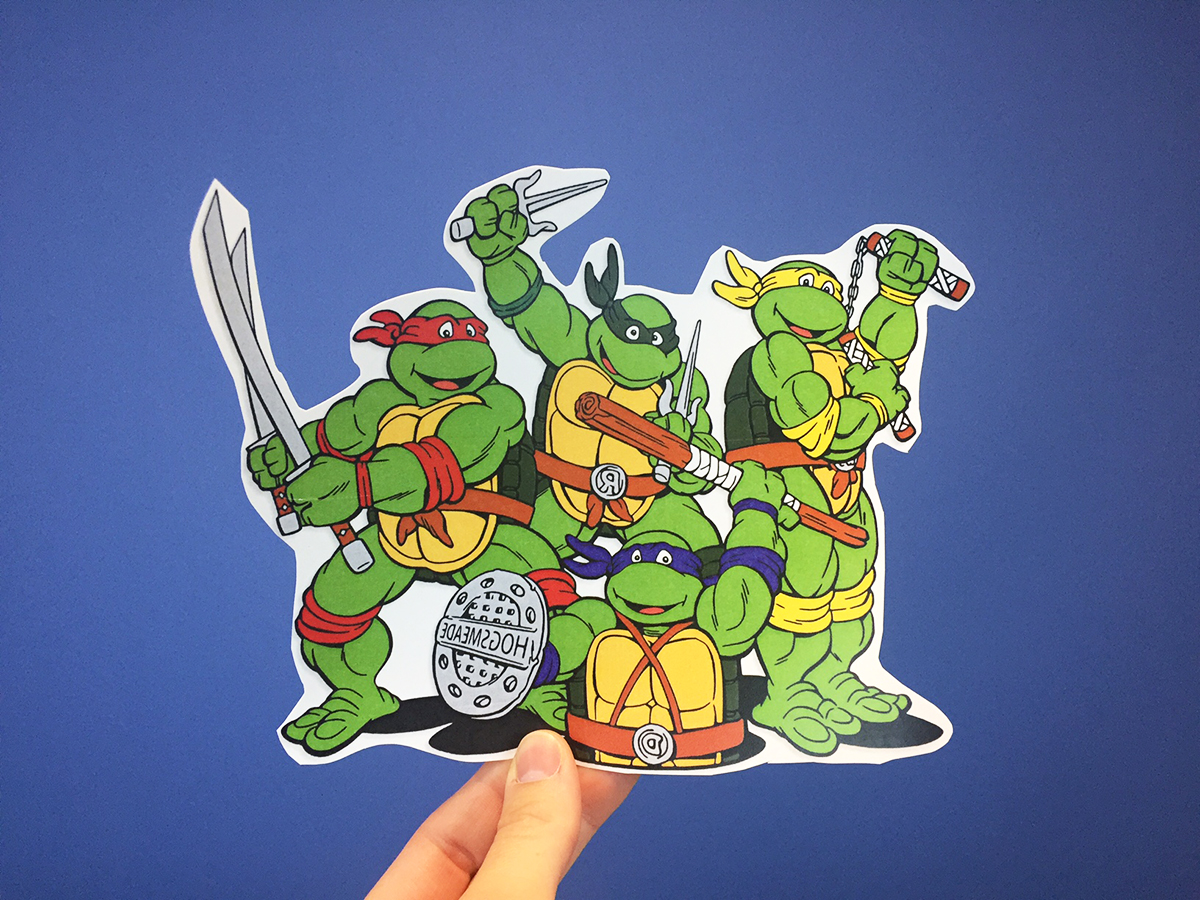
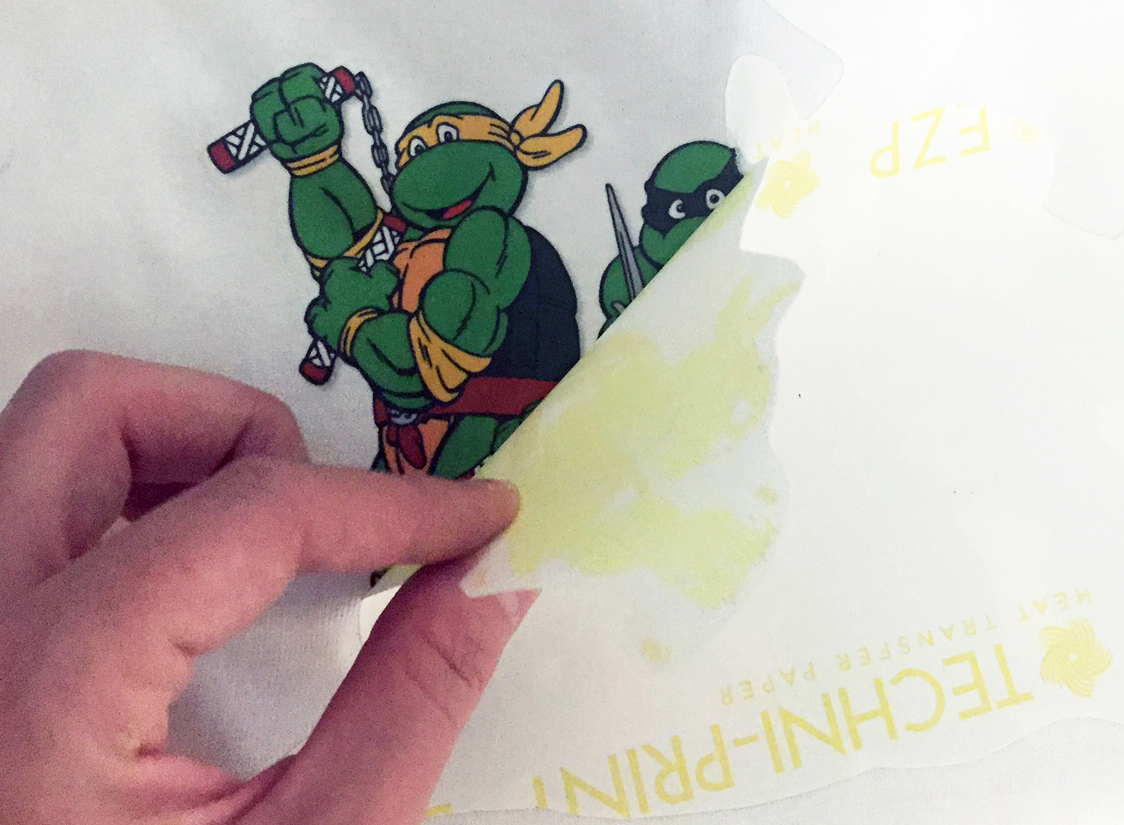
lasersoft ez peel transfer paper

lasersoft transfer paper

Lasersoft Ez Peel

(Printed with Lasersoft EZ Peel Paper for Lights)

When printing with any paper, whether inkjet or laser, please note that there are a few printer settings that need to be changed in order to ensure a great outcome. First, change the paper setting from a ‘normal’ or ‘plain’ paper to a ‘heavy’, ‘label’, or ‘card stock’ mode, which tells your printer that you are using a thicker paper and therefore the feed will open up more. You will also want to change the settings to a ‘best photo’ or ‘photo glossy’ to allow for more ink to be printed on the paper.

Since there are so many makes and models of printers it is virtually impossible to guarantee the results on any one printer. We can only suggest that you check with the manufacturer regarding the use of transfer papers.

View & Add Comments

Father’s Day Beer Mug

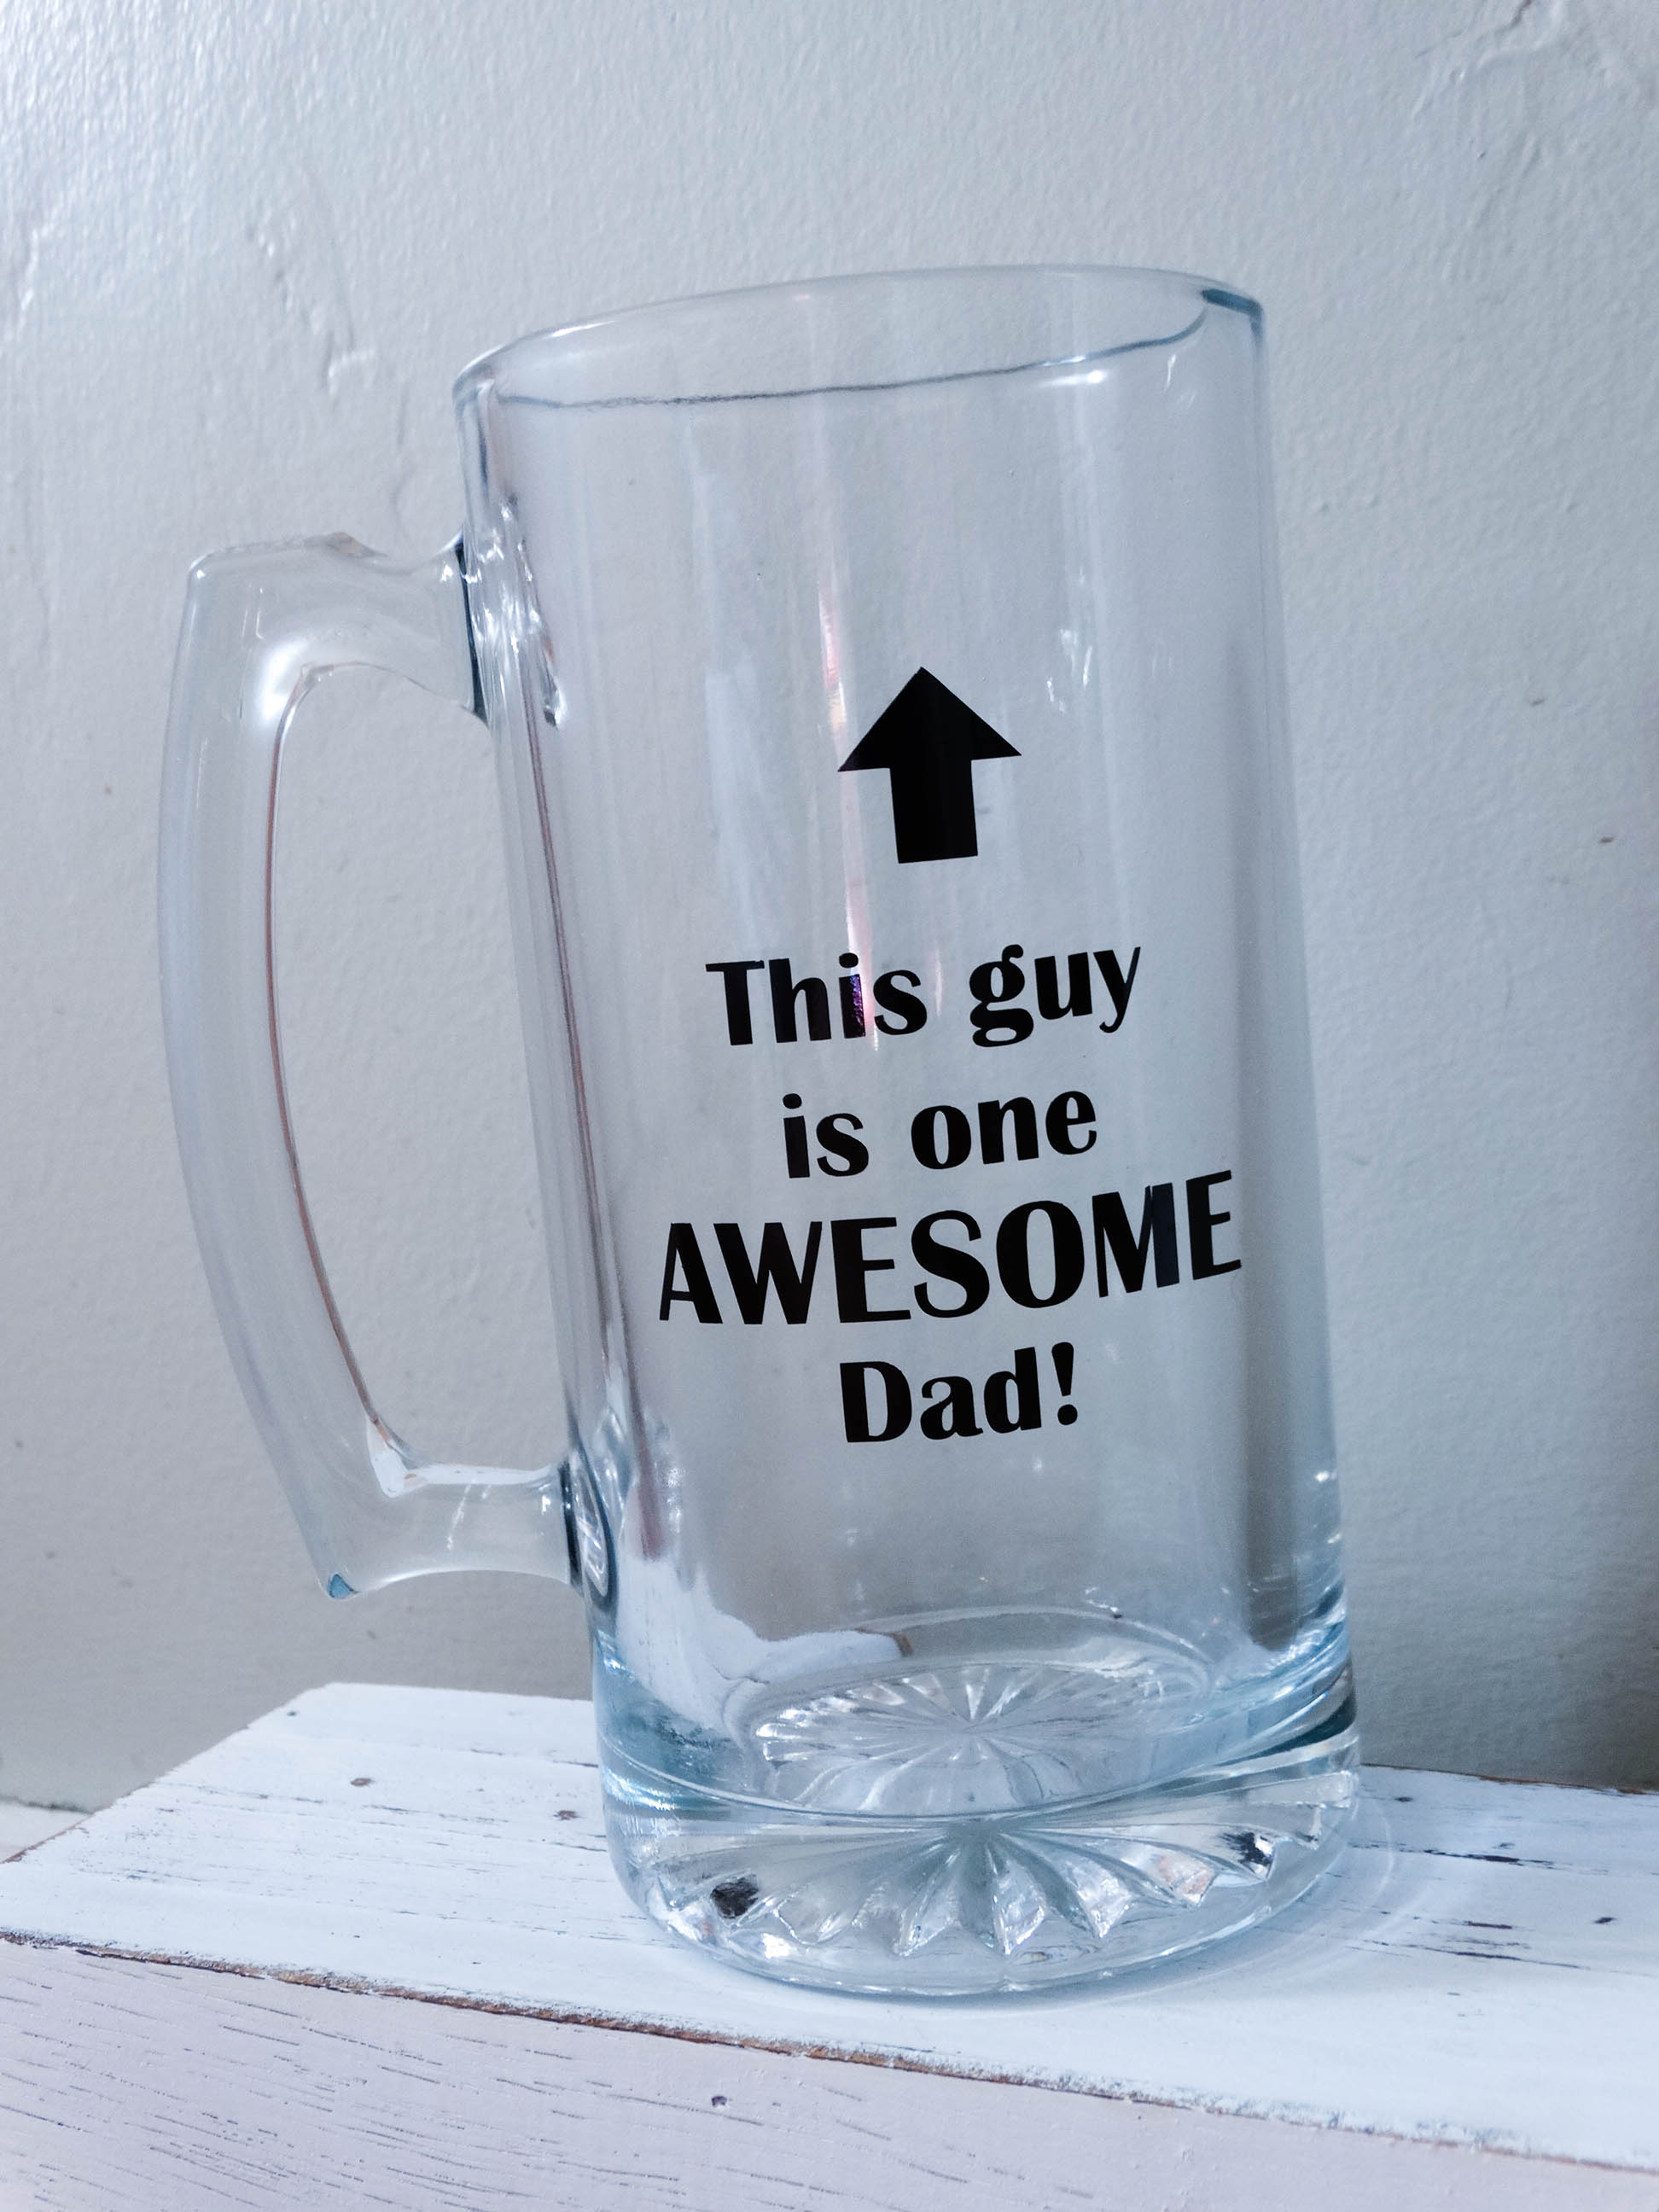
Can you believe that it’s already June? I’m pretty excited that May has passed us by… it was extra rainy this year in NJ.  I’m hoping that June will bring clear skies and sunshine, because my favorite way to end the week is in the backyard BBQing with a cold drink! So with Father’s Day around the corner, I thought we’d share a simple gift idea that Dad can enjoy on those warm summer nights!

Father's Day, Gift, Custom

You Need:

Since the Dad that is receiving this mug is pretty awesome, it only made sense to use “This guy is one awesome Dad” as our design, but you could write anything! For the Star Wars loving Dad you could use “Yoda best father” or if Dad is a bit smelly maybe World’s Best Farter Father”, you could even trace a handwritten note from one of the kids like we did on the Mother’s Day planter. The sky is the limit!

Once you figure out what you want as your design, you need to cut it!  So load your FDC vinyl, check your settings, image size and click cut!

As your vinyl cuts, grab your rubbing alcohol and a cotton ball and clean the area that the vinyl will be placed. This will remove any residue or debris to help the vinyl get a good seal.

Now that your mug is all clean remove the vinyl, weed it, lay the transfer tape and apply.

Put it in a gift bag because you are done!

DIY father's day gift


We’d love to see what you are making Dad for Father’s Day! Tag us on twitter, facebook or instagram at @proworldinc or by using the #proworldinc

View & Add Comments