All About Heat Transfer Vinyl

All About Heat Transfer Vinyl

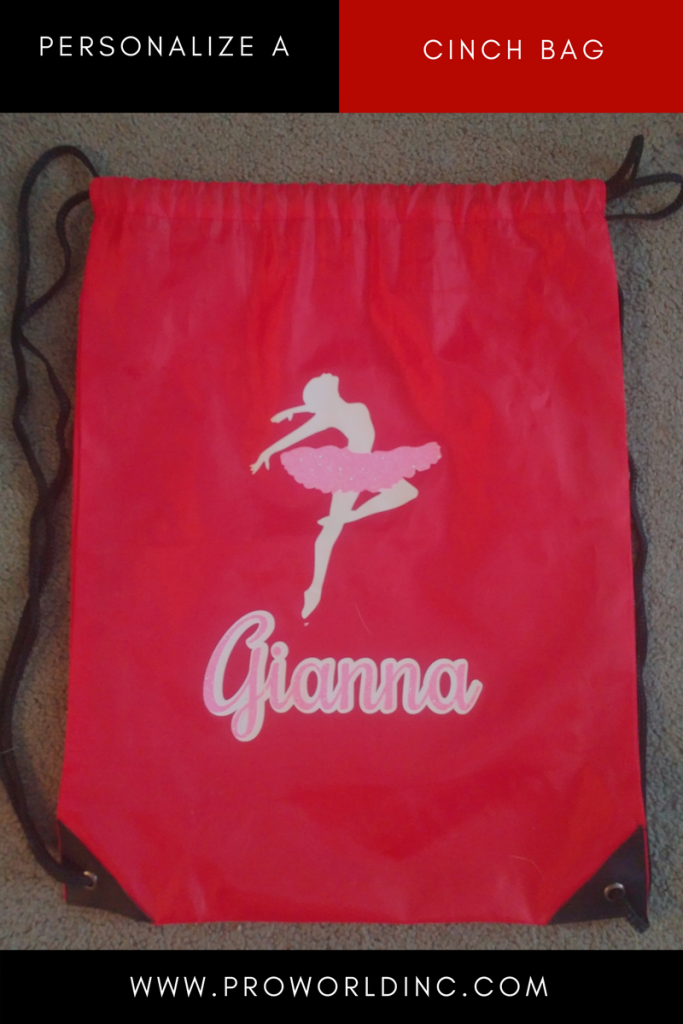
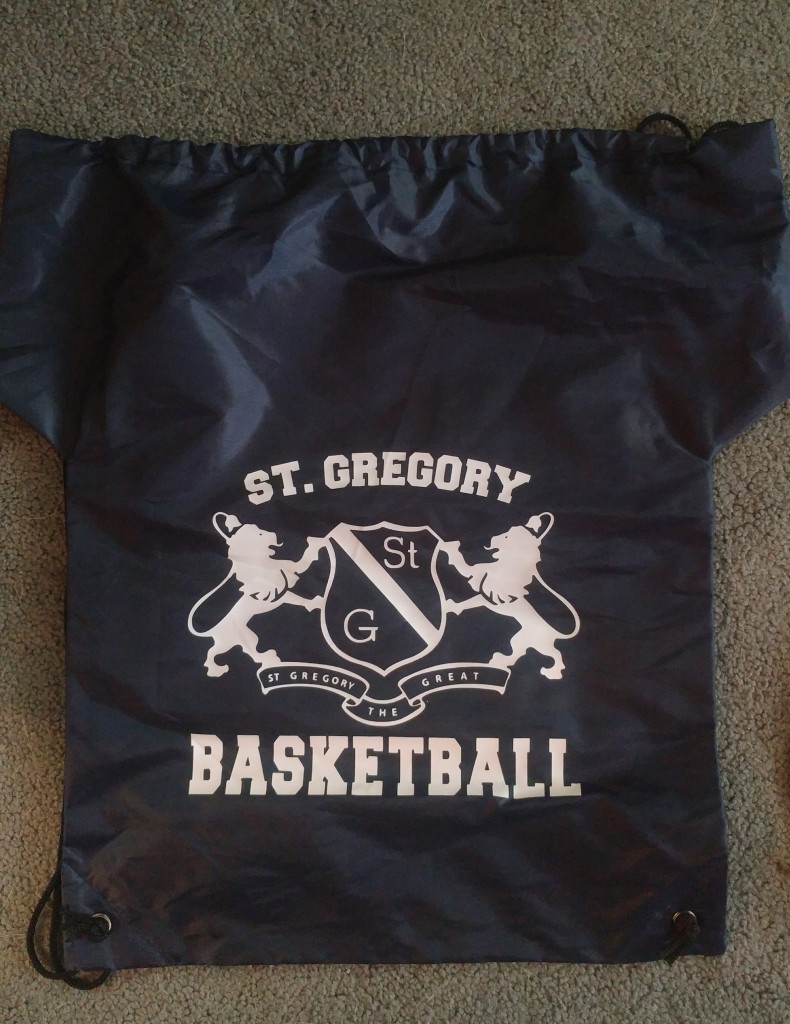
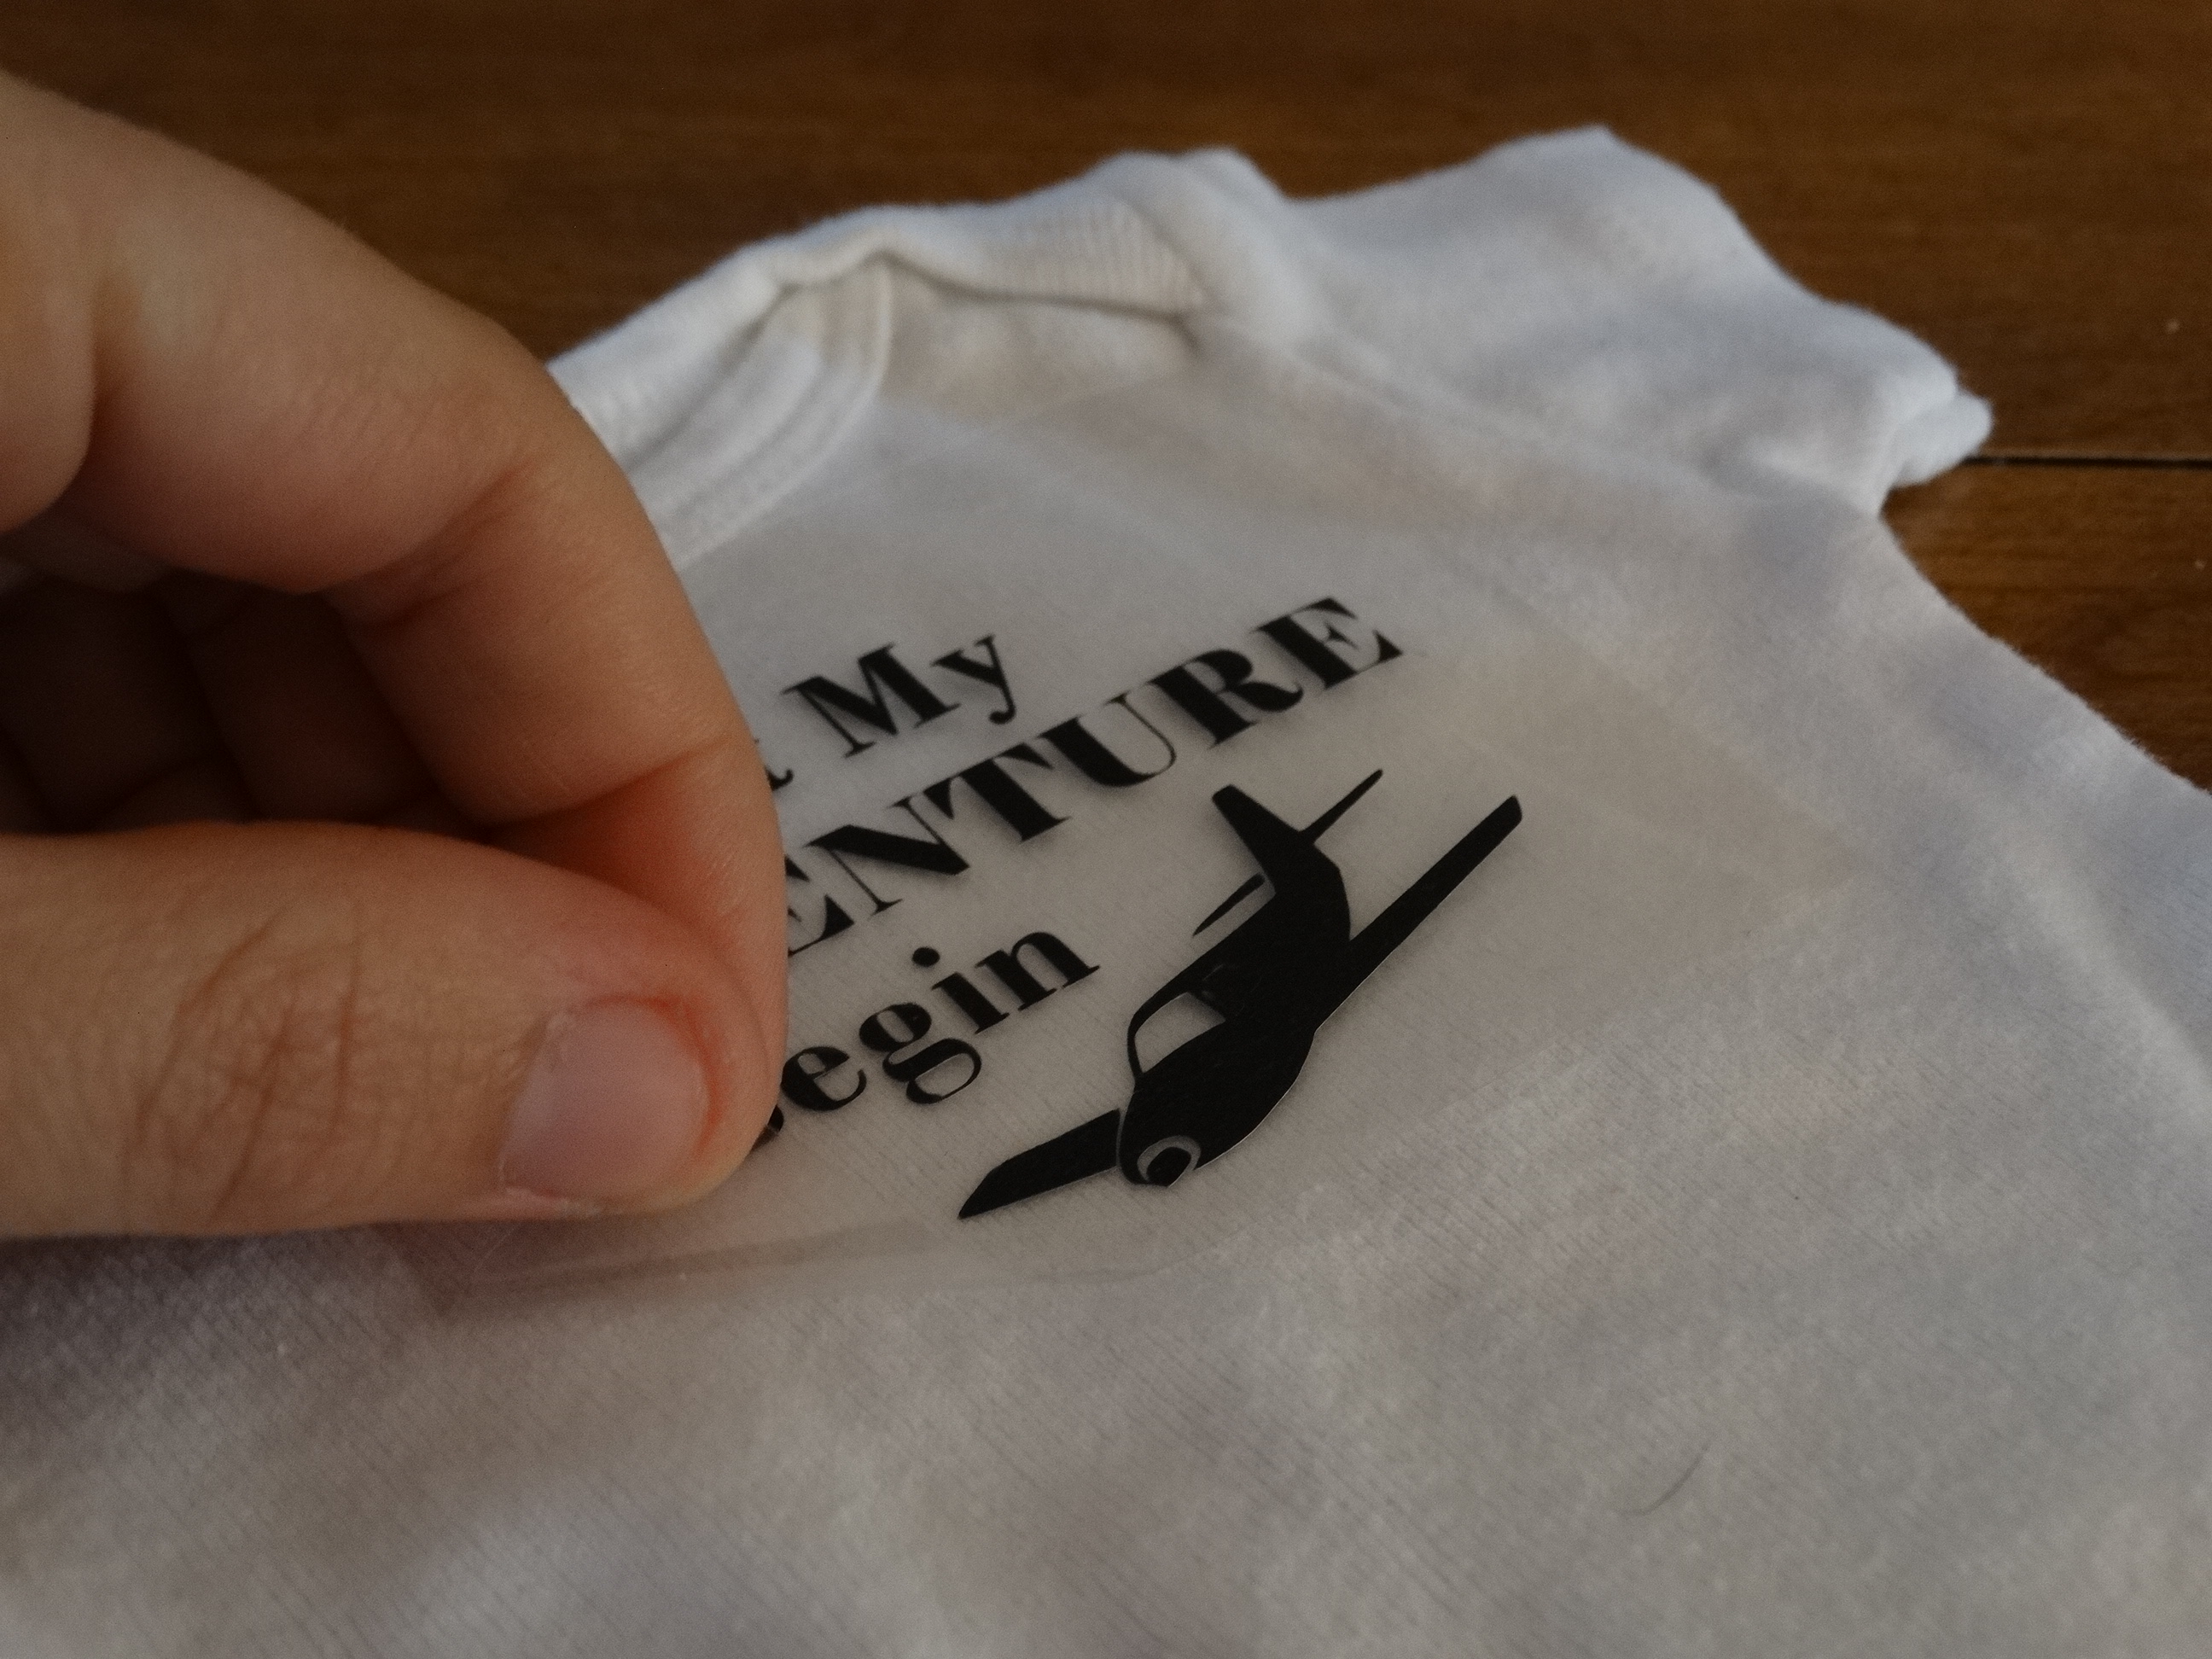
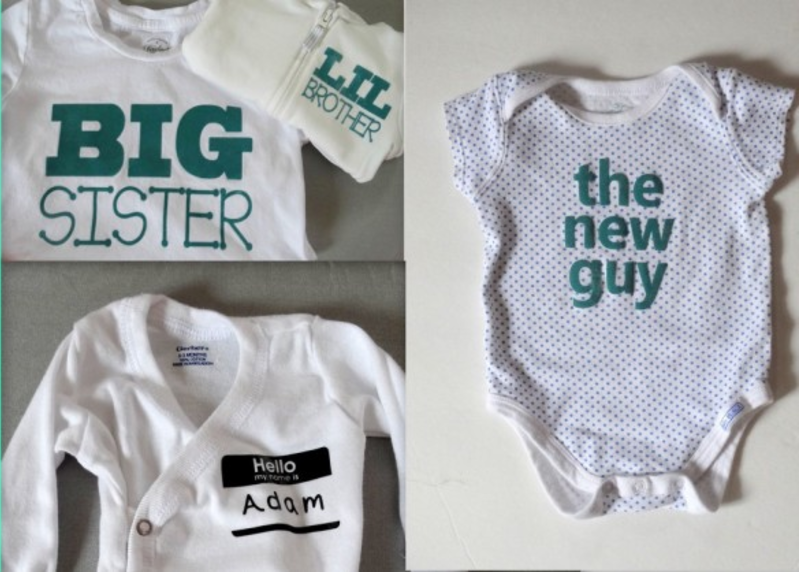
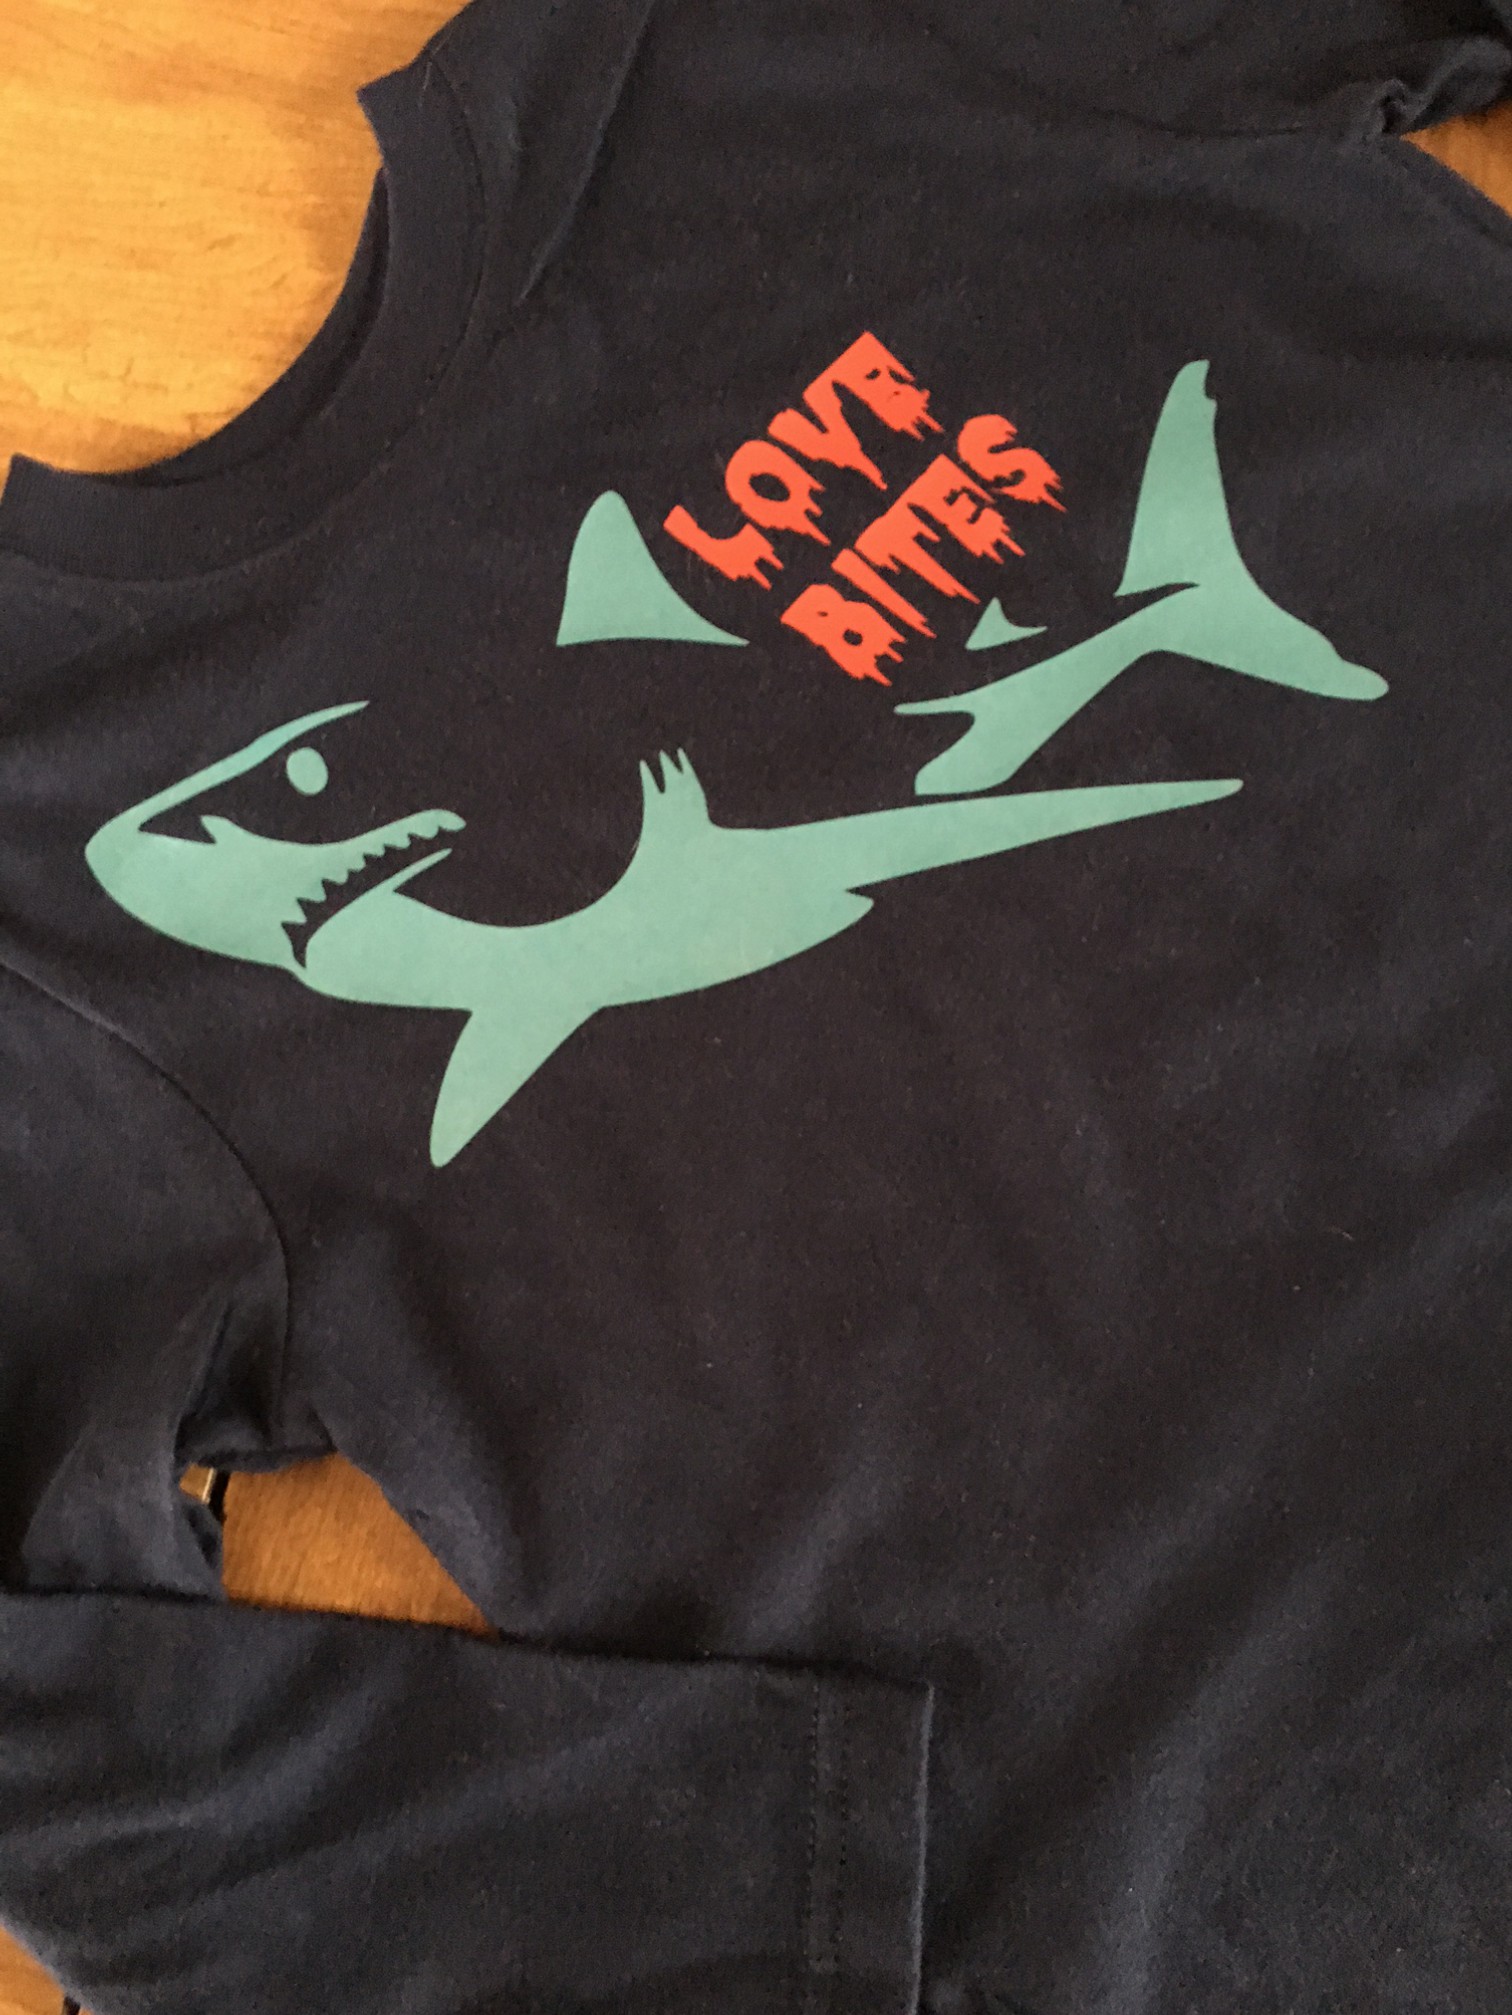
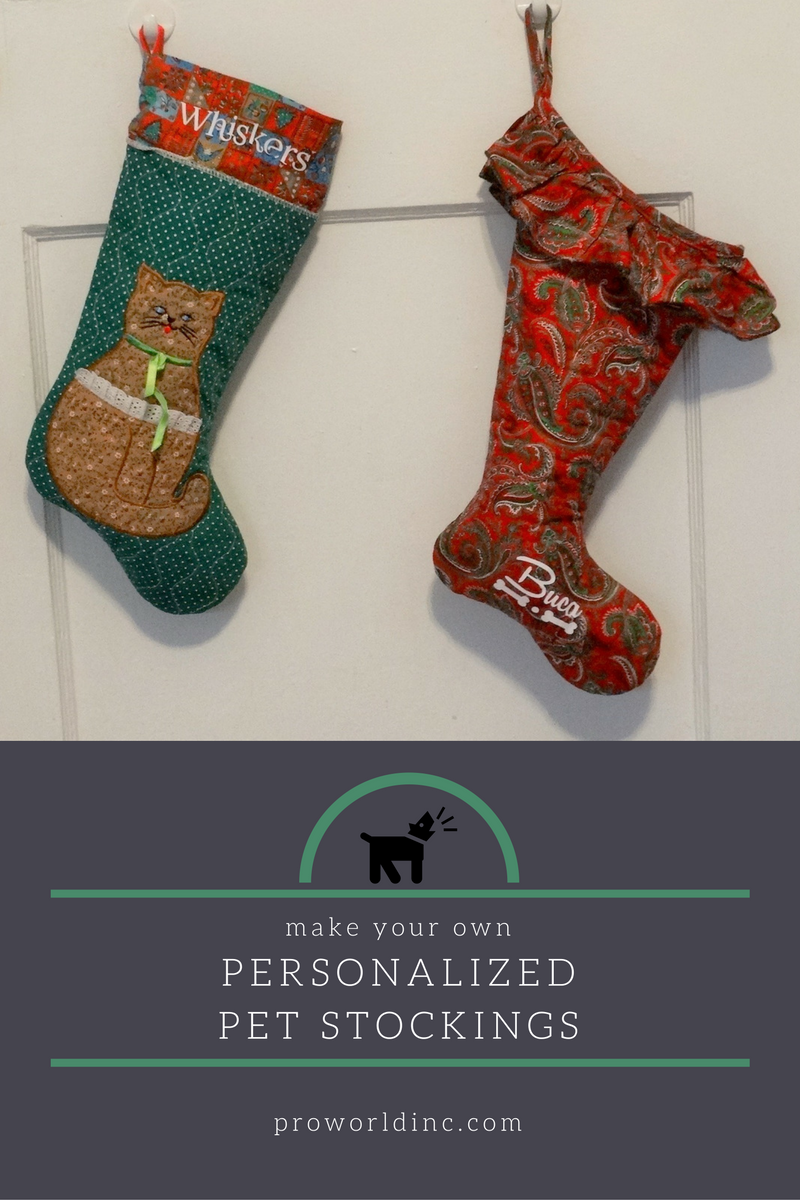
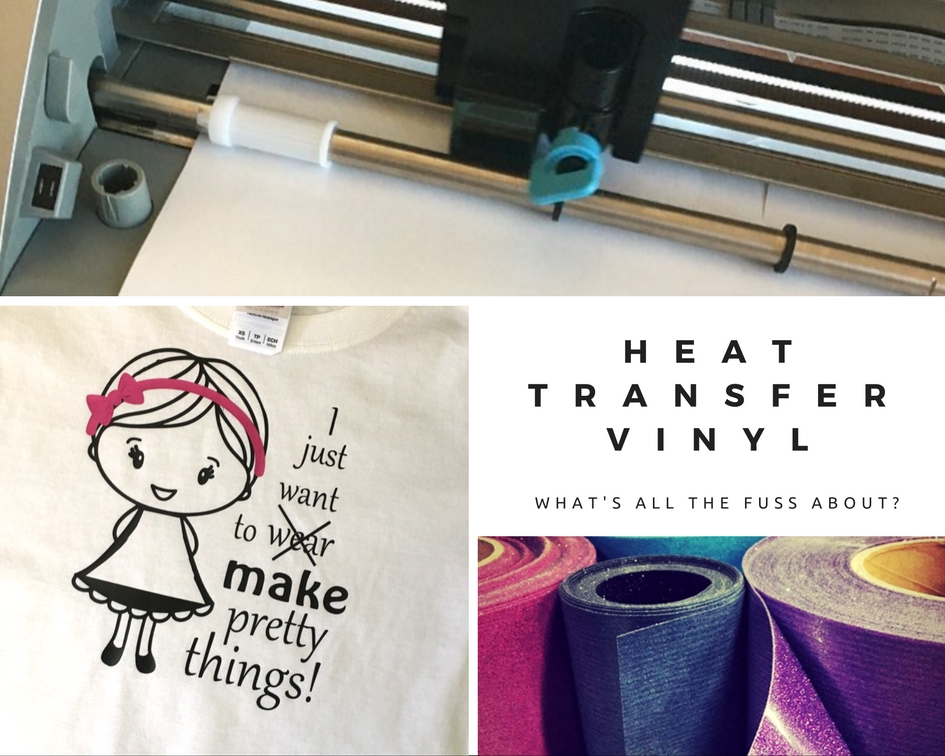
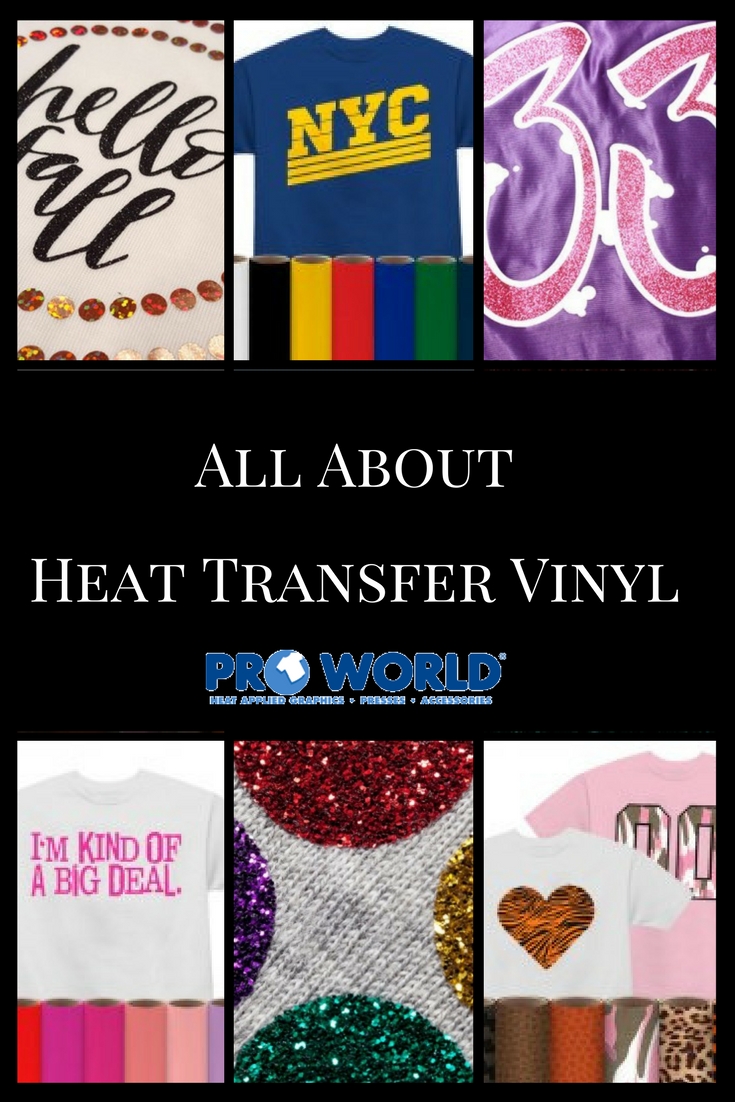
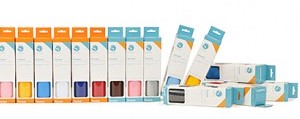
With Heat Transfer Vinyl (HTV) you can create an endless supply of personalized shirts, bags, hats, aprons, etc. HTV is available in a number of different colors, sizes, and finishes, which means if you use your imagination, almost anything is possible. Here at Pro World, we offer a wide variety of HTV options.

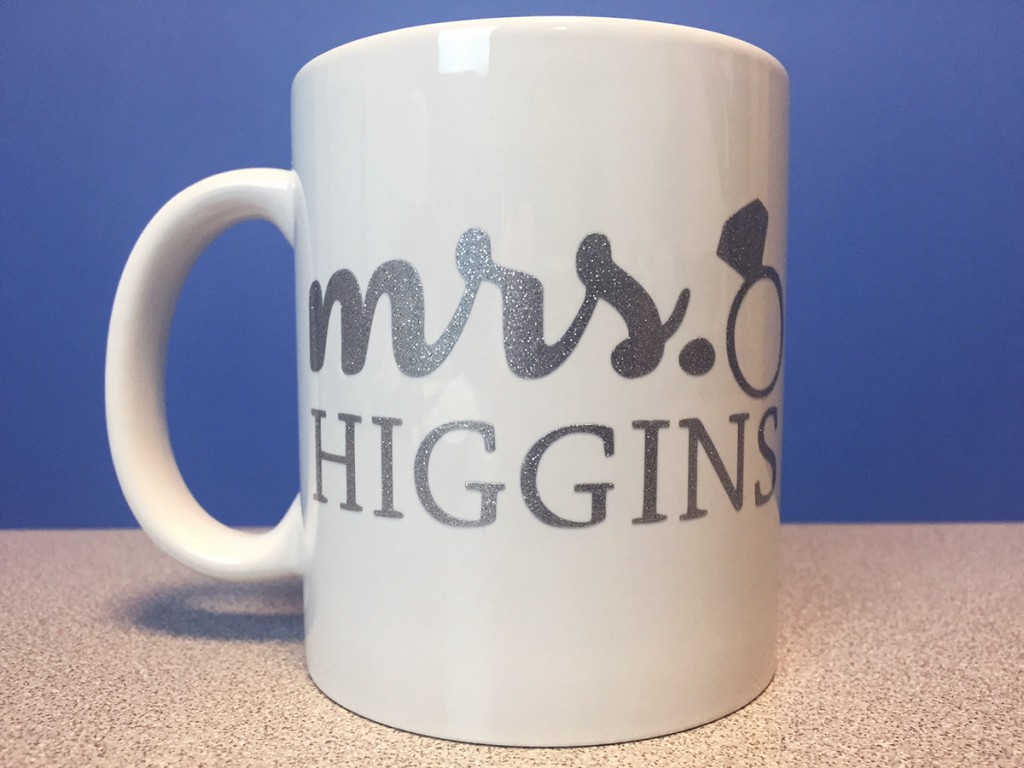
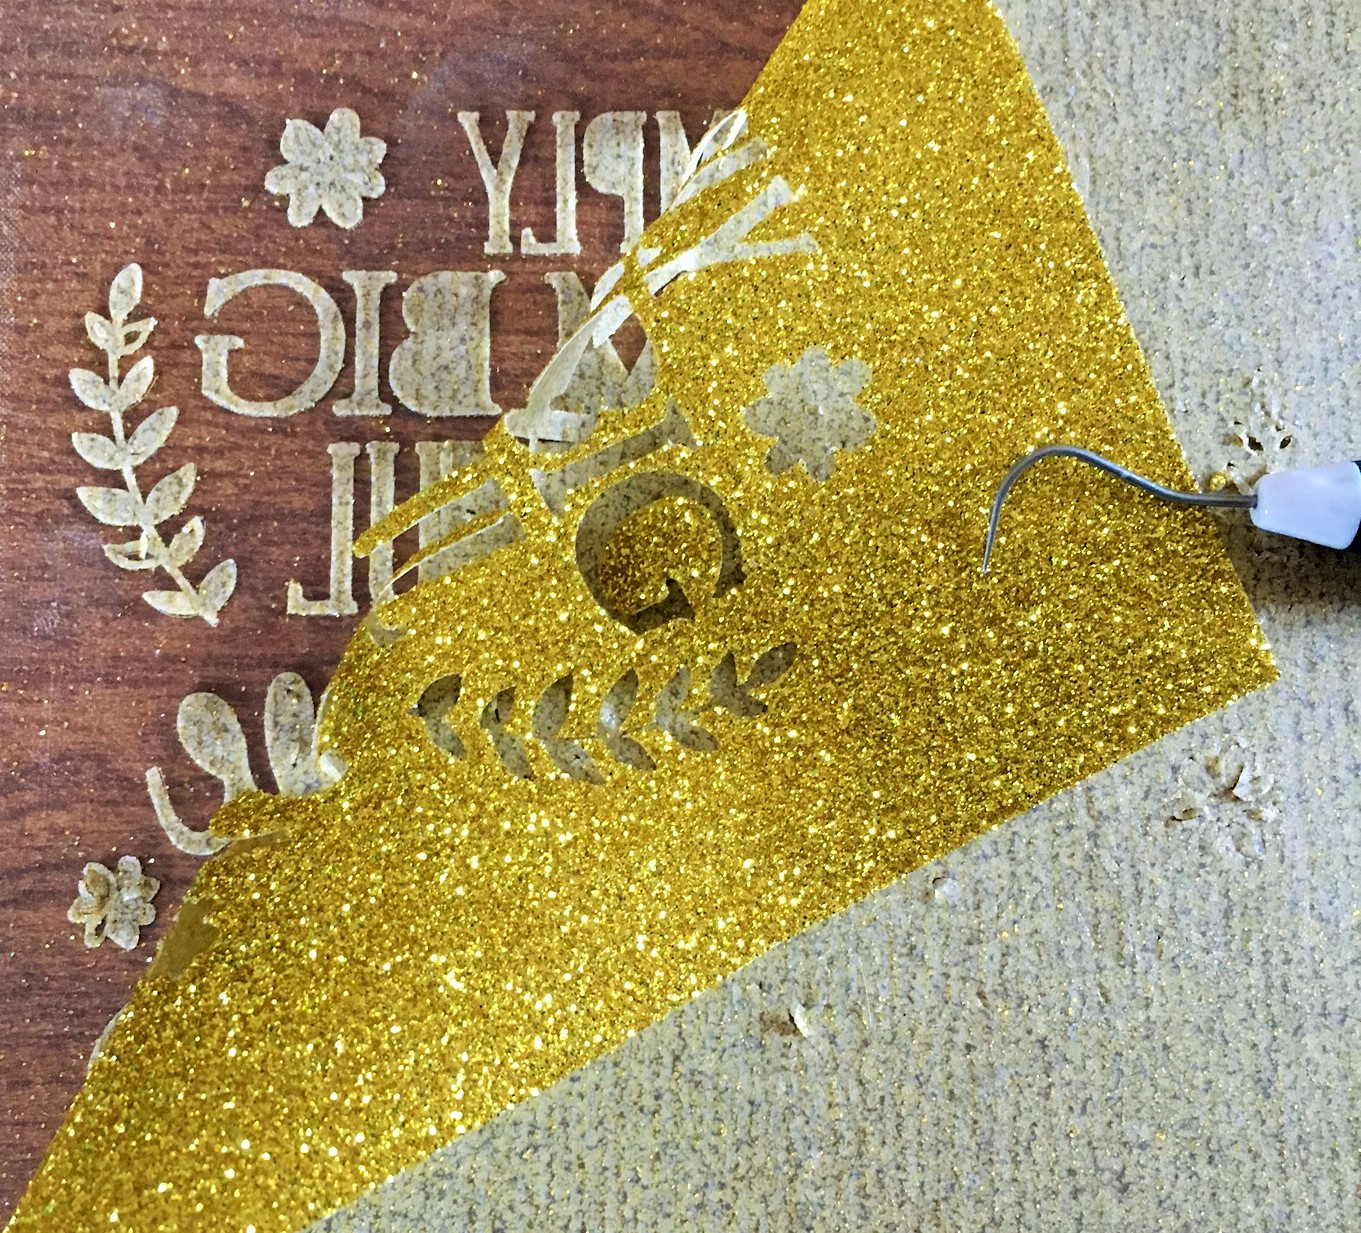
We carry Siser EasyWeed Vinyl by the sheet and roll, both in multiple sizes. We offer a number of colors of the standard EasyWeed, fluorescent, and glitter as well as a glow in the dark vinyl. Siser EasyWeed can be peeled hot or cold and doesn’t lift during weeding. It’s extremely durable and won’t wear after numerous washings. It applies at a lower temperature setting and lower pressure than other vinyls and is also thinner making it great for layering. Siser EasyWeed Extra, Electric, Holographic, Stretch, CADflex, Siser EasyPatterns, ReflectAll, Brick, Strip Flock, and Metallic are also available.

collage1

Chemica Firstmark is a semi matte vinyl available in multiple sizes and a number of colors that is best when applied to cotton, polyester, acrylic, and similar materials. We also offer Chemica Mirror Vinyl, which has a metallic finish, in 2 colors, Chemica Firstmark Fluorescent available in 4 colors, and Chemica Quickflex which applies in 5 seconds to cotton, polyester, acrylic, and similar fibers. It peels hot, is soft, flexible, ultrathin, and easy to weed and washes well. It comes in 16 colors. Chemica Bling Bling is an ultra-metallic “glitter-flake” vinyl perfect for cheer and team spirit apparel and it comes in 10 colors. We also offer Chemica Metallic, Chemica Fashion Vinyl, and Chemica Darklite.

Collage2

There are multiple types of ThermoFlex available in assorted colors and sizes. ThermoFlex Plus Metal Flake is a highly flexible vinyl. It has small pieces of glitter within the vinyl but is smooth to the touch, and will wash and wear very well. It comes in 6 colors. We also have ThermoFlex Plus available in 38 colors, ThermoFlex Glossy available in 6 colors, ThermoFlex Plus Antique available in old gold and antique silver, ThermoFlex Xtra Antique available in old gold and antique silver, ThermoFlex Xtra available in 14 colors, and ThermoFlex Plus Neon available in 3 colors. The ThermoFlex Xtra is specially designed for decorating nylon, leather, rayon, and other heat sensitive surfaces. FashionFlex is pre-printed heat vinyl that has a textured look and feel. We offer it in zebra and camouflage. GlitterFlex Ultra Vinyl comes in 10 colors and has glitter flakes encased in it. It is a bit thicker than other vinyl’s so be sure to increase your cutting pressure accordingly.

collage3

Silhouette Smooth Vinyl will give your project a subtly, shiny look. The Silhouette Flocked Vinyl is velvety and has a fibrous texture, and the Silhouette Glitter Vinyl will add a little glam to your project. They are all manufactured with transfer tape already adhered and come in a number of colors.


15

With so many different brands, types, and sizes of vinyl available, it can be hard to decide which is best for your project. Different types work best on different materials, so be sure to read about the options to make sure they fulfil your needs. For more information about the HTV we offer and all of the different colors, sizes, and finishes, visit our website, https://www.proworldinc.com/heat-transfer-vinyl/heat-transfer-vinyl-for-garments.html.

Do you have a favorite HTV? Have you used any of the specialty varieties? Share pictures of your projects in the comments!

View & Add Comments

DIY Cinch Sacks

CINCH BAG

Cinch sacks are a great way to show off your favorite team, school, or athlete, while keeping your belongings safe and together. They also make great fundraisers for club teams, troupes, and schools. Today we’re going to walk you through creating these cute and easy to make, practical bags. For more information on making these bags, check out our Facebook Live post,

To make your own cinch bags you’ll need:
-Design software
-Cutting machine
Siser Easyweed Extra vinyl (designed for nylons)
-Weeding tool
Heat press
-Pressing Pillow
-Non-stick sheet
-Cinch sack

  1. Before you begin creating your design, be sure your heat press is set to 302 degrees for 10 seconds for Siser Easyweed Extra.
  2. Using your software, create or upload the design you want to use and be sure to mirror it before cutting.
  3. Once it is cut, weed your design.
  4. Place your pressing pillow inside the cinch bag to allow the press to reach the area you want your design on without extra material getting in the way.
  5. Place your design where you want it on the bag, making sure the pressing pillow is in the correct spot, and then lay it on your heat press.
  6. Place your non-stick sheet on top of the design.
  7. Press your design.
  8. Lift the top of your press and remove your non-stick sheet.
  9. Peel your design hot.
  10. Remove the pillow.
  11. Admire your new bag!

You can also layer the vinyl for a multi-color, dimensional look. To Do That:

  1. Use Siser Easyweed Extra as the main design and press it onto your bag.
  2. To layer, use a different type of vinyl (standard Siser Easyweed, glitter, etc.).
  3. Design.
  4. Mirror.
  5. Cut.
  6. Weed your design.
  7. Place it on top of the already pressed Easayweed Extra.
  8. Make sure the pressing pillow is still in place.
  9. Lay the non-stick sheet on top.
  10. Press for the appropriate amount of time (305 degrees for 10-15 seconds for standard, 320 degrees for 10-15 seconds for glitter).
  11. Once it’s done, remove the non-stick sheet.
  12. Peel hot.
  13. Enjoy your bag.

For more information on heat settings and times, visit our website, https://www.proworldinc.com/. Share the bags you’ve made with us in the comments!

20170814_123840


View & Add Comments

3 Ways to Decorate a Mug!

One way to take your crafting business to another level is to add mugs to your offerings. They’re a fun way to express your personality, they make wonderful gifts, and you can never have too many! There are three ways to decorate mugs- adhesive vinyl, heat transfer vinyl and sublimation. Today we are going to explain the process for each as well as show you how we did it via video! 

decorate a mug (1)

1) To make a mug with HTV we recommend setting your heat press at 360* at 30 seconds. You will want to set the pressure to heavy when applying HTV. Now that your heat press is warming up, use your software to create your design. Then make sure to mirror it before printing. After you print, weed your design. Then place your design, sticky side down, on your mug. Place the mug in the mug press and let it work its magic. When it’s done, it will be hot, so use caution and let it sit for a few minutes. Once it cools a bit, peel the backing off and you’re done!

2) When using adhesive vinyl for mugs, design your image and cut it exactly as you want it to look on the mug. This means that you DO NOT need to mirror your design. Just design, cut and weed it. Then, cut your transfer paper to the size of your image, place it sticky side up on your work surface and place your image face down on top of it. Then, peel the back of the design off and you’re ready to adhere the design to the mug. Place the design where you want it and use your squeegee to adhere it. Once adhered, peel the transfer paper off and you’re done!

personalized mug for bride using FDC sign vinyl

3) To make a mug using sublimation you’ll want to adjust your heat, time and pressure settings. We recommend 400 and 4 minutes. Print your design using your sublimation printer and cut it a bit larger than your mug. Place the paper on the mug and tape it in place. Once your image is secure, place the mug in the mug press, making sure it’s lined up properly, and secure it. Once it’s done, using gloves, remove the mug and dip it into warm water to stop the sublimation process. Do not use cold water as it will cause the mug to crack. After you’ve dipped the mug, allow it to cool a bit longer, and you’re done!

diy-photomugs-amy-tangerine-13

While we love using vinyl on our mugs, be sure to let your customers know not to put them in the microwave or dishwasher. For long term use and selling purposes, sublimation may be a better method. For more details on mug making, check out our Facebook Live, 

Have you made mugs using any of these methods? Share your experiences and designs in the comments!

View & Add Comments

Personalize Baby Clothes With HTV

Heat transfer vinyl opens the door to so many crafting possibilities. The options are endless- especially when it comes to newborn clothes. Why not make one for each milestone and special occasion? Need a gift for a new mom? Personalize a shirt just for her. It’s easy and special. Just follow today’s tutorial!

Introducing (1)

For this project you will need-

Once you have your supplies follow these steps:

1. Choose or create your design using your software.

adventure cut

2. Next, mirror your image.

adventure flip

3. Insert the heat transfer vinyl into your cutting machine, adjust your blade and cut!

DSC07981


4. Weed your design.

DSC079825. Place your weeded design on your outfit and press it with your heat press.

DSC079856. Voila! Your adorable gift is ready to give!

DSC07983

Here are some more newborn outfits made from HTV from around the web!

baby gift

View & Add Comments

Custom Bunny Pajamas

For today’s post, we decided to create a pair of customized Easter pajamas.

See how we layered multiple pieces of Siser Glitter Heat Transfer Vinyl to create a one-of-a-kind design on a wafflecomb fabric!

EASTER BUNNY PAJAMAS

You Need:
Cutting Machine
Heat Press
Heat Transfer Vinyl (we used Siser Glitter)
Non-Stick Sheet
Siser Weeders

1 – Take your shirt and measure the available space.

2 – Find a design(s) and upload it into your design software. We mixed multiple images, to create our one-of-a-kind image.

Since we applied our Heat Transfer Vinyl to a wafflecomb fabric it was important to choose a thicker HTV so that the texture of the fabric did not show through the vinyl. We decided to go with Siser Glitter Heat Transfer Vinyl.

3 – Seeing that you cannot layer Siser Glitter HTV you will need to subtract your design so that it can be pieced together like a puzzle. You will notice that we subtracted the pink line from the egg shape to create an open space.

pw bunny 2 subtract

4 – Next, you will want to mirror your image.

5 – Insert your first color heat transfer vinyl into your machine.

DSC07771

6 – Double check your settings and click cut.

7 – Repeat steps 4 & 5 for your other heat transfer vinyl colors.

9 – Weed your design.

DSC07772

10 – Place it on your item and press it with your Heat Press.

DSC07773

11 – Repeat step 10 until you’ve pressed all of your layers. Remember to keep your HTV covered from the pressing plates if you’ve removed the clear protective barrier. You can do this by laying your non-stick sheet over top of the vinyl.

DSC07776

12 – Admire your work!

View & Add Comments

Heat Press Tips for HTV (and a GIVEAWAY)

Did you recently purchase a Heat Press? Congratulations! A heat press can take your business, or personal crafting, to a whole new level. Our TransPro Heat Presses are ideal for applying heat transfer vinyl (HTV), transfers to t-shirts, jackets, mouse-pads, tiles, and more.

Today we are sharing  5 tips to help get you started using your heat press with heat transfer vinyl (HTV) and giving one lucky customer a chance to WIN a TransPro Mini Heat Press!  Head to the bottom of the post and see how to enter.

5 Heat Press Tipsto get you started& a GIVEAWAY! (2)

1 – You want to make sure the press is set to the proper temp and time for the specific vinyl you are using. You’ll also need to know whether to peel the backing off when it’s still hot, warm or if you need to wait till it has cooled. You can find both answers on our website.

2 – While you are designing and cutting your image, turn on the heat press so it can warm up to the desired temperature.

3 – Once your heat press has reached the desired temperature, place the garment on the bottom plate and press it for a few seconds to warm up the material, remove any moisture from the fabric, and get rid of wrinkles.

4-Be careful when deciding on placement for your design- if possible, let the seams from the neckline, sides, sleeves, and bottom hang over the side of the heat press as seams can get in the way resulting in uneven pressure. This could cause the vinyl not to apply correctly.

5 – If you are planning to layer two different colors of vinyl, be sure to set your heat press for half of the time it calls for. You’ll press the first color for a few seconds; then you’ll add your second color, and press it for the full length of time listed on our website. Make sure that all HTV is protected by the clear backing and your nonstick sheet.

Now that you know the basics for pressing vinyl the possibilities are endless! Show us your creations by using the hashtag #proworld on Instagram.

blog pro world

Want to get your hands on your own TransPro Mini Heat Press? We are giving one away on our Instagram page.

Now through Thursday, March 2nd at 11:59 pm EST, you can win your own Trans Pro Mini. Just follow us on Instagram, comment on our post, and tell your friends. The more you comment, the more chances you’ll have to win! The winner will be announced on March 3rd.

View & Add Comments

Love Bites Valentine’s Day Shirt

Want to add a little bite to your Valentine’s Day shirt this year? Try the Siser EasyWeed Electric! Just like the original EasyWeed that you have come to love, it weeds easy and can be peeled HOT or COLD, but the colors are vibrant with a pearlescent metallic sheen!
For today’s project we decided to face Valentine’s Day head on with a shark shirt for your little Valentine to wear!
Love Bites Valentine's Day Shirt (1)
You Need:
Plain Shirt
Take your shirt and measure the space that you have available.
Find a free clip art image, and trace it in your Silhouette Software.
shark trace 2
Now, pick your favorite font and type “Love Bites”.
shark trace 3
Next, mirror your image and insert the heat transfer vinyl into your machine. Double check your settings and click cut.
Weed your design.
IMG_3287 (1)
Place it on your shirt and press it with your Heat Press. You are done!
IMG_3296
View & Add Comments

DIY: Personalized Pet Stocking

Tis the season to get crafty! For this week’s project we decided to take Heat Transfer Vinyl to personalize a stocking for some of our Pro World pets!

diy-pet-sotcking

You Need

To Make

-Take your blank stocking and measure the space that you have available

-Open your design software, pick your favorite font, check your cut settings, reverse your design, and click cut

-Weed your design and warm up your heat press

dsc07093

-Press your stocking and peel off the carrier tape, because you are done

dsc07087

All that’s left to do now is fill the stocking with your furry family member’s favorite treats!

You May Also Like:

DIY- A PERSONALIZEDDOG TREAT JAR diy-a-personalizeddog-treat-jar

View & Add Comments

Heat Transfer Vinyl- What’s All The Fuss About?

Heat transfer vinyl is fun to use and gives you a lot of options. Looking for a personalized gift or a shirt for a specific occasion? You can easily make it yourself with some heat transfer vinyl and the right tools.

heat transfer vinyl

Heat transfer vinyl can be used on any material that you can safely iron. In order for the heat transfer vinyl to adhere you need to have your heat press on a high setting, so be sure that it is a material that can stand the heat.

Once your project material is ready, it’s time to create your design. Once you have your design sized, be sure to flip it into a mirror image so that it will face the correct way once complete.

mirror heat transfer vinyl

Then, prepare your vinyl for cutting. Be sure the width of your vinyl is sized for your machine and then load it with the backing of the heat transfer vinyl facing up. Start with the default cut settings for the type of heat transfer you are using and do a test cut. Once you see how it handles the material, you can adjust your settings accordingly. Just be aware that the cuts may be hard to see, but by holding your design to the light or bending it just slightly you will be able to find your design.

Once you have your design cut, it’s time to weed it. Start by trimming around the design if there is extra around the edges. Then, peel off the negative space or any parts of the design that you don’t want to have applied (like the inside of any letters). When you’re done, your design will be ready to transfer.

weeding heat transfer vinyl

Before transferring, be sure your design is arranged correctly. If you designed and cut all of the pieces spaced as you want them, then you should be able to place the design on as one piece. But, if you compacted parts of the design to save space while cutting, cut out the separate elements and place them where you want them. Also be sure to trim the backing close to the design so that none of it ends up under other parts of the transfer.

Once everything is in place it’s time to press! Be sure to read the specific directions for your heat transfer vinyl. When layering multiple heat transfer vinyl colors be sure to use a teflon sheet over any vinyl that no longer has the carrier paper protecting it.

htv

For more tips and a diverse selection of heat transfer vinyl, visit our website, http://www.proworldinc.com/ and pin this handy infographic! 

heat transfer vinyl tips

Are you ready to start crafting? Have fun and remember to submit your projects for us to see by tagging us on Instagram at #proworld or #proworldinc

View & Add Comments

Coloring Tees with HTV

Do you have a little one who loves to color? I hope so! Because we have a unique gift idea that will provide endless fun.

Today we are going to show you how to make a coloring book shirt for your little one or even a shirt for their cuddly stuffed animal! Now your child can color without making a mess. Once they are tired of their design, or if they go outside of the lines… you can throw it in the washing machine and start again.

coloring-tees

Here’s what you will need:

Cutting Machine
Black Heat Transfer Vinyl
-Garment (we used a blank doll shirt)
Weeding Tool
Heat Press
-Crayola Washable Markers

First, you will want to find a coloring book image that you would like to apply to your shirt. You can do this by:

  • Tracing a free coloring book page from Google
  • Snapping a photo of an actual coloring book page that you own and tracing the design
  • Find a coloring book image that has already been created online.

make-pretty-things

Or if you are just using a font you can do this by:

  • Download a coloring book font so that it has the open center
  • Write the child’s name in your favorite font and then offset the letters within your design program.

Once you have your design all set, it’s time to cut! First, check your cut lines. Then mirror your design. Load your heat transfer vinyl into your cutter, and select your cut settings.

Now, carefully weed your design.

image1-7

Fire up your heat press, and adhere your design at the correct time/temperature settings.

coloring-t

Carefully peel off the plastic carrier sheet, and admire your work! It is now ready for your child to color.

image1-5

Just be sure to give them washable markers if you want the shirt to rinse free. If you are looking for a more permanent solution, you can use fabric markers.

image1-6

And of course, we love seeing our customers projects… so don’t forget to tag us online by using @proworldinc or our hashtag #proworldinc

View & Add Comments