Learn How To Sublimate a Cheer Bow

Are you looking for a fun, high-profit product to add to your sublimation store? Try this decorative bow project!! With only a few supplies, you can take a plain white ribbon and turn it into a personalized piece of art. Want to learn how? Read below!

sublimated cheer bow

To decorate a bow you need:

Making the bow is easy! Just..

1-Design your bow using your design software. We used Creative Studio. You need to design 4 sections that are 8″ x 3″ each and send to your Sublimation Printer.

sublimate a cheer bow

2- Take your print out and cut it into 4 sections.

3.- Unroll your ribbon and measure it to 32″ and cut.

sublimate a cheer bow

4 – Now fold it in half, so that you know where the center of your ribbon is, and tape two strips of your paper onto each side. When taping your paper, you will have 2 strips on the top center of the ribbon. Place the 2 remaining strips on the back end side of the ribbon.

learn how to sublimate a cheer bow

5 – Press each section at 400 degrees for 60 seconds.

6 – Now that your ribbon is decorated it’s time to fold your bow and hot glue a clip to the back.

learn how to sublimate a cheer bow

7 – That’s it. Admire your results!

learn how to sublimate a cheer bow

View & Add Comments

Photo Frames: that you can make at home

A photograph is an amazing thing–with one glance it can instantly transport you back to a single moment in time. Everyone loves to display their photos, so why not create a custom frame that will make your photos stand out? Maybe you want to create custom frames to sell, or to decorate your house, or as gifts for Mother’s Day.  Sublimation makes personalizing frames simple, so if you need a selection of frames, you are in luck! Pro World just expanded our selection of frames to give you more options to choose from.

engaged! (1)

We carry:

rock slates:

rock slate blank

photo panels:

photo panel

glass photos:

glass photo

hinged pair photo:

hinged photo

offset frames:

side photo

decorative frames:

heart frame

Do you want to customize your own photo frames? Here’s what you need:

When it comes to sublimating it is simple. You start by:

Step 1 – Design your image or design.

flower screen shot

Step 2 – Mirror your image and send it to your sublimation printer.

sub printer

Step 3 – Turn on your heat press and set it to the proper temperature. To find the temperature look at the instructions on the product page.

Step 4 – Use your thermal tape to adhere your image to your sublimation product.

IMG_4762

Step 5 – Place a non-stick sheet or even a blank piece of paper on your heat press to catch any leaking.

Step 6 – Place your item on top and then cover it with a non-stick sheet.

Step 7 – Press your item for the time instructed on the product instructions.

Step 8 – Peel the paper off of the item. Make sure to read the instructions to see if your product is a cold or hot peel.

IMG_4765

Step 9: Admire your results.

IMG_4775 (2)


View & Add Comments

Personalized Baseball Ideas to Make This Spring

Knock your sales out of the park this spring with personalized baseball and softball products! We have an extensive list of supplies that allow for you to create anything you can imagine.

baseball ideas (1)

From heat transfers, heat transfer vinyl, adhesive vinyl and even sublimation there is something for everyone. Need some ideas to get you started? Here are a few!

You can create batting helmet labels from adhesive vinyl, so that the team can tell each other apart.

DSC04772 (2)

Let the fans show their love of the game with shirts made from HTV or heat transfers.

IMG_3229-e1461730984340Our baseball and softball heat transfers come in screen print, rhinestone and even studs!

collage

You can personalize team jerseys with heat transfer vinyl.

neonbrand-423339-unsplash (1)

You can even sublimate your own baseball awards!

5680_homeplateplaque_mvp_hr

Bag Tags

17240007_908974129206338_6692576880790671914_o

Photo From Finnegan and the Hughes!

Need more ideas? Try personalizing bat bags, bat racks, water bottles (with vinyl or sublimation).  Hats and visors are great to customize as well.

View & Add Comments

Sublimate Mermaid Scales

Iridescent color changing mermaid scales are one of the hottest trends right now. From pillows to apparel to accessories, you can buy mermaid scales on just about everything. But did you now that you can sublimate the white ones? It’s true! So now when you run your hand over the mermaid scales and watch their color change before your eyes, you will also find a sublimated message. Want to make one for yourself? It’s easy!

sublimate mermaid scale

You Need:

To customize your mermaid scale you:

1 – Open your design software. We used Creative Studio.

2- Choose a Blank Template and design your piece!

mermaid text

3- Print.

IMG_3444

4 – Cut your paper down to size and tape it to your accessory so that it does not slide. Press it at 400 degrees, and hold for about a minute. Peel hot.

IMG_3449

5- Admire your work!

View & Add Comments

Learn how to sublimate a photo gift

sublimated photoSublimation makes personalized gift giving easier than ever. It is a simple process that allows you to give a professional quality gift with your own design. We offer a number of items on our website that you can sublimate on for gift giving including rock slatesphoto frames, magnets, mousepads, mugs, coasters, jewelry, keychains, photo panels, cell phone cases, and even puzzles!

via GIPHY

Wat to create your own photo gift? Here’s what you need:

When it comes to sublimating it is simple. You start by:

  1. Designing your image or design.
  2. Mirror your image and send it to your sublimation printer.
  3. Turn on your heat press and set it to the proper temperature.
  4. Use your thermal tape to adhere your image to your sublimation product.
  5. Place a non-stick sheet or even a blank piece of paper on your heat press to catch any leaking.
  6. Place your item on top and then cover it with a non-stick sheet.
  7. Press your item per the instructions.
  8. Peel the item per the instructions.

If you want to see sublimation in action check out a couple of our Facebook Live videos. You can see us sublimate onto mousepads. 
Or even phone case panels

Have you sublimated any photo gifts recently? Share your creations with us on Instagram or Facebook.

View & Add Comments

Last Minute Gift: Sublimated Ornaments

I always like to make a few handmade Christmas ornaments each year. Some for me, and some for friends since they are a nice personalized gift to give, especially when you use sublimation. They are quick to make and don’t require a lot of materials, and since you can sublimate photographs it will leave a lasting impression for years to come.

Want to make your own? See below!

last minute gift

You Need:
1. Design your ornament with your sublimation software.
Capture
2. Print it out.
IMG_1323
3. Warm your heat press to 400 degrees.
4. Tape your paper to the ornament.
IMG_1324
4. Place your ornament down with the paper on top and your Teflon sheet on top of that. Keep it pressed for 60 seconds.
5. Lift off the paper.
IMG_1326
6. Hang it on your tree.
IMG_1328 (1)
Show us your last minute, homemade gifts on Instagram! Tag us at Proworldinc.
View & Add Comments

HTV vs Sublimation – What’s the difference?

When it comes to creating custom products, there are a number of different ways to do it. So how do you know which is right for you, your specific project, and your business overall? We’re going to help break it down for you. As you’ve seen from our Friday Facebook Live videos we love to create things and two of the main ways we make our designs is with heat transfer vinyl (HTV) and sublimation.

Heat Trans vs Sub-5_preview

With HTV you can create an endless supply of personalized shirts, bags, hats, aprons, etc. It is available in a number of different colors, sizes, and finishes, and you can use it alone or layer it for a more dimensional look.

htv

Sublimation is a great way to add a premium full-color, photographic quality image to your project, especially since it will not crack, peel, or wash away. When sublimation inks are heated to 400*F with a heat press, they turn into a gas and form a permanent bond to white or light colored polyester fabrics, or items with a polymer coating.

wedding coozie

HTV gives you more options when it comes to garments as it works on any color, unlike sublimation which can only be done on white or light colored fabrics. But if you are personalizing phone cases, mugs, frames, etc., sublimation is a more simplified process that gives you more options.

And while HTV and sublimation are each great in different ways and for different projects, they can also be used together. Want to sublimate on a dark colored garment? Create a design using HTV and then sublimate on top of it. Talk about one of a kind!

20170726_090402


For more tips check out our Facebook Live videos.

View & Add Comments

Sublimation- What Is It And How Can You Use It To Grow Your Business?

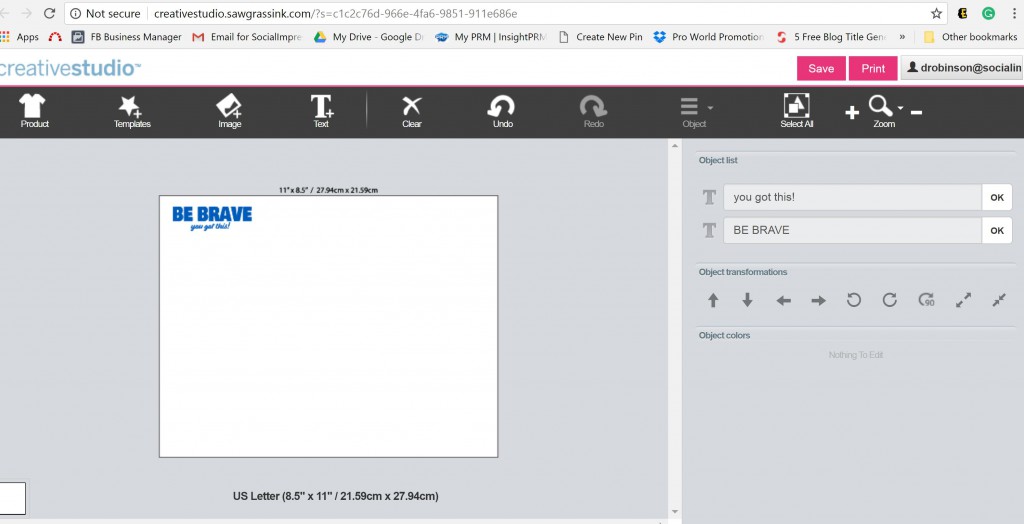
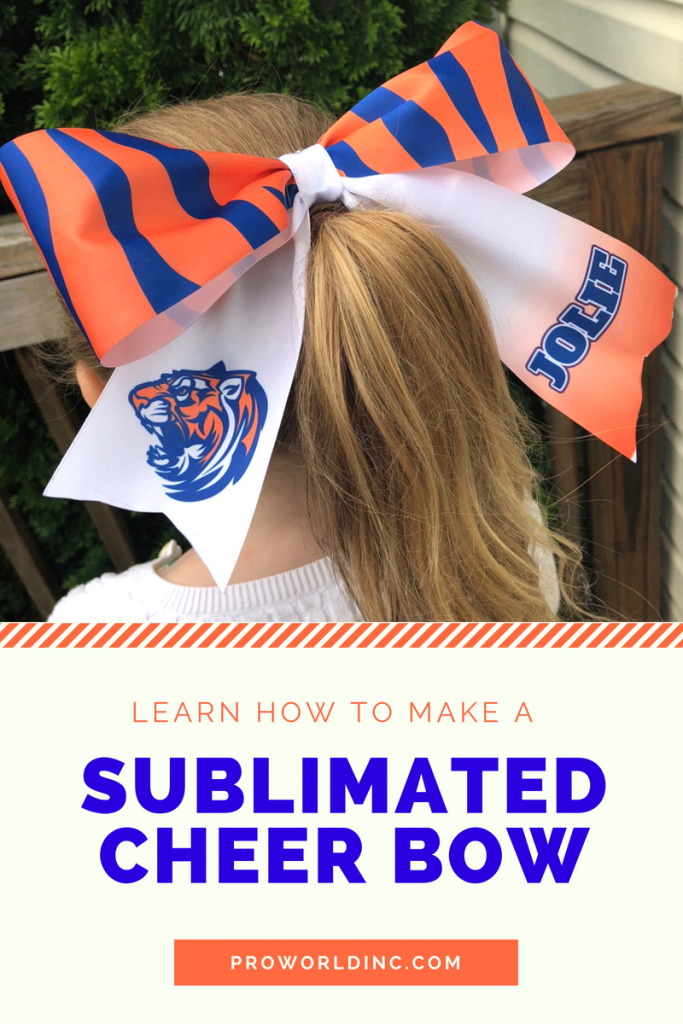
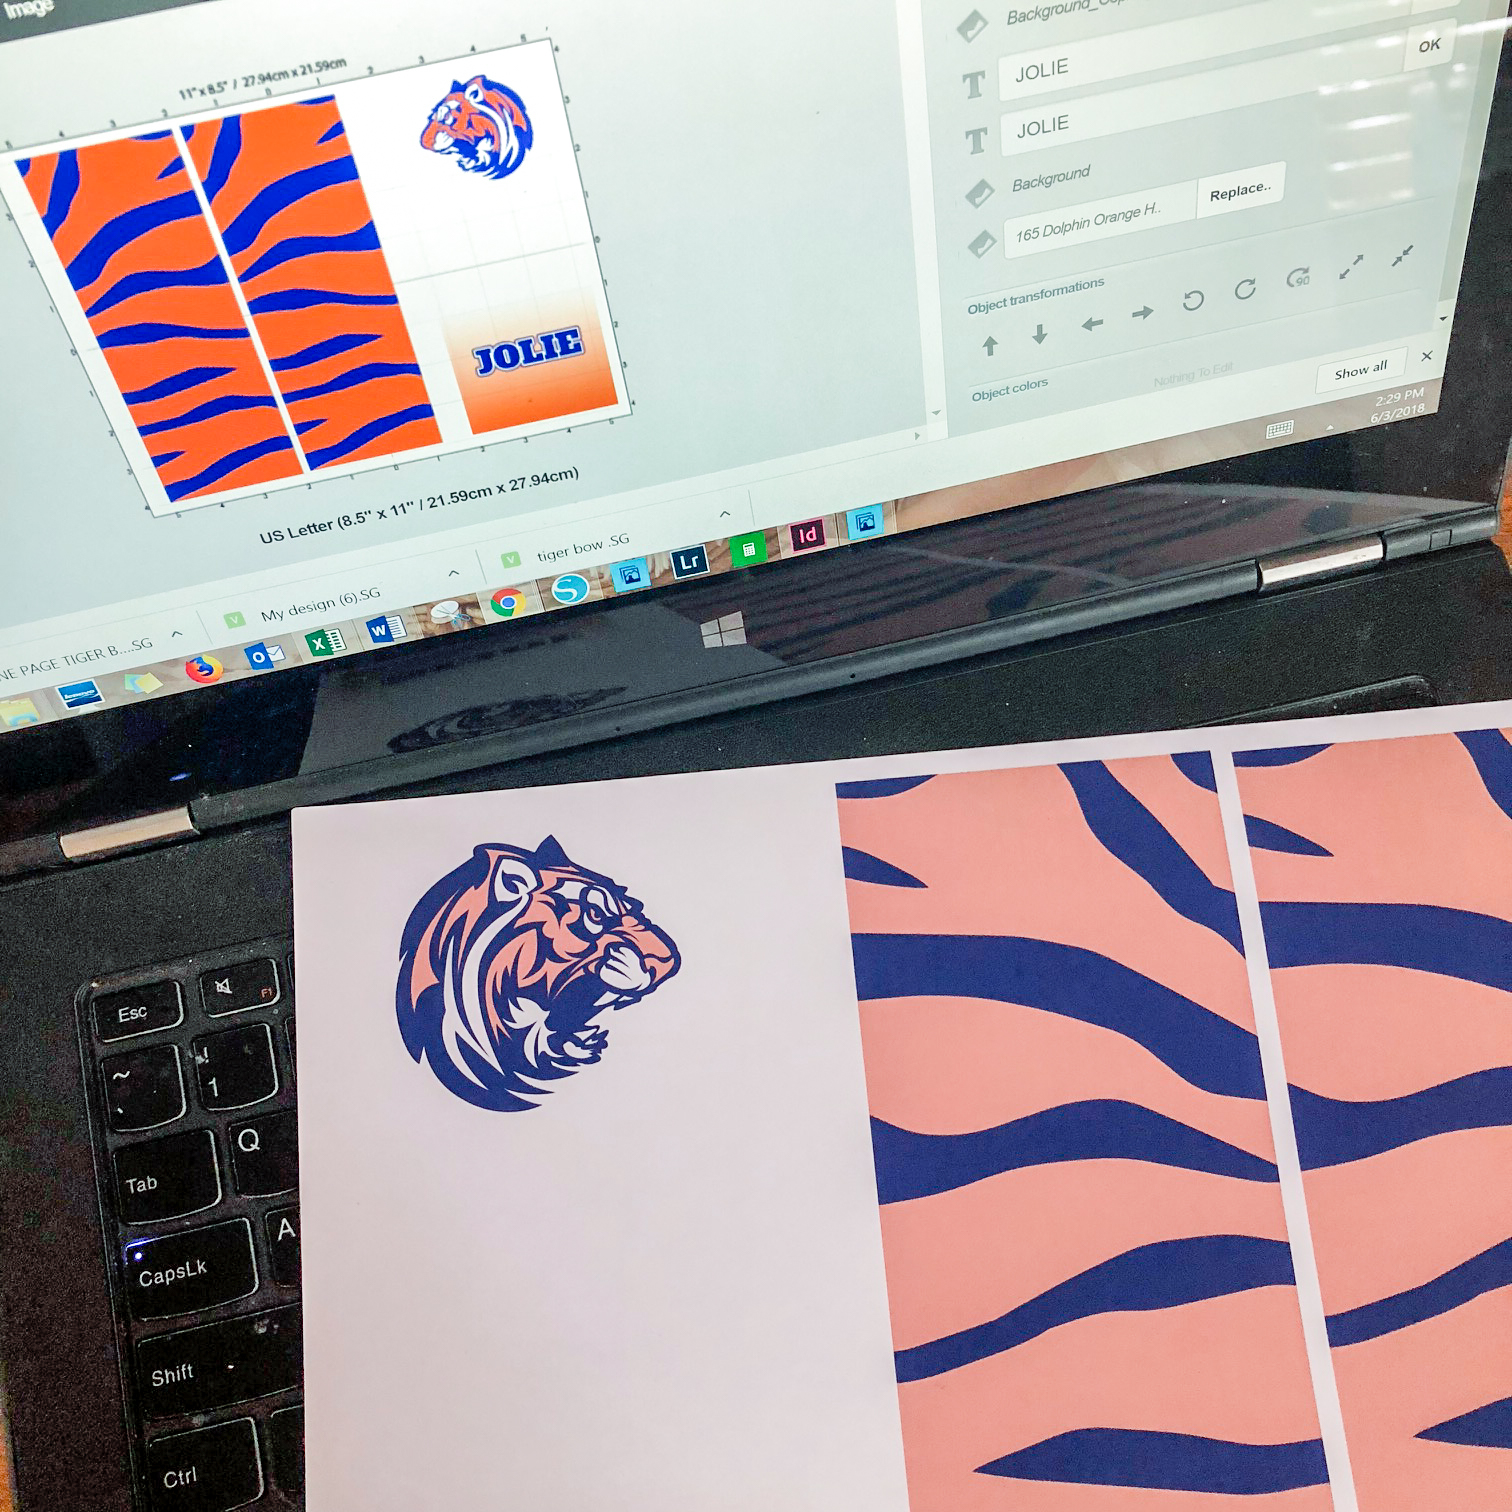
Sublimation printing allows you to create customized full-color products on demand. Using it will allow you to grow your inventory while also offering customers completely personalized, one-of-a-kind products on the spot.

Grow Your Business

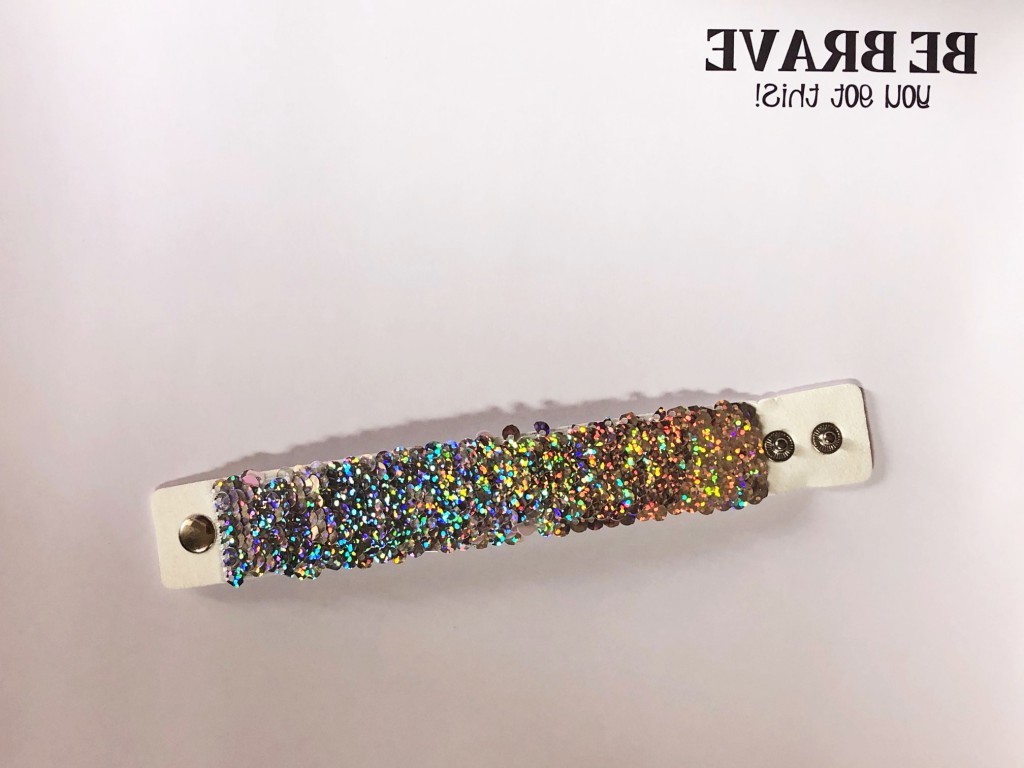
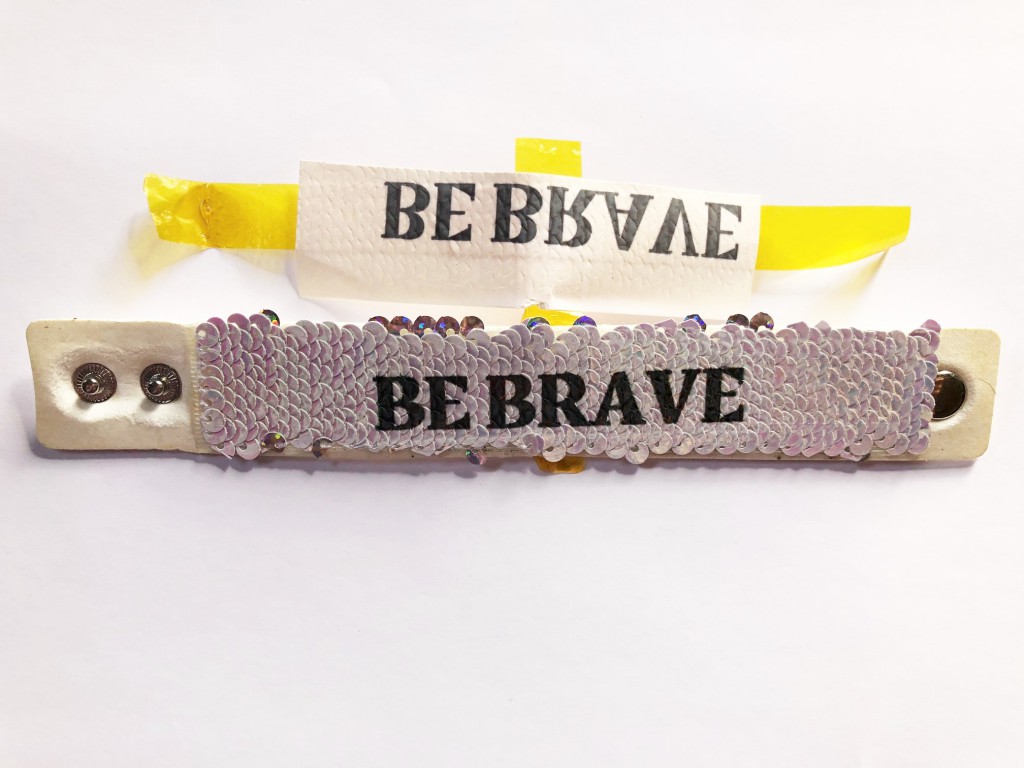
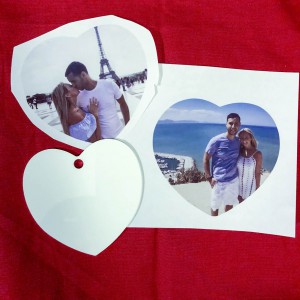
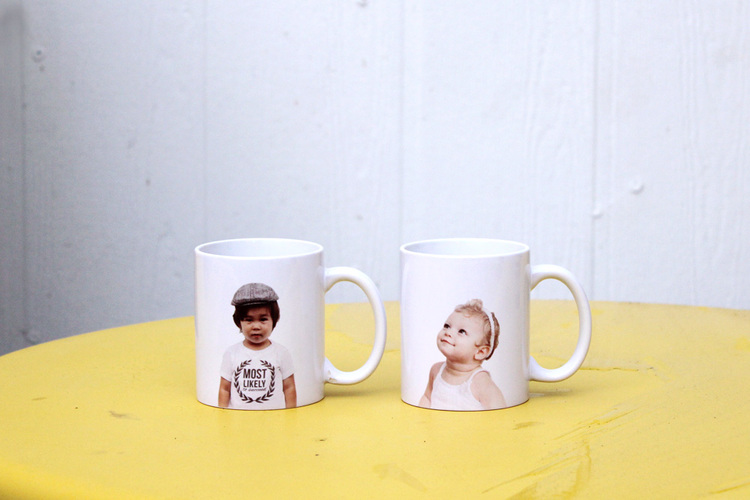
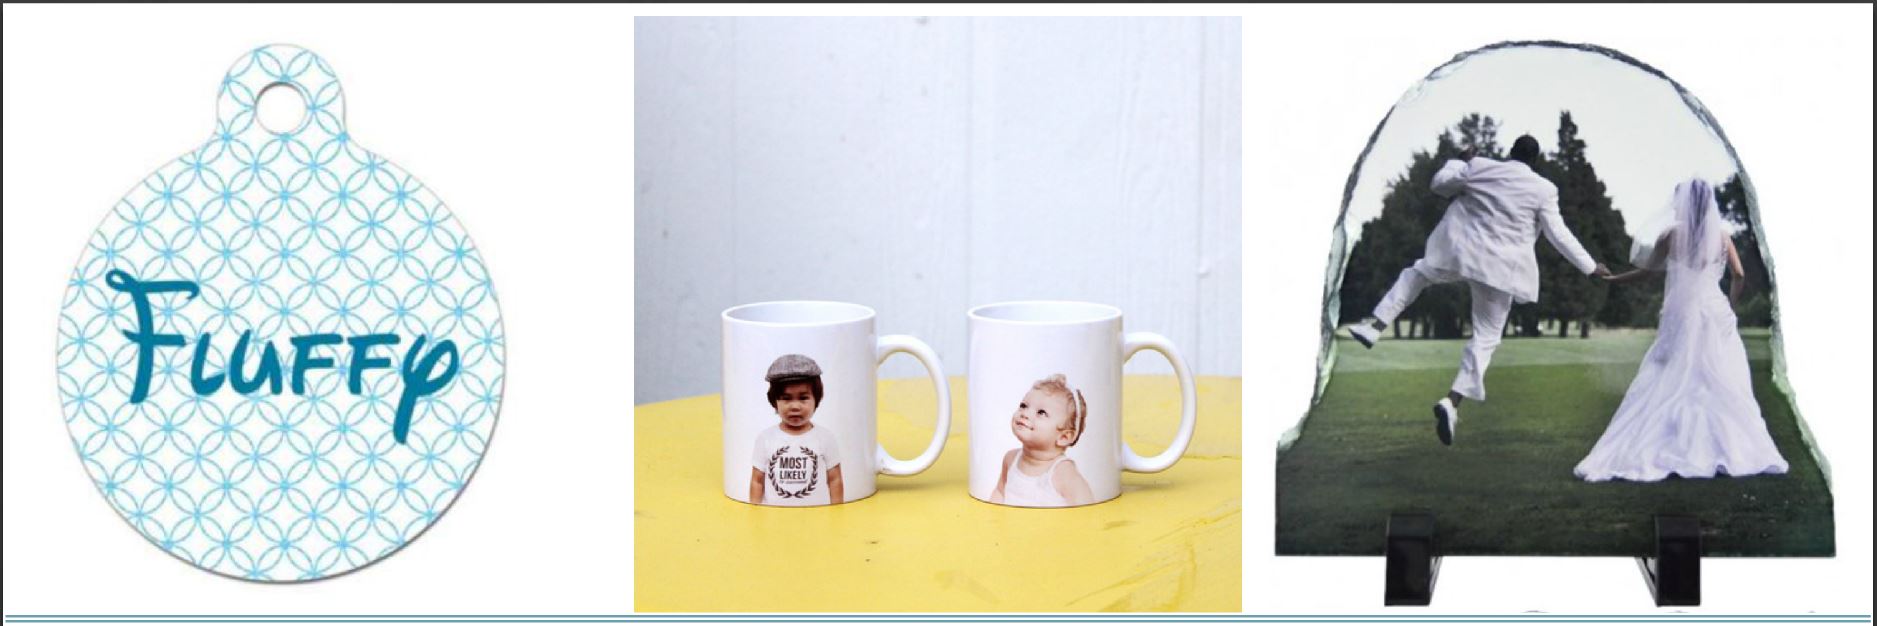
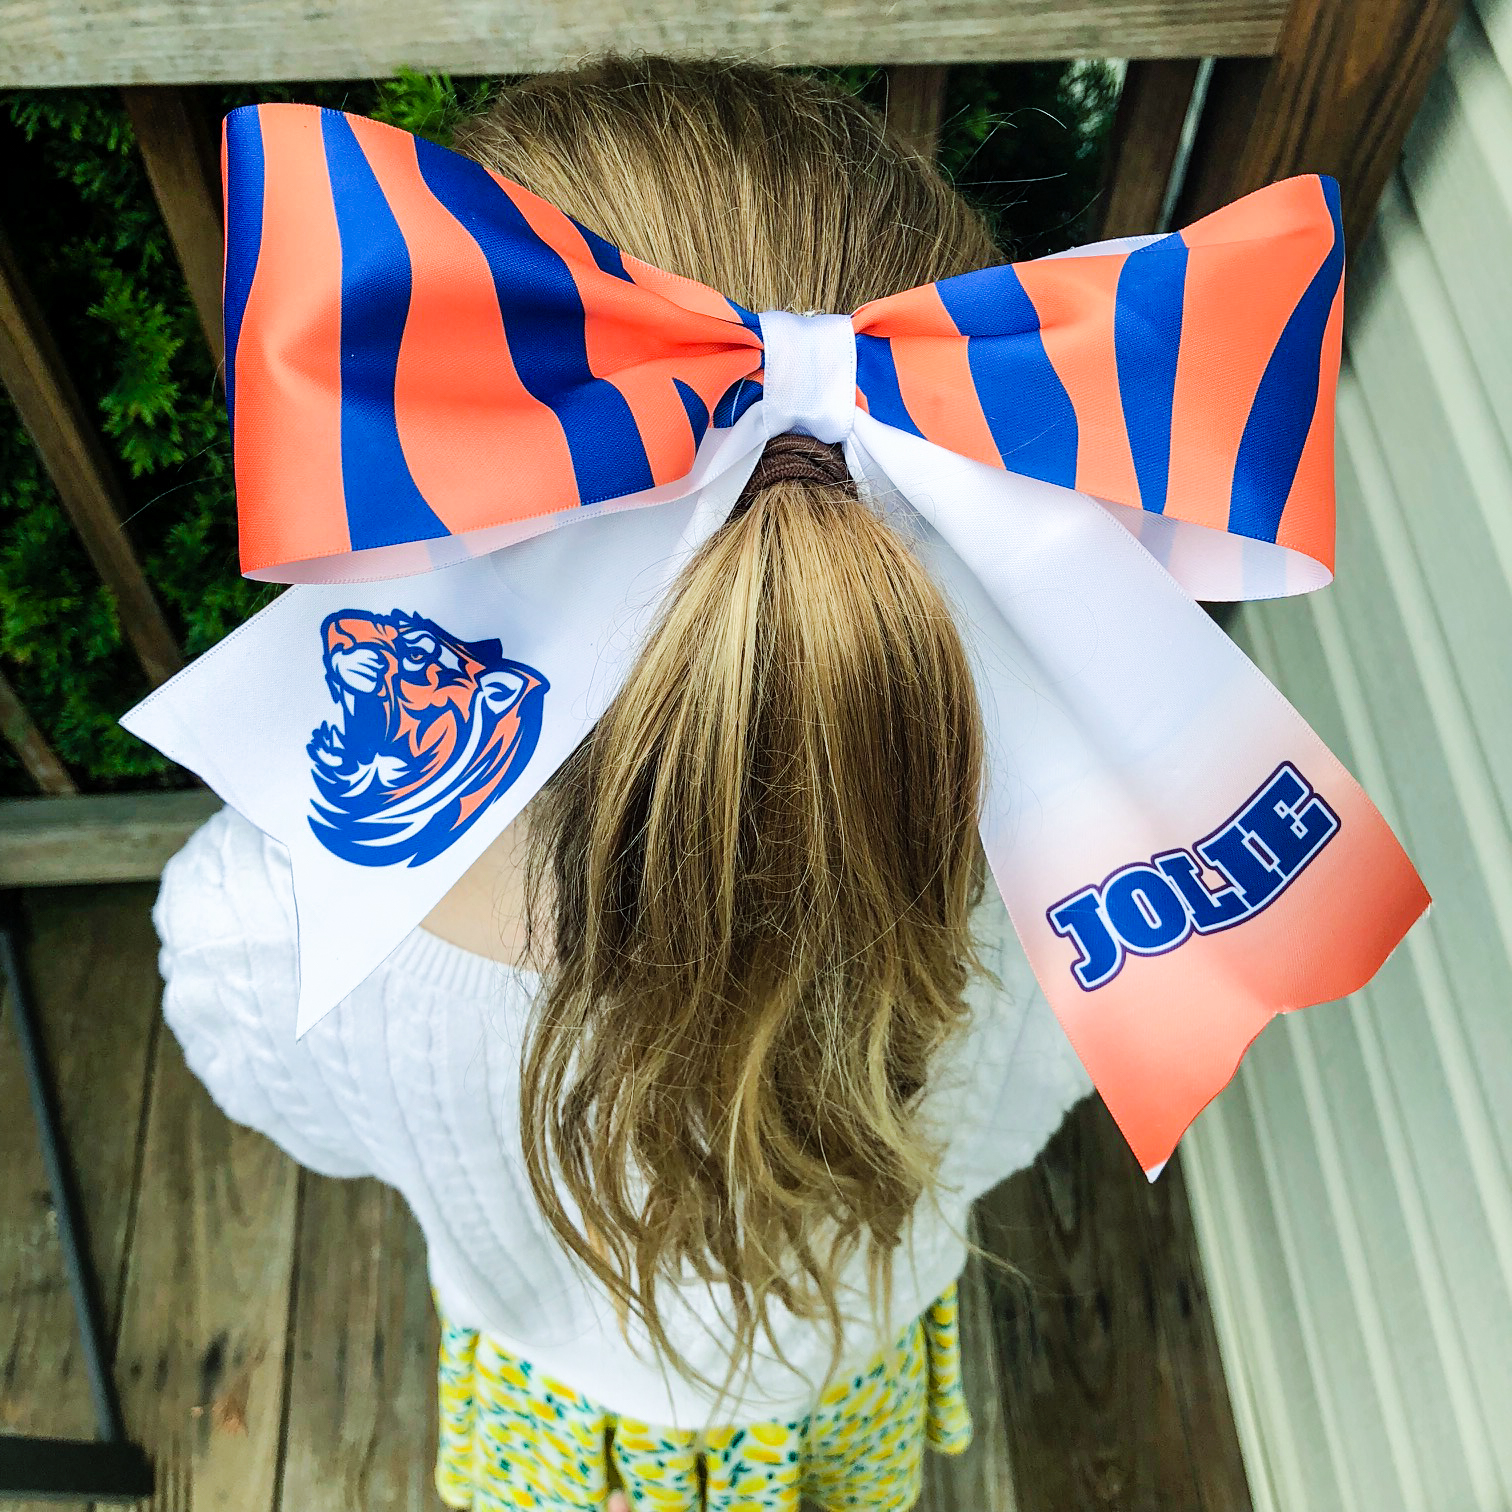
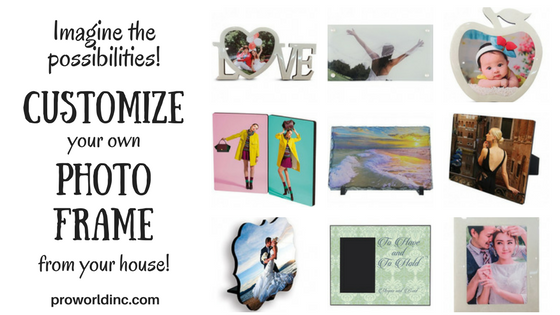
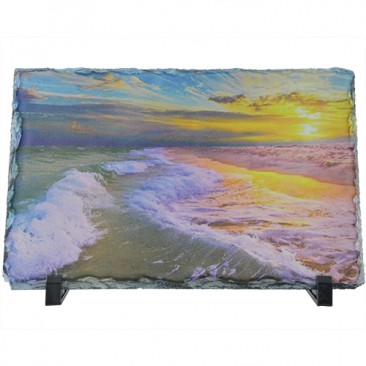
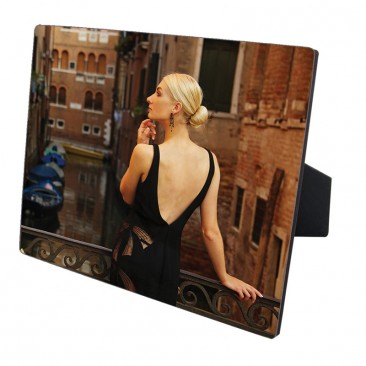
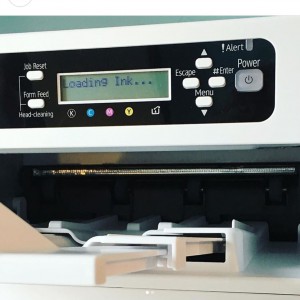
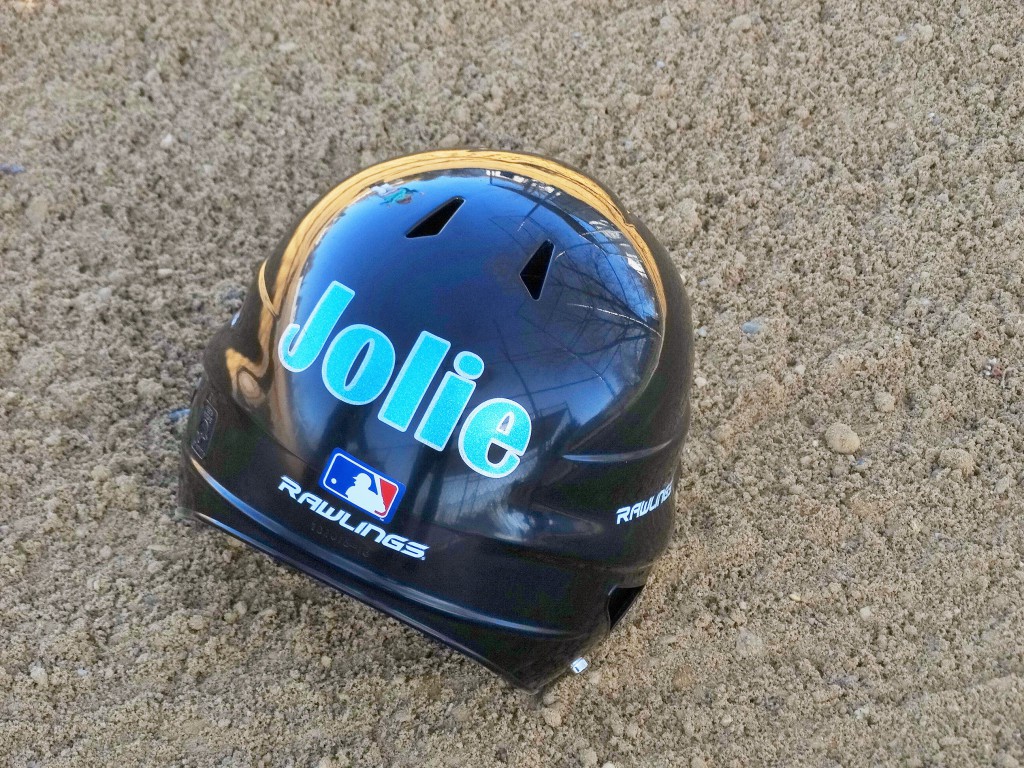
Sublimation is a process that only works when using sublimation paper, sublimation ink, and a sublimation printer. You also will need a heat source like a heat press (for flat objects) or a 3D vacuum heat press which works like an oven, for objects that will not work under a heat press. When sublimation inks are heated to 400°F, they turn into a gas and form a permanent bond to 100% white/light color polyester fabric or items with a polymer coating. The result is a premium, full-color, photographic-quality image that will not crack, peel, or wash away from the substrate. With sublimation, you can print on clothing, mugs, phone cases, frames, tags, license platespuzzles, and more.

craft show

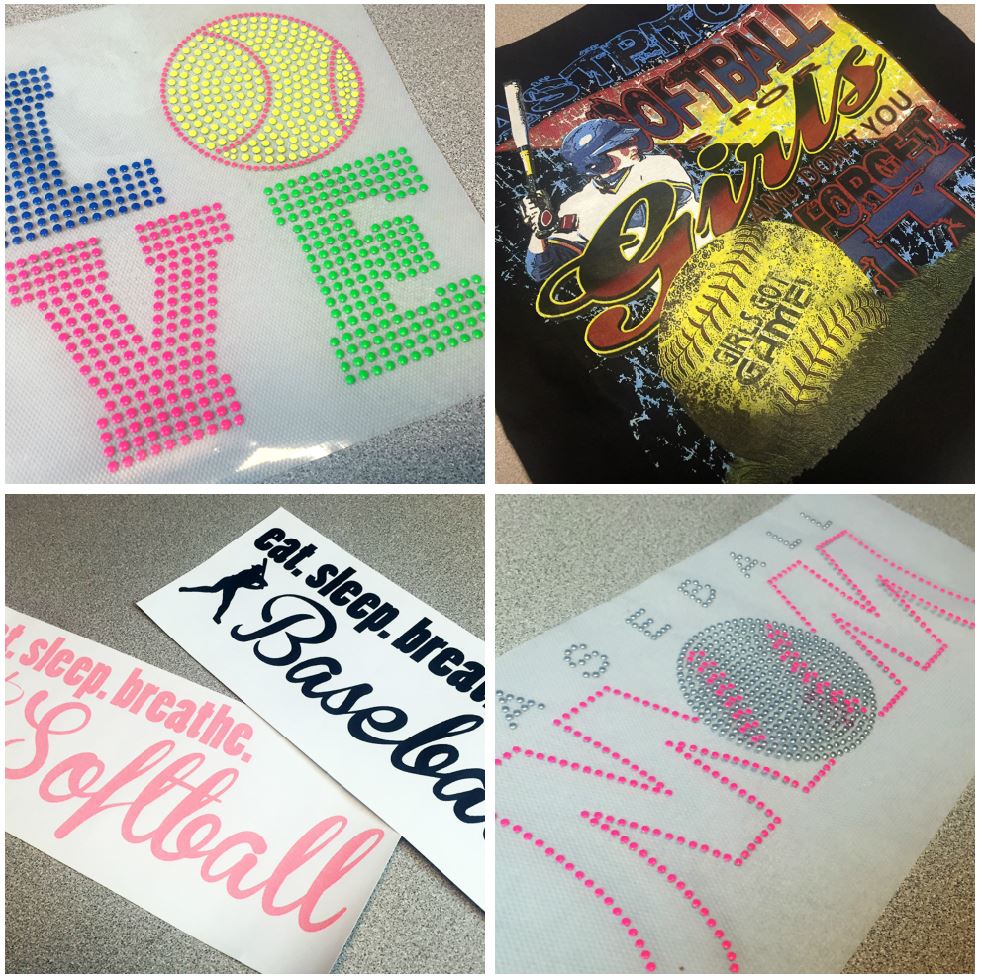
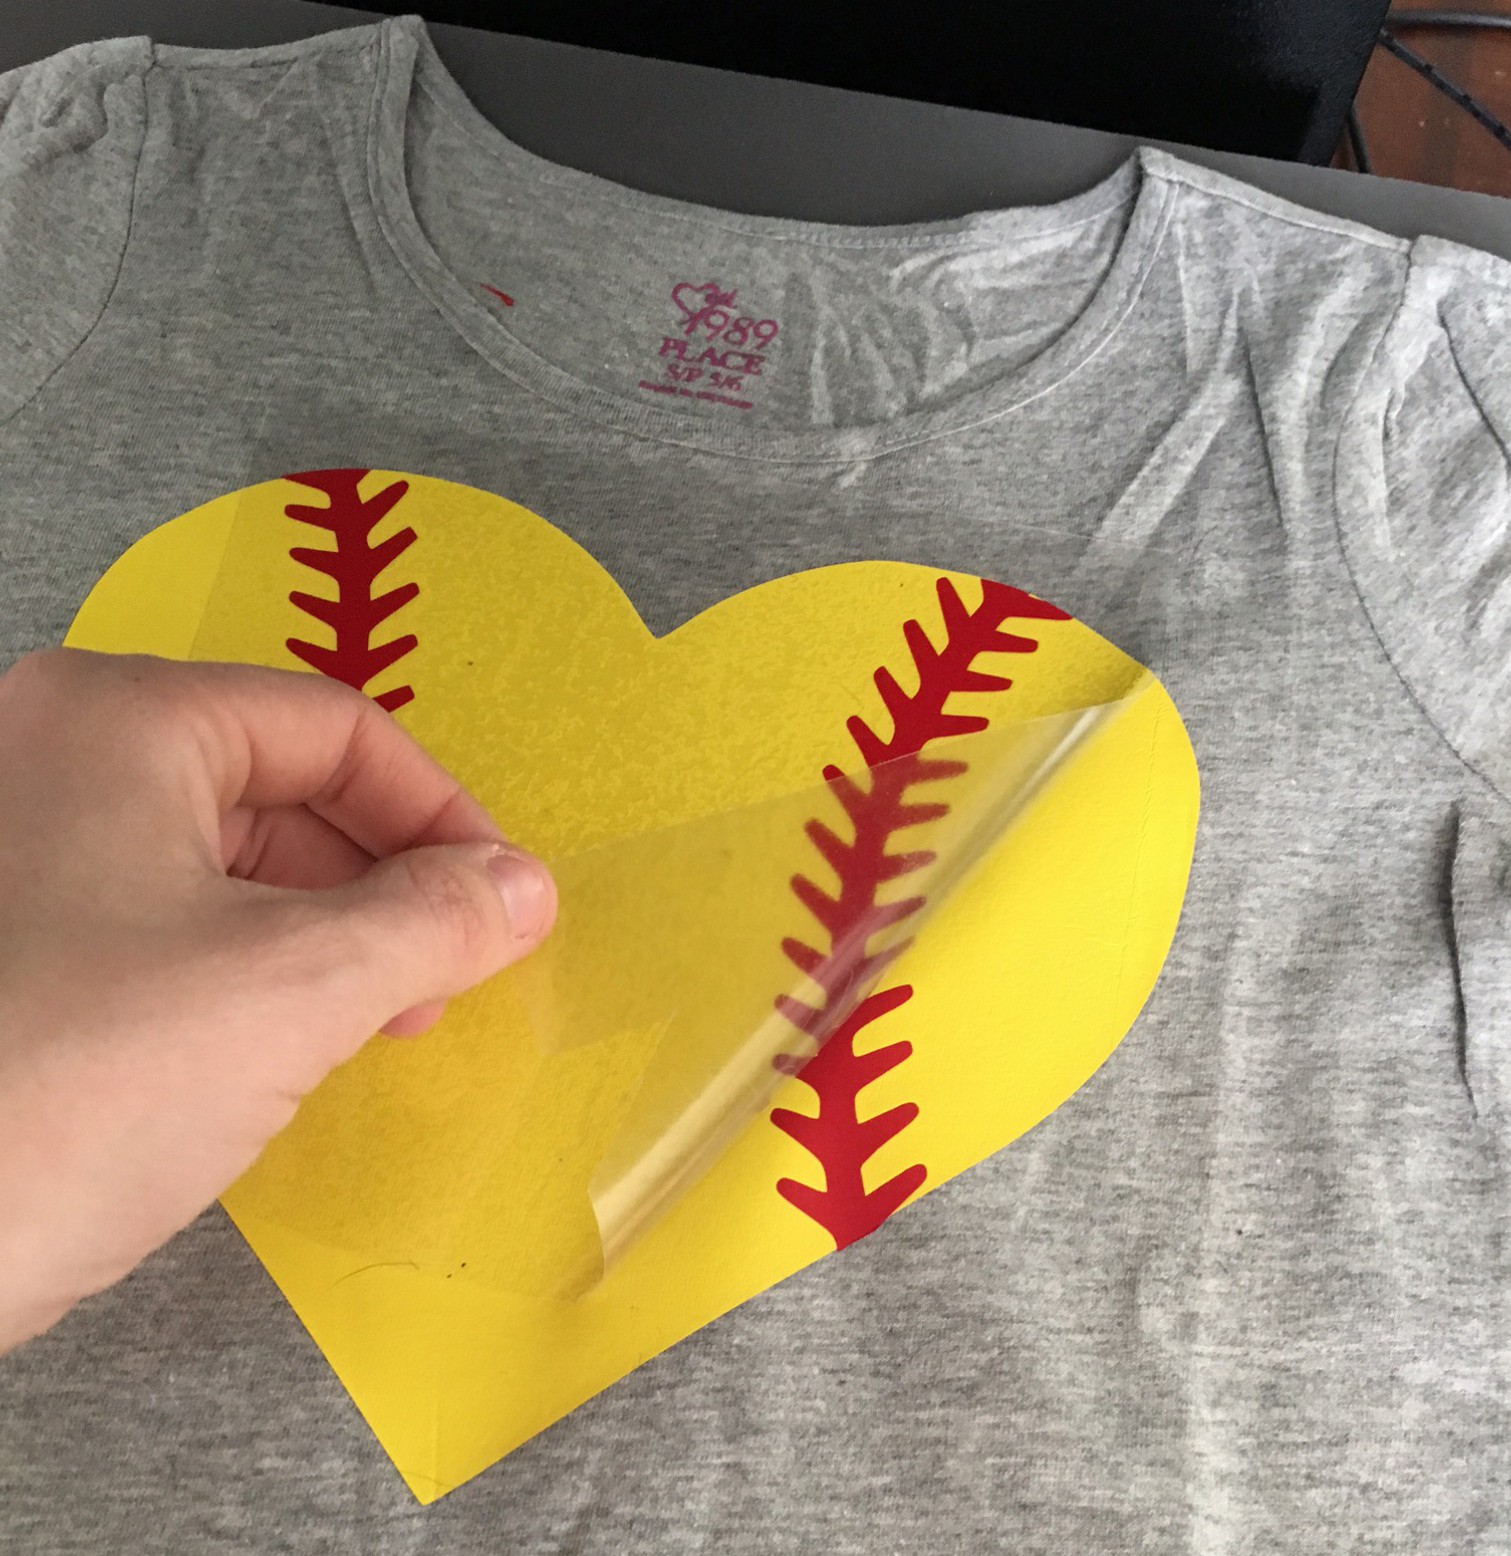
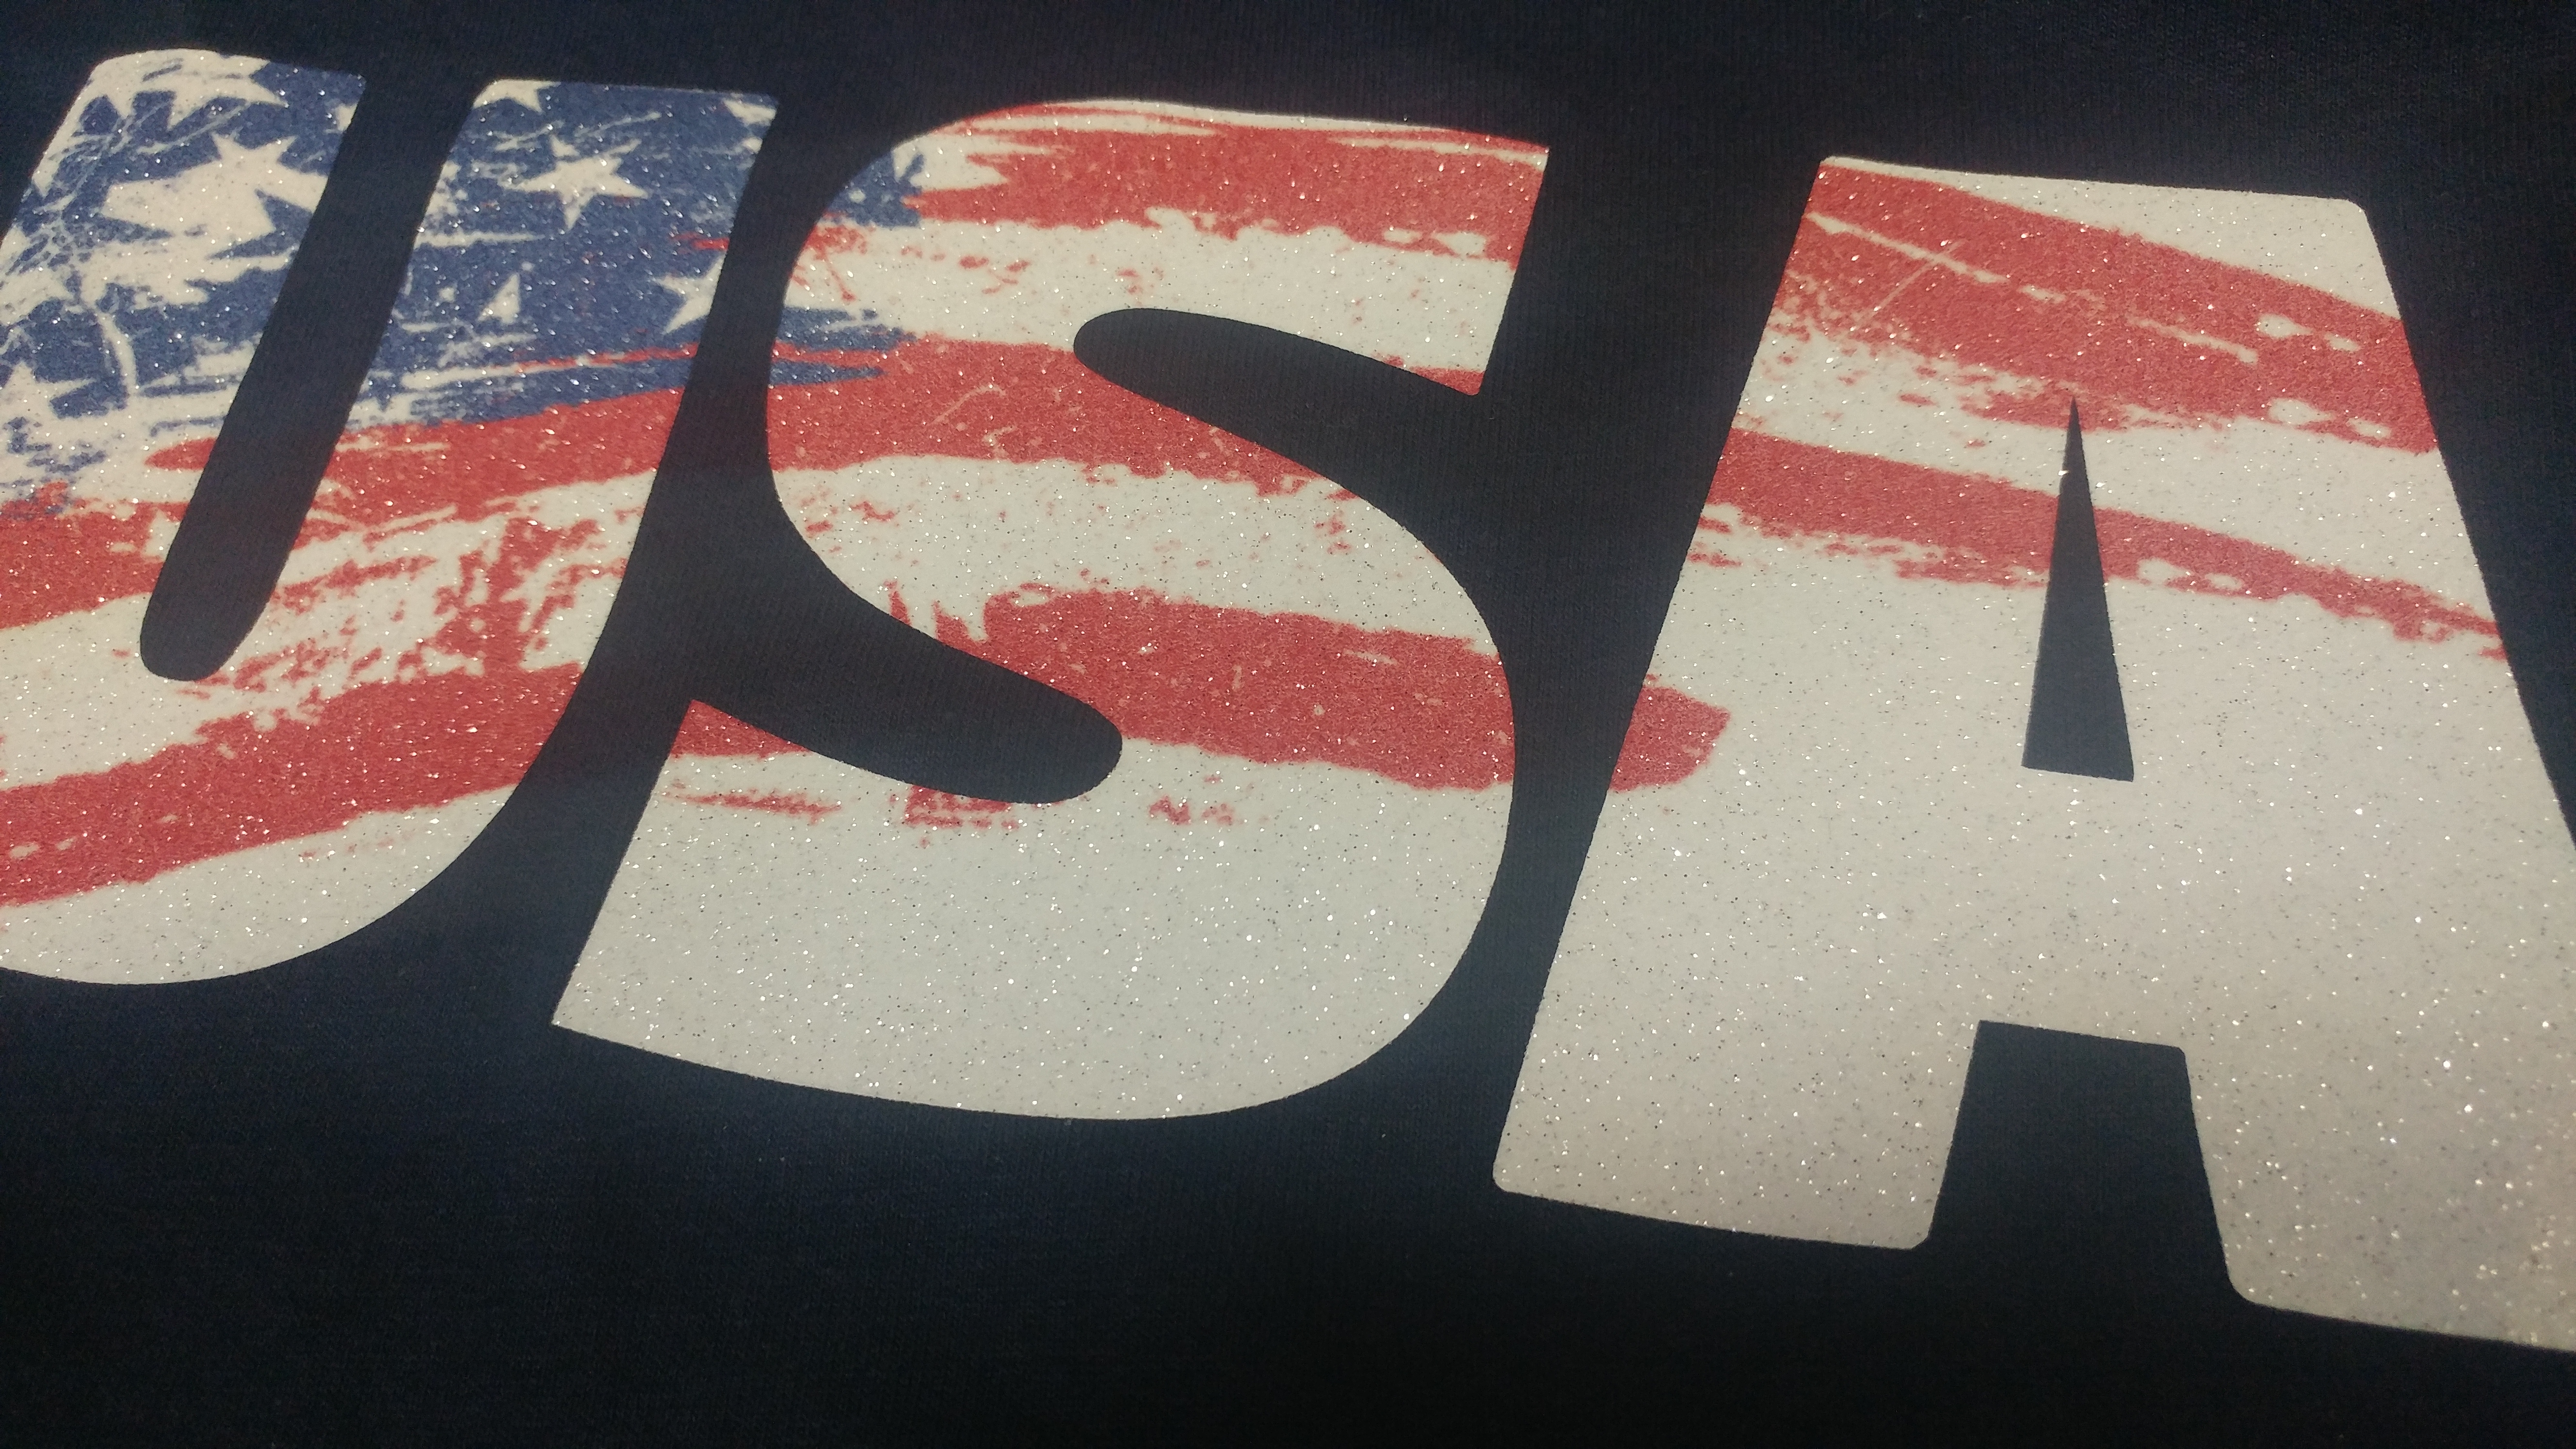
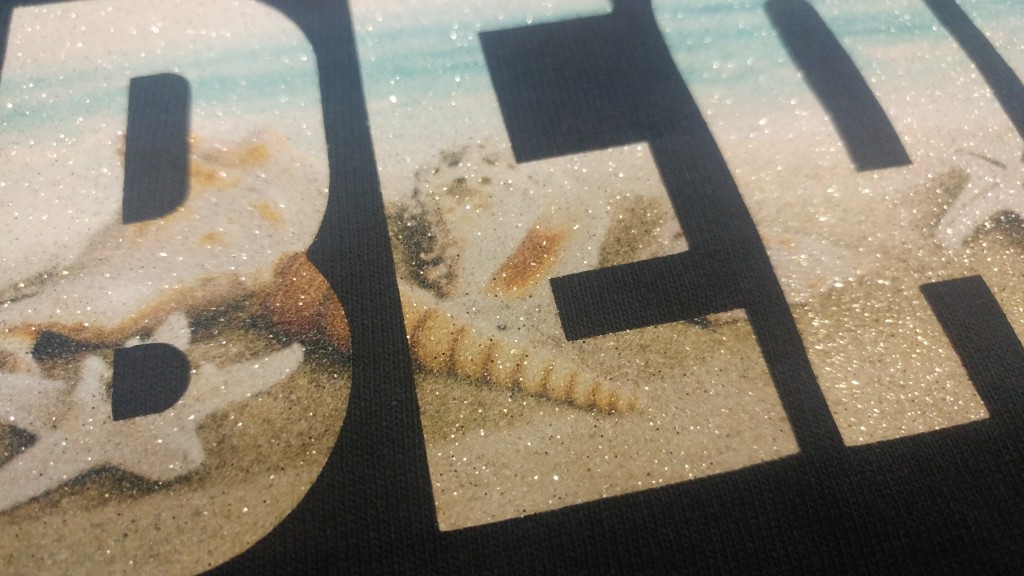
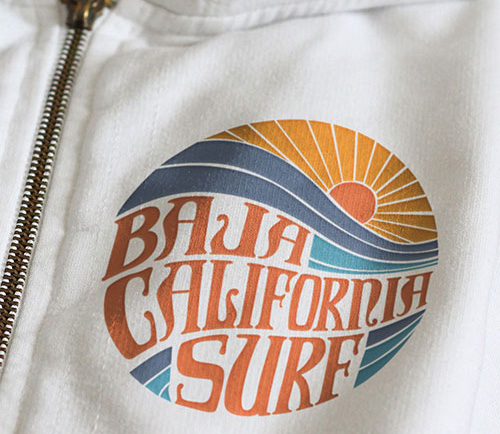
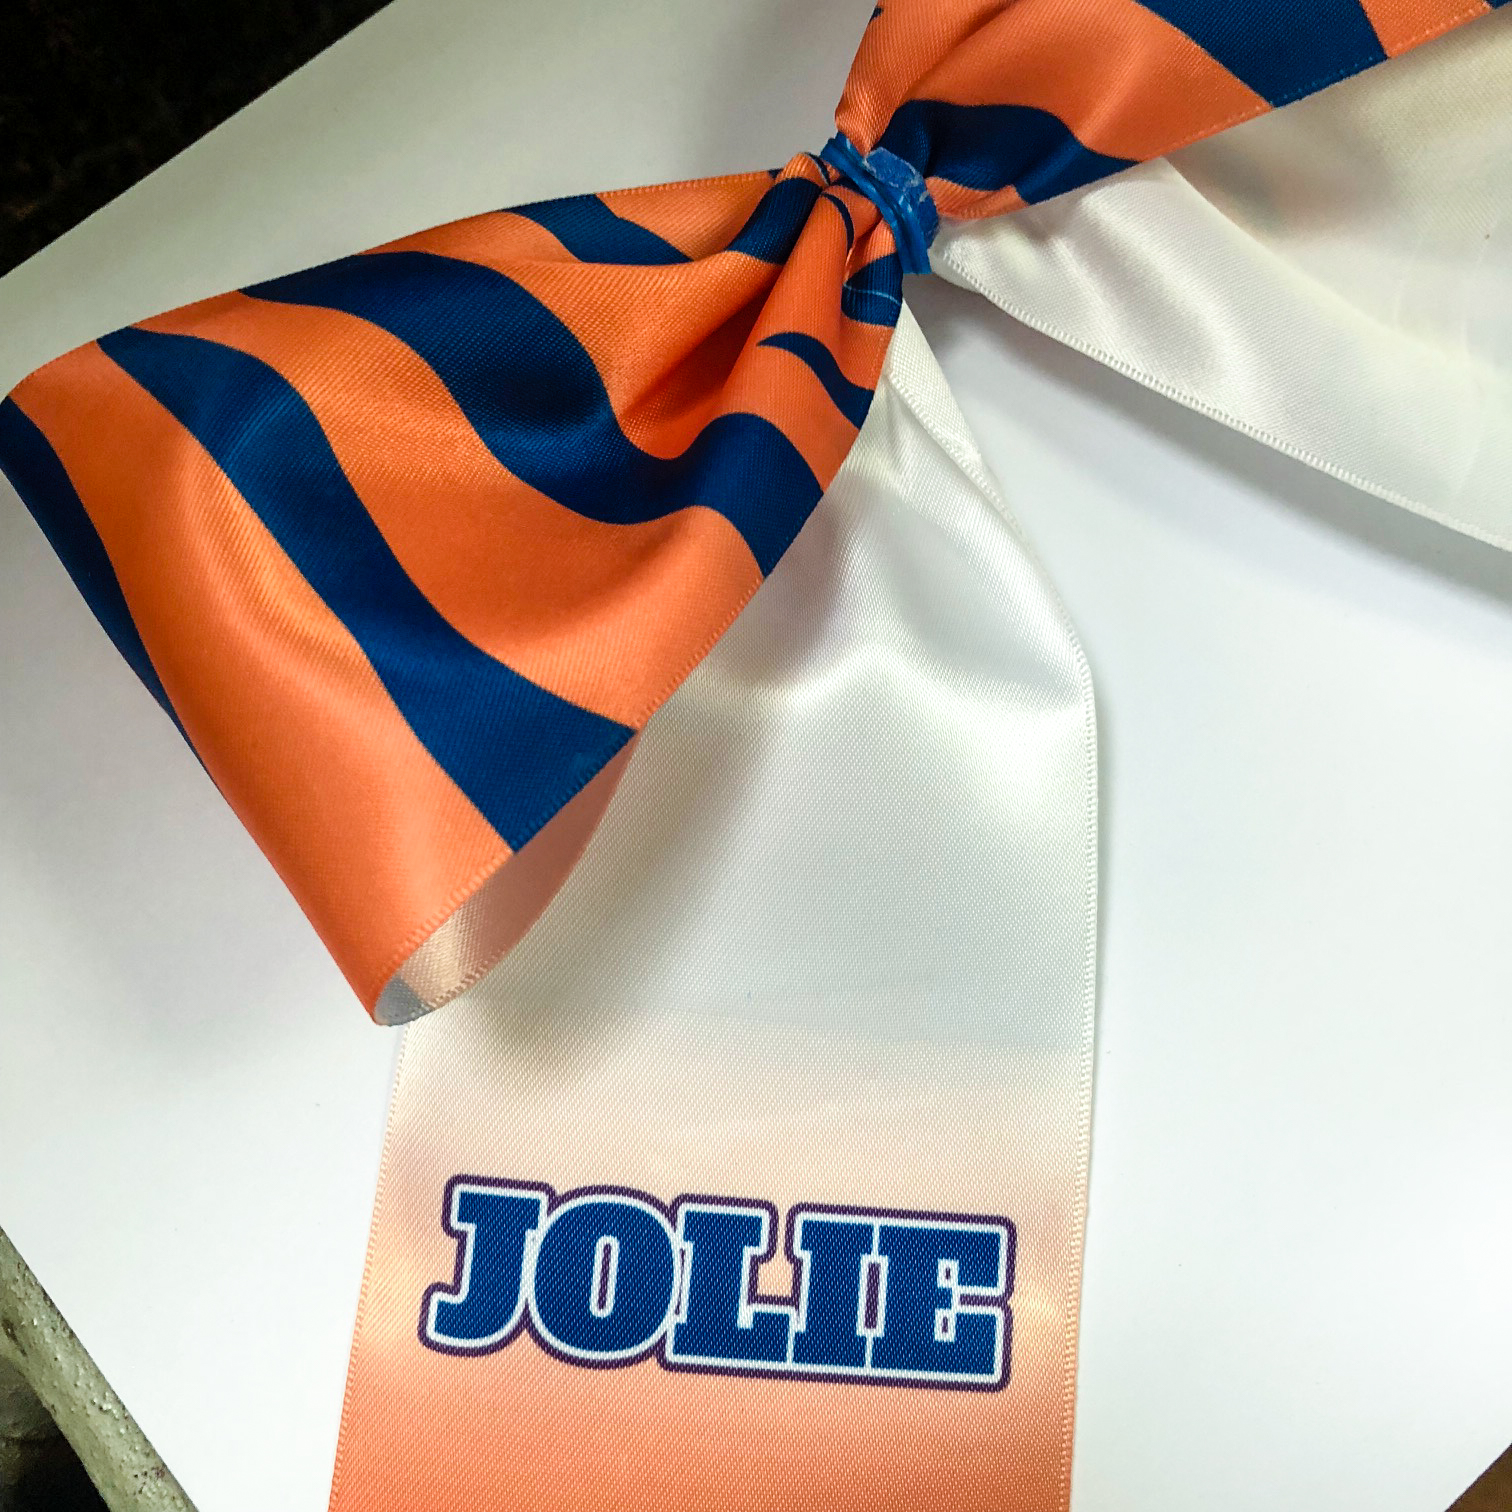
When printing on garments, the heat from the press causes the pores of the polyester to open up, the sublimation ink turns into a gas and then embeds itself into the garment. Once cooled, the pores close up. Because of this process, the final product is nearly permanent, extremely vibrant, and leaves no texture when rubbing your hand over the garment. You can sublimate on poly-blends, but keep in mind that the ink will only dye the polyester fibers, leaving a distressed look.

Vibratrans Screen printed heat transfer

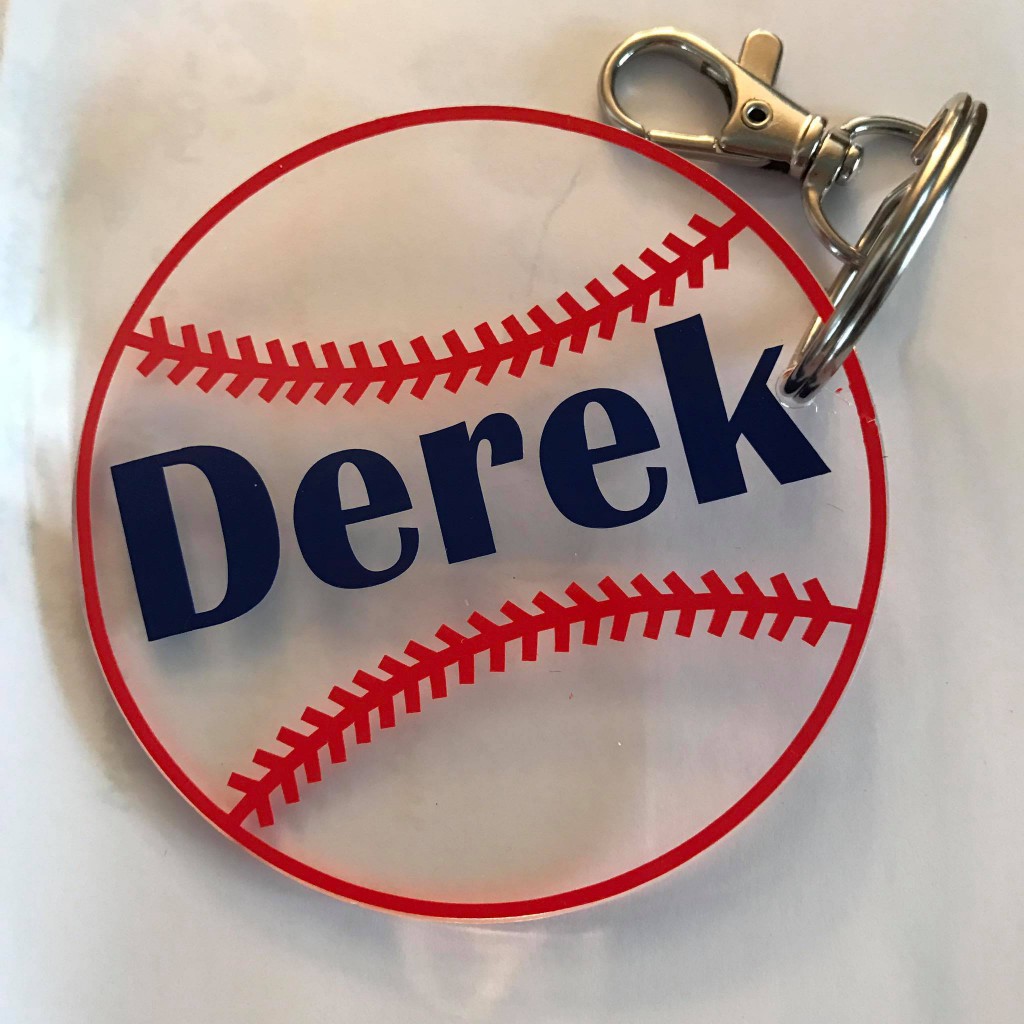
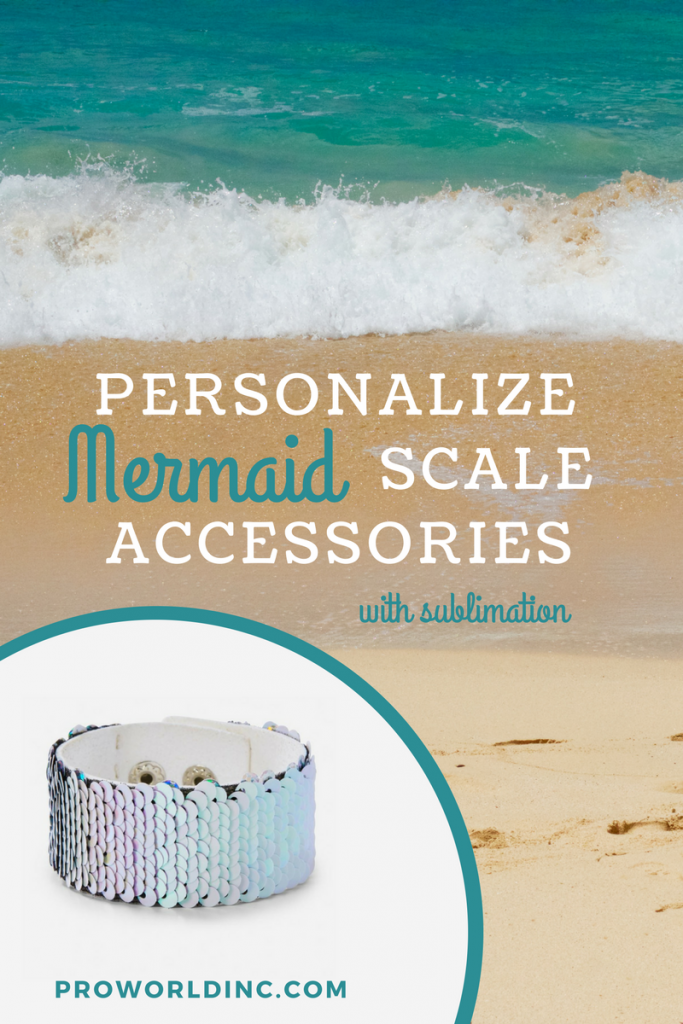
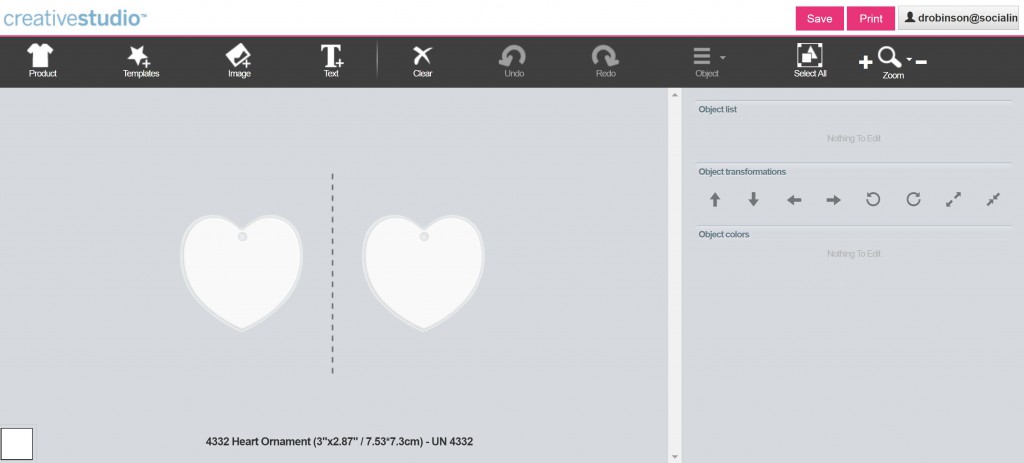
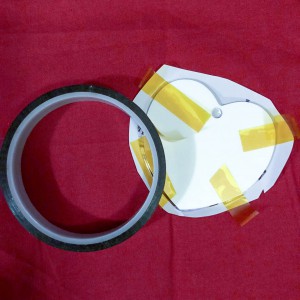
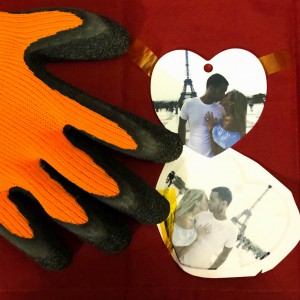
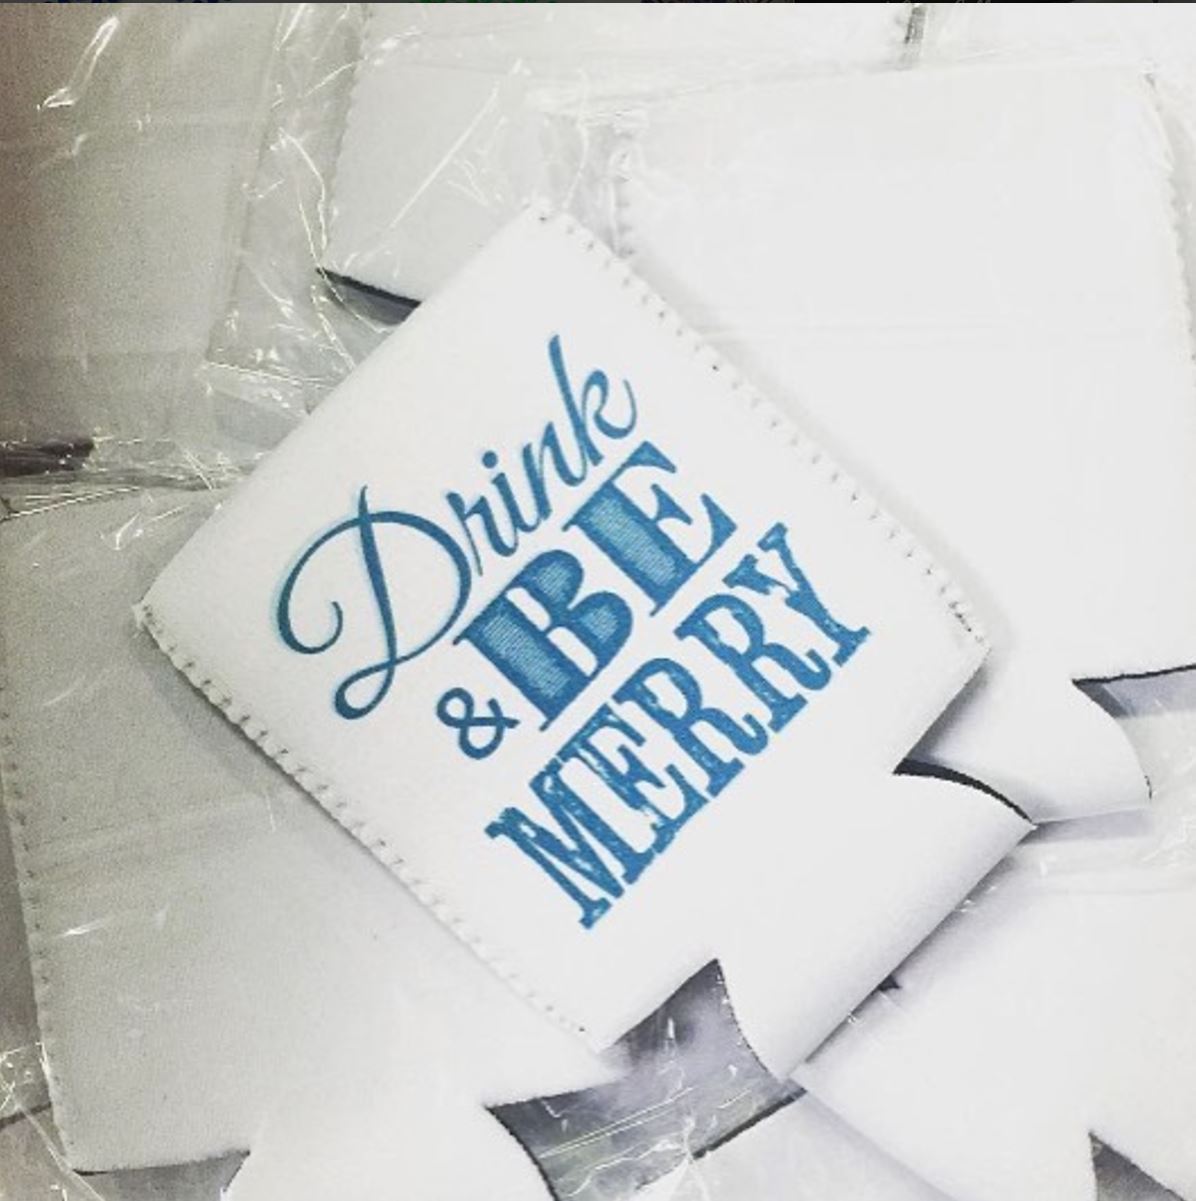
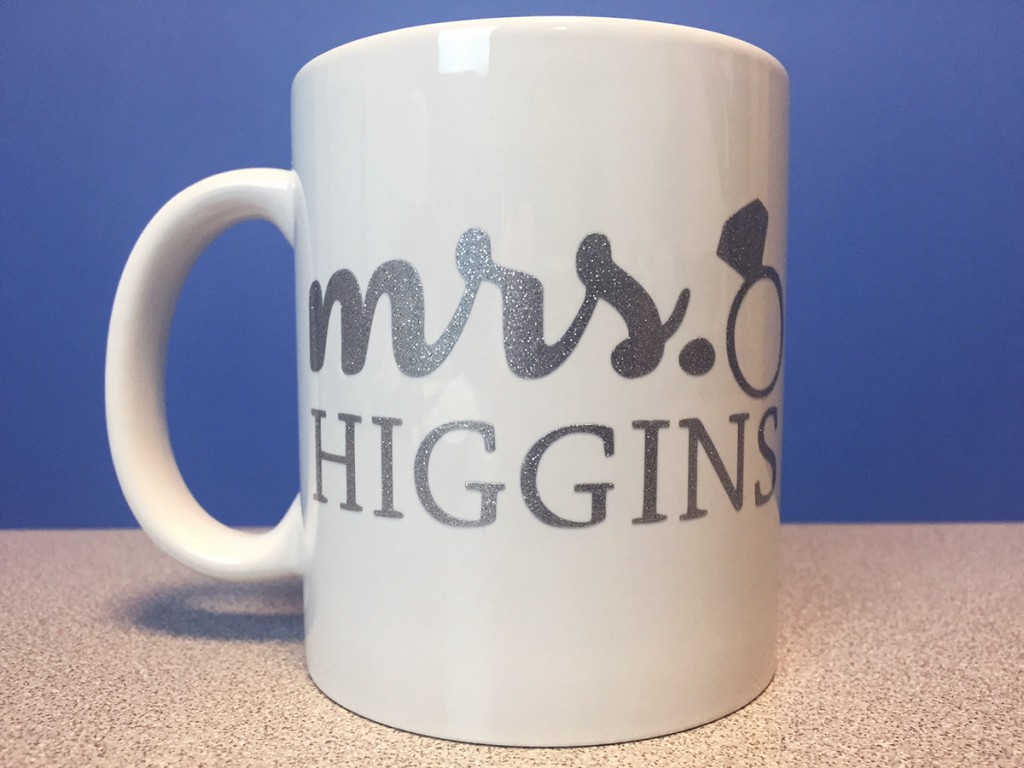
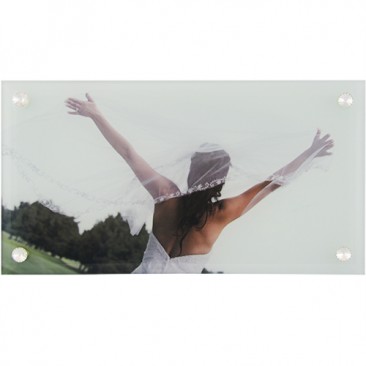
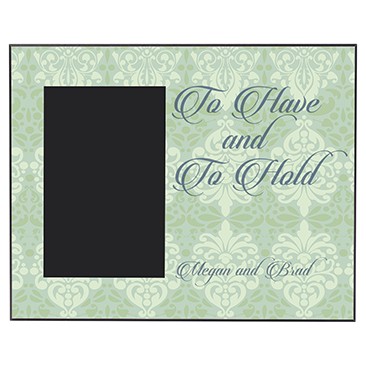
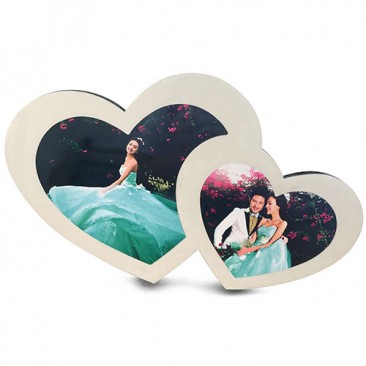
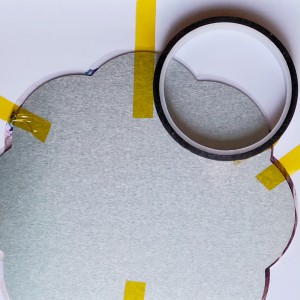
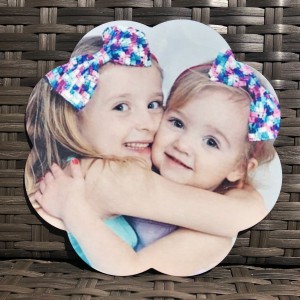
If your primary offering is garments, adding sublimation allows you to offer products like mugs, coasters, custom phone cases, photo panels, bezel pendants, license plates, and much more. Make sure that the product you are customizing is poly-coated, by purchasing blanks made specifically for sublimation. Different products will have varying applications, so be sure to read the instructions for the item you are pressing before you dive in. We also have a growing inventory of instructional videos and Facebook Live videos that you can access for tips anytime.

Sublimation is a very easy process, but like anything else, you may make mistakes while you’re learning. Plan for them ahead of time, instead of letting it hinder you. Learn from your mistakes and watch your business grow. Check out some of the starter packages that we offer to jump-start your new business! Sublimation starter package, mug starter kit,  Expanded sublimation starter package, Super starter package.

You May Also Like:

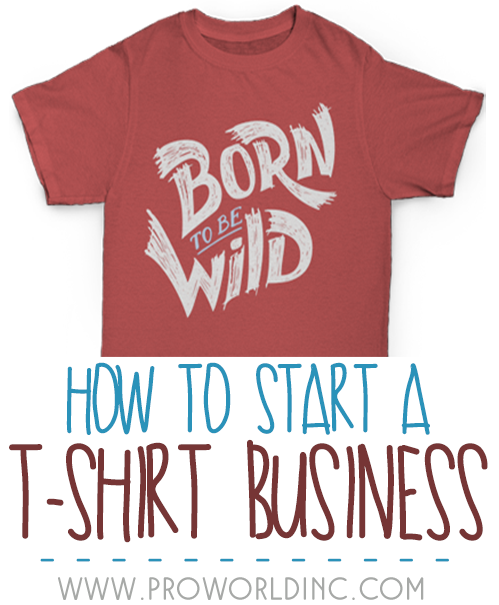
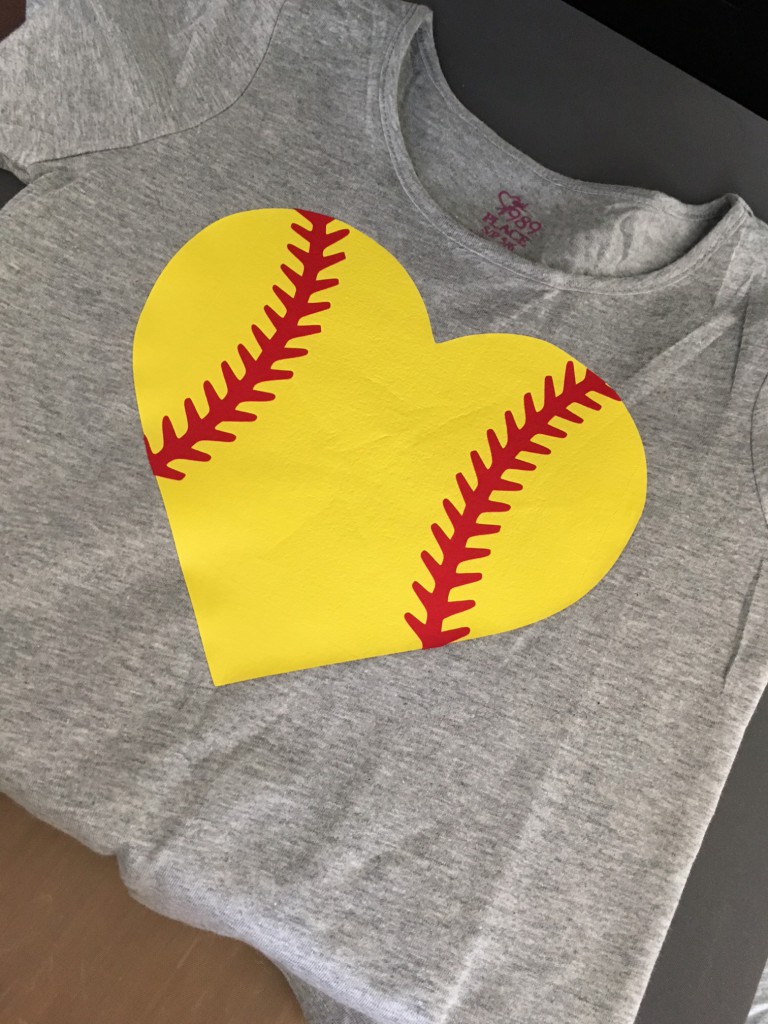
Would you like to create a t shirt business? See how here:

tshirt biz

Want to see how you can print on phone cases? Watch a recorded Facebook Live.

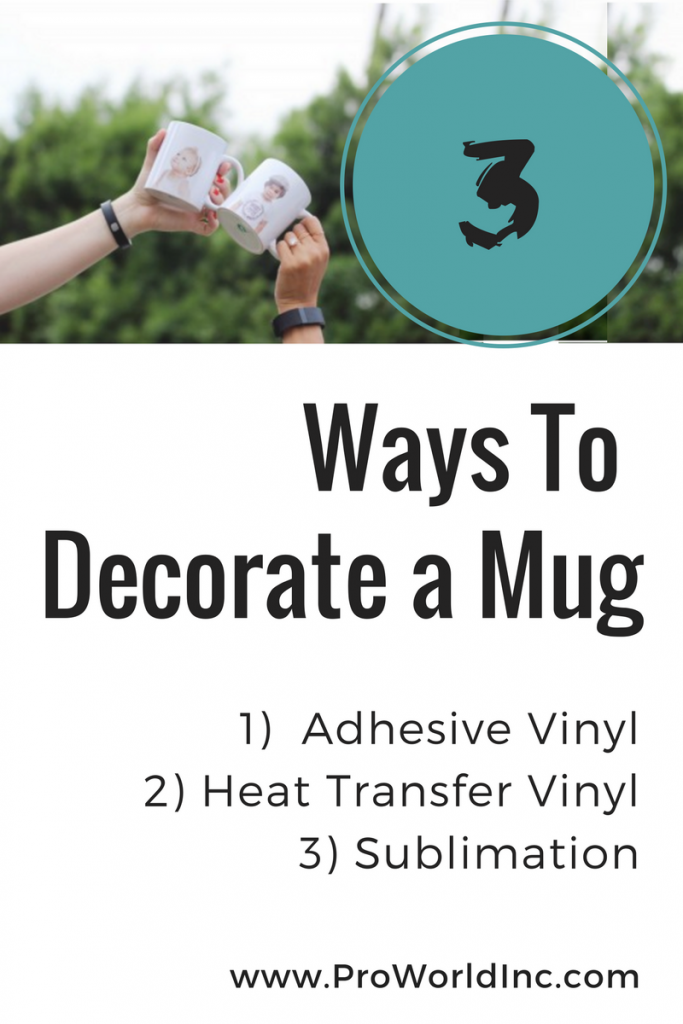
Here we show you how to decorate a latte mug.

View & Add Comments

White Glitter HTV And How To Sublimate On It

Sublimation is a great technique that allows you to create customized and personalized full color products on demand. When sublimation inks are heated to 400*F, they turn into a gas and form a permanent bond to white/light colored fabrics or items that have a polymer coating. The transferred images are full-color, photographic-quality that will not crack, peel, or wash away. Typically, you cannot sublimate directly onto a dark colored garment.

But if you use a white glitter heat transfer vinyl as a base for the sublimated image it gives you the ability to create your designs on more than just light colored surfaces. It also opens the door for using more detailed images and designs without having to weed the vinyl.

SUBLIMATEwhite glitter HTV

Would you like to try sublimating on white glitter vinyl? Here’s how:
1. Gather your materials and your tools.
2. Print your top image with your sublimation printer.
3. Preheat your heat press to 320*.
4. Design the image or quote for your vinyl. Once you have it set, be sure to mirror the image before you print.
5. Print and weed your vinyl.
6. Once your heat press reaches the desired temperature, place your garment on the heat press, and then place your design, vinyl side down, where you want it. Place your non stick sheet on top of the vinyl and press for 15 seconds, making sure the pressure is adjusted properly.
7. Once it’s done, open up your heat press, remove the non stick sheet and peel off the vinyl backing. Then adjust the heat setting to 400* for sublimation.
8. Once your heat press reaches 400* place your printed image face down over the vinyl, cover it with the non stick sheet, and then press for 60 seconds.
9. Once it beeps, lift the press, remove the non stick sheet, peel the paper off, and admire your work!

20170726_090727

For more details and to see step by step how we sublimated on the white glitter vinyl, check out our Facebook live post. 

Be sure to join us every Friday at 12:15pm ET on our Facebook page for a live tutorial. We have some ideas for the coming weeks, but we would love to know what you want to see. Do you have a project in mind, but you’re not sure how to complete it? Let us know and maybe you’ll see it on a future Facebook live.

View & Add Comments

3 Ways to Decorate a Mug!

One way to take your crafting business to another level is to add mugs to your offerings. They’re a fun way to express your personality, they make wonderful gifts, and you can never have too many! There are three ways to decorate mugs- adhesive vinyl, heat transfer vinyl and sublimation. Today we are going to explain the process for each as well as show you how we did it via video! 

decorate a mug (1)

1) To make a mug with HTV we recommend setting your heat press at 360* at 30 seconds. You will want to set the pressure to heavy when applying HTV. Now that your heat press is warming up, use your software to create your design. Then make sure to mirror it before printing. After you print, weed your design. Then place your design, sticky side down, on your mug. Place the mug in the mug press and let it work its magic. When it’s done, it will be hot, so use caution and let it sit for a few minutes. Once it cools a bit, peel the backing off and you’re done!

2) When using adhesive vinyl for mugs, design your image and cut it exactly as you want it to look on the mug. This means that you DO NOT need to mirror your design. Just design, cut and weed it. Then, cut your transfer paper to the size of your image, place it sticky side up on your work surface and place your image face down on top of it. Then, peel the back of the design off and you’re ready to adhere the design to the mug. Place the design where you want it and use your squeegee to adhere it. Once adhered, peel the transfer paper off and you’re done!

personalized mug for bride using FDC sign vinyl

3) To make a mug using sublimation you’ll want to adjust your heat, time and pressure settings. We recommend 400 and 4 minutes. Print your design using your sublimation printer and cut it a bit larger than your mug. Place the paper on the mug and tape it in place. Once your image is secure, place the mug in the mug press, making sure it’s lined up properly, and secure it. Once it’s done, using gloves, remove the mug and dip it into warm water to stop the sublimation process. Do not use cold water as it will cause the mug to crack. After you’ve dipped the mug, allow it to cool a bit longer, and you’re done!

diy-photomugs-amy-tangerine-13

While we love using vinyl on our mugs, be sure to let your customers know not to put them in the microwave or dishwasher. For long term use and selling purposes, sublimation may be a better method. For more details on mug making, check out our Facebook Live, 

Have you made mugs using any of these methods? Share your experiences and designs in the comments!

View & Add Comments