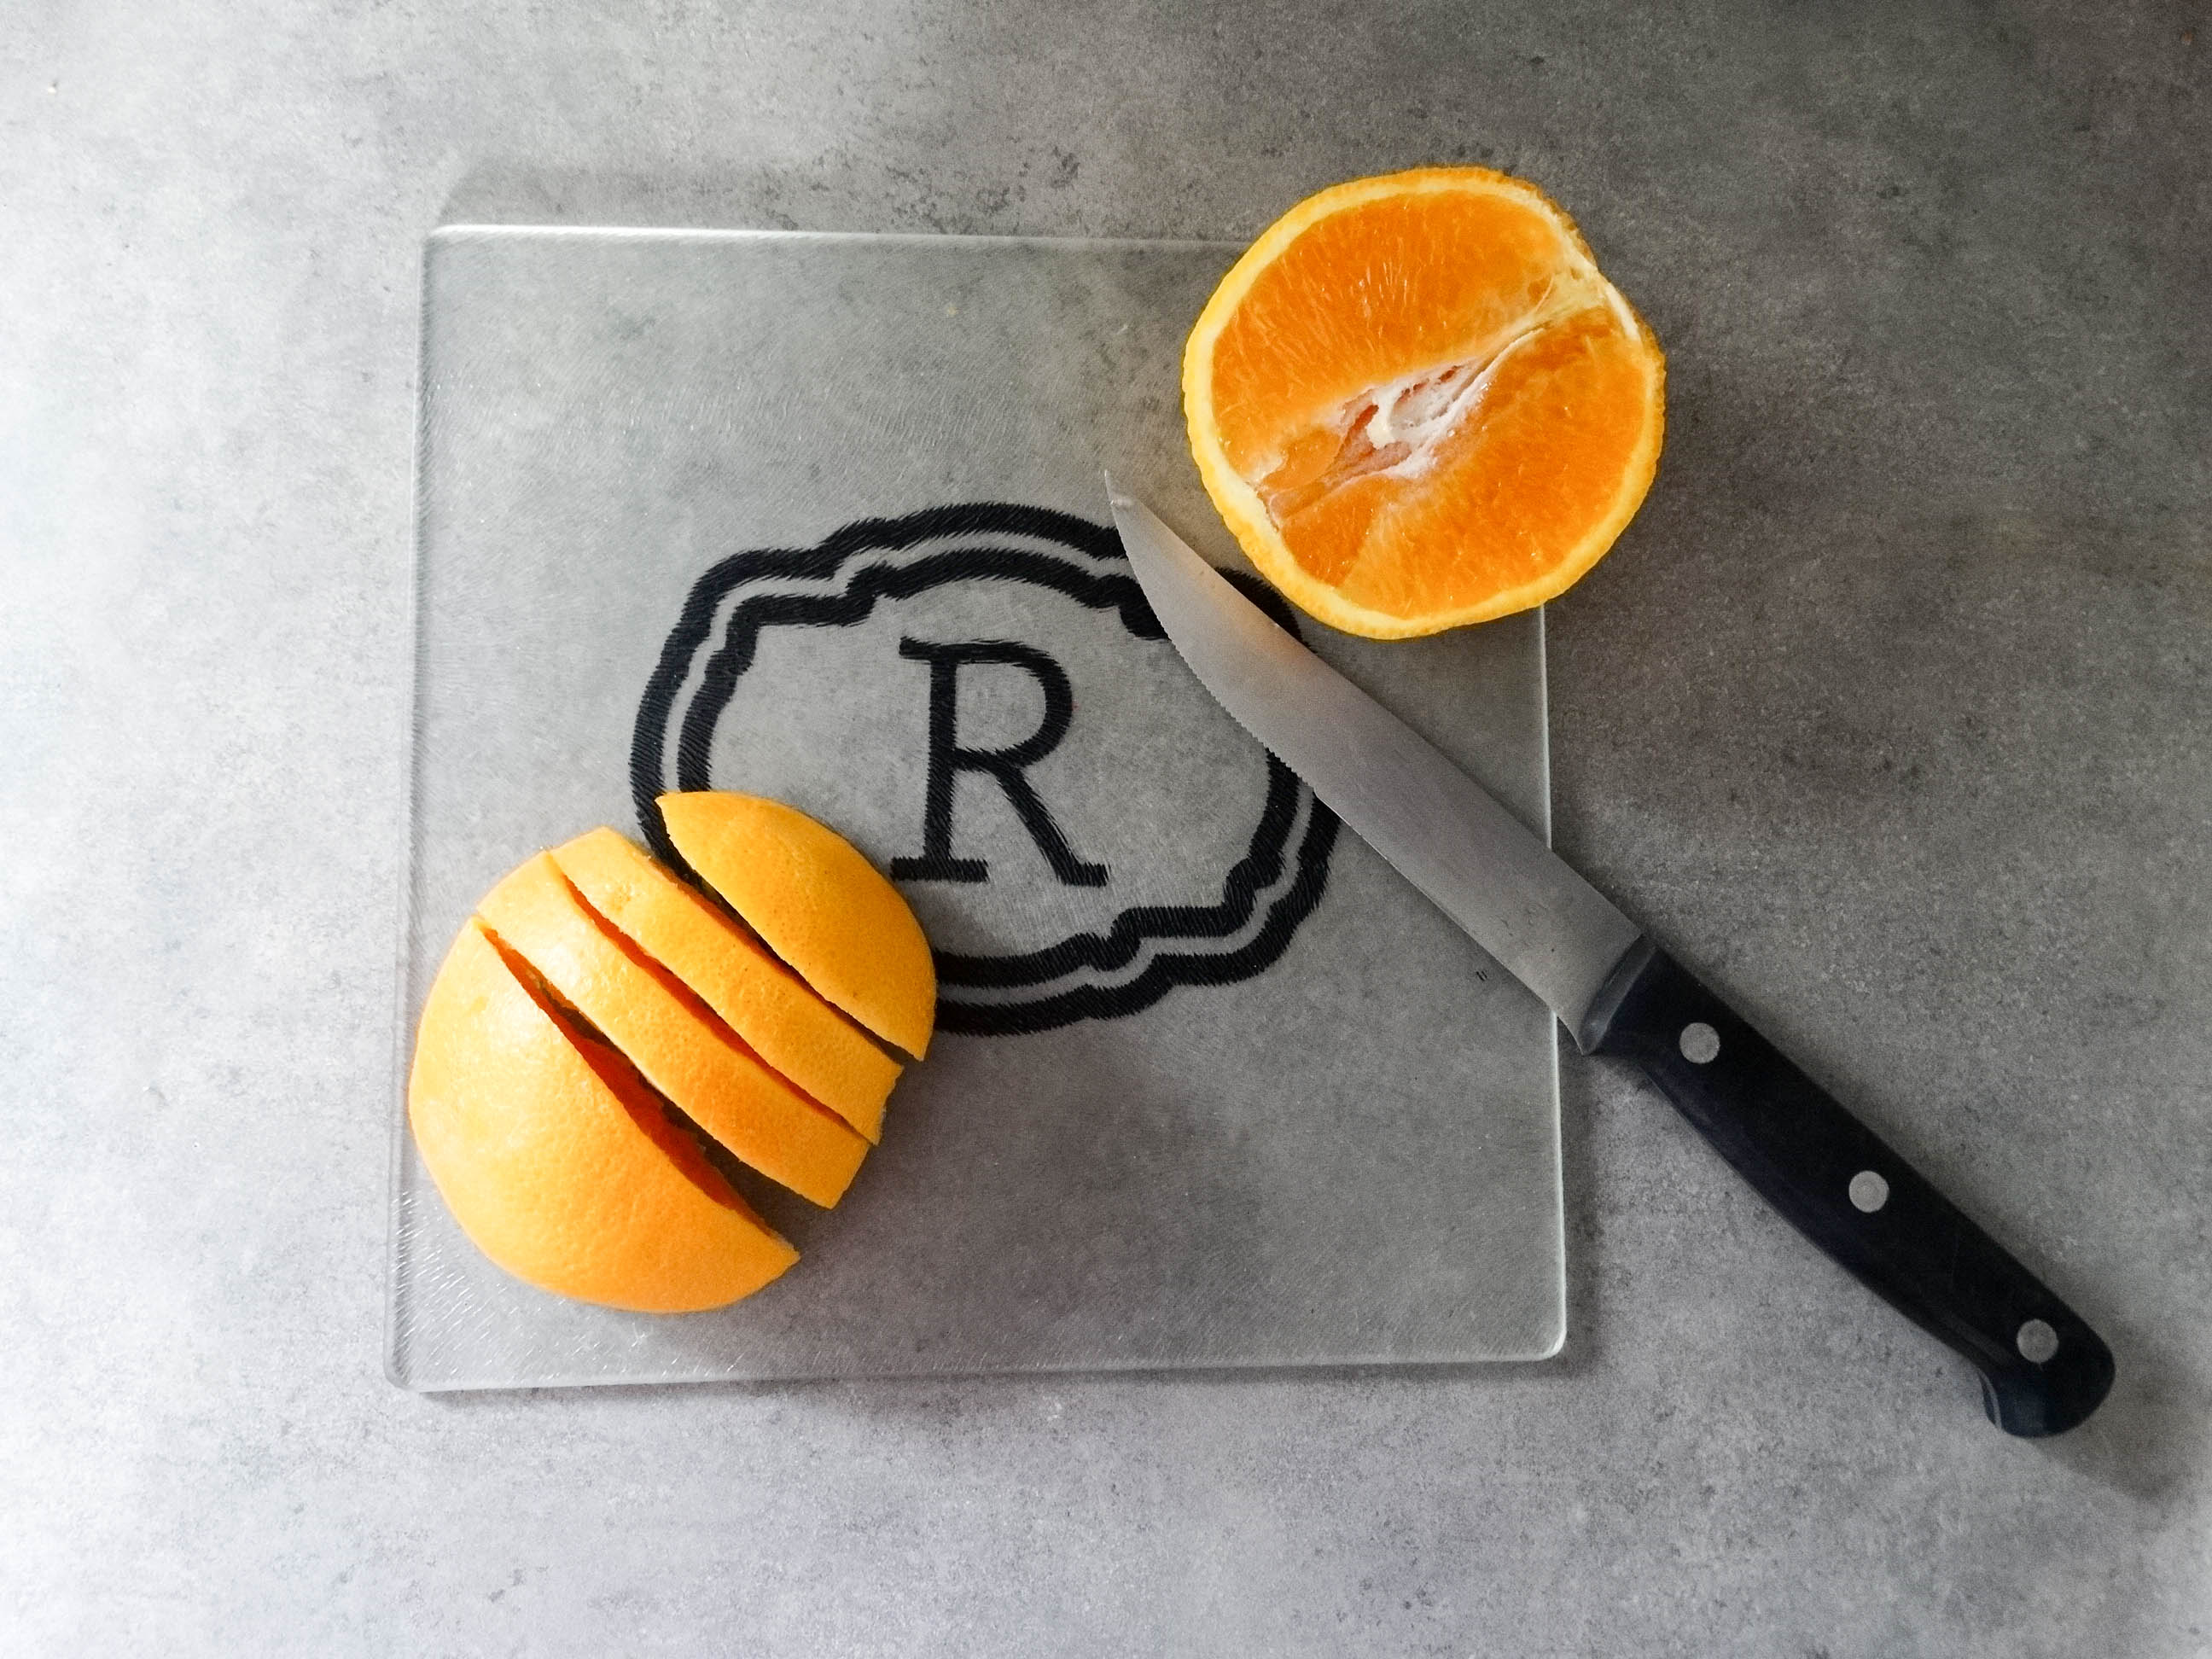
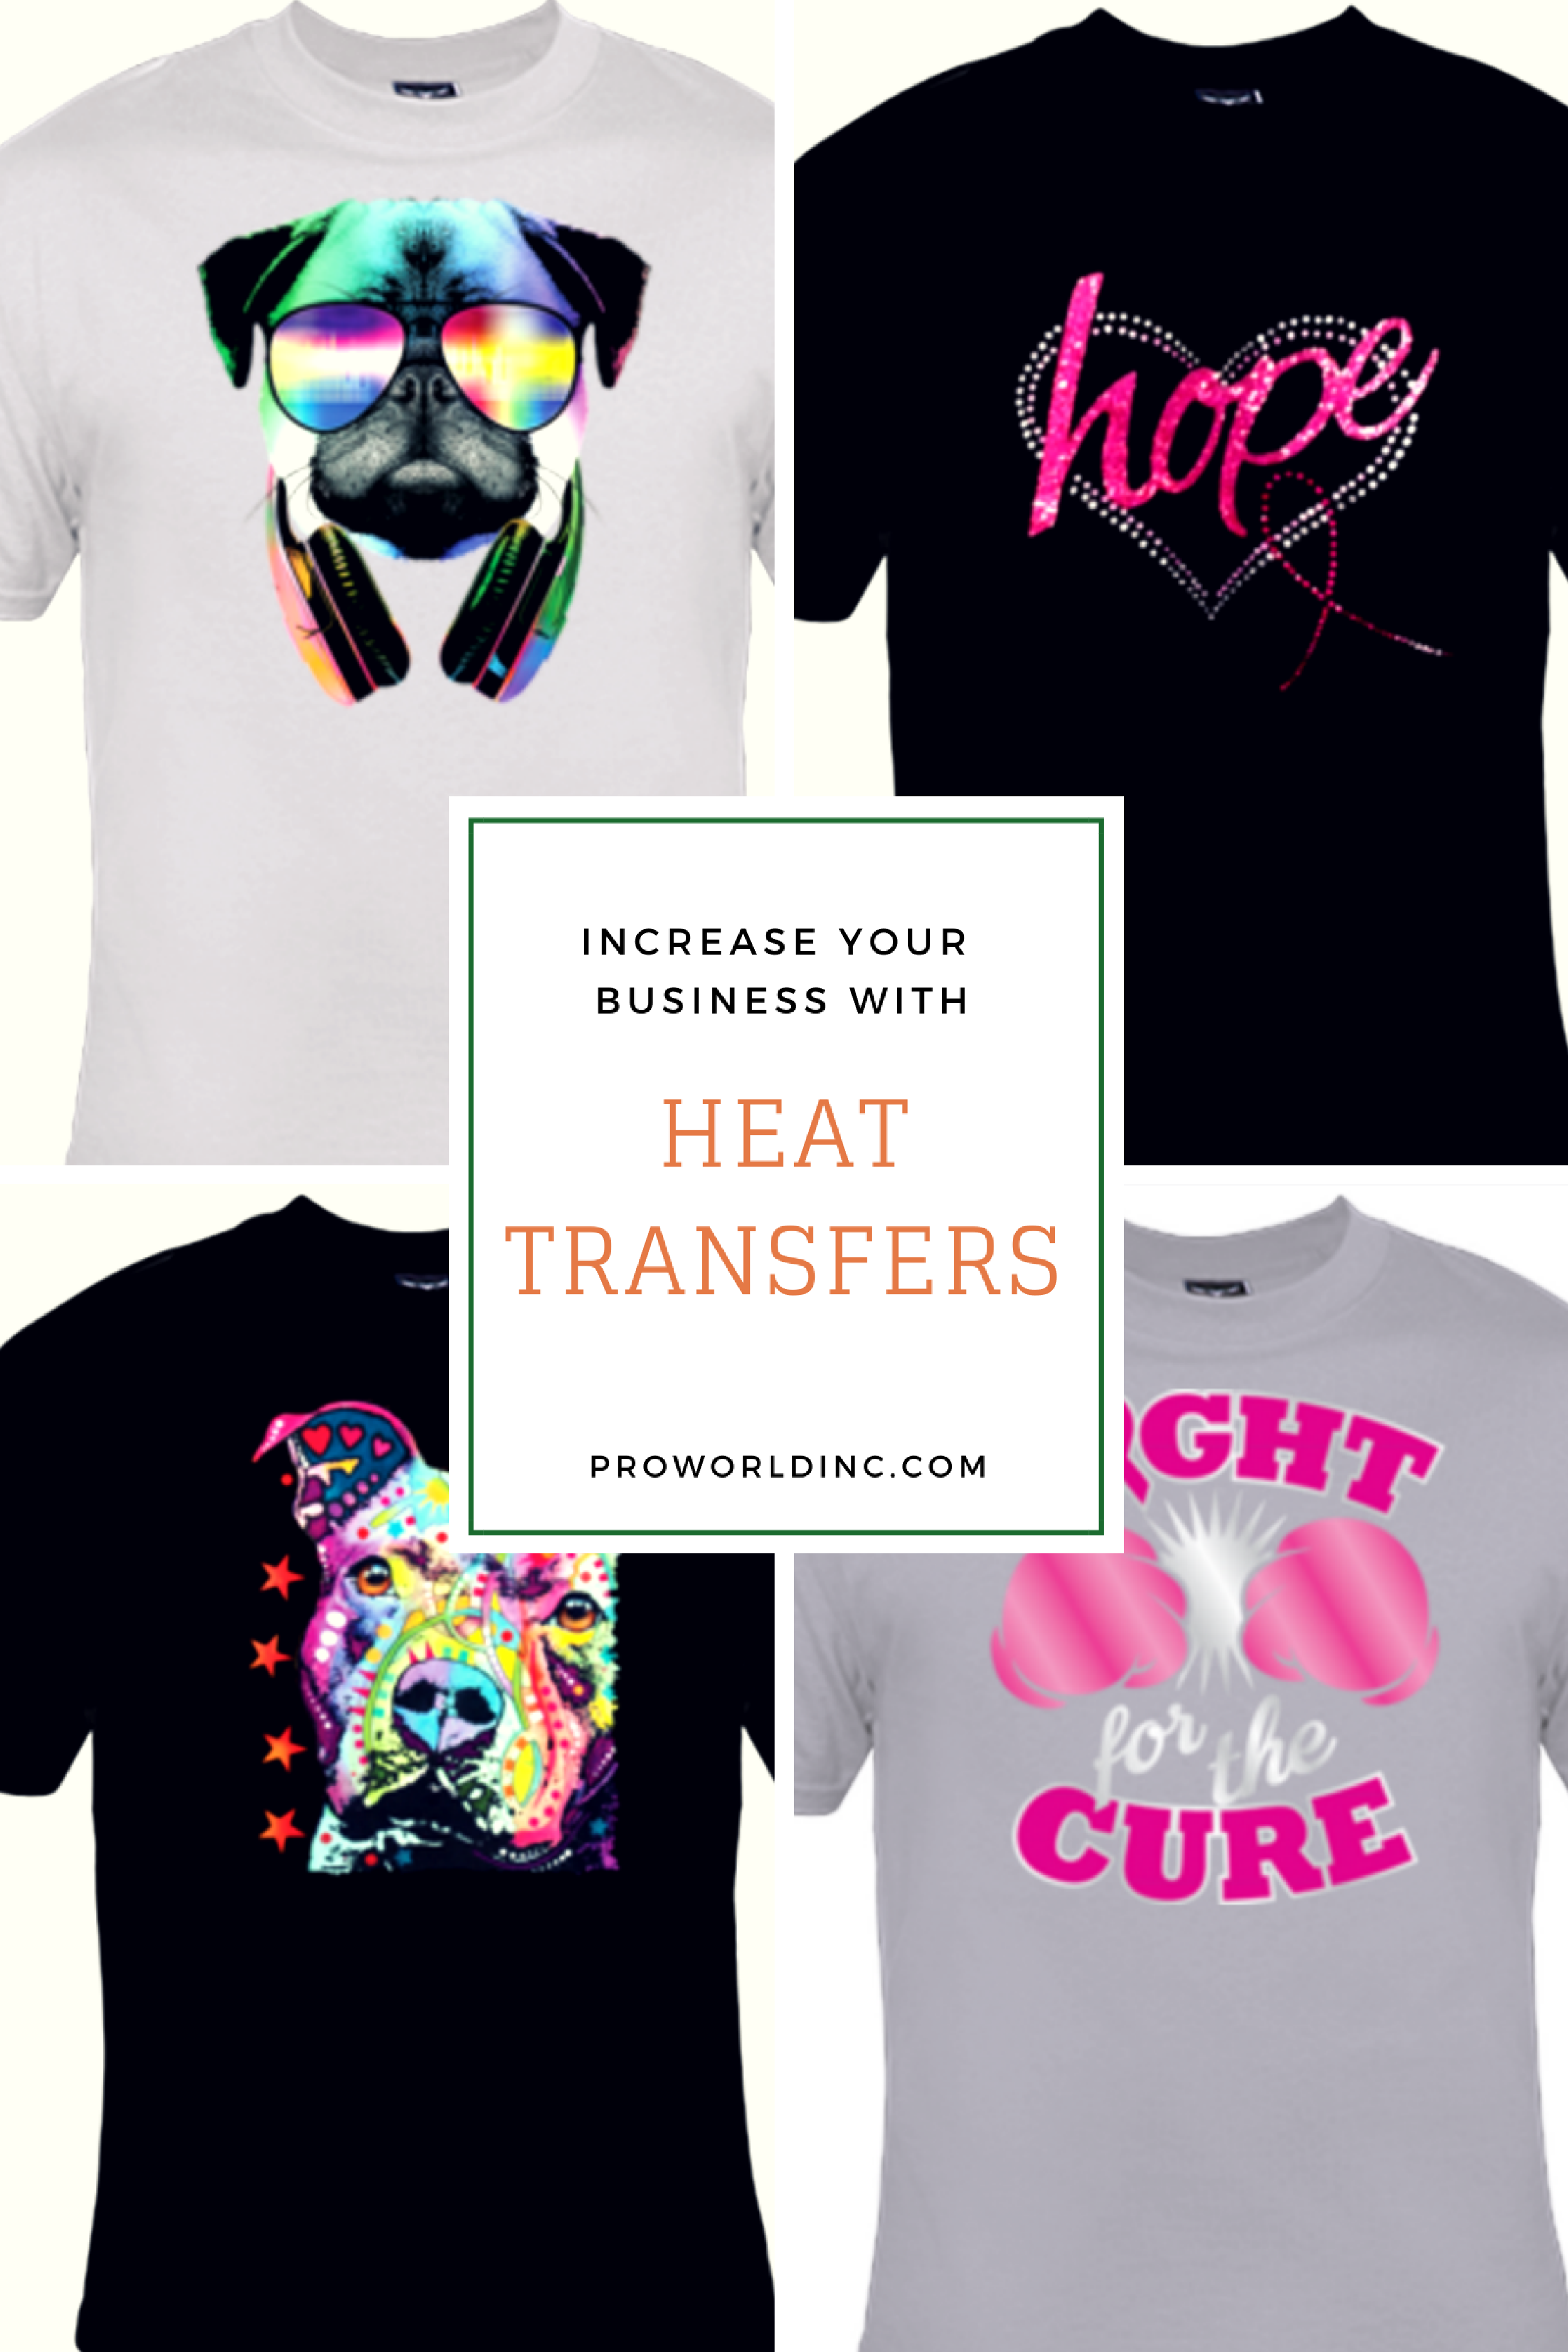
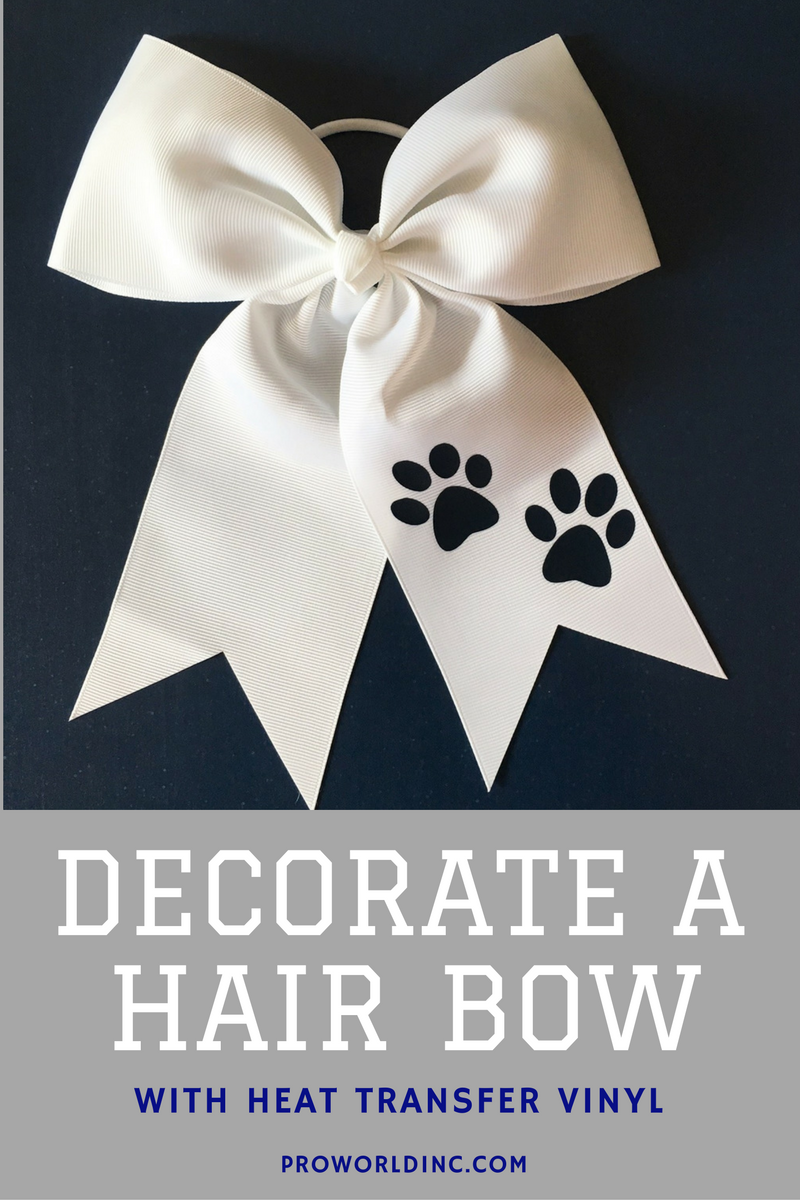
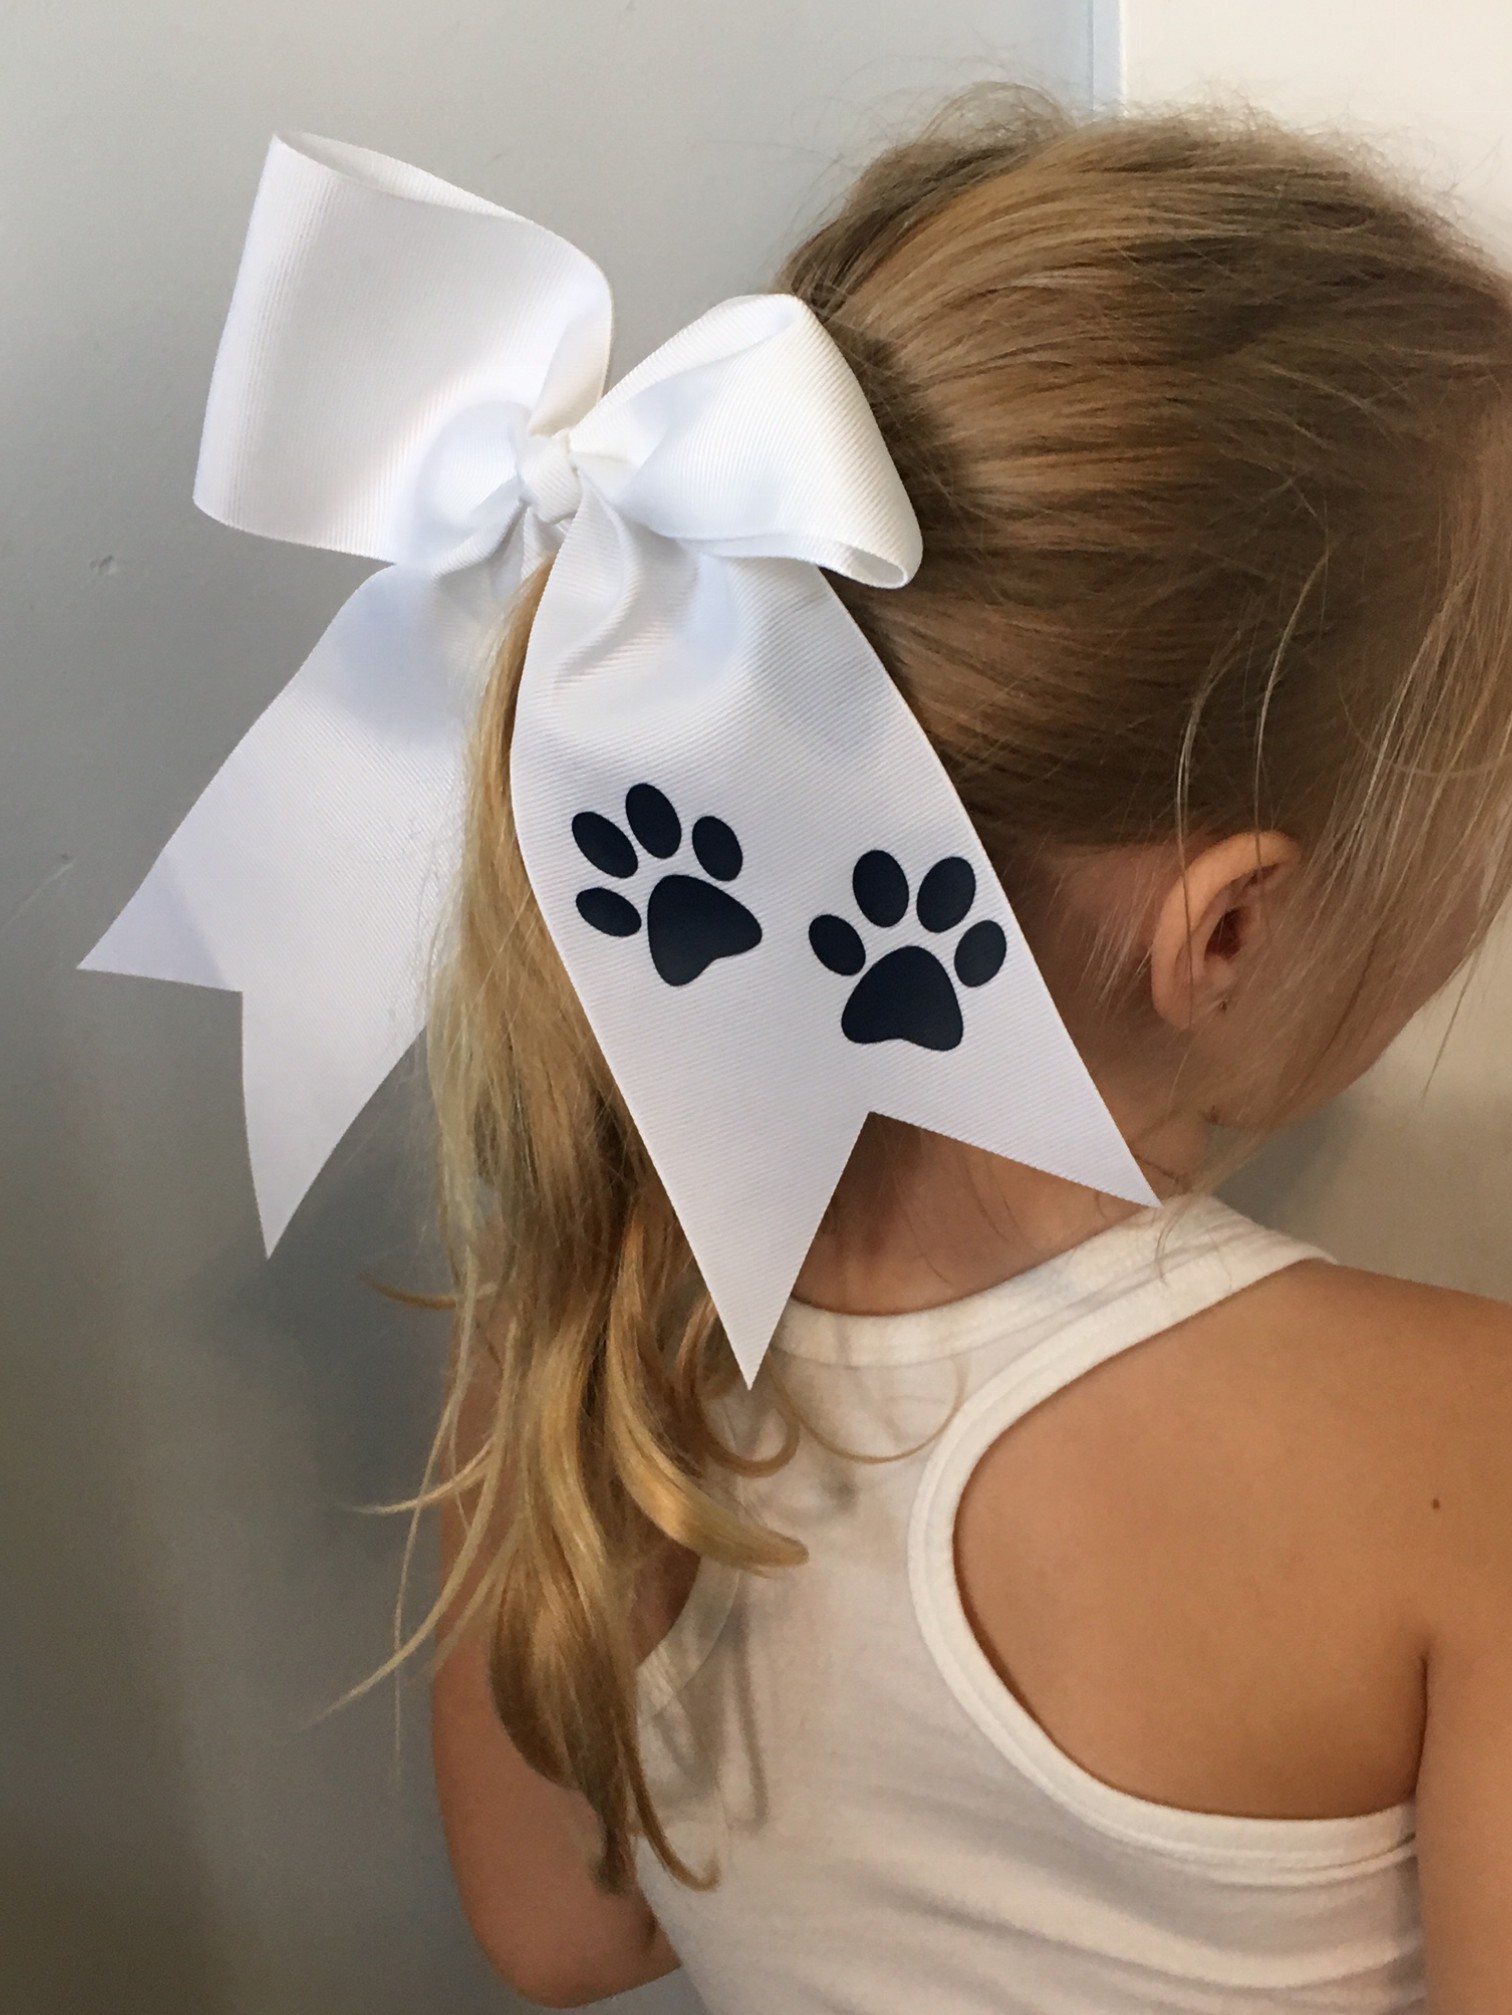
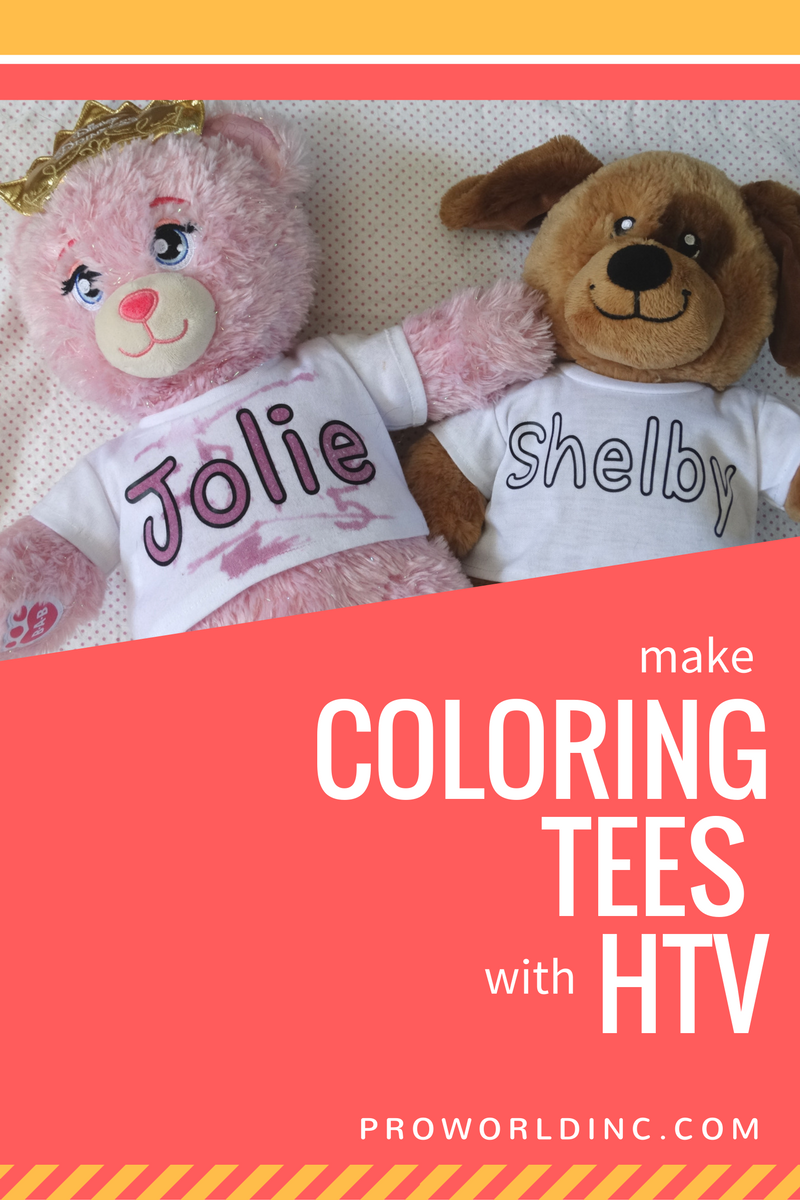
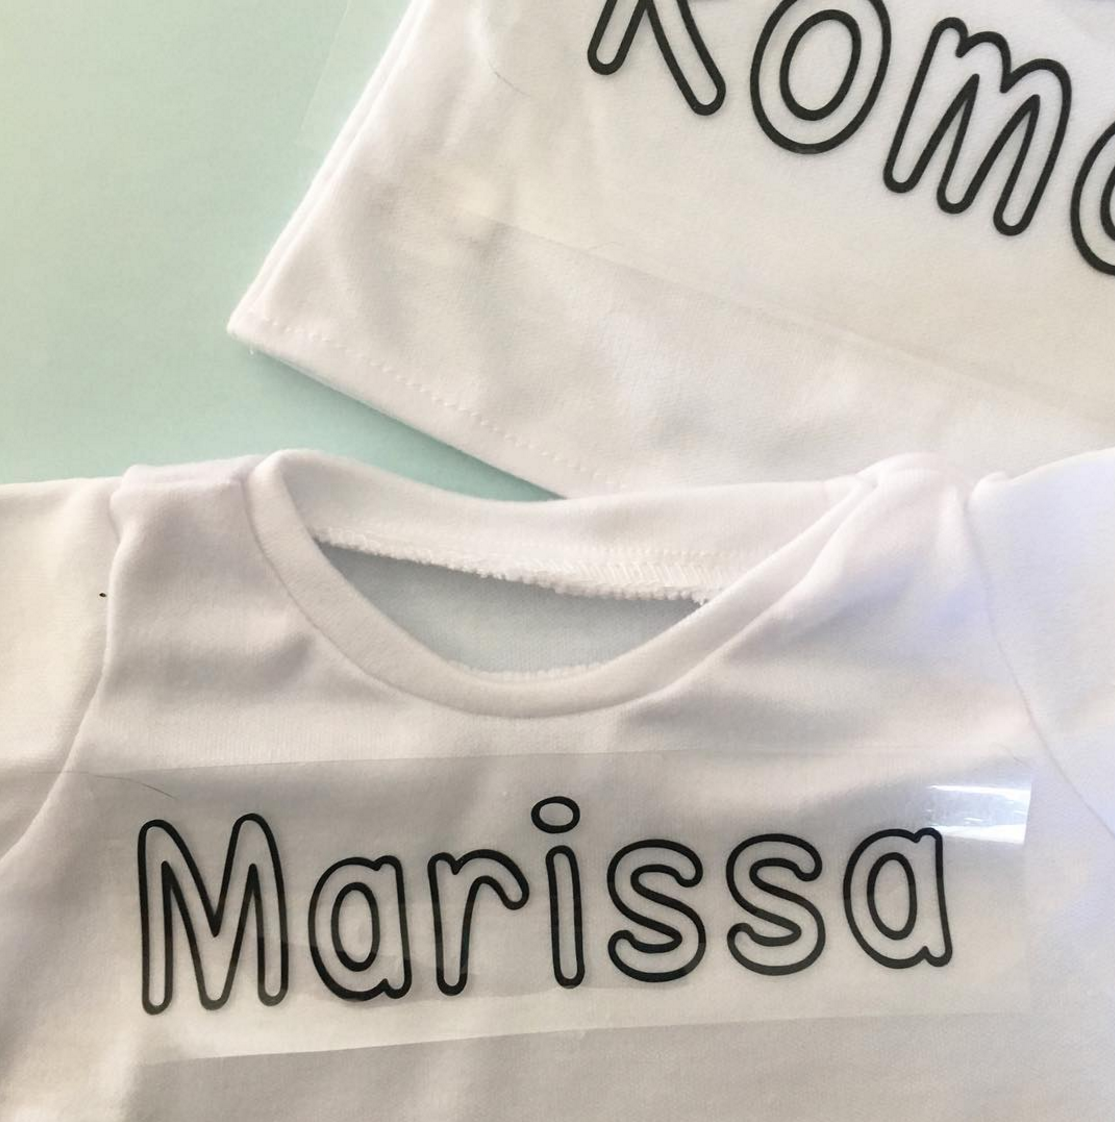
Heat transfer vinyl is fun to use and gives you a lot of options. Looking for a personalized gift or a shirt for a specific occasion? You can easily make it yourself with some heat transfer vinyl and the right tools.
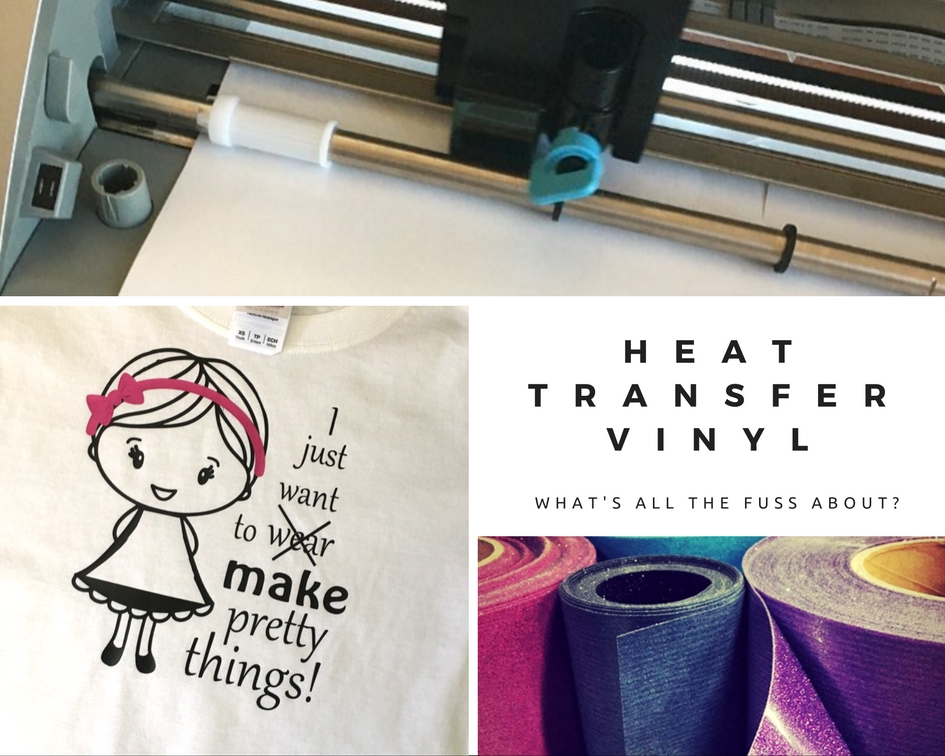
Heat transfer vinyl can be used on any material that you can safely iron. In order for the heat transfer vinyl to adhere you need to have your heat press on a high setting, so be sure that it is a material that can stand the heat.
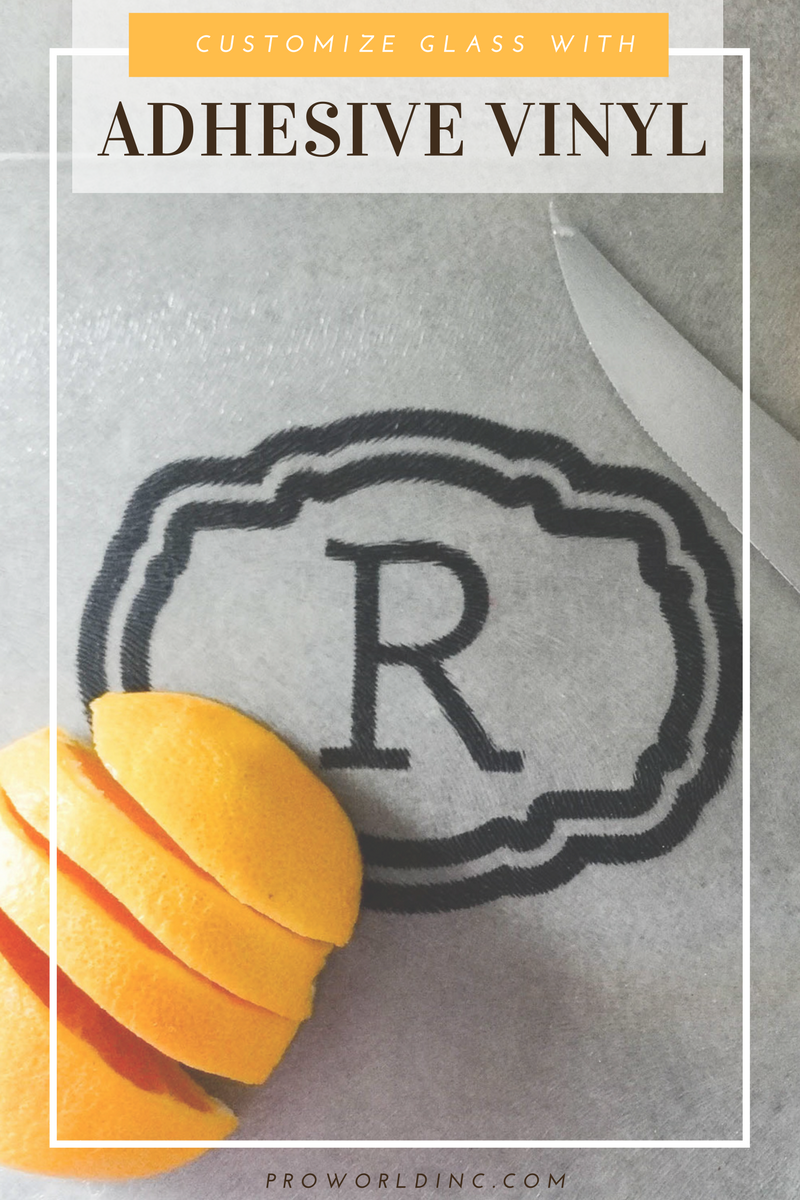
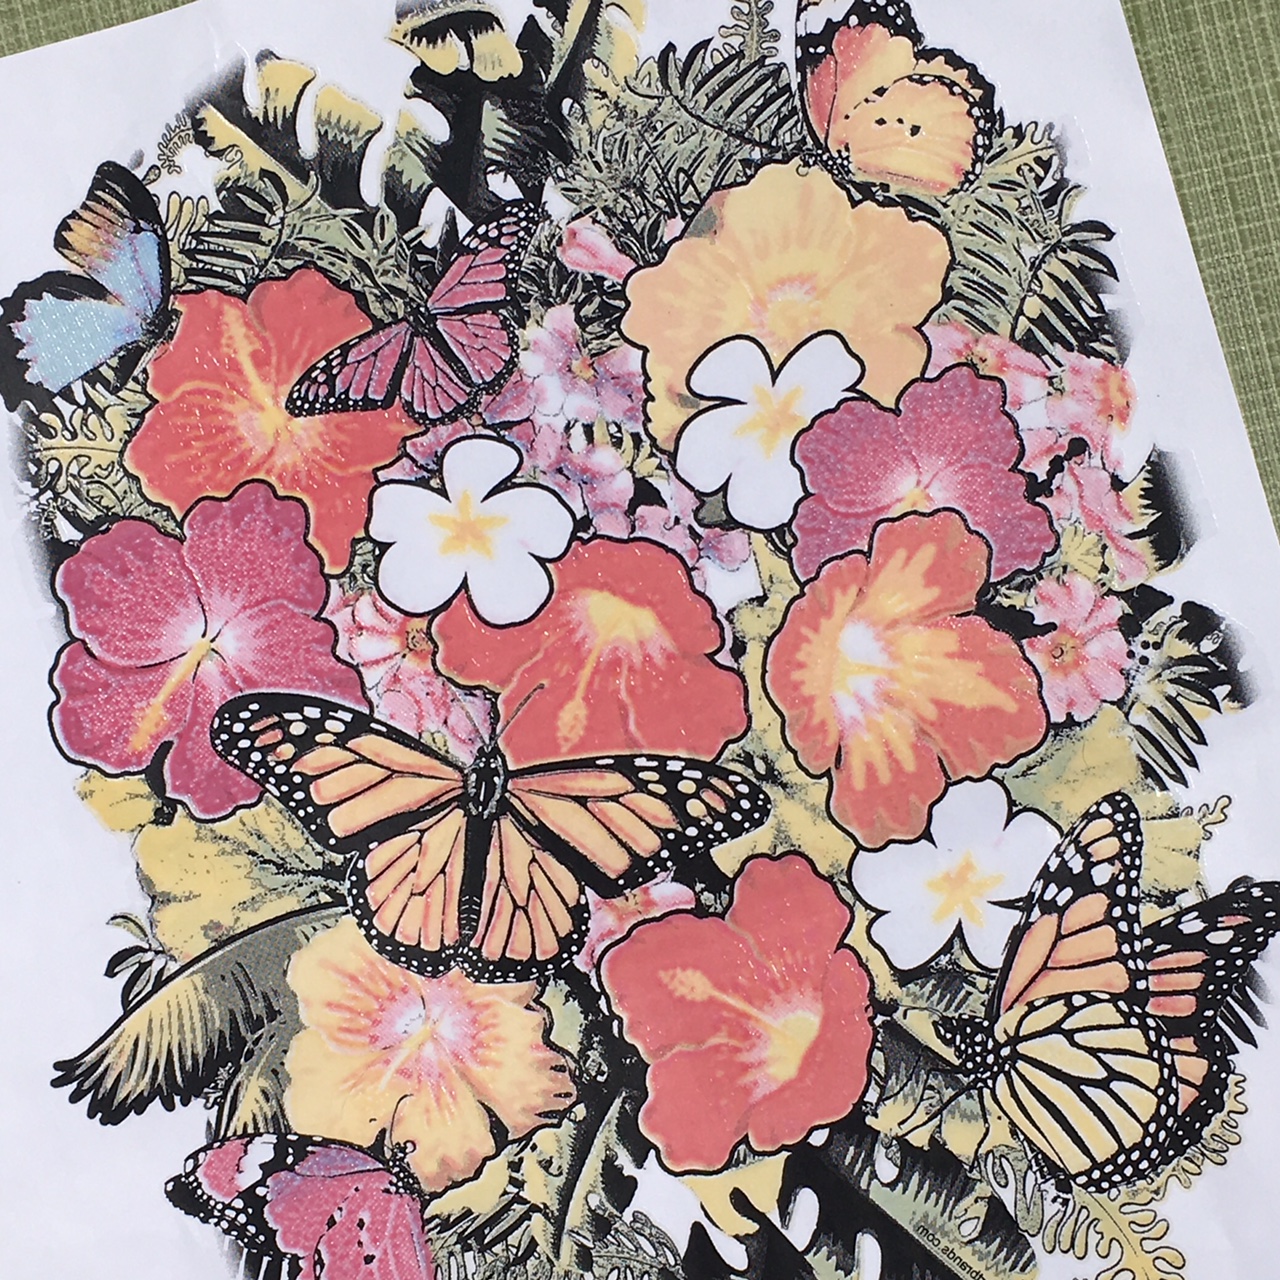
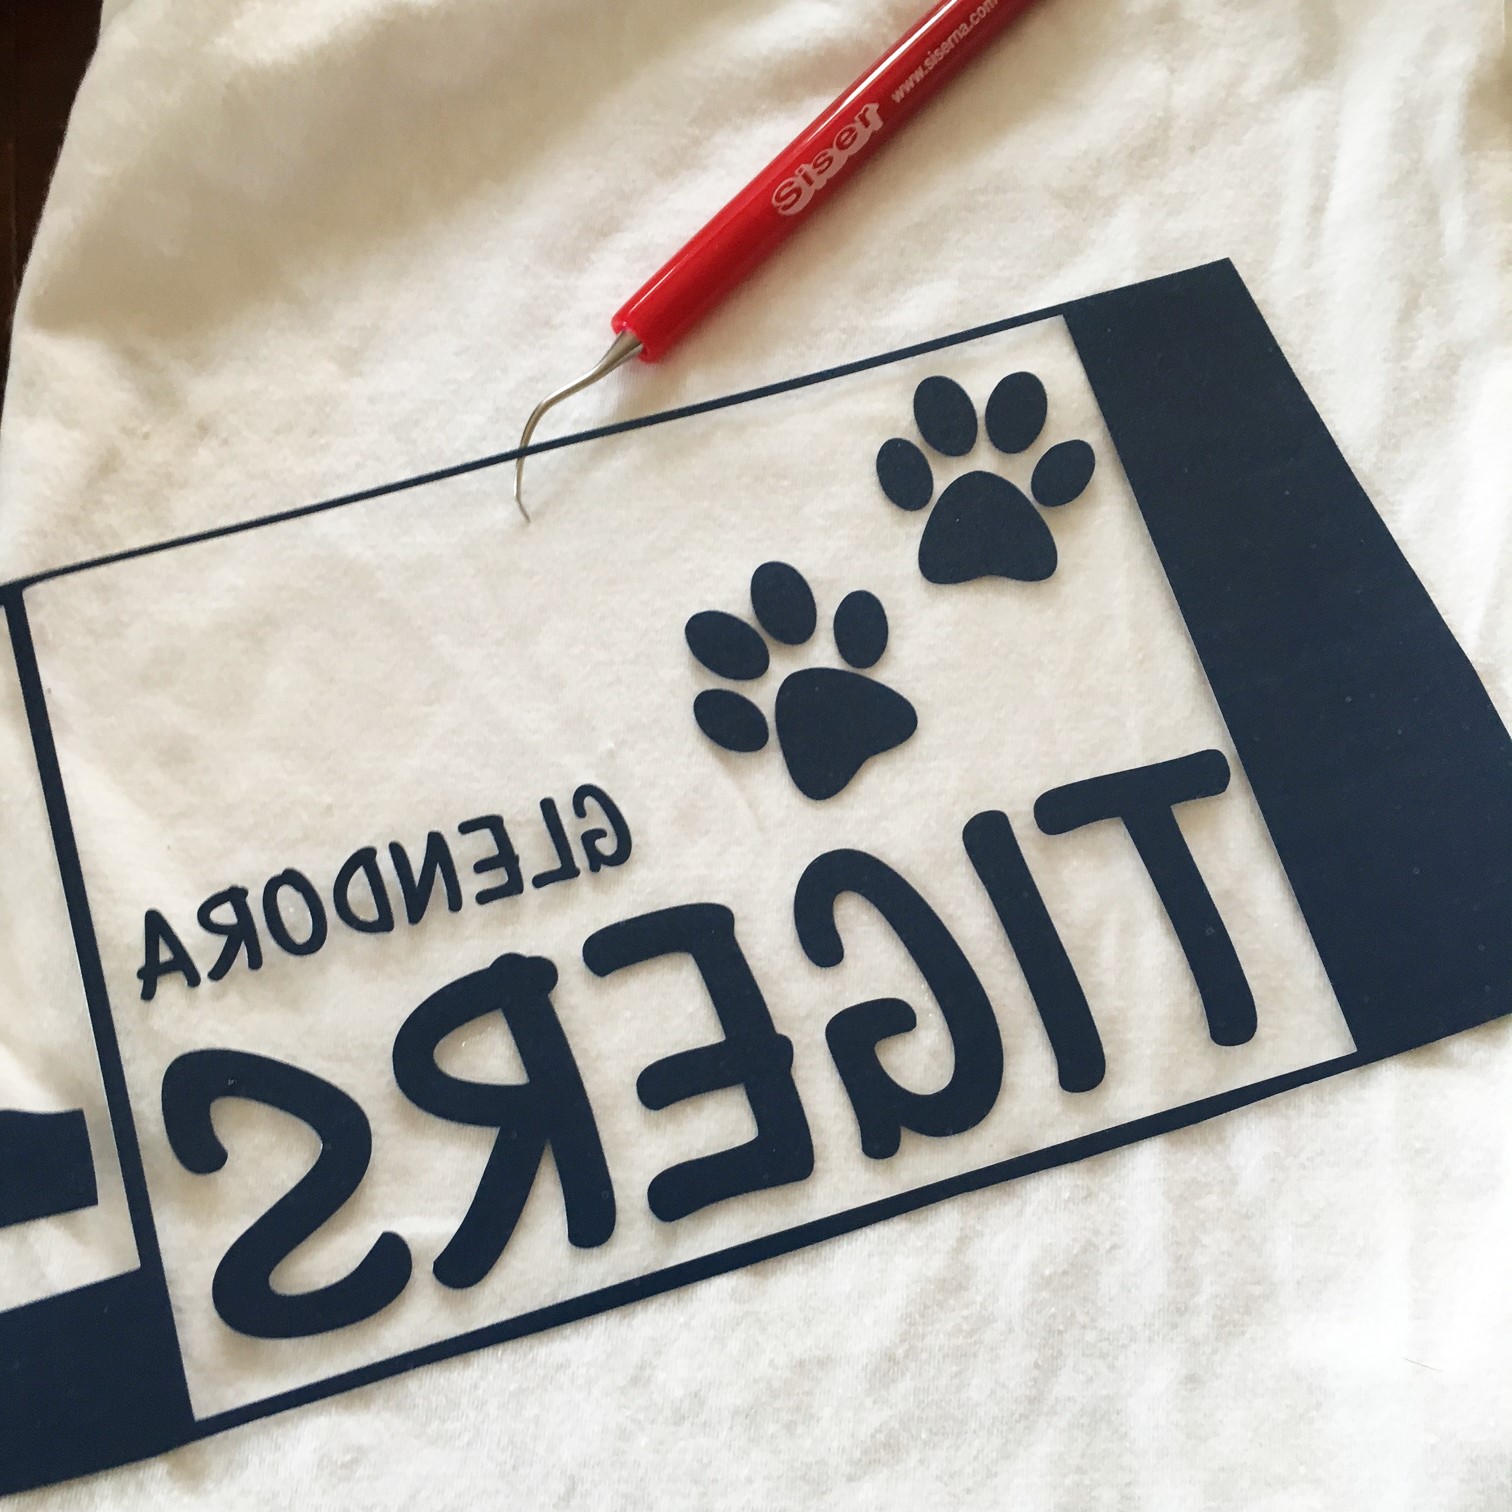
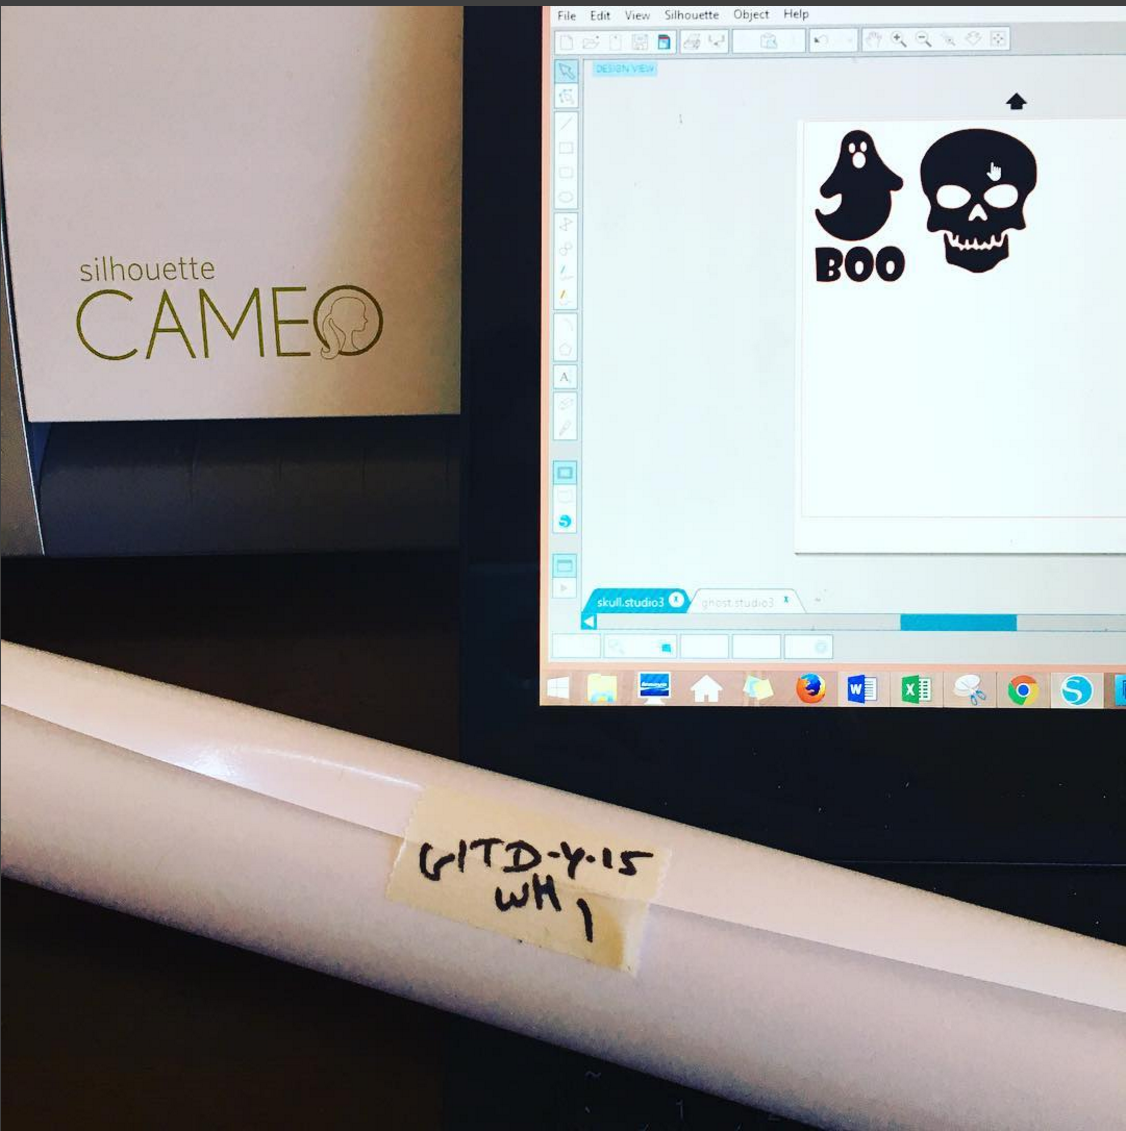
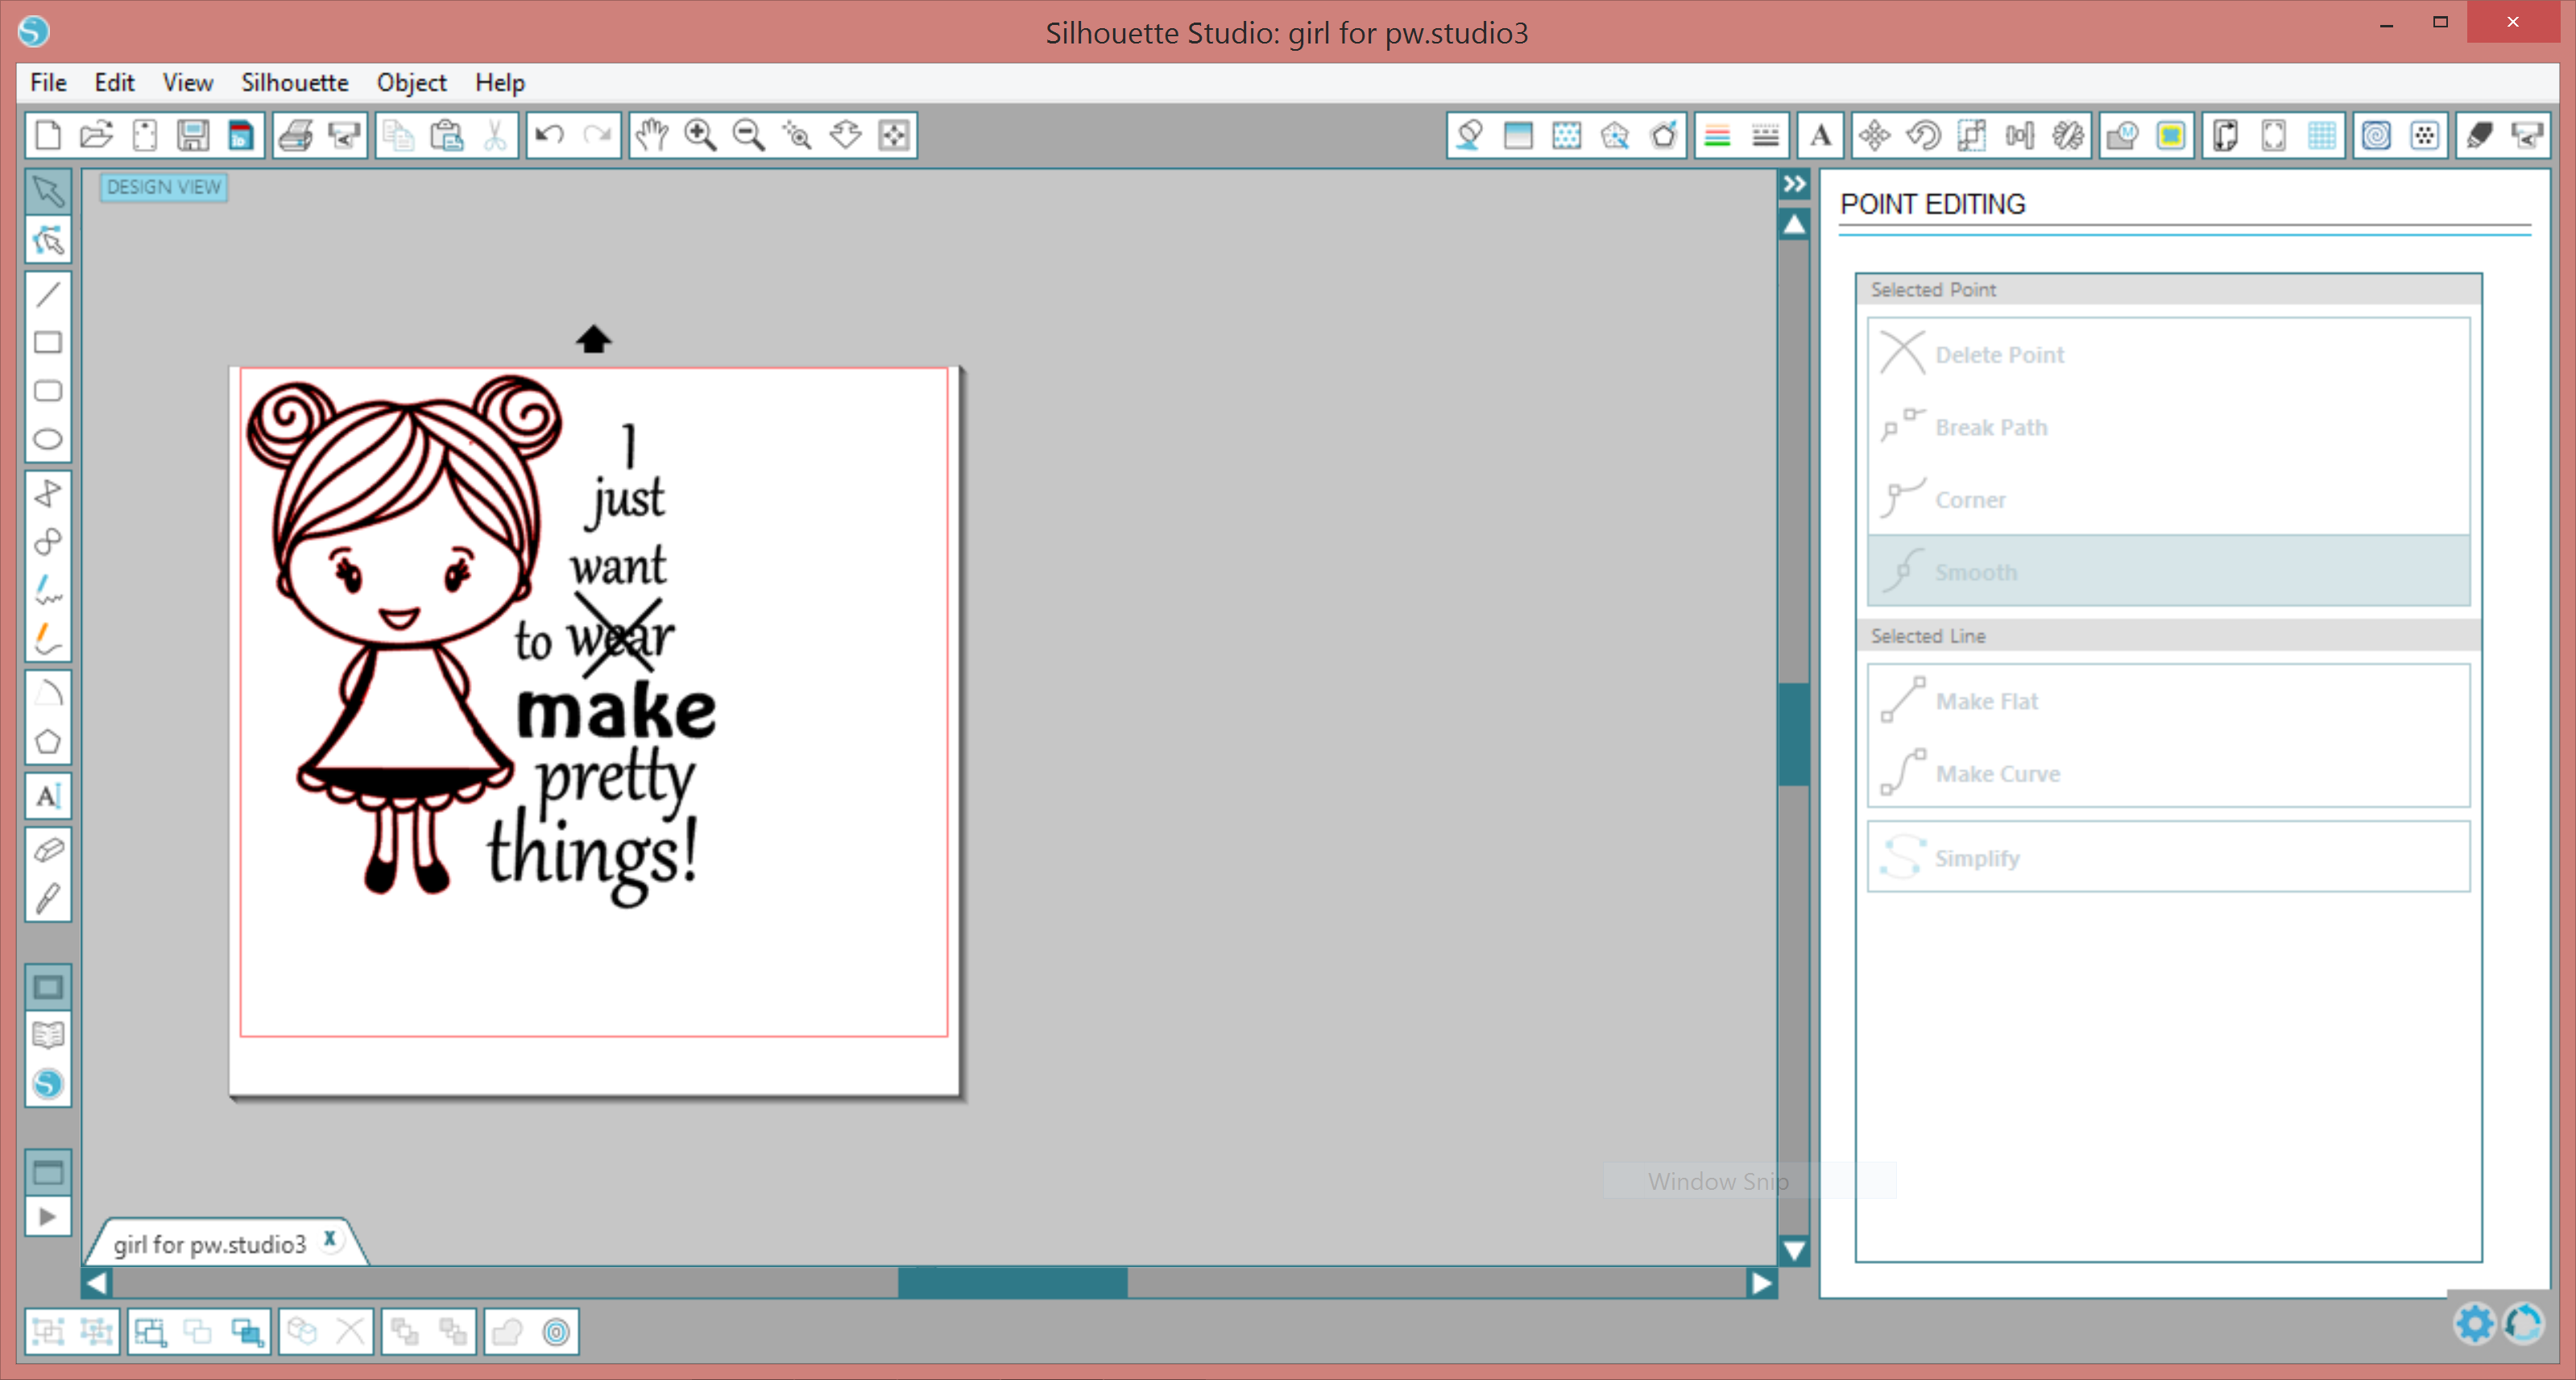
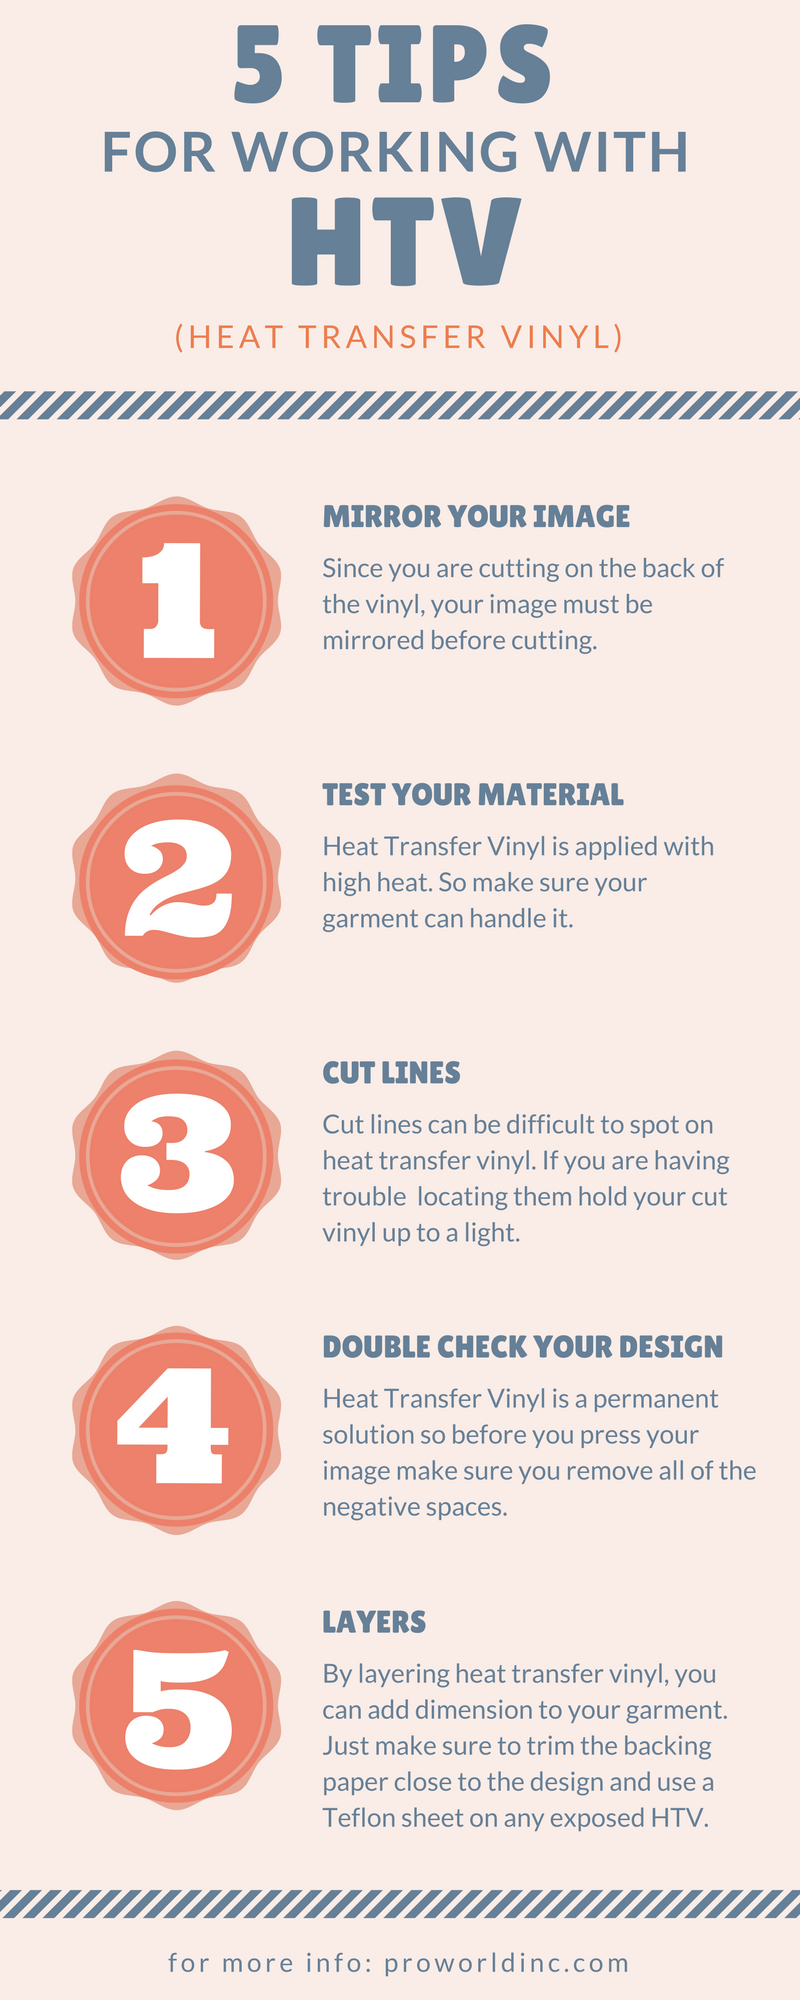
Once your project material is ready, it’s time to create your design. Once you have your design sized, be sure to flip it into a mirror image so that it will face the correct way once complete.
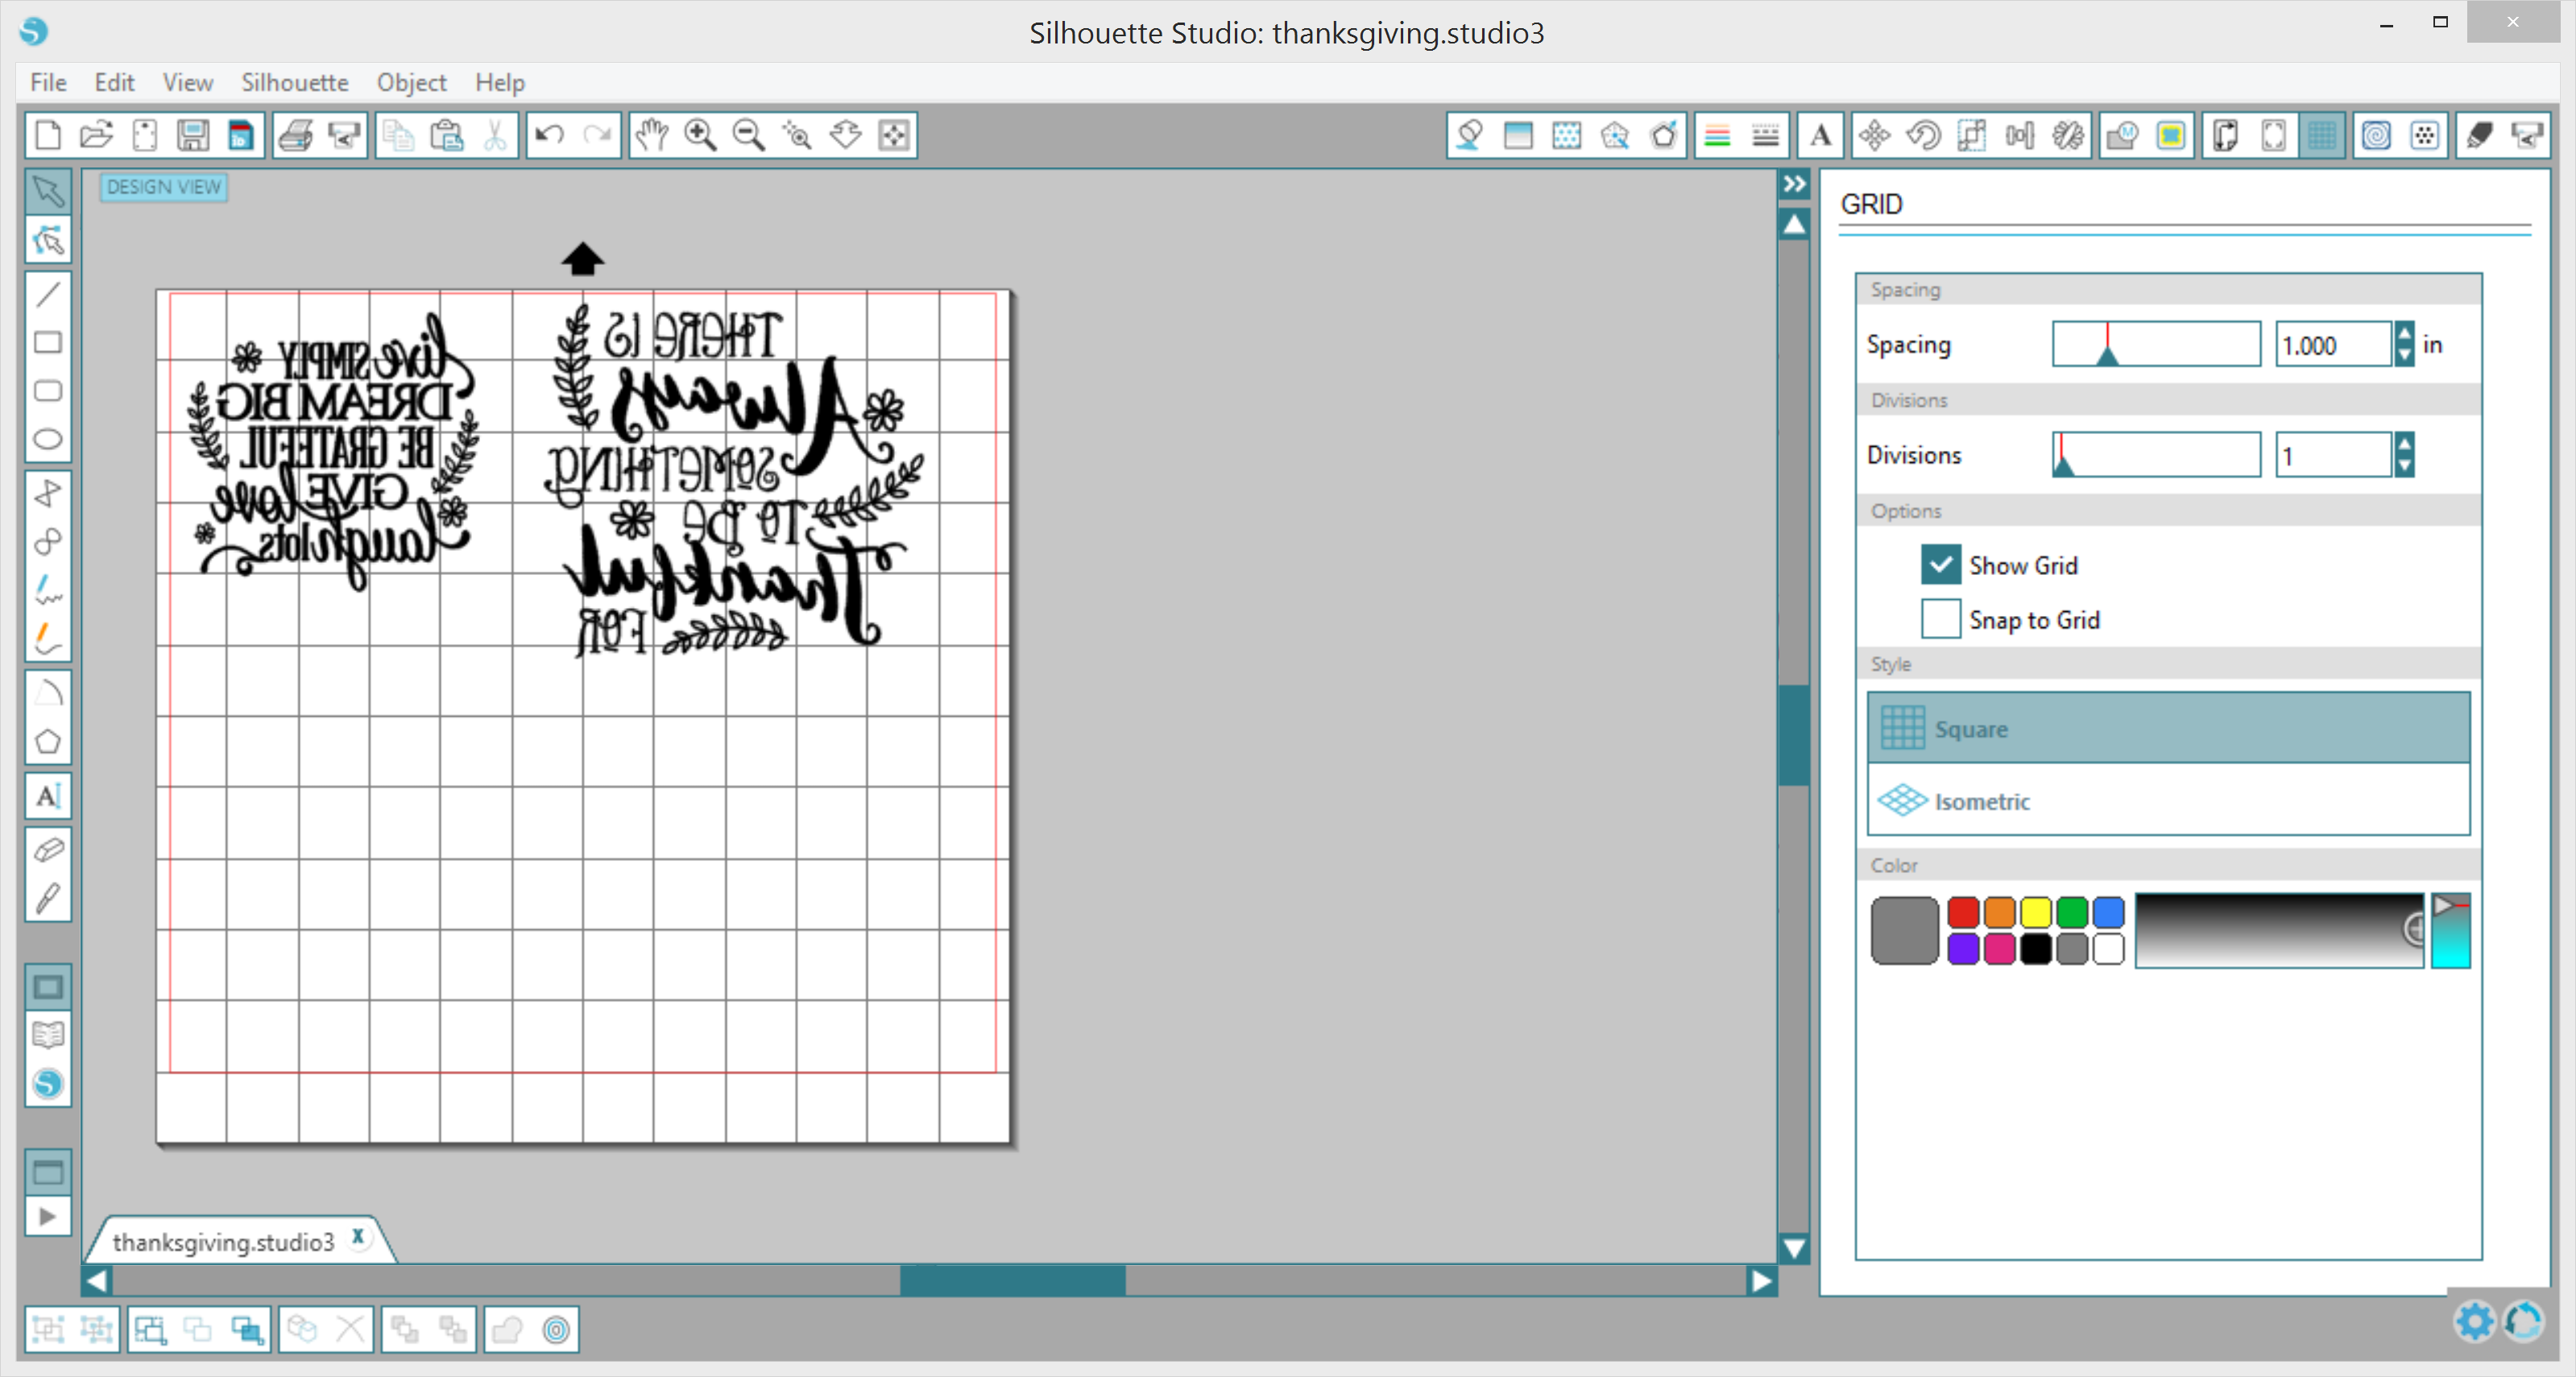
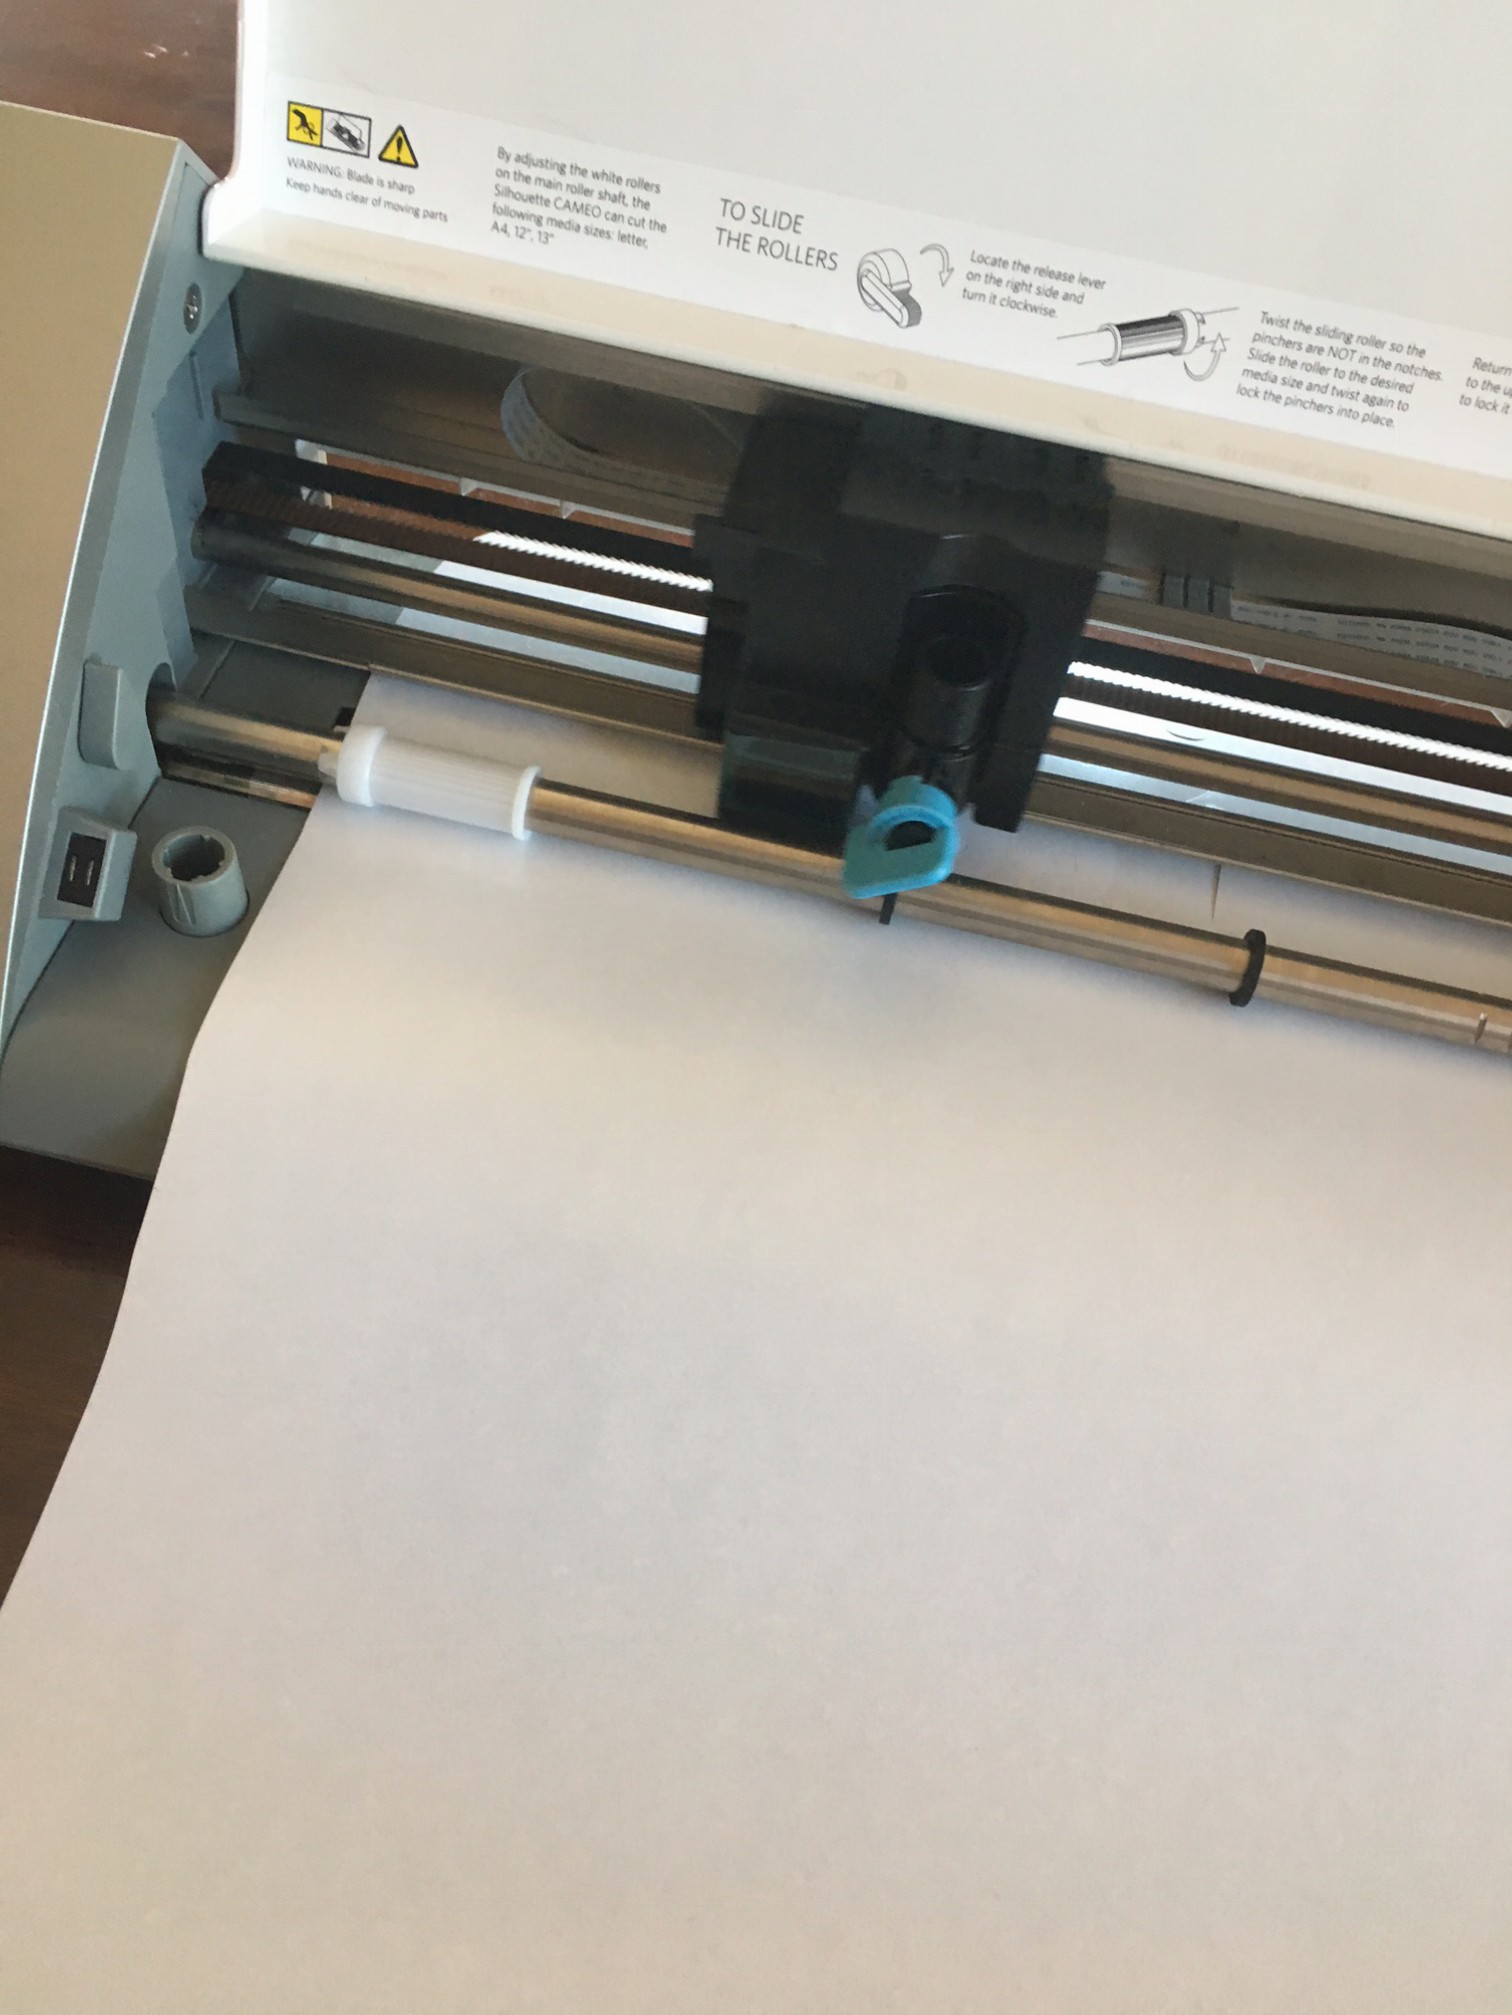
Then, prepare your vinyl for cutting. Be sure the width of your vinyl is sized for your machine and then load it with the backing of the heat transfer vinyl facing up. Start with the default cut settings for the type of heat transfer you are using and do a test cut. Once you see how it handles the material, you can adjust your settings accordingly. Just be aware that the cuts may be hard to see, but by holding your design to the light or bending it just slightly you will be able to find your design.
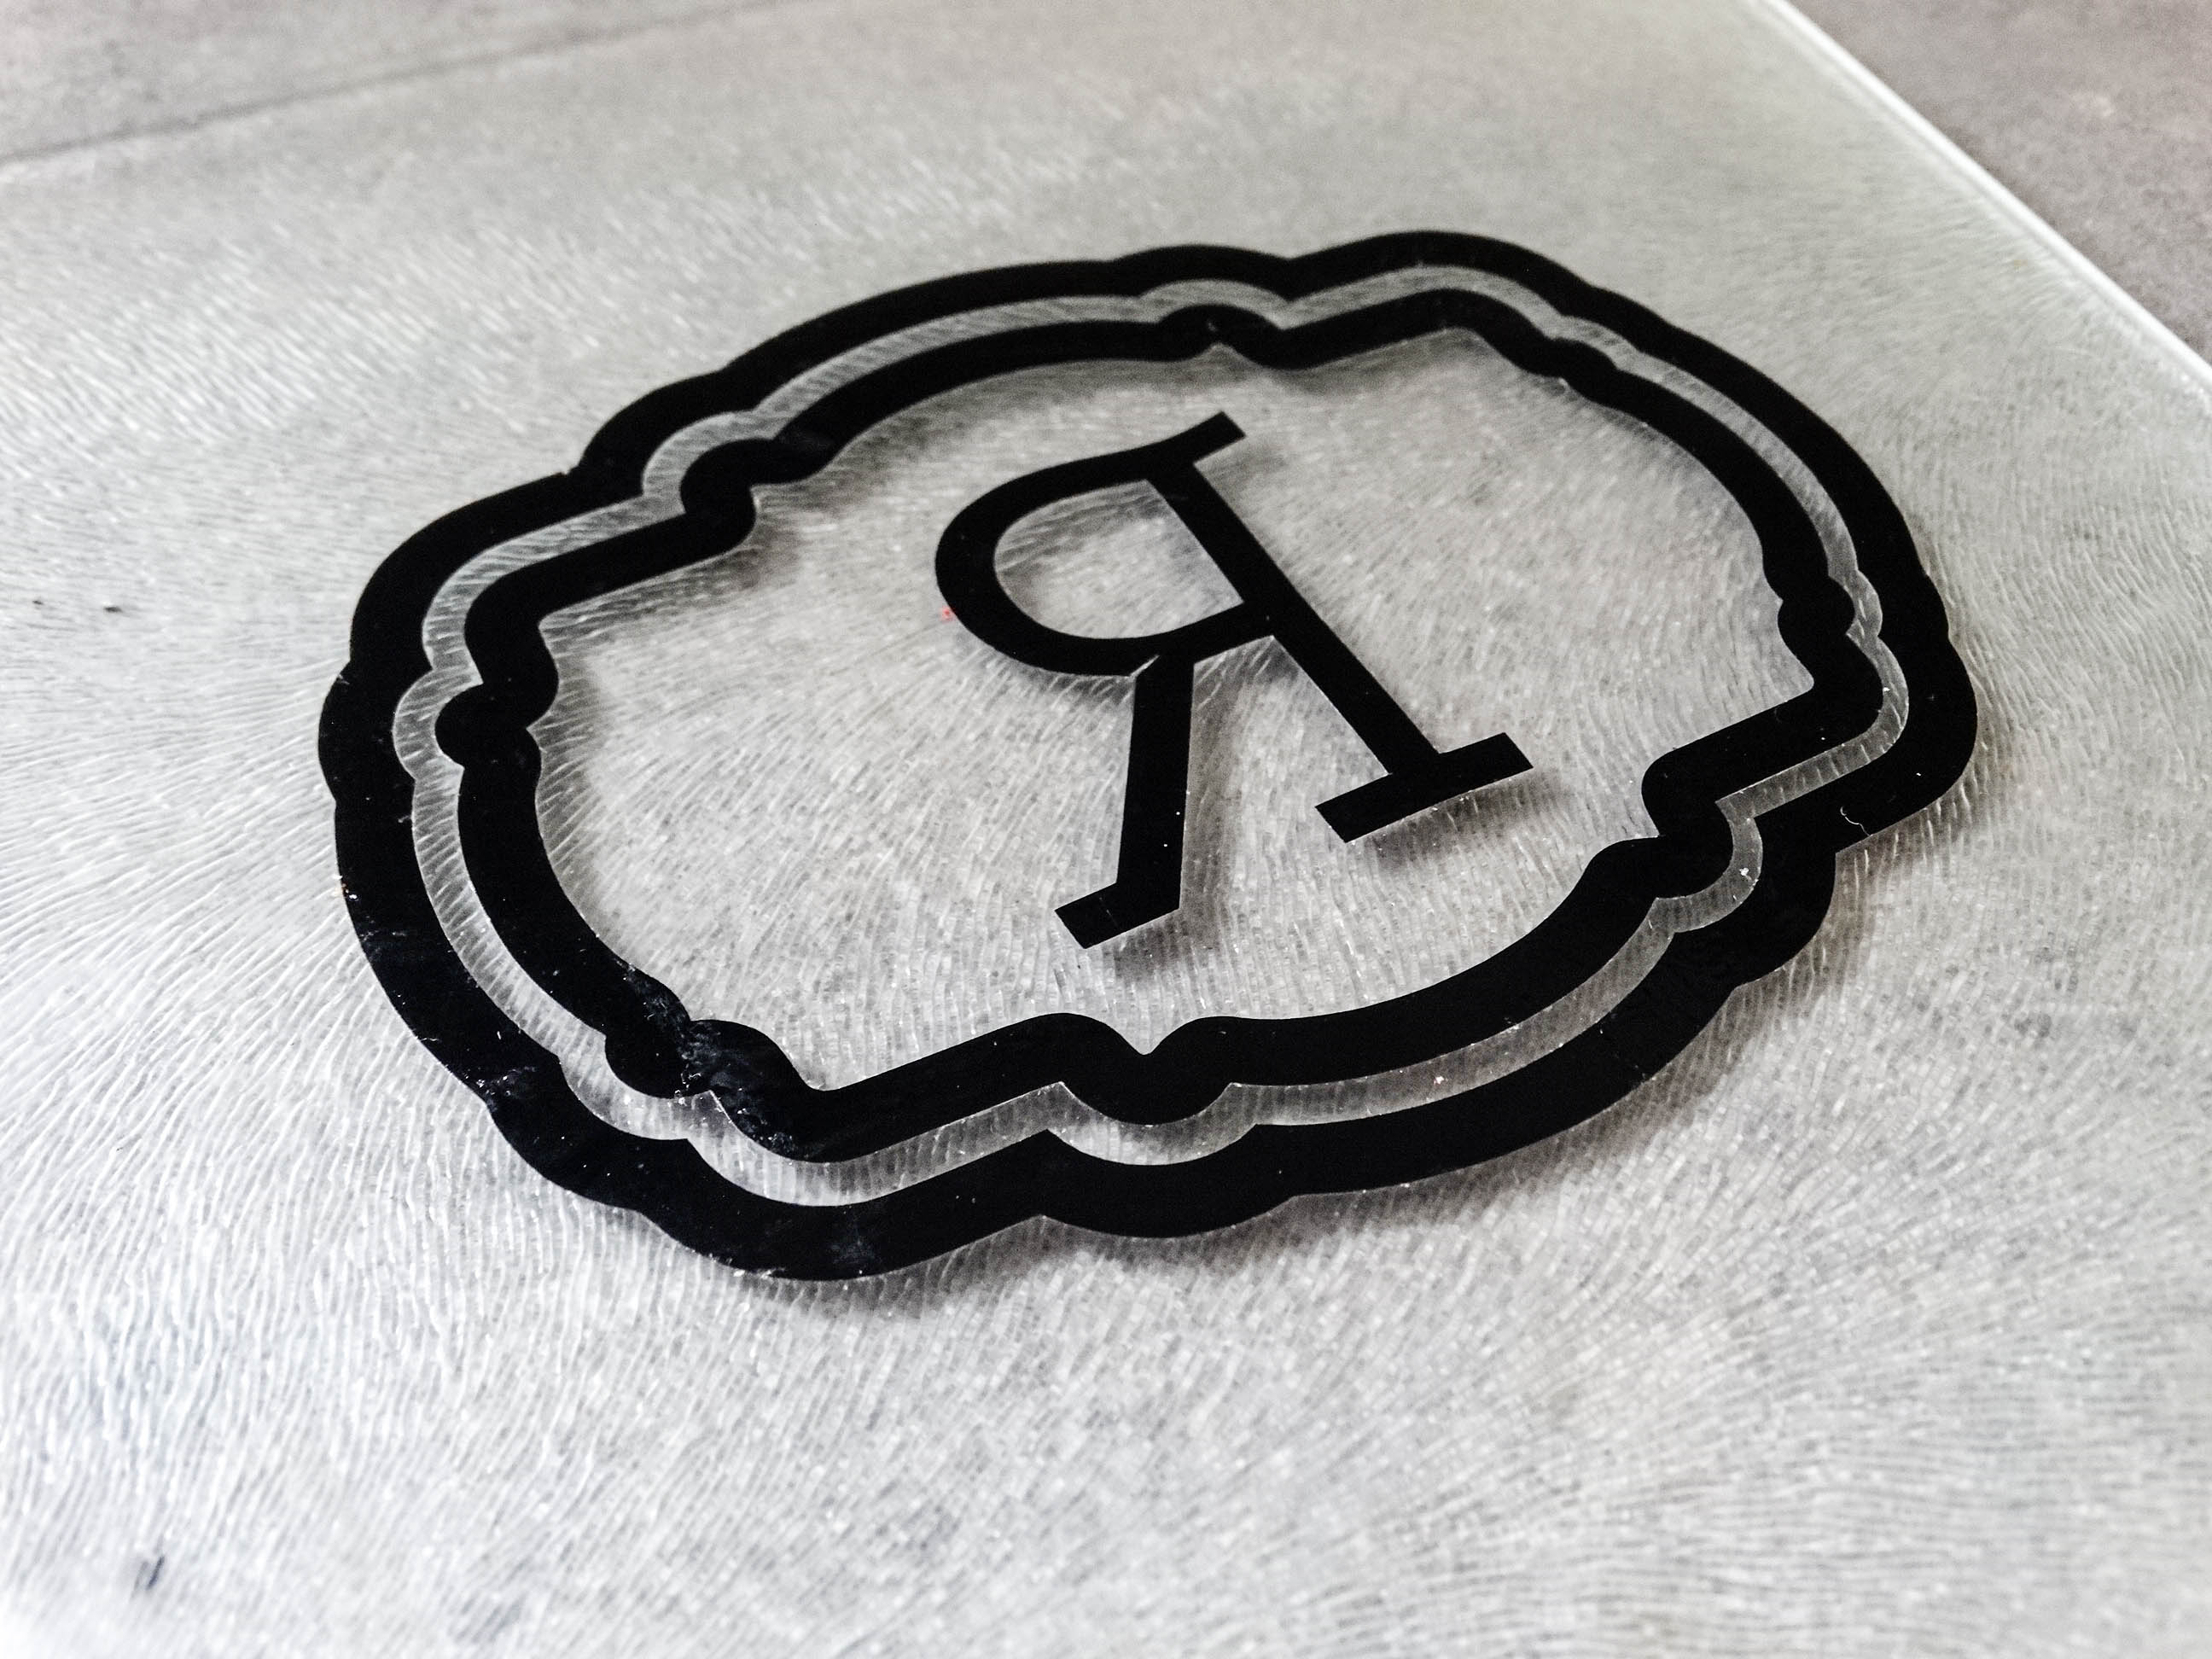
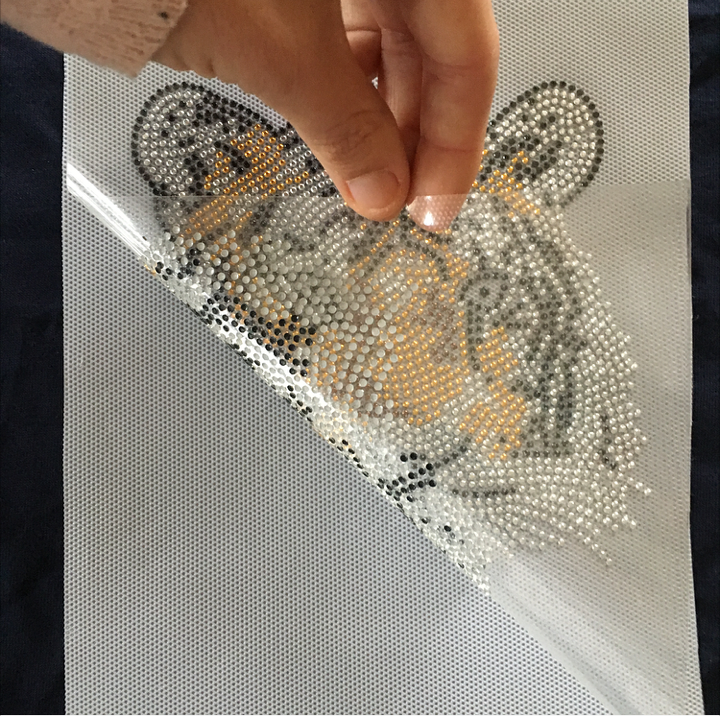
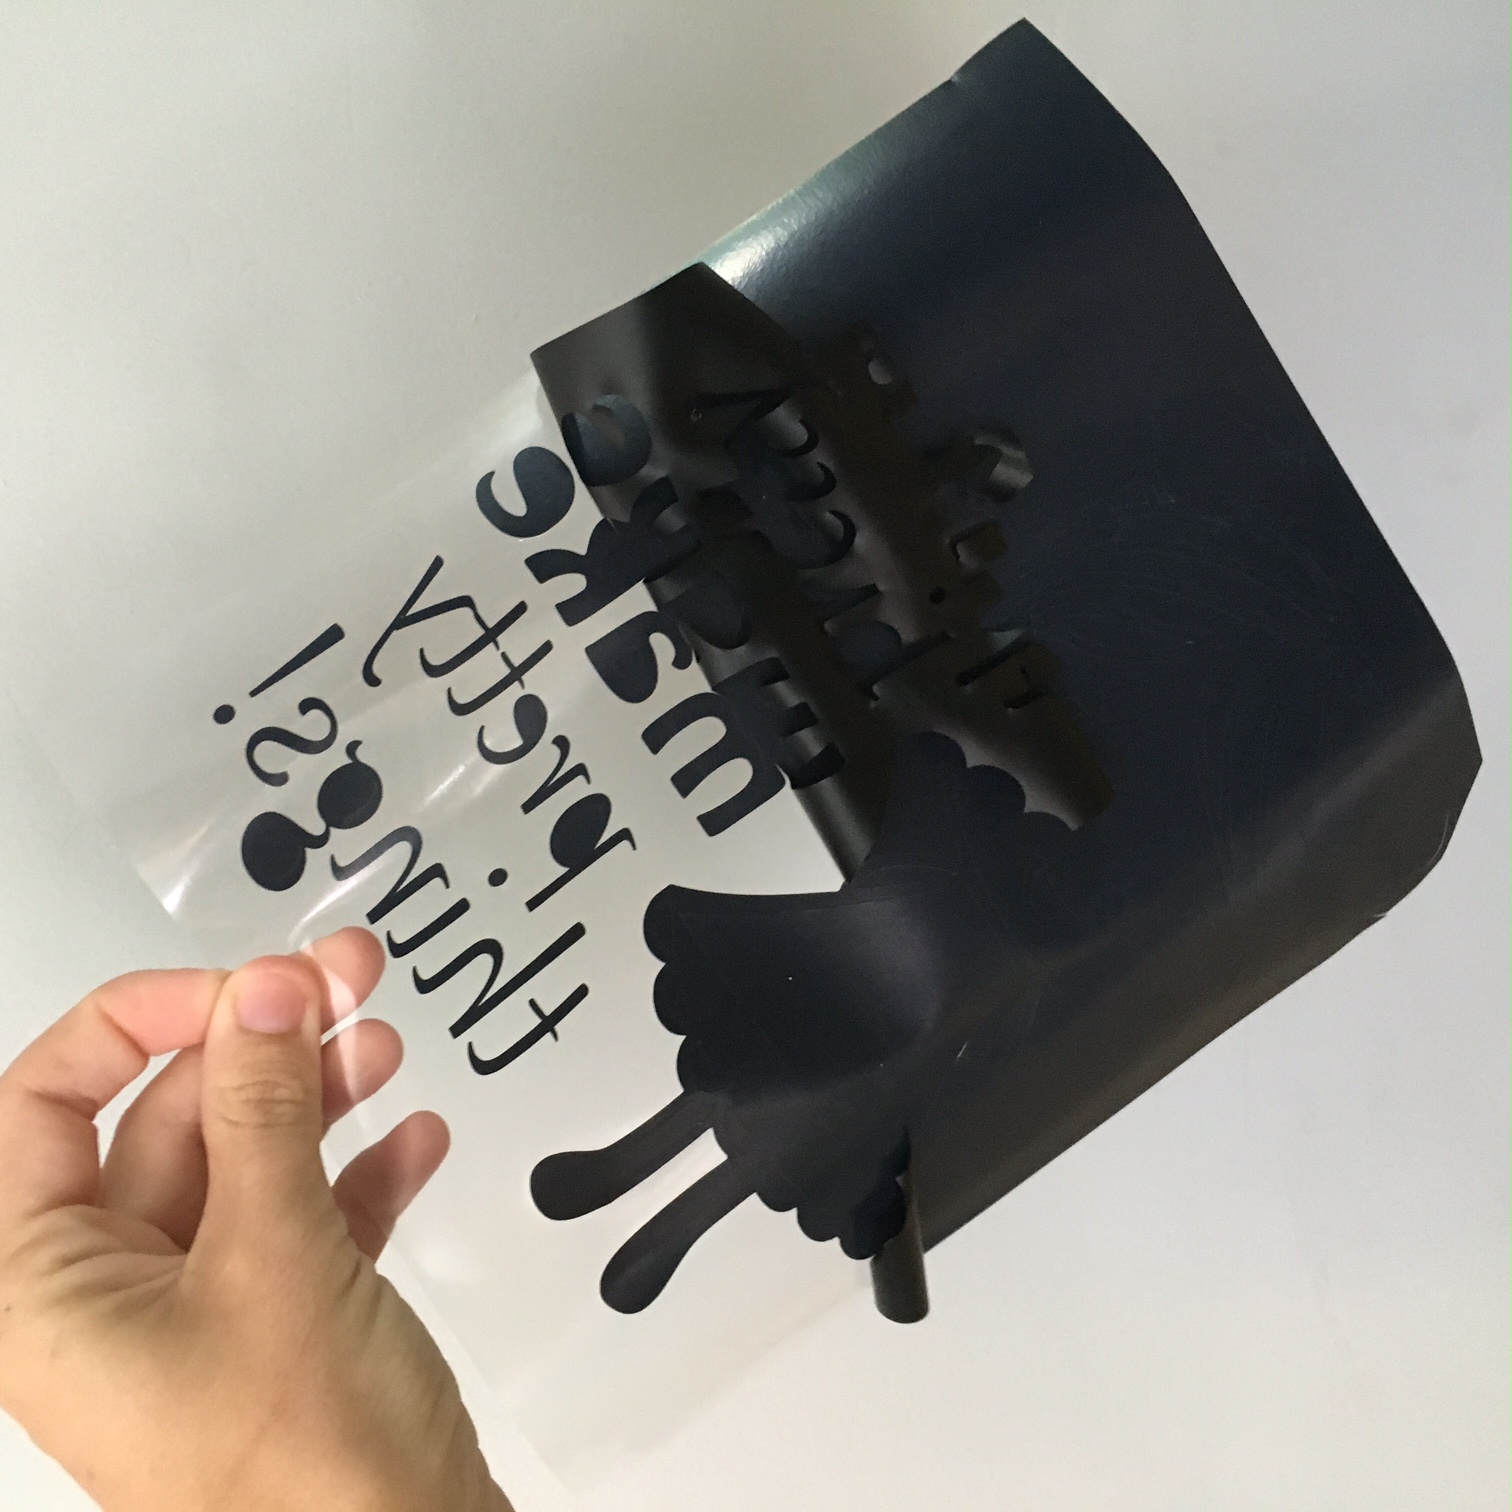
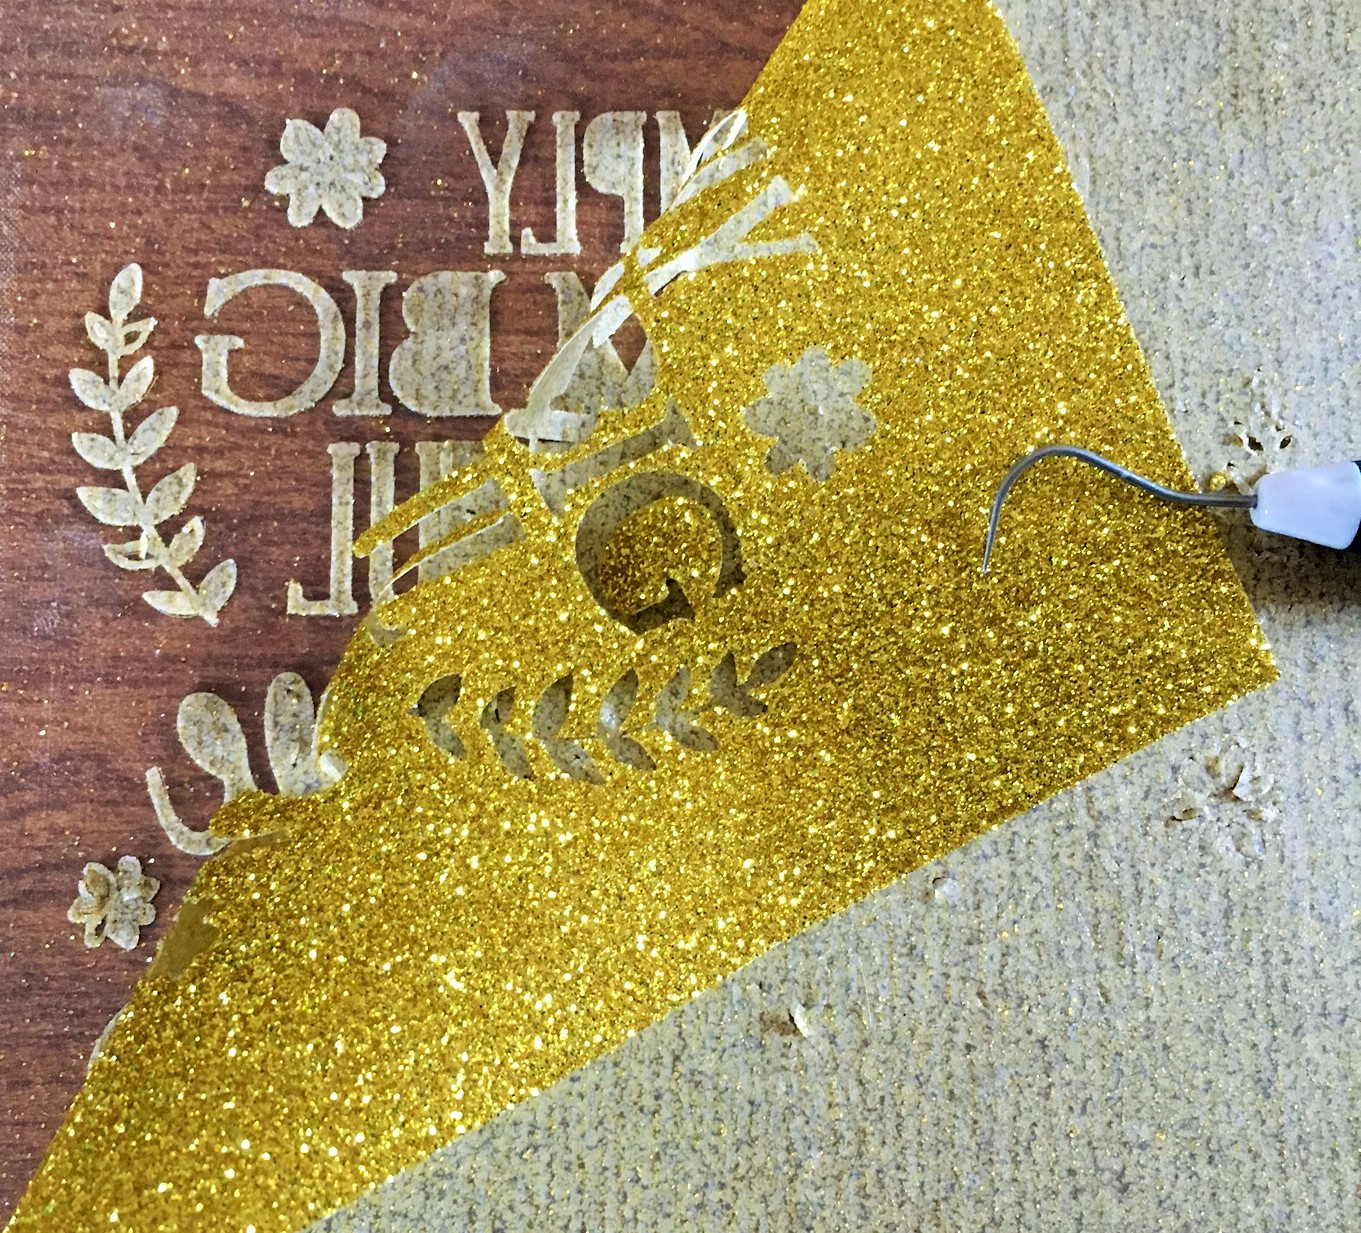
Once you have your design cut, it’s time to weed it. Start by trimming around the design if there is extra around the edges. Then, peel off the negative space or any parts of the design that you don’t want to have applied (like the inside of any letters). When you’re done, your design will be ready to transfer.
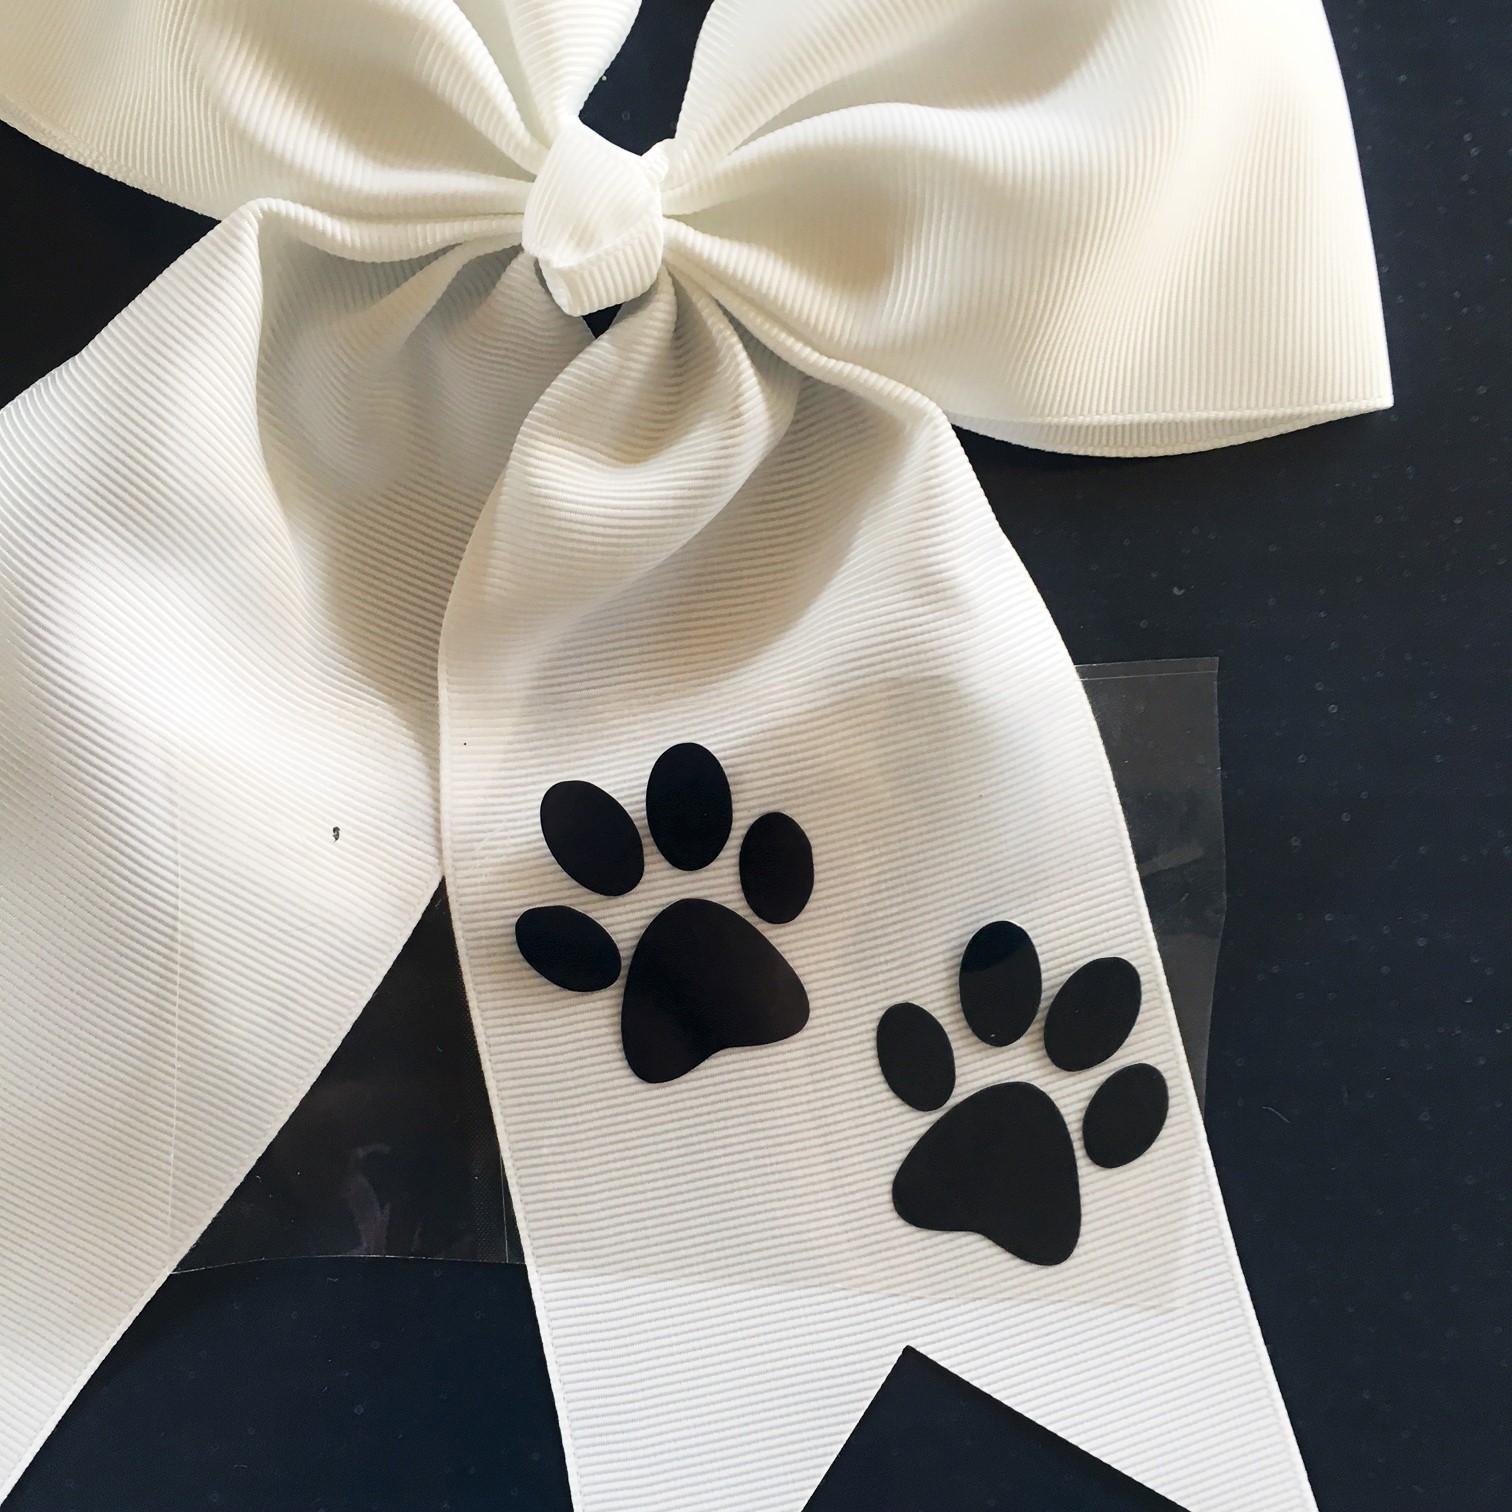
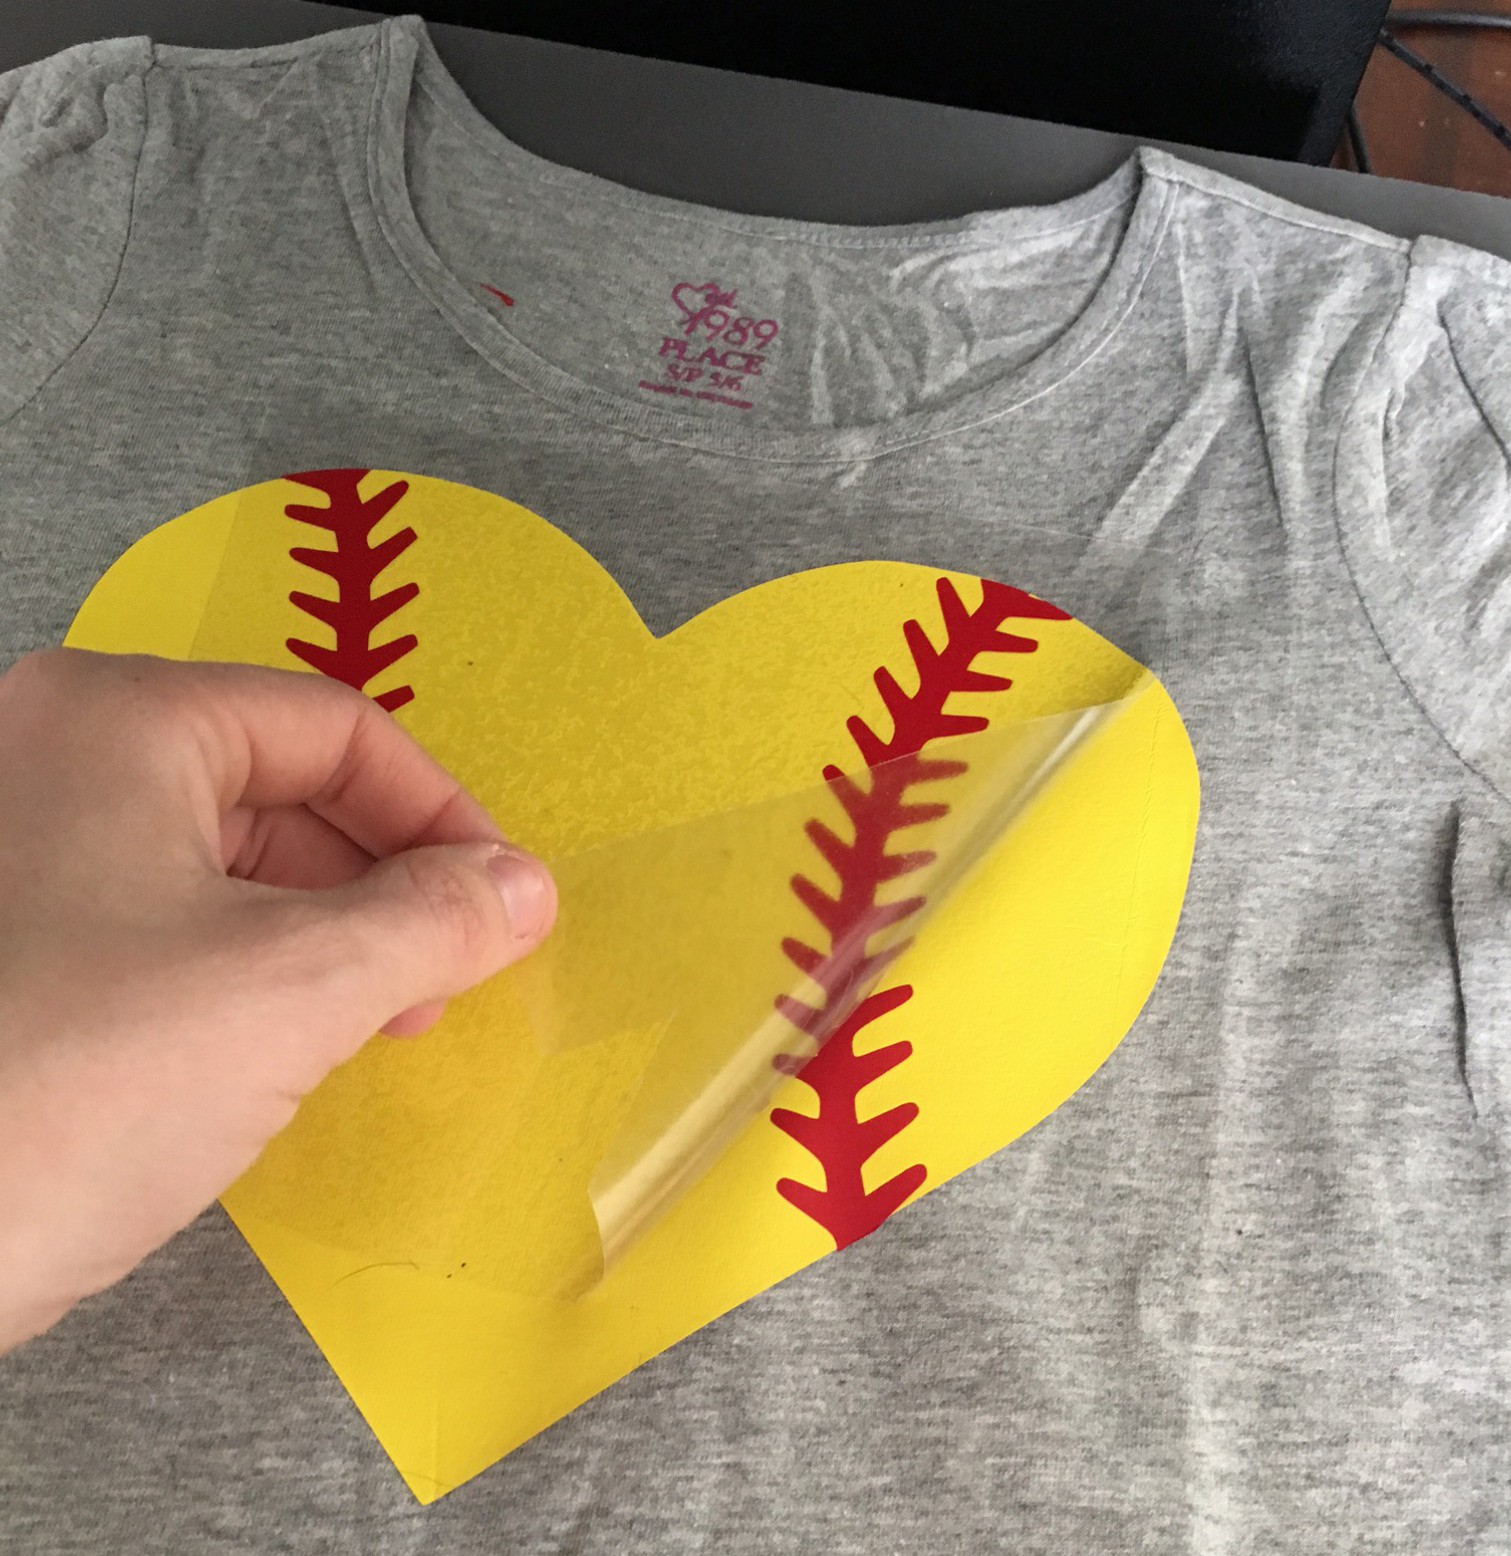
Before transferring, be sure your design is arranged correctly. If you designed and cut all of the pieces spaced as you want them, then you should be able to place the design on as one piece. But, if you compacted parts of the design to save space while cutting, cut out the separate elements and place them where you want them. Also be sure to trim the backing close to the design so that none of it ends up under other parts of the transfer.
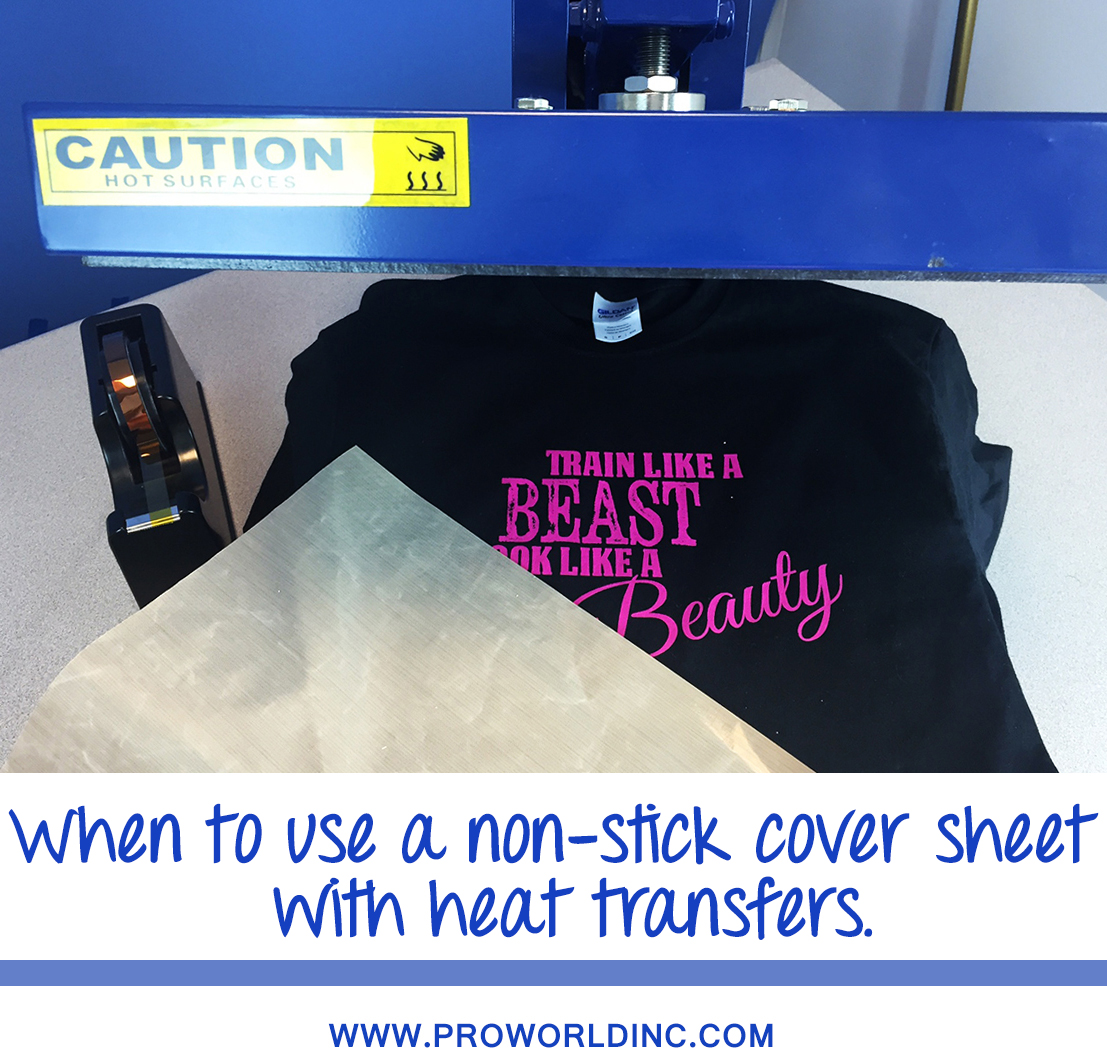
Once everything is in place it’s time to press! Be sure to read the specific directions for your heat transfer vinyl. When layering multiple heat transfer vinyl colors be sure to use a teflon sheet over any vinyl that no longer has the carrier paper protecting it.
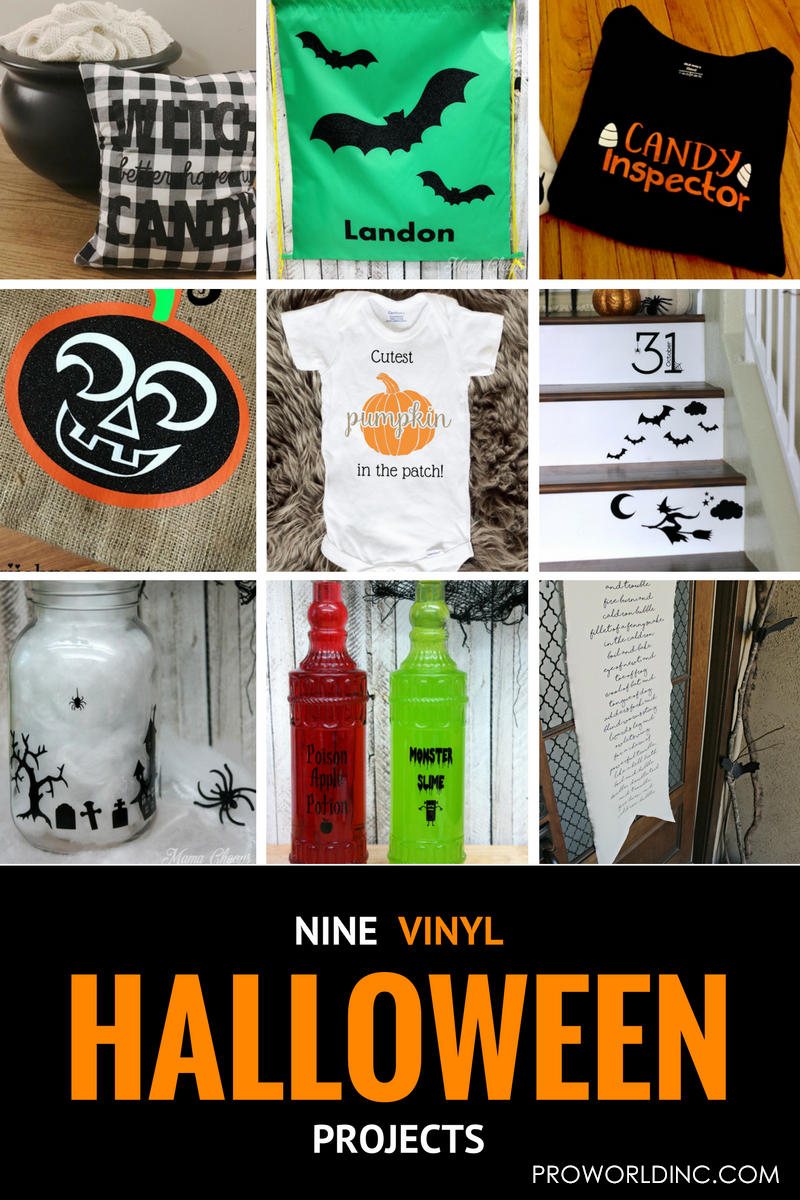
For more tips and a diverse selection of heat transfer vinyl, visit our website, http://www.proworldinc.com/ and pin this handy infographic!
Are you ready to start crafting? Have fun and remember to submit your projects for us to see by tagging us on Instagram at #proworld or #proworldinc
View & Add Comments

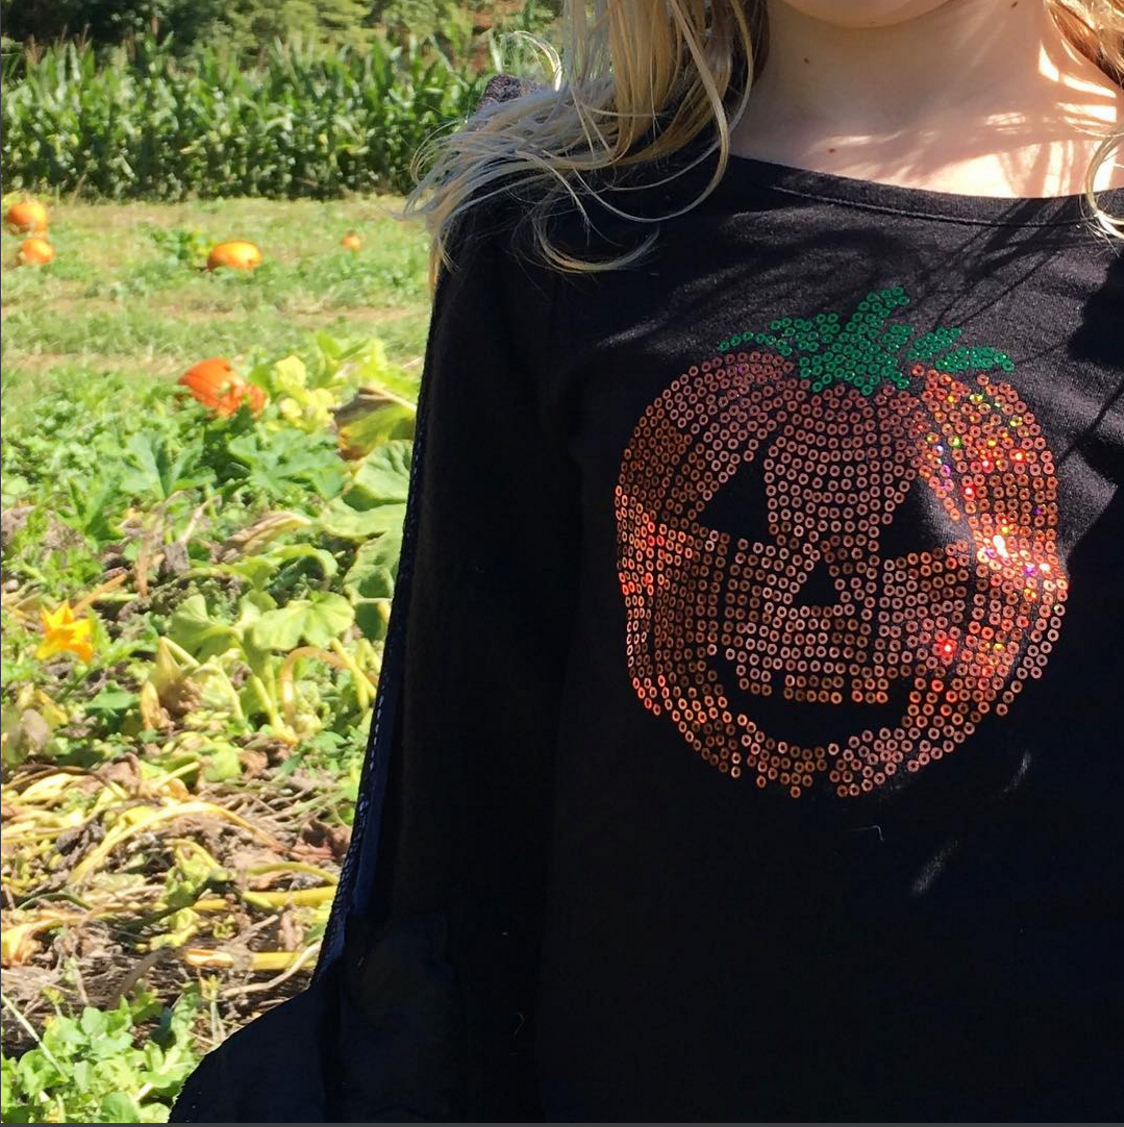
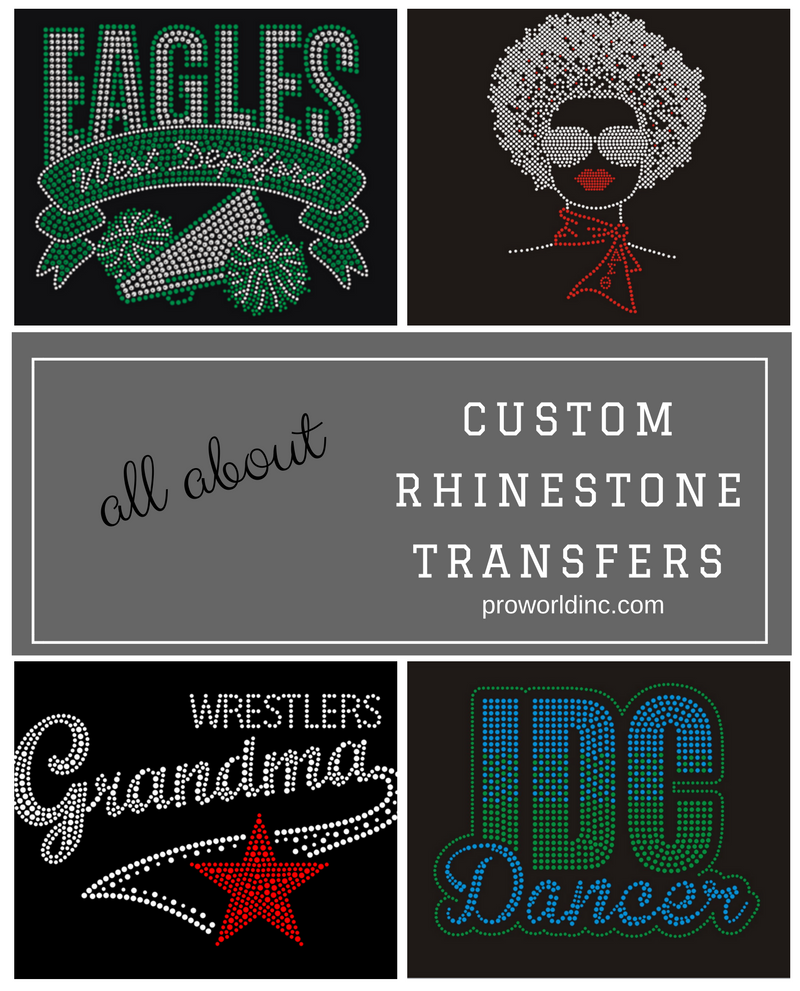 Want to get started creating your own custom rhinestone transfer? Here is what you need to know!