When it comes to sublimation the sky is the limit! If you can dream about it being personalized it probably can be and today we are showing you just how true that is with PERSONALIZED RIBBON!
With a personalized ribbon, you can use it to package your holiday present or custom creation. Or another popular option is wearing it in your hair with custom ribbon bow prints or personalized cheer bows! Regardless of whatever you use it for it is easy to make and can be done in just a few minutes!
Scroll down to learn How To Sublimate Ribbon!
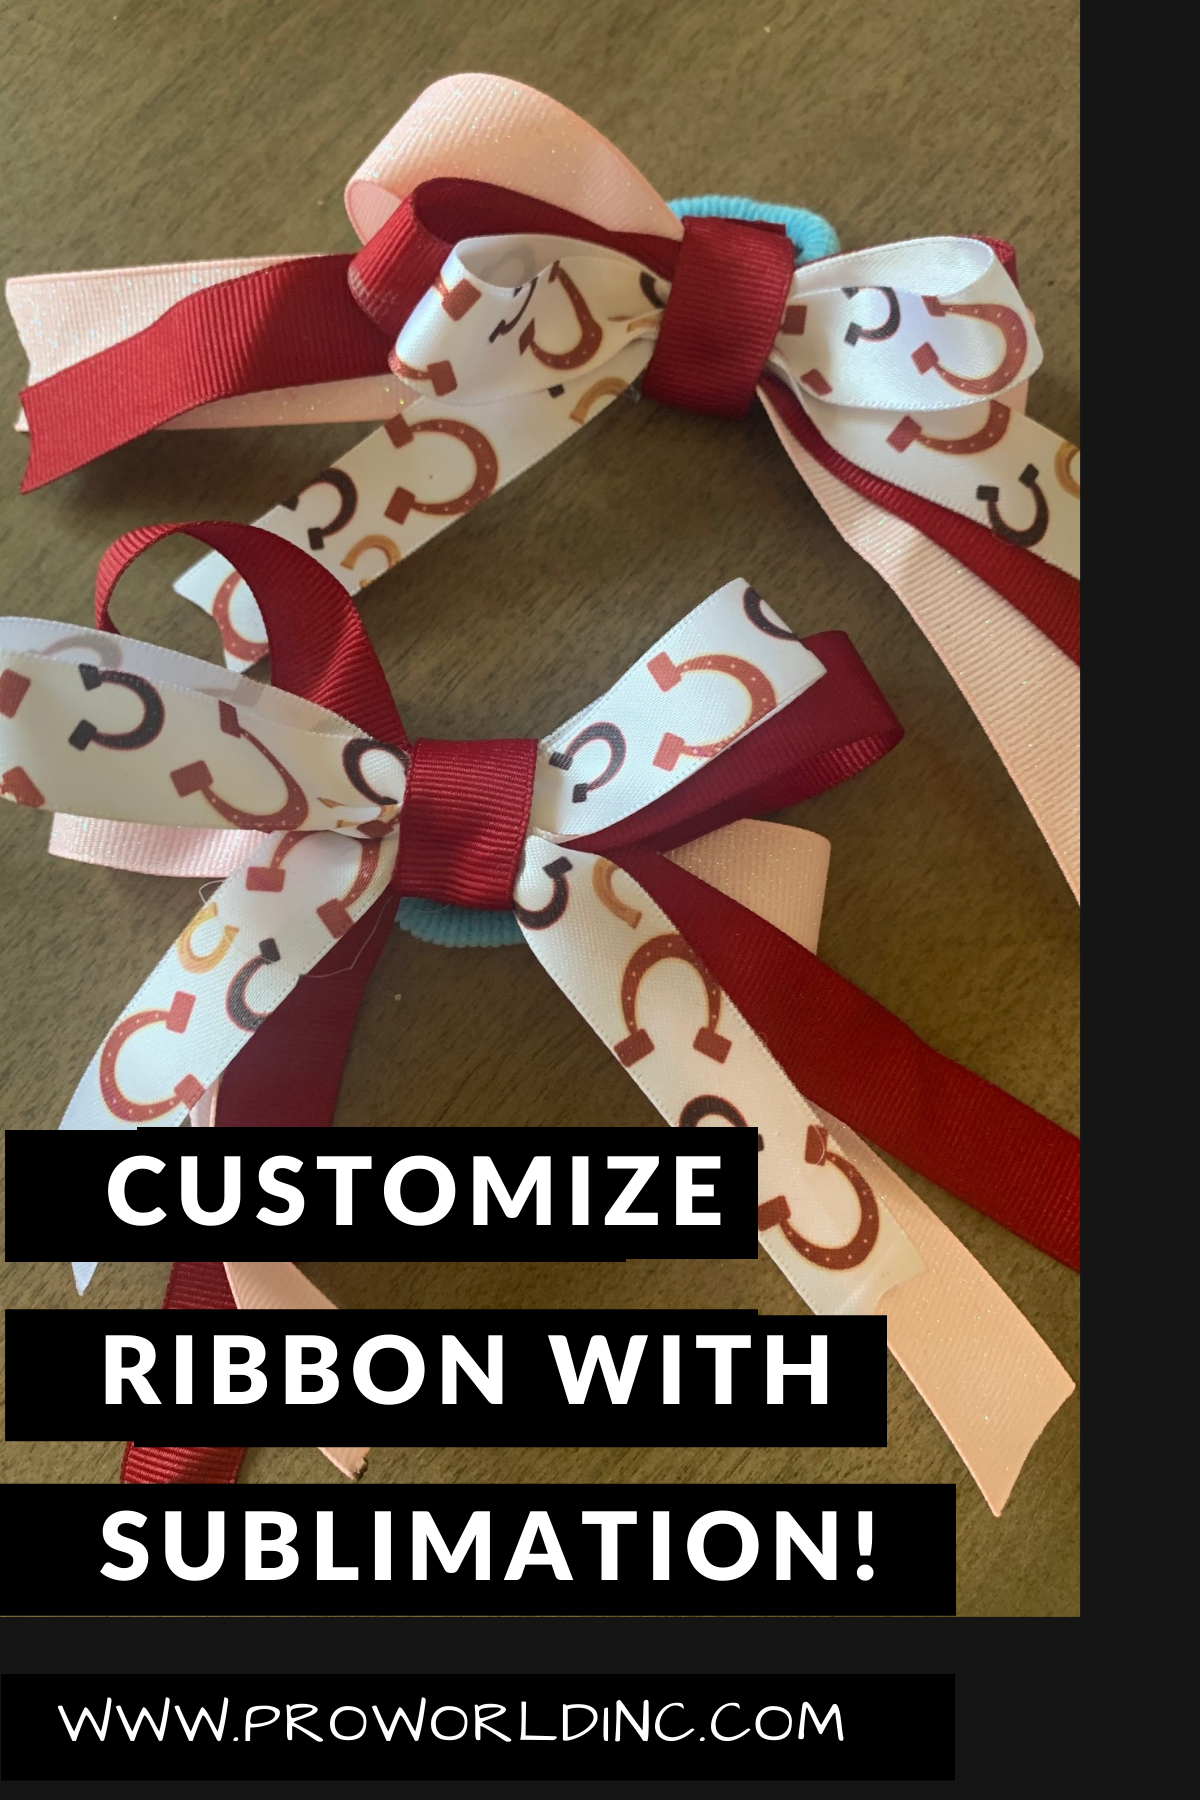
You Need:
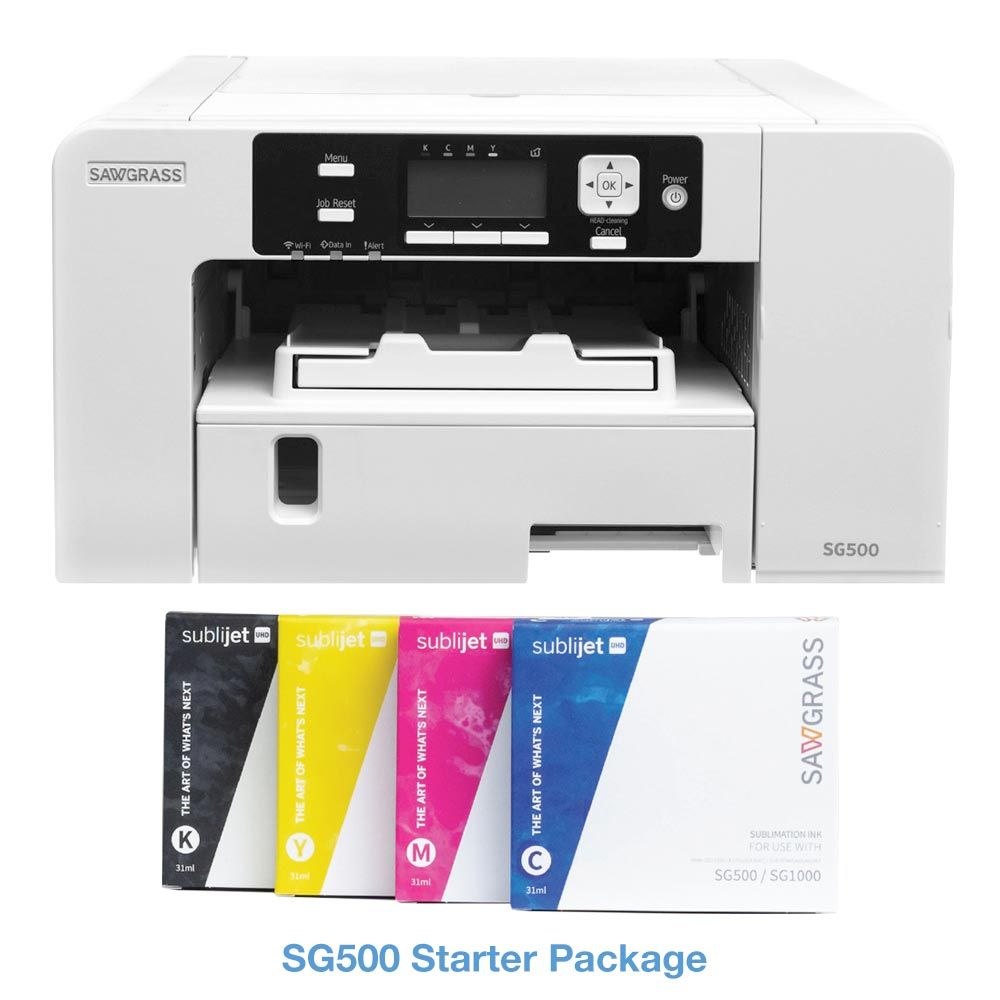
- Sublimation Printer
- Sublimation Paper
- 100% Polyester Ribbon
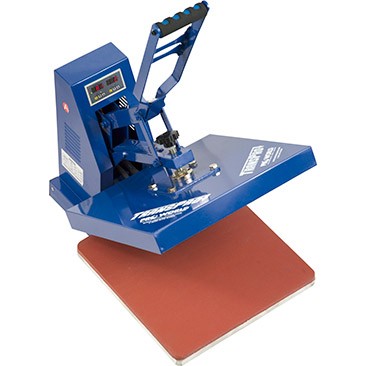
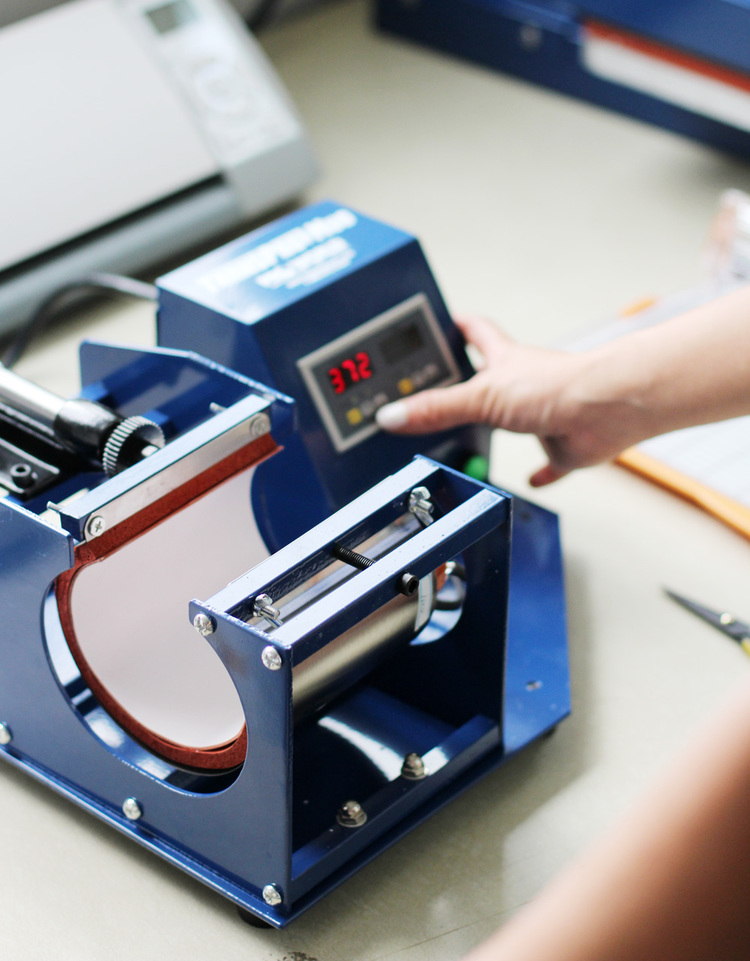
- Heat Press
- Adhesive Spray
Here’s How! ;
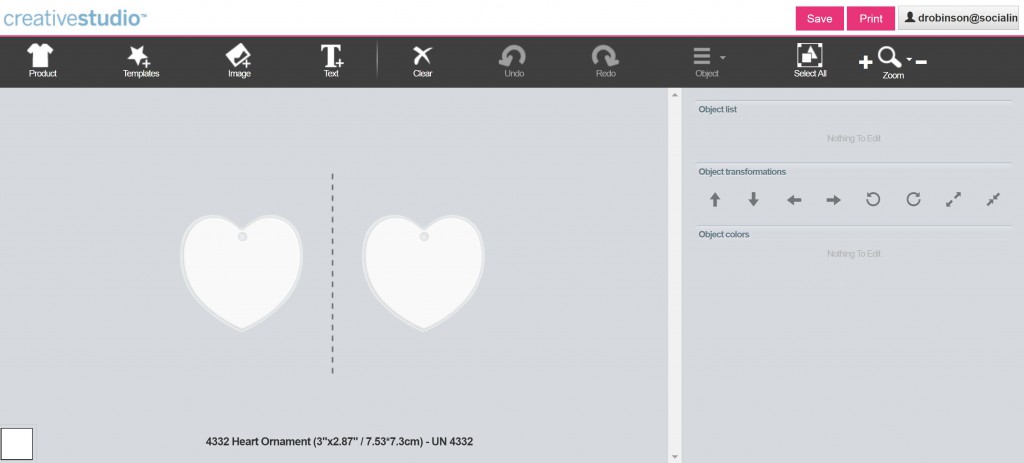
1 – Design your ribbon print. We did this by measuring the width of the ribbons that we were printing on. Designed a few different versions to size and printed on the Sublimation Printer.
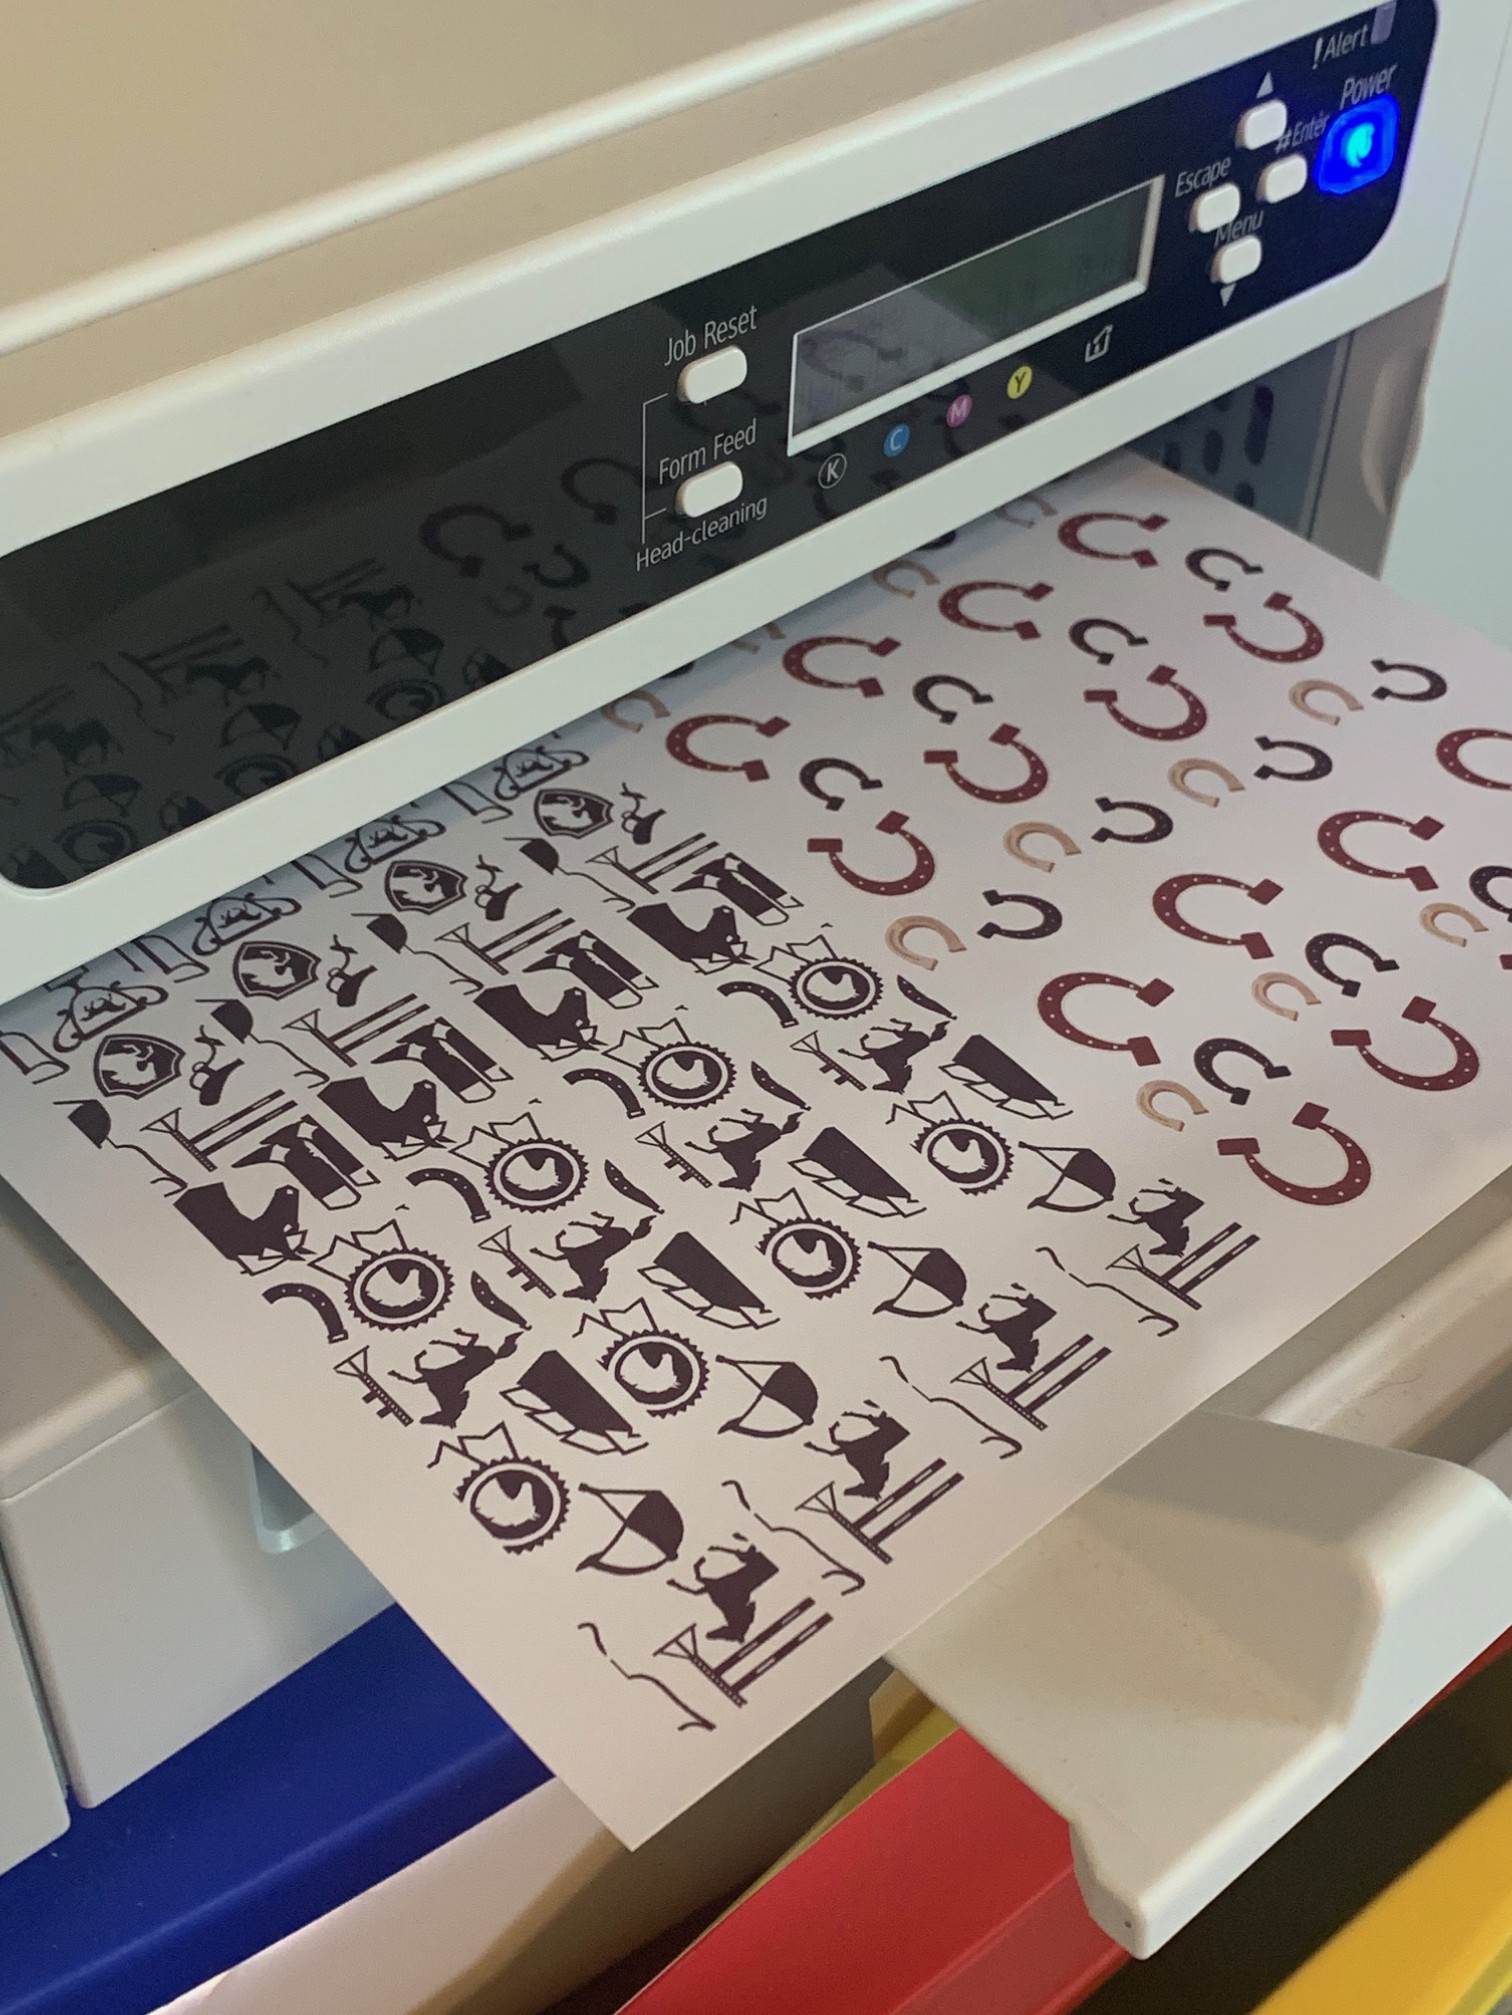
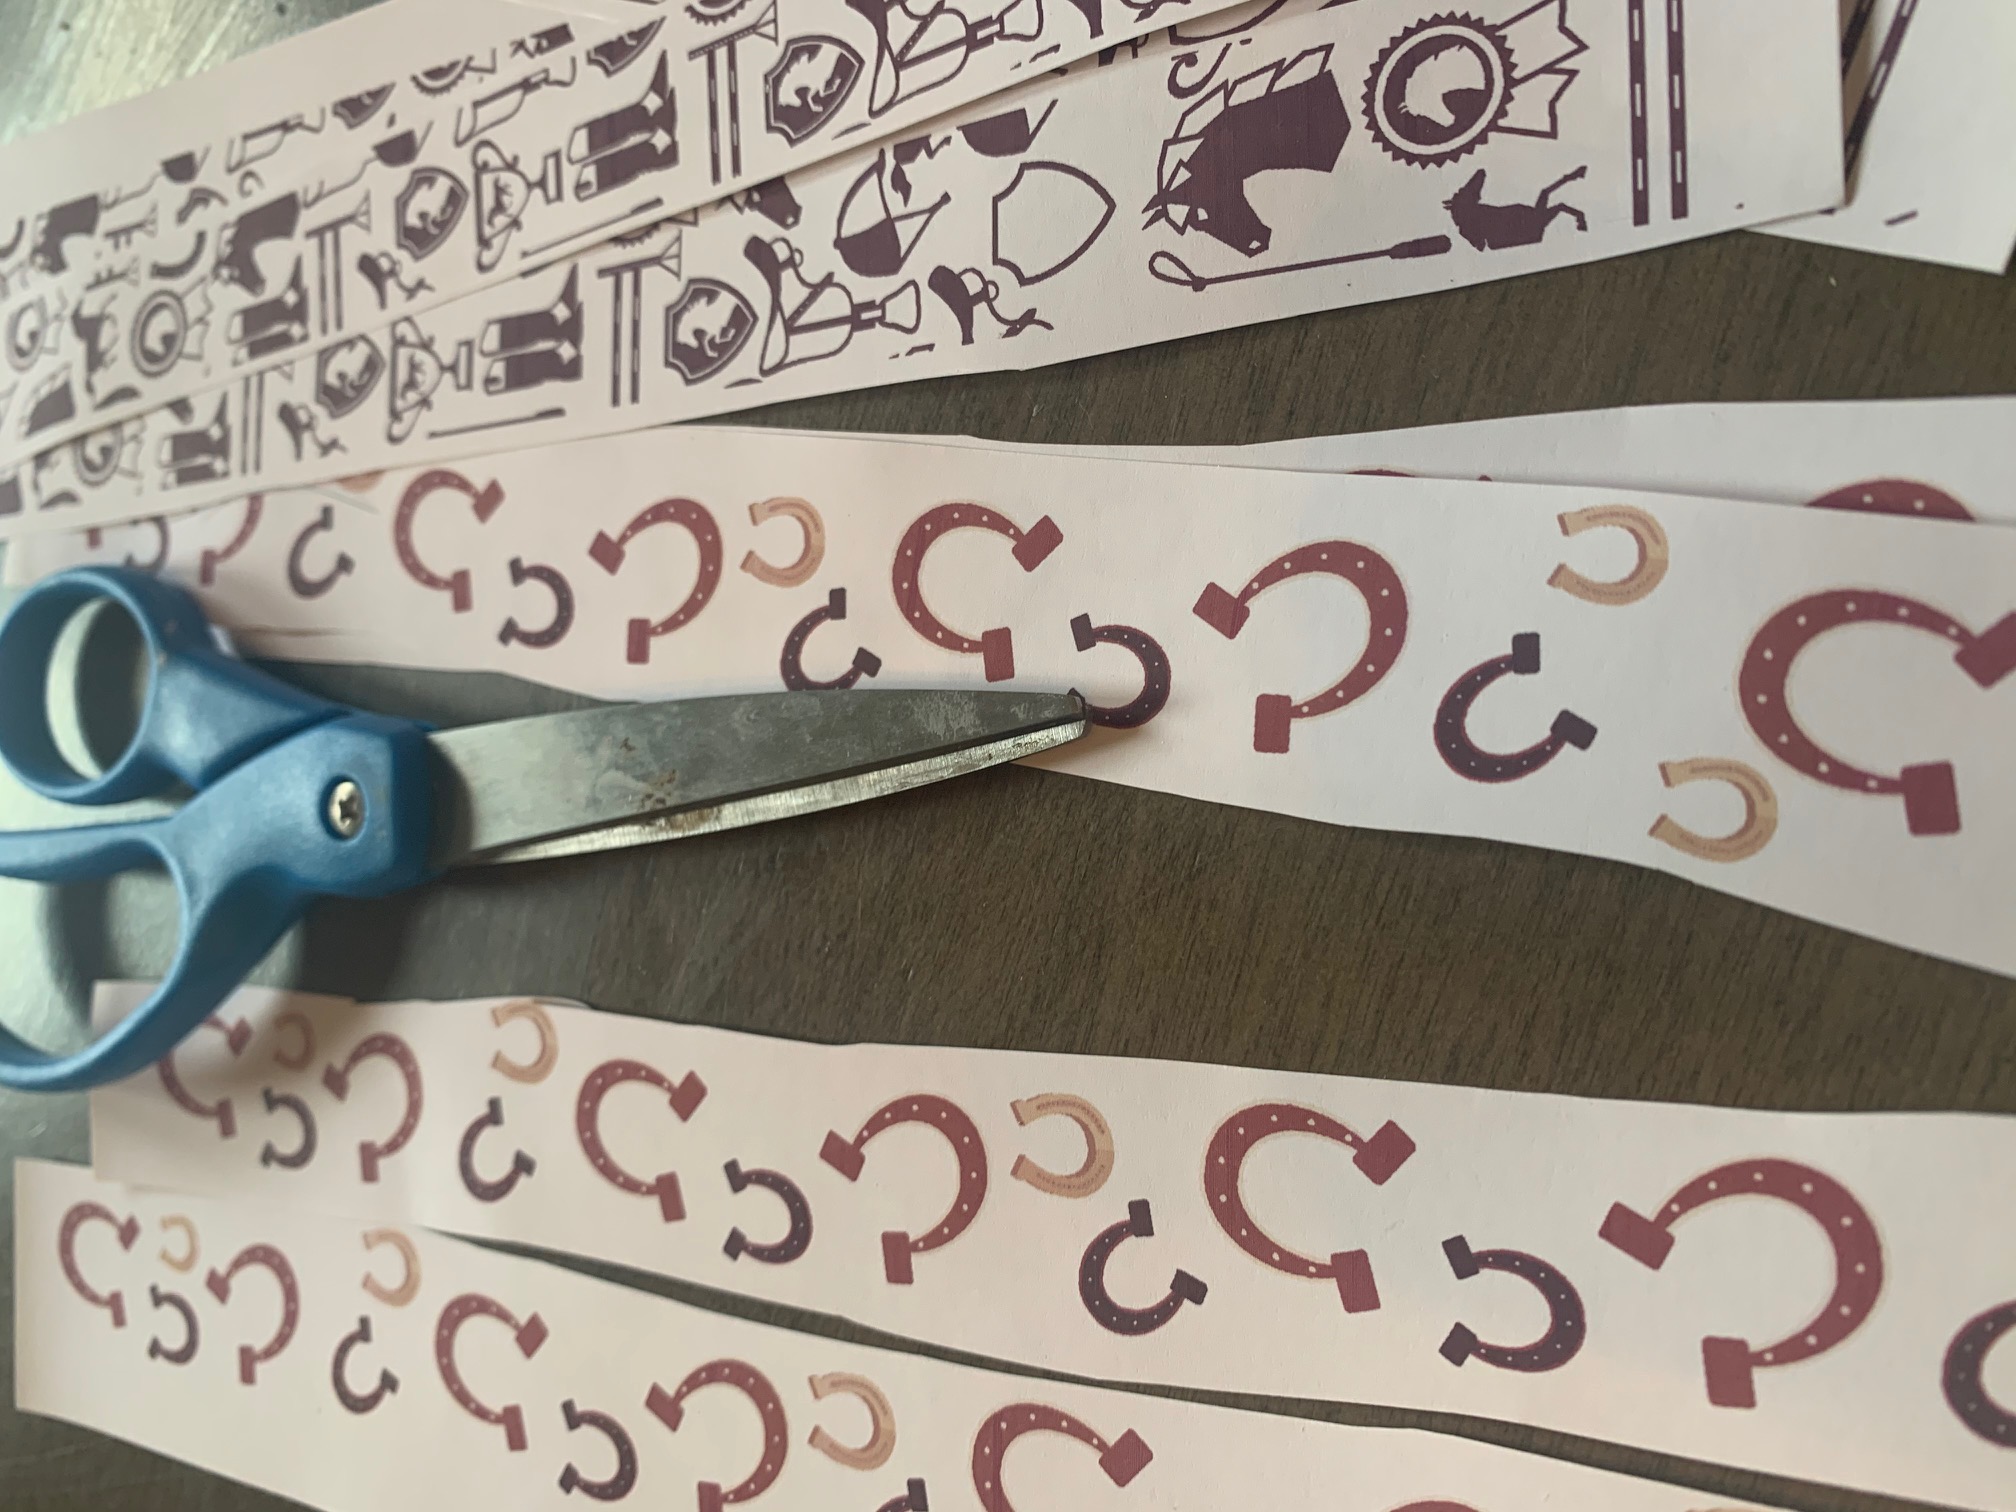
2 – Cut out your design.
3 – Turn on your Heat Press. We set the temperature on our Trans Pro to 400 degrees.
4 – Figure out where you need the design (this depends on what you are making). If you are making a hair bow you will need to print on different sides of the ribbon – see this article!
5 – Adhere your sublimation printer to your ribbon. We used Adhesive Spray to hold the design in place!
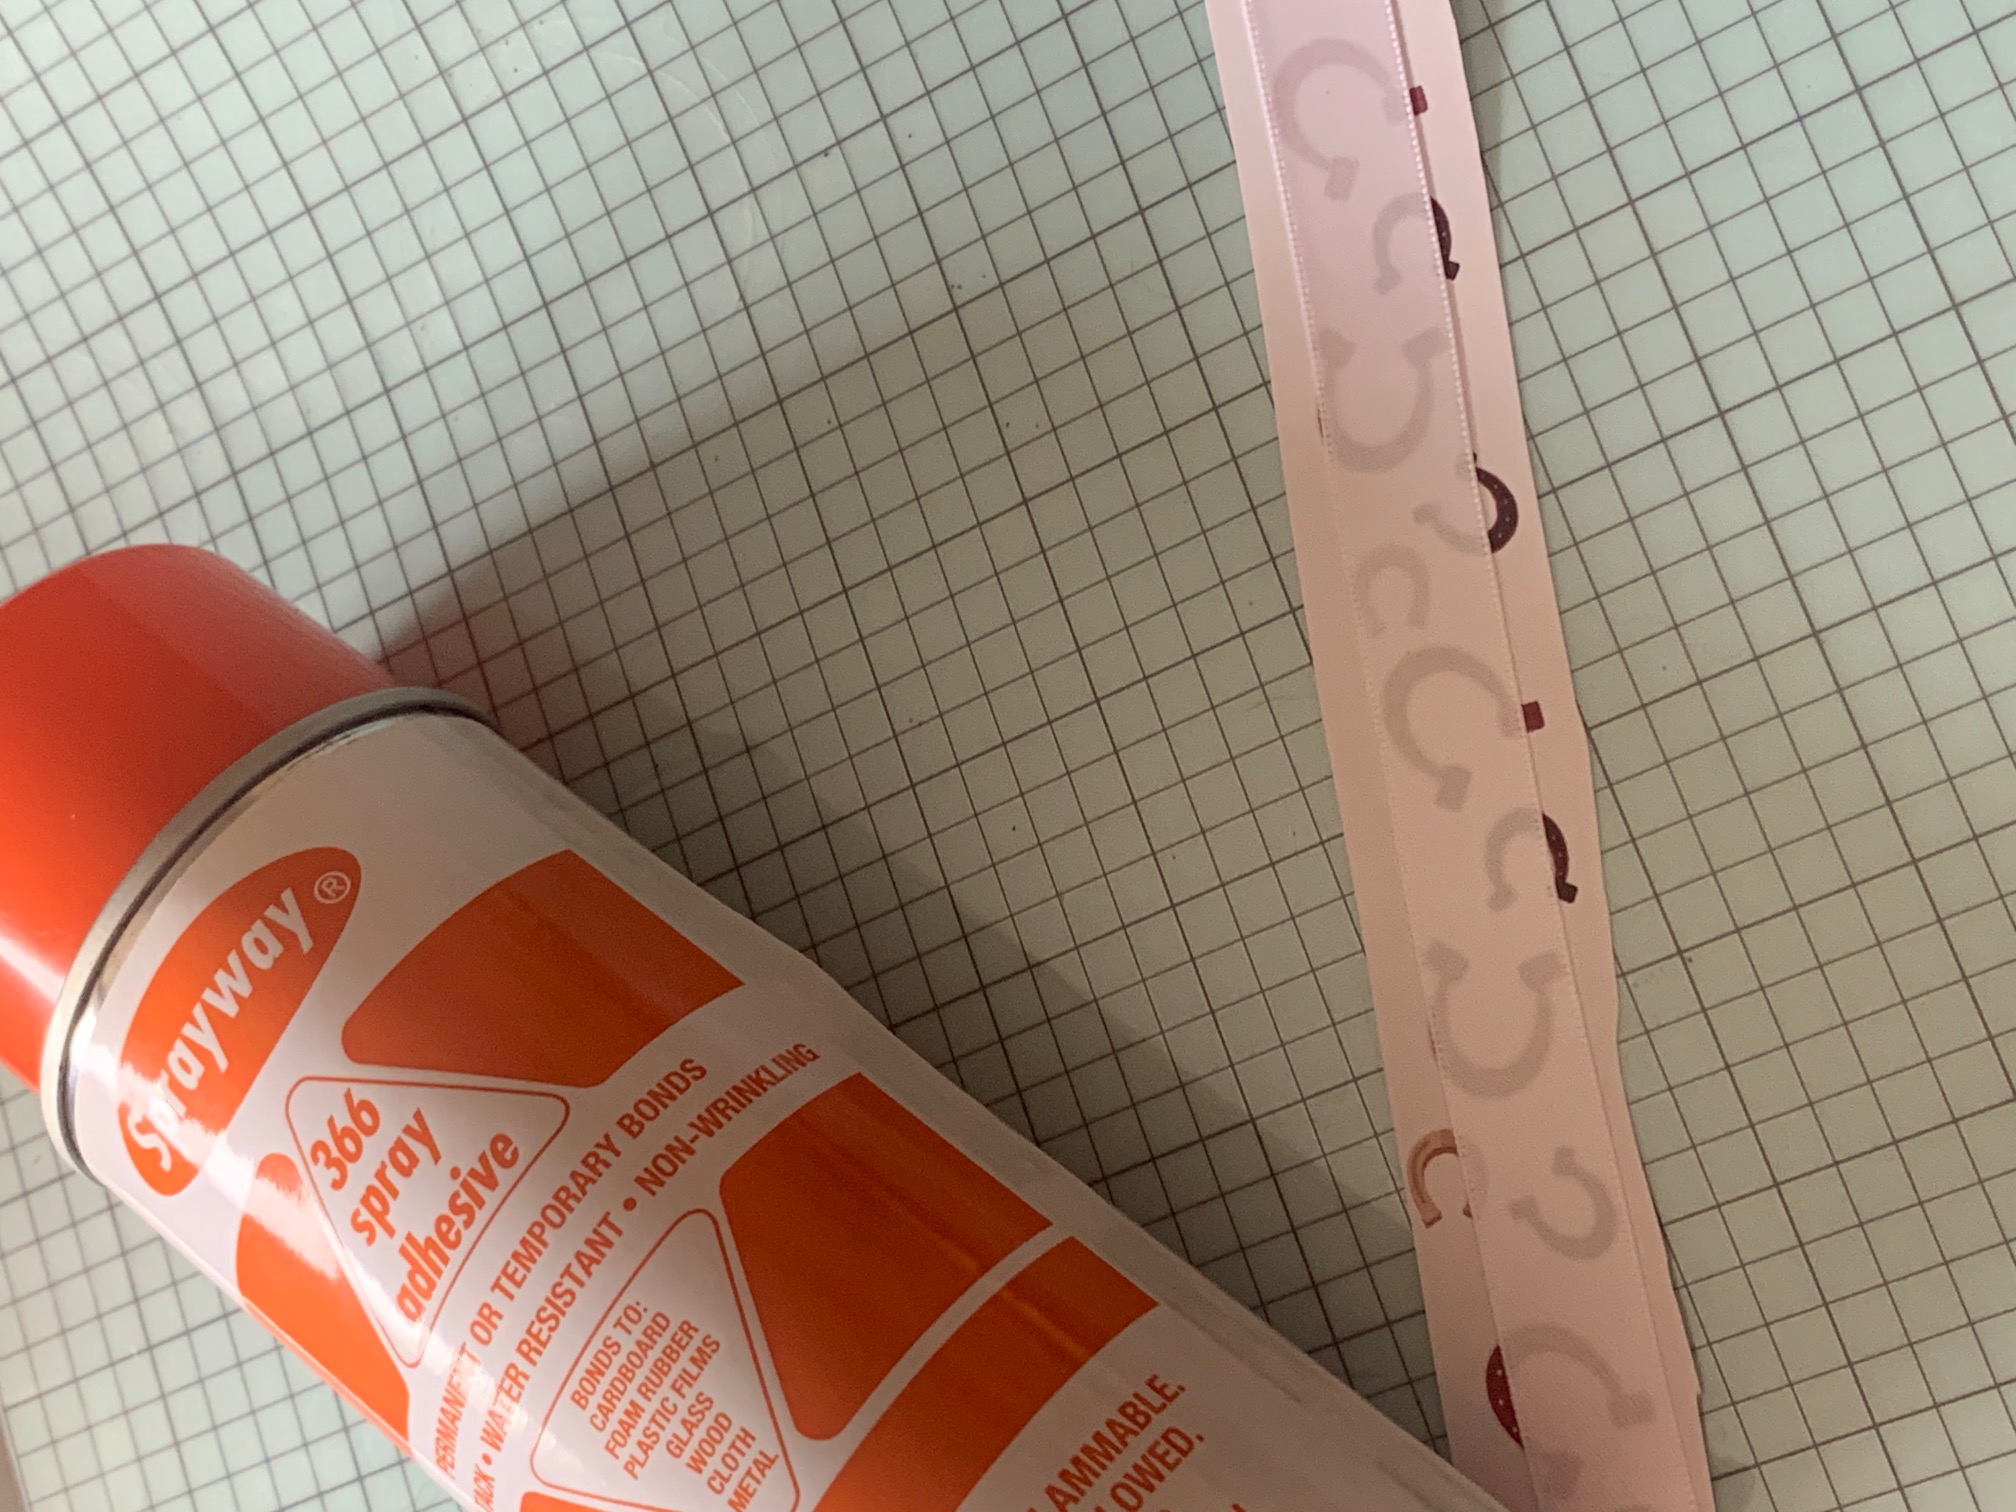
6 – Press your design for 60 seconds and peel hot!
7 – Admire your results!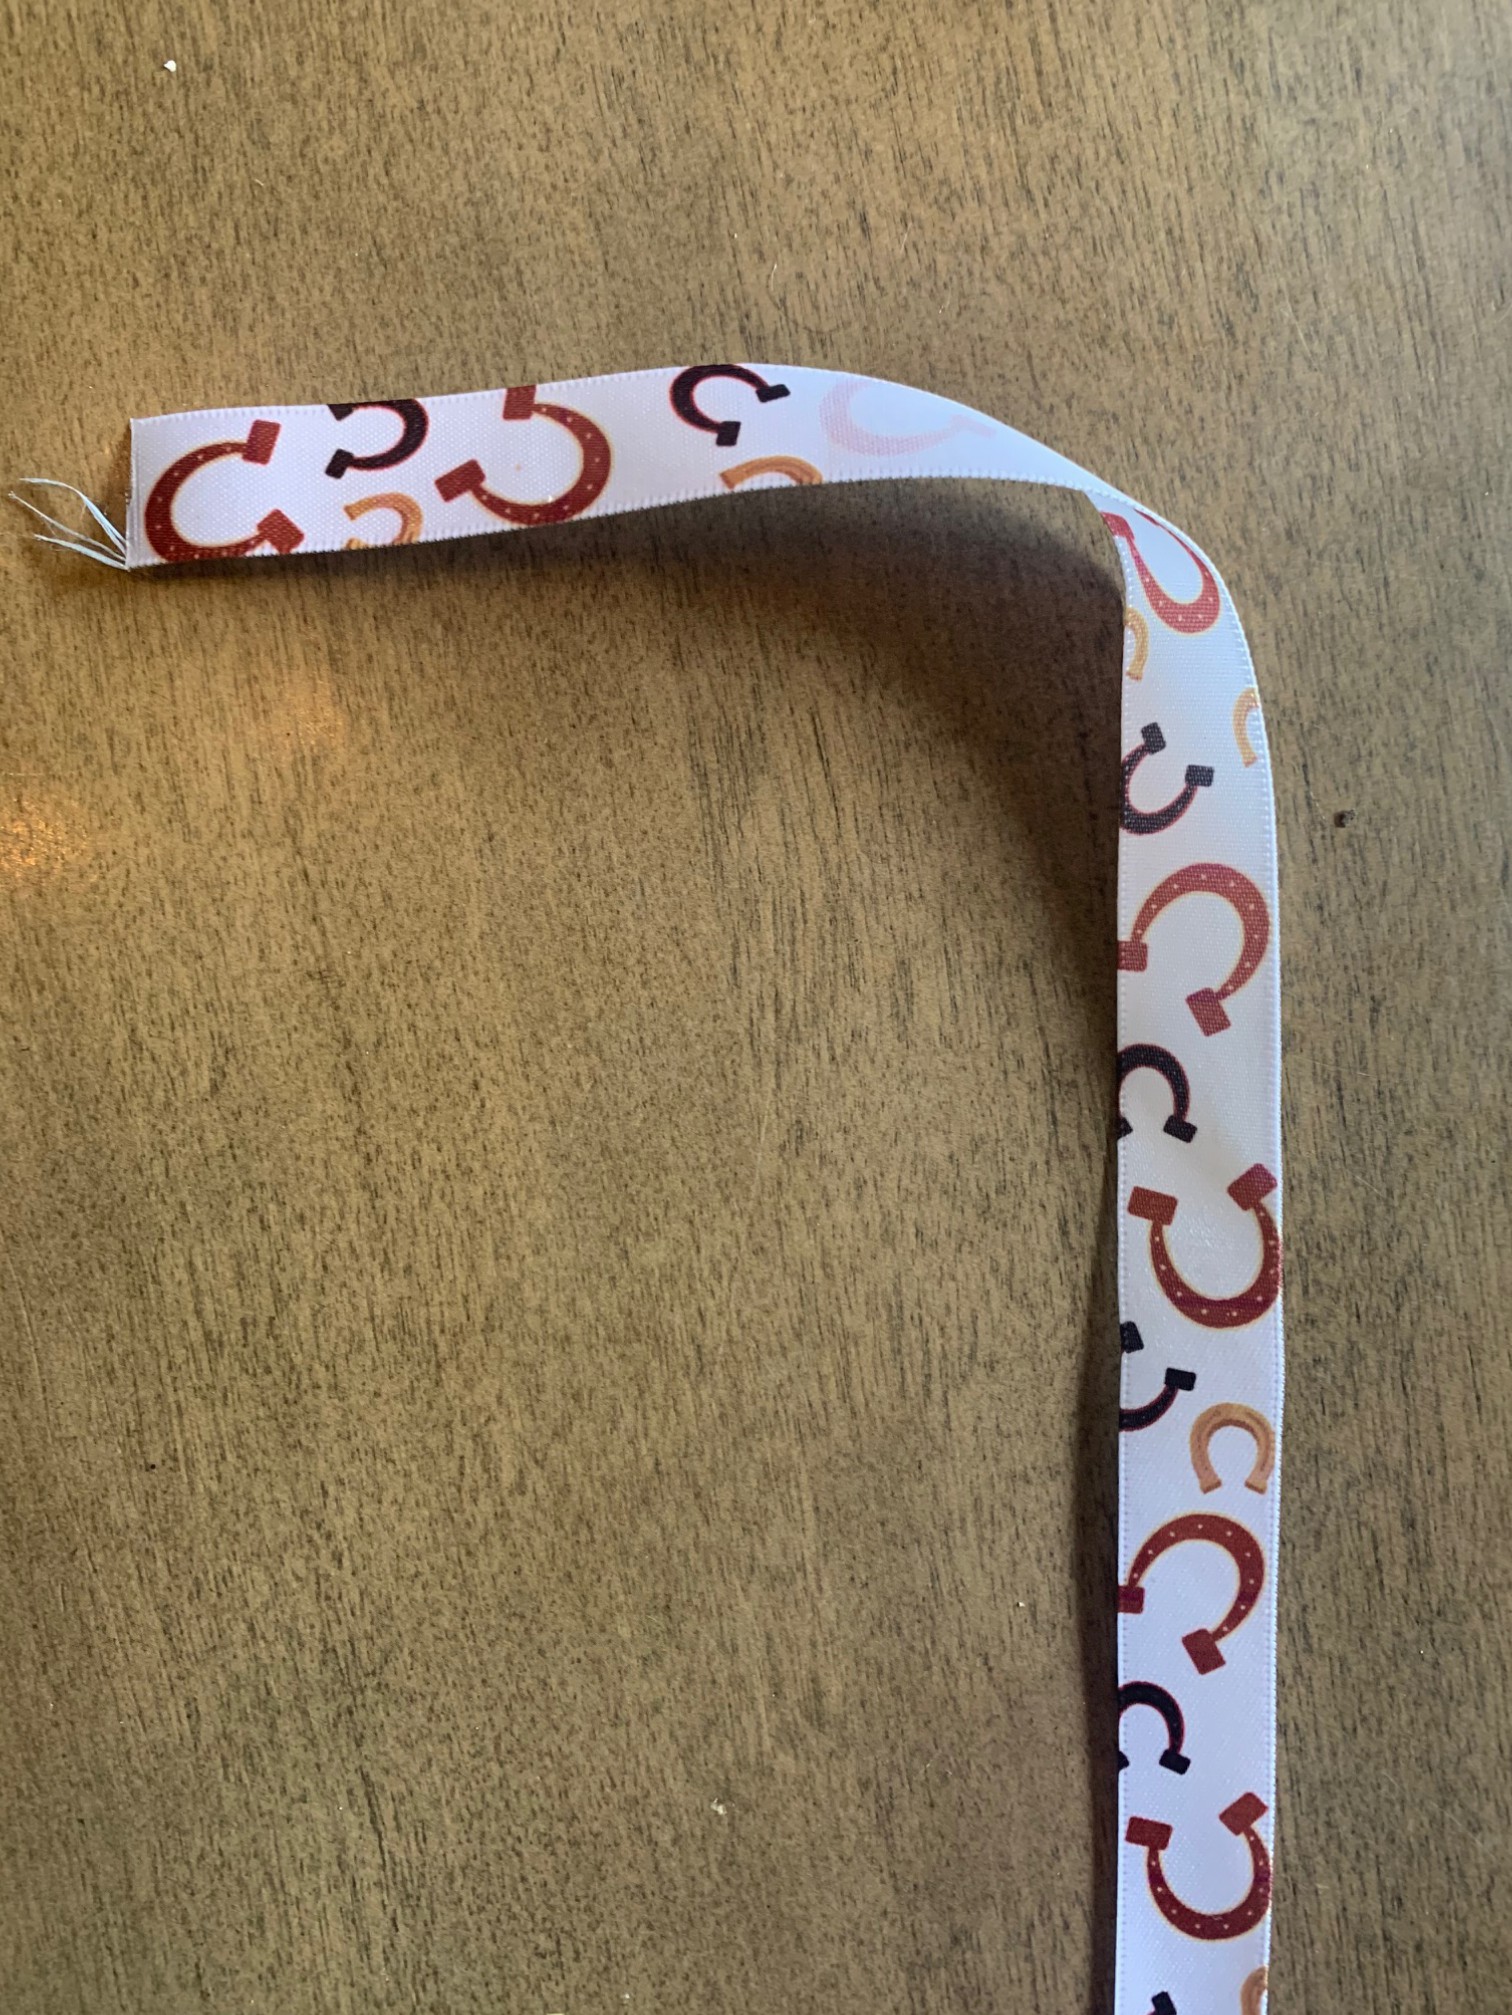
9 – Tie it up and you are done!
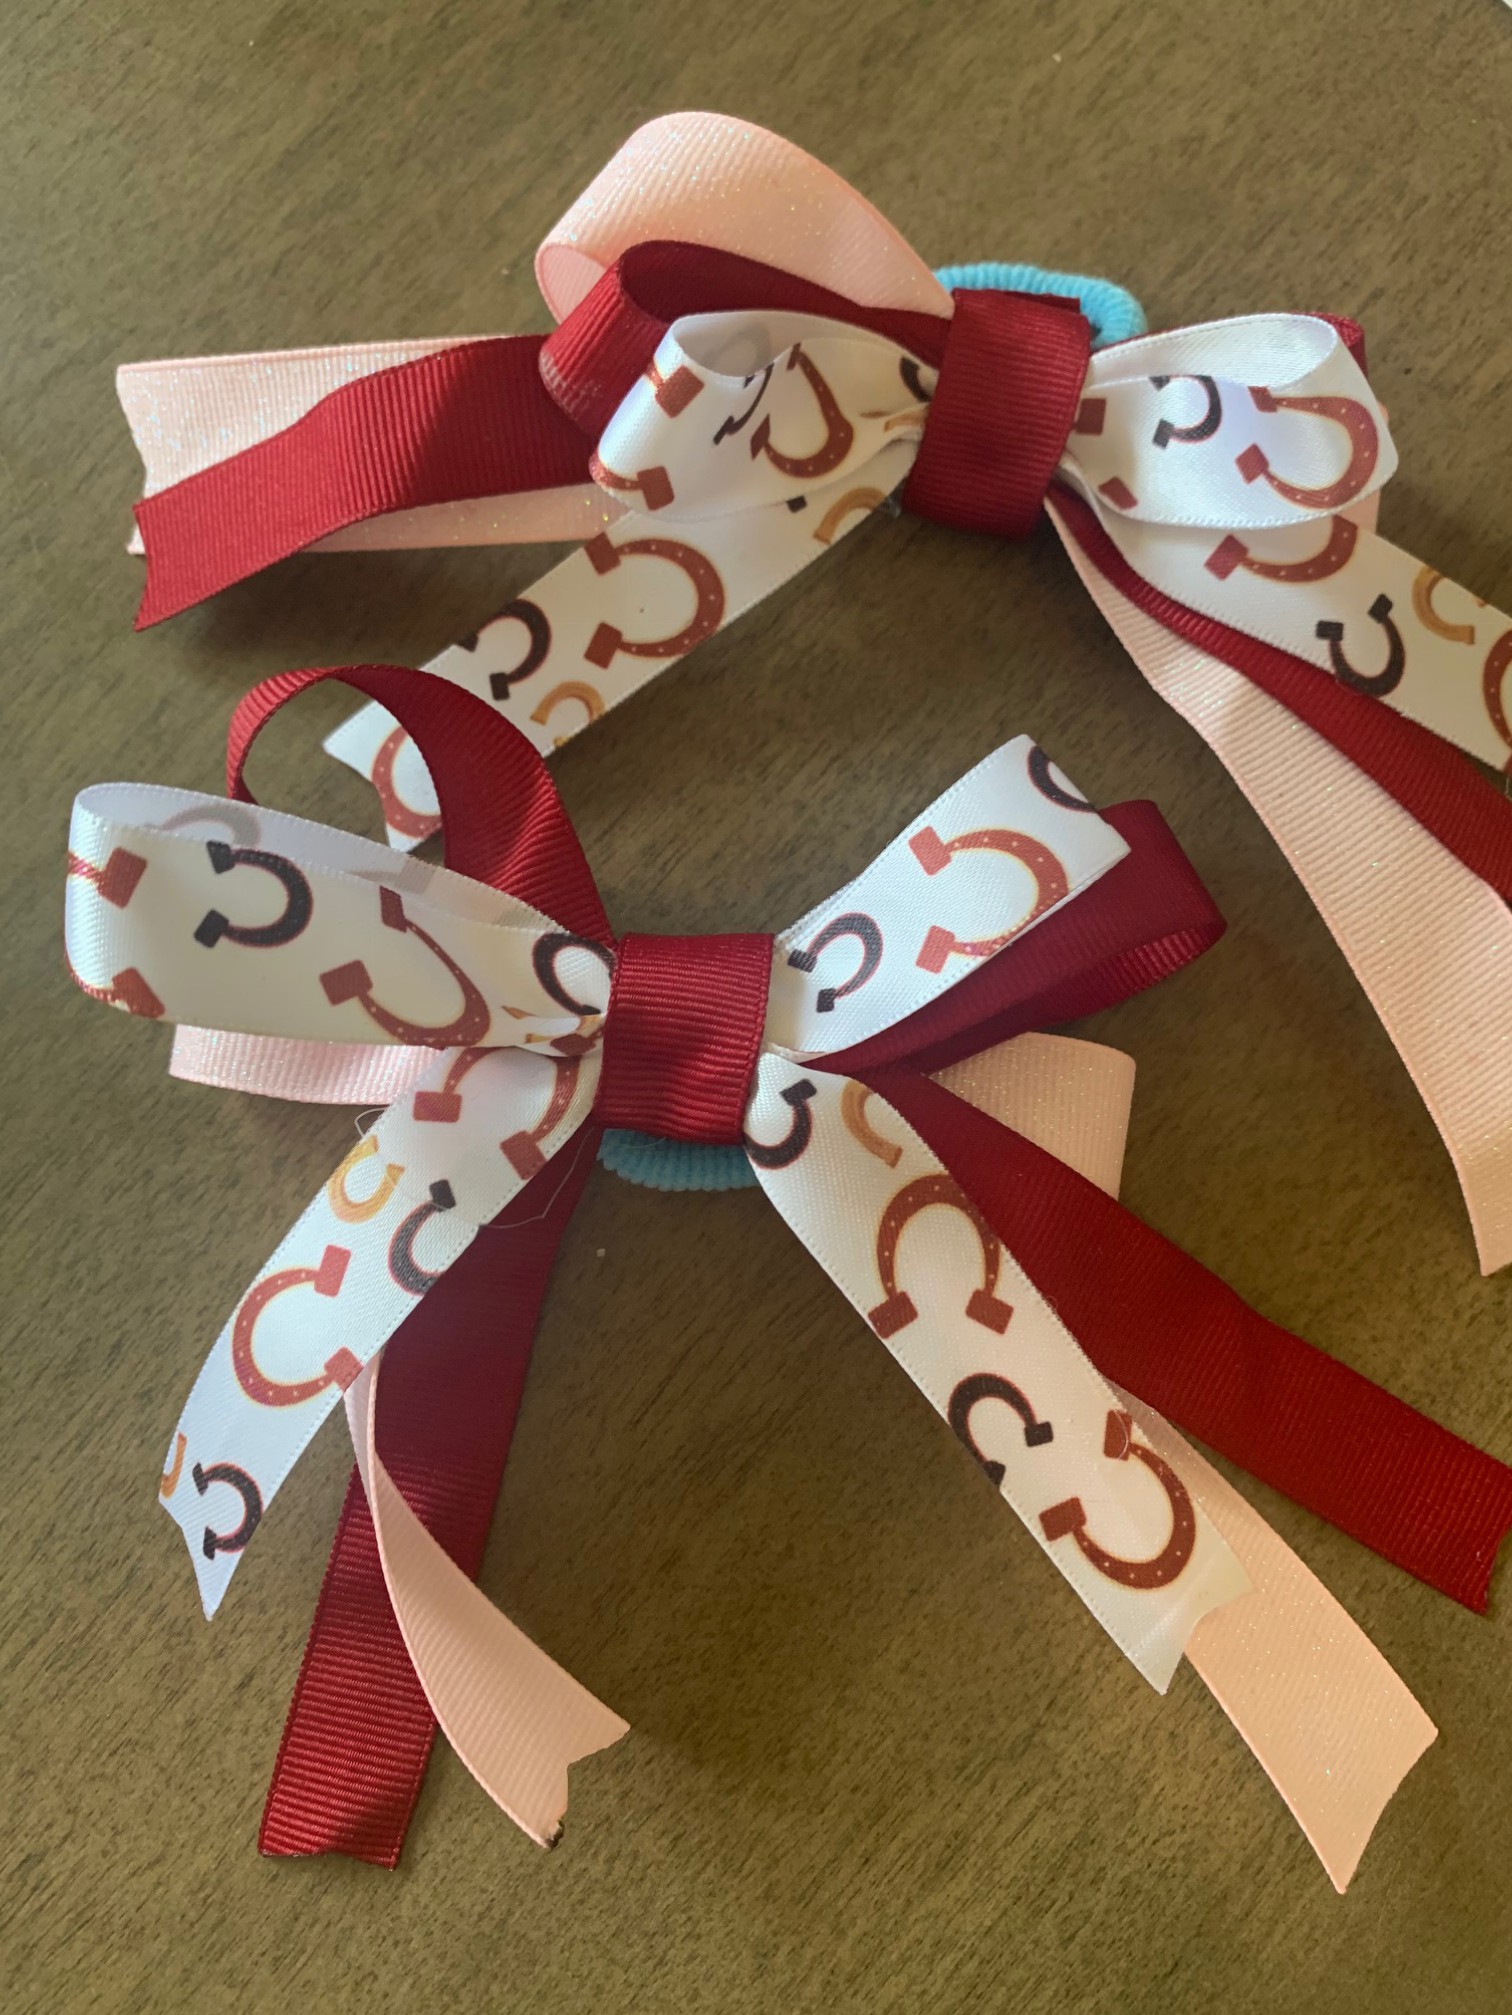
Did you know that you can print on glitter ribbon as well? Just make sure that the material ribbon is 100% Polyester and you are all set!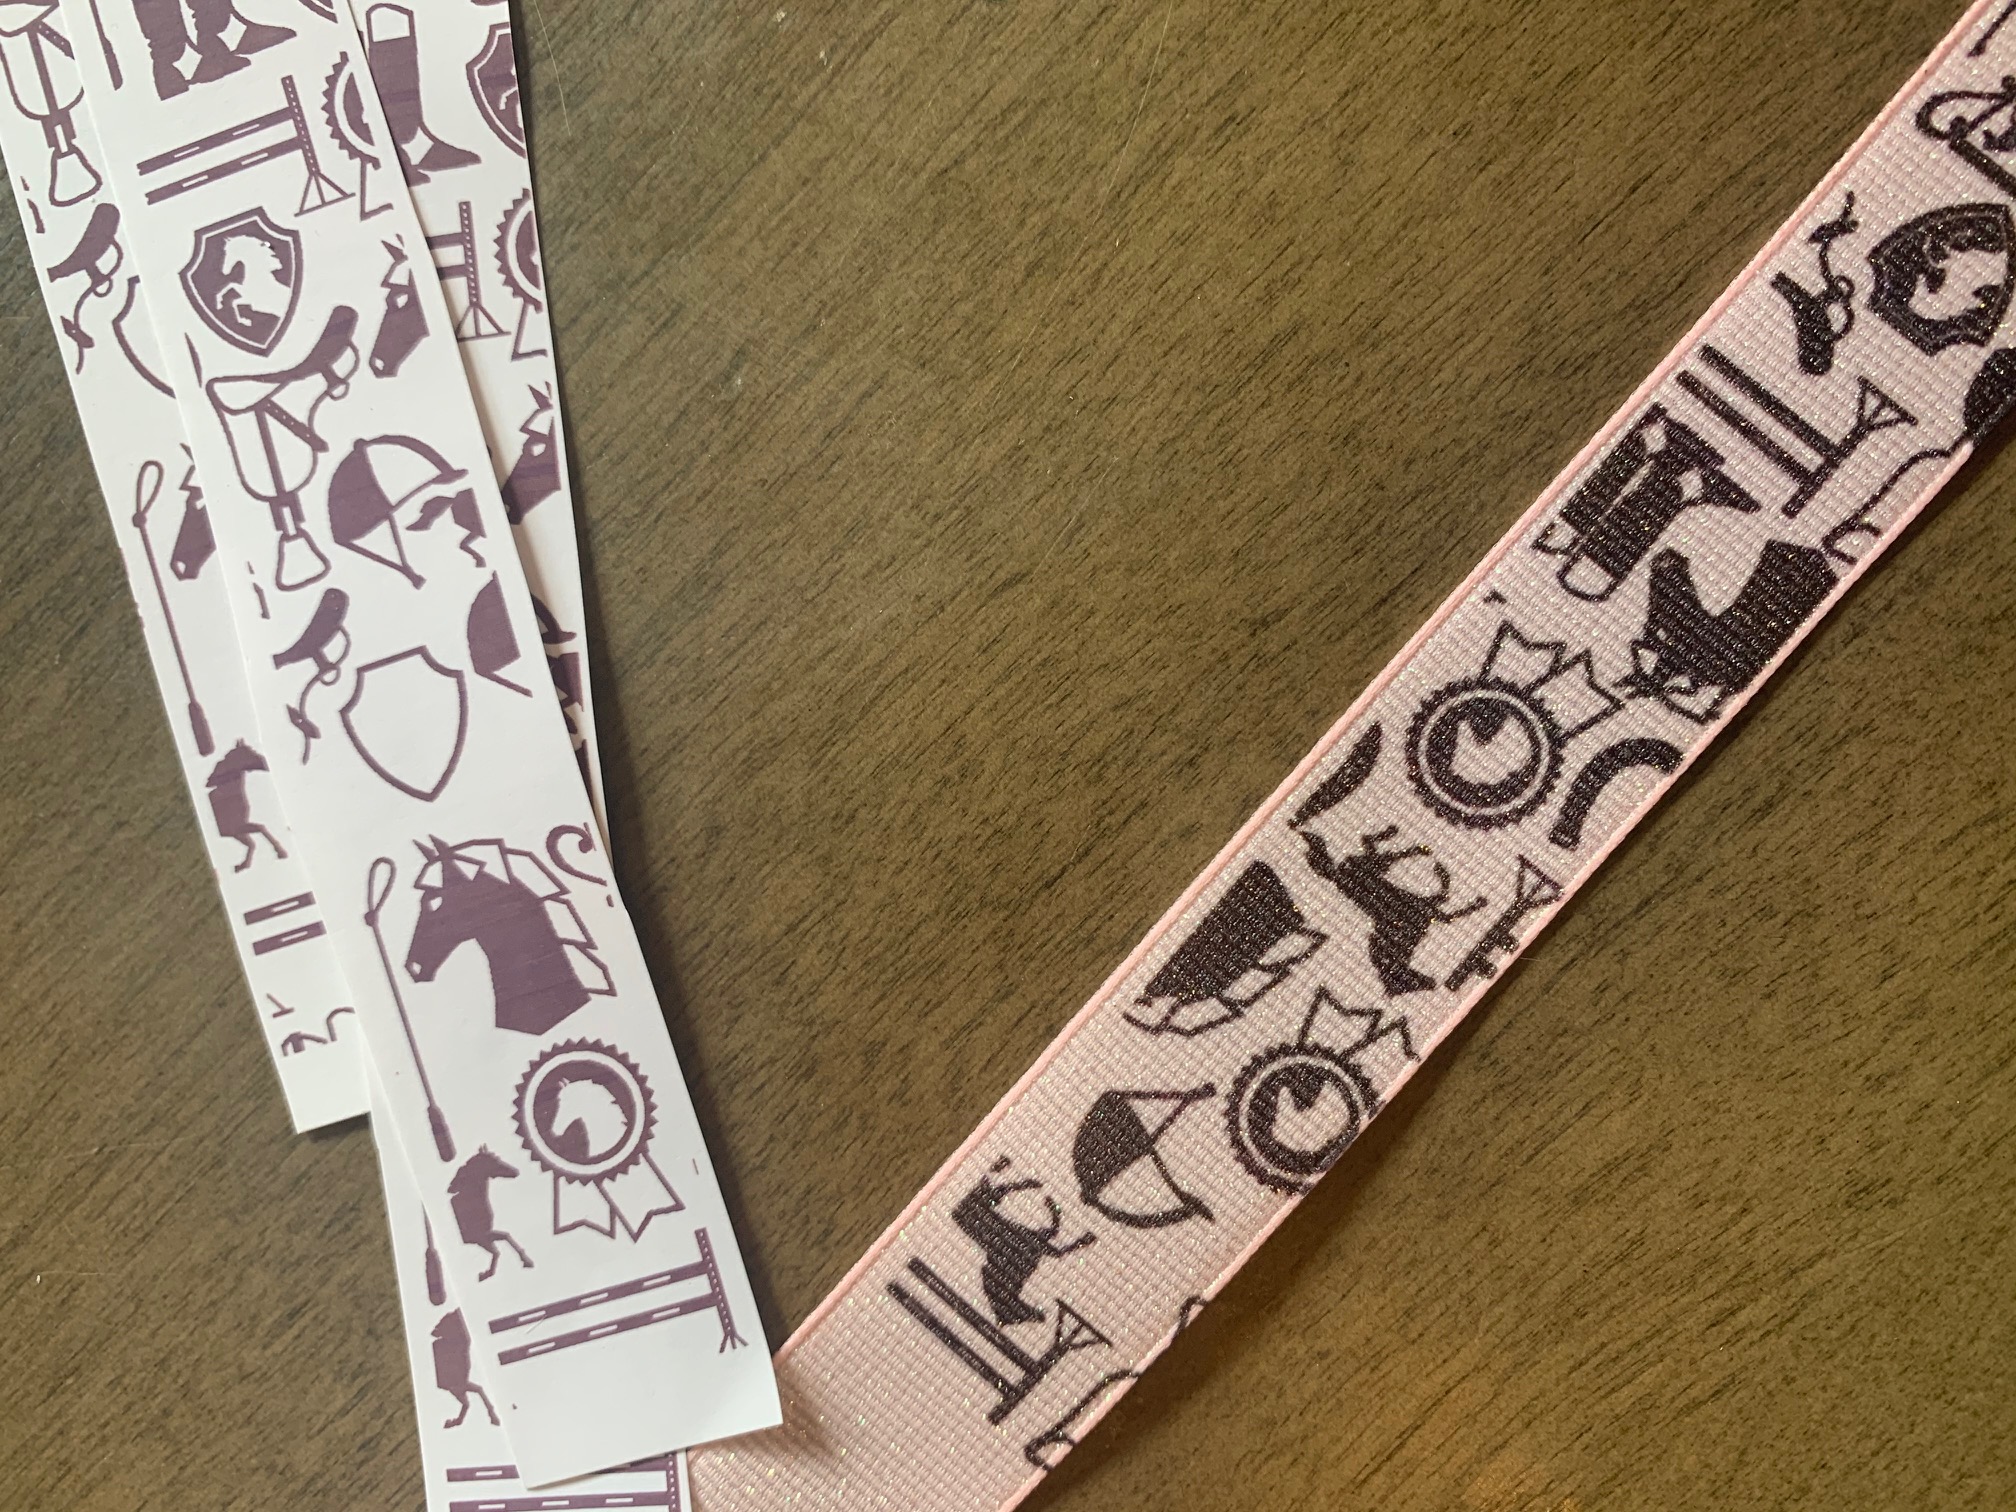



 Want to see how to use the