Learn How To Sublimate a Photo Frame

We live in a digital world and we are always taking photos but how often do they get printed and framed? Today we are going to change that by sublimating a one-of-a-kind photo frame!

SUBLIMATE A PHOTO FRAME

From house decor to personalized gifts you will find the perfect photo frame to fit your need. Head to our website to see our large selection!

Want to make one for yourself? Here’s how:

1- Download the template from our website product page (if needed).
2- Print your photo using your sublimation printer.
3 – Turn on your heat press and set it to 400 degrees Fahrenheit.
4 – Set Pressure to medium.
5 – Remove the protective film from the metal frame.

IMG_7821
6 – Print a mirror image onto the Texprint Paper. The image should be larger than the substrate.
7 – Place the substrate face down on the transfer paper and tape the paper to the substrate using heat tape.

IMG_7822
8 – Put a blank sheet of paper on heat press platen to keep it clean.
9 – Place substrate face down on the heat press (metal surface up).
10 – Cover with a non stick sheet.
11 – Press at 400 degrees F for 1-3 minutes with medium pressure.
12 – Remove immediately from press once finished and peel hot.

IMG_7830

IMG_7834

View & Add Comments

Personalized Party Product Ideas For You To Make: For Fun or Profit!

Are you looking to use your equipment to get into the party market? Great idea! Whether it is decorations, apparel or birthday gifts, there are plenty of opportunities for you to use your favorite products and make a bit of money or just use your machine for your own personal, festive fun.

Ready to get this party started? Here are a few ideas using Pro World products

party products that you can make (7)

Use Adhesive Vinyl to create:

Use HTV to create:

  • Party Apparel
  • Favors 
  • Gifts 

Use Custom Transfers for:

  • Family reunions
  • Team Parties
  • Bridal Parties

custom transfers great for large groups

Use Sublimation for:

Use Heat Transfers:

  • Use a heat transfer to make a shirt 
  • Combine heat transfers with HTV to create personalized creations


Do you want to take your party creations and offer them to the masses? We’ve had customers having great success on Facebook, Etsy, local specialty shops and direct selling on their own website. What is your favorite party product to personalize?

View & Add Comments

The 5+ Accessories That Every Crafter Should Have on Hand

Regardless if you create items for fun or for profit, we all have our go-to tools and accessories that are essential to completing our beautiful projects. So we were curious… what is your “go to” tool? After a lot of research, we have found that the following items are the tools that our customer always have on hand:

Partyplanning

1 – Weeder/Hook/Tweezers: Removing vinyl can be tedious which is why you need a sharp point to grab your hard to get pieces.  We personally like the Siser Weeder tool. It’s durable and will not bend or break and will allow you to weed with speed and accuracy.

weeders

2 – Squeegee: The best way to eliminate air bubbles and smooth adhesive vinyl is with a squeegee. The advantage to using a tool over a credit card is 1) the weight, it applies the appropriate amount of pressure onto your project and 2) your sanity. Nothing is worse than using your credit card to scrape your project, forgetting to put it away and then being out at the store only to realize you forgot your card! Make life simple… buy a squeegee.

squeegee

3 – Thermal Tape: Thermal tape safely secures images onto the product you are sublimating (mugs, tiles, etc.) and keeps it from moving during the pressing process. The tape is heat-resistant up to 425 degrees Fahrenheit and does not leave any sticky residue.

thermal tape

4 – Teflon Sheet: These non-stick sheets come in handy for just about any project that is going in your heat press. You can use it to cover already pressed vinyl, put it underneath your product to keep the platen clean, you can even place it inside your garment to avoid bleed through to the other side.

teflon sheet

5 – Gridded Application TapeTransferring adhesive vinyl is a whole lot easier with gridded application tape. Our selection of application tapes can be used with any of our adhesive vinyl.

gridded application tape

6 – Pressing PillowsThese pillows will even out pressure and protect your garments from the heating process.  They come in a variety of sizes depending on your needs.

Sof-fusion pressing pillows

Do you have a favorite tool that we didn’t mention? Tell us! Go to our Facebook page or Instagram page.


View & Add Comments

Make a Painted Farmhouse Sign

Do you love the look of a Farmhouse sign but hate the price tag? Or maybe you’ve been searching for a sign but can’t find the size/style that you want. Well, today you are in luck because we are going to show you how simple it is to paint a Farmhouse sign.

make a painted farmhouse sign. Check out how simple it is to make at home!

You Need:

Directions:
1-Gather your materials and create your image within your design software

Make a Farmhouse Sign
2-Insert your adhesive vinyl, check your cut settings and cut

cut large vinyl with a roll feeder
3-Reverse weed your design – that means you should remove the vinyl from the part you are going to paint

Adhesive Vinyl to make a Farmhouse Sign
4-Carefully apply your application tape on top of the vinyl

5-After you scrape your design, slowly peel the backing off and carefully place the vinyl on your wood sign

6-Paint your design

Paint a farmhouse sign. It is so simple!
7-Take a break so that the paint can dry

8-Remove the vinyl

Paint a farmhouse sign - is so simple. Learn how to make your own.

9-Hang it on the wall and admire your results

Personalize a farmhouse sign

View & Add Comments

Save Money with Heat Transfer Packs

Sweet things come in Pro World packages, and we’re not just talking about the Swedish Fish! We are now offering Heat Transfer Packages! The package includes 24 heat transfers, saving you over 50% on each transfer.

HEAT TRANSFER PACKS

With over 5,000 fantastic heat transfer designs to choose from, picking your favorites can be an overwhelming task. Now you don’t have to decide. We took eight of our most popular designs for the summer season and put three of each design into the package. That’s 24 heat transfers for $29.99 – saving you over $37!

Heat transfer pack

Our Summer Transfer Package contains fun and bright graphics for all the sun-loving, flip-flop wearing people who enjoy the beach and the dog days of summer. These graphics would look great on a tee or a beach/pool tote.

Heat Transfers are so easy to apply.

summer heat transfer

You Need:

Directions:

  1. Lay the heat transfer on your garment
  2. Press it with your heat press according to the instructions listed online
  3. Peel the backing paper off of your design. Your finished product will be ready to go in only 15 seconds

Want to see some new heat transfer packs? Join us tomorrow during our weekly Facebook LIVE! What product grouping would you like for us to offer? Tell us on Facebook by writing on our wall!

summer heat transfer

View & Add Comments

Personalize a Balloon

Are you throwing a party? Add another level of personalization by decorating a balloon!

As you will see from the instructions below, the process is easy. All you need are a couple of minutes and a couple balloons!

decorate a balloon

You Need:

Ready to make one for yourself? We used 2 different application techniques.

Directions for adding adhesive vinyl to a latex balloon:

  1. Design your image (we recommend a simple image since you cannot use application tape on a latex balloon)
  2. Insert your adhesive vinyl and click cut
  3. Weed your design
  4. Blow up your balloon
  5. Carefully hand place your adhesive vinylpersonalize a latex balloon - make a balloon banner

Directions for adding adhesive vinyl to a mylar balloon:

  1. Design your image
  2. Insert your adhesive vinyl and click cut
  3. Weed your design
  4. Inflate your balloon using a helium tank (or purchase one inflated)
  5. Apply your application tape or hand place your design
  6. Carefully apply your adhesive vinyl and slowly peel the application tape if you used it

decorate a mylar balllloon

View & Add Comments

NEW Product Alert: Rainbow Holographic Heat Transfer Vinyl

Did you hear the news?! Siser North America released a new rainbow holographic HTV!

IMG_6893

It is bright, colorful and sparkly! Holographic Heat Transfer Vinyl is unique because it gives your design a mirror, rainbow finish.

We loved it so much we had to make a few things! And no surprise, it cut like a dream.

rainbow holographic htv

Here are the cut setting recommendations

cut setting holographic

And here are the recommended pressing instructions.

heat press holographicIf you want to see it in action we crafted with it LIVE on Facebook, you can watch it below.

imagine all of the things you can make with rainbow holographic HTV

View & Add Comments

5+ Promotional Product Ideas That You Can Make to Grow Your Business

Do you want to grow your custom business with new product lines? Try selling personalized business supplies and promotional products to local companies! Below we’ve listed multiple items that you can personalize and sell so that you can grow your business while helping other companies grow theirs! 

promo products that you can make

Name Badges –  Create one for the solo-entrepreneur or in bulk for larger companies. By offering your name badge with a magnet closure, it will allow your customer to put the name badge on and off without damaging their shirt. 

IMG_6777

Koozies  – Everyone wants to keep their cold beverages cold in this hot weather. So why not offer Koozies with custom business logos. This would make a great swag bag item or for a local business to hand out at tradeshows.

Magnets – Are a great advertising tool for companies that require people knowing how to reach them. So why not offer personalized magnets to your local food delivery, repairmen and doctors offices. Help them grow their business, while growing yours! 

magnet

Mousepads – By putting a logo or product on a mousepad, customers will be reminded of a certain business every time they move their mouse.

Cherry Edge Plaques  – This is a great way for employees or businesses to display their accolades in a professional manner. 

plaque

Offset Clock  – This personalized piece makes an excellent employee gift.    

clock

Have you created personalized products for any local businesses? We would love to see it! Share a picture of the finished product on our Facebook Page or by tagging us on Instagram @proworldinc

View & Add Comments

New Product: Forever Flex-Soft

Do you love creating with vinyl, but hate to weed the design? You are going to love our new product Forever Flex-Soft, which is a no-cut, color coated film that can be applied to both light and dark color garments. And is suitable for cotton, polyester, poly/cotton blends, nylon, polypropylene, paper and wood.

forever flex soft

How does it work? 

Create an intricate design and send it to your laser printer. No need to worry about the color ink or on the screen because your final color of the design will be the color of the Flex-Soft that you load in your printer. Then press! Want to see the Forever Flex-Soft in action? Watch our Facebook LIVE!

Want to try it out for yourself? Here’s what you need to do…..

You Need:

Step By Step Instructions:

  1. Design or select your image on the computer.
  2. Print the image in reverse/mirrored format on the coated side (cloudy in appearance, not shiny) using a heavy paper mode on the A-Foil.
  3. Trim the A-Foil paper down about 1cm smaller.
  4. Set heat press at 266-275 F degrees with medium-heavy pressure.
  5. Place 1-2 sheets of copy paper on the lower pad to protect the pad.
  6. Place the trimmed A-Foil in the middle of the bottom pad (printed side face up).
  7. Place the B-Paper Low Temp on top of the A-Foil (coated side face down, yellow writing facing you).
  8. Cover everything with 1-2 sheets of copy paper. (do not use non-stick sheet).
  9. Press the A-Foil and B-Paper together at 266-275 F for 90 seconds at medium to heavy pressure.
  10. Remove copy paper and rub the back of the media for 5-10 seconds with a cloth.
  11. Separate the B-Paper form the A-Foil in a slow and low motion while still on the bottom pad of the heat press. (the B-Paper will leave a white coating on the ink).
  12. Cut around the A-Foil paper to remove the excess coating frame left behind by the B-Paper.
  13. Position the A-Foil on the garment with the printed side facing down. The shiny color side will be facing you.
  14. Cover with a sheet of silicone paper.
  15. Press cotton tee at 275-310 F for 30 seconds with medium to heavy pressure. Refer to the Textile chart (Table 2) for other garment types and their suggested settings.
  16. Set the shirt aside to cool completely.
  17. Separate the A-foil from the garment by rolling the A-Foil in a slow low motion.
  18. Cover the image with the silicone sheet and repress for 30 seconds using the same temperature as the previous step.
  19. Remove silicone sheet while hot.
  20. Admire your results!

Flex Soft

You can purchase Forever Flex Soft individually or in a pack which includes 10 8.5” x 11” sheets (2 yellow gold metallic and 2 silver metallic, 1 bronze metallic, 1 green metallic, 1 lilac metallic, 1 red metallic, 1 blue metallic, and 1 white gold metallic).

forever flex


View & Add Comments

Scale Your Business with Custom Transfers

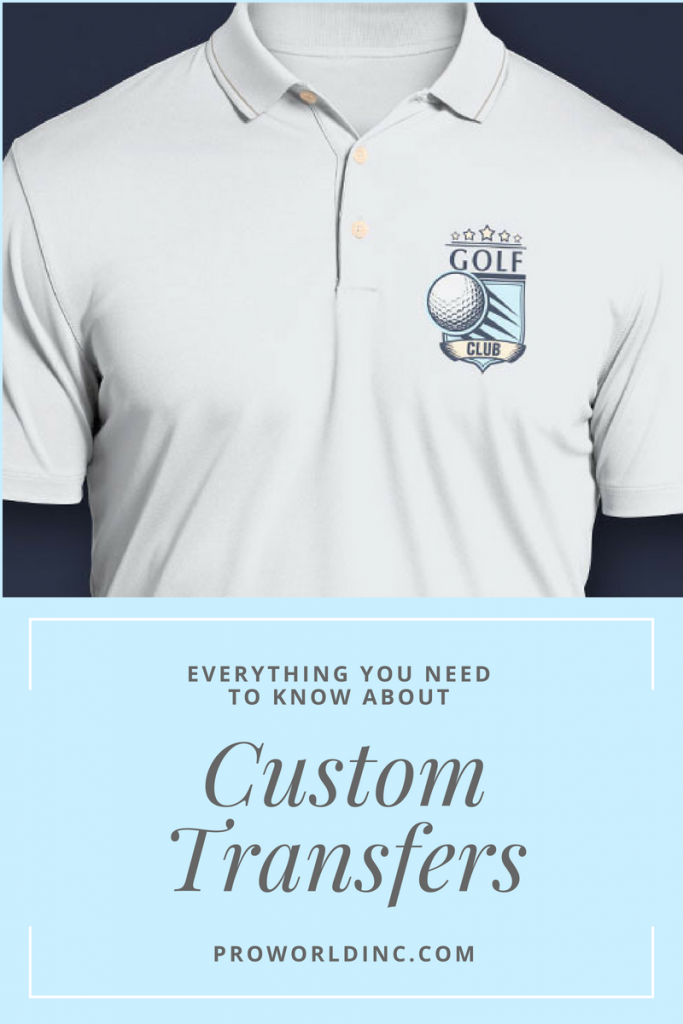
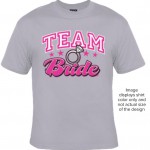
Even though summer is just starting, now is the perfect time to start thinking about acquiring new business in the Fall. In just a few months schools, sports teams and committees will be looking for new shirts for their organizations. So why not get a head start now?

custom collage

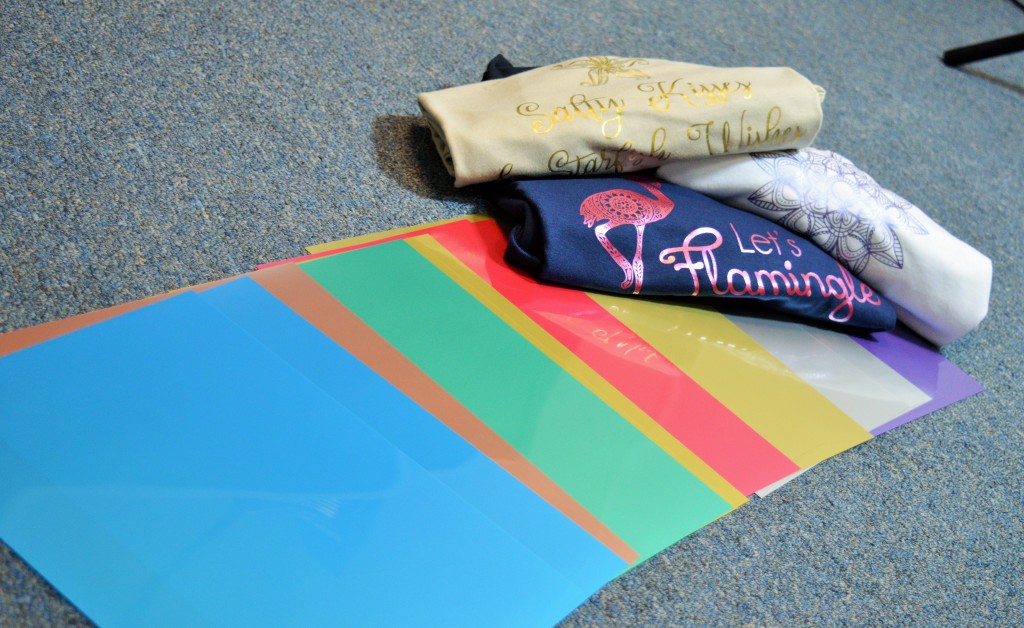
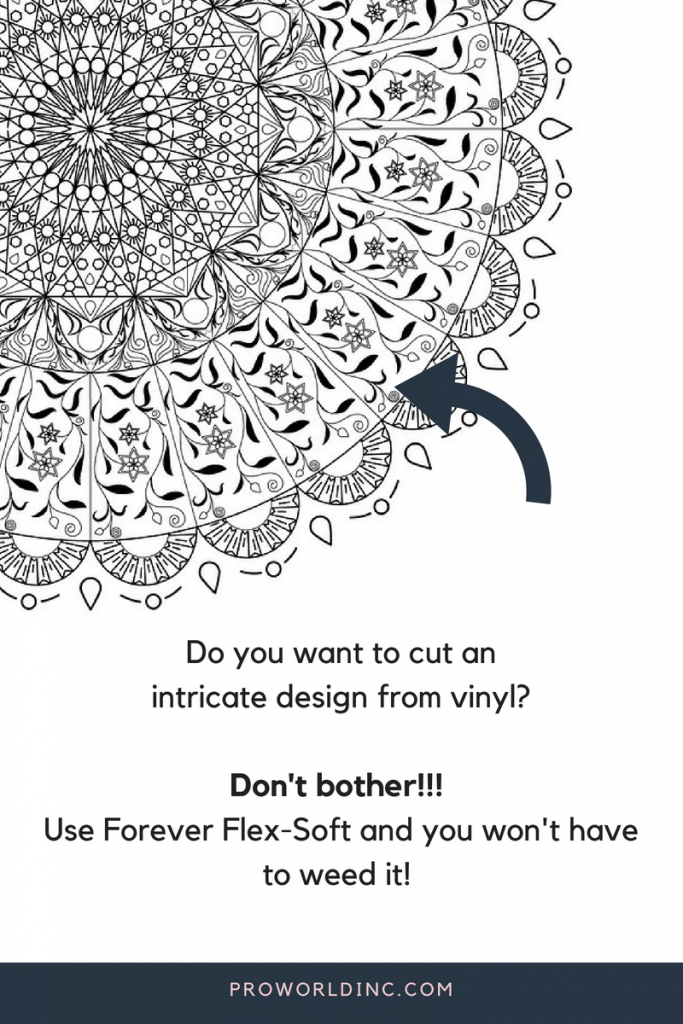
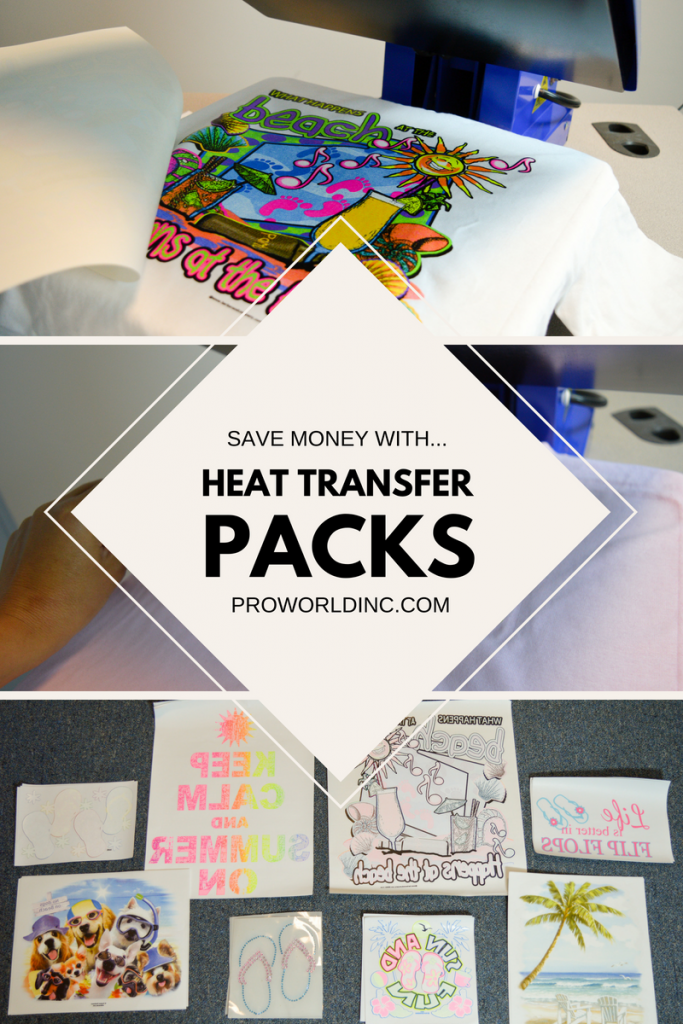
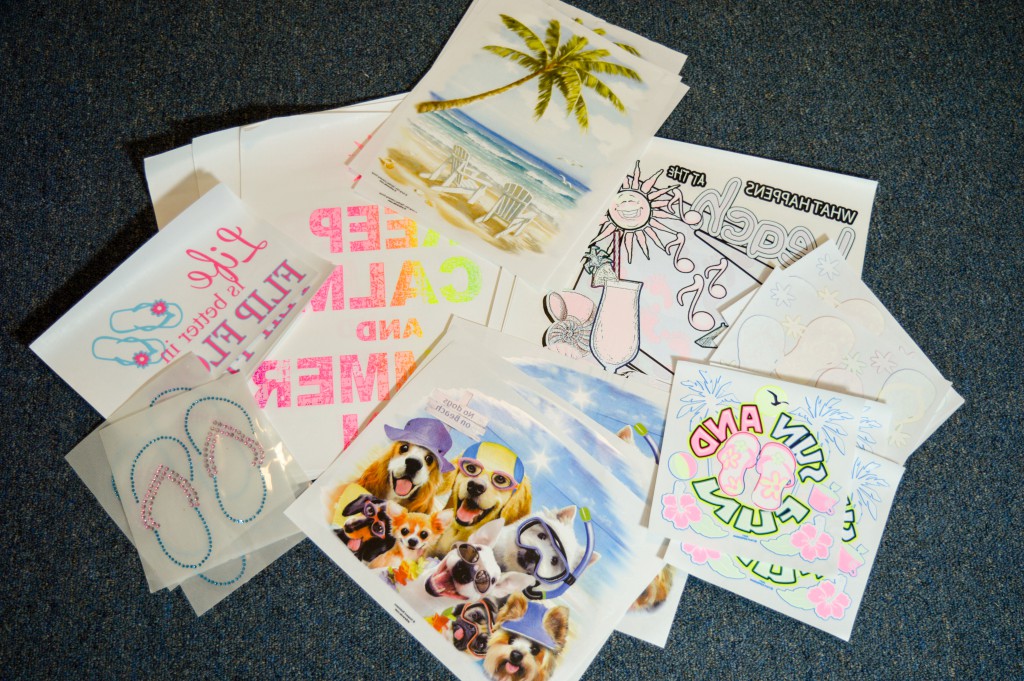
The best way to decorate shirts in bulk is with custom transfers. Save yourself the headache of cutting and weeding 100’s of designs.  Create your custom design through the PW Custom website and all you will need to do is press it and deliver your order. With custom heat transfers, you can even create transfers with rhinestones and sequins! Here are some questions you may have about Custom Transfers:

everything you need to know about (1)

How does it work? 

  1. Start by submitting a quote. This is necessary for all custom orders because we can gather all the necessary information to properly quote your job. A quote ID (reference number) will be assigned for every quote submitted. Once we receive your quote, the information you provided will be reviewed, and we will confirm if any additional information is needed.
  2. You will receive an email confirmation when your quote is finalized indicating that your order can be placed.  Then, proceed to your Dashboard and make a small deposit.
  3. Once we receive confirmation of your deposit, you will be provided with a proof of your artwork within 1-2 business days.
  4. An art approval email will be sent to you. To complete your order, please follow the link. You can also view the artwork ready for approval within your Dashboard. All orders that are approved and completed by 3 pm ET on a business day, will print and ship within 1-2 business days (excluding holidays and inclement weather days).

Keep in mind that artwork revisions may cause delays and additional art fees. One free revision is included with any job. Additional revisions are accepted for an additional fee. To avoid delays and additional charges, all details should be provided at the start of the quote/ordering process. Please carefully review the art proof layout provided to you. All changes to artwork must be requested before the order is approved and placed. Quantity adjustments can be made during checkout.

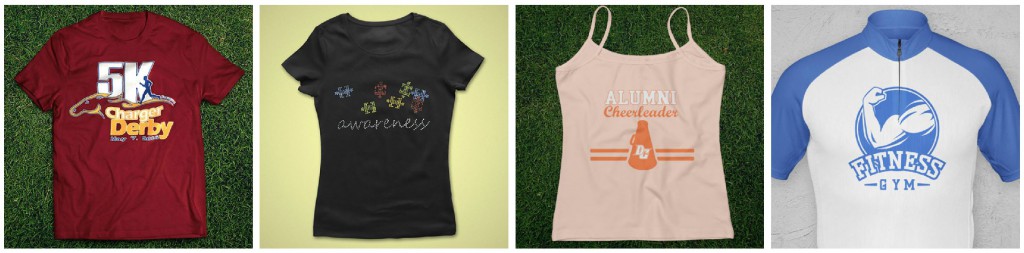
What types of transfers are available?

  • EasyFlex – Perfect for stretchy synthetic fabrics such as performance wear.
  • ColorTrans – Full CMYK process color for dark and light fabrics best for photographs and complex images.
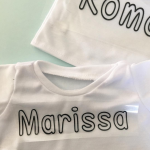
  • VibraTrans – Spot colors for light fabric only with a very soft feel.
  • EasyTrans-Spot colors for dark and light fabric with a durable feel.
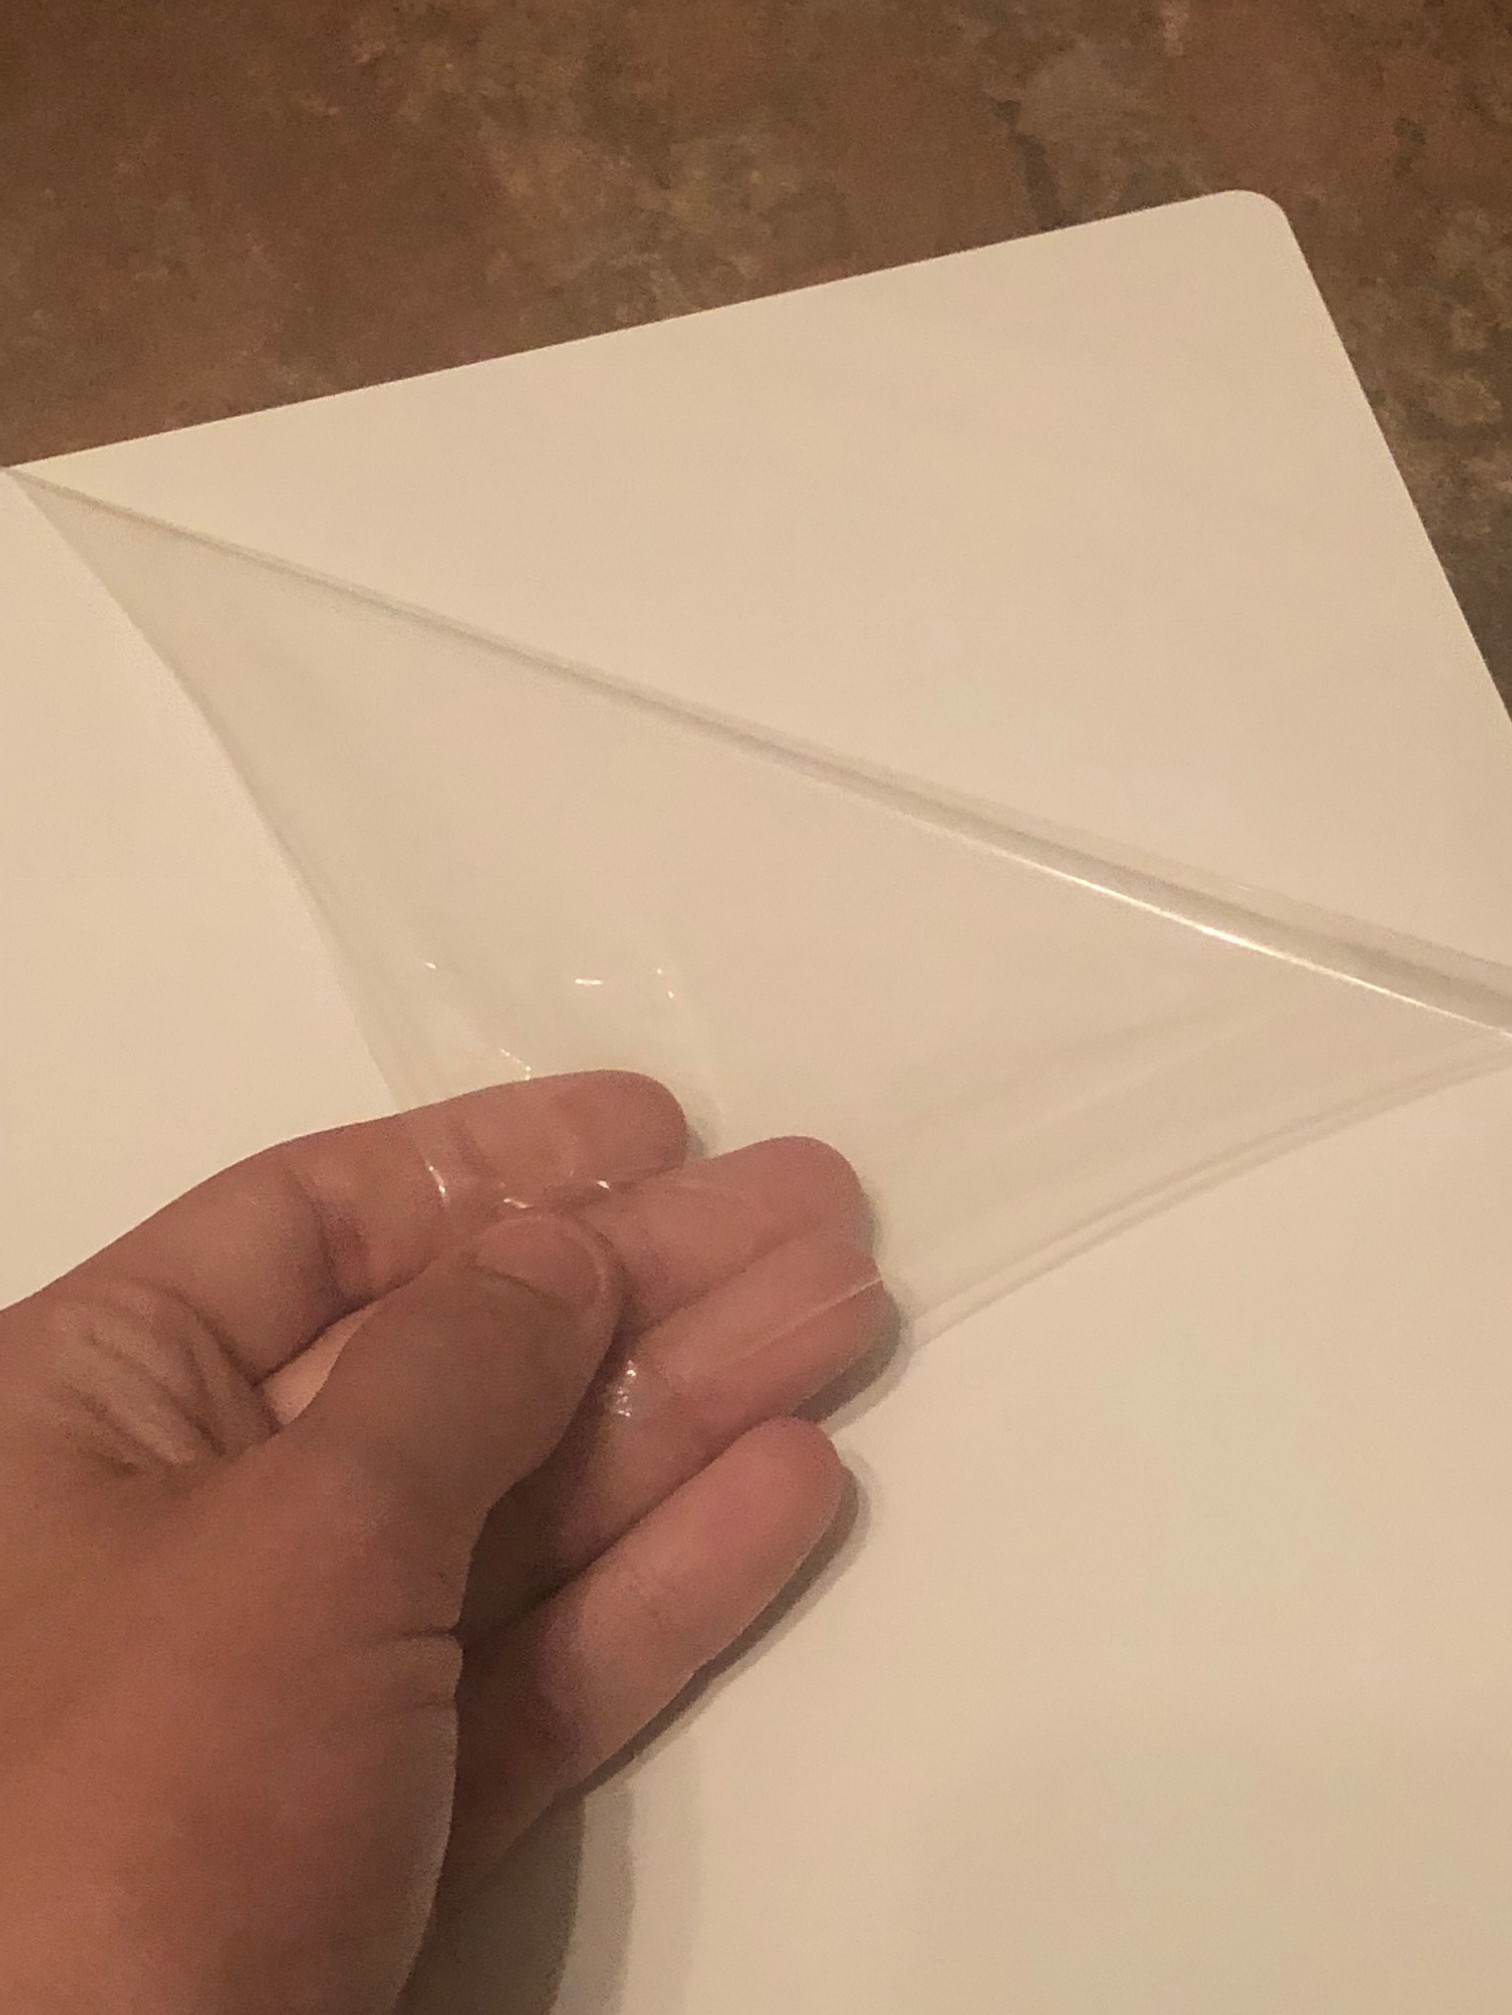
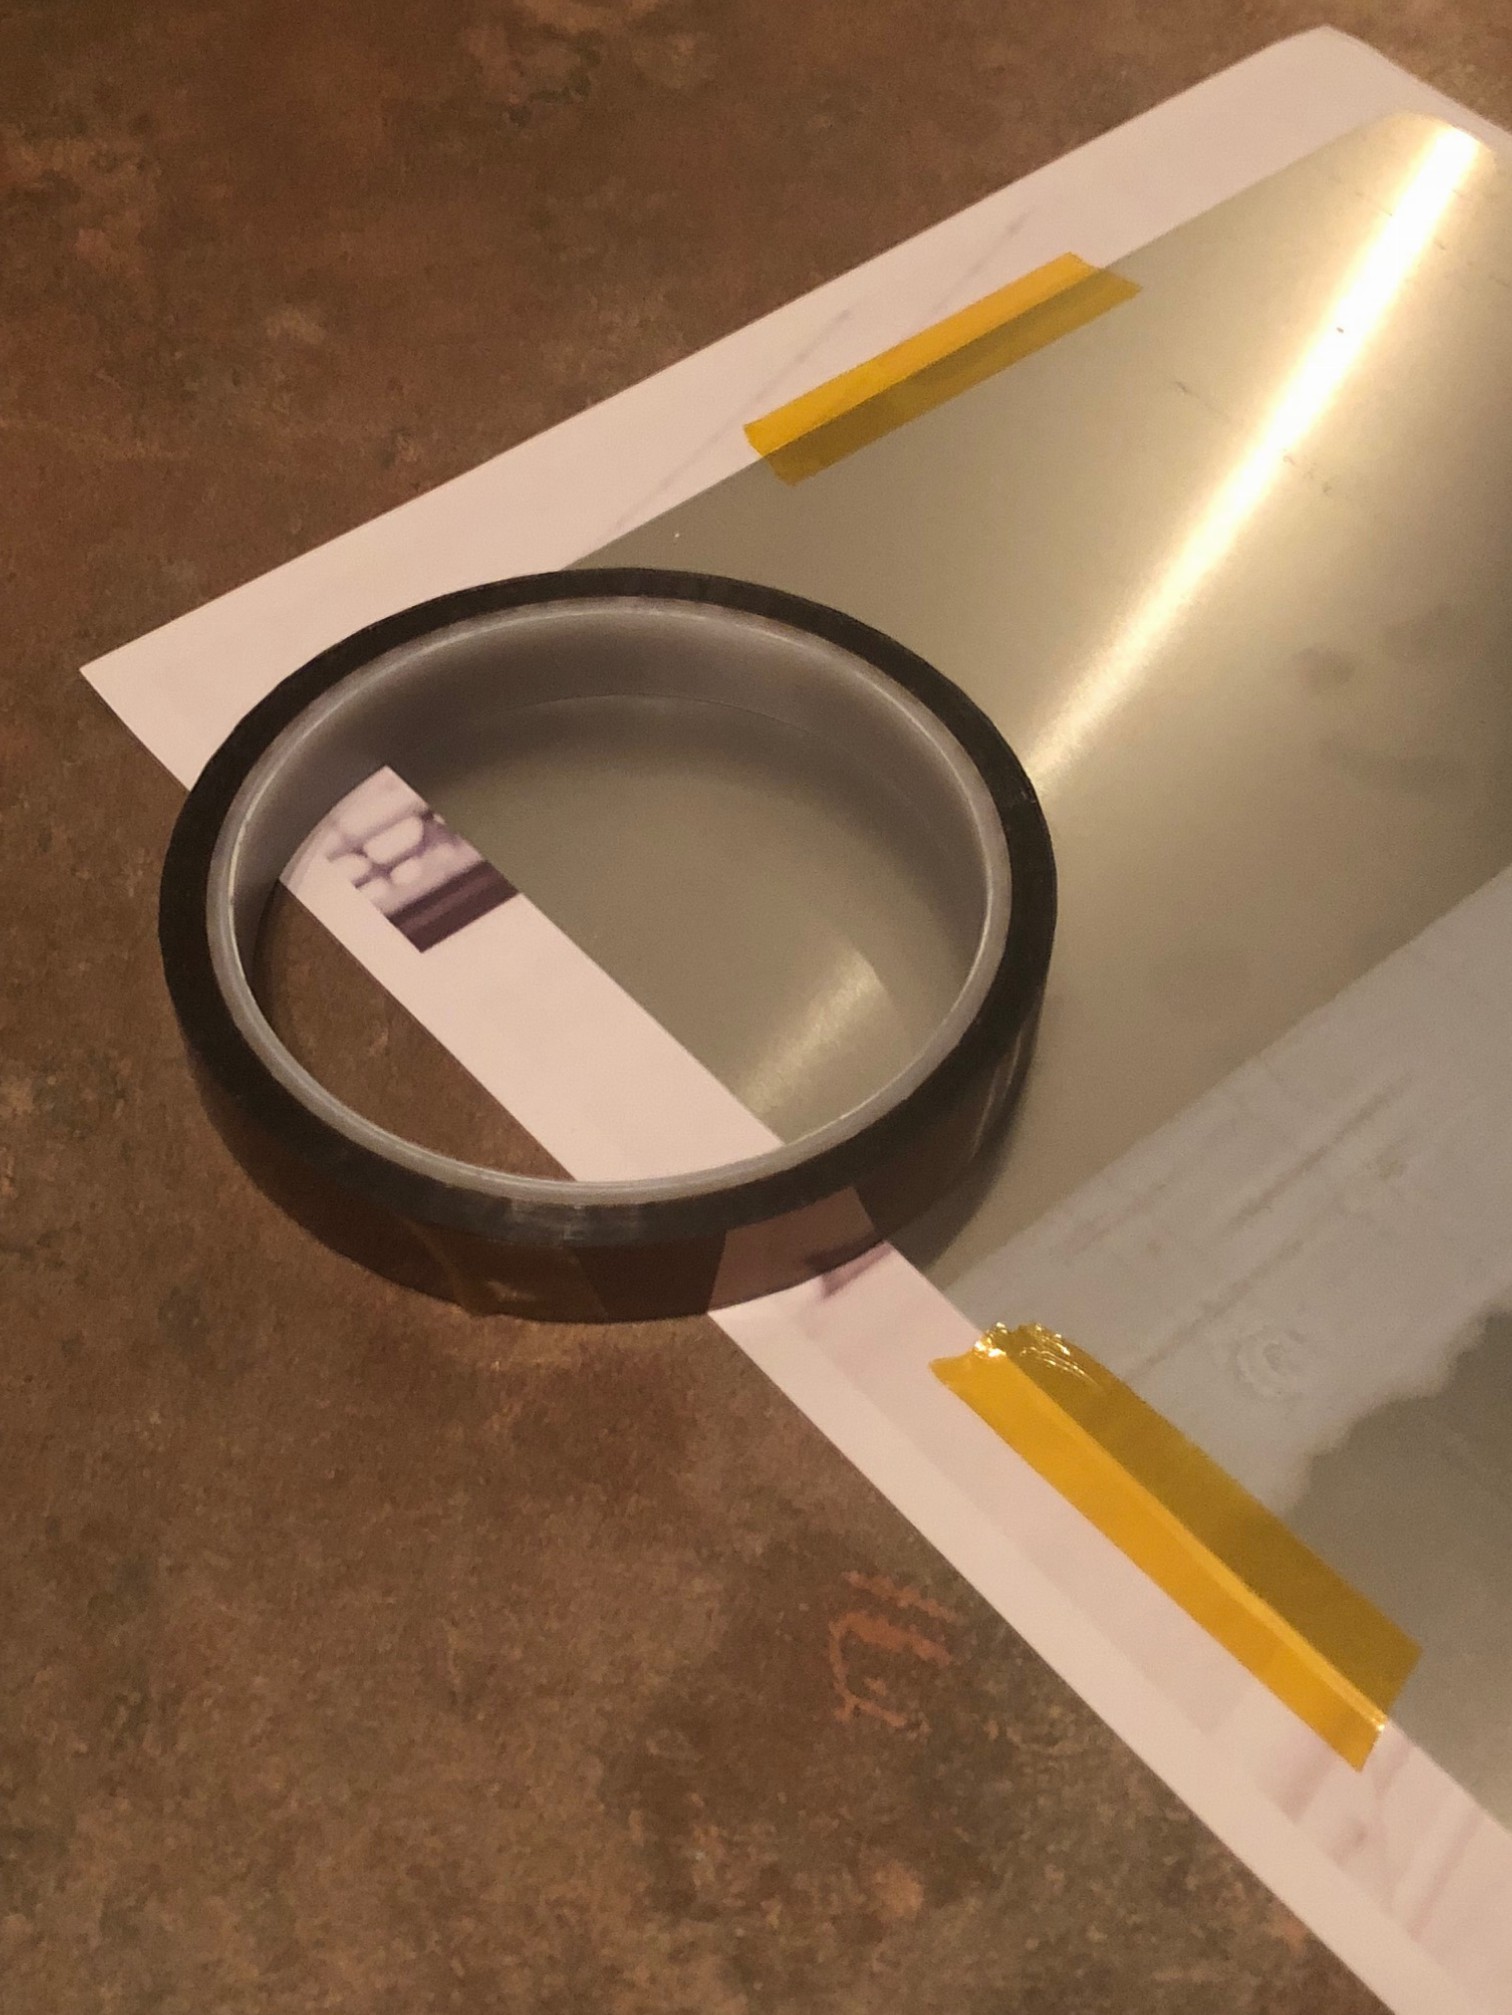
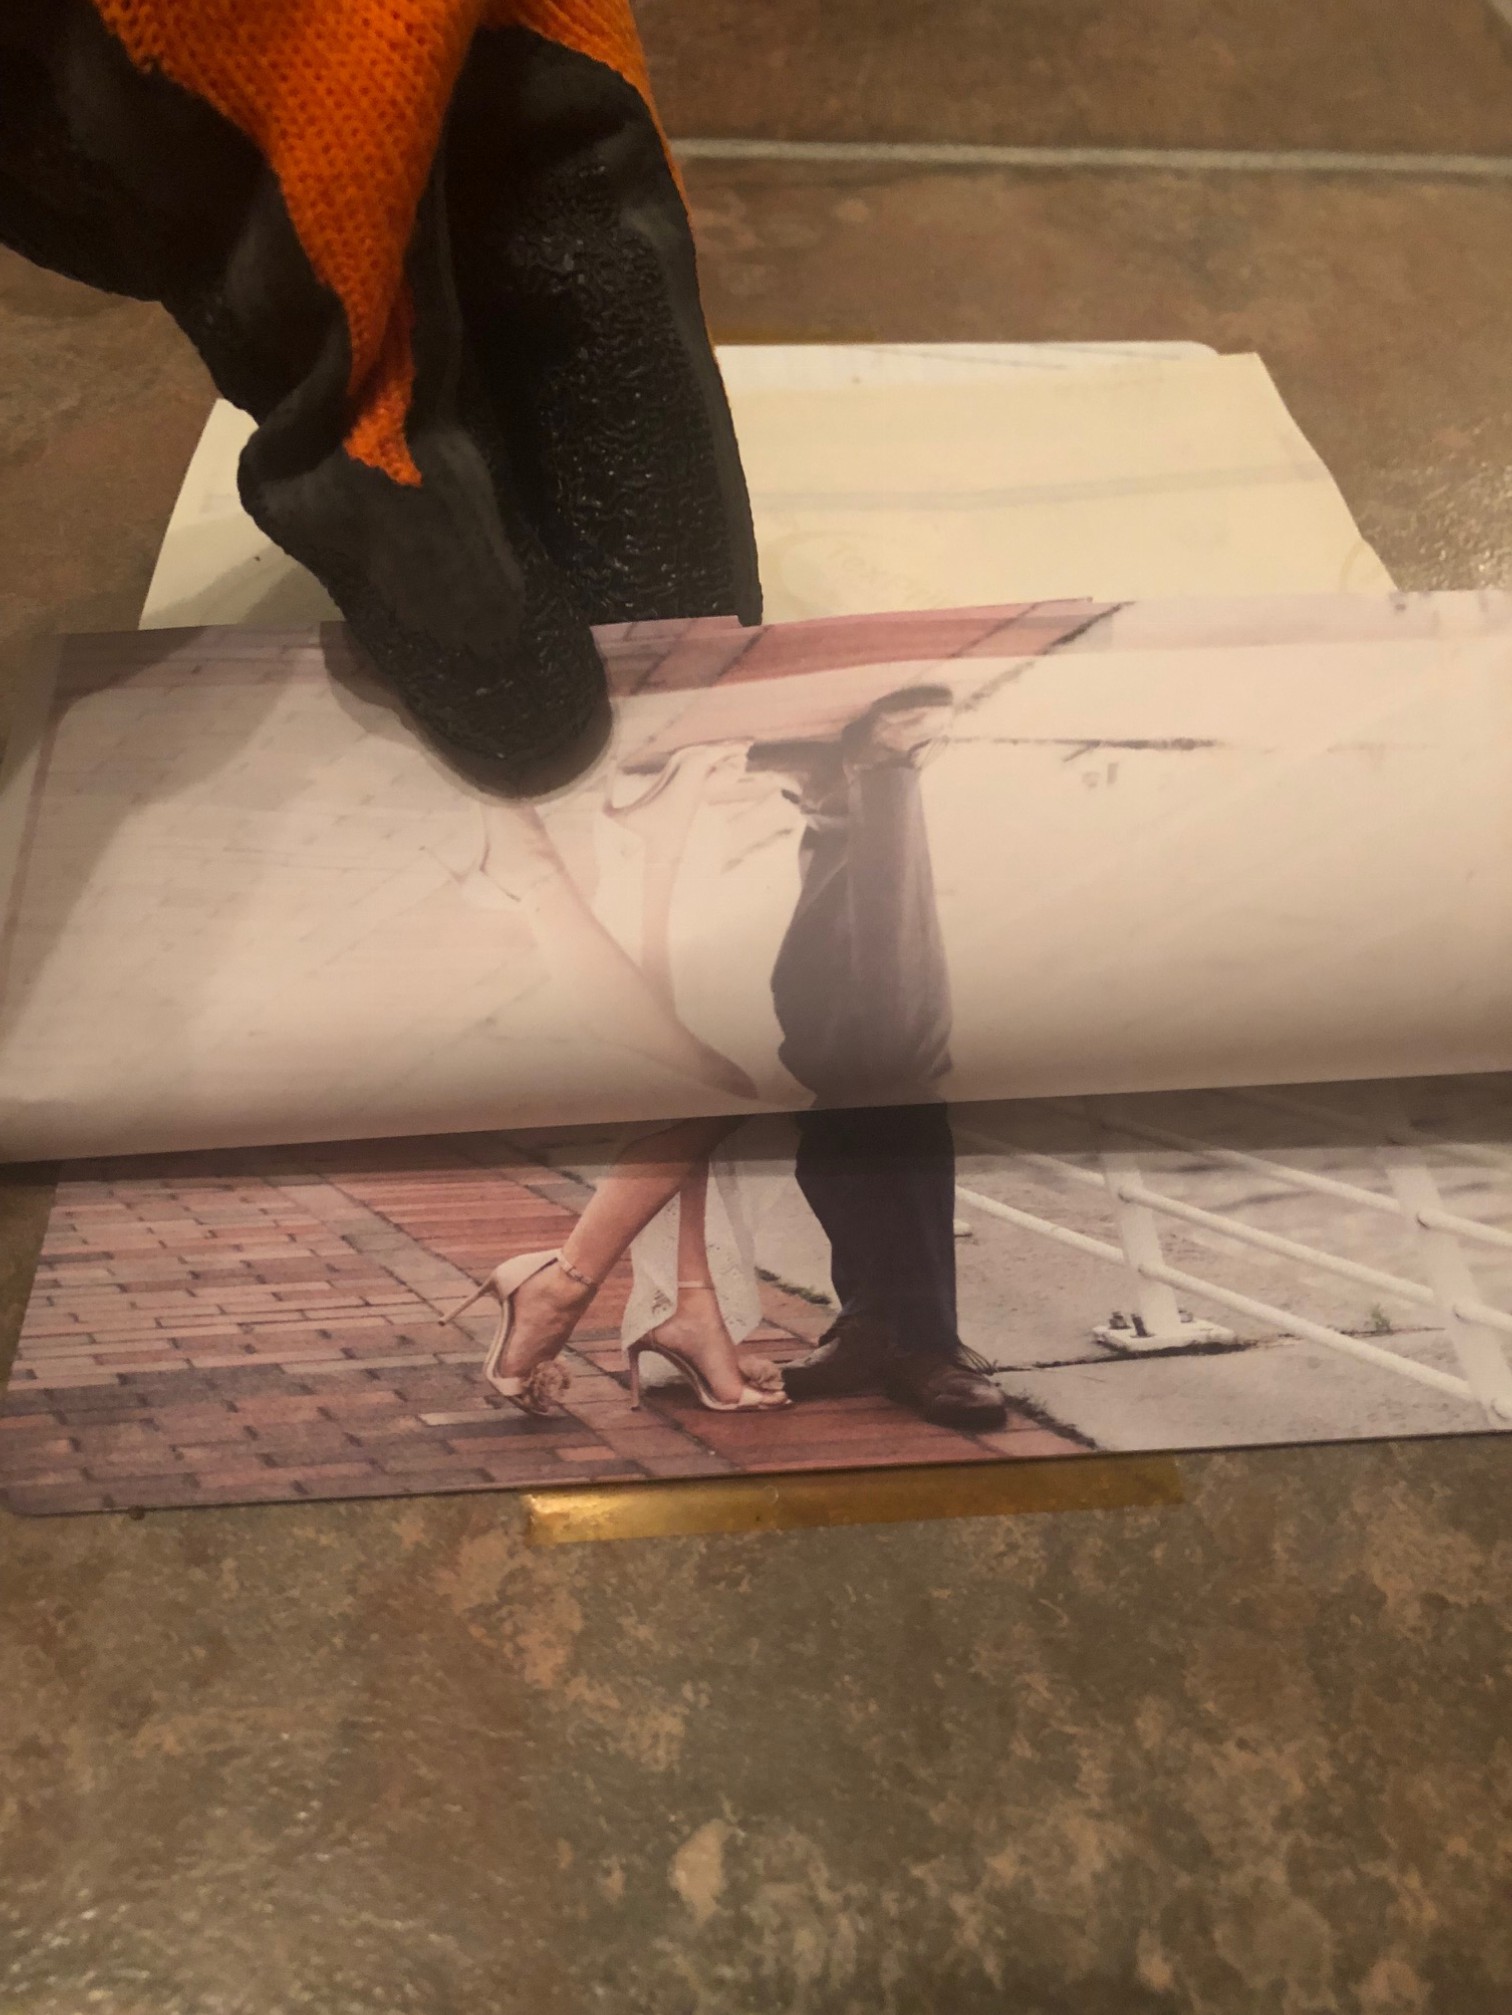
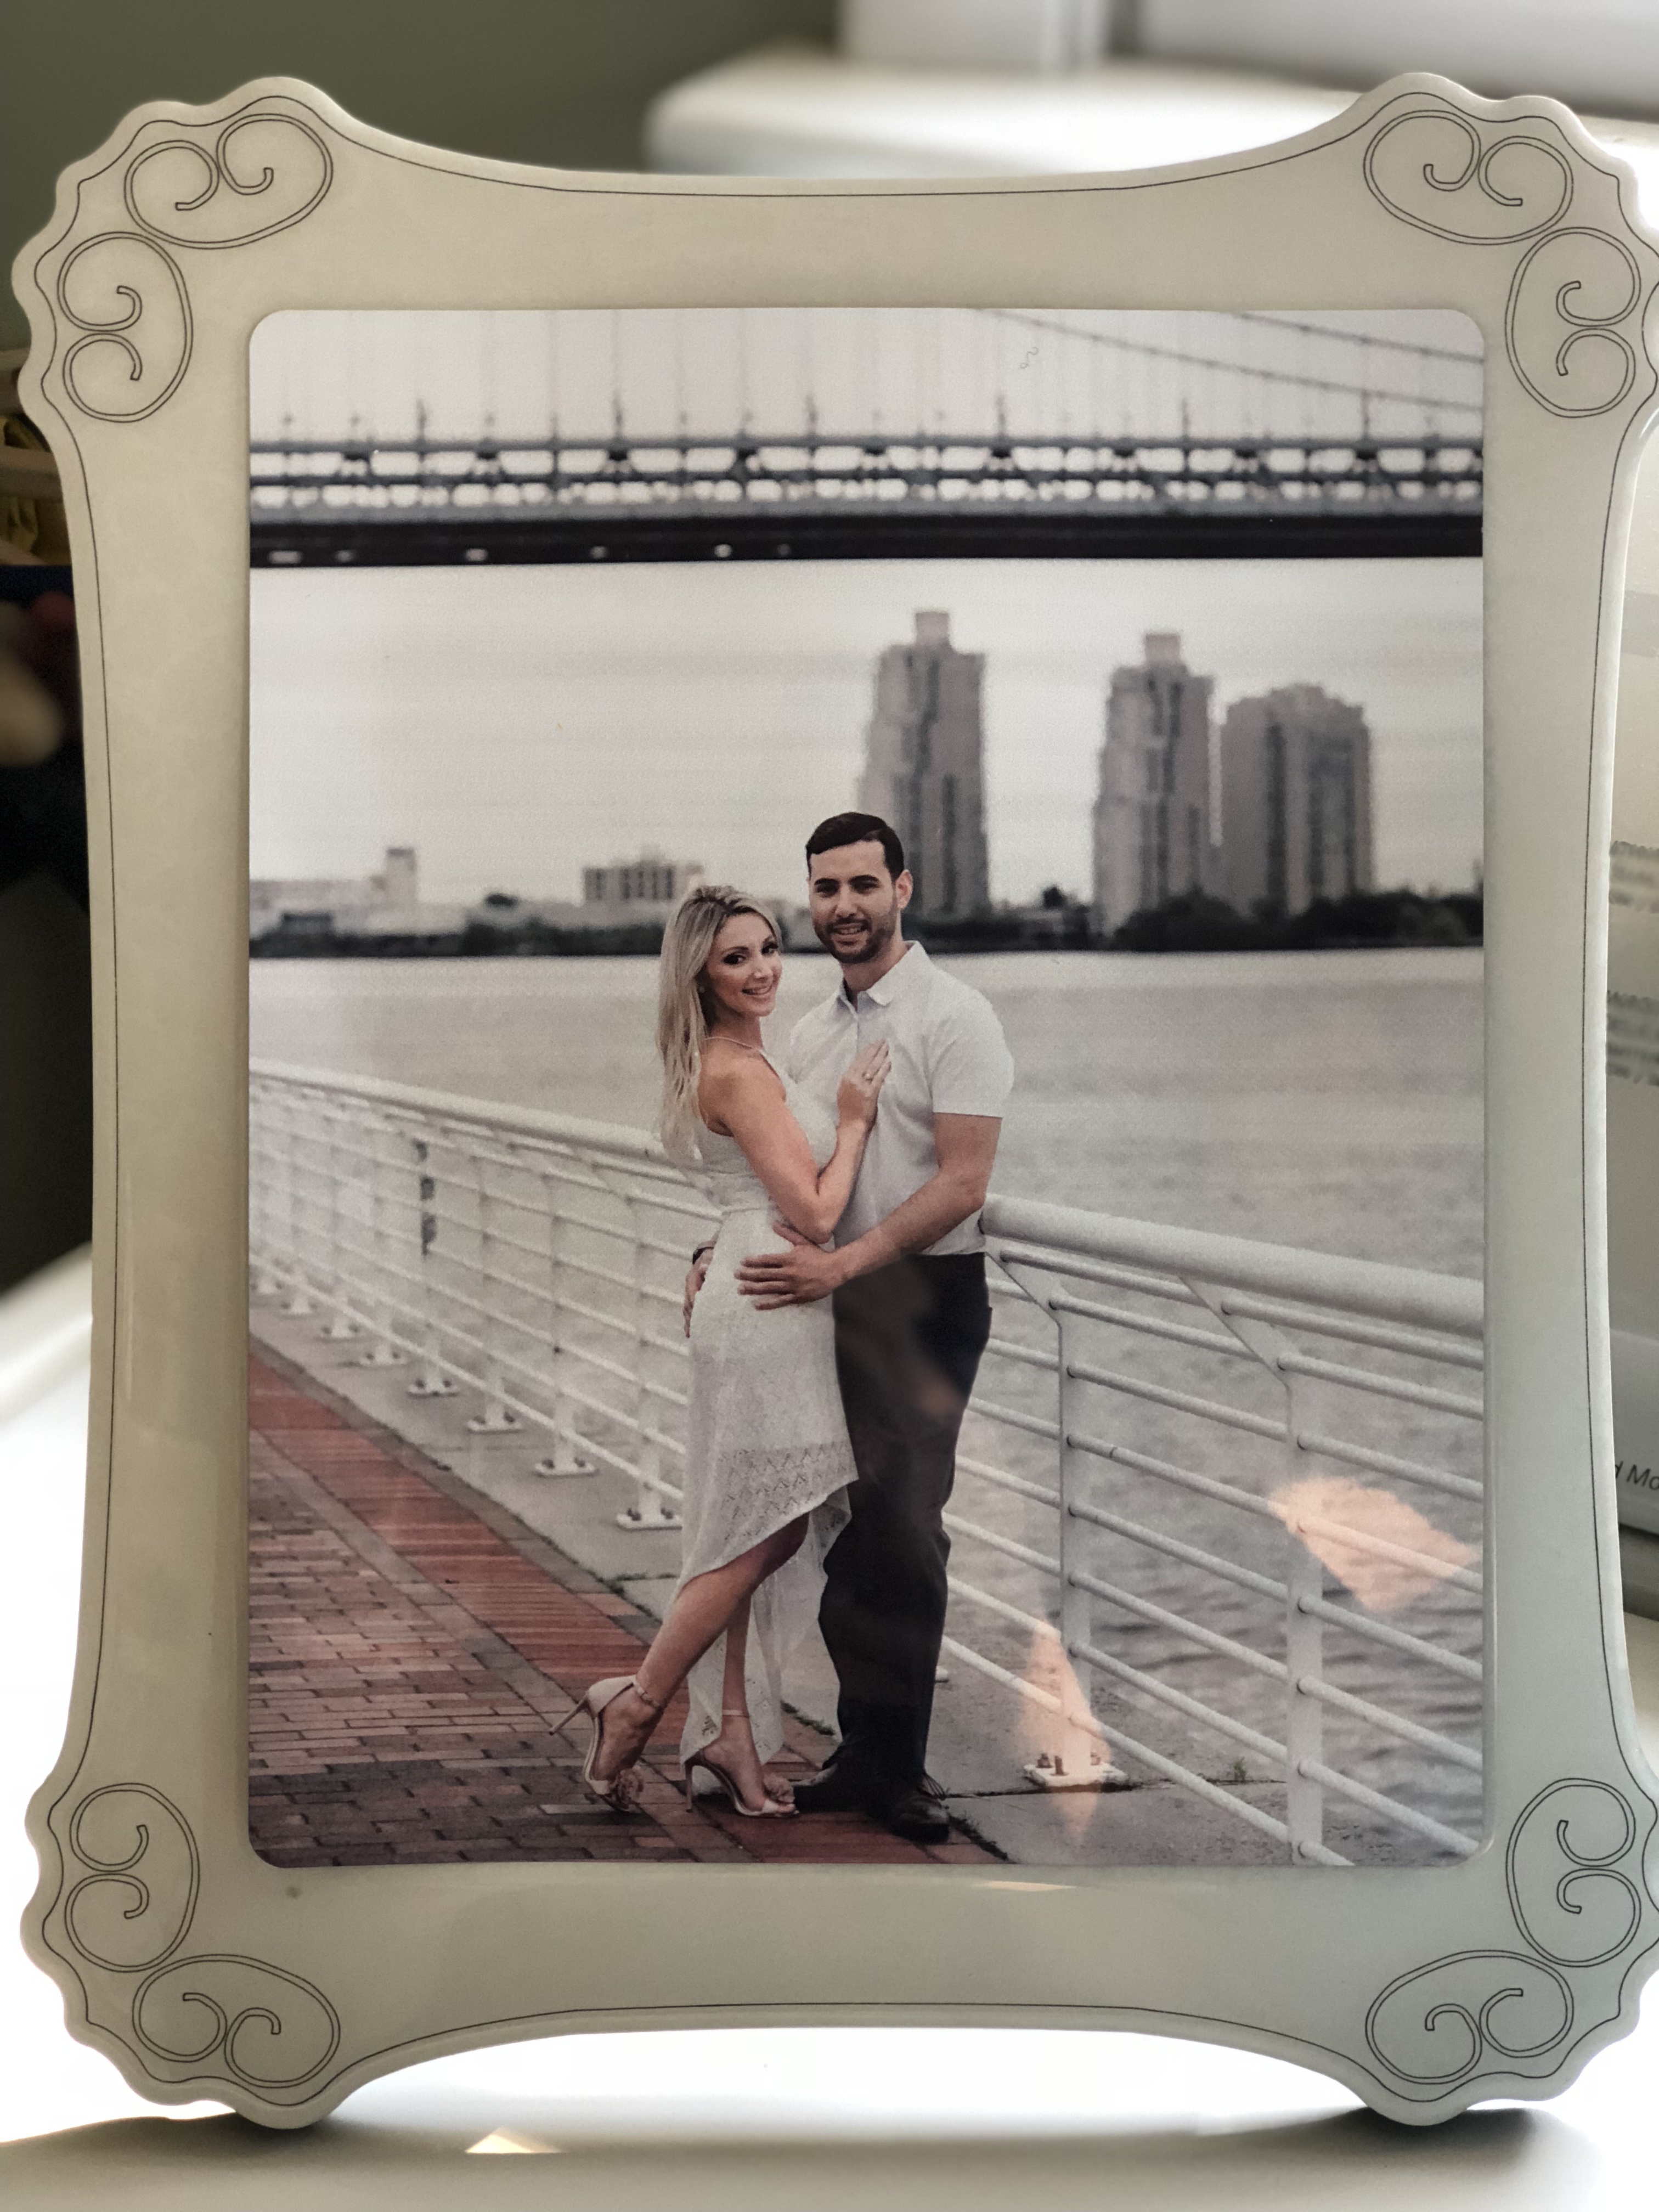
  • Sublimation -Transfers you can apply directly to 100% white polyester or polymer coated products.
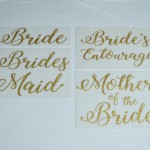
  • Rhinestones-Color rhinestones/rhinestuds for a light and dark fabrics with a textured feel.
  • Sequins – Color metal sequins for light and dark fabric with a textured feel.

How do you know what size transfer to order? Unsure of what size you need? We’ve compiled a helpful list of the most popular sizes. You can find that here

What is a gang sheet? A gang sheet refers to printing multiple designs on the same transfer sheet. We print on 12.75″ X 19″ sheets and we can often print several of the same design, or different designs on the same sheet, for the same price as long as they share the same colors.

What do you need to know about gang sheets? In order to print multiple designs on one sheet, all designs must share the same color scheme. We do not charge extra for ganging your design on the same sheet which can save you a lot of money. Need to know how many imprints you can fit on the sheet? We have a helpful chart for you here. 

What type of file does the art need to be in? If you’re familiar with creating digital artwork, we recommend using any common graphics editor including Corel Draw, Adobe Illustrator, or Photoshop. Most files with the extensions .jpg, .tif, .gif, and .psd can be used. This art will only be used as guides for art services. Recommended resolution for bitmaps is 150 dpi to 300 dpi.

How long does art approval take? After we receive confirmation of your order, you can expect an art approval from us within 1-2 business days. A proof file is provided for every custom order; this includes reorders. Customers are responsible for reviewing the art and the order details carefully (product type, spelling of all text within art, colors, sizes, quantities, etc). Once an order is completed, we cannot accept ANY changes.

When will your order ship?

Screen Printed Transfers (Vibratrans, Easytrans, and Colortrans) – Any orders that are approved and completed by 3 pm ET on a business day, will print and ship within 1-2 business days (excluding holidays and inclement weather days). Please check with a customer service representative for turnaround time around holidays. Rush services can be accommodated upon availability (additional charges will apply).

Rhinestone Transfers – After you approve your artwork, we normally ship your order within 2 weeks. There is no rush service available for rhinestone transfers.

Sequin Transfers – After you approve your artwork, we normally ship your order within 3-4 weeks. There is no rush service available for sequin transfers.

What is the minimum order?

Screen Printed Transfers (Vibratrans, Easytrans, and Colortrans): Most of our transfer types have a minimum of just 5 sheets. Go here to see all pricing and quantity discount breaks.

Rhinestone Transfers: There is a 25 piece minimum for custom rhinestone transfers.

Sequin Transfers: There is a 50 piece minimum for custom sequin transfers.

Do you have questions on how Custom Transfers can increase your business? Contact us! We would love to help.

View & Add Comments