Learn How To Sublimate a Cheer Bow

Are you looking for a fun, high-profit product to add to your sublimation store? Try this decorative bow project!! With only a few supplies, you can take a plain white ribbon and turn it into a personalized piece of art. Want to learn how? Read below!

sublimated cheer bow

To decorate a bow you need:

Making the bow is easy! Just..

1-Design your bow using your design software. We used Creative Studio. You need to design 4 sections that are 8″ x 3″ each and send to your Sublimation Printer.

sublimate a cheer bow

2- Take your print out and cut it into 4 sections.

3.- Unroll your ribbon and measure it to 32″ and cut.

sublimate a cheer bow

4 – Now fold it in half, so that you know where the center of your ribbon is, and tape two strips of your paper onto each side. When taping your paper, you will have 2 strips on the top center of the ribbon. Place the 2 remaining strips on the back end side of the ribbon.

learn how to sublimate a cheer bow

5 – Press each section at 400 degrees for 60 seconds.

6 – Now that your ribbon is decorated it’s time to fold your bow and hot glue a clip to the back.

learn how to sublimate a cheer bow

7 – That’s it. Admire your results!

learn how to sublimate a cheer bow

View & Add Comments

Make Your Own Heat Transfers

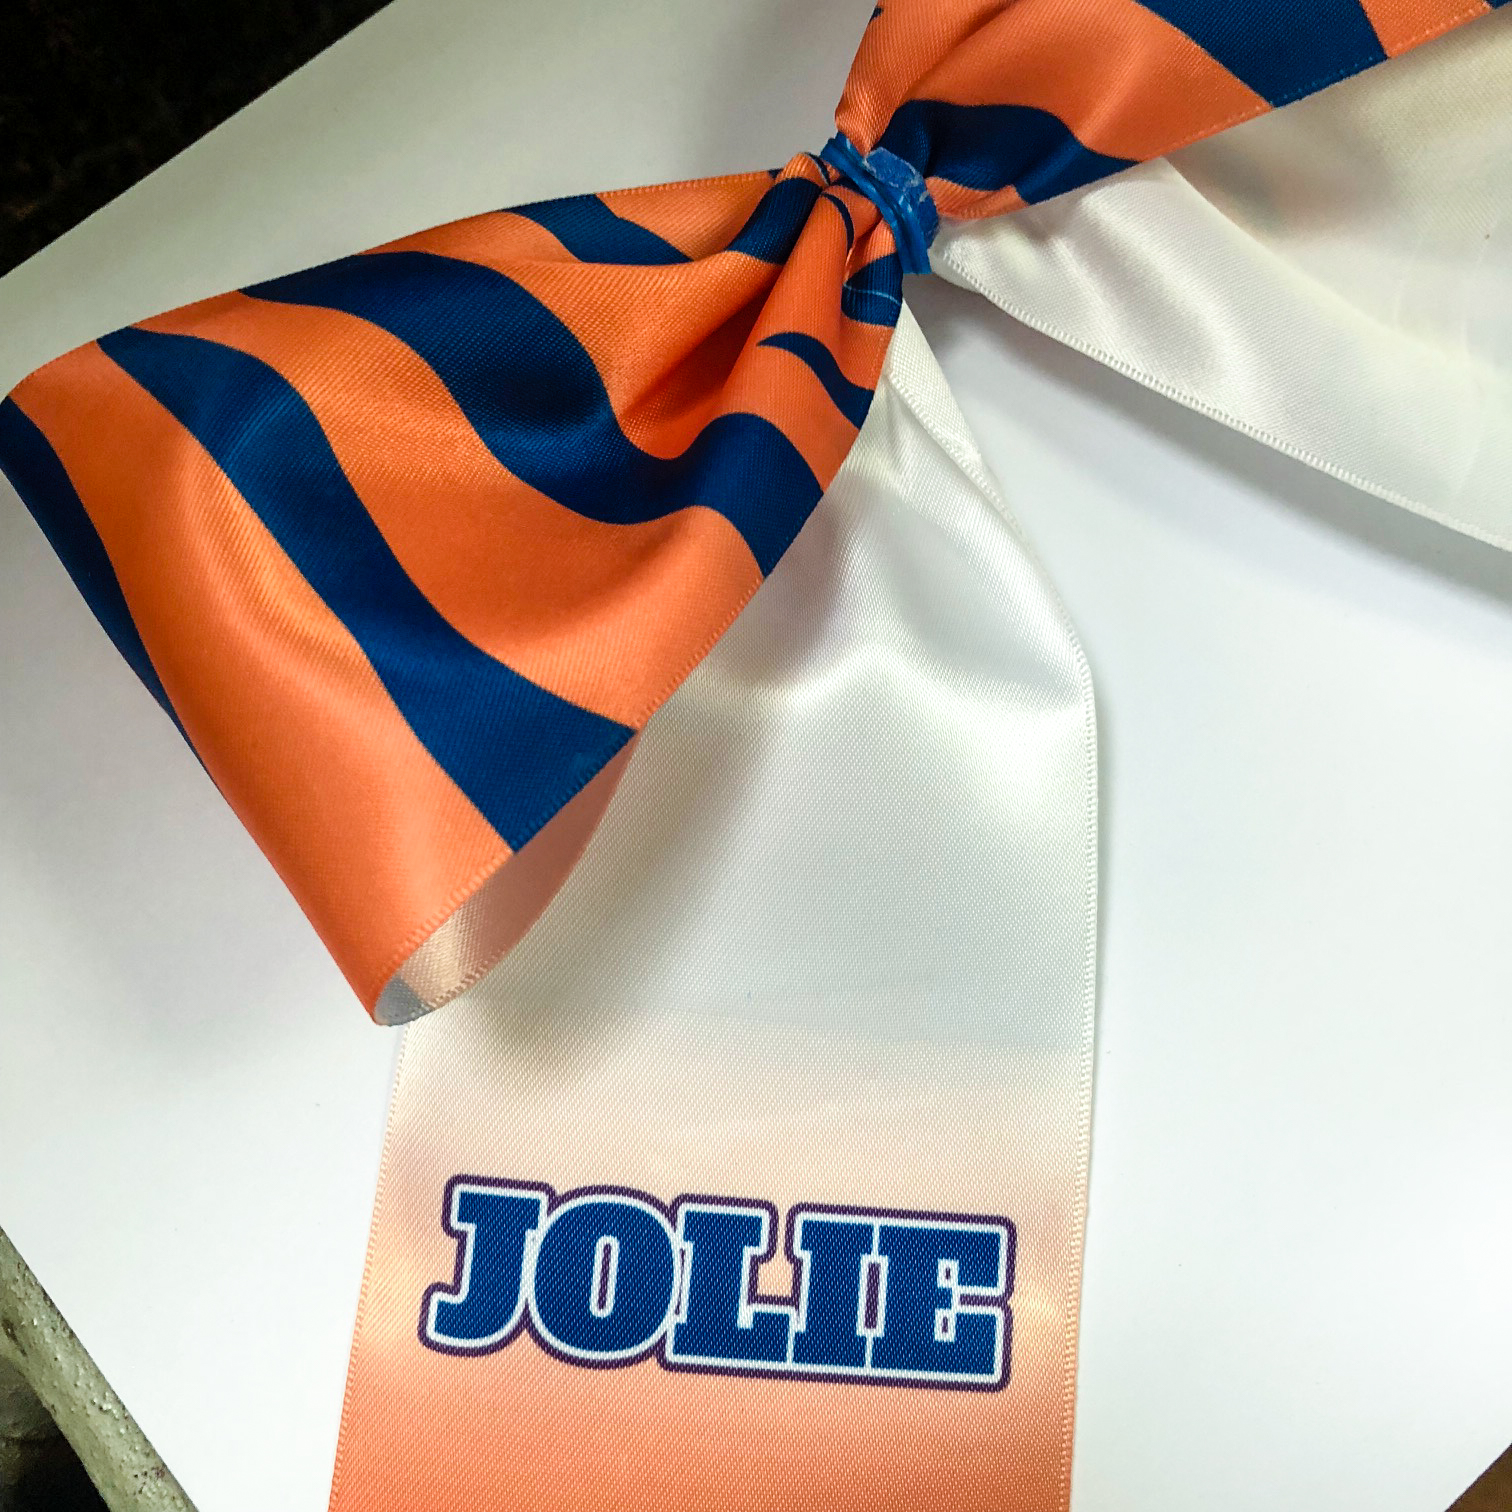
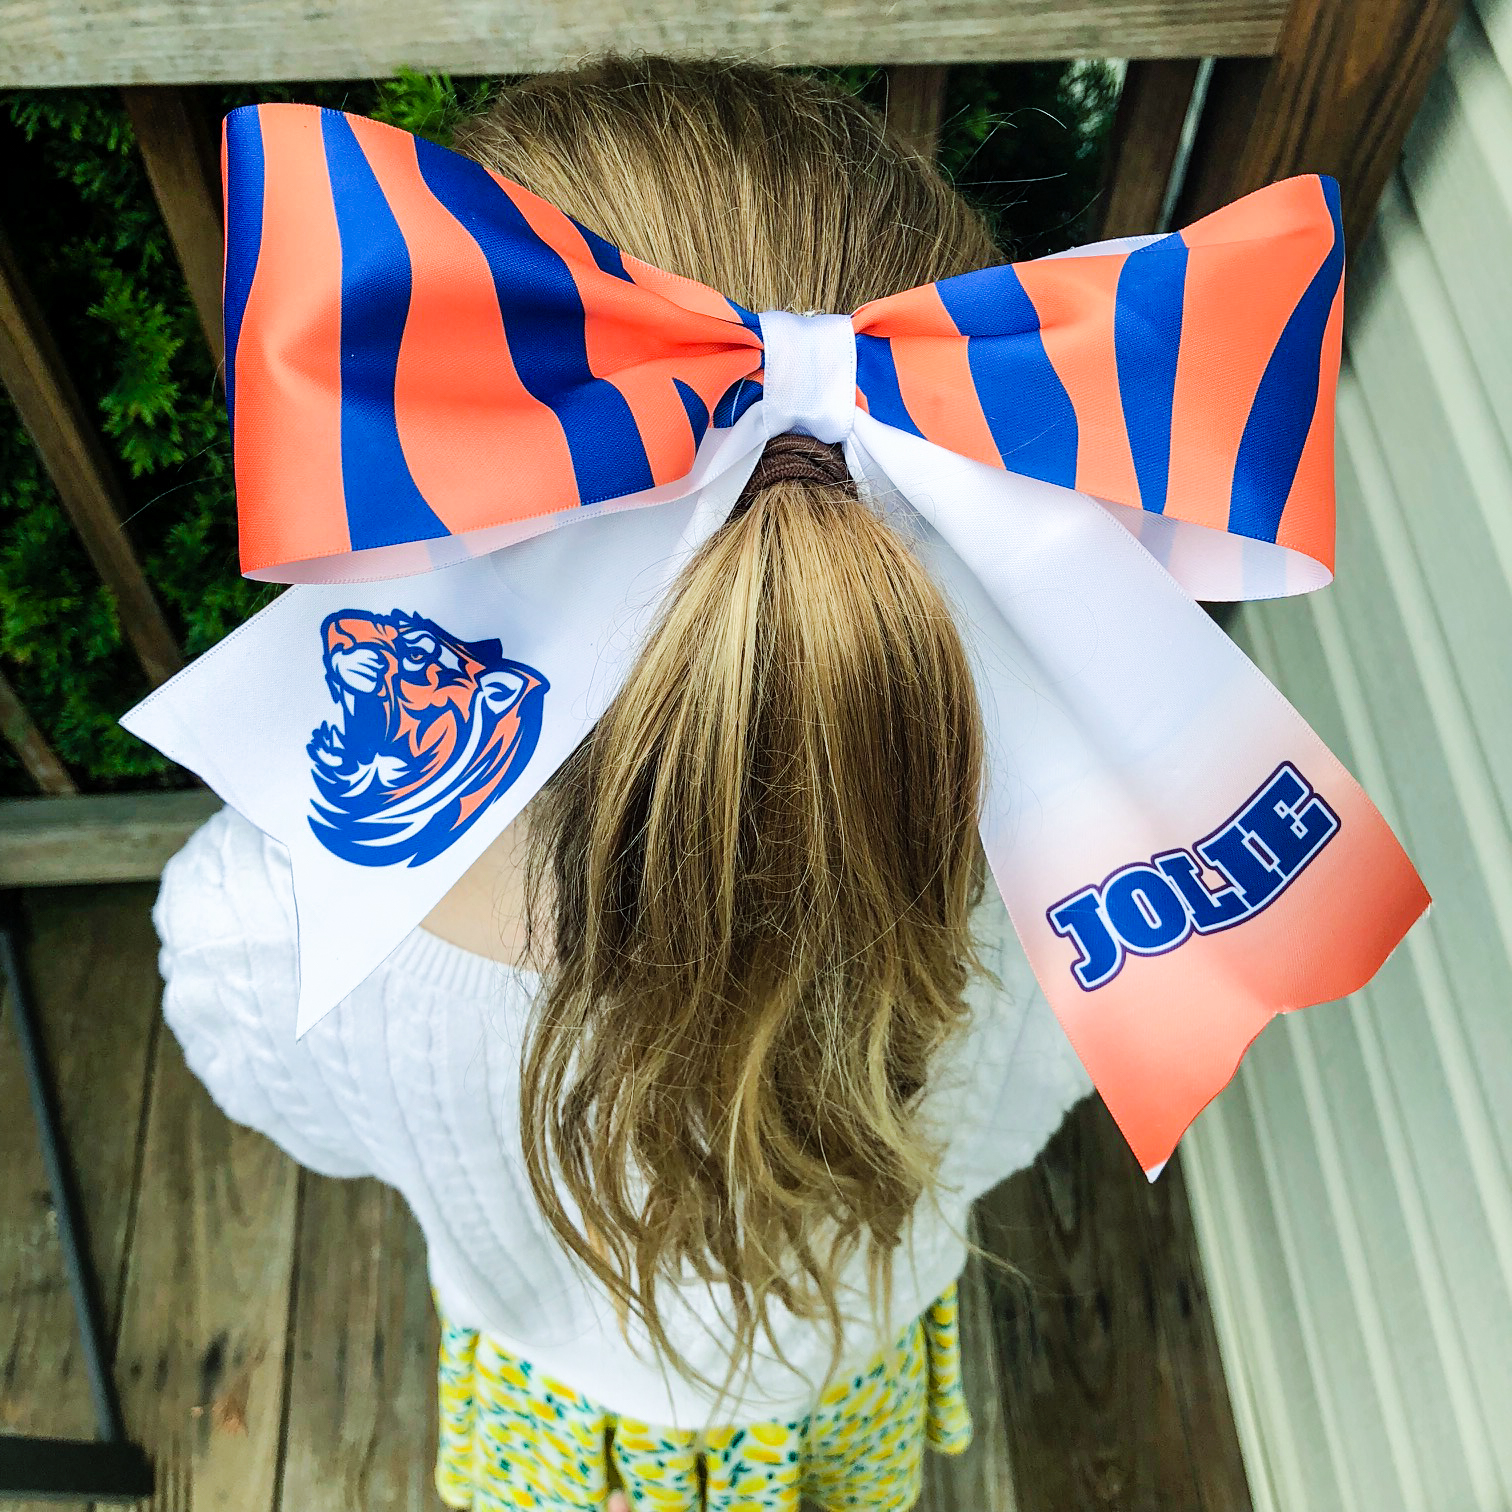
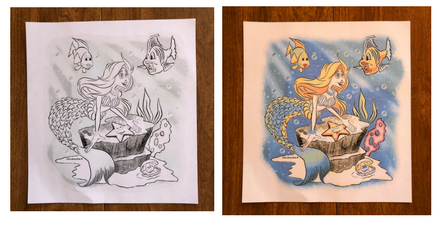
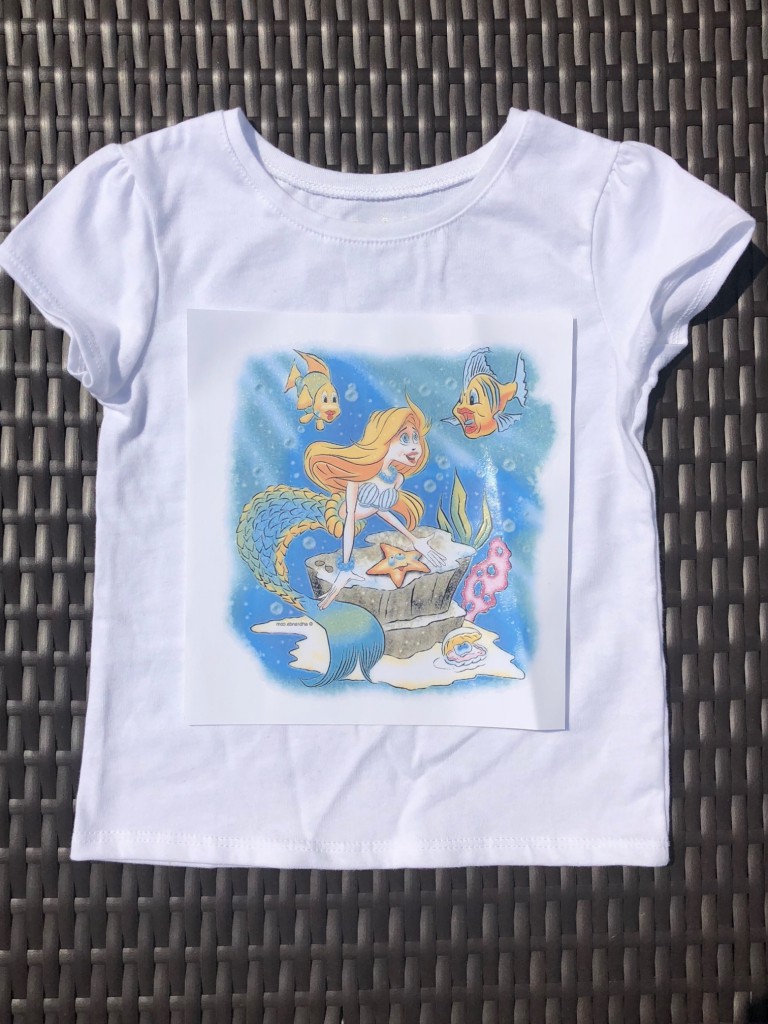
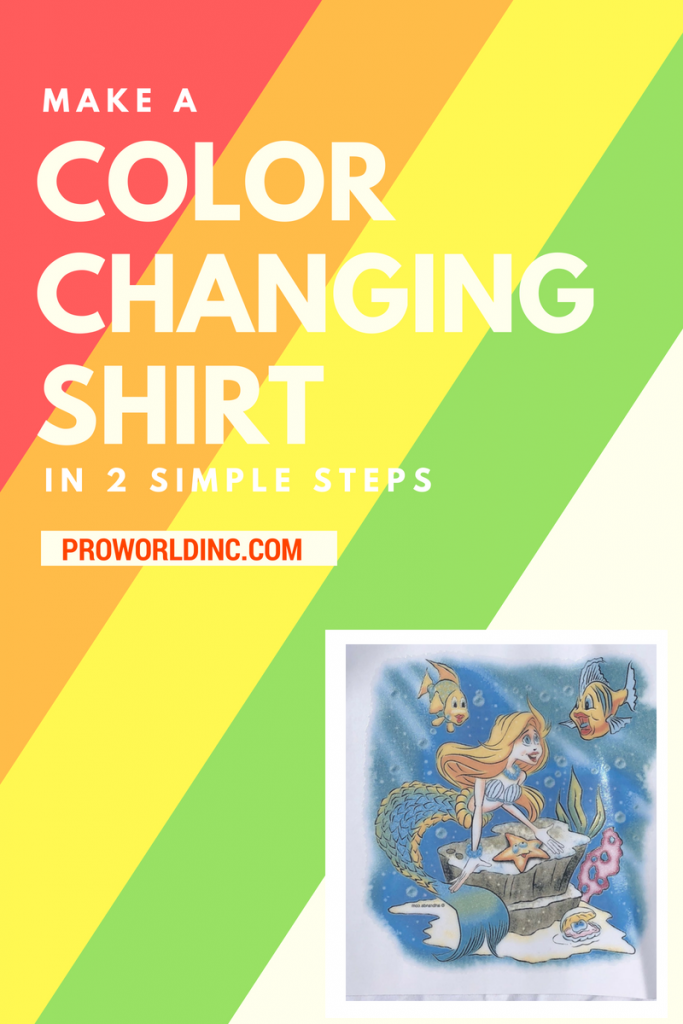
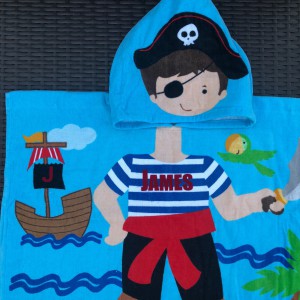
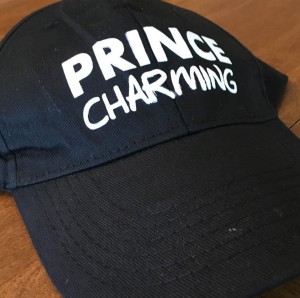
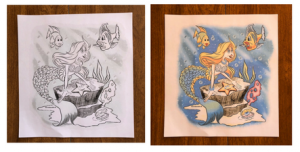
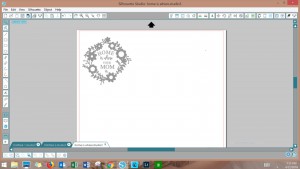
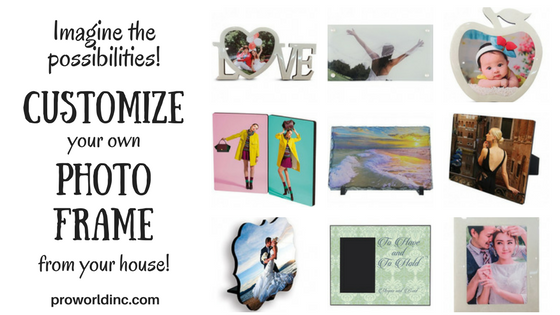
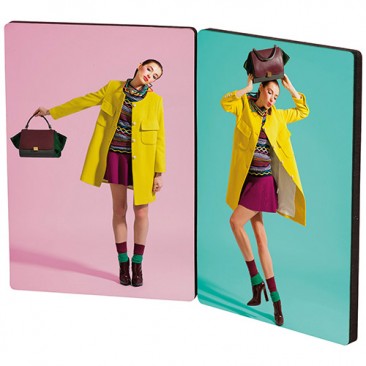
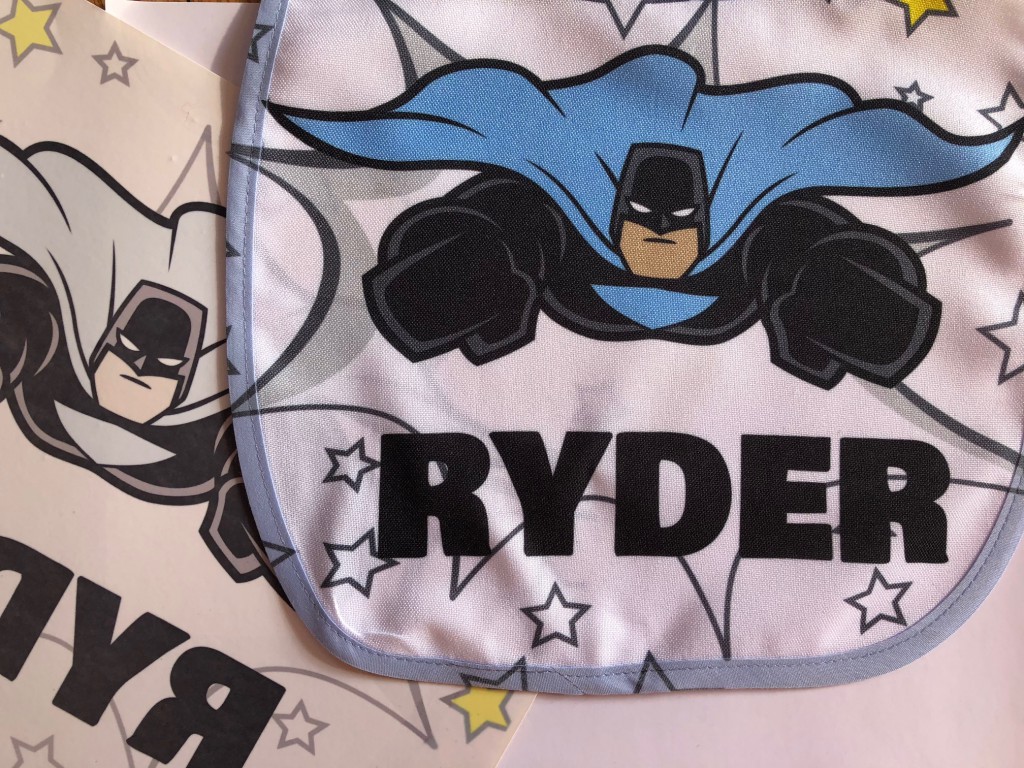
Do you have your own images and graphics you’d like to turn into heat transfers and adhere to garments with your heat press?  All you need is Transfer paper. Transfer paper comes in a variety of sizes and is durable and completely washable.  Creating your own heat transfers will give you the flexibility to create custom t-shirt designs for a single customer or a whole group.

PRINT YOUR OWN DESIGNS! (1)

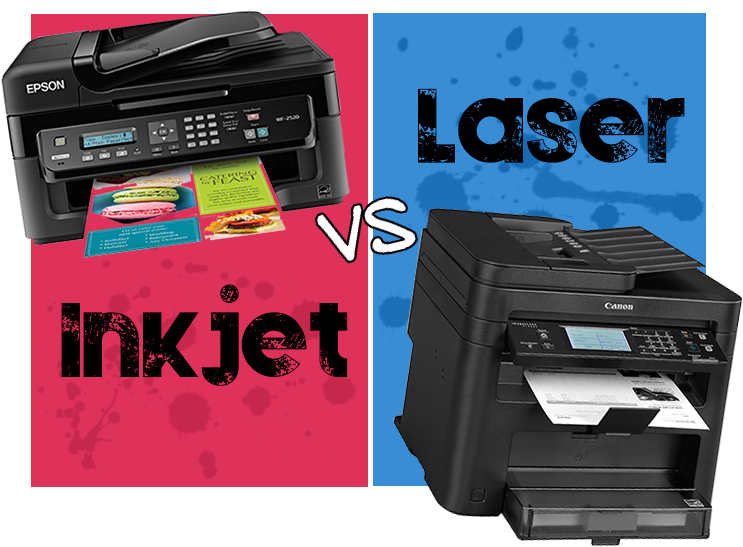
The first thing when choosing a transfer paper is to consider what type of printer you will be using – inkjet or laser?

inkjet vs laser

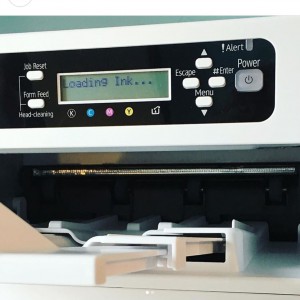
Next, check with your printer manufacturer in regards to using transfer paper.  We suggest not using transfer papers with brands such as HP, Dell, and Brother. These printers have internal fusers that run too hot and can cause the paper to get stuck in the rollers, ruining the paper and possibly the printer itself.

Laser and inkjet printers both produce a similar quality of the design after pressing. The main difference between inkjet and laser printers is the cost to get started. Inkjet printers are cheaper, but tend to use quite a bit of ink. Laser printers are more expensive, but the toner lasts longer. Laser printers also offer the advantage of trim free paper.

inket jet & Laser printer paper

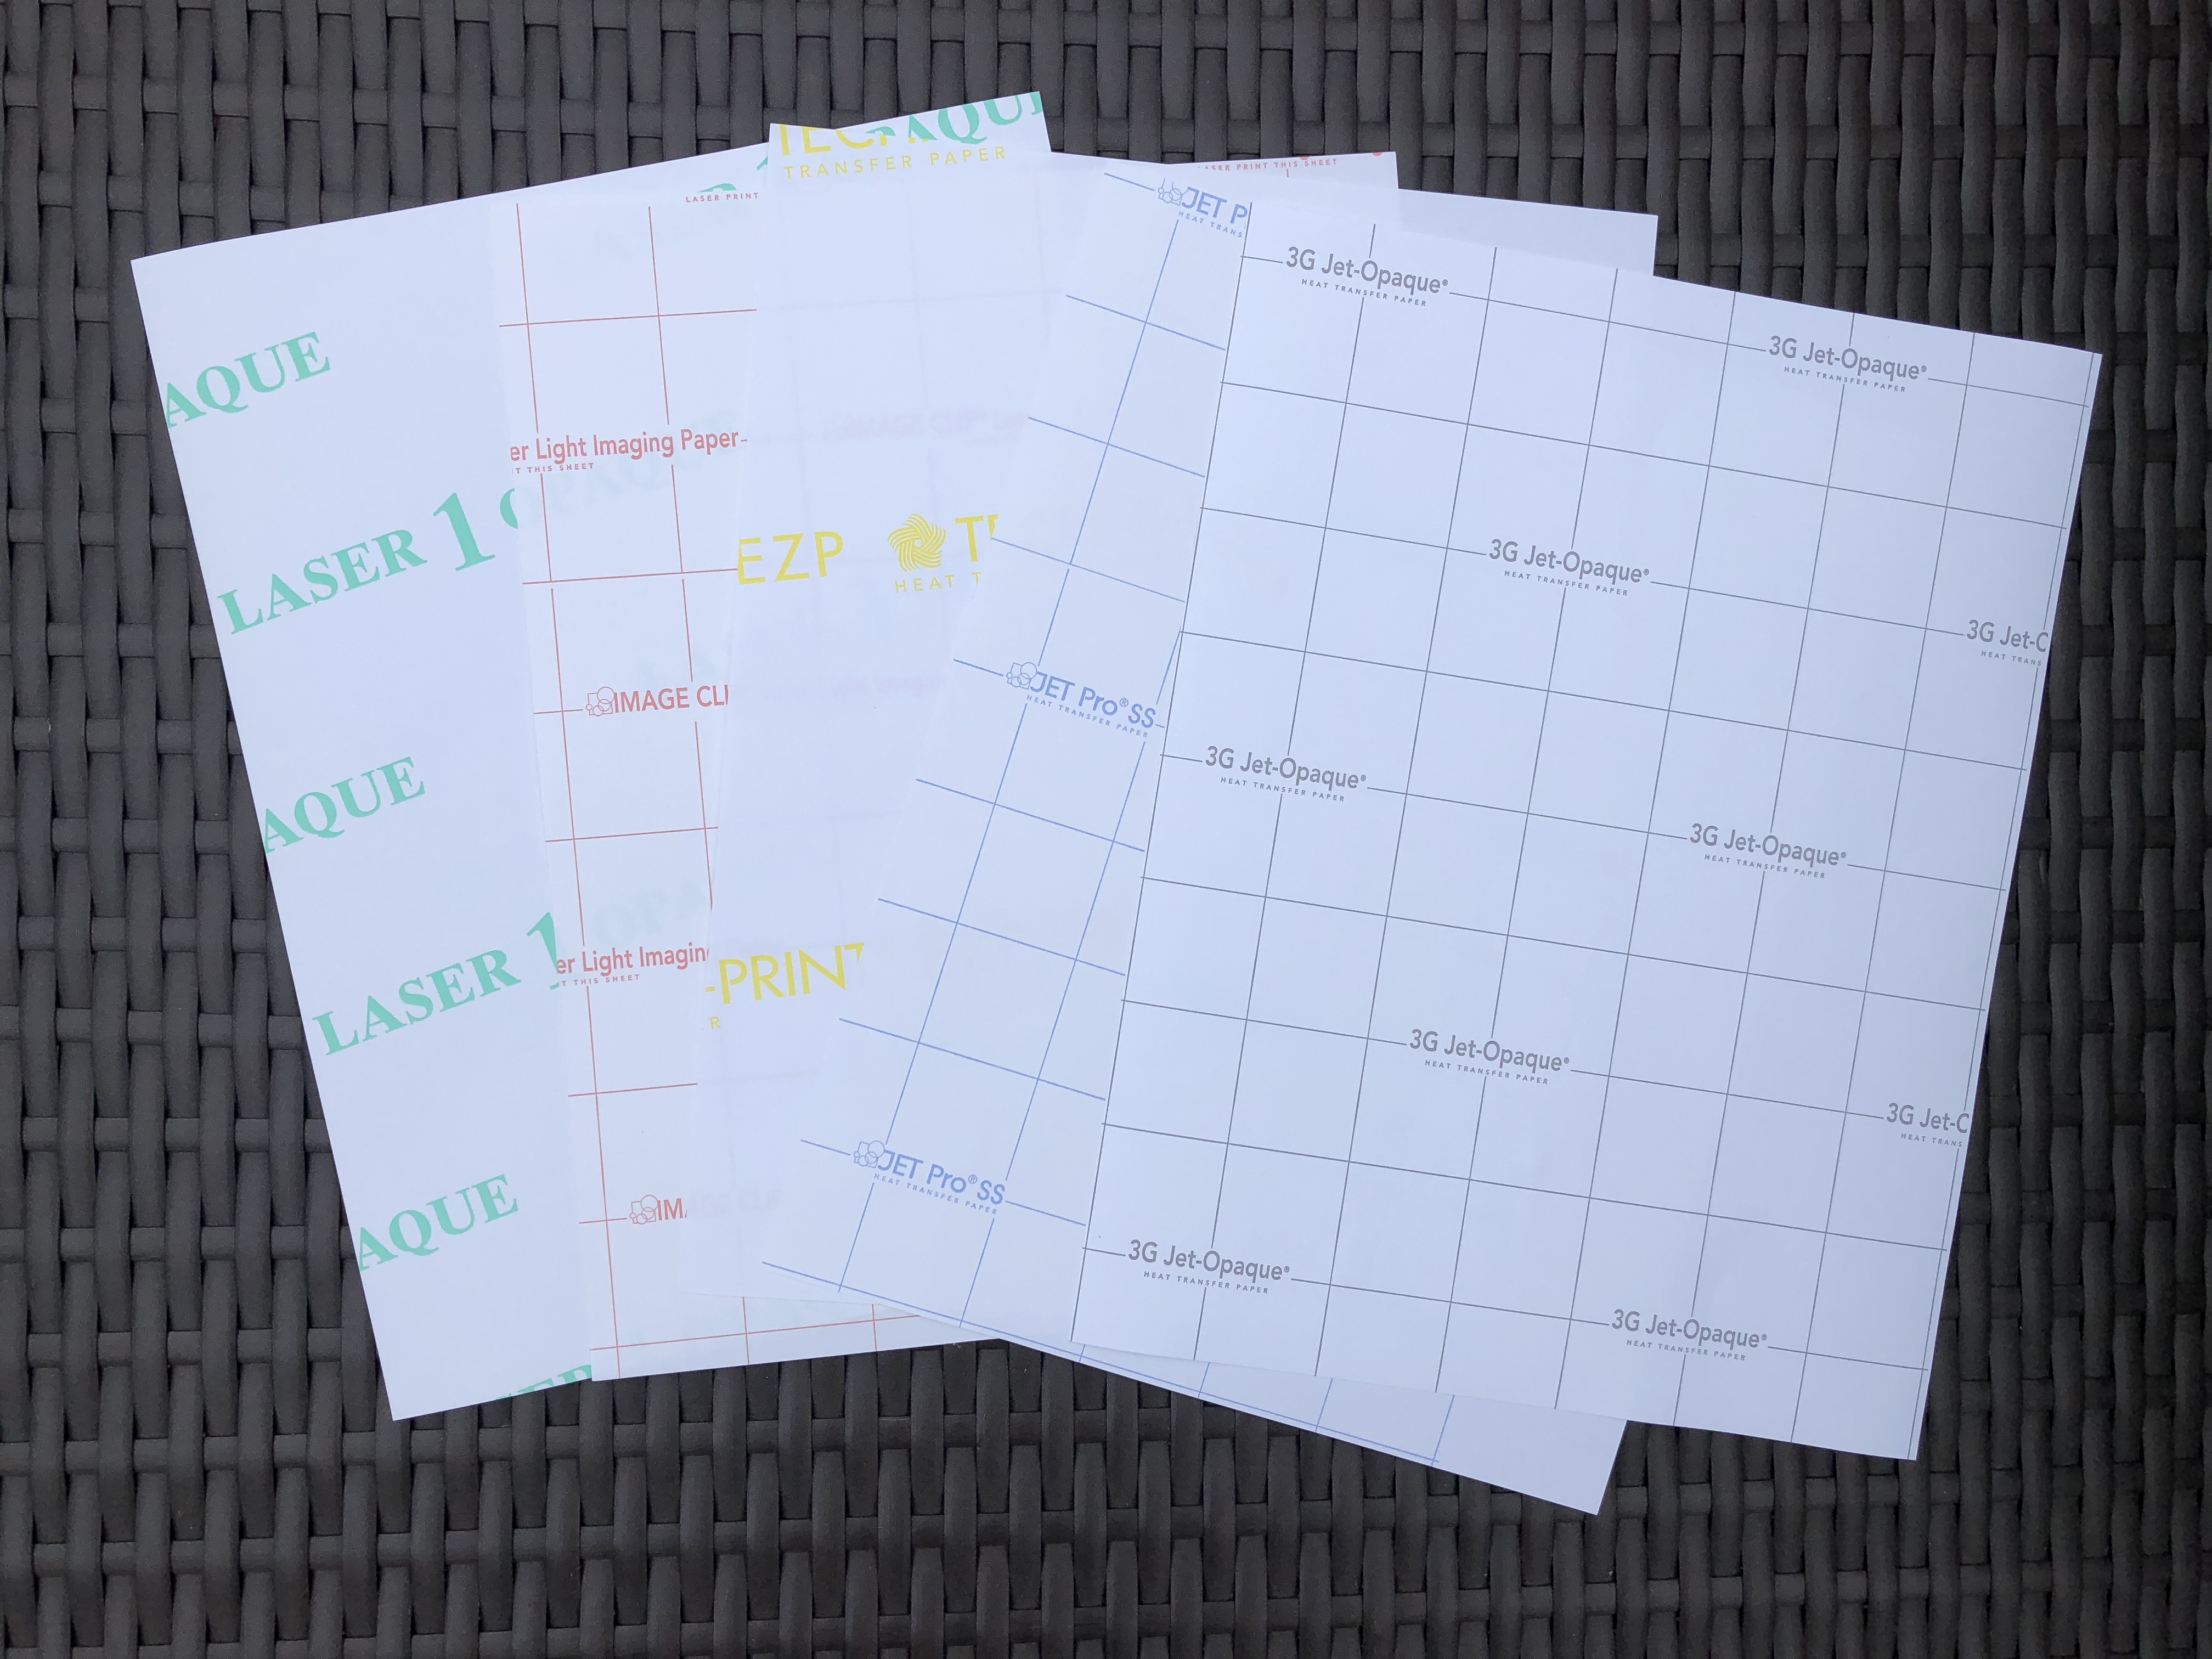
Here are the different types of paper we offer for each printer:

Inkjet Paper:

IMG_6005

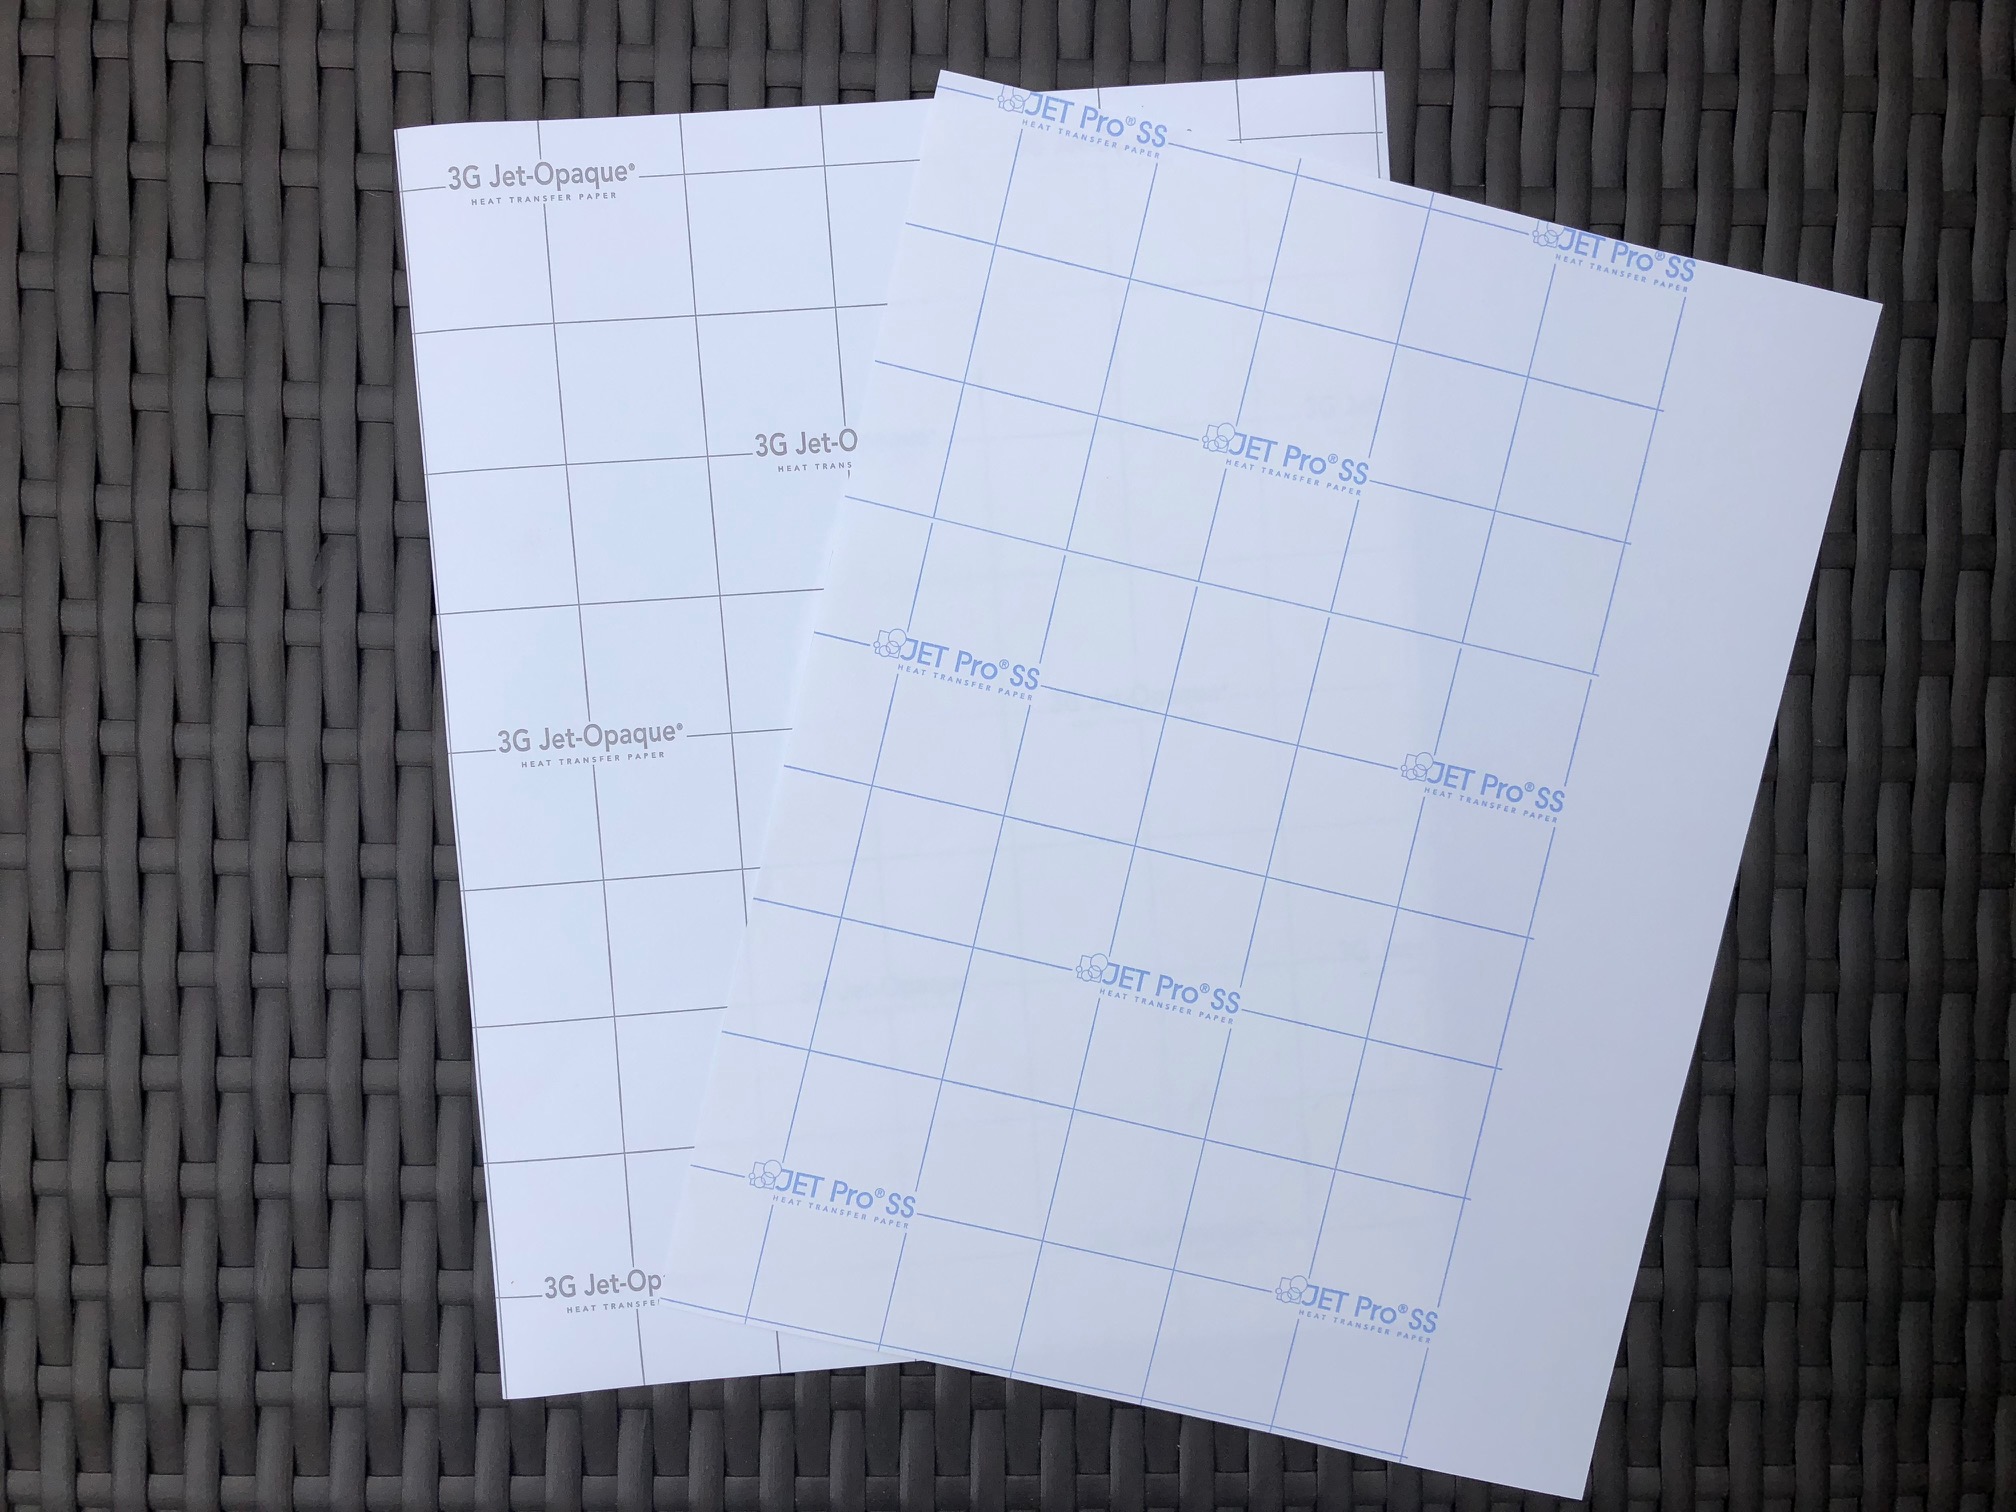
The Jetpro Soft Stretch Inkjet Paper comes in 8.5×11 and 11×17. It produces soft, supple, vibrant, and washable ink jet printed transfers for white and light colored fabrics. It can be used to apply designs and photographs and can be trimmed to reduce the transfer of the background.

3G Opaque Paper comes in 8.5×11 and 11×17. This also produces vibrant and washable transfers but are suitable for dark fabrics. Since you will be printing on a white surface, you’ll want to trim away any area you do not want white before applying. Like the Jetpro, you can use it for basic designs as well as photographs. (This transfer paper is not recommended for Hewlett Packard and Dell Printers).

Laser Printer:

IMG_6017

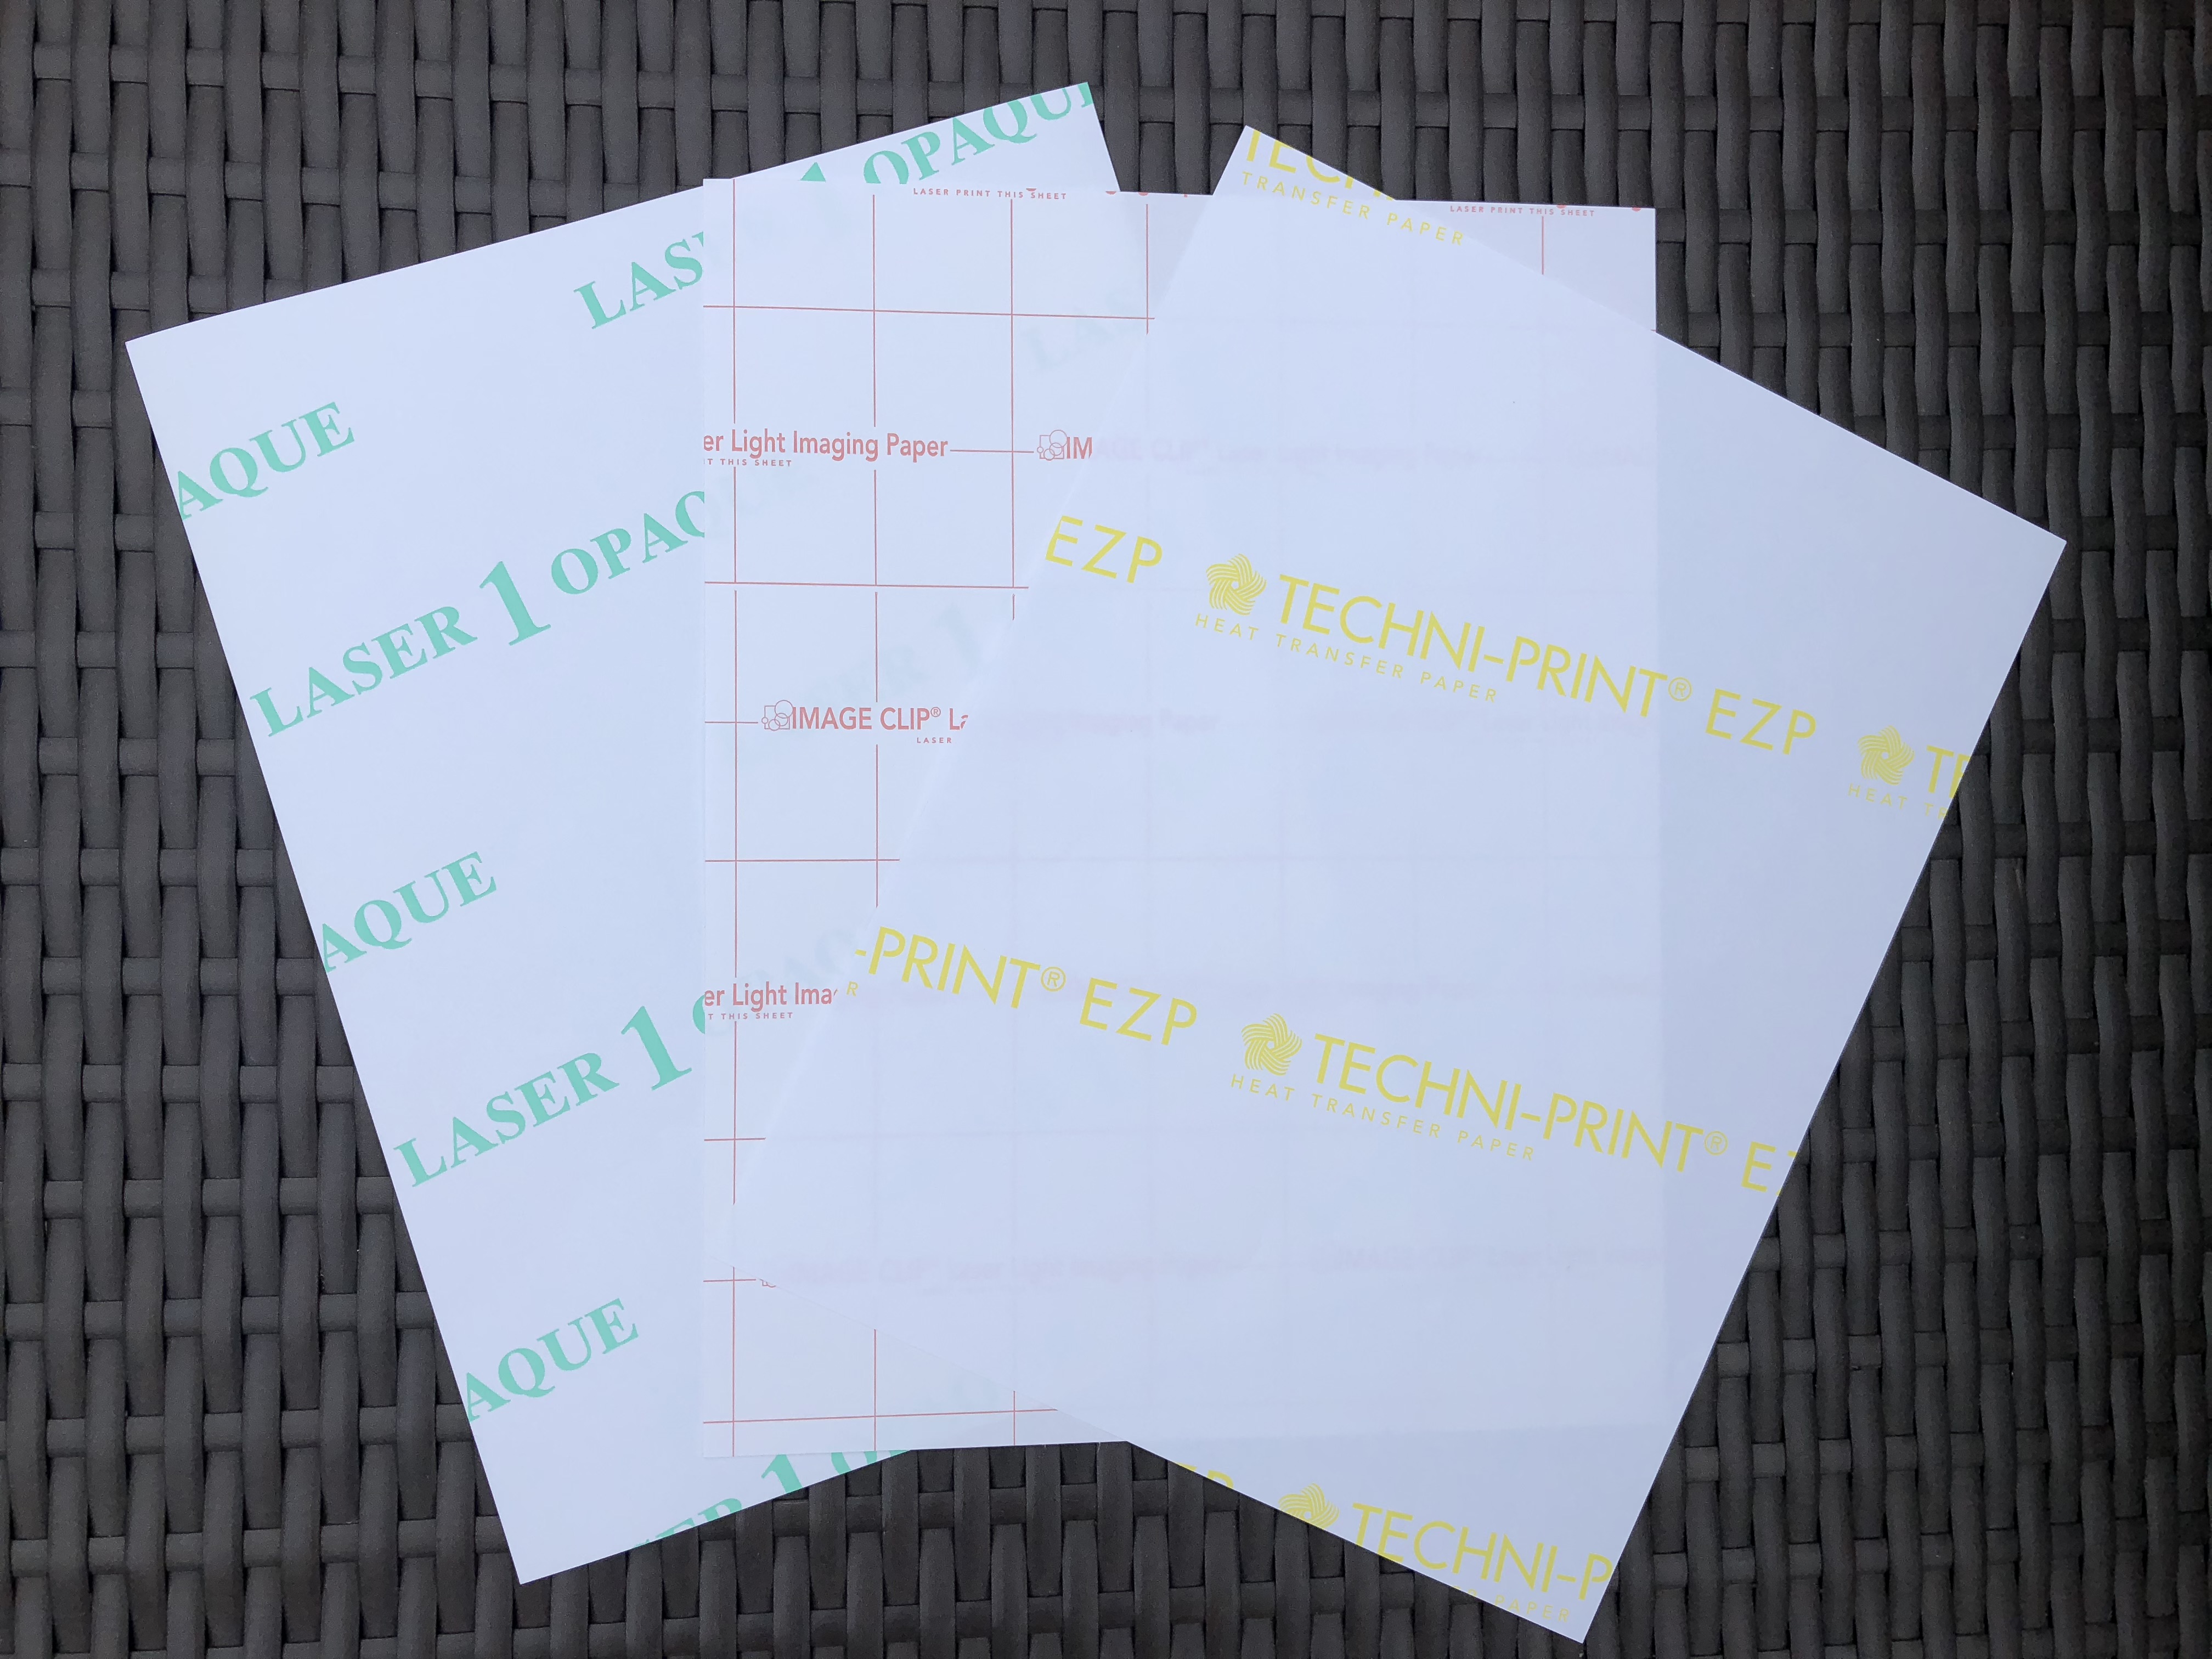
Lasersoft EZ Peel transfer paper comes in 8.5×11 and 11×17. It is the only laser transfer available that allows the inks to absorb into the surface of the coating of the paper. The coating then acts like a shield and later bonds the inks to the fabric fibers without using a plastic film offering a high quality, soft solution for laser transfers.

CLC Paper comes in 8.5×11 and 11×17 and works with both oil and non-oil laser printers. This paper is great for transferring high-resolution photographs and images onto dark materials. Garments with a tight weave work best.

CI Trimfree comes in 8.5×11 and works only on solid, light colors. This is the first single step transfer paper and has been developed to release the polymer coating only in areas that have toner coverage where the image is pressed to the fabric. This makes it so you don’t have to trim your design before pressing it to your garment. Images will stay bright and vibrant, even after continued washing and the paper will print on both oil and non-oil laser printers.

Image Clip Laser Paper comes in 8×10.5 and 10.75×16.75. It works best on light garments and handles full-color designs very well. This paper is self-weeding, so there is no need to trim the excess paper as there will be no background to your printed design, although this paper is a two-step process.

Image Clip Laser Paper for dark, solid garments comes in 8×10.5 and 10.75×16.75. Just like the Image Clip for lights, there is no need to trim the excess paper as this paper is self-weeding. But this paper is not designed for transferring photography.

View & Add Comments

Father’s Day Gift Ideas

Father’s Day is right around the corner.  If you feel like you are scratching your head for Father’s Day gift ideas to give or sell, you can stop! We have some ideas that are easy to make and will make great gifts!

fathers day gift ideas (1)

IDEA 1: Make Dad or Grandpop a shirt fast with our extensive supply of Father’s Day Heat Transfers.

FATHERS DAY HEAT TRANSFERS

IDEA 2: Write him a surprise note on the back of his tie with some HTV.

IDEA 3: Keep his drink cold and his hand warm with a sublimated koozie!

#1Dad KOOZIE

IDEA 4: Make Dad a new hat with our hat press! You can use heat transfer, heat transfer vinyl or even sublimation!

IDEA 5: Or if Dad is more of a glass guy. Personalize his cup with adhesive vinyl so that he is reminded how great he is everytime he takes a sip!

DIY father's day gift

IDEA 6: Sublimate a keychain with his favorite sport or a sweet message!

sublimated basketball keychain

IDEA 7: Make him a new car decal with adhesive vinyl.

IDEA 8: You can even personalize his tackle box or sporting bag with a little note from the kids! Just grab your vinyl and cut a sweet message.

IMG_5804

IDEA 9: You can quickly make him a dog tag with a sublimation printer and a heatpress.

IDEA 10: Make him a coffee mug so that he can see the kids’ smiling faces every morning!

mug sub (2)

IDEA 11: Dad will love seeing his favorite photo as he gets his work done with a sublimated mousepad.

IDEA 12: Personalize his gym accessories so that he knows which is his! You can add HTV to his gym bag, sublimate his cooling towel or even add a photo or his name to his water bottle.

Want some more ideas? Head to our Instagram page and see what we’ve been creating or better yet show us what you’ve been making for Father’s Day!


View & Add Comments

Make a Color Changing Shirt

Do you want to wow your friends with a color changing shirt? All you need is a solar heat transfer and the sun! With our SOLAR heat transfer, you can watch your design change before your eyes with this color changing technology.

solar heat transfers

Solar heat transfers are the perfect transfers for items that will be exposed to the sun like totes and t-shirts. Plus application is simple. Just press and peel! Want to try a solar heat transfer? Here’s what you need:

solar heat transfer

– heat press

-light garment (we are using a white t-shirt)

color changing shirt

Ready to get started? It takes less than a minute!

1 – Set the temperature on your heat press to 390-400 degrees Fahrenheit.

2 – Set pressure at medium.

3 – Place your heat transfer face down onto your garment.

4 – Press for 10-12 seconds.

5 – Peel immediately while hot, in one continuous, smooth, rapid motion.

6 – Take your garment outside in the sunlight and watch the colors change before your eyes!

With over 30 solar designs to select from, choosing your favorite will be the hardest step.  You can find all of our solar designs here.

color changing shirt

View & Add Comments

All About Pressing Pillows & Perfect Pads

Pressing Pillows vs. Perfect Pads. Do you know the difference?  While neither are absolutely necessary to use your heat press, once you’ve worked with them, you won’t know how you ever pressed without them!  Both will make getting your heat pressing jobs done a whole lot easier!

PRESSING PILLOWS (1)

Which one to use depends on the size of your design, and how smooth the area is that you are working with.

First let’s discuss the Pressing Pillow.  Made out of a Teflon covered foam, not only do the pillows protect your garments and fabrics from the harsh heating process, but they even out the area where you’d like to place your design.

Zippers, buttons, and seams all get in the way of creating a flat surface area on your garment. Without a Pressing Pillow, the top plate of the heat press may not get a tight seal on the actual heat transfer vinyl (HTV), causing a lack of pressure which may not allow the HTV to stick well to the surface of your garment. When you insert the pillow into the garment, these obstacles sink down into the pillow (for instance a zipper won’t press in causing printing issues) and eliminate the pressure points creating a smooth area.

IMG_5381

Pillows come in a four pack:

IMG_5386

  • 6×6 (we like using them for baby onesies).
  • 5×16 (great for sleeves and legs)
  • 10×10 (we like this size for tote bags)
  • 15×15 (great for adult garments, especially with a bunch of zippers and/or buttons)

While Pressing Pillows allow the zippers and seams to depress into the pillow, Perfect Pads raise the printing area to work around these elements. The Perfect Pad should be inserted directly under the area where the HTV will go, and not under any zippers, buttons, seams or anything creating an uneven surface.  Because the Perfect Pads maintain even pressure, they are also a great accessory for screen printed or digital transfers.  The pads are made out of rubber, like that on the bottom of the heat press.

Perfect Pads come in four different sizes and are sold individually:

IMG_5390

When you have a garment that you just can’t get around something, like buttons or seams, it’s best to go with a Pressing Pillow (such as a baby onesie with all of these thick seams).  The Perfect Pad is great though when you already have an even surface and are in need of a specific size to apply your design.

IMG_5383 (1)

Want to see the pressing pillows and perfect pads in action? Watch our Facebook Live!

View & Add Comments

Ideas to make and sell this summer

The changing of the season brings about great excitement, so why not embrace the excitement and market your personalized summertime products? Here are seven summertime products to help inspire your creativity!
SUMMER (1)
Add HTV to a kids beach chair
beach chair
Add adhesive vinyl to a sand bucket
IMG_5091
Personalize a towel with HTV or a polyester towel with sublimation!
IMG_5089
Hat with HTV to keep the sun out of your eyes.
hat
Make a color changing tank top with a solar heat transfer
solar heat transfers
We want to know what you’ve been making! Tell us in the comments below or share a photo on our instagram page or on facebook!
Need help? Head to our YouTube channel we have a library full of tutorials to help you. Here are two videos for projects mentioned above.
View & Add Comments

Mother’s Day Vase with Etched Adhesive Vinyl

Mothers do such a good job making a house a home. So one way to show how much you appreciate your mom is to etch a vase for her. There is no need to use chemicals or etching machines to do it, we are making etching easier by using adhesive vinyl.  

Today we are making a vase that says, “Home is where your Mom is”.  Want to make one of your own? See how easy it is below!

ETCH A VASE WITH ADHESIVE VINYL BY PRO WORLD

You need:

Want to make your own? It’s simple:

1 – Design your image and cut your etched adhesive vinyl

home is where

2 – Weed it

IMG_4895

3 – Apply the transfer tape

IMG_4904

4- Carefully remove the transfer tape.

IMG_4905

5 – Buy a bouquet of flowers and bring it to Mom!

IMG_4918

View & Add Comments

Photo Frames: that you can make at home

A photograph is an amazing thing–with one glance it can instantly transport you back to a single moment in time. Everyone loves to display their photos, so why not create a custom frame that will make your photos stand out? Maybe you want to create custom frames to sell, or to decorate your house, or as gifts for Mother’s Day.  Sublimation makes personalizing frames simple, so if you need a selection of frames, you are in luck! Pro World just expanded our selection of frames to give you more options to choose from.

engaged! (1)

We carry:

rock slates:

rock slate blank

photo panels:

photo panel

glass photos:

glass photo

hinged pair photo:

hinged photo

offset frames:

side photo

decorative frames:

heart frame

Do you want to customize your own photo frames? Here’s what you need:

When it comes to sublimating it is simple. You start by:

Step 1 – Design your image or design.

flower screen shot

Step 2 – Mirror your image and send it to your sublimation printer.

sub printer

Step 3 – Turn on your heat press and set it to the proper temperature. To find the temperature look at the instructions on the product page.

Step 4 – Use your thermal tape to adhere your image to your sublimation product.

IMG_4762

Step 5 – Place a non-stick sheet or even a blank piece of paper on your heat press to catch any leaking.

Step 6 – Place your item on top and then cover it with a non-stick sheet.

Step 7 – Press your item for the time instructed on the product instructions.

Step 8 – Peel the paper off of the item. Make sure to read the instructions to see if your product is a cold or hot peel.

IMG_4765

Step 9: Admire your results.

IMG_4775 (2)


View & Add Comments

Decorate a Door Mat

The days are getting a little longer, the flowers are blooming and birds are singing because Spring is in the air.  A great project to get started with this Spring is a personalized doormat to decorate your front step.

how to make a personalized doormat with paint! (2)

Here is everything you will need for your personalized doormat:

Ready to make your own? Here’s how!

1- Start by designing your doormat within your design software.

2 – Load your adhesive vinyl into your cutting machine, check your cut settings and click cut.

3 – REVERSE weed your design. So that means you will remove the text making it so that the adhesive vinyl can be used as a stencil.

IMG_4324

4 – Carefully lift one side of your adhesive vinyl stencil and move it to your doormat.  Then slowly pull back the vinyl backing and push down on your vinyl for maximum adhesion. Try to remove any bubbles and seal the ends.

IMG_4326

5 – Carefully dab the paint onto the doormat. We painted 2 coats.

IMG_4331

6 – Let it dry and remove the vinyl IMG_4597

View & Add Comments

Gifts For The New Mom

Headed to a baby shower? Here are some fun, personal gifts for the new mom in your life. 

Baby GiftsThat You Can MAKE (1)

With the step by step tutorials below, your gifts will be ready in no time.IMG_3451

Gift idea #1- sublimate a bib

For this project you will need-

-A bib

heat press

Texprint Paper

non stick sheet

-design software

Instructions:

  1. Set your heat press to 400-degree Fahrenheit.
  2. Set the timer for 45 seconds.
  3. And then set the pressure to medium.
  4. Create your design and using your software switch to a mirror image (if you need to).
  5. Print a mirror image of your design onto Texprint Paper.
  6. Then place the paper face down on the bib.
  7. Cover the design with a non stick sheet.
  8. Press your design at 400 degrees F for 45 seconds with medium pressure.
  9. Remove the paper immediately and peel hot.
  10. Admire your work and wrap your personalized gift!

Gift idea #2- personalized onesie

onsie 2

For this project you will need-

a cutting machine

a heat press

heat transfer vinyl

-a baby bodysuit

Siser weeders

Once you have your supplies follow these steps:

  1. Choose or create your design using your software.
  2. Next, mirror your image.
  3. Insert the heat transfer vinyl into your cutting machine.
  4. Double check your settings and then print your design.
  5. Weed your design.
  6. Place your weeded design on your baby bodysuit and press it with your heat press.
  7. Voila! Your adorable gift is ready to give!


View & Add Comments