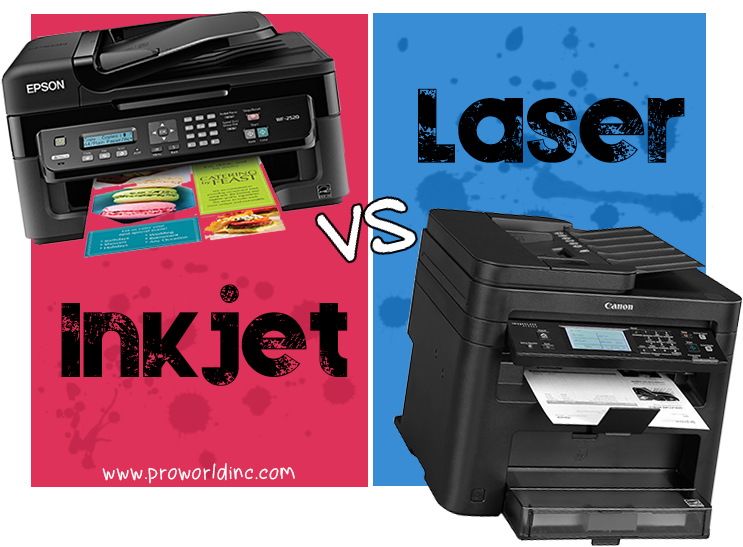
When choosing a transfer paper to print your own designs from home, the very first thing you want to consider is what type of printer you will be using- inkjet or laser. It is important to use paper meant for the type of printer you have. With that being said, be sure to stay away from “laserjet” which is actually a combination of an inkjet and a laser, and we do not have any paper that will work with these types of models. We also suggest staying away from certain brands such as HP, Dell, and Brother- as we have found that these printers have internal fusers that run too hot. This can cause the paper to get stuck in the rollers, which ruins the paper and possibly the printer itself.
When choosing which type of printer to buy, there a few things to keep in mind. You will need to decide what is more important to you — color and soft hand (inkjet) or cost and time efficiency (laser). Laser paper tends to cost less than inkjet paper, and they can can print at high speeds when printing hundreds or thousands of pieces. With laser, there are trim-free paper options that are not available with inkjet. However, inkjet tends to have a softer ‘hand’ and more vibrant color. Below we will break down all of the different paper options that we offer for both types of printers.
INKJET PAPER
- Clearsoft Inkjet Paper for Lights
Item# 401 (8.5×11) and 402 (11×17)
Clearsoft is our most popular inkjet paper for light garments. This paper has a polymer coating that bonds the inks to the fabric fibers all without using a plastic film. It can be applied to a variety of materials such as cotton, cotton-poly, canvas, felt, silk or even rib knit. Because the coating is clear, it is not necessary to trim this paper, but it is recommended, to avoid seeing the transparent film on your garment. This paper is great for printing any type of design, whether it is just text or a solid clipart design, a design with gradients, or even a photograph.
- Jetpro Soft Stretch Inkjet Paper for Lights
Item# 601 (8.5×11) and 602 (11×17)
Jetpro Soft Stretch is also a paper for light garments that is comparable to our Clearsoft paper. Just like Clearsoft, this paper also has a clear polymer coating. You can transfer your photos and images to t-shirts, sweatshirts, aprons or just about any cotton, cotton blend, or polyester fabric. For best results, use light colored material with a smooth surface. This paper provides a vibrant, durable, stretchable transfer. You may want to trim any excess paper for best results, which will eliminate the coating around your design.
- 3G Opaque Paper for Darks
Item# 795 (8.5×11) and 895 (11×17)
This single-step opaque paper is easy to use and is a great way to apply your design to a dark garment. It contains a white coating that allows for photograph quality images to be transferred. You will want to trim around the edges of your design to avoid seeing this white coating when applying the design to your garment. This product may also be cut with a cutter/plotter that has an optical eye, such as our GCC Vinyl Cutter Expert II LX. It can be applied to t-shirts, sweatshirts, mouse pads, and more. This is the only option for inkjet when printing on darks – no trim free options are currently available on the market.
LASER PAPER
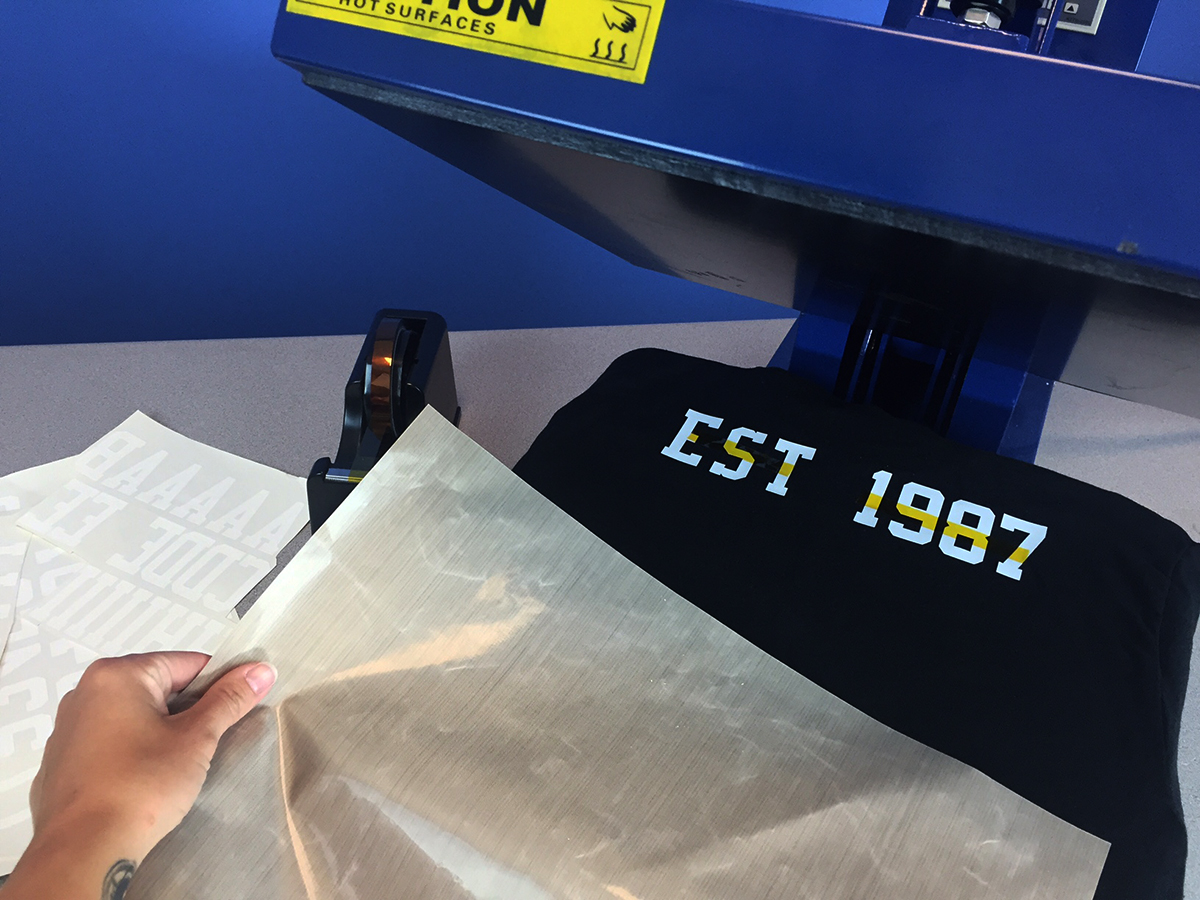
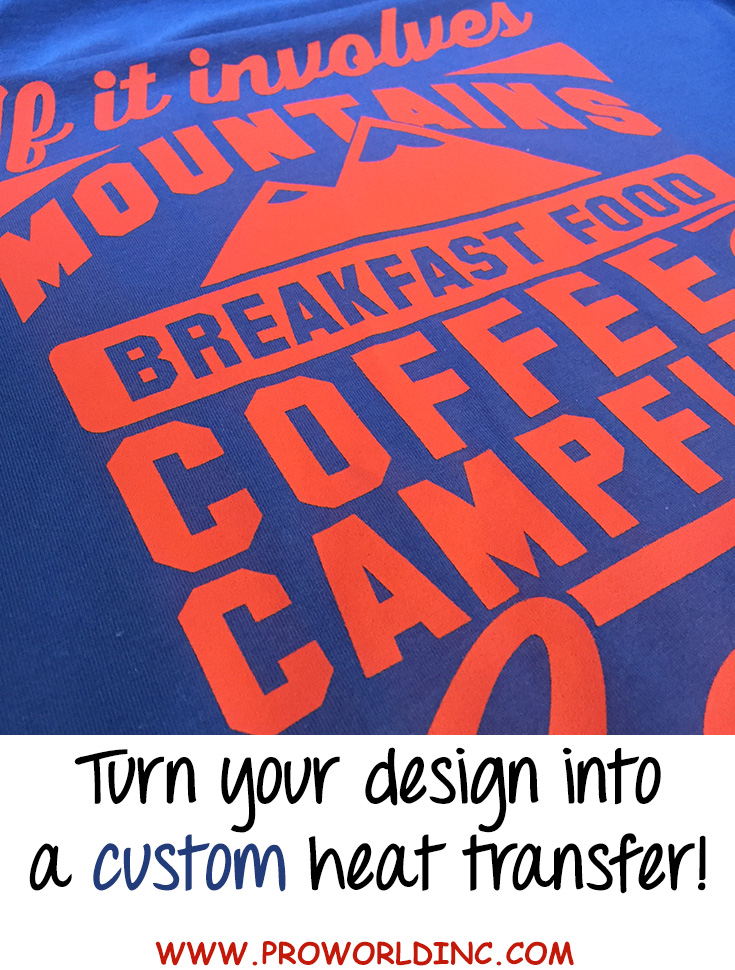
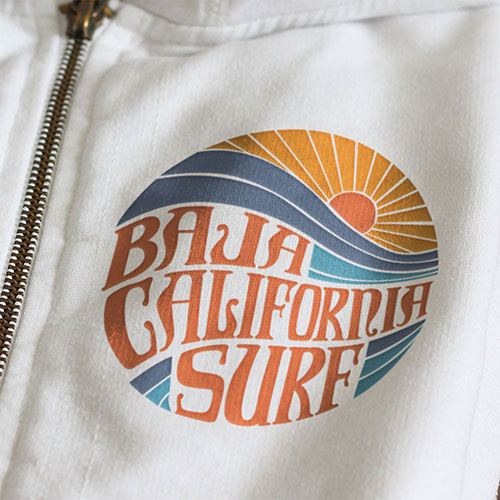
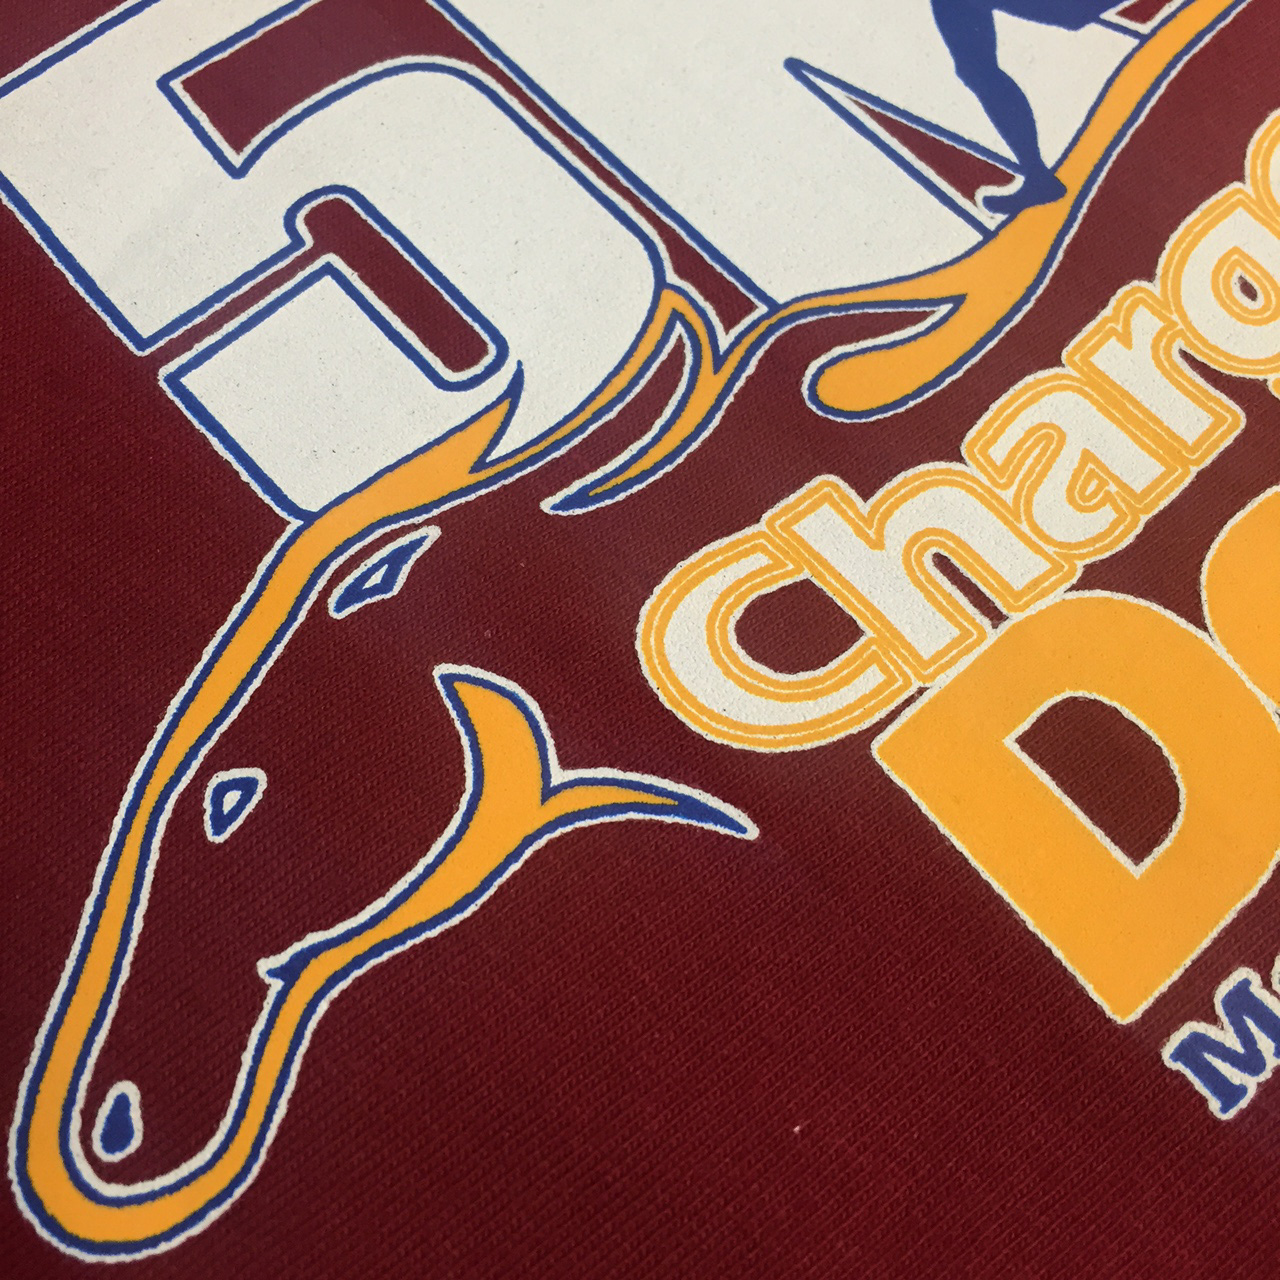
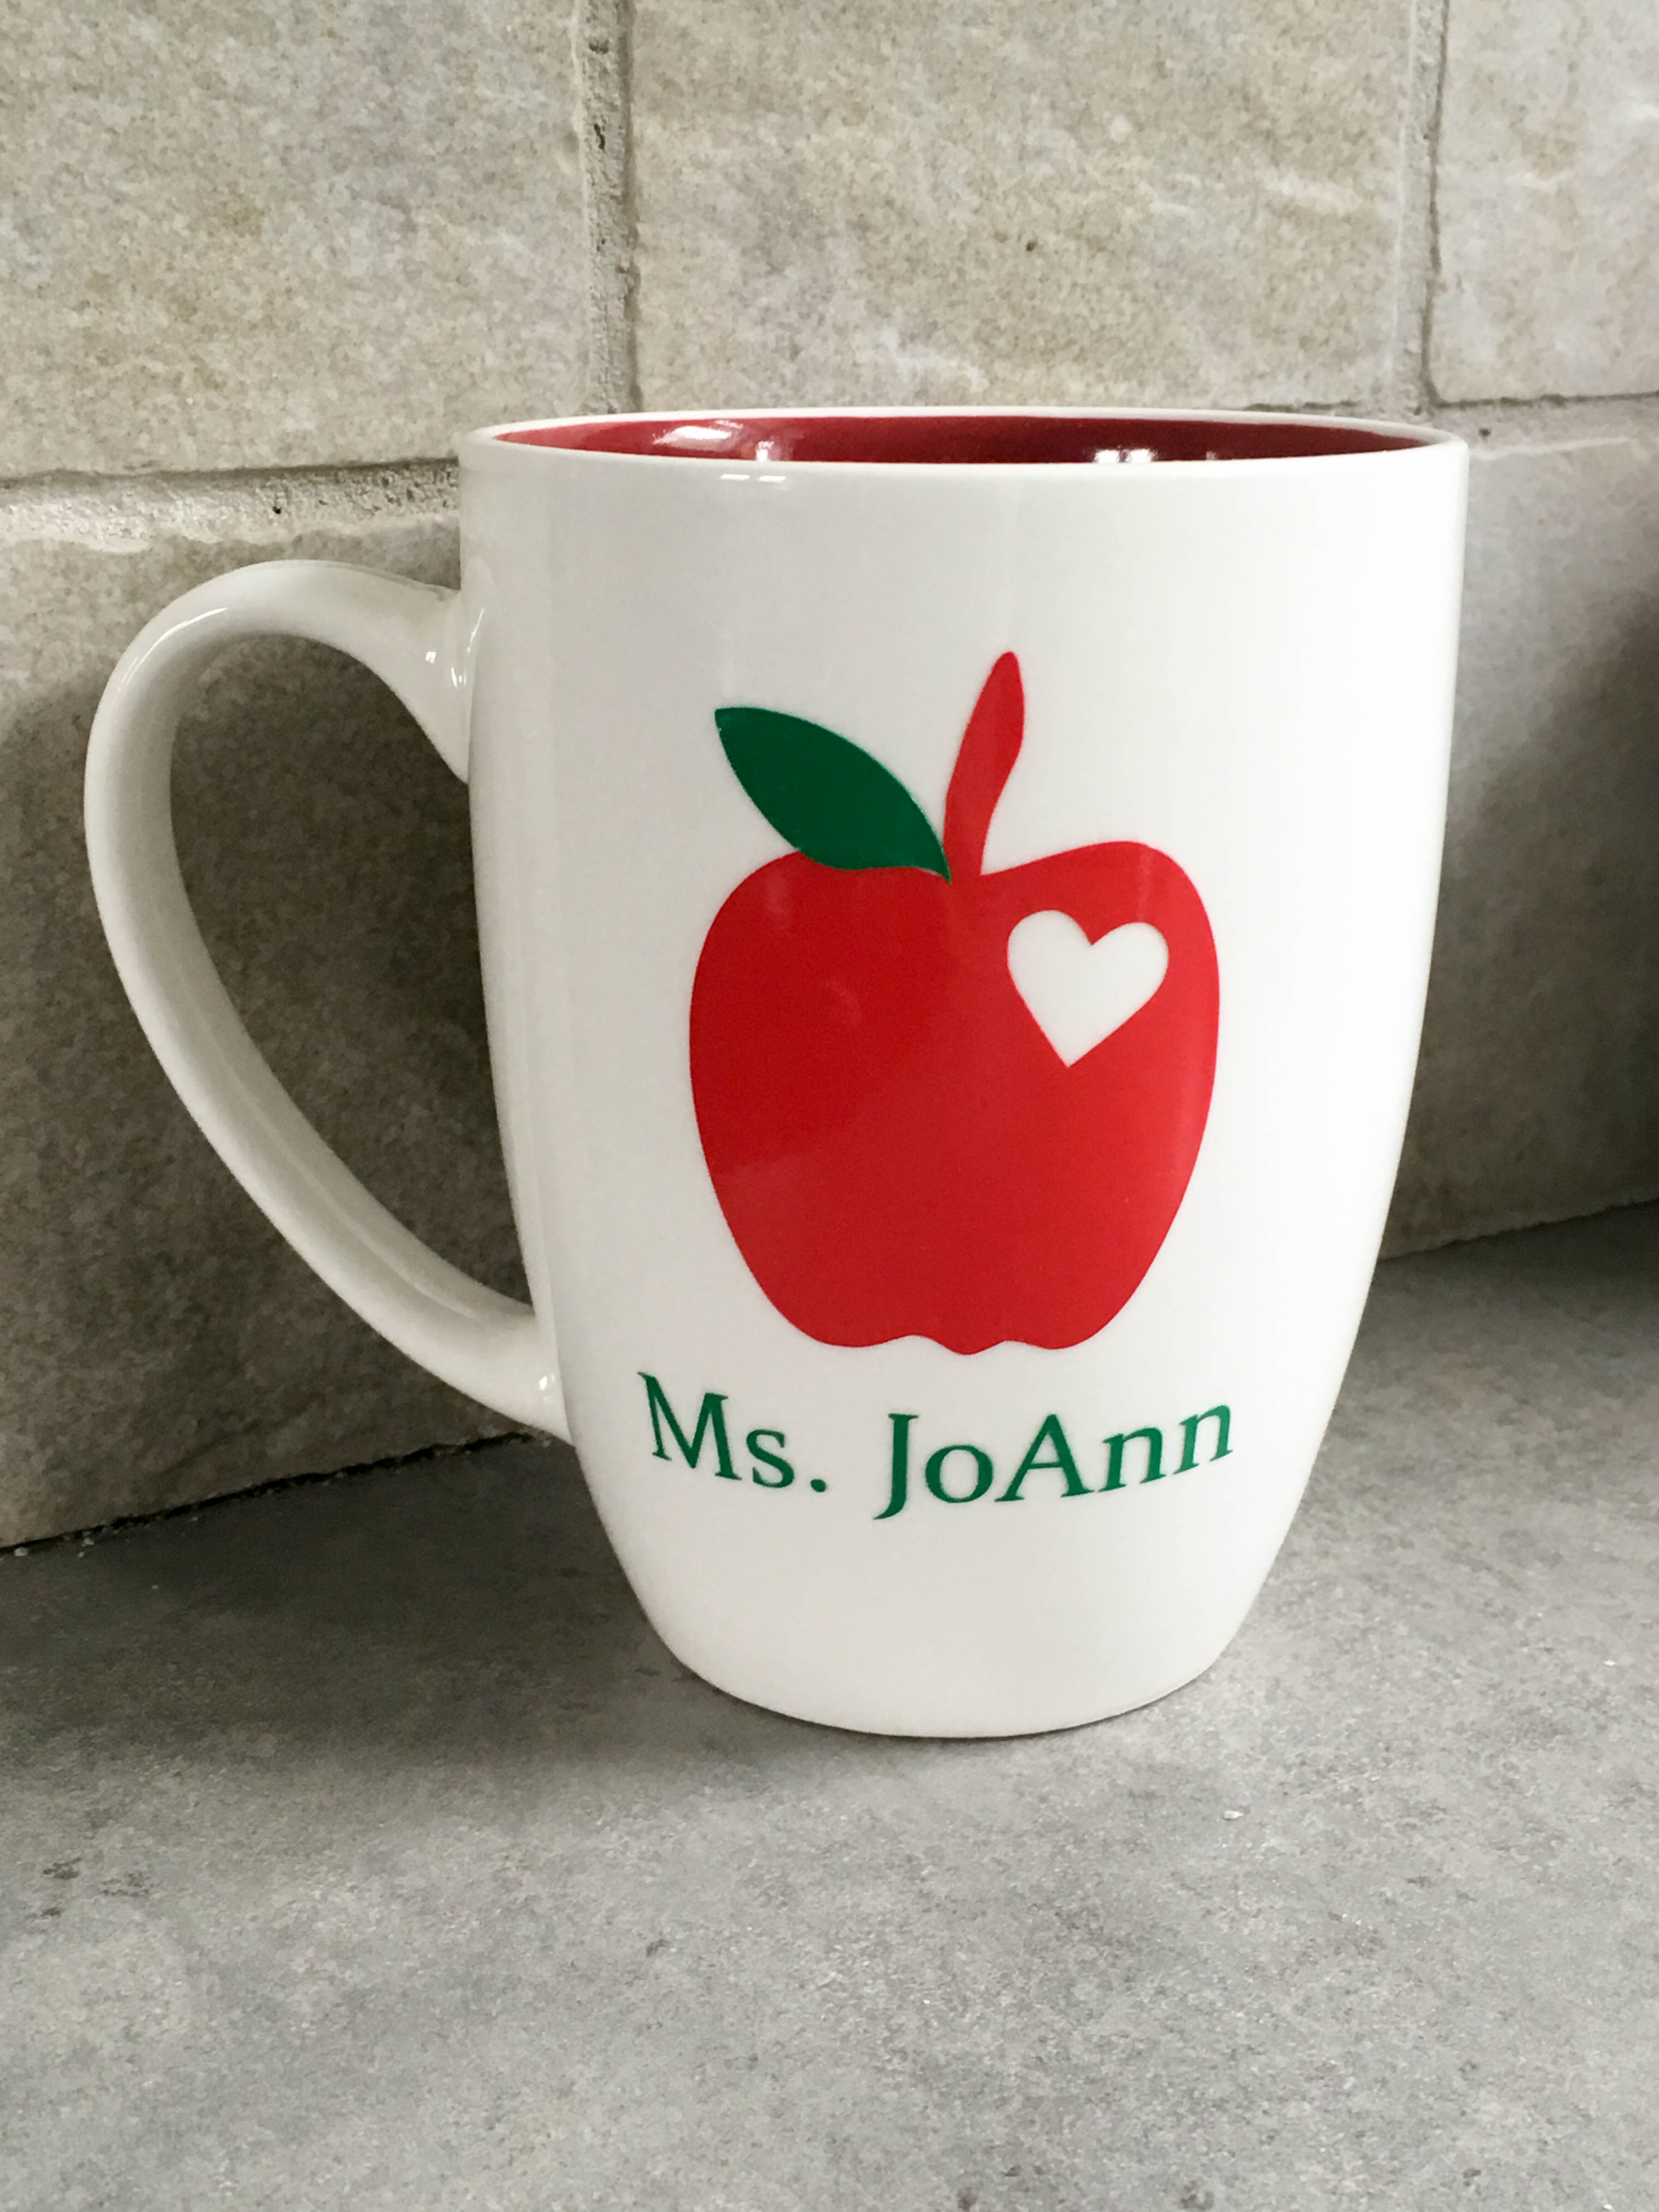
- Lasersoft EZ Peel Paper for Lights
Item# 301 (8.5×11) and 302 (11×17)
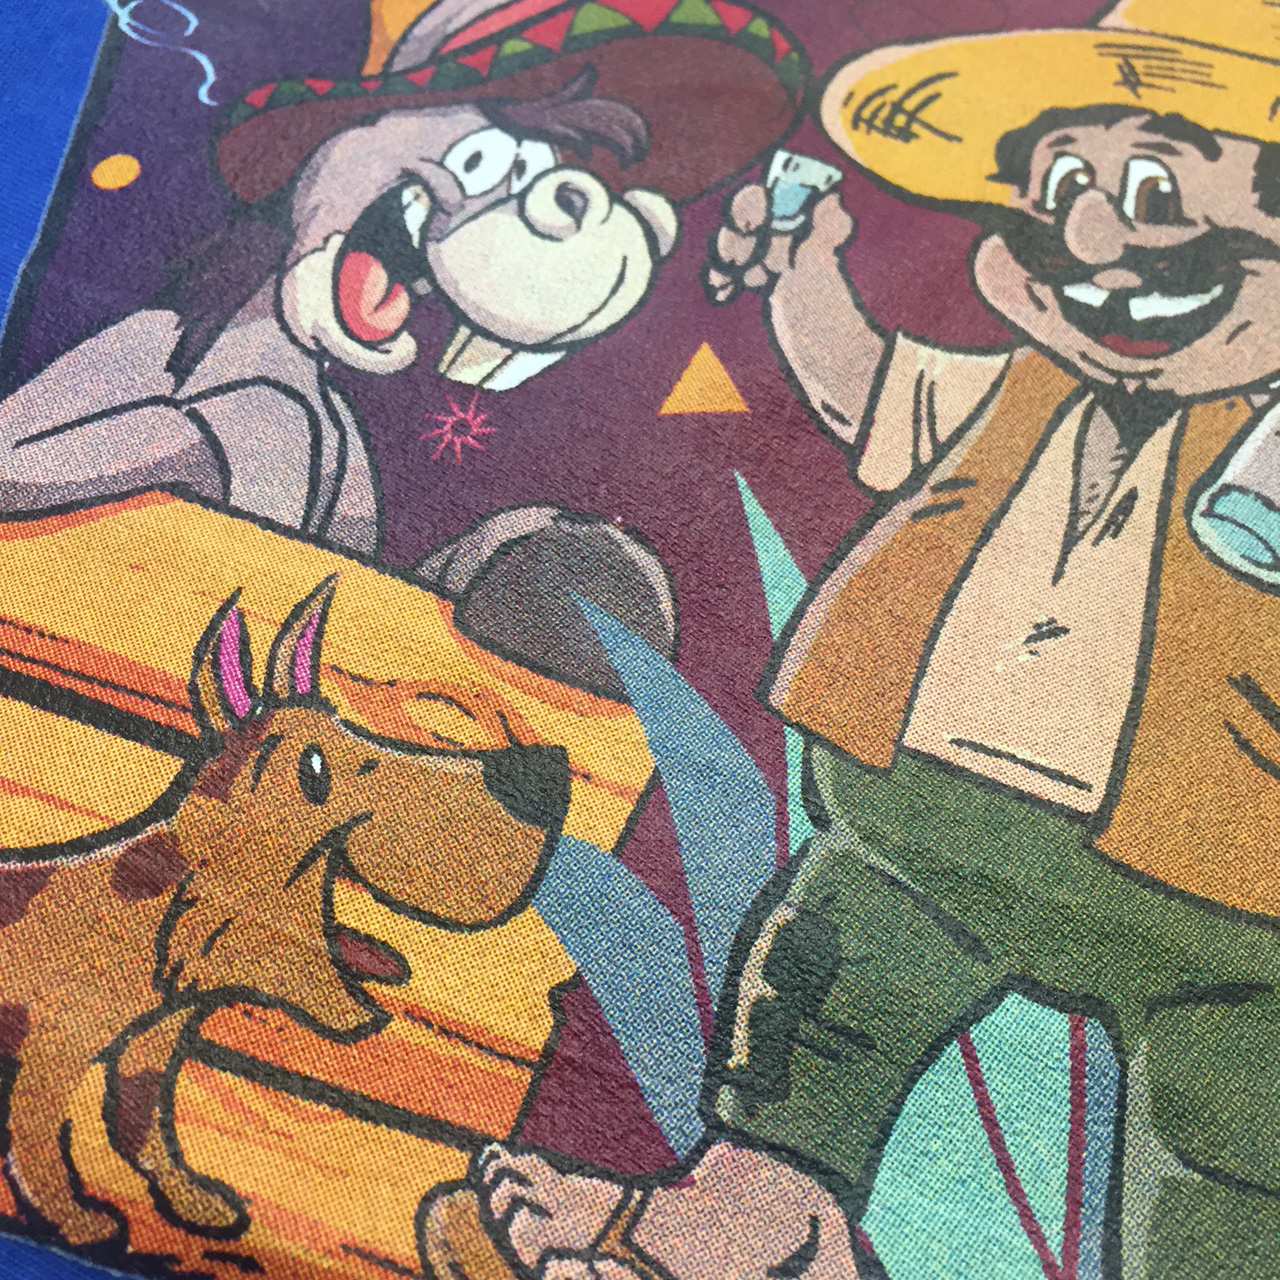
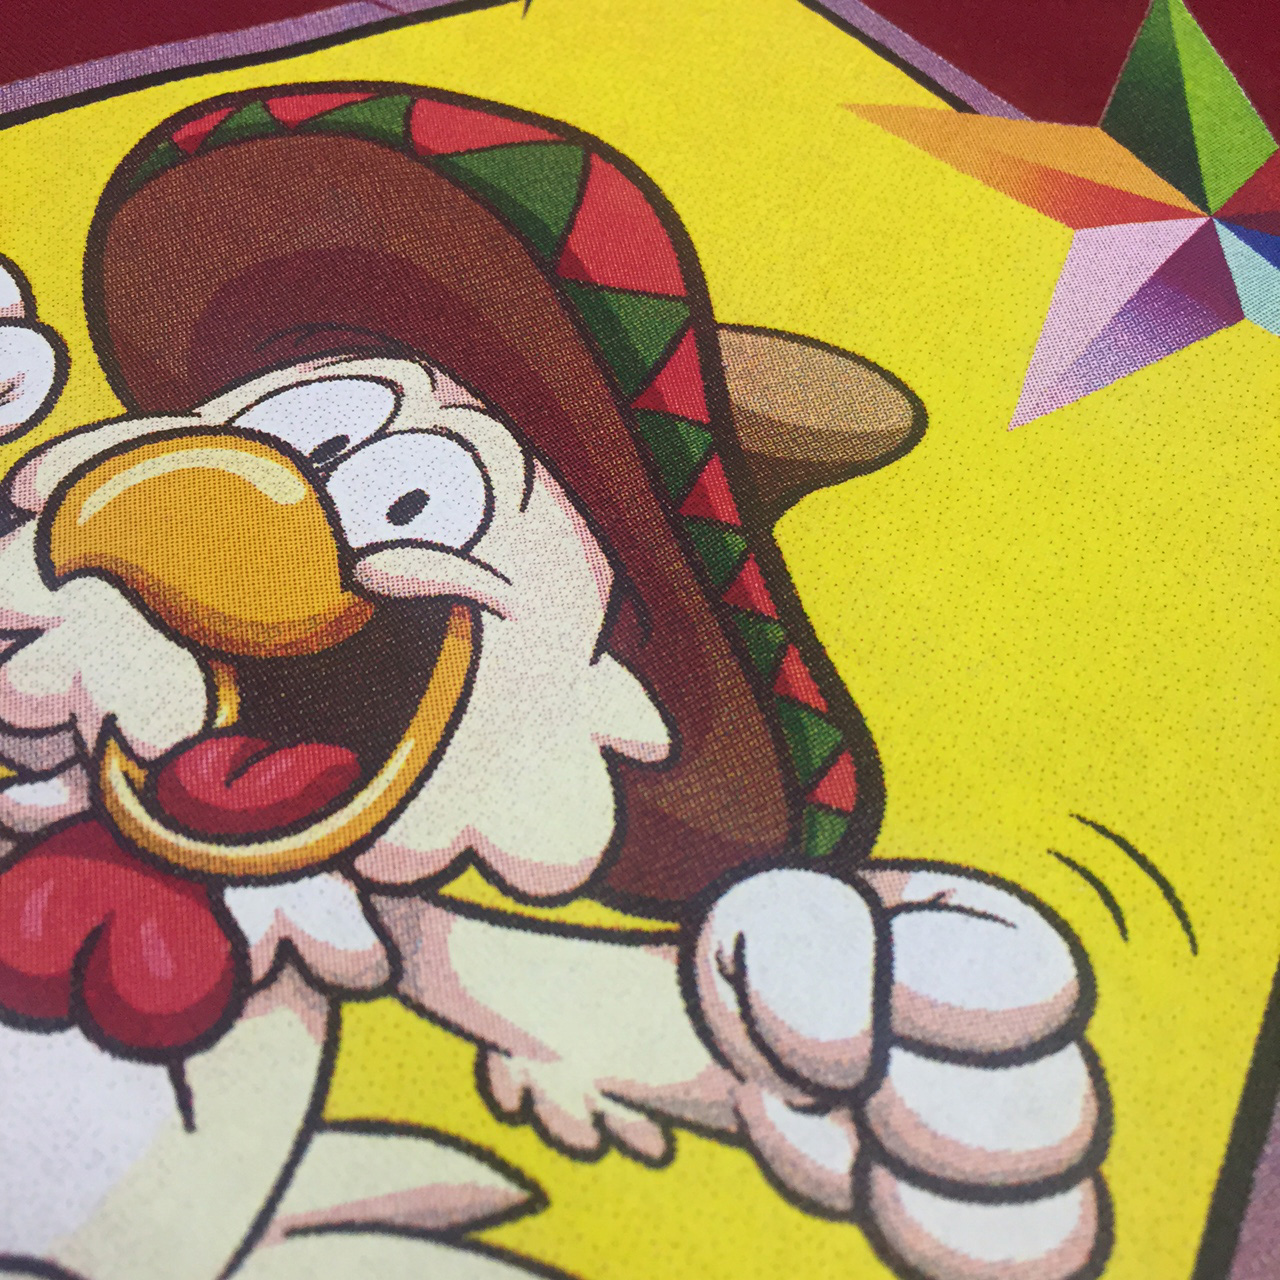
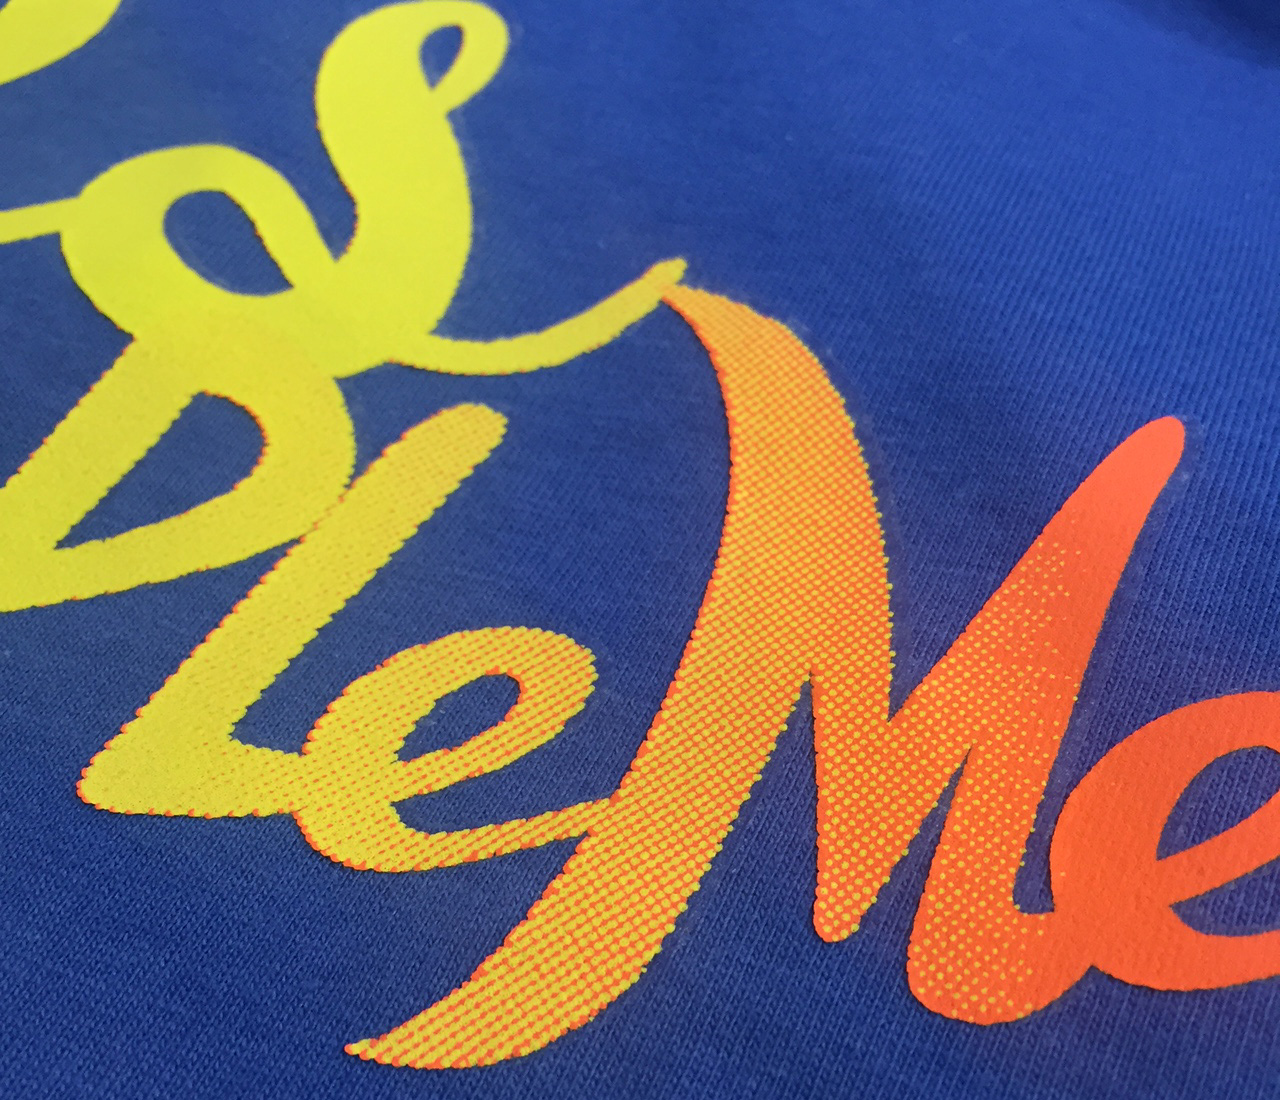
Just like our Clearsoft and JetPro inkjet papers, this laser paper has a clear polymer coating that allows for printing any type of design, including photographs. Designed for both fuser oil and oil-less laser printers and copiers, this product can be used on cotton, cotton-poly, canvas, felt, or even rib knit. Just like the comparable inkjet papers, it is recommended to trim any excess paper from around your design to avoid the polymer coating showing on your garment.
- CLC Paper For Darks
Item# 585 (8.5×11) and 900 (11×17)
This paper is great for the heat transfer of high-resolution photographs and images to dark colored t-shirts, sweatshirts, mouse pads, coasters, puzzles and more. It is best to choose garments that have a tight weave. Similar to the 3G Opaque paper for inkjet, this paper also has a white coating that would need to be trimmed before pressing. Anything that is not trimmed will show as white on the garment.
- CL Trimfree for Lights
Item# 1010 (8.5×11)
This is a one step trim-free paper for light garments, which has been developed to only release the polymer coating in areas that have toner coverage where the image is pressed to fabric. This eliminates the need to trim your design prior to imaging your garment. Trim Free Laser Paper produces vibrant full color images that will stand repeated washing. The CL Trimfree paper is not recommended for photograph images or gradient colors.This product is meant for both oil and non-oil color laser copies and printers. Be sure to choose garments that have a tight weave.
- Image Clip Laser Paper for Lights
Item# 875 (8.5×11) and 876 (11×17)
This paper is a two-step process that is great for solid color designs only. Please note – it is not designed to work with gradients or photograph images. It works well with cotton materials along with 50/50 blends and polyester, as long as the fabric has a tight weave. When using this product, there is no need to trim the excess paper since this product is self-weeding. There will be no background to your printed design.
- Image Clip Laser Paper for Darks
Item# 871 (8×10.5) and 872 (10.75×16.75)
Just like the Image Clip for lights, this paper is a two-step process that is meant for printing on dark garments, solid color designs only – it is not designed to work with gradients or photograph images. This product works well with cotton materials along with 50/50 blends and polyester, as long as the fabric has a tight weave. There will be no background to your printed design, as this paper is also self-weeding.
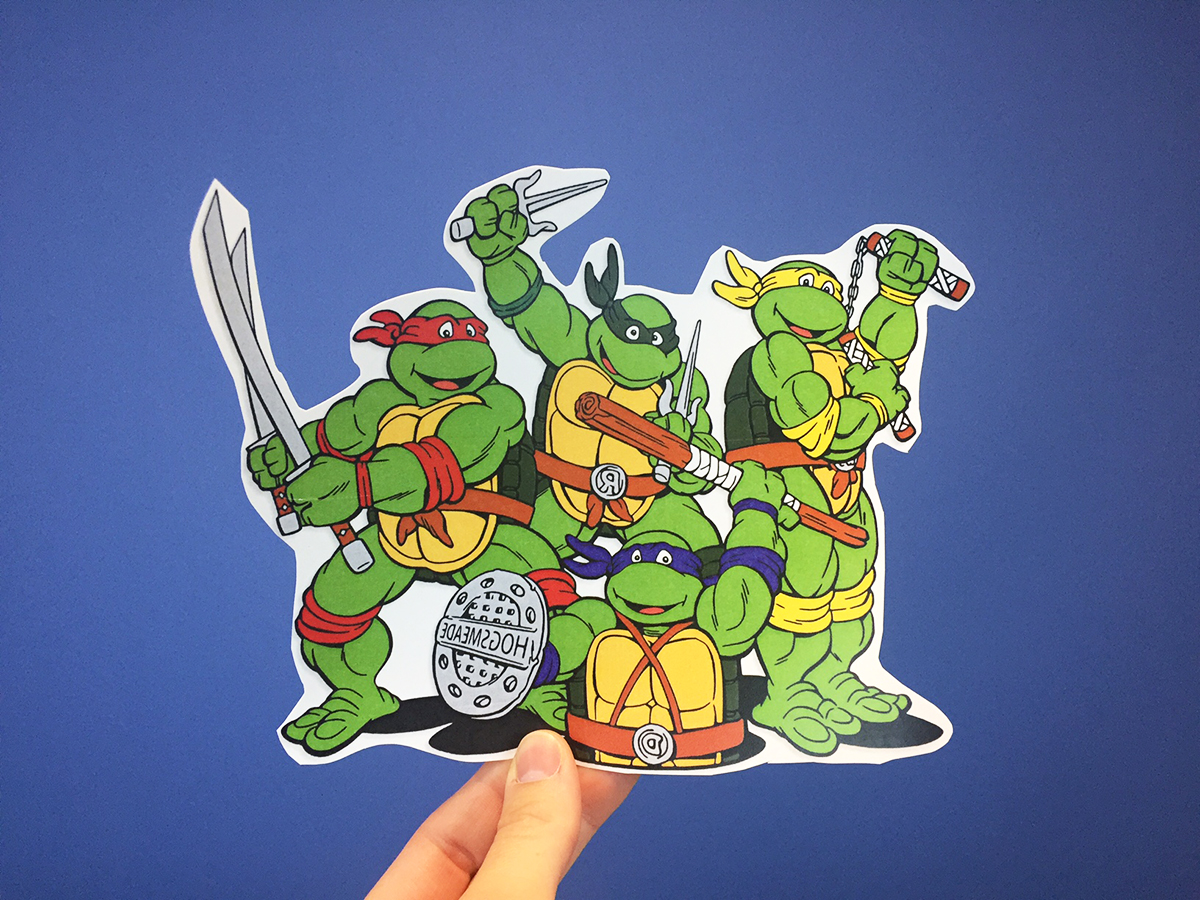
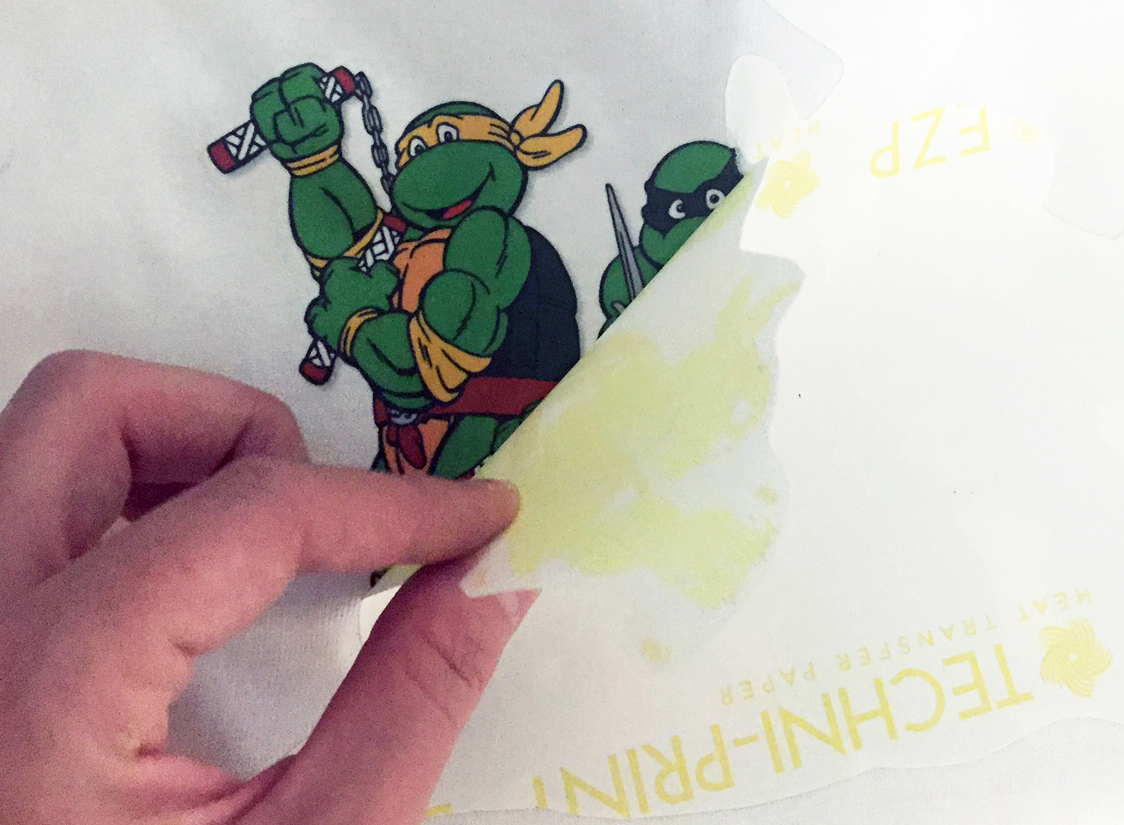
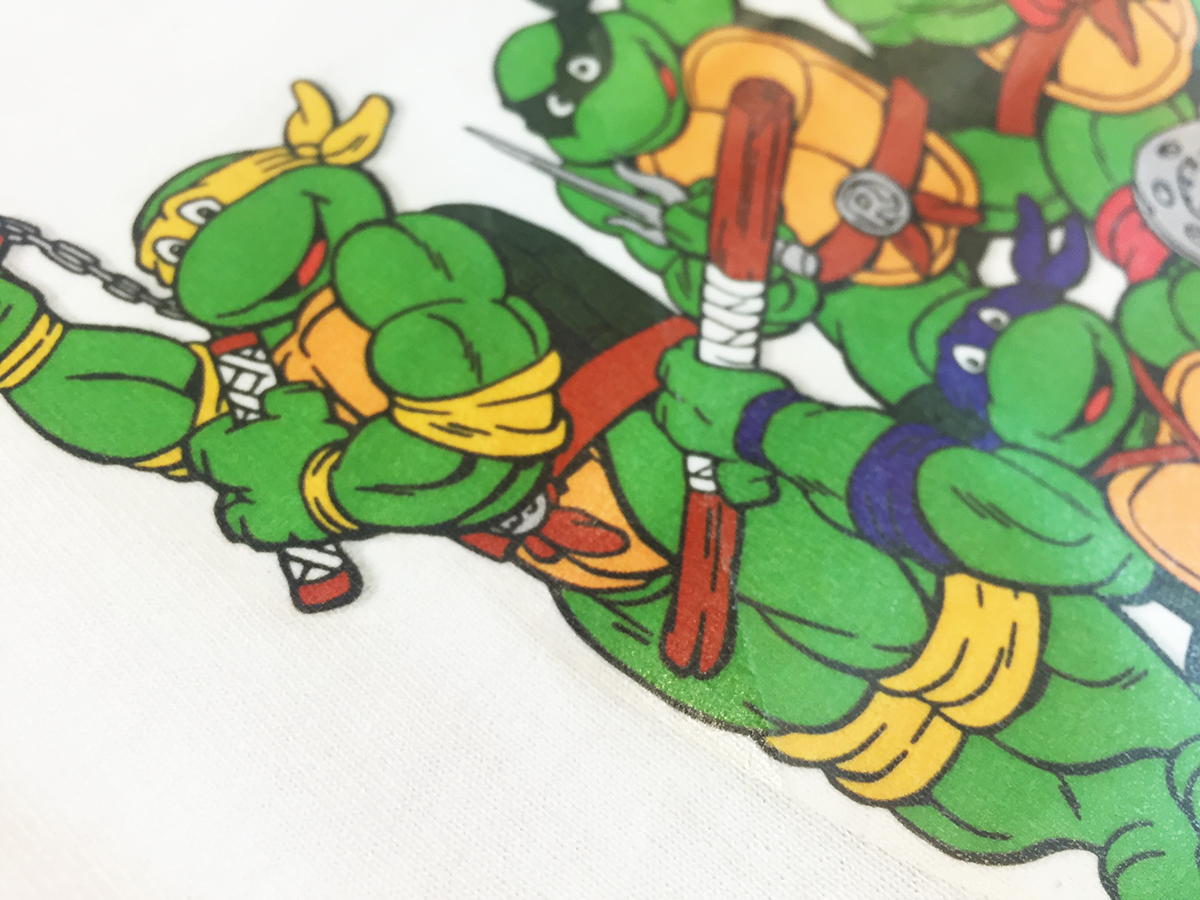
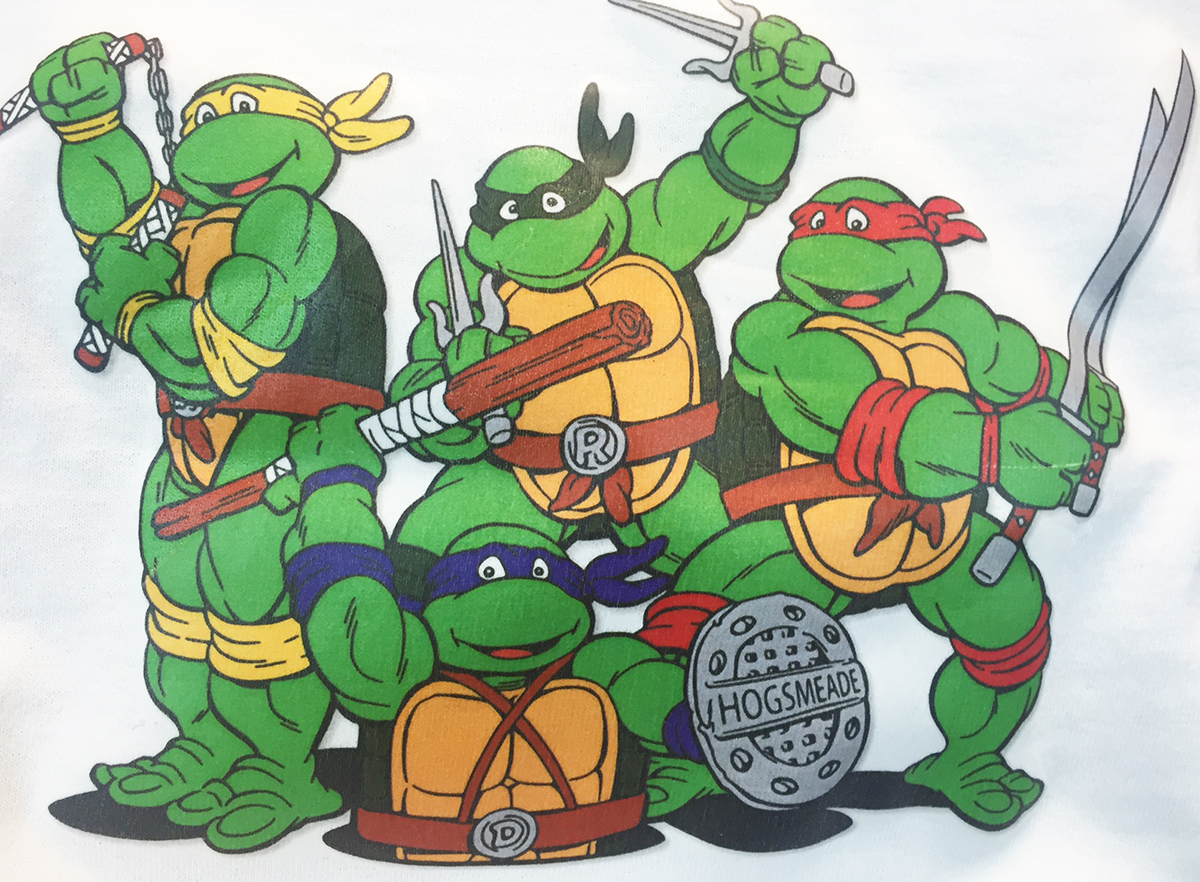
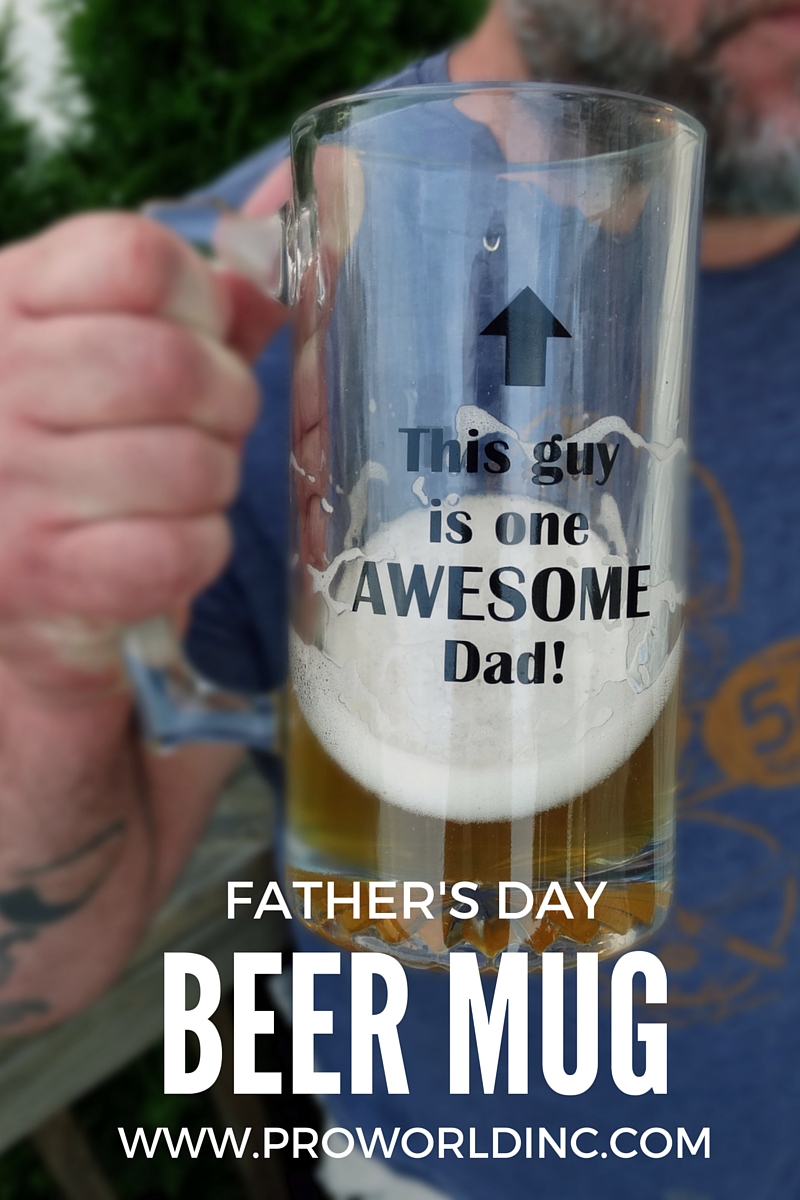
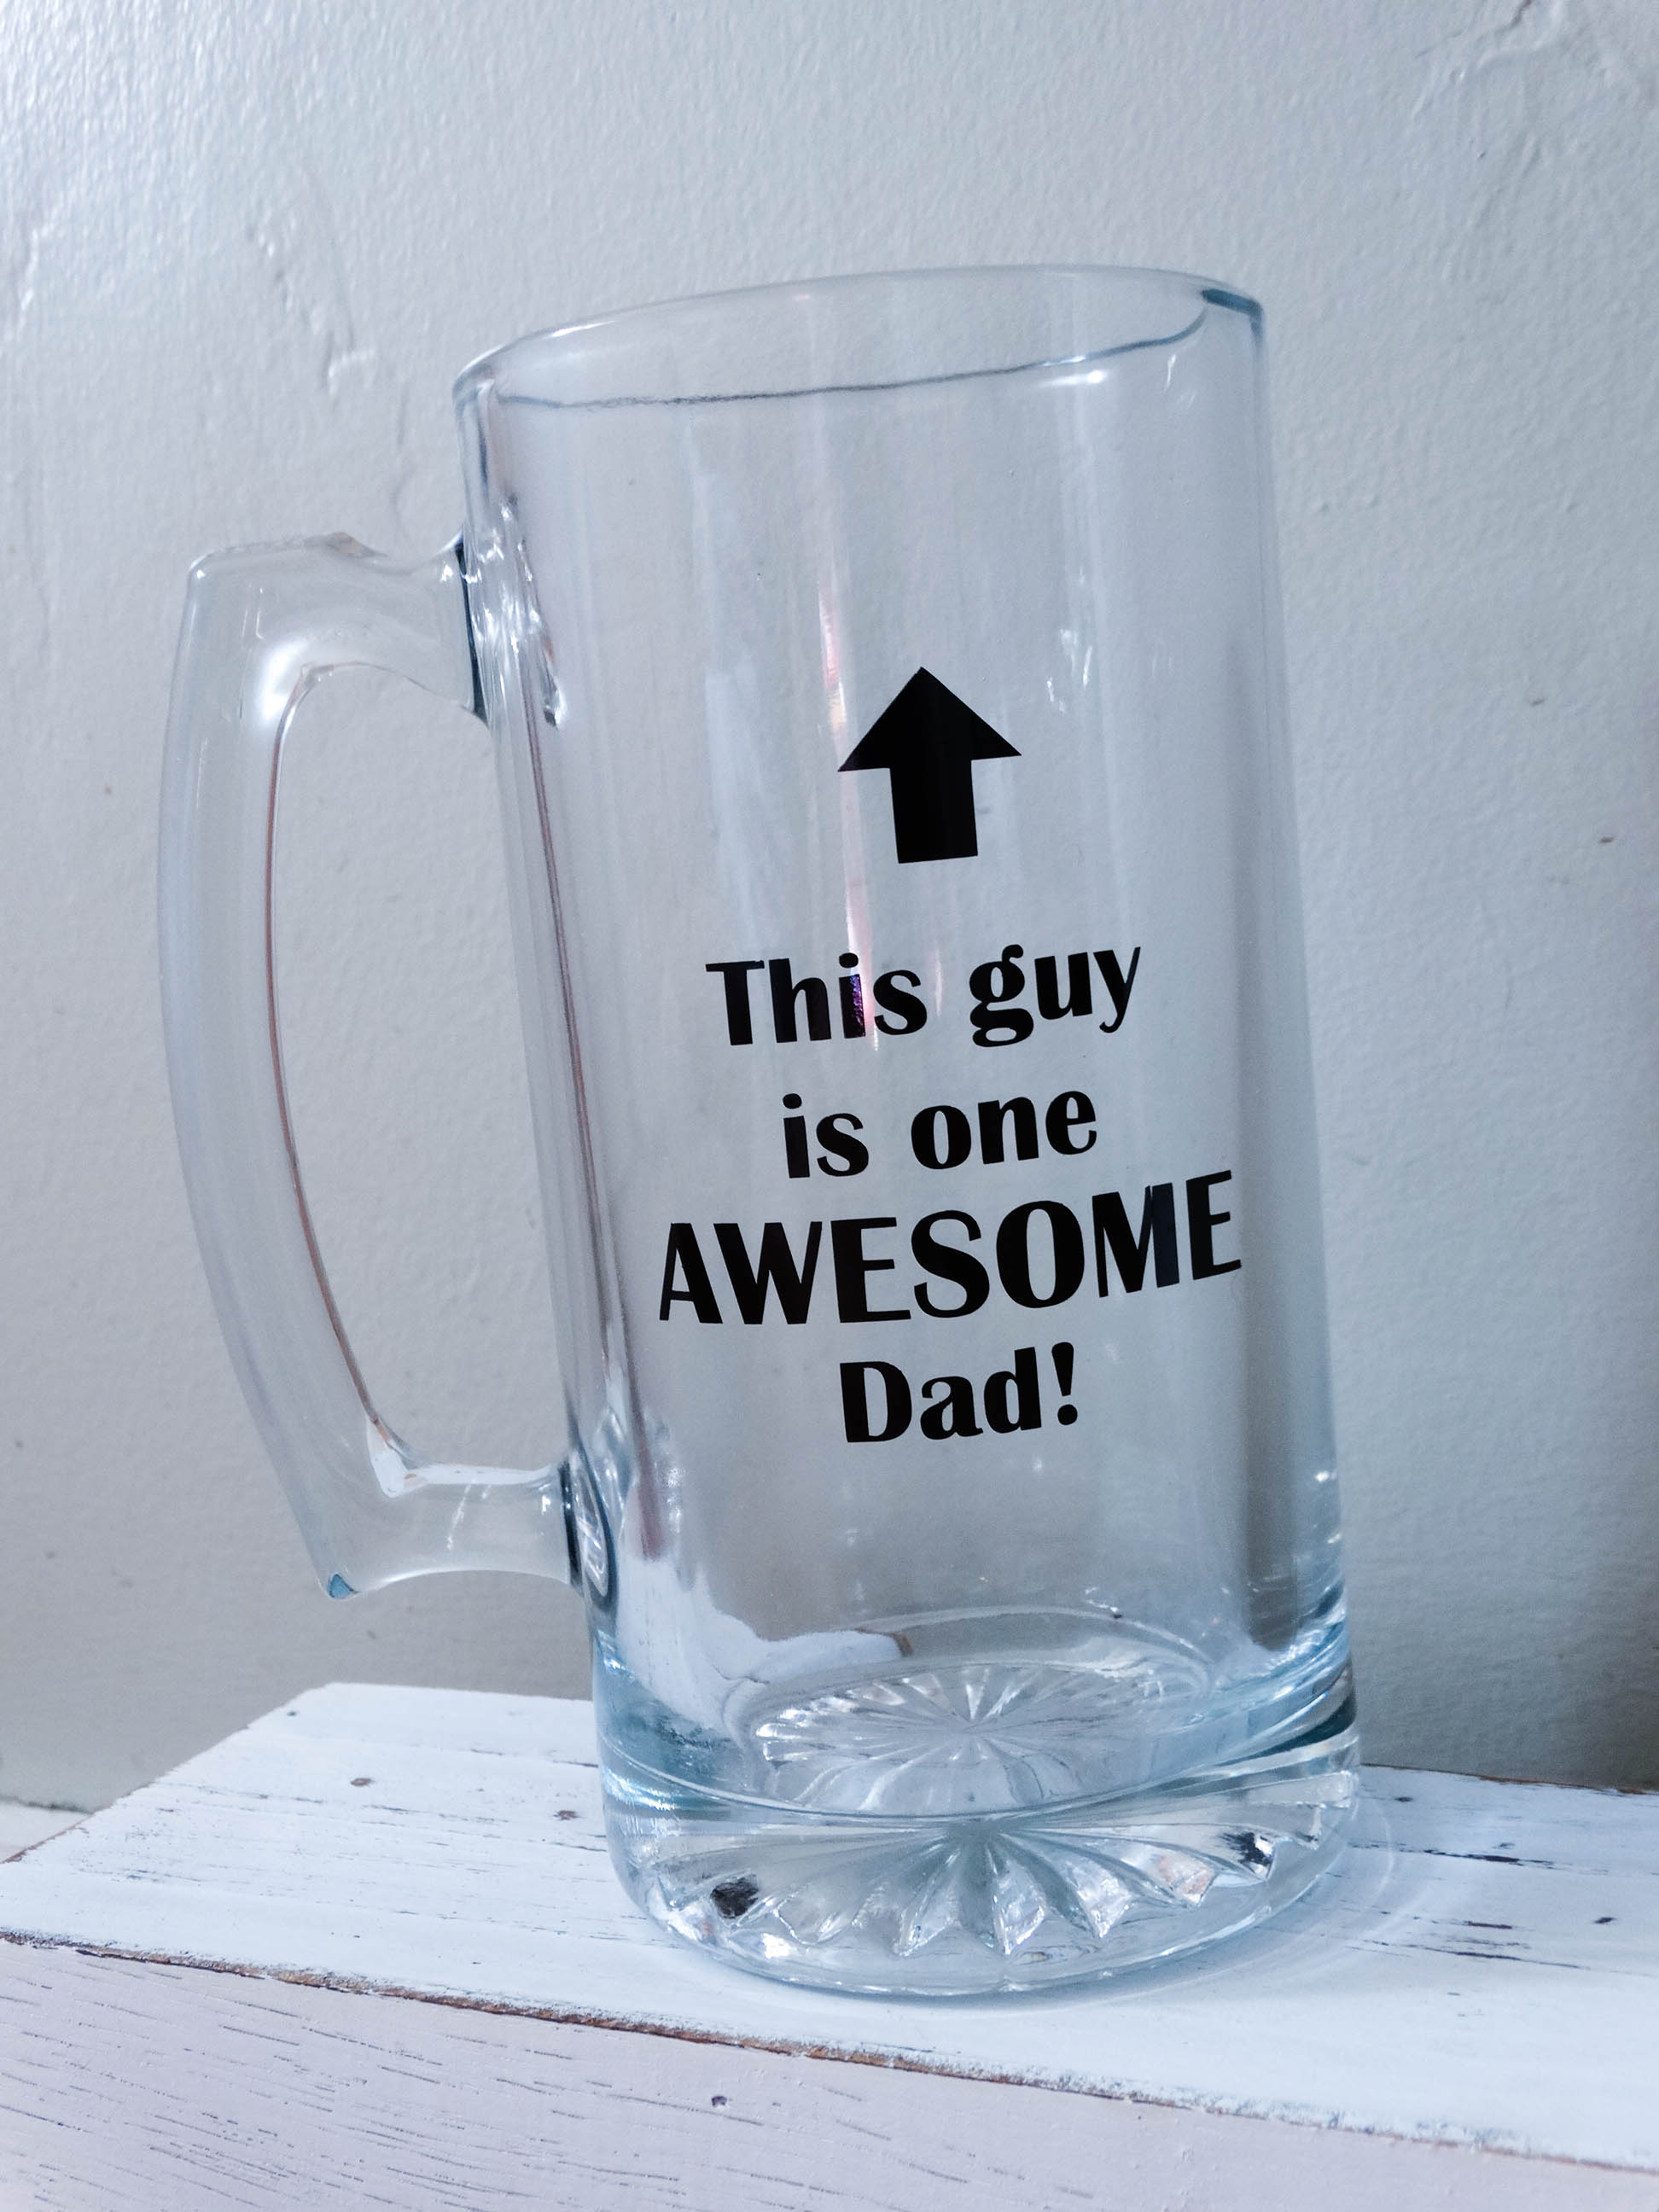
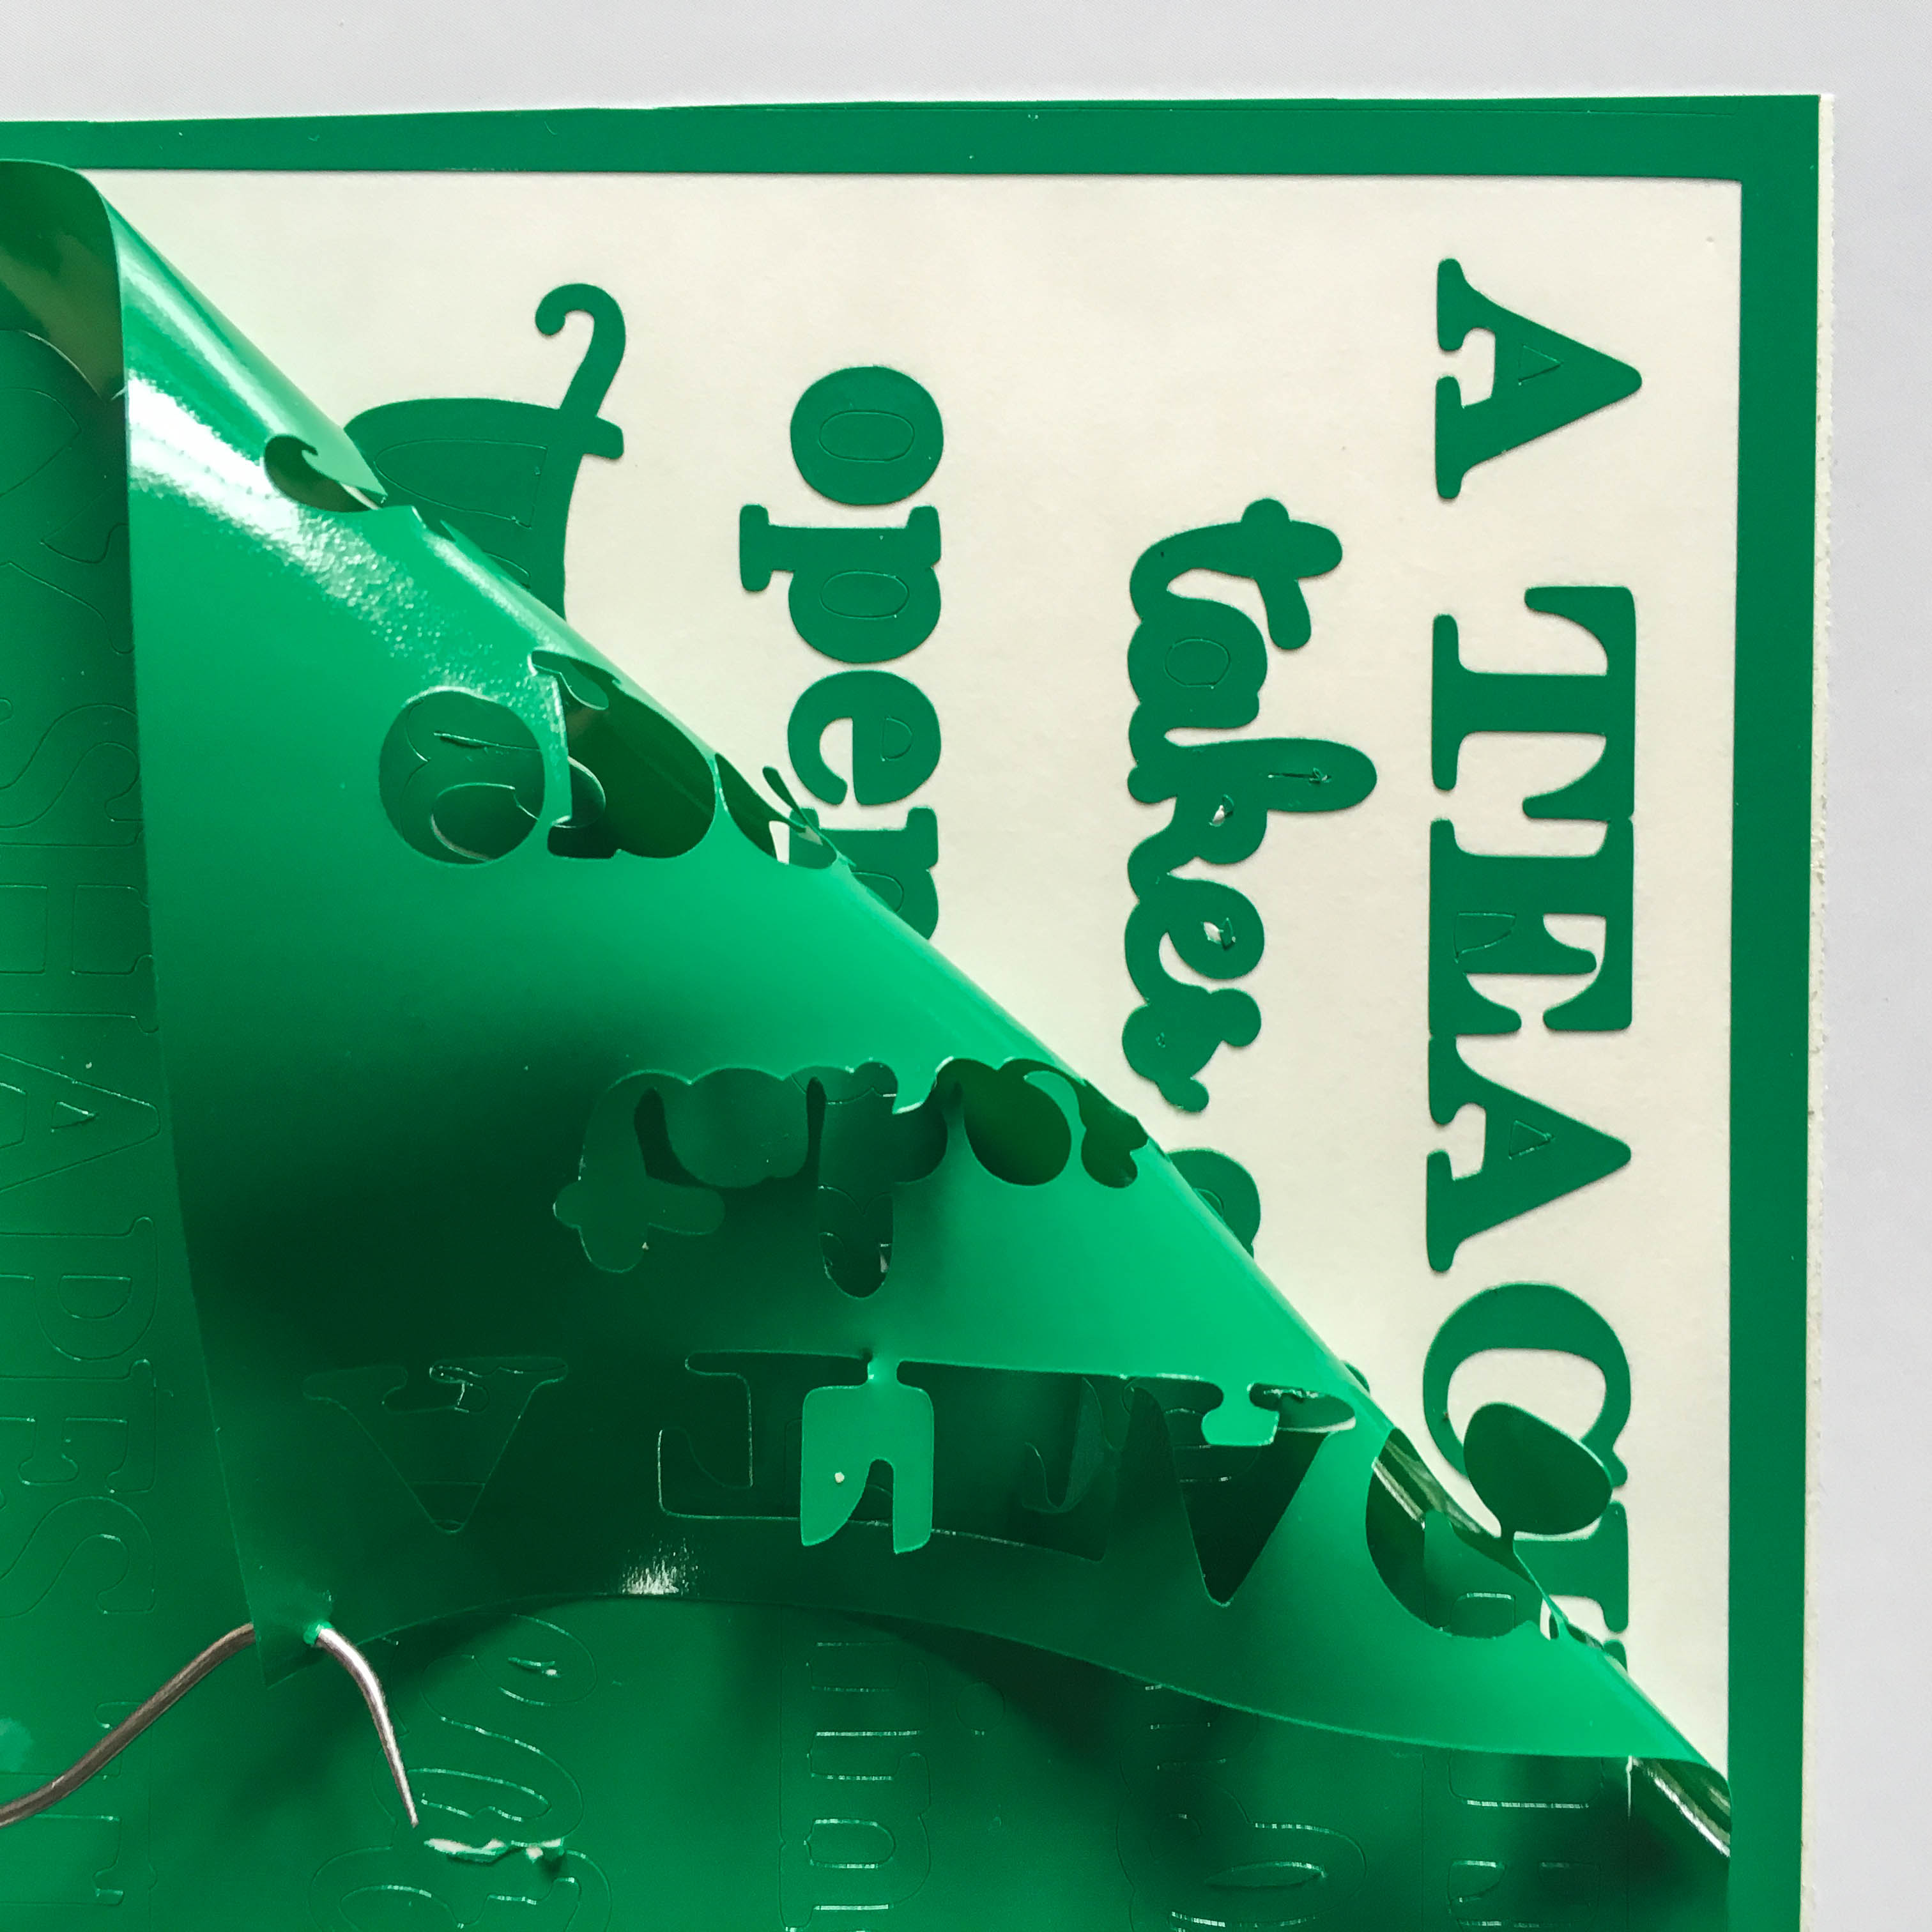
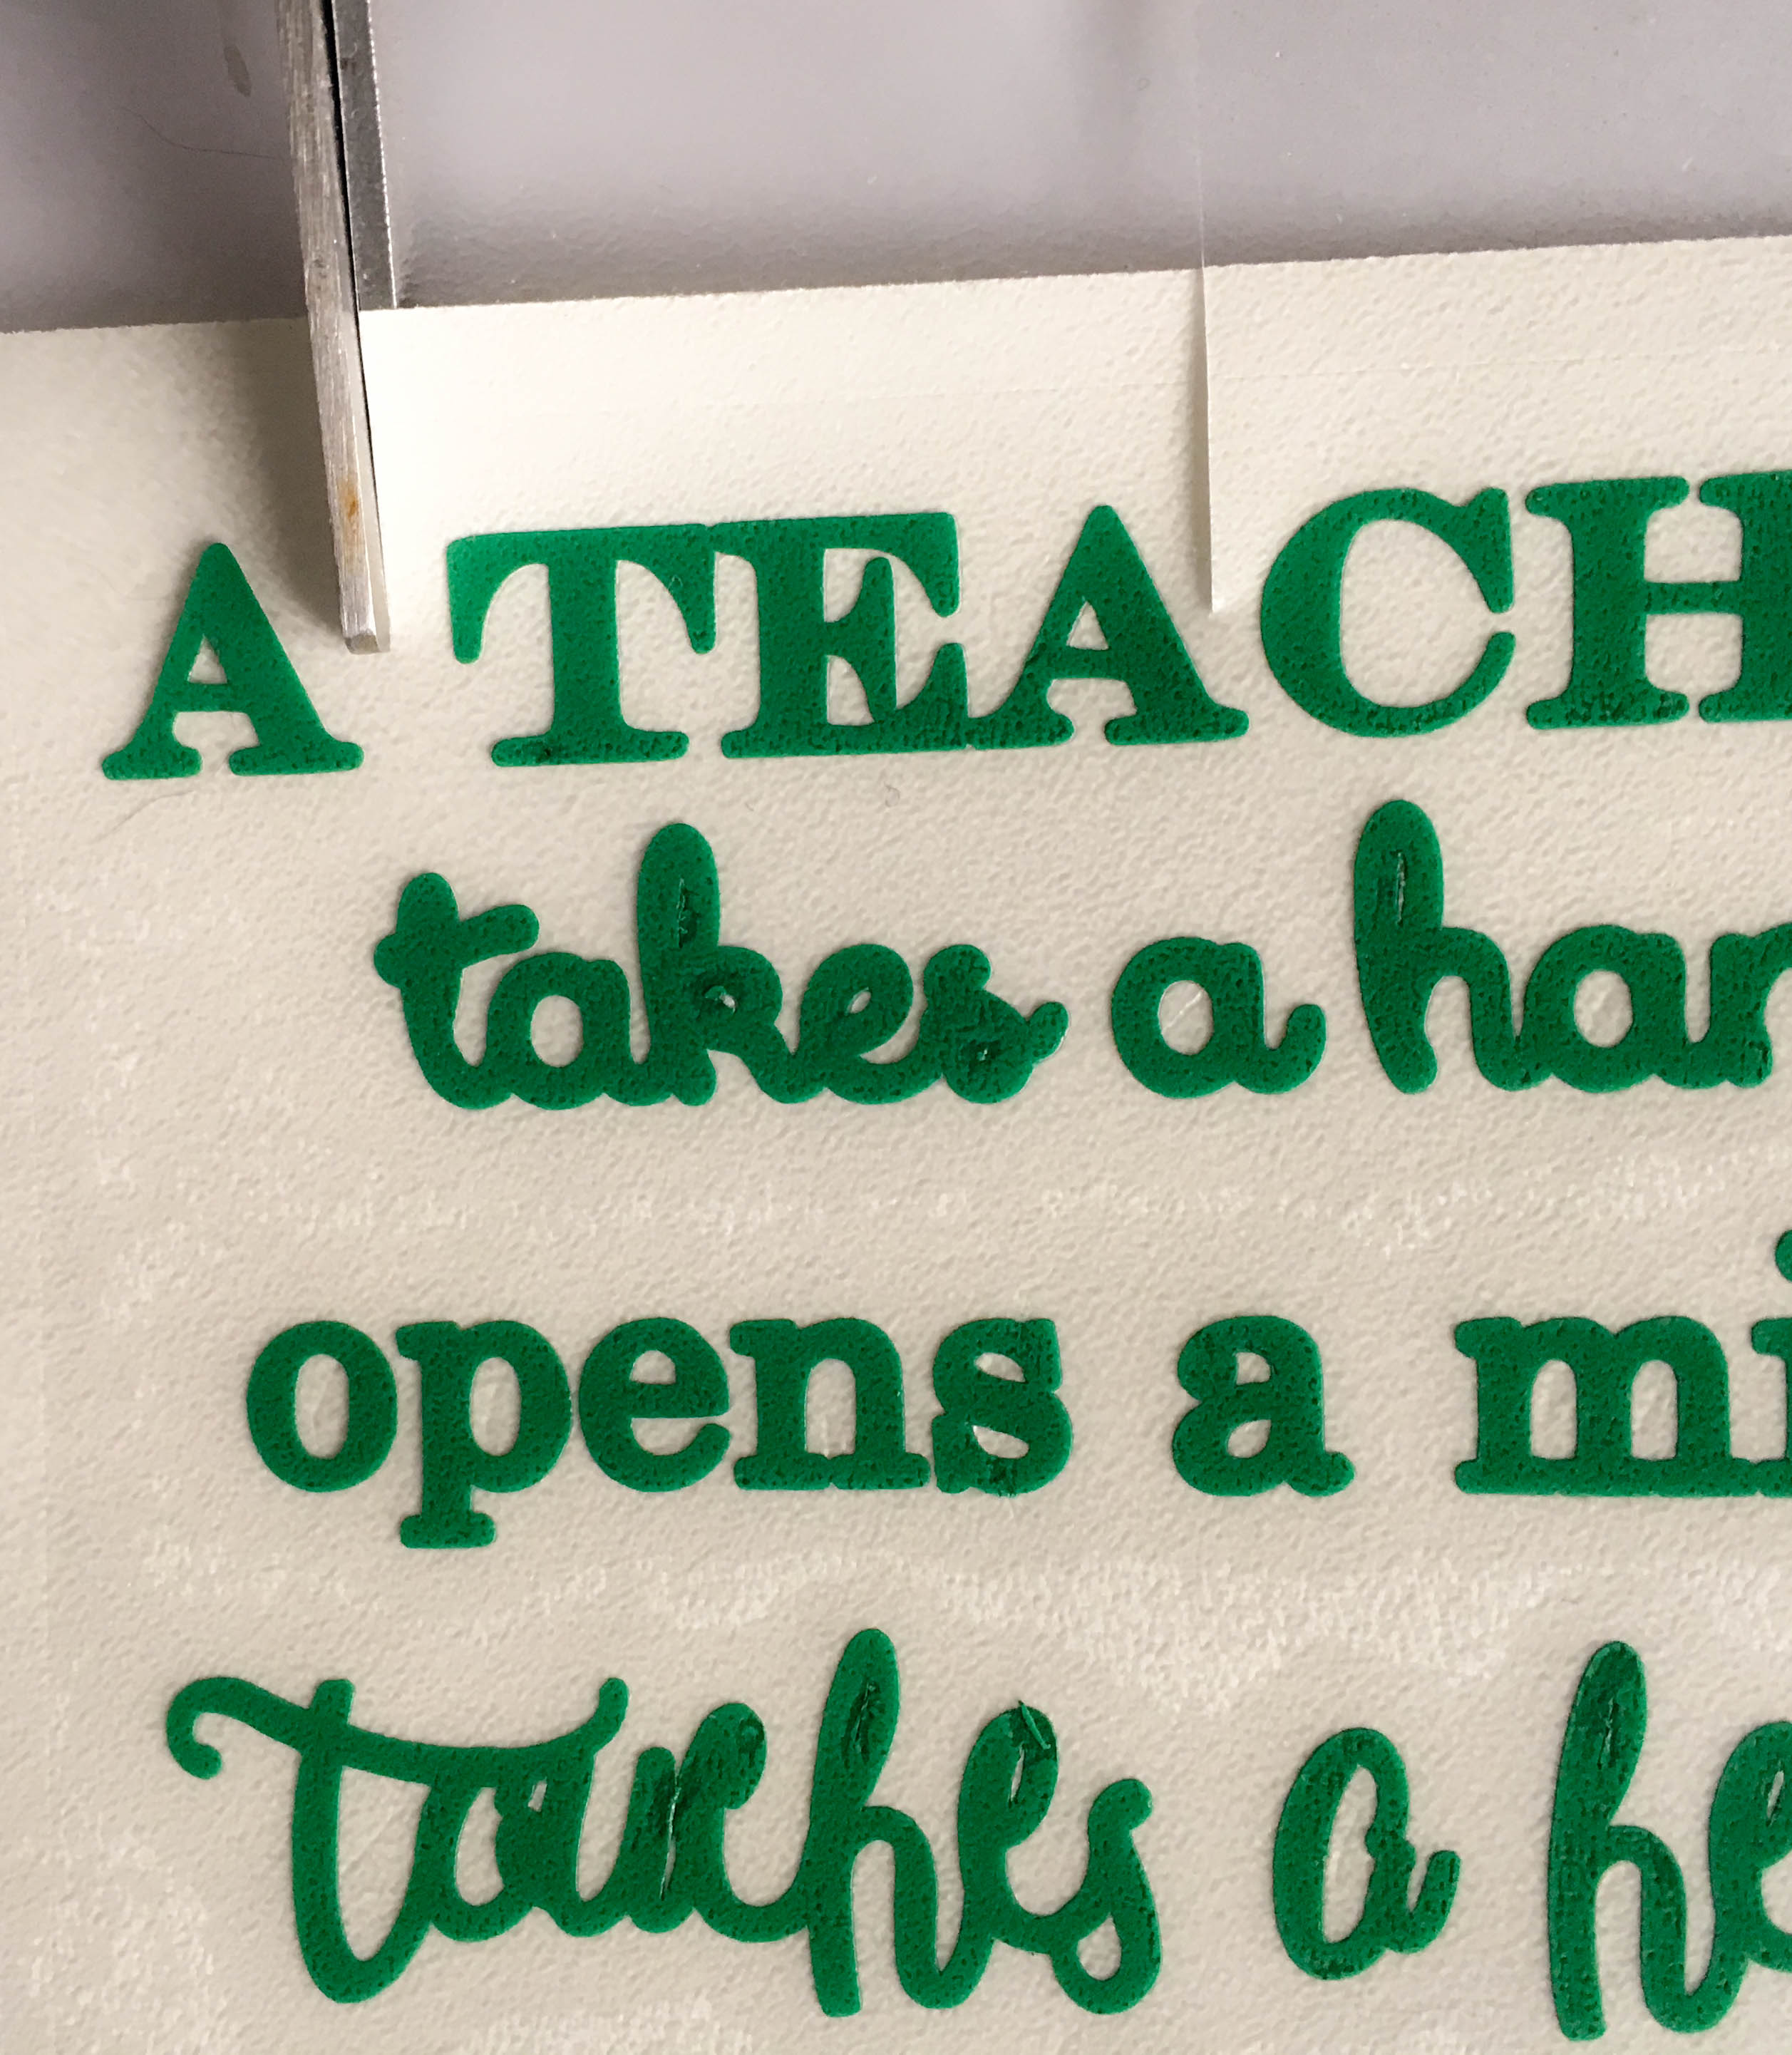
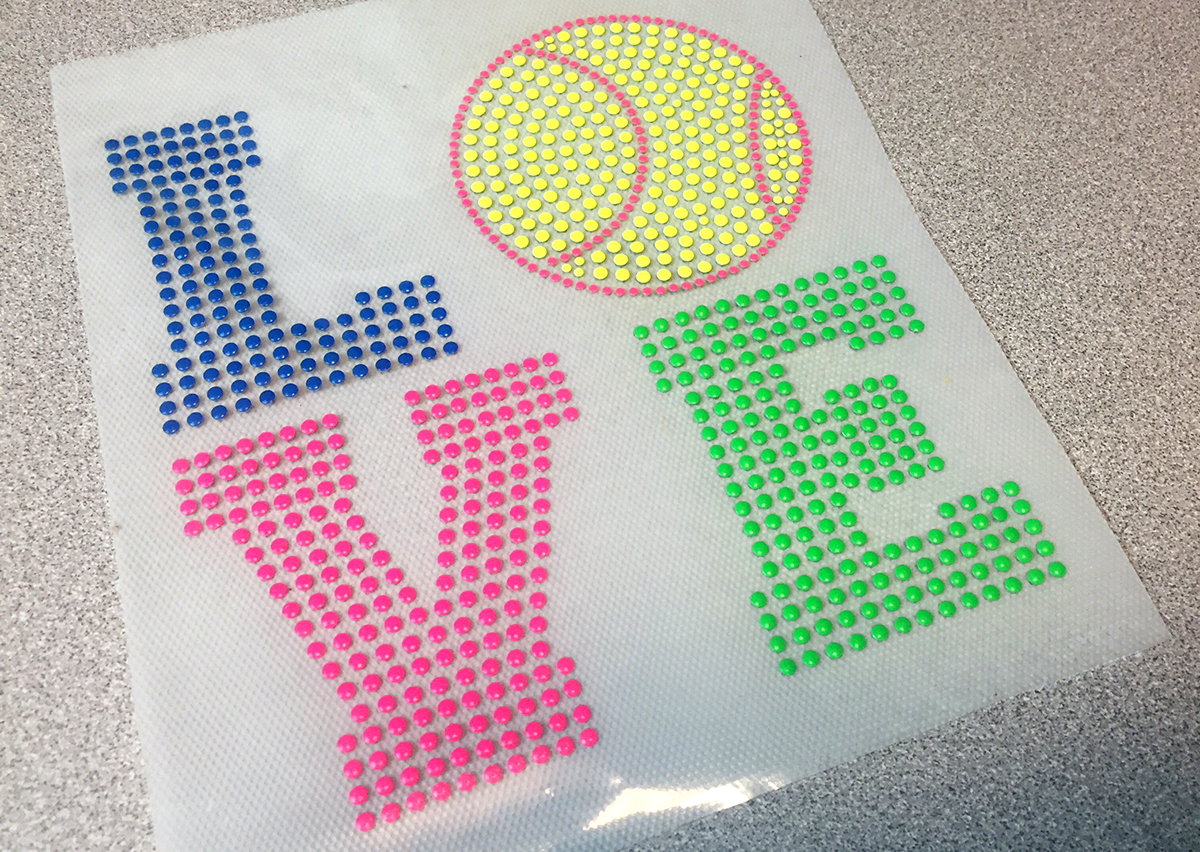
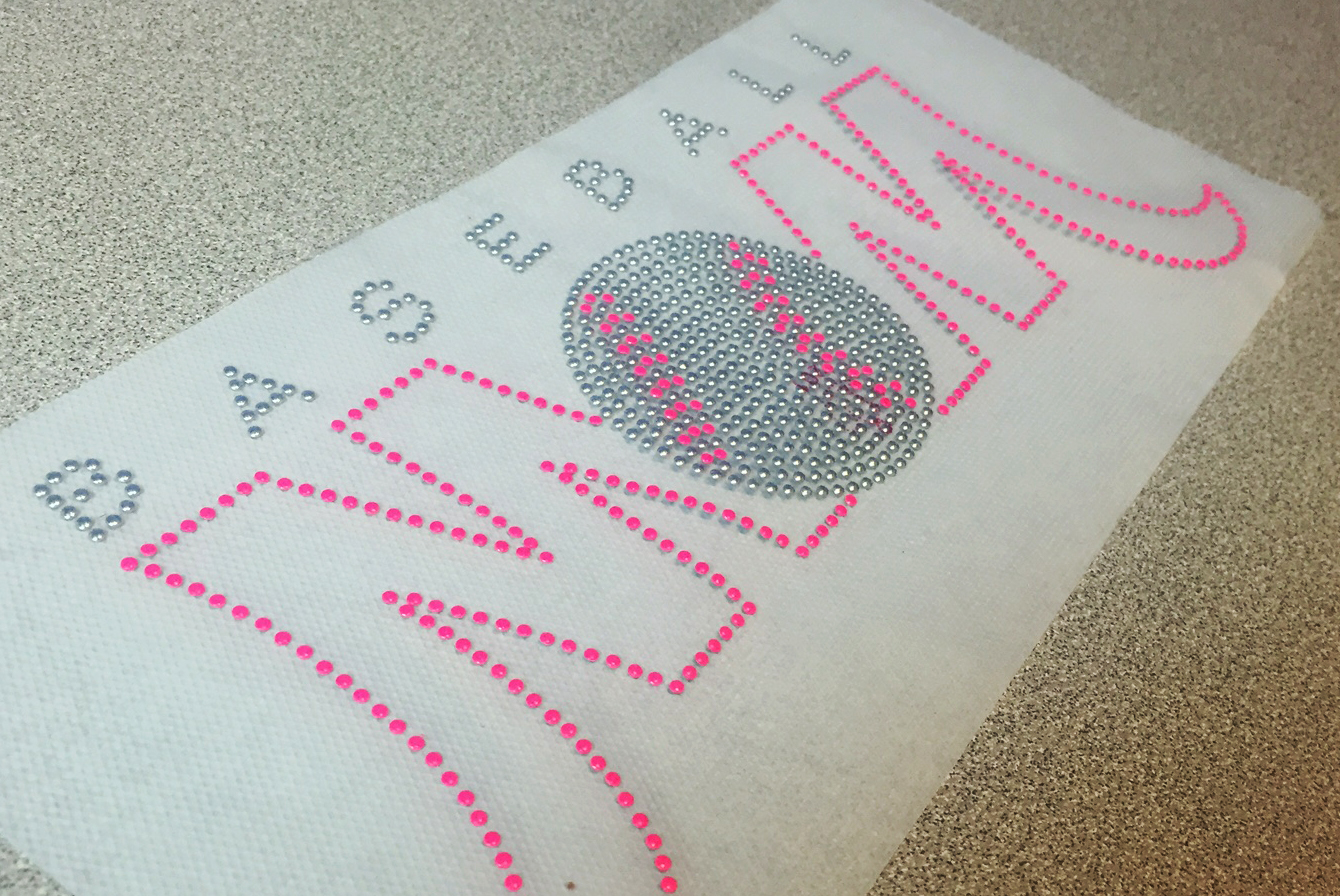
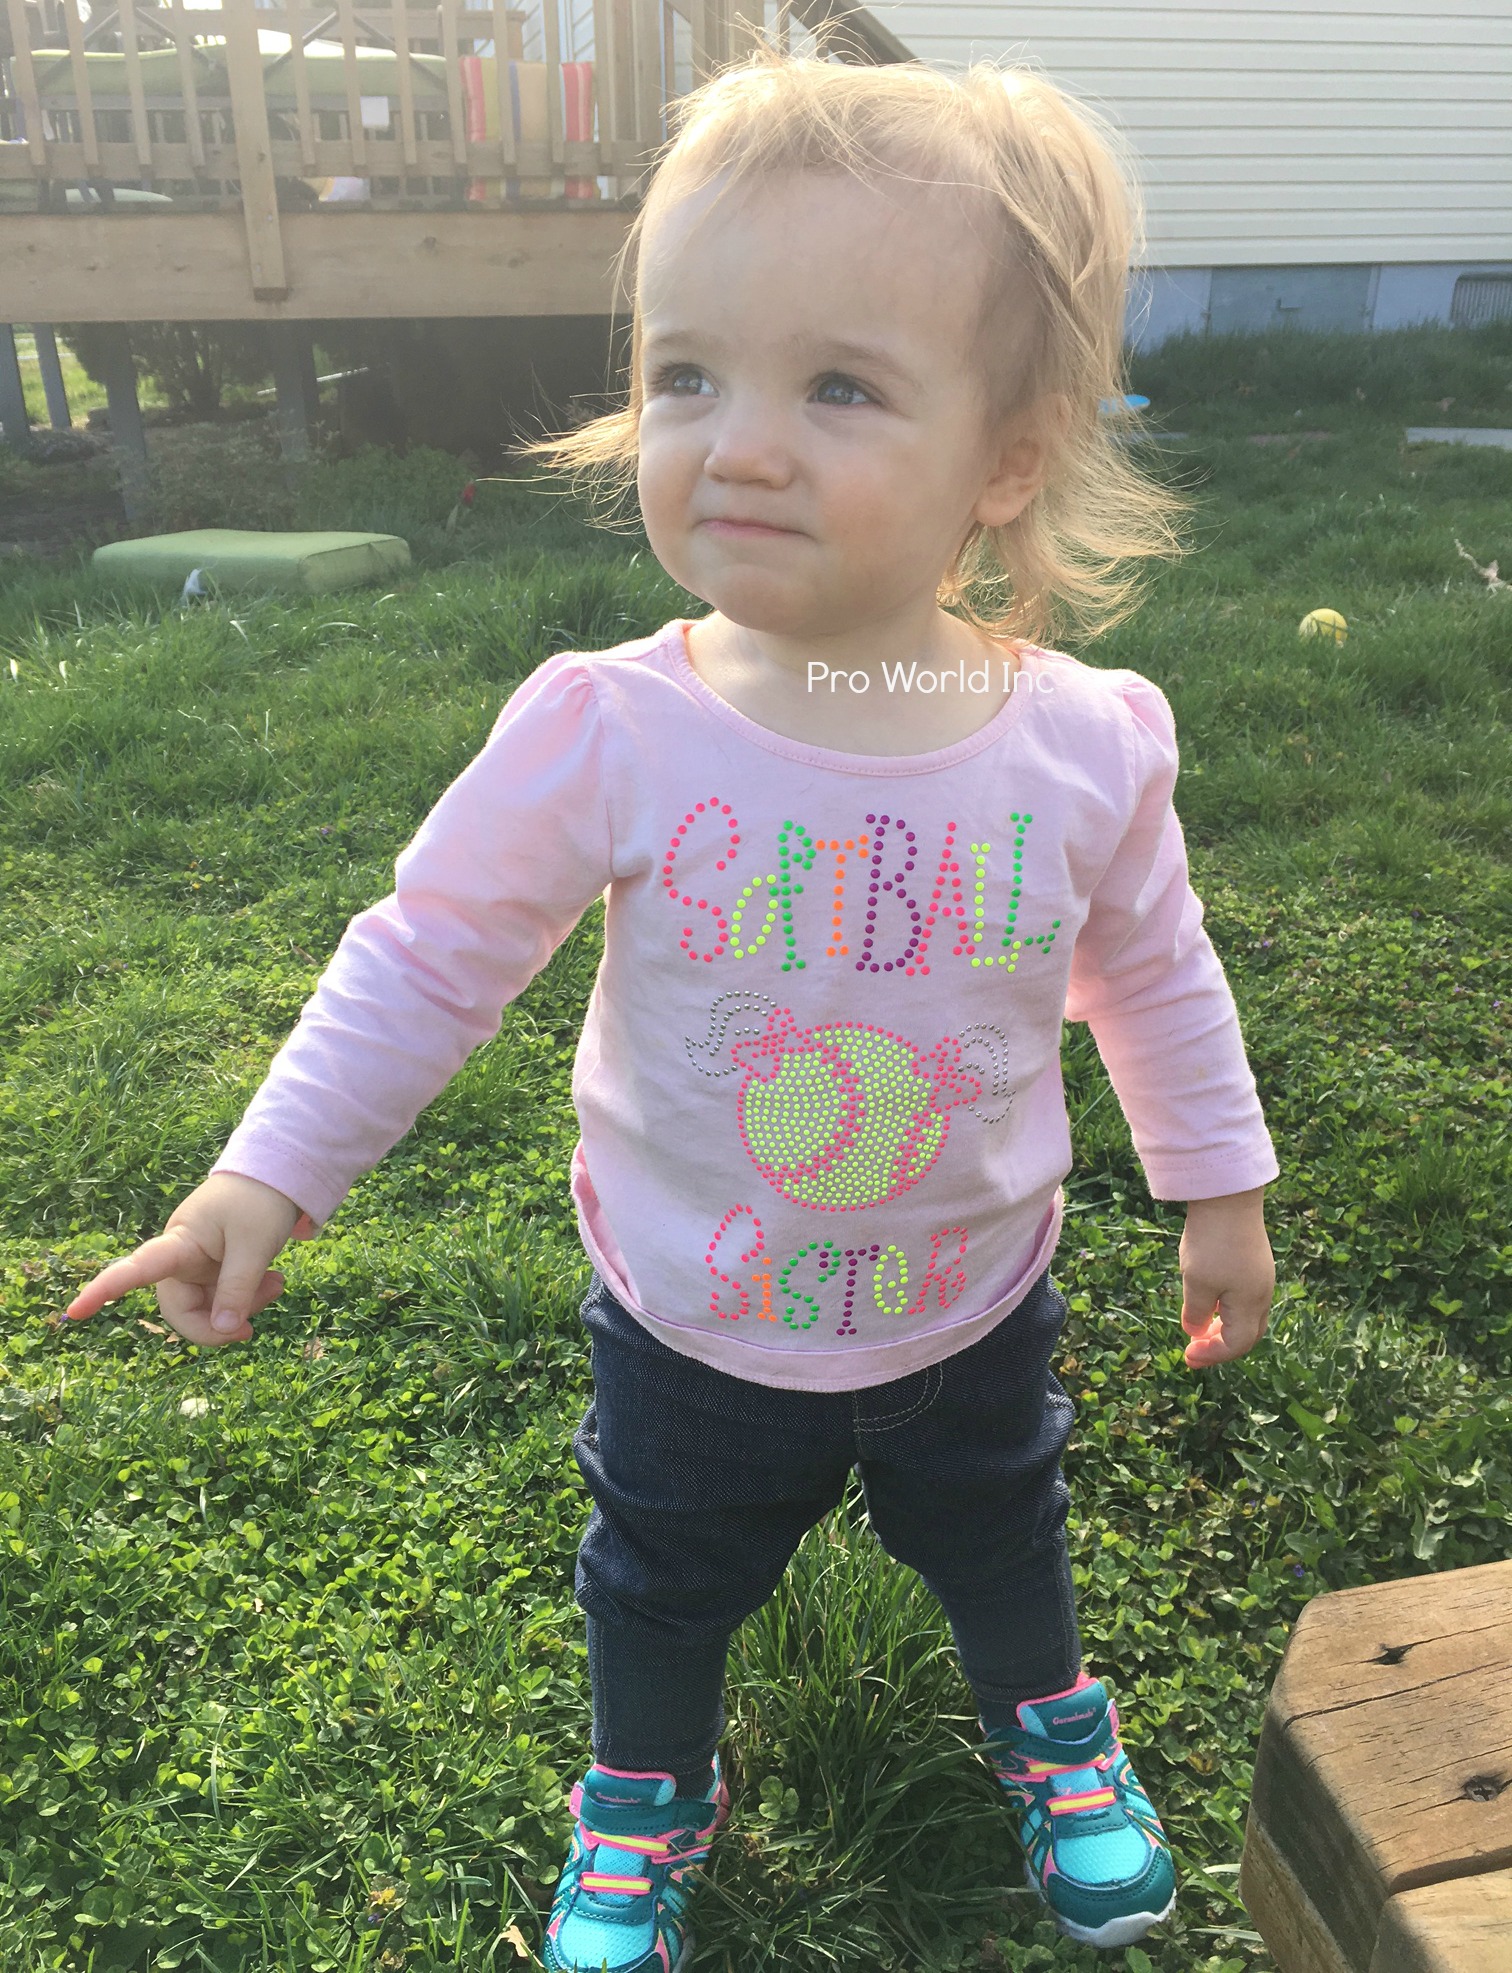
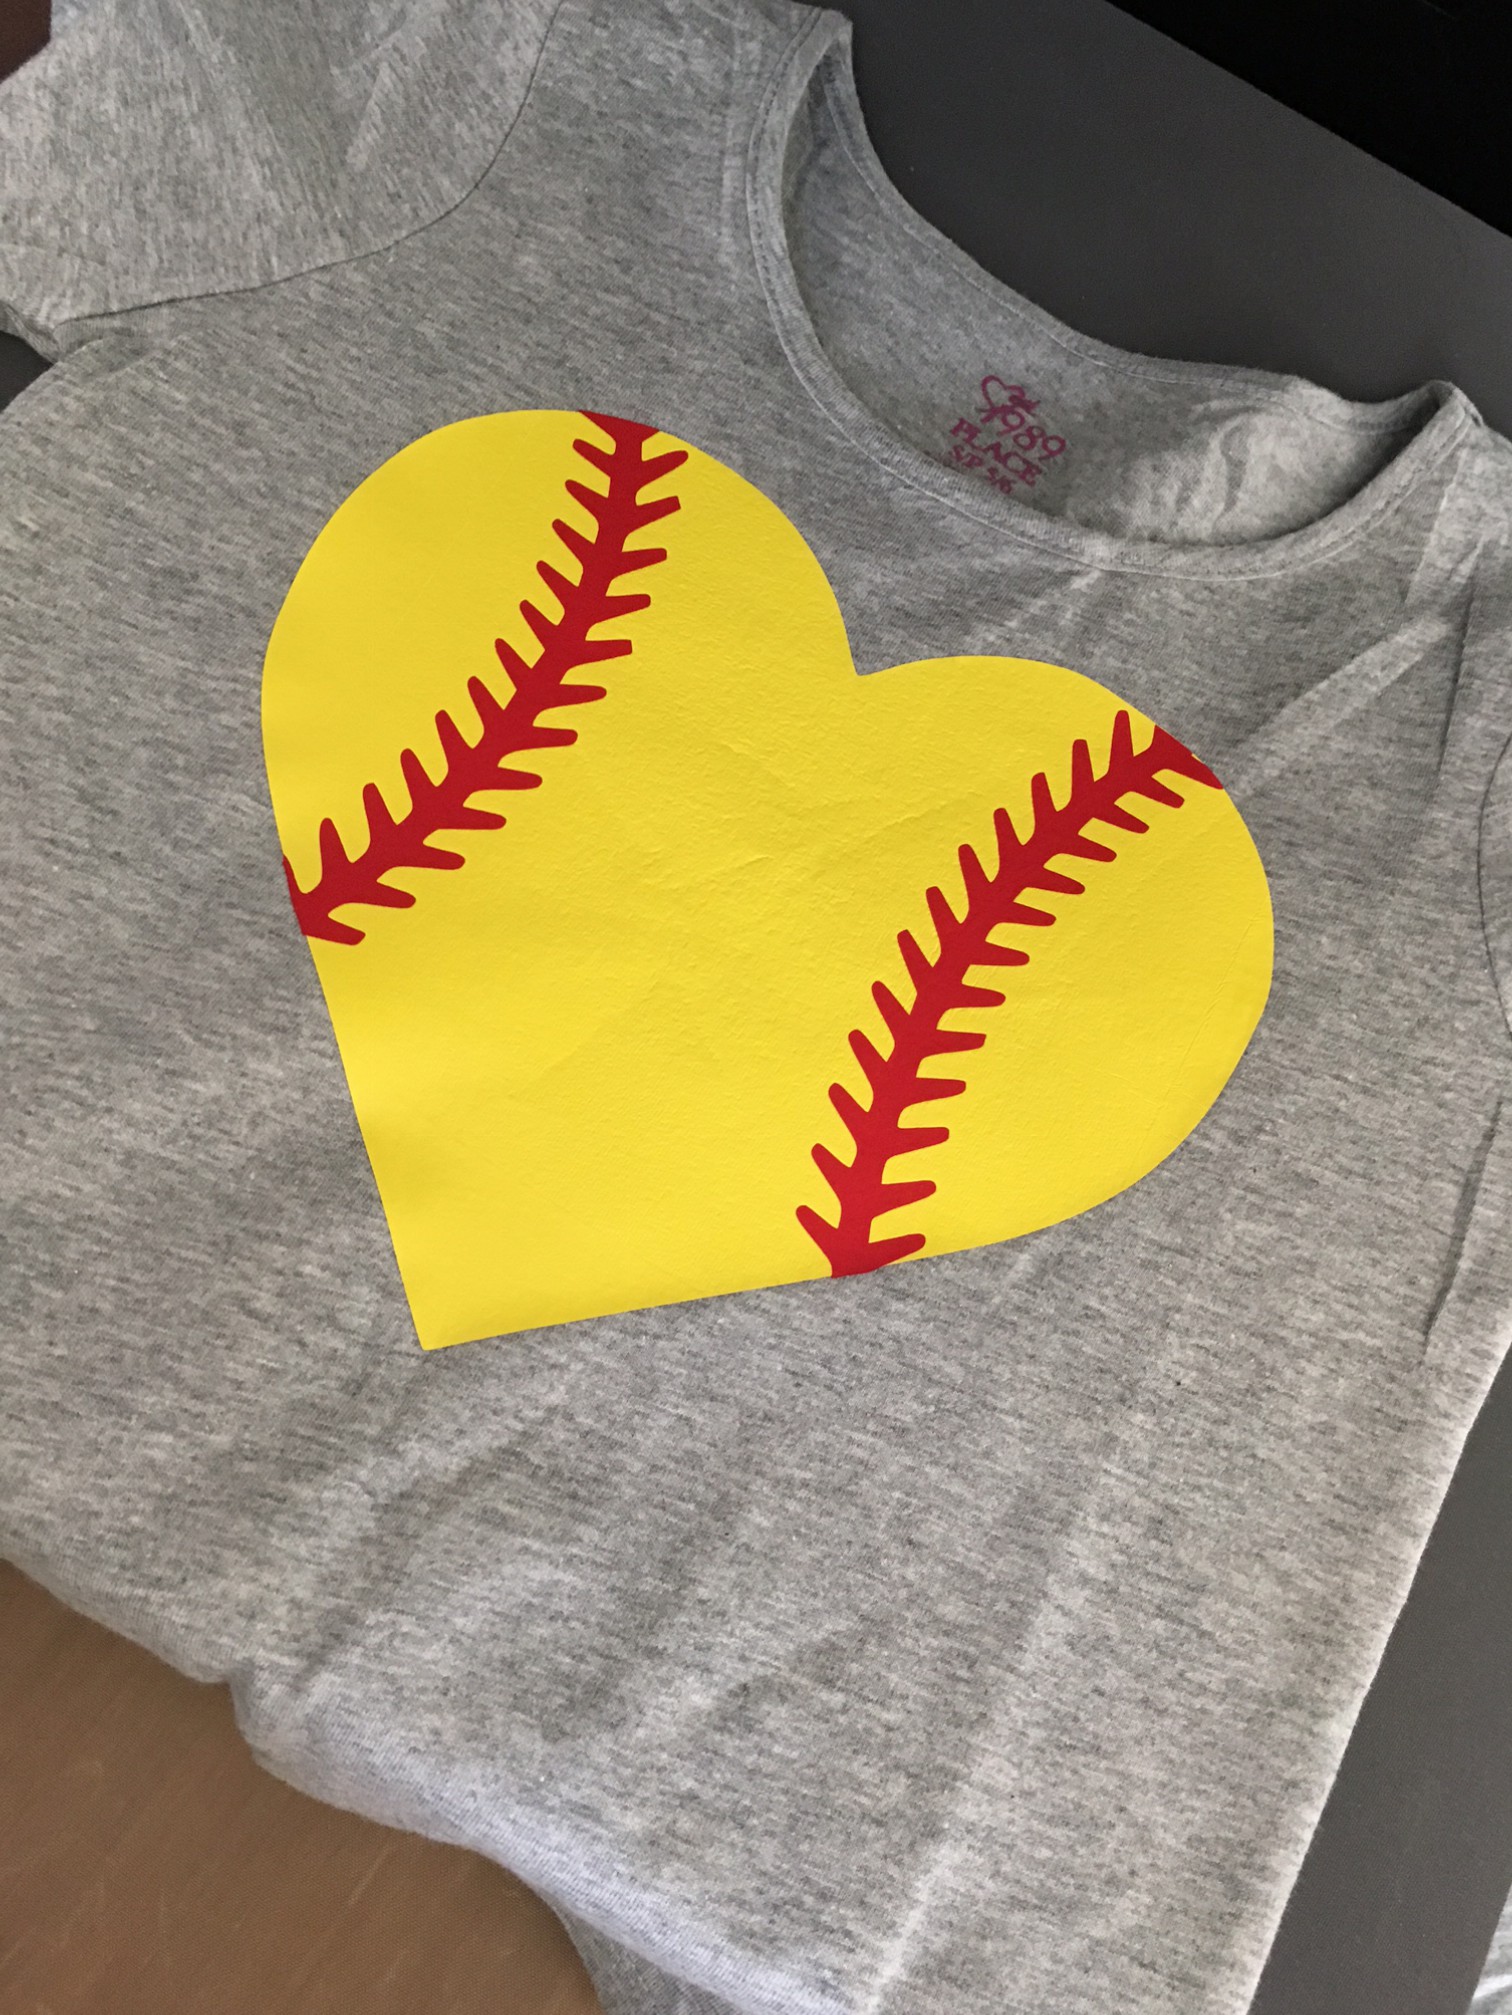
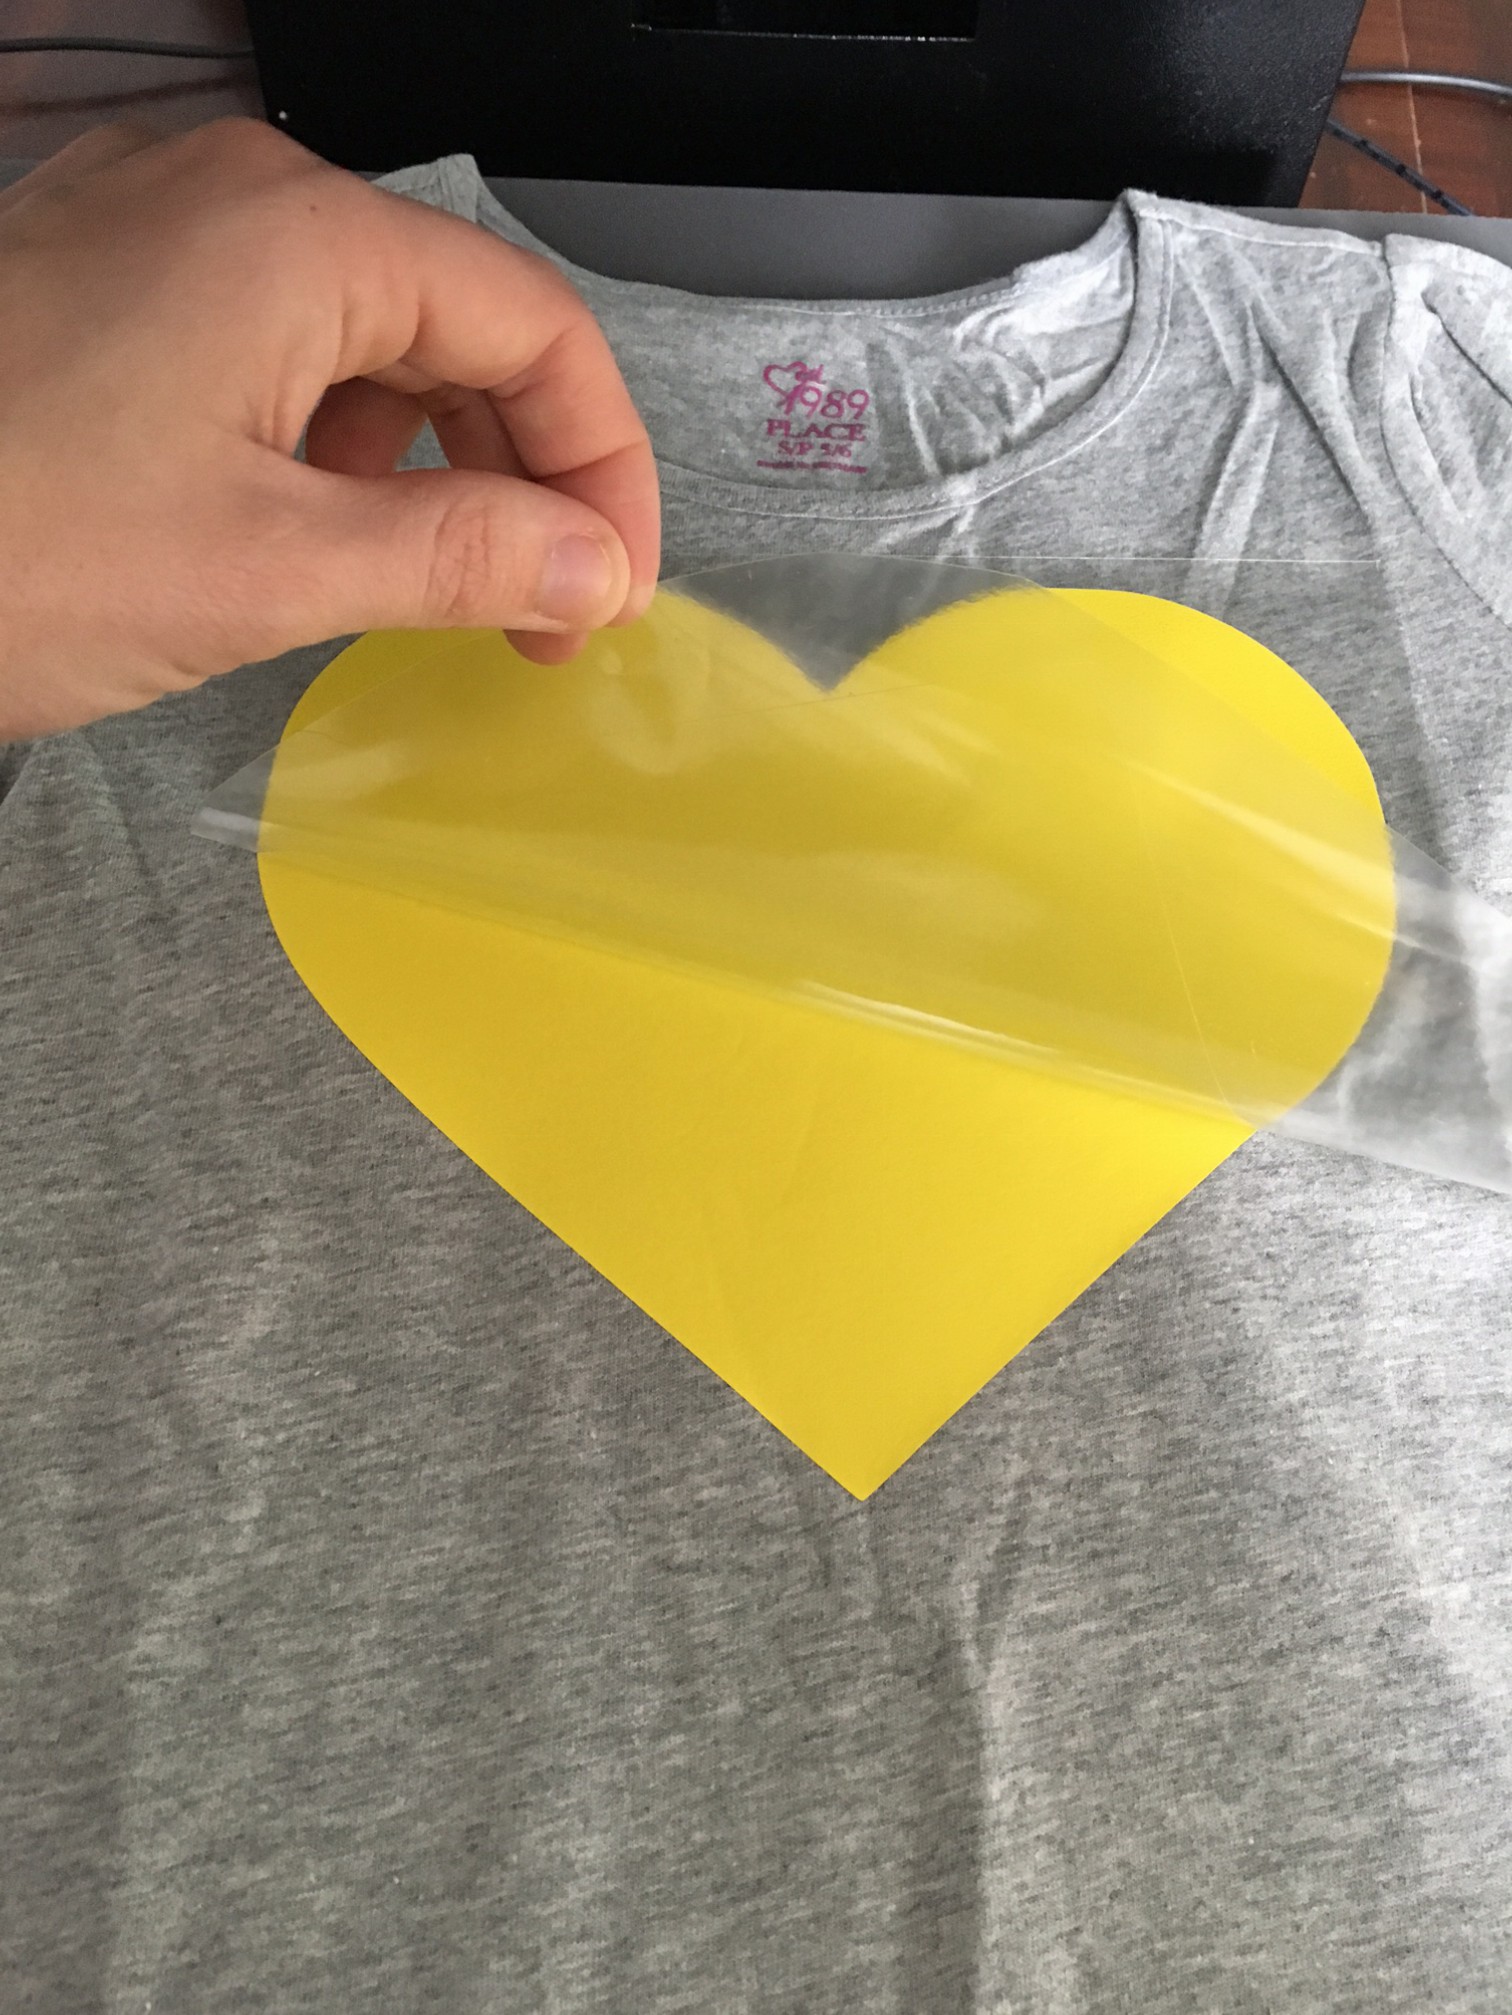
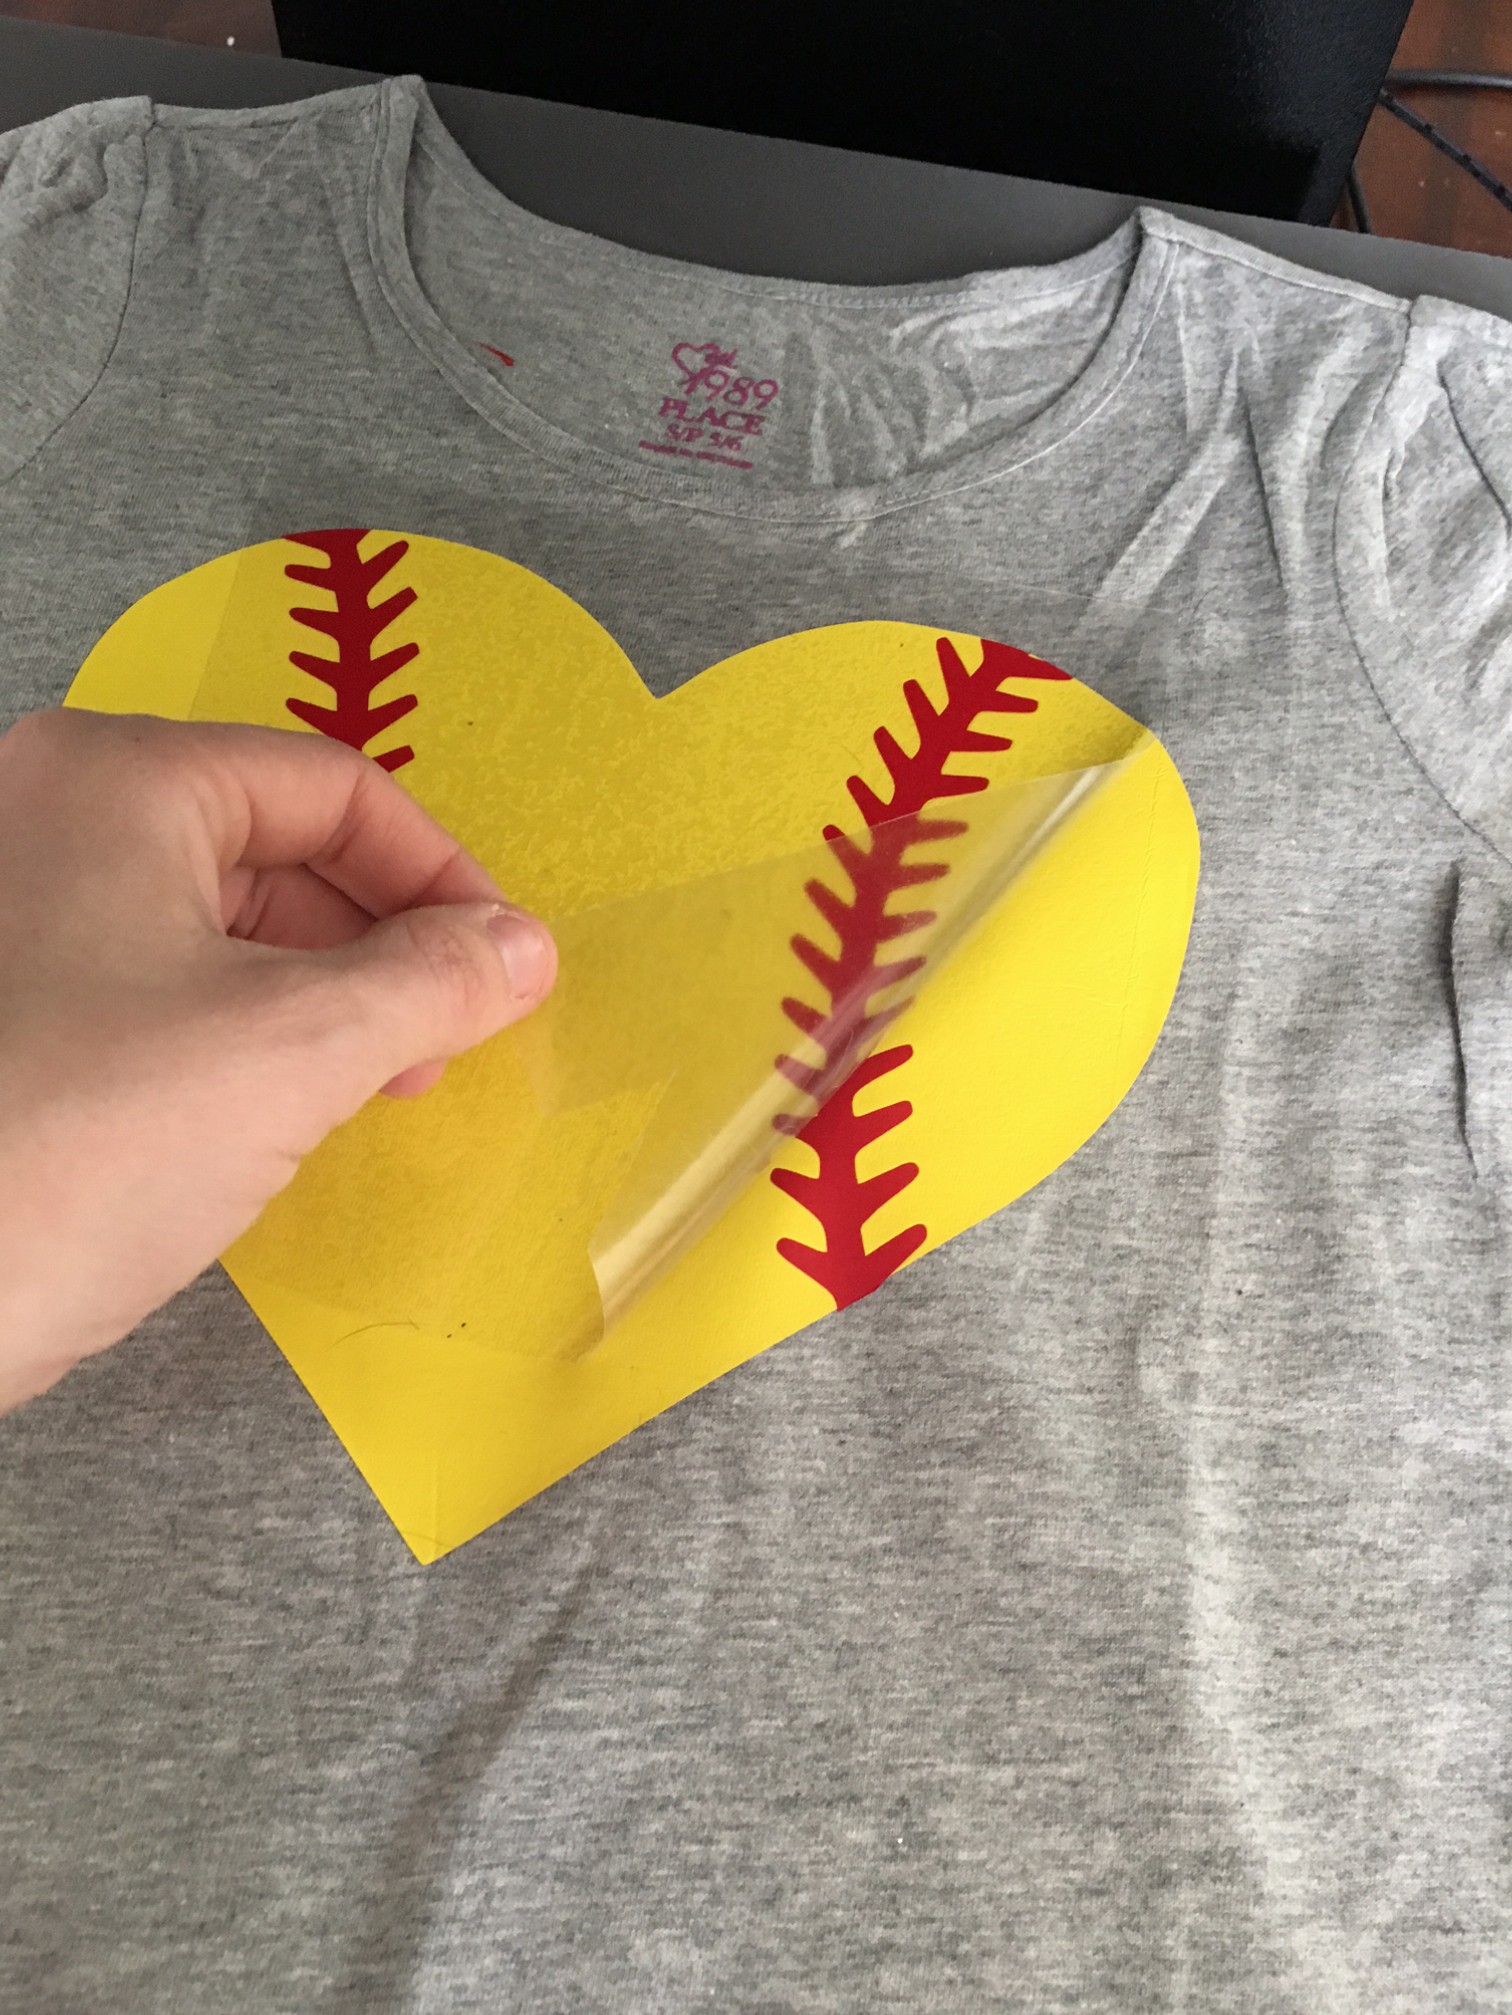
(Printed with Lasersoft EZ Peel Paper for Lights)
When printing with any paper, whether inkjet or laser, please note that there are a few printer settings that need to be changed in order to ensure a great outcome. First, change the paper setting from a ‘normal’ or ‘plain’ paper to a ‘heavy’, ‘label’, or ‘card stock’ mode, which tells your printer that you are using a thicker paper and therefore the feed will open up more. You will also want to change the settings to a ‘best photo’ or ‘photo glossy’ to allow for more ink to be printed on the paper.
Since there are so many makes and models of printers it is virtually impossible to guarantee the results on any one printer. We can only suggest that you check with the manufacturer regarding the use of transfer papers.
View & Add Comments

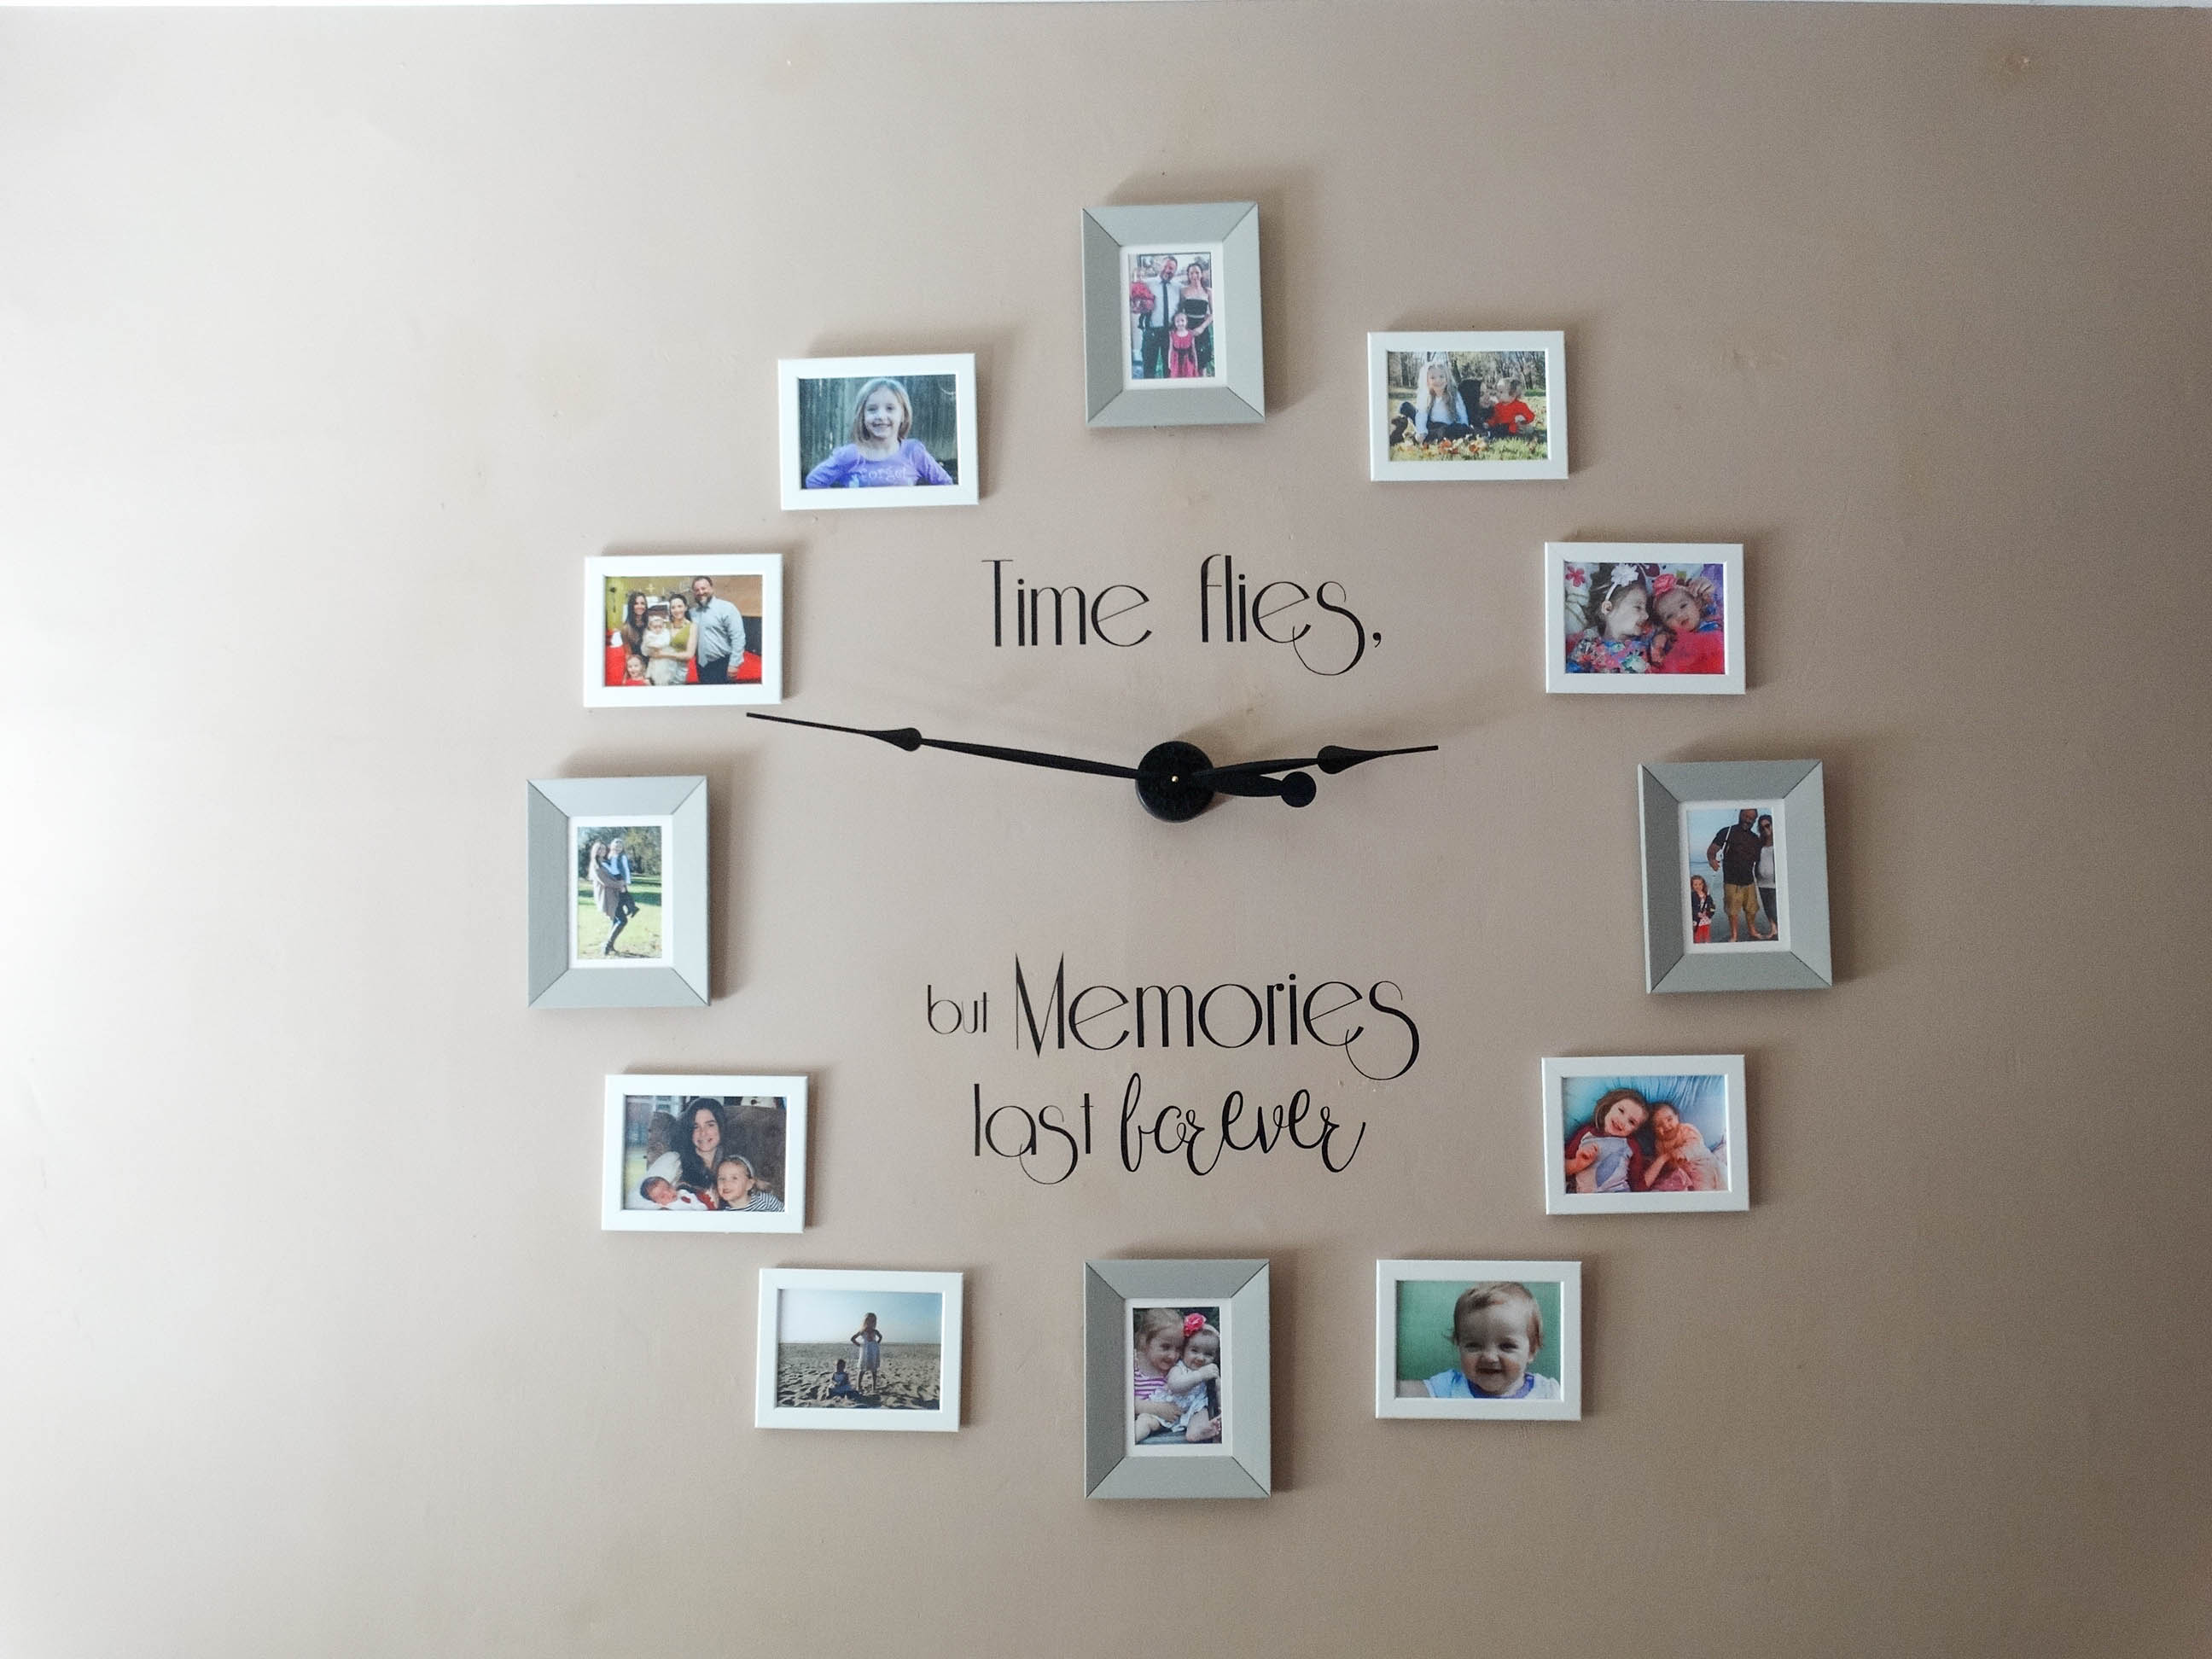
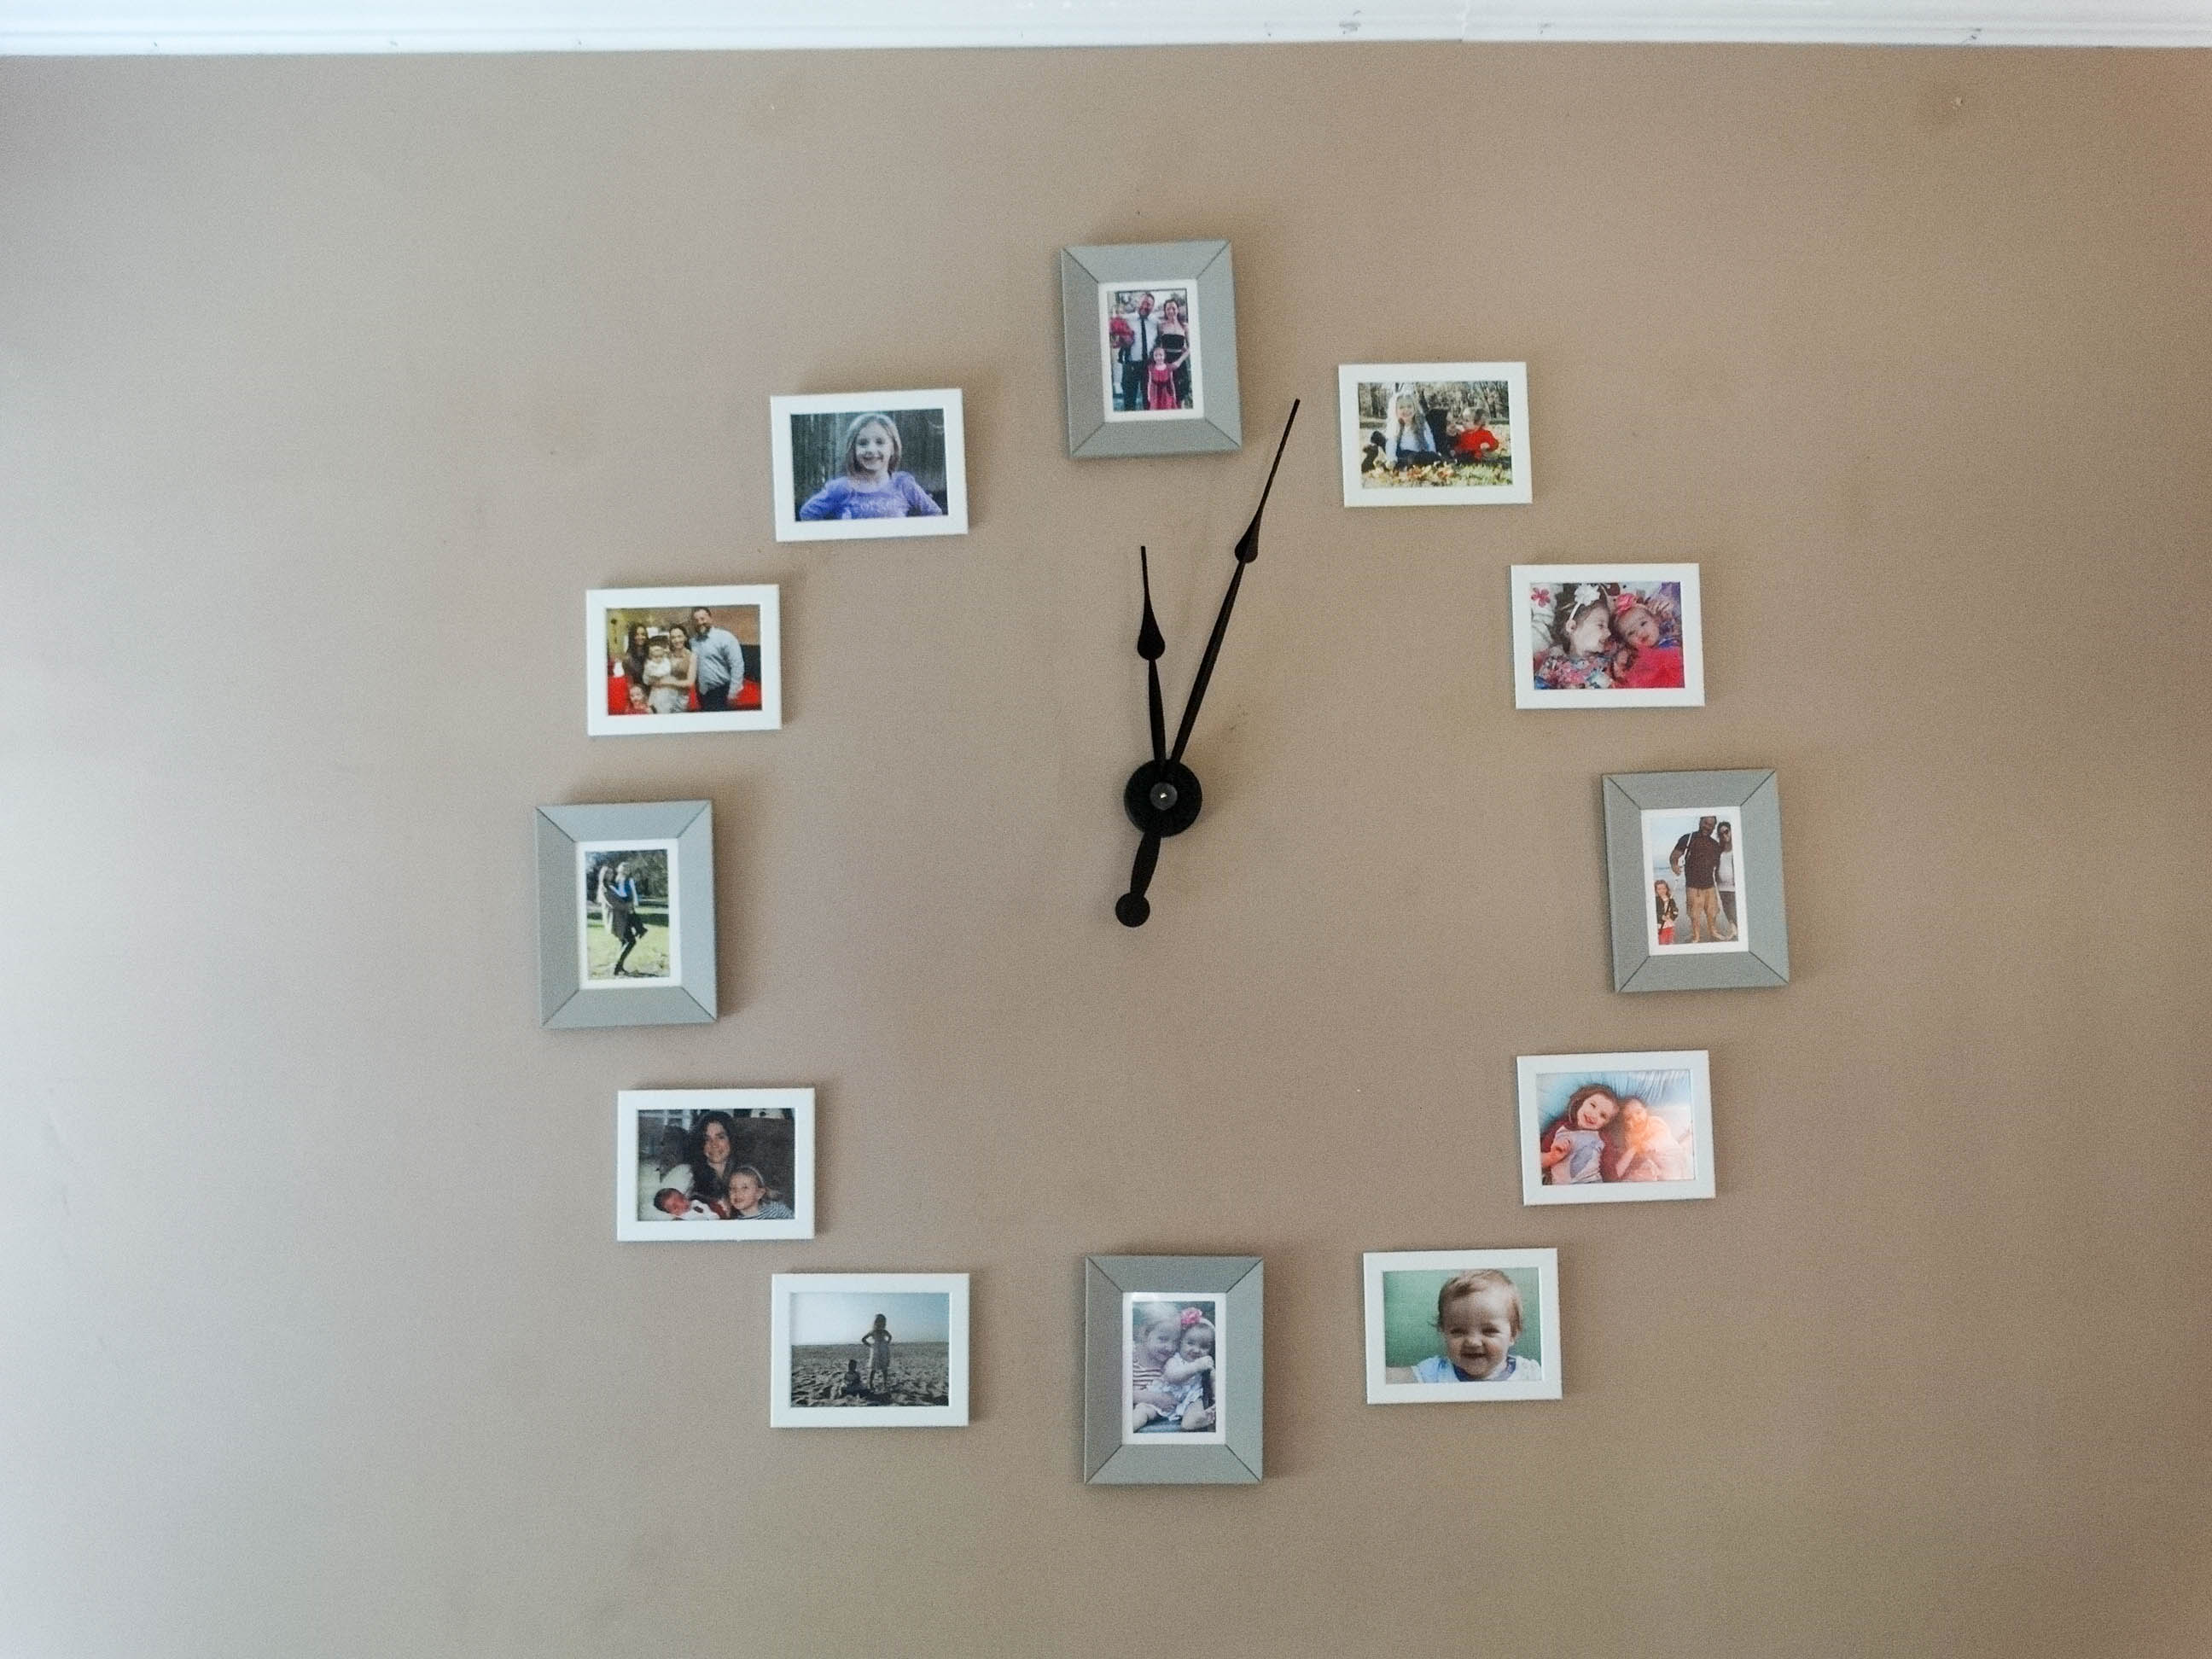 But by adding 3 yards of FDC Adhesive Vinyl; the wall was complete!