FDC Vinyl on a Car Window.

How to apply sign vinyl to a car window

Calling all vinyl addicts! We have recently expanded our vinyl inventory to include sign vinyl, which can be applied to a variety of surfaces without heat. Check out our post a few weeks back on how to apply vinyl to a planter.

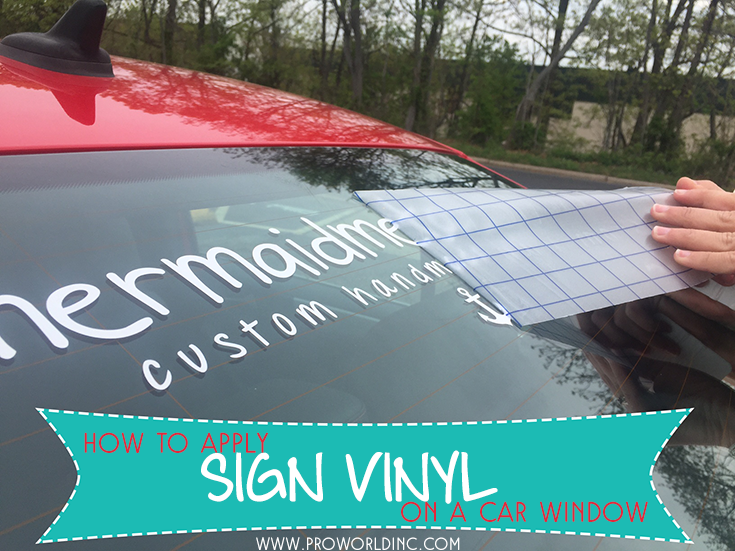
Today, we will show you how to apply our FDC High Gloss vinyl to a car window. This is a great way to add a personal touch to your vehicle, whether you may be advertising your business or creating your own unique stick figure family!

This process only takes a few minutes, but does require you to work slowly, especially when working with a larger design area. You want to pay careful attention to make sure that the design is transferred smoothly and evenly.

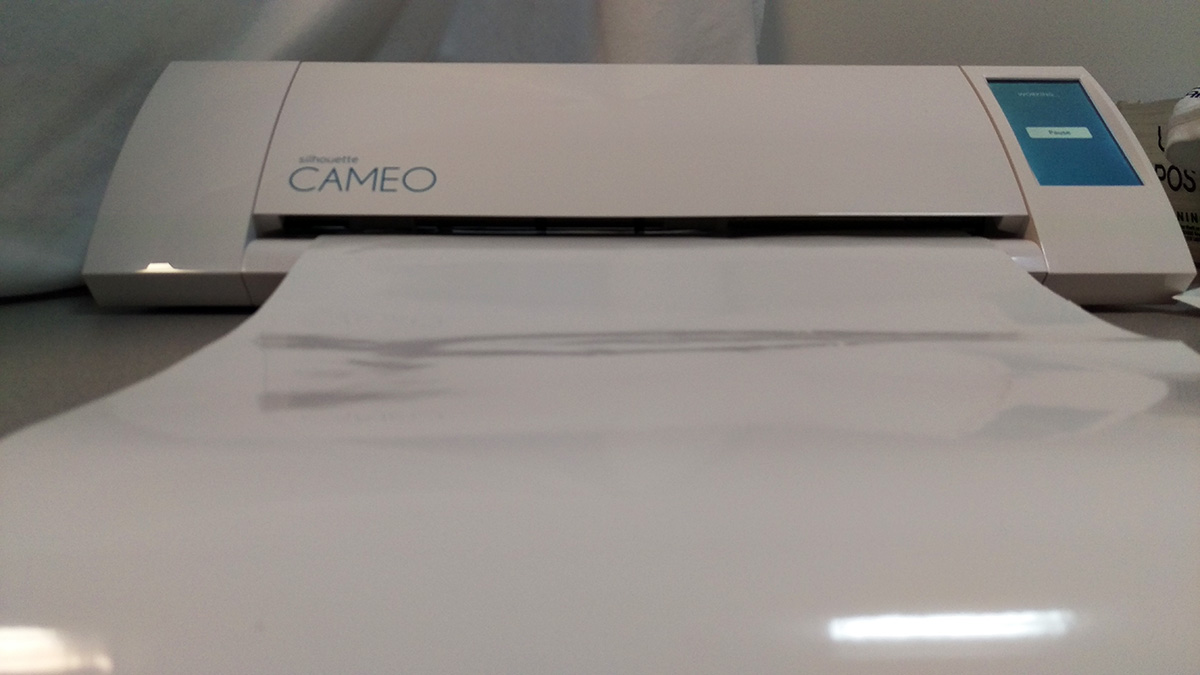
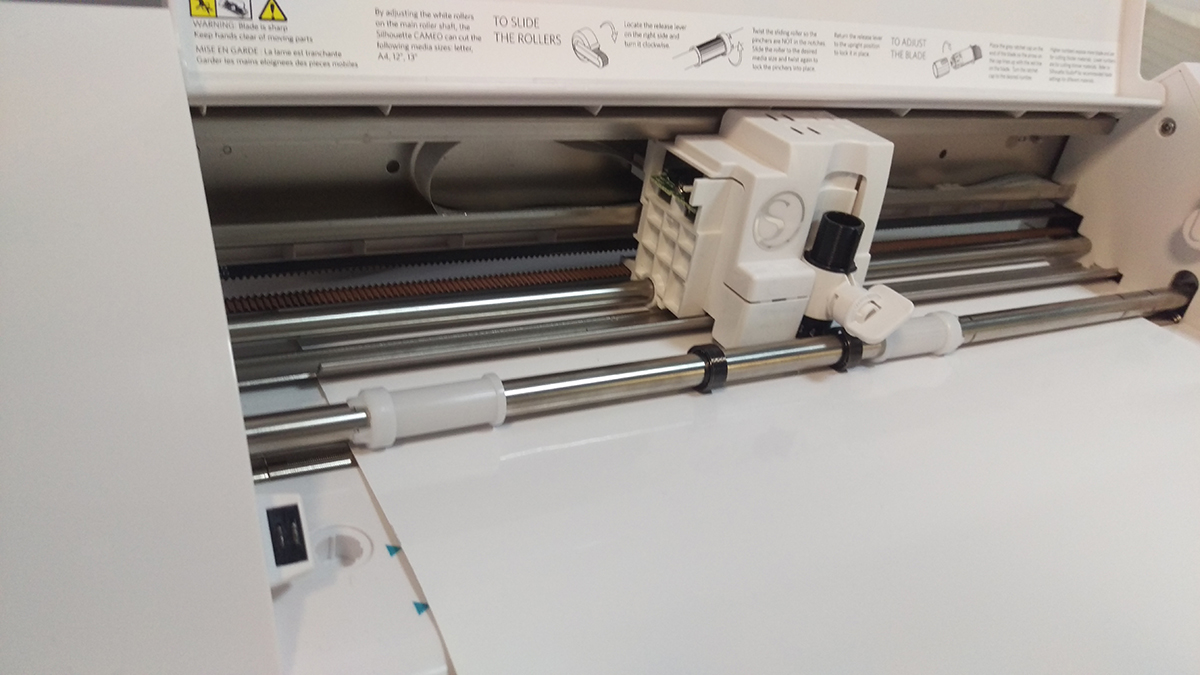
I started off by creating my design in Adobe Illustrator, and exporting the file as an AutoCAD Interchange File (*.DXF) to work with our in-house Silhouette cutter. I loaded my white glossy vinyl into the cutter, and off to work it went!

Silhouette cutter

Silhoutte Cutter

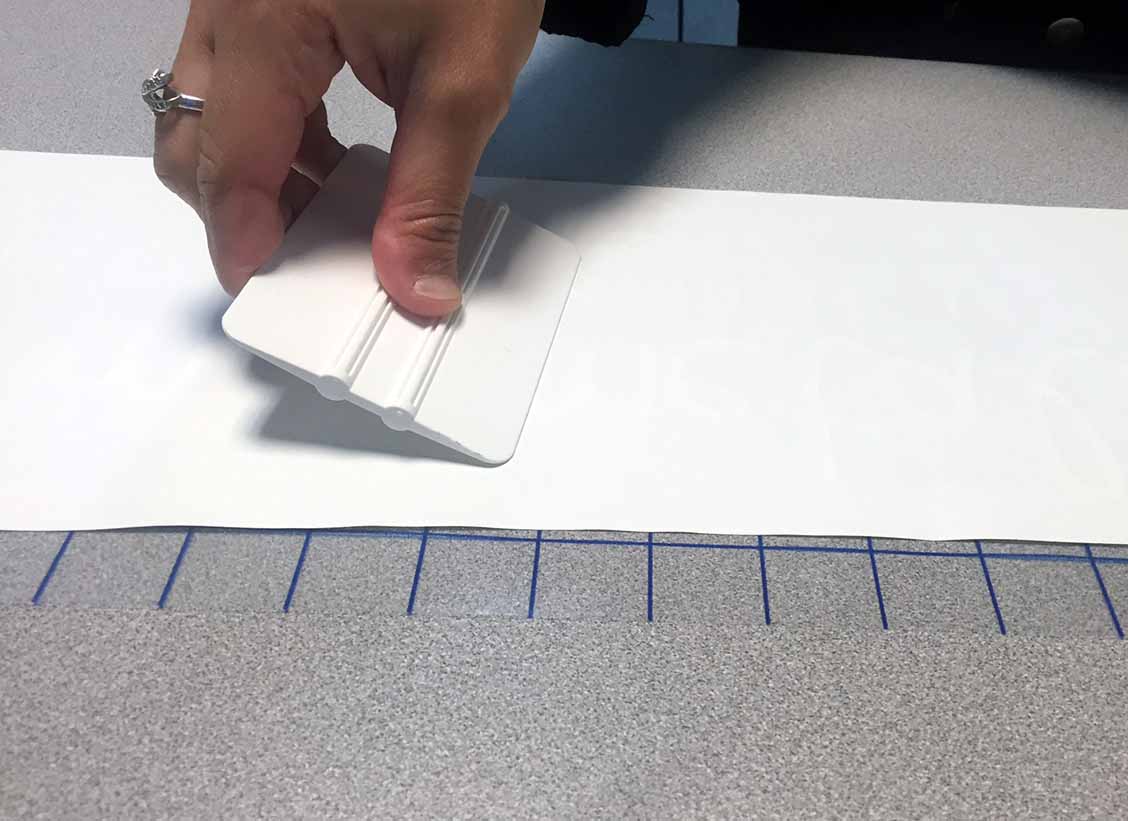
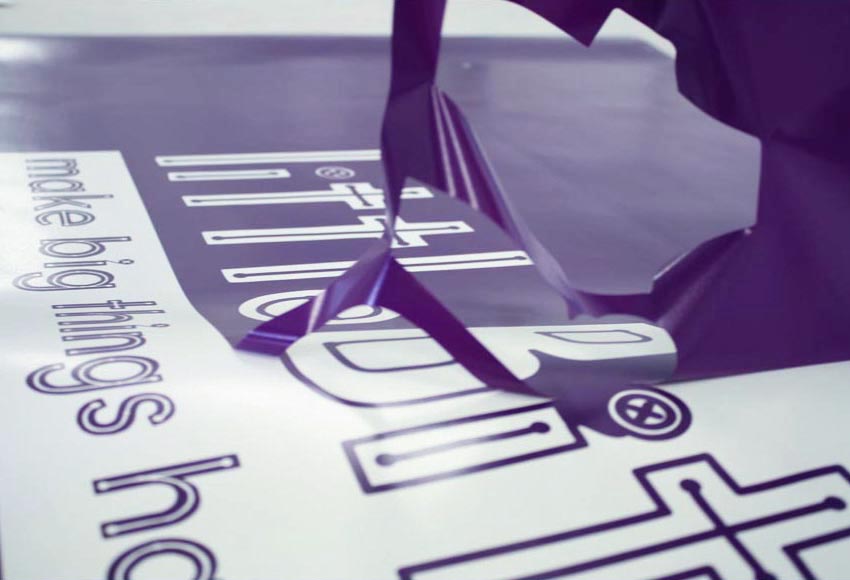
After the design is cut, I used a weeding tool  to weed away the excess material. Next, I cut a piece of gridded clear/blue application tape to the size of my design, peeled the backing off the tape, and applied the adhesive side of the tape to the vinyl. Prepare the sticker for application by firmly rubbing a squeegee or credit card across the clear transfer tape to remove any air bubbles that may have formed.

FDC Vinyl

Before applying the vinyl, you want to make sure your surface area is cleaned thoroughly, using either rubbing alcohol or soap & water. Stay away from Windex or similar products – they will leave a residue behind that will prevent the vinyl from bonding well. Make sure the freshly cleaned area is as dry as possible before applying your design.

FDC VInyl on car

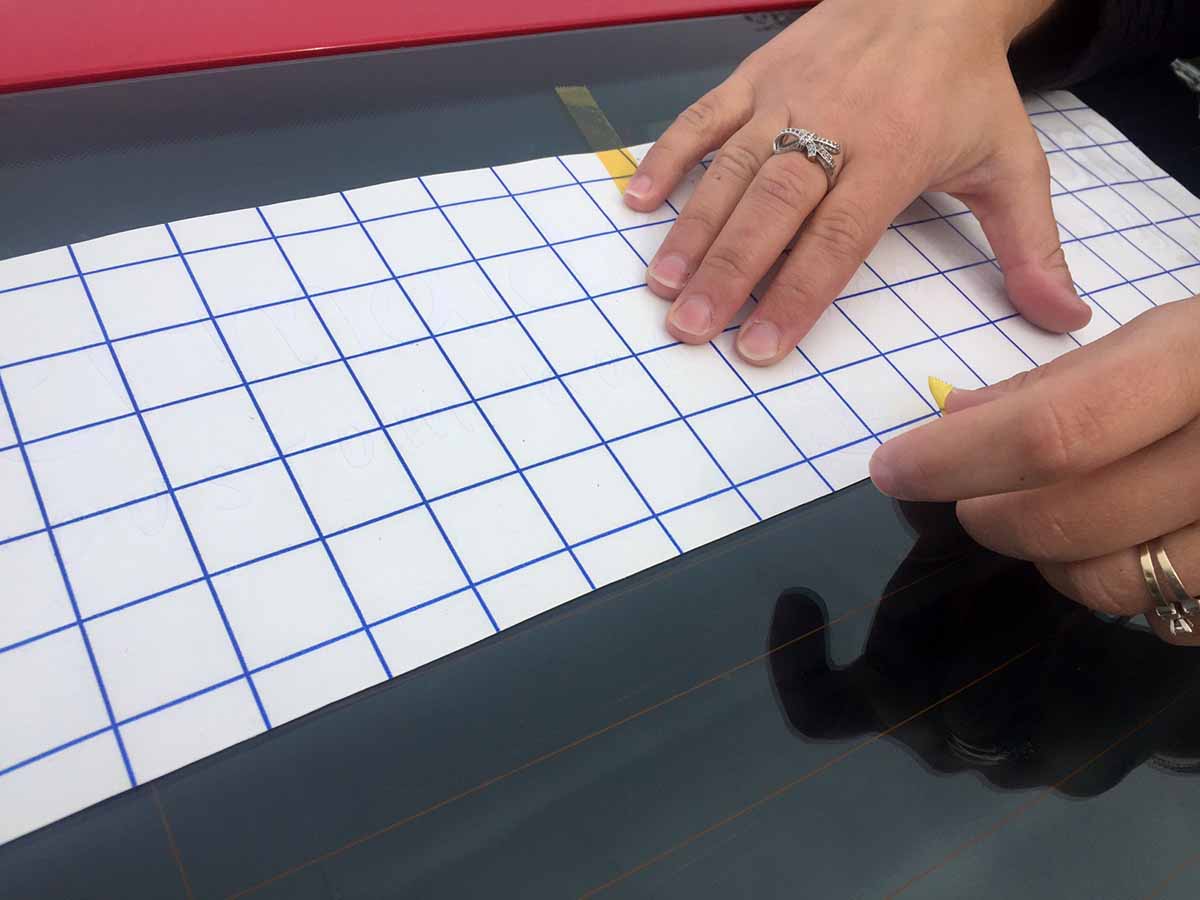
Before peeling the backing paper off, test the placement of your design on the window or windshield before adhering. Take this time to line up any text, and center your design. We used thermal tape to help keep the design in place as we did our aligning.

FDC Vinyl on window

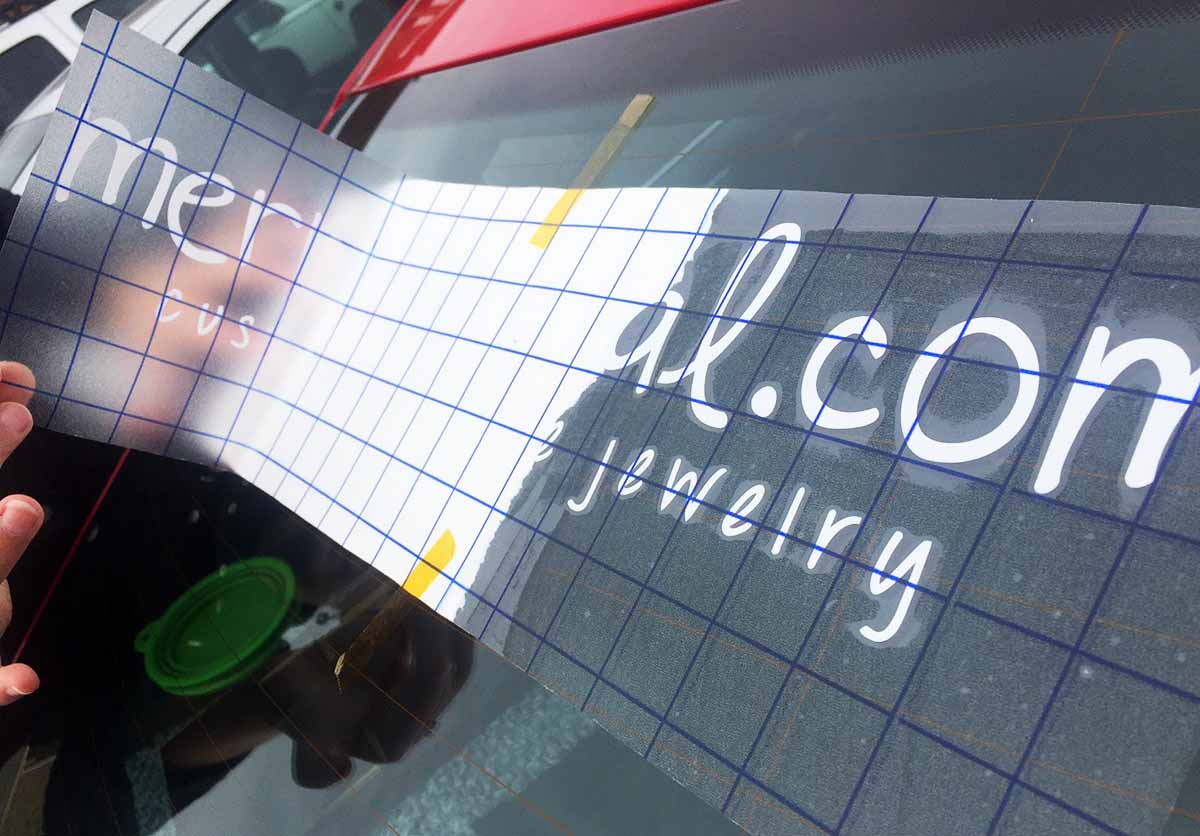
Next, peel the white backing paper off slowly as you lower the adhesive transfer tape onto the window’s surface. Since we left our scissors inside of the office, we used our hands to rip the backing paper off into sections. Doing one area at a time will ensure that you line everything up nicely and create less bubbles.
FDC vinyl on car window
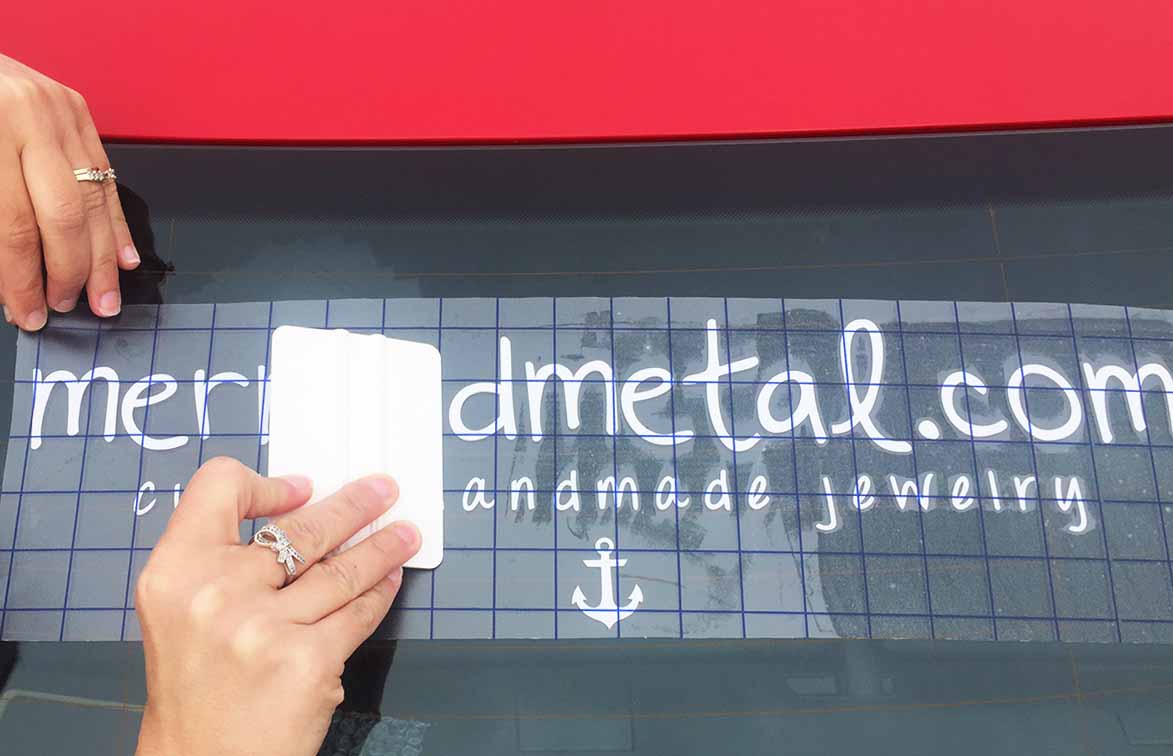
Use your squeegee or credit card to rub the design in place firmly as you go, and to eliminate as many air bubbles as possible. In this case, we made sure to rub each letter individually using firm pressure to ensure that they would not stick to the transfer tape when we peeled it off.
Peeling FDC Vinyl
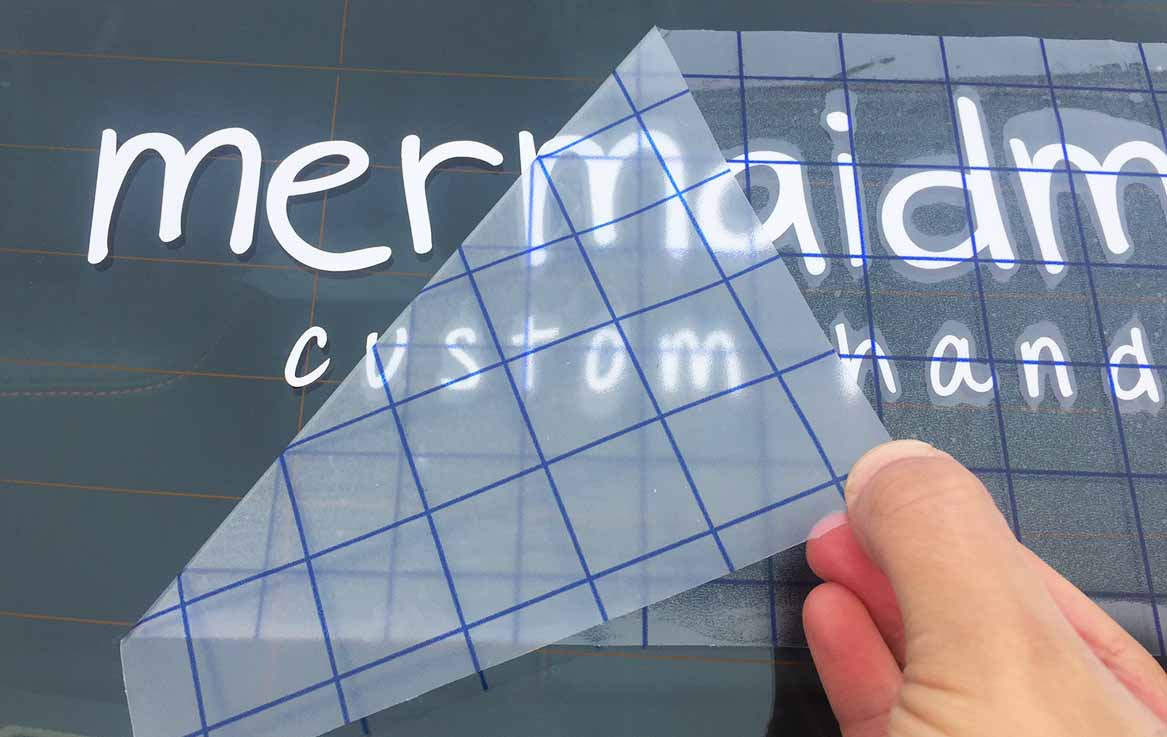
Once you are done giving it a good go with the squeegee, it’s time to peel! Remove the application tape by pulling from one corner 180 degrees against itself so as not to lift the decal/graphic from the surface.
FDC VInyl
Remove the application tape by pulling from one corner 180 degrees against itself so as not to lift the decal/graphic from the surface. If you find that part of your design is sticking to the transfer tape, just lay that area back down gently, and rub it firmly again with the squeegee before continuing to peel.
FDC Vinyl on car
 Now stand back, and admire your freshly decorated window or windshield! And have fun dreaming of all the ways to expand your t-shirt business with this awesome, versatile product.  😉
FDC Vinyl on car
FDC Vinyl on a car window
View & Add Comments

How to Start a T-Shirt Business in 3 Steps

How to Start a T-shirt Business

So, you want to launch your own t-shirt business, but you have no idea where to start. How much money will you need? What products do you need to get started? Which heat press is best suited for your needs?

As one of the world’s largest suppliers of transfers and t-shirt printing supplies, we get these questions every day. And we feel it’s about time that we make it easy for you, by putting all of the information in one spot and breaking it down into just 3 simple steps.

1. DO YOUR RESEARCH!

First things first, do your research. We cannot stress how important this is. Before investing your money in starting up a business, make sure you know exactly what you will need to get started, and the basic knowledge of how the industry works. There are so many different products out there and so many different ways to create a t-shirt.

In order to figure out what products you’ll need, you will first want to decide what type of t-shirts you plan on selling. Create a business plan. Are you a graphic artist interested in creating one-of-a-kind designs? If so, custom transfers will probably be the best option. Just send us your design through our quote form, and we will turn it into a screen printed heat transfer. Or, maybe you are looking to print jerseys and numbers for local sports teams? Then a Vinyl Cutter and vinyl may be the answer. Opening up an online store? We have a huge variety of stock transfers to get you started. Decide your target market. This will help you greatly in determining which products will be necessary. We have put together a bunch of starter packages as well as offering some great deals on our TransPro heat presses.

We also have a wide range of support videos on our products that are extremely helpful in getting you familiar with our different products.

2. CREATE A FINANCE & MARKETING PLAN.

What is your budget? Once you know what products you’ll need, figure out how much your start-up cost will be. Outside of materials like a heat press and transfers, you will also want to include the cost of t-shirts, labeling your product, shipping/packaging, etc. Make sure all of this is roped into what you charge for your t-shirts, as well as your time.  Keep track of all of your expenses.

Create a marketing strategy. Will you mostly be selling online? Social marketing these days is KEY. Take advantage of free marketing like Instagram and Facebook. Reach an even larger audience by sponsoring your posts on Facebook. Give out free shirts occasionally to promote your brand. Remember that sometimes, spending money is making money when it comes to marketing. Identify your strategies, and create a long term vision. Set goals for yourself each month, and believe in your ability to reach it.

3. HAVE FUN, BE CREATIVE, & DON’T QUIT!

Why run your own business if you can’t have fun doing it? Always remember to keep a positive outlook and provide more-than-amazing customer service. Customers are key, and will always return if they receive a quality product combined with a pleasant experience. Always try to improve, and continue to learn new products and new strategies. Never stop promoting your “brand”. And remember that success comes with time and hard work, so don’t give up!

View & Add Comments

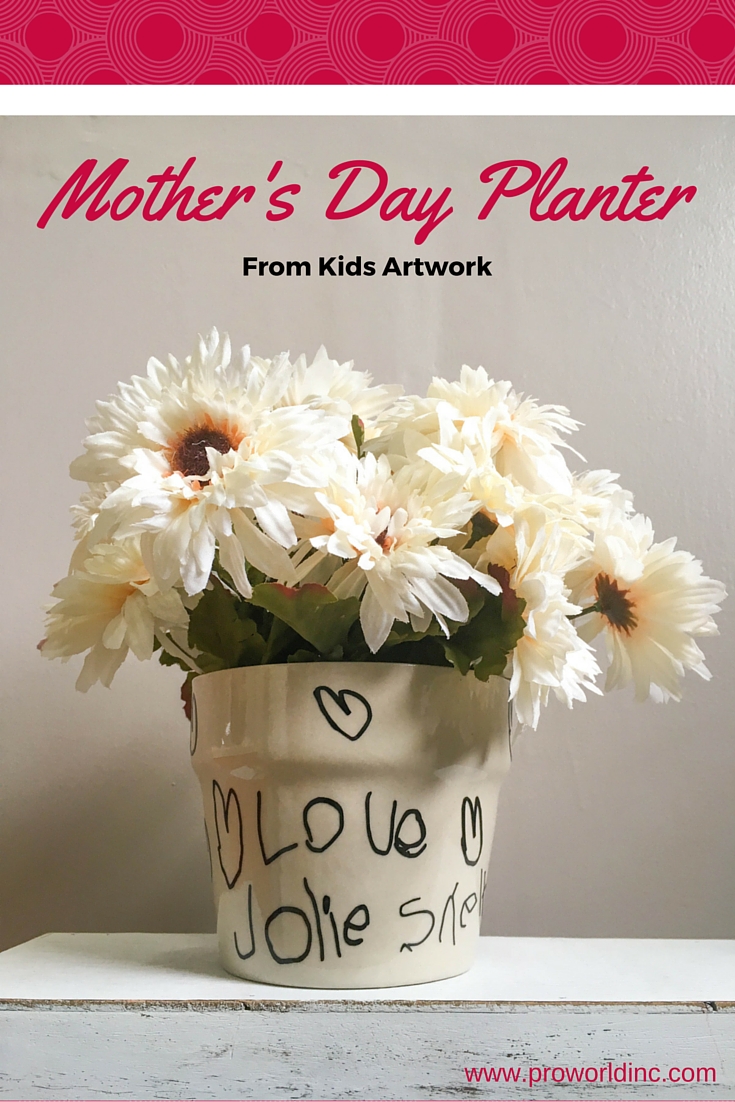
Make a Mother’s Day Planter from a Kid’s Doodle

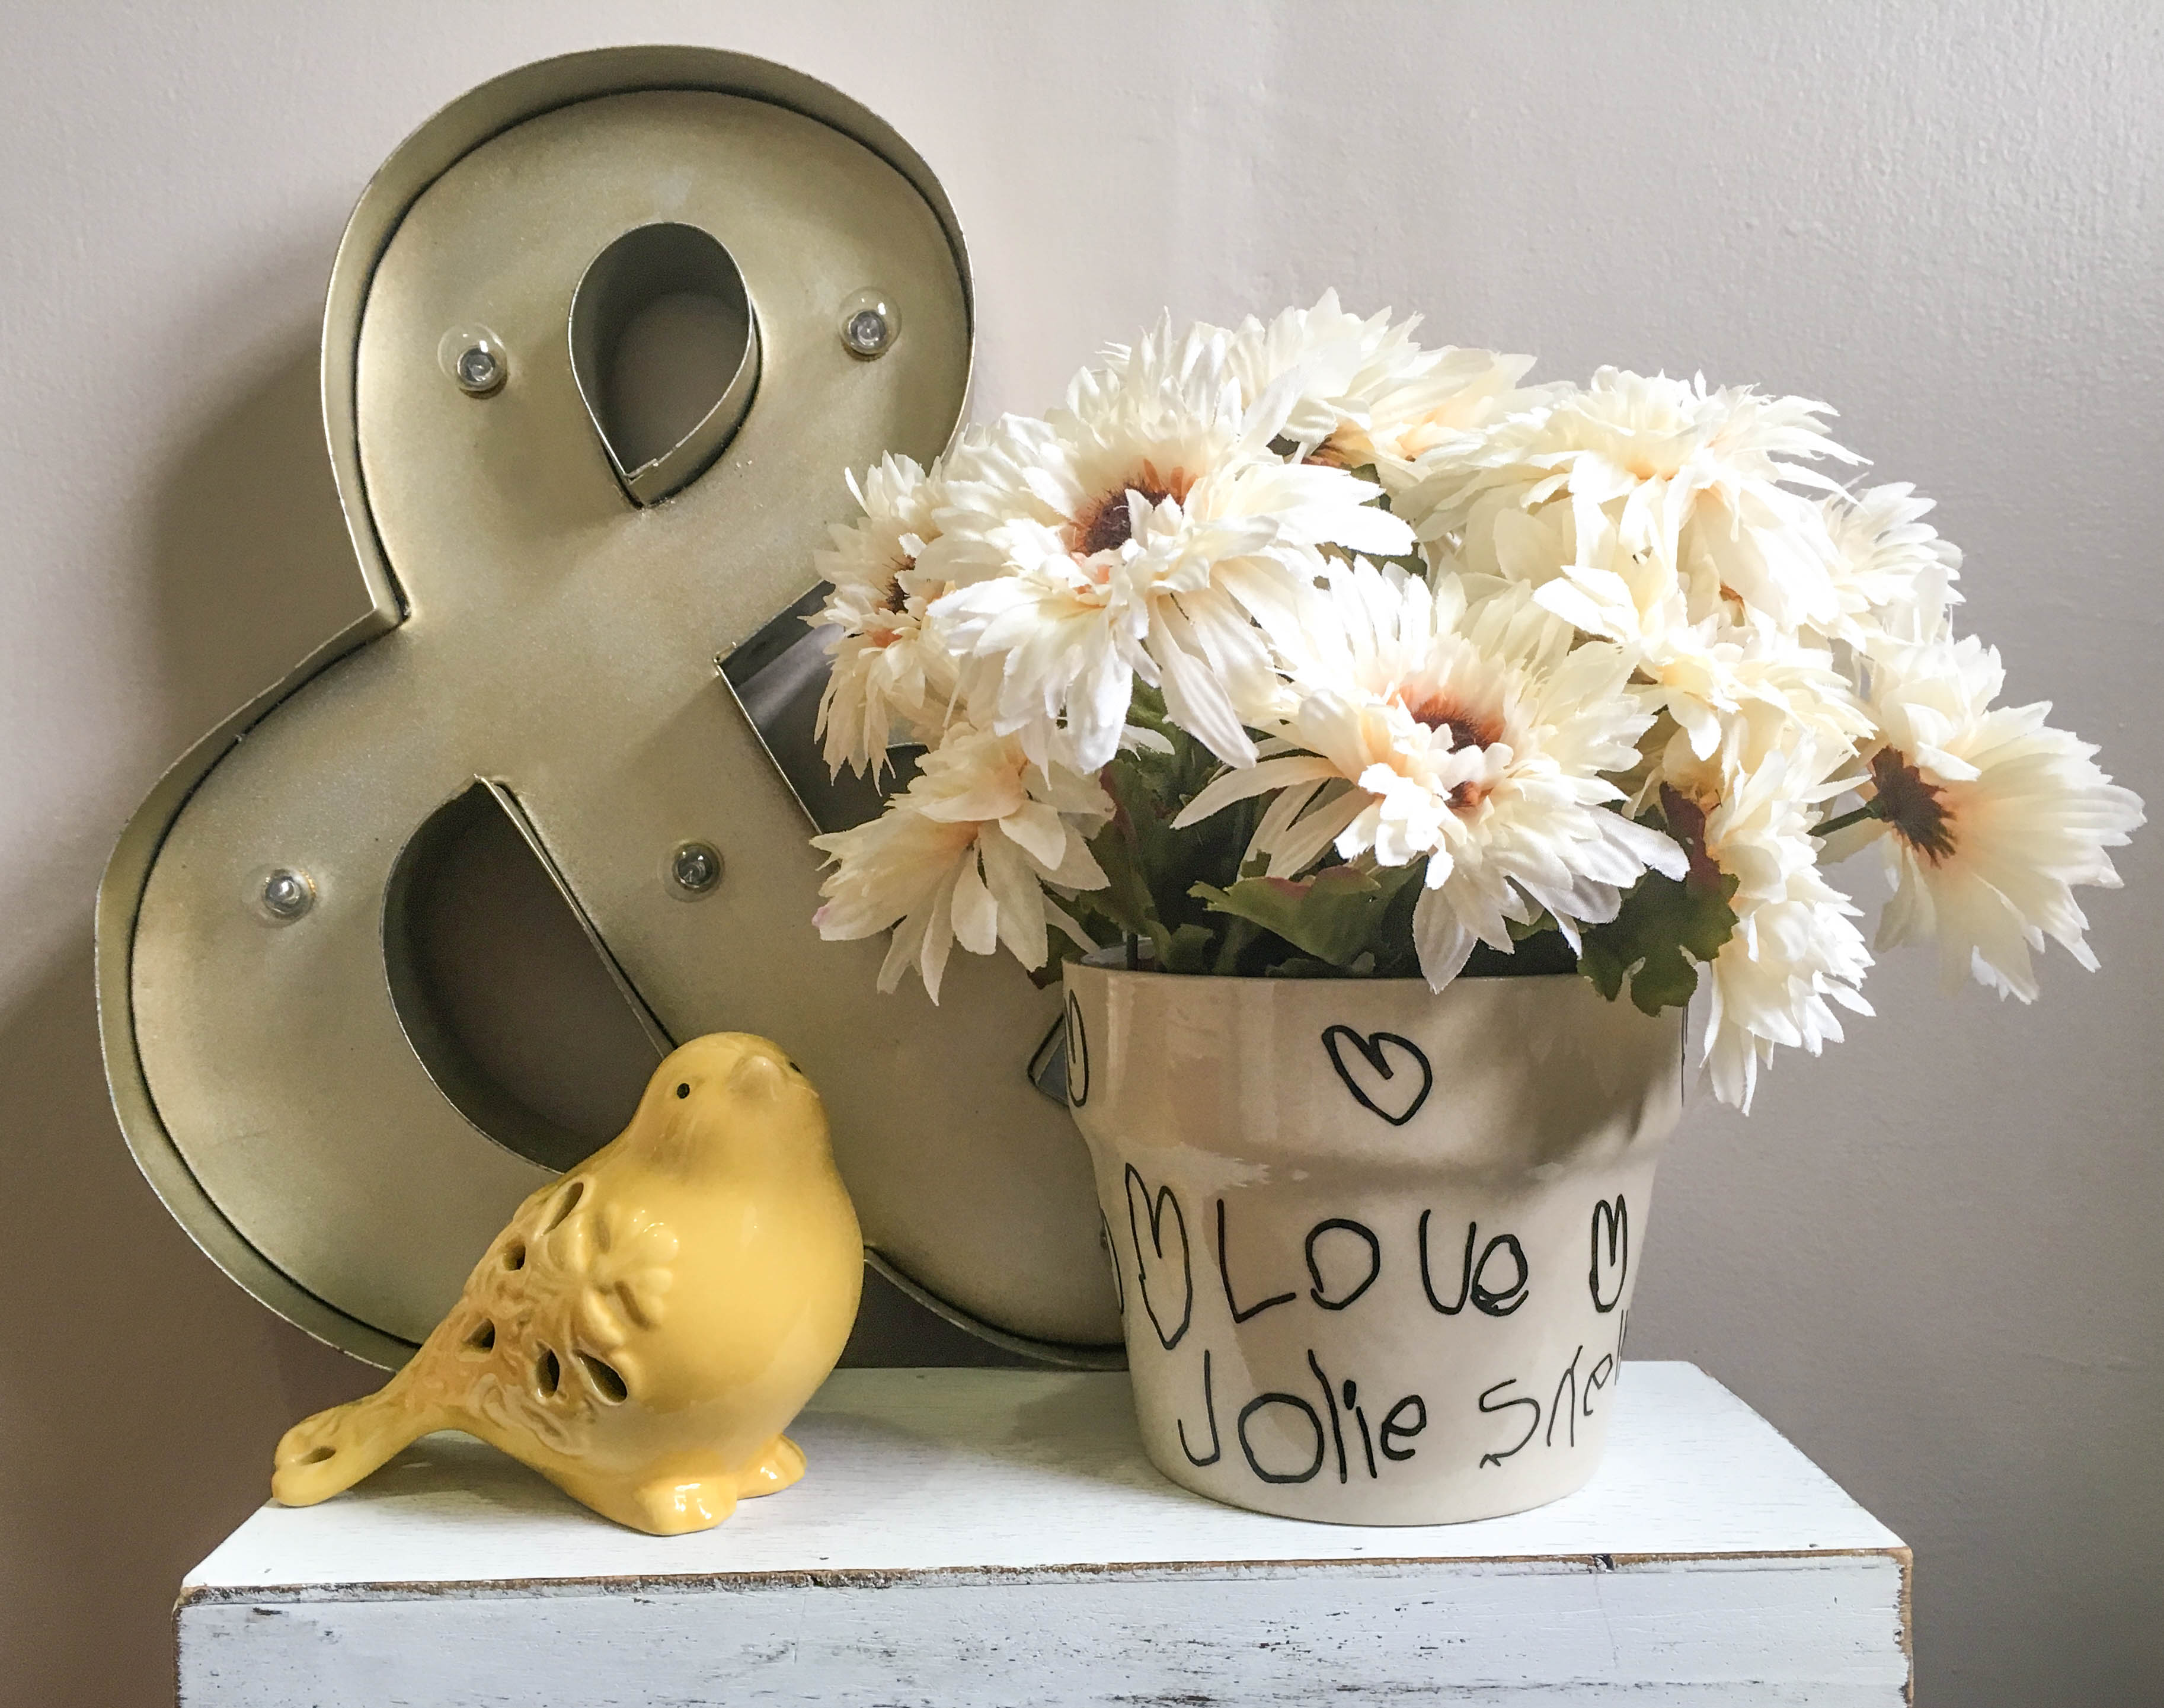
Hi friends! It’s Dee from From Wine to Whine. Today I am showing you how to trace a hand drawing or note so that you can cut it from vinyl! Scroll down to see how I took my 4-year-old’s doodles to permanently decorate a planter for Mother’s Day! make a Mother's Day Planter from your kids artwork! | Pro World Inc

Wouldn’t that make a cute Mother’s Day Gift? Even if that means you helped your little one make it for yourself.

You Will Need:

Here’s what you want to do: 

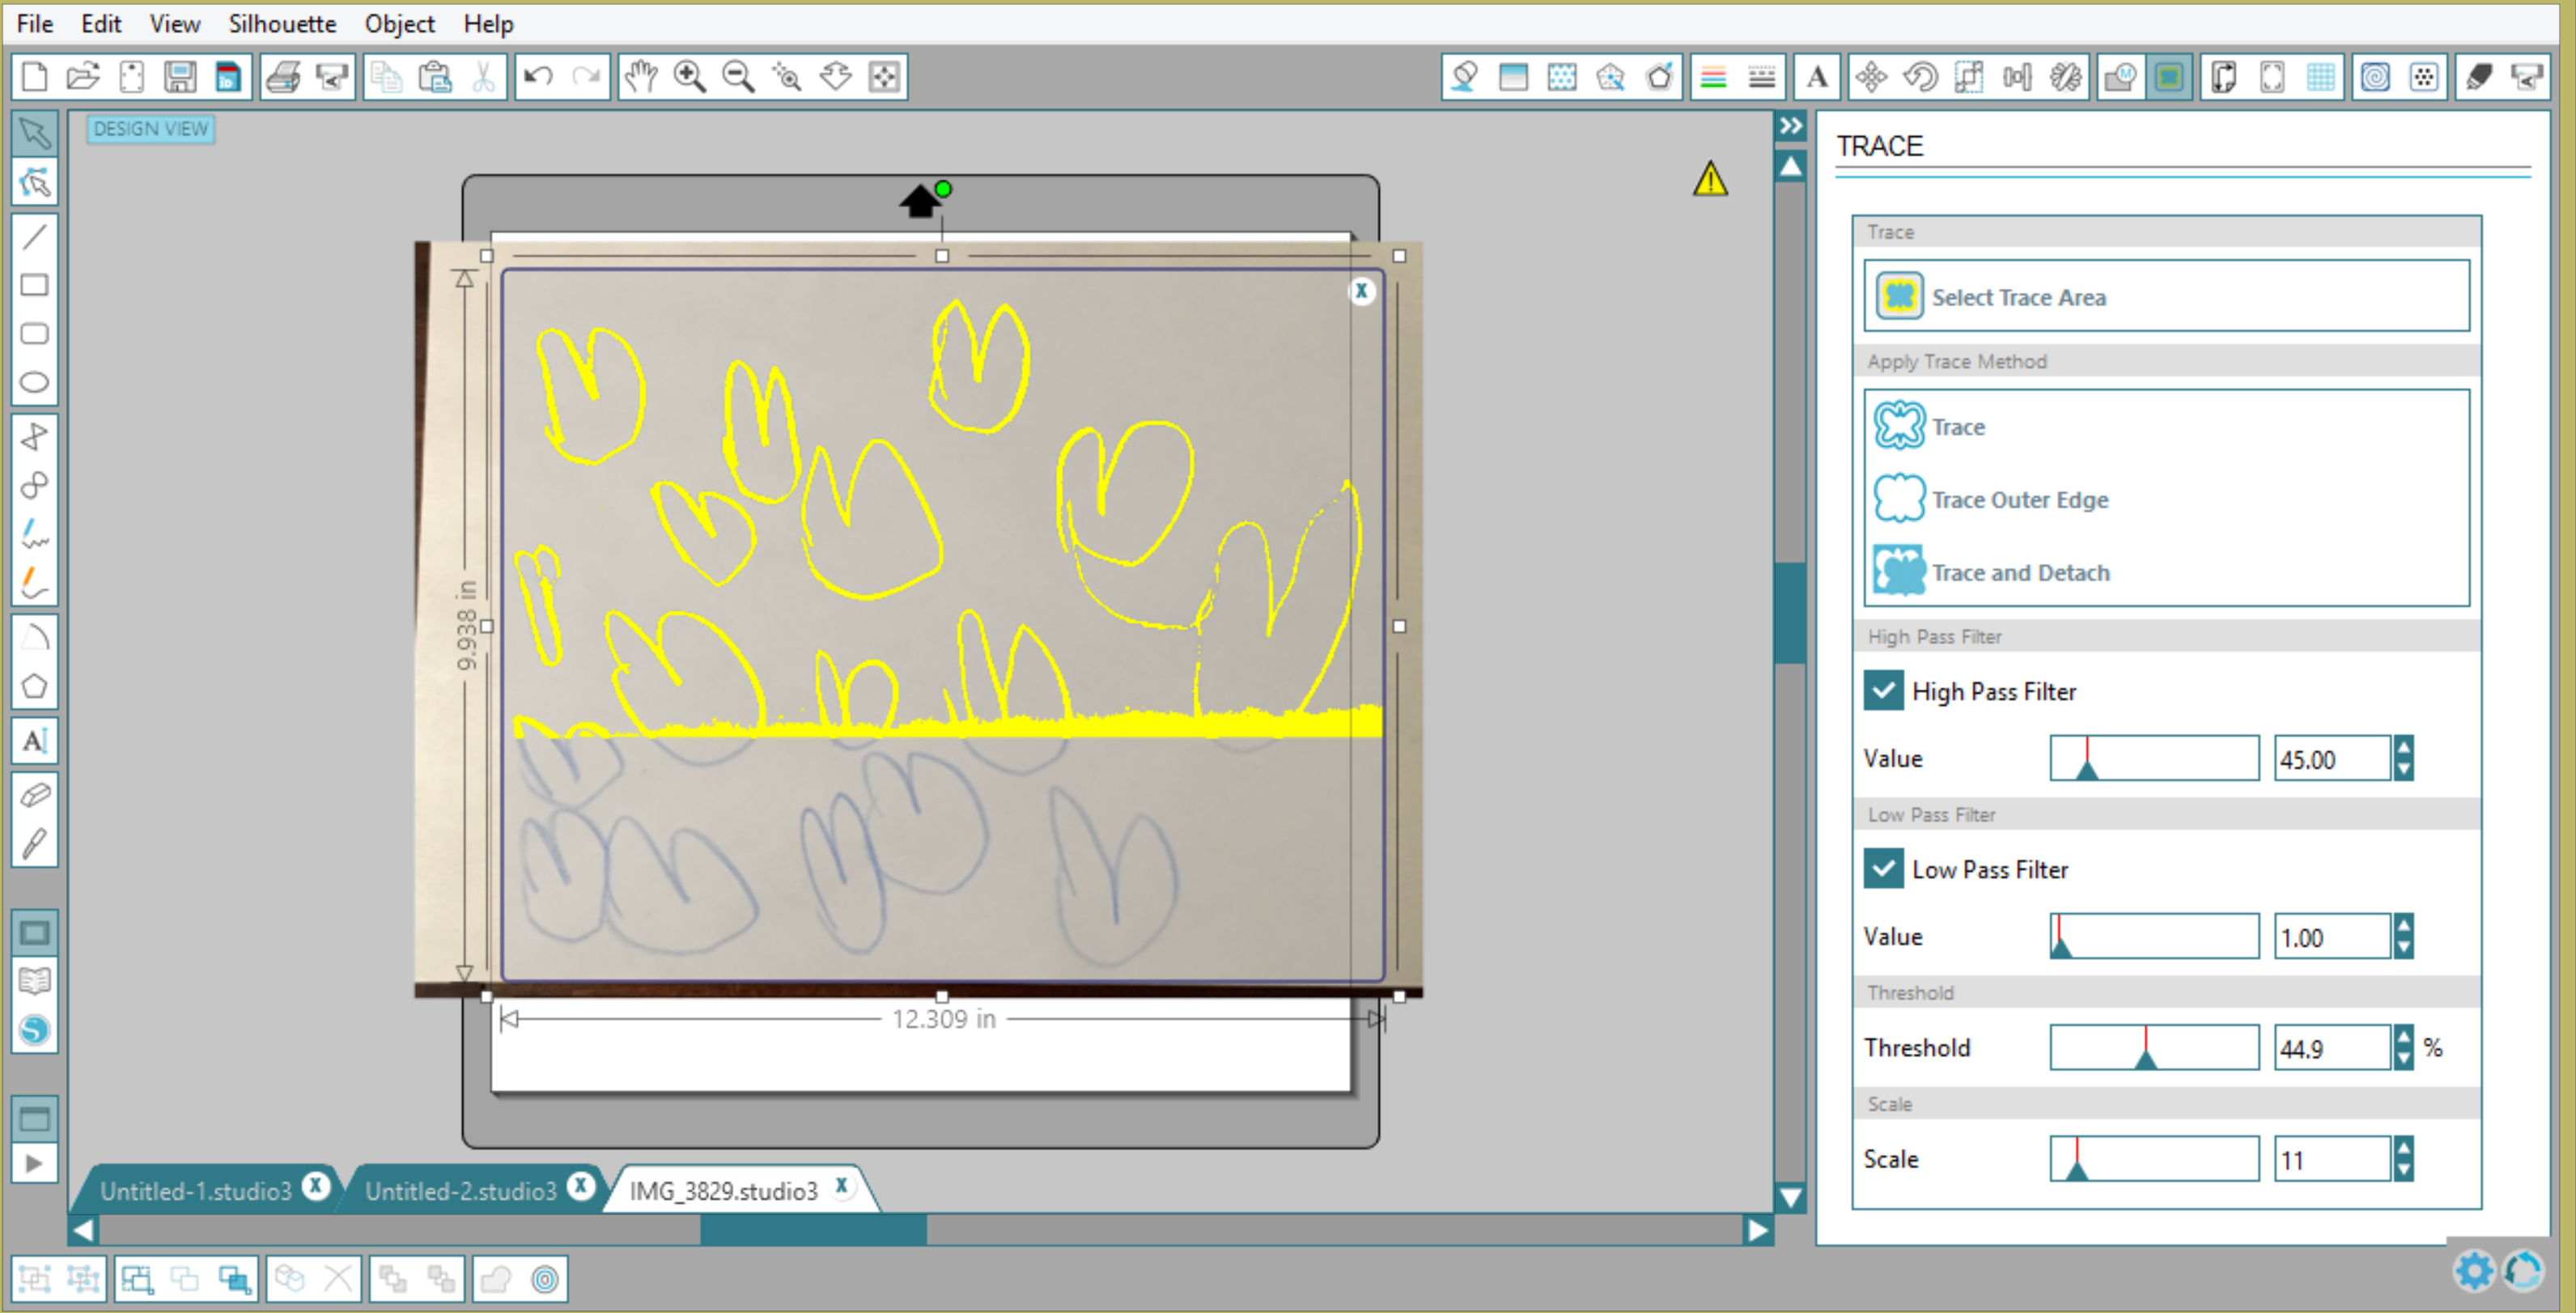
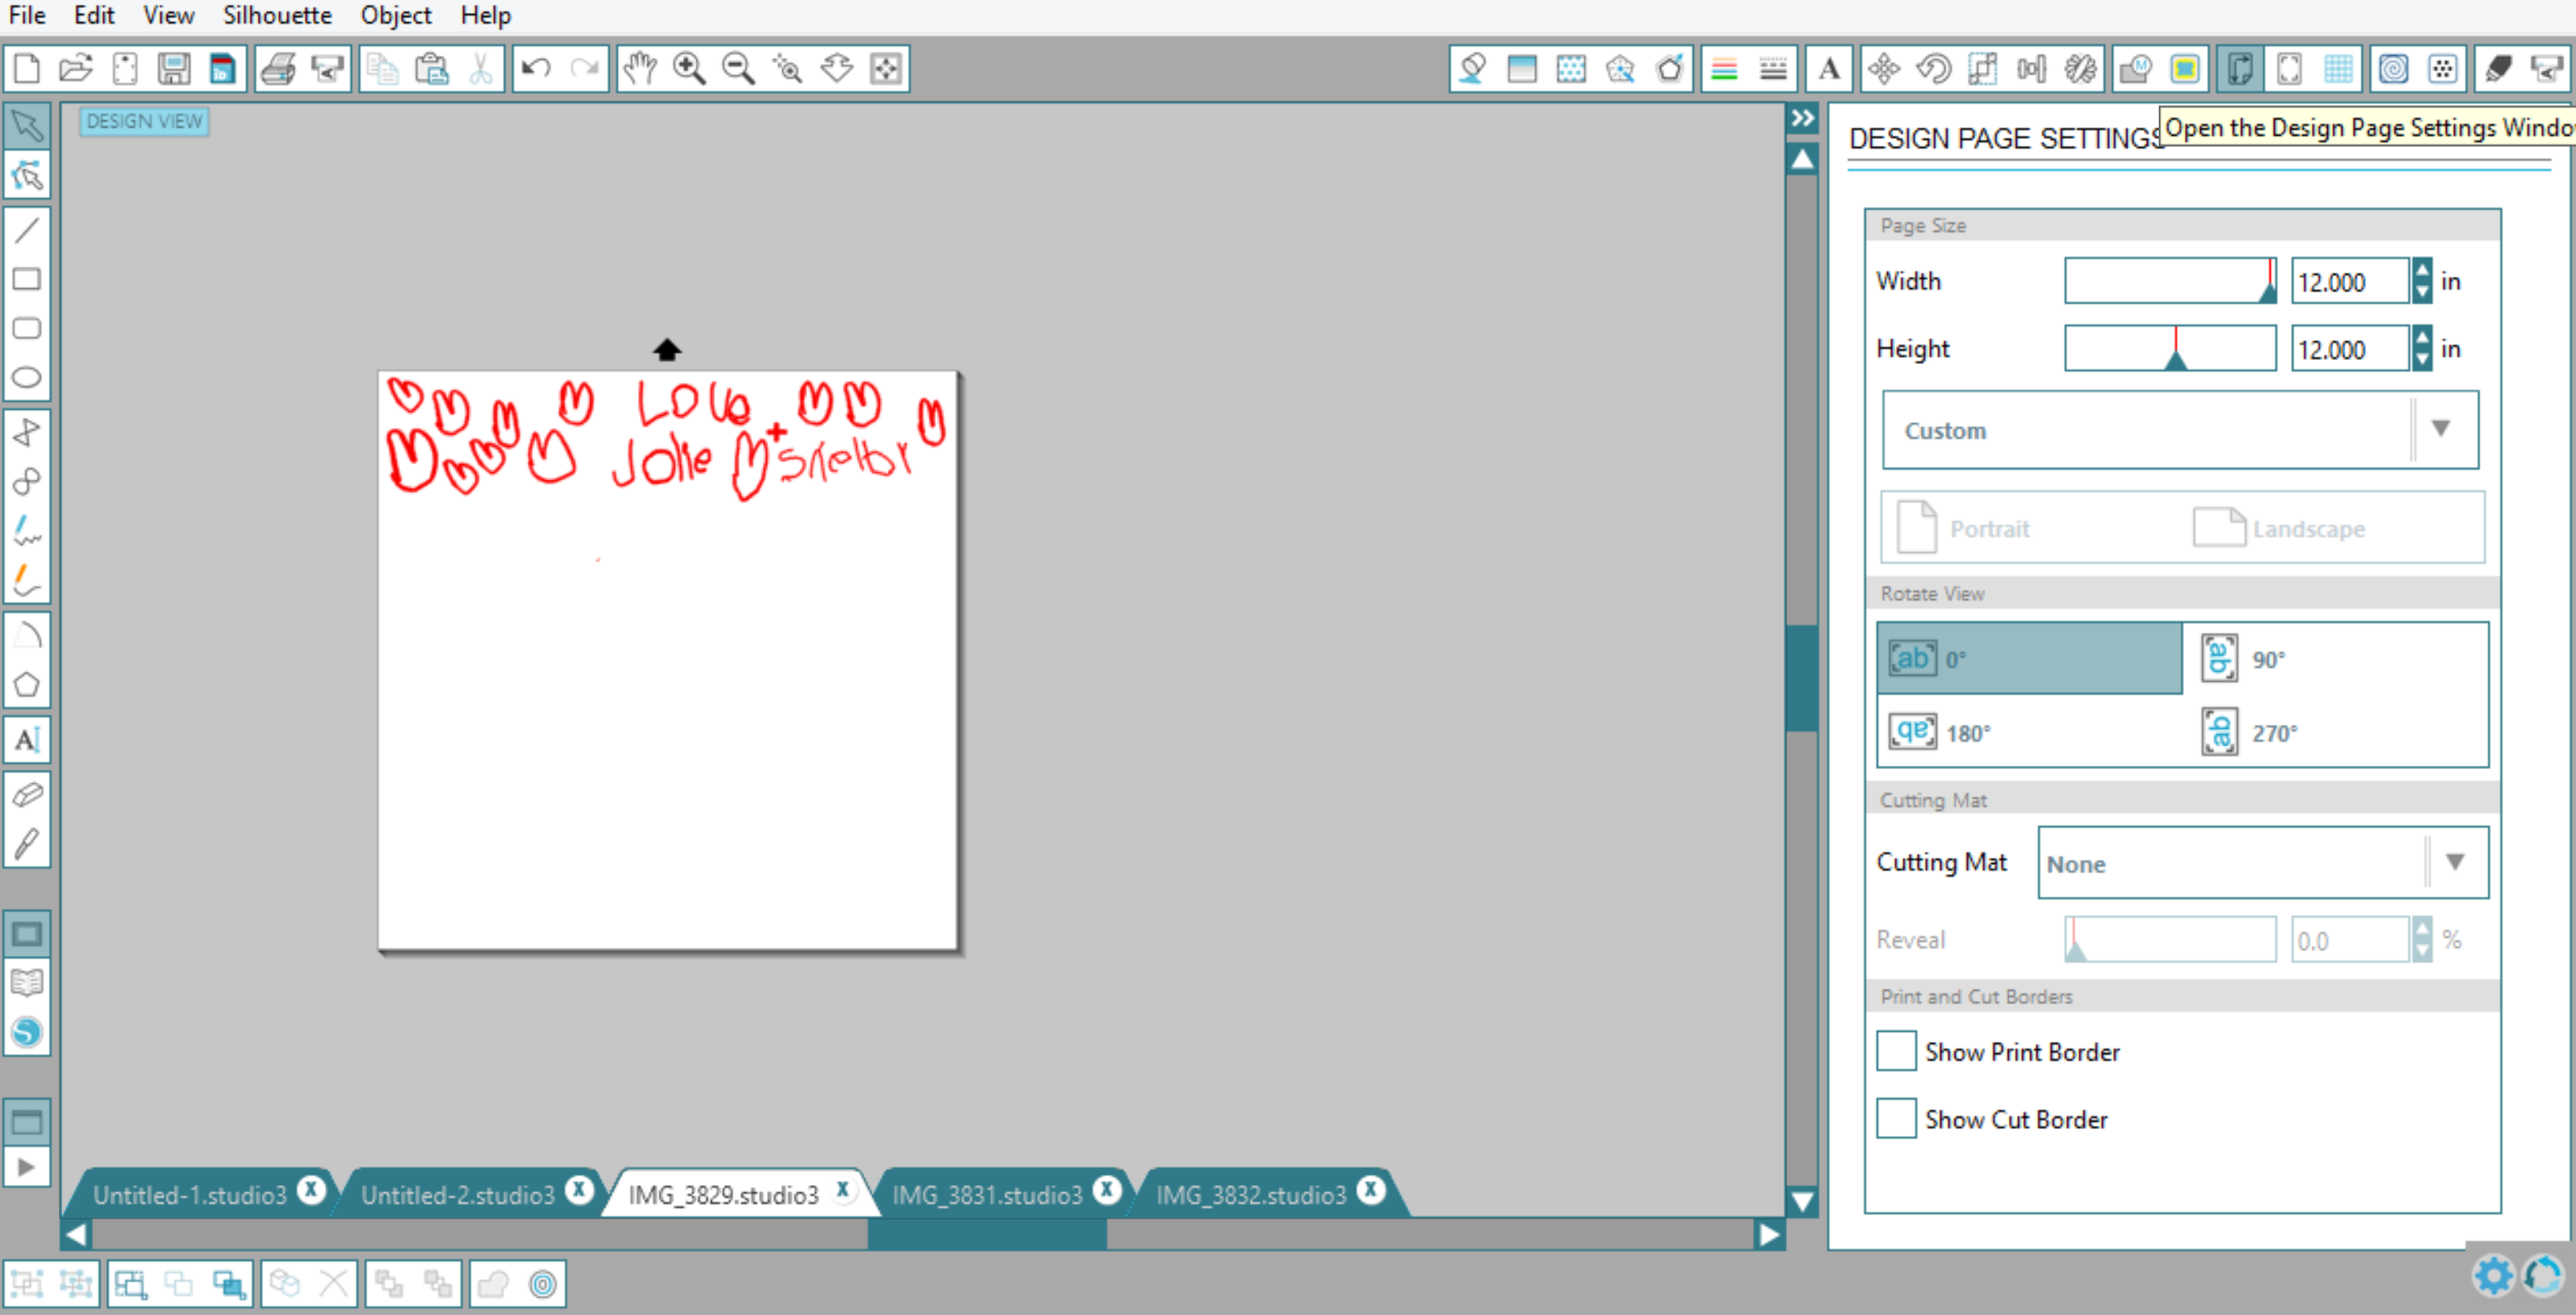
Take a photo of your child’s artwork and open it in the Silhouette Design Software.

Go to the Trace function, select your area, and move the filters until the majority of your design is filled. Click Trace. preserve your kids artwork in VINYL! | See how Pro World made a Mother's Day Planter

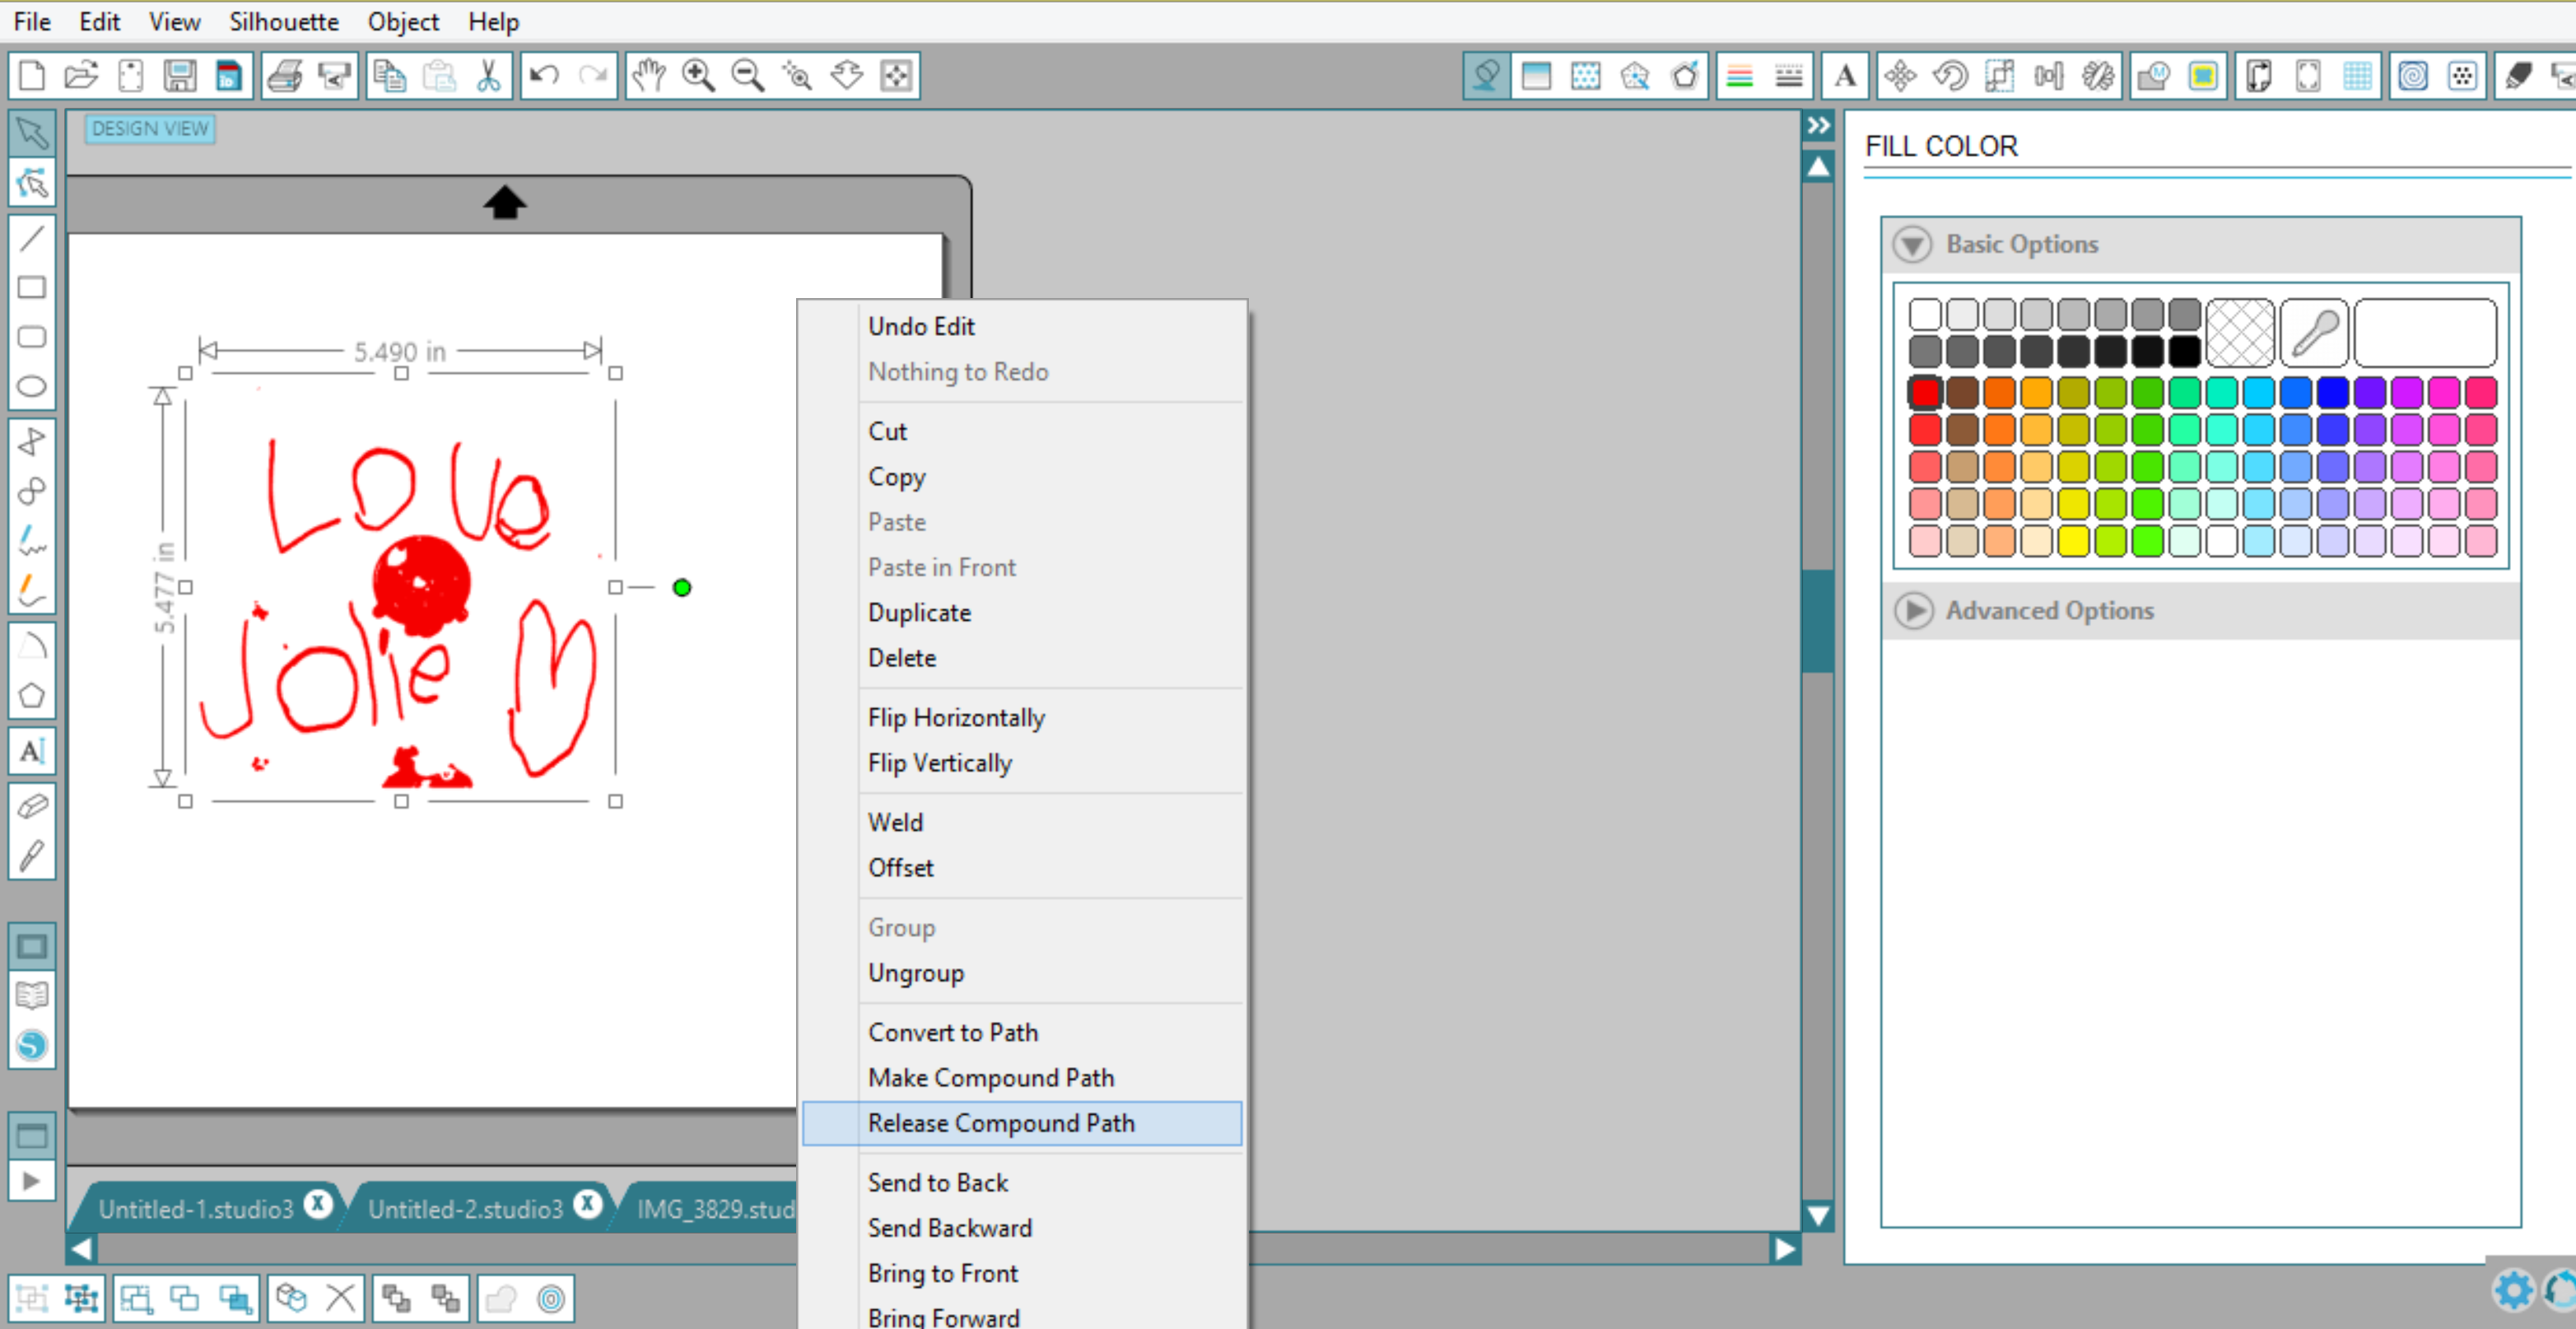
If the design needs to be cleaned up, release the compound path by right-clicking on the image, and selecting Release Compound Path. Screenshot (265)

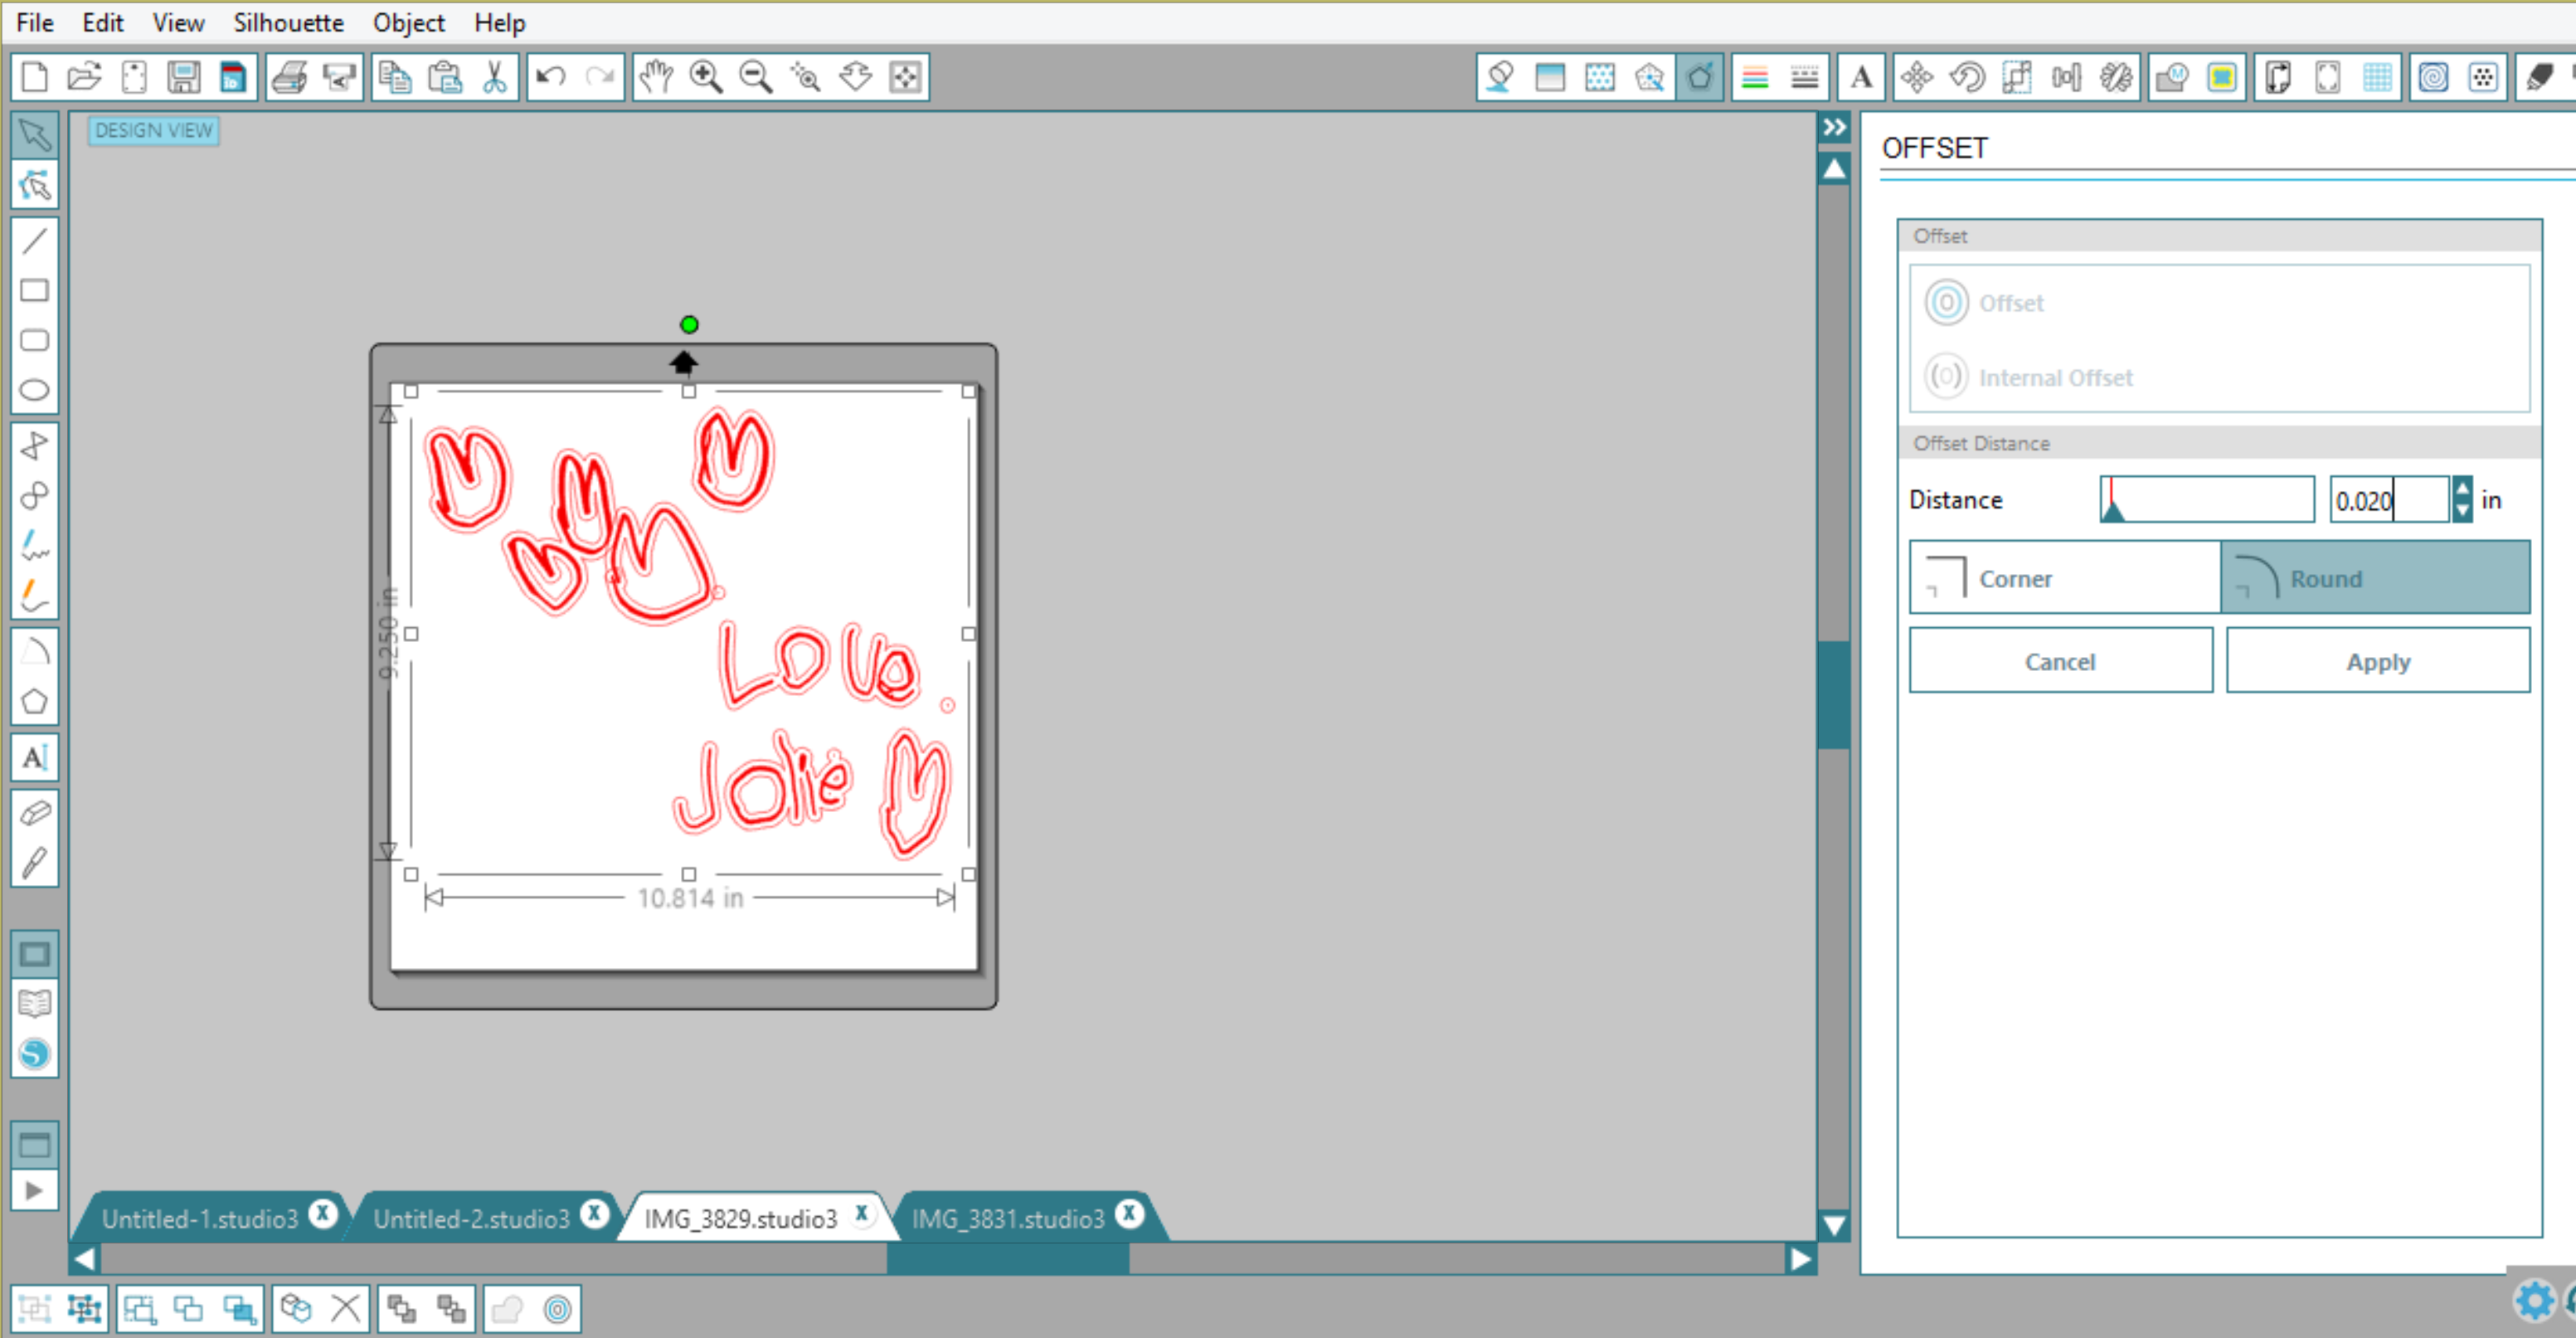
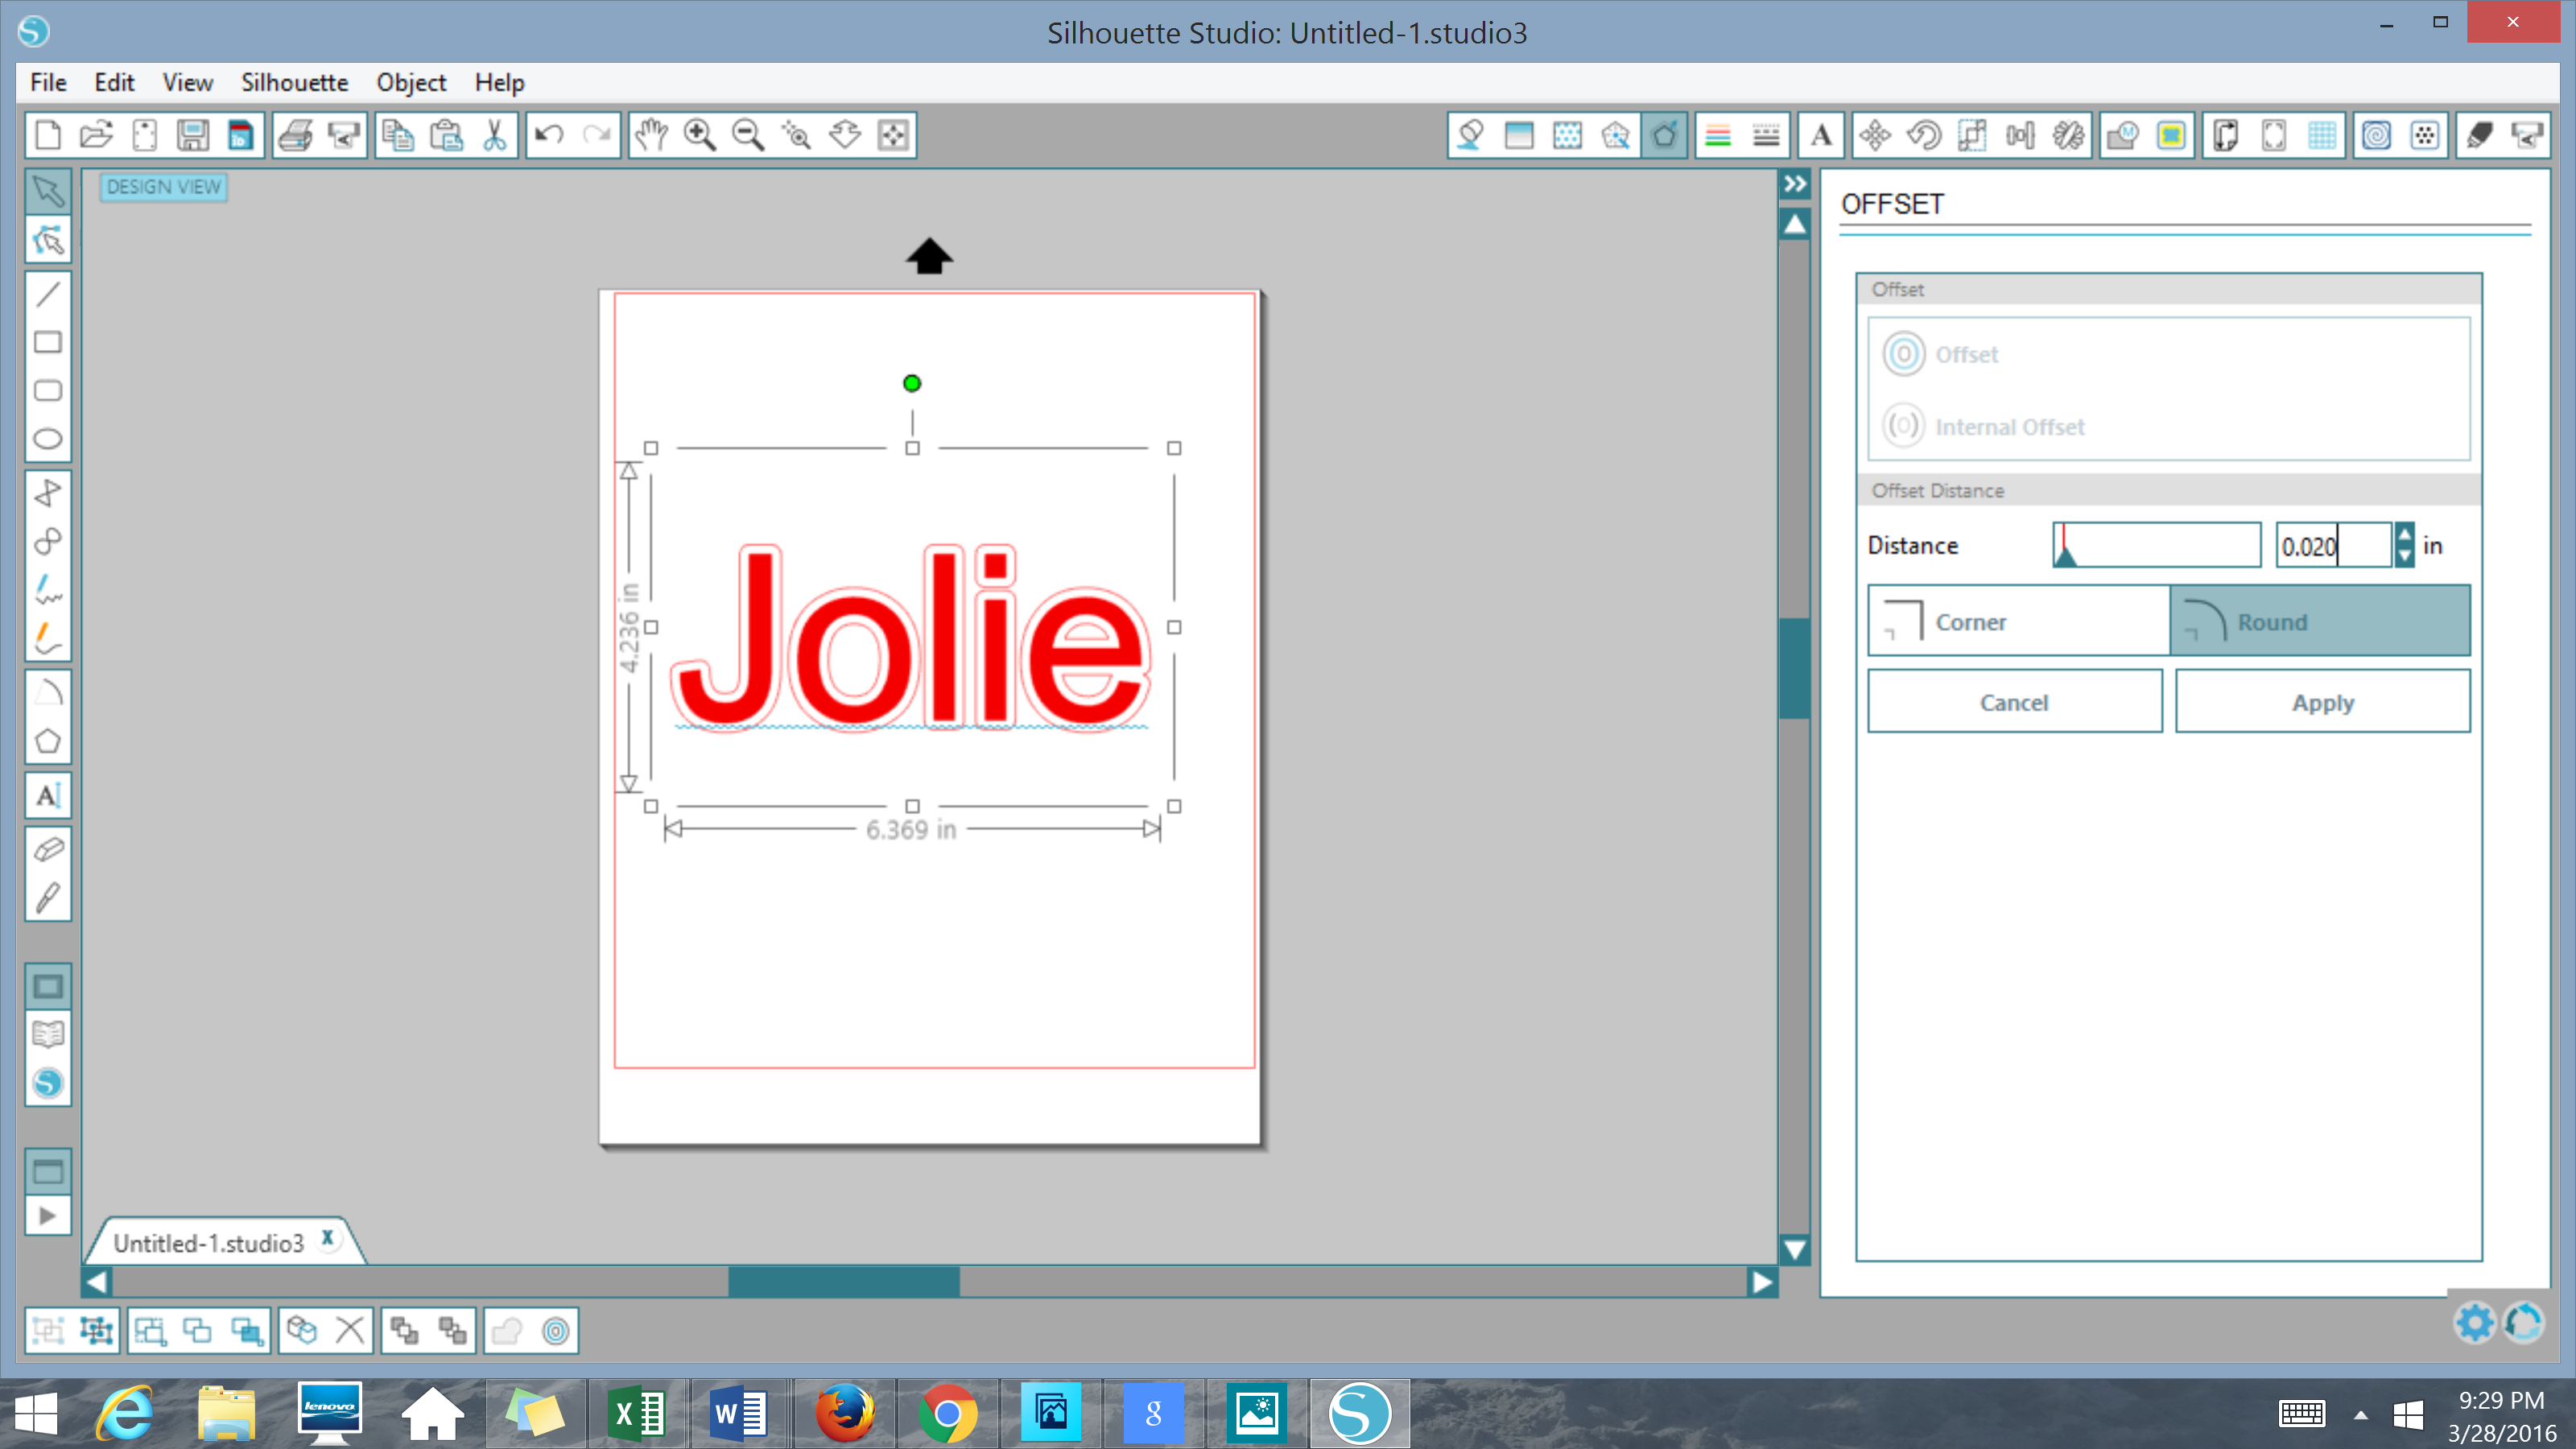
When it comes to thin fonts I like to Offset the image so that it doesn’t rip when cutting. I find that .015-.025 is a good offset distance to add a little line weight without changing the shape.Screenshot (266)
You are almost ready to cut! Just check and make sure that your Cutting Mat function is ON or OFF, depending on how you are cutting.Screenshot (267)

Load your FDC Vinyl into your Silhouette Machine, choose the Vinyl Setting and Send it off.
Make something for Mother's Day with vinyl and your Silhouette Machine

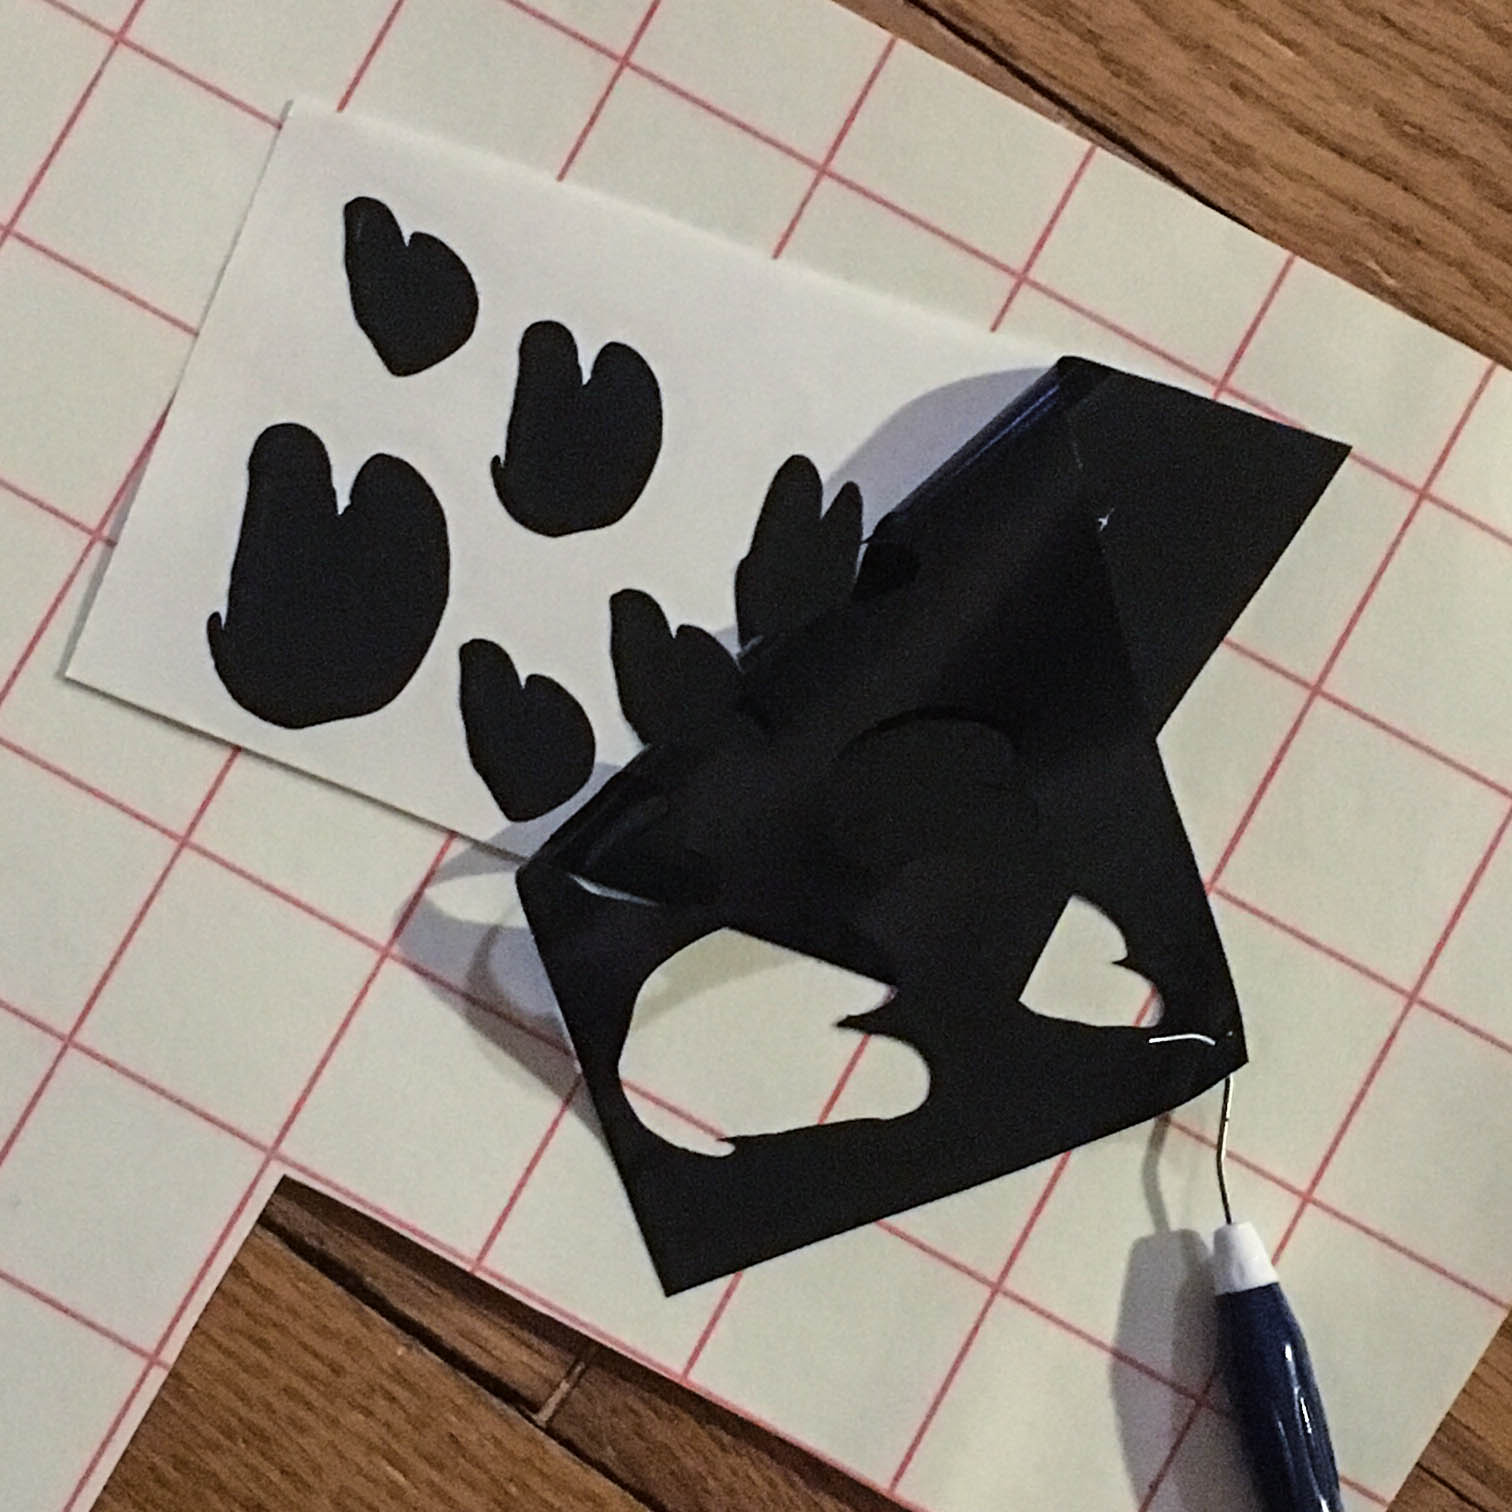
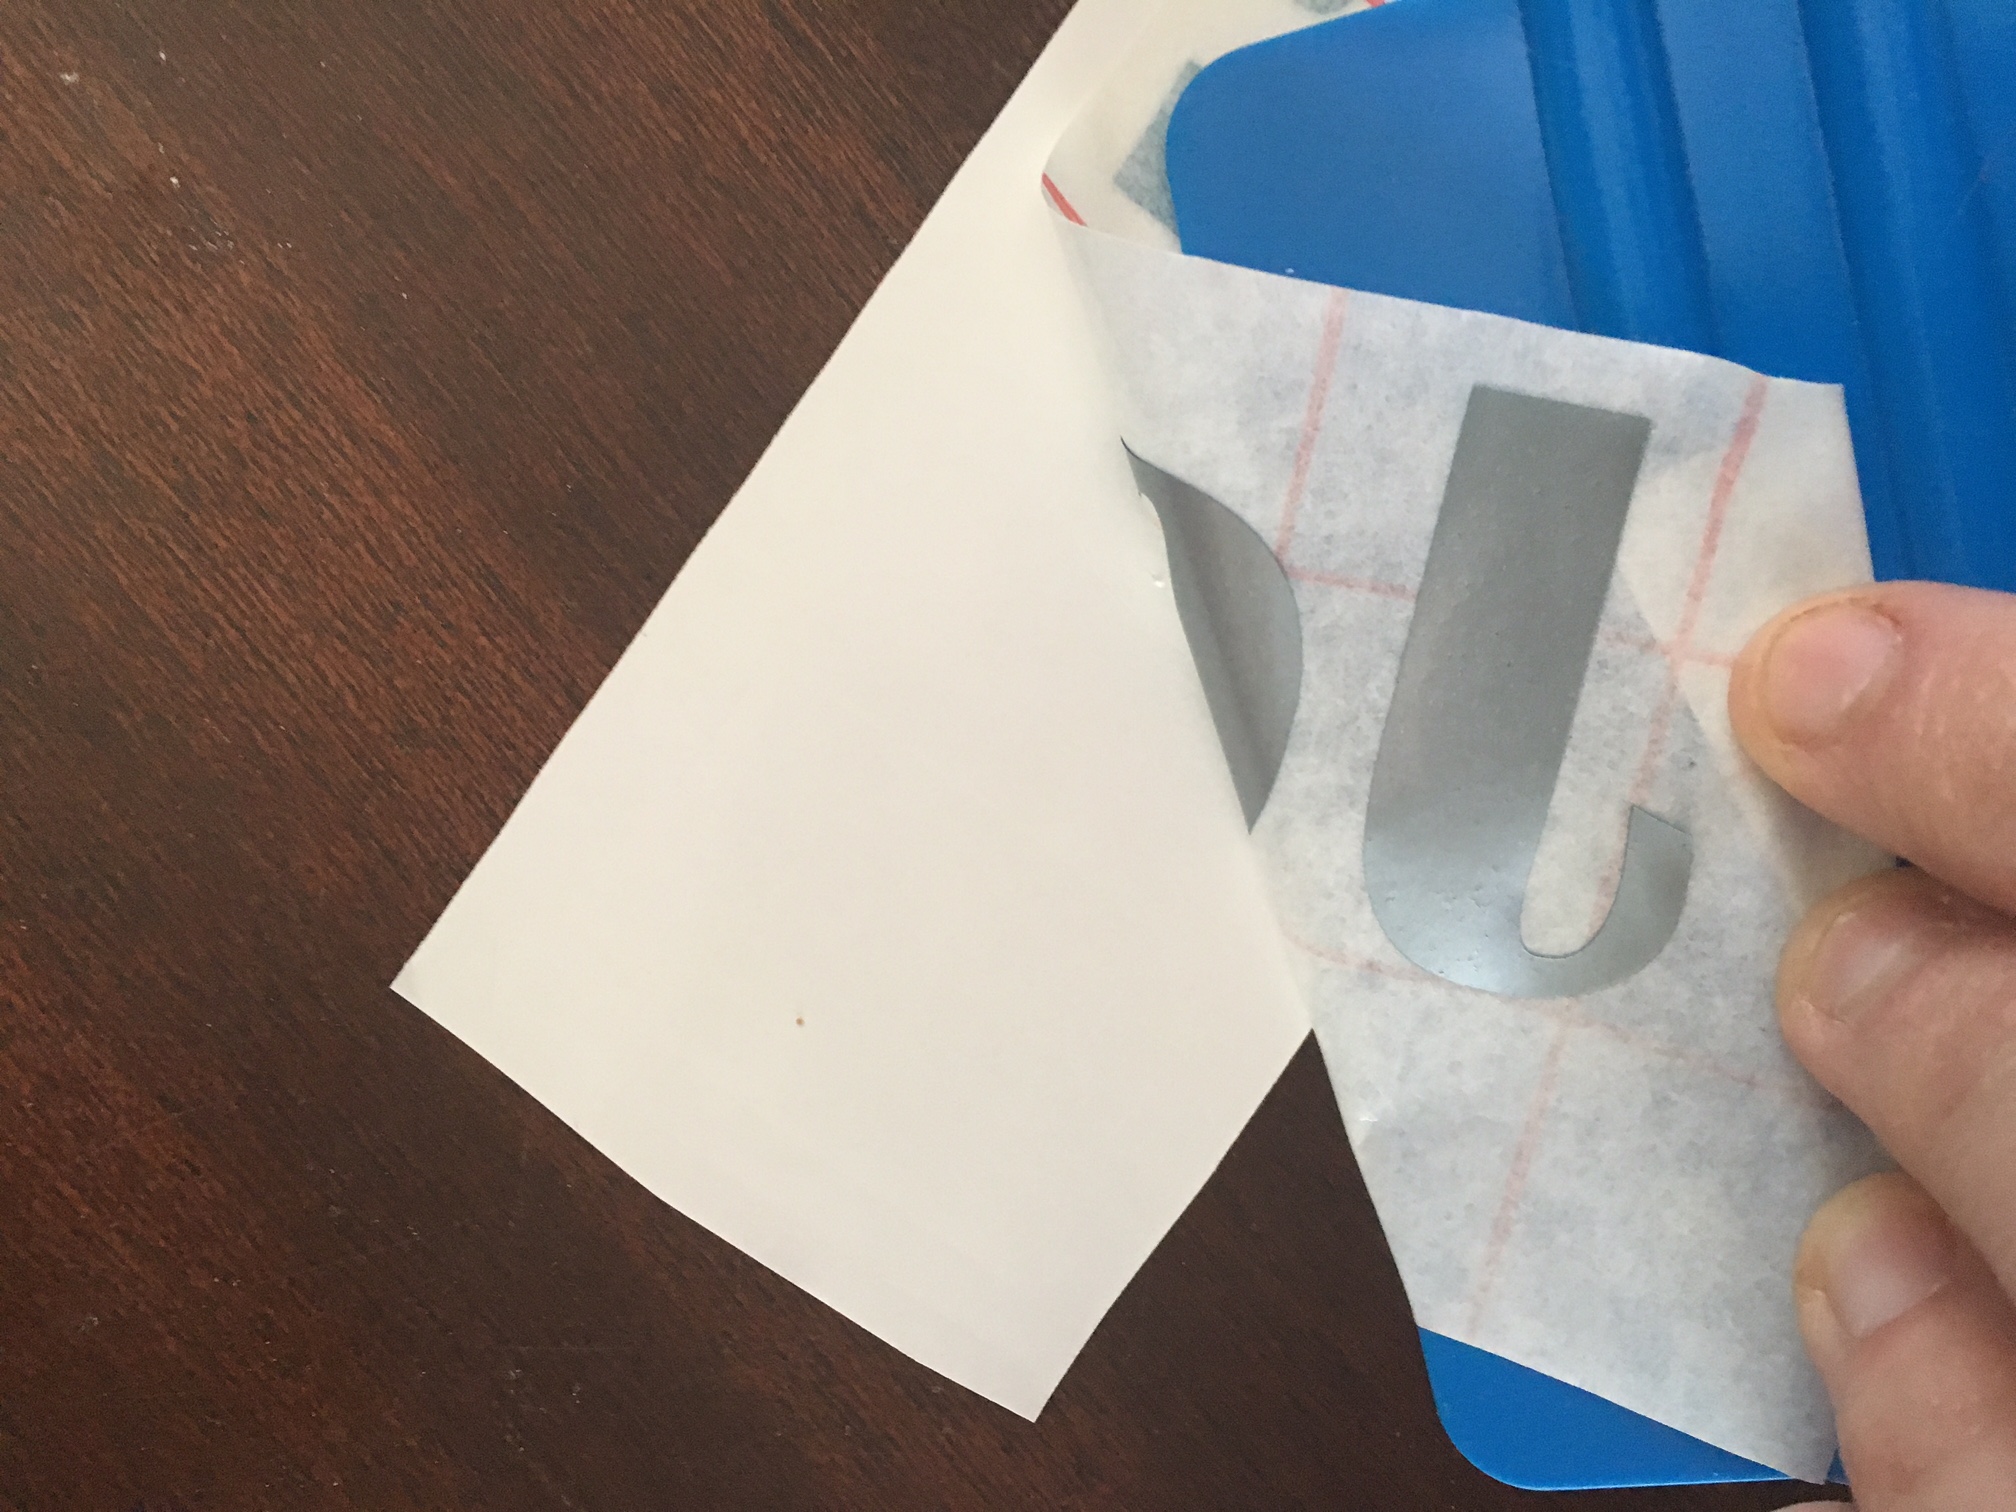
Weed your design, and apply your transfer tape.Does weeding vinyl relax anyone else? Check out Pro World for great deals

Now carefully apply your design to your planter! And remember when working with curved surfaces your design will go on easier if you put little slits in between the spaces of your design. (do not cut the vinyl, just the tape!)Trace your kids art or handwriting and cut it from vinyl! That way you can preserve it forever. See how at Pro World Inc

View & Add Comments

Mother’s Day Photo Frame

Mother's Day Sublimated Photo Frame

With Mother’s Day just a month away, you definitely don’t want to wait until last minute to shop for a gift for the most important lady in your life. Our moms would do almost anything for us… so why not show them just how special they are by creating a personalized photo frame with sublimation?

8X10 Offset Picture Frame

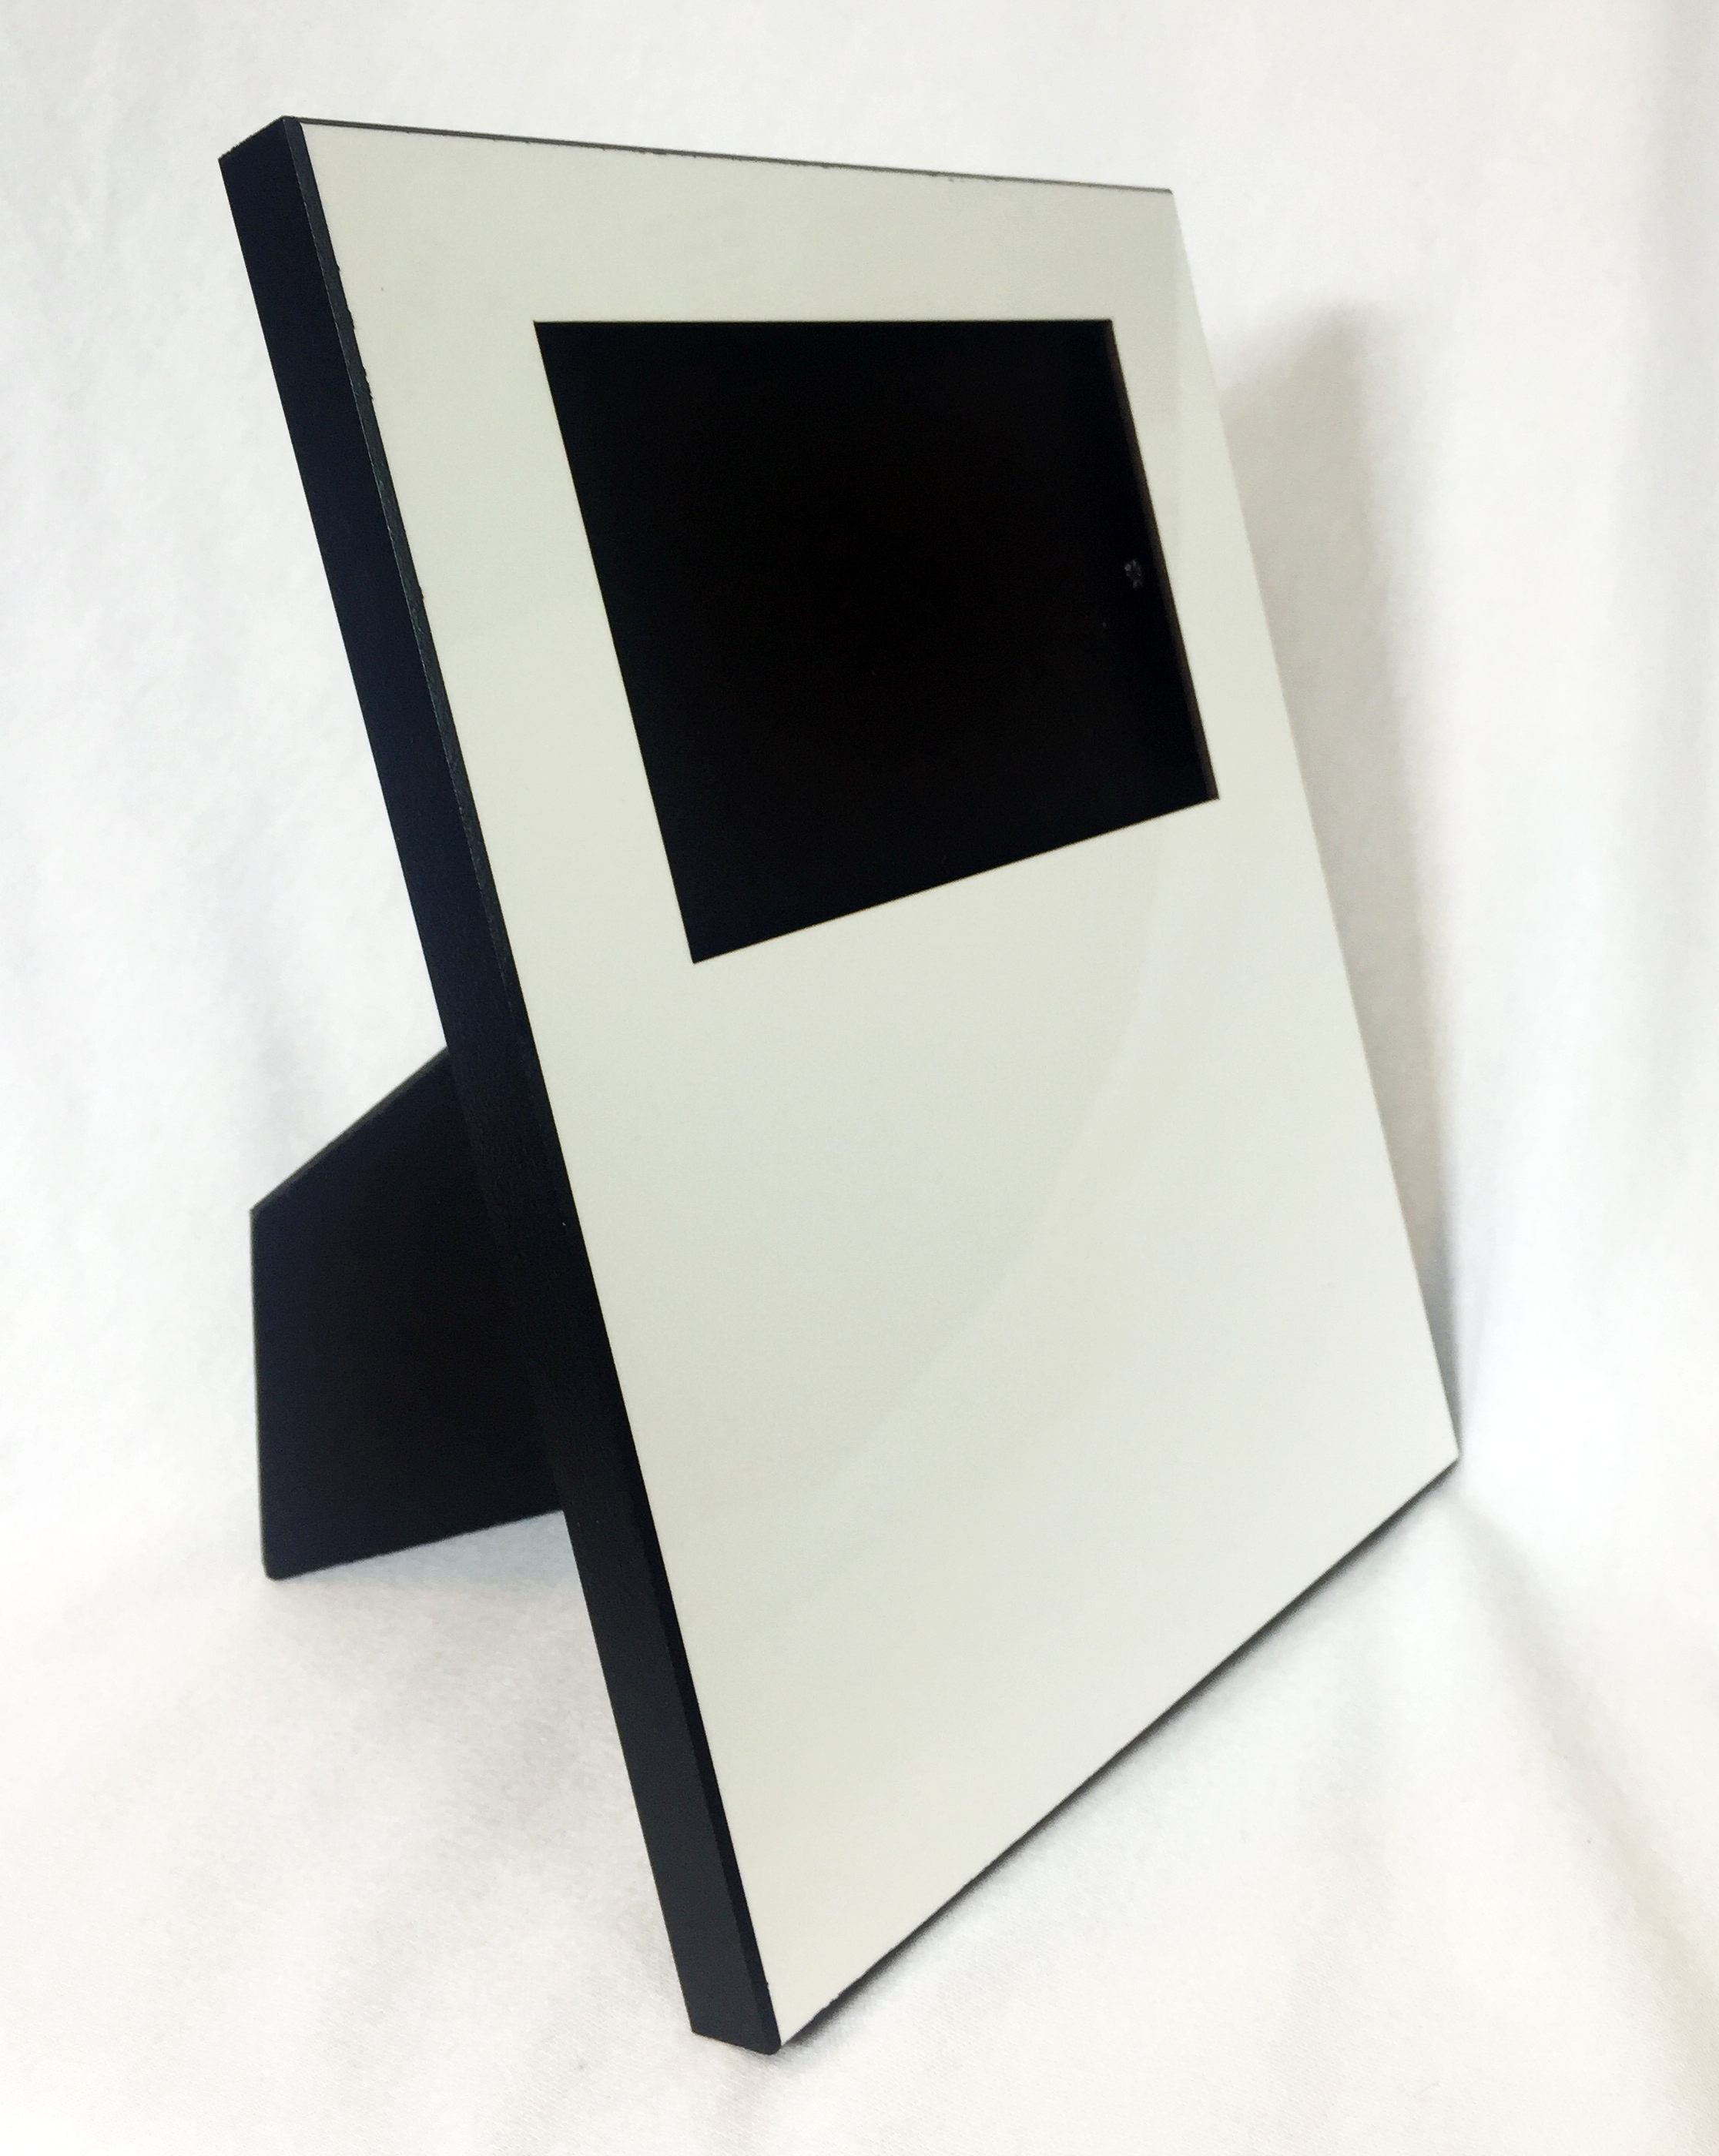
I decided to go with a blank 8×10 picture frame, which has an offset opening for a 6×4″ photo so that the frame can be rotated horizontal or vertical to place the opening in a different position. This frame has a thick beveled edge, and comes in black.

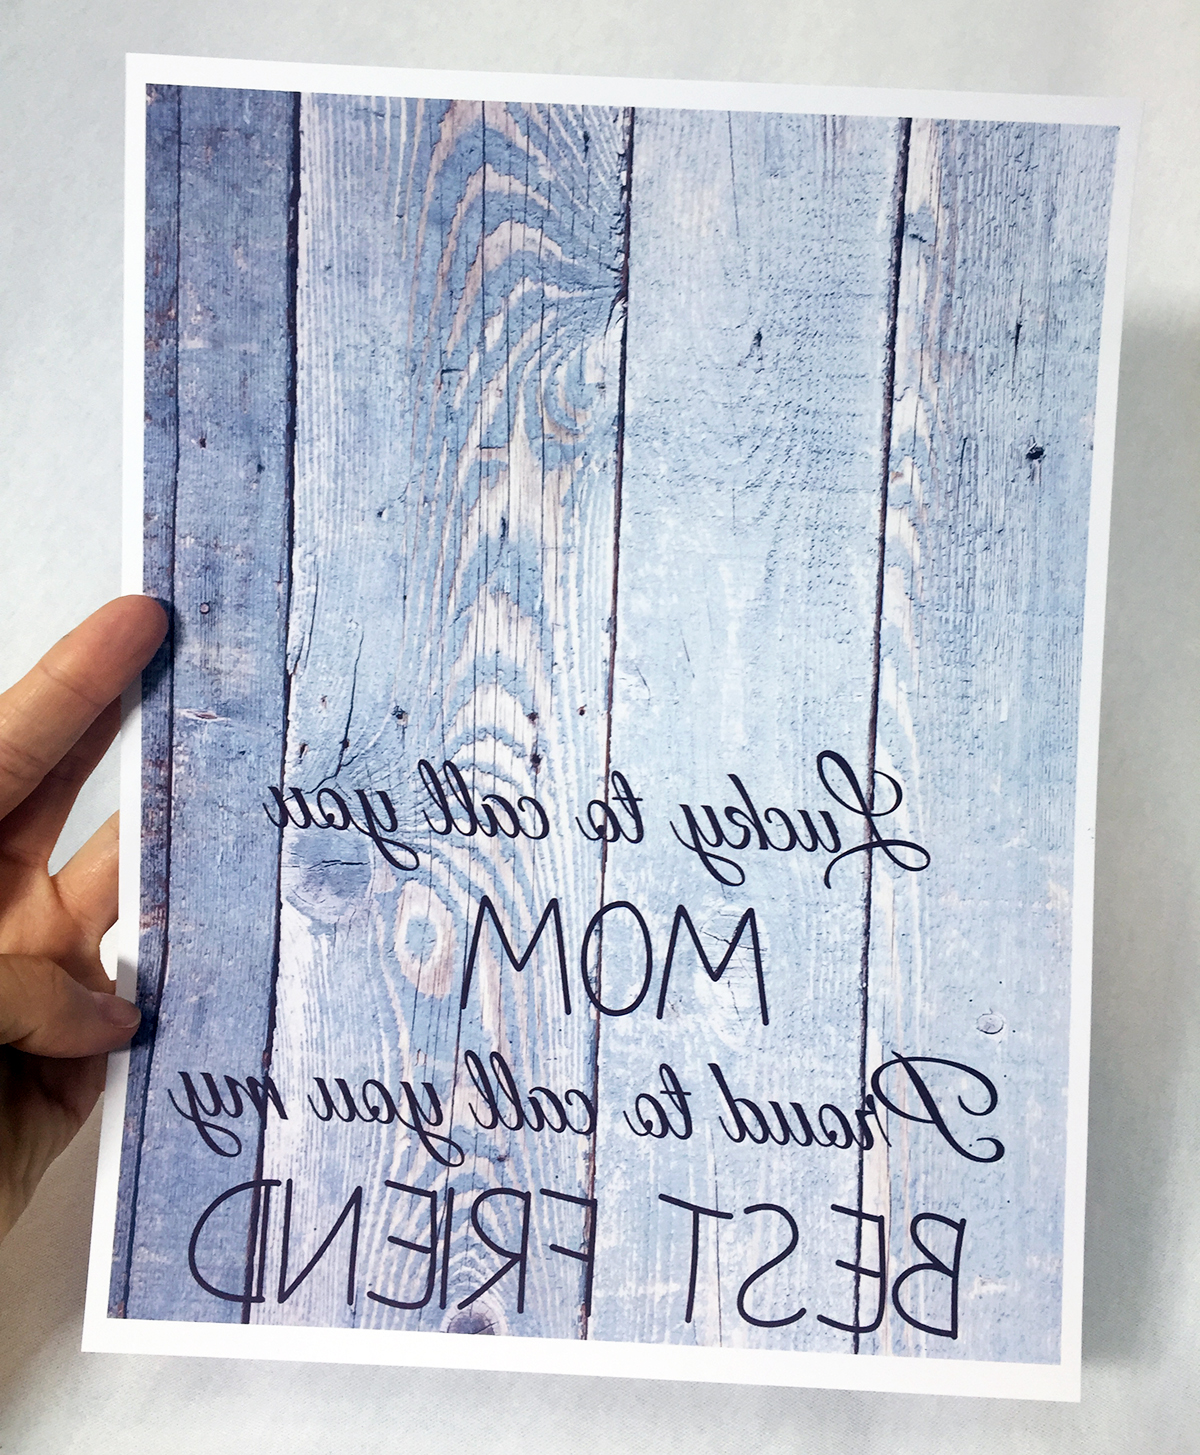
Photo frame design on Texprint sublimation paper

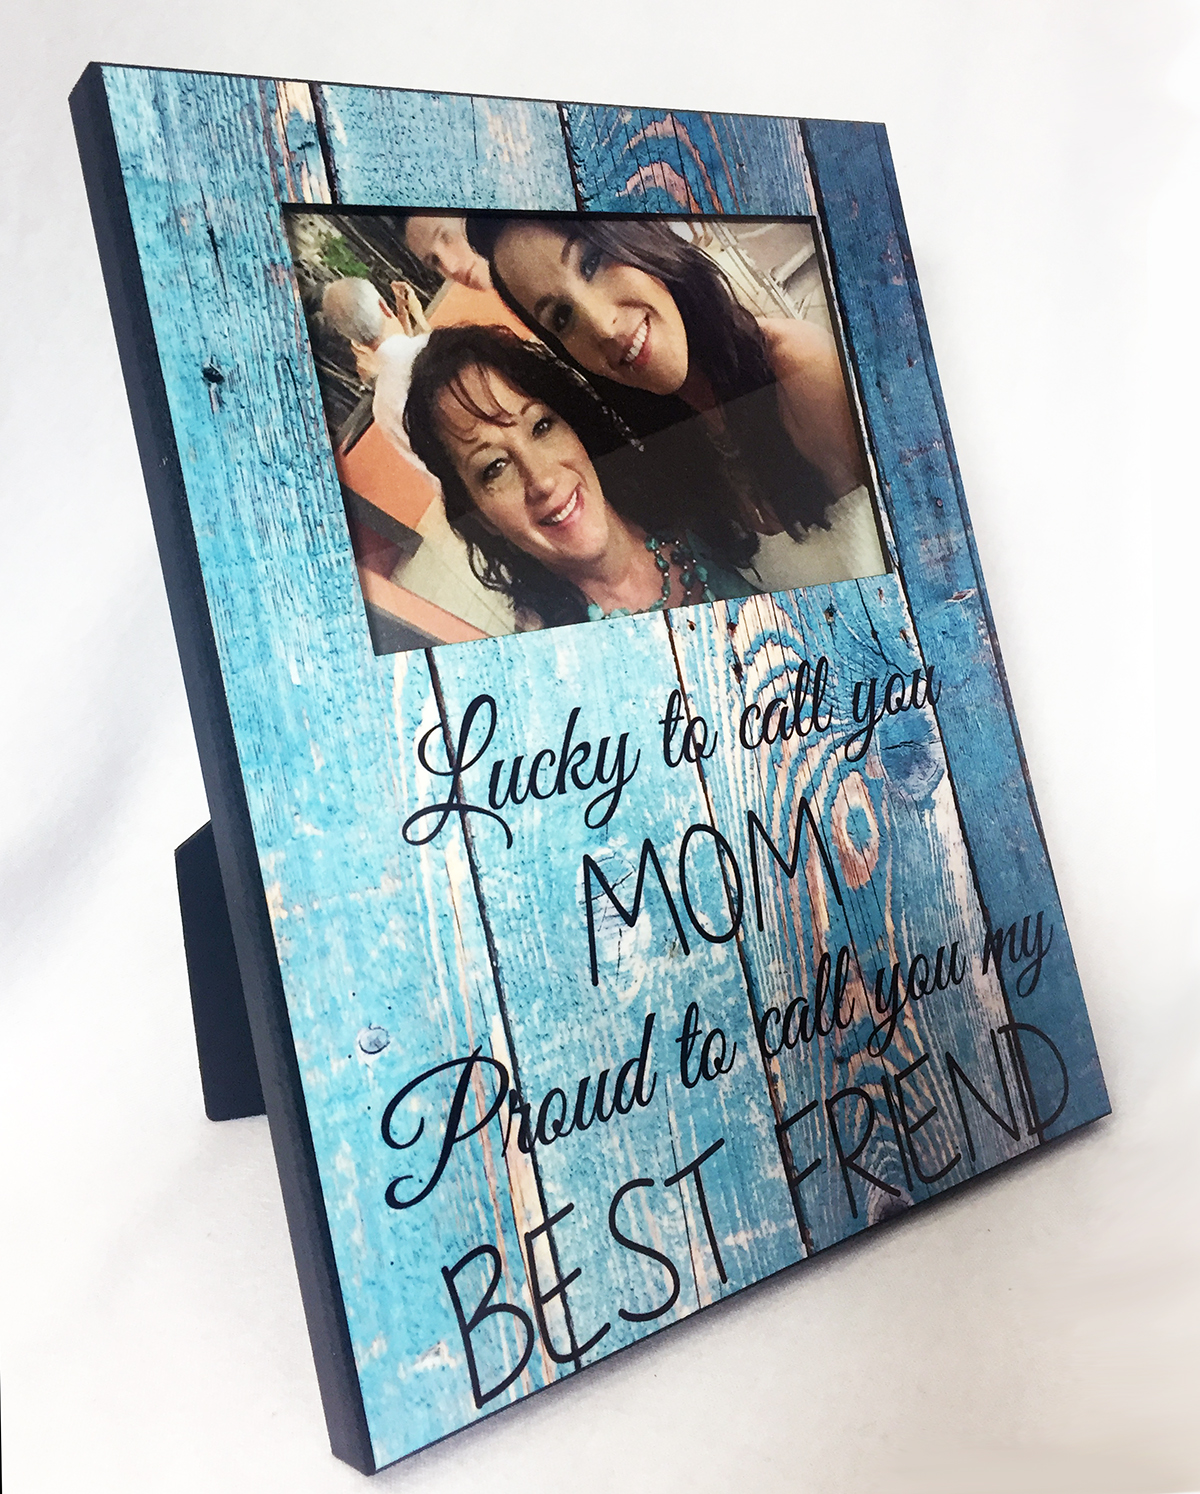
After creating a “wood” background and custom text in Photoshop, I mirrored my design and then printed to our Virtuoso Sg400 sublimation printer, using an 8.5×11″ sheet of Texprint paper. After pressing for 60 seconds at 400° Fahrenheit with the TransPro 15×15 heat press, my frame is complete… it’s that easy! Now just toss in your favorite photo of you and your mama, and VOILA!

Sublimated 8x10 Photo Panel

Be sure to check out our complete line of sublimation blanks to find the perfect gift for your mom! What will you be making your mom this Mother’s Day?

View & Add Comments

Vinyl Your Batting Helmet

Hi, everyone! It’s Dee from, From Wine to Whine and today I am going to show you how I personalized my daughter’s batting helmet with a little FDC Adhesive Vinyl!

vinyl your batting helmet

You can add a name, number, team logo, small decal or customize the whole helmet…the sky is the limit! I only applied a glittery name, but I have a feeling that some more decals will be added before the season is over. That is what happens when your 4-year-old knows all about vinyl. It is only a matter of time before she starts dreaming up the next design!

Want to personalize one of your own? It is easy! You need:

Directions: 

Design your image within your cutting program software. I used my Silhouette Cameo.

I wanted to layer the FDC adhesive vinyl so that the teal popped. So to do that within the Silhouette Design program you right click and select Offset. I tend to use .015 or .020

offset your silhouette design

Once your design is done, you are almost ready to cut! If you decided to offset your image, you would have two different vinyl layers so you will want to turn off the cut lines for one of the colors. Now just check your settings to make sure you are set to the adhesive vinyl option.

Load your vinyl into your machine and click Send to Silhouette!

Weed your design.

Now repeat the last two steps with the other color.

vinyl your batting helmet! Making a layered decal is so easy!

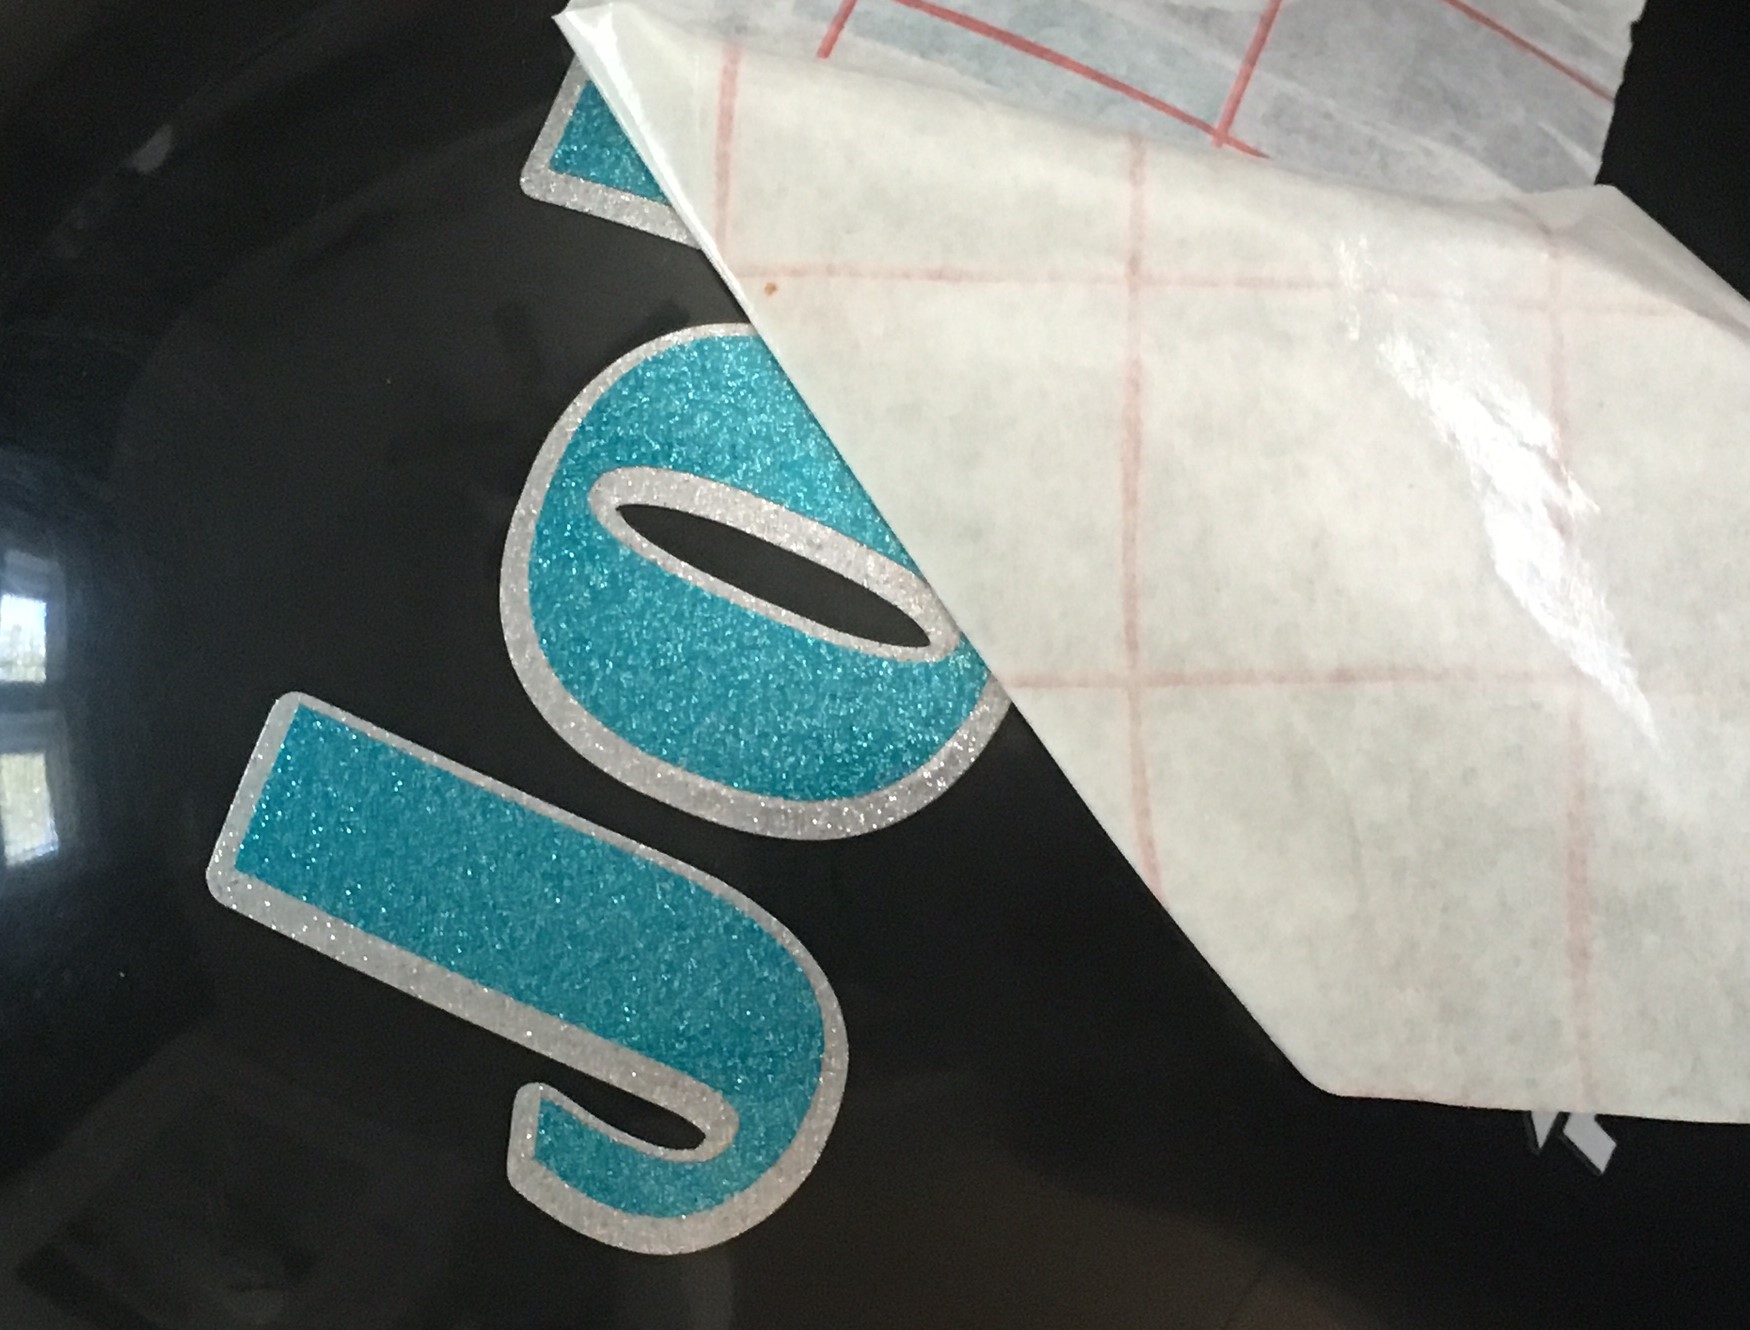
Time to layer! The first thing you want to do is transfer the TOP layer vinyl onto the transfer tape. To do this, you want to peel the backing off of the transfer tape. Slowly lay it on top of your TOP design. Use your squeegee to remove any air bubbles and give it a good strong seal, and then slowly peel your vinyl backing off.

IMG_3482

Now you want to carefully line up your second layer, squeegee and peel the bottom layers’ vinyl backing off.

Now you should have ONE piece of the transfer tape with both of your designs. Grab your batting helmet, and carefully add the vinyl. I like to start on one side and while pulling slightly on the adhesive, carefully lay it onto the surface.

vinyl your baseball helmet - making a decal with your Silhouette machine is so easy! See the tutorial here.

Take that squeegee again and make sure you burnish it well. Since you are working on a slightly curved surface, you have a strong chance of getting air bubbles.

Here’s a tip: When working with curved surfaces make cut marks on the transfer tape. You can put as many cuts as you’d like just make sure you do not cut the vinyl or the transfer tape in half! By adding the slices, your transfer tape will be pliable, and accumulate less bubbles.

 IMG_3485

Once your design is smooth and adhered to the surface of the helmet, you can peel off the transfer tape!

IMG_3486

Now all you have left to do is throw it in your kid’s batting bag and head down to the ball field! But don’t forget to bring a pad of paper and a pen with you, because I bet you are going to get a few orders!

Make sure you show us your baseball projects by uploading them to the Pro World Facebook Page or by using @proworldinc or #proworldinc on Instagram

vinyl your batting helmet

View & Add Comments

Siser Easyweed, Our Best-Selling Vinyl!


12193619_1032791963426255_3775074575952505723_n

Hey guys, today we are going to be telling you all about our newest and easily the most popular vinyl that we sell, Siser EasyWeed! This material comes in three different options… regular, stretch, and electric.

Siser Easyweed Heat Transfer Vinyl

Why is Siser EasyWeed our #1 selling heat transfer vinyl? Simple, EasyWeed applies at a lower temperature, can be peeled HOT or COLD and doesn’t lift during weeding. It’s also extremely durable wash after wash and uses a lower pressure setting for application. EasyWeed is thin and offers a one-step application that’s great for multiple layers. Best of all, it comes in 44 colors!

Siser Easyweed Stretch Vinyl

Siser EasyWeed Stretch delivers all the benefits of the regular EasyWeed and combines it with super stretch-ability to create one remarkable heat transfer material! The thinnest of any Siser material, EasyWeed Stretch has an ultra-matte finish (except for gold and silver) and a soft hand that’s currently available in 7 popular colors.

Siser Easyweed Electric Heat Transfer Vinyl

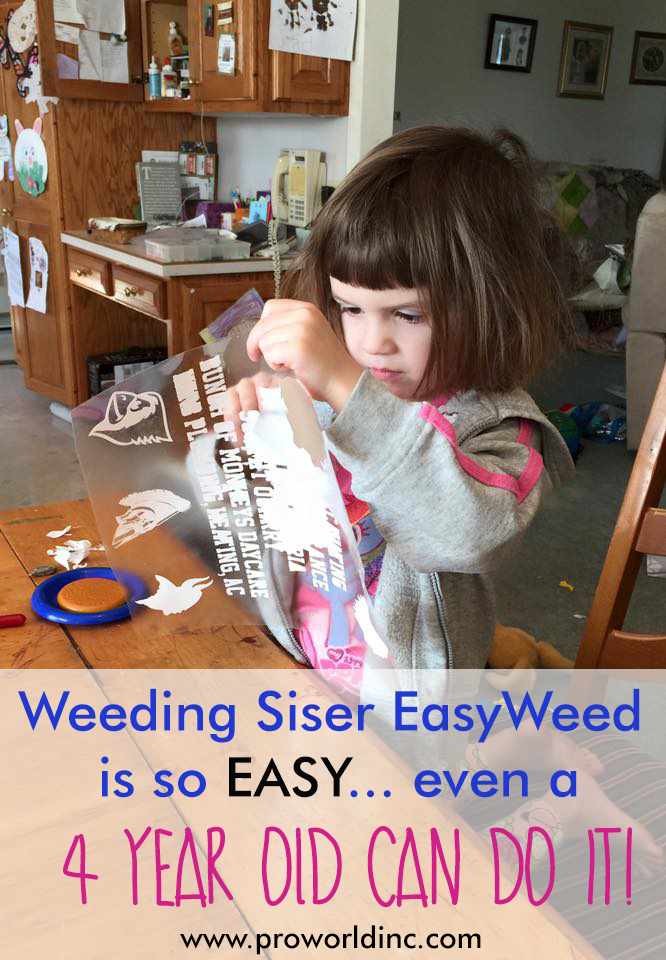
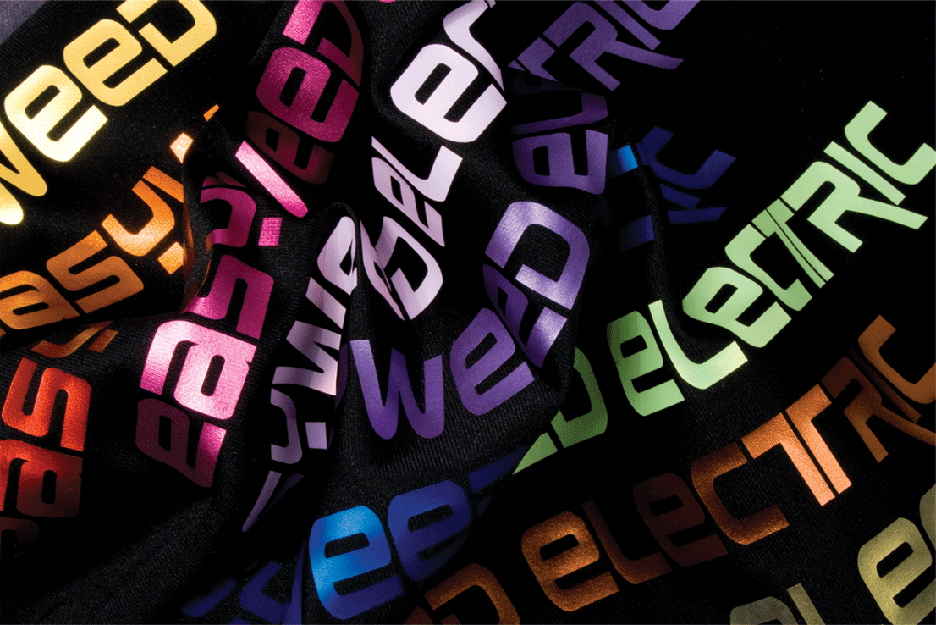
Siser EasyWeed Electric represents the latest trend in CAD materials for the fashion industry. If you’re looking to take your designs to the next level, EasyWeed Electric has a finish or pattern just for you, currently available in 11 vibrant colors, each with a pearlescent metallic sheen. EasyWeed Electric is durable wash after wash and maintains its bright color and brilliant finish.weeding heat transfer vinylAll of the EasyWeed vinyl comes on a pressure-sensitive carrier – which makes cutting detailed designs and logos a breeze. EasyWeed is also CPSIA Certified, so it’s perfect for decorating children’s clothing and accessories. Want to layer your design? Not a problem! All of the EasyWeed vinyl is layer-able, so the options are pretty much endless.

easyweed1-lgTo see all of the other types of Siser vinyl that we carry, follow this link. We carry everything from glitter to flock, and even printable vinyl!

Siser Vinyl Glitter and Easyweed

Also, be sure to check out and subscribe to Siser’s YouTube channel for tons of helpful and creative videos on using their products, like this layered design combining regular EasyWeed & Glitter!

View & Add Comments

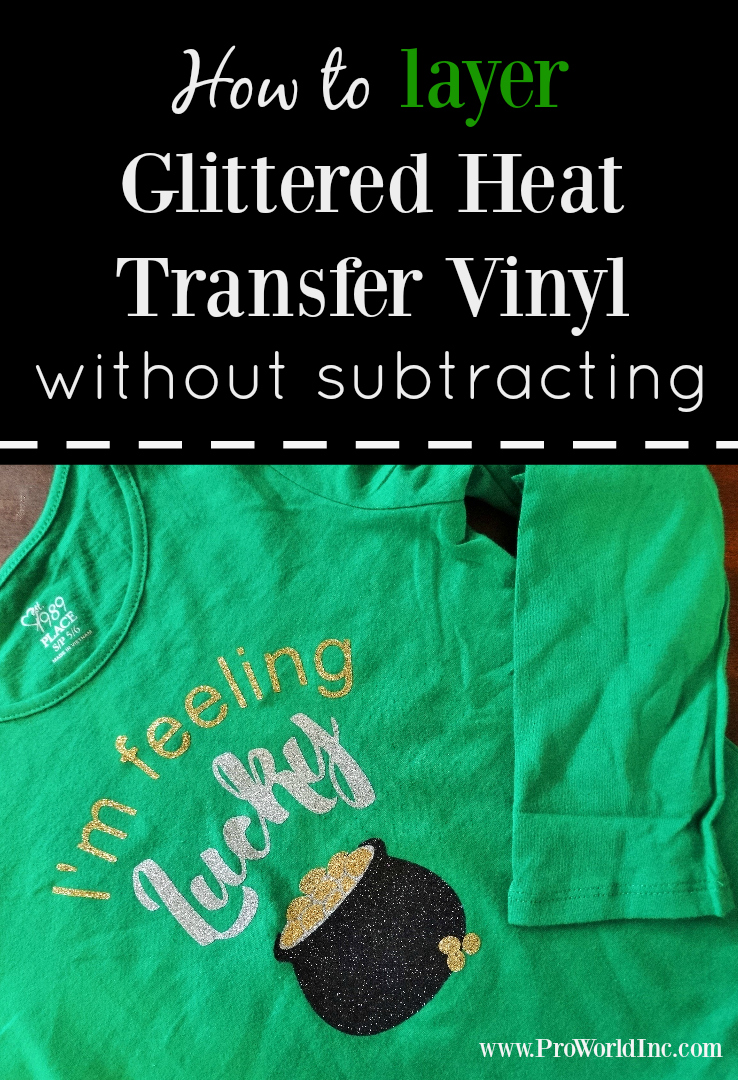
Layering Chemica Glitter Heat Transfer Vinyl

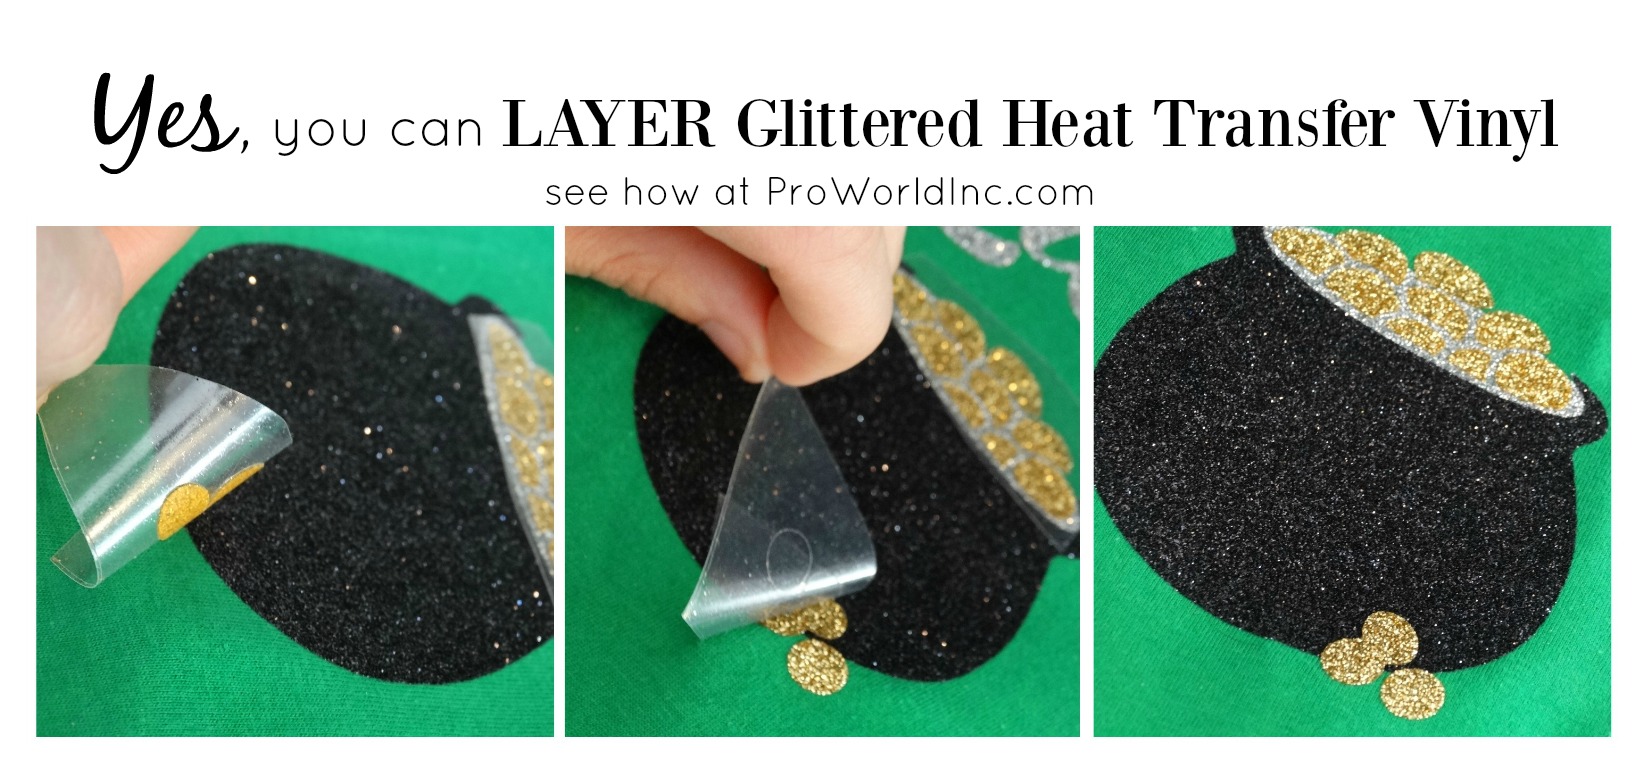
Happy St. Patty’s Day! Today we are going to show you how to layer Chemica Bling Bling heat transfer vinyl.

yes you can layer glittered HTV see how at @proworldinc

But first you need to grab a few supplies:

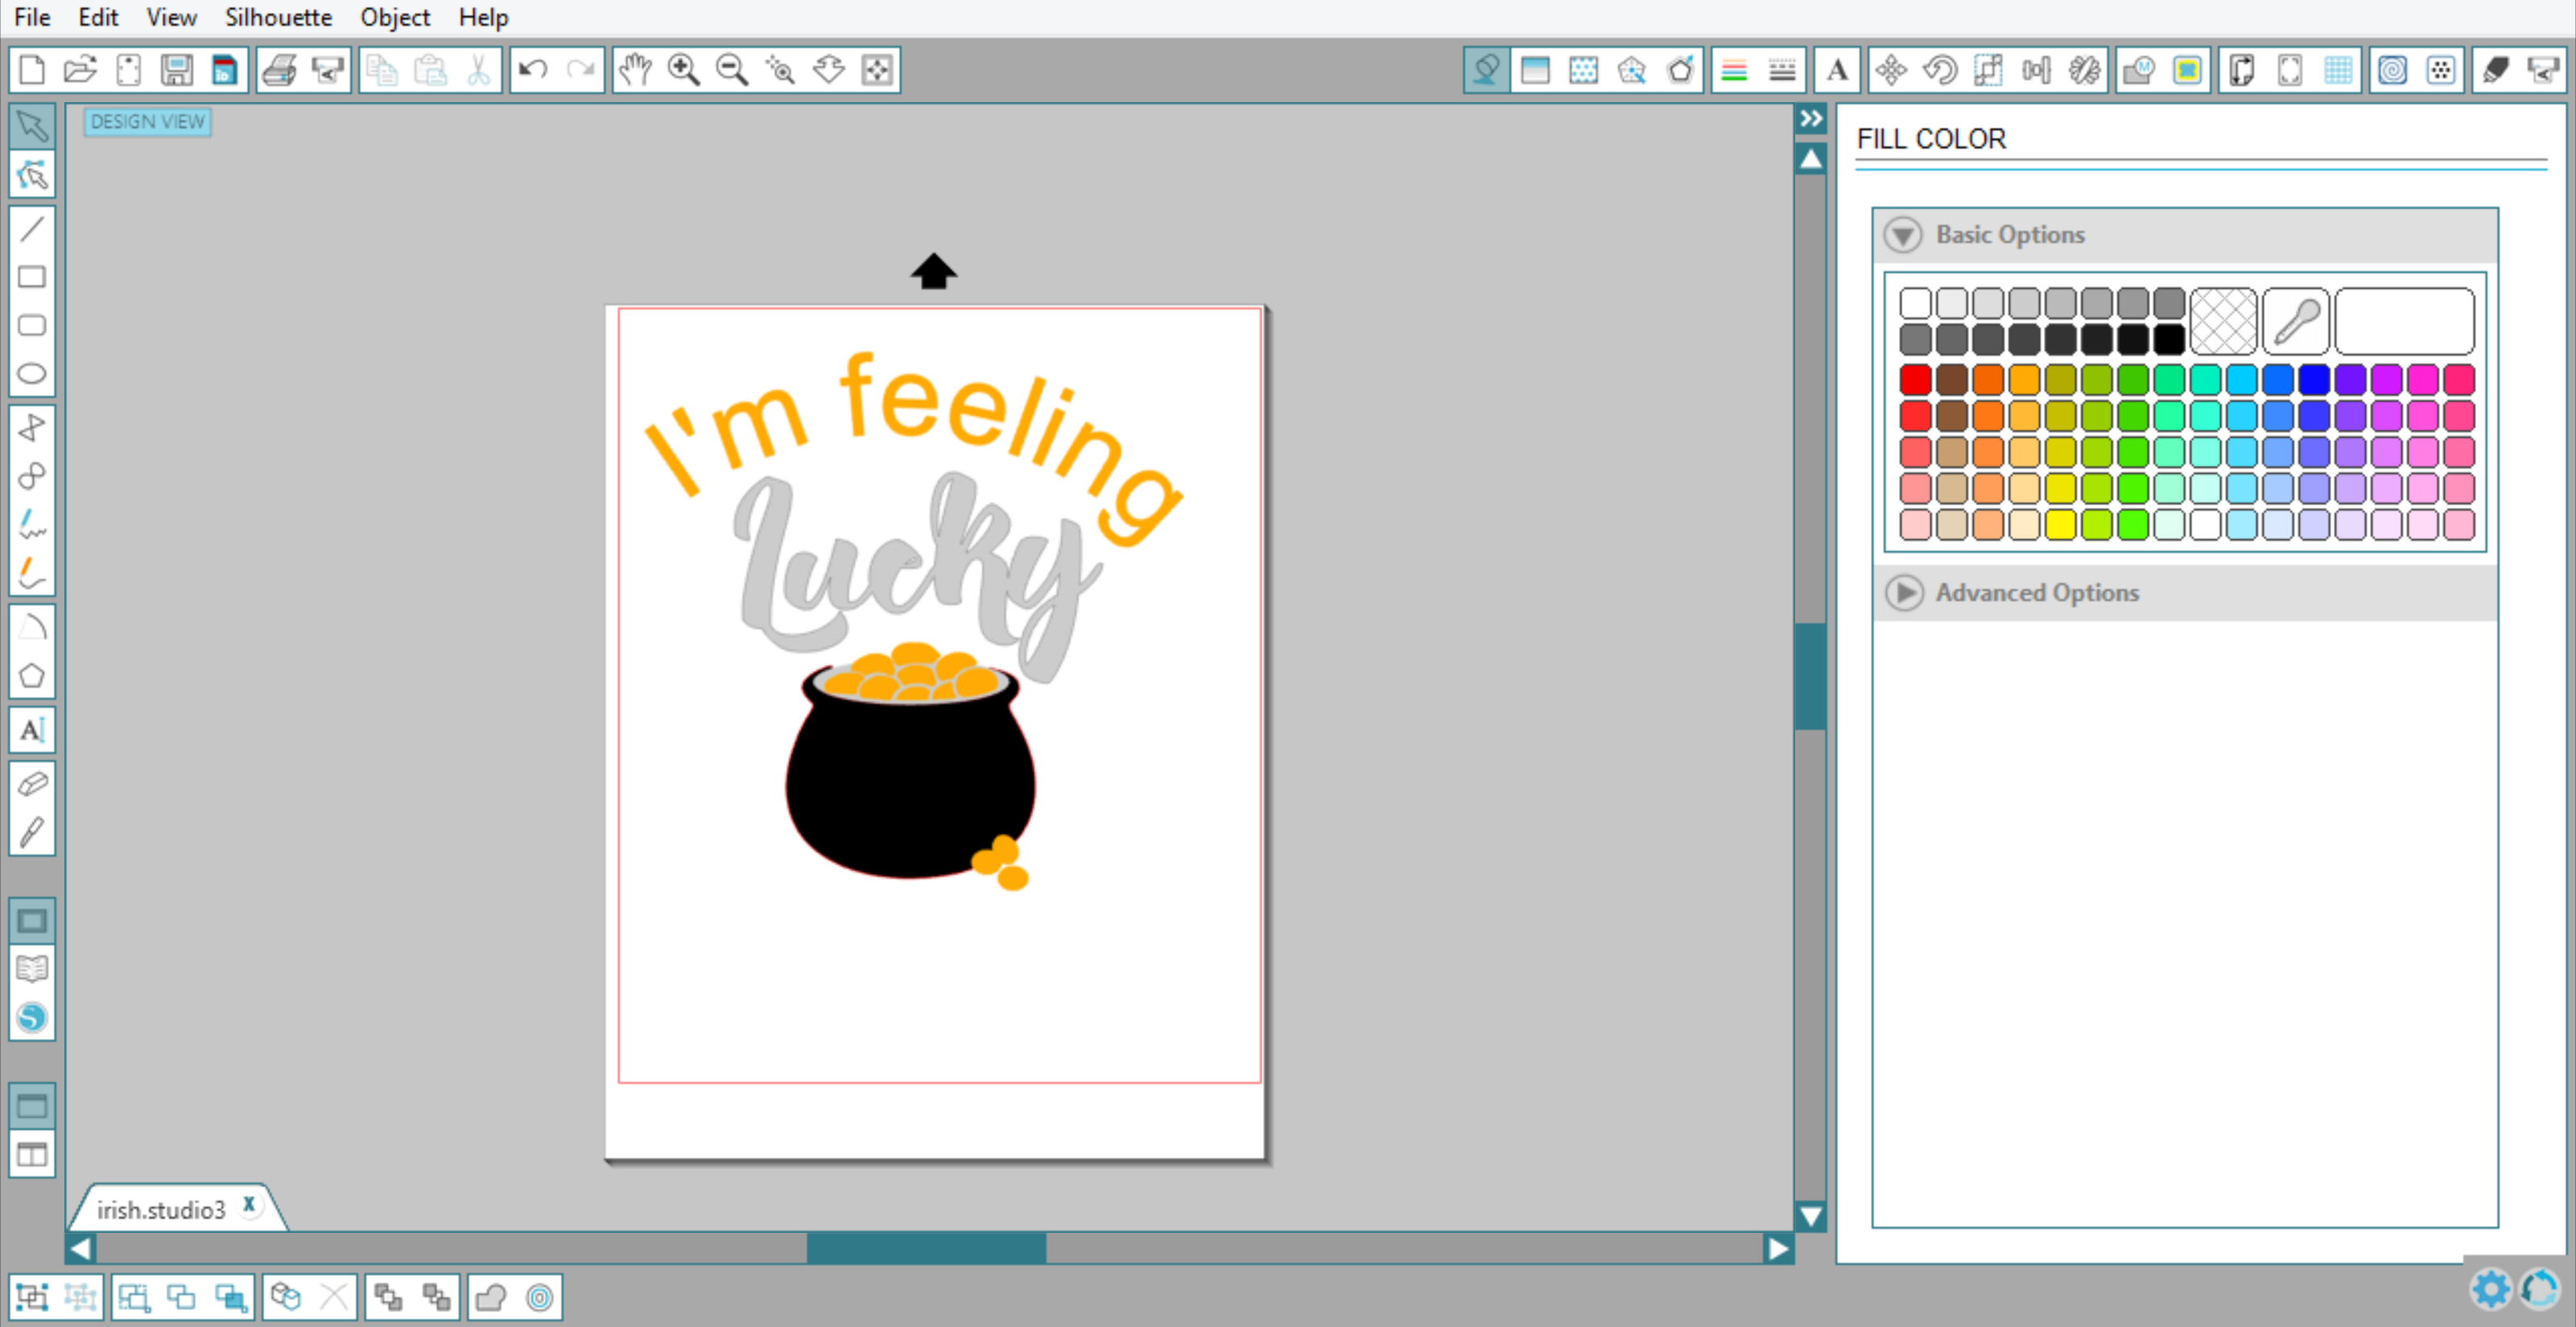
Design, Cut and Weed your Chemica Bling Bling pieces.

Screenshot (218)

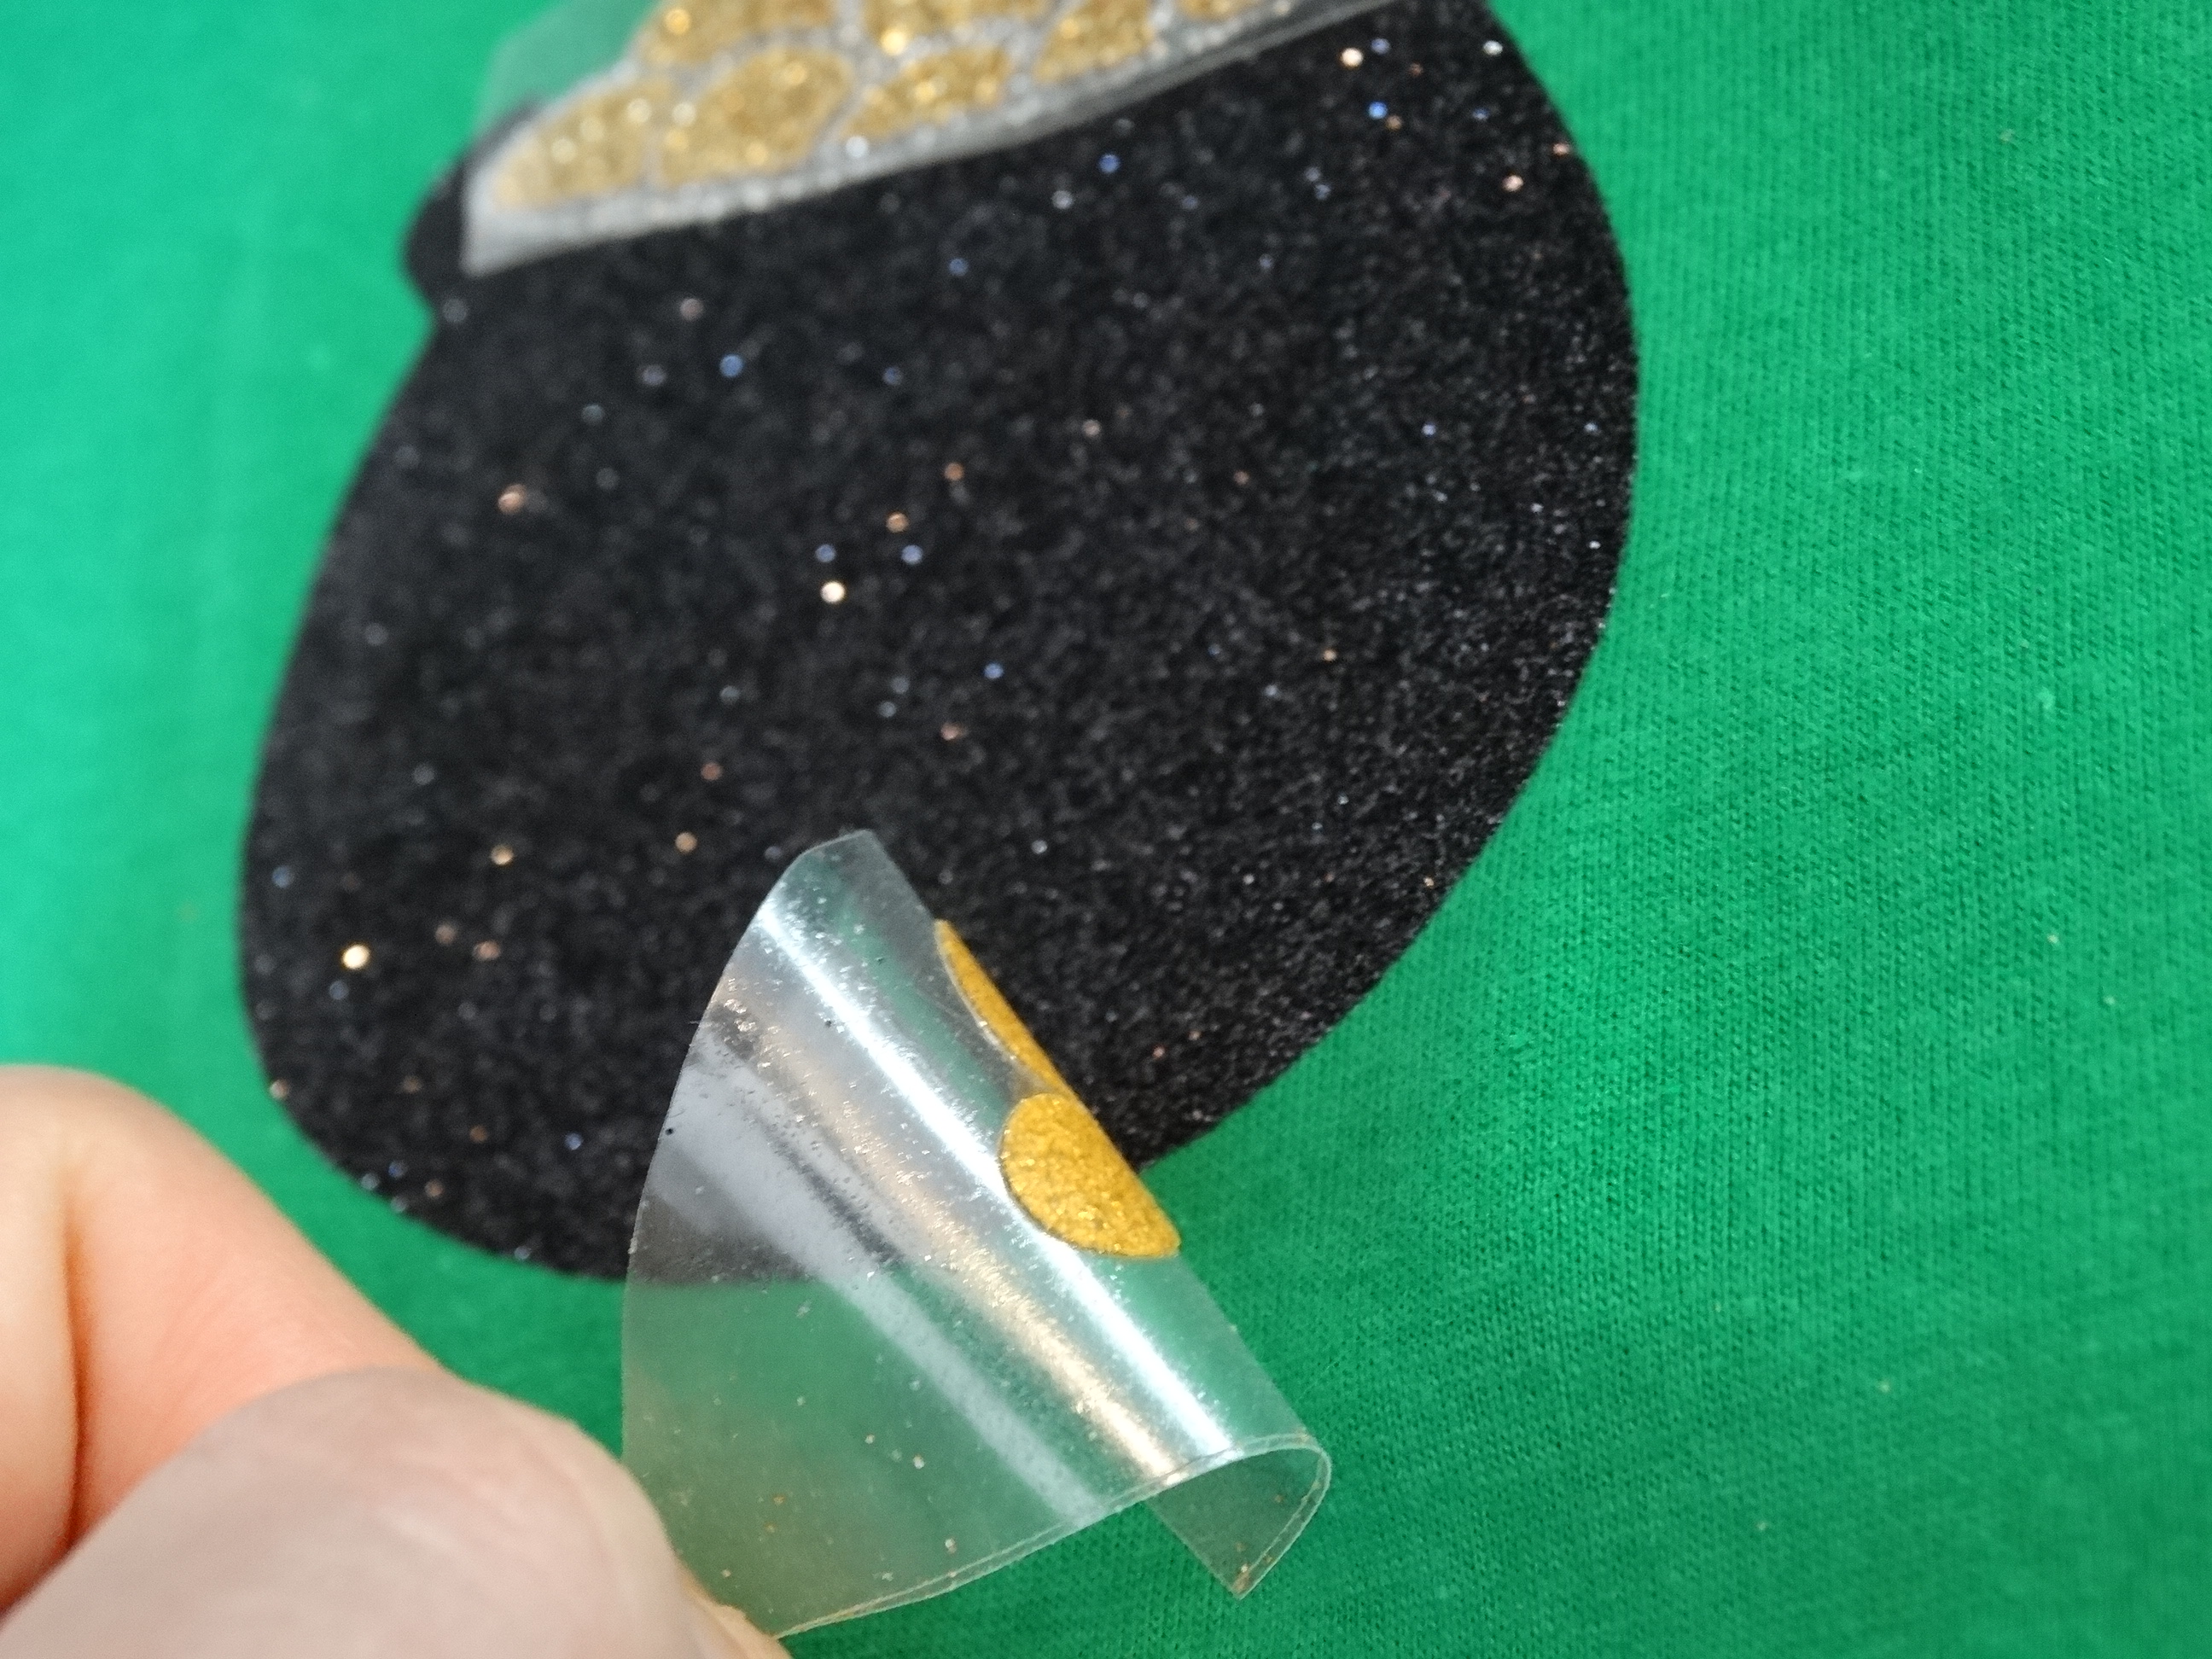
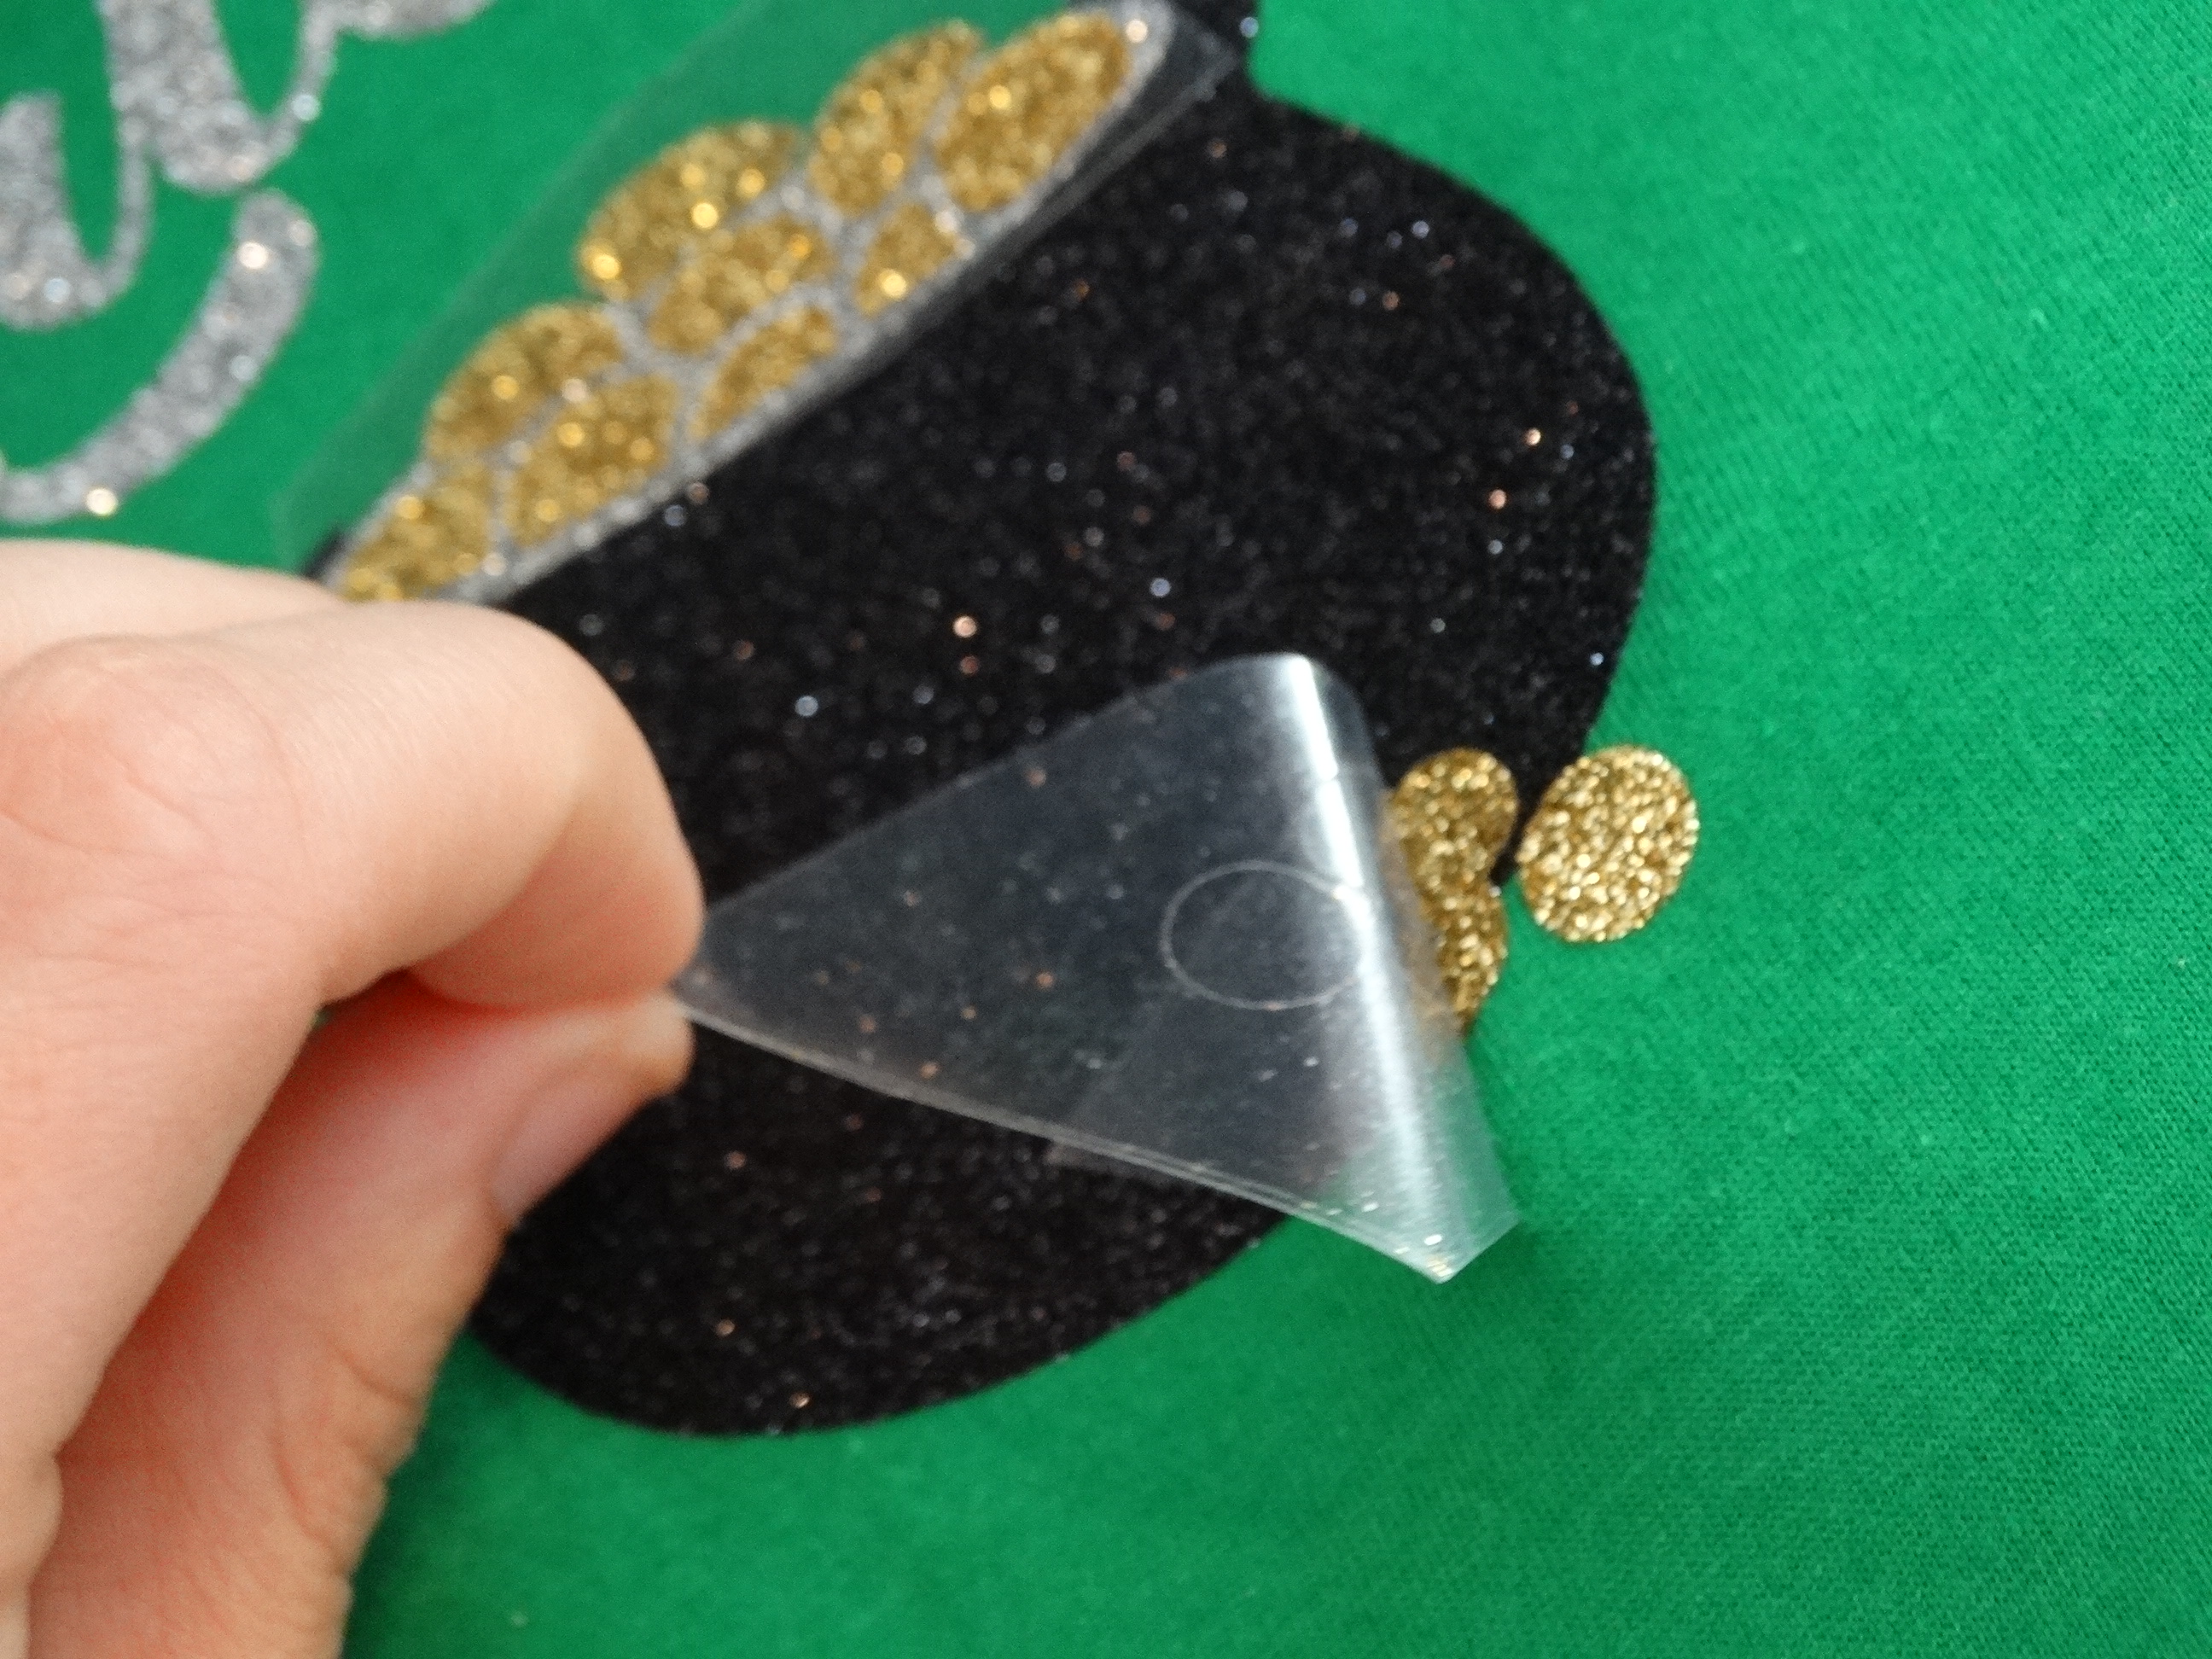
Warm up your heat press, and press your first vinyl layer at 320 degrees F for 10 seconds. Peel the plastic transfer paper off, and lay the next shiny piece on top.

Layer Glitter Heat Transfer Vinyl! See how!

Cover your full design with a teflon sheet, and press it again at 320 degrees F for 10 seconds.

layering glittered heat transfer vinyl without subtracting

Peel back your plastic overlay and admire your sparkly results!

Now it’s  your turn to try. Tag us on Instagram so that we can see your projects by using the #proworldinc

how to layer glittered heat transfer vinyl


View & Add Comments

Guest Blogger – Amy Tangerine takes over with DIY Photo Mugs

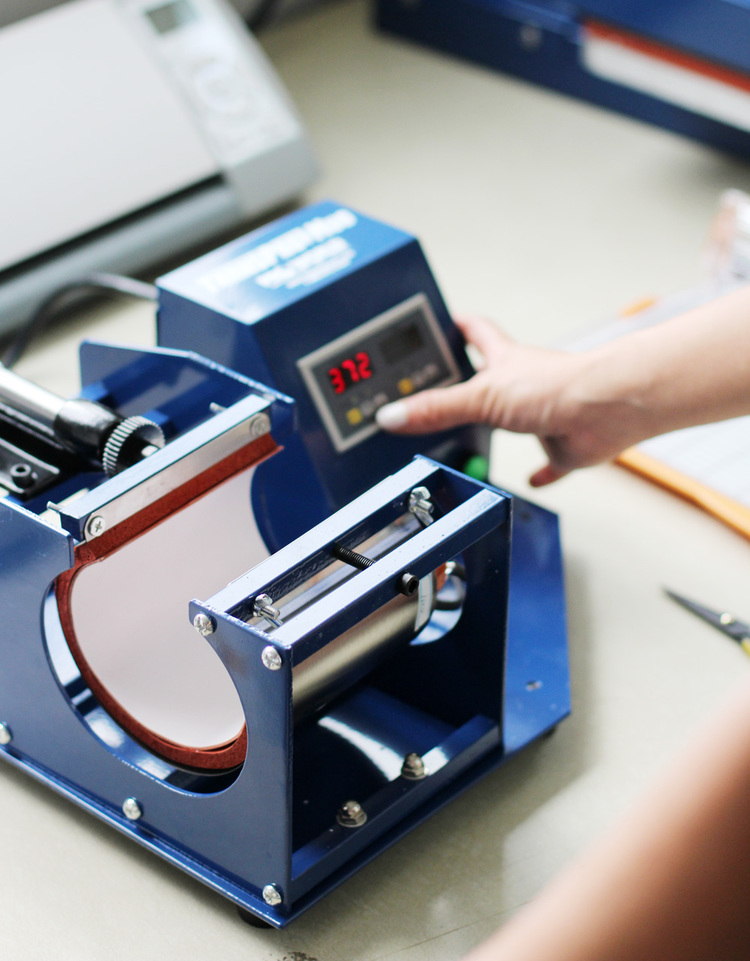
diy-photomugs-amy-tangerine-00I can’t even tell you how excited I am about a little thing called a mug press. For my collaboration with Pro World, I started to dream up ideas for making custom items and felt giddy. It reminded me of when I was 23 years old, thinking about starting a tee shirt line back in 2002. One of my mentors referred me to someone who advised I invest in a heat press. Back then internet shopping had really only just begun for me, and I scoured eBay to try and find a heat press (similar to this one) that was gently used. Then I realized that if I am going to purchase a piece of equipment that would be a business expense and an investment, I should consider buying a new one. It was so long ago and such a crazy time in my life working as a freelance stylist, part-time cocktail waitress, and then dabbling in tee shirt designs, I can’t remember how I actually even obtained the heat press. But I sure do wish I had a resource like Pro World back then. I started off just experimenting. I would print designs onto scrap pieces of fabric. I used heat transfer paper similar to this and my home printer. I printed the design (in reverse) and then cut it out by hand. Once heat pressed onto the scrap fabric, I would then hand sew them onto a tee shirt or tank top. The process was so much fun and I felt like the potential to create was limitless. When I decided to take things to the next level, I decided to print by own labels onto muslin that would then be hand stitched into every garment. By that point I had found seamstresses and local hand sewers (in Atlanta), and I had a little business going. It was enough to allow me to quit working in the restaurant and forced me to take it all more seriously rather than just doing it for fun. While I don’t think I have the desire to start making mugs for a side business, it sure is fun and someone should do it! Perhaps one of you out there?

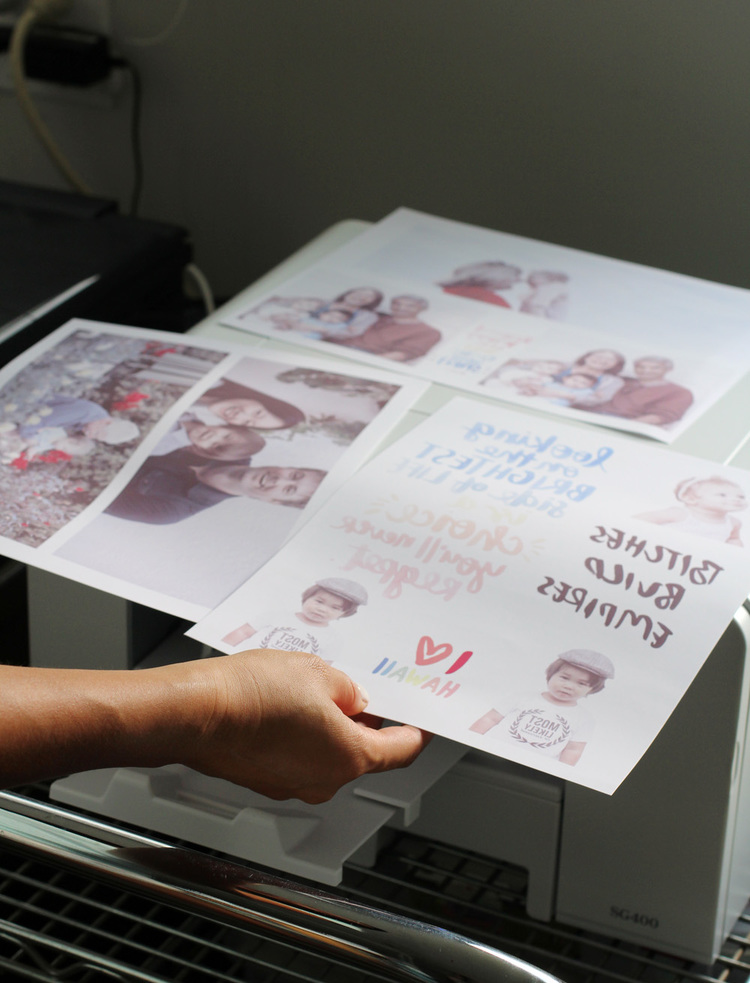
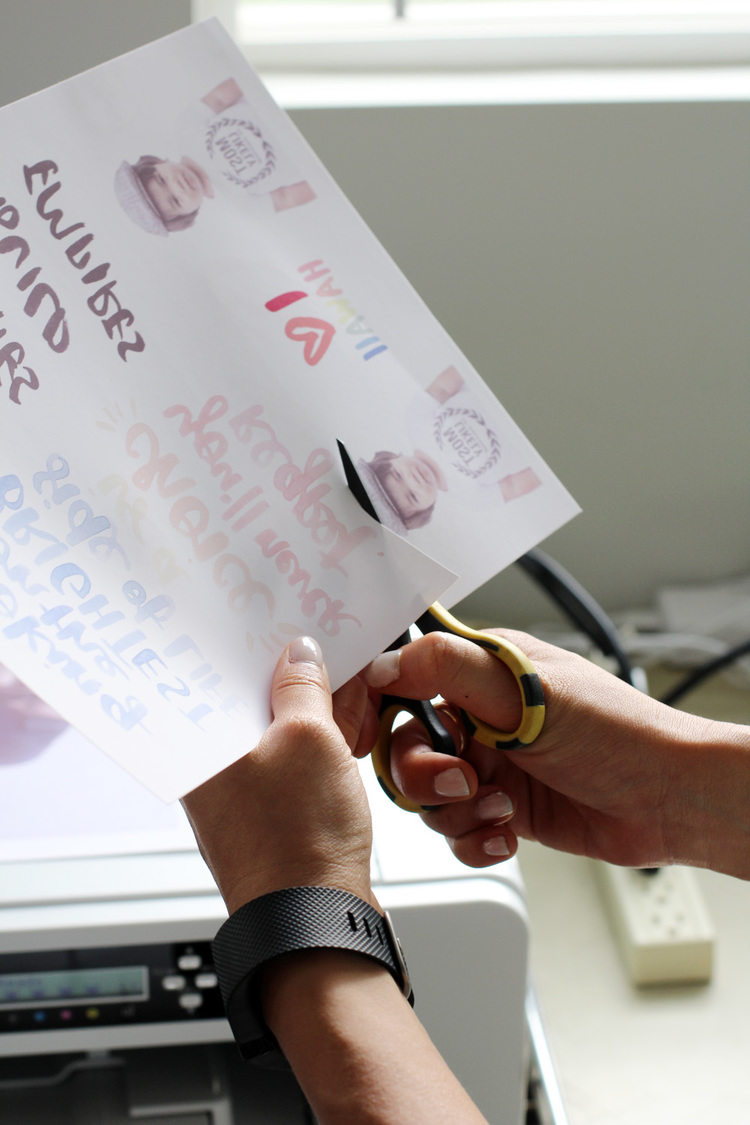
Using the sublimation printer that came in the Pro World Mug Starter Package, I printed multiple designs onto the special paper in reverse (flipped horizontally). Not wanting to waste space on the paper, I experimented with several types of images and made sure to fill up as much of the sheet as possible. I trimmed around the design – the coolest thing about sublimation printing is that you don’t have to worry about trimming so close to the design to avoid anything white. When using regular iron on transfer papers and an ink jet printer, you typically have to trim as close as possible.

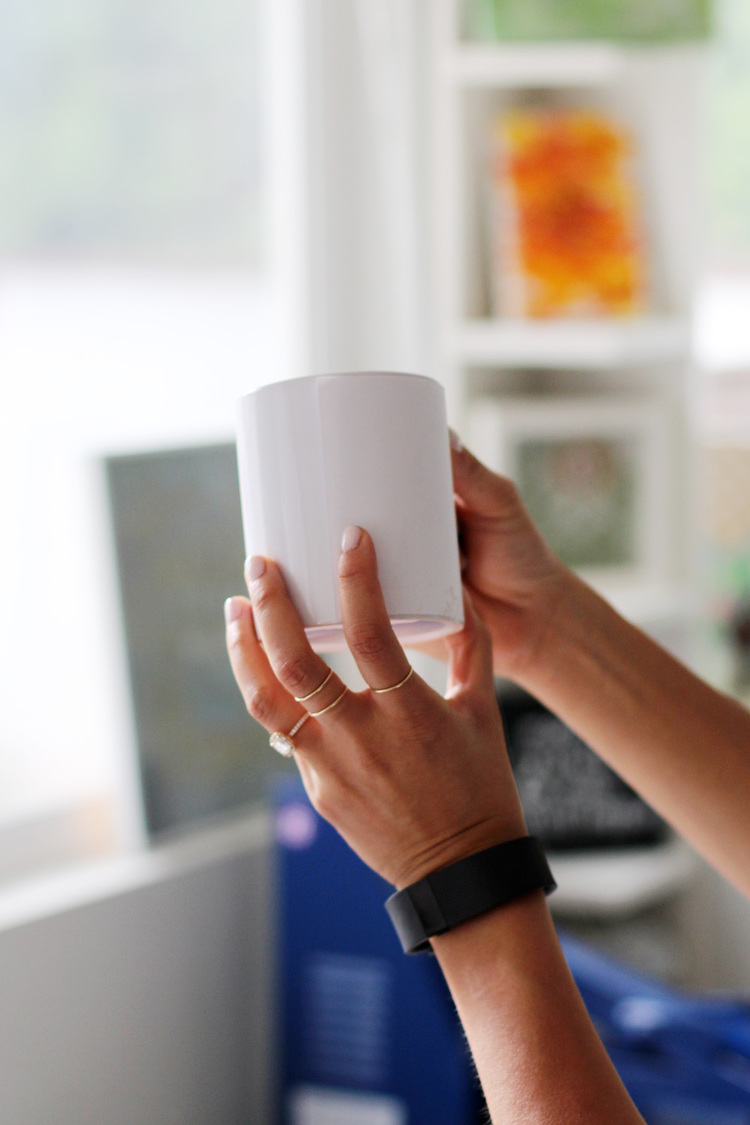
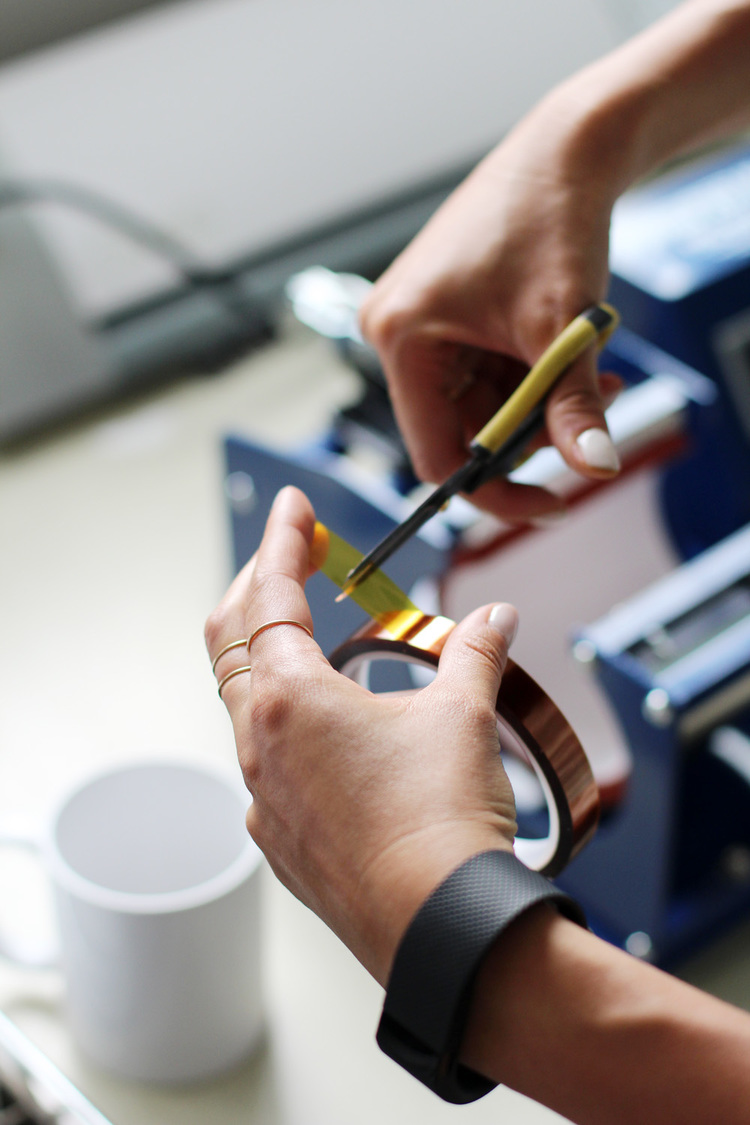
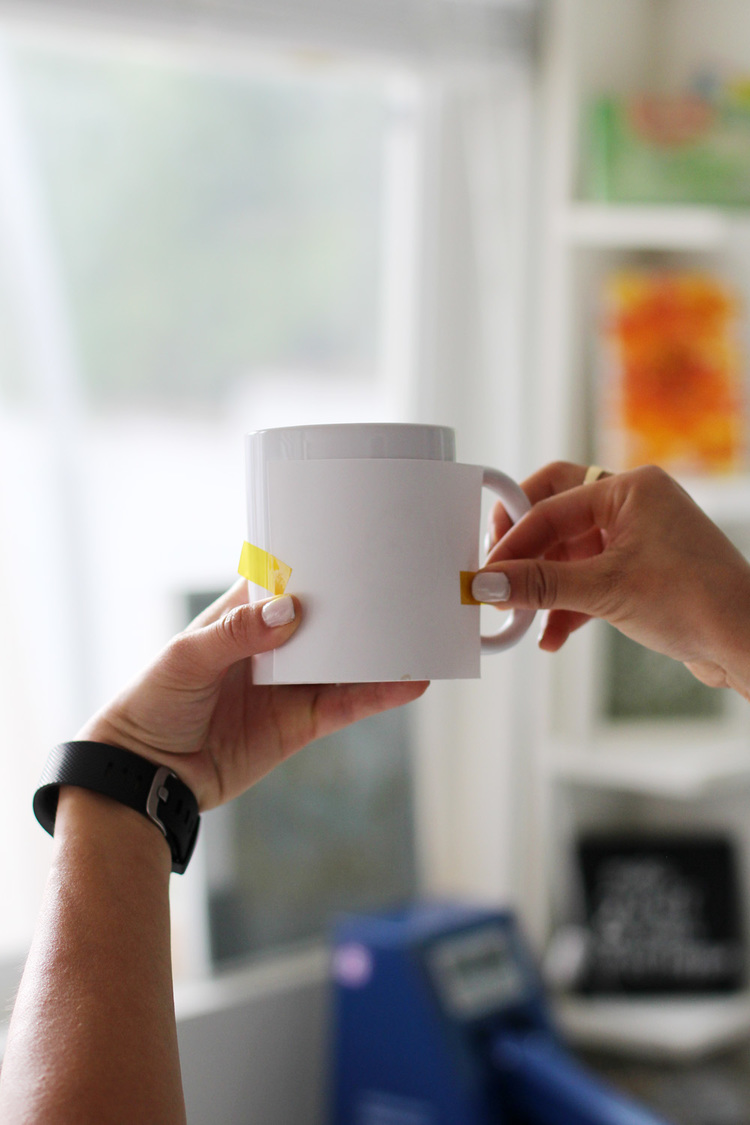
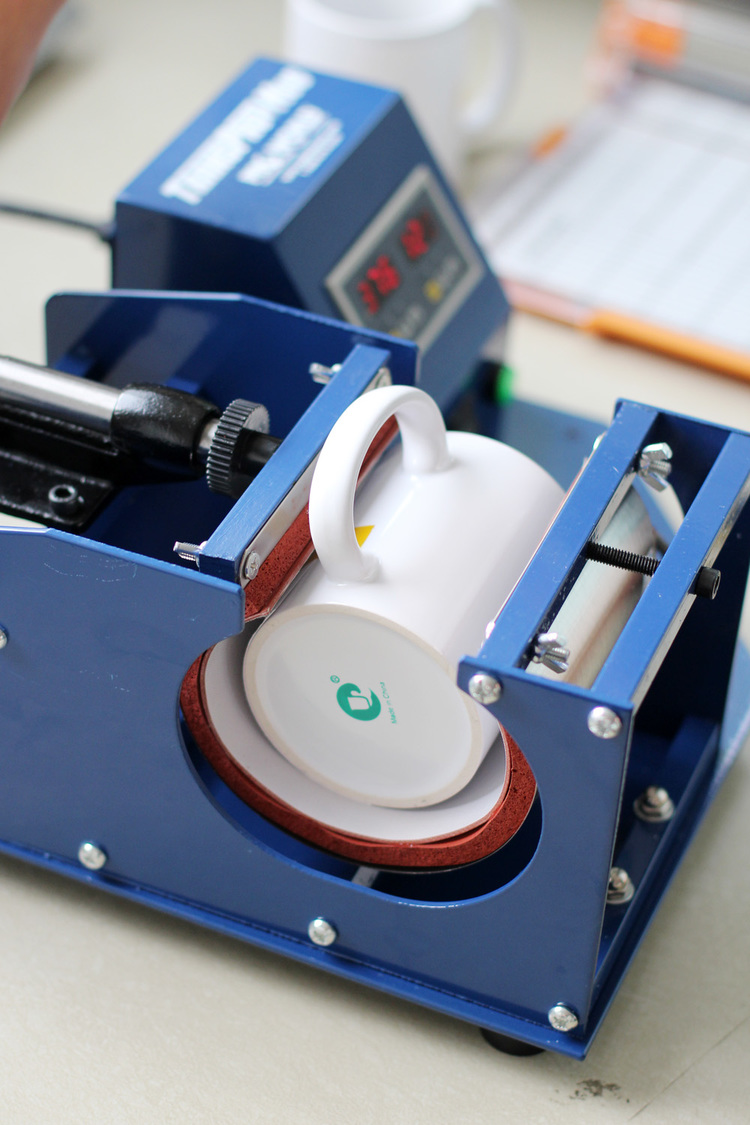
diy-photomugs-amy-tangerine-01 diy-photomugs-amy-tangerine-02 diy-photomugs-amy-tangerine-03Using heat resistant tape, I attached the design face down to the mug while the mug press was warming up.

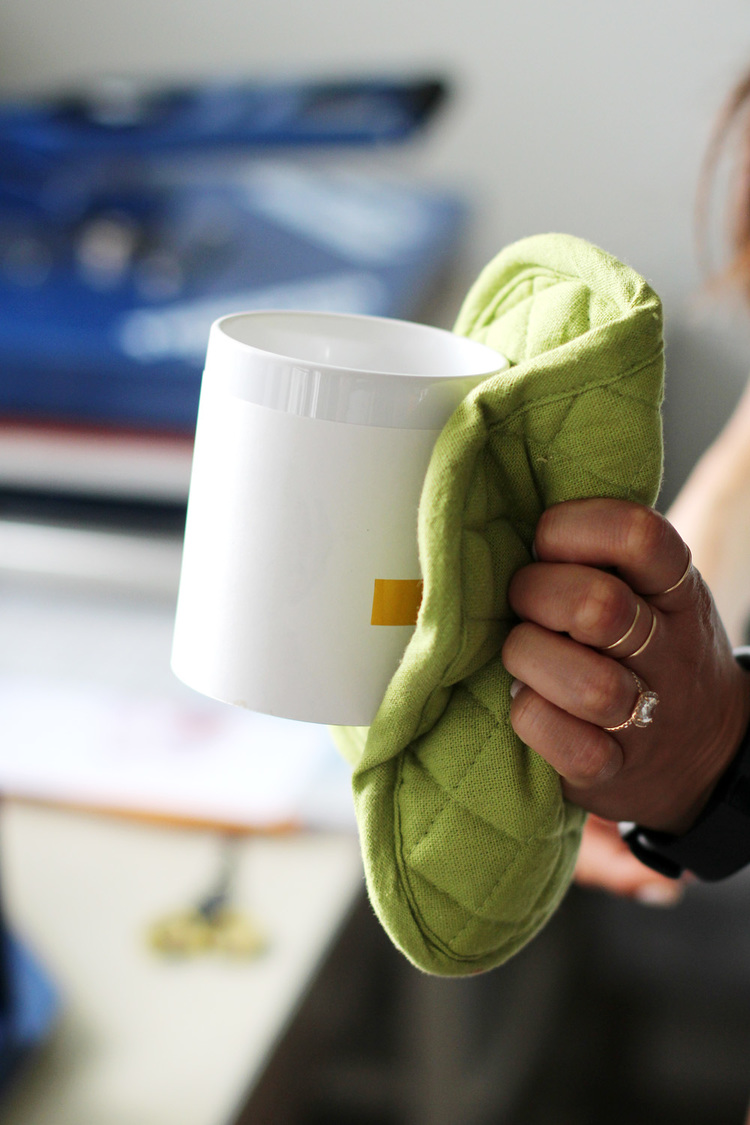
diy-photomugs-amy-tangerine-04diy-photomugs-amy-tangerine-05diy-photomugs-amy-tangerine-06diy-photomugs-amy-tangerine-07I recommend using something like an oven glove once the machine has done it’s job, as the mug is still pretty hot.

diy-photomugs-amy-tangerine-08Once cooled off enough, peel off the heat resistant tape. It comes off easily, but I would recommend not getting too excited about peeling it off that you burn yourself, as I almost did.

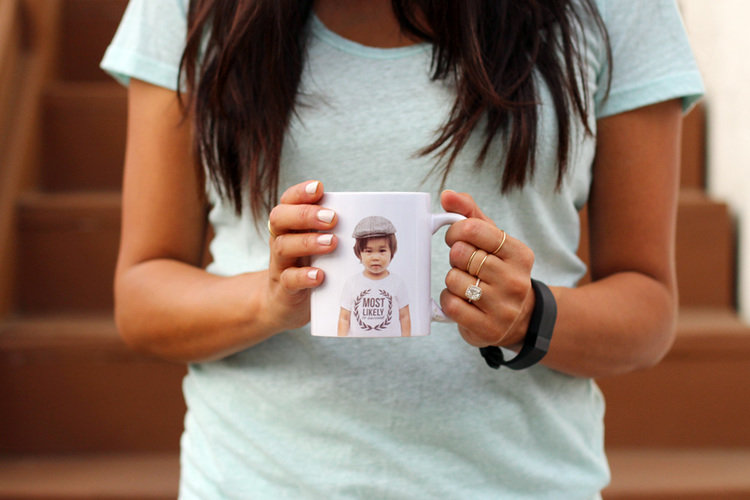
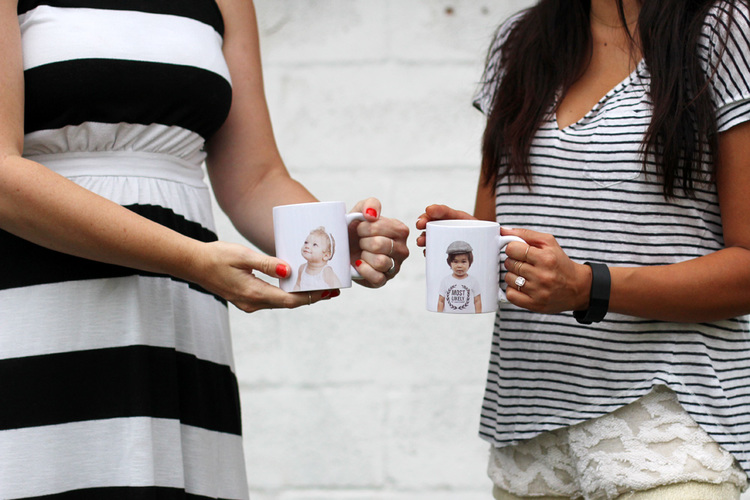
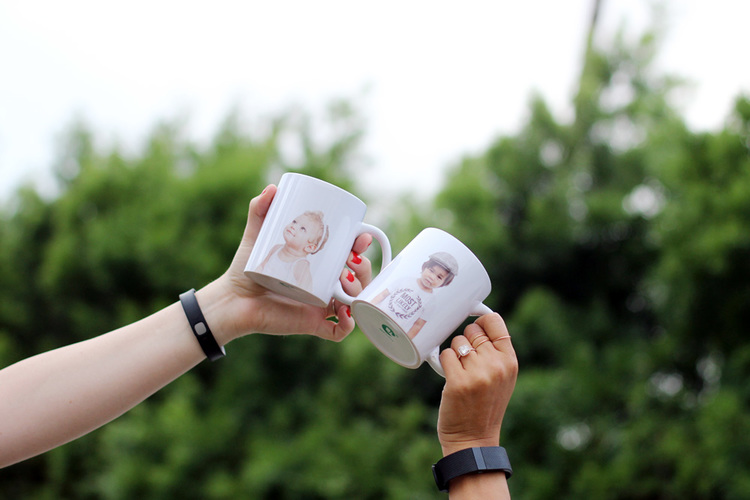
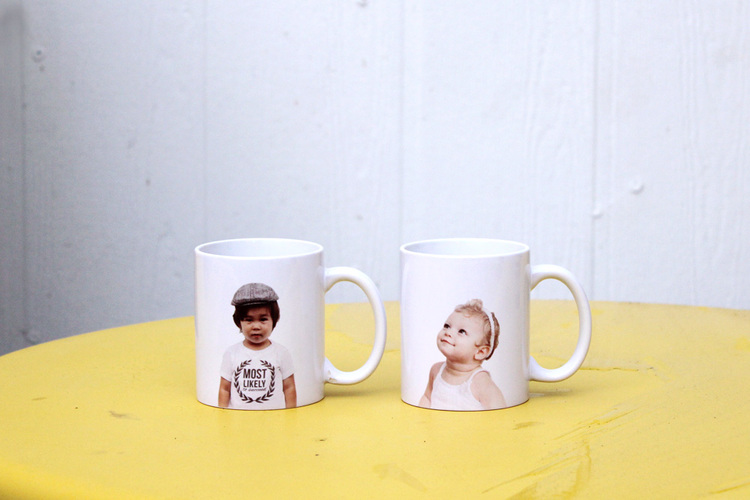
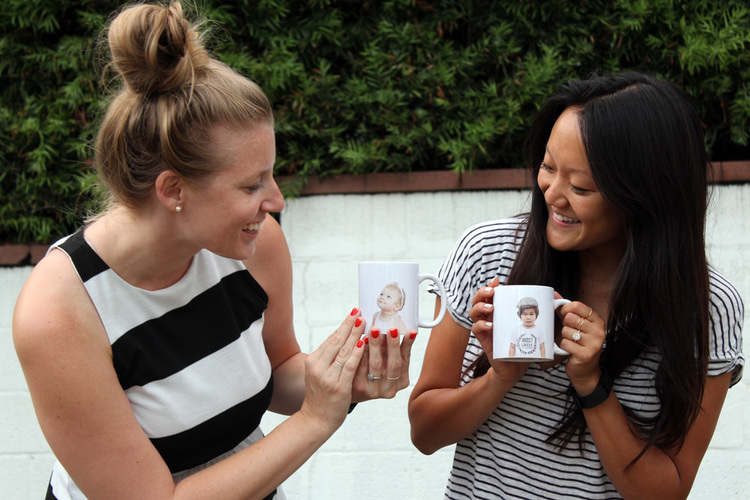
diy-photomugs-amy-tangerine-09 diy-photomugs-amy-tangerine-10Ann-Marie and I were laughing and dying over how cute our little ones look on these mugs!

diy-photomugs-amy-tangerine-11diy-photomugs-amy-tangerine-12diy-photomugs-amy-tangerine-13 diy-photomugs-amy-tangerine-14As a small business owner, I think the possibilities would be endless for promotional products. These would make great giveaways or even add-on’s as part of a line. I could totally see people adapting card designs or tee shirt designs onto these mugs! What would you like to see on a mug?

View & Add Comments

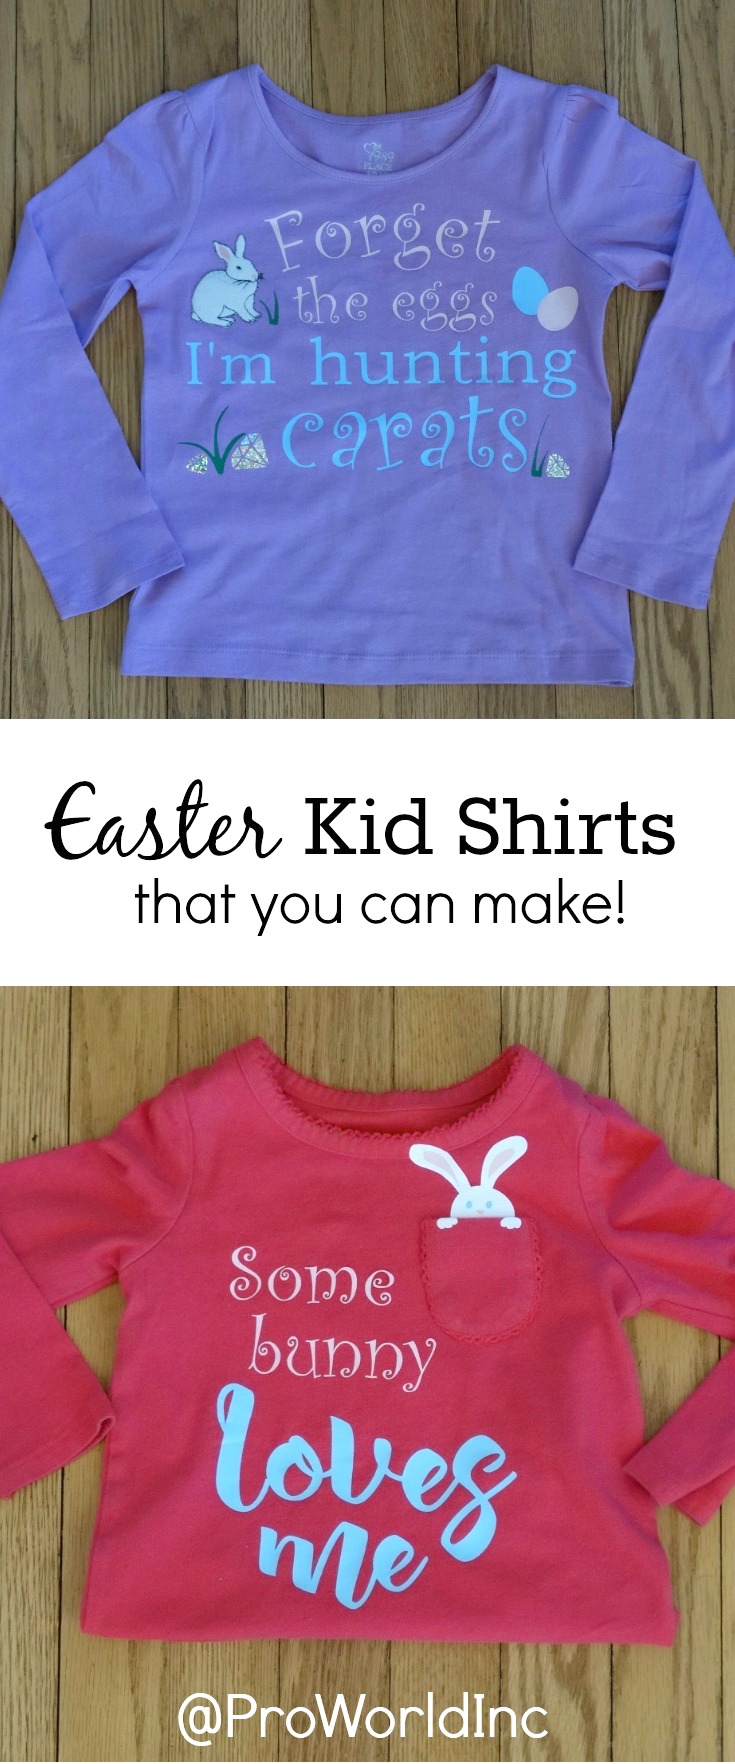
Some Bunny Loves Me – Easter Kid Shirt Tutorial!

Can you believe that it’s already March? That means Easter is right around the corner! Luckily we just received an enormous order of pastel vinyl, so we are ready to support your Easter crafting needs! And to help with the creative inspiration we’ve invited our friend Dee who blogs over at From Wine to Whine to show us how she made her daughter an Easter shirt using Siser Vinyl and a Silhouette Cutter. Take it away Dee…

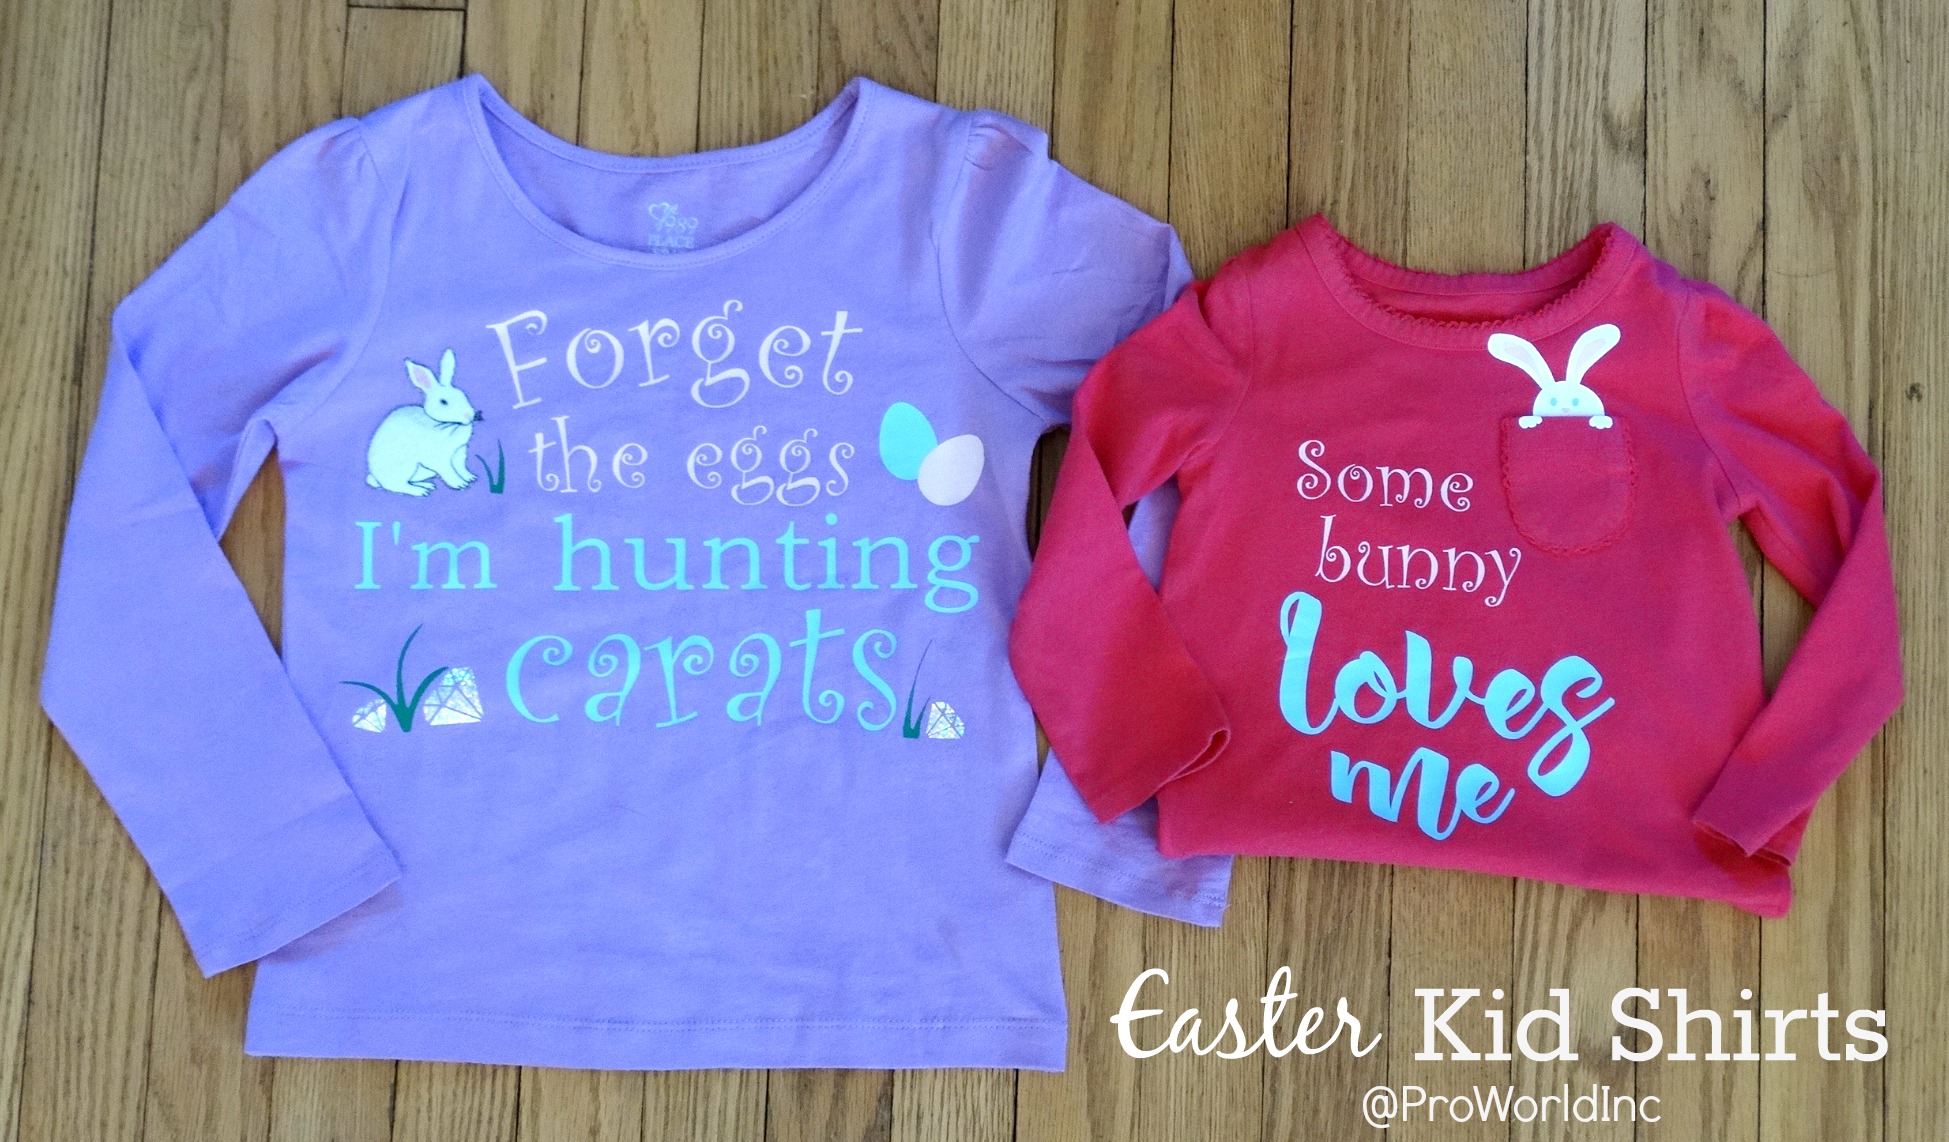
Hi, I’m Dee! And I‘m an overthinking, crafty Mom from NJ who likes to spark creativity on a budget! Like the rest of you, I tend to have a lot to do, with only a little bit of time to do it in. So I try to focus my efforts on projects that are quick and easy! Which leads me to why I am writing on the Pro World Blog today, I am going to show you not one, but TWO adorable Easter shirts ideas that you can recreate for your kids! Aren’t you “egg”cited?

Make your own Easter kid shirts!

Want to recreate them? You only need a few supplies:

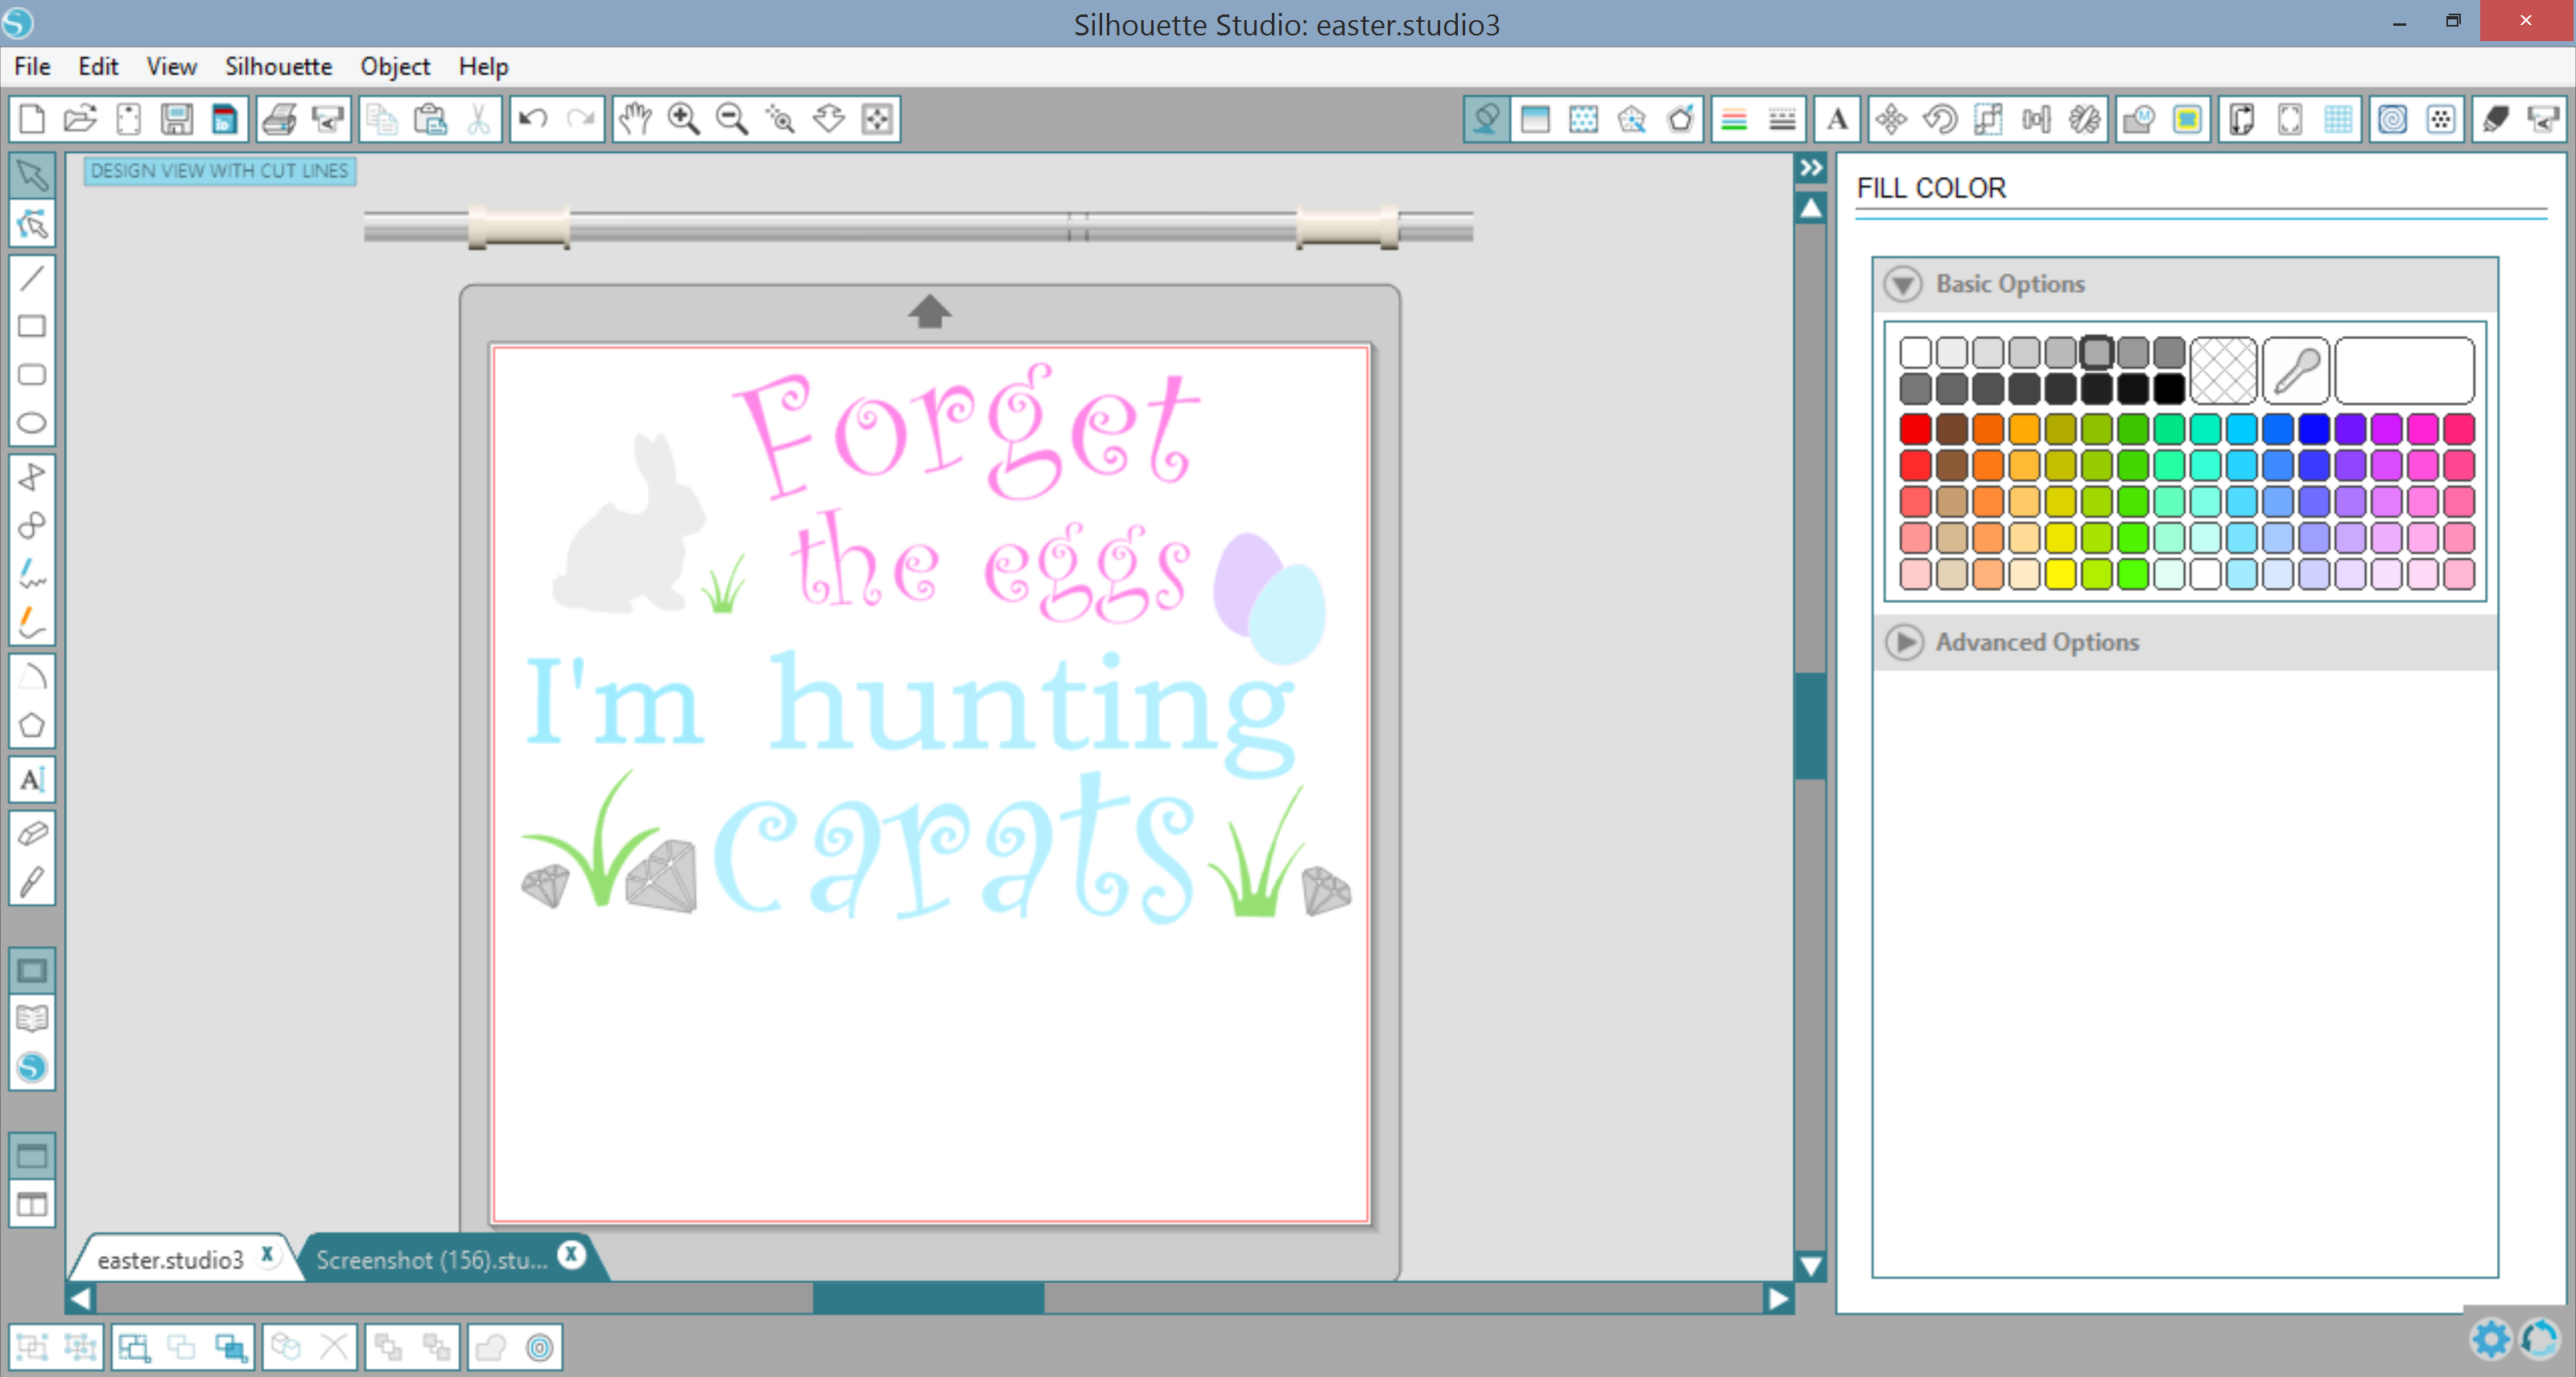
First you need to design your shirt using your Design Software. Since I used my Silhouette Machine, I used the Silhouette Design Program to create the layout. Just pick a font that you like and start typing your shirt quote. I went with: “Some Bunny Loves Me’ and my personal favorite “Forget the eggs I’m hunting carats.”

For the rabbit on the carat shirt, I used an embroidered heat transfer which brought a lot of dimension to the shirt. Plus my 4-year-old daughter loved that it felt slightly fuzzy! To make designing easier, I used a placeholder bunny about the same size and build so that I could lay my items out accordingly. As for the other shirt images I bought the pocket bunny file, made the Easter eggs and traced the diamonds and grass.

Screenshot (159)

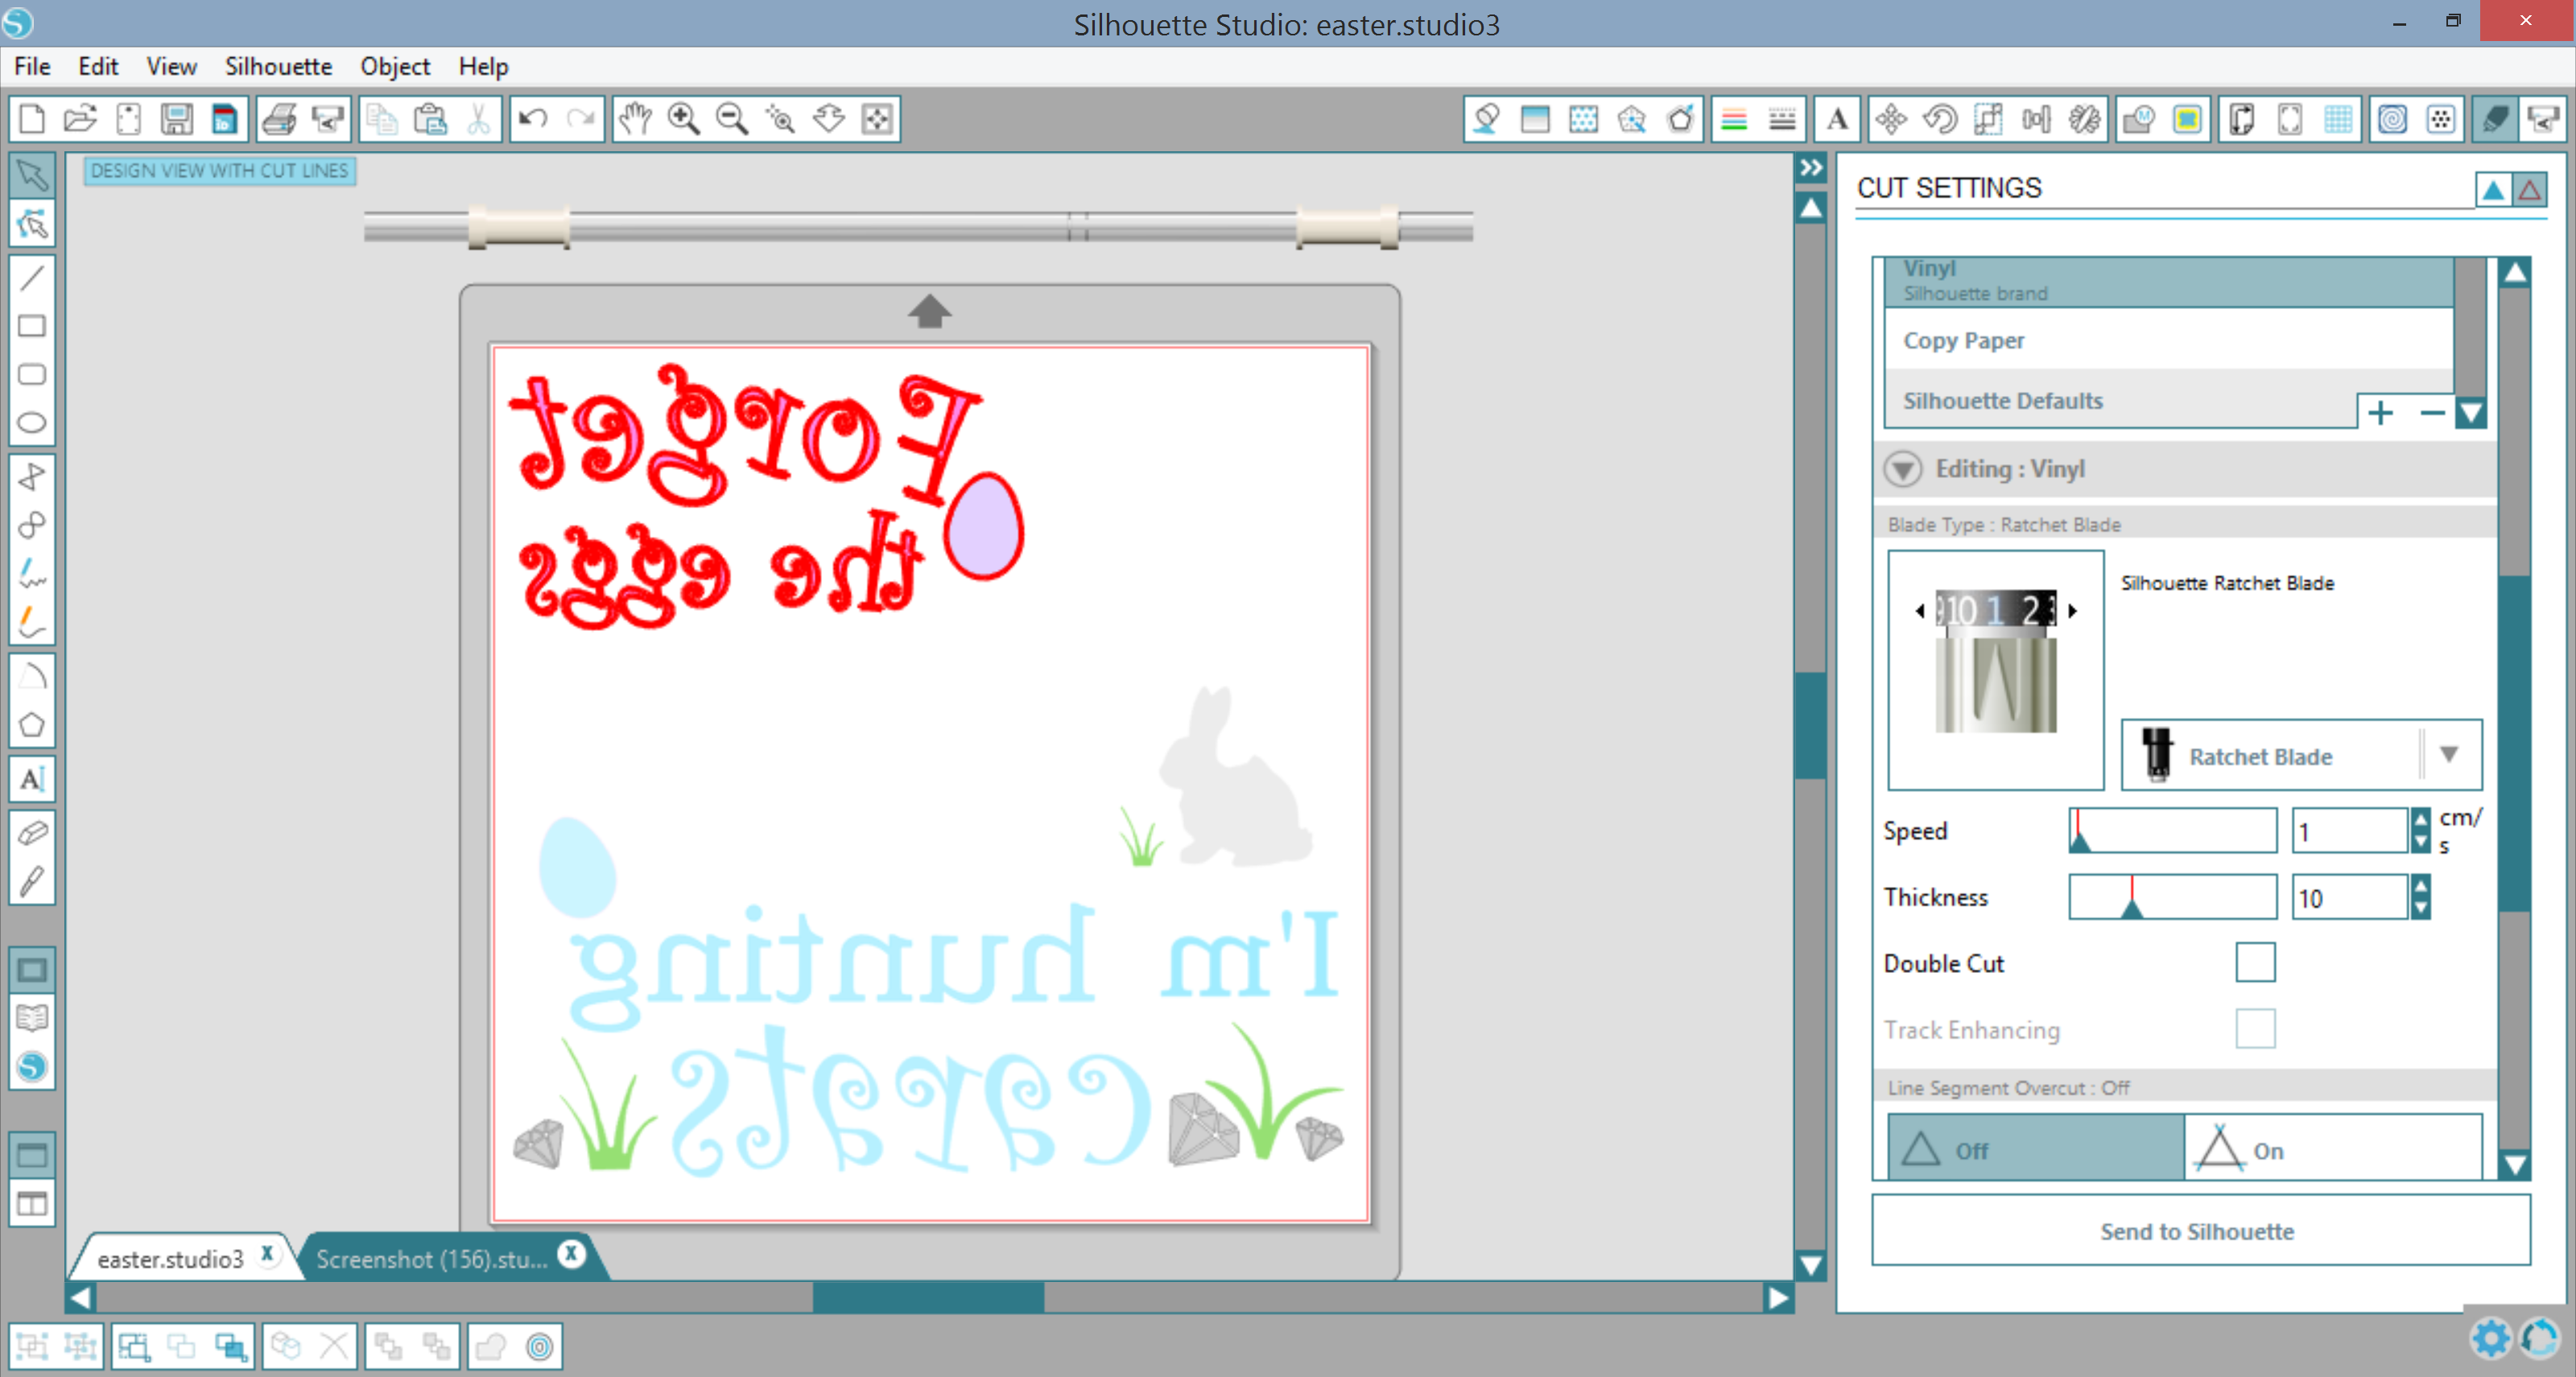
When cutting multiple colors, I ALWAYS recommend that you color code your items so that you can quickly identify your layers. The only thing worse than cutting the wrong color is forgetting to flip your design horizontally. So make sure you do that right now!

Screenshot (160)

Once everything has been designed, colored and flipped it is time to cut! Deselect ALL of your layers and then reselect the colored items that you are going to cut. Select the Heat Transfer setting, load your vinyl into the machine and click Send to the Silhouette!

Select the Heat Transfer setting, load your vinyl into the machine and click Send to the Silhouette!

Repeat the last step until all of your pieces have been cut out.

Now it’s time to get your designs on your shirts! First you want to warm your heat press to 320F since we are going to press the holographic vinyl. Once it reaches the temperature press it for 10-15 seconds and peel.

Now lower your heat press setting to 305F. Once your heat press adjusts to the new temperature, add your EasyWeed pieces and the Heat Transfer Bunny. Press for 10-15 seconds

DSC04616

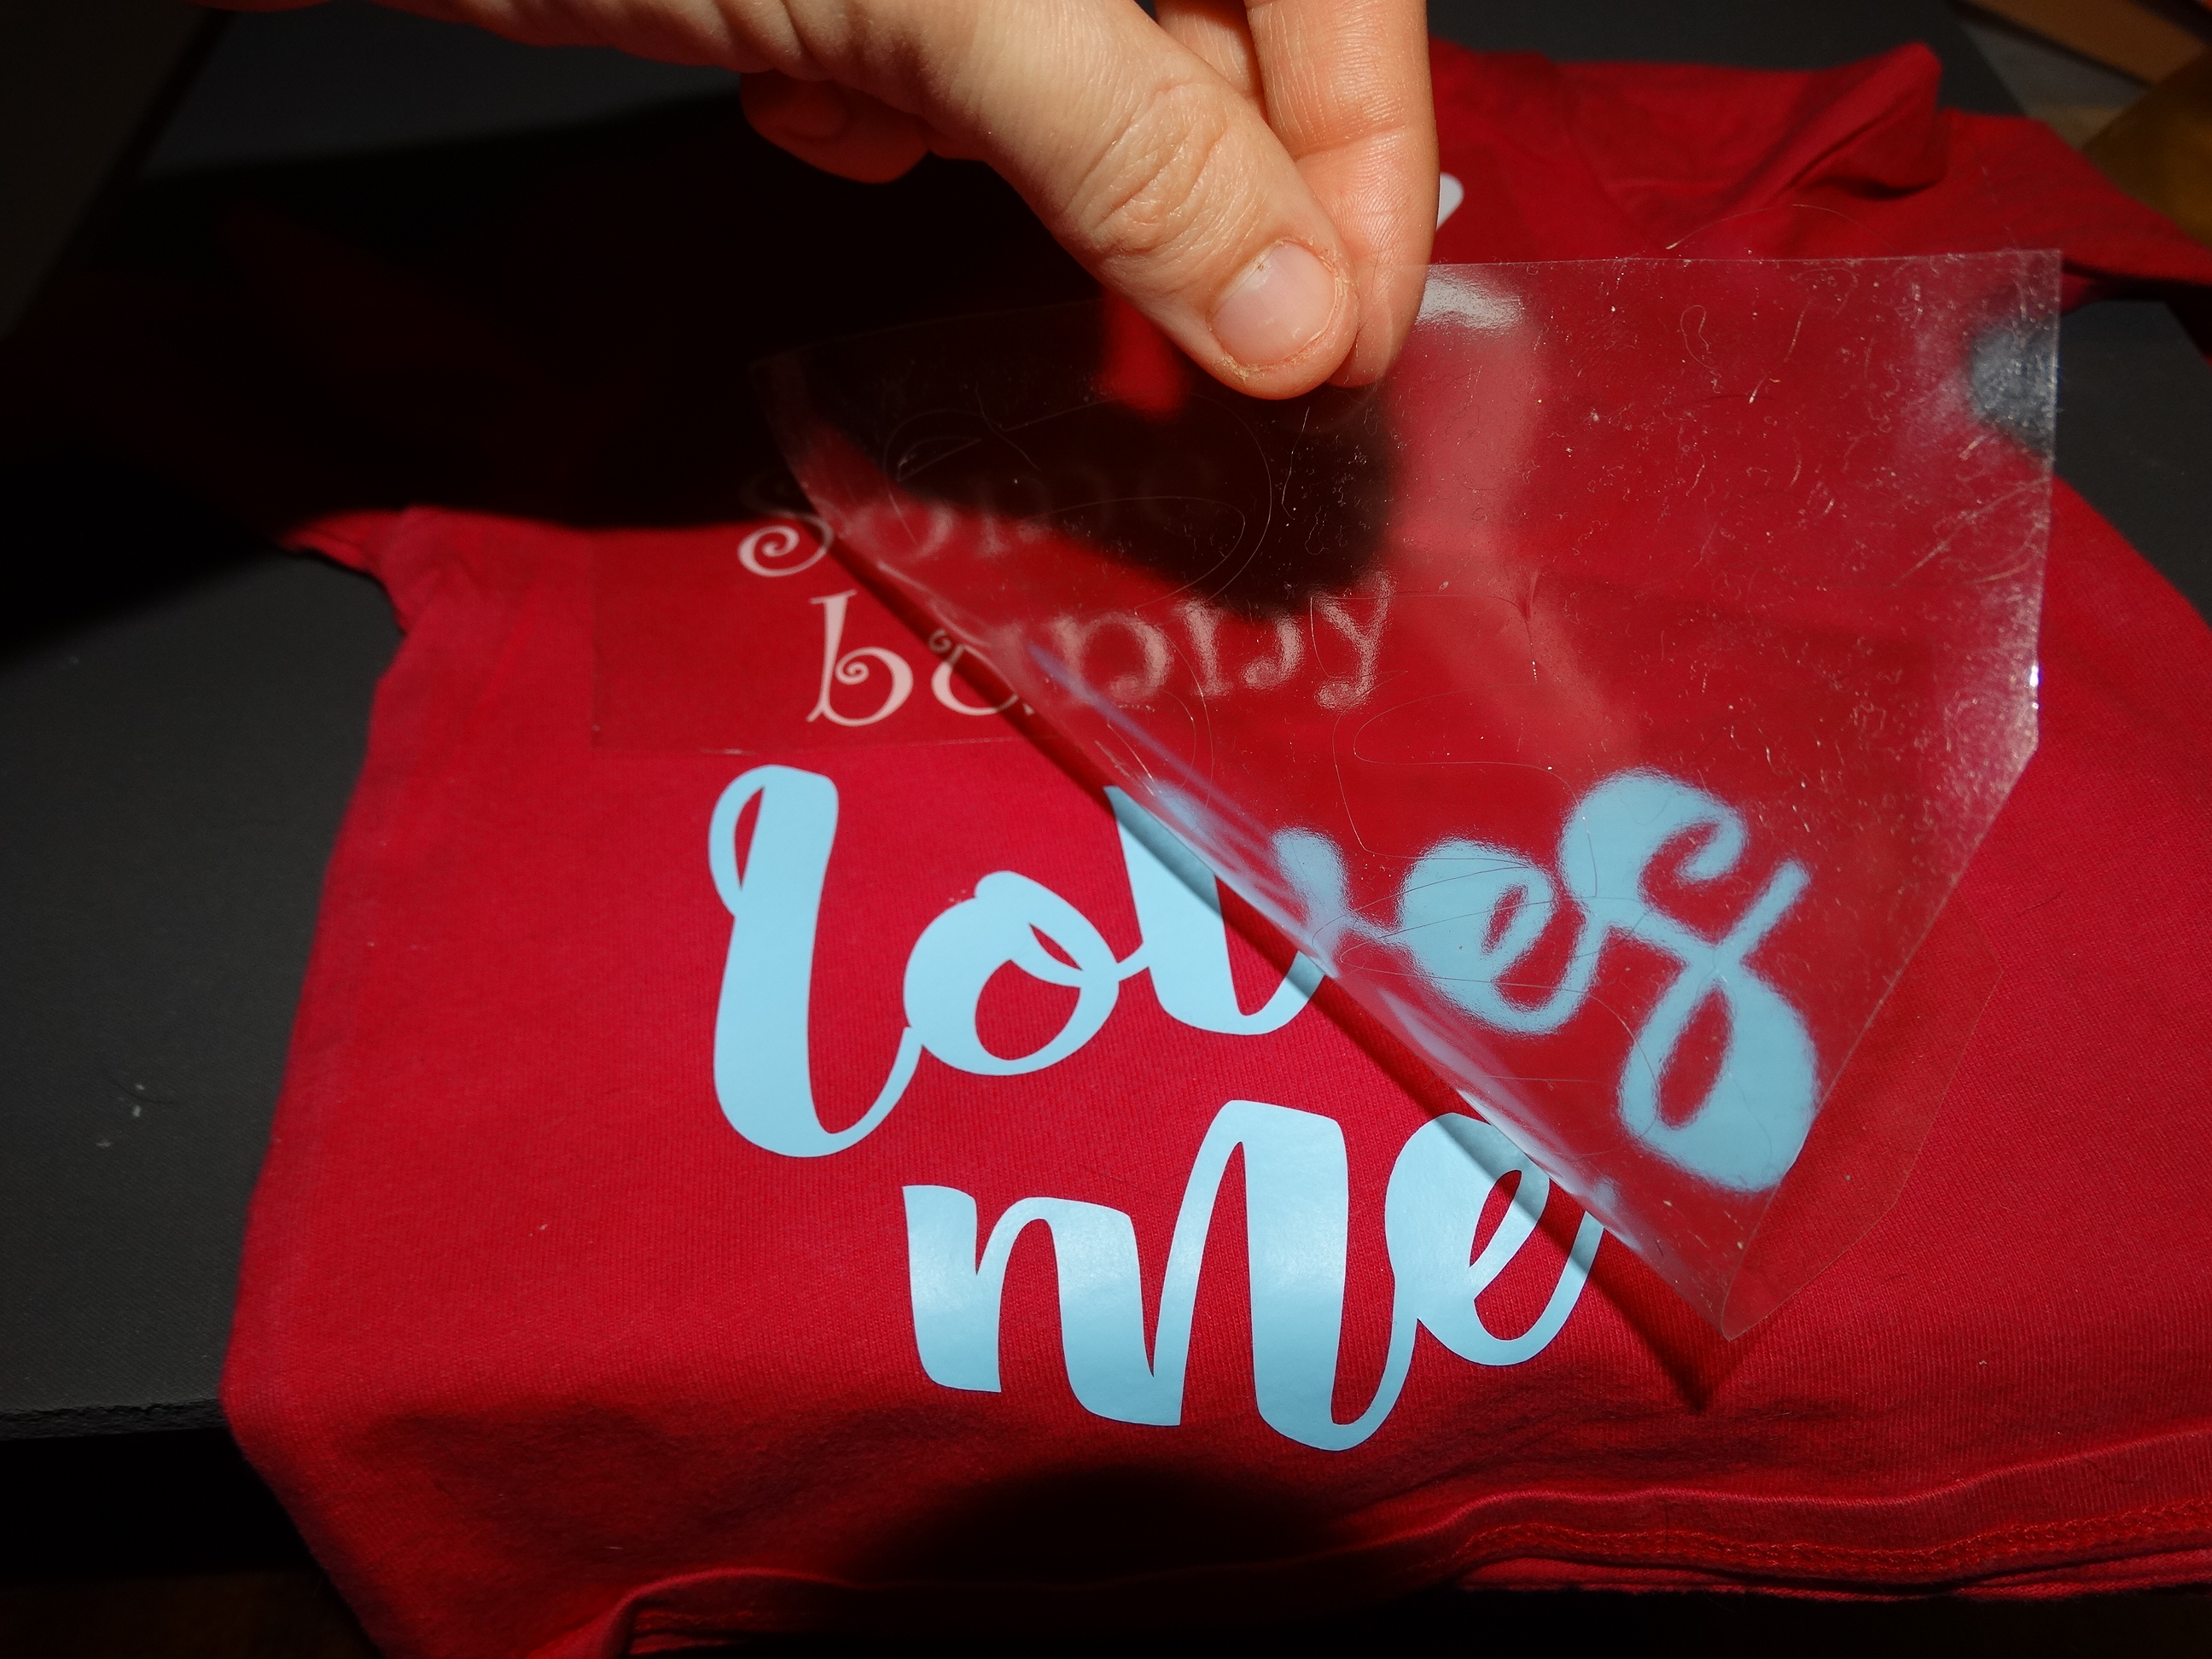
Slowly peel the transfer paper because you are done! Now put it on your little model and admire your work!

Some bunny loves you easter shirt

I hope you liked today’s post as much as I enjoyed making the shirts! If you follow me at From Wine to Whine, you’ll be able to see my little models trying out their cute new shirts! And don’t forget to snap a photo of your own. We would love to see how your shirts came out! Just tag us at @ProWorldInc or by using the #proworldinc hashtag when you upload to Facebook, Instagram, Twitter or even Pinterest!

View & Add Comments

St. Patrick’s Day Shot Glasses with a bit of Bark!

With St. Patrick’s Day just three weeks away, we are going to show you step-by-step instructions on customizing some shot glasses with sublimation. And what makes everything better in life? That’s right… puppies! We decided to incorporate some adorable dogs into this St. Patty’s Day theme.

Make your own St.Patty's Day Shot Glasses! See how on the Pro World Blog!

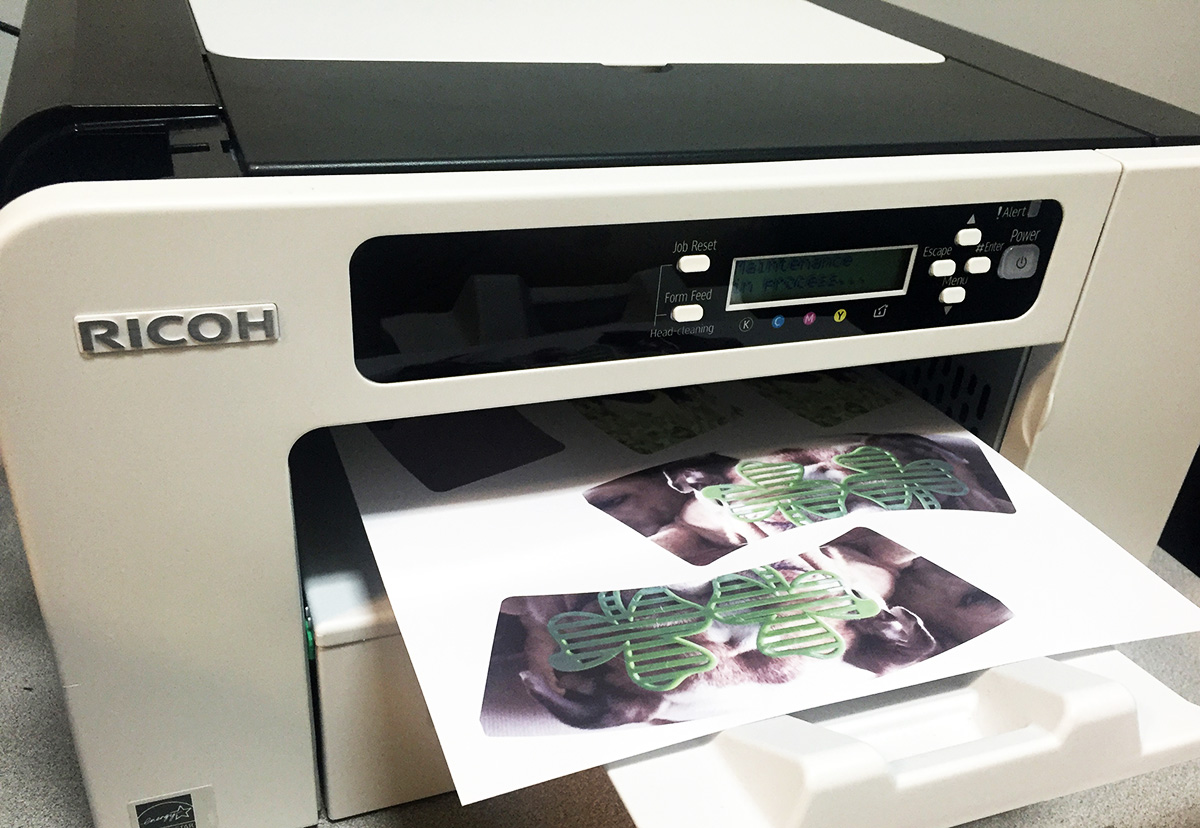
First things first, you will need a sublimation printer. We used our in-house Ricoh printer, which is an older model that we had previously sold in the past. The upgraded (and more feature rich) model can be purchased on our website, the Sawgrass Virtuoso. This printer will come with the required Sublijet inks. You will also need some sublimation paper on which to print your design.  We recommend Texprint paper.

Make your own St.Patty's Day Shot Glasses! See how on the Pro World Blog!

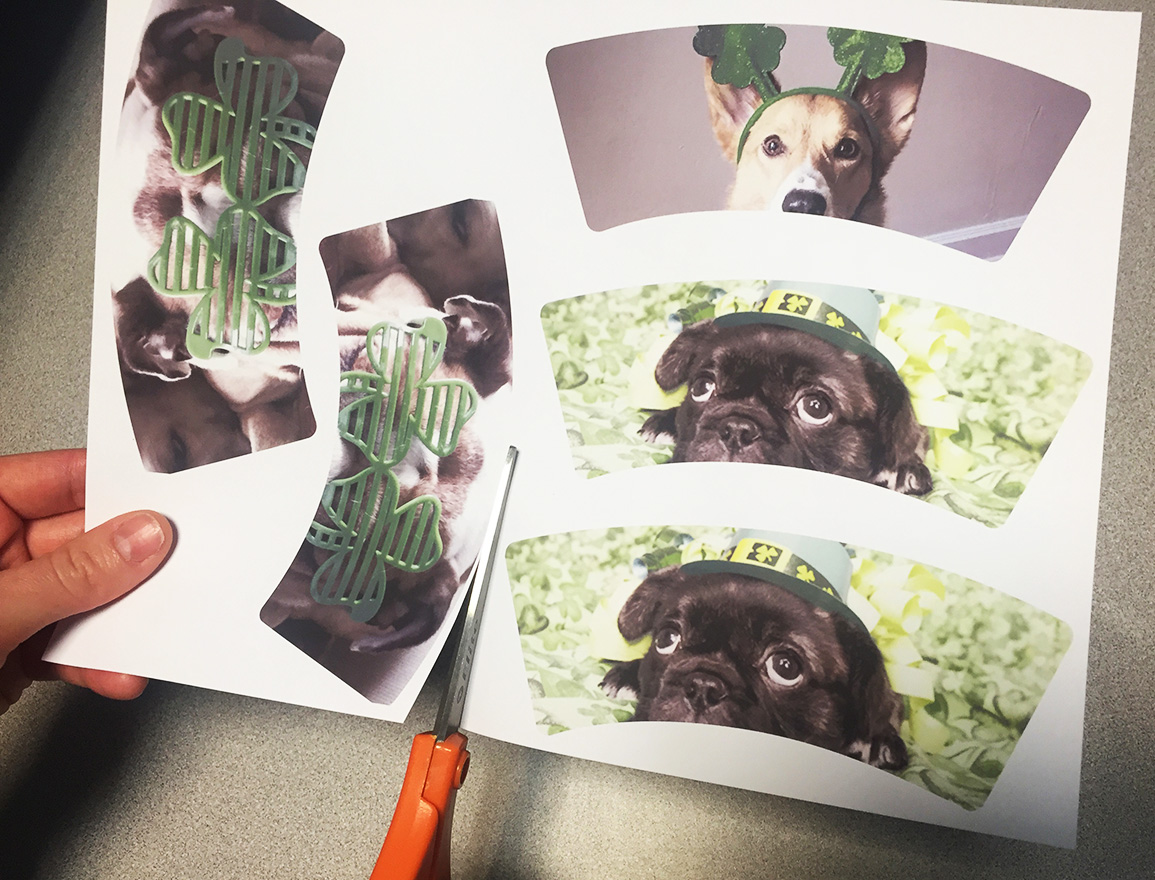
I used the shot glass template to create my artwork and then I set multiple images up on an 8.5 x 11″ sheet to get the most out of my paper. The template will ensure that you create images with enough bleed room (i.e. area outside of the print), as well as helping to re-create the shape of the shot glass. Be sure to mirror print your image so that your artwork is printed in reverse.

Make your own St.Patty's Day Shot Glasses! See how on the Pro World Blog!

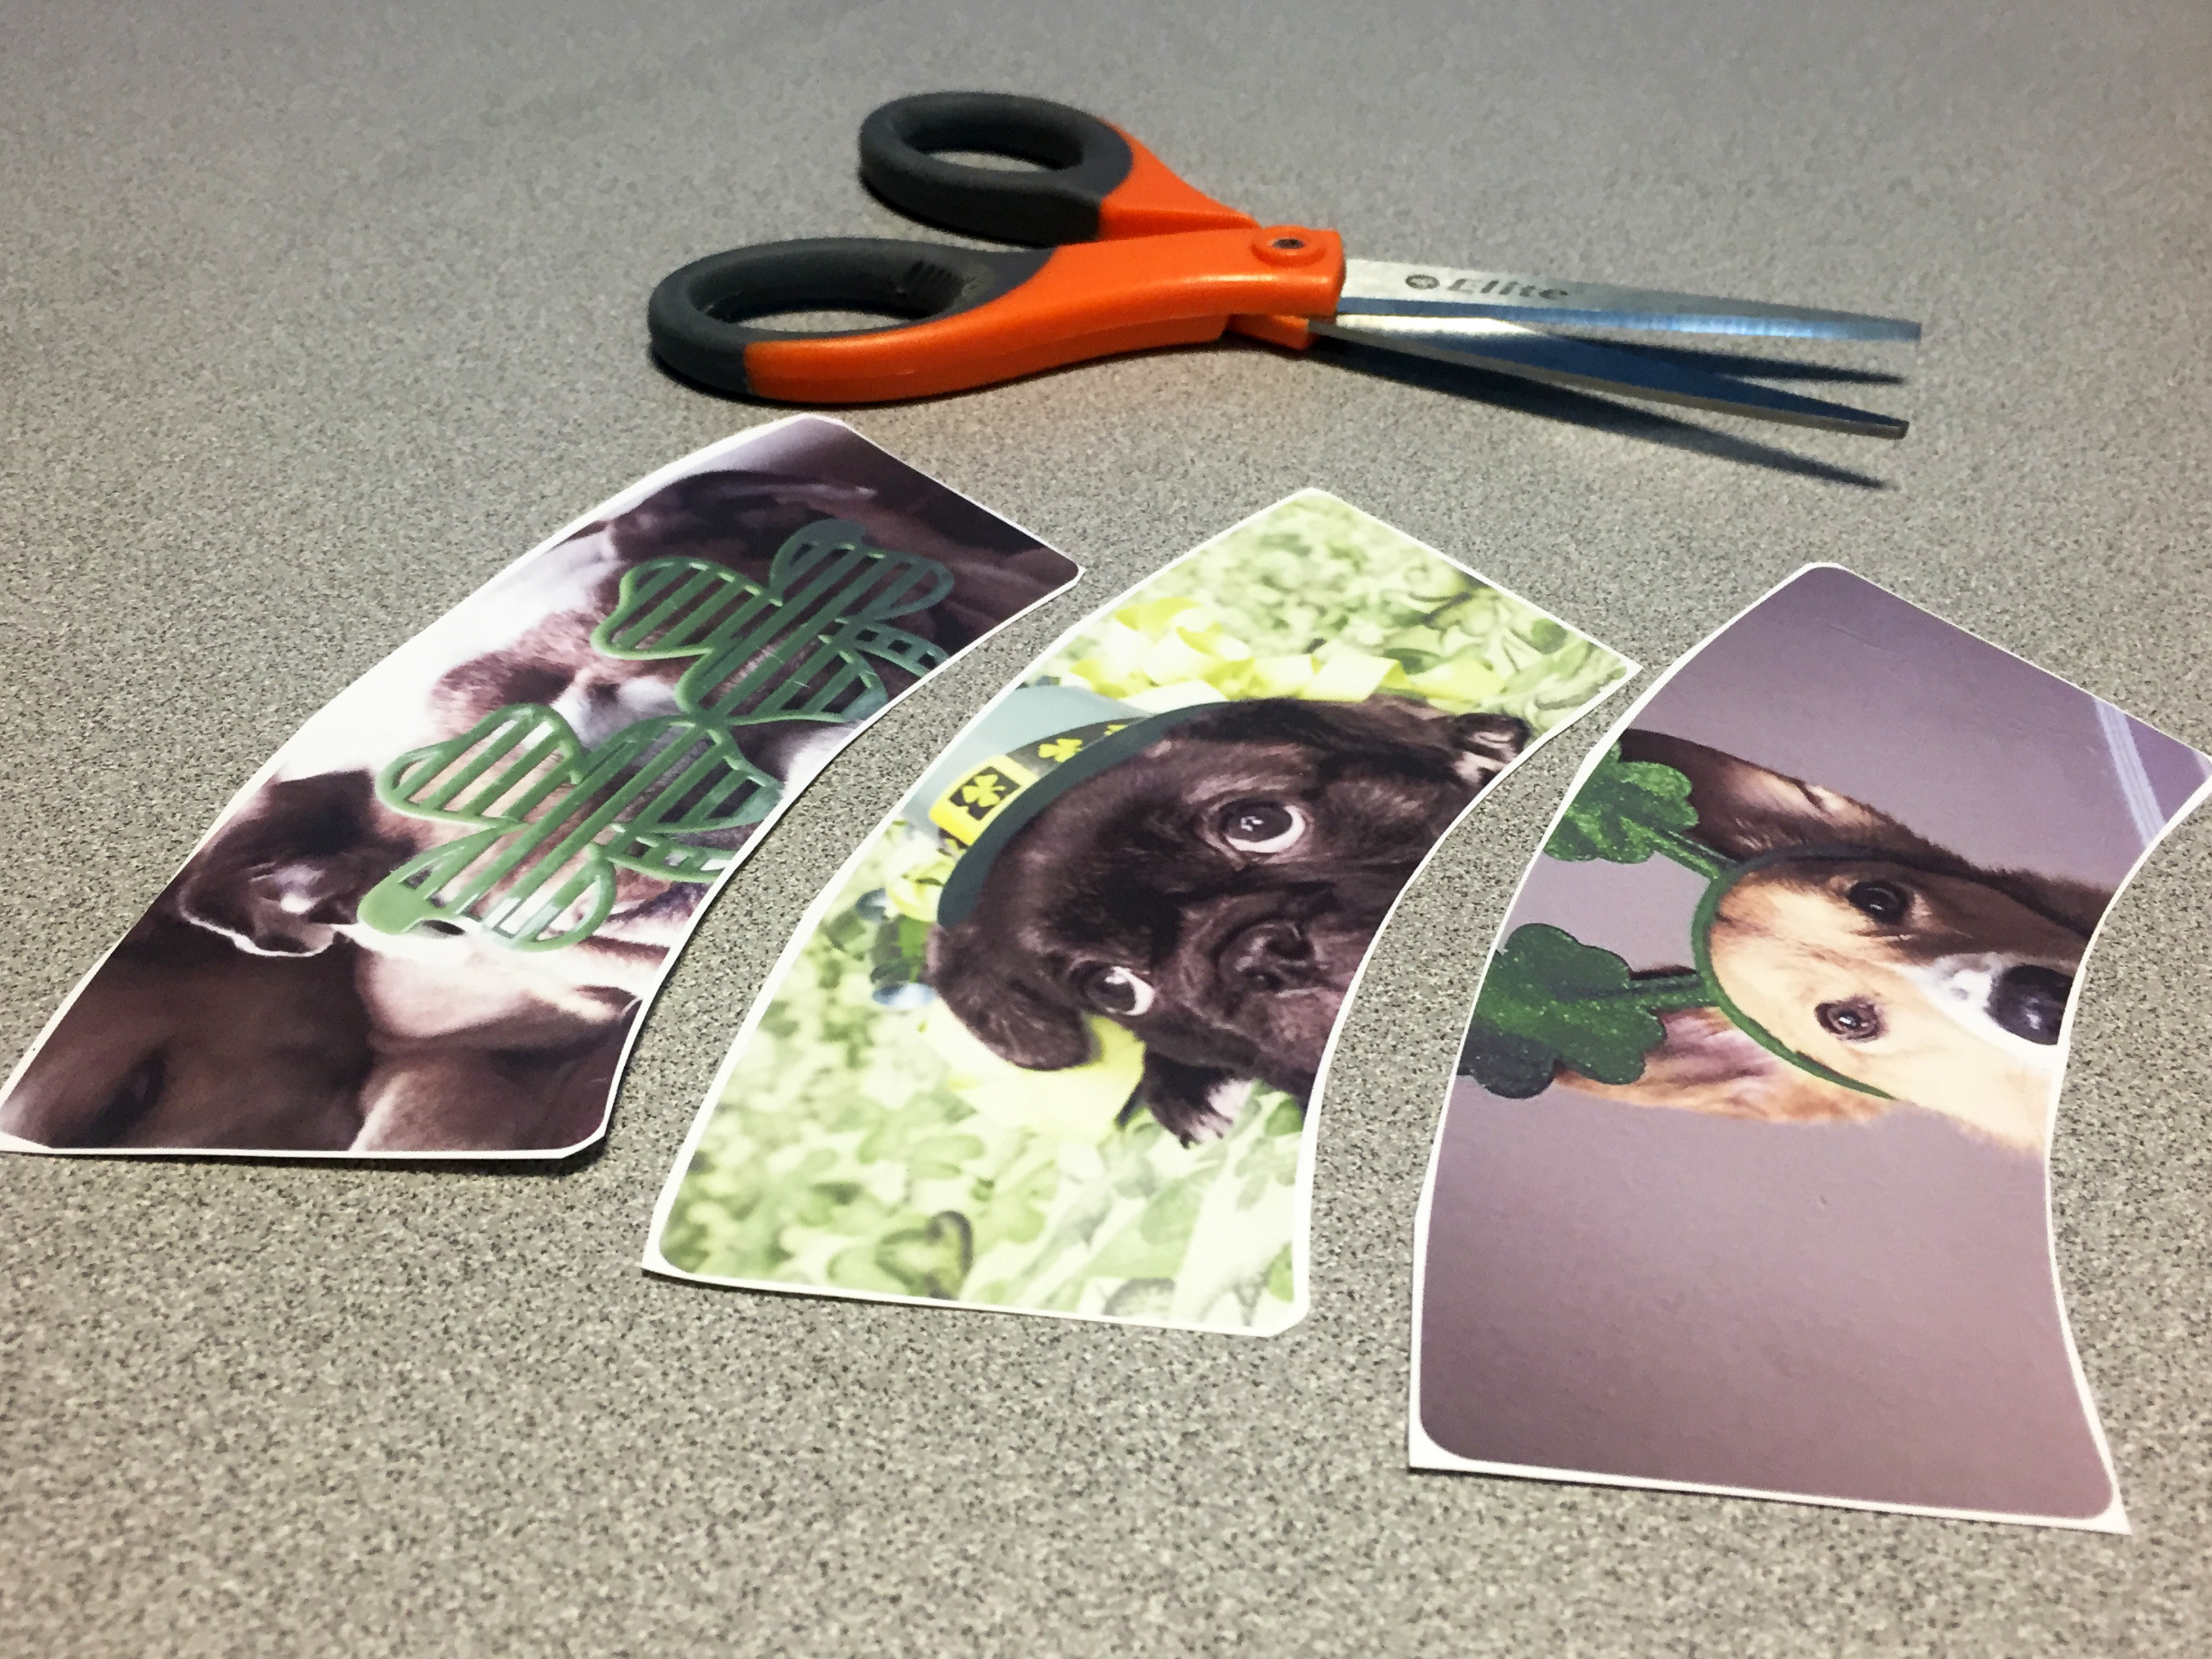
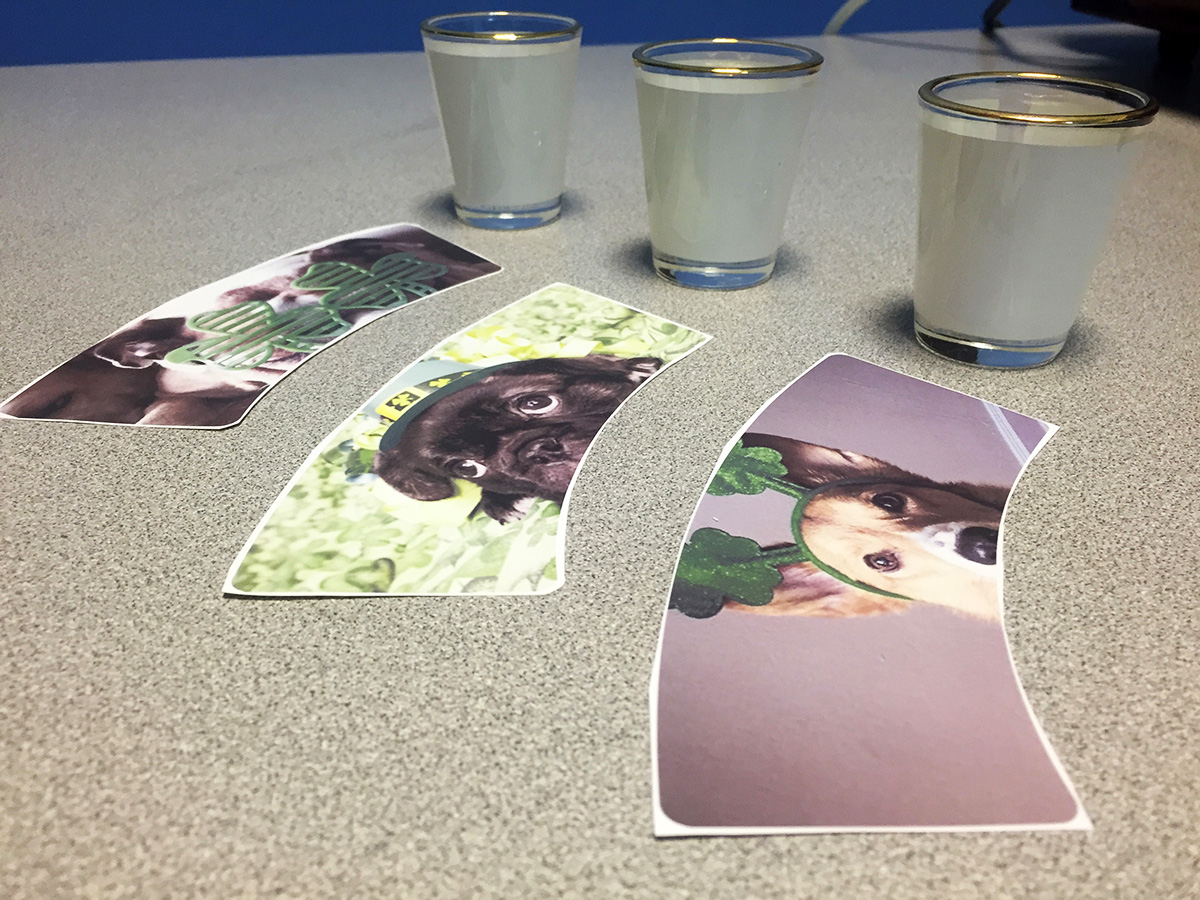
Next, take your scissors and cut the prints apart, leaving a little bit of white trim around the edges to avoid cutting into your design. Once the designs are cut apart, you will want to prep them to be taped to the shot glasses.
Aren't these puppies adorable? Use a cute print to make your own shot glasses! See how on they made St. Patty's Day shot glasses Pro World Blog!

Keep in mind that the shot glasses we carry do have a white coating, which means that any area of your design that is not filling the template will have a white background.

Make your own St.Patty's Day Shot Glasses! See how on the Pro World Blog!

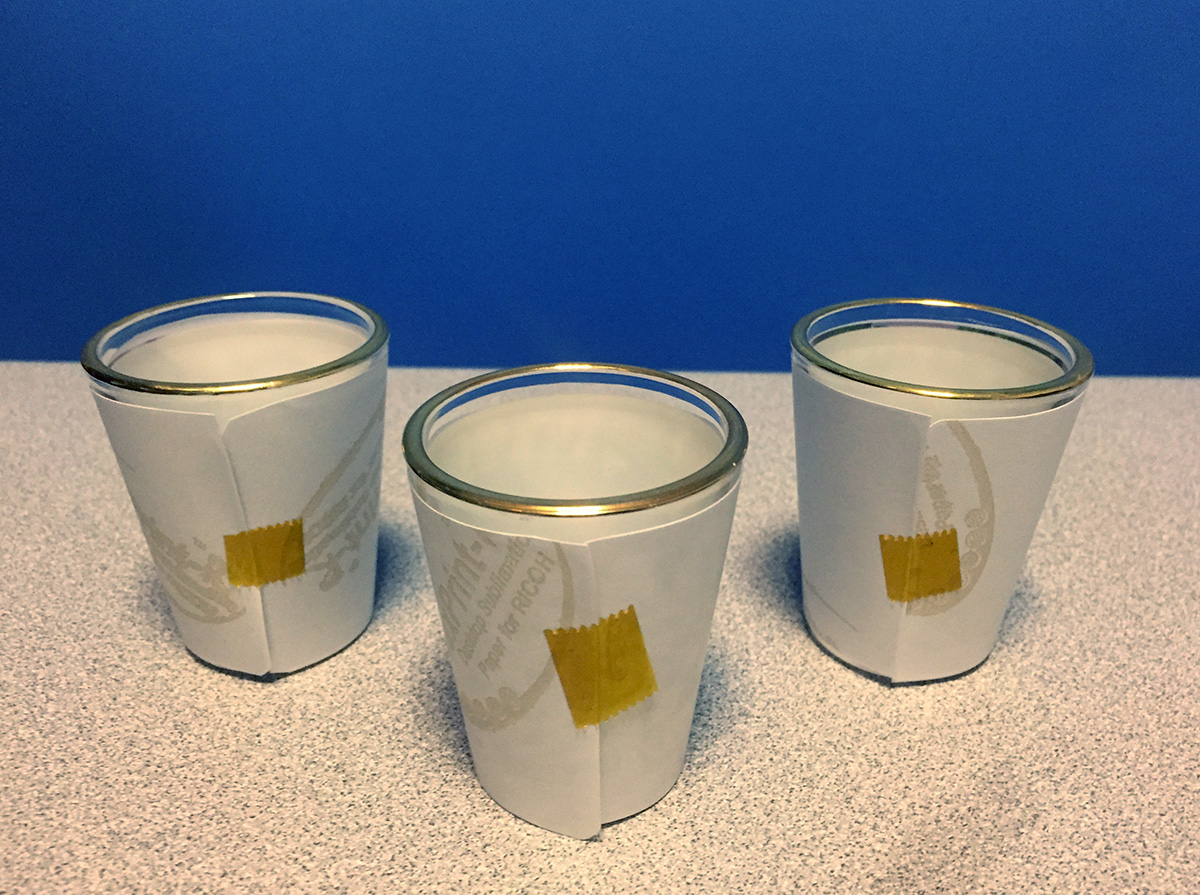
After the designs are cut, wrap them around each shot glass and attach the image to the shot glass using heat resistant transfer tape to keep the paper in place.

Make your own St.Patty's Day Shot Glasses! See how on the Pro World Blog!

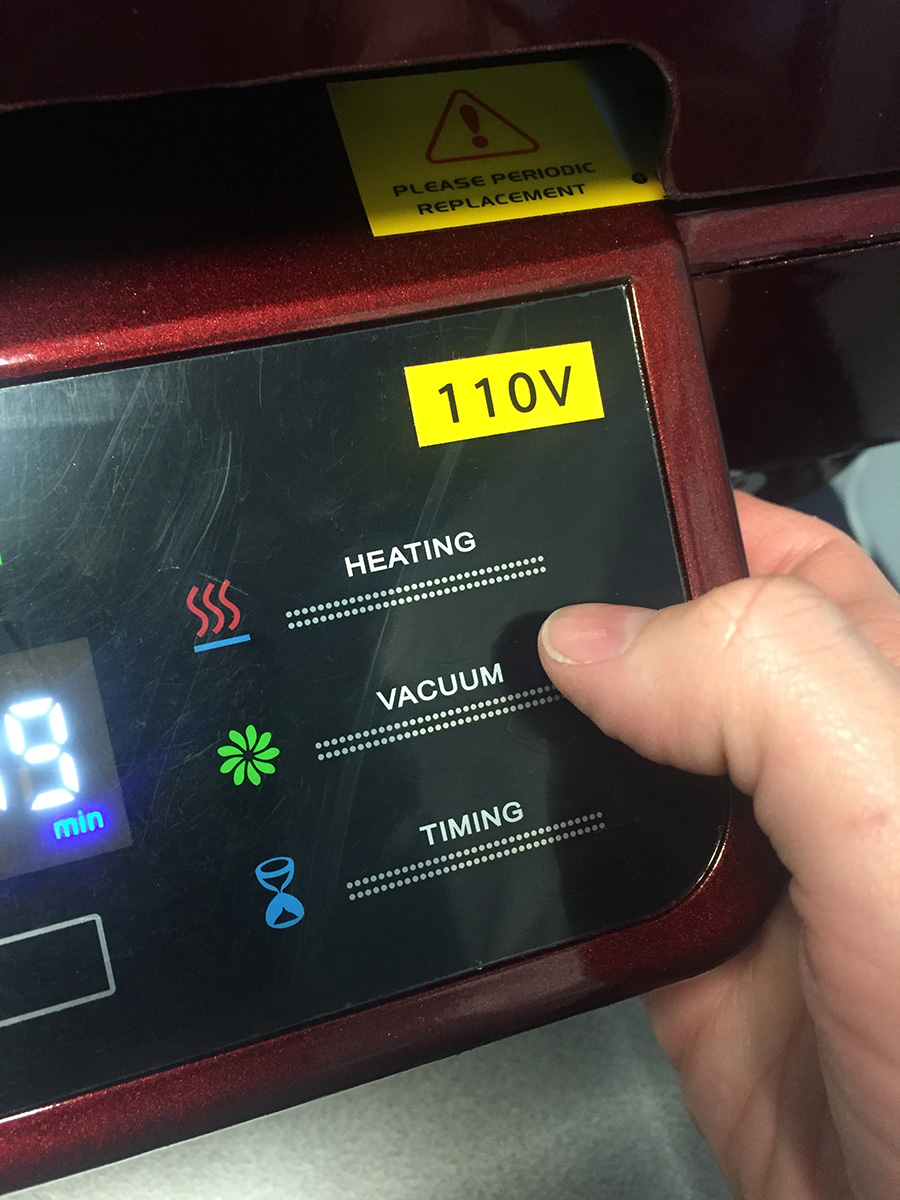
Now that your glasses are prepped, we need to get the heat press ready. You can also do this before printing to allow the press some time to heat up. Plug in your 3D Vacuum Heat Press and flip the switch on the back left side. Press the “Power” twice to get to the settings, and then press the “Temperature” settings button and set at 200 degrees Celcius. Now press the “Time Setting” button and set to 13 minutes. After both are set, press the “Heating” button twice. The press will now start heating up, and will beep once it hits 200 degrees.

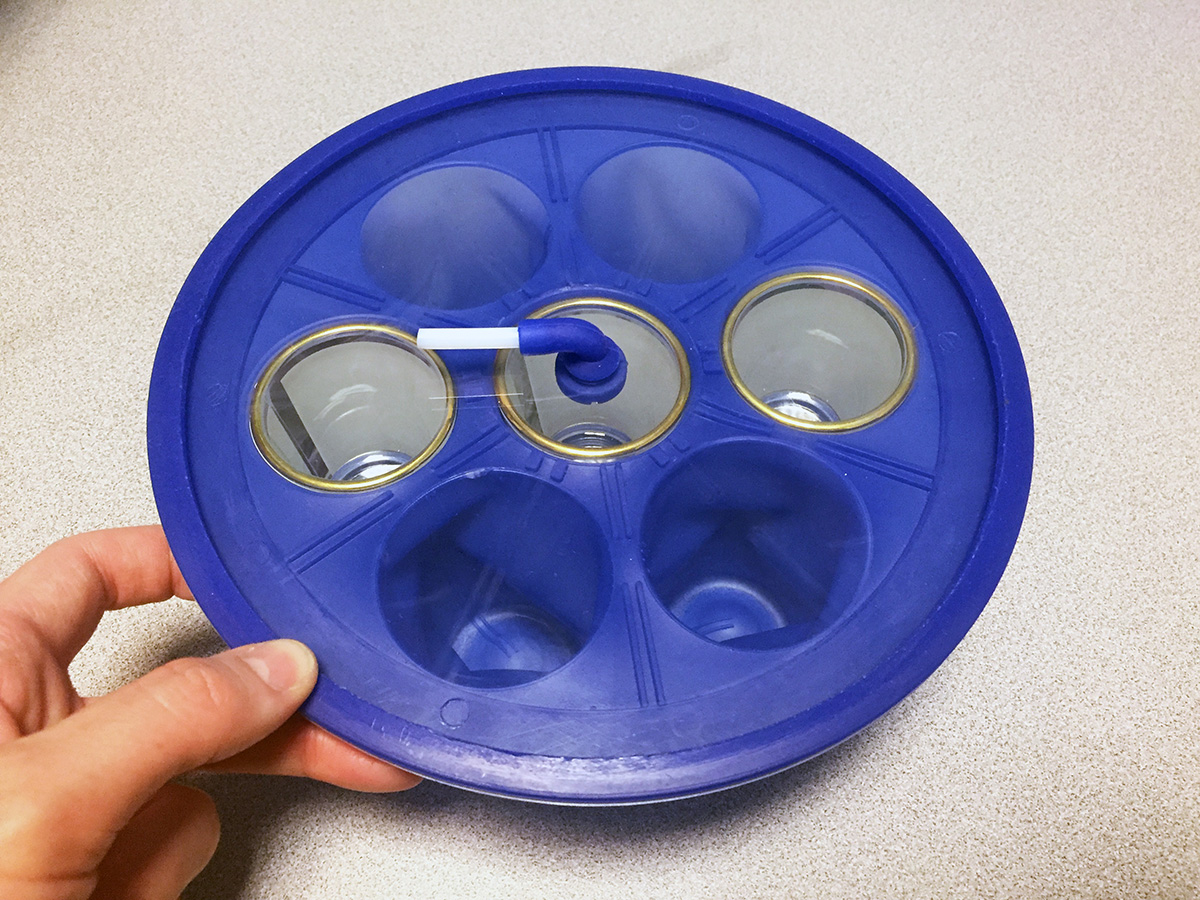
Want to make your own shot glasses? You need this!Place the shot glasses into the shot glass mold and cover with the glass lid. Once the heat press is ready, place the shot glass mold inside of your 3D Vacuum heat press.

IMG_0654

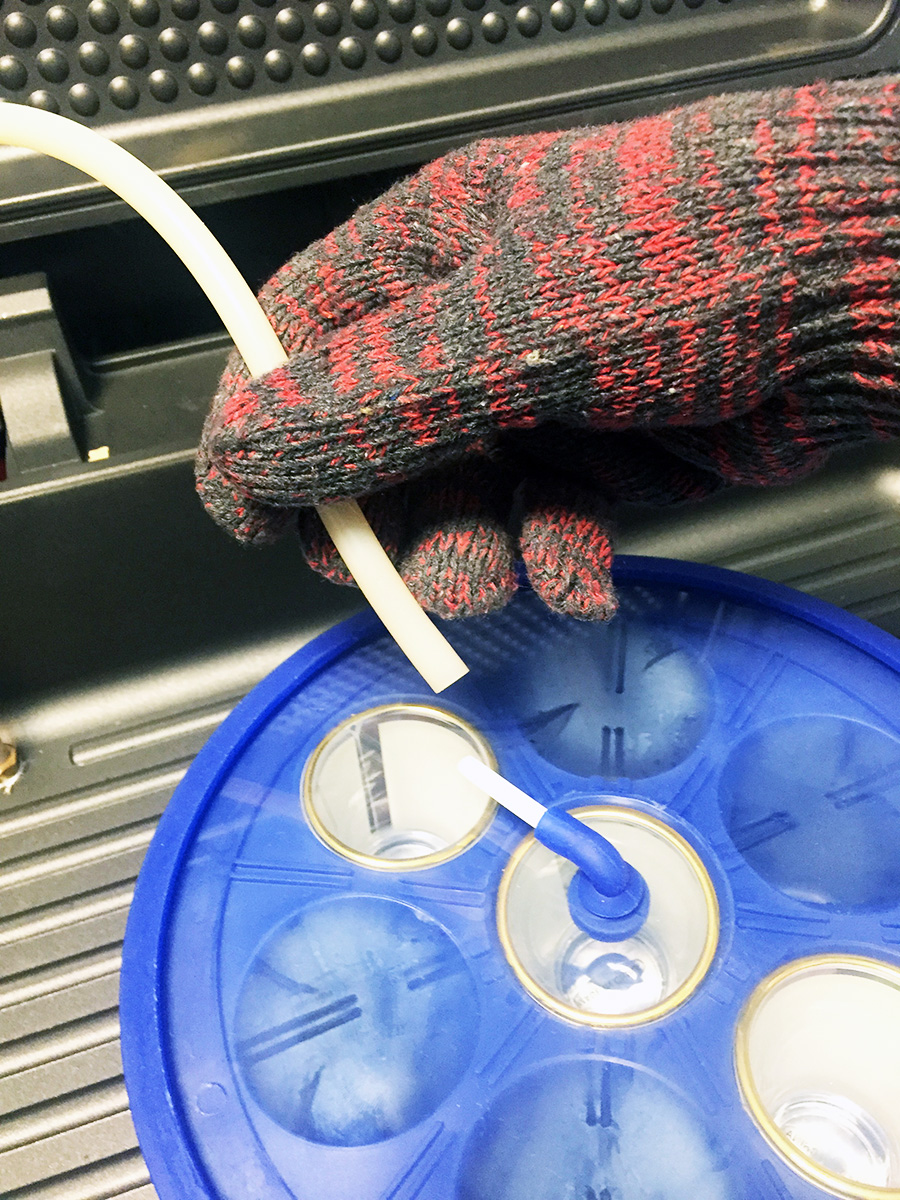
Attach the rubber tube (that is connected to the bottom of the 3D Vacuum Press) to the white tube sticking out of the mold. After the tube is connected, press the “Vacuum” button. The tube will then suck all of the air out of the mold. Pick up the mold carefully (while wearing protective gloves) and check to make sure that there are no wrinkles where the mold has been suctioned around the shot glasses. After flattening out any wrinkles, close the heat press and press the “Timing” button. The machine will begin to count down.

IMG_0657

Remove the mold once the time is up, making sure to wear your protective gloves. Peel the paper off of the shot glasses immediately. Use caution as the glass will be very hot! Let the shot glasses cool down, and admire your finished product! Fill with your favorite liquor, and drink til yer Irish! Ruff Ruff. . . sorry I couldn’t resist!

Drink from a cute glass! Make your own St.Patty's Day Shot Glasses. See how on the Pro World Blog!


Make your own shot Glasses for St. Patty's Day! See how at @proworldinc

View & Add Comments