Creating a Valentine’s Day Chalkboard Sign with Vinyl

A few weeks ago, we told you  about our new product called Oracal 641. Today, we are going to use the matte sign vinyl to make a Valentine’s Day Chalkboard Sign.

Want to see what we made?
IMG_2364

Want to make one for yourself? Here’s what you need:

To make your own:

1 – Design your cut file.

valentine 1

2 – Load your Oracal 641 into your cutting machine and click cut.

3 – Weed your design.

IMG_2354

4 – Lay your Transfer Tape over your weeded design.

IMG_2355

5 – Peel the blue backing from your transfer tape.

IMG_2358

6 – Apply it to your chalkboard blank.

IMG_2360

7 – Peel the transfer tape.

IMG_2362

8 – Admire your work!

IMG_2364

Have you tried using Oracal 641? Show us on Facebook or Instagram, we would love to see what you made!

Like this project? Pin it for later!

matte vinyl

View & Add Comments

NEW PRODUCT ALERT: TransPro Select Auto Plus 16X20 Heat Press

Did you hear the news? We now carry a new, electric powered automatic heat press! If you are a frequent heat press user, you’ll want to see all that the TransPro Select Auto Plus 16X20 Heat Press has to offer.

TRANSPRO SELECT

This “E Series” heat press uses the most advanced electric control system to achieve full automatic operation. You can:

  • Easily adjust the pressure to the thickness of the items being pressed.
  • Program up to 10 different pressures including high-pressure applications.
  • The TransPro Select Auto Plus comes fully equipped with a digital controller for different pressures and dual time settings.
  • You can also store frequently used settings for your production cycle counter.

transpro 2

The Trans Pro Select Auto Plus Heat Press is perfect for high volume commercial use, specialty decorators, direct-to-garment printing, and embossing.  Head to our website to read more about it. Watch the video below to see it in action.

View & Add Comments

How To Layer Glitter HTV

Did you know that you can layer Chemica Glitter Heat Transfer Vinyl? It’s true! You can press up to 3 layers. Here’s how.

how to layerglitterhtv

You need:
Multiple colors of Chemica Bling Bling Heat Transfer Vinyl
Something to put your HTV on (we used a shirt)
Non-Stick sheet
A heat press

Directions: 

Step 1: Design, Cut and Weed your Chemica Bling Bling pieces.

IMG_1761
Step 2: Warm up your heat press, and press your first vinyl layer at 320 degrees F for 20 seconds. Peel the plastic transfer paper off once it is cold.

IMG_1770

Step3:Lay your next piece of glitter HTV on top and cover your full design with a non-stick sheet. Press it again at 320 degrees F for 20 seconds. Once it cools you can peel the cover off.

IMG_1776
Step 4: Add your third and last layer on top of your vinyl and cover your full design with a non-stick sheet. Press it again at 320 degrees F for 20 seconds. Once it cools you can peel the plastic overlay off and admire your sparkly results!

IMG_1781


View & Add Comments

Grow your Business in 2018

Are you looking to grow your custom business in 2018? You’ve come to the right place. We have everything that you need to get started!

Grow Your Craft Business in 2018

If you are just starting out, cutting machines are perfect for cutting designs out of heat transfer or adhesive vinyl. You can find images on the internet, purchase images, or even design your own. You can see us cutting designs live on this video.

If you have a GCC cutter and want to increase your workload but not necessarily spend more time designing, you should check out our Digital Design Software. It can be used to help speed up the creation process for monograms, rhinestones, and sport themed items. It works with CorelDRAW which will help you save time so that you can take on more. Learn more about the software and its capabilities on our website. We frequently hold webinars that show you how to use the different software.

If you are looking to take your custom business to the next level, sublimation is the key. If you aren’t familiar with sublimation, it gives you the ability to adhere printed photos and images onto a number of different items including mugs, phone cases, frames, license plates, and tags. Think about all of the personalized services you can offer! Below we show you how to sublimate on a phone case!

If you have a heat press and are looking to add easy offerings into your product line, Heat Transfers are unique because they allow for you to create wearable items and other items quickly. You can customize shirts, bibs, bags, canvas boxes, etc. with a simple press of your heat press. Choose from thousands of heat transfers in our library or create a custom transfer at pwcustom.com. Think of the possibilities for your own business needs, as well as the needs of your customers.

View & Add Comments

Last Minute Gift: Sublimated Ornaments

I always like to make a few handmade Christmas ornaments each year. Some for me, and some for friends since they are a nice personalized gift to give, especially when you use sublimation. They are quick to make and don’t require a lot of materials, and since you can sublimate photographs it will leave a lasting impression for years to come.

Want to make your own? See below!

last minute gift

You Need:
1. Design your ornament with your sublimation software.
Capture
2. Print it out.
IMG_1323
3. Warm your heat press to 400 degrees.
4. Tape your paper to the ornament.
IMG_1324
4. Place your ornament down with the paper on top and your Teflon sheet on top of that. Keep it pressed for 60 seconds.
5. Lift off the paper.
IMG_1326
6. Hang it on your tree.
IMG_1328 (1)
Show us your last minute, homemade gifts on Instagram! Tag us at Proworldinc.
View & Add Comments

Holiday Heat Transfers

The holidays are a busy time of the year, both personally and professionally. But this year you can work smarter instead of harder by including Heat Transfers into your product offerings. 

holiday heat transfers

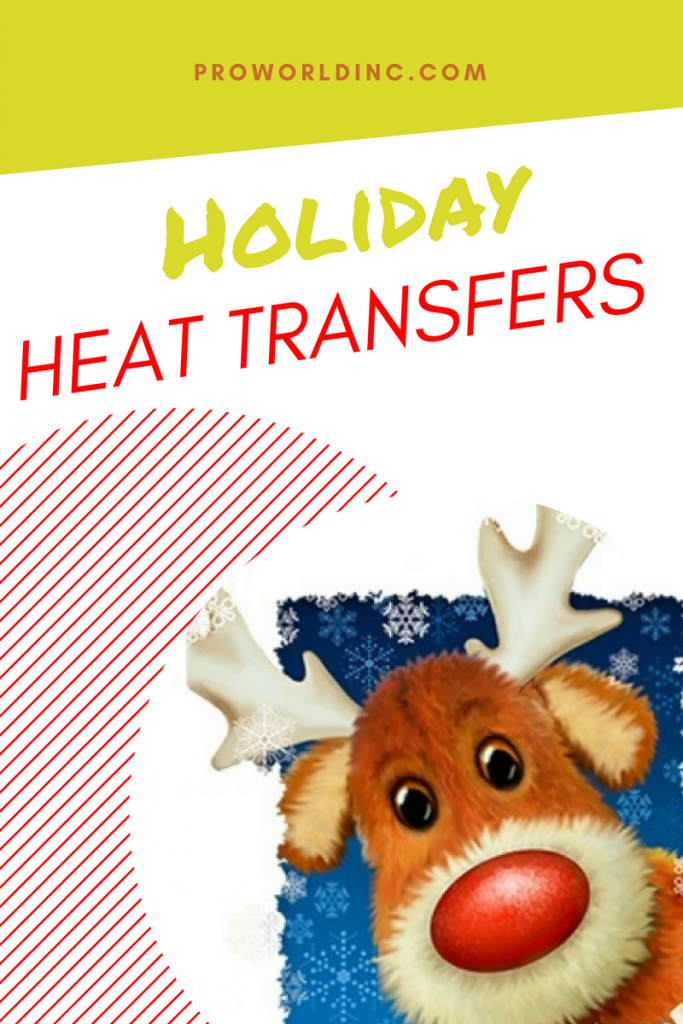
Here at Pro World, we stock 1000’s of transfers including rhinestones, screen printed, mixed media and embroidered transfer options. To apply all you need is the Heat Transfer, a heat press, and your garment! Lay the heat transfer on your garment, press it with your heat press according to the instructions listed online, and peel the backing paper off of your design. Your finished product will be ready to go in only 15 seconds.

We carry so many holiday transfers, the hard part will be narrowing down your selection. We have heat transfer designs for both adults and children, in a variety of media types (screen print, foil, rhinestones/studs, 3D, solar, and glitter).

IMG_1172

Here are a few we pulled, but you can shop all of our holiday heat transfers here.

:ho ho

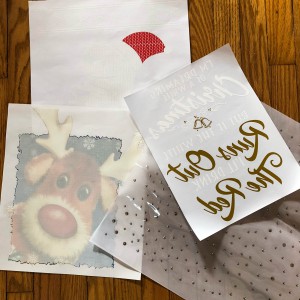
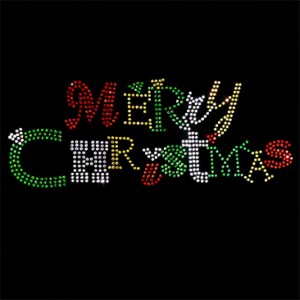
Display your season’s greetings in rhinestones with this heat transfer:

christmas

Tell Santa your wish list with this heat transfer:

image_3_807

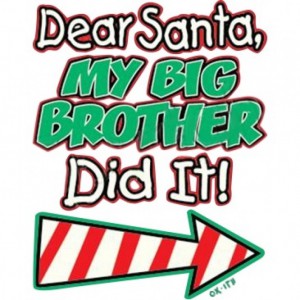
We have heat transfers for siblings:

a2031b

and Baby’s First Christmas:

first

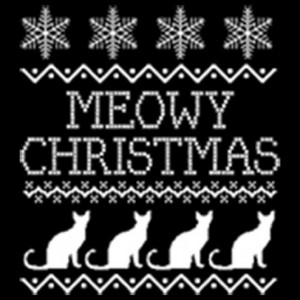
For all the cat and dog lovers, we have heat transfers for you. Here is one featuring our feline friends:

cat

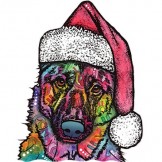
And a heat transfer where a canine is in the spotlight

dog

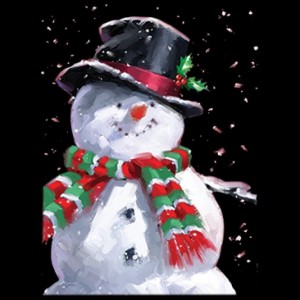
If you love snow and can’t wait to build a snowman, check out this heat transfer:

snow2

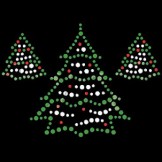
We have trees that sparkle:

tree

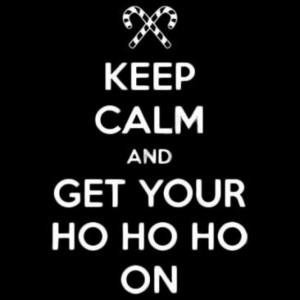
And for those who need a little help to get through the holidays:

wine

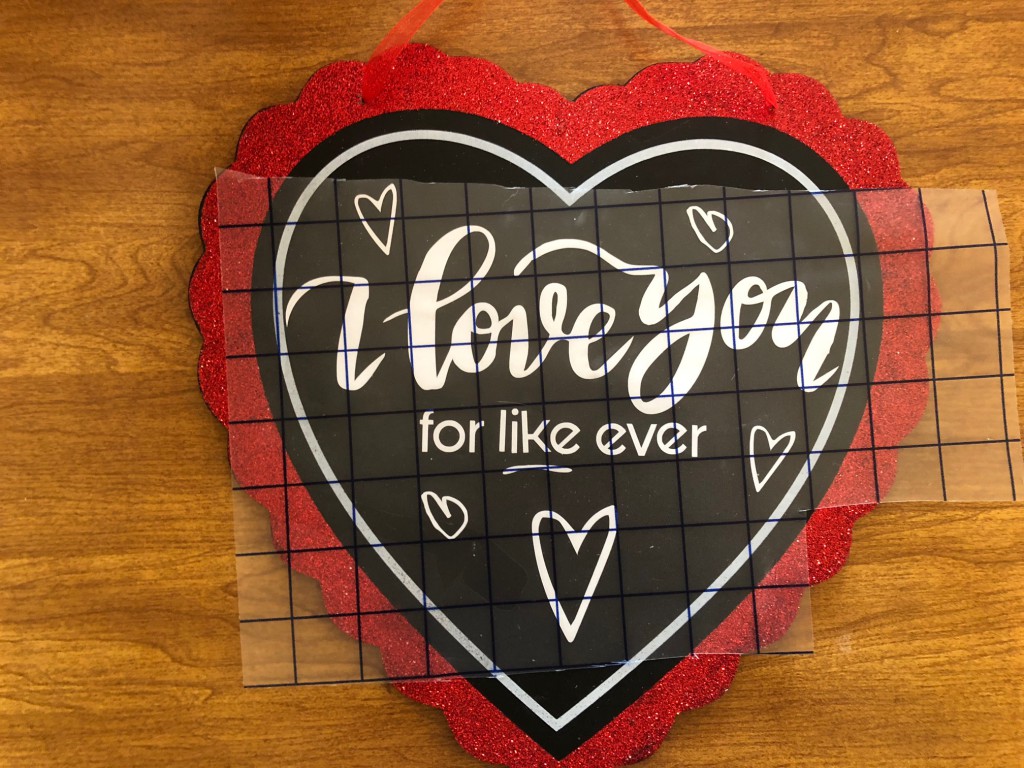
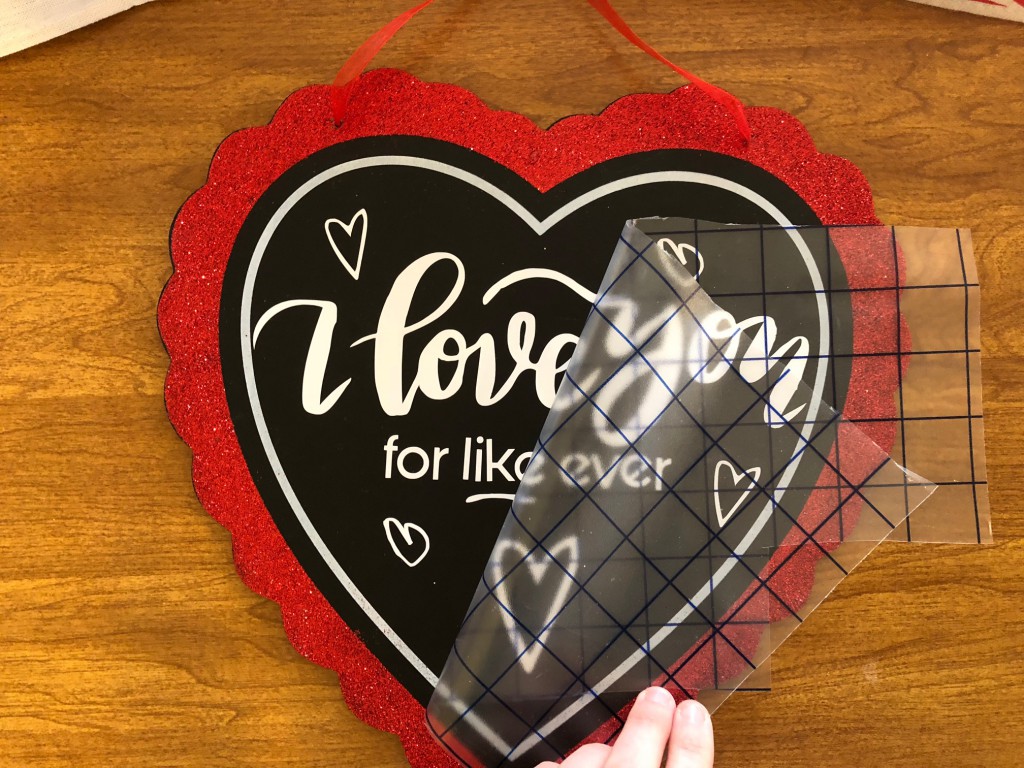
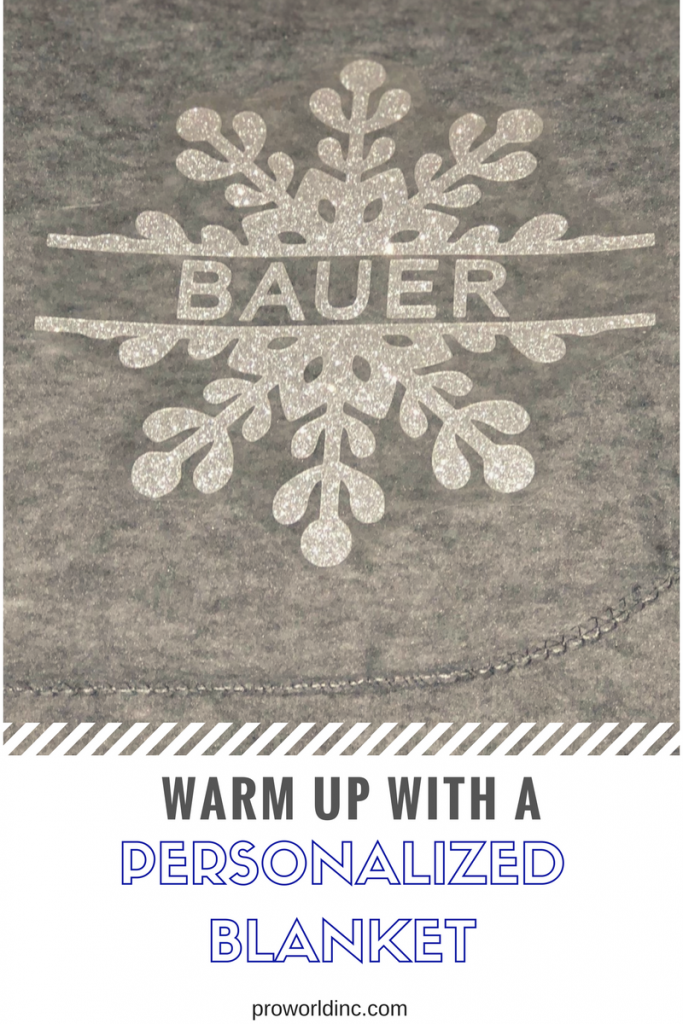
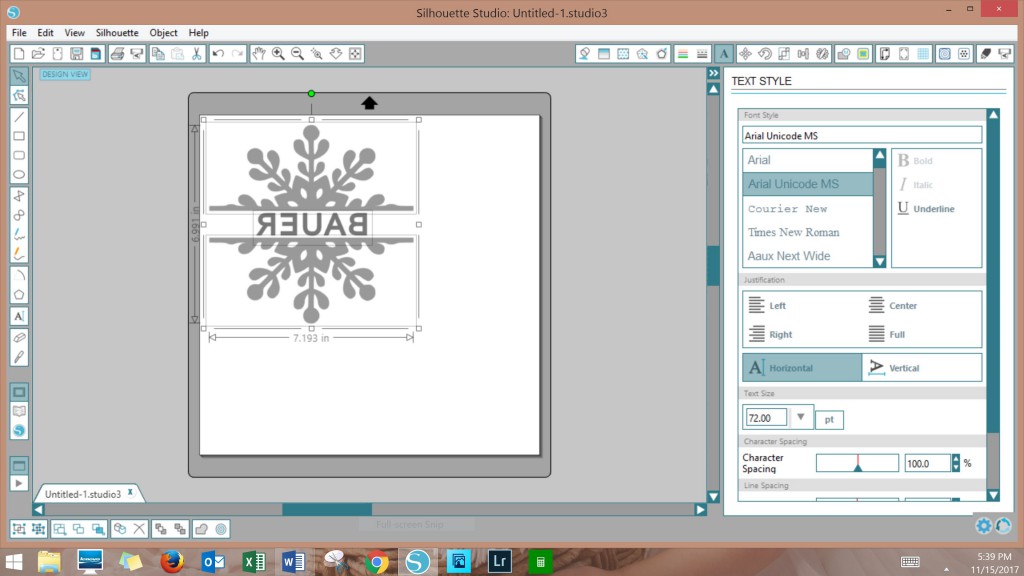
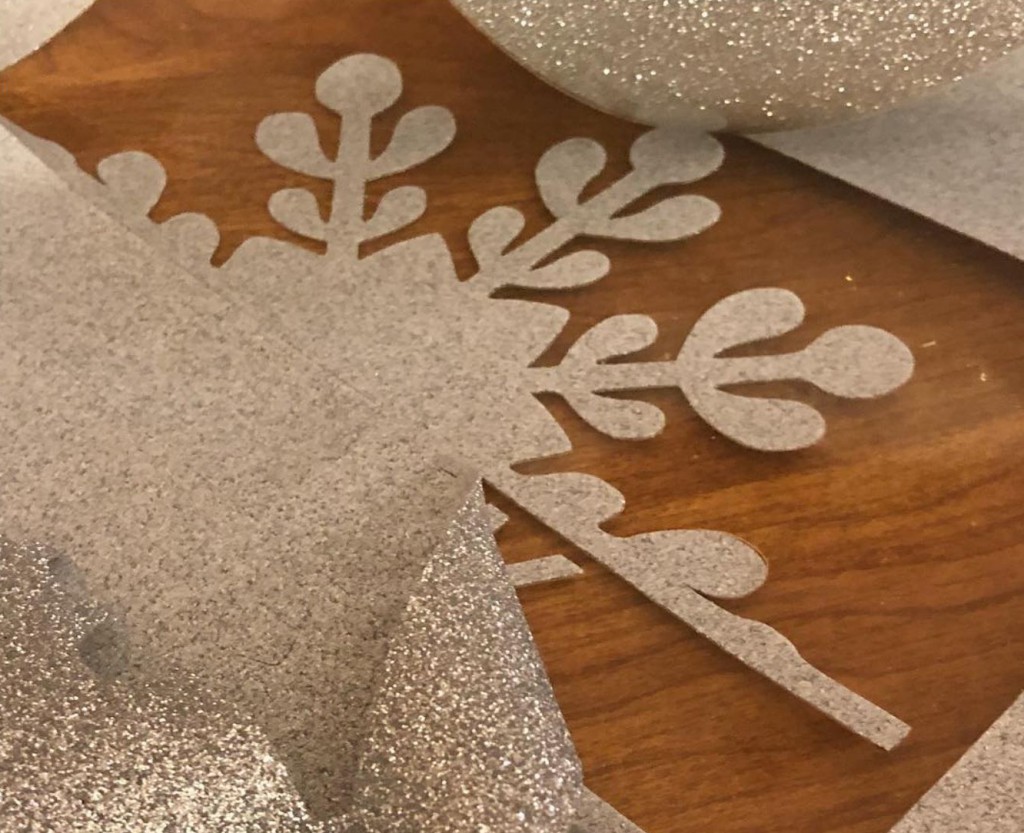
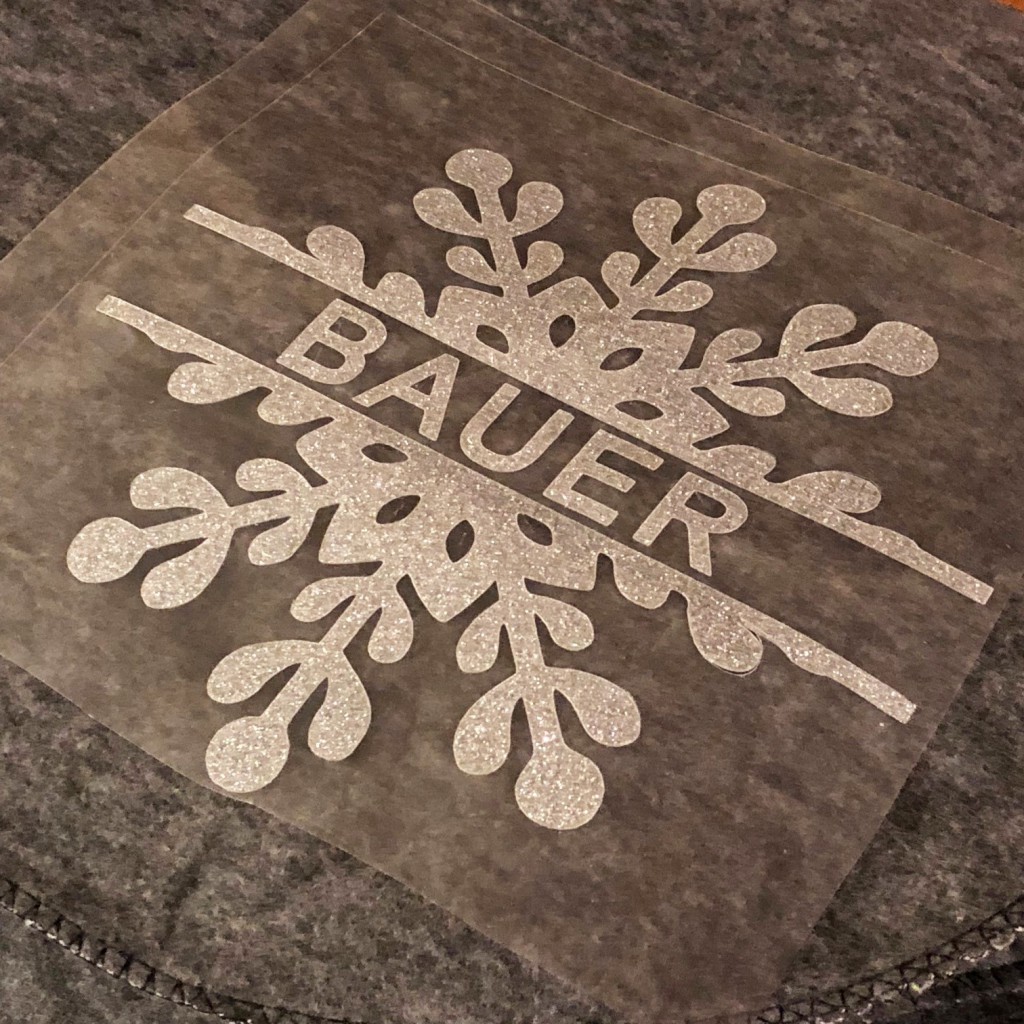
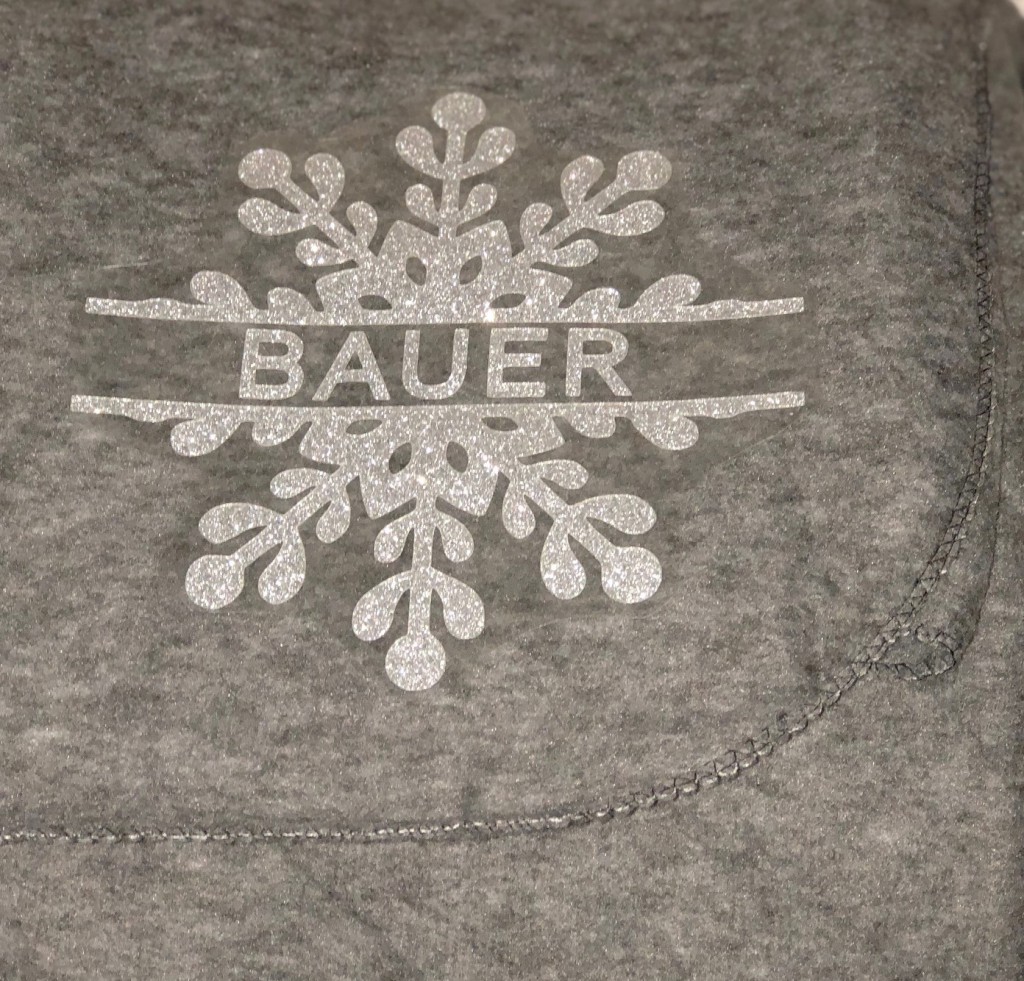
The holiday heat transfers are a ton of fun, and can even be personalized by adding vinyl to your garment!

Have you used one of our holiday heat transfers? Tag us on Instagram so that we can see!

View & Add Comments

The Ultimate Crafter’s Gift Guide

With the holidays around the corner, it is time to spoil those around you and give a gift that shows you care. One of the best ways to do that is with some craft tools! Today, we have put together our hottest selling items that we know you or crafter will love!
crafter blog post image (3)

The gift recipient in your life would be sure to love a new stash of vinyl. After all, a crafter can never have enough vinyl! Just mix and match the different prints and patterns of the adhesive and heat transfer vinyl.

vinyl collage

Has your crafter been dreaming of a heat press? Now is the time to make their wish come true!   Our most popular heat press, the Trans Pro 15 x 15, is an easy to use, manual heat press ideal for applying heat transfers to t-shirts, jackets, mouse pads, tiles, and more!


heat press

If your gift recipient is ready to take their crafting business to the next level, get them a sublimation printer. With a sublimation printer, your crafter can create one-of-a-kind, custom pieces like mugs, phone cases, frames, license plates, tags, and more. And if you purchase the Sublimation Starter Pack, they will have everything they need to get started!

sublimation

Does your gift recipient spend a lot of their free time designing cut files from scratch? Do they currently use CorelDRAW? If you are nodding your head yes, then you should get them a  copy of the Smart Designer Pro. Now they can have a database of images at their fingertips!
simplify and automate your design process
Does your gift recipient like coffee? Buy them a mug press so that they can create their own mugs to drink from.
diy-photomugs-amy-tangerine-04
What is on your holiday wish list this year? Tell us by commenting below or tagging us on social media!


View & Add Comments

Black Friday Specials

black Friday specials

We hope you have a very happy Thanksgiving, and a wonderful time spent with family and friends.  Please know that we are so thankful for all of your support. We love seeing your projects and hearing your success stories, you inspire us every day!

Please be sure to check our website, www.proworldinc.com for our Black Friday specials. They will be active Wednesday, November 22 at 8pm ET through Monday, November 27 at 11:59 PM EST.

Happy Thanksgiving and Happy Shopping!

View & Add Comments

Create a Personalized Fleece Blanket

Temperatures are dropping! It’s the perfect weather for cozying up under a fleece blanket and watching a movie!  Making a personalized fleece blanket is so easy, and makes a lovely gift. All you have to do is add heat transfer vinyl (HTV).

personalized blanket

Here’s how to make one:

1.      Begin by uploading or creating your design using your software. Make sure to mirror your image, then cut your heat transfer vinyl.

SNOW2

2.      Weed your design.

snow3

3.      Find the corner of your blanket. Make sure the blanket tag is on the reverse side.

4.      Line up your design on the blanket corner.

IMG_0762

5.      Set your heat press to 320 degrees.

6.      Place your pressing pillow on the heat press.

7.      Place your blanket corner on top.

8.      Cover the blanket with 3D Vacuum Film.

9.      Cover the 3D Vacuum Film with a Non-Stick Sheet.

10.   Press for 11 seconds with light pressure for Glitter Heat Transfer Vinyl, take off heat press and peel off carrier sheet.

IMG_0770

11.   Press for 20 seconds with Flock Heat Transfer Vinyl, take off heat press, wait to cool down, and peel off carrier sheet.

Personalized fleece blankets make great holiday gifts for family, friends, neighbors and teachers! Pair it with a DVD or Netflix gift card and popcorn or candy, and you’ll have a fun and thoughtful movie-themed gift!

 If you missed our Facebook Live on personalizing fleece blankets you can watch it below!

View & Add Comments

New Product Announcement: Oracal 641

oracal 641
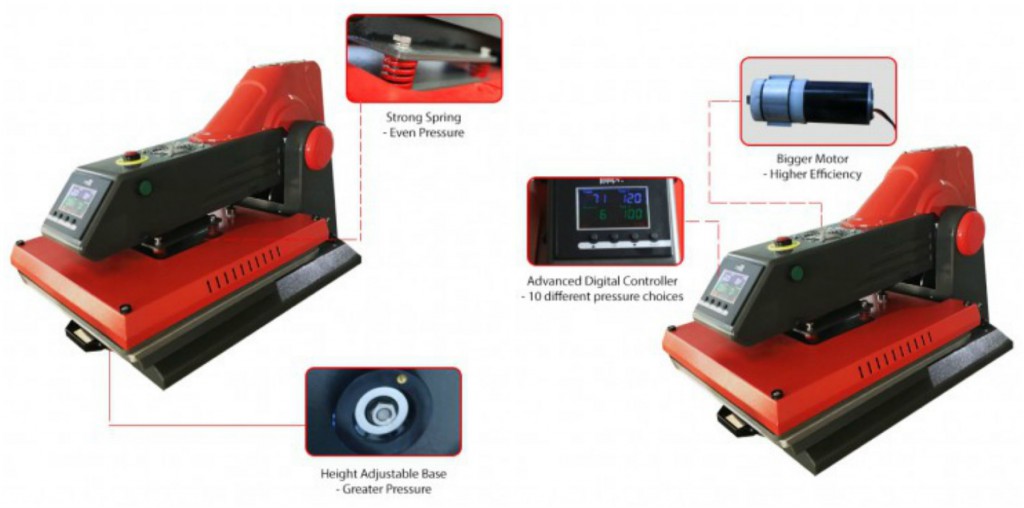
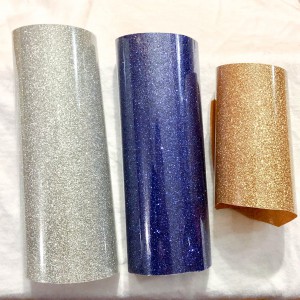
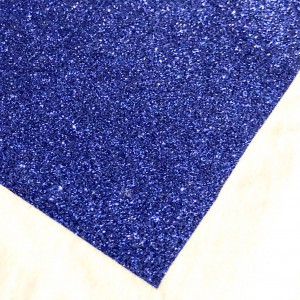
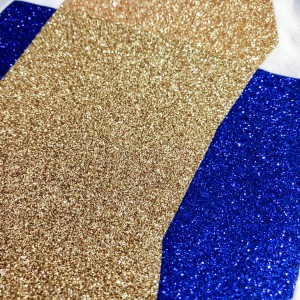
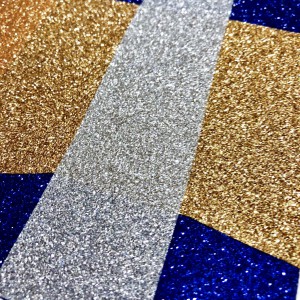
Here at Pro World, we’re always expanding our offerings and capabilities so that we can provide you with the latest and greatest.  We recently added Oracal 641 to our extensive collection of vinyl so that you can expand your business and fill even more needs for your clients.

Oracal 641 is similar to the Oracal 651, but it has a matte finish instead of a glossy finish. It also has silicone coated paper on one side which provides excellent weed-stripping properties. The adhesive is Polyacrylate and permanent. It is perfect for use on cutting plotter systems in the production of short- and medium-term markings, inscriptions, and decorations. It is great for use outdoors, and its indoor uses are almost unlimited. It is available in 19 colors and sold by the yard.

If you are unfamiliar with Oracal 631 & 651, both feature an adhesive back so you simply cut the vinyl with your cutter and weed your design. Then using transfer tape you move your vinyl to your finished project surface.

Oracal 631  is a removable vinyl which has a matte finish. It is perfect for interior decorating, like on walls, indoor signage, and exhibition graphics. Since it is made from a high-quality film that creates a matte finish there is no glare. The removable adhesive allows you to remove graphics from walls with minimal effort, leaving no residue behind. It is great for short to medium term applications indoors, specifically on painted drywall surfaces.

Oracal 651 s a glossy permanent vinyl that is 2.5 mil. thick. This creates a thinner more comfortable liner with better dimensional stability which means the vinyl design will last longer when cracking, shrinking, or peeling is an issue. It is great for 3 plus years, and long-term applications, it also has outdoor durability.

What have you made using adhesive vinyl? Share your projects with us in the comments. 

You May Also Like:

apply fdc to canvas

tips for cutting large vinyl decals with your silhouette machine

How to apply sign vinyl to a car window

View & Add Comments